
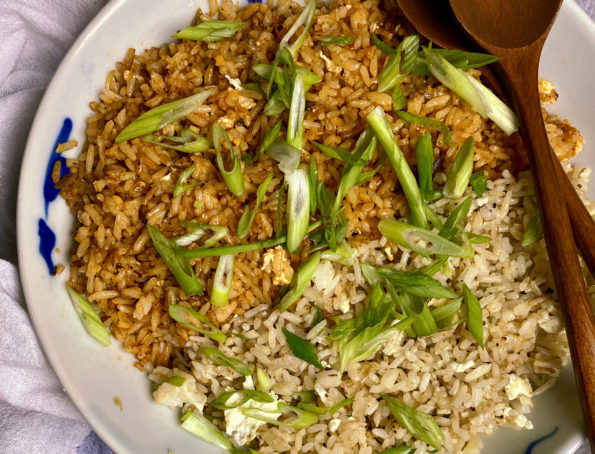
I LOVE fried rice. Posted on 3Jamigos are my favorites, my Dad’s Fried Rice and Kimchi Fried Rice. Until now, I was very content with…
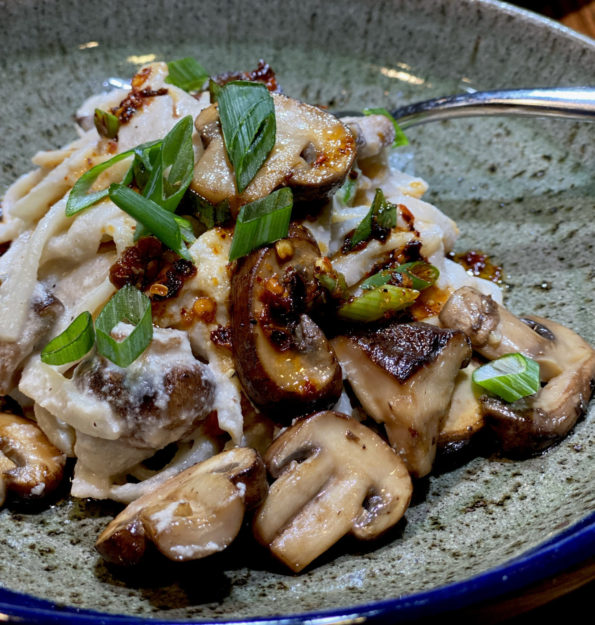
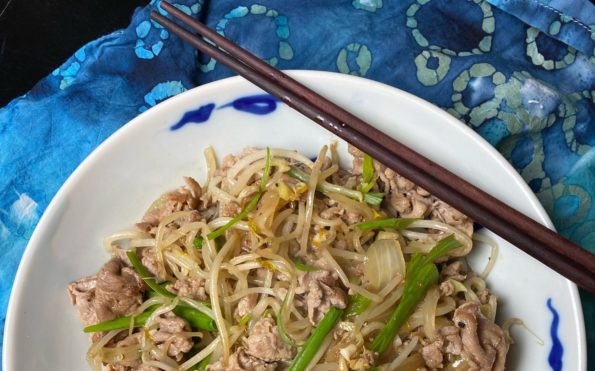
I’m not a vegetarian but we are making a concerted effort to eat less meat and more veggies. Good for us and good for the…

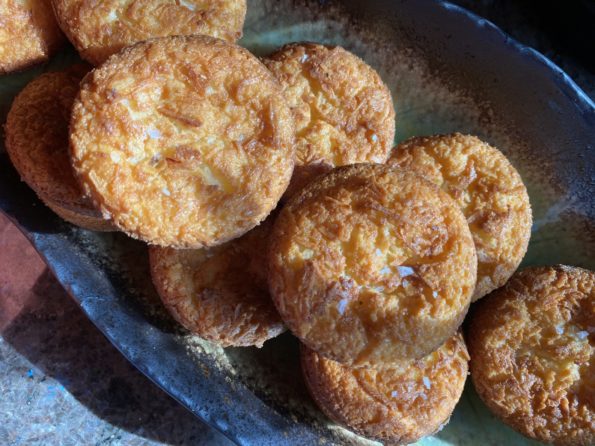
Growing up in Chinatown, the standard plate of cookies found on our table was not Chocolate Chip Cookies, but Almond Cookies. Every Chinese Bakery proudly…
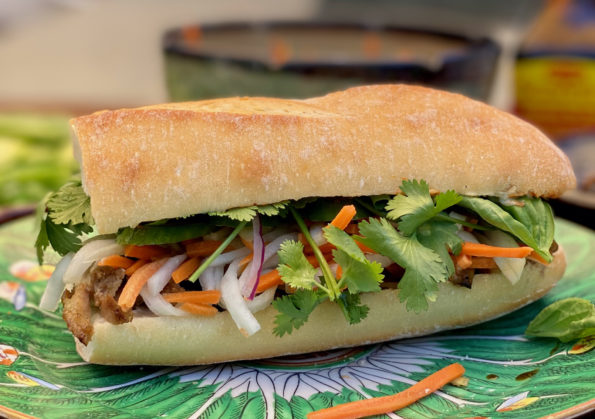
I came home from work the other day and ANNOYINGLY, with a couple of kids home and the hubster, no one had even thought about…
So, you drew the short straw, didn’t you? Yep, the proverbial boring Thanksgiving dish, vegetables, sheesh. Auntie has drawn dessert, ugh, which means lime green…
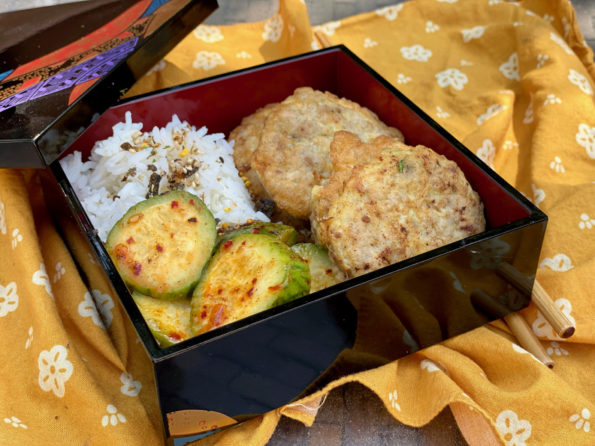
From a historical perspective, who was the OG that took a hunka meat and decided to grind it up? It was GENIUS I mean, think…
I created 3jamigos to chronicle our family’s food adventures, recipes, and stories, for my kids. In college, I often called home to ask my dad…
I appreciate our backyard now more than ever as it has served as an escape during the quarantine. While it’s not very big and there…
Right before the pandemic hit we capped off a year of traveling by going to Maui. A celebration for the hubster’s birthday and his early…