
I’m sure I saw this on TikTok or an IG Reel. It looked so delicious I knew I was going to make it, if not…
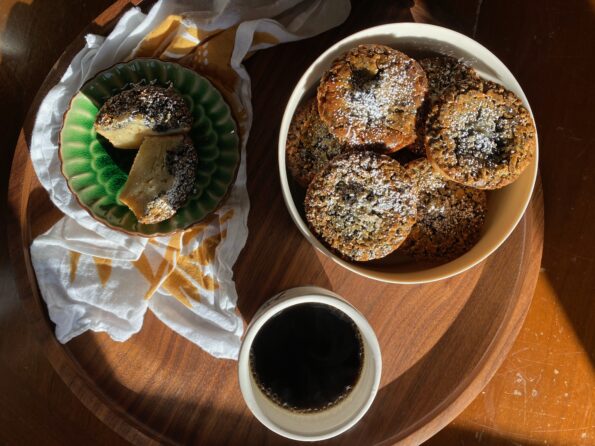
I first made Eric Kim’s Chewy Black Sesame Mochi Cake after a “Bake-a-long” with him, a perk for purchasing his book, Korean American. I was…
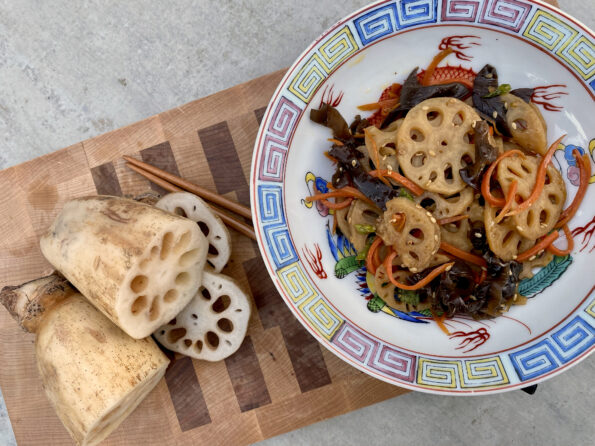
We are always looking for ways to increase our veggie intake. Part of the problem is our everyday veggies are BORING. Let me clarify, Veggies…
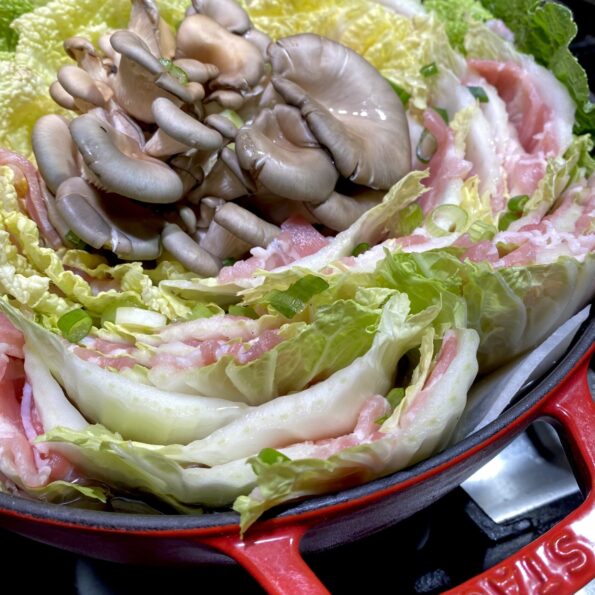
As I was driving home the other day I called the Hubster and asked “What’s for dinner?”. The retired guy replied, “I thought you were…
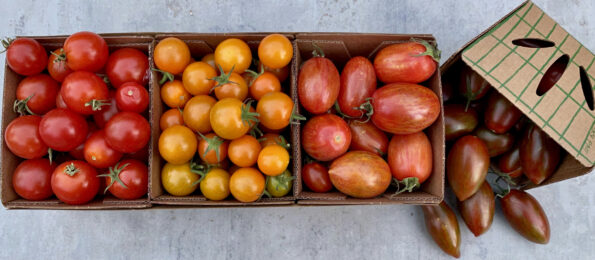
I have taken over tomato duties from the hubby who has given up on becoming an urban farmer. We just haven’t had any luck with…

My best description/translation of a favorite Chinese pastry, 叉燒酥 (Char Siu Sou) is Chinese bbq pork hand pie. Flaky, tender pastry surrounding a sweet-salty filling…
I have a total backlog of recipes I want to share with you and this one is top on the list. I have made this…

From one of my favorite sites, Two Plaid Aprons, a vegetarian version of Unagi Don! Eel grilled with a sweet and savory sauce or “tare”…

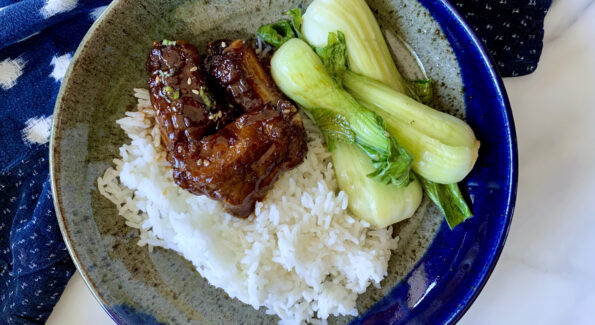
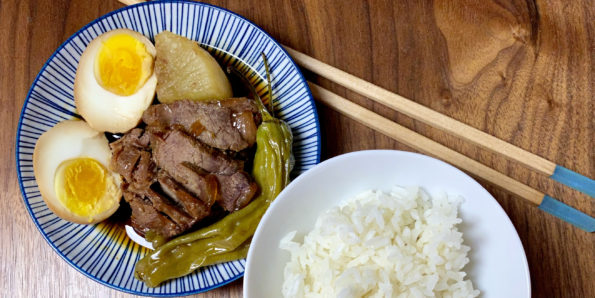
Waat Dan Fan (滑蛋飯) is one of my absolute all-time favorite down-home Cantonese dishes. The literal translation is Slippery Egg Rice. This version includes beef…