Tartine’s Lemon Cream Tart P-Squared, Pie Perfection
The kids were home for the holidays and have now gone back to school. It was nice having them home although our house looks like a tornado blew through. When home, Jordan catches up on sleep while Jamie bakes and watches her favorite TV shows. Marathon sessions of The Crown and The Great British Baking Show were interrupted only by the beep of the timer signaling something yummy was ready to come out of the oven.
GBBS
Thanks to Jamie I am now HOOKED on The Great British Baking Show. Between the hosts, Sue and Mel, 2 quirky, hilarious women (Ready, Set, BAKE!) and the judges, Paul Hollywood (I know-Is that really his name?) and Mary Berry (BBI-British Baking Icon), this is Epicurean TV at its finest. To top it off, amateur contestants are expected to bake their way through cakes, biscuits, laminated doughs, and bread. Pressure in spades and yet they manage to stay so polite and endearing.
I now understand the meaning of the British phrase “Keep a stiff upper lip”. In contrast, American TV food shows remind me of a cooking version of Game of Thrones.
Inspiration
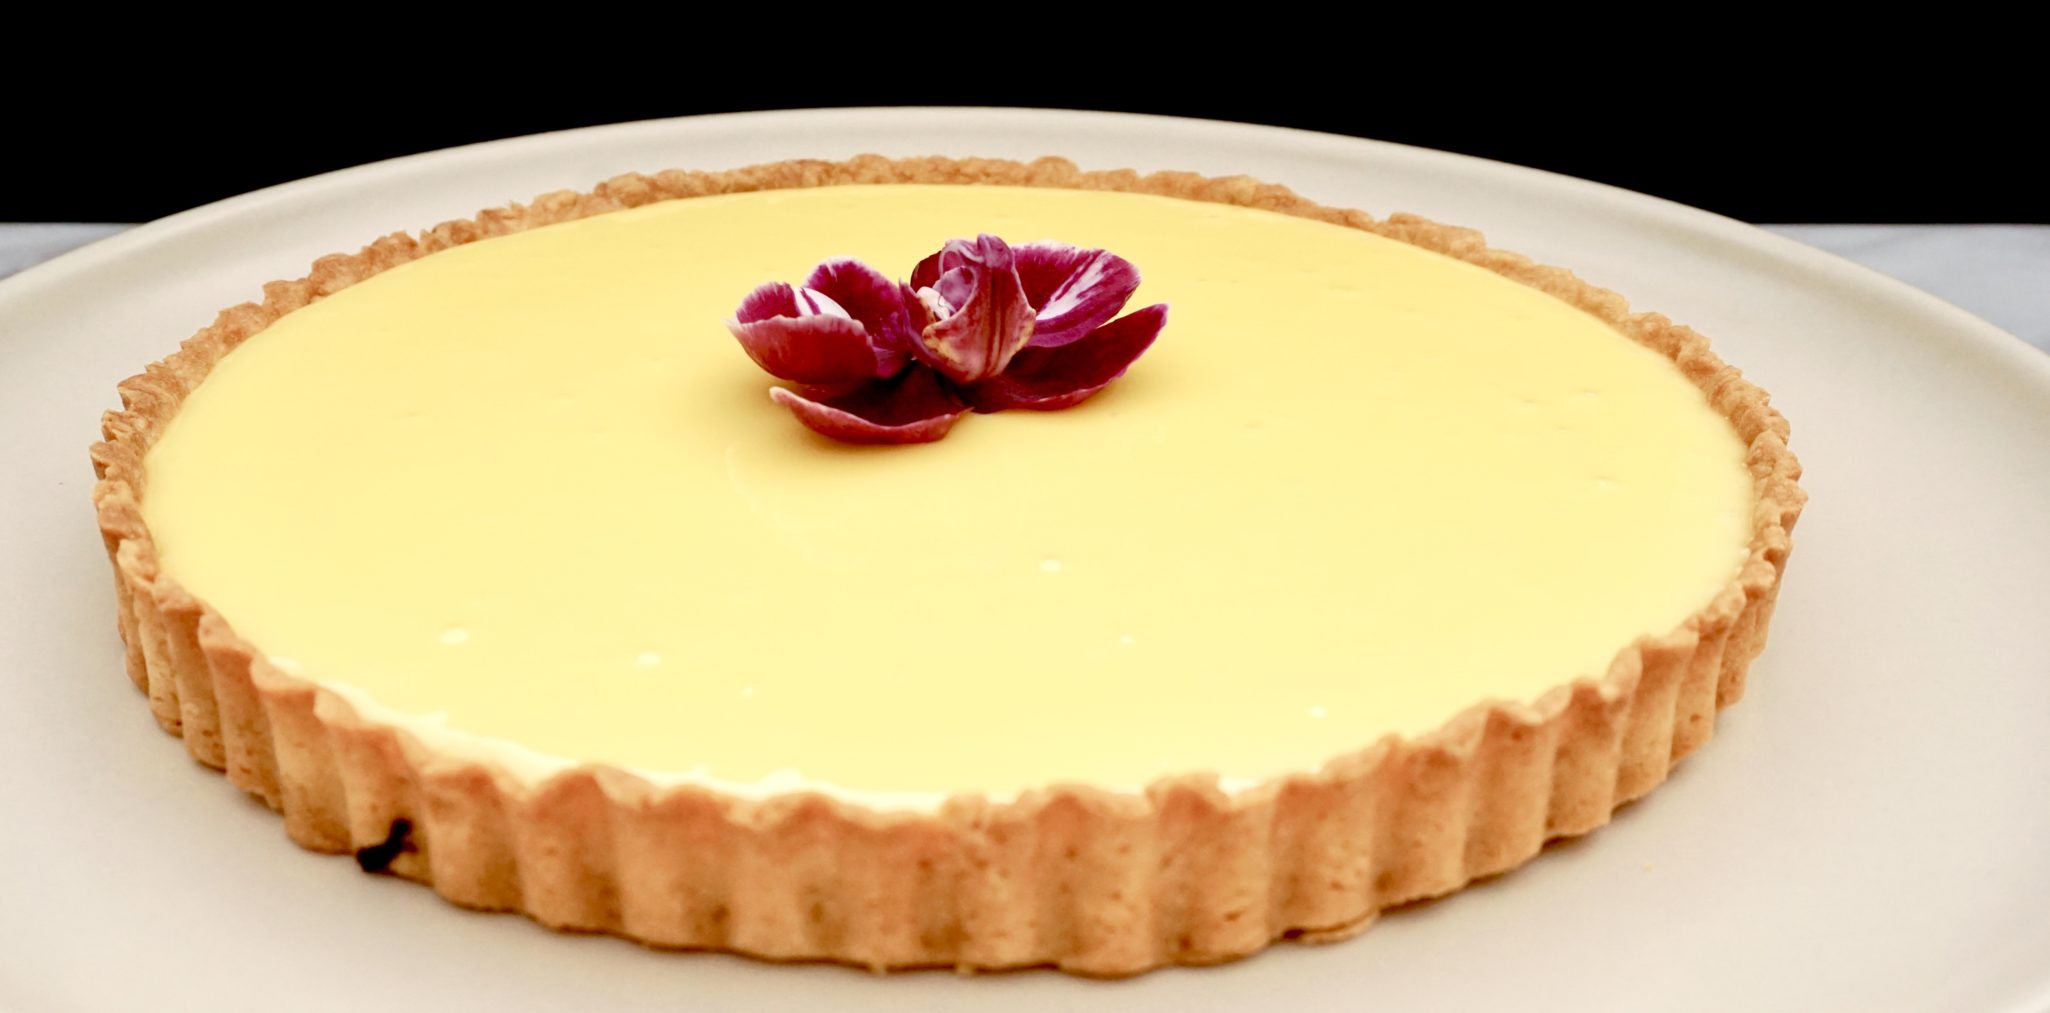
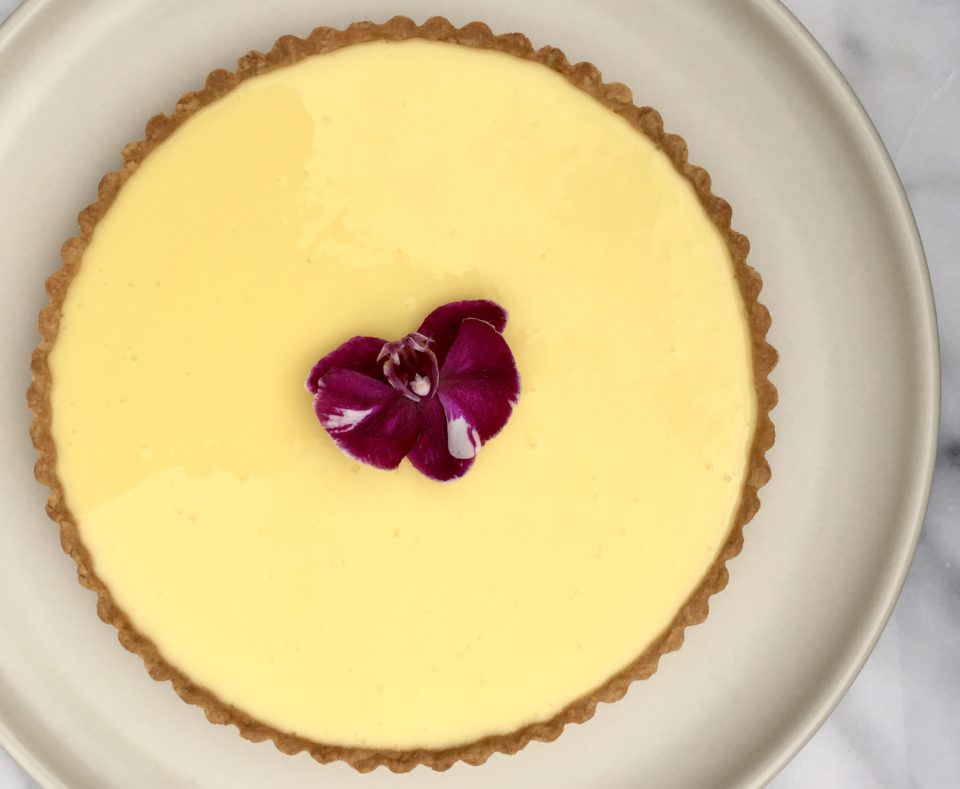
Inspired by GBBS, Jamie and I got busy in the kitchen. Good thing, as we were tasked with desserts for our holiday family celebrations. Both of us LOVE pie and Tartine’s Lemon Cream Tart is hands down, our absolute favorite. Everything we love rolled into one FABULOUS, LUSCIOUS dessert.
The foundation of the tart is the sweet, cookie-like crust, a pate sable’. The filling, a lemon cream, starts as a curd to which GOBS of butter is added. The butter emulsifies with the lemon curd to create a deceptively light, silky, lemony filling. TOTALLY worth the gazillions of calories that I am sure it has. It is that good.
Don’t want to make a tart crust? Make this cream, divvy it into pretty little glasses or jars and serve with buttery shortbread cookies and fresh berries. Winner, winner, dessert for dinner!
The recipe for the tart dough makes enough for 4 9-inch shells but can be easily halved. It can be kept in the fridge for a week or in the freezer for a month. Similar to cookie dough, it is made in a mixer, gather in a ball and chilled. Work quickly when rolling out the dough as the sugar in the crust causes it to soften fairly fast. If this happens, toss it back in the fridge to chill again.
The dough is easy to work with, can be re-rolled and works equally as well with Tartine’s Banana Cream Pie (I found the recipe link on a blog I just discovered and really like, The Little Epicurean, check it out!), the next best thing to their Lemon Tart. Bananas embedded in rich pastry cream, chocolate ganache, topped with whipped cream, shards of chocolate, and a drizzle of caramel. It is BEASTLY, don’t get me started. Make sure you dock the crust before baking so it doesn’t bubble. Pre-bake the shell to a golden brown and have it ready when you make the cream.
Curd-i-Licious
To make the cream Use an immersion blender to add the butter to the curd. A countertop blender would work also. As soon as you finish adding the butter, pour the lemon cream into the shell. It starts to thicken quickly, so for a smooth, even, shiny, surface, work quick. Chill and serve with lightly sweetened whipped cream.
Tartine's Lemon Cream Tart P-Squared, Pie Perfection
Ingredients
- 1/2 cup 2 tablespoons lemon juice Meyer or regular
- 3 large eggs
- 1 large egg yolk
- 3/4 cup sugar
- 1 pinch salt
- 1 cup unsalted butter
Sweet Tart dough
- 1 cup + 2 tbsp unsalted butter, at room temperature 9 oz/255 g
- 1 cup granulated sugar 7 oz/200 g
- 2 Large eggs at room temperature
- 3-1/2 cups All-purpose flour 17-1/2 oz/500 g
Egg Wash (optional)
- Large egg 1
- Salt pinch
Instructions
Directions for Lemon Cream
- Pour water to a depth of about 2 inches into a saucepan, place over medium heat, and bring to a simmer. Combine the lemon juice, whole eggs, yolk, sugar, and salt in a stainless steel bowl that will rest securely in the rim of a saucepan over, not touching, the water. (Never let the egg yolks and sugar sit together for more than a moment without stirring; the sugar will cook the yolks and turn them granular.)
- Place the bowl over the saucepan and continue to whisk until the mixture becomes very thick and registers 180° F on a thermometer. This will take 10 to 12 minutes. If you don't have or trust your thermometer, don't worry. It should thicken to the point that your whisk leaves a trail through the curd.
- Remove the bowl from over the water and let cool to 140° F, stirring from time to time to release the heat.
- Meanwhile, cut butter into 1-tablespoon (15-ml) pieces. When the cream is ready, leave it in the bowl if using an immersion blender, or pour it into a countertop blender. With the blender running, add the butter 1 tablespoon at a time, blending after each addition until incorporated before adding the next piece. The cream will be pale yellow and opaque and quite thick.
- You can use the cream immediately, or pour it into a storage container with a tight-fitting lid and refrigerate for up to 5 days.
- To use after refrigeration, if necessary, gently heat in a stainless steel bowl set over simmering water until it has softened, whisking constantly.
Directions for Sweet Tart Dough
- Bring eggs to room temperature by placing them in a bowl and running lukewarm water over them for about 5 minutes.
- Using a stand mixer fitted with the paddle attachment, combine the butter, sugar, and salt and mix on medium speed until smooth. Mix in 1 egg. Add the remaining egg and mix until smooth. Stop the mixer and scrape down the sides of the bowl with a rubber spatula. Add the flour all at once and mix on low speed just until incorporated.
- On a lightly floured work surface, divide the dough into 4 equal balls and shape each ball into a disk 1/2 inch thick. Wrap well in plastic wrap and chill for at least 2 hours or overnight.
- To line a tart pan, place a dough disk on a lightly floured surface and roll out 1/8 inch thick, rolling from the center toward the edge in all directions. Lift and rotate the dough a quarter turn after every few strokes, dusting underneath as necessary to discourage sticking, and work quickly to prevent the dough from becoming warm.
- Cut out a circle 2 inches larger than the pan. If the dough is still cool, carefully transfer the circle to the pan, easing it into the bottom and sides and then pressing gently into place. Do not stretch the dough, or the sides will shrink during baking. If the dough has become too soft to work with, put it in the refrigerator for a few minutes to firm up before transferring it to the pan. If the dough develops any tears, just patch with a little extra dough, pressing firmly to adhere. Trim the dough level with the top of the pan with a sharp knife. Place the pastry shell in the refrigerator or freezer until it is firm, about 15 minutes.
- Preheat the oven to 325°F. Dock (make small holes in) the bottom of the tart shell with a fork or the tip of a knife, making tiny holes 2 inches apart. Place in the oven and bake for 7 to 10 minutes for a partially baked large shell. The pastry should be lightly colored and look dry and opaque. Check the shell(s) during baking and rotate the pans if necessary for even color. If you want to brush the shell(s) with a glaze (see headnote), beat the egg with the salt in a small bowl. A minute or two before the desired color is reached, remove the shell(s) from the oven and lightly brush the bottom and sides with the glaze. Return the shell(s) to the oven and bake until the desired color is reached and the glaze is set.
- For a fully baked shell, proceed as directed for a partially baked shell, but bake until golden brown, about 5 minutes longer.
- Let cool completely on wire racks. The pastry shells will keep, well wrapped, in the refrigerator for up to 1 week or in the freezer for up to 2 weeks.
- Any leftover dough can be used as a simple cookie dough. This dough keeps exceptionally well, so make some for use now and freeze the rest for future use (it will keep for up to 3 weeks), either in disks or in rolled-out rounds. If you roll out all the rounds to freeze for future use, place a sheet of parchment or waxed paper between them to prevent them from sticking to one another when you thaw them.
- This recipe can be easily halved.
