Tag: chili

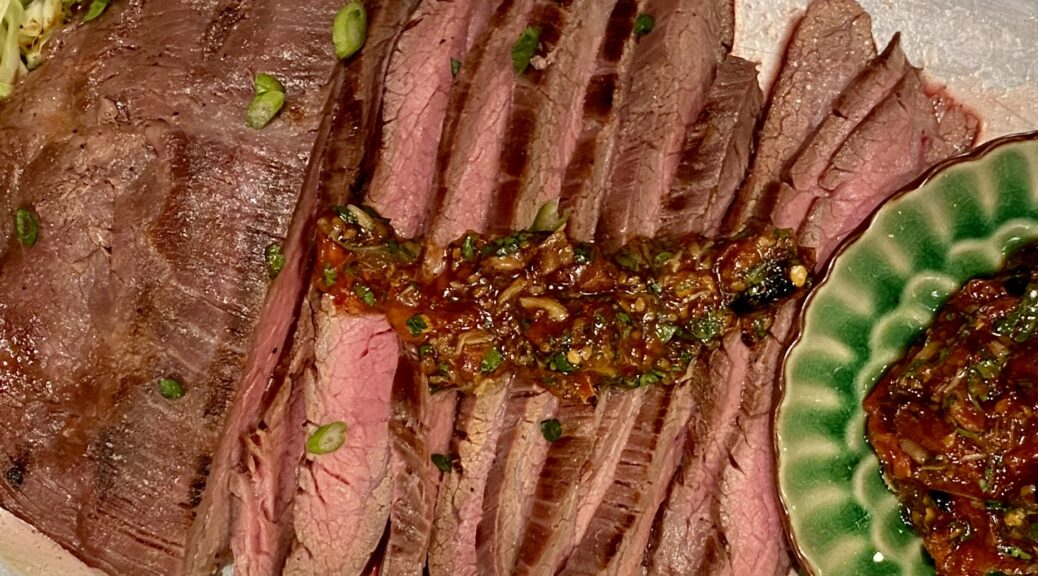
Crying Tiger Beef (Grillin’ and Chillin’)

Crying Tiger Beef (Grillin’ and Chillin’)

A reel for Crying Tiger Beef had me salivating until I read the words “recipe coming soon”.  Nooo, it looked so yummy I wanted to try it immediately.  But, I understand. How many times have I posted a dish on IG or FB with the same caveat?  Coming soon.  So I turned to a tried and true cookbook, Simple Thai Food: Classic Recipes from the Thai Home Kitchen by Leela Punyaratabandhu, and found her recipe for Crying Tiger Beef.  It’s a great book for a “Thai food is not in my wheelhouse but I love it” person, like ME.  Her recipe for Pad Thai is my go-to.

Tomatolly Off on a Thai-gent

The dipping sauce for  Crying Tiger Beef in Simple Thai is a variant.  Instead of the traditional one made with toasted rice and tamarind, this one has roasted cherry tomatoes.  Since tomato season is upon us and I am a tomato FREAK, this was a no-brainer.  Glad I did, it’s delicious.  I will include both recipes for you to try.  I expect a report on which version reigns supreme in your house.
Where’s the Beef?

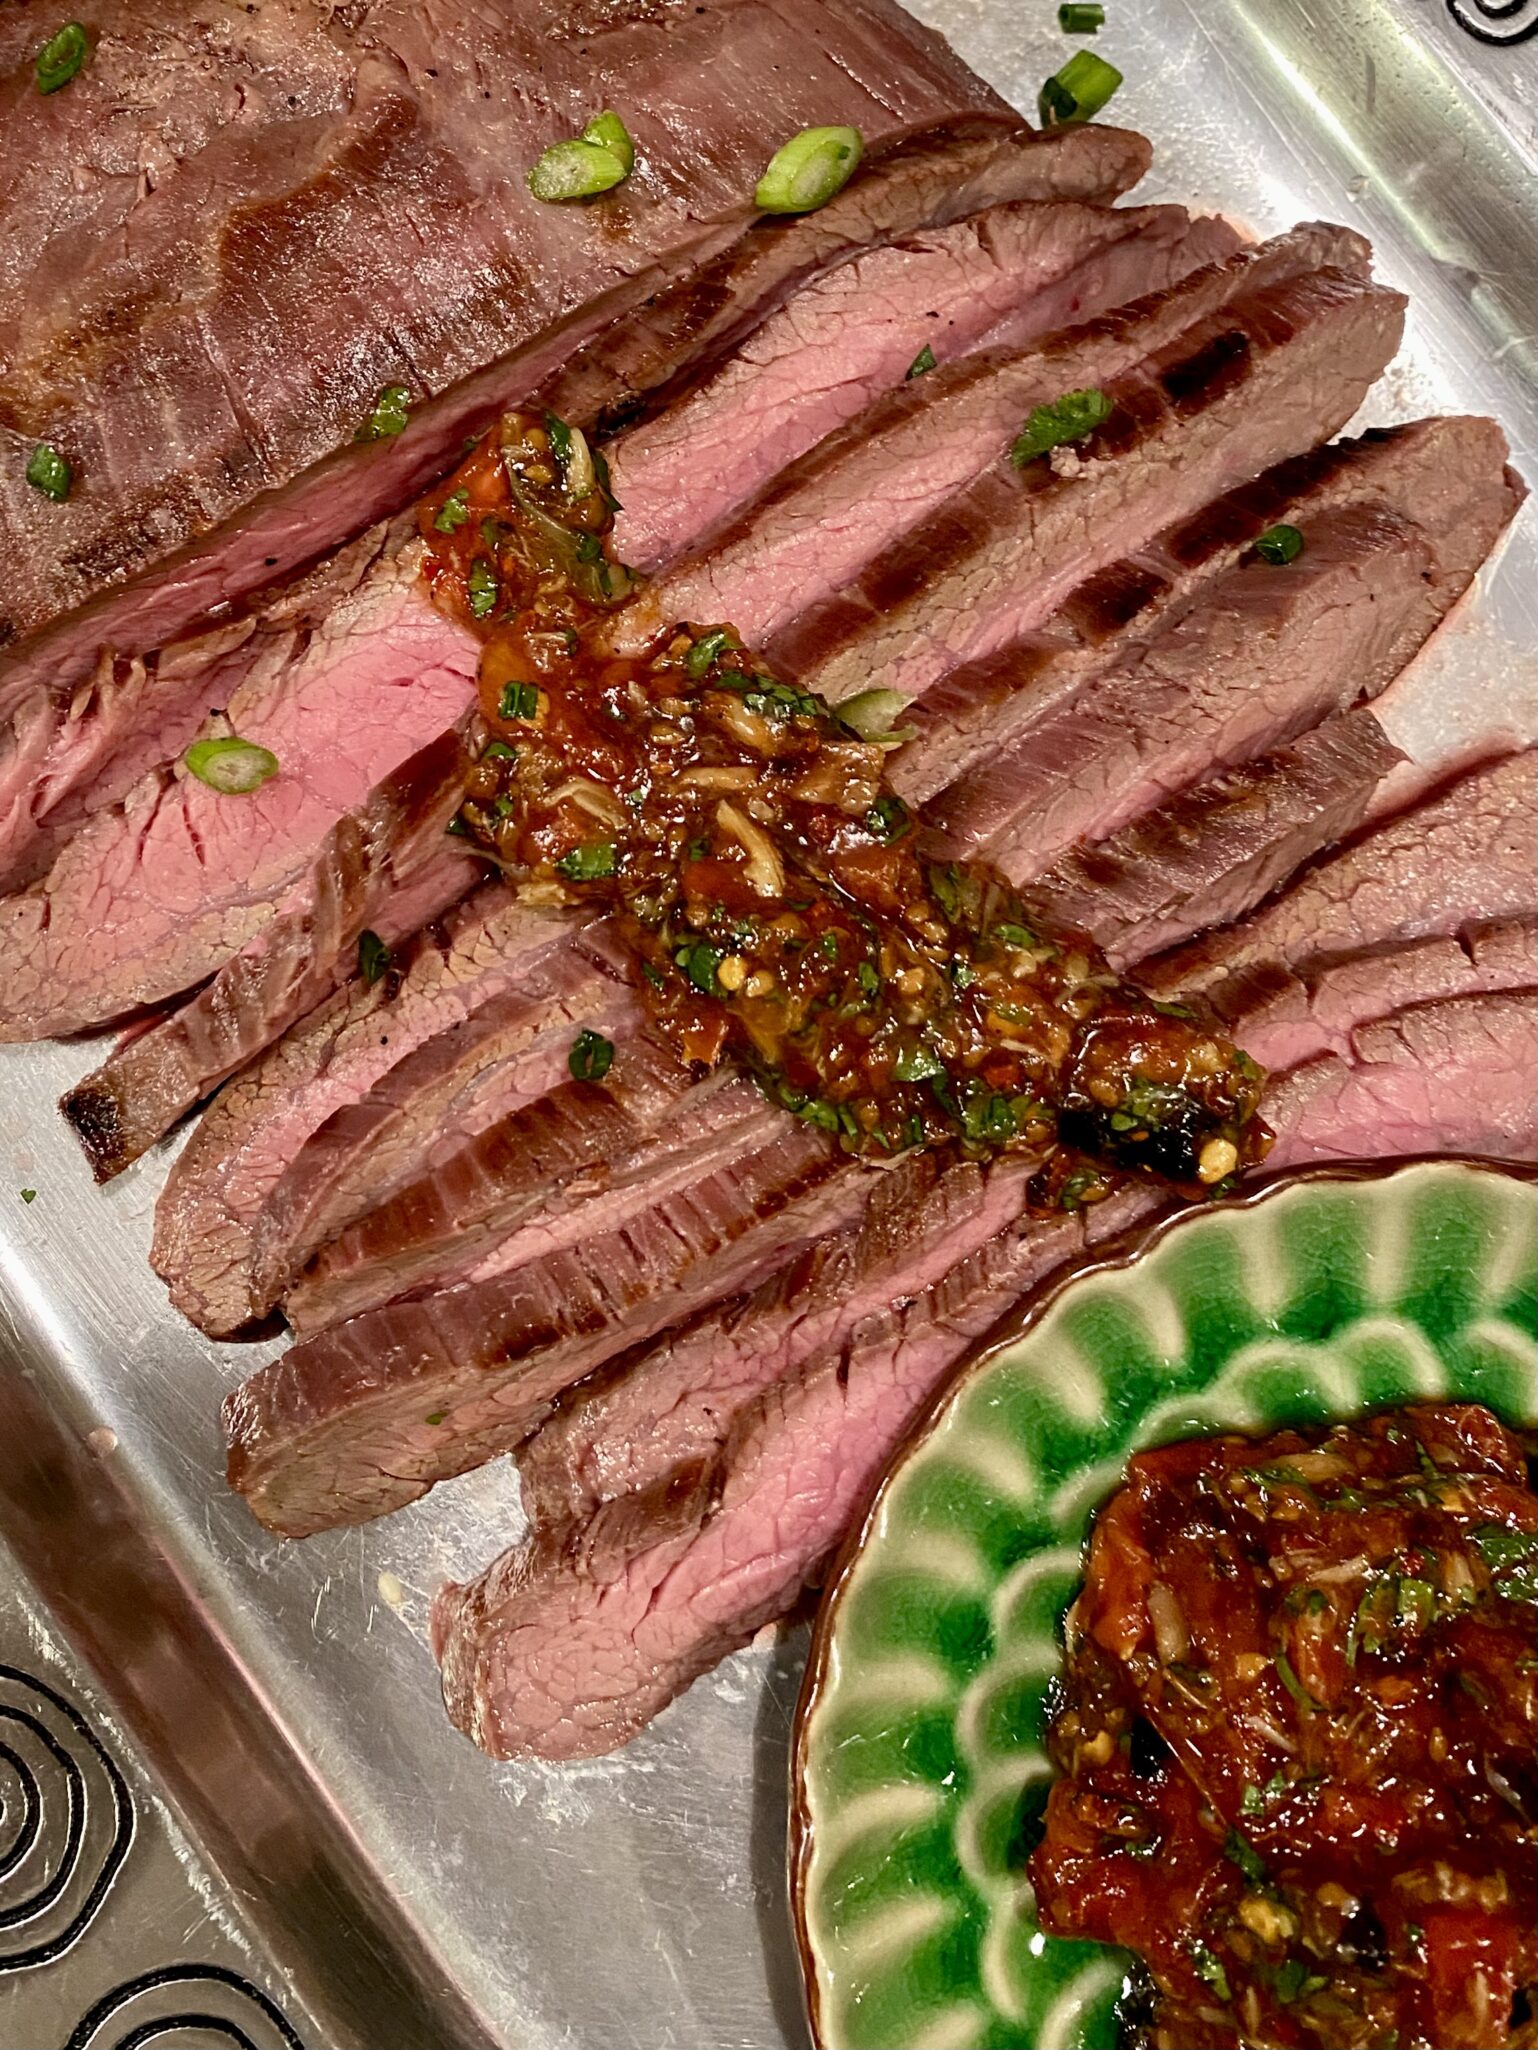
The marinade and sauce work with different cuts of beef.  Wanna get fancy? Ribeye or NY strip steaks.  A quick weeknight meal, flank steak, or skirt steak gets the 👍.  Flanken-style short ribs would work well also.

I opted for the family-friendly flank steak, lean but flavorful and a great cut to barbecue.  First, marinate your flank steak in a simple blend of oyster sauce, soy sauce, and oil.  It’s amazing how it flavors the meat.  I have both Chinese and Thai oyster sauce.  I used the Thai version but the Chinese Oyster Sauce by LKK, with the lady and kid in a boat would be perfect and you really don’t need to go out and get Thai oyster sauce which will be much harder to find.  You (West Coast peeps) can find LKK at major grocery chains, Costco, and most Asian grocery stores.

Sauce Me Up

As your meat marinates, make your sauce.  Broil tomatoes, garlic, and shallots until soft with charred spots.  Transfer tomato mixture to a food processor or mortar and pestle (shades of being a pharmacist).  Pulse or pound until the mixture becomes a chunky sauce.  Don’t purée!  Pour the sauce into a bowl and add fish sauce, lime juice, chili flakes (to desired heat level!!), sugar and cilantro. I absolutely love this sauce, so much umami.  I generally double the sauce recipe, it’s that good.
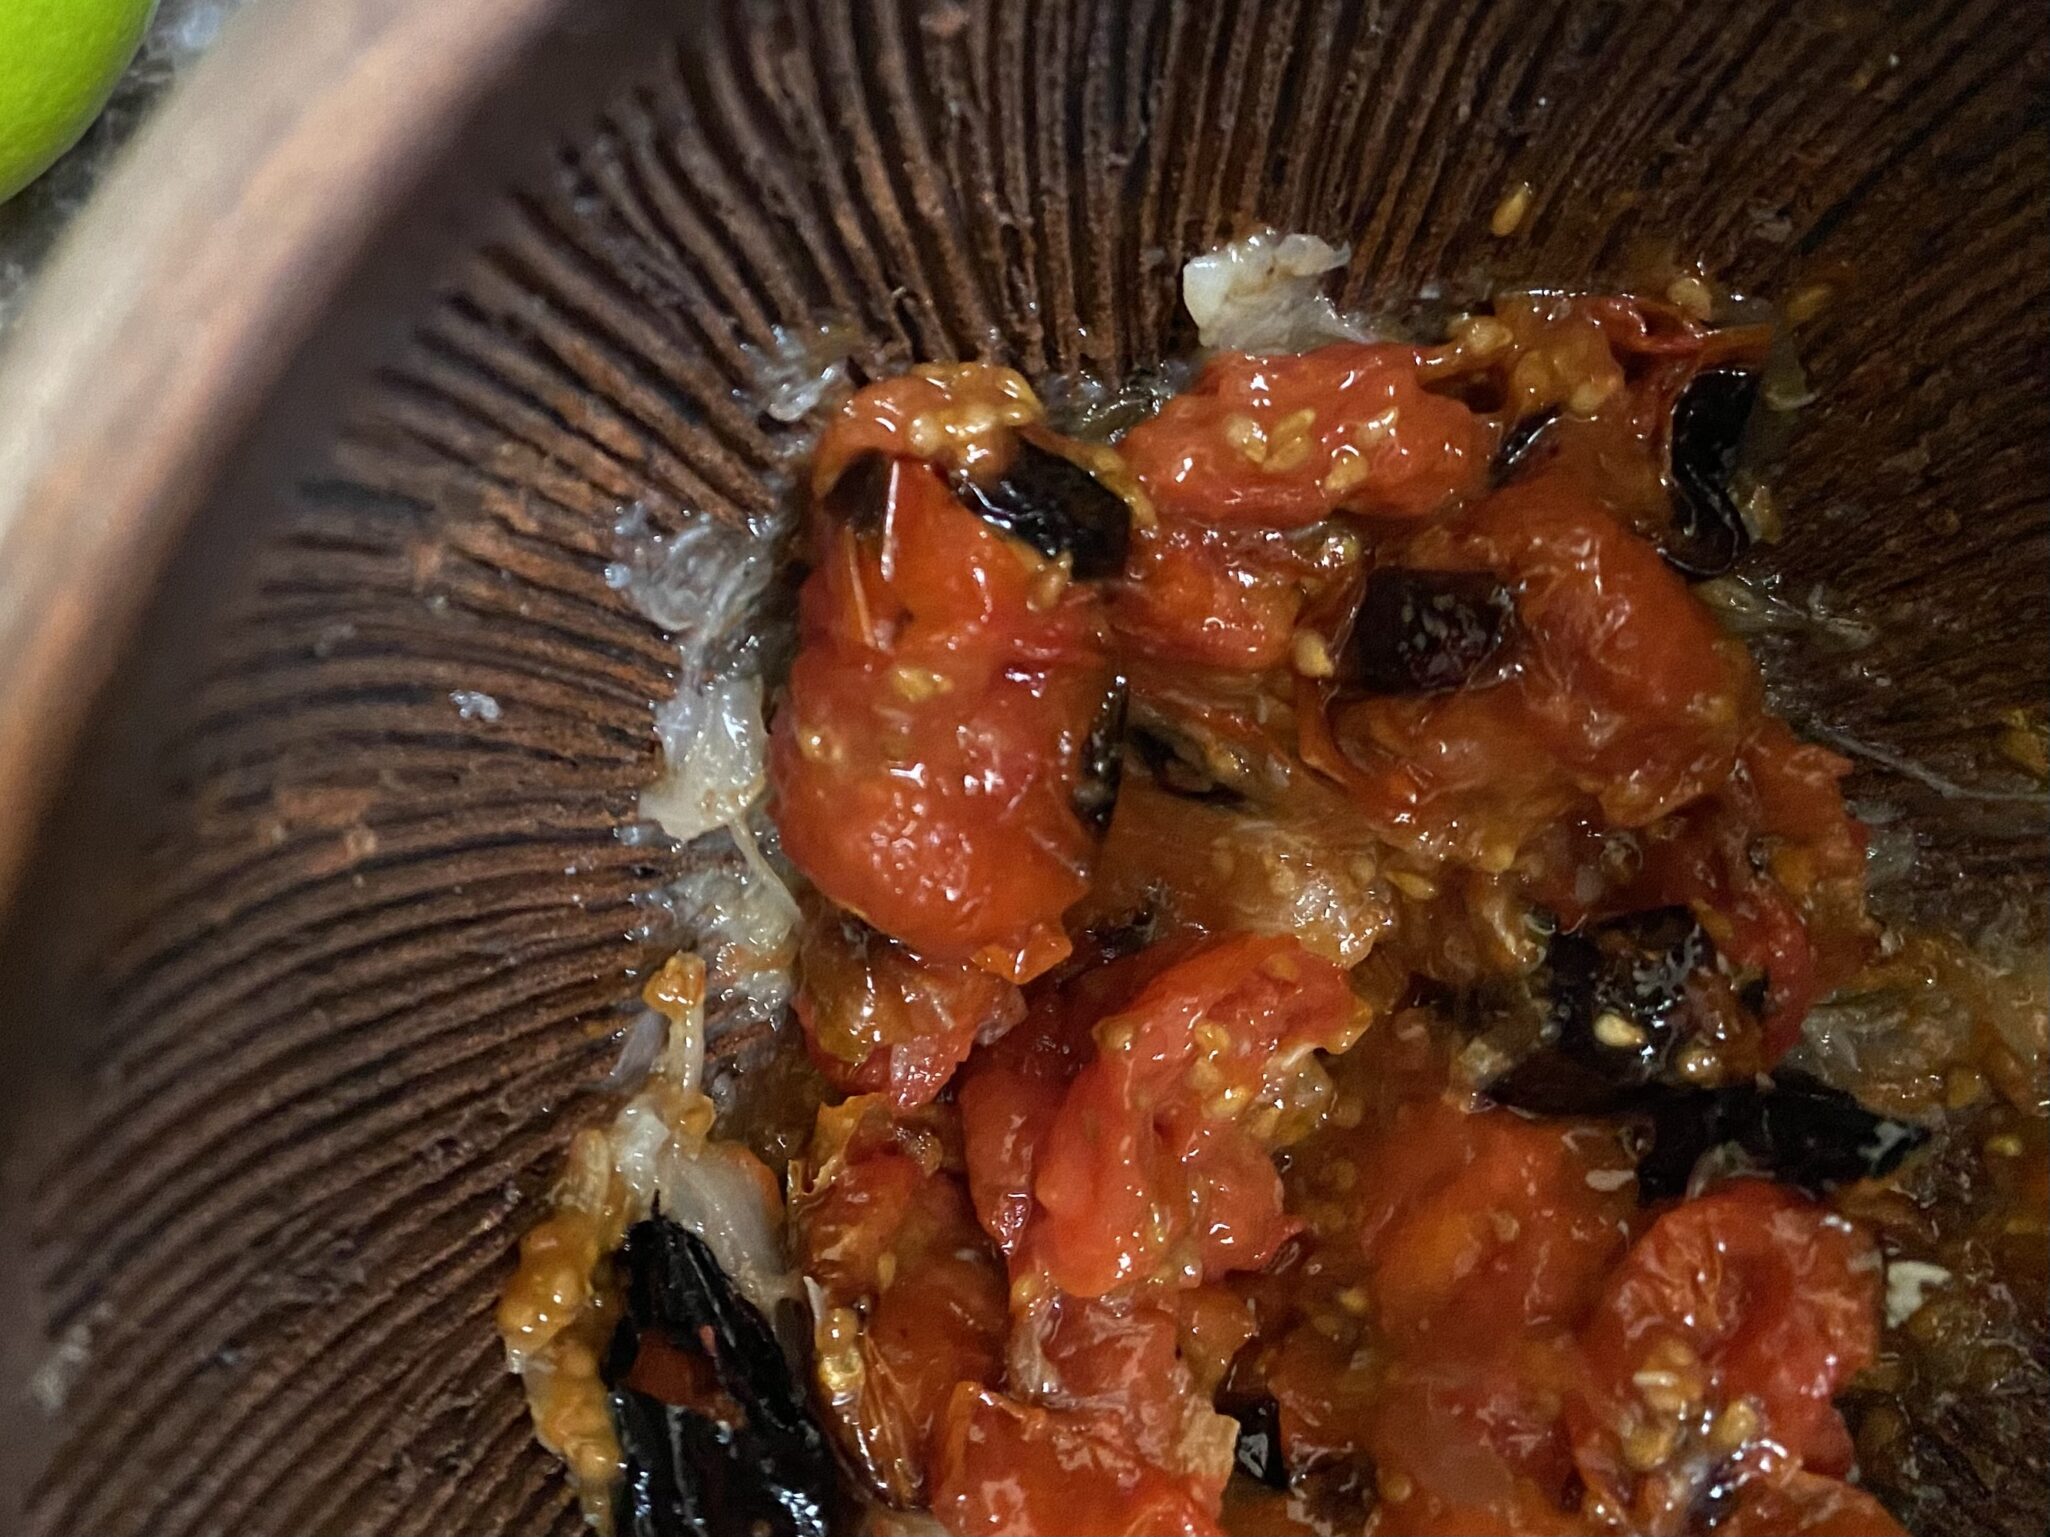
Palm Sugar-feel free to use brown sugar if you don’t have palm sugar.  But if you want to, palm sugar comes in little squares or egg-shaped pieces, very dense.  My recommendation would be to pulverize those little suckers (very cathartic) before using it.  It would take forever and a day to melt.  You’re welcome.

Crying Tiger Beef with Roasted Tomato Sauce

Easy and delicious Thai dish, Crying Tiger Beef. Grilled steak is topped with a spicy sauce made with roasted tomatoes, shallots, and garlic and seasoned with lime juice, fish sauce, red onions, and cilantro.
Course bbq, dinner, main dish
Cuisine Asian, Thai
Keyword cherry tomatoes, Crying Tiger Beef, grilled beef, pad thai
Prep Time 5 minutes
Cook Time 20 minutes

Ingredients

Marinade

  • 1 tablespoons neutral oil
  • 1 tablespoon soy sauce
  • 1 tablespoon oyster sauce
  • 1/2 teaspoon ground white or black pepper
  • 1 flank steak, about 1 ⅔ pounds total This recipe works with steaks too. So if it is date night...2 nice ribeyes would be perfect!

Dipping Sauce

  • 4 ounces cherry tomatoes
  • 1 large shallot (1 oz) halved
  • 3 large garlic cloves
  • 1 tablespoon fish sauce
  • 1 tablespoons fresh lime juice
  • 1 tablespoon red pepper flakes I have never used over 1 teaspoon!
  • 1/2 teaspoon packed light brown sugar or palm sugar
  • 2 tablespoons coarsely chopped cilantro leaves and stems

Garnish

  • 1 tbsp Glutinous or sticky rice, raw optional, but recommended
  • Handful cilantro sprigs coarsely chopped, for garnish
  • sliced cucumbers and tomatoes

Instructions

  • For the beef, in a wide bowl or square pan, stir together the oil, soy sauce, oyster sauce, and pepper. Add the beef and turn to coat all sides.
  • Prepare a medium-high fire in a charcoal grill or preheat a gas grill to medium on one half and medium-hot on the other half. Heat source shold be indirect. Place flank steak in center of grill. Grill about 4 minutes a side for medium rare. Remove from heat. Let meat rest about 5 minutes before slicing.
  • Slice beef against the grain into 1/4-1/2 inch slices then arrange on a serving platter. Sprinkle with the ground toasted rice (optional) and garnish with the cilantro. Serve with the sauce.

Sauce

  • Place tomatoes, unpeeled shallots, and garlic on a small sheet pan and broil, turning often until charred and squishy. This should take about 7-10 minutes.
  • While the beef rests, finish the sauce. Squeeze shallot and garlic out of their skins. Using a mortar and pestle or bowl and fork, smush the shallots and garlic into a rough paste. Add the tomatoes, and blend to form a chunky sauce. Don't puree the tomatoes. Transfer to a serving bowl and stir in the fish sauce, lime juice, pepper flakes, sugar, and chopped cilantro. The sauce should have the consistency of a chunky salsa. Let it sit a few minutes, then taste; add more lime juice, fish sauce, and pepper flakes, if needed. The sauce should taste primarily sour and spicy and then salty with a hint of sweetness.
  • You could make this in a food processor, just don't overprocess the sauce! Use the pulse button only to avoid this.

Toasted Rice Powder

  • Place raw glutinous rice in a small skillet over medium-low heat. Swirl pan continuously until rice is golden brown and has a nutty aroma. This will take about 10-15 minutes. Remove from heat and pour into a mortar or small bowl. Set it aside to cool. Once cooled, grind in the mortar or in a small food processor, until rice becomes a powder.
  • Sprinkle this on your meat right before serving.
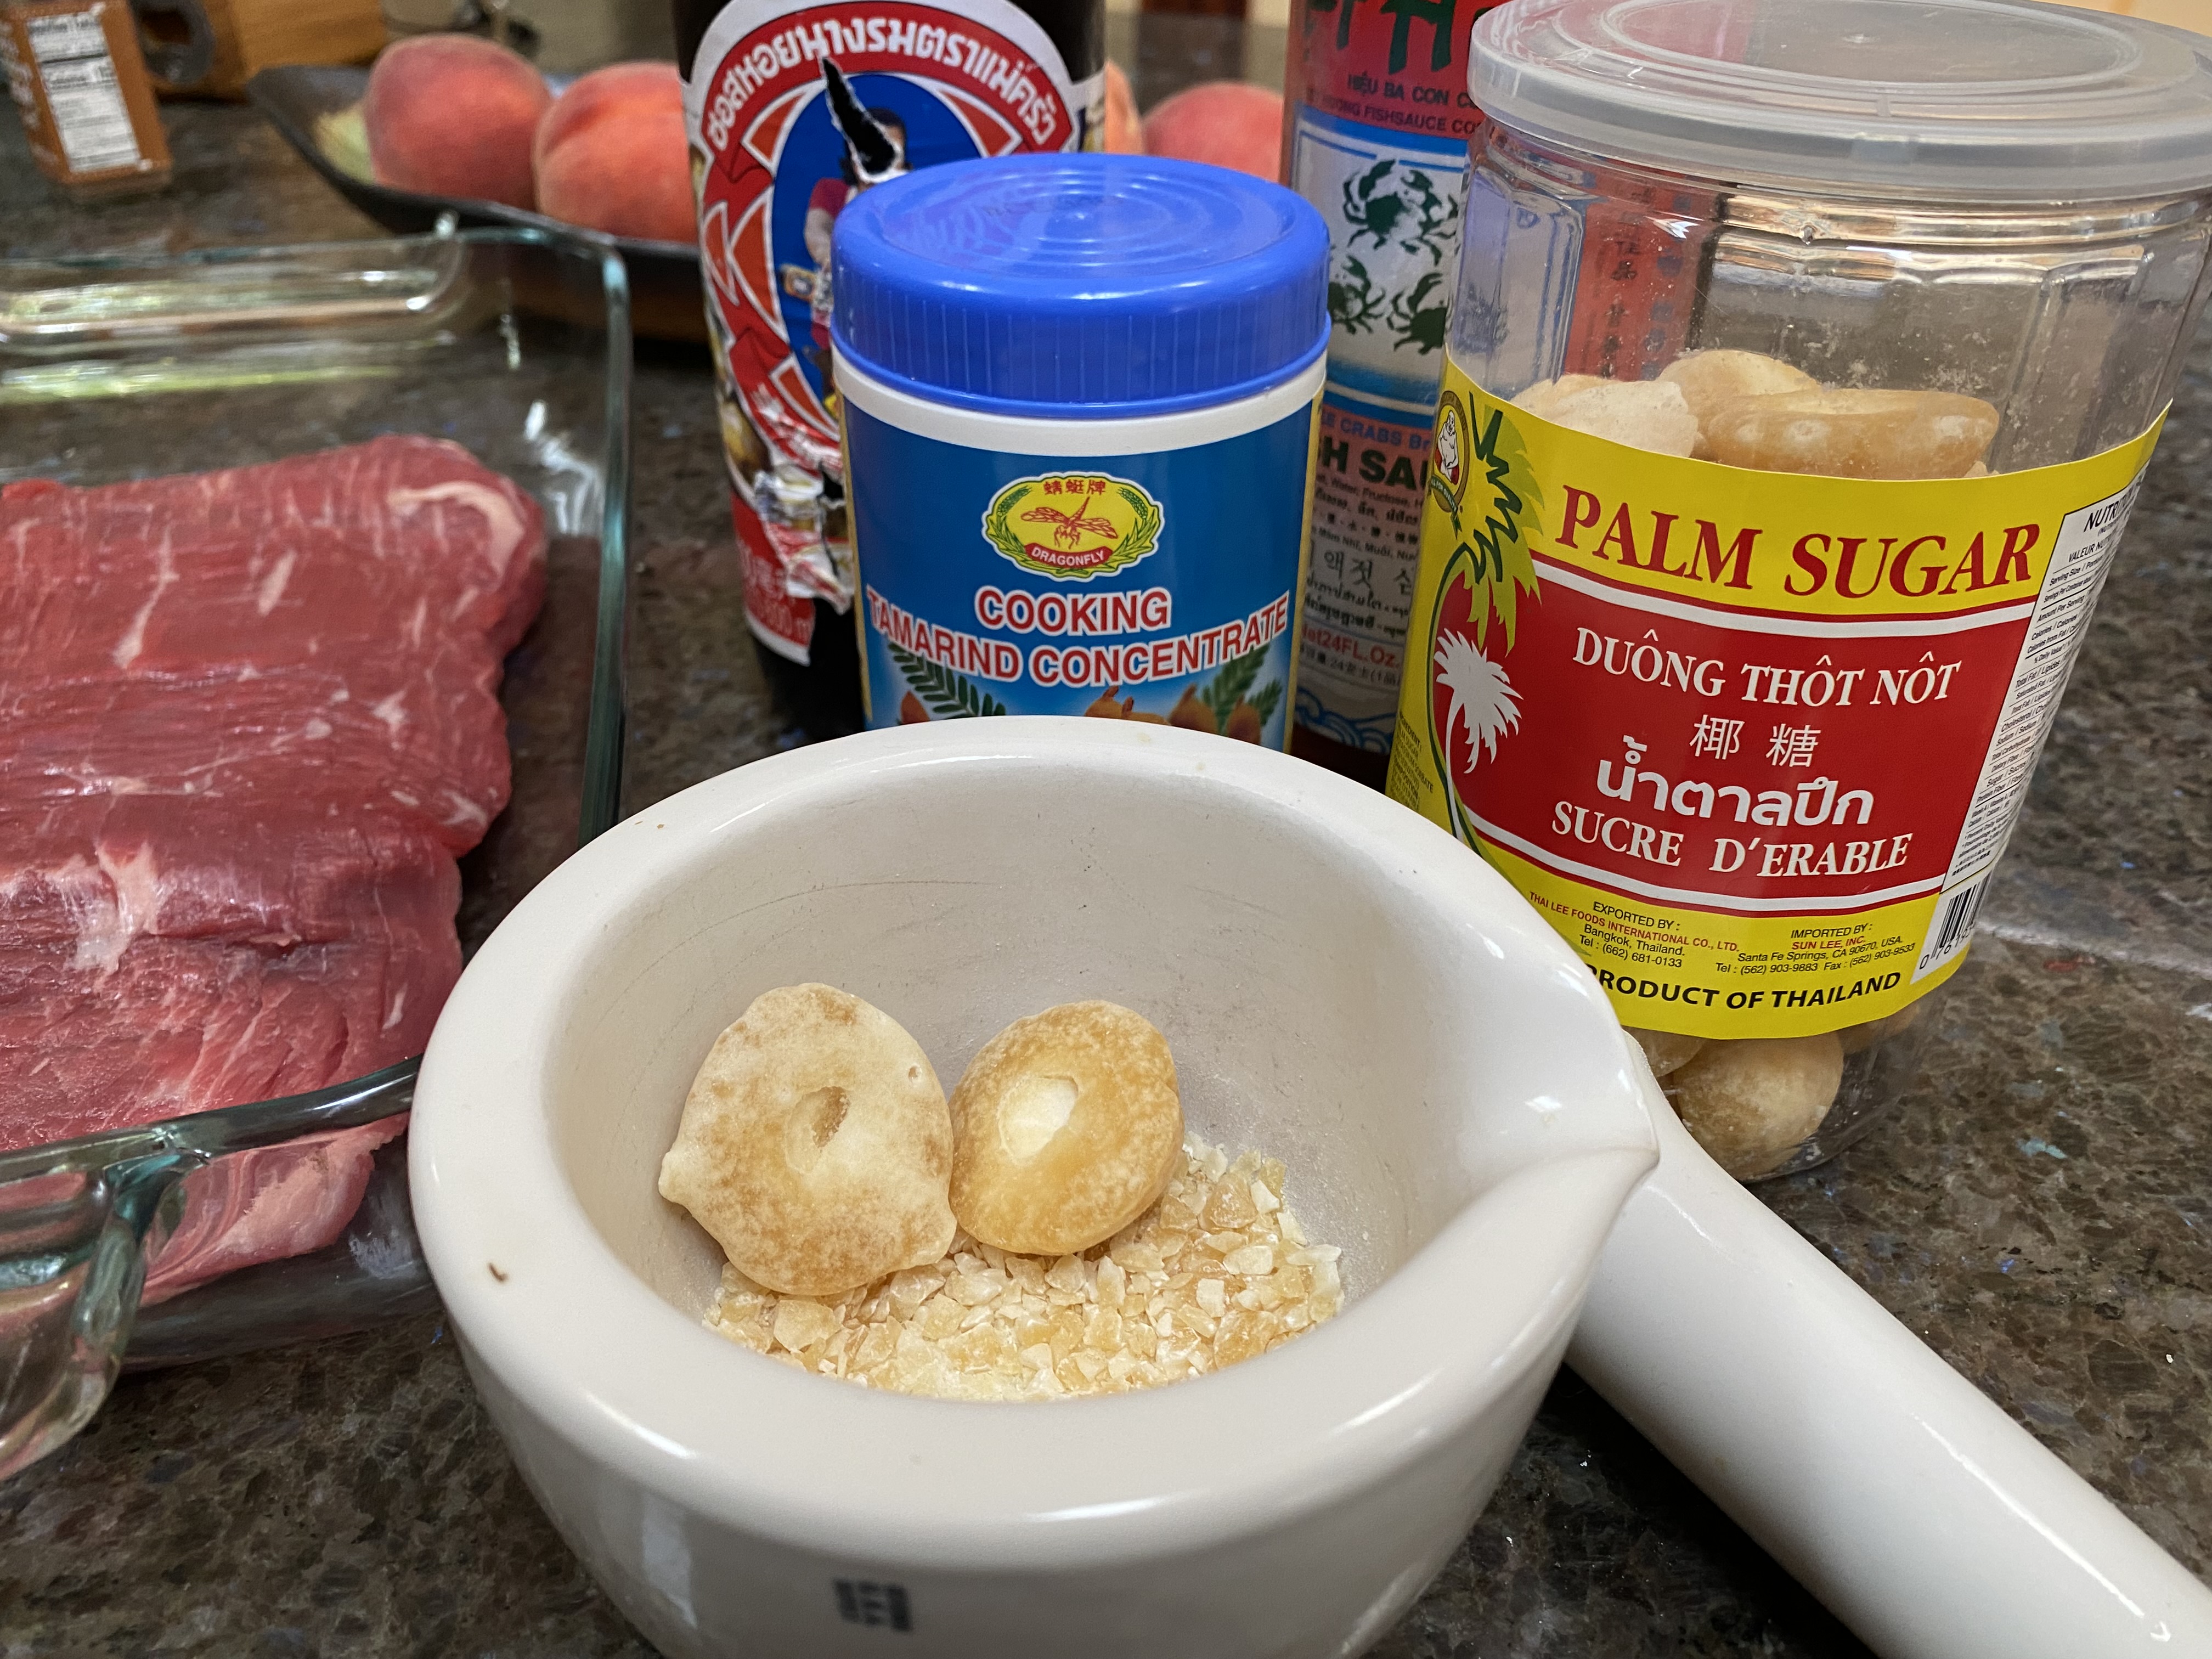
The traditional sauce is delicious too. It’s a little more difficult finding tamarind.

Tamarind is tangy and adds a sweet and sour flavor profile. You can find it as a paste or pulp to make a paste. Get the paste for convenience.  The other component is toasted sweet rice powder.  You can probably buy this but I always have sweet rice (glutinous rice aka sticky rice) on hand. The raw rice can be toasted on the stovetop and ground in a mortar and pestle or spice grinder.

Crying Tiger Beef with Tamarind Sauce

Course bbq, dinner, lunch
Cuisine Thai
Keyword Crying Tiger Beef, Thai

Ingredients

Marinade for Beef

  • 1 tbsp oyster sauce
  • 1 tbsp fish sauce
  • 1 tsp brown sugar
  • 2 x 200g 7 oz ribeye steaks (or any other steak cut you prefer)
  • vegetable oil for brushing
  • steamed rice or sticky rice to serve

Spicy Dipping Sauce-Nahm Jim Jaew

  • 2 tsp raw glutinous rice also known as sticky rice
  • 1 tbsp tamarind concentrate
  • 3 tbsp fish sauce
  • 1 tbsp lime juice
  • 1 tbsp brown sugar
  • 1 tbsp chilli flakes
  • 1 small red shallot sliced into fine wedges
  • 2 tsp finely chopped coriander cilantro

Instructions

  • Combine the oyster sauce, fish sauce and brown sugar. Pour the mixture over the steaks and use your fingers to massage the marinade all over the steak pieces. Allow to marinate while you prepare the remaining ingredients.
  • For the spicy dipping sauce, toast the rice in a dry frying pan over high heat until golden brown and fragrant (it should smell like popcorn). Use a mortar and pestle or a spice grinder to grind to a fine powder. In a bowl, combine the tamarind, fish sauce, lime juice, sugar, chilli flakes and toasted rice powder. Mix until well combined. Then stir through the shallot and coriander. Transfer to a small serving bowl and set aside until ready to serve.
  • Heat a large heavy-based frying pan over high heat. Brush with oil. When hot, add the steaks and cook for 2-3 minutes, turning the steaks every so often until you get a nice charred colour. Then turn the heat to low and continue cooking (and flipping the steaks) for another 2-3 minutes (for medium rare) or until cooked to your liking. Before slicing, transfer to a cutting board and allow to rest for 3 minutes.
CORNfirmation, Summer is Here! (Elote-Grilled Mexican Street Corn)

CORNfirmation, Summer is Here! (Elote-Grilled Mexican Street Corn)

I consider my weekly trip to our local Farmer’s Market as my sanity break from COVID-19.  As the weather warms not only are more folks coming out but the variety of fruits and vegetables at the market has also blossomed.  As the apples and pears bid us goodbye-cherries, stone fruits, and berries have slid into those same spots without missing a beat.

My usual routine on Sundays is to head over to our local farmers market.  I line up around 8:30, before the market opens at 9:00, to grab my half flat of strawberries.  All my “ducks” are in a row so I then hop over to the next kiosk for microgreens and mushrooms, veggies at Live Earth Farm, and then cherries on the corner along with my Asian veggie fix.  I wrap up my shopping at the fresh blueberries stand and then sit on a bench with my buds to catch up.

This past Sunday, I added a stop.

Fresh Corn is Back Baby!

There I was, waiting in the strawberry line when I noticed a new stall next to the strawberries, FRESH CORN.  This signals the beginning of summer.  Everybody have corn tonight, uh-huh, uh-huh.

The Paint

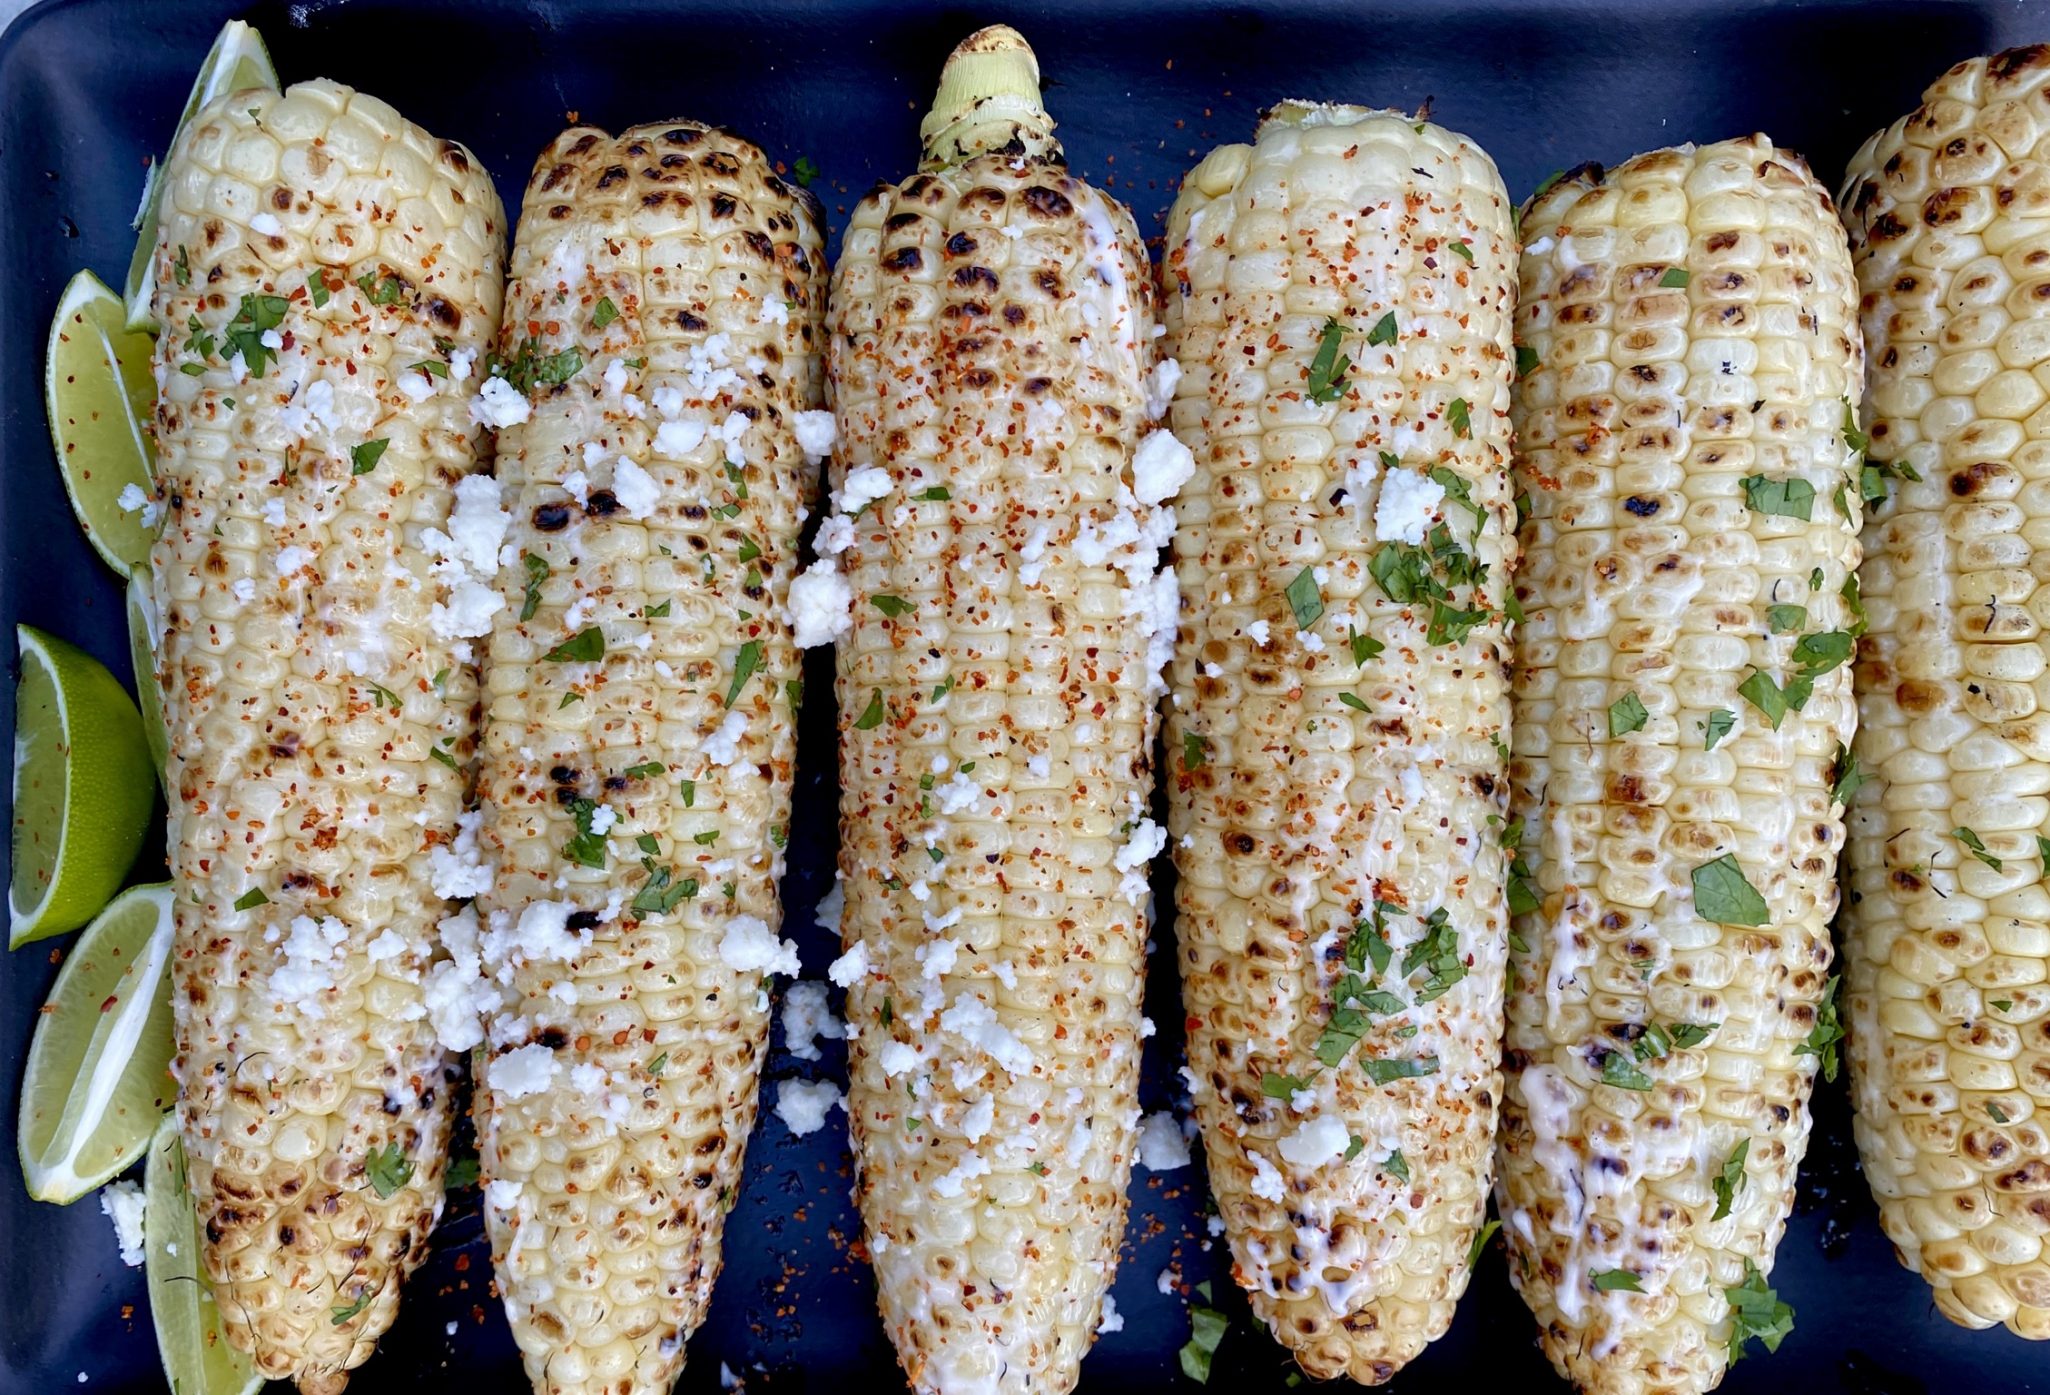
Most of the time we boil or steam the corn and happily munch on them unadorned, a sprinkle of salt perhaps.  My new favorite way to serve fresh corn is as Grilled Mexican Street Corn called Elote.  Shuck the corn and throw them on a hot grill until they are nicely charred.  Remove and slather corn with mayonnaise or a 50:50 blend of mayonnaise and sour cream or Mexican Crema.   If you have an aversion to mayo, you could use just sour cream or melted butter.  I use a brush to “fine-tune” how much mayo I spread on each cob to appease my guilt about the calories.

The Sprinkles

The essential ingredient for corn sprinkles (cute, eh) is chili powder.  A purist will get specific chili powders like ancho or guajillo, which can be purchased online or at any Hispanic market.  These are specifically dried chilis ground into powder.  Chili Powder found in most supermarkets is actually a blend of chilis and other spices like cumin, oregano, garlic powder, and cayenne.  ANY of these work for Elote.

AND THEN…You can try commercial products made to mimic the flavors of Elote and enhance your “street food” dish.  I like Tajin, a blend of chilis, lime, and salt.  Think of it as the granddaddy of the Mexican spice blend.  Lately, TJ’s has jumped on the bandwagon and has a Chili Lime seasoning blend and in their Everything But The…line, an Elote blend that contains Parmesan, Chipotle, cumin, and cilantro, which sounds pretty darn delicious.

The Fixins’

The finishing trifecta for your Elote.  Sprinkle fresh chopped cilantro and crumbled Cotija Cheese or in a pinch, Parmesan cheese, and finally a squeeze of lime all over the corn.

Done, so good.

For those of you who just can’t stand corn between your teeth, after grilling, scrape the corn off the cob. Put the corn in a bowl and add the sprinkles and fixins’ on top, voila, a delicious, colorful Corn Salad, and no flossing.  Check out Serious Eats’s Esquites-Mexican Street Corn Salad.

Enjoy

Elote (Mexican Street Corn)

Fresh corn on the cob marks the summer season. Elote or Mexican Street Corn, a delicious way to highlight fresh corn, grill and top with mayo, chili, cheese and lime.
Course Side Dish, Vegetable
Cuisine Hispanic, Mexican
Keyword Corn on the cob, Elote, Fresh corn
Prep Time 5 minutes
Cook Time 10 minutes
Servings 6 servings

Ingredients

  • 6 ears corn shucked and cleaned
  • 1/3-1/2 cup mayonnaise or use a blend of Mayo and sour cream or Crema
  • Chili powder See post for variations
  • 1/3 c. crumbled cotija cheese or Parmesan in a pinch
  • Freshly chopped cilantro
  • Lime wedges for serving

Instructions

  • Preheat grill or grill pan to medium-high. Grill corn, turning often, until slightly charred all over, about 10 minutes.
  • Brush corn with a layer of mayonnaise and sprinkle with chili powder, cotija, and cilantro. Serve warm with lime wedges.
Instant Pot White Chicken Chili? Yes We CAN!

Instant Pot White Chicken Chili? Yes We CAN!

Ramping up for the holidays?  Here is a recipe that is easy, delicious and thanks to your handy dandy Instant Pot, ready in minutes.  You will need, first and foremost, a can opener.  Yep, a can opener, indispensable. You’ll also need, chicken, white beans (can), chicken stock or broth (can), roasted peppers (can), corn (yes, a can) and spices. Everything except the chicken, you’ll need a can opener.  Stupid easy.

I couldn’t let sleeping dogs lie, the original recipe from the blog Eat.Drink.Love. calls for onion powder and garlic powder.  I decided to use chopped onions and garlic cloves instead.  It adds a couple of minutes, but I like the texture and flavor of the onions and garlic.  Feel free to stick with the original if you like.

This really is quick and easy, perfect for a busy weekday night.  Ready in minutes, good the next day, and very kid friendly.

The recipe calls for chicken breast, you can use thighs instead if you prefer dark meat.  Any white bean will work, Kidney, Great Northern, Navy or Cannellini.  The recipe calls for a can of corn, which I misread and thought it was a can of creamed corn. I went with it and I actually liked it.  It adds a bit of sweetness and creaminess to the chili.  Consider decreasing the broth if you use creamed corn.  I also added a finely diced jalapeño pepper to give the chili an extra kick.  If the sauce seems a bit thin at the end, remove chicken and continue to cook sauce on saute’ function to reduce to desired thickness then add the shredded chicken back to the pot.

Between you and me, I love eating chili over macaroni or rice.   From Epicurious, favorite ways to eat chili.

INSTANT POT WHITE CHICKEN CHILI

Course Main Course
Cuisine American
Keyword White Chicken Chili
Prep Time 15 minutes
Cook Time 20 minutes
Total Time 35 minutes
Servings 4

Ingredients

  • 1 1/2 pounds boneless skinless chicken breasts halved lengthwise
  • 2 15-ounce cans white navy beans rinsed and drained
  • 1 15-ounce canned corn, drained or 1 15 ounce canned creamed corn + 1 cup frozen corn
  • 1 4-ounce can roasted diced green chiles
  • 2 cups low sodium chicken broth 1-1/2 cups if using creamed corn
  • 3 teaspoons ground cumin
  • 2 teaspoons chili powder
  • 1/2 teaspoon garlic powder*
  • 1/2 teaspoon onion powder*
  • 1 teaspoon kosher salt

*Substitute 1 chopped yellow onion and 4 cloves of garlic finely chopped

  • 1 jalapeno pepper seeded and veined, finely diced (optional)

Toppings

  • shredded cheddar or jack cheese
  • diced avocado
  • sour cream
  • cilantro or sliced green onions

Instructions

  • *If using onions and garlic, on saute', add 1 tablespoon oil to Instant Pot. Add onions and garlic and saute' until soft. Proceed with recipe, omit garlic powder and onion powder
  • Place the chicken into the pressure cooker.
  • Pour in the beans, corn, chiles, and the broth. Then stir in the seasonings*
  • Cover with the lid and set valve to sealing position.
  • Cook on poultry setting for 15 minutes followed by a quick pressure release.
  • Shred the chicken with a fork and serve with desired toppings.
  • Can add additional seasonings if desired.
  • Garnish with toppings, serve immediately

Chili, Brownies & Friends

Chili, Brownies & Friends

At the risk of losing any credibility I might have earned with previous posts, yes, that is The Friends Cookbook in the photo.  I told you, I have a cookbook addiction, this proves it.  In my defense I did peruse the book before buying, first I noticed the cast of Friends did not write this cookbook, lol (not even Monica), it was actually written by a senior writer for Cooks Illustrated, the bastion of obsessive recipe testing.  Second, it was on sale…so what the heck, I took a chance and bought a copy.

IMG_8423

I kid you not, it has been my go to source for a variety of recipes, pancakes, brownies, coffeecake and yes, chili.  The recipes are fairly simple, delicious and KID FRIENDLY, a prerequisite for the last 20 years of my life.  Here are 2 favorites from the book, Flirting with Firemen Chili and the link to Absolutely Best Brownies,  Kid tested and approved.

Adapted from Cooking with Friends

Firehouse Chili

Kid friendly chili!
Prep Time 1 hour
Cook Time 2 hours
Servings 8 -10 servings

Ingredients

  • 3 T vegetable oil
  • 3 medium yellow onions chopped
  • 1 green bell pepper chopped
  • 3 medium cloves of garlic minced
  • 1.5 pounds ground beef I use a mix of beef and ground turkey or chicken 2:1
  • 2 cups canned crushed tomatoes I use a 15 oz can of fire roasted diced tomatoes
  • 1 15 ounce can of beef broth
  • 3 T chili powder
  • 1.5 t cumin
  • 1/2 t oregano
  • 1 t salt
  • 1 15 ounce can of kidney beans or pinto beans or black beans drained and rinsed

Instructions

  • Heat oil in large pot. Add the onions and saute over med heat until soft and transparent looking about 8 minutes. Add garlic and bell pepper and saute for additional 2-3 minutes. Stir in ground beef and cook until it loses pink color. Cook for about 4-5 minutes, breaking up the beef with a fork or spoon. Add tomatoes, broth, spices and salt. Bring to a boil, reduce heat and simmer for approximately 2 hours until chili thickens a little. Add beans. Ladle into bowls, garnish with shredded cheese and green onions.
  • I add corn (frozen is fine) 1-2 cups because what kid doesn't like corn and to spice it up I will add hot sauce like Cholula which is a little sweeter than Tabasco.