Category: Vegetarian

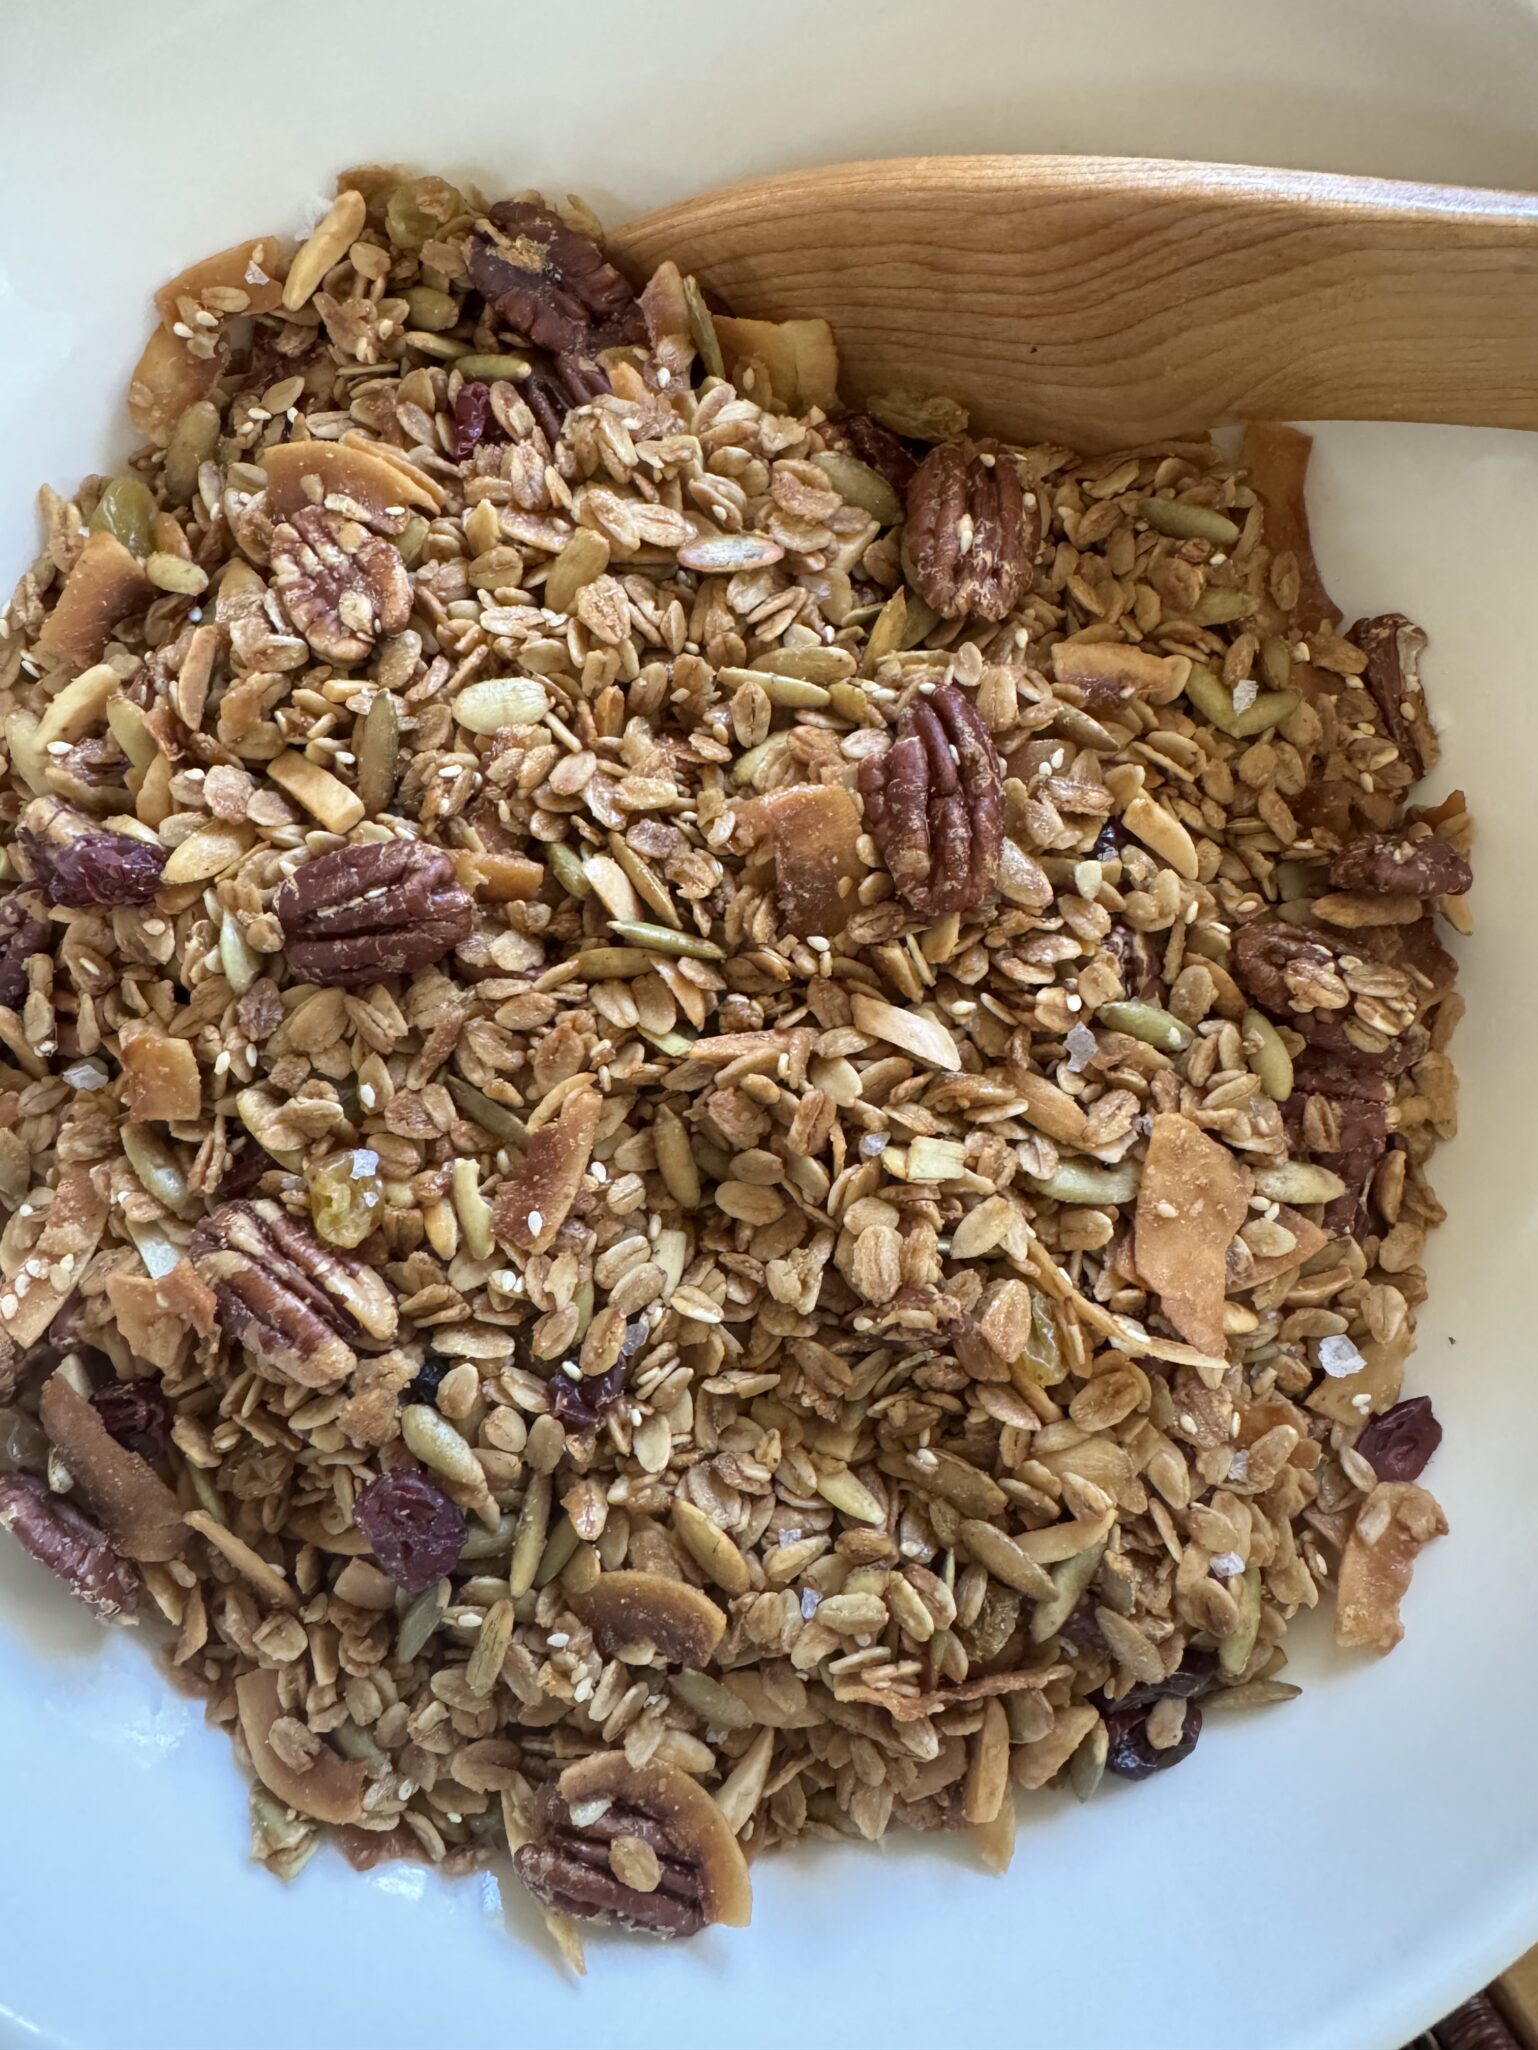
Maple & Olive Oil Granola

Maple & Olive Oil Granola

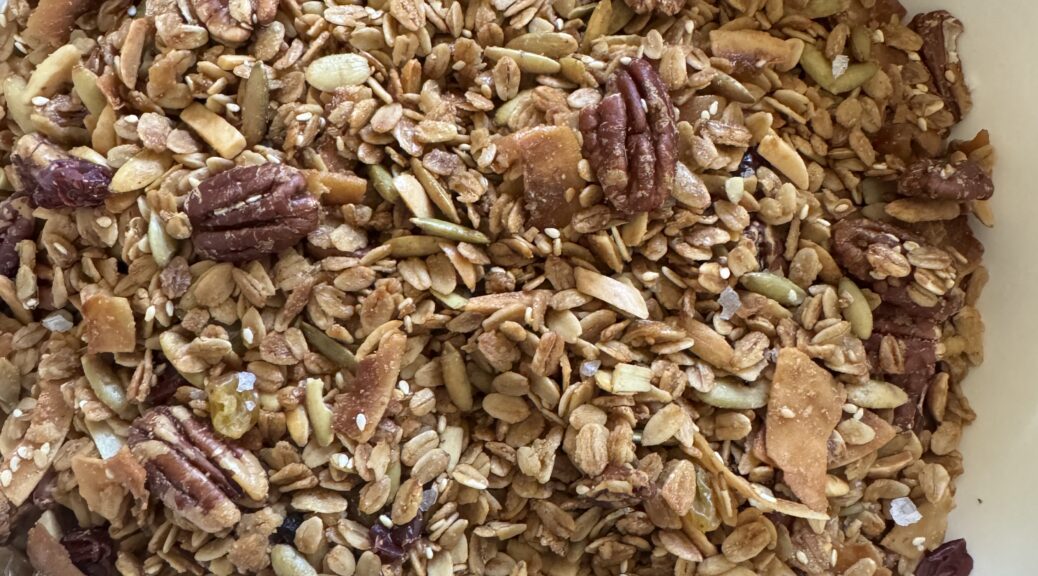
My favorite granola recipe, Jule’s Granola was given to me by a friend also coworker, years ago.  She brought a bag to work one day, and being a granola hater, I passed on trying it. She offered again and added, “This ain’t your Quaker Oats guy in the funny hat-boxed granola”.  To appease her, I grabbed a handful, tossed it in my mouth, and BAM!  So good, crunchy, flavorful, filled with nuts and dried fruit, and sweetened with maple syrup. Nutty, buttery, sweet, chewy, crunchy-in a nutshell, damn delicious.  Instantly, I became a GRANOLA CONVERT.

I just wanted to include this photo of my Granola Queen. It’s a blast from the past: her beautiful wedding in Hawaii.

Go-To Granola

I immediately asked her for the recipe and since then I have cranked out batches of granola for family and friends.  Every Christmas we buy cute canning jars to fill with granola which we then gift.  Each person dutifully returns their jar for more granola next year.
Who Knew?

Very happy with Jule’s Granola recipe I never thought of trying another recipe until now.  The powers of social media strike again.  A notification on my phone titled “Genius Granola has a Cult Following” popped up.  This caught my eye.  I quickly scanned the recipe.  It called for olive oil, various seeds, pecans, coconut chips, maple syrup, and brown sugar.  I compared it to my gold-standard granola.  Hmm,  no dried fruit, definitely more seeds, less oats, more maple syrup and sugar.  The olive oil in place of veggie oil caught my eye.
Recipe Breakdown

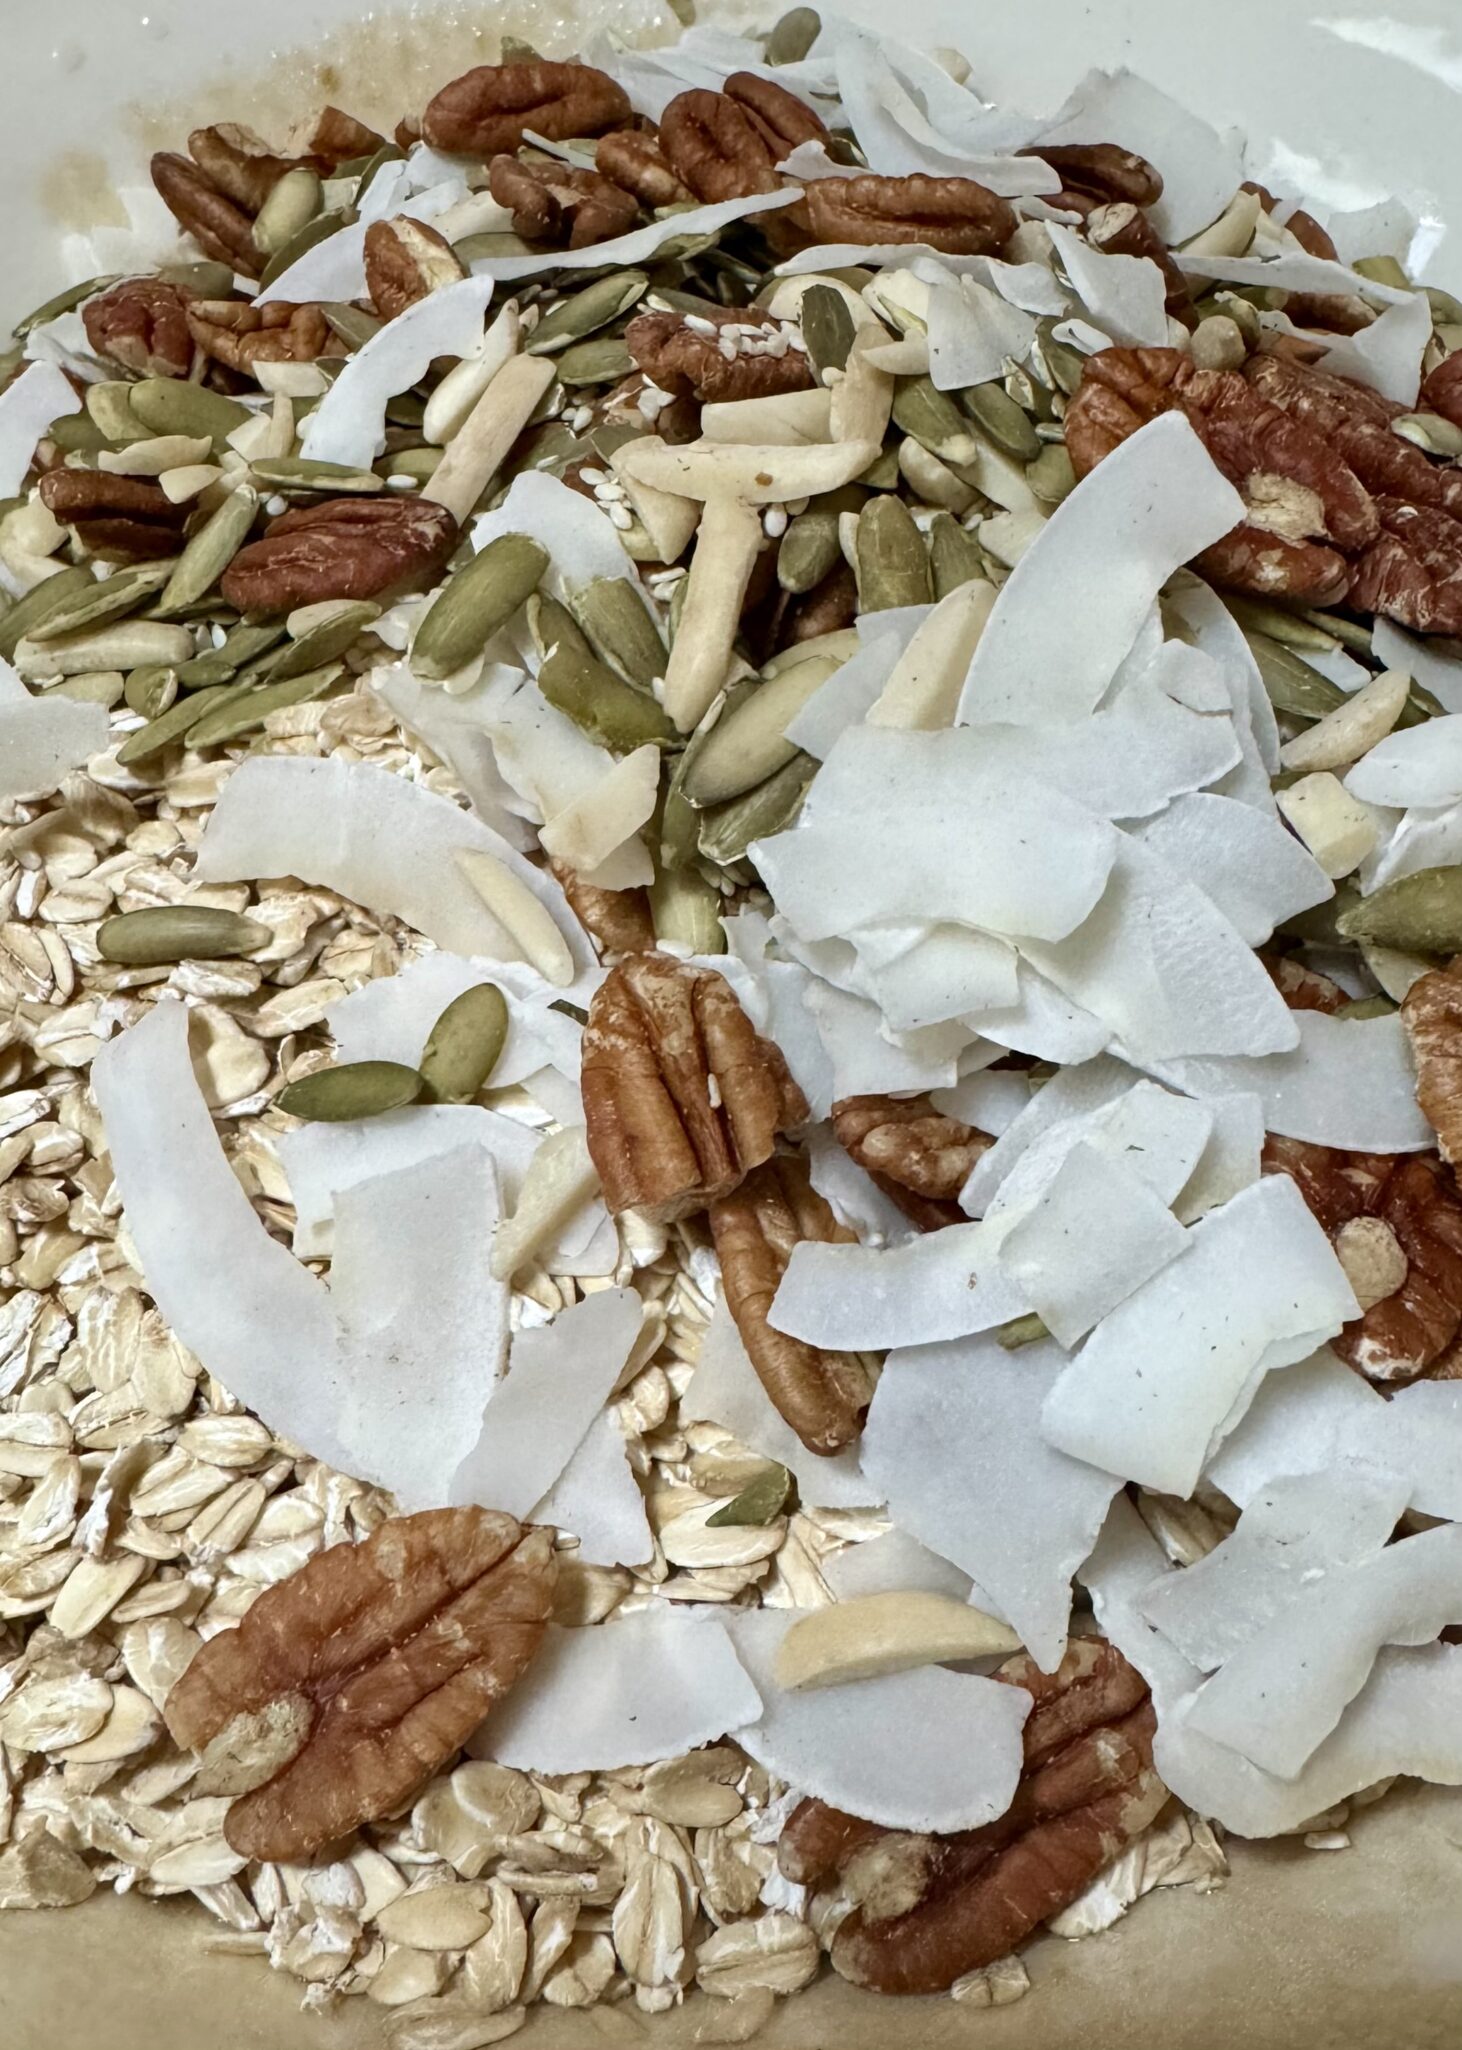
Oatmeal- Use Old Fashioned not quick or instant.   I added an extra cup of oatmeal (comments on the original as being too sweet), plus the amount of sweeteners compared to my fav recipe was significantly more.

Olive Oil– I happened to have a bottle of vanilla olive oil, so I used it. Mild, floral, citrusy olive oils

Adds- Add whatever mix-ins you like.  I didn’t have sunflower seeds so I used almonds and sesame seeds so what the heck that’s what I added.  Coconut chips from TJ are preferred but you could use large coconut flakes.

Dried Fruit- I love sweet & tart dried fruits in my granola.  I added a blend of raisins, cranberries, and blueberries.  Leave it out, add some in…your choice. Pistachios and either apricots or dried cherries would be smashing.

Sweeteners- The recipe calls for a combination of maple syrup and light brown sugar.  There were quite a few comments about the granola being too sweet.  So do I decrease the sweeteners (which many did by omitting the brown sugar) or add more oatmeal?

Spices- Change the flavor profile by adding cinnamon or even cardamon. (start with 1 tsp of cinnamon) or a Chai tea spice.

BakingThe original recipe is on Food52  by Nekisia Davis of Early Bird. Directions say to spread the mixture evenly on a baking sheet. My advice is to divide the mixture in half and use two cookie sheets. The layer of granola in one pan is too thick and will not dry and crisp very well. You should still mix it every 10-15 minutes.

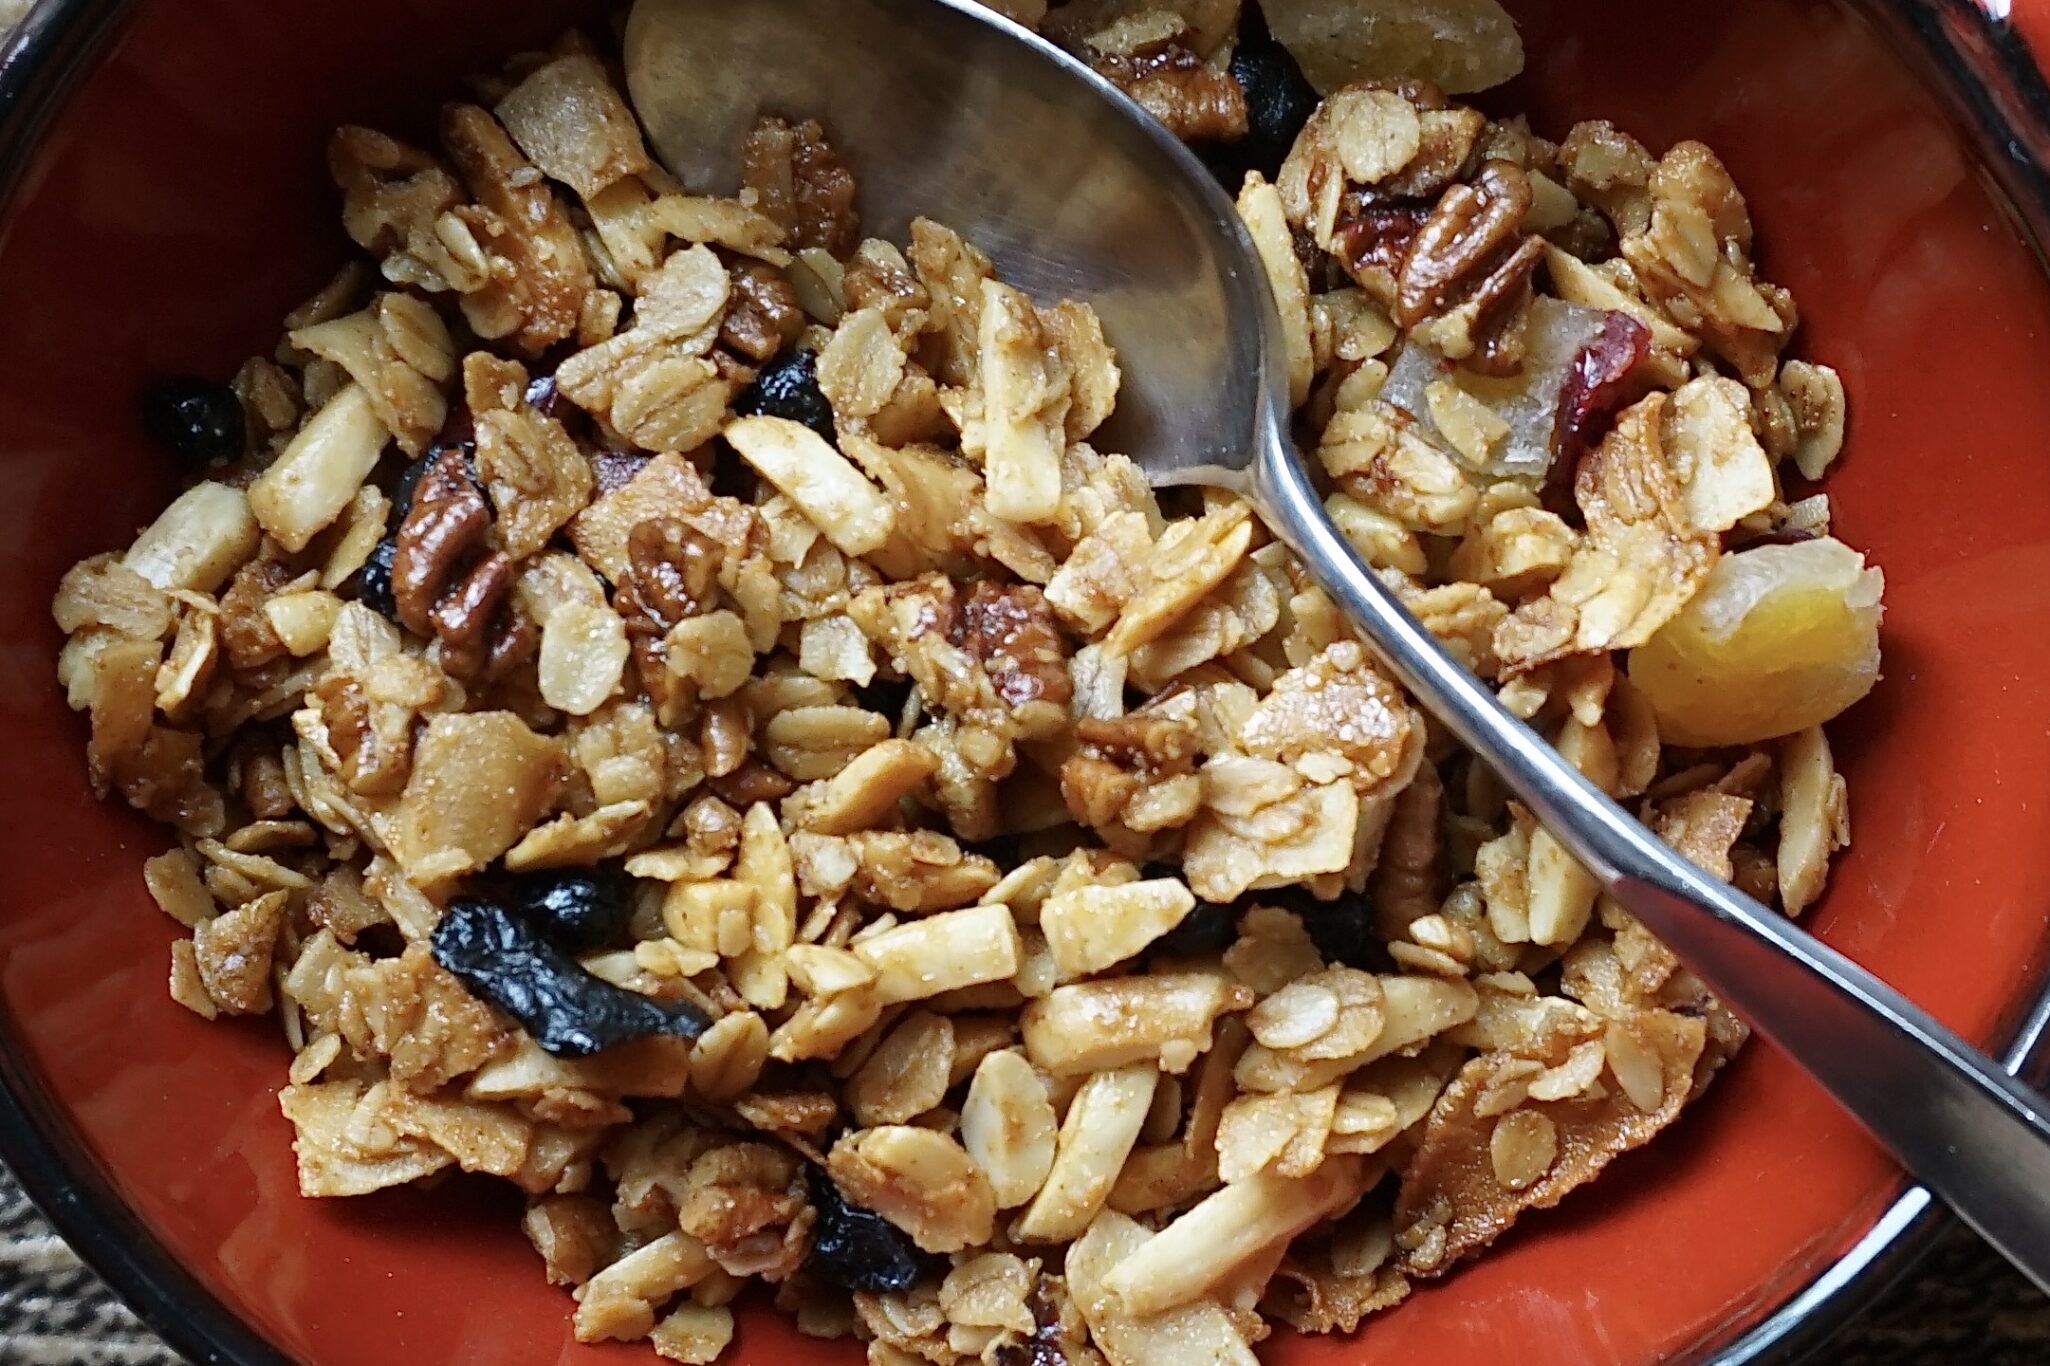
This granola is loose, not clumpy, and is perfect for ice cream or yogurt topping. Use it in Natasha Picowicz’s Nubby Granola ShortbreadIf you like chunks of granola, make Jule’s Granola, which is still our family favorite (yes, we voted). This is a close second, though.

Now go and make a batch of my 2nd  favorite granola,
Print
5 from 2 votes

Olive Oil & Maple Granola

Homemade Granola with maple syrup and olive oil
Course Breakfast, Munchie, Snack
Cuisine American
Keyword granola, maple syrup, oats, olive oil, pecans
Prep Time 10 minutes
Cook Time 45 minutes

Ingredients

  • 4 cups old-fashioned rolled oats Original recipe calls for 3 cups
  • 1 1/4 cups raw pecans coarsely chopped, although I was lazy and left them as halves
  • 1 cup coconut chips or flakes (large)
  • 1/2 cup hulled raw pumpkin seeds
  • 1/2 cup hulled raw sunflower seeds sub slivered almonds

Sweeteners

  • 3/4 cup pure maple syrup
  • 1/2 cup extra-virgin olive oil
  • 1/2 cup packed light brown sugar
  • 1 teaspoon kosher salt plus more to taste

Optional

  • 1-2 cups dried fruit such as raisins, cranberries, diced apricots, or dried cherries

Instructions

  • Heat the oven to 300°F. In a large bowl, mix the oats, pecans, pumpkin seeds, sunflower seeds, coconut, syrup, oil, brown sugar, and 1 teaspoon of salt until well combined. Add optional spices if using.
  • Spread the mixture in an even layer split between 2 rimmed baking sheets. Bake, stirring every 10 to 15 minutes, for about 45 minutes total, until the granola is toasted. Halfway through baking, rotate sheets from top to bottom and turn each back to front.
  • Remove the granola from the oven; season with salt to taste. Let cool completely before serving.
  • Add dried fruit, after granola cools. Store in an airtight container.
Notes

Do Ahead: The granola can be made 1 month ahead. Transfer to an airtight container and store at room temperature.
Din Tai Fung Cucumber Salad Copycat (凉拌黄瓜)

Din Tai Fung Cucumber Salad Copycat (凉拌黄瓜)

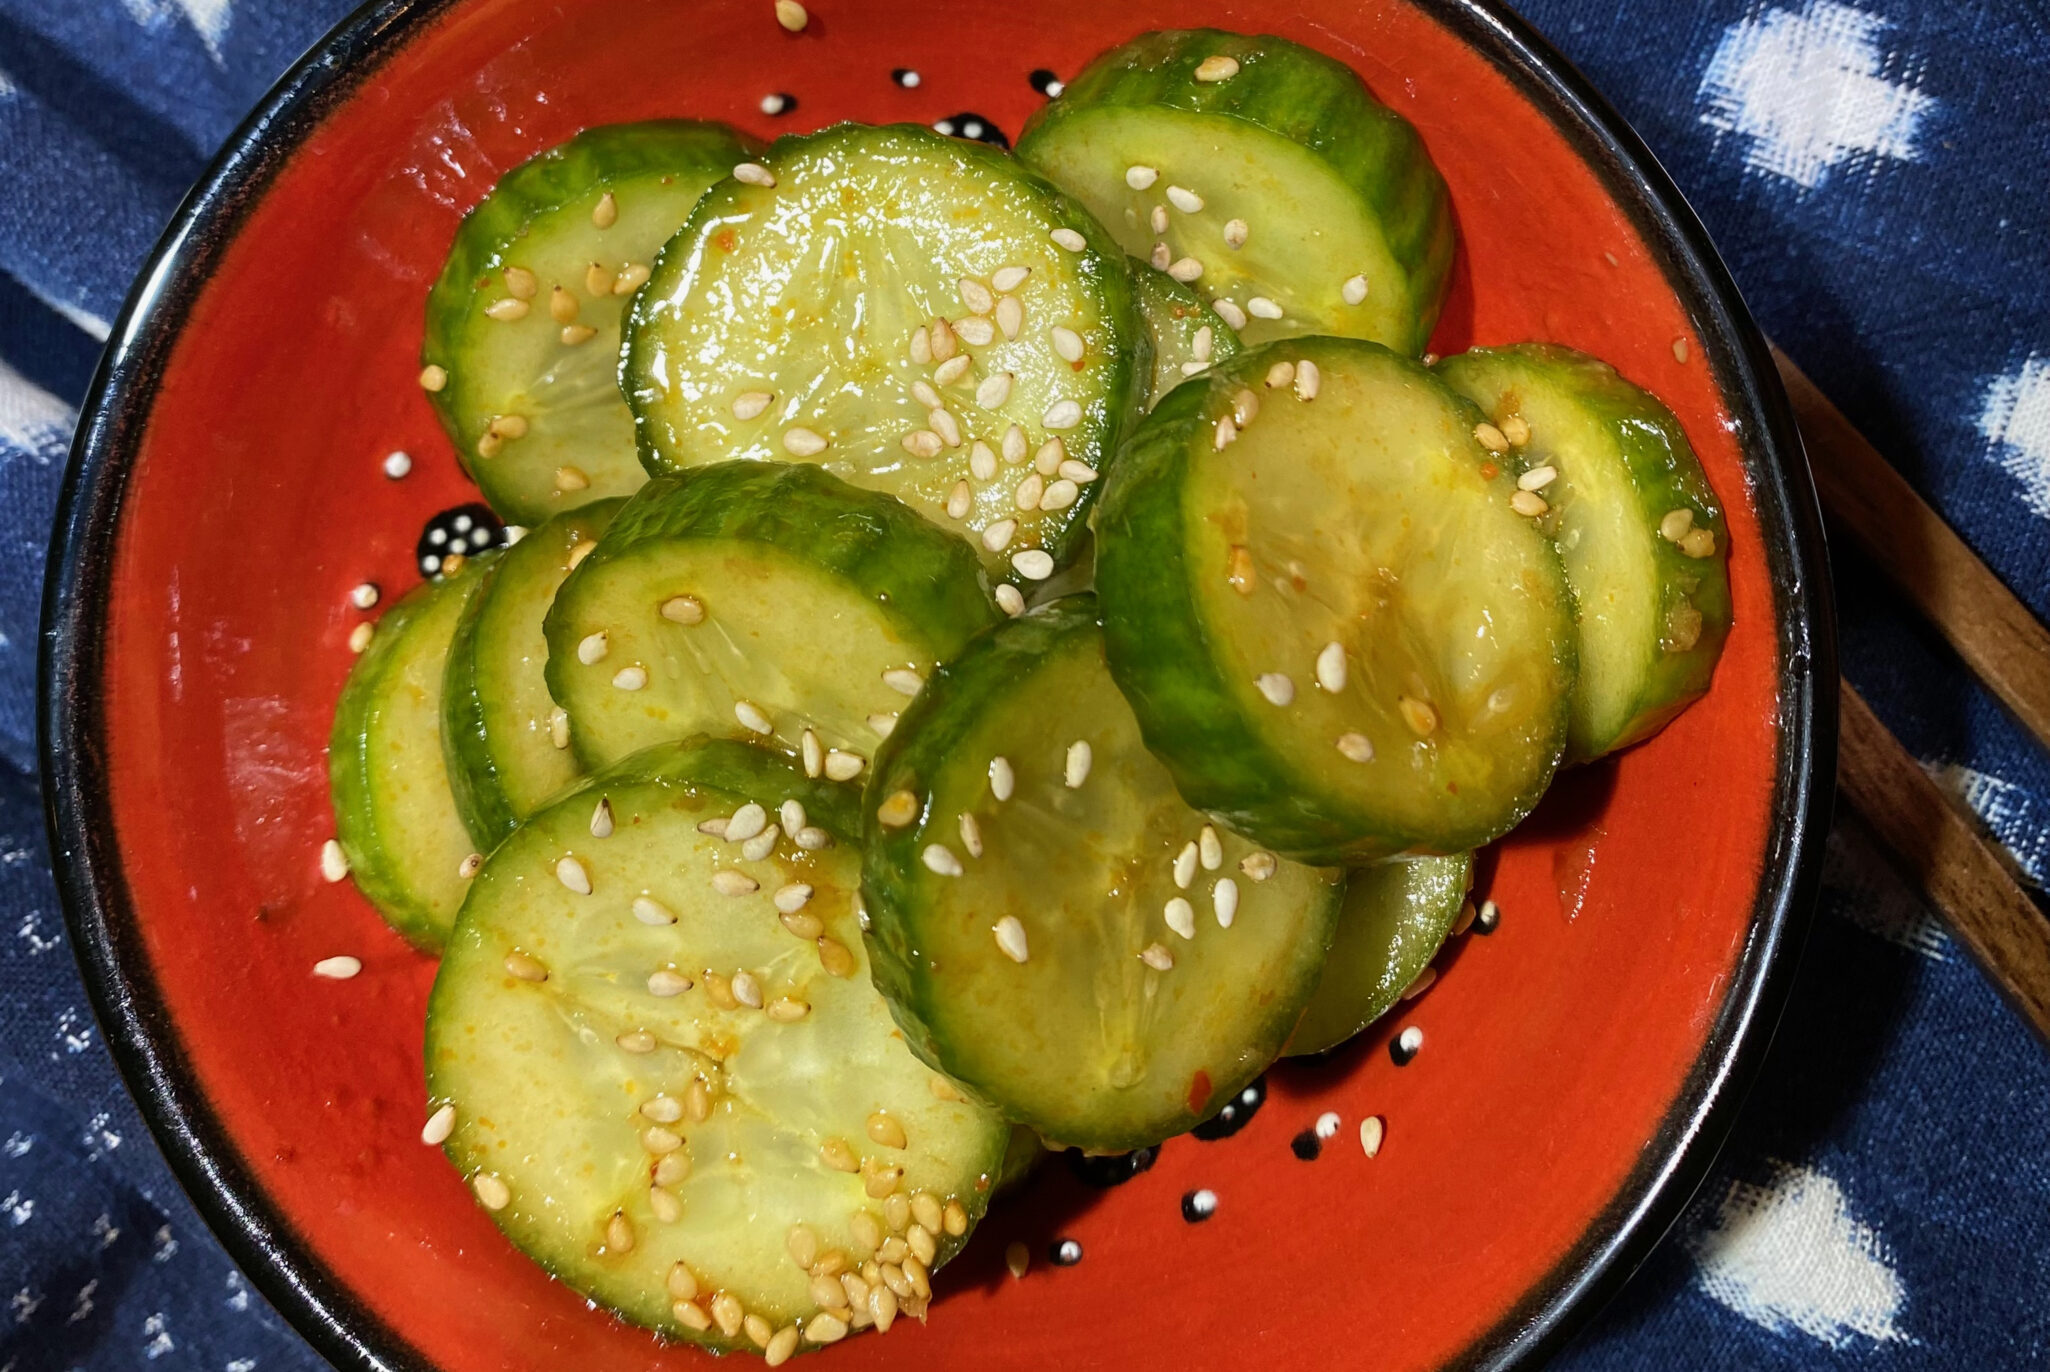
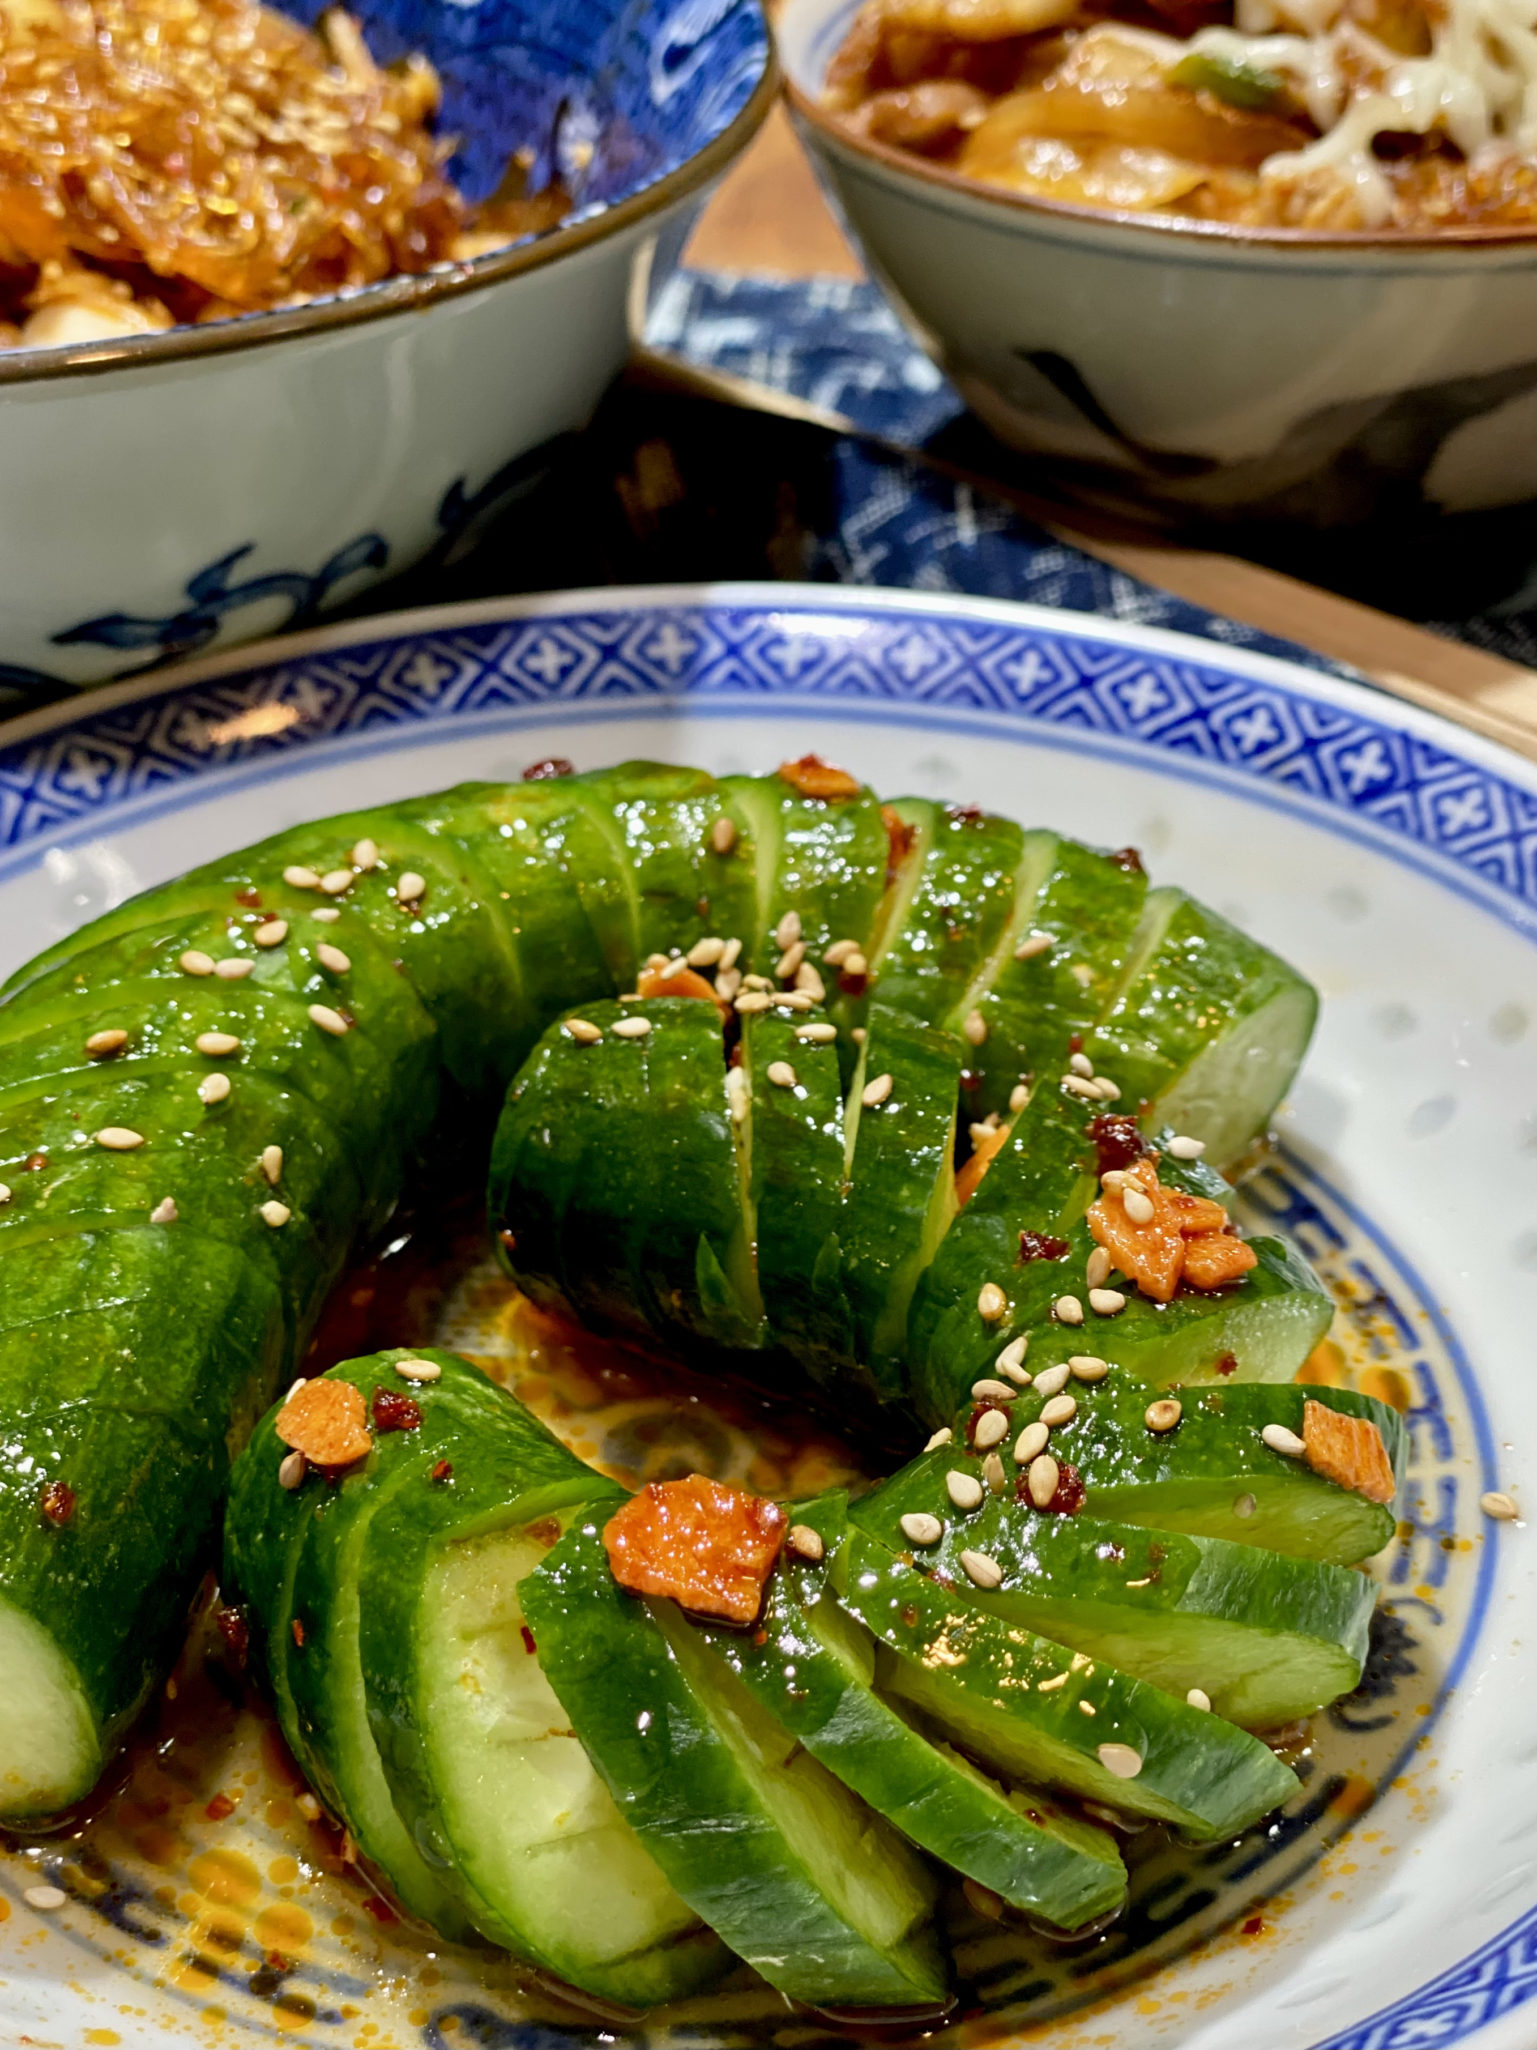
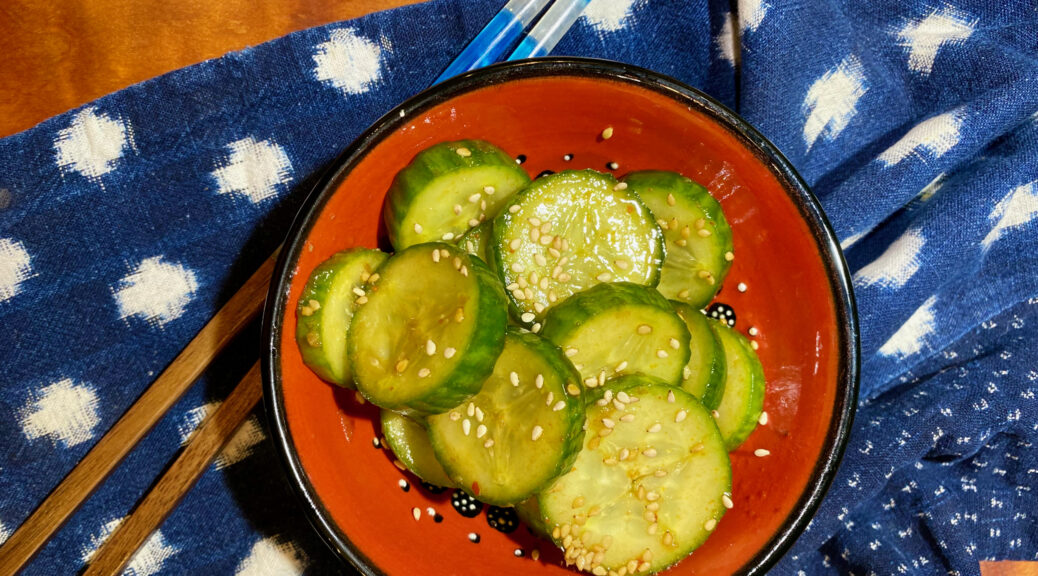
Adding to the cucumber salad recipes on 3Jamigos, I recently came across a copycat of Din Tai Fung’s cucumber appetizer.  Just in case you aren’t familiar with Din Tai Fung.  It is a global restaurant conglomerate from Taiwan that specializes in noodles and dumplings.  There’s one in the Valley Fair mall in San Jose. The running joke in my house is wild horses could not drag me to a mall, I hate shopping.  But put a RamenNagi, a Somi Somi, a Marugame Udon, or a Din Tai Fung there?  I’m all in, Babee.  It’s off to the mall we go.

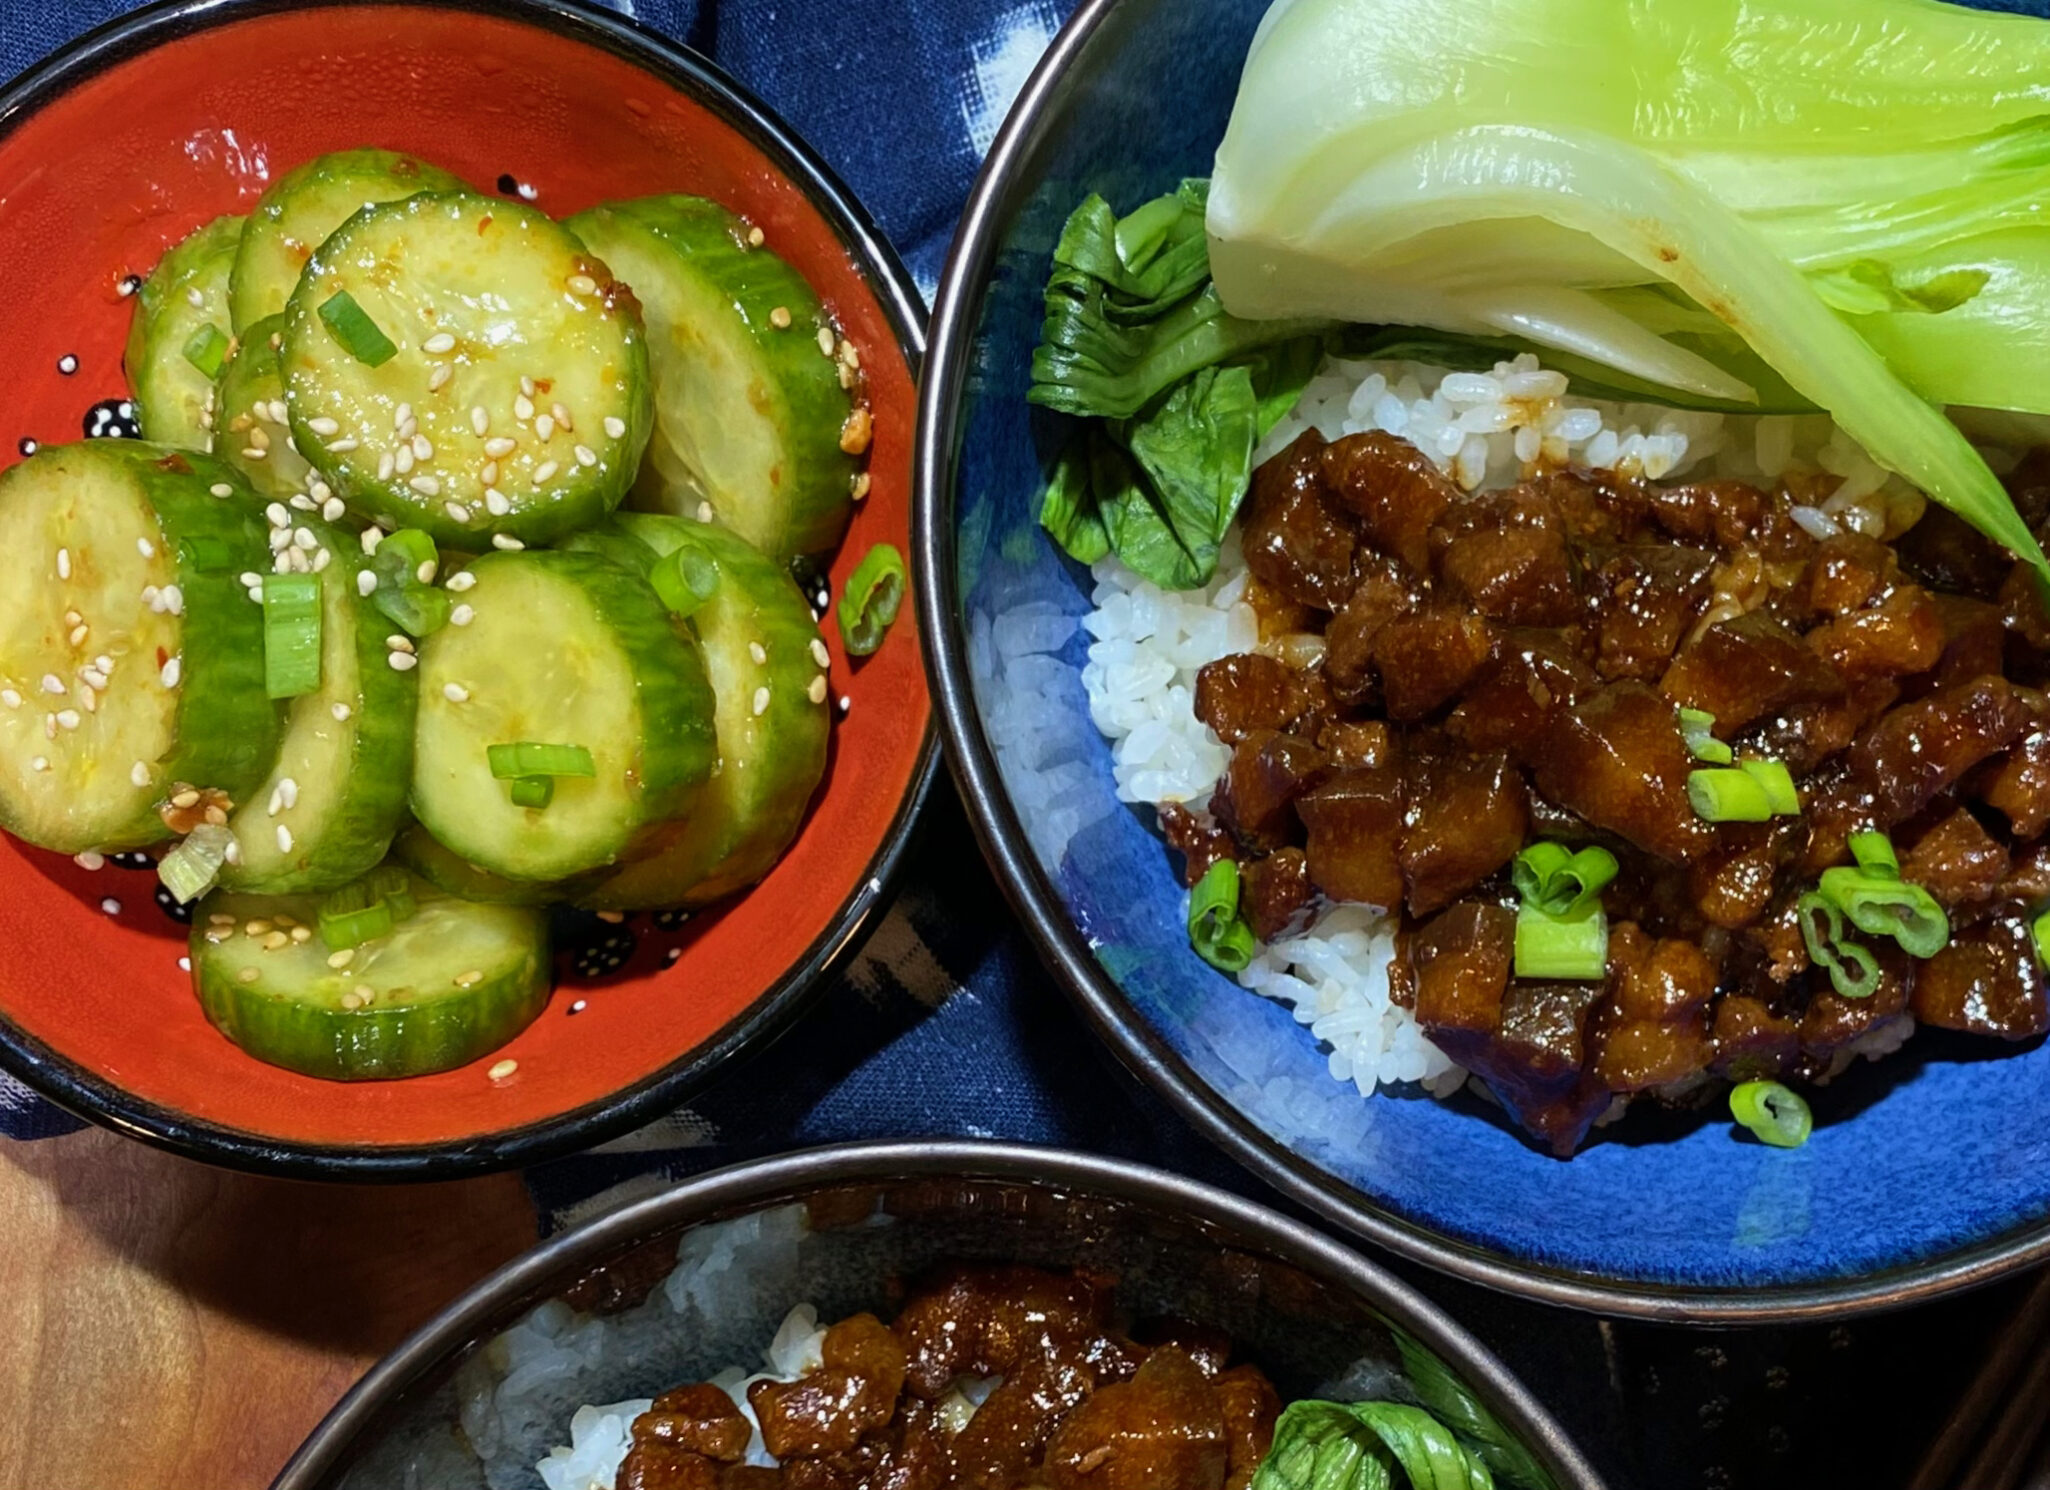
I love cucumbers as a side dish to a rice bowl like Taiwanese Pork Belly Rice, Lu Rou Fan or  Jia Yi Turkey Rice.  Perfect as a Banchan or appetizer at Korean BBQ.  It’s crispy and refreshing, the ideal way to balance a meal.

Cucumber Madness

Ok, confession time.  My mom taught me how to draw the bitterness out of a cucumber by doing the following.  Cut the end of the cucumber off, take that end piece, and place it back on the end, kinda like putting it back together, and rub the exposed side of the cucumber with the cut end.   Apparently, this draws the bitterness out of the cucumber. Does this make sense?  Don’t know, but my mom told me always to do it so I do.  If nothing else, cut off the ends of the cucumber and throw those out.  I hear that’s where the bitterness is concentrated.  Do you rub the ends of cucumbers?  Enquiring minds want to know. 😉

Here are two other refreshing cucumber recipes from the  3jamigos archives…yep, crazy for cukes.

Cool Hand Cuke (Cucumber Salad from A Common Table)

Cool as a Cucumber Banchan (Simple Asian Cucumber Salad)

And now, try this one…a take on Din Tai Fung’s Cucumber Salad. 凉拌黄瓜真的很好吃!

Cucumber Salad Din Tai Fung Wannabe

Quick and easy cucumber salad that’s a lot like Din Tai Fung’s
Course Appetizer, Salad
Cuisine Taiwanese
Keyword appetizer, cucumber salad, quick and easy
Prep Time 10 minutes
Salting Time 30 minutes
Servings 4

Ingredients

The Star

  • 1 lb cucumber Persian or English
  • 1/2 tbsp kosher salt

The Dressing

  • 2 tbsp light soy sauce
  • 2 tbsp rice vinegar
  • 1/2 tbsp sugar
  • 2 cloves garlic minced or grated
  • 1/2 tbsp chili oil or chili crisp
  • 1/2 tbsp sesame oil

Garnish

  • Toasted white sesame seeds
  • thinly sliced green onions (scallions)

Instructions

  • Slice cucumbers into ½” rounds and place in a large bowl or colander. Sprinkle with salt and let sit for 30 minutes.
  • Rinse off the salt with water and place cukes on a paper towel. Pat cucumbers as dry as possible.
  • In a bowl, mix together soy sauce, rice vinegar, sugar, grated garlic, chili oil and sesame oil.
  • Add dry cucumbers to the bowl and mix with the dressing to combine. Let marinate in fridge for 10-30 minutes. Garnish with roasted white sesame seeds and scallions serve.
Scallion Mac and Cheese from Little Fat Boy

Scallion Mac and Cheese from Little Fat Boy

I have been focused on cookbooks from the Asian Diaspora.  With the way the world is turning, on a definite lopsided tilt, I want to support my community.  Representation matters, and we need to see POCs, LGBTQ, you know, EVERYONE represented in all walks of life.  The gold standard should be human + compassion, empathy, and vision for a better, kinder, world.  A world you are proud to leave your kids.

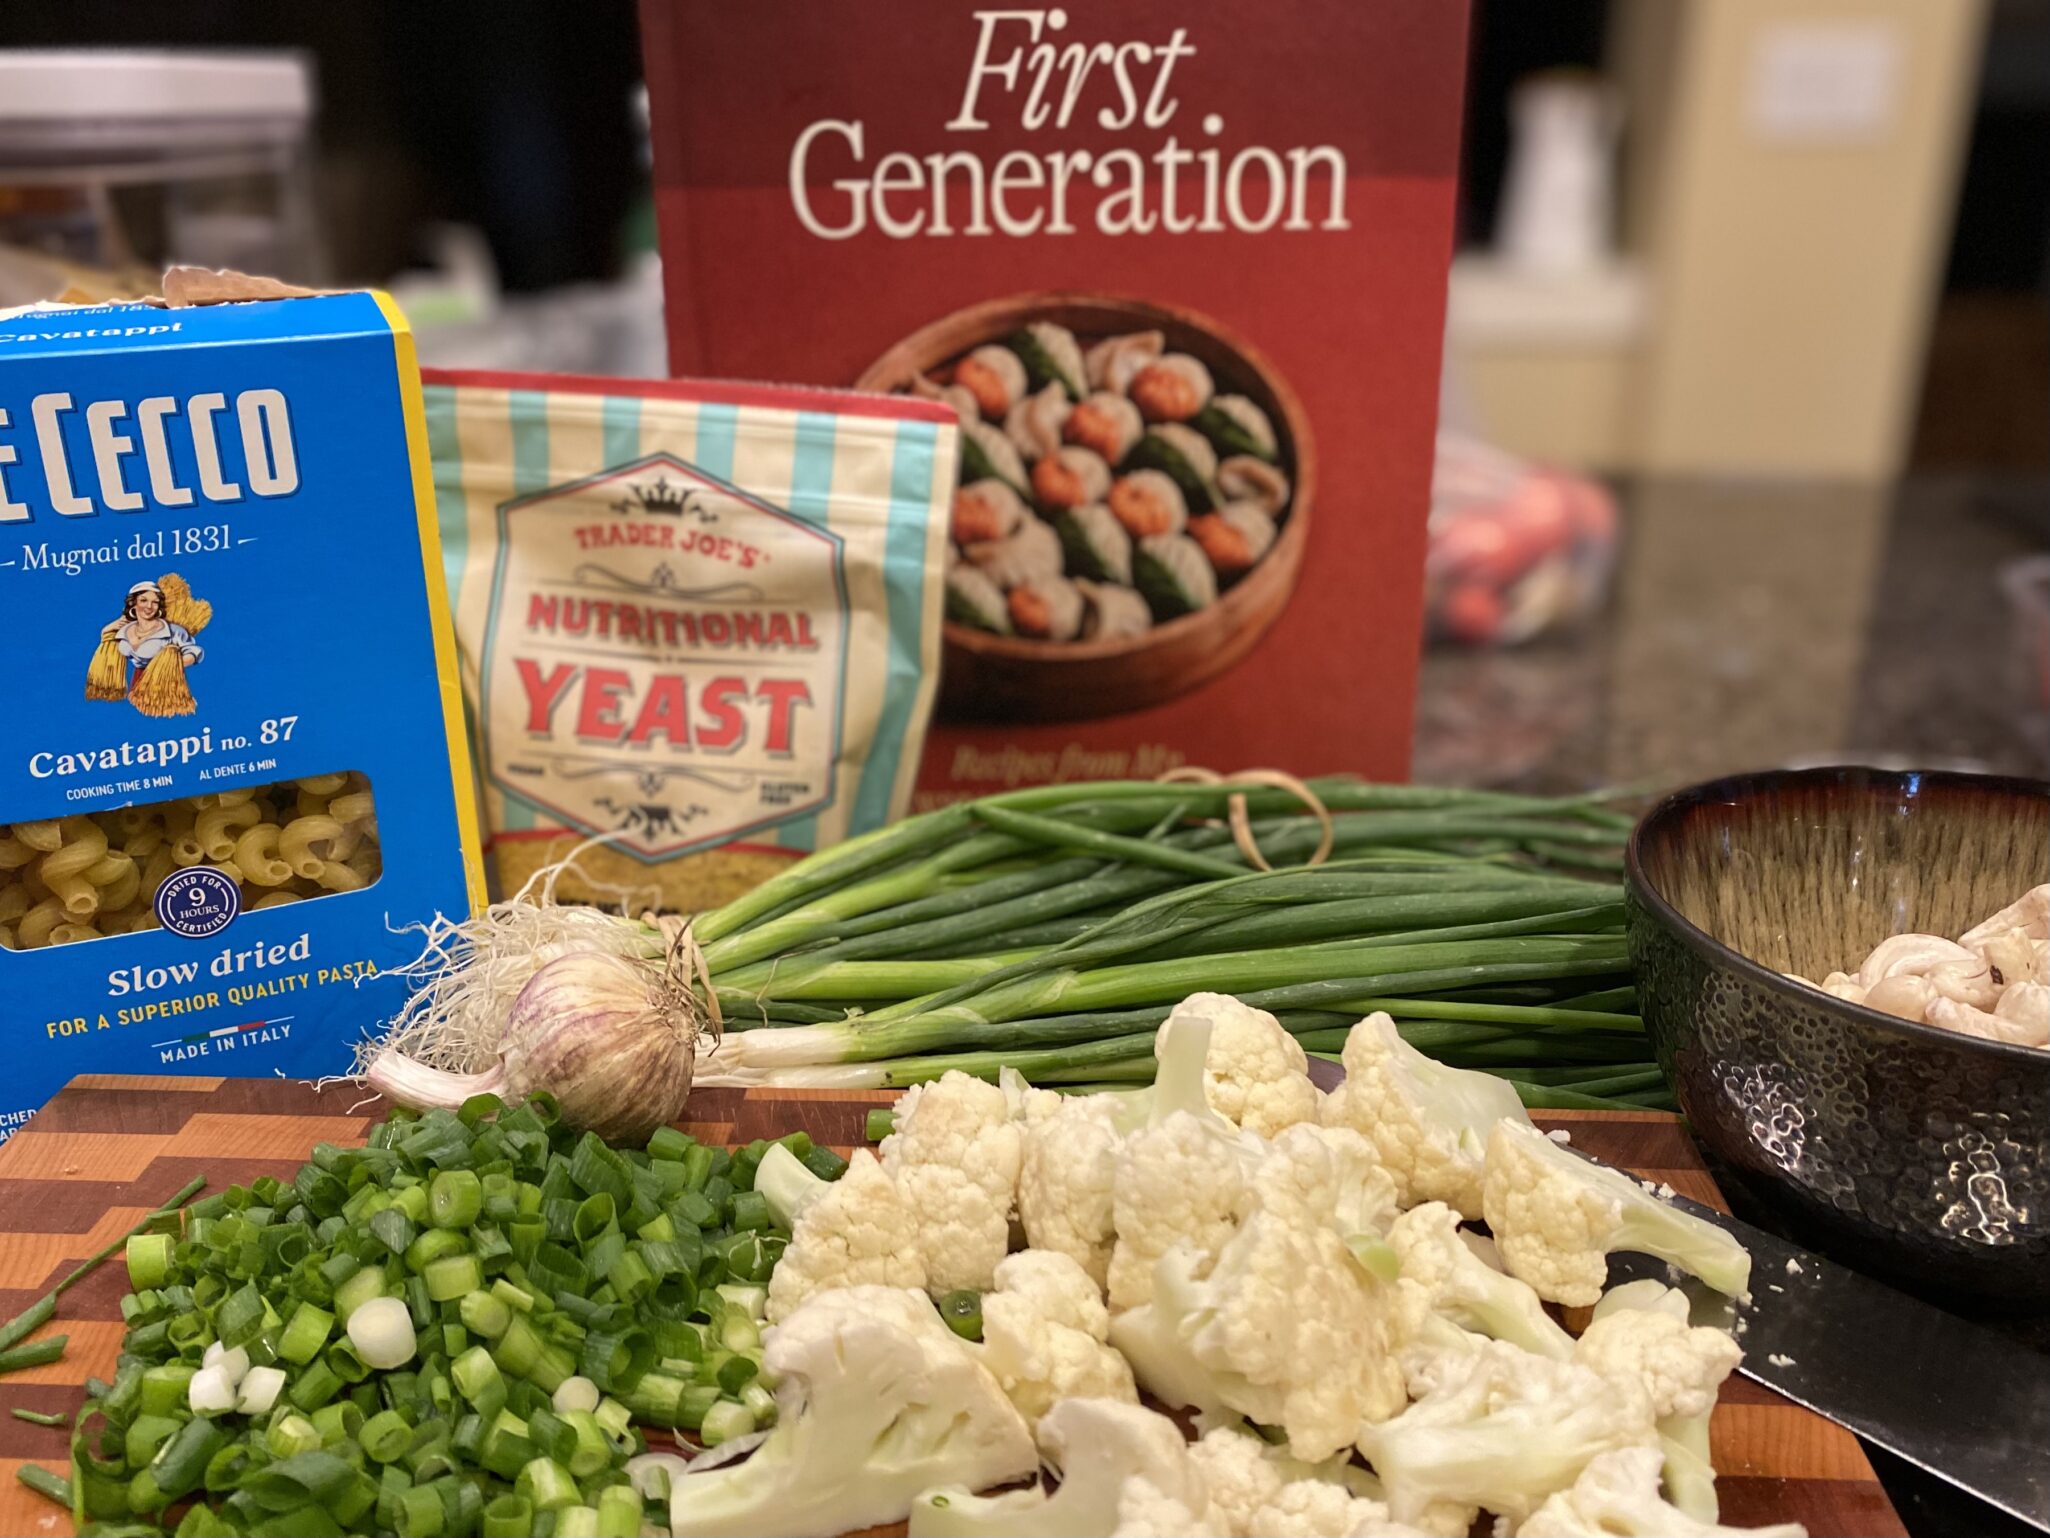
Recently I dashed into the city for another book signing at Omnivore Books on Food.  Frankie Gaw, author of the long-awaited, First Generation:  Recipes from My Taiwanese-American Home was in town and I couldn’t pass on his book signing.

A graphic designer by trade, his evenings were spent creating the blog, Little Fat Boy.  Stories, beautiful photographs, and recipes, woven together in this mash-up of his Taiwanese roots, midwest upbringing, and Southern ties to Memphis. His recipes are fun, a fusion of his upbringing and later West Coast migration.  His recipes make me happy.  Yep, Cinnamon Toast Crunch Mochi or topped with Pepples cereal, tell me you’re not smiling right now.

It’s VEGAN, yeah baby…More, Please

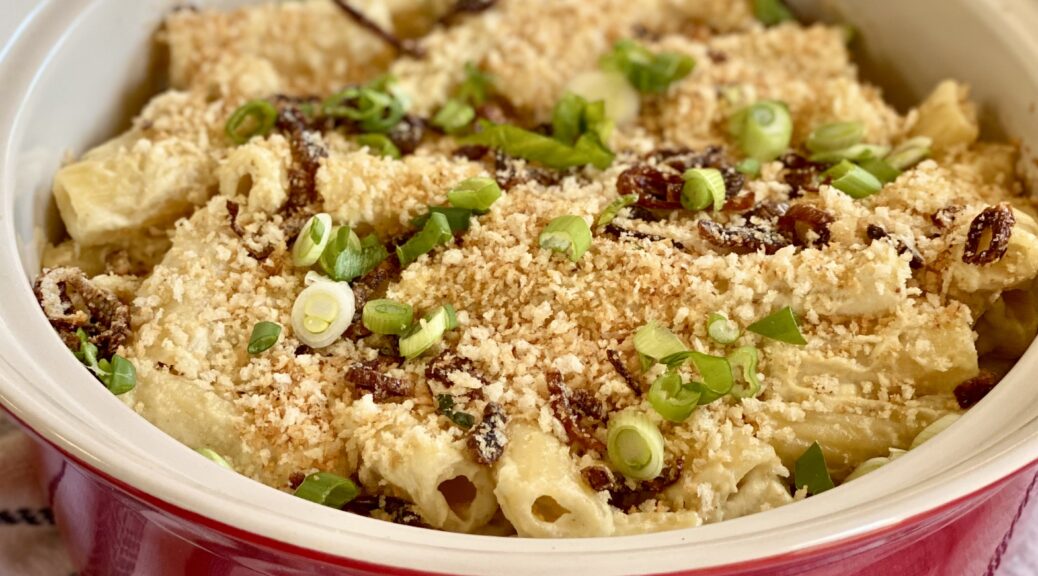
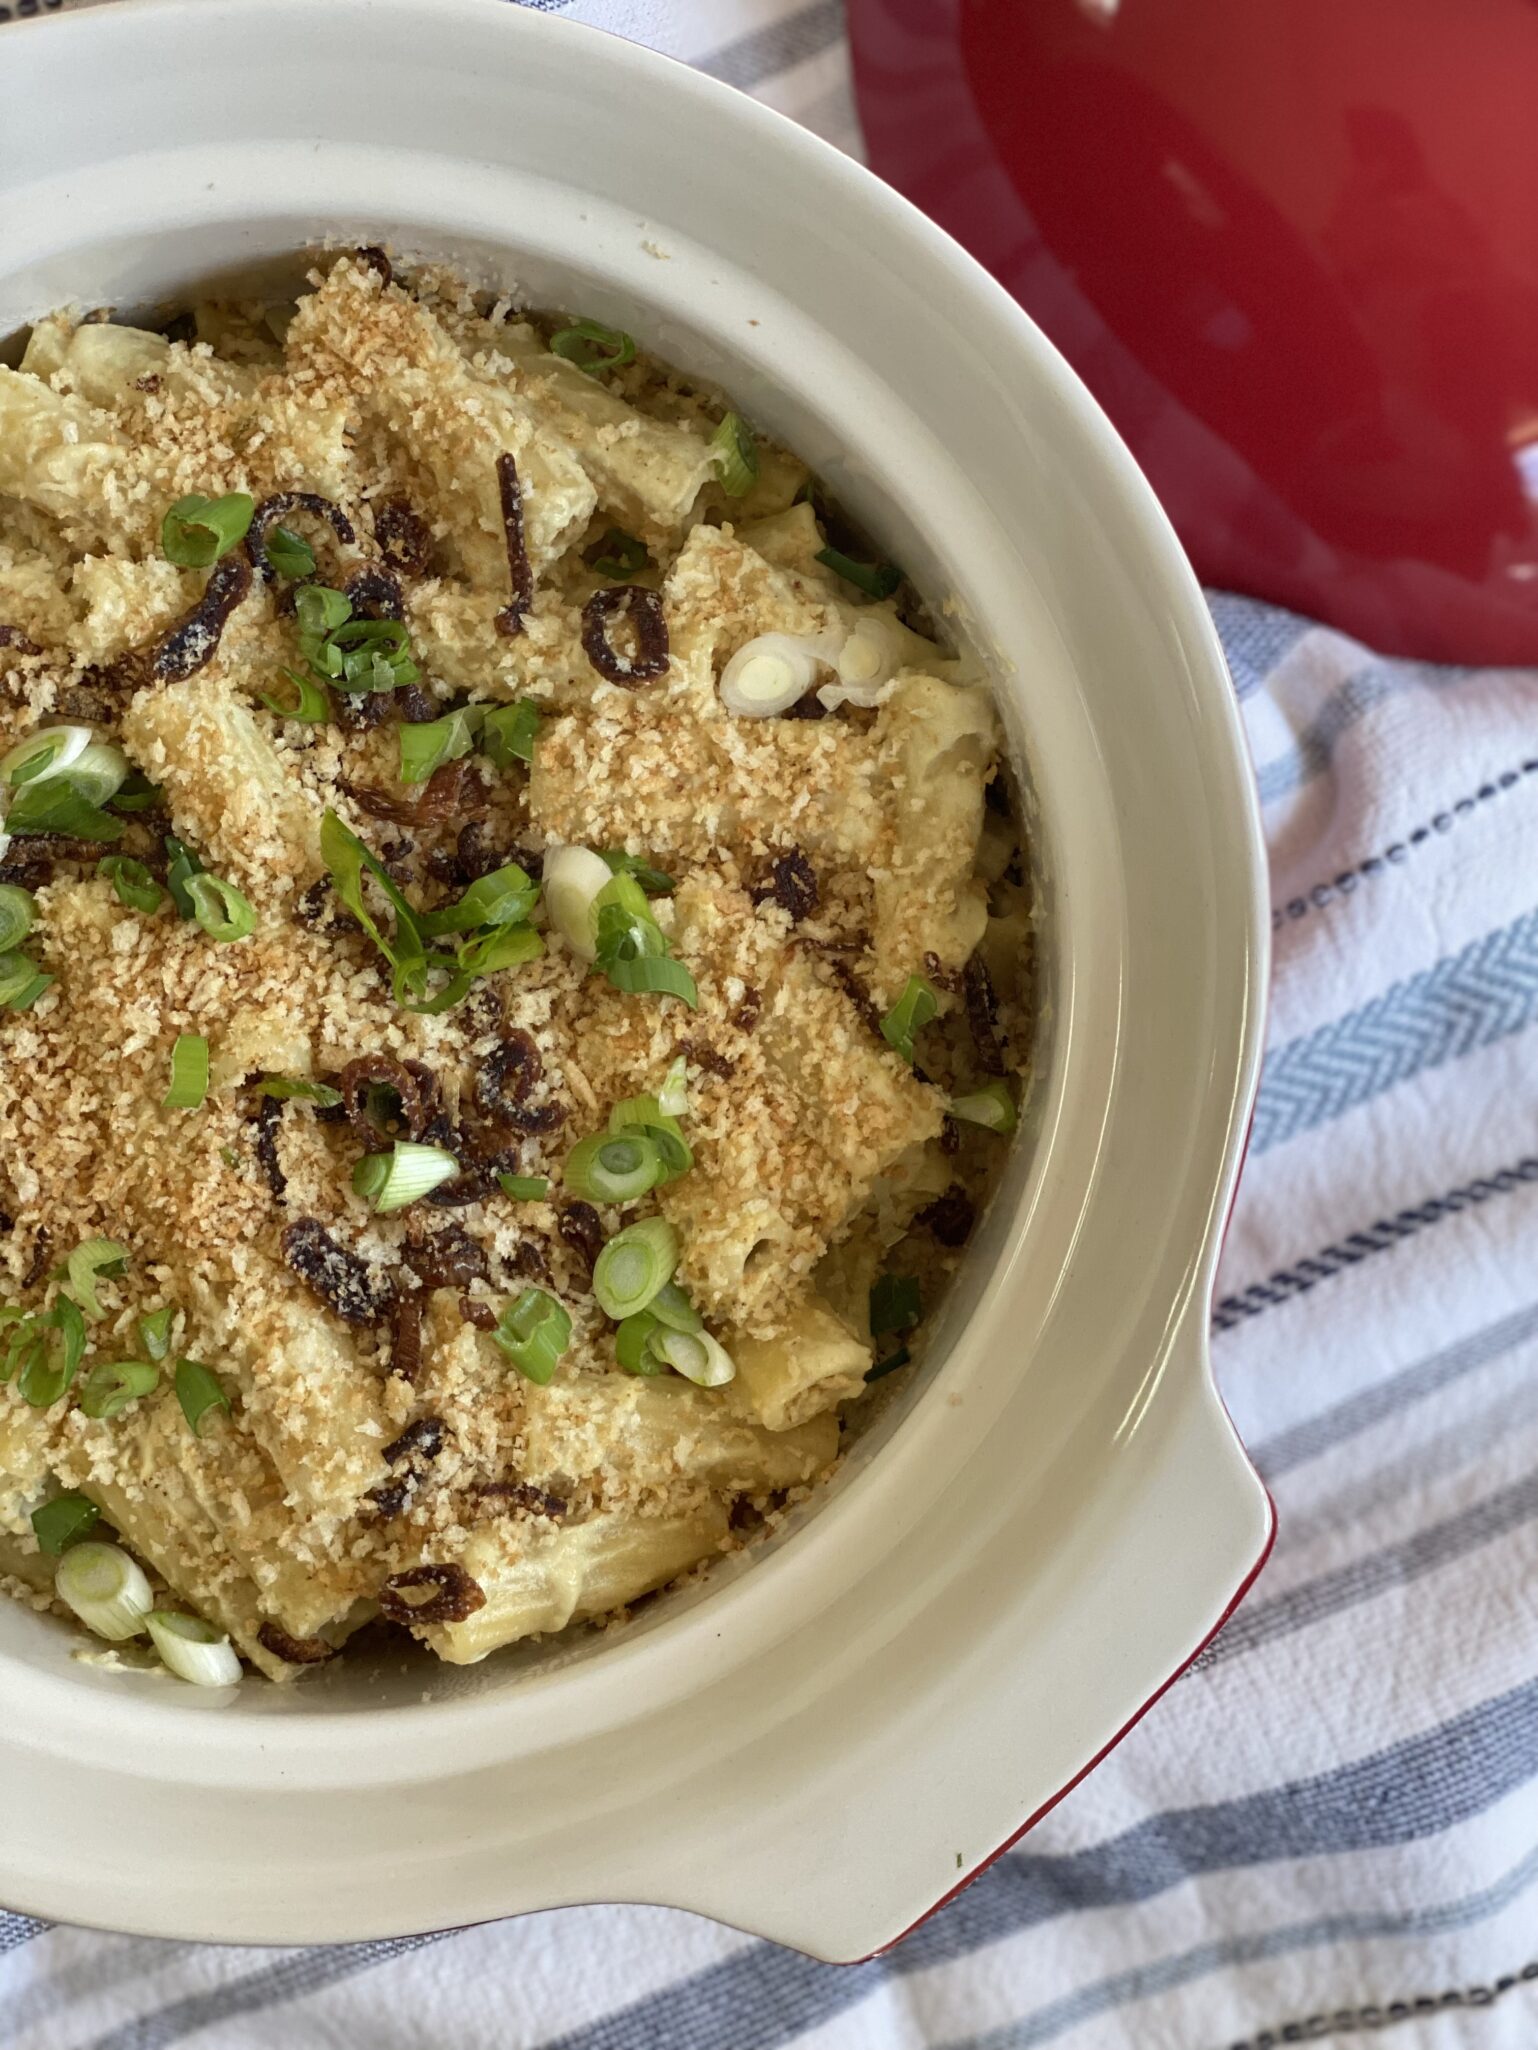
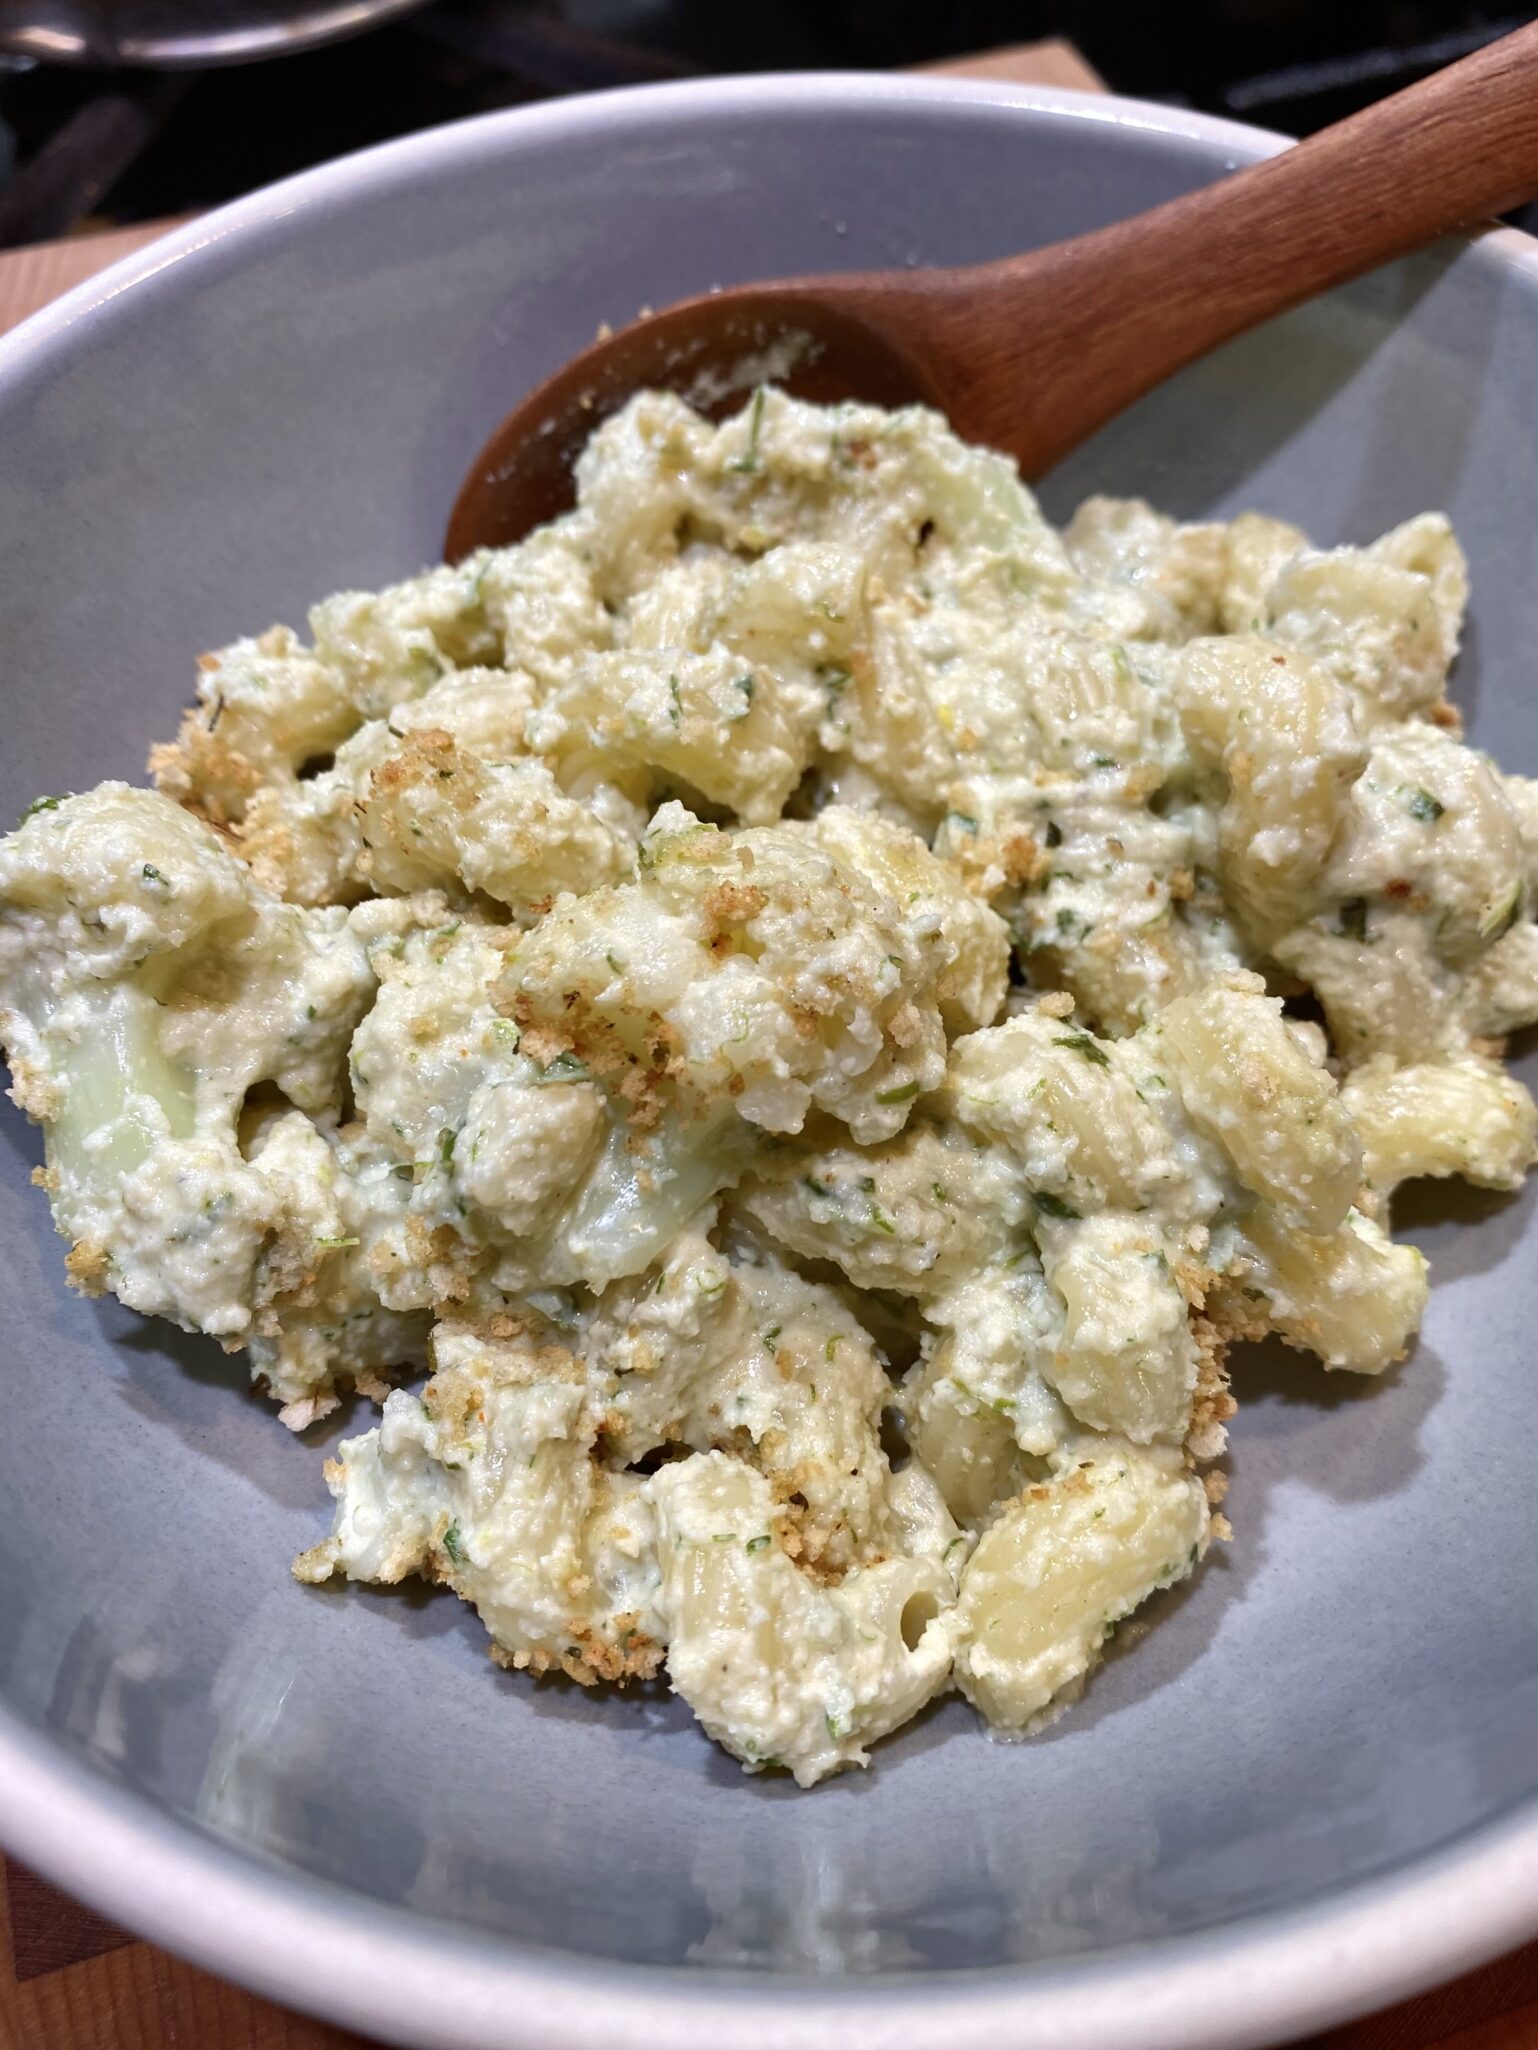
I LOVE mac and cheese. Frankie’s Vegan version is a riff on this much-loved dish.  Is it Mac and Cheese? Nope.  Is it delicious? YEP.  In place of butter, milk, and cheese you’ll find scallion oil, cashews, garlic, and my own little tweak, nutritional yeast.  Pureeing cashews into a creamy, lovely sauce, is really so good, this may become my go-to mac and cheese when I am feeling a little lactose intolerant, lol.

Not gonna lie, cashews are not diet food, just like a lot of nuts.  The upside is they do supply protein, healthy fats, vitamins, and minerals.  Plus, no animal products were used in the making of this..so there is that.  To offset some of the calories in this dish I reduce the pasta and substitute roasted or steamed cauliflower florets.  Yummos.

I like my mac and cheese super saucy so I decrease the amount of pasta, add more cauliflower florets and throw in some mushroom broth to extend the sauce.  The kid in me likes the macaroni cooked beyond al dente, really who eats mac and cheese that’s not soft and squishy?  This is two very generous servings, actually, I think it serves 3-4 people…see the calories won’t be that bad!

Scallion Mac and Cheese

A delicious vegan version of mac and cheese with loads of umami from scallions, nutritional yeast and garlic adapted from Little Fat Boy
Course dinner, one bowl meal, Side Dish
Cuisine Asian-American
Keyword Crazy good mac and cheese, scallions
Prep Time 17 minutes
Cook Time 10 minutes
Servings 4
Calories 425kcal

Ingredients

  • 1 cup raw cashews
  • 4 scallions finely chopped white and green parts divided
  • 1/8 cup olive oil
  • 2 cloves garlic, smashed
  • 11/2 tsp kosher salt
  • 1/2 tsp granulated sugar
  • 1/8 tsp paprika
  • 1 tbsp nutritional yeast
  • 1/4 lemon, juice of
  • 1/2-1 cup water, or pasta water or mushroom boullion
  • 1 tsp hot sauce to taste optional

Toppings

  • 1/4 cup panko
  • 1 scallion, Thinly sliced

Noods

  • 4 ounces macaroni
  • 1 cup cauliflower florets or broccoli approx 4 oz

Instructions

Cashews

  • Before making dish, place cashews in a medium bowl and cover with water by 1 inch. Let the nuts soak for 2-3 hours.

Carbs & Veggies

  • Cook your pasta as directed on package. With about 3-4 minutes to go, add the cauliflower to the pot. Return to boil and cook until al dente (from original recipe-lol. In my book mac cheese needs pasta cooked beyond al dente). Drain and place back in pot. Set aside.

Sauce

  • In a skillet, heat olive oil over medium-high heat. Add scallions and garlic. The oil should not be smoking but hot enough that the aromatics sizzle when added. Stir and cook for about 2 minutes. The scallions should be soft and your kitchen should smell delicious from the scallions and garlic. Transfer all of it to a blender. Set skillet aside, do not wash! You will be using this to brown the Panko Crumbs!
  • Drain the cashews and add to the blender along with the lemon juice, paprika, salt, sugar, nutritional yeast, and water or pasta water.
  • BLEND til smooth. Add additional water or pasta water to desired consistency.
  • Add sauce to macaroni, and stir to combine. Pour into a casserole dish and spread evenly. Sprinkle Panko Crumbs and diced green onions on top, and serve immediately.

The Crumbs

  • The skillet used to fry the scallion and garlic will have residual oil to brown the Panko crumbs. On medium-high heat toss the panko in the skillet until toasty brown.

Notes

This recipe can be doubled for those times you are feeding a big crowd.  In fact,  the original recipe is double this, I cut it in half cause it's a lot of pasta.
Gochujang Buttered Noodles (Ketchup Noodles 2.0)

Gochujang Buttered Noodles (Ketchup Noodles 2.0)

My Dad made dinner most of the time.  Every evening he would leave the office, shop for dinner ingredients, go back to the office, pick up my mom, then go home.  Once home, he donned his apron and cranked out a typical Chinese meal in about 30-45 minutes.  A typical meal consisted of a quick soup, stir-fried beef with vegetables, and steamed fish.  It takes me 30 minutes just to decide what to make let alone have it on the table. Yep, my Pop was Dinner Dad Extraordinaire.

But when I stop and think about it, my mom was the one who got us up, made us breakfast, packed our lunches, and made most of the non-Asian holiday meals.  I have been giving short shrift to my mom all these years.  She accounted for 2/3 of our daily meals and my favorite lasagne.  Aiyah, I can’t believe I “marginalized” my own mom.

The Real Deal

My mom was instrumental in trying new things in our house.  An early adopter of the microwave, yogurt (before it was fashionable and filled with fruit and sugar), and frozen food.  Fridays meant Date Night for the parents and Swanson’s TV Dinners for us, and thanks to Swanson’s genius ad campaign, we got to eat in front of the TV.

There are a couple of dishes that my mom made that trumped (sorry) everything else.  First, Avocado Sandwiches.  My mom was ahead of her time-avocados, mashed with a little bit of mayo, S & P, and a squirt of lemon juice, slathered on white bread.  The OG of Avocado Toast. She’d make a killing.

Second, Ketchup Noodles. Butter, noods, ketchup,  a little salt and pepper.  There you have it, perfection.

Which Brings Me to…

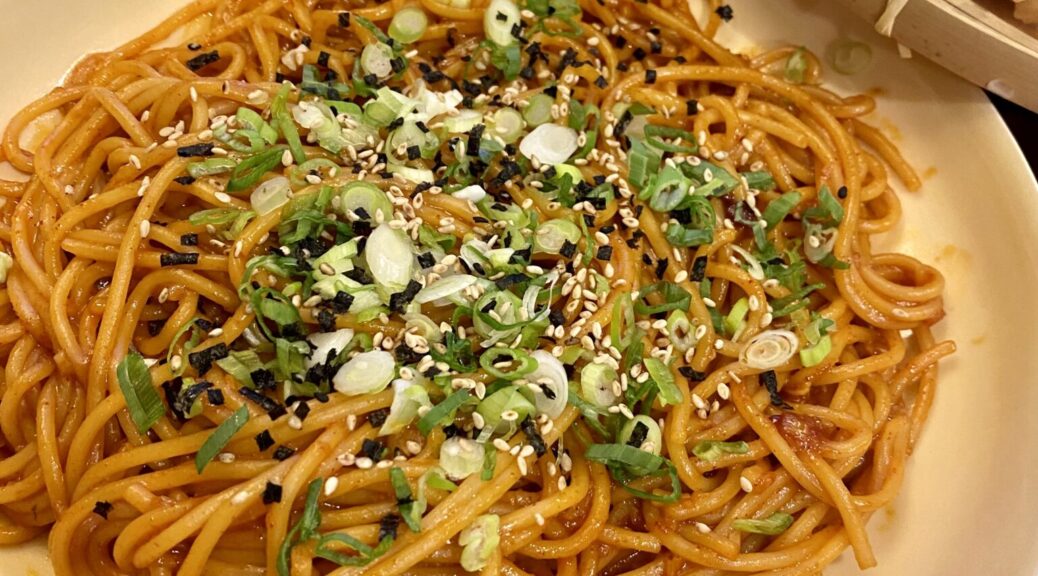
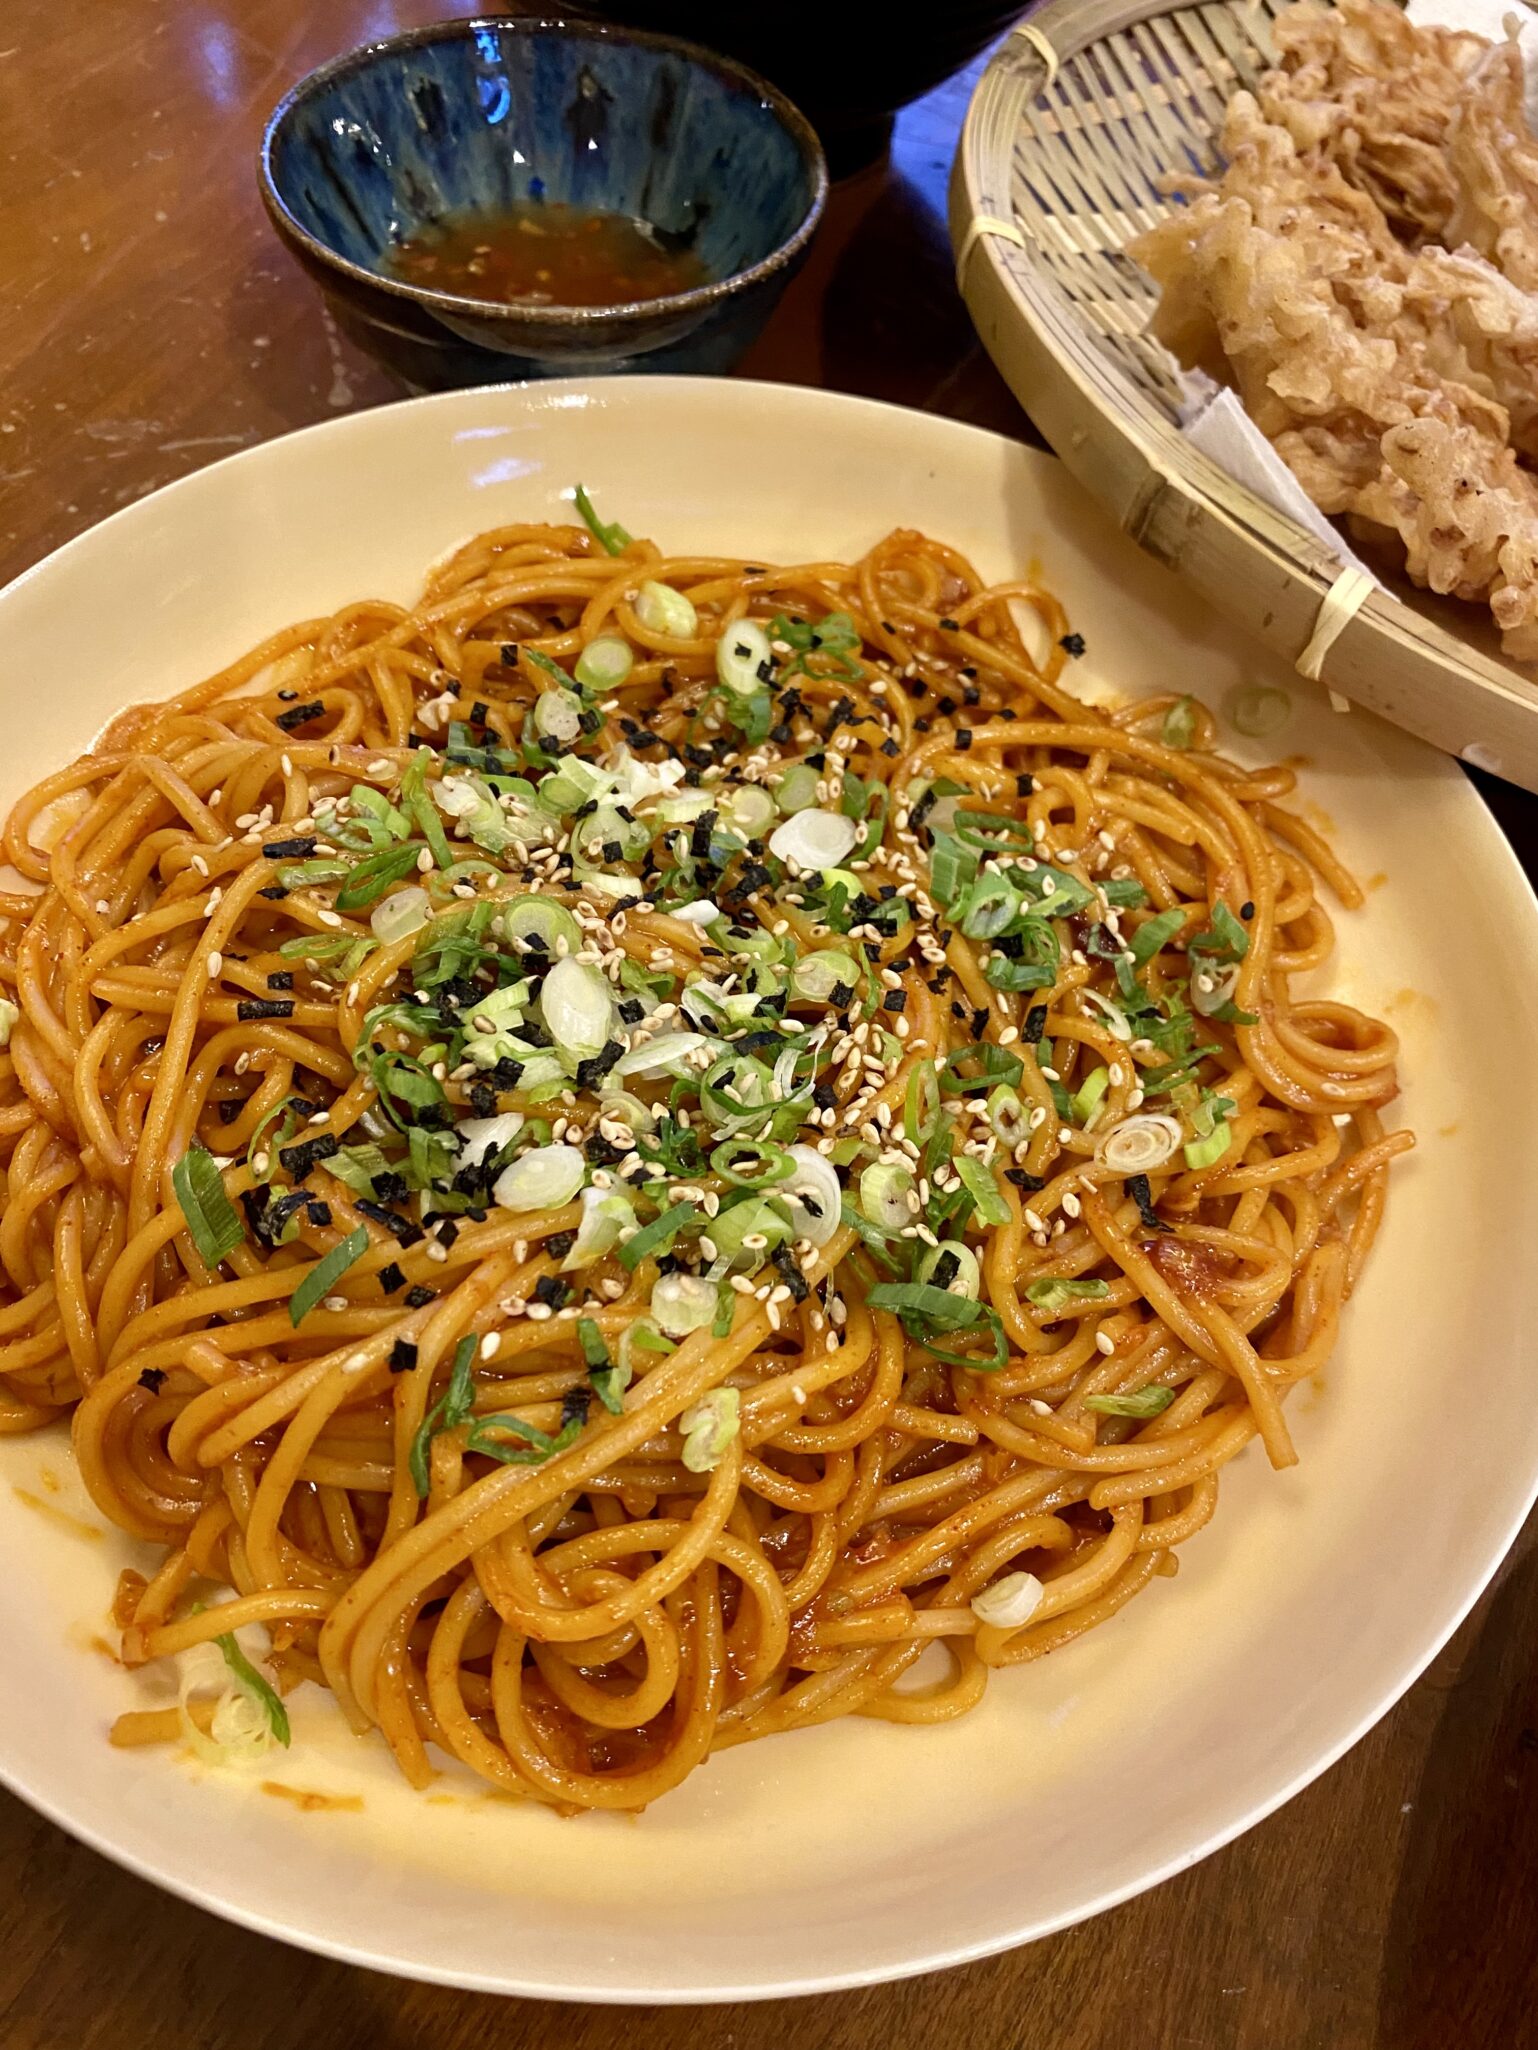
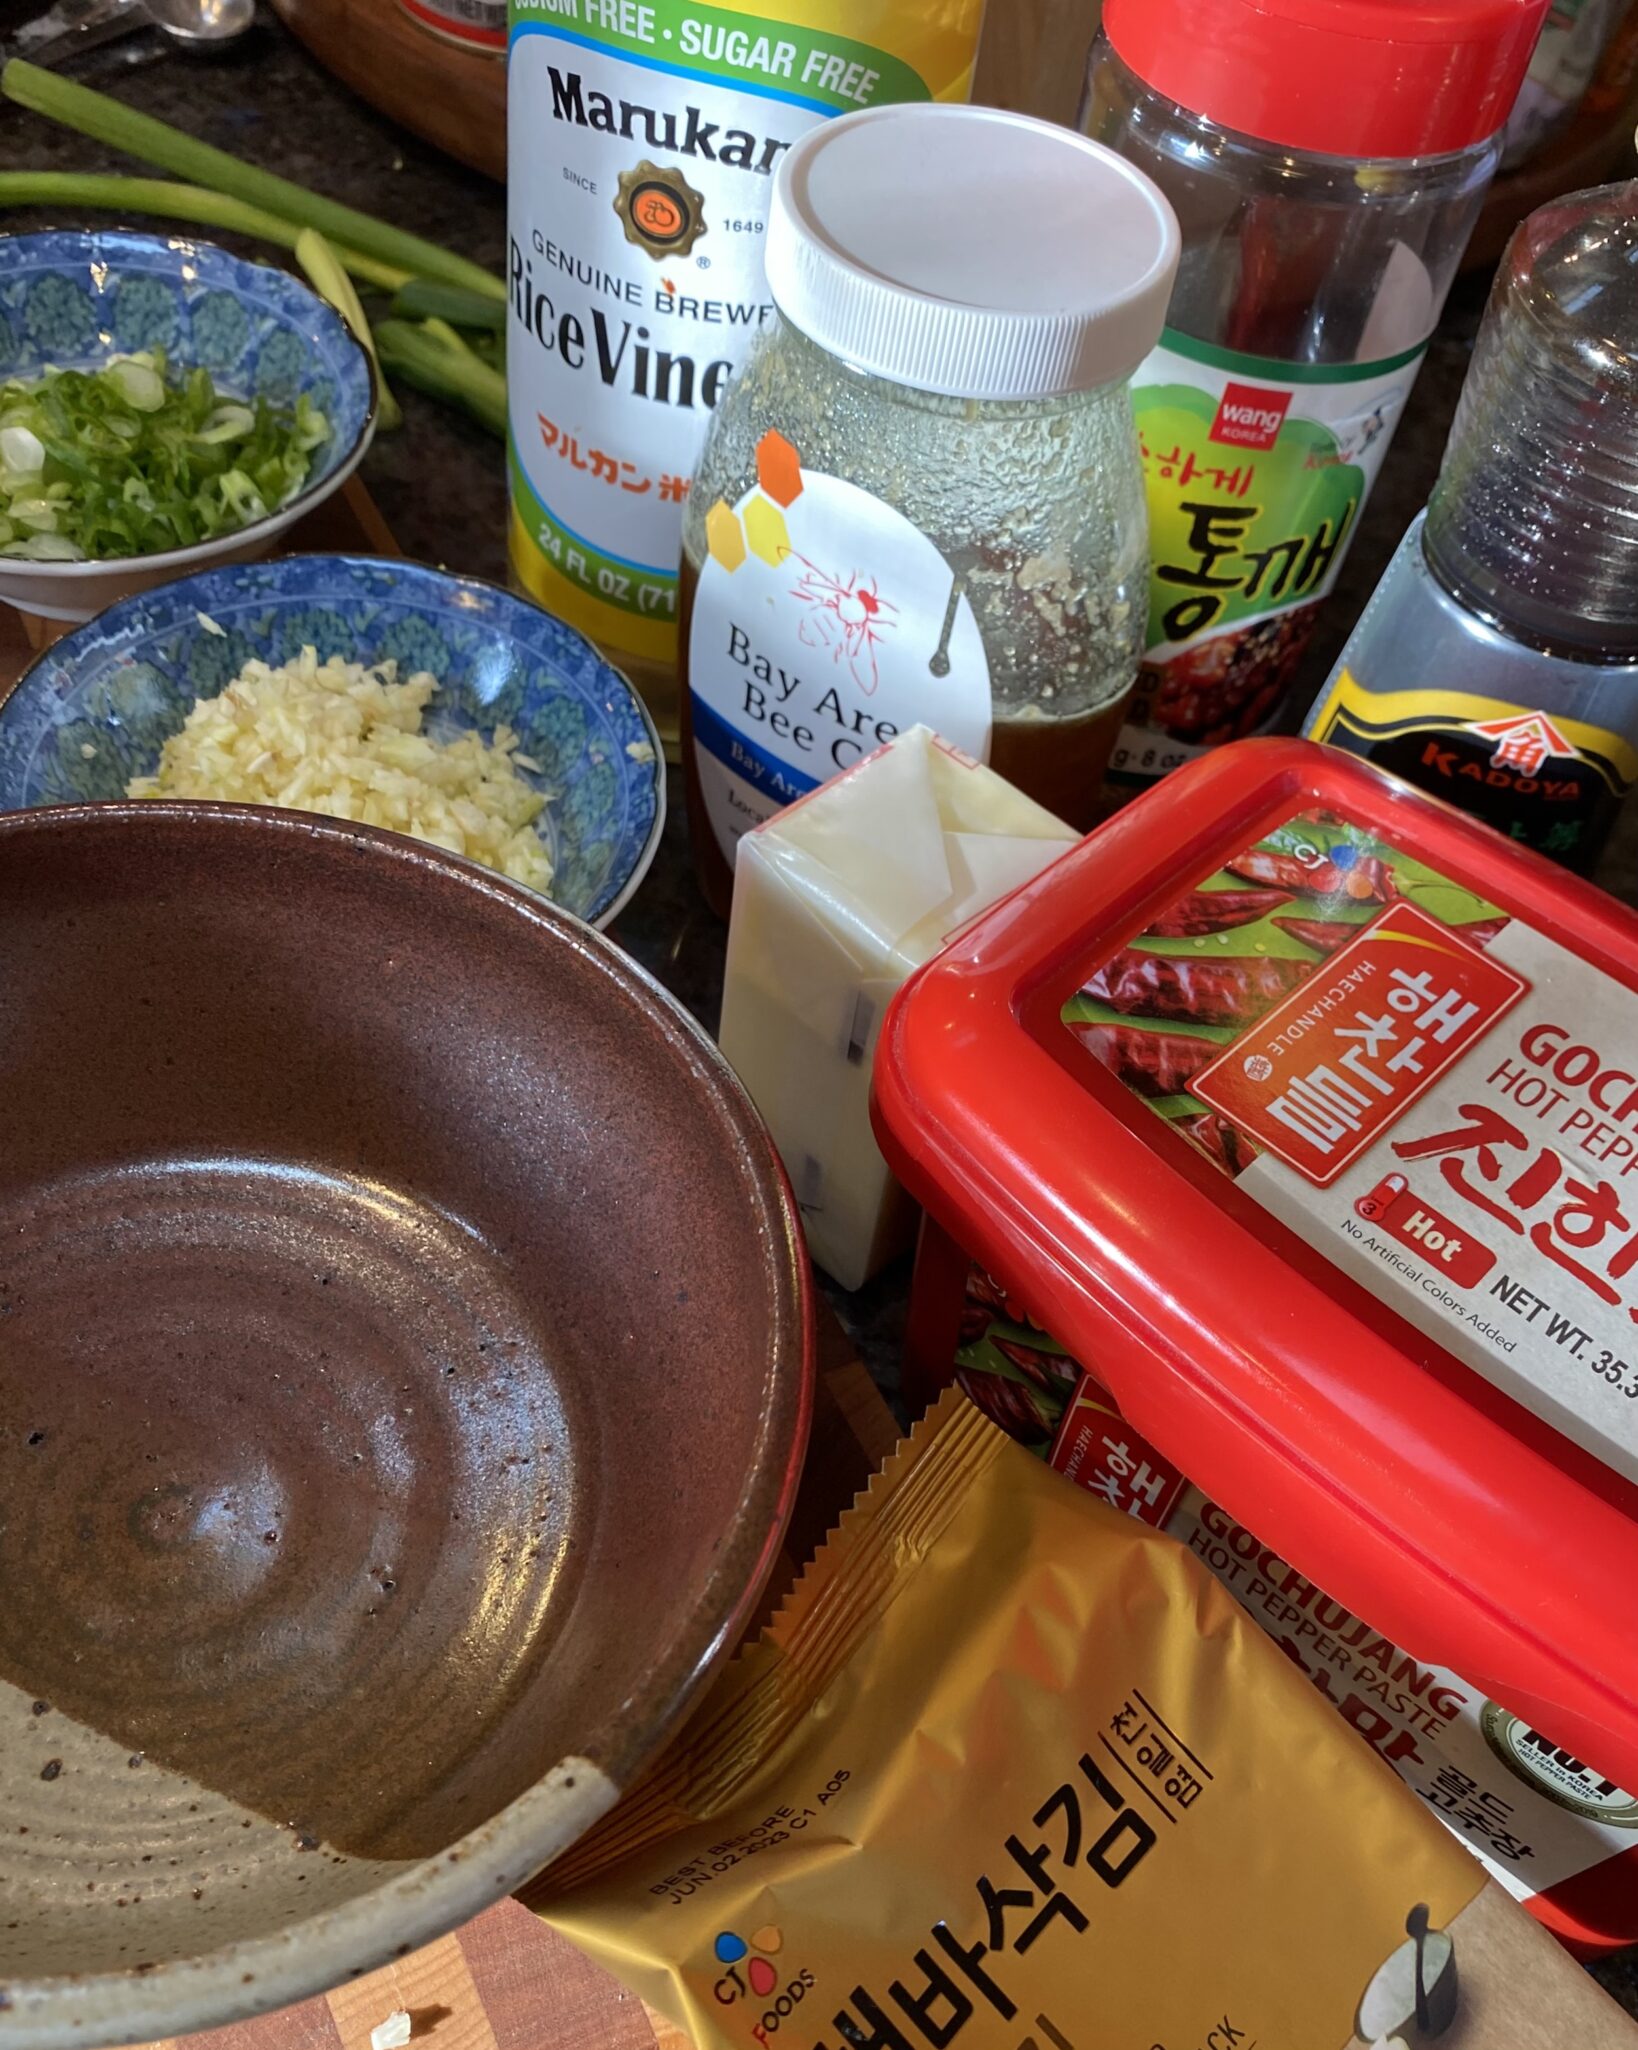
Gochujang Buttered Noodles.  A trademark Eric Kim recipe, easy, fast, and absolutely delicious.  I can’t give him 100 percent credit, this dish reminds me of my Mom’s Ketchup Noodles, think of his version as Ketchup Noodles 2.0.  Gochujang, the Korean, sweet and spicy chili paste replaces ketchup, and honey and vinegar bring a balanced sweet-tart flavor.  Fresh garlic adds punch. It’s delicious.  Another Eric recipe goes viral.

The Sauce

Gochujang or Korean Chili Paste comes in mild, medium or hot and can be found at most Asian grocery stores.  Trader Joe’s also carries a gochujang paste.  Do not confuse this with Gochujang Sauce which is thinner in consistency and probably contains sweeteners.   Use mild honey or agave syrup for the sweetener and rice vinegar or sherry vinegar for the acid, together they bring balance to the dish.

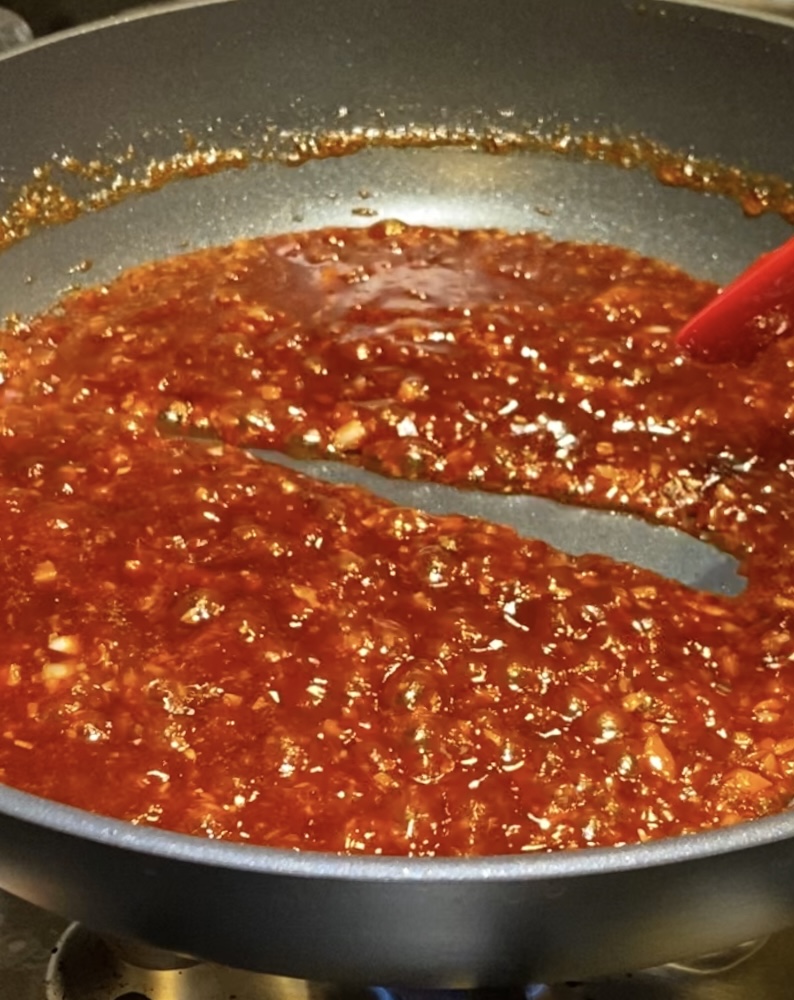
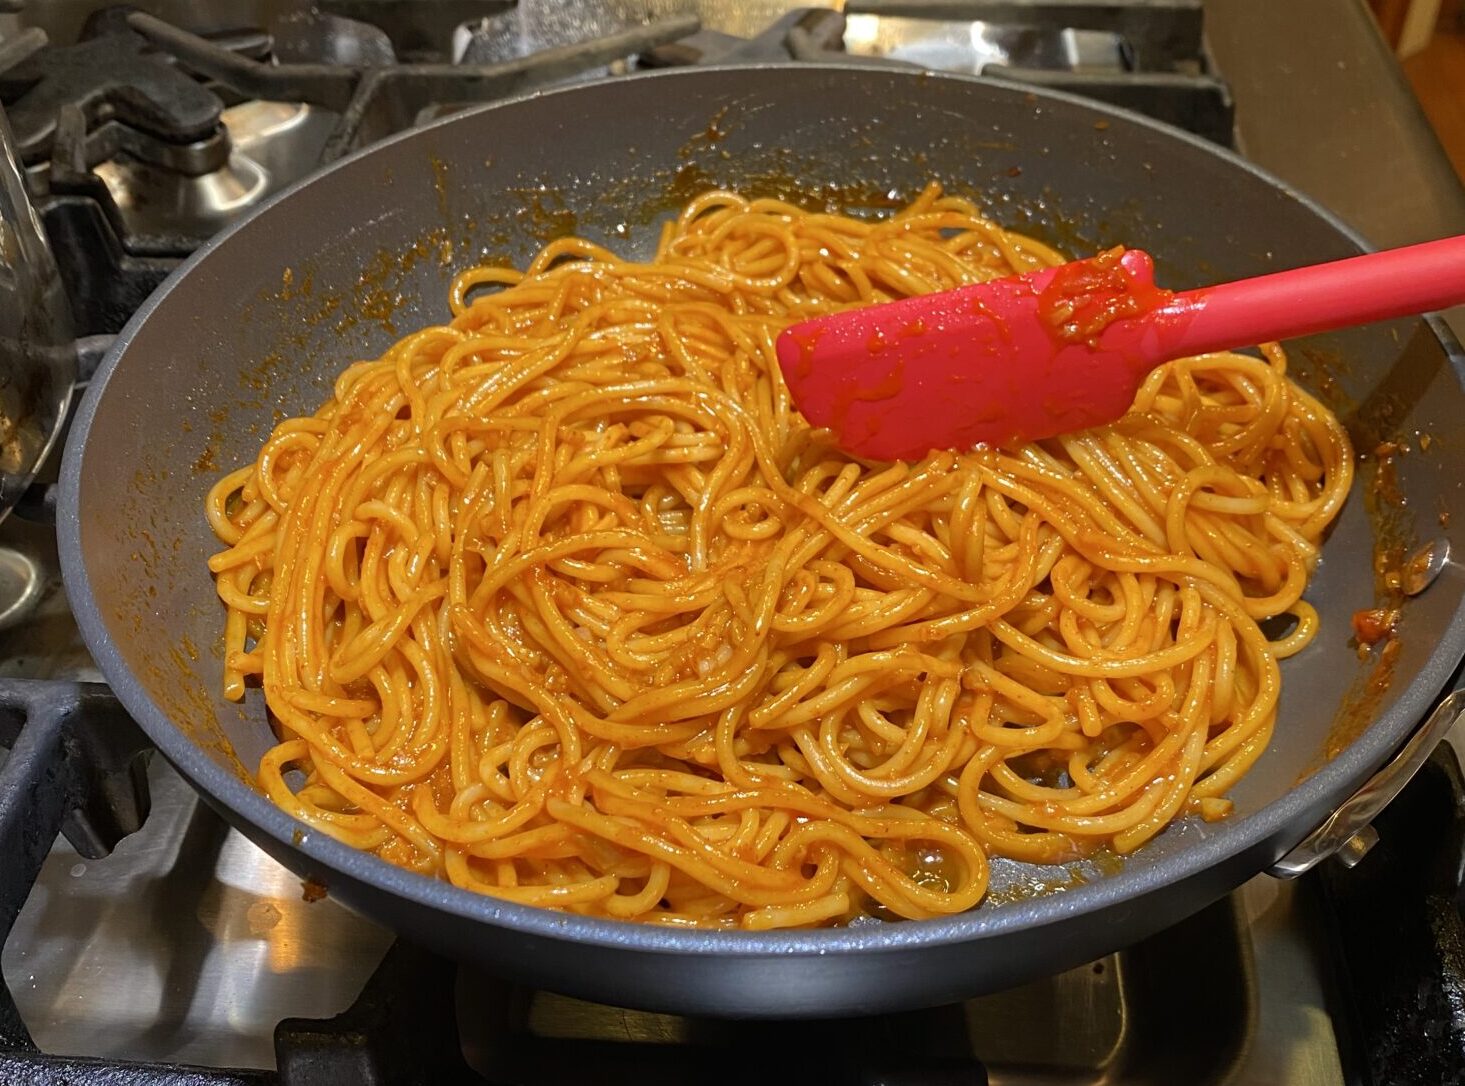
Reduce the sauce until you you run your spatula through it and it stays separate for a couple of seconds.  It will be syrupy and have a nice sheen.  Add your pasta and reserved pasta water (a little at a time to desired consistency).

The Noods

Asian pasta, like ramen or Taiwanese dry noodles, is my favorite for its texture, but spaghettini or linguine works in this dish.  The bottom line, use your favorite pasta.

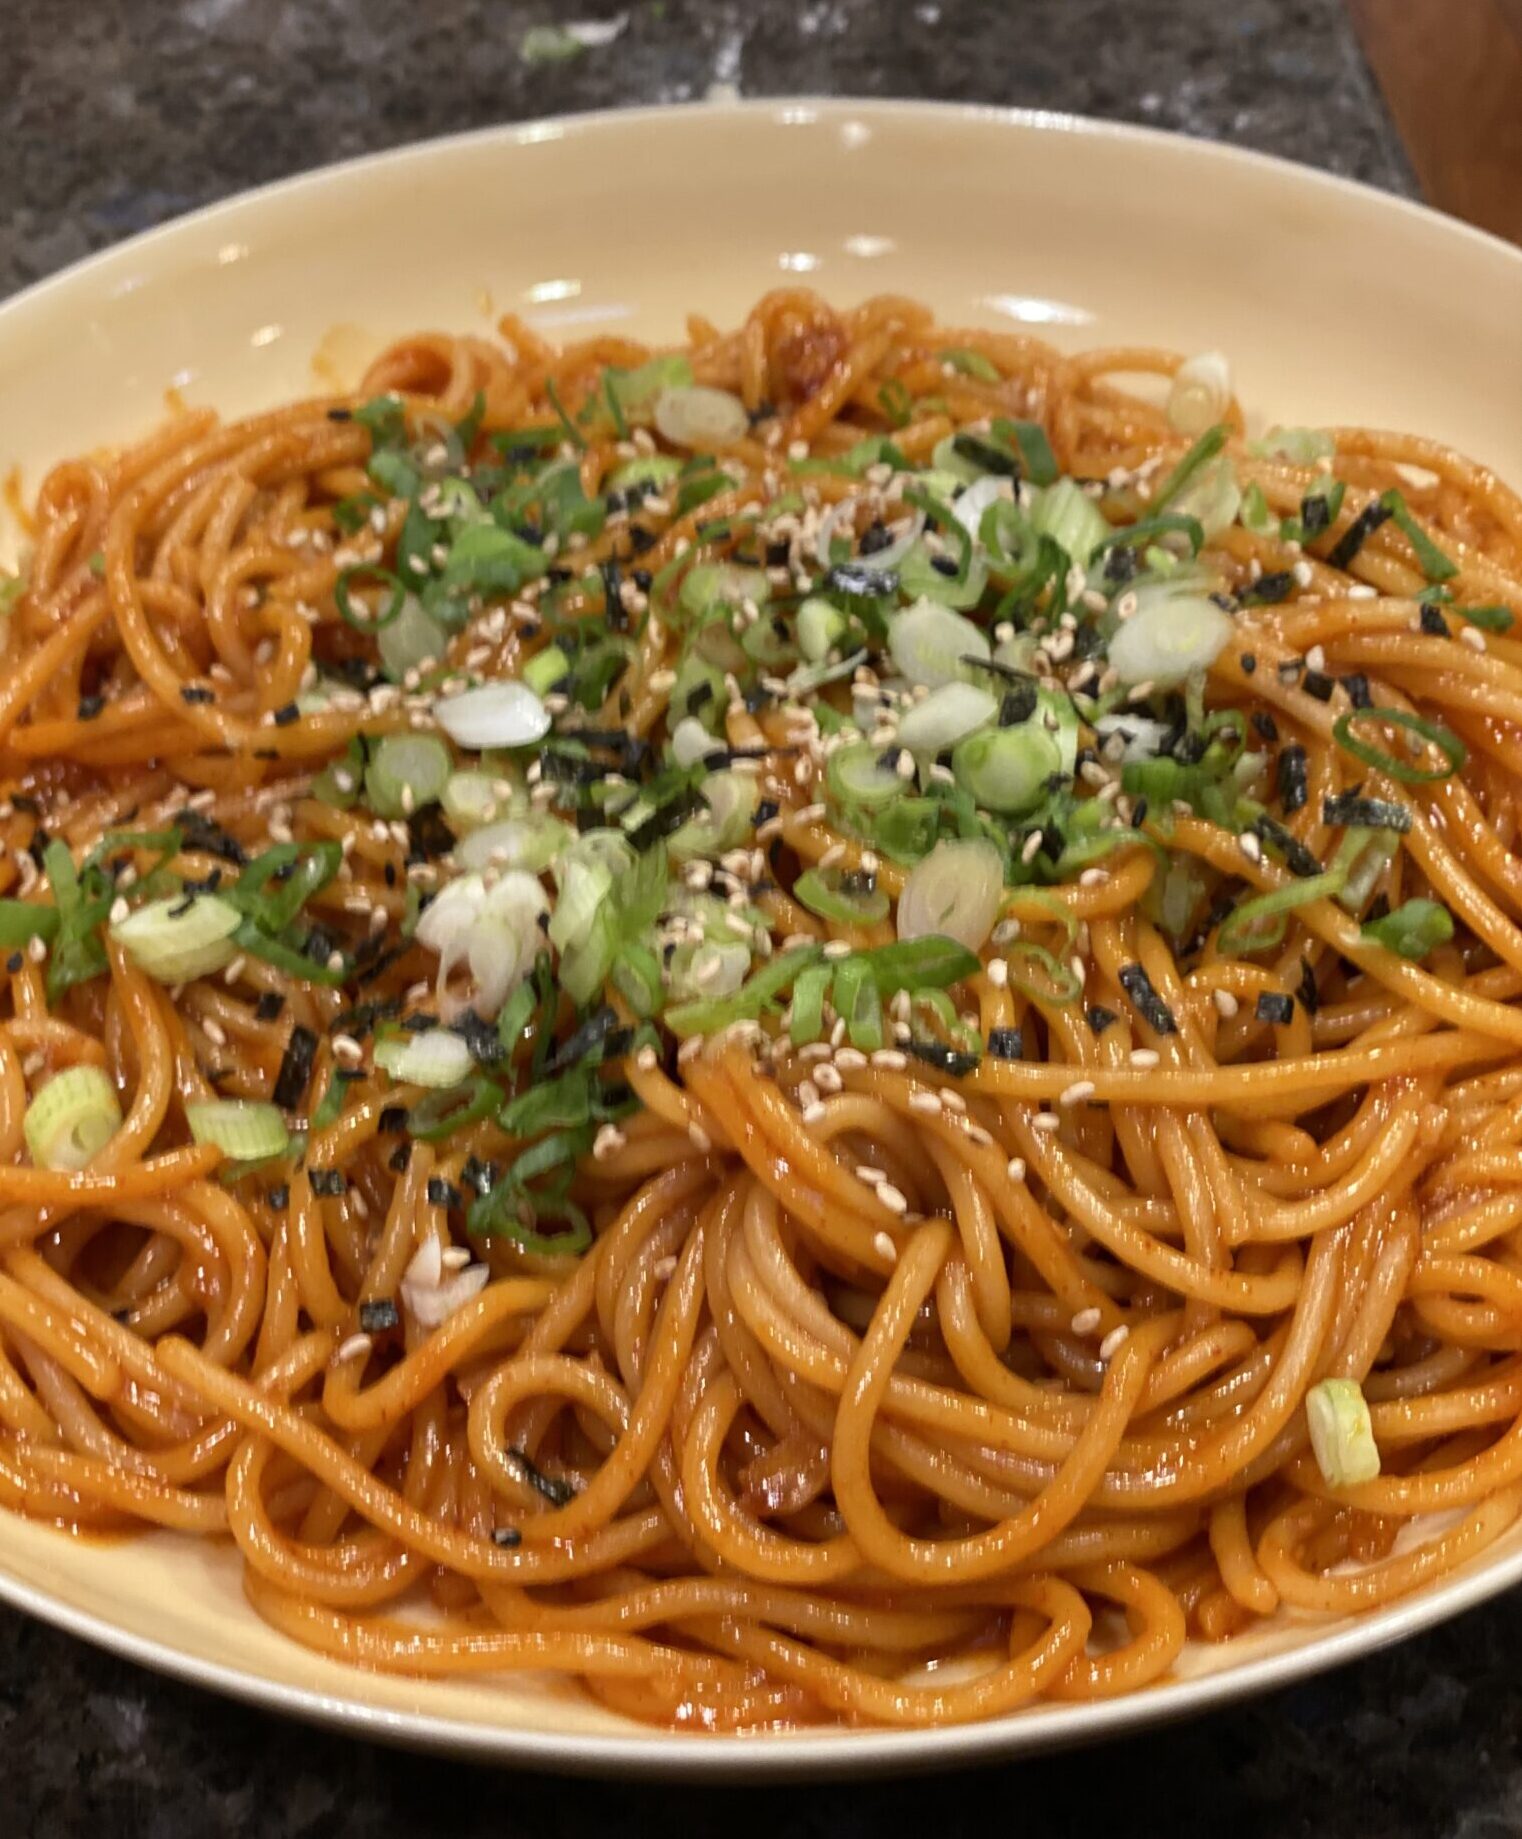
Finish the dish by garnishing it with chopped scallions, sesame seeds, and crushed seaweed.  I also like to drizzle some sesame oil on top.

Enjoy!

Gochujang Buttered Noodles

Ingredients

  • 1 pound spaghetti or other long pasta
  • 6 tablespoons unsalted butter
  • 12 garlic cloves finely chopped (about ⅓ cup)
  • Kosher salt and black pepper
  • ¼ cup gochujang paste
  • ¼ cup honey
  • ¼ cup sherry vinegar or rice vinegar
  • Finely chopped cilantro or thinly sliced scallions optional

Instructions

  • Bring a large pot of water to a boil. Add the spaghetti and cook according to package instructions. Reserve 1 cup of the cooking water. Drain the spaghetti and return to its pot.
  • While the pasta cooks, melt 4 tablespoons of the butter in a skillet over medium-low. Add the garlic and season generously with salt. Cook, stirring occasionally, until the garlic starts to soften but not brown, 1 to 3 minutes.
  • Stir in the gochujang, honey and vinegar, and bring to a simmer over medium-high. Cook, stirring constantly, until the mixture reduces significantly, 3 to 4 minutes; when you drag a spatula across the bottom of the pan, it should leave behind a trail that stays put for about 3 seconds. Remove from the heat.
  • Transfer the sauce to the pot with the spaghetti and add the remaining 2 tablespoons butter. Vigorously stir until the butter melts. Add splashes of the pasta cooking water, as needed, to thin out the sauce. Taste and season with salt and pepper. Top with the cilantro or scallions (if using) and serve immediately.
Back to My Lotus ROOTS (Renkon No Kinpira)


Back to My Lotus ROOTS (Renkon No Kinpira)


We are always looking for ways to increase our veggie intake.  Part of the problem is our everyday veggies are BORING.  Let me clarify, Veggies aren’t boring, it’s our method of prep.  We should be arrested for vegetable prep neglect and indifference.  We often find ourselves nuking frozen corn or mixed veggies as we sit down to eat. Veggies are a sad afterthought.

No More

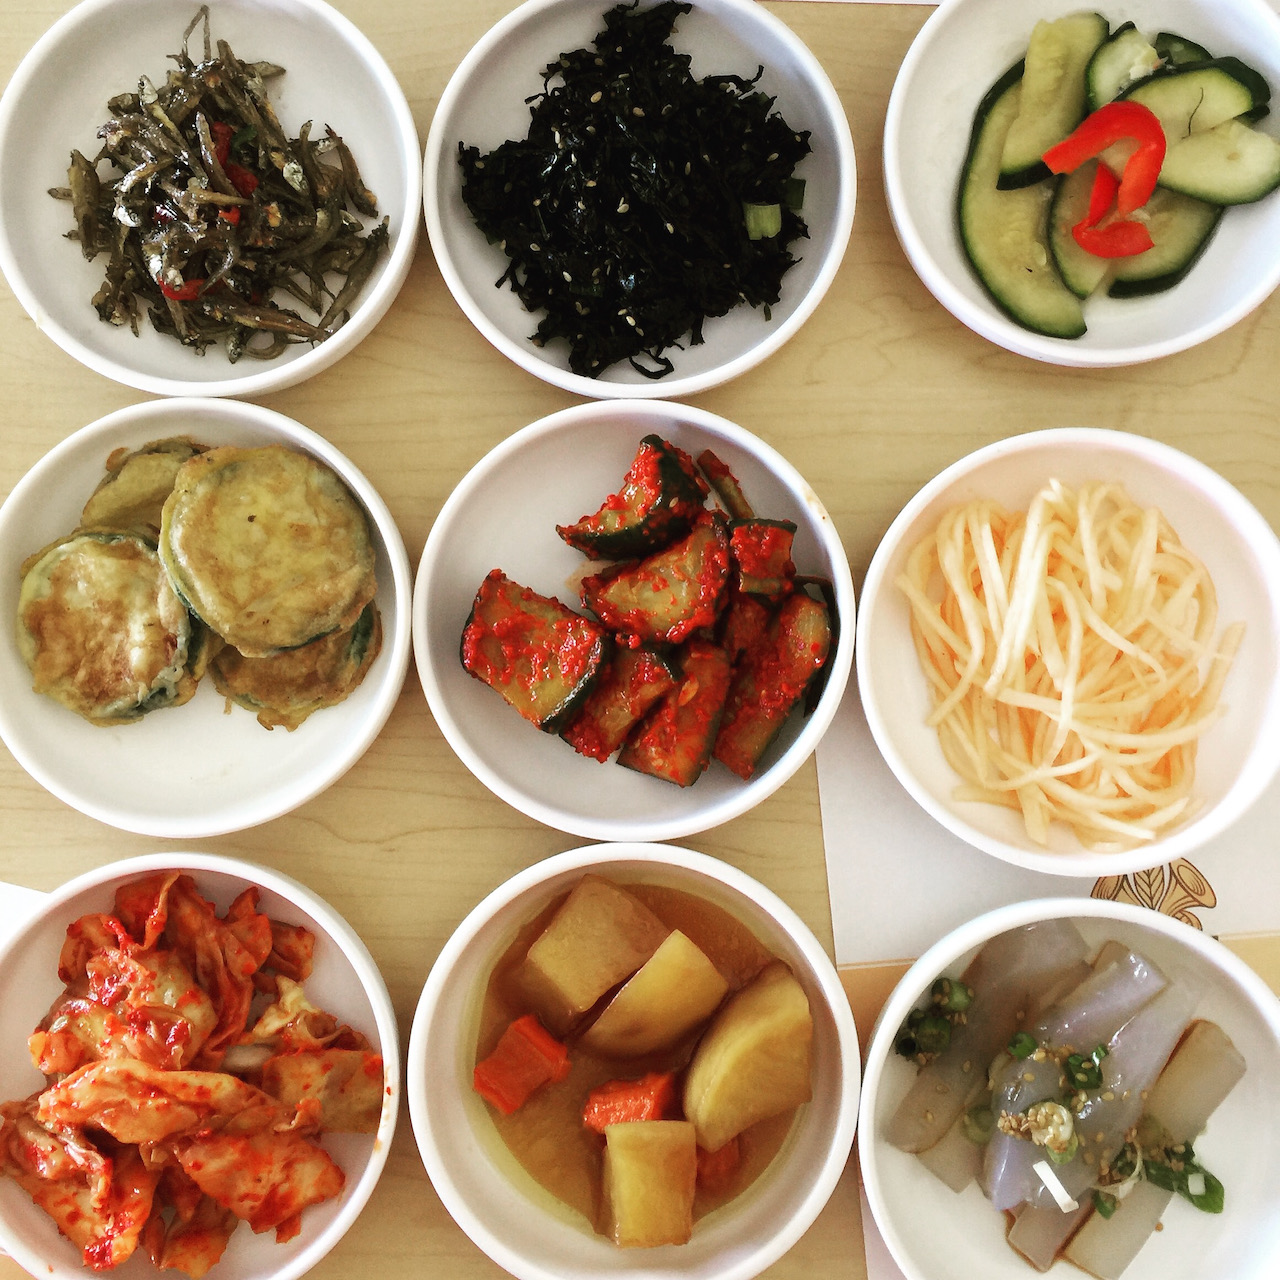
Expanding our veggie-verse has become a priority.  What we have discovered are the veggie-centric dishes such as Chinese Cucumbers, Indian Dal, Aloo Gobi, Korean Banchan,  or Japanese Tsukemono.  Make batches ahead of time so dinner on a busy night means pulling out the Tupperware from the fridge.  Win-win!

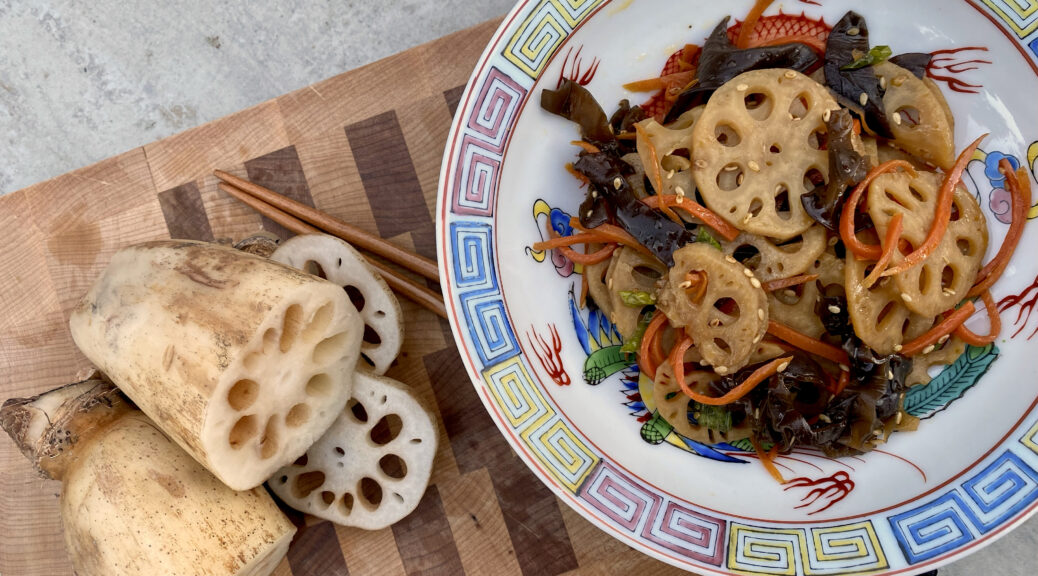
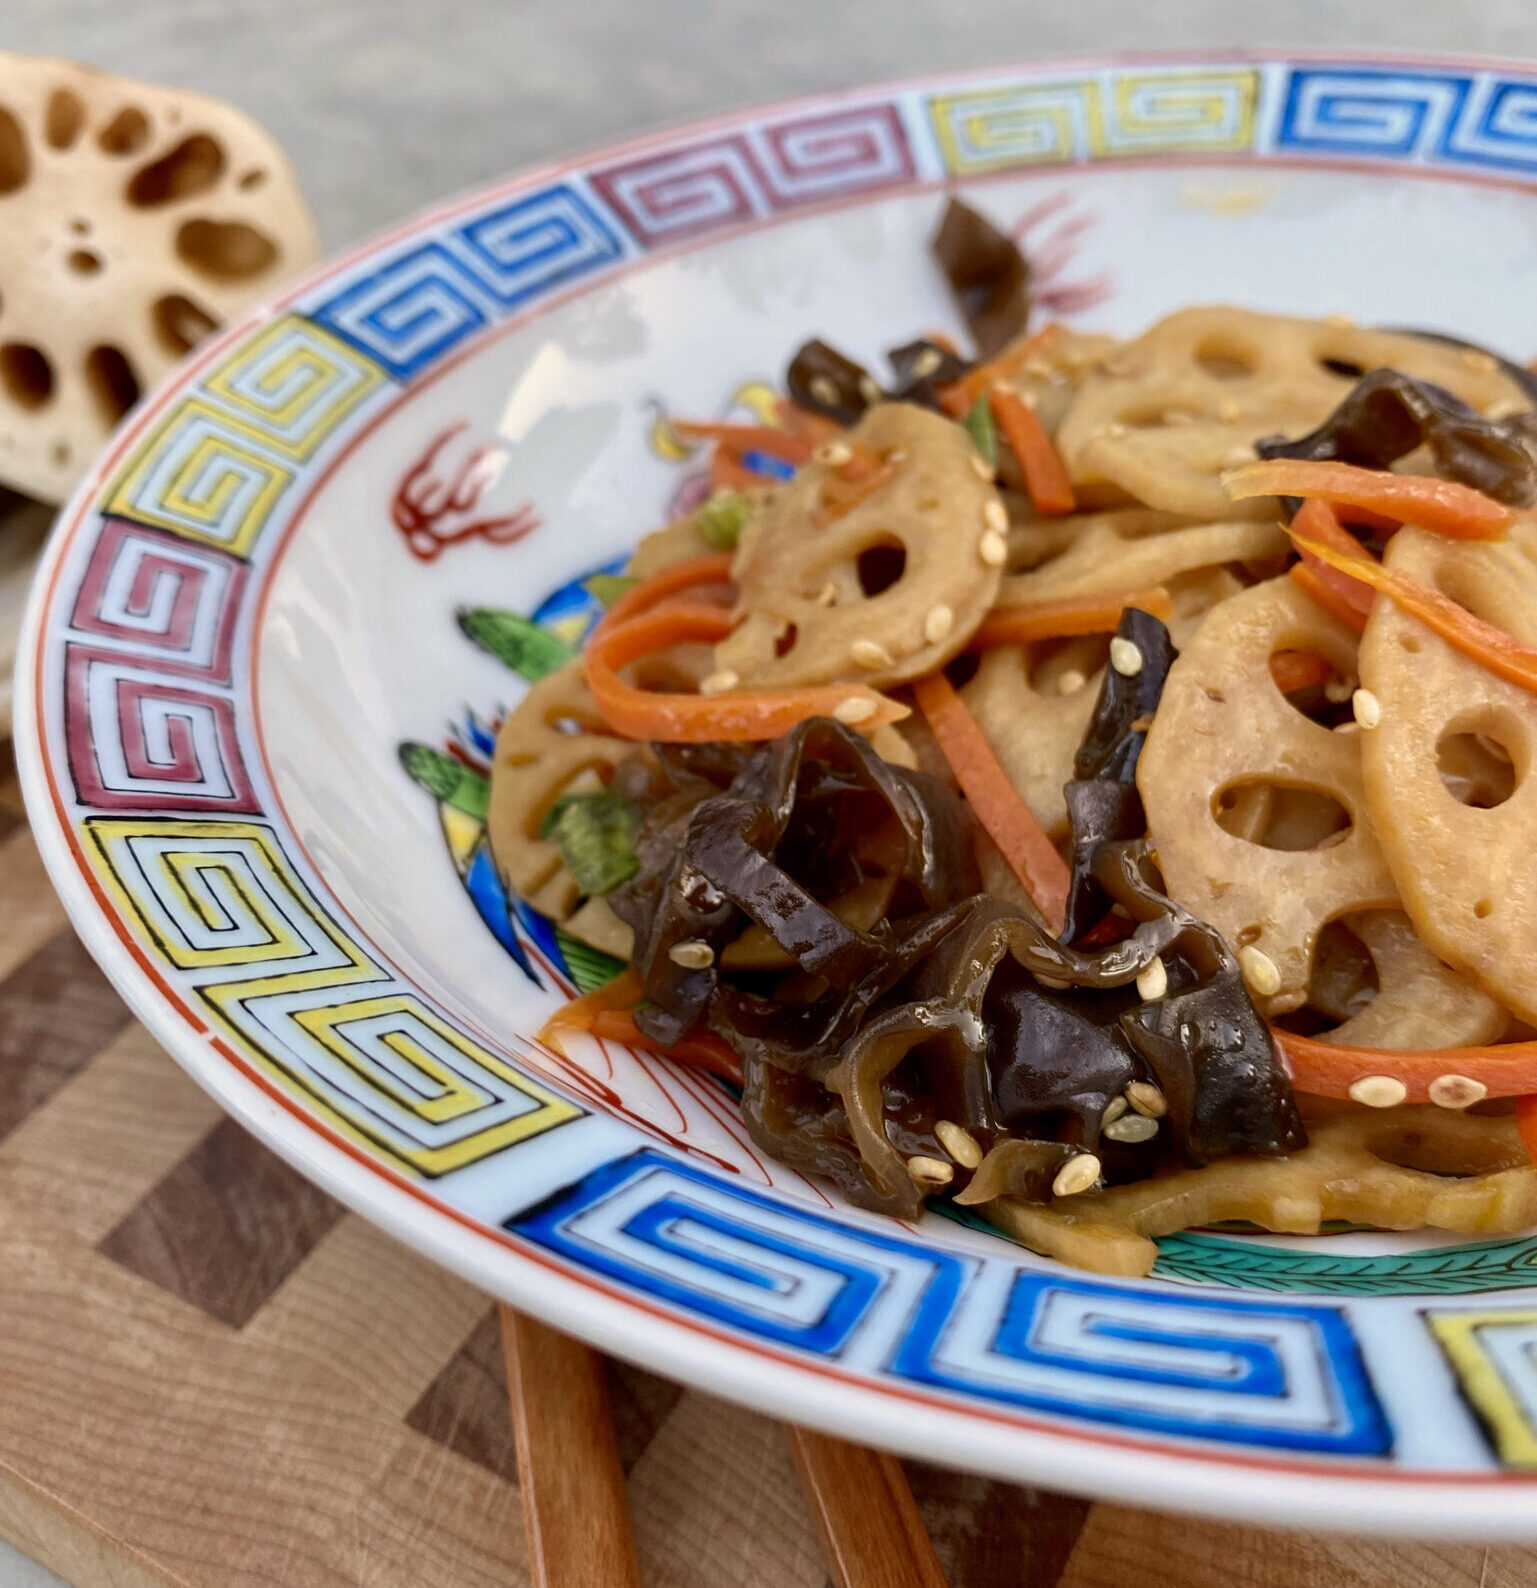
One of my favorites is Kinpira Renkon or Stir-fry lotus root.  Make a batch and store it in the fridge.  Super simple to make and a delicious accompaniment to rice.  I tweaked the recipe to include carrots and cloud ears (black cloud mushrooms).  Look for fresh lotus root in Asian supermarkets, it is mild in flavor, crunchy, and delish.   It also comes vacuum-packed, sliced, and ready to use.  If you can’t find it, Jicama might work.

Slice the lotus root and place it in water with a touch of vinegar.  Julienne the carrots, and soften the cloud ear mushrooms in warm water.  That’s it. The veggies are then sauteed’ in soy sauce, Mirin (cooking wine), and sesame oil.  Easy peasy.

Enjoy!

Simmered Lotus Root (Renkon no kinpira)


An easy Japanese stir fry veggie dish
Course Appetizer, Side Dish
Cuisine Asian, Asian-American, Japanese
Keyword black fungus, Carrots, Kimpira, lotus root
Prep Time 15 minutes
Cook Time 5 minutes

Ingredients

The Star

  • 2-2.5 cups lotus root peeled and thinly sliced
  • 2 Cups water or enough water to cover lotus root
  • 2 Tsp vinegar

The Supporting Cast

  • 1/2 cup carrots julienned
  • 1 T dried cloud ear mushrooms Once soaked will yield about 1/3 cup
  • 1 tbsp toasted sesame oil
  • 1 tbsp vegetable oil
  • 2 tbsp mirin
  • 2 tbsp soy sauce or tamari

To Finish:

  • 1 tsp toasted sesame seeds
  • dash of chili flakes or 1 small fresh chili pepper, thinly sliced, for milder version de-seed and de-vein pepper optional (shichimi togarashi is recommended)
  • 1 stalk green onion, diced optional

Instructions

  • Soak the lotus slices in cold water and vinegar for 10 minutes and drain and rinse a couple of times.
  • In a large saucepan over high heat, warm both oils. Once hot, add the lotus root slices and cook until they become soft, 4-5 minutes. Add carrots halfway through cooking time. Stir in the mirin, soy sauce/tamari and reduce heat to low. Add cloud ears when you add the sauce ingredients to pan.
  • Simmer until the marinade has almost disappeared.
  • Remove from heat, sprinkle with sesame seeds and shichimi togarashi prior to serving.
Whip It, Whip It Good (Coconut Whipped Cream)

Whip It, Whip It Good (Coconut Whipped Cream)

We’re baaackkkkkkk!  In person meetings, dinners in restaurants instead of take-out, classes on campus instead of on Zoom, we are adjusting to living with COVID.  With midterms just around the corner, our political action group hosted a Democracy Dinner to re-engage and see folks in person.  What better way to entice folks to join us than with food!

Dinner was outside, we live in California, where grillin and chillin is a distinct possibility 24-7-365.  I stepped up to create a main dish and dessert for our Vegan dinner guests. The main dish was a no-brainer,  Spicy Noodle Salad, vegan, plus perfect with whatever came off the grill, protein or veggie. The only glitch was the original recipe called for honey in the dressing.  Made by bees, honey is on the no-fly list for vegans.  I substituted Agave Syrup for the honey which worked seamlessly.  Mission accomplished, onto dessert.

Pudding It All Together

The night of the last presidential elections, as I nervously watched the results roll in, I headed to the kitchen to make something to eat to calm my frayed nerves.  I landed on NYTcooking’s recipe for a Chocolate Pudding made with Oat Milk.  A snap to make, it was chilling in the fridge within minutes.  Intensely chocolate, which appealed to my grown-up tastebuds, while the smooth, creamy texture of the pudding made me feel like a kid again.  AND, it’s vegan, oh yeah. Dessert solved.

Nifty Thrifty Wow Factor

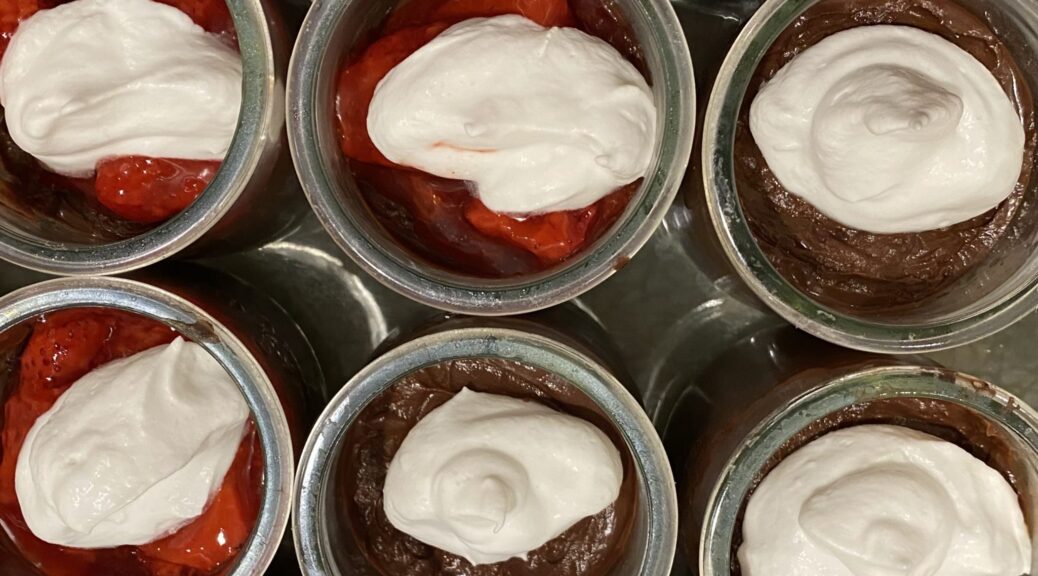
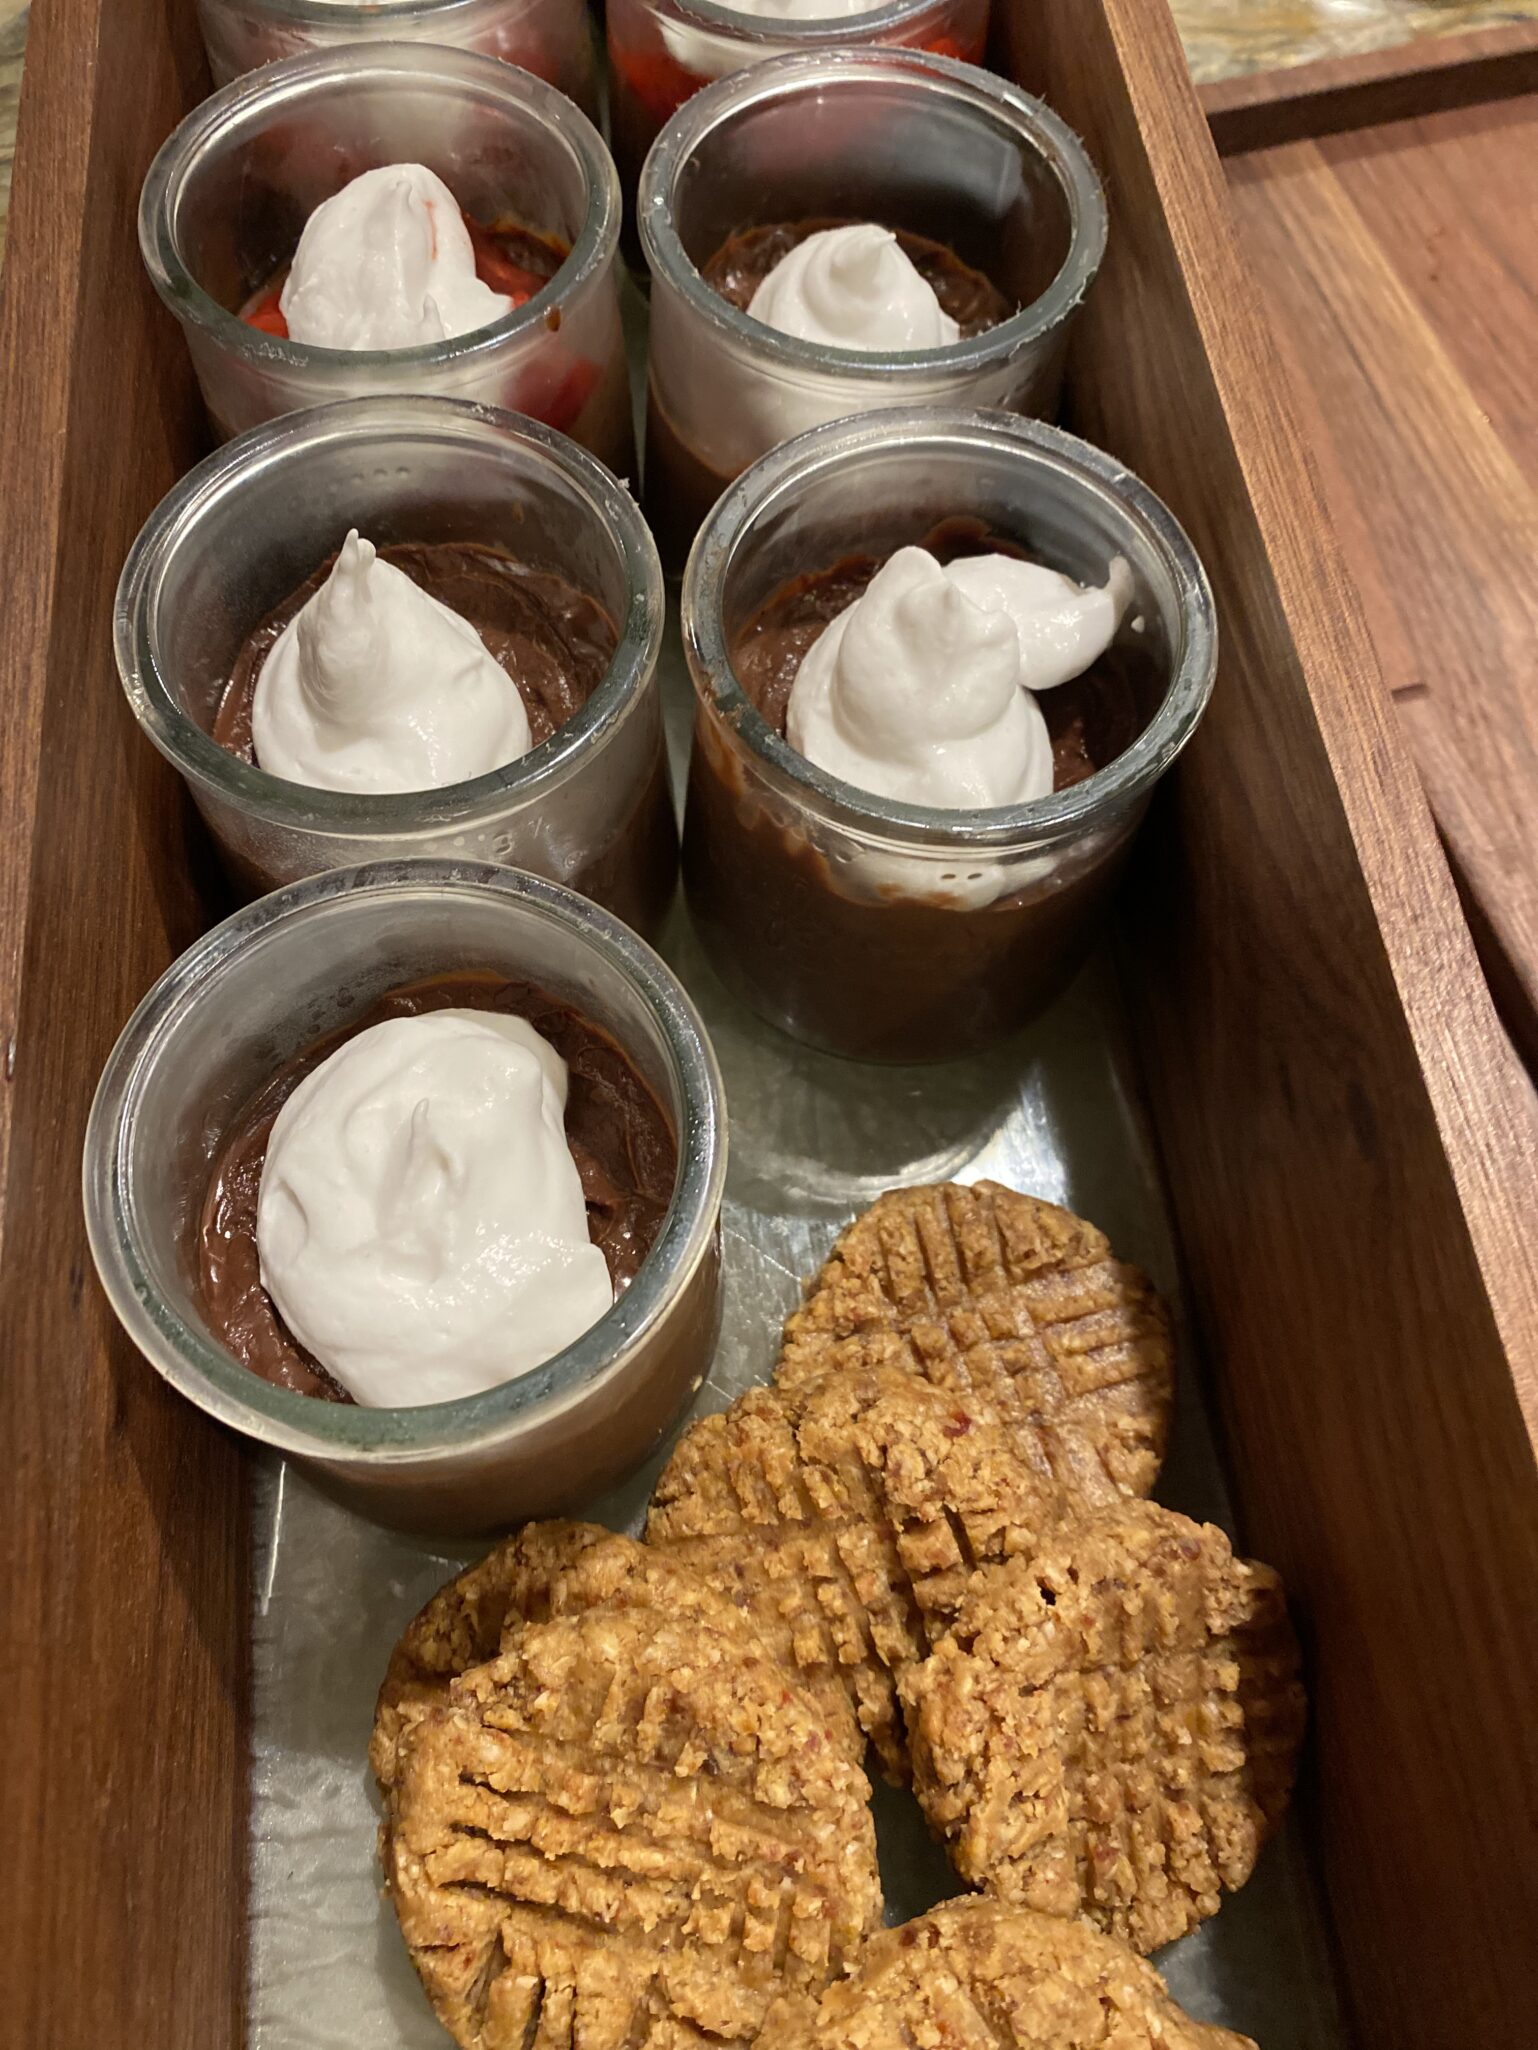
A layer of strawberry compote in between the chocolate pudding and a voluptuous coconut whipped cream on top gave the pudding a little more panache.   I rationalized splurging on expensive French yogurt by repurposing those cute little glass yogurt jars for the pudding.

Whip It, Whip It Good

I LOVE whipped cream.  So what’s a girl to do if she can’t have the perfect topping for vegan dessert?  Coconut Milk to the rescue.  A favorite vegan, gluten-free site, Minimalist Baker was ground zero for tips on how to make a delicious vegan whipped cream from coconut milk.

Start the day before you need whipped cream.  Why?  You need to chill the coconut milk to separate the cream from the liquid.  You will be using the cream part only.

My two favorite brands of coconut milk are Chaokoh and Aroy-D.  Having Aroy-D in my pantry, I placed a can in the fridge.  The overnight chill in the fridge is key to creating two distinct layers.  Aroy-D worked perfectly.  Both brands are found in most Asian Grocery stores.  Minimalist Baker likes Whole Foods 365 Coconut Milk, which might be more accessible.

Open the can, the solids will be on top, scoop all of the solidified coconut milk out and place in a chilled mixing bowl then place the coconut solids in a chilled bowl.  Whip for 30 seconds then add powdered sugar and vanilla.  I used 1/2 cup powdered sugar and it was pretty sweet. The range is 1/4 cup to 3/4 cup of sugar which you can to taste, definitely start with 1/4 cup and go from there.  Beat an additional minute or until light and fluffy.  Don’t overbeat as the cream will break down.

This is the perfect vegan substitute for regular whipped cream!  But, it is so good I would make it even if I didn’t need a vegan alternative.

Ridiculously easy Vegan Peanut Butter Cookies,Vegan Peanut Butter Cookies, like Fred and Ginger, a perfect pairing with Chocolate Puddin

To half of the puddings I added a layer of strawberry compote. Adapted from Sally’s Baking Addiction, it’s easy and delicious.  Think of it as additional bling.

Coconut Whipped Cream

A great vegan option for whipped cream, so good you may want to use this vegan or not!
Course Dessert
Cuisine American
Prep Time 15 minutes
Chill Time 1 day
Servings 4

Ingredients

  • 1 14-ounce can coconut cream or full fat coconut milk* (Savoy Coconut Cream, Aroy-D Coconut Milk, and Nature's Charm Coconut Whipping Cream work best!)
  • 1/4 - 3/4 cup icing/powdered sugar use organic to ensure vegan friendliness
  • 1/2 tsp vanilla extract optional

Instructions

  • Chill your coconut cream or coconut milk in the refrigerator overnight (see notes for top brands!), being sure not to shake or tip the can to encourage separation of the cream and liquid. See notes for more insight / troubleshooting.
  • The next day, chill a large mixing bowl 10 minutes before whipping.
  • Remove the coconut cream or milk from the fridge without tipping or shaking and remove the lid. Scrape out the top, thickened cream and leave the liquid behind (reserve for use in smoothies).
  • Note: if your coconut milk didn't harden, you probably just got a dud can without the right fat content. In that case, you can try to salvage it with a bit of tapioca flour - 1 to 4 Tbsp (amount as original recipe is written // adjust if altering batch size)- during the whipping process. That has worked for me several times.
  • Place hardened cream in your chilled mixing bowl. Beat for 30 seconds with a mixer until creamy. Then add vanilla (optional) and powdered sugar (or stevia) and mix until creamy and smooth - about 1 minute. Avoid overwhipping because it can cause separation. Taste and adjust sweetness as needed.
  • Use immediately or refrigerate - it will harden and set in the fridge the longer it's chilled. Will keep for up to 1 - 2 weeks!
  • Coconut whipped cream is perfect for topping desserts like pie, hot cocoa and ice cream. It's also ideal for french toast, pie fillings, mousse, and even no-churn ice cream!

Strawberry Sauce

Fresh strawberries in this topping for a quick, & easy topping that gives desserts that extra bling!
Course Sauce
Cuisine American
Keyword quick and easy, strawberries, strawberry sauce
Prep Time 15 minutes

Ingredients

  • 1 Tablespoon cornstarch
  • 3 Tablespoons cold water
  • 1 lb strawberries hulled and sliced in half
  • zest and juice from 1/2 small lemon
  • 1/4 cup granulated sugar 50g
  • 1 teaspoon vanilla extract

Instructions

  • In a small bowl, whisk the cornstarch and water together until all the cornstarch has dissolved.
  • Place the cornstarch mixture, along with the rest of the ingredients, into a small saucepan over medium heat. Using a wooden spoon or rubber spatula, stir the mixture as it cooks. Break up some of the strawberries as you stir.
  • Bring it to a simmer and allow to simmer for 5 minutes, stirring constantly. After 5 minutes, remove pan from the heat and allow to cool. Add vanilla extract. The mixture will thicken as it cools.
Cold Noodles with Tomatoes (Tomato Triple Play)

Cold Noodles with Tomatoes (Tomato Triple Play)

I have taken over tomato duties from the hubby who has given up on becoming an urban farmer.  We just haven’t had any luck with turning our garden into a summer veggie paradise.  My bounty from 5 tomato plants so far has been a grand total of 4 tiny red orbs 🤦🏻‍♀️

FORTUNATELY, we have a wonderful farmer’s market in town.

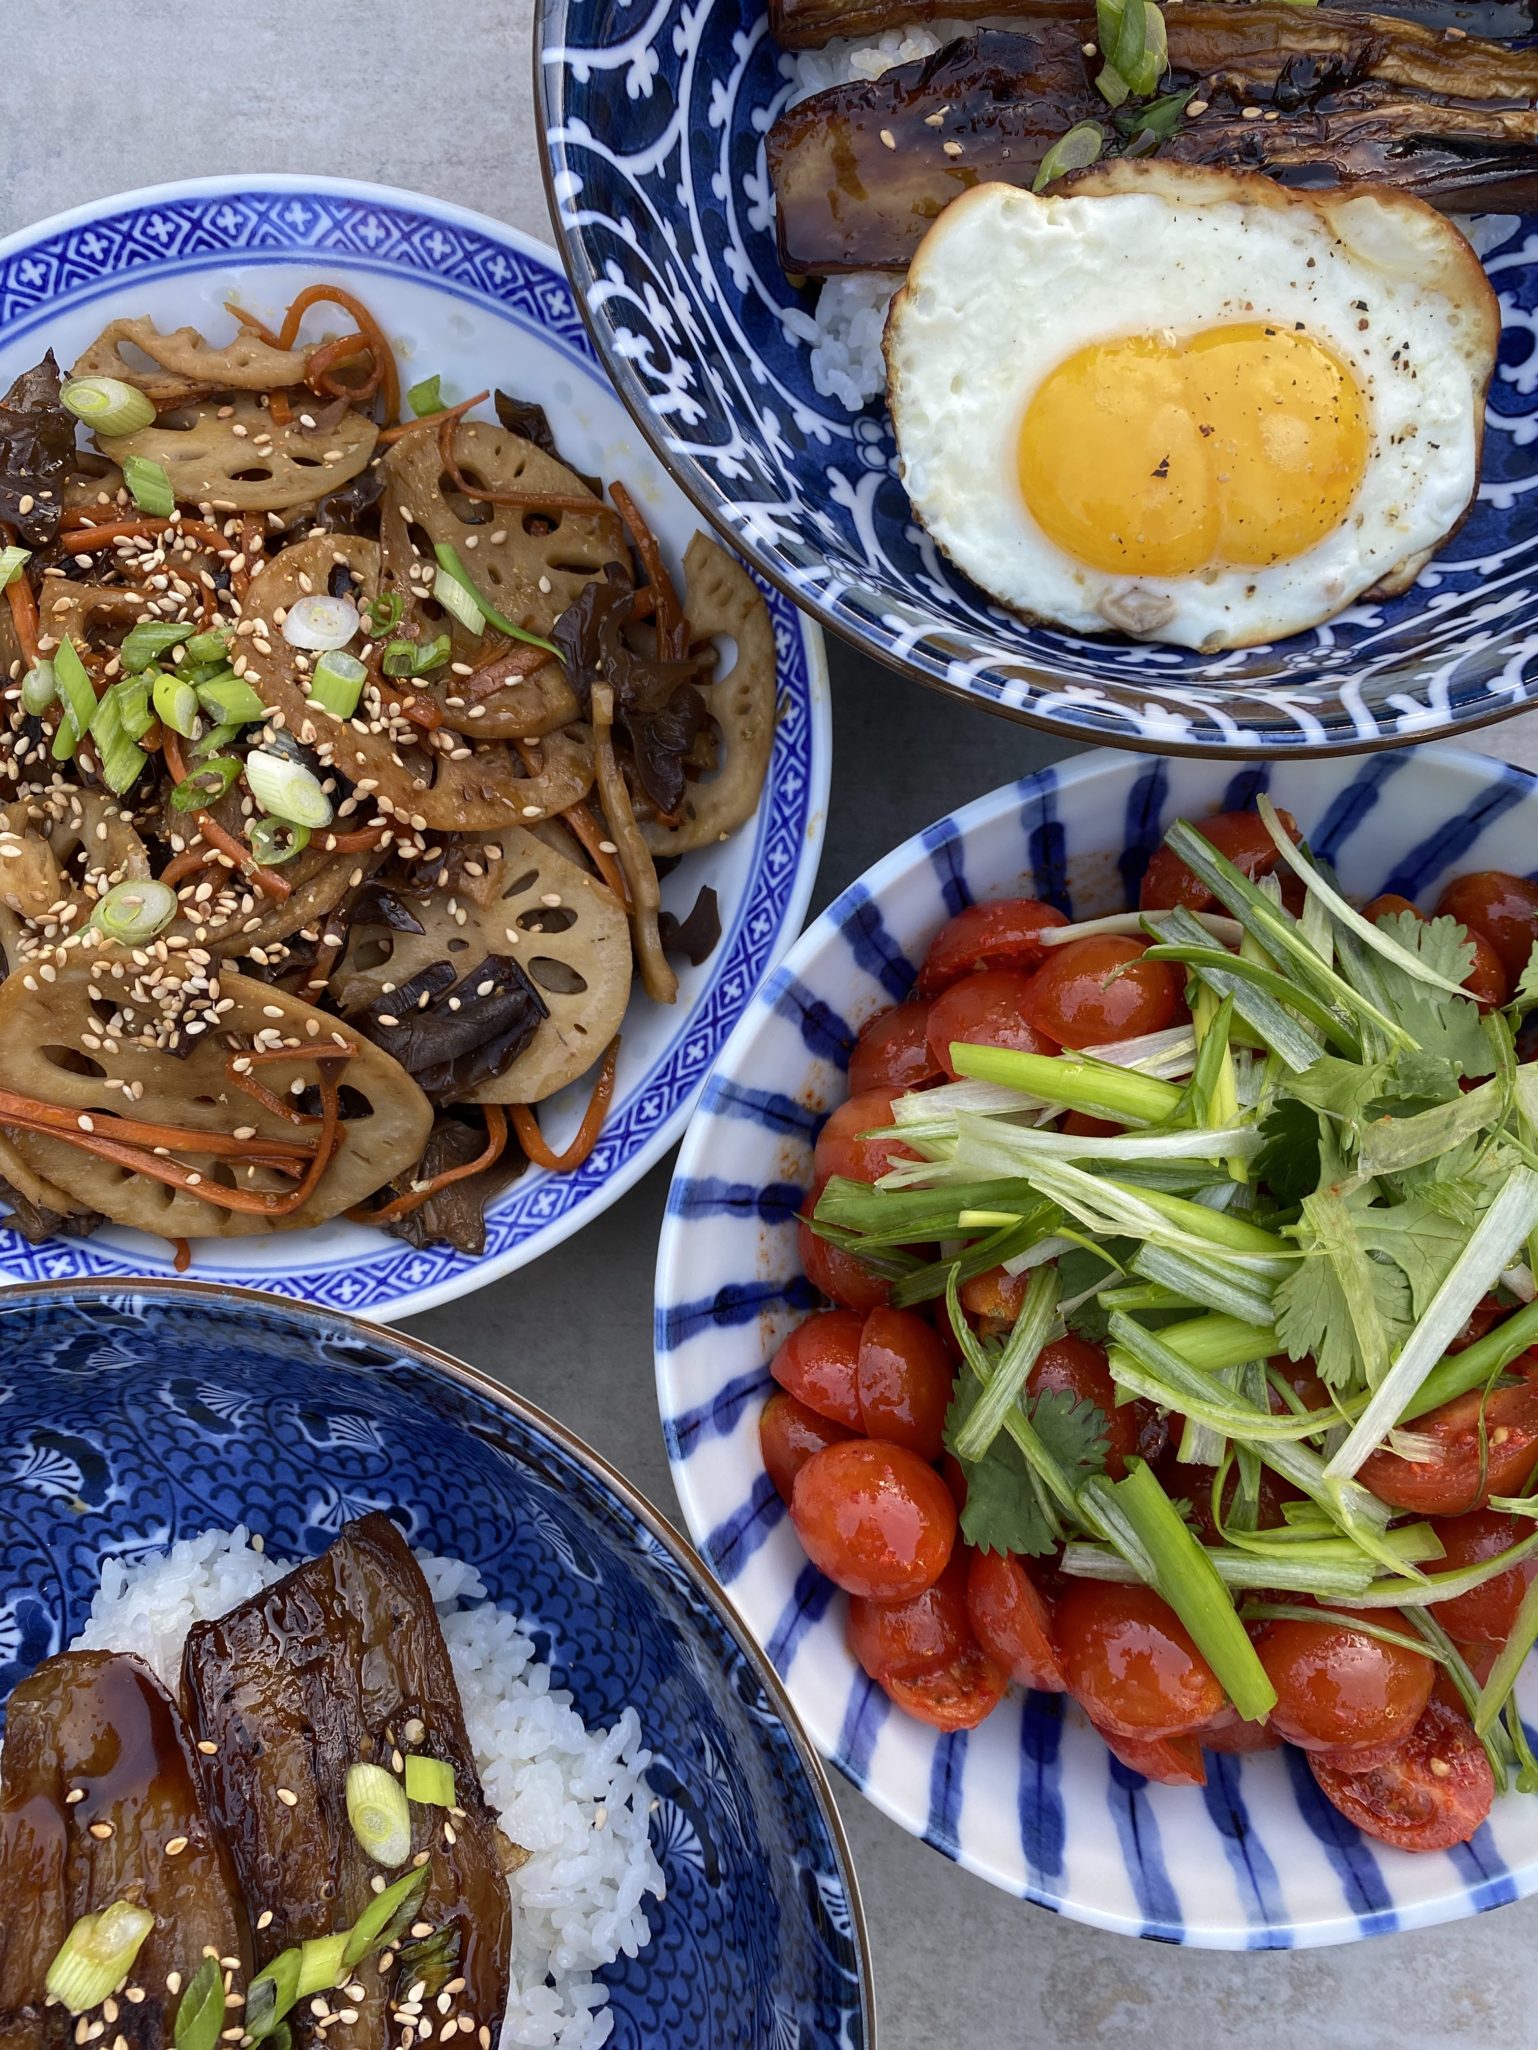
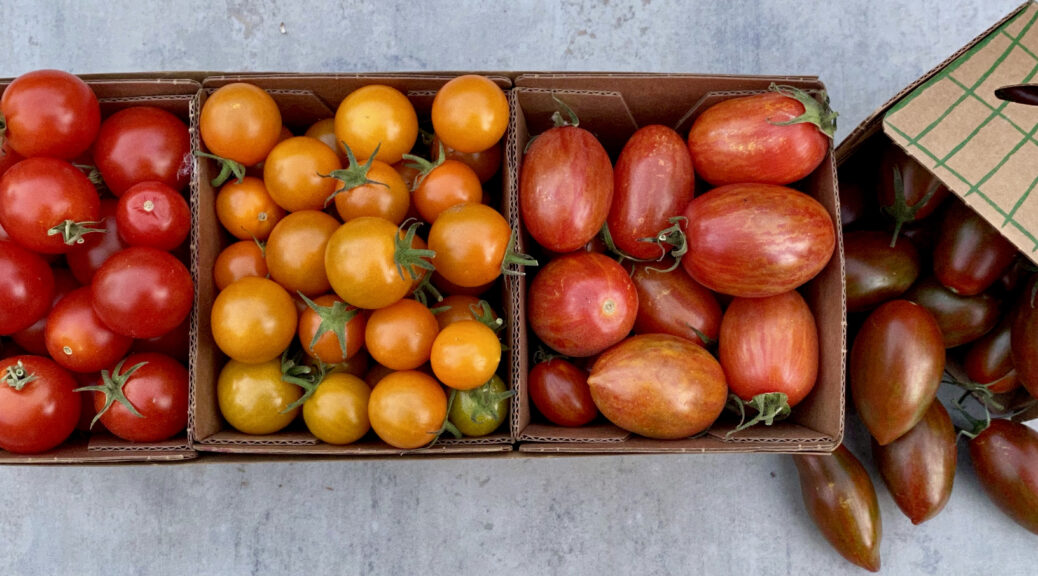
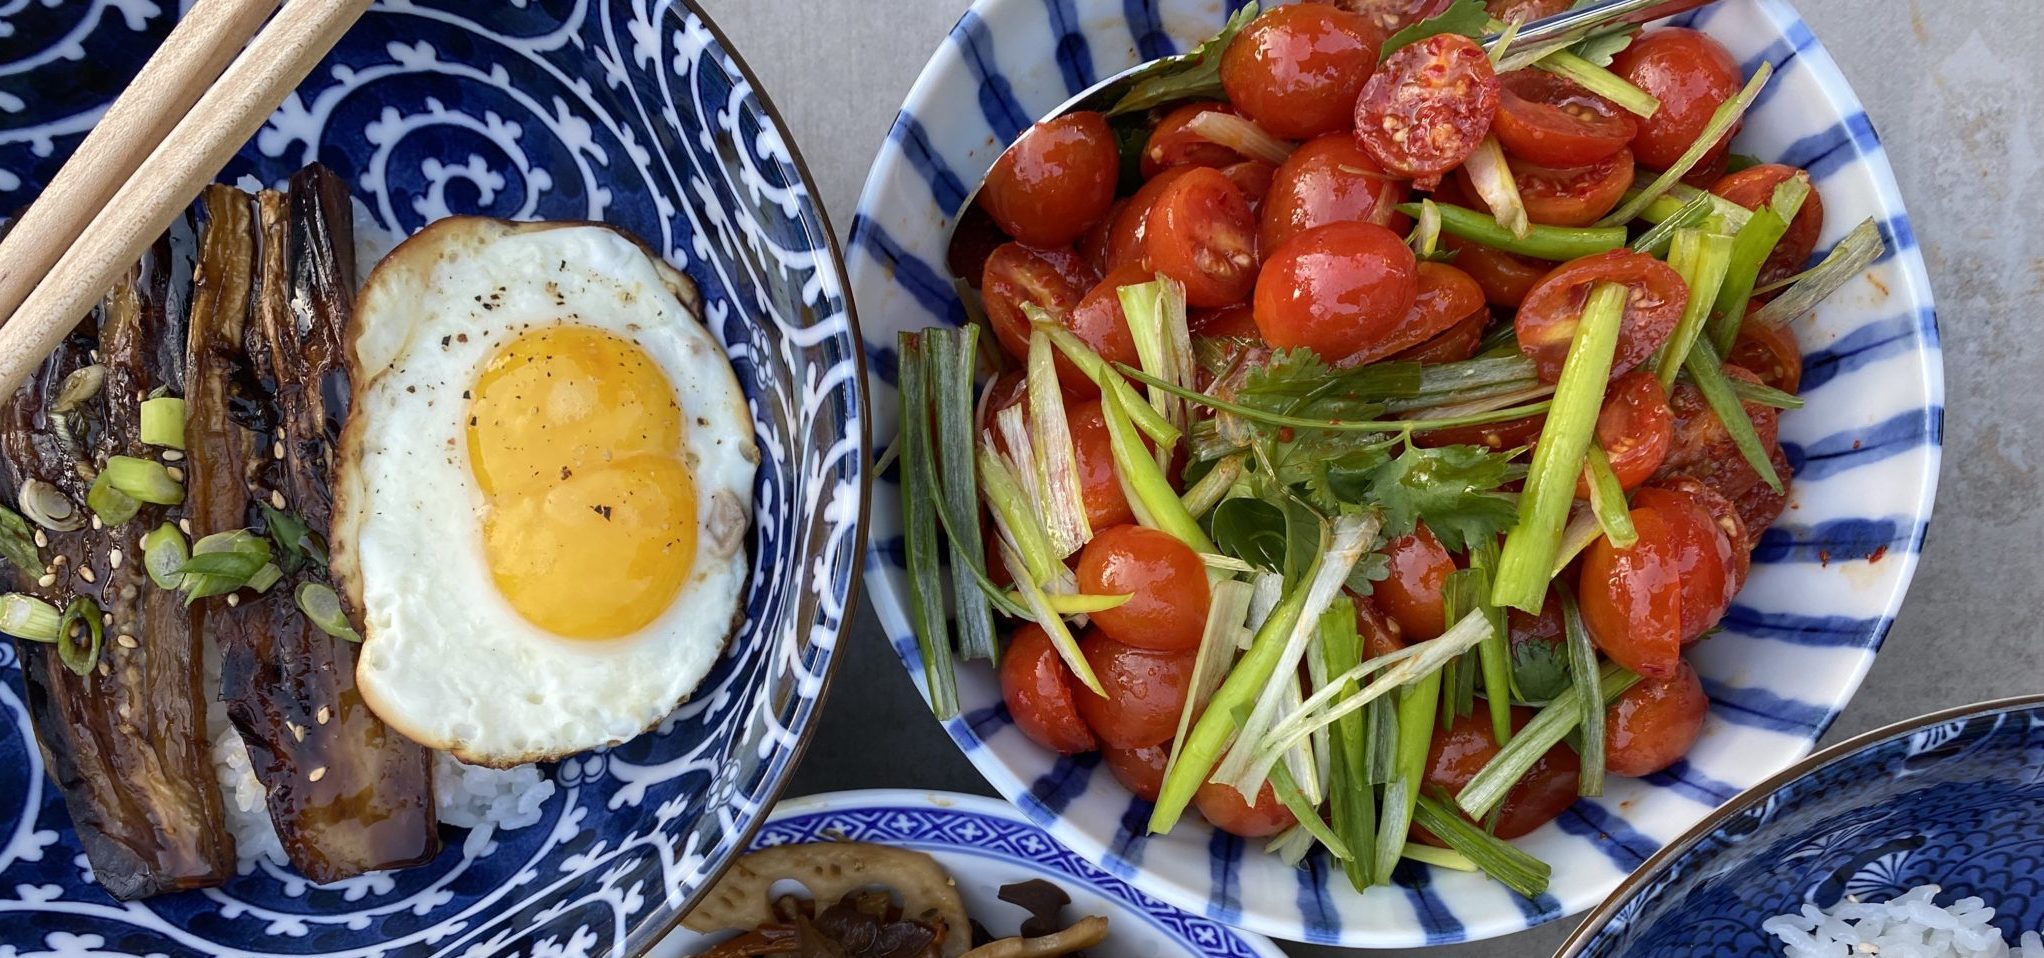
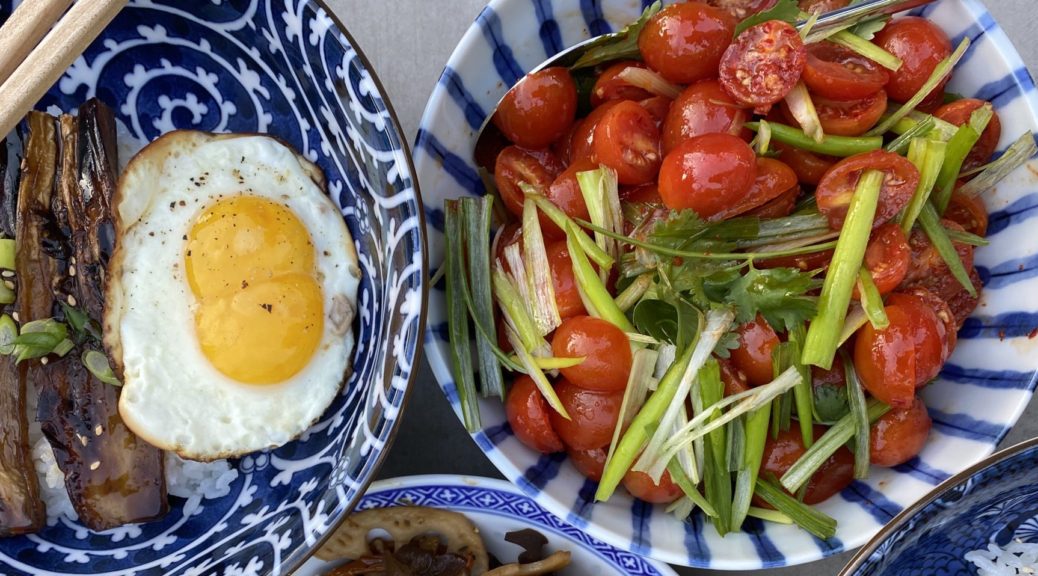
My haul from last week’s farmer’s market included a variety of cherry tomatoes including Bronze Torch Cherry Tomatoes (pictured on the right above) from Live Earth Farm in Watsonville. We have been buying Live Earth produce since my kids were toddlers and they’re in their twenties now!  The Bronze Torch Cherry Tomatoes are simply AH-MAZING.  Sweet, tomatoey, delicious.

Tomato Trifecta

I am a big fan of Eric Kim.  He writes regularly for New York Times Cooking and just published a wonderful cookbook, Korean American.  It is hands down one of my favorite books. His recipes are easy and delicious and his writing is even better.  You can also find him on YouTube making many of his recipes, he’s funny, personable, and charming.  I went to his book signing at Omnivore Books in SF, fun, I’m such a food groupie.

I love his Grape Tomato Quick Kimchi which I make all the time.  Serve as Banchan (side dish-pictured on the right above) one day and as a sauce over noods the next day.  It is downright delicious.  As soon as I saw his Cold Noodle with Tomatoes recipe I jotted it down on my MAKE ASAP list.  It is so easy and incredibly delicious.  It should go on your list too.

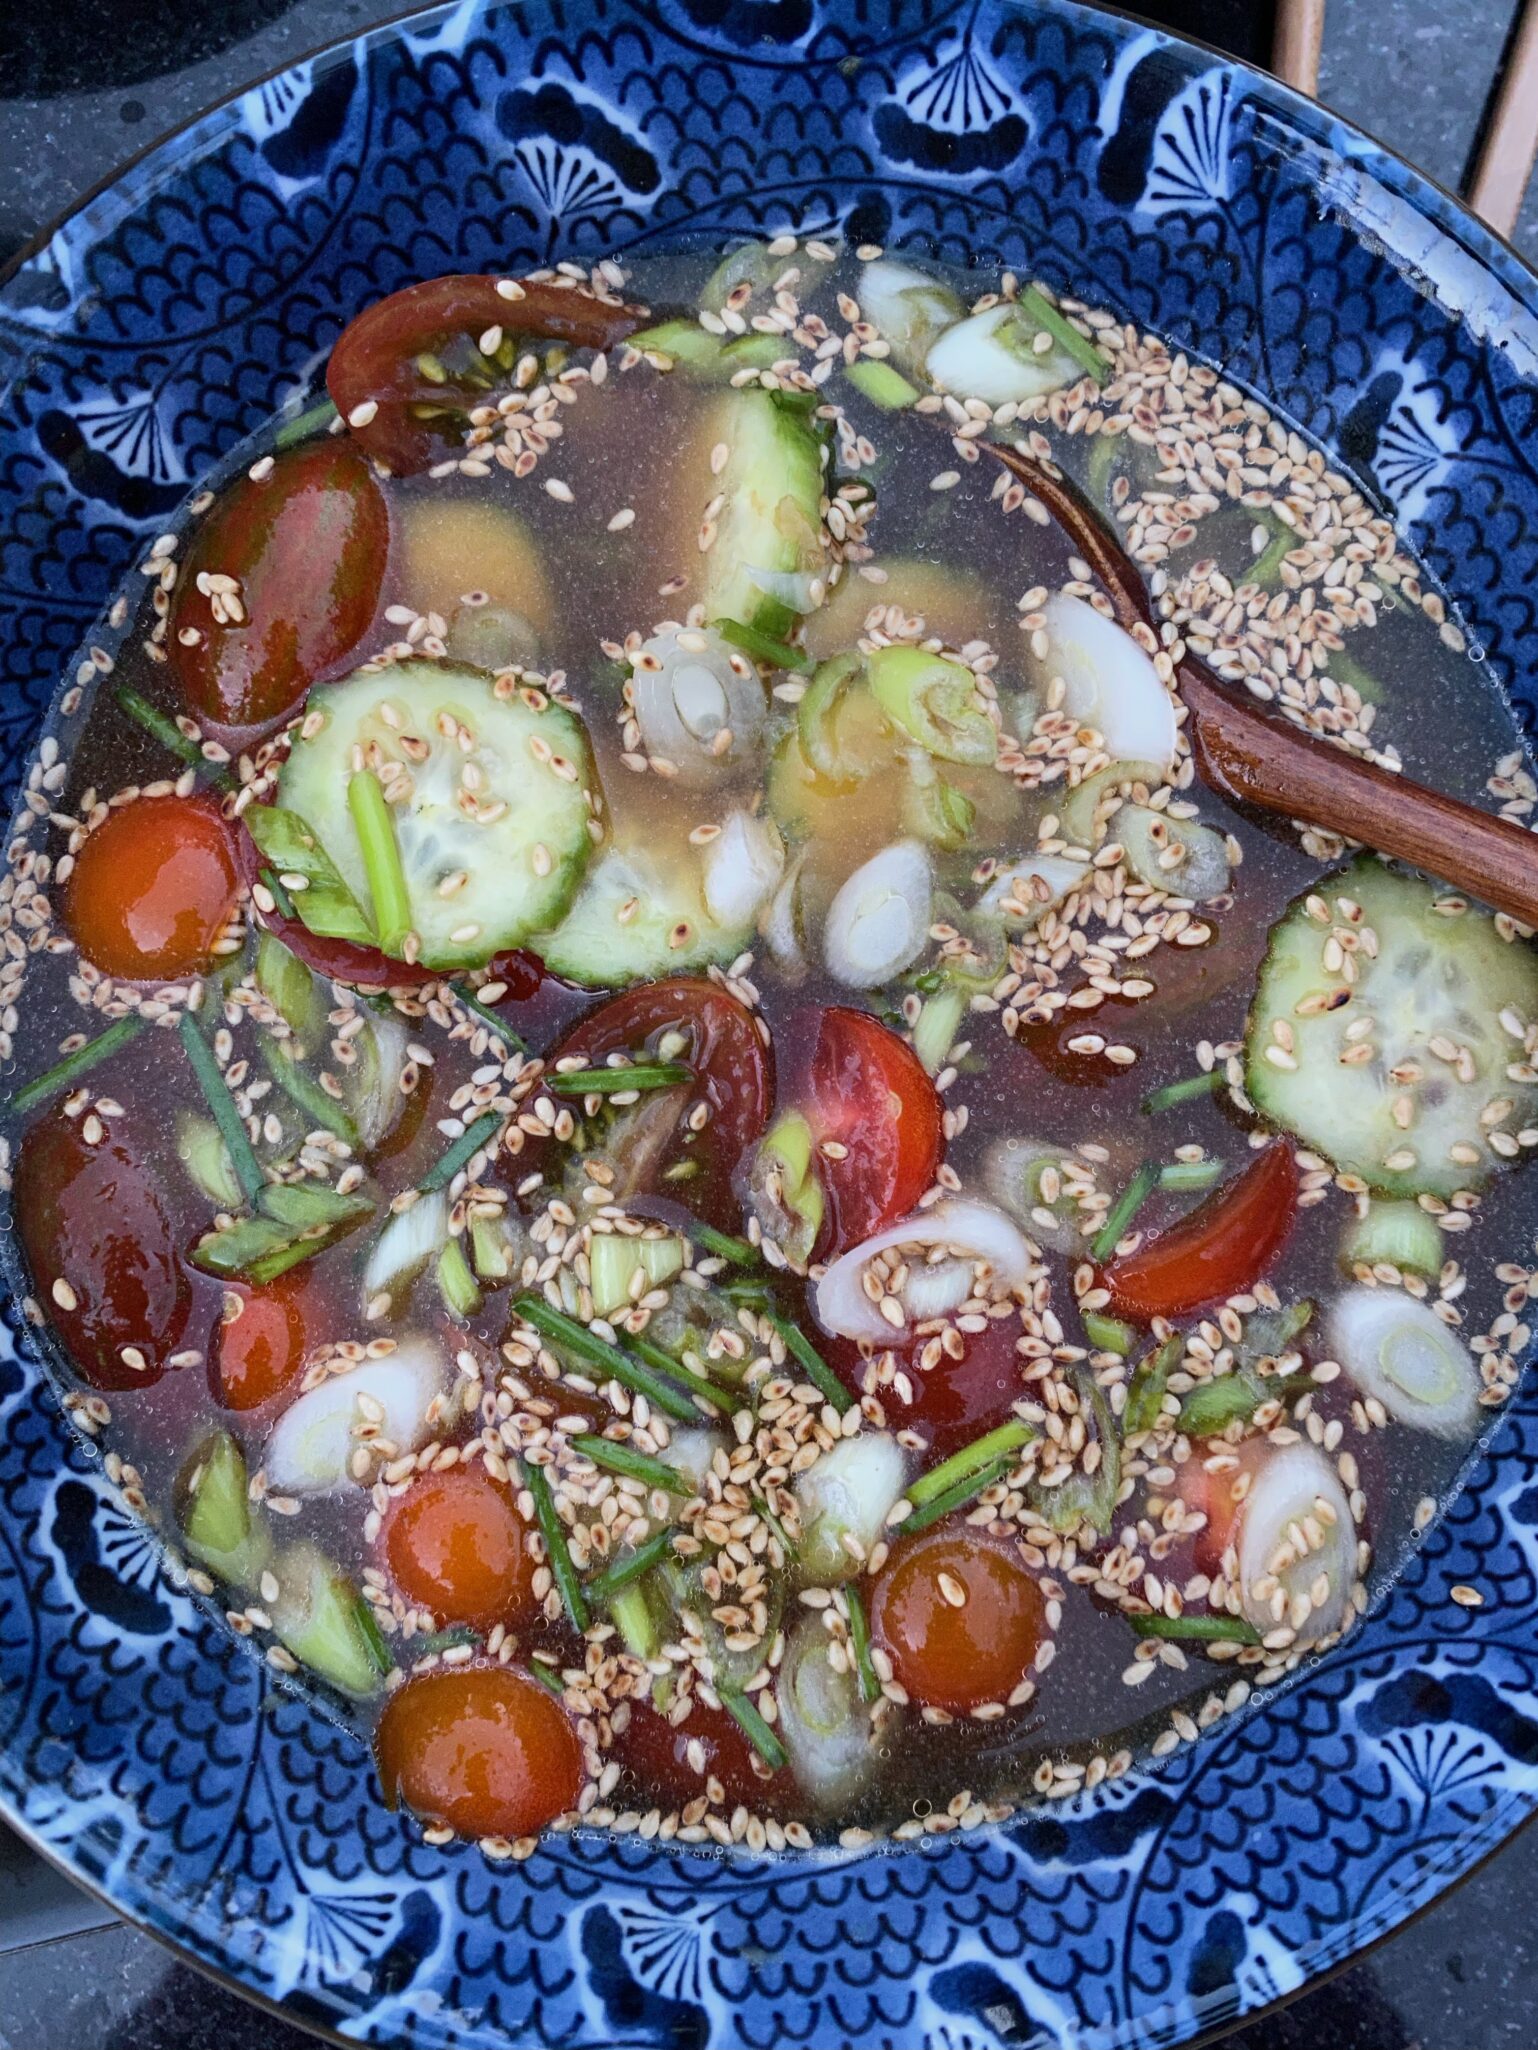
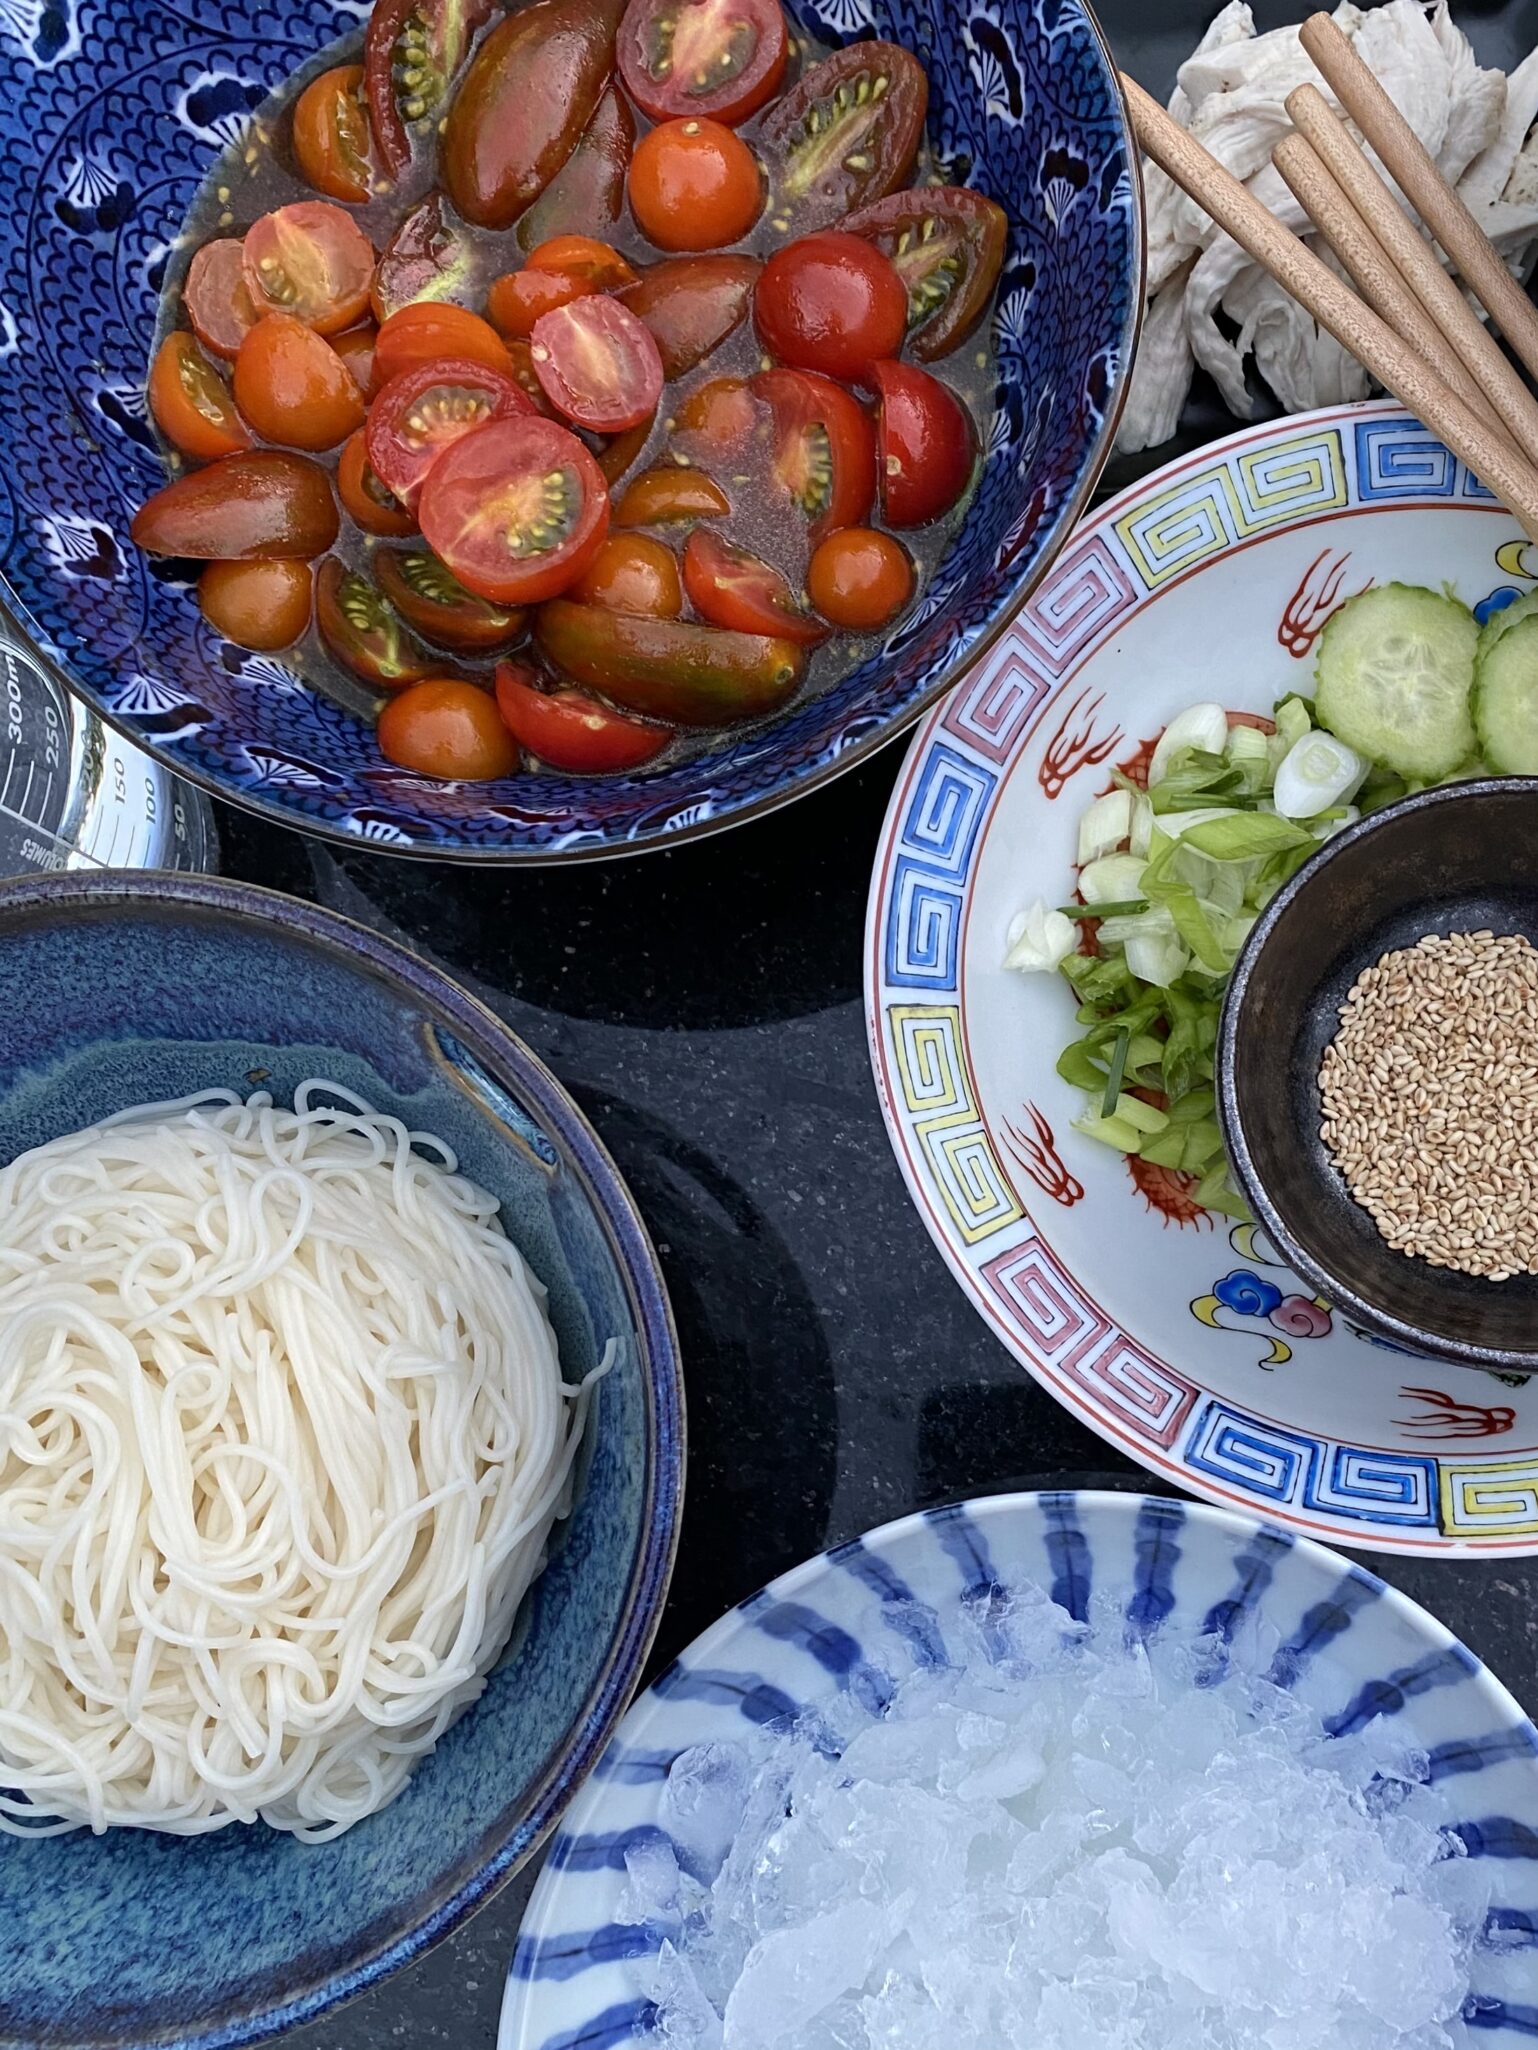
Start with cherry tomatoes, slice them in half, and sprinkle with salt.  Let the tomatoes sit in the bowl while you put together the rest of the dish.  No need to use a strainer as the juices from the salted tomatoes become part of the broth.  Mince garlic, get out the rice vinegar, soy sauce, Dijon mustard, and sesame oil, and toss it all in a bowl along with the tomatoes.  Next, add cold-filtered or bottled water to the bowl (use water that tastes good).  Add diced scallions, and slices of radishes (the little red ones) or cucumbers to the broth. Set the broth aside.

Here’s the Hard Part

How to cook your somen.  DO NOT COOK YOUR SOMEN while you are getting the other components together. Make the broth and set it aside.  Focus on the noods so you don’t overcook them.  For somen (thin Japanese wheat noodles), start with plenty of unsalted water.  Somen has salt in it. If you use too little water, the noods will absorb too much water because of the salinity. Watch them like a hawk, and stir them with chopsticks or tongs while cooking to separate the noodles, this takes 3-4 minutes TOPS.  Remove from heat, rinse thoroughly under cold water and drain well.

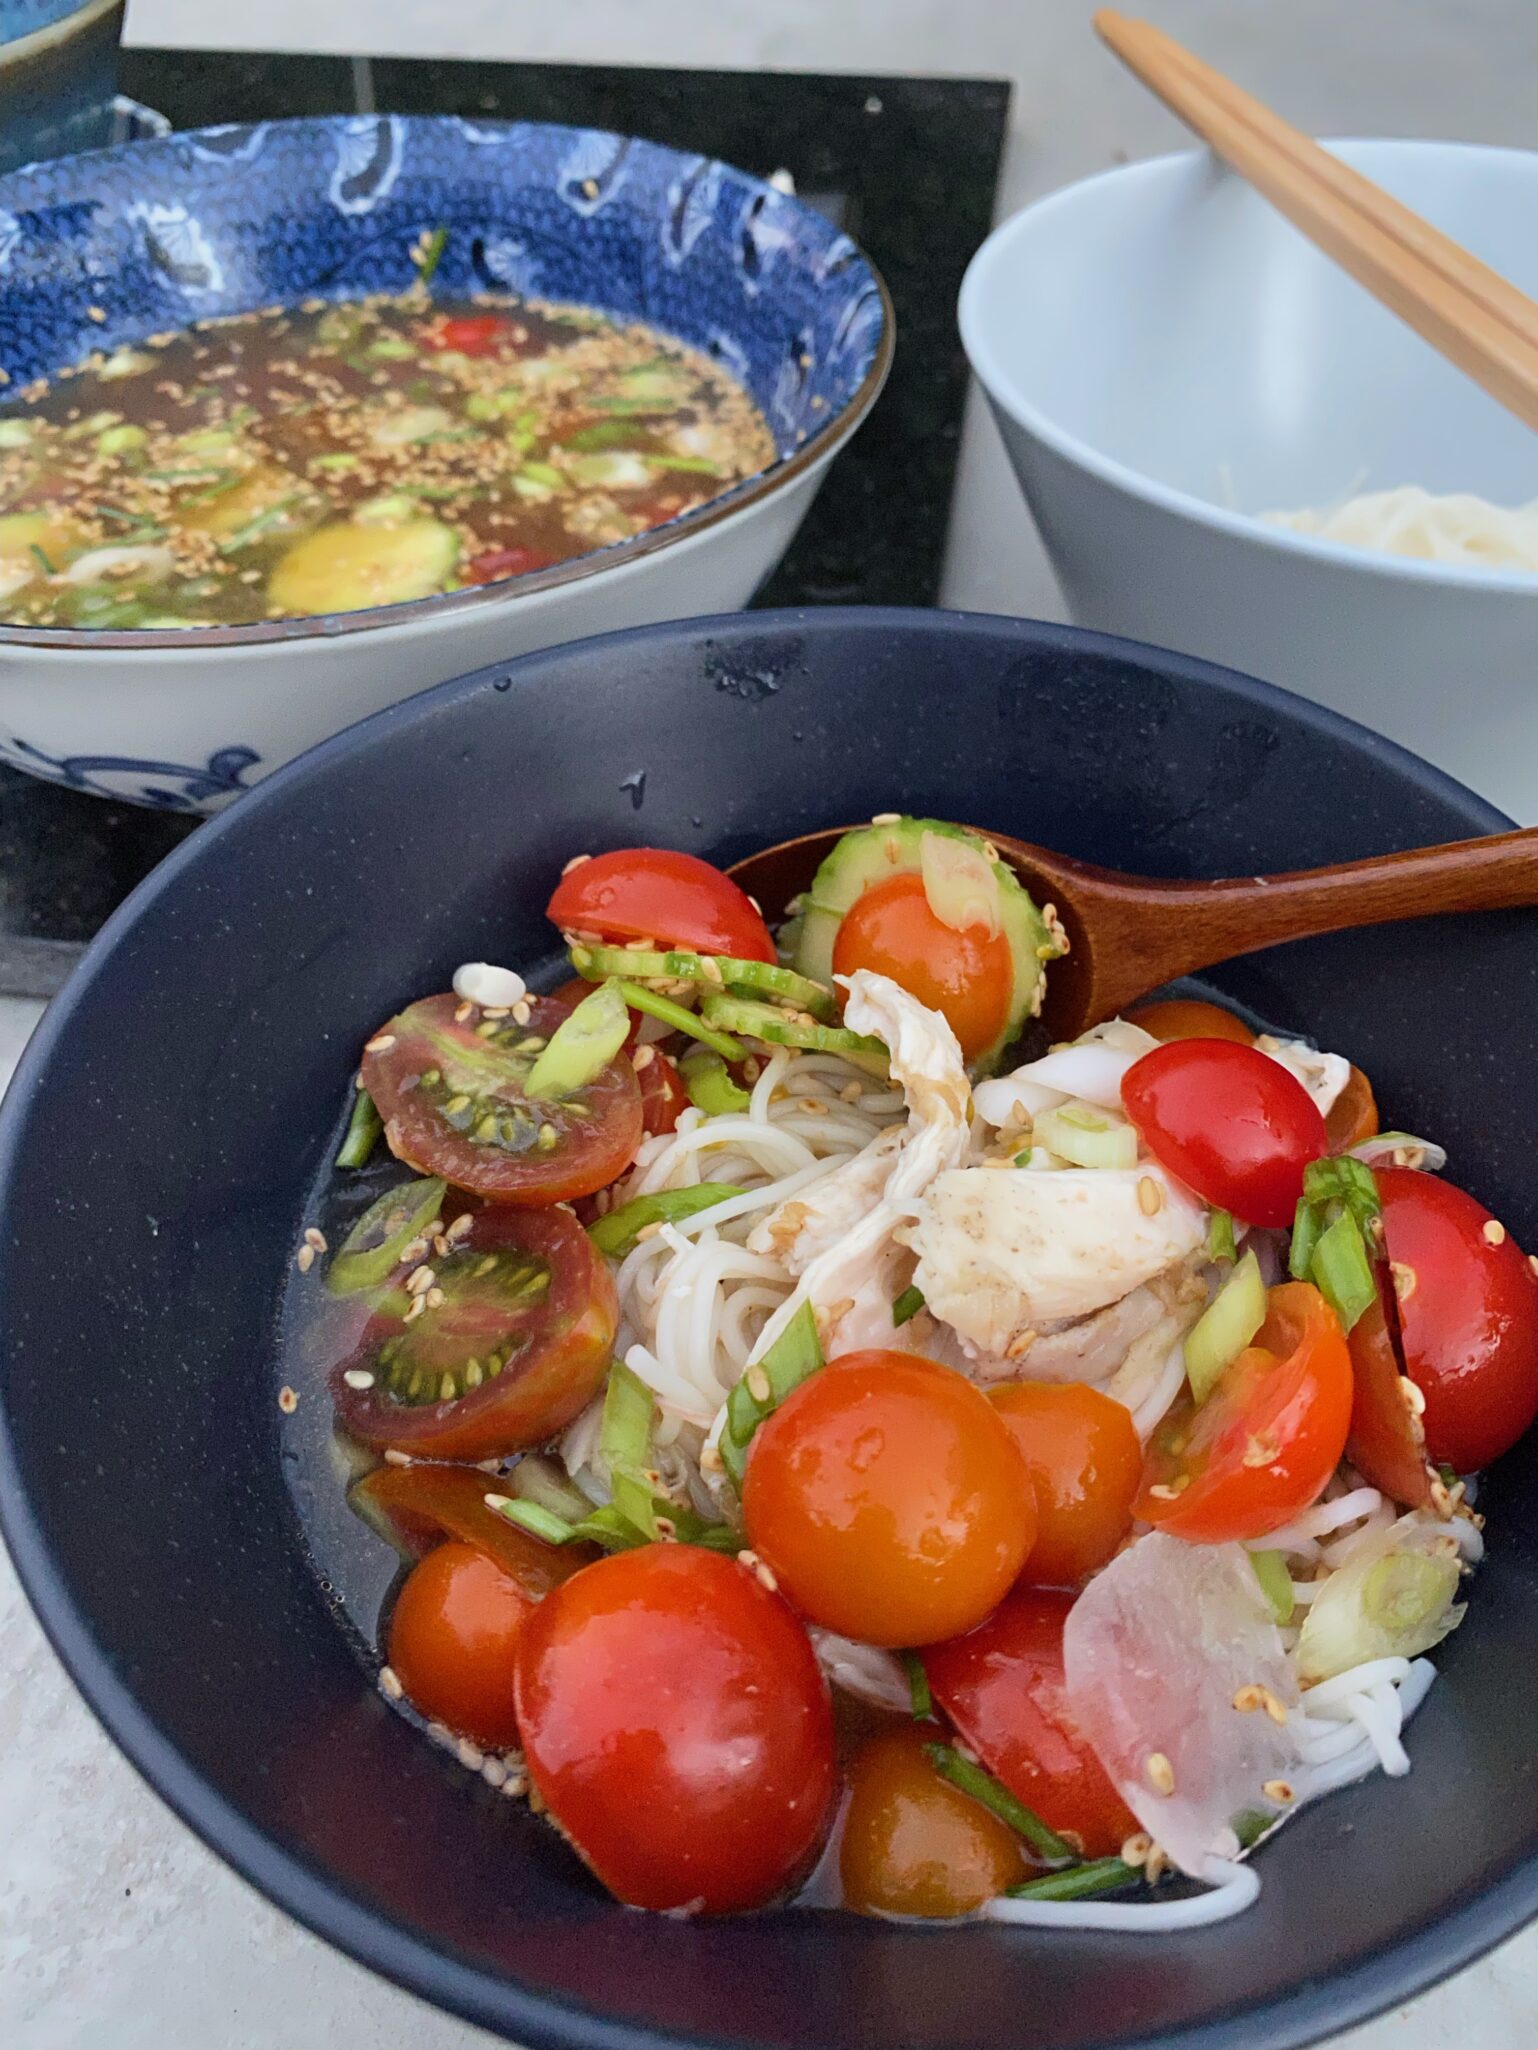
Before serving, twirl noodles into a bundle and place them in a bowl.  Add crushed ice to the tomatoes and pour it over your noodles.  Garnish with additional scallions and sesame seeds.  It’s so refreshing, the perfect summer meal.  Carnivores, feel free to add shrimp or chicken or half of a hard-boiled egg.   Serve asap on a hot summer day.  Sooooooo good.

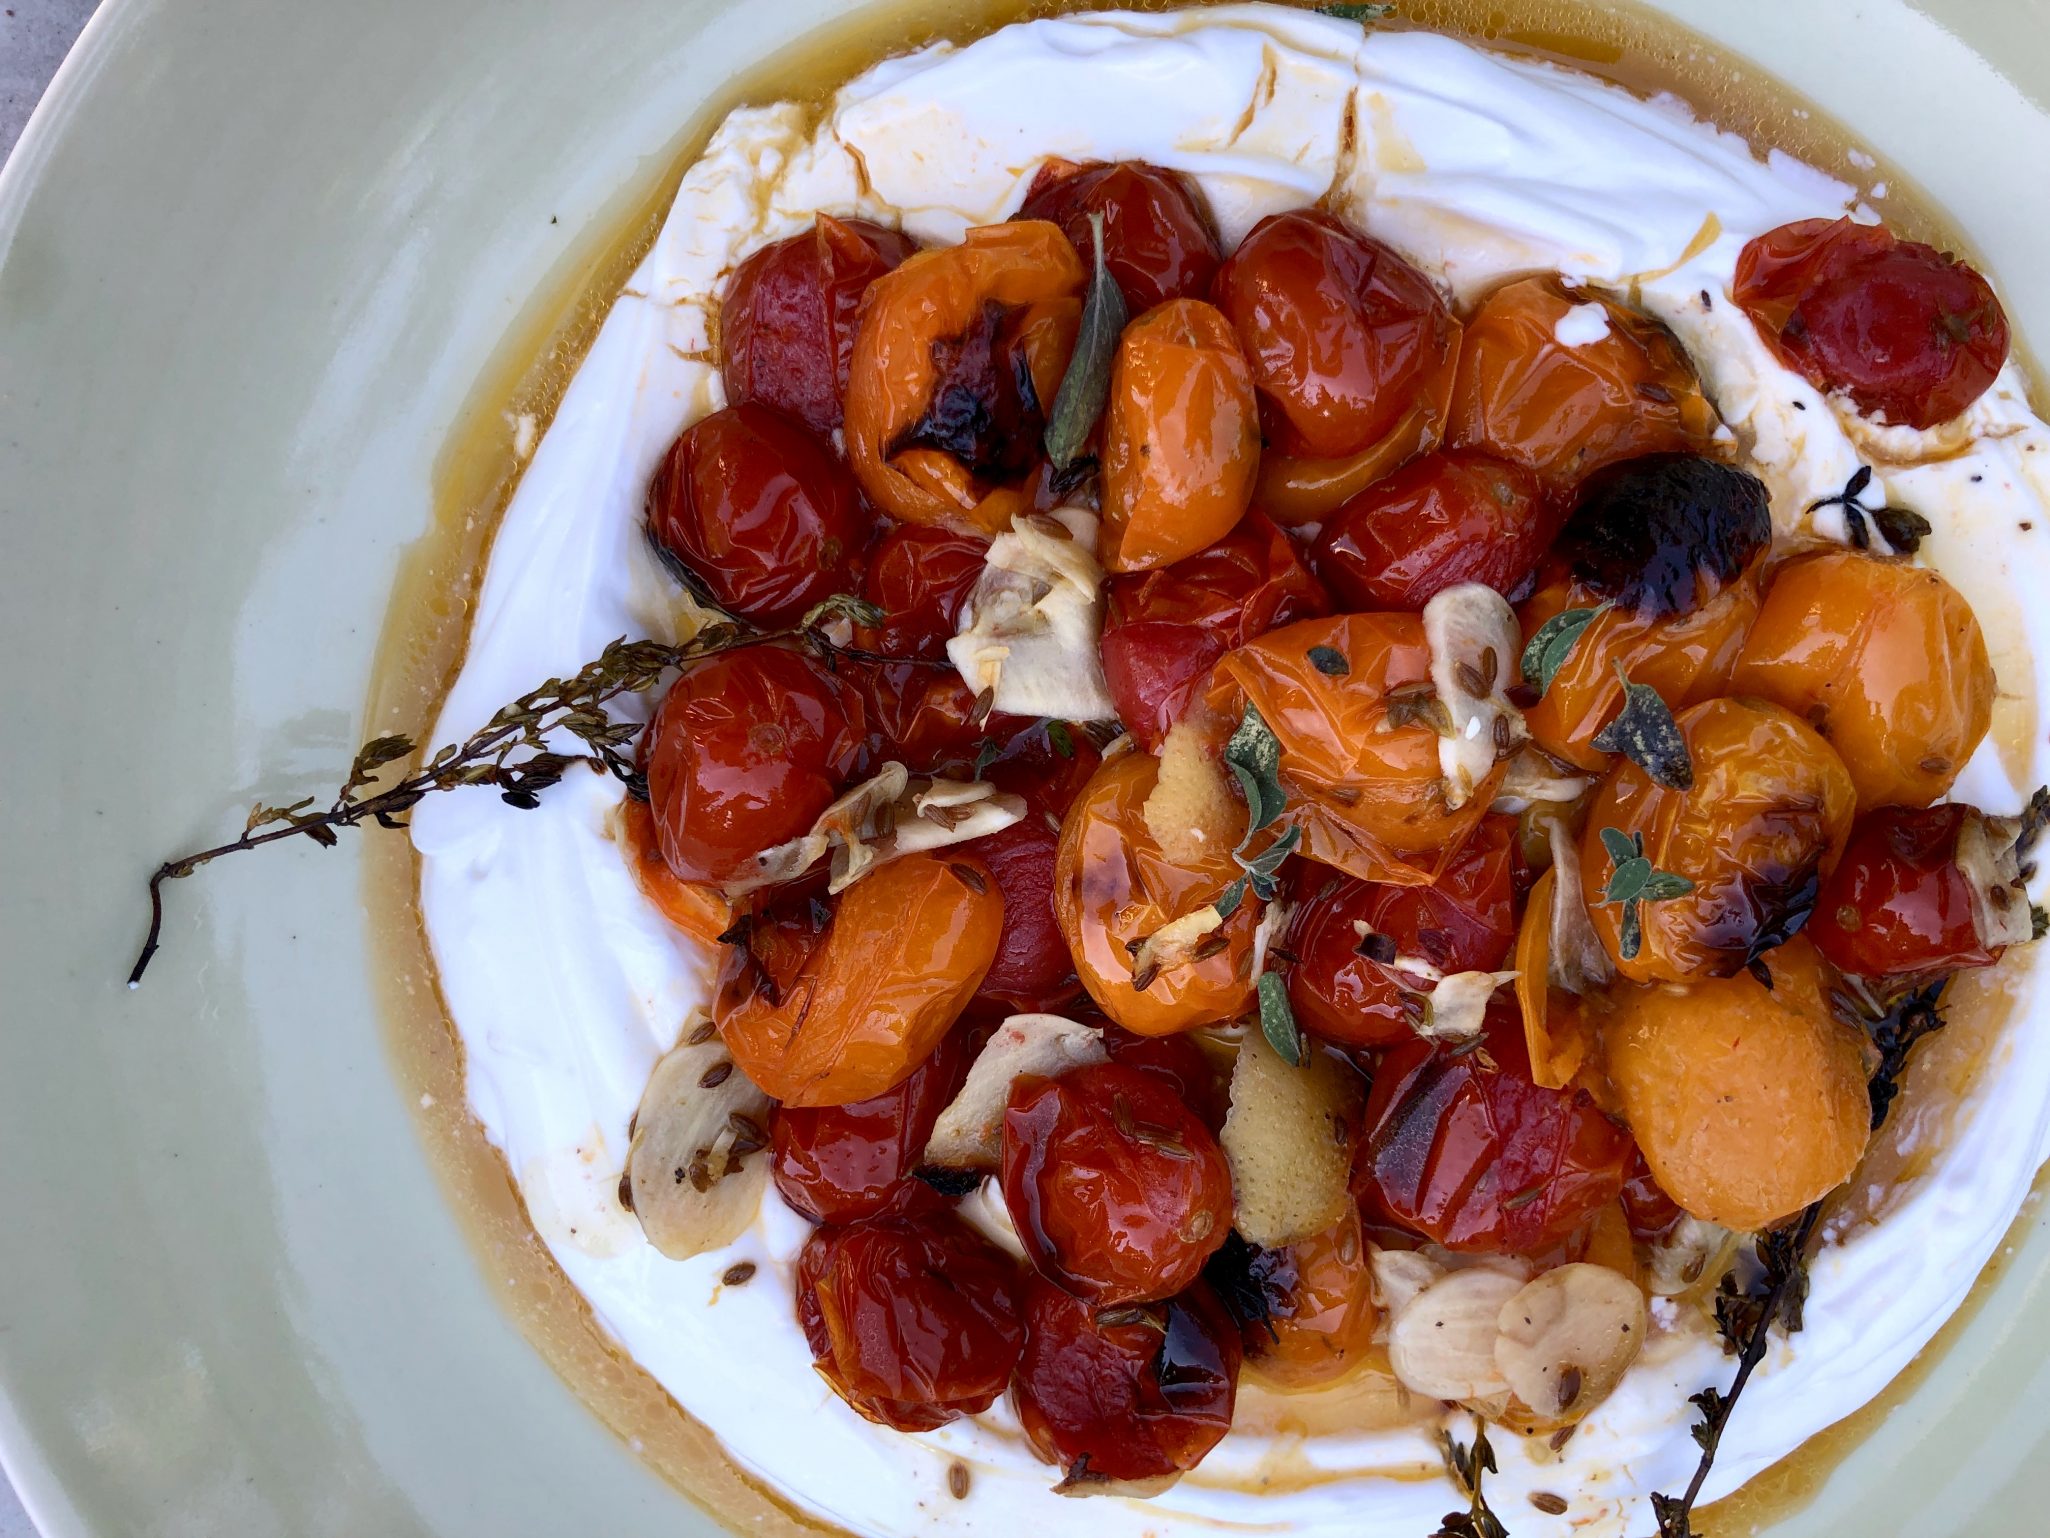
BONUS,  Ottolenghi’s Charred Tomatoes and Cold Yogurt.  Yes, my trifecta of tomato recipes.  Tomatoes, roasted with thyme, cumin seeds, lemon, and garlic,  served over yogurt or Labneh. It’s my go-to party appetizer, especially in the summer.  It’s “lick the bowl clean” good.  A showstopping, easy dish.  Make it, you’ll thank me.

Cold Noodles with Tomatoes

Refreshing, delicious, and easy to prepare, Eric Kim's Cold Noodles with Tomatoes
Course noodles, one bowl meal, pasta, Soup
Cuisine Asian, Asian-American, Korean
Keyword cherry tomatoes, Cold noodles, Cold Noodles with Tomatoes, soup
Prep Time 15 minutes
Cook Time 5 minutes

Ingredients

The Star

  • 2 pints ripe cherry tomatoes halved
  • 2 teaspoons kosher salt (Diamond Crystal)

The Noods

  • 12 to 14 ounces somyeon somen, capellini or other thin wheat noodle

Soup and Seasonings

  • ¼ cup rice vinegar
  • 2 tablespoons soy sauce Kikkoman, Sempio 501 or 701 or LKK Premium Soy
  • 2 tablespoons granulated sugar
  • 1 large garlic clove finely grated
  • ½ teaspoon Dijon mustard
  • ½ teaspoon toasted sesame oil
  • 2 cups cold filtered water or bottled water of your choice.
  • 1 tablespoon toasted sesame seeds

The Garnishes

  • 2 radishes thinly sliced, or cucumbers work in a pinch
  • 2 scallions thinly sliced at an angle
  • 2 cups crushed or cubed ice

Omnivore Options

  • cooked shrimp or shredded chicken
  • hard boiled eggs, but not too hard-boiled lol

Instructions

  • In a large bowl, toss together the tomatoes and salt. Let sit until juicy, about 10 minutes.
  • Bring a large pot of water to a boil. Cook the noodles according to package instructions, drain and rinse under cold water. Set aside. See post for how to cook somen noodles.
  • Add the vinegar, soy sauce, sugar, garlic, mustard and sesame oil to the tomatoes, and toss with a spoon until well combined. Stir water into the tomatoes and sprinkle the surface of the broth with the sesame seeds, radishes and scallions.
  • Right before serving, add the ice to the broth. Divide the noodles among bowls, and ladle in the broth and any unmelted ice, making sure each serving gets a nice sprinkling of tomatoes, radishes, scallions and sesame seeds.
Eggplant Unagi Don

Eggplant Unagi Don

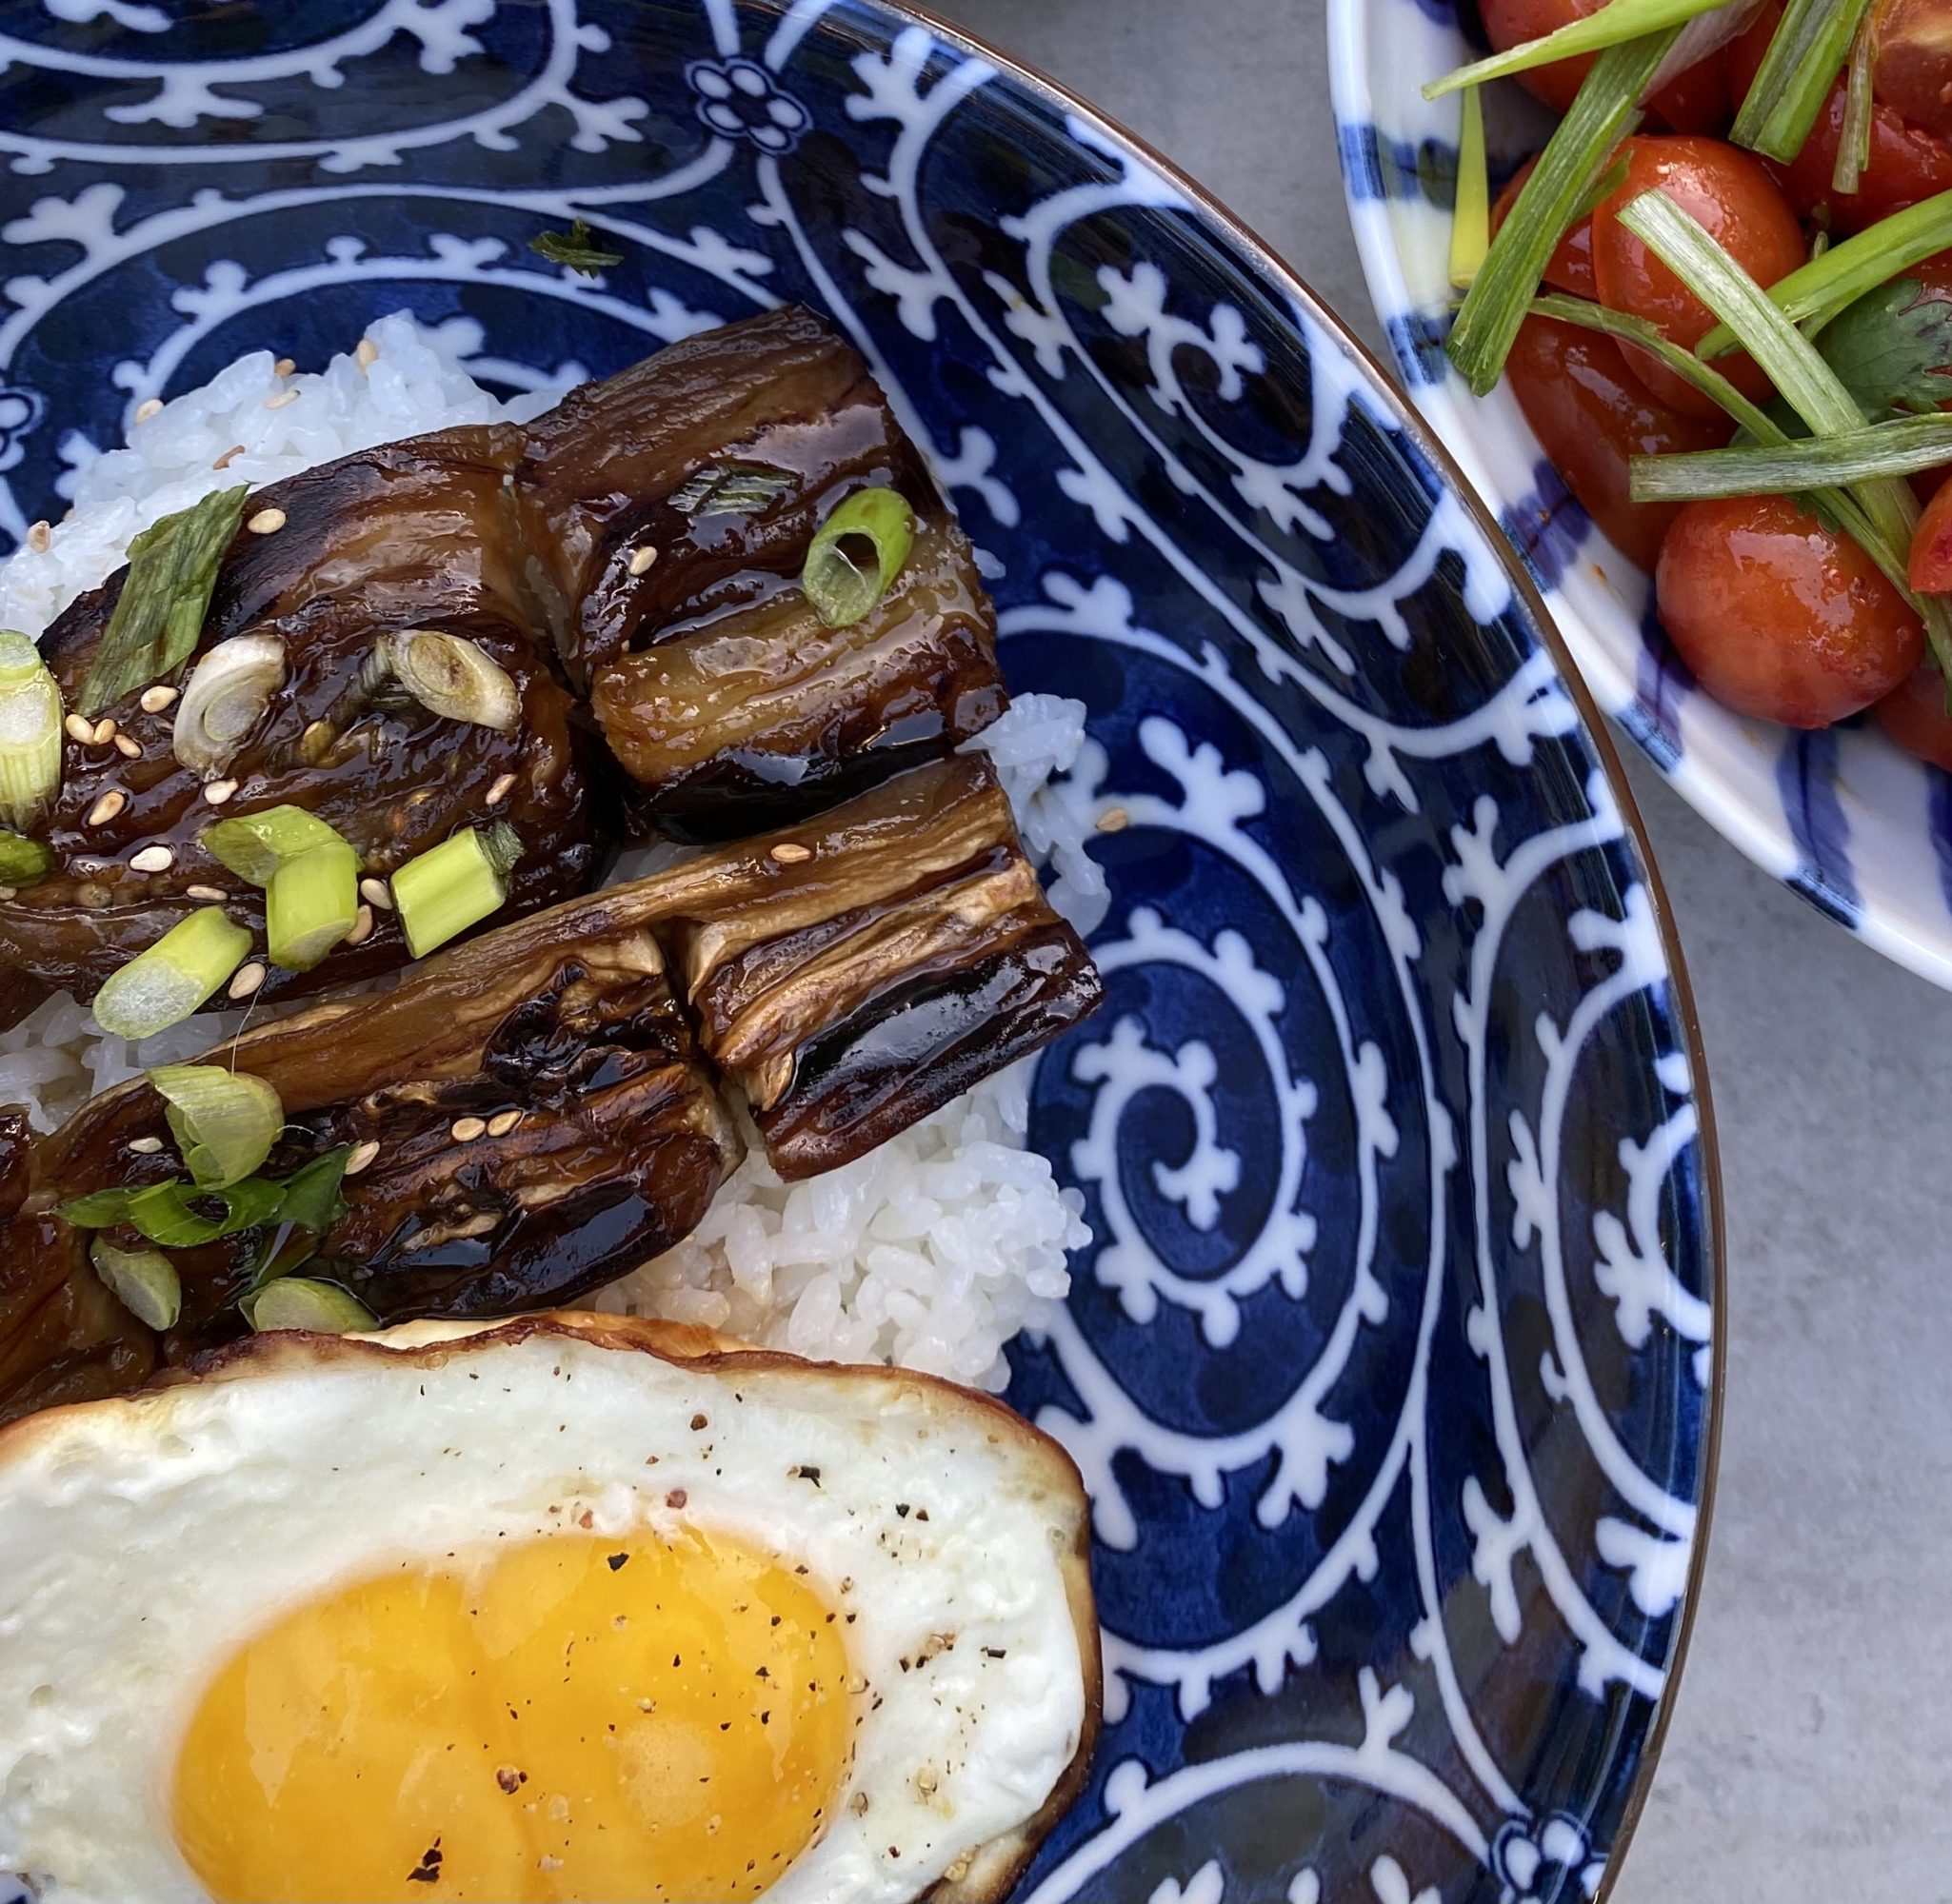
From one of my favorite sites, Two Plaid Aprons, a vegetarian version of Unagi Don!  Eel grilled with a sweet and savory sauce or “tare” is called unagi.  Don is short for donburi, which refers to the bowl and rice that serves as the landing spot for toppings like unagi.  Rice bowls, in my humble opinion, scream comfort food and this riff is no exception. If you are looking for some protein try a fam fav like Oyako Donburi, a Chicken and Egg Donburi.

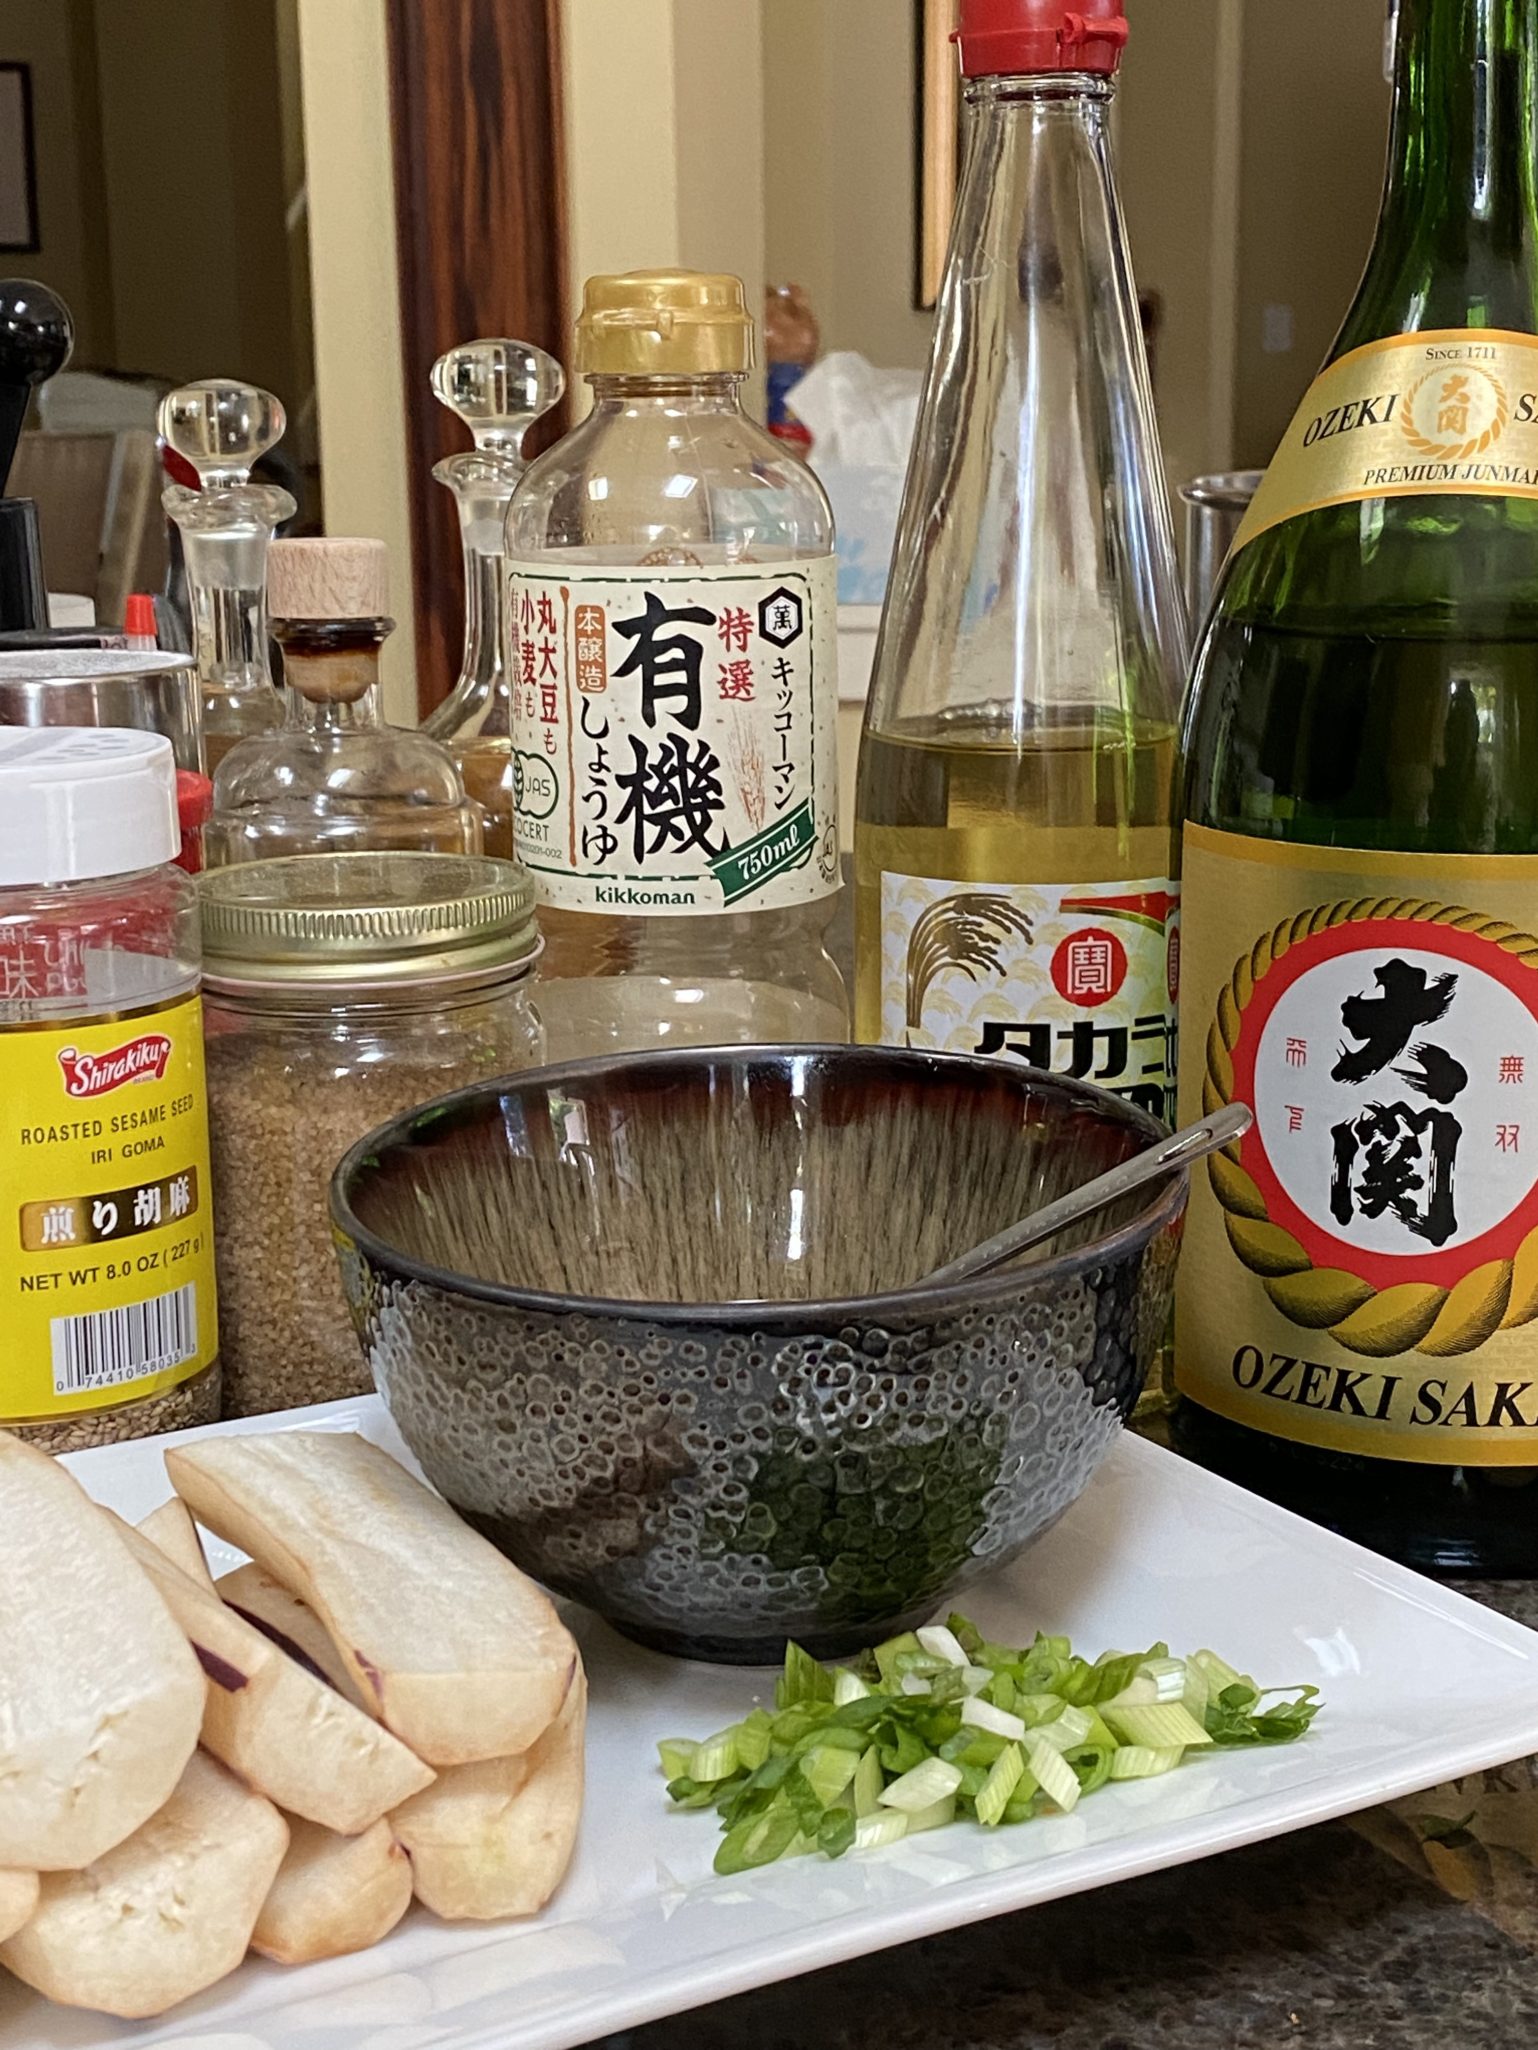
Grilled and sauced unagi yields a smoky, savory-sweet, melt-in-your-mouth bite of deliciousness.  Eggplant braised in the same fashion makes a great stand-in for the unagi.  According to the hubster, the resident carnivore in my house, this will satisfy any meat-eater.  The tare is made with soy sauce, Mirin (sweet sake), sake, and sugar; ingredients found in most Asian grocery stores.  I like substituting dashi soy for the soy sauce which is a blend of soy sauce and fish stock that gives the eggplant a hint of brininess.

Anyway You Slice It

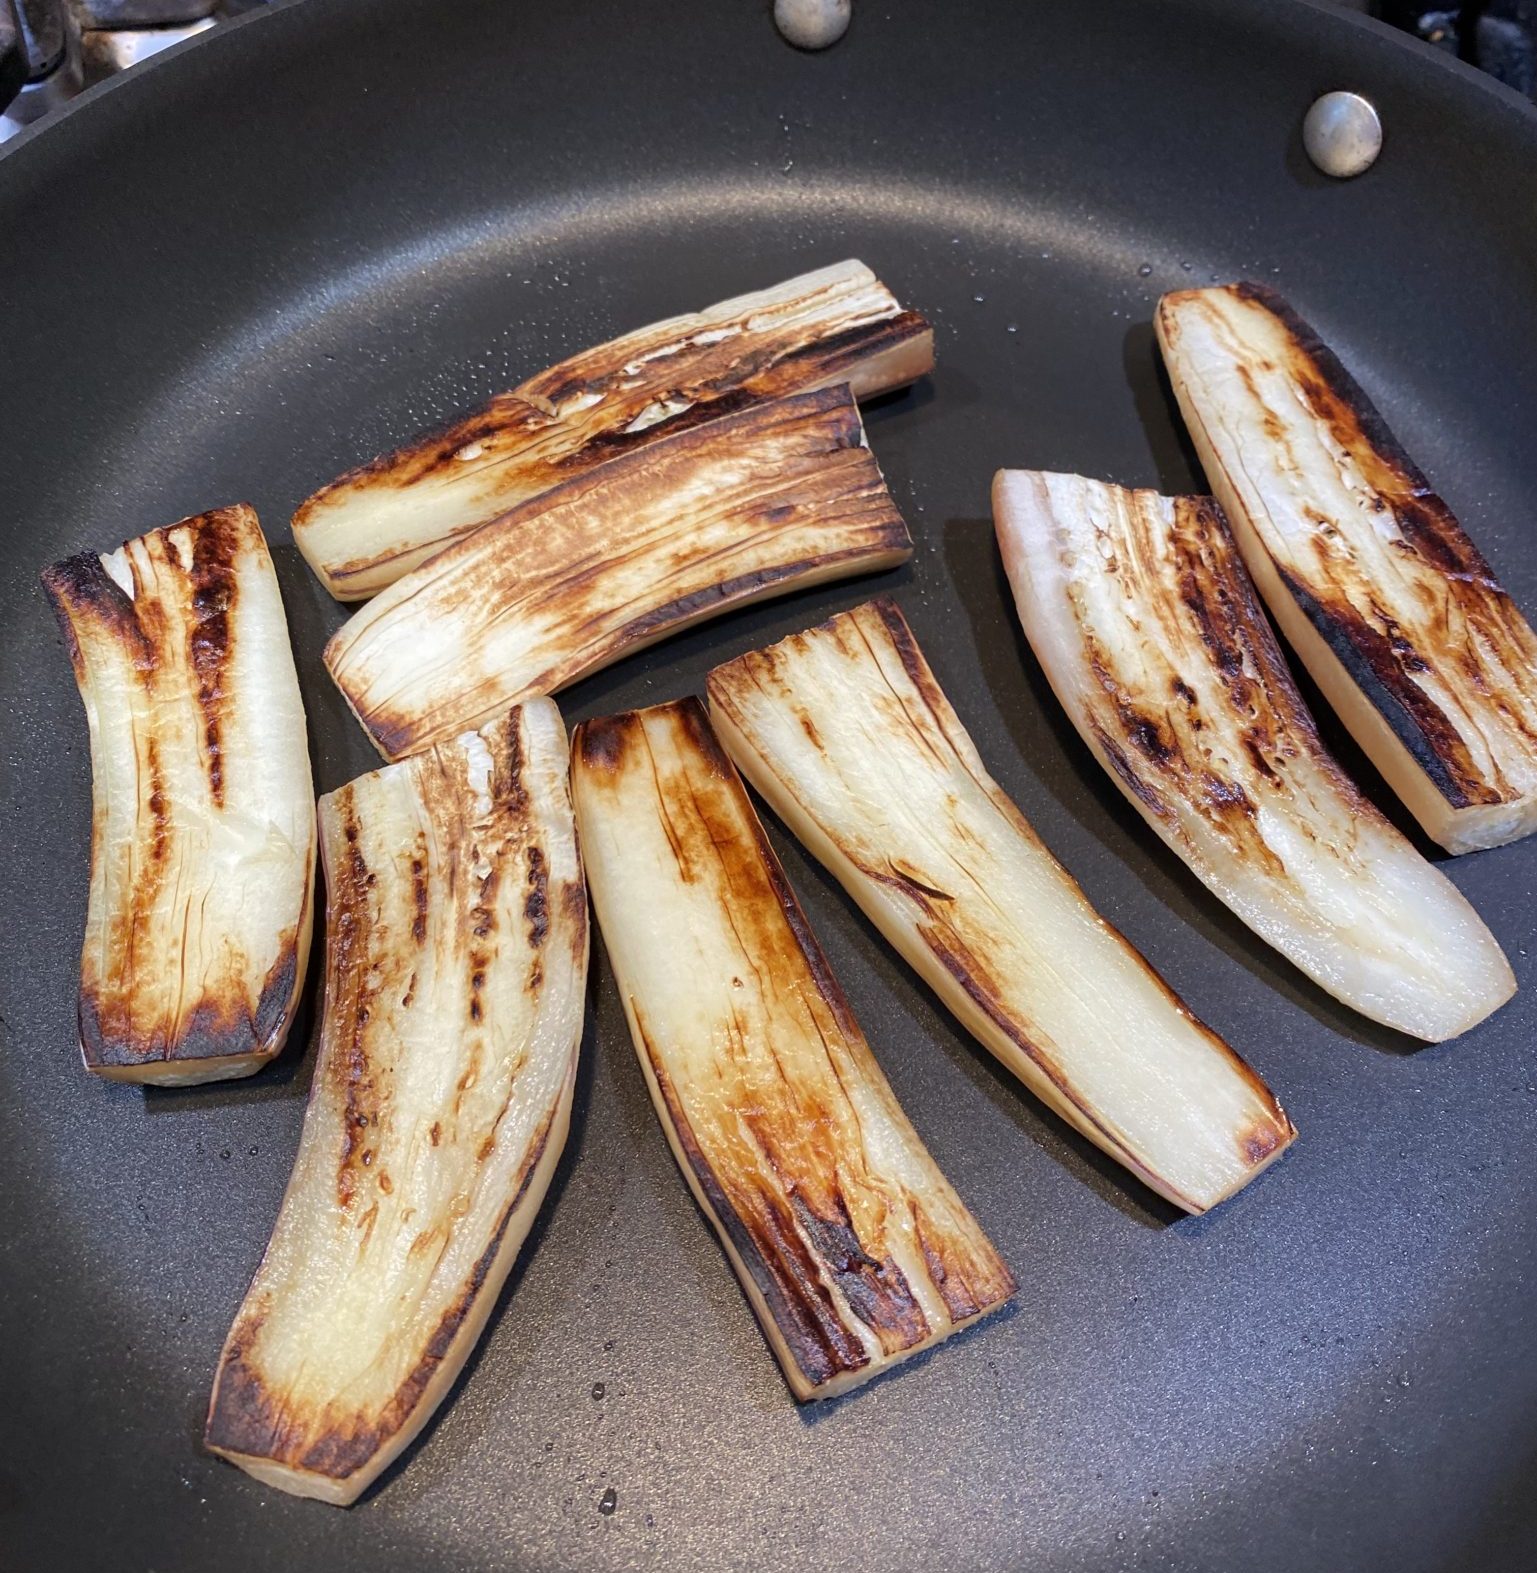
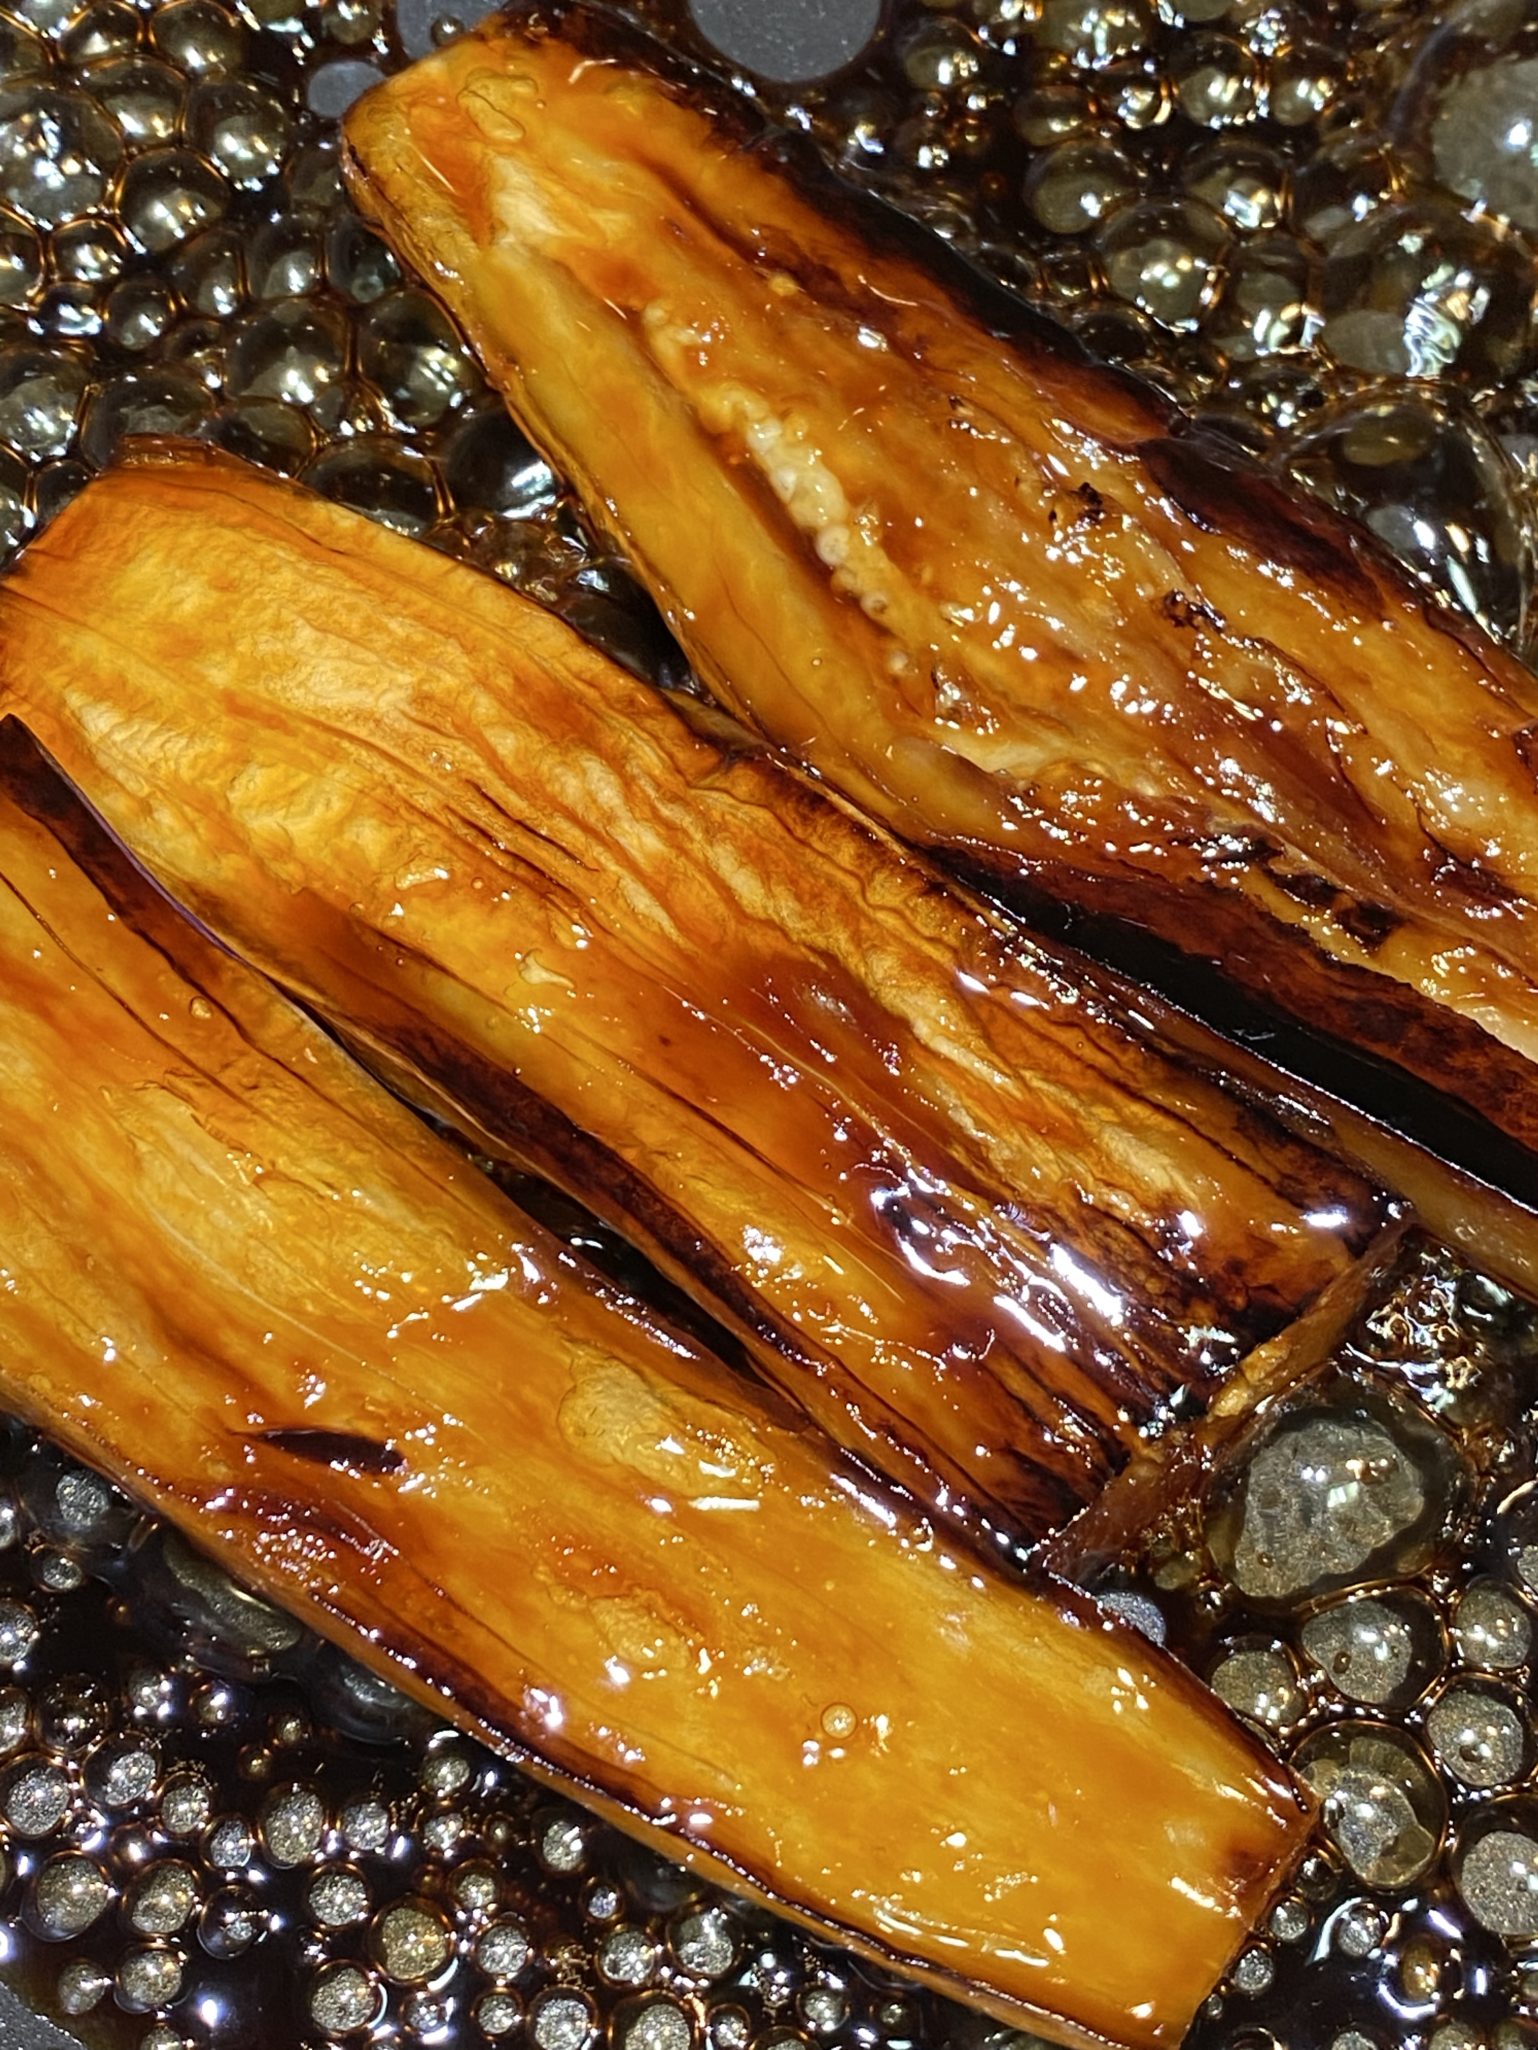
Leave the skin on the eggplant if you like. The other thing you can do is score the eggplant crosswise to mimic the striations on unagi.  Fry the eggplant until nicely charred, lower the heat and pour in unagi sauce and green onions. Cover and let the eggplant braise for 5 minutes or until tender but not mushy.  As the eggplant braises, it picks up the flavor of the sauce and becomes tender and soft like…eel. YUMMO.

Take the eggplant out and place it over your rice.  Garnish with green onions and toasted sesame seeds.  Serve immediately.  OR, take it over the top with a runny, sunny-side-up egg.  Enjoy!

Eggplant Unagi Don

Eggplant Unagi Don, a delicious, easy prep, vegetarian version of Unagi Don
Course dinner, lunch, one bowl meal
Cuisine Asian, Asian-American, vegetarian
Keyword eggplant, mirin, Rice Bowl, soy sauce, vegetarian
Prep Time 5 minutes
Cook Time 15 minutes

Ingredients

Da Stars

  • 2 Japanese eggplant or Chinese eggplant washed, sliced in half lengthwise and crosswise if they are long.
  • 4 cups cooked white rice Feel free to use whatever grain you like, brown rice, farley, quinoa (not my choice but hey)

Da Sauce

  • 4 tbsp sake
  • 4 tbsp soy sauce regular or low sodium or Dashi Soy
  • 4 tbsp granulated sugar
  • 2 tbsp mirin
  • 2 stalks Green onion, sliced
  • 1/8 tsp dashi powder or granules optional use with low sodium soy sauce

Da Garnish

  • Toasted white sesame seed, sliced green onions

Instructions

Unagi sauce:

  • In a small bowl, mix together sake, soy sauce, sugar, mirin and dashi if using. If you use Soy Dashi, skip the powder. Set aside until needed.

Eggplant Prep

  • Cut off stem of the eggplant and peel the skin with a vegetable peeler, this is optional, if you like skin, save yourself a step. Cut the eggplant in half crosswise, then slice each half evenly lengthwise. Lightly score eggplant crosswise every 1/8-1/4 inch, don't cut thru! This makes it look more like unagi.

Cookin' It

  • In a 10-inch shallow pan over medium high heat, add a couple tablespoons of oil. Once the oil is hot, place eggplant flat side down and sear until golden brown, about 2 to 3 minutes. Flip eggplant and sear the other side for a minute or two until golden brown.
  • Stir the prepared unagi sauce and pour it into the pan. Reduce heat to medium/medium-low to keep the sauce at a simmer. Place a lid on the pan and cook eggplant slices for 5 minutes.
  • After 5 minutes, remove the lid and flip eggplant slices to their flat side. Add half of the sliced green onions to the sauce and continue simmering for 2 to 3 minutes, or until the eggplant slices are tender and the sauce is reduced to a thick glaze. Remove pan from heat.

To Serve:

  • Scoop a serving of hot rice into each bowl.
  • Place two slices of eggplant unagi flat side up on each bowl of rice. Garnish with the remaining green onion and sesame seeds. Bowl food is soul food!
Creamy Cashew Udon with Crispy Mushrooms

Creamy Cashew Udon with Crispy Mushrooms

I’m not a vegetarian but we are making a concerted effort to eat less meat and more veggies.  Good for us and good for the planet.  It’s much easier now with so many cookbook authors, bloggers, and chefs being much more veggie-forward.

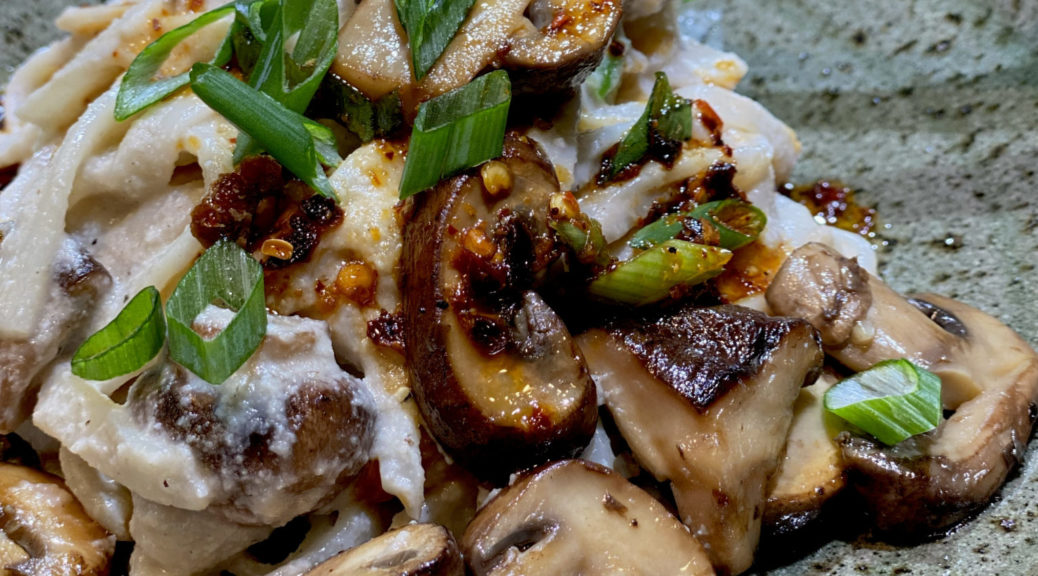
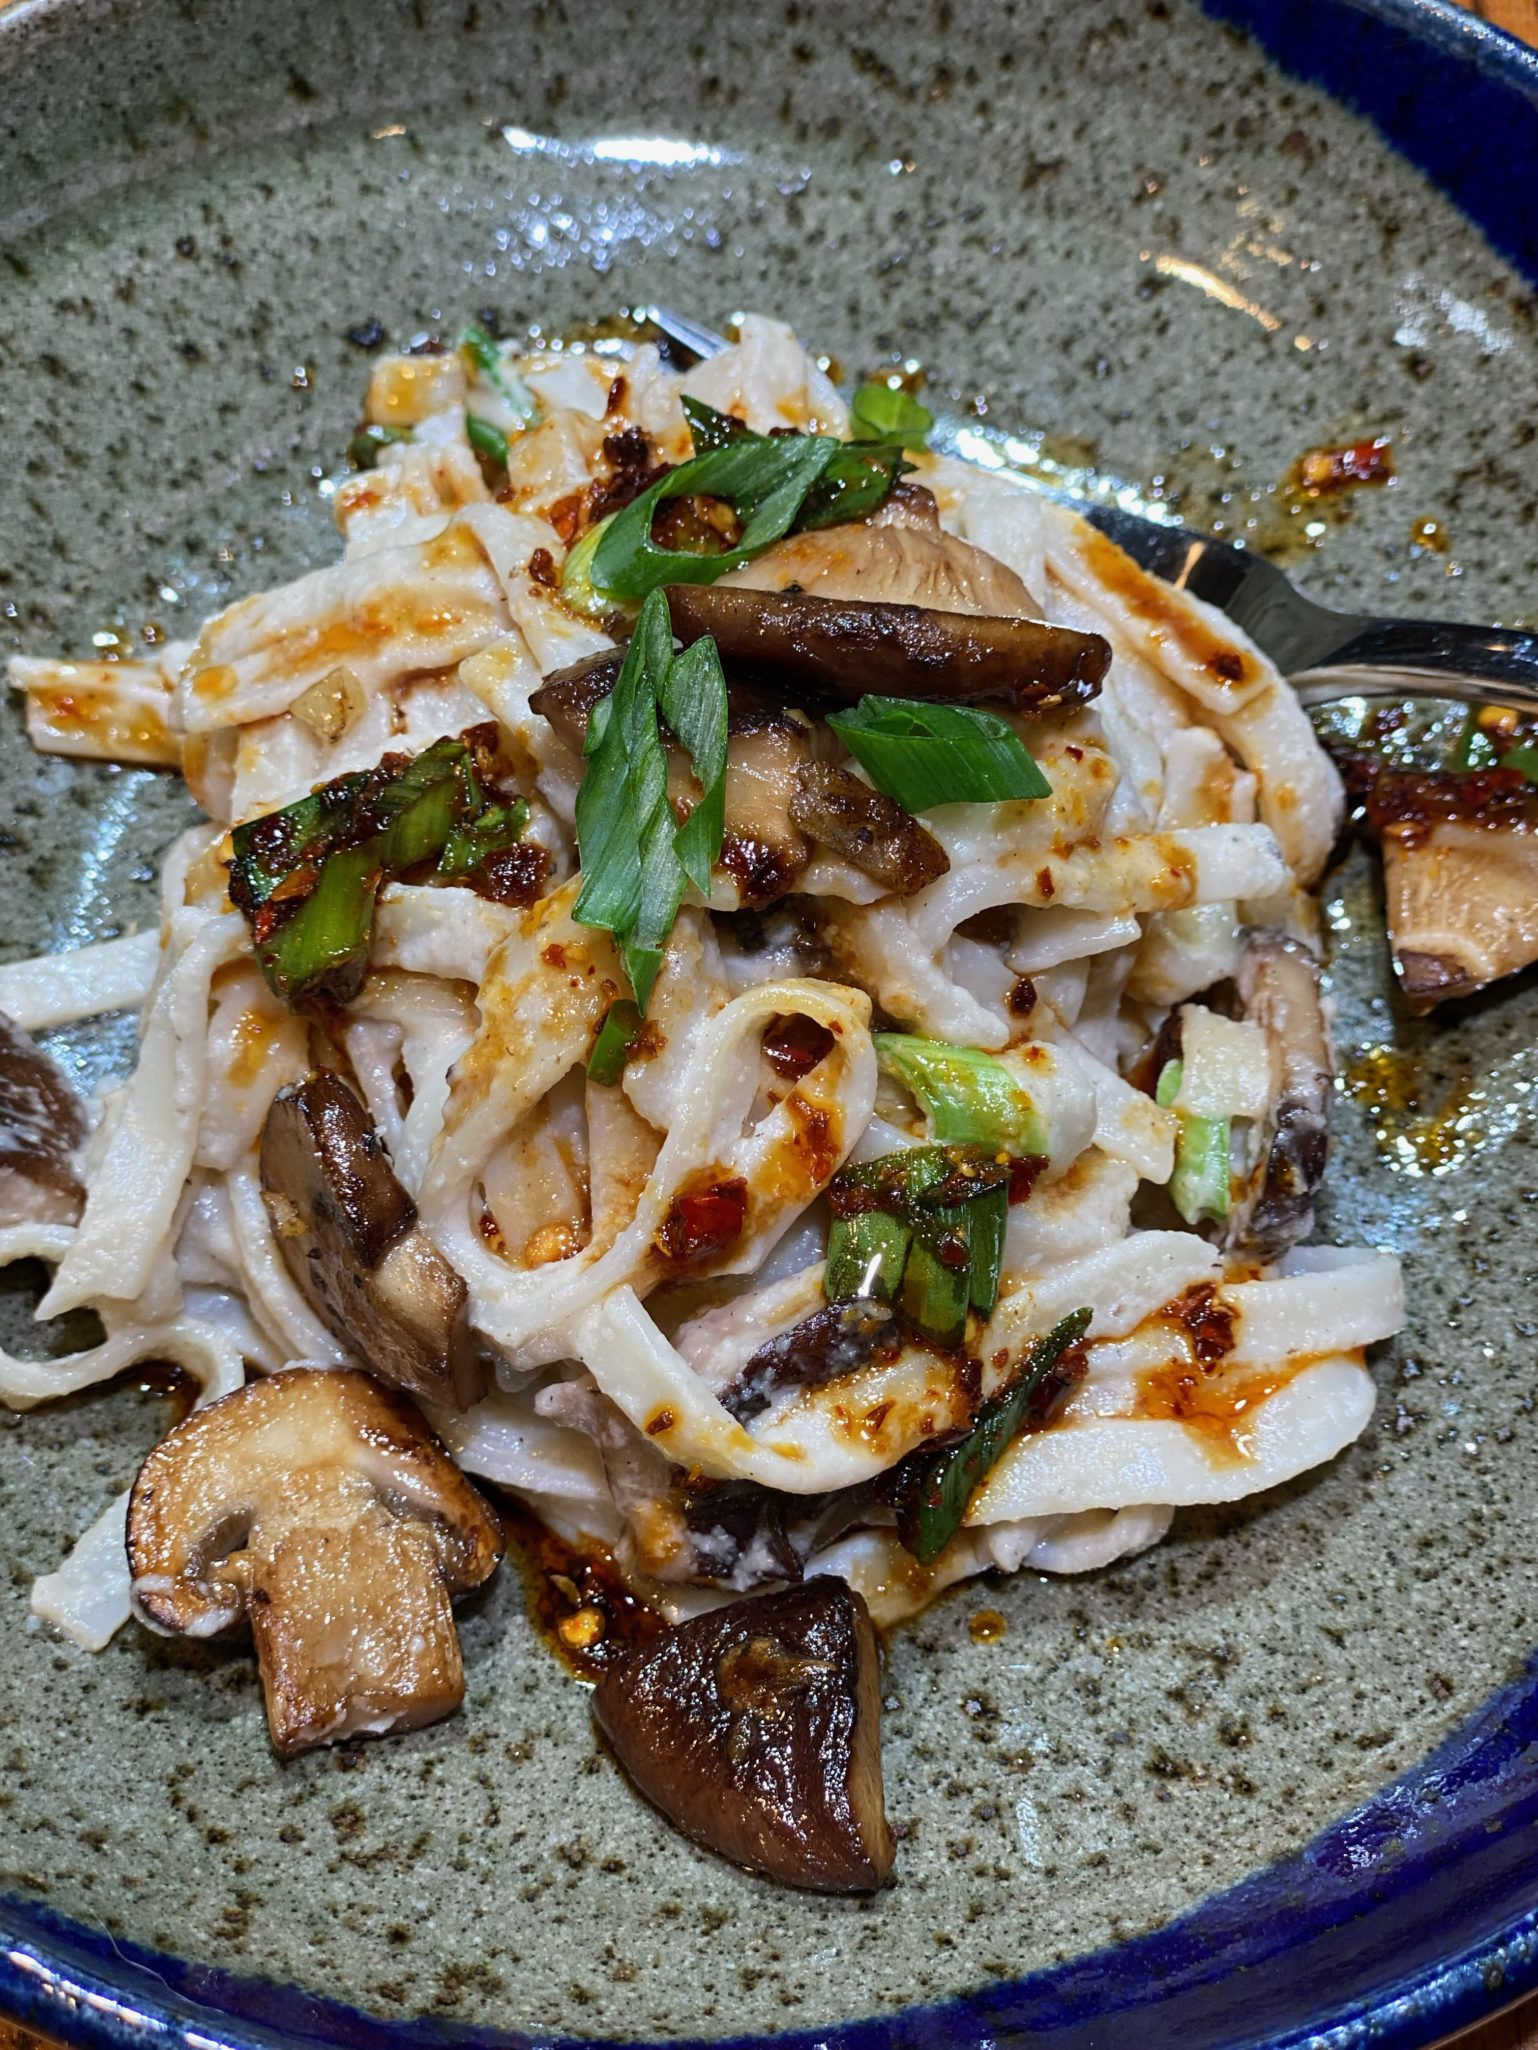
The first new year recipe I tried was Cauliflower Steaks with a Smoky Tomato Rub from Cook the Vineyard.  Delicious, off to a good start!  I also received Hetty McKinnon’s To Asia with Love during the holidays.  A nod to her Chinese roots, she has penned a beautiful cookbook that relies on vegetables.  But before I even cracked open the book I found this recipe from her, Creamy Cashew Udon with Crispy Mushrooms, in Bon Appetit.  It’s so good.

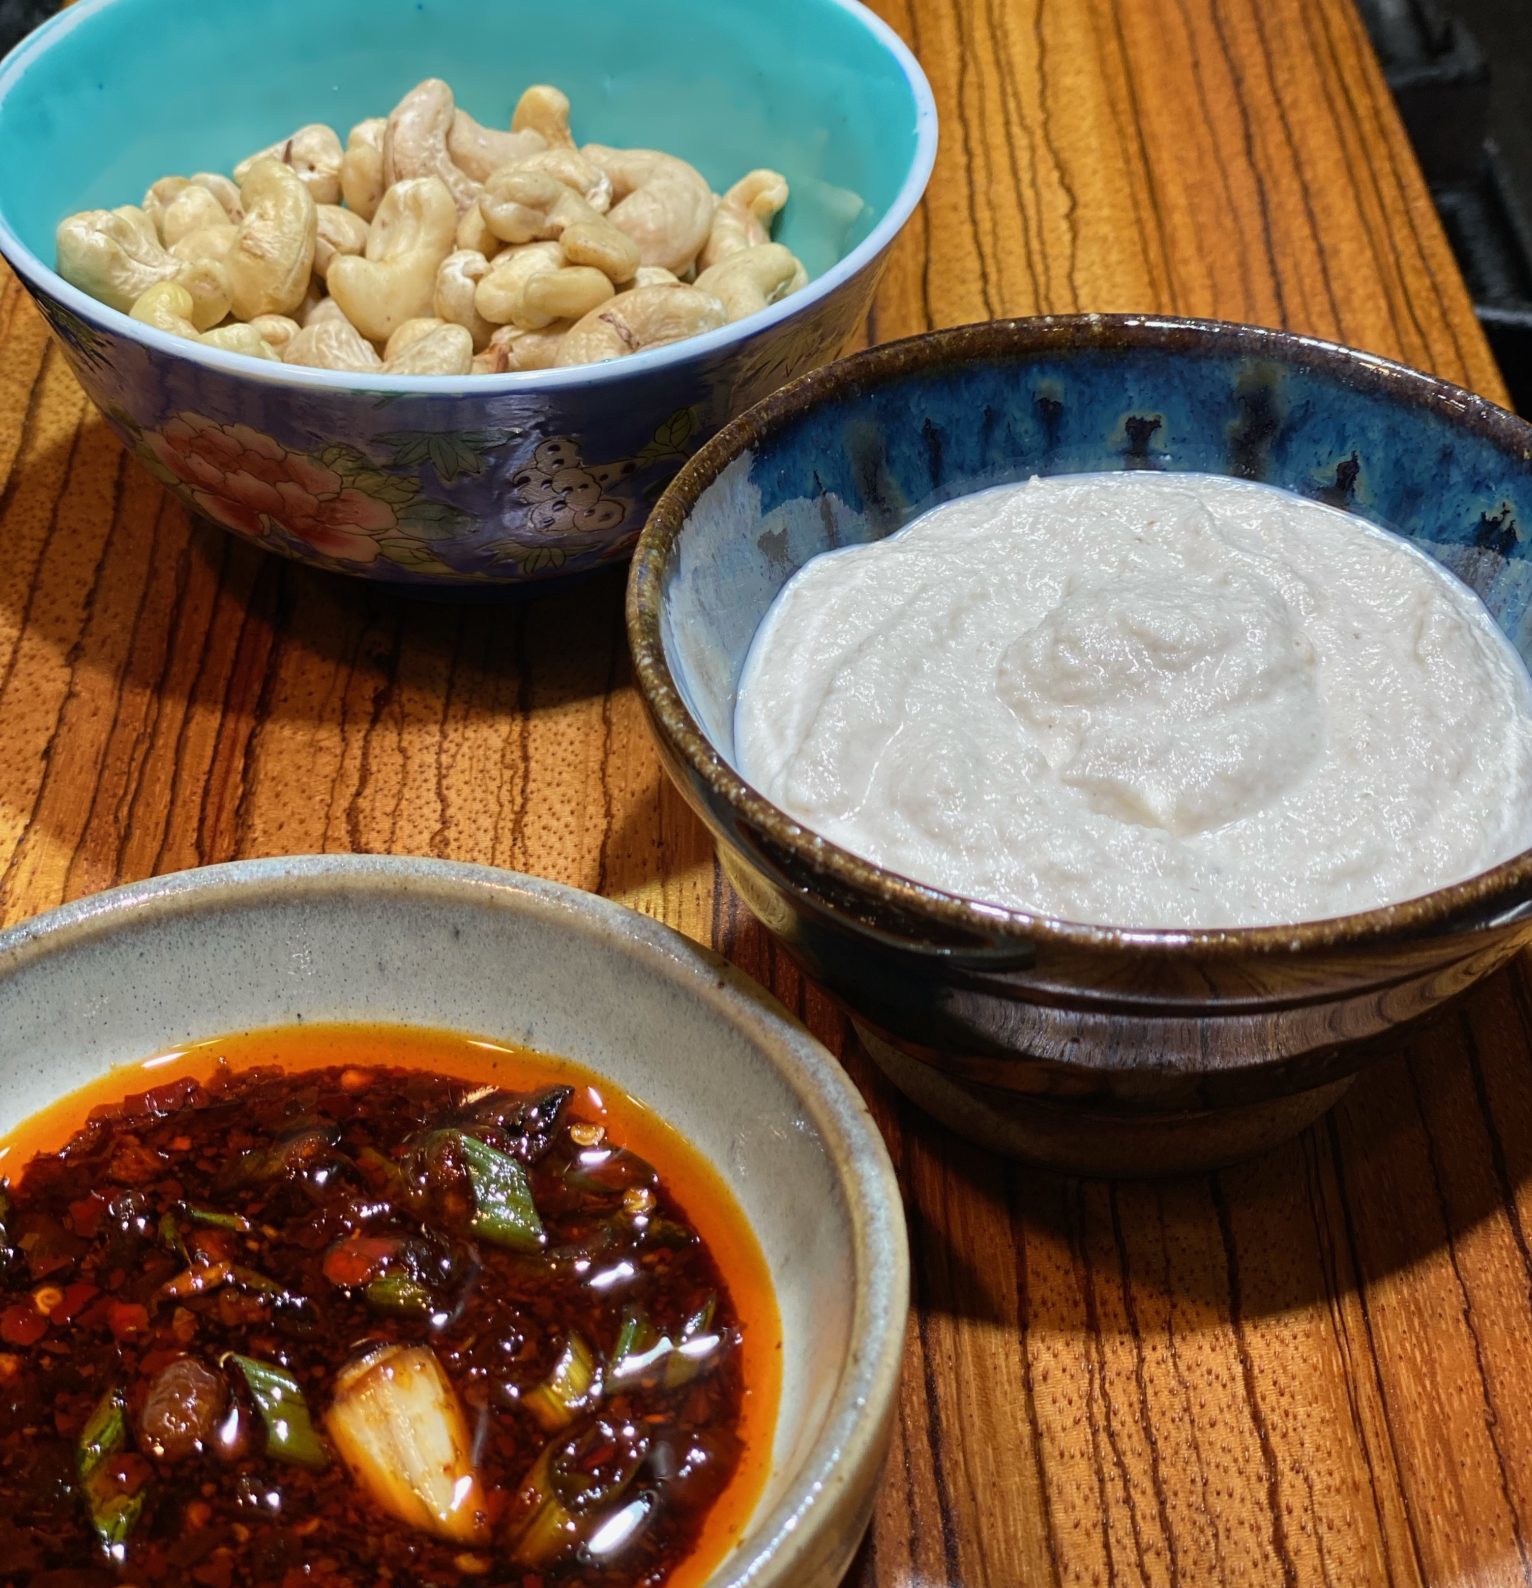
The recipe can be broken down into 3 parts.  The creamy cashew sauce, the umami-filled chili crisp, soy, vinegar sauce, and the noodles.

Cashew Sauce

Who knew? Blending cashews with water, garlic makes an amazing, creamy, rich sauce that is the perfect stand-in for heavy cream.

It is super versatile, add herbs and spices for a sauce over roasted vegetables like carrots and broccoli. Or add some tahini for a sesame flavored sauce. Yummy.  I know, cashews can be pretty darn expensive.  I buy mine at Costco or local Indian markets which helps save some buckaroos,

The base sauce is cashews, water, garlic, salt, and a bit of oil.  It’s genius.  The cashews are hydrated first, in hot water, before tossing them in a blender or food processor with other ingredients and whirred into a sauce that provides flavor and a wonderfully creamy, decadent sauce.  Shazam.

Chili Oil

The chili sauce comes together quickly and provides that burst of flavor that brings it all together.  Use your favorite Chili Crisp Oil.  I use either the OG of Chili Crisp Oils, Lao Gan Ma, or Momofuku Chili Crisp.  Hetty McKinnon has a homemade chili crisp oil in her book.  It’s on my bucket list of things to try.

The Noods

Udon noodles are Japanese wheat noodles that are thick and springy.  Often overshadowed by its flashy cousin ramen. It is served in soup, hot or cold, and stir-fried.  My fav is in soup with shreds of beef, Niku Udon, with Aburaage, fried tofu, or simply with an egg.  Here is my Udon primerIt works really well in this dish, the creamy sauce coats the thick, sticky udon nicely. The noodles have a nice bite that compliments the mushrooms.  BUT, you could use different noodles, keep in mind you’ll want a thicker noodle, one that can stand up to the sauce (so not thin vermicelli noodles).  For a gluten-free option, a wide rice noodle would work well.

Not gonna lie, always going to love meat, but folks like Hetty McKinnon are making it much easier to make our meals much more veggie-centric.  This pasta dish is going in the regular rotation!

Creamy Cashew Udon with Crispy Mushrooms

From Hetty McKinnon an absolutely delicious pasta dish that uses cashews to create a creamy, decadent sauce, it’s vegetarian, it’s vegan, it’s yummy!
Course Main Course, one bowl meal, pasta
Cuisine Asian-American, vegan, vegetarian
Keyword Angel hair pasta, cashew, Creamy cashew sauce, mushrooms, Udon
Prep Time 1 hour 42 minutes
Cook Time 15 minutes
Servings 4 Servings

Ingredients

CASHEW CREAM

  • 1 cup raw cashews
  • 1 garlic clove coarsely chopped
  • 1 Tbsp. extra-virgin olive oil
  • ½ tsp. Diamond Crystal or ¼ tsp. Morton kosher salt

Chili Oil

  • 2 Tbsp. Chinkiang or Chinese Black Vinegar
  • 2 Tbsp. chili crisp or chili oil
  • 2 Tbsp. soy sauce
  • 1 Tbsp. toasted sesame oil
  • 1 scallion thinly sliced

The Shrooms

  • 2-3 Tbsp extra-virgin olive oil
  • 1 lb. oyster shiitake, crimini, or button mushrooms, cut into bite-size pieces
  • 1 clove garlic finely chopped
  • ½ tsp. Diamond Crystal or ¼ tsp. Morton kosher salt plus more serving
  • Freshly ground black pepper

Noodles and Garnish

  • 28 oz. fresh or frozen udon noodles Substitute wide rice noodles for gluten-free option.
  • 2 scallions thinly sliced

Instructions

Cashew Cream

  • Bring a large saucepan of water to a boil, then remove from heat. Add cashews and let sit until tender, 30–60 minutes.
  • Drain cashews and transfer to a blender (preferably high-speed) or food processor. Add garlic, oil, salt, and ½ cup water and purée until smooth.

Umami Sauce

  • Stir vinegar, chili crisp, soy sauce, sesame oil, and scallion in a small bowl to combine; set soy-vinegar sauce aside.
  • Heat 2 Tbsp. olive oil in a large skillet over medium-high. Cook mushrooms, tossing every minute or so but leaving mostly undisturbed, until mostly golden and crisp, 5–8 minutes, oyster and shiitakes will cook quicker, while crimini and button mushrooms will take a bit longer. Add garlic and kosher salt, cook, stirring often, add additional tablespoon of olive oil if the mushrooms look dry.

Noodles

  • Meanwhile, bring a large pot of salted water to a boil. Cook noodles according to package directions. You can use udon or any wide, thick noodle. For gluten-free option use rice noodles. Drain, reserving 1 cup cooking liquid.
  • Remove half of the mushrooms from the pan. Add noodles and cashew cream to pan with remianing mushrooms cook, stirring and adding reserved cooking liquid a little at a time, until cream is loose and coats noodles. Season with salt and pepper.
  • Divide noodles among bowls, garnish with reserved mushrooms generously drizzle each with reserved soy-vinegar sauce. Top with remaining scallions. Serve.

Notes

You could make this gluten free too!  Use a wheat free soy sauce, like a Tamari Sauce and a rice noodle for the udon. 
Blend the cashew sauce well, preferably use a blender or food processor.  Don’t be timid, you want a nice smooth sauce.