Category: Quick & Easy

Easy Dishes

Scrambled Eggs and Beef over Rice (The Slippery Slope of Waat Dan Fan)

Scrambled Eggs and Beef over Rice (The Slippery Slope of Waat Dan Fan)

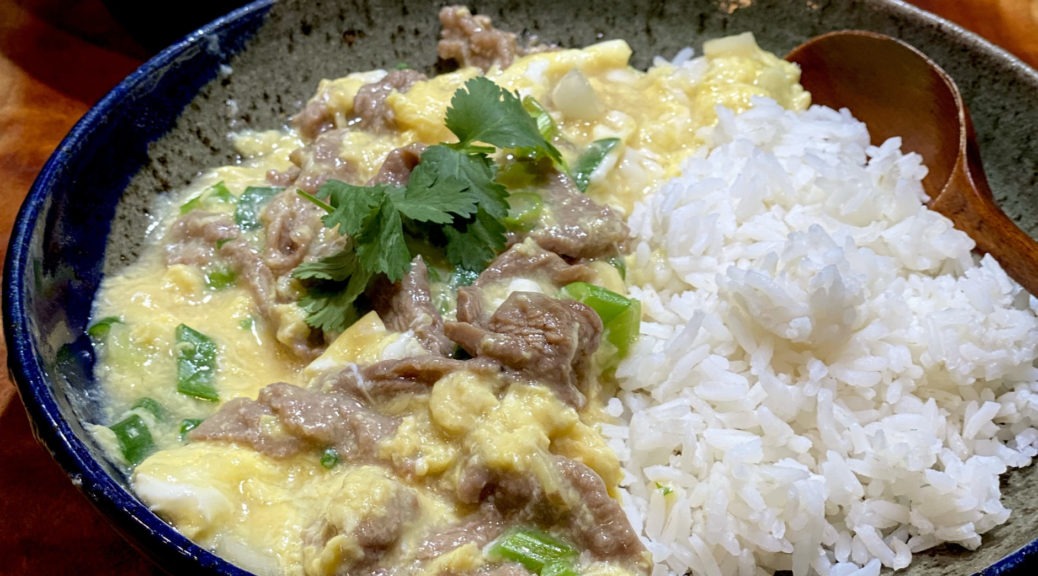
Waat Dan Fan (滑蛋飯) is one of my absolute all-time favorite down-home Cantonese dishes.  The literal translation is Slippery Egg Rice.  This version includes beef so it’s called Waat Dan Gnow Yuk Fan (滑蛋牛肉飯).  Although it comes together quickly, it can be a little tricky to get the texture of the eggs right.  Don’t let that put you off though, it is well worth it.  It may take a couple of tries, as it did with me, but the return is HUGE.  You will be rewarded with a homey, satisfying, tasty dish of stir-fried beef nestled in a pool of silky, scrambled-swirled eggs flavored with scallions and ginger.  Soooooo good!  真好吃!
Don’t Slip Up on the Mise on Place

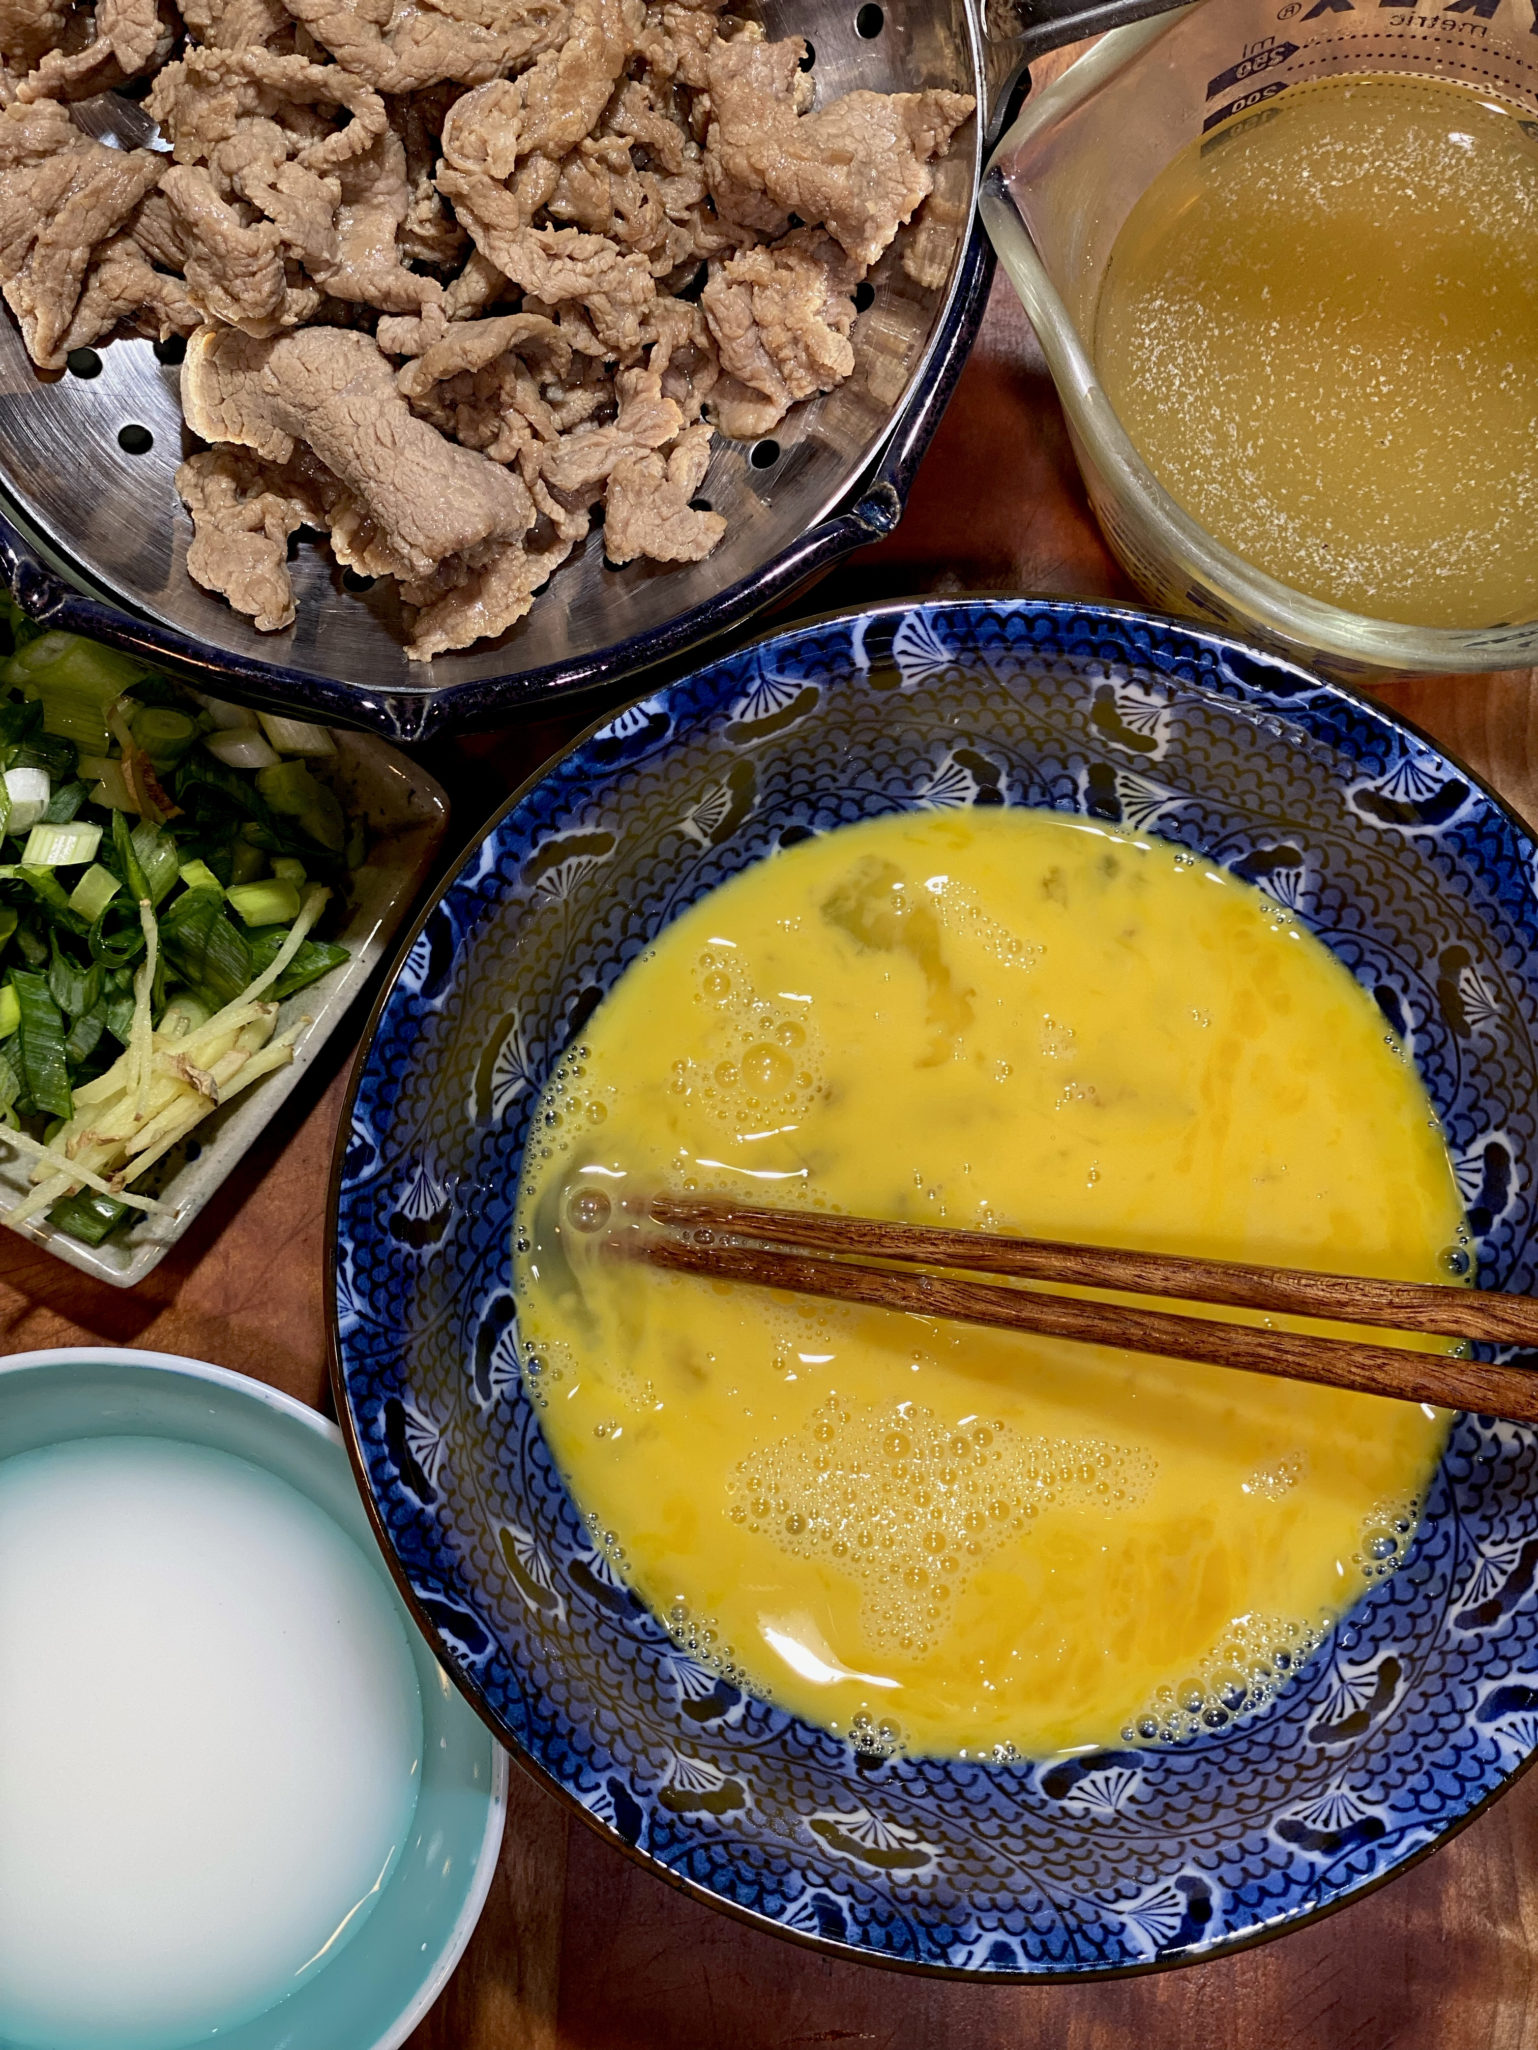
  • Everyone thinks stir-frying is quick and easy, although the cooking portion is quick, it’s the prep that takes time. Everything has to be ready for the stir-frying to look effortless.  This dish is no egg-ception.
  • Slice and marinate your beef and put it in a bowl to the side.  Note, the oil in the marinade goes in last AFTER the beef has sat for 15-20 minutes and absorbed the marinade.
  • Crack your eggs into a bowl and whisk them with a pinch of salt.  Set it near the beef and close to the stove.
  • Slice your green onions and set them aside.
  • Have your 1/2 cup of stock to which you have added the sugar and salt along with the slurry of cornstarch and water ready.
  • Place the prepped ingredients next to the stove.

You’ll thank me

This is a classic Cantonese dish, the epitome of soul food.  I love serving it in a bowl with a spoon. Looking for a vegetarian rift? Try Tomato & Egg RiceEnjoy!

Print
5 from 1 vote

Hong Kong Style Slippery Eggs and Beef on Rice

Classic Cantonese dish that comes together in minutes, Slippery Egg and Stir Fried Beef Over Rice
Course homestyle, Main Course, soul food
Cuisine Asian
Keyword Cantonese cooking, egg, plate rice, Slippery beef
Prep Time 15 minutes
Cook Time 10 minutes
Servings 2 servings

Ingredients

  • 4 ounces Flank steak, flat iron or sirloin, thinly sliced
  • 2 large eggs can use extra large or jumbo
  • 1/2 cup water or chicken stock (low sodium)
  • 2 tbsp sliced green onions
  • 1/4 tsp salt
  • 1/4 tsp sugar
  • peanut oil
  • 1 tsp cornstarch + 3 tbsp water MIx in a small bowl and set aside

Mainade for Beef

  • 1 tbsp soy sauce
  • 1/2 tbsp oyster sauce
  • 1-2 slices fresh ginger, julienned
  • 1 tbsp sugar
  • dash of white pepper
  • 1 tbsp Shaoxing wine
  • 1 tsp cornstarch
  • 1 tbsp peanut or vegetable oil
  • 3 tbsp water

Serve over hot rice or rice noodles

  • 2-3 cups of steamed white rice

Instructions

  • Slice the beef to 0.2 mm thick, add the marinade ingredients except for the oil, marinade for 20 minutes. As the beef sits it will absorb alot of the water. Add oil after the beef has sat. Set aside.
  • In a small bowl, beat eggs with a pinch of salt. Set aside.
  • Heat oil in a pan over medium-high heat, add beef, stir-fry until it is no longer pink. Remove the beef and set aside. If beef has a lot of liquid, pour it into a strainer placed over a bowl to drain.
  • Pour the broth or water into the pan used to stir-fry the beef, add salt and sugar, and bring it to a boil.
  • Add the cornstarch water mix, and bring to a boil again. The mixture will thicken to a thin sauce consistency. Lower the heat to medium-low.
  • Pour the eggs into the sauce in a stream moving around the pan. Let it set a bit and then stir gently to allow eggs to continue to cook and set a bit more. It will still be very loose and the stock slurry will still be visible.
  • Add the beef and sliced scallions and cook for 30 seconds to one minute, stirring gently to blend the sauce and eggs. The mixture will be saucy.
  • Spoon cooked hot rice into shallow bowls large enough to hold 1-2 cups of rice. Pour the beef and egg mixture over the rice. Garnish with additional sliced scallions and cilantro. Serve immediately.
Hella Good Ube Mochi Muffins-Mochi Madness

Hella Good Ube Mochi Muffins-Mochi Madness

I have been looking for a dessert/cookie recipe using Ube for a while when I came across a recipe for Butter and Ube Bibingka/Mochi on Mark Hella Cooks.  I adapted his Bibingka/Mochi and made muffins, delicious and gorgeous. Just a bit of ube extract gave the batter a vibrant purple that is so whimsical and appealing.

Did I Get Ahead of Myself?

Are you asking what the heck is Ube?  It just dawned on me this is not your dash to the corner store item.  First, ube is similar to a sweet potato BUT it’s PURPLE, so swag, purple food.  It is used in a lot of Asian desserts, particularly Filipino ones. It is mild-flavored, kinda nutty, kinda vanilla-y.  Aside from fresh purple yams (hard to find), it comes as a powder, jam, and extract.  On a recent visit to the Asian Art Museum in the City, I inhaled a delicious Ube Snickerdoodle from Sunday@  the Museum, cafe.  Ever since I have been perusing the internet for ube cookie recipes.  No cookie yet but luckily I found Mark Hella Cooks Ube Mochi recipe. It is easy, delicious, and eye candy worthy.  I made muffins so everyone could have their own little dessert with crispy edges, yum.

Ube-by, Baby, Making Cookies For A Cause

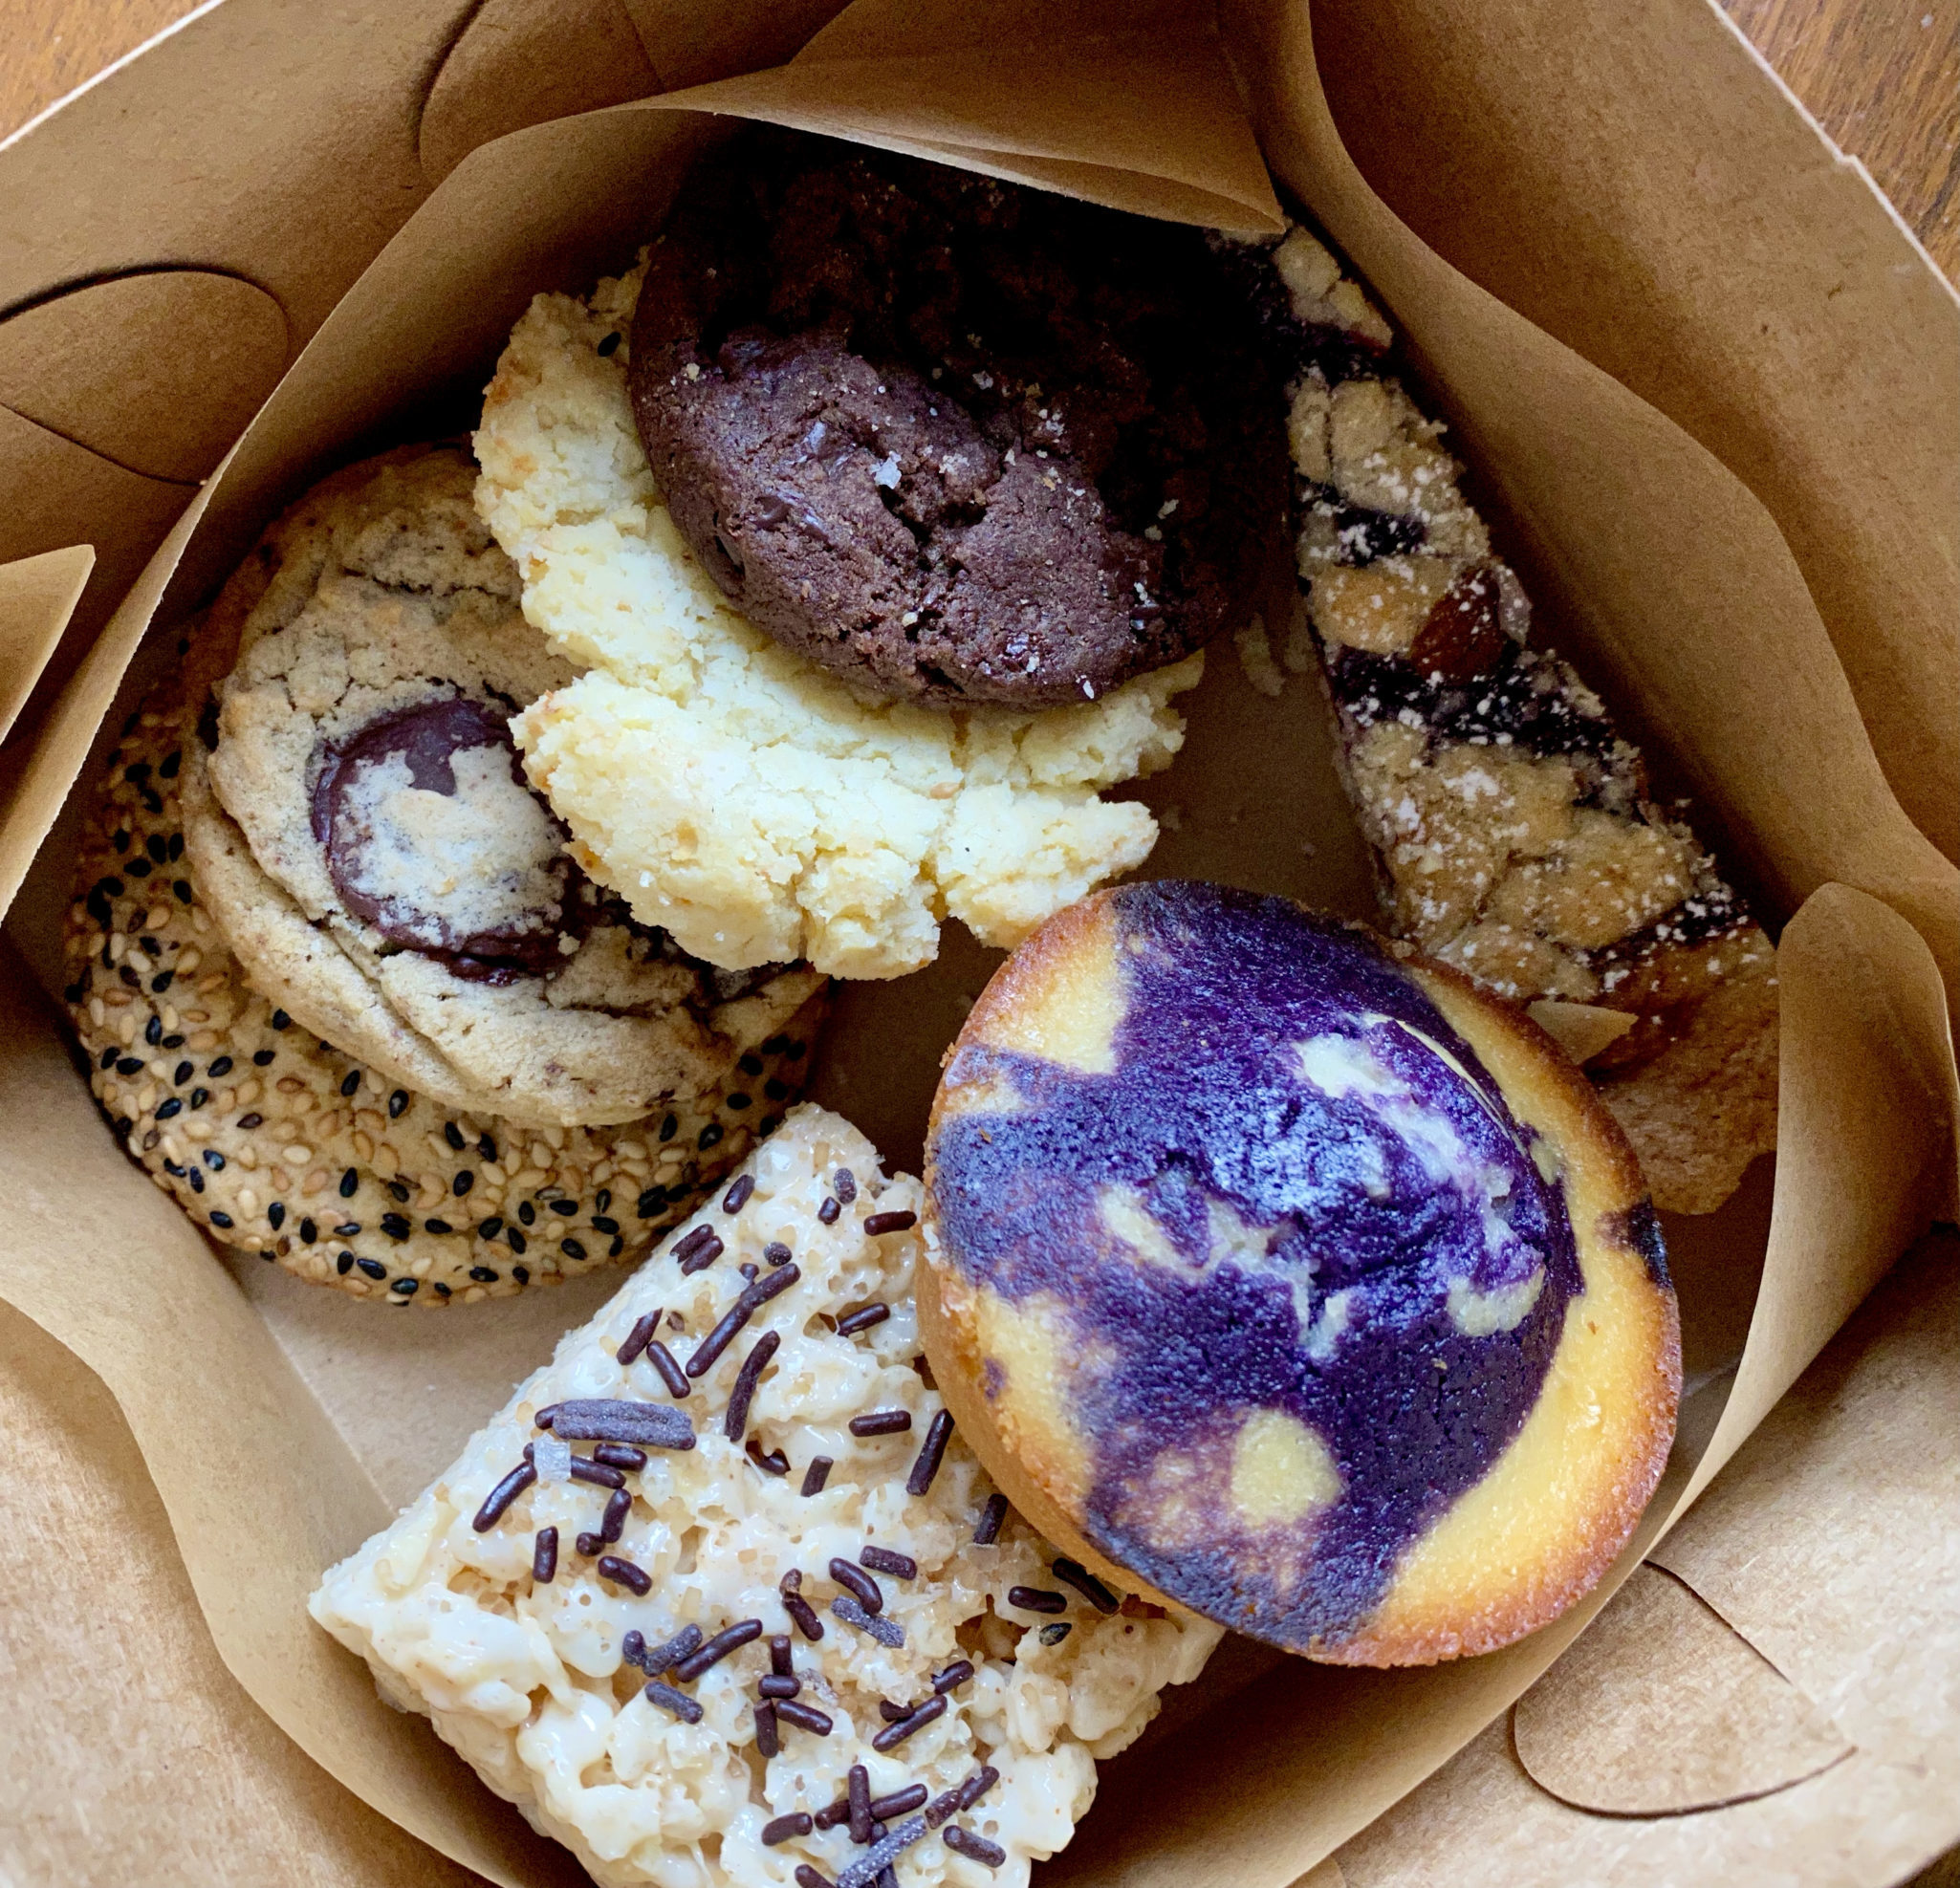
I wanted to include the muffins in my little box of cookies for Ukraine.  The world is upside down right now and I just can’t sit on the sidelines and watch.  So I do what I can by fighting the things I hate with the things I love.  I baked cookies for donations to World Central Kitchen and Sunflower of Peace. My tiny part. #BakersAgainstRacism, #BakersforUkraine

I put together individual boxes of cookies, a first for me, to share with friends and co-workers.  Everyone was so generous, it reminded me that most folks are decent, kind, and caring.  How is it that just a few are actually responsible for so much hate and suffering in the world?  Most folks just want to live their lives and be happy.

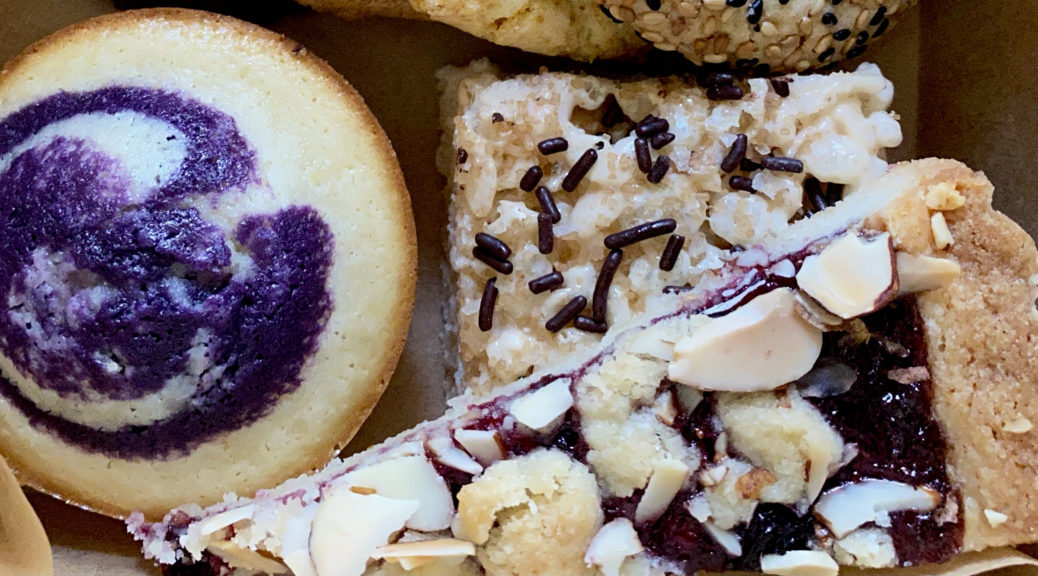
Each box included tried & true cookies, comfort cookies, my family favorites.  Here are the Cookies for Ukraine Box.

Purple Yam All In My Brain

Rounding out the cookie box, are these incredibly easy and delicious Ube Butter Mochi Muffins.  Mochi has become my best friend when I need a gluten-free treat.  Made with glutinous sweet rice flour, the texture is chewy, a bit dense in a good way, and totally addicting.  If you have tried Third Culture Bakery or Mochi Donuts, or Manju, you will love these.  If you like to start with the classic butter mochi muffin try this one.  It is by far the most popular recipe on 3Jamigos.

The muffins can be made in one bowl, that’s how easy they are.  The method in the recipe below is from Mark Hella Cooks. Alternatively, place coconut milk and butter in a microwavable bowl and nuke for 1 minute.  Add evaporated milk, vanilla extract and eggs.  Mix well. Combine mochiko flour and baking powder then add to milk mixture.  Whisk until smooth.  Proceed with the recipe at step 3 as written.

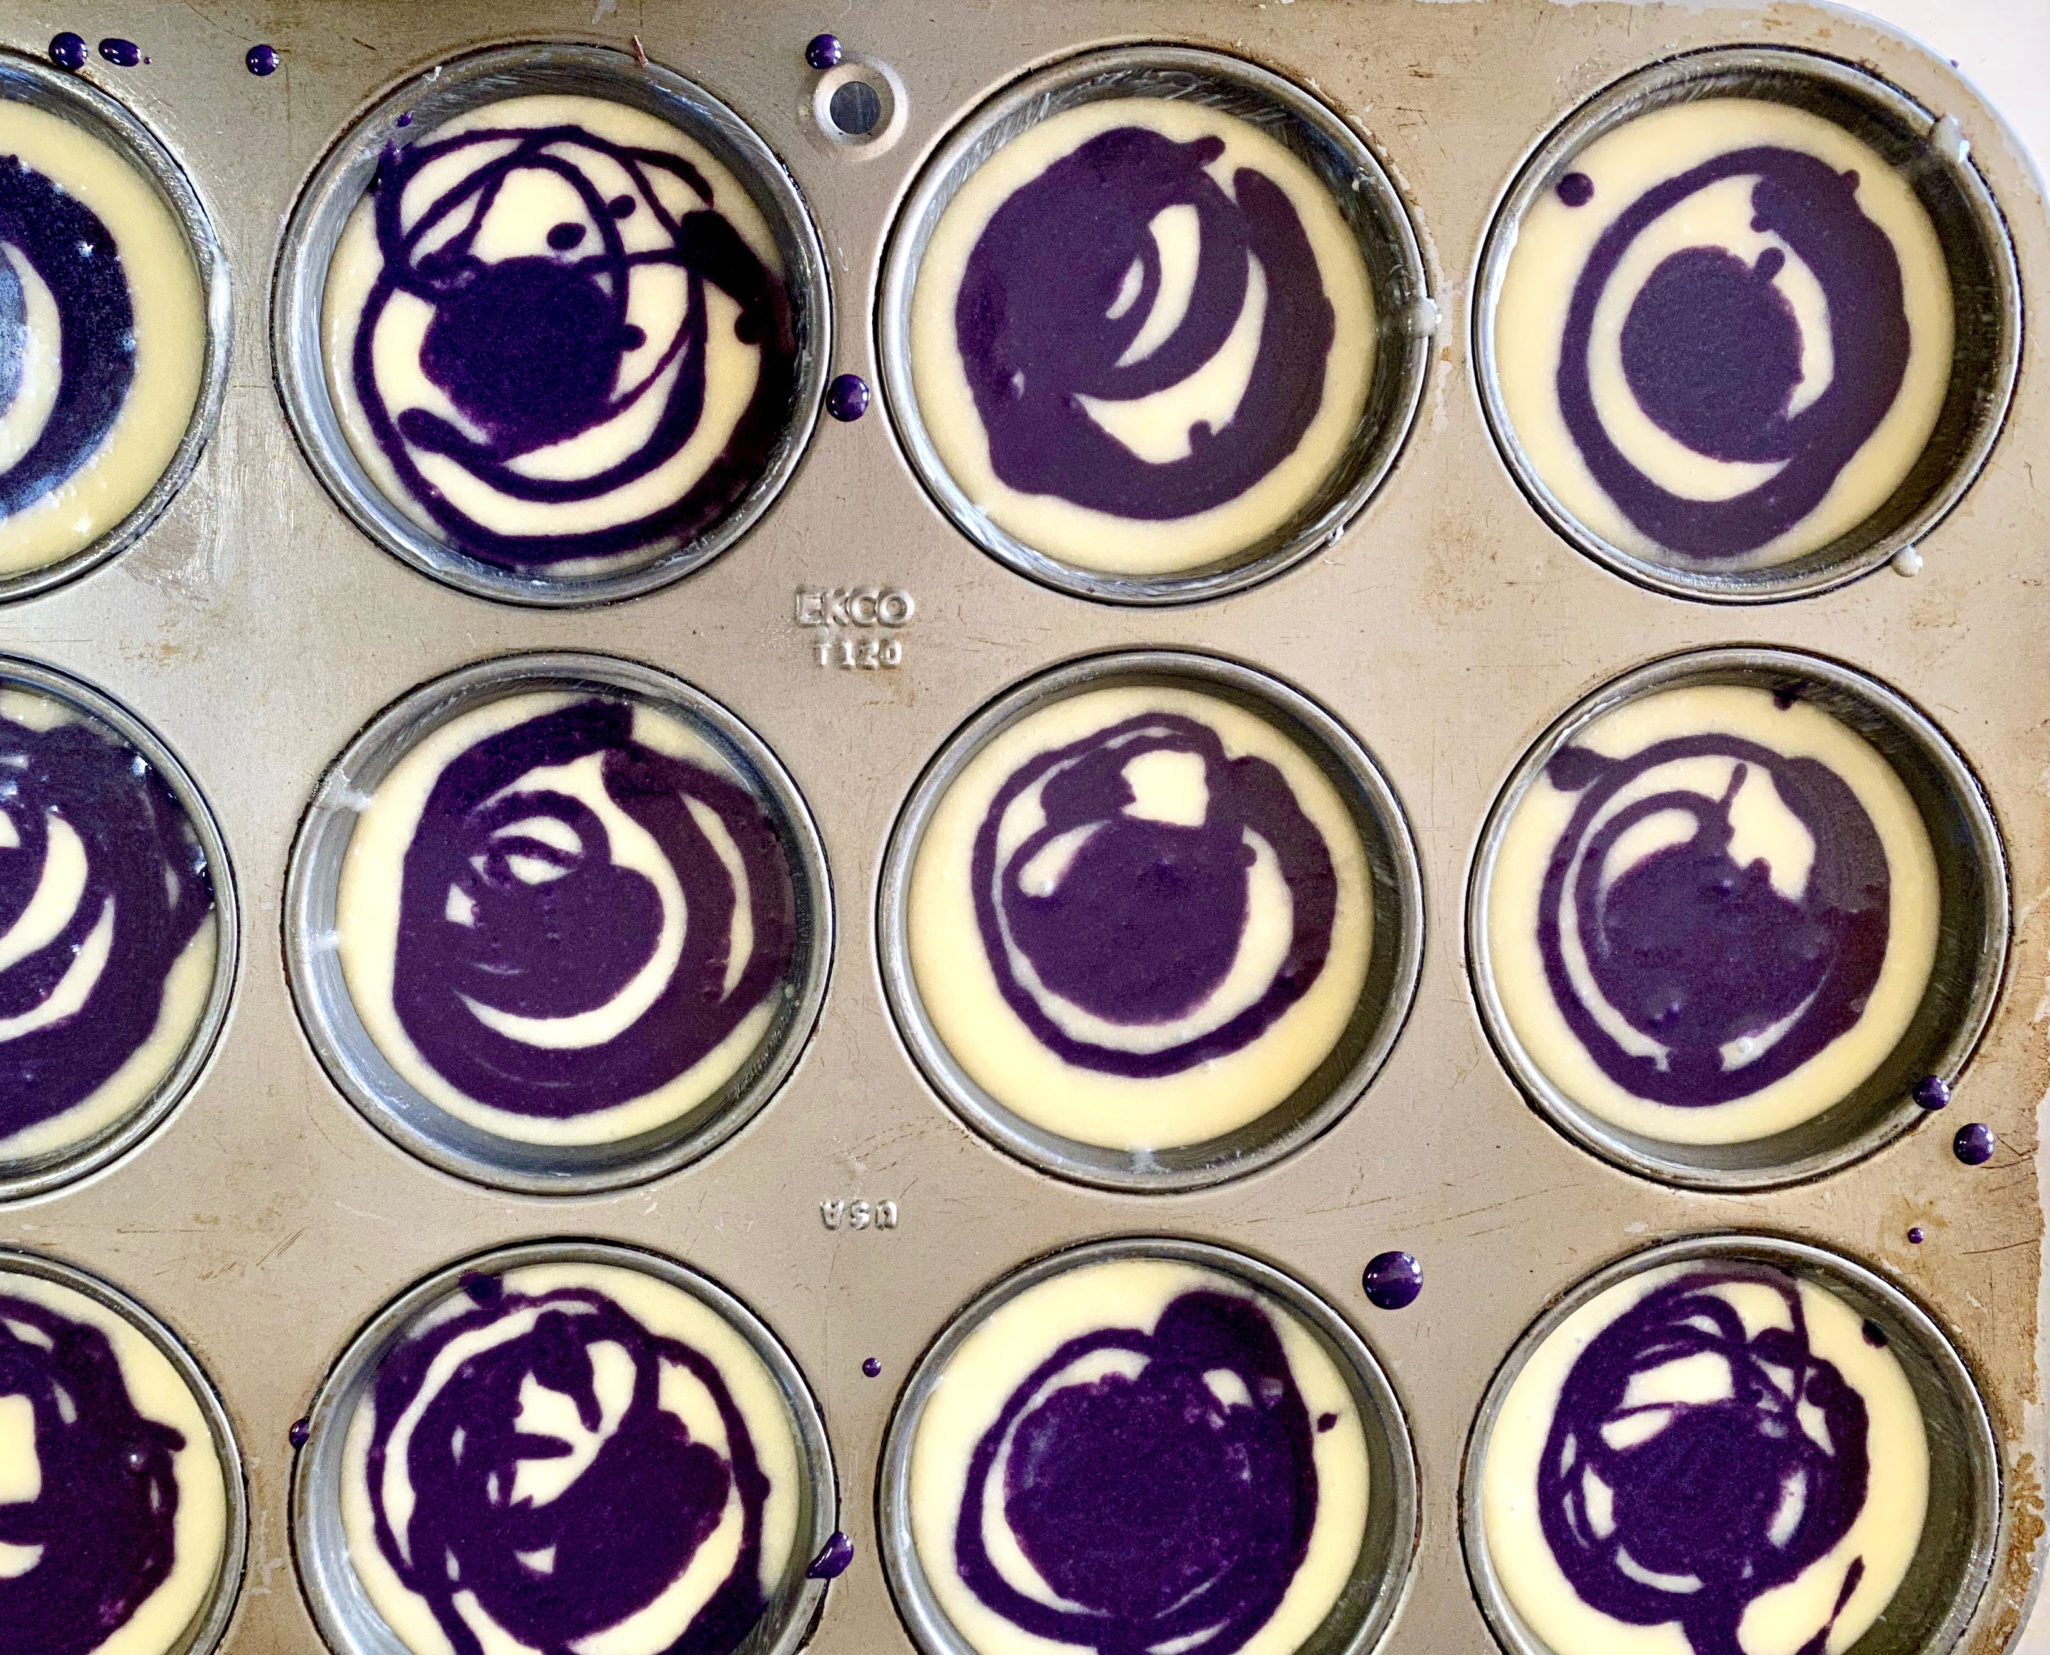
Once you have drizzled the ube batter into the muffin tins, be careful not to shake the tin which would cause the batters to blend too much, You want to retain the marbling.

Butter or spray the muffin tin with PAM REALLY well, it determines the rise and the shape of the top of the muffin.

Enjoy!

Ube Butter Mochi Muffins

More mochi muffins! Purple Yams is in my soul
Course Dessert, Muffins
Cuisine Asian-American
Keyword butter mochi, Gluten free, mochi muffin, ube
Prep Time 20 minutes
Cook Time 50 minutes

Ingredients

  • 4 tablespoons butter (2 ounces) (salted is fine) melted
  • 1 cup sugar baker’s/caster sugar preferable
  • 2 large eggs @ room temperature
  • 1/2 teaspoon vanilla extract
  • 1 teaspoon ube extract Available at Asian Stores, online McCormick's
  • 8 ounces mochiko rice flour (1/2 box) 230gms
  • 1 teaspoon baking powder
  • 6 ounces evaporated milk Sub whole milk
  • 7 ounces full fat coconut milk(Arroy-D or Chakot)

Instructions

  • Preheat your oven to 350 degrees (non-convection), and generously grease a standard 12-cup muffin tin with butter.
  • In a large bowl, whisk together the melted butter and sugar. Add the eggs and vanilla extract and continue to mix until combined. Add the rice flour and baking powder and stir until combined. It might look a little lumpy, it's okay. Stir in the evaporated milk and the coconut milk. Continue whisking until smooth*
  • Remove 3/4 cup of the batter and place in a small bowl. Add the ube extract and mix together.
  • The batter will be pretty runny. Using a large ice cream scoop the remaining batter into each muffin tin. It should fill the entire tin, each cup filled approximately 3/4 full. Gently drizzle ube batter onto each muffin tin. A squeeze bottle with a large opening will work otherwise use a teaspoon. The batter will sink so there is no reason to swirl it. I drizzle in a spiral pattern with a healthy glob in the center.
  • Carefully place the muffin pan in the oven and bake for 20-25 minutes.
Anzac-ly The Delicious Biscuit (Cookie) I Was Looking For

Anzac-ly The Delicious Biscuit (Cookie) I Was Looking For

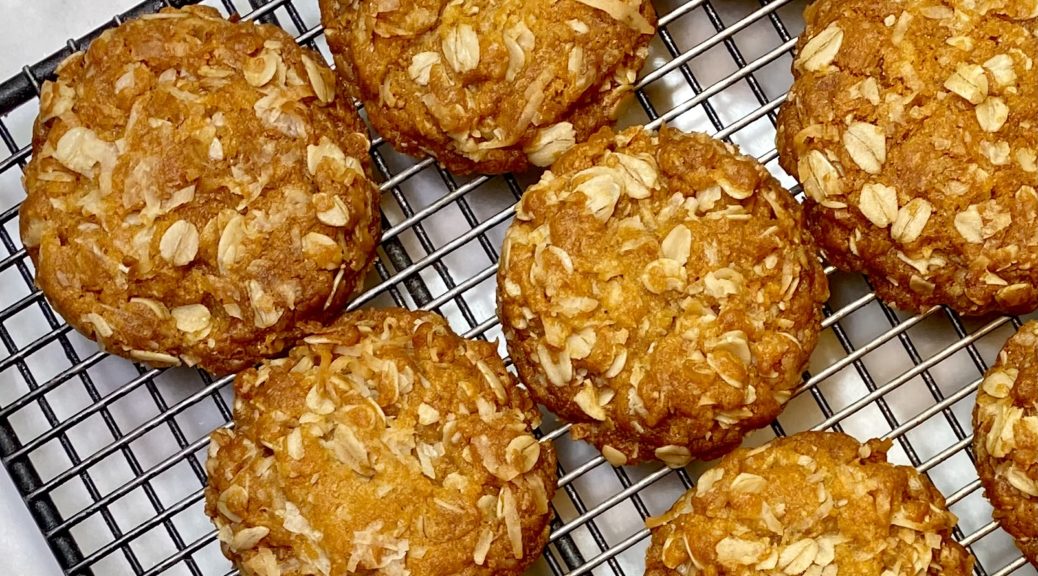
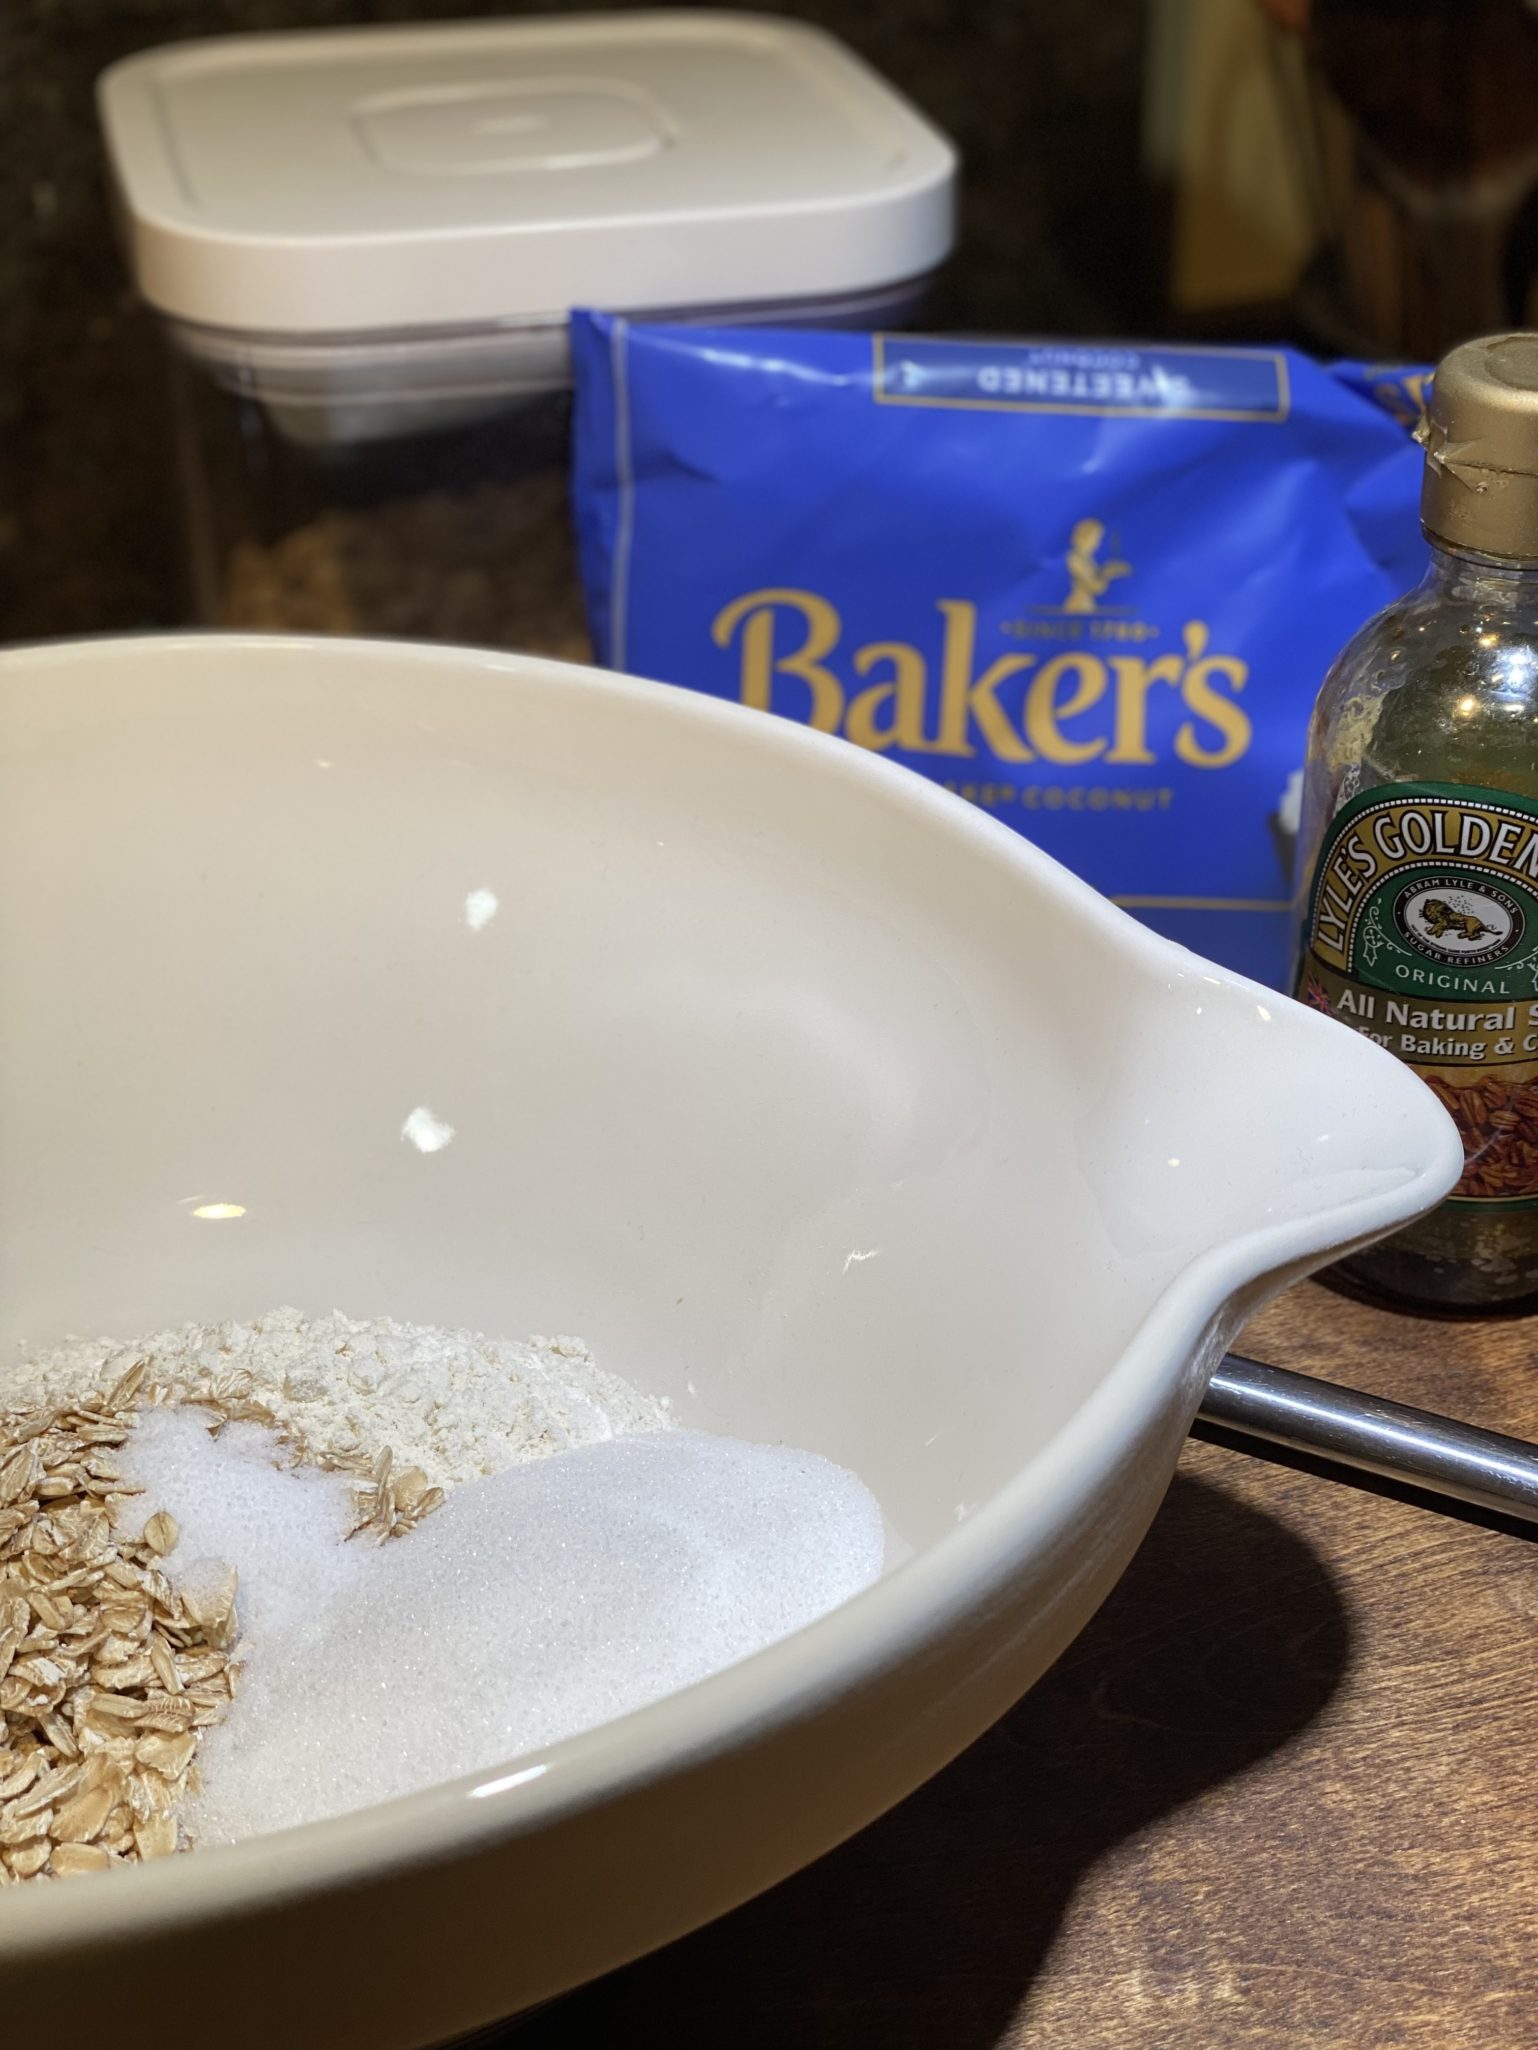
Marching orders in hand, I gathered the ingredients to make Anzac Biscuits.   Think Oatmeal Cookie meets Oatcake or Granola Bar…you end up with a biscuit (cookie) that is buttery, sweet-salty, chewy-crispy (are these oxymorons?), and EXTREMELY delicious.

A Brief History On Anzac Biscuits

These tasty biscuits (cookies) can be traced back to World War One and the Australian-New Zealand Army Corps (ANZAC).  As the story goes, moms and wives sent these biscuits to their soldiers fighting, both as a morale booster and reprieve from the dreary military rations.  Made simply of flour, coconut, oatmeal, Golden Syrup, butter, they were easy to make and tasty.   The end product was a caramel-ly sturdy biscuit that traveled well and lasted a long time.  A welcomed treat from home.

Simplicity At Its Finest

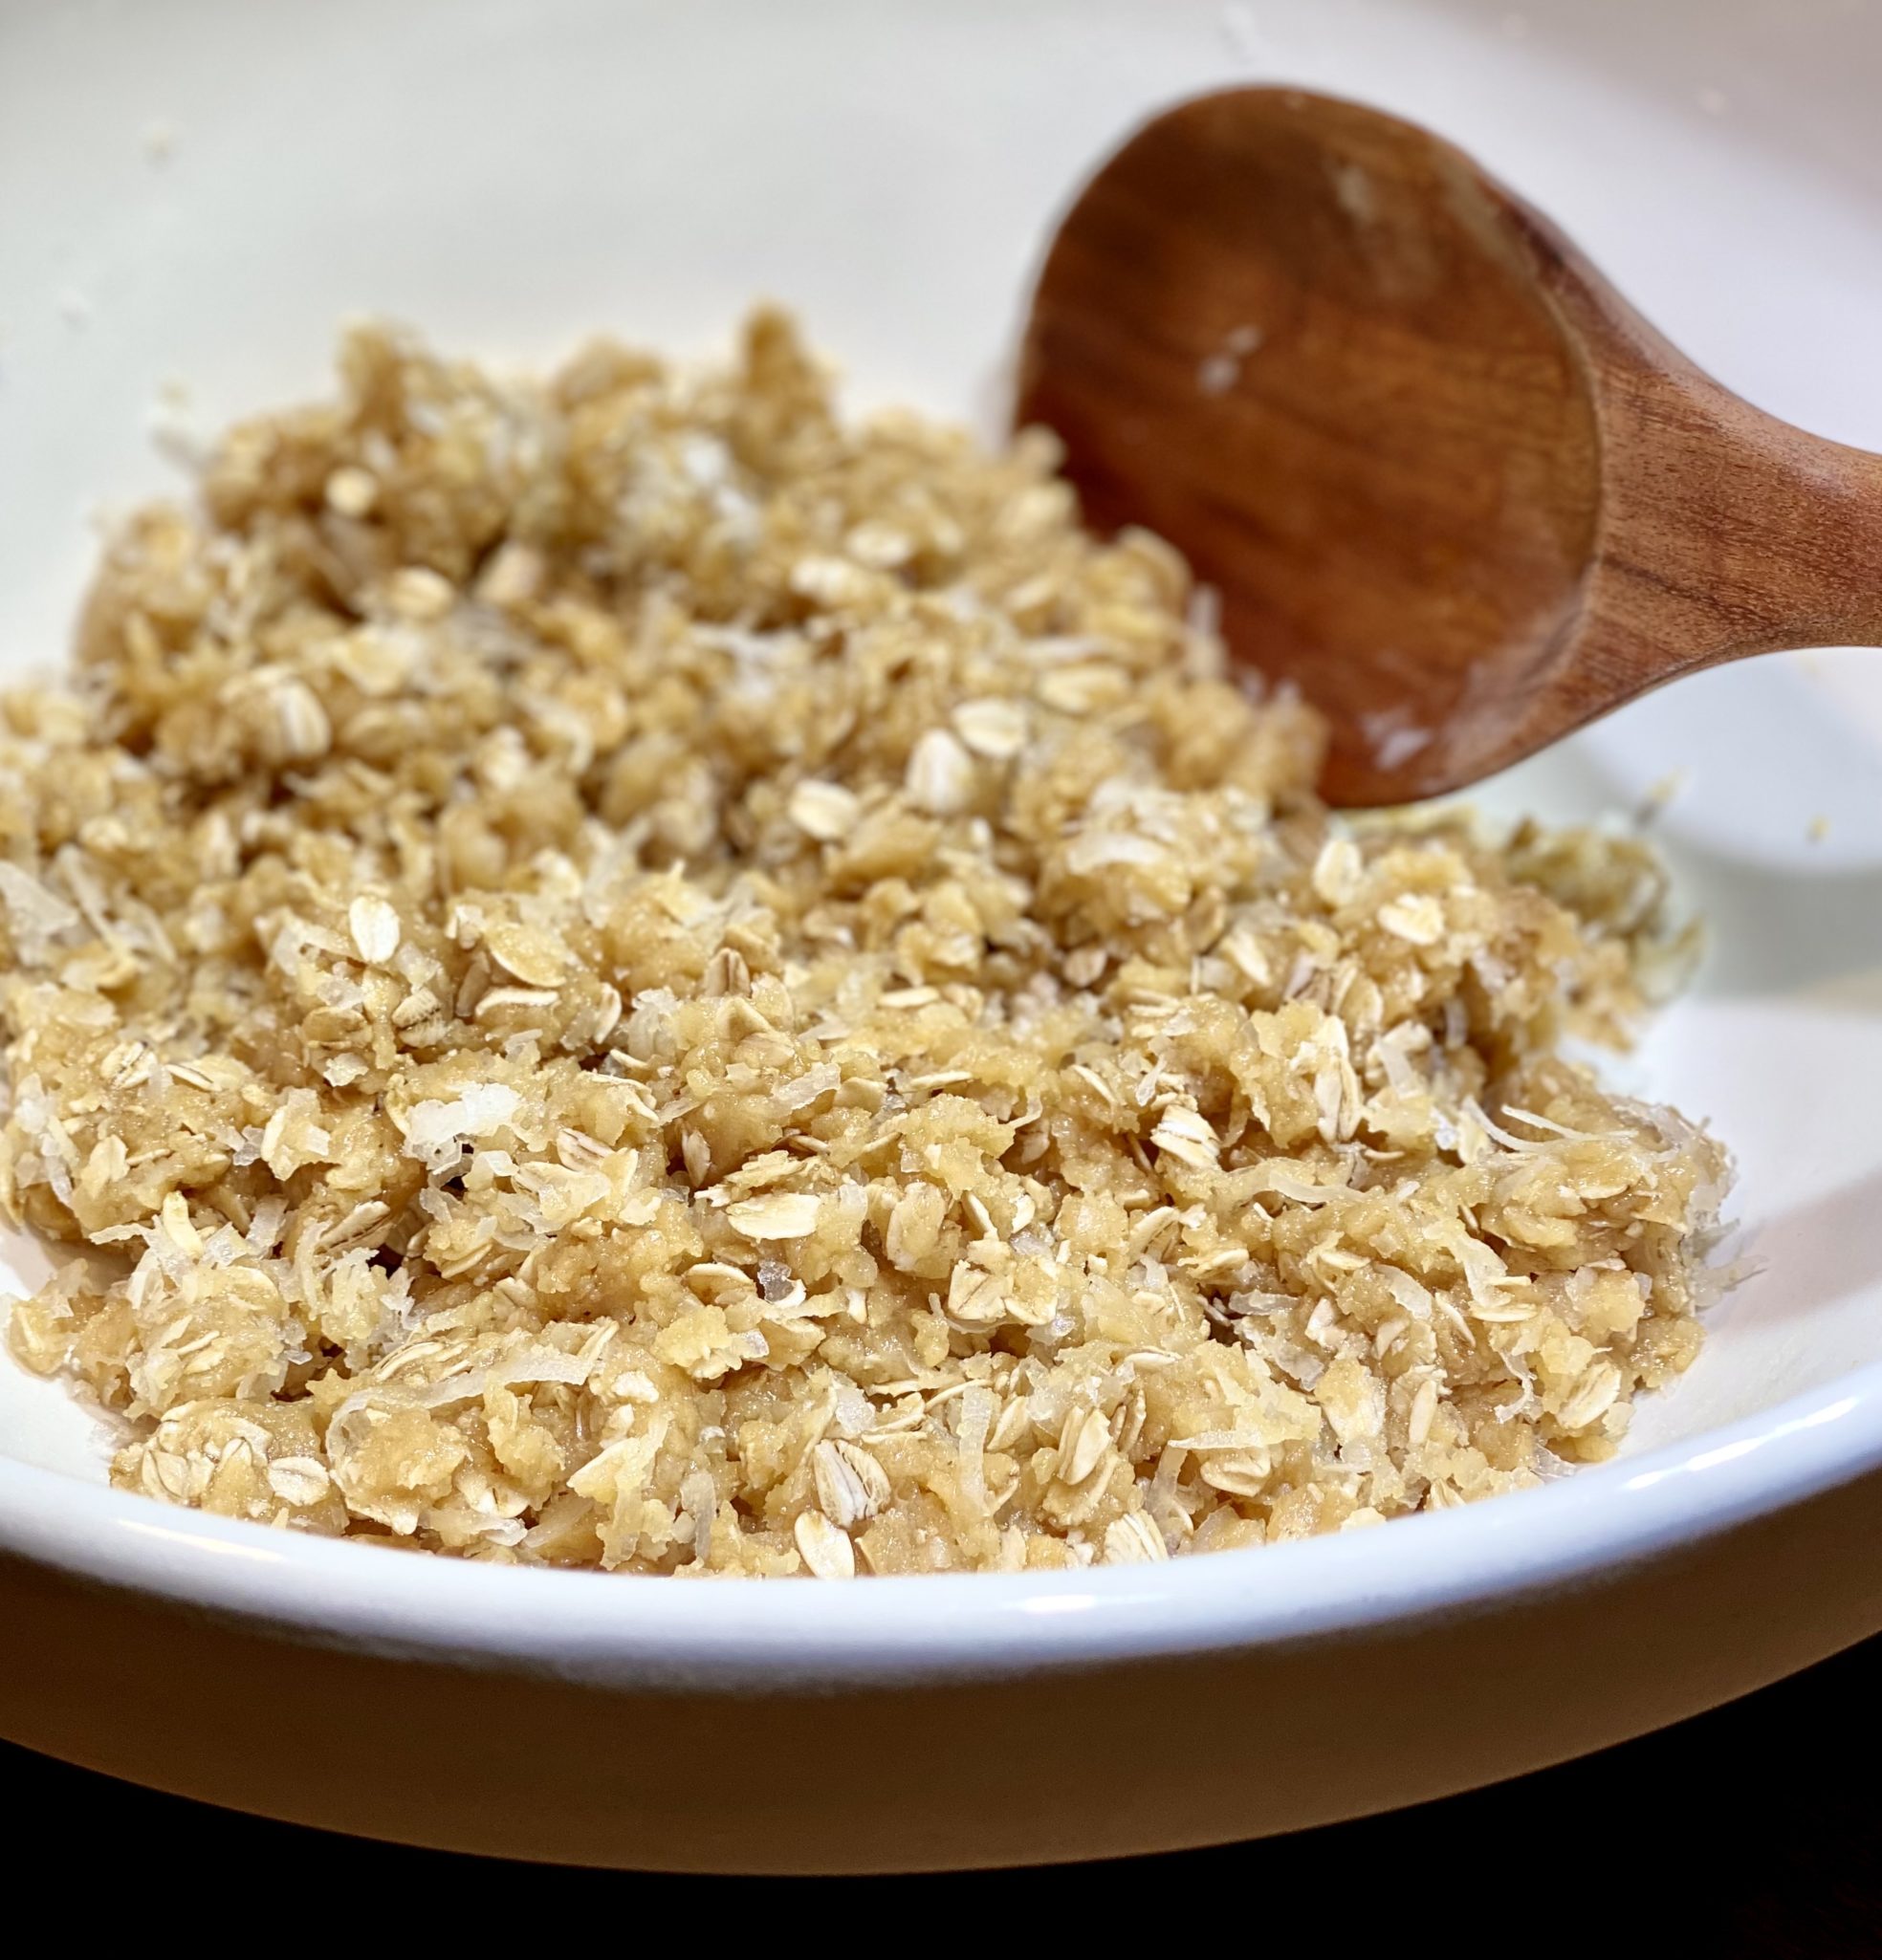
Put this biscuit recipe in your incredibly easy with huge returns file.  Very easy and perfect for little hands helping in the kitchen.  Stir the dry ingredients together in a big bowl (kids love doing this), melt butter with the Golden Syrup on the stove (you do this), add the baking soda mixture to the butter (once again, your job) and add to dry ingredients (kids love to stir and make a mess).  Scoop, bake, and eat!  Easy-peasy.

Tweaks

The recipe is from Dorie Greenspan’s (Goddess of Baking) book, Dorie’s Cookies.

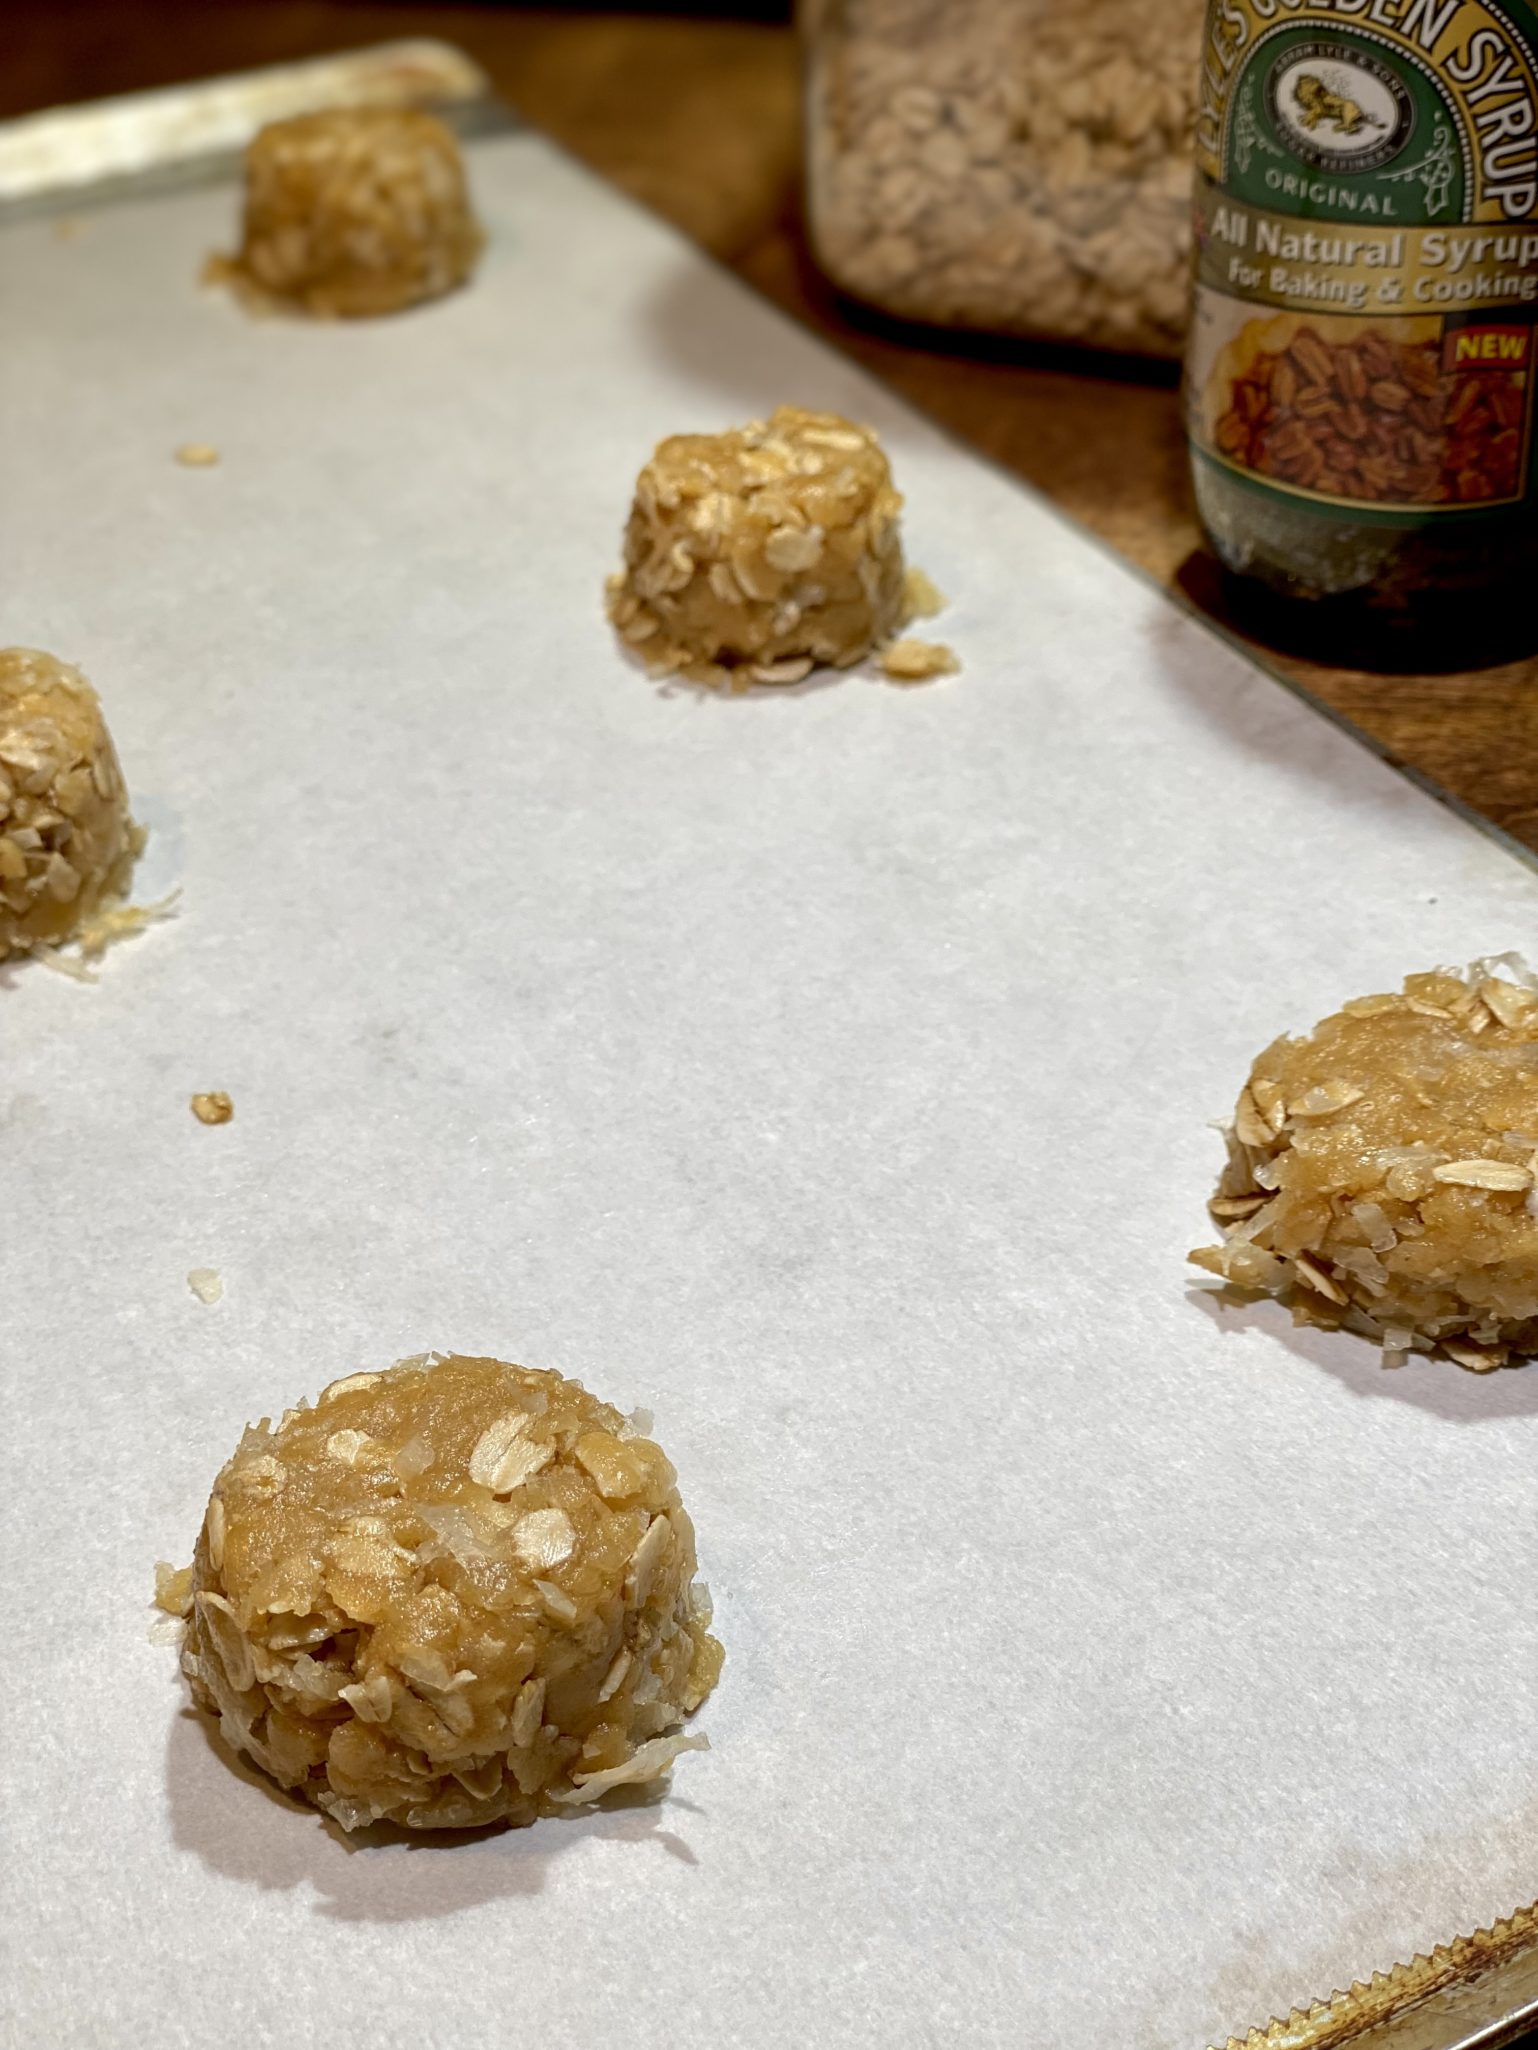
I used a one-eighth cup to portion the dough (could not find my scoop of this size 🤔) which produced cookies a little over 2 inches in diameter.  Use either a #24 or #30 ice cream scoop for bigger biscuits, I would. They’re that good.

Press the dough into a puck-like disc on the baking sheet.  Gives the biscuits a running start to a nice even shape.

If I had baked these cookies for 17-18 minutes, as directed, I’d have lumps of coal for all those naughty kids at Christmas.  The first batch baked for 14 minutes at 325 degrees, which produced deep golden brown cookies with dark edges.  The second batch baked at 320 degrees for 13 minutes.  The biscuits were deep brown, carrot cake color without the dark edges.  If you like a chewier, lighter-colored cookie, reduce the baking time, personally not recommended.  If you make larger cookies, adjust baking times accordingly.

Subbing honey or corn syrup for Lyle’s Golden Syrup can be done in a pinch.  But if you can, please try to use Lyle’s Golden Syrup.  It is made from sugar cane and has a nuanced caramel flavor you won’t get with honey or corn syrup.  Lots of larger grocery stores carry Lyle’s or you can order it on Big Bad Amazon.  Don’t confuse their Dessert Syrup for the Original Cane Syrup, that’s like Log Cabin to real Maple Syrup.

These biscuits are incredibly tasty and easy to make, put them on your “biscuit” bucket list.

P.S.

Not all these biscuits came out perfectly round as pictured, lol.  As soon as they came out of the oven, I placed a glass over the not-so-round ones and swirled it in a circular motion thereby jostling the cookies into perfect rounds.  Tricks of the trade, babee.

Print Pin
5 from 2 votes

ANZAC Biscuits

Iconic Austrailian-New Zealand Biscuit (cookie) created during WW1, recipe adapted from Dorie's Cookies
Course biscuits, cookies
Cuisine Australian
Keyword Anzac Biscuits, Anzacs, Dorie Greenspan, Lyle's Golden Syrup
Prep Time 10 minutes
Cook Time 15 minutes

Ingredients

Dry Ingredients

  • 1 cup AP flour 136 grams
  • 1 cup old-fashioned rolled oats 80 grams
  • 3/4 cup sweetened shredded coconut 90 grams
  • 1/2 cup granulated sugar 100 grams
  • 1/4 cup light brown sugar or additional granulated sugar 50gms * Not in Dorie's recipe! Add if using unsweetened coconut, omit if you like,

Wet Ingredients

  • 1/2 teaspoon kosher salt Use 1/4 teaspoon if using salted butter, Dorie's recipe uses sea salt, I thought it was a touch salty.
  • 1/2 cup unsalted butter 1 stick
  • 2 tablespoons Lyle's Golden Syrup

Leavening Ingredients

  • 1 tablespoon boiling water
  • 1/2 teaspoon baking soda

Instructions

  • In a large bowl, combine flour, oats, coconut, sugars, and salt and set aside.
  • In a small saucepan over low heat melt the butter with the Golden Syrup and remove from heat.
  • Combine the boiling water and baking soda in a small bowl to dissolve the baking soda.
  • Pour the water and baking soda into the butter mixture and stir to combine.
  • Pour the butter mixture into the dry ingredients and stir until thoroughly combined.
  • Use a 1 1/2-inch ice cream scoop to mold each cookie by gently packing dough into ice cream scoop and then turning out onto cookie sheet or form 1 1/2-inch balls of the dough with spoons)
  • Place cookies 1-2 inches apart on baking sheet. Bake for 17-18 minutes* or until deep golden brown (the color of carrot cake). Makes 16-18 cookies.
    *Read my post regarding baking times!

Notes

These cookies should be a nice rich deep brown.  Meant to be a little dense and crispy as they historically needed to travel well.  For a chewier cookie, a little less baking time will do the trick, if that is what you like.  It won't have as much of that nice caramel flavor you get from browning but still tasty!
Pao de Queijo (Jeremy’s Cheese Bread-Food from the Heart)

Pao de Queijo (Jeremy’s Cheese Bread-Food from the Heart)

Earlier in the year as I was clicking through my Instagram, perusing what my favorite bloggers and IGers were up to, I landed on Two Red Bowls.  A black and white photo of a young man hugging Luke, her son, and Luke gazing up at him. It was and is a beautiful photo. As I read her post, my chest tightened and my heart sank, the young man was her brother, Luke’s uncle, who had just passed away from colon cancer, far too young. It was so sad and so brave of her to share this with us, strangers, who feel a connection to her through her beautiful writing and wonderful recipes.

A few months later she posted a recipe for Pao de queijo, a Brazilian cheese bread. This was her brother’s contribution to holiday feasts.  She described how he made these savory bites in the afternoon for everyone to enjoy while prepping for the evening feast.

I made a mental note to make his Pao de queijo for Thanksgiving. I did, and as I watched my family gobble them up, I hoped her family was also together for Thanksgiving and finding comfort in the shared memories of her brother.

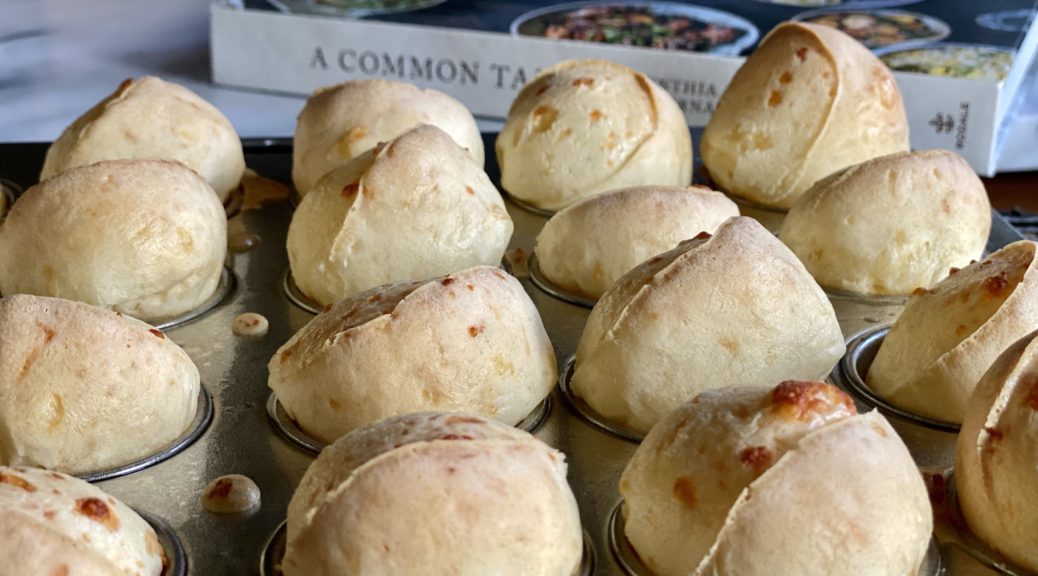
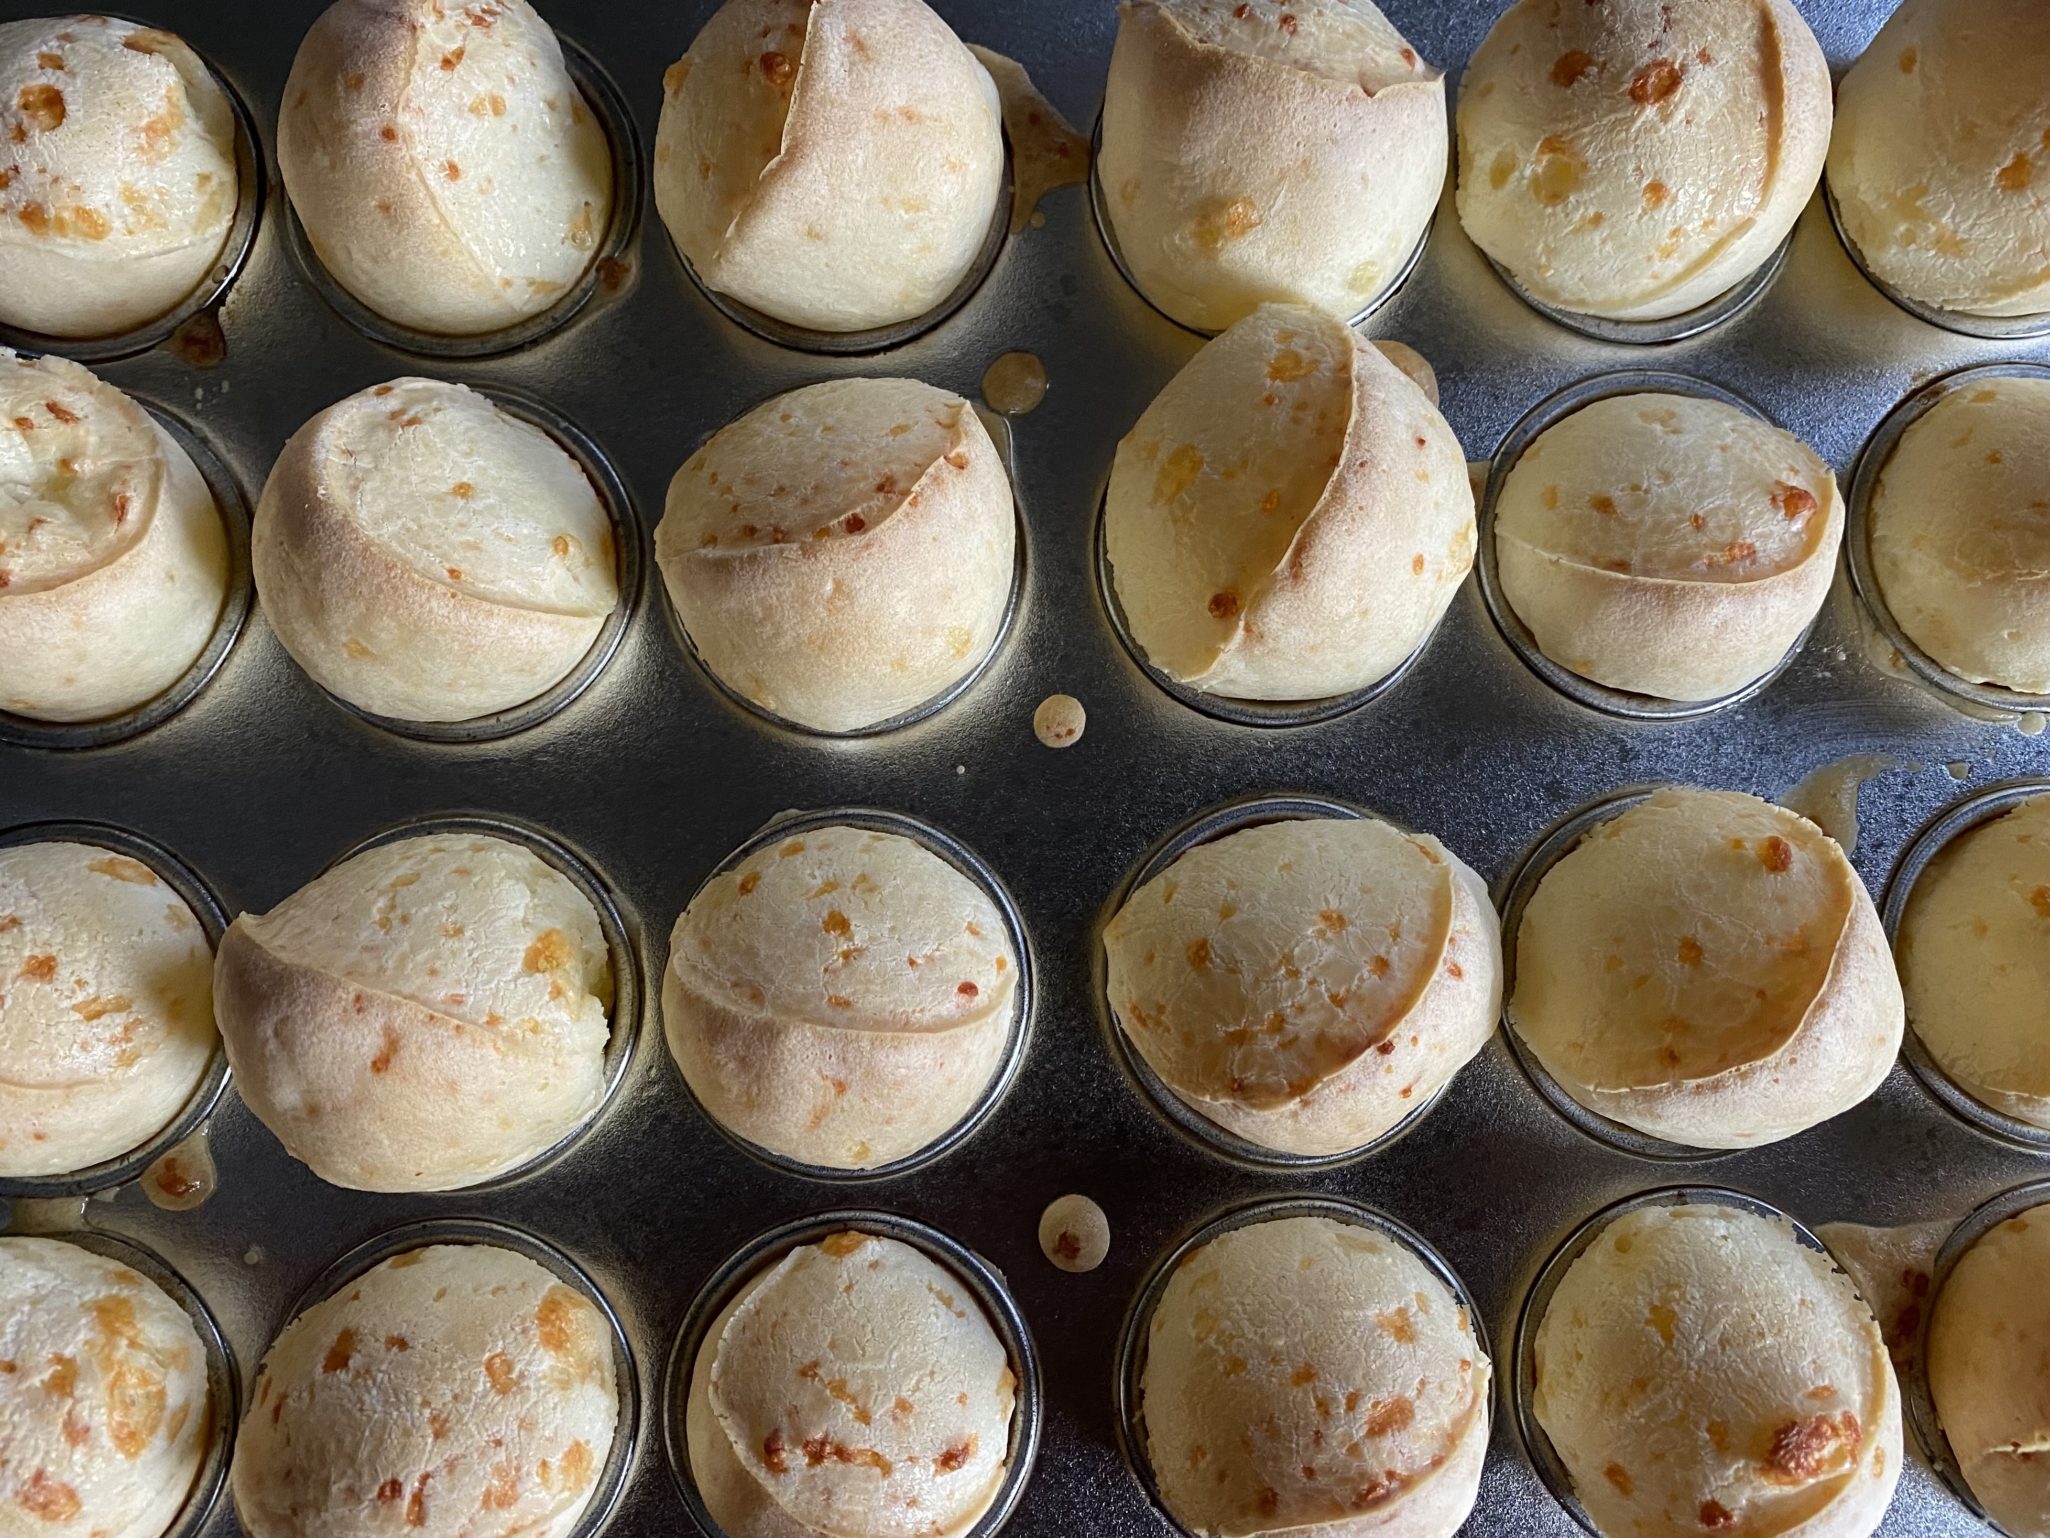
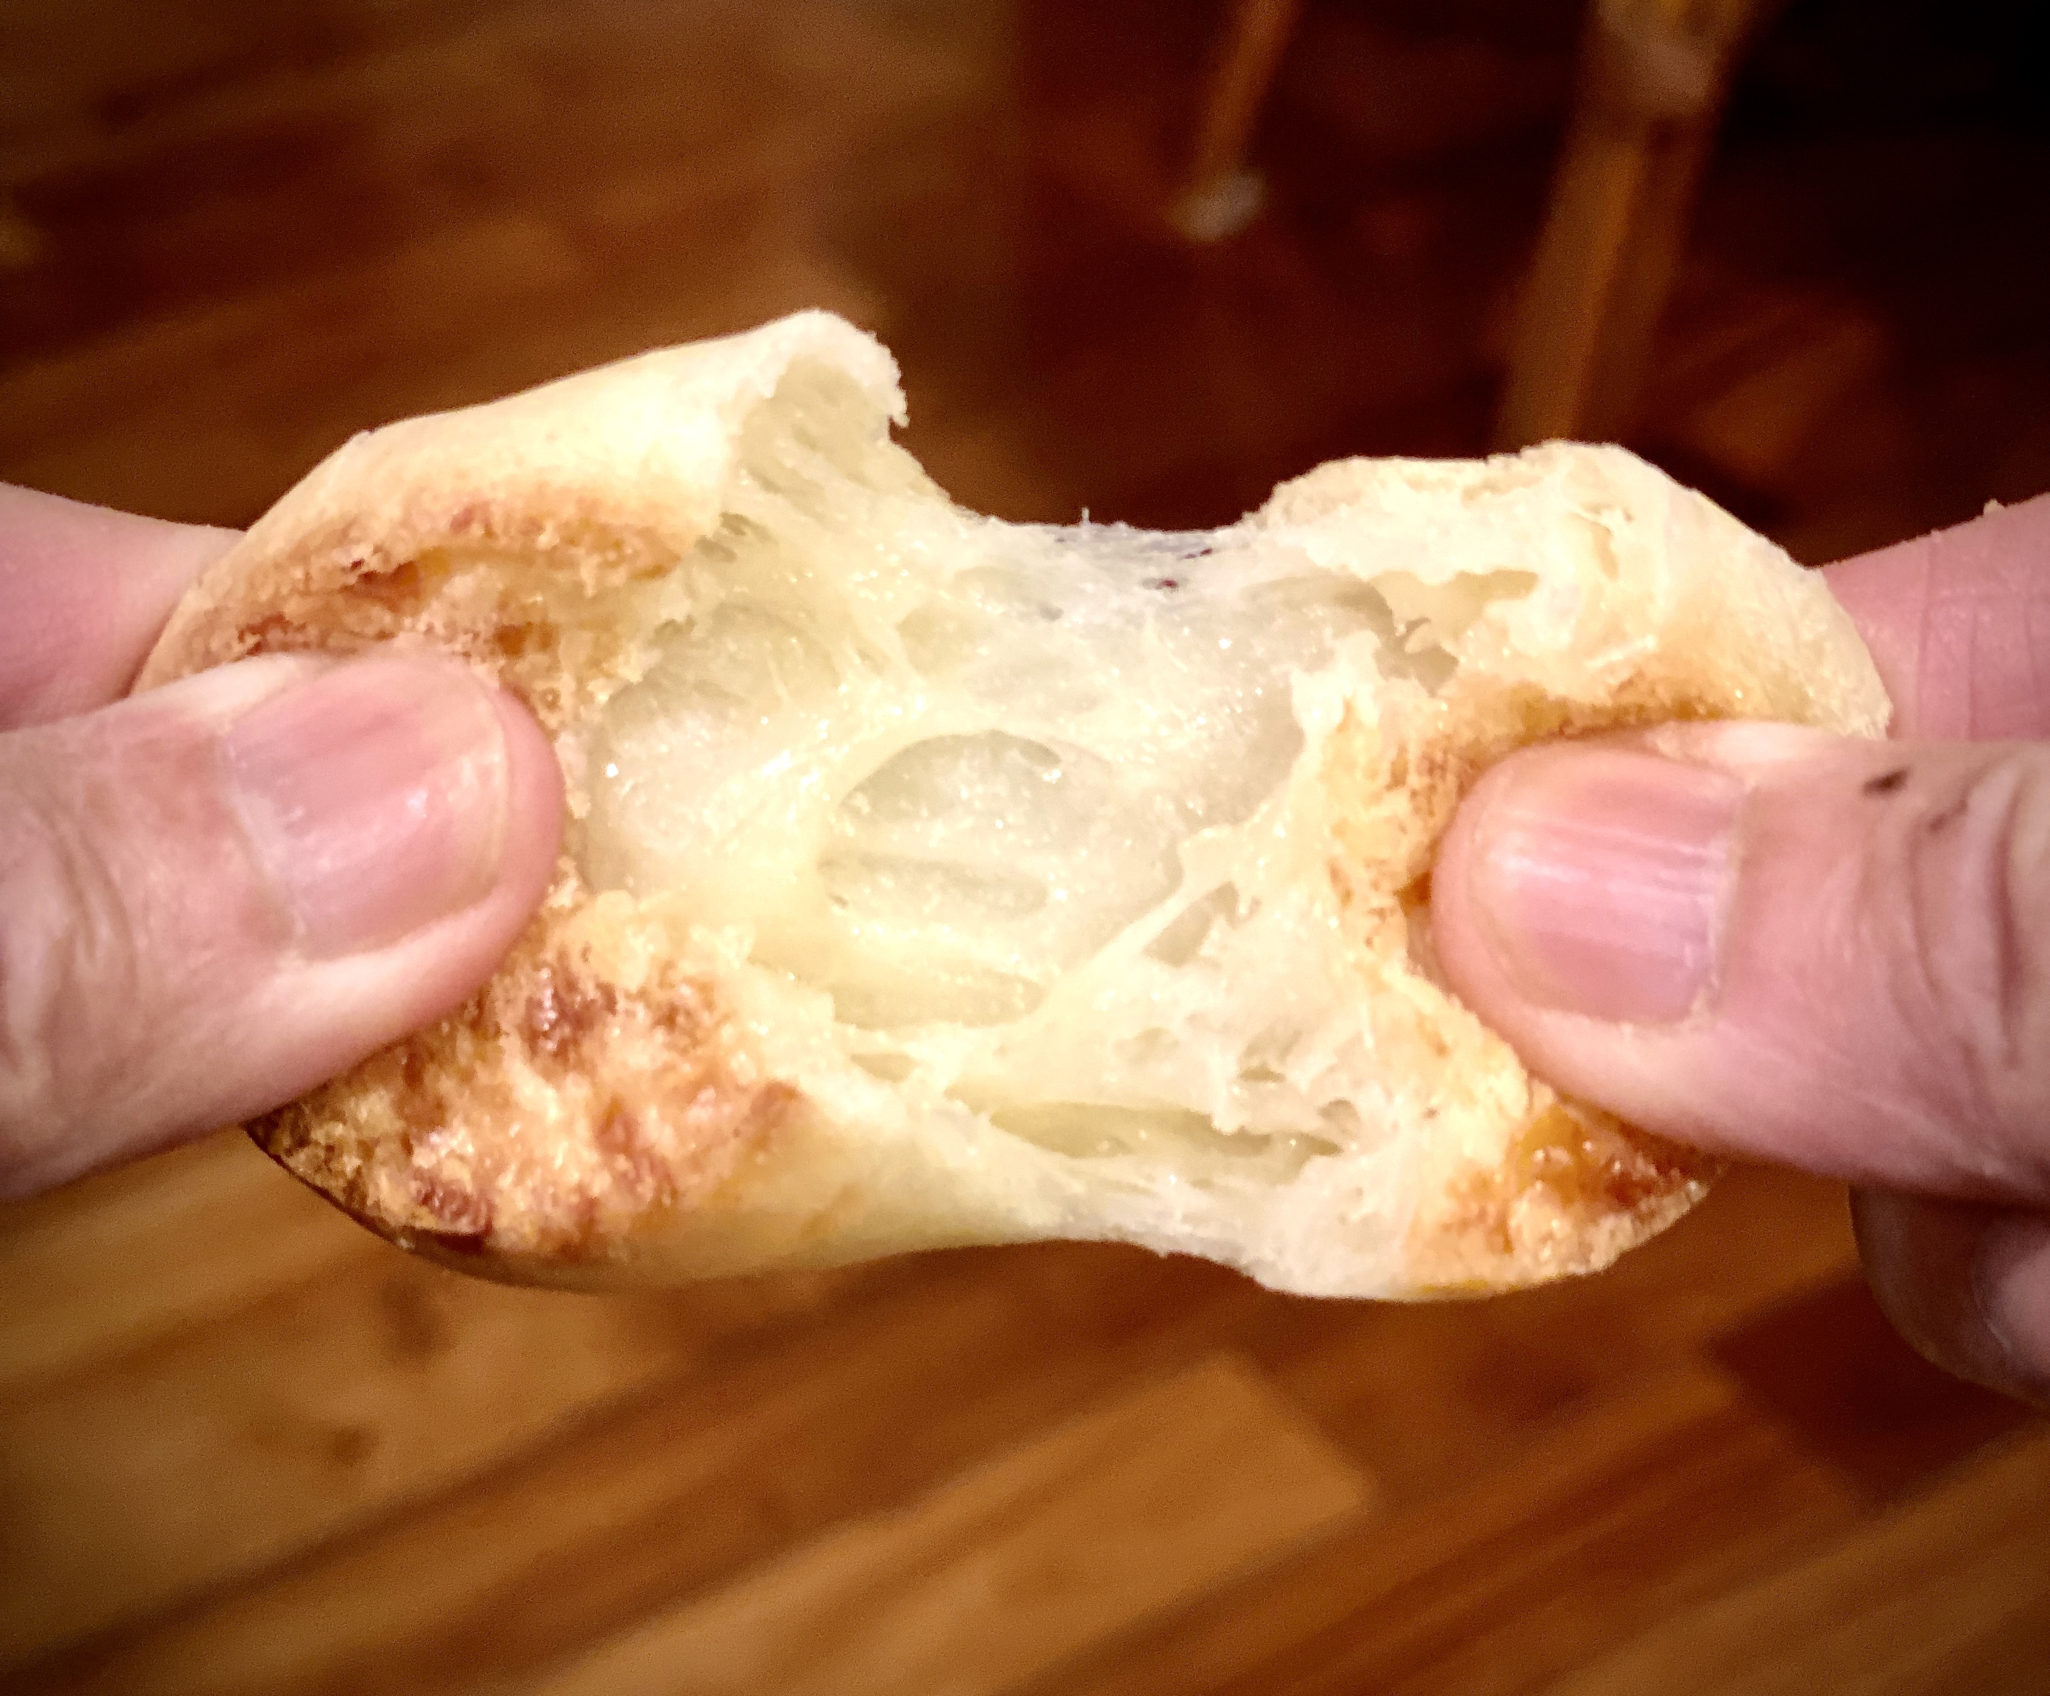
How to describe Pao de queijo?  They look like Gougeres, those airy, light, cheesy, French puffs. The KEY difference is these puffs are made with tapioca flour which gives them an elastic, stretchy quality, kind of like mochi.

Let’s Starch Here

These puffs are incredibly easy and quick to make. I did a little sleuthing for background on these savory Brazilian morsels. Recipes called for Tapioca Starch or Cassava Flour.  Both forms come from the cassava plant, cassava flour uses the entire root while tapioca is only the pulp and therefore contains very little protein or fiber. This recipe calls for tapioca starch or flour (same thing) not cassava flour.  Bob’s Red Mill offers a Tapioca Flour and most Asian markets carry multiple brands of Tapioca Starch/Flour. Bonus, it is gluten-free!

Traditional recipes for Pao de queijo call for heating up the liquids and then adding the starch which becomes a dough that is kneaded and formed into balls before baking.  This recipe is an easy but no less delicious version.

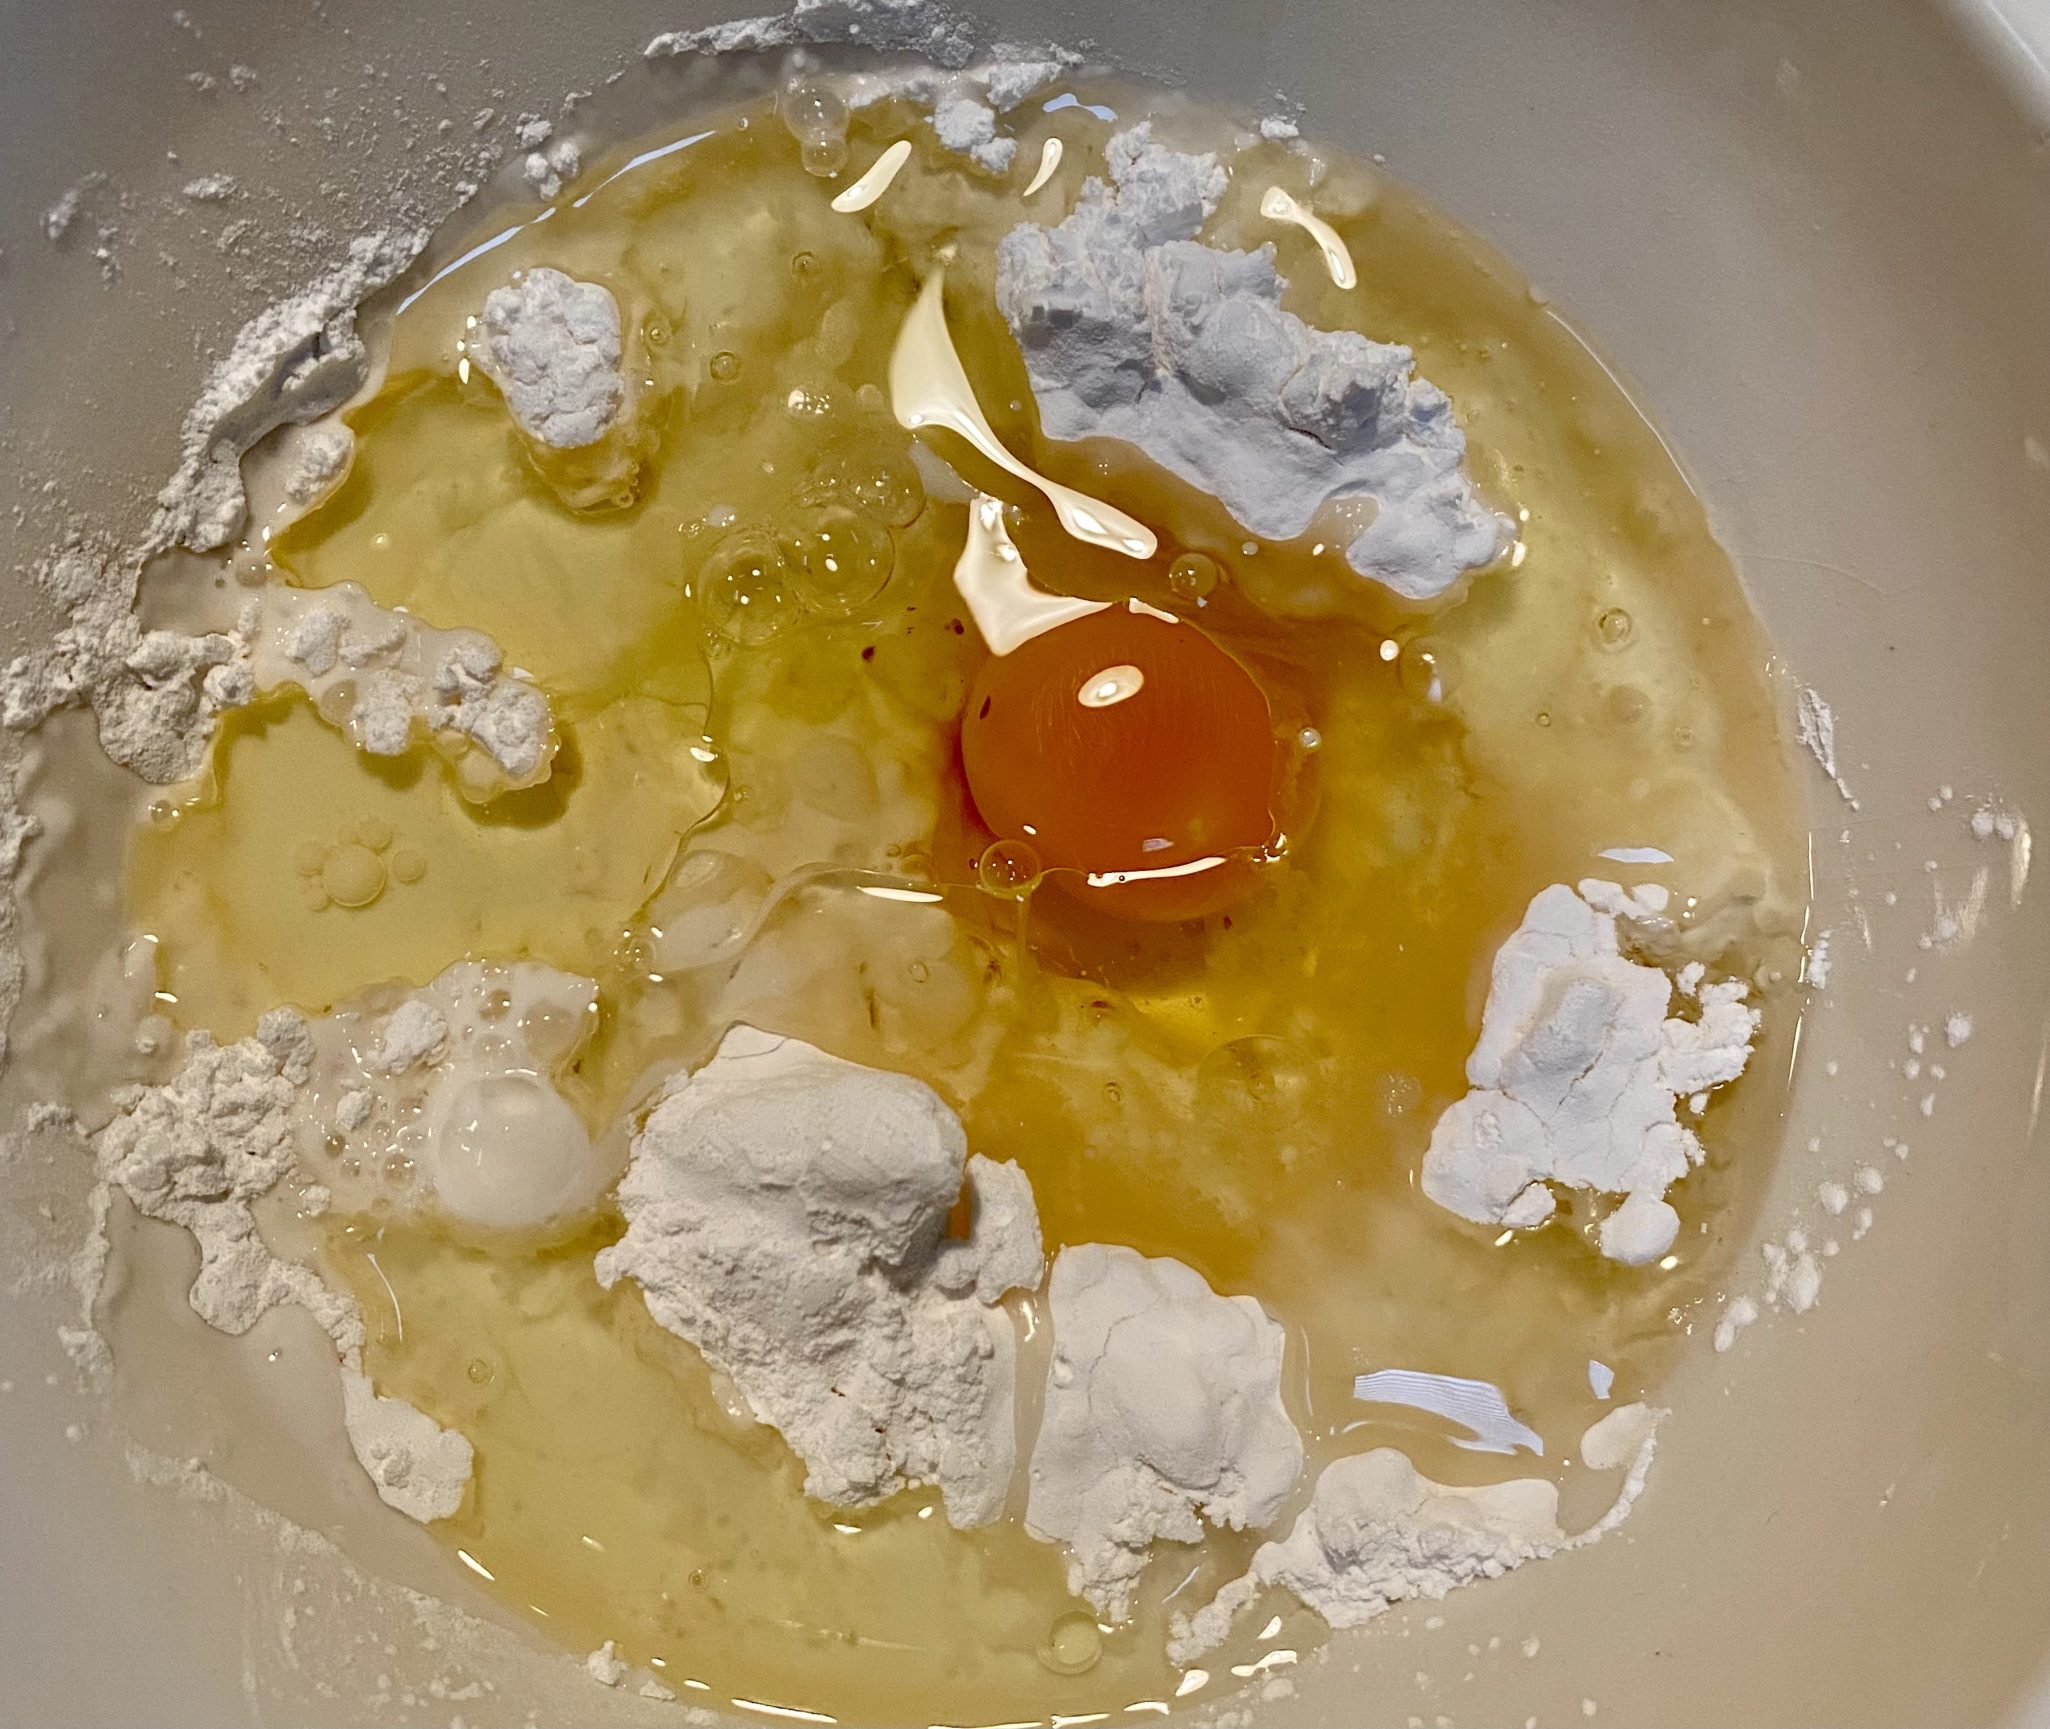
Throw all the ingredients, sans cheese, in a blender and pulse to combine.  The tricky part is the tapioca flour which gets gooey really fast.  Add your tapioca flour after putting at least some of the liquids in the blender.  Blend well.

Say Cheese

Add the shredded cheese last.  Pulse the blender a couple of times and you are done.  Don’t pulverize the cheese.  I like the combination of Parmesan and Mozzarella, it provides a nice balance of flavor and texture.  Use any cheese you like, cheddar, pepper jack, Farmer Cheese.  Adjust for the saltiness of your cheese.

Pour the batter into mini-muffin tins, it reminds me of making popovers.  It should be just the right amount of batter to fill the 24 cups equally.  Watch them rise as they bake.  Serve immediately.  I plan to make a batch for Christmas too.
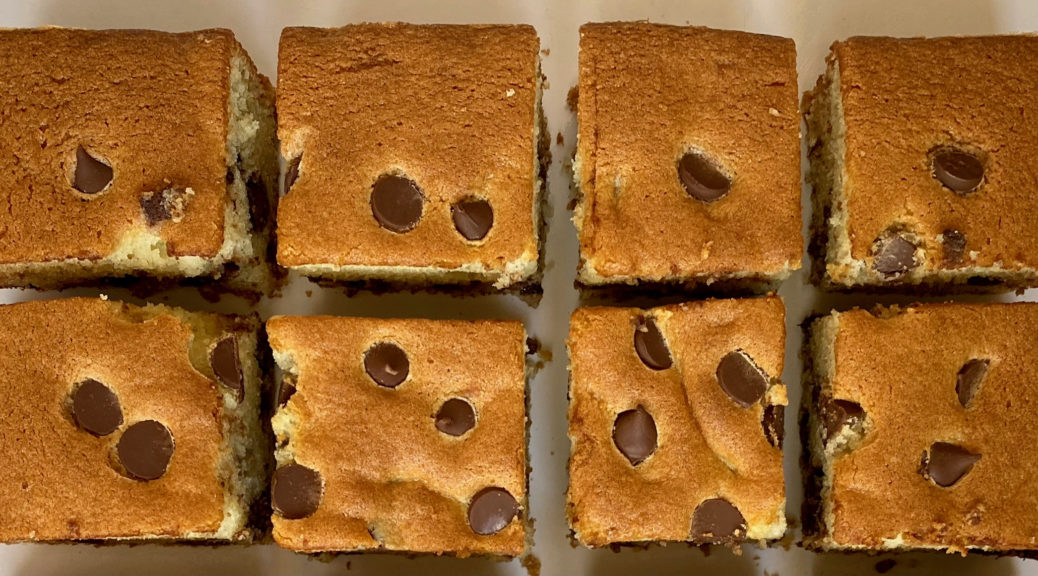
I made a batch with butter just to satisfy my “butter is better” mantra.  Straight substitution, 1/4 cup melted butter for 1/4 cup oil. I added 1 tsp of oil (very arbitrary) since butter is 80/20 fat to water.  I warmed the milk a little (not hot) to keep the butter from solidifying.   The puffs turned out fine, they seemed a little heavier than the all-oil batch.  The butter did give the puffs a fuller flavor (built-in butter bias perhaps). Your choice. Whatever you do, make them, they’re lovely.
JEREMY’S CHEESE BREAD (PAO DE QUEIJO) Two Red Bowls

Brazilian cheese bread made with tapioca flour. Stretchy and cheesy, the perfect munchie.
Course Breads
Cuisine Latin America
Keyword Brazillian, cheese bread, Pao de Queijo
Prep Time 15 minutes
Cook Time 20 minutes

Equipment

  • mini-muffin tin

Ingredients

  • 1 cup (125 gram) tapioca flour or tapioca starch
  • ½ cup whole milk or milk of your choice
  • ¼ cup vegetable oil or unsalted butter plus more for greasing the pan
  • 1 large egg
  • ½ teaspoon salt
  • ½ cup about 2 ounce shredded cheese of your choice (Parmesan and mozzarella or Farmer's Cheese or blend of cheeses)

Instructions

  • Preheat oven to 400 degrees. Lightly grease a 24-well mini-muffin pan with cooking spray or oil.
  • In a blender, combine the flour, milk, vegetable oil, egg, and salt. Process until smooth, scraping down the sides as needed, about a minute or so. Add the cheese and pulse once or twice more, until just combined.
  • Divide the batter evenly into the greased mini-muffin pan. Bake for 15-20 minutes, or until puffed and golden. Baking for less time will give stretchier, chewier rolls, and more will give a crispier exterior. Serve warm. Leftovers can be frozen and reheated at 400 for 5 minutes.

Notes

Using a blender helps fully emulsify and aerate the batter, especially as the tapioca flour has a cornstarch-y consistency that can be difficult to mix by hand. YOu could probably use a handheld blender or food processor.
Try different cheeses, cheddar, or Monterey Jack, Farmer's Cheese.
Replace a few tablespoons of the milk with sweetened condensed milk which nicely complements the tapioca flour’s natural sweetness. But keep the amount of egg and oil the same, as that can affect how well the puffs rise and hold their shape.

May your holidays be filled with love and laughter shared with family and friends.

Stir-Fried Pork Belly and Bean Sprouts

Stir-Fried Pork Belly and Bean Sprouts

I created 3jamigos to chronicle our family’s food adventures, recipes, and stories, for my kids.  In college, I often called home to ask my dad how to make homestyle Cantonese dishes I grew up eating.  Dishes like fuzzy melon soup, congee, and steamed pork patty, were the connection to my family, a sure-fire remedy to my homesickness.  Things have come full circle, I’m now on the receiving end of the “how do you make…?”.  When I come across a simple and delicious dish, and I think the kids would like it, I make a mental note to put it on 3jamigos.

Soul Food

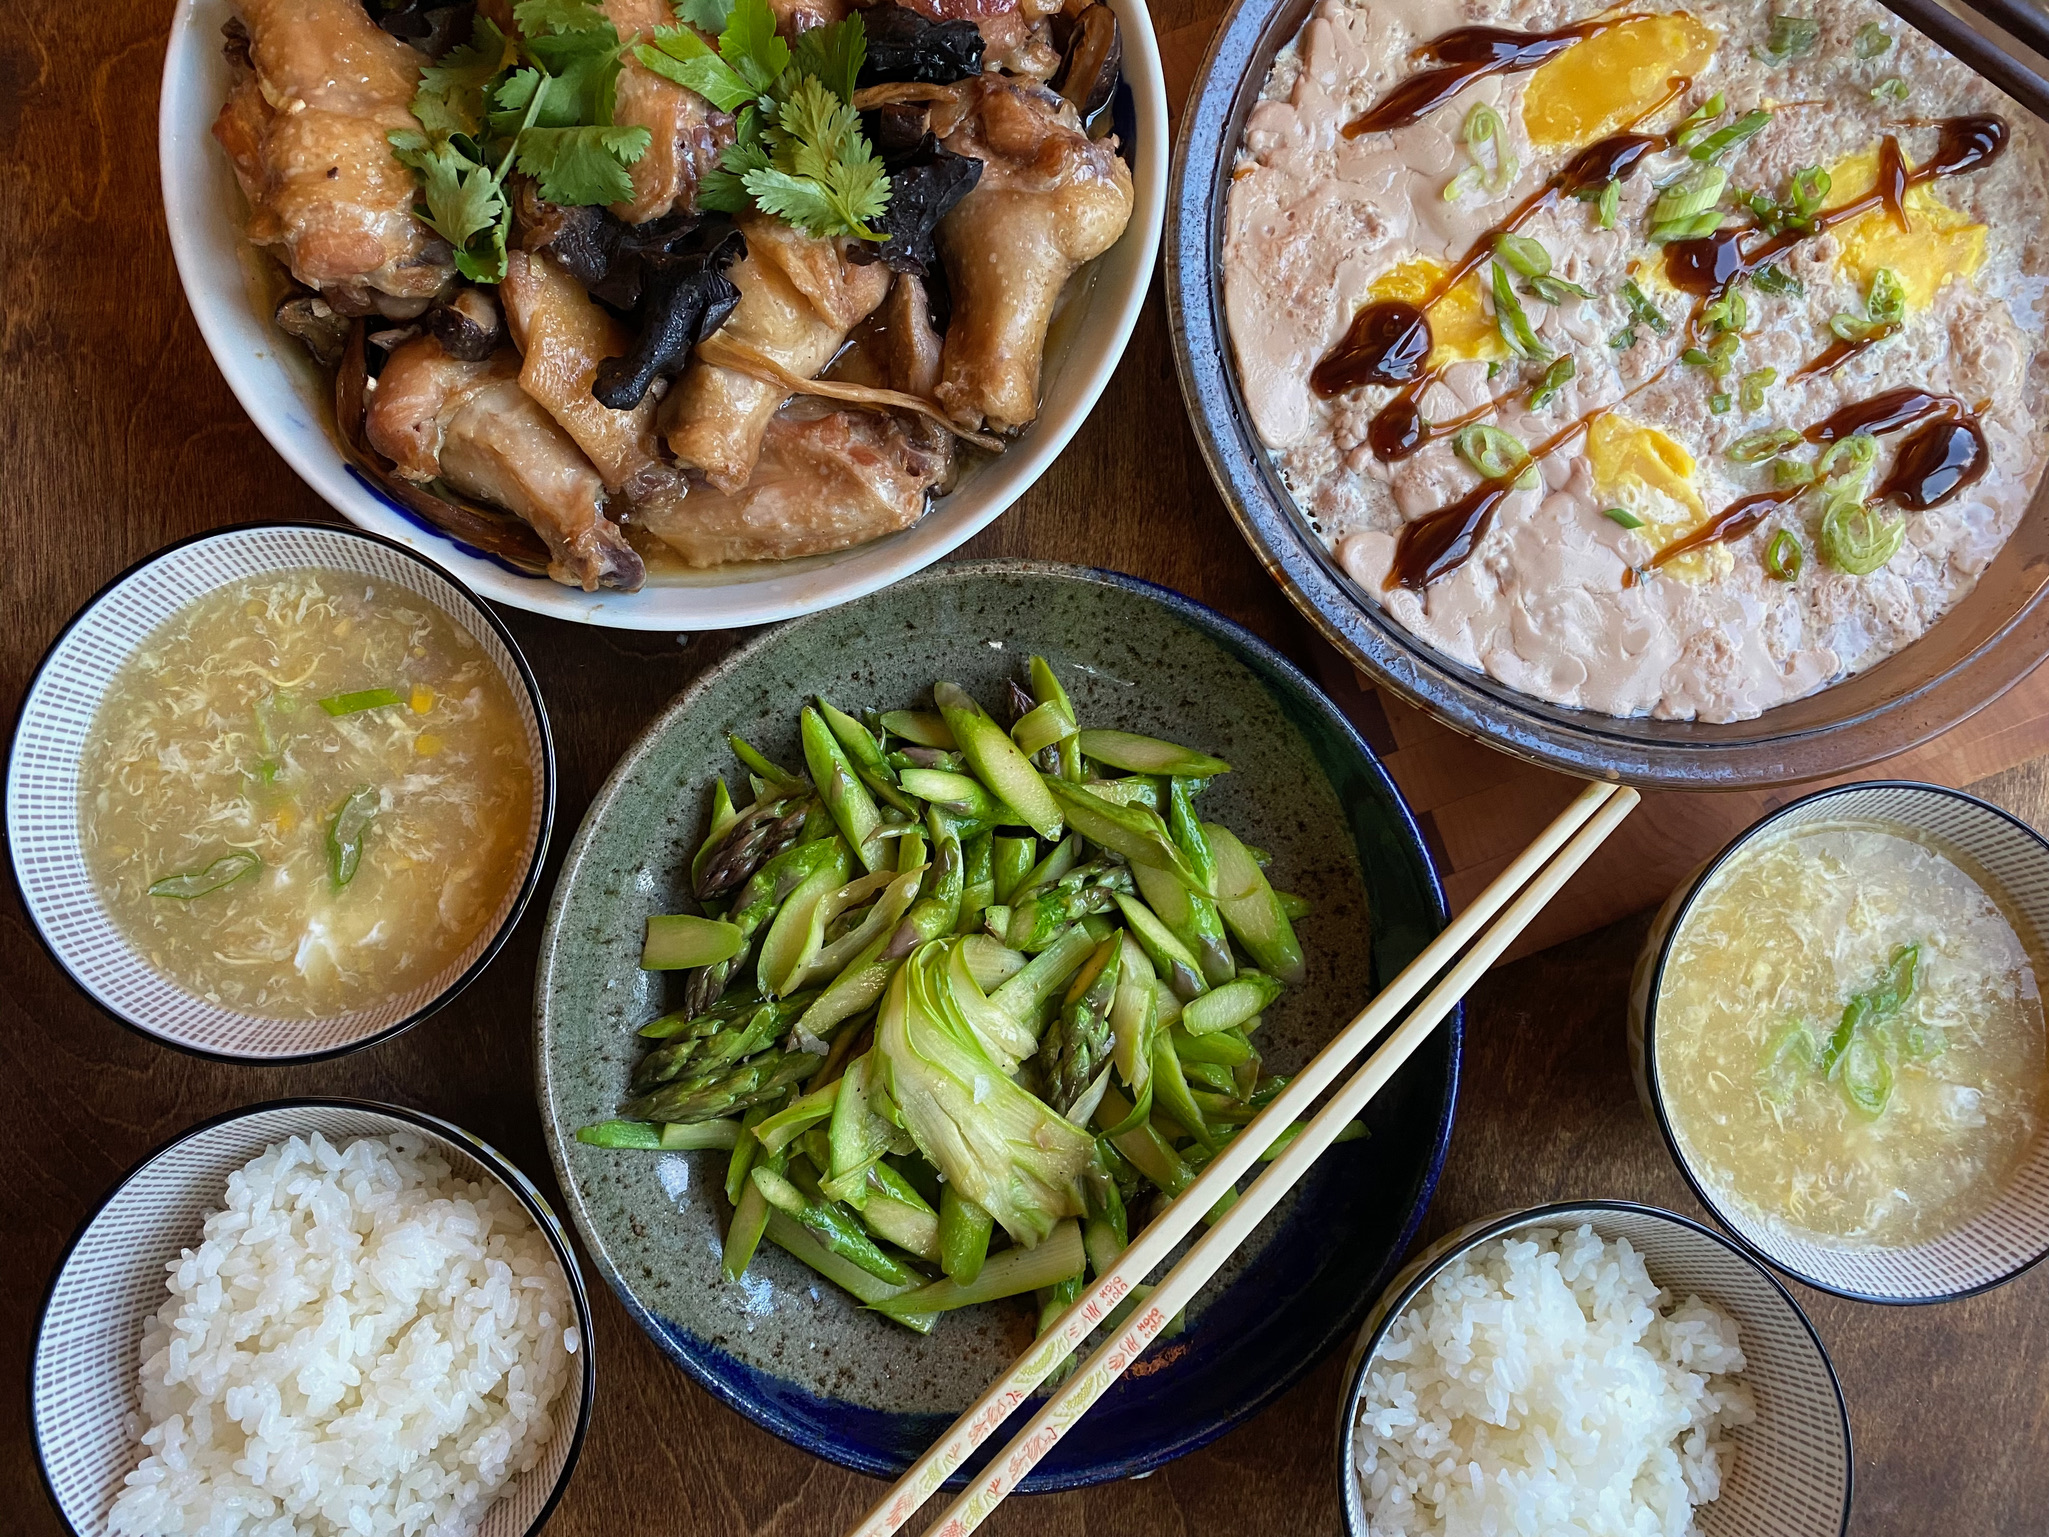
The OG meal to cure homesickness! Corn Soup, stir-fried anything green, Steamed Pork Patty with Salted Eggs, and Steamed Chicken with Chinese Sausage, and Mushrooms.

Soul food for my family is Cantonese food (Roots, Baby), but over the years has expanded to other Asian cuisines.  Nowadays, you are just as likely to find Bulgogi, Japchae, and Teriyaki on our dinner table.  My latest find is the cookbook,  A Common Table by Cynthia McTernan, it speaks to the melting pot we are.  Absolutely one of my favorites. It’s beautifully written, gorgeously photographed, and filled with delicious user-friendly recipes.  I have also come to depend on blogs and websites for Korean, Vietnamese, and Japanese recipes that are now part of the family meal rotation.

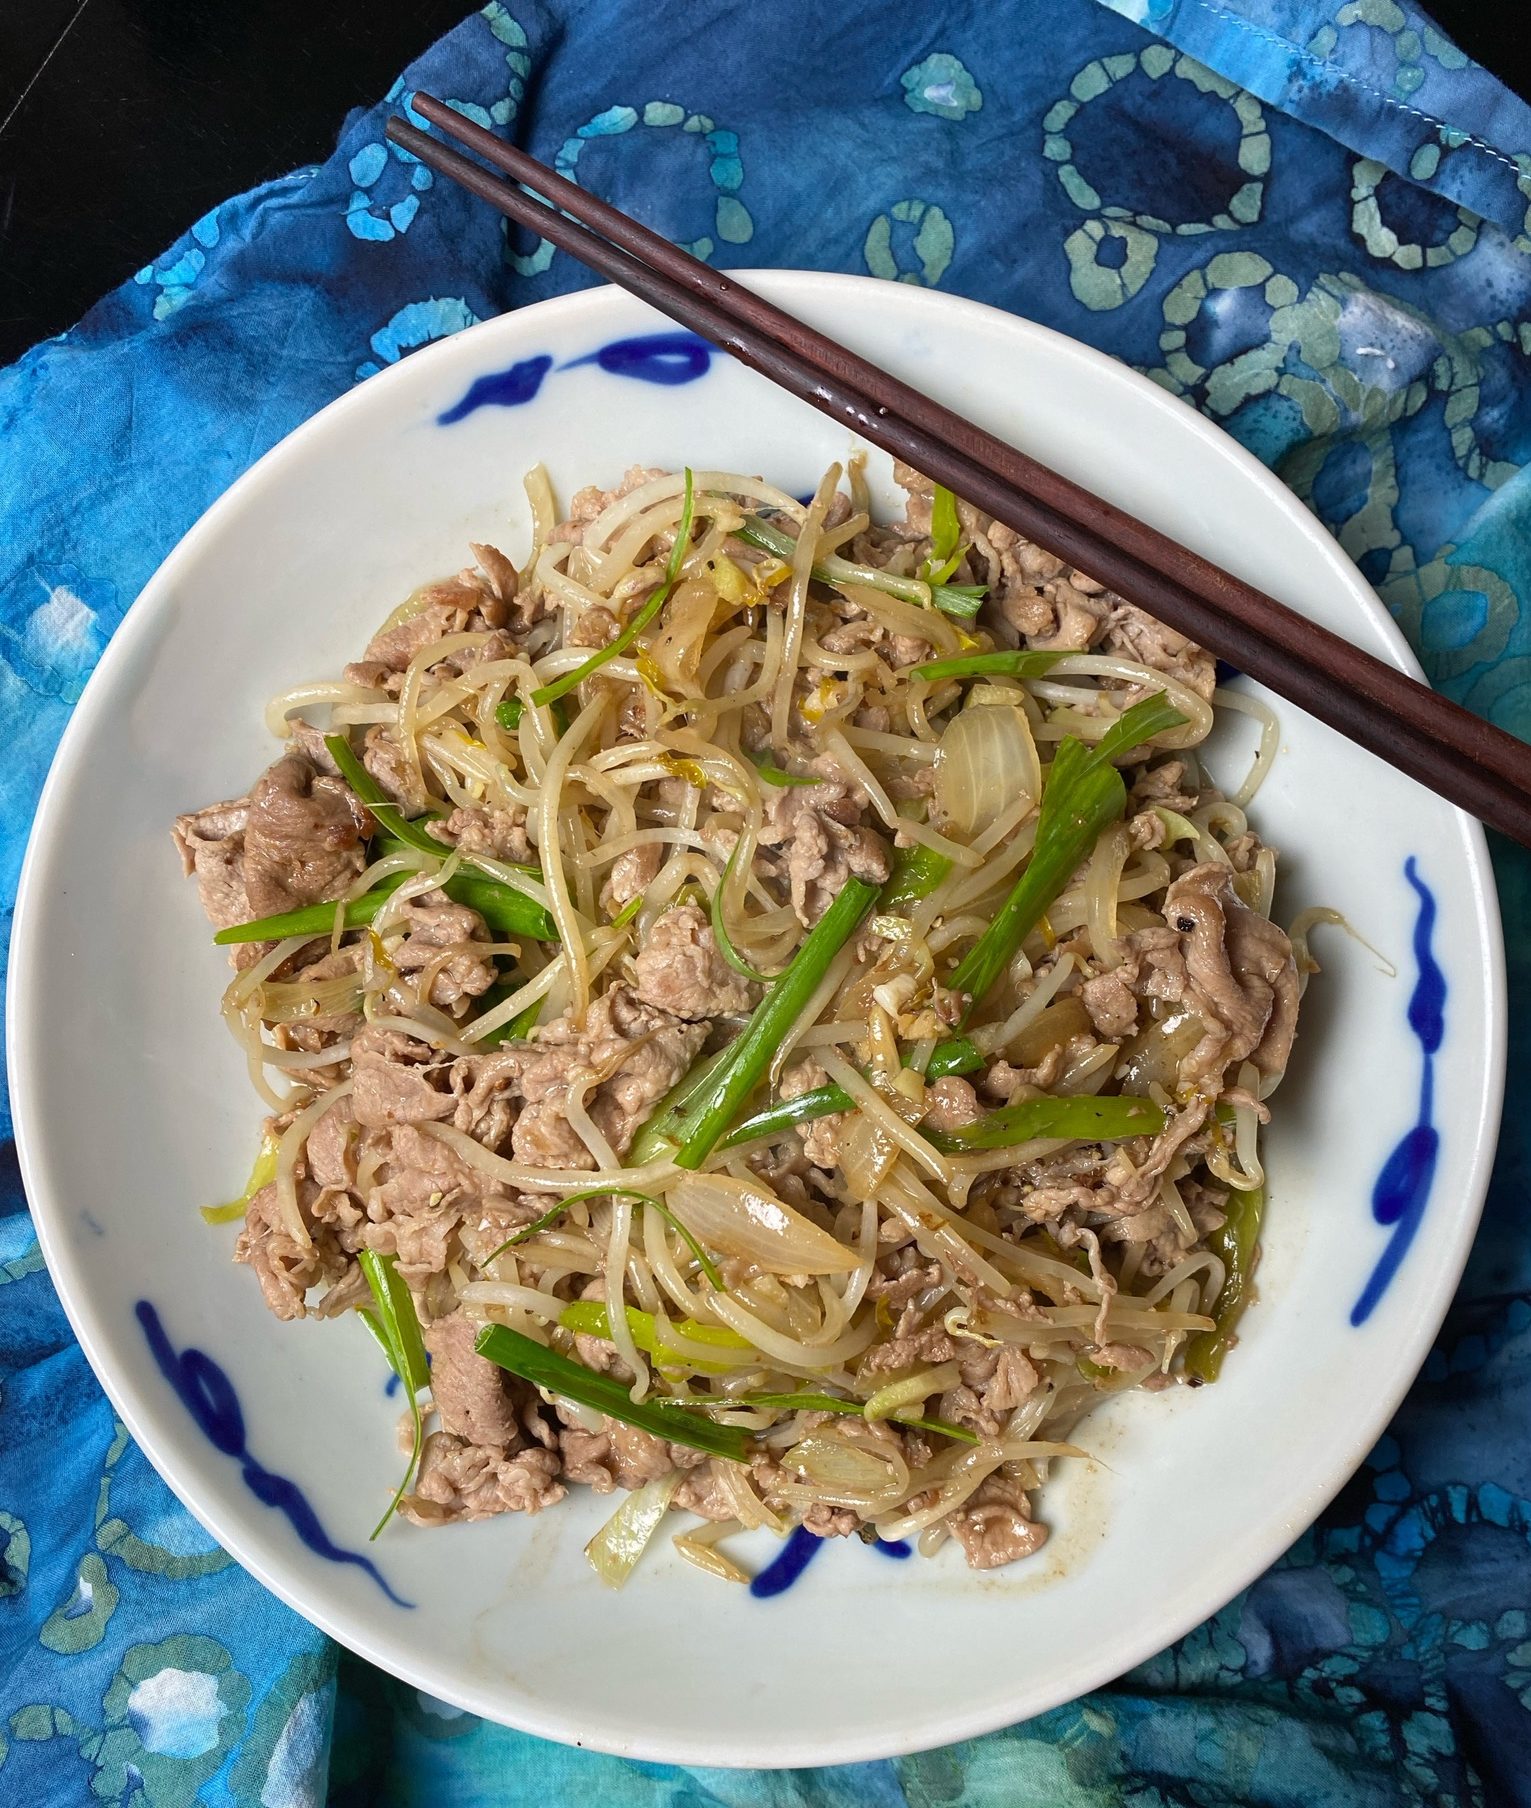
This quick and easy, Stir-Fried Pork Belly with Bean Sprouts has become a family favorite.   Adapted from the blog, Korean Bapsang, it is a quick meal on a busy weeknight.  A couple of minutes of prepping and cooking is all it takes.  Before you know it you’ll be sitting down to a bowl of steaming hot rice topped with a generous scoop of yummy pork and sprouts…yep, bowl food is soul food.

Check It Out Now-Sprout Soul Sistah

Slivers of pork belly stir-fried with bean sprouts, onions, and scallions seasoned with soy sauce and oyster sauce, it’s simple and delicious.   Use thinly sliced pork butt or shoulder instead of pork belly if you like. Thinly sliced beef is also an option.  IN A PINCH, use regular thick-sliced bacon.  This would add that characteristic smoky flavor of bacon, which would be okay in my book 😉.

Sprouts

The only thing you need to know about the bean sprouts for this recipe…don’t overcook them!  Keep them crunchy!  That’s it, folks.  Make sure you pick sprouts that are white and shiny, with a nice yellow tip.  I also threw in a thinly sliced, de-seeded Serrano or Thai pepper, for a little spice.

Enjoy!

Stir-fried pork belly and bean sprouts-Samgyupsal sukju bokkeum

A quick and easy stir fry of pork belly and bean sprouts.
Course Meat, One dish meals, Vegetable
Cuisine Asian, Korean
Keyword Pork Belly
Prep Time 10 minutes
Cook Time 10 minutes

Ingredients

  • 8 ounces thinly sliced/shaved pork belly or other thinly sliced pork or beef
  • 1 tbsp sesame oil
  • 10 ounces bean sprouts
  • 1/4 medium onion thinly sliced
  • 2 teaspoons minced garlic or 2 -3 plump garlic cloves
  • 2-3 scallions or 2 ounces garlic chives cut into 1 inch segments, if they are large, cut in half lengthwise first
  • 2 tablespoons soy sauce or oyster sauce Use 1 T of each
  • 1 teaspoon sugar
  • salt and pepper to taste
  • 1 fresh red chili pepper, deseeded and sliced thinly

Instructions

  • If you are using pork belly, cut each slice into 1 inch segments, for other meats thinly sliced into bite sized pieces
  • Give the bean sprouts a quick rinse, and drain. Thinly slice the onion, and cut the scallions (or garlic chives) into 2-inch pieces.
  • Heat a large pan over high heat. Add the sesame oil to the pan and then the pork, stir-fry quickly until no longer pink.
  • Add the onion and stir fry briefly 30 seconds. Add bean sprouts chili pepper (if using) and scallions, continue to stir fry until the bean sprouts have wilted slightly but are still crunchy.
  • Add the soy sauce and/or oyster sauce, garlic, sugar and pepper to taste. Stir-fry quickly. Season with salt to taste if necessary. Serve with a big bowl of rice (although this would go well with noods too). Enjoy!
Notes

You can find a variety of extra thin cut meats in your local Korean/Asian markets.
If you want to thinly slice the meat yourself, freeze the meat until it's firm, but still sliceable. With a sharp knife, slice the meat as thin as you can.
Chocolate Chip Sour Cream Snack Cake-Chip off the Cho Block

Chocolate Chip Sour Cream Snack Cake-Chip off the Cho Block

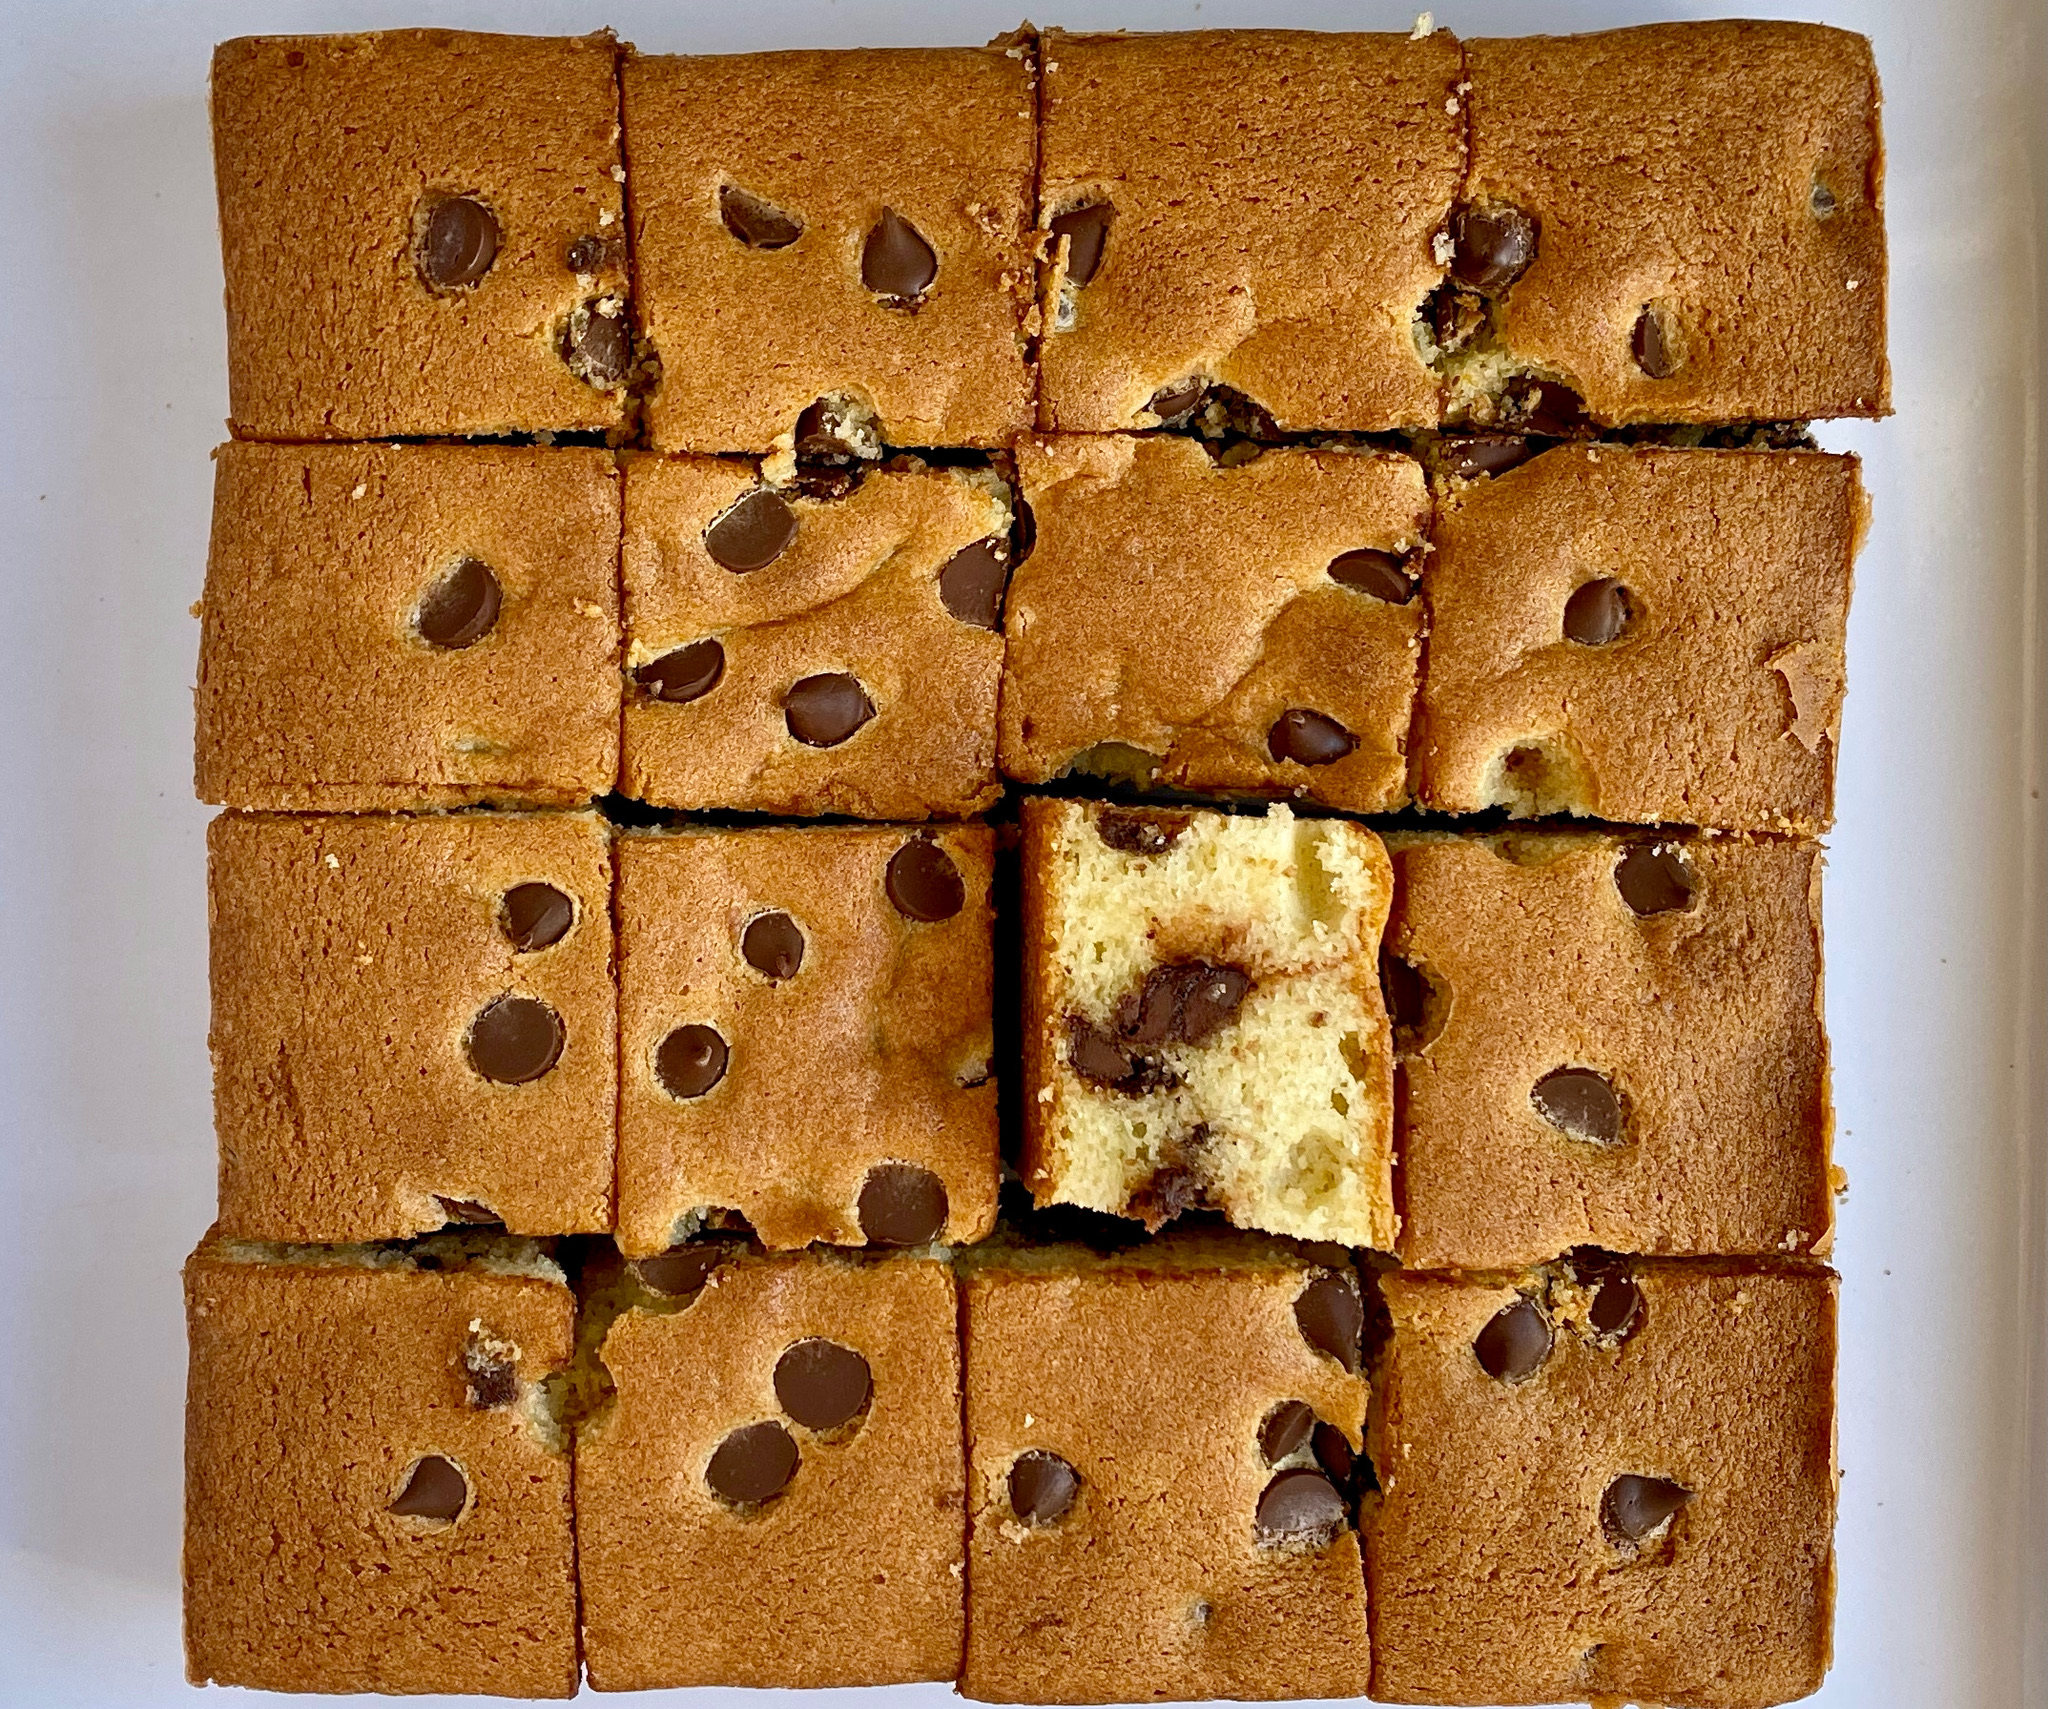
Rounding out Joy Cho month also known as Cakenado, I made her Chocolate Chip Sour Cream Snack Cake.  It all started with her Mochi Banana Bread, which I adore and have made more than once.  Following on its heel (yes, I know, cakes don’t have heels) I came across this recipe on a Food Network post.  I don’t normally follow Food Network, maybe it was just good karma that it popped up, fortunate since it is delicious, easy to make, and has CHOCOLATE.

Stuck on Sticky Rice Flour

Like the Mochi Banana Bread, it is a combination of all-purpose flour and mochiko or sweet rice flour (sticky rice) that sets this snack cake apart.  You get that wonderful bouncy texture from the sweet rice flour and the tender cake with a nice crumb from the all-purpose flour.  Based on her mom’s chocolate chip bundt cake and tweaked with her signature addition of sweet rice flour, this really is a decadent, delicious, simple cake.  Studded with chocolate chips, this cake will keep chocolate fans happy.  Add nuts if you like and serve it with a BIG SCOOP of VANILLA ICE CREAM.  Doesn’t that sound good?

Looking for something a little different, ran out of Mochiko?  Try her Blueberry Balsamic Glaze Cornbread Cake.  Another amazing snacking cake. Cause you never know when you will have a snack attack!

Chocolate Chip Sour Cream Snack Cake

Ingredients

  • 3/4 cup (105 grams) all-purpose flour
  • 1/2 cup plus 2 tablespoons (105 grams) sweet rice flour such as Mochiko
  • 1 teaspoon baking powder
  • 1/2 teaspoon baking soda
  • 1 teaspoon kosher salt
  • 1/2 cup 1 stick unsalted butter, softened
  • 1 cup (200 grams) granulated sugar
  • 2 large eggs at room temperature
  • 1 teaspoon pure vanilla extract
  • 1/2 cup plus 1 tablespoon, (150 grams) full-fat sour cream at room temperature
  • 2 tablespoons milk at room temperature

Instructions

  • Position an oven rack in the middle of the oven and preheat to 350 degrees
  • Lightly grease an 8-inch square pan with nonstick cooking spray. Line the bottom with parchment, leaving a 2-inch overhang on the sides (to make it easier to remove the cake after baking) and grease the parchment.
  • Combine the all-purpose flour, sweet rice flour, baking powder, baking soda, and salt in a medium bowl and whisk until combined.
  • Beat the butter in a large bowl with an electric mixer until smooth. Add the sugar and cream the mixture until light and fluffy, 2 to 3 minutes.
  • Scrape down the bowl with a rubber spatula. Add in the eggs one at a time, beating after each addition until combined. Scrape the bowl once more, then beat in the vanilla.
  • Sift half of the dry ingredients over the egg mixture and beat just until combined. Beat in the sour cream and milk, then sift in the rest of the dry ingredients and beat just until the batter is smooth.
  • Fold in the chocolate chips.
  • Spread the batter into the prepared pan, smoothing the surface with a small offset spatula.
  • Sprinkle additional chocolate chips on top. Bake the cake, rotating the pan halfway through, for about 40 minutes, or until a toothpick inserted in the center comes out clean.
  • Let the cake cool in the pan for 20 minutes, then gently loosen the edges with a small offset spatula and carefully transfer the cake to a cooling rack.
  • Cut into squares and enjoy!
Lemon Curd, So Nukalicious!

Lemon Curd, So Nukalicious!

When Tree Gives You Lemons…..Make Lemon Curd!

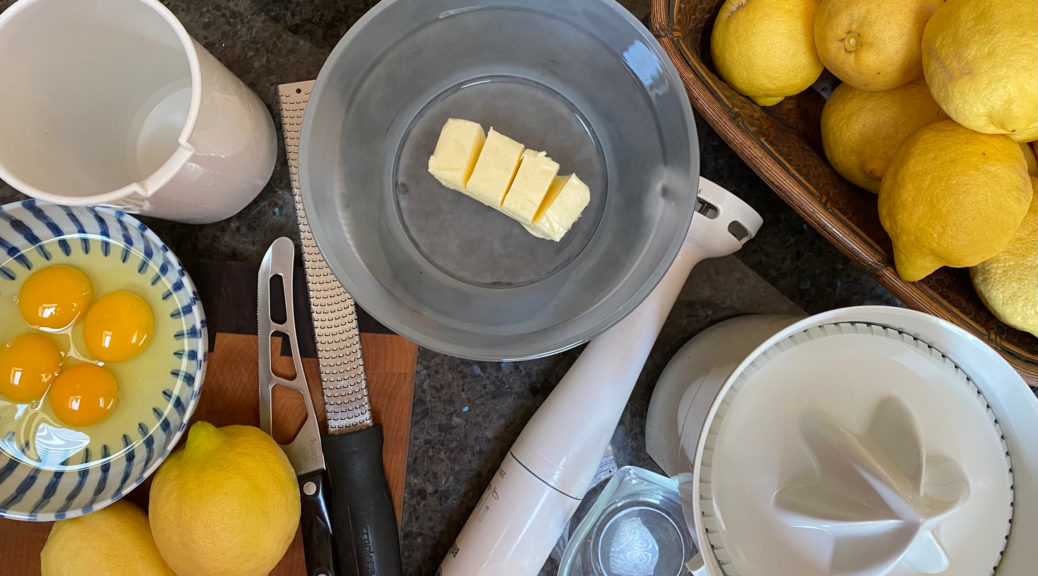
Outside my kitchen window grows one of my few garden successes,  a lemon tree.  While Meyer Lemon trees are ubiquitous here, I have a beautiful Eureka Lemon tree that despite me, produces a ton of lemons year-round.  I actually fertilized it this year…I now have a gazillion of lemons.  As I stare at my bowl of overflowing lemons this question comes to mind, what do I do with all these lemons?

Lucky for me, I found Melissa Clark’s Lemon Curd recipe on NYT Cooking.  Not only did I make a dent in my lemon stash (albeit, a tiny dent) but the recipe calls for making the curd in the microwave, super easy. Win-win.  Is it less time and work than the conventional doubler-boiler, on the stove process?  Not by much, but I do like the one bowl,  incremental cooking and intermittent stirring with the microwave recipe. You don’t have to stand over the stove constantly stirring.

Microwave Mania

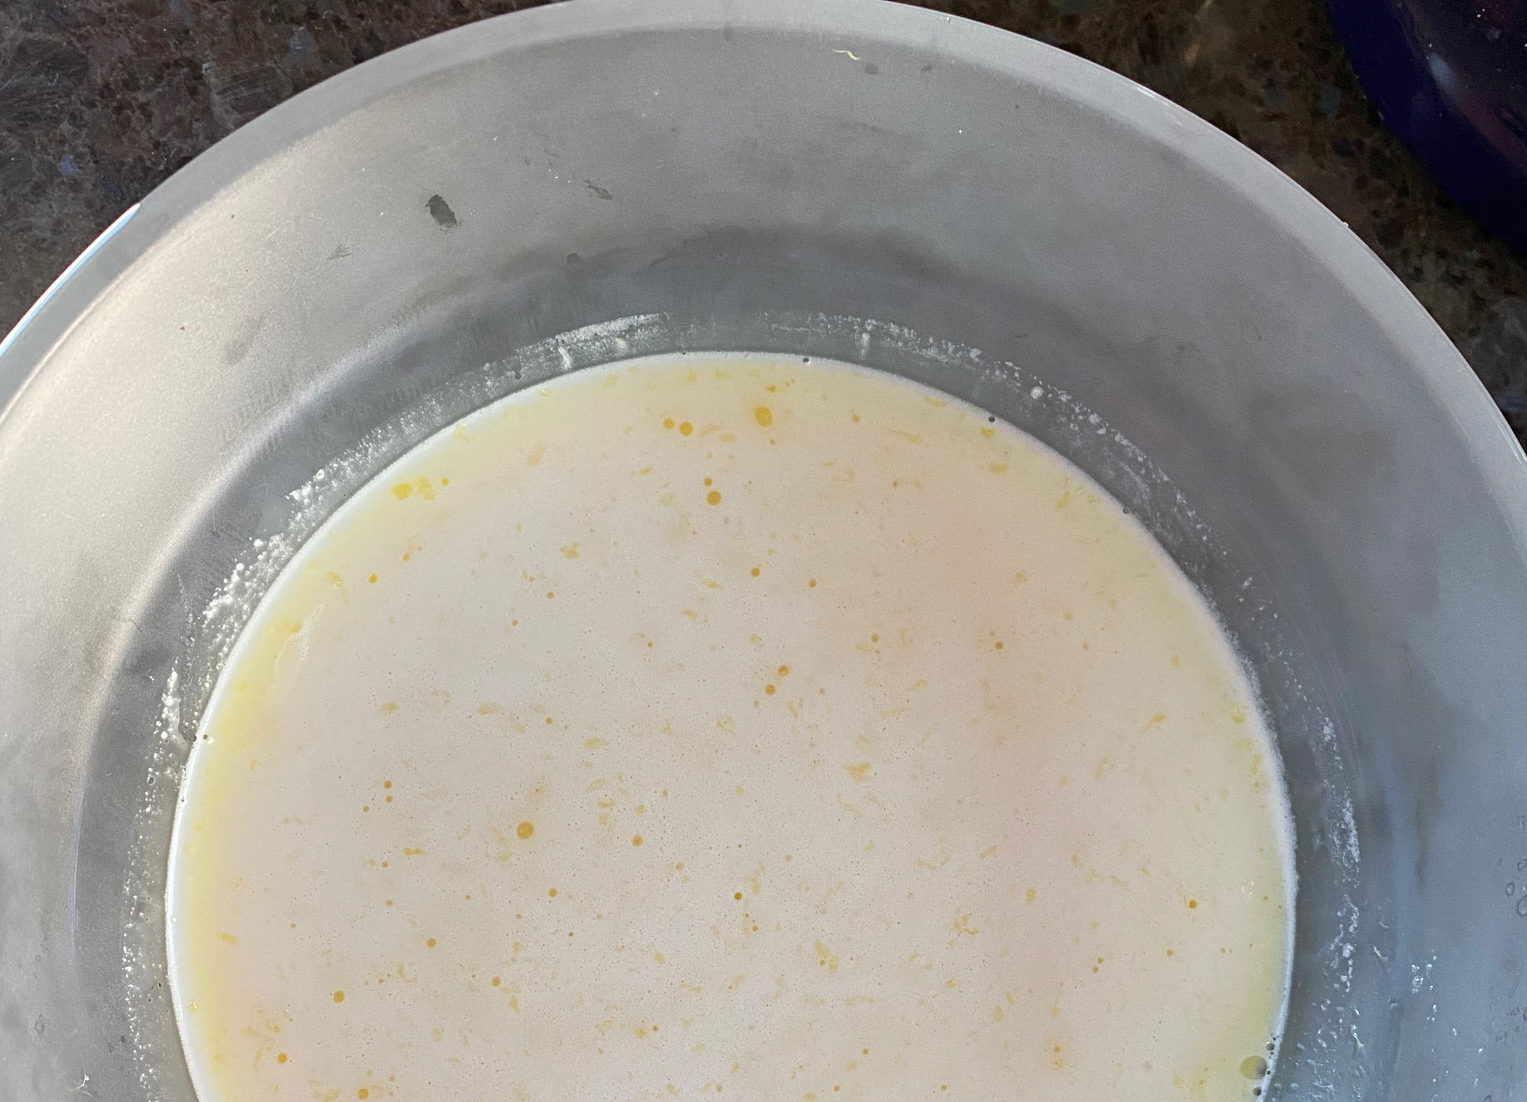
I have a 600-watt microwave, the LOW end of the microwave power spectrum (hey, I got it to reheat leftovers, don’t judge me).  This is my process.  Combine the ingredients using a blender or stick blender and pour blended ingredients into a microwave bowl (like a Cook Anyday bowl!).

The OG recipe directions-microwave at full power in 1-minute increments, stirring between each minute.  When it starts to thicken, reduce power to 70% and microwave in 30-second intervals, once again whisking between intervals.

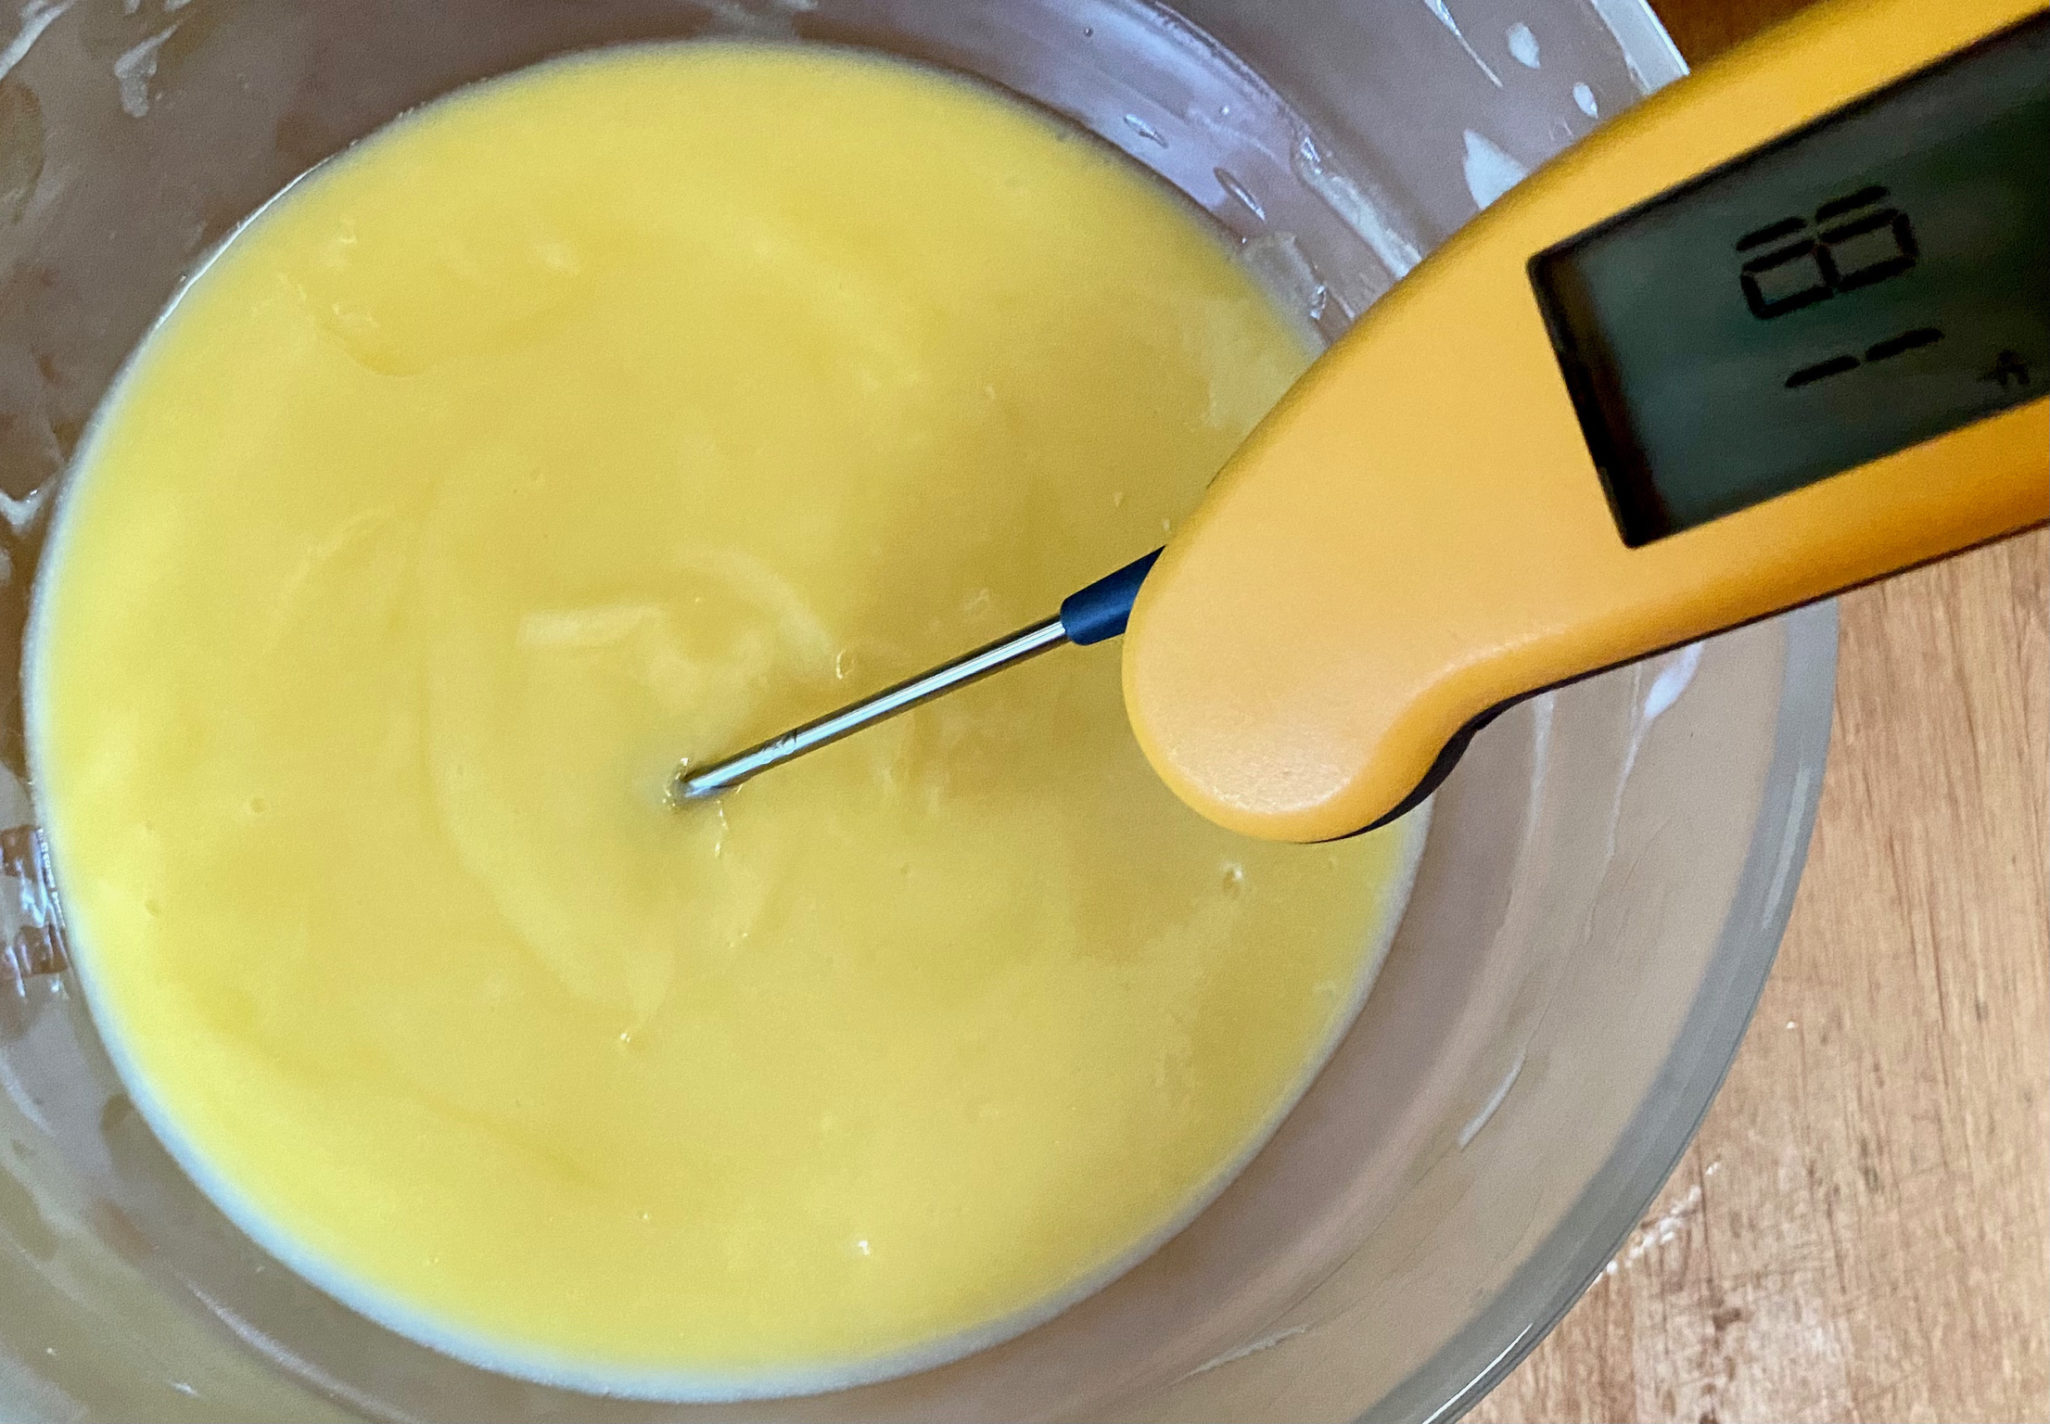
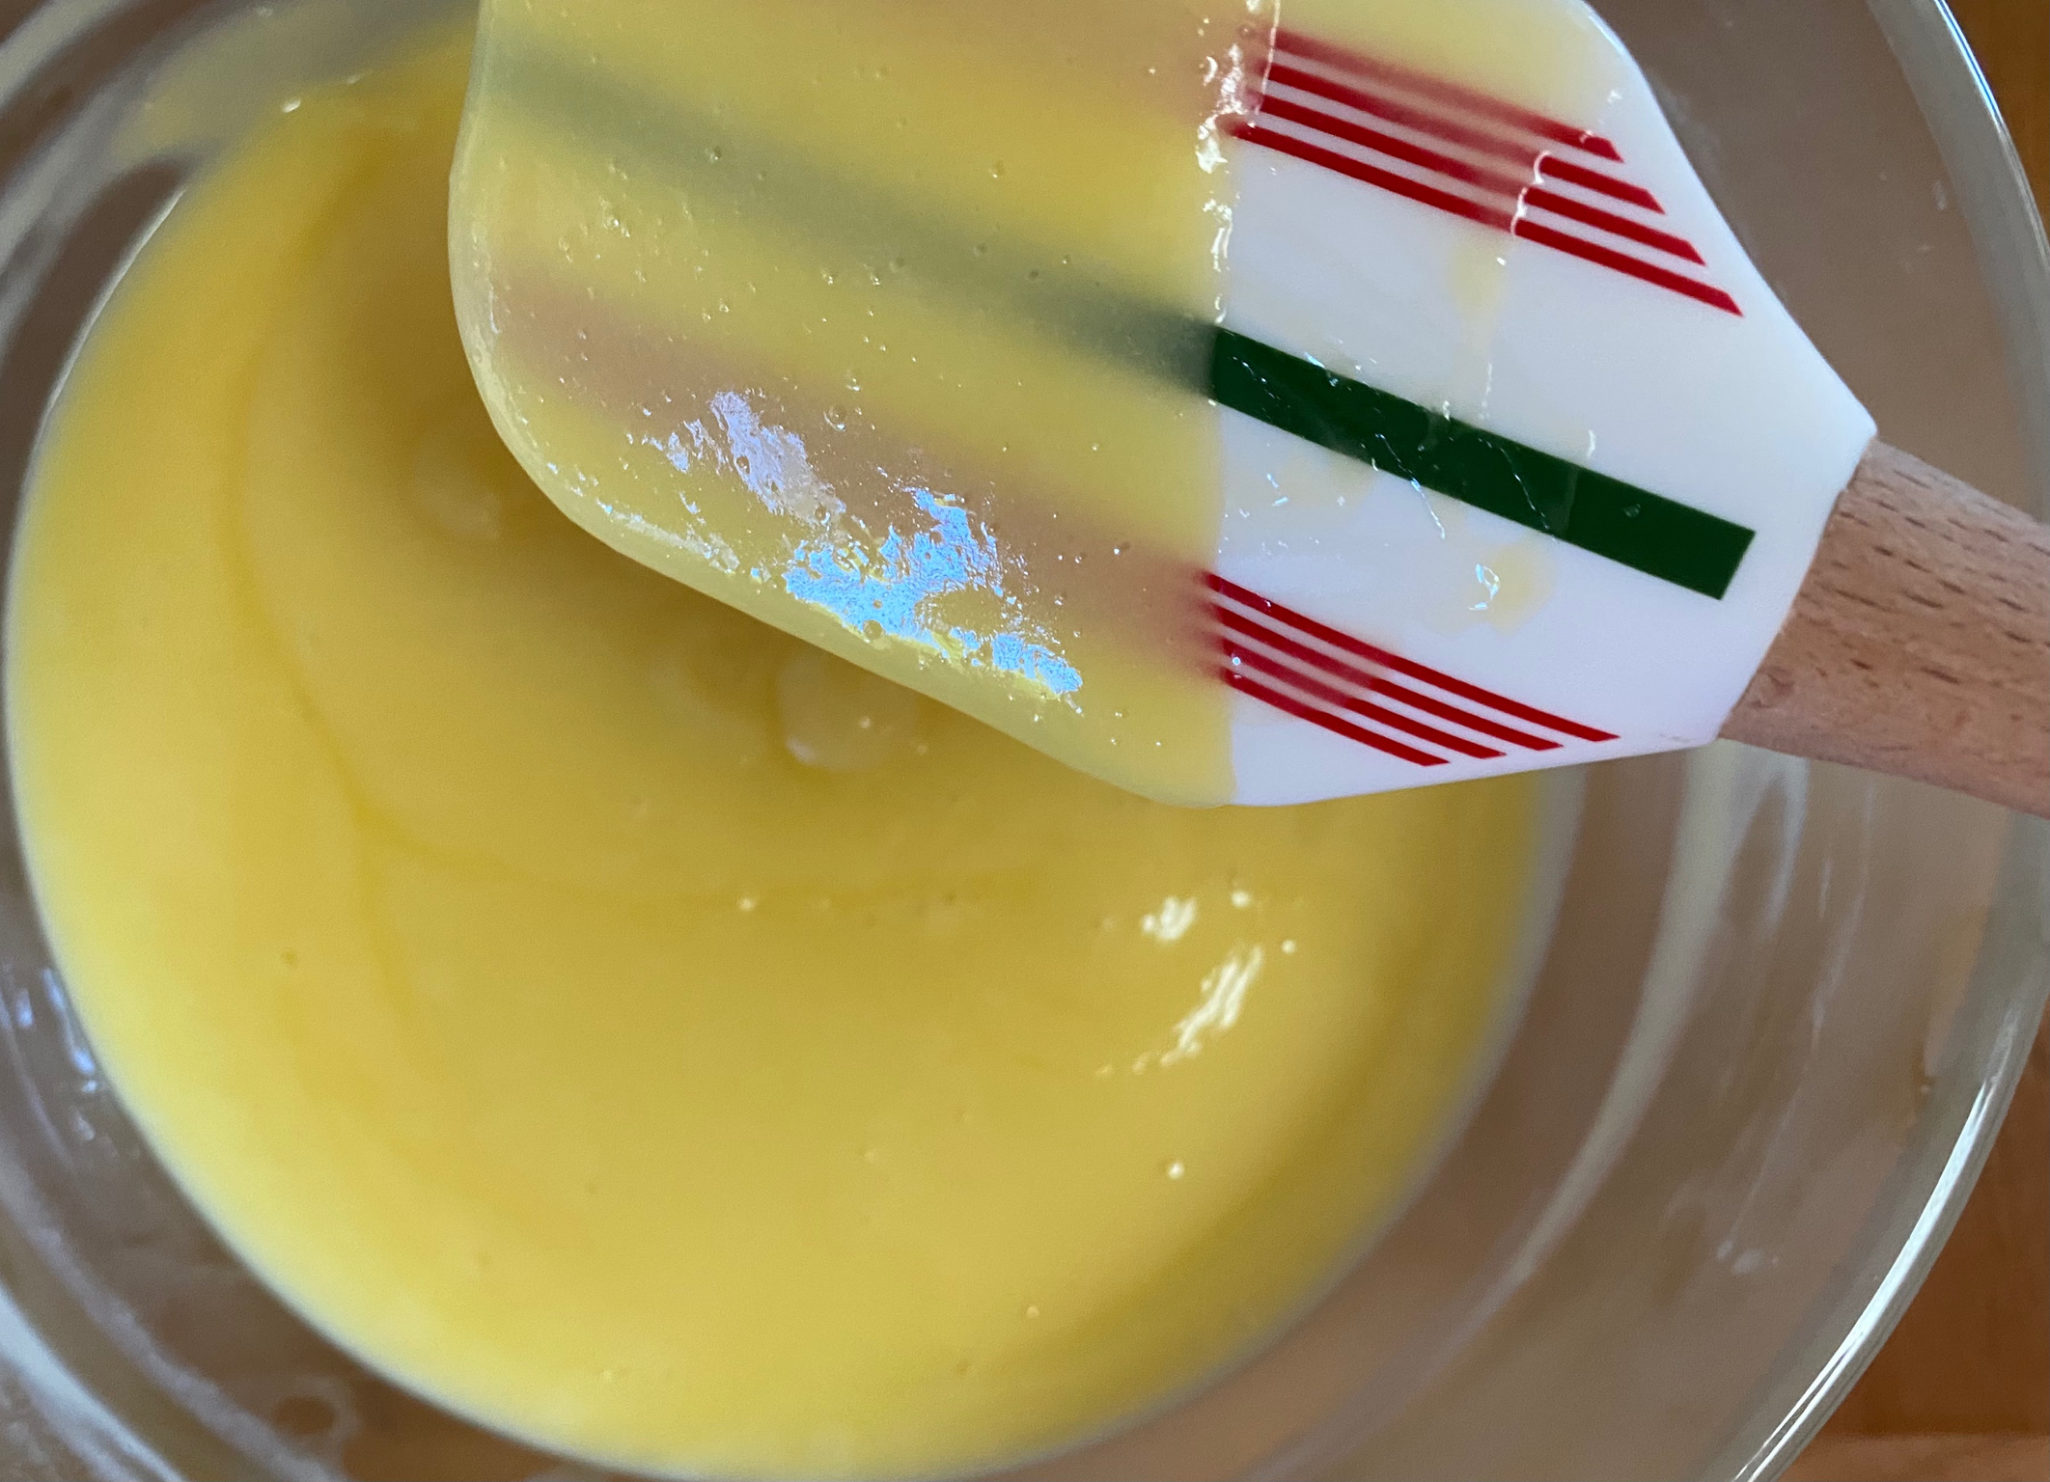
What I did-I started at full power but lengthened the first increment to 2 minutes before taking it out to whisk for the first time (low wattage adjustment).  At the 5 minute mark, the curd was still pretty thin, I added one more full power minute before reducing the power to 70%.  My lemon curd took another 2-1/2 minutes at 70%, 1 min increment for the first minute, and then 30-second increments, stirring each time.  The curd will thicken more as it cools. The cooking process  is done when the curd reaches a temperature of 180 with a thermometer or when it coats a spoon or spatula.

Moral of the Story

Adjust times according to your microwave and whisk well!

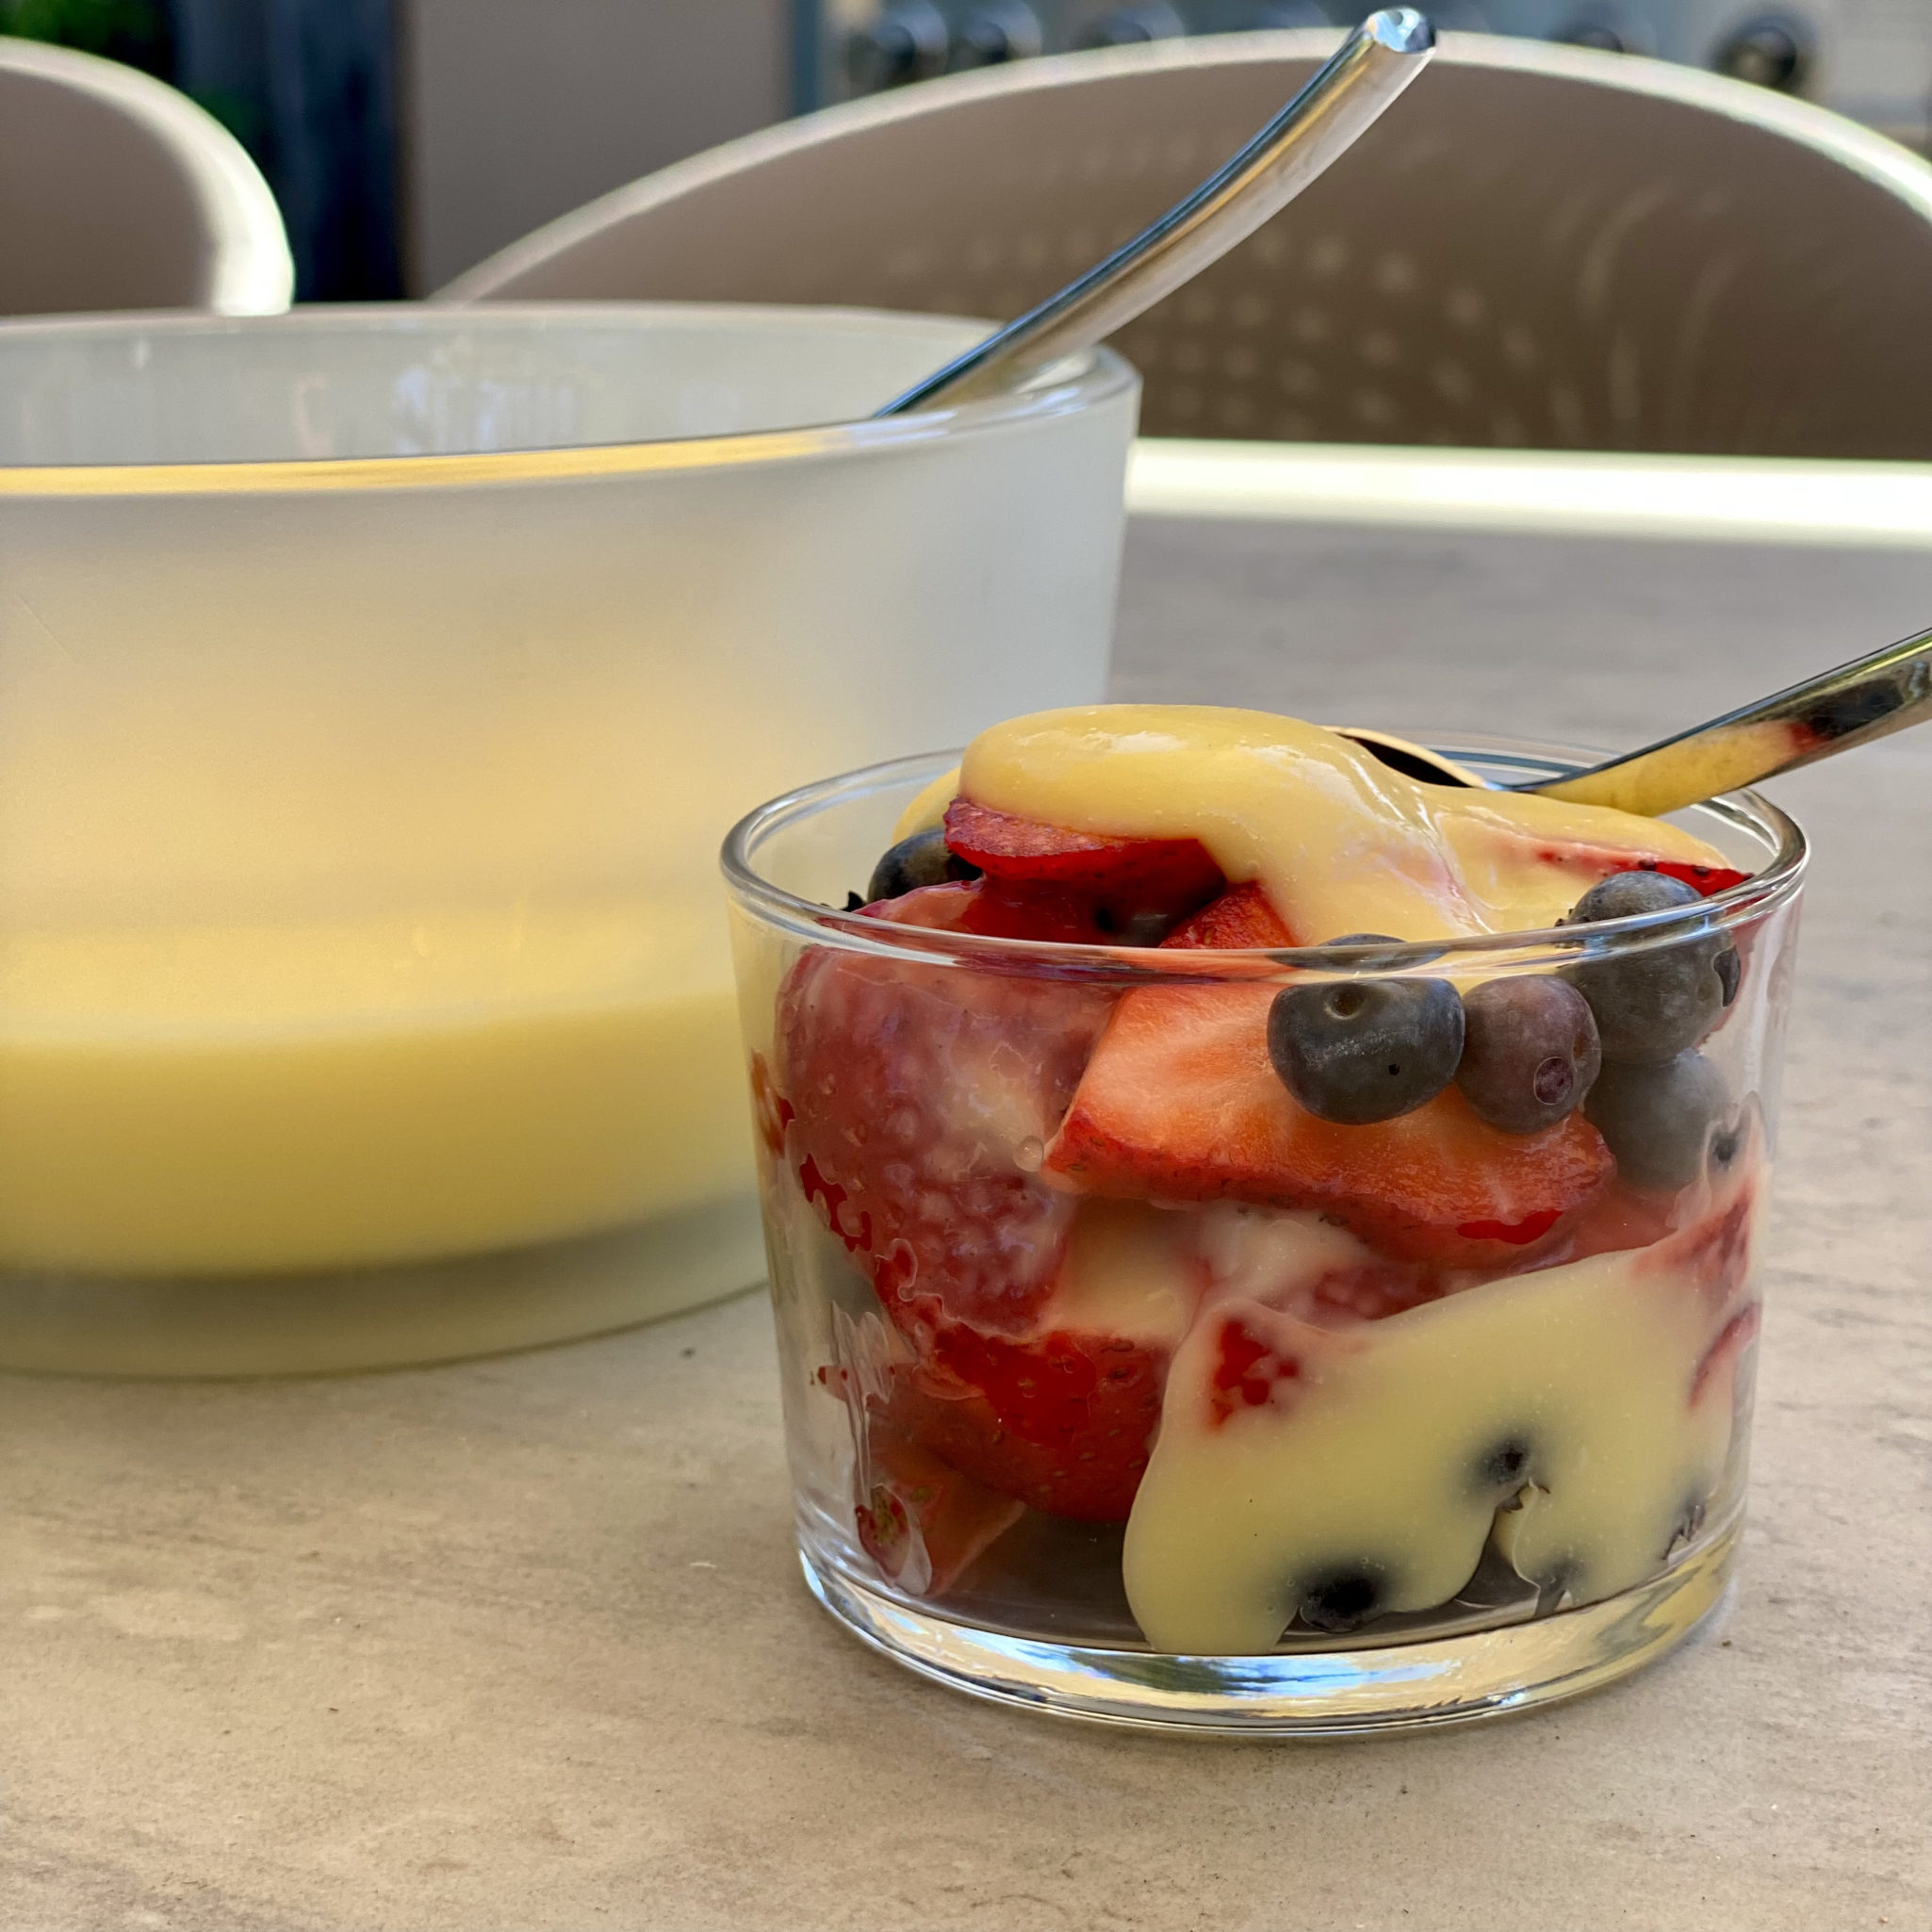
The Lemon Curd is silky smooth, luscious, and lemony.  I used 3/4 cup of sugar and it was fairly tart, if you like it sweeter use one cup of sugar.  Different fruits such as passionfruit or grapefruit would work well with this recipe too!

Easy Lemon Curd

Delicious lemon curd made in the microwave from Melissa Clark and NYT Cooking!
Course Breakfast, Dessert
Cuisine American
Keyword lemon, lemon curd
Prep Time 5 minutes
Cook Time 10 minutes

Ingredients

  • ½ cup (113 grams unsalted butter) 1 stick
  • 2 teaspoons finely grated lemon zest
  • 1 cup (240 milliliters) freshly squeezed lemon juice from 4 to 6 lemons
  • ¾ cup to 1 cup (150 grams to 200 grams) granulated sugar
  • 3 large eggs
  • 1 egg yolk
  • Pinch of salt

Instructions

  • Put the butter in a large (at least 6 cup) microwave-safe glass bowl or measuring cup. Cover bowl and set your microwave on 50 percent power, melt the butter. (~1 to 1 1/2 minutes).
  • Pour butter into a blender and add lemon zest, juice, sugar, eggs, egg yolk and salt. Blend until smooth. You can also use a stick blender. Pour mixture back into the same glass bowl you melted the butter in.
  • Microwave mixture, on full power, in 1-minute intervals for 5 minutes. Whisk furiously between intervals, especially around the edges of the bowl. It should start to thicken. (If it looks like it’s starting to thicken before 5 minutes, stop and continue to the next step; microwaves can vary.) See post for details.
  • Reduce power to 70 percent and continue to microwave for another 1 to 2 minutes, stopping to whisk every 30 seconds until the curd thickens enough to coat the back of a spoon. (It will continue to thicken as it chills.) An instant-read thermometer should register 180 degrees (yet another reason to get a thermometer)
  • Whisk well. If you think there are any coagulated bits of egg, strain curd through a fine-mesh sieve into a clean bowl. Or if it looks smooth, you can leave it in its current bowl. Press a piece of plastic wrap against the surface to create an airtight seal and let the curd cool to room temperature. Refrigerate until cold, at least 3 hours.
  • Enjoy! Pair your curd with fresh berries, scones, or fold it into whipped cream for cake filling. Eat it off a teaspoon!
Butter Mochi, Microwave Magic

Butter Mochi, Microwave Magic

Yes, on the Mochi treat trail once again.  Aside from being delicious, Mochi is pretty darn easy to make thanks to Mochiko Sweet Rice Flour.  I have been playing around with recipes that find their roots in Hawaiian Butter Mochi.  Sweet Rice flour, butter, eggs, sugar, and different liquids (milk, coconut milk, fruit nectars….) combined and baked into delightful bars or muffins.   A bit cakey, a bit chewy yet forgiving, sweet but not cloyingly so, and maddingly addictive. The Butter Mochi Muffins is by far the most popular recipe on 3jamigos.  But…

There Is A New Kid In Town

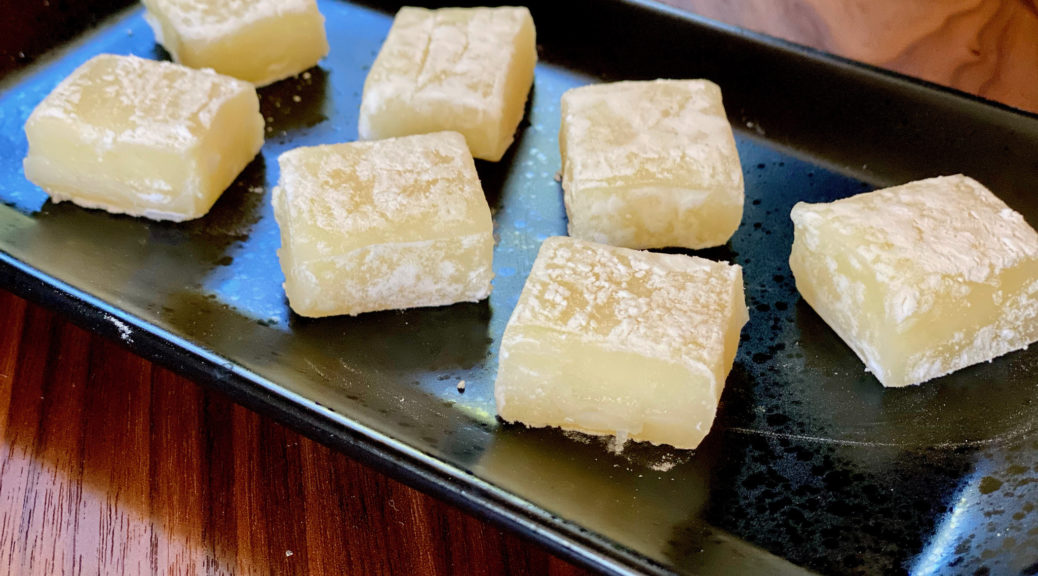
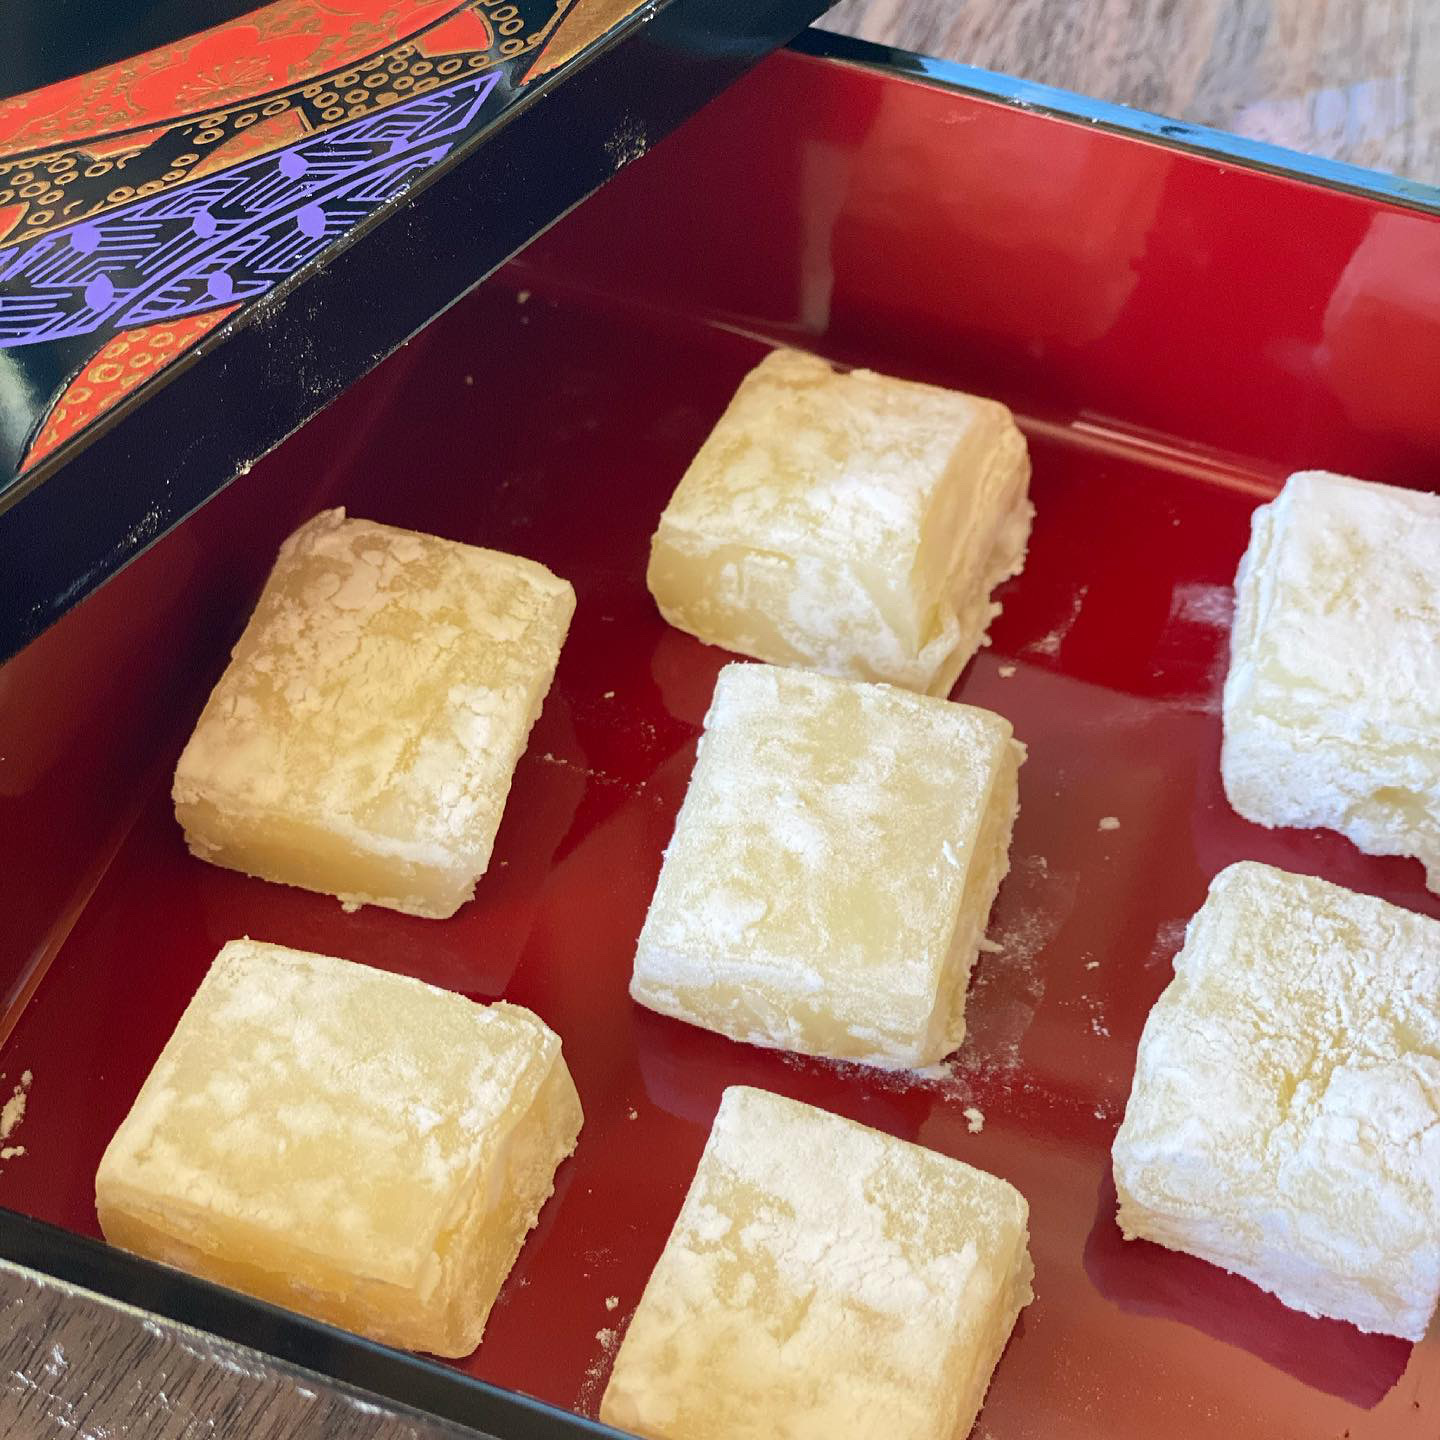
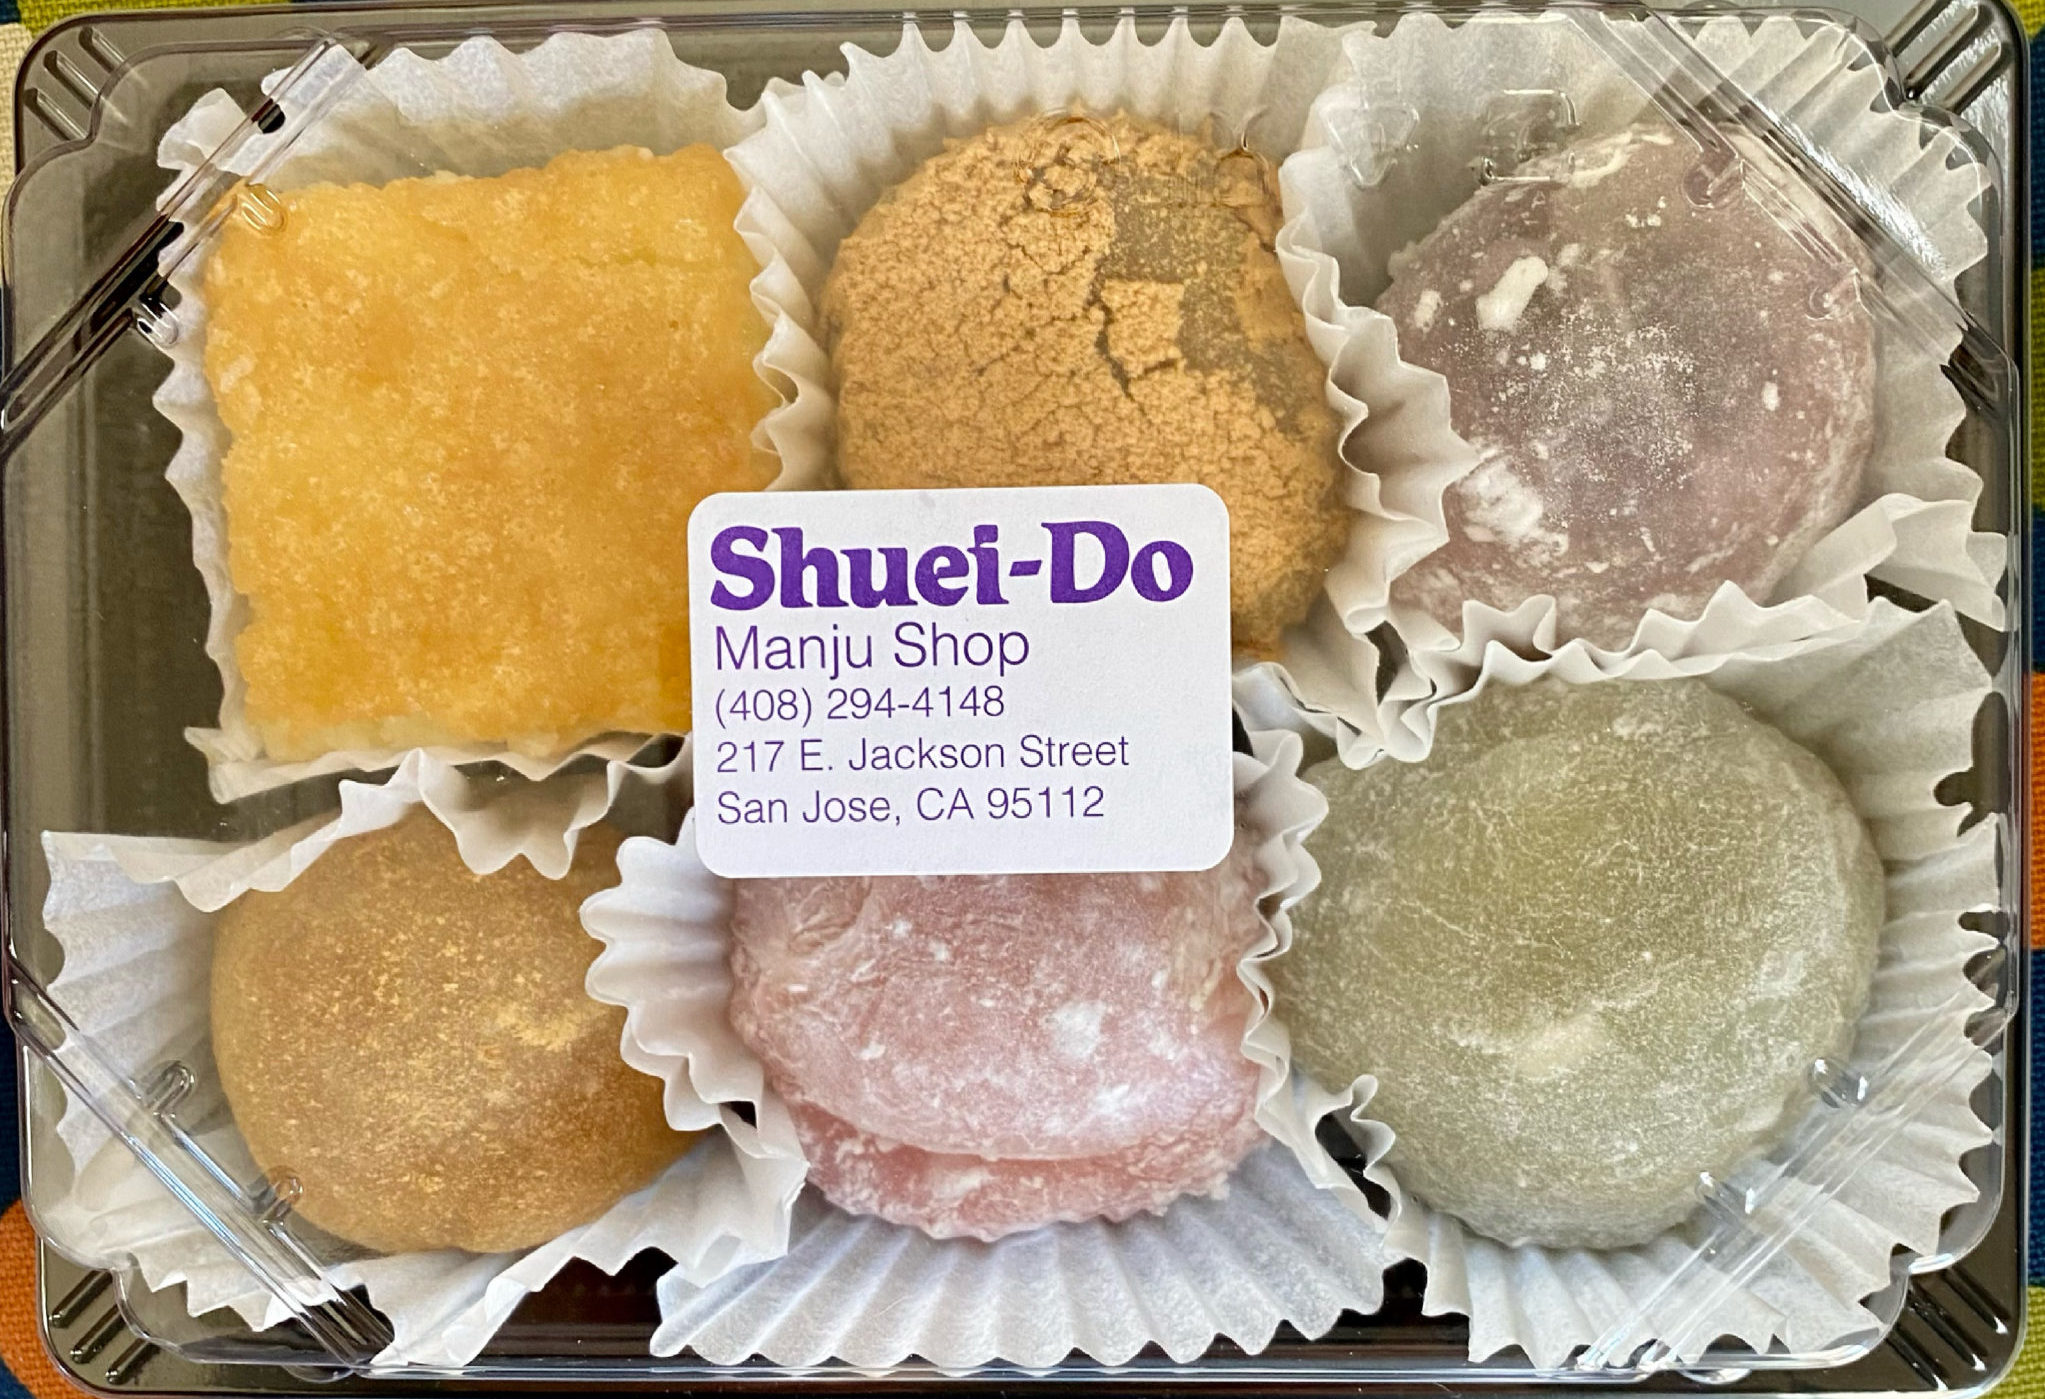
A recipe for Butter Mochi on No Recipes had me running to my kitchen.  Whaddya know, these little gems are made in a microwave.  Unlike baked Hawaiian Butter Mochi treats, this one is texturally similar to classic mochi found in Japanese Manju Shops.  (Worth a visit! Shuei-Do in San Jose or Benkyodo in San Francisco).  The riff of adding butter, sugar, and milk is genius.  You end up with a soft, chewy, smooth, slightly sweet, buttery, insanely delicious treat.

Shortcuts: Momofuku, Microwave, and Mochiko

The microwave makes this a quick and easy treat.  I’ve been playing around with cooking in the microwave ever since I bought a set of Cook Anyday Microwave cookware.  Yes I know, I could have used the pyrex glass dish I have but…damn, that Dave Chang of Momofuku is really good at getting you to buy stuff, lol.  And really, you can never have too many bowls.  I listen to his podcast and its offshoot, Recipe Club.  and I find myself laughing A LOT.  A good thing during these crazy times.

Traditionally, Mochi starts with glutinous rice that is soaked, steamed, and laboriously POUNDED into a sticky mass that is used to form those cute little balls and squares you take for granted at the Manju Shop.  Luckily, we can start with Mochiko or Sweet Rice Flour-no soaking or pounding.  Just put everything in a bowl and stir.  How easy is that?  Along with the microwave, you will be cranking out batches of Butter Mochi in minutes.

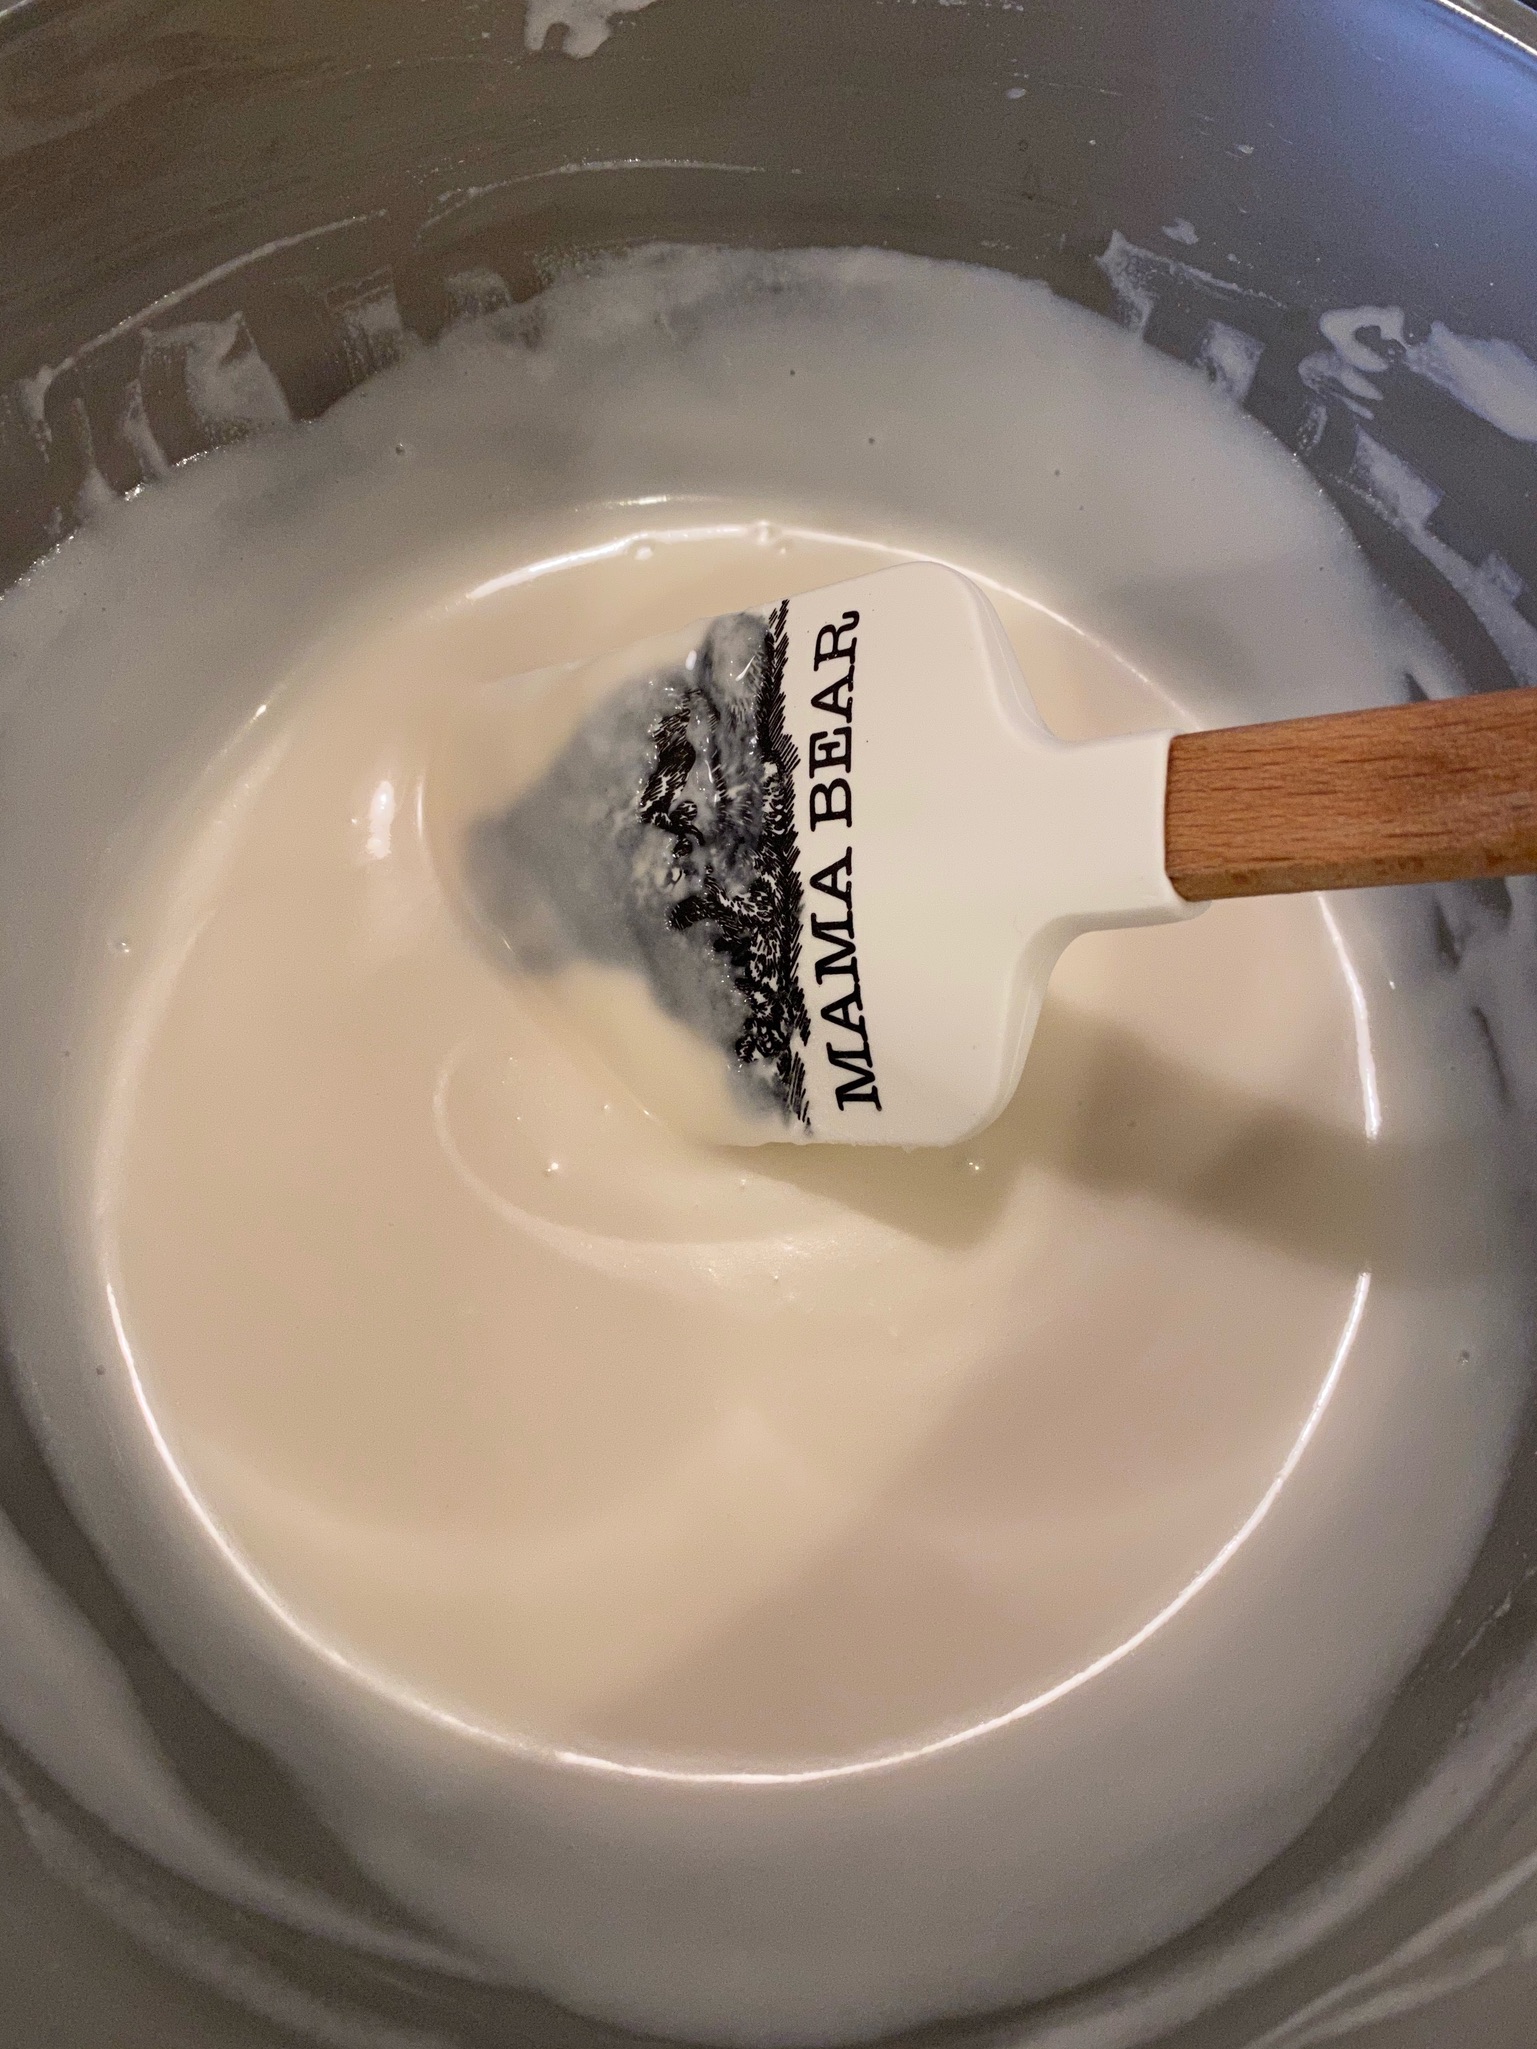
Combine Mochiko flour and sugar in a large glass bowl (or microwavable bowl).   Add one-third of the milk, stir to make a smooth paste, gradually add the rest of the milk, and stir well for a lump-free batter. Place bowl in the microwave and nuke for two and a half minutes.  The mochi will look thicker and form some lumps.  Remove the bowl and add the butter.  Stir until the butter is fully incorporated and the mixture is smooth again.  The recipe calls for cultured butter which has a slight tang.  I used Trader Joe’s French Cultured Butter.  You could probably use European-style butter like Kerrygold Irish Butter.  I also used salted butter which I think enhances the flavor.

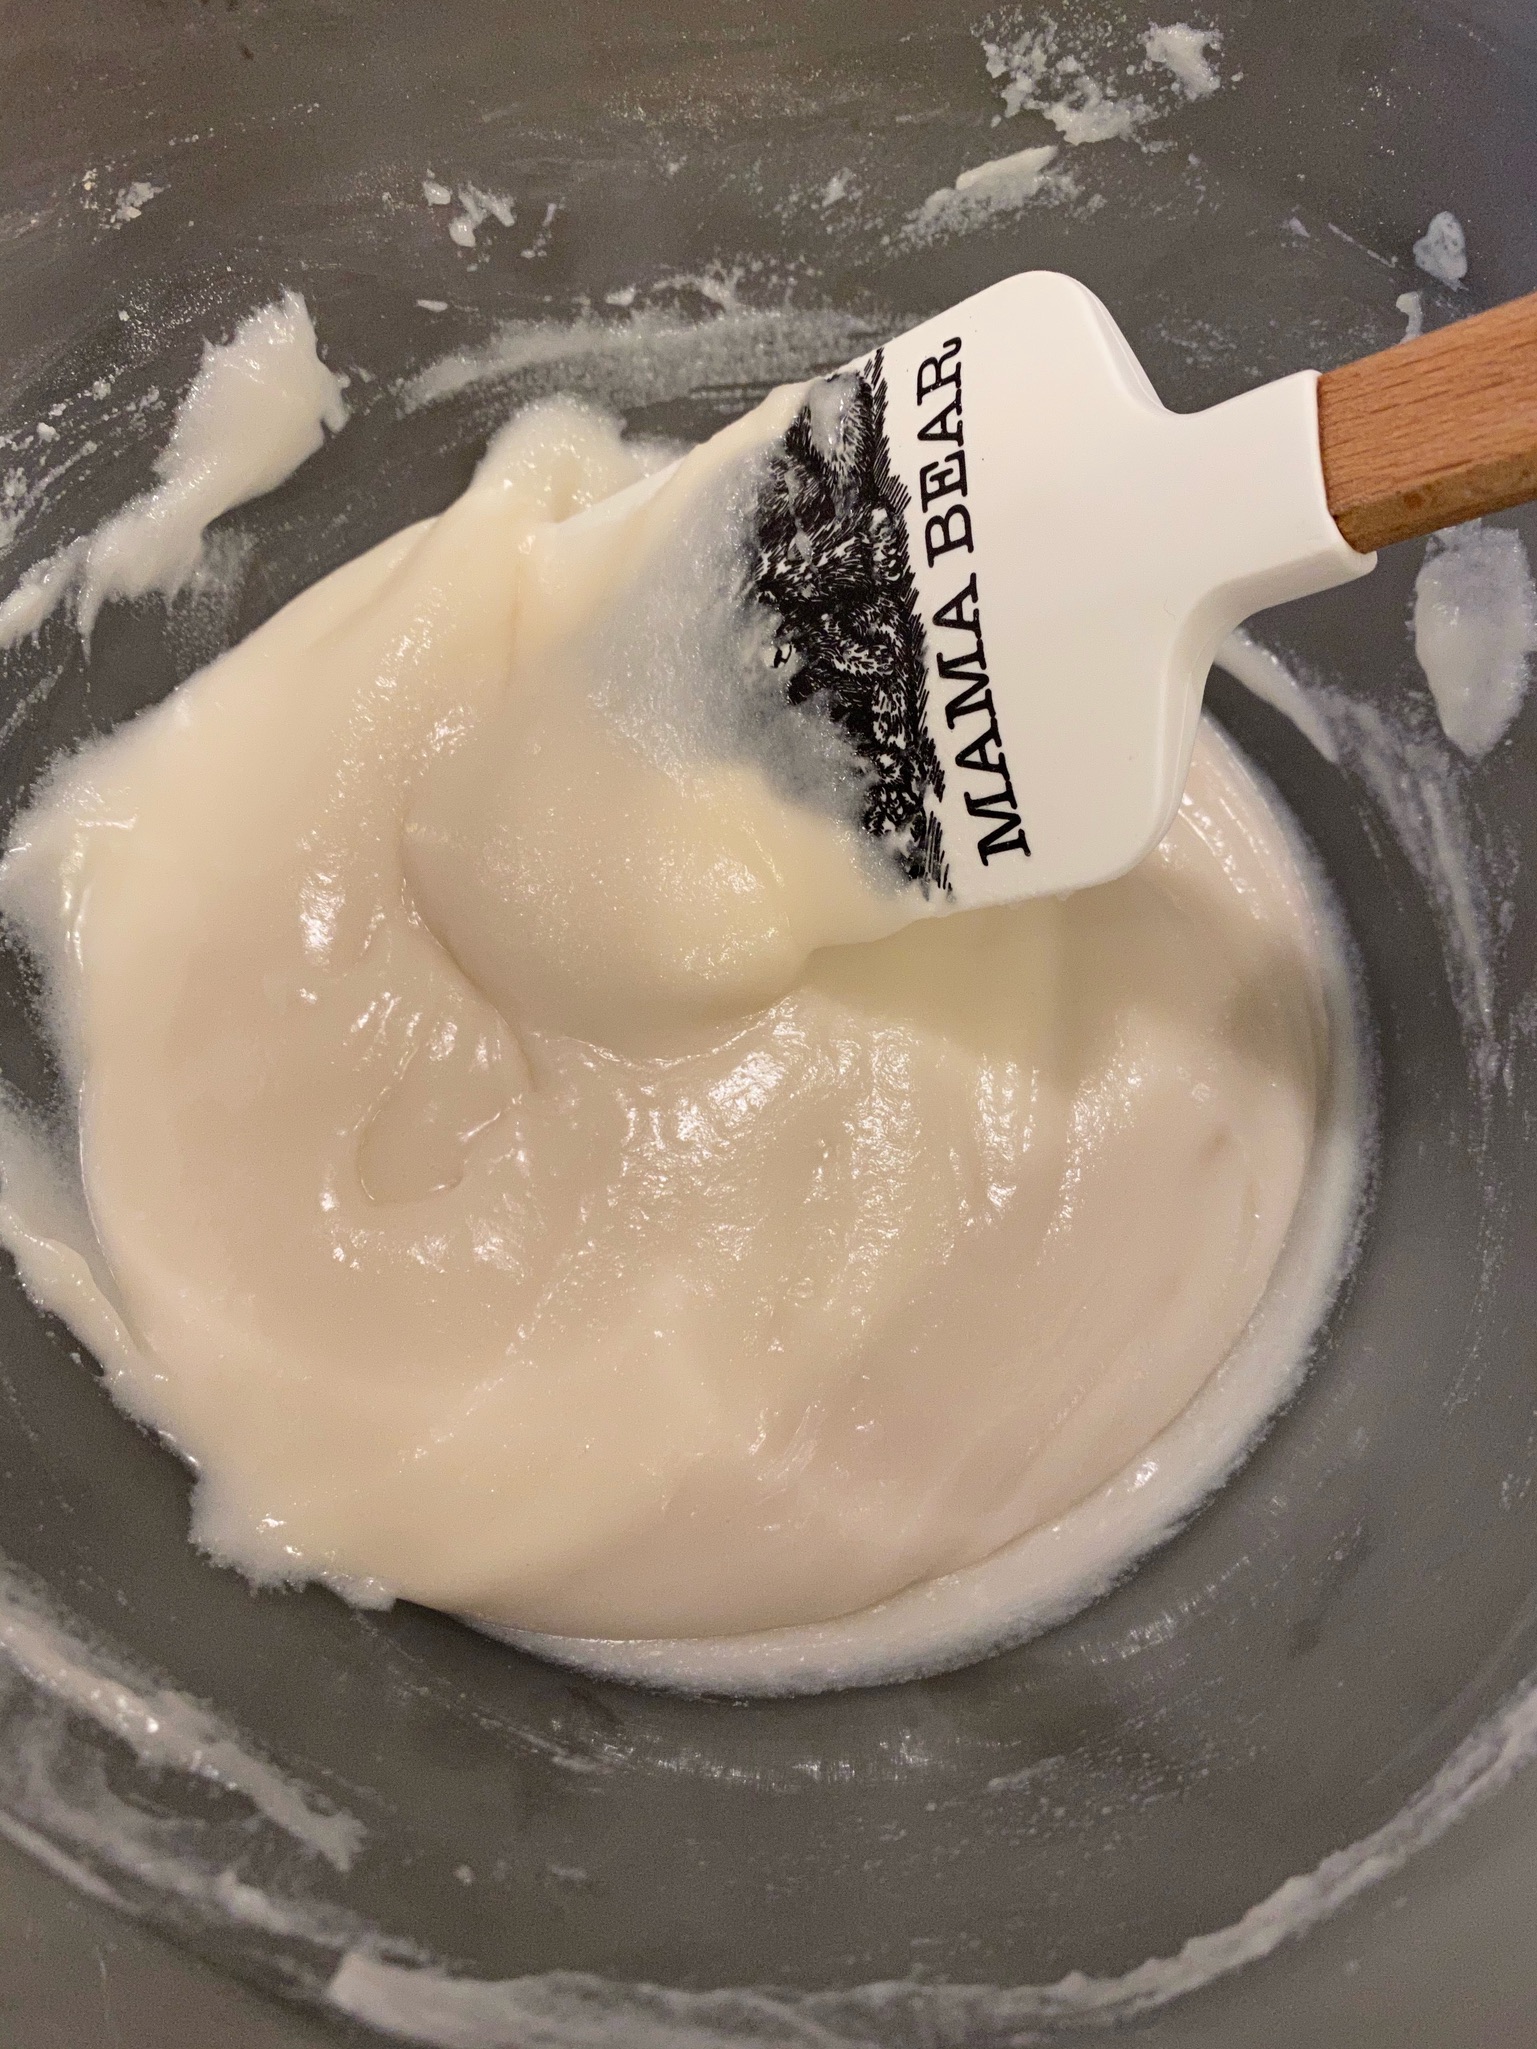
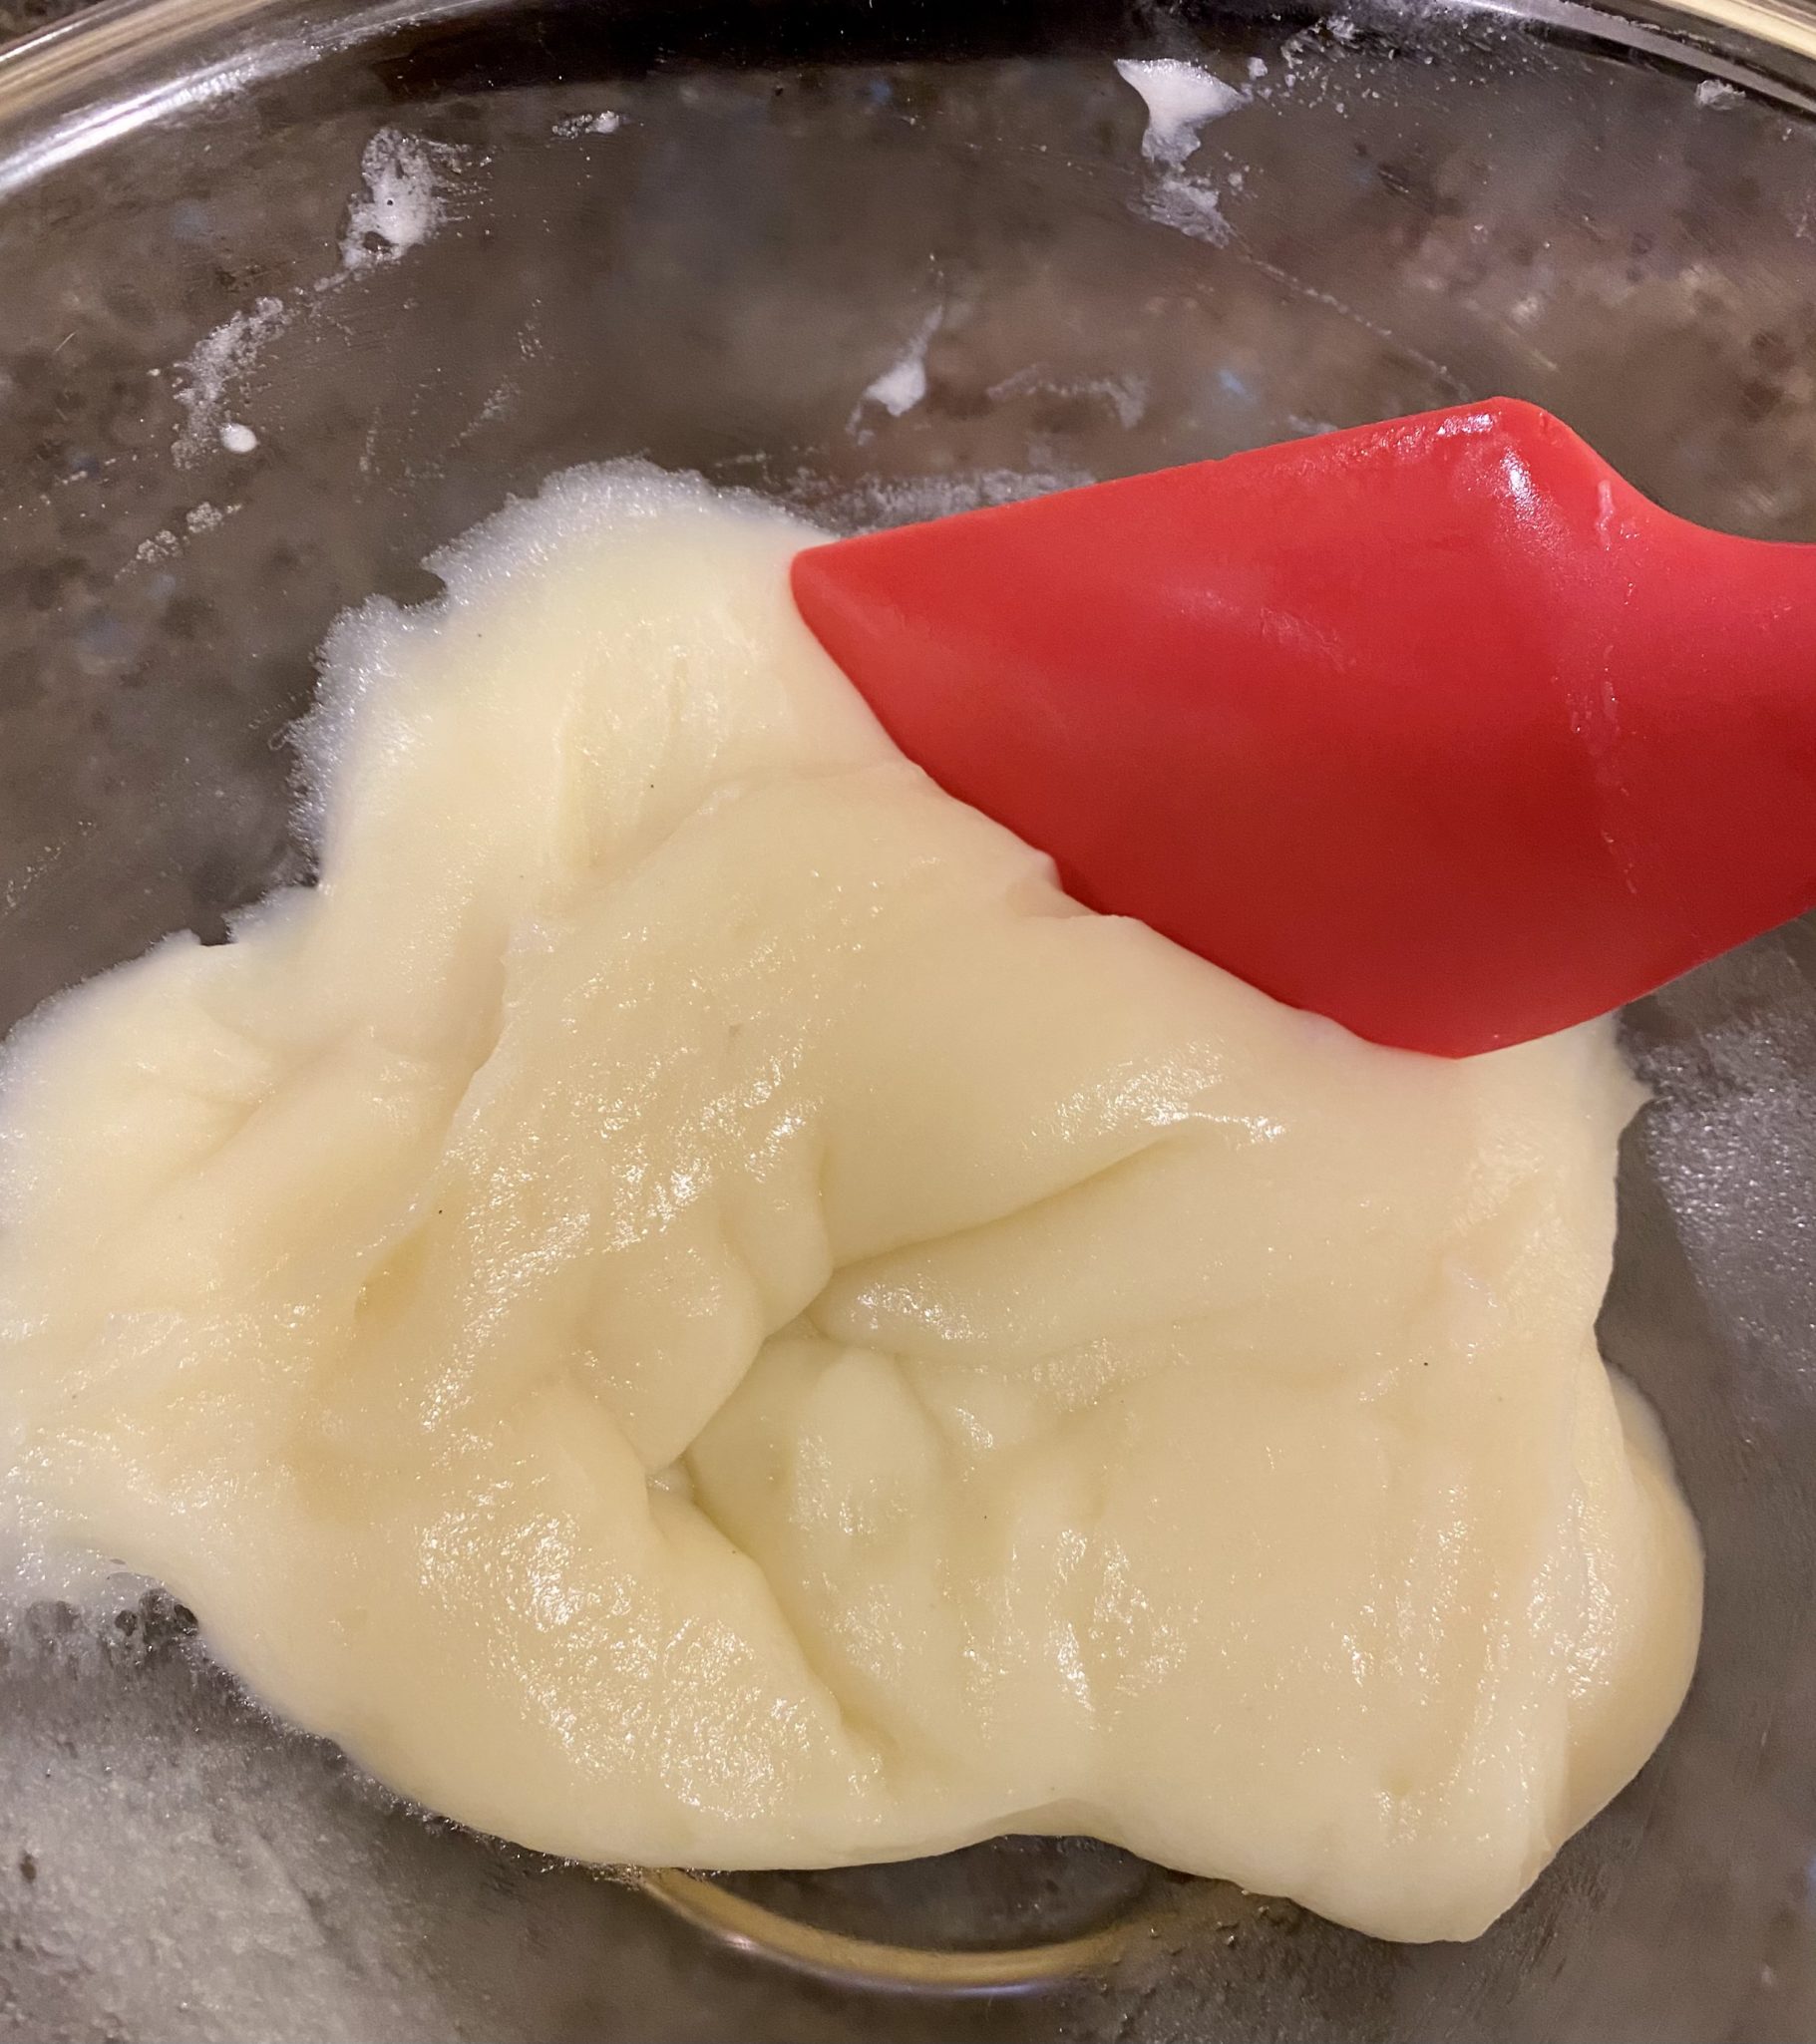
Put it back in the microwave for another three and a half minutes.  Carefully (it’s hot!) remove the bowl from the microwave and knead the dough with a wooden spoon or silicone spatula NOT your hands.  This helps create that translucent, elastic texture.

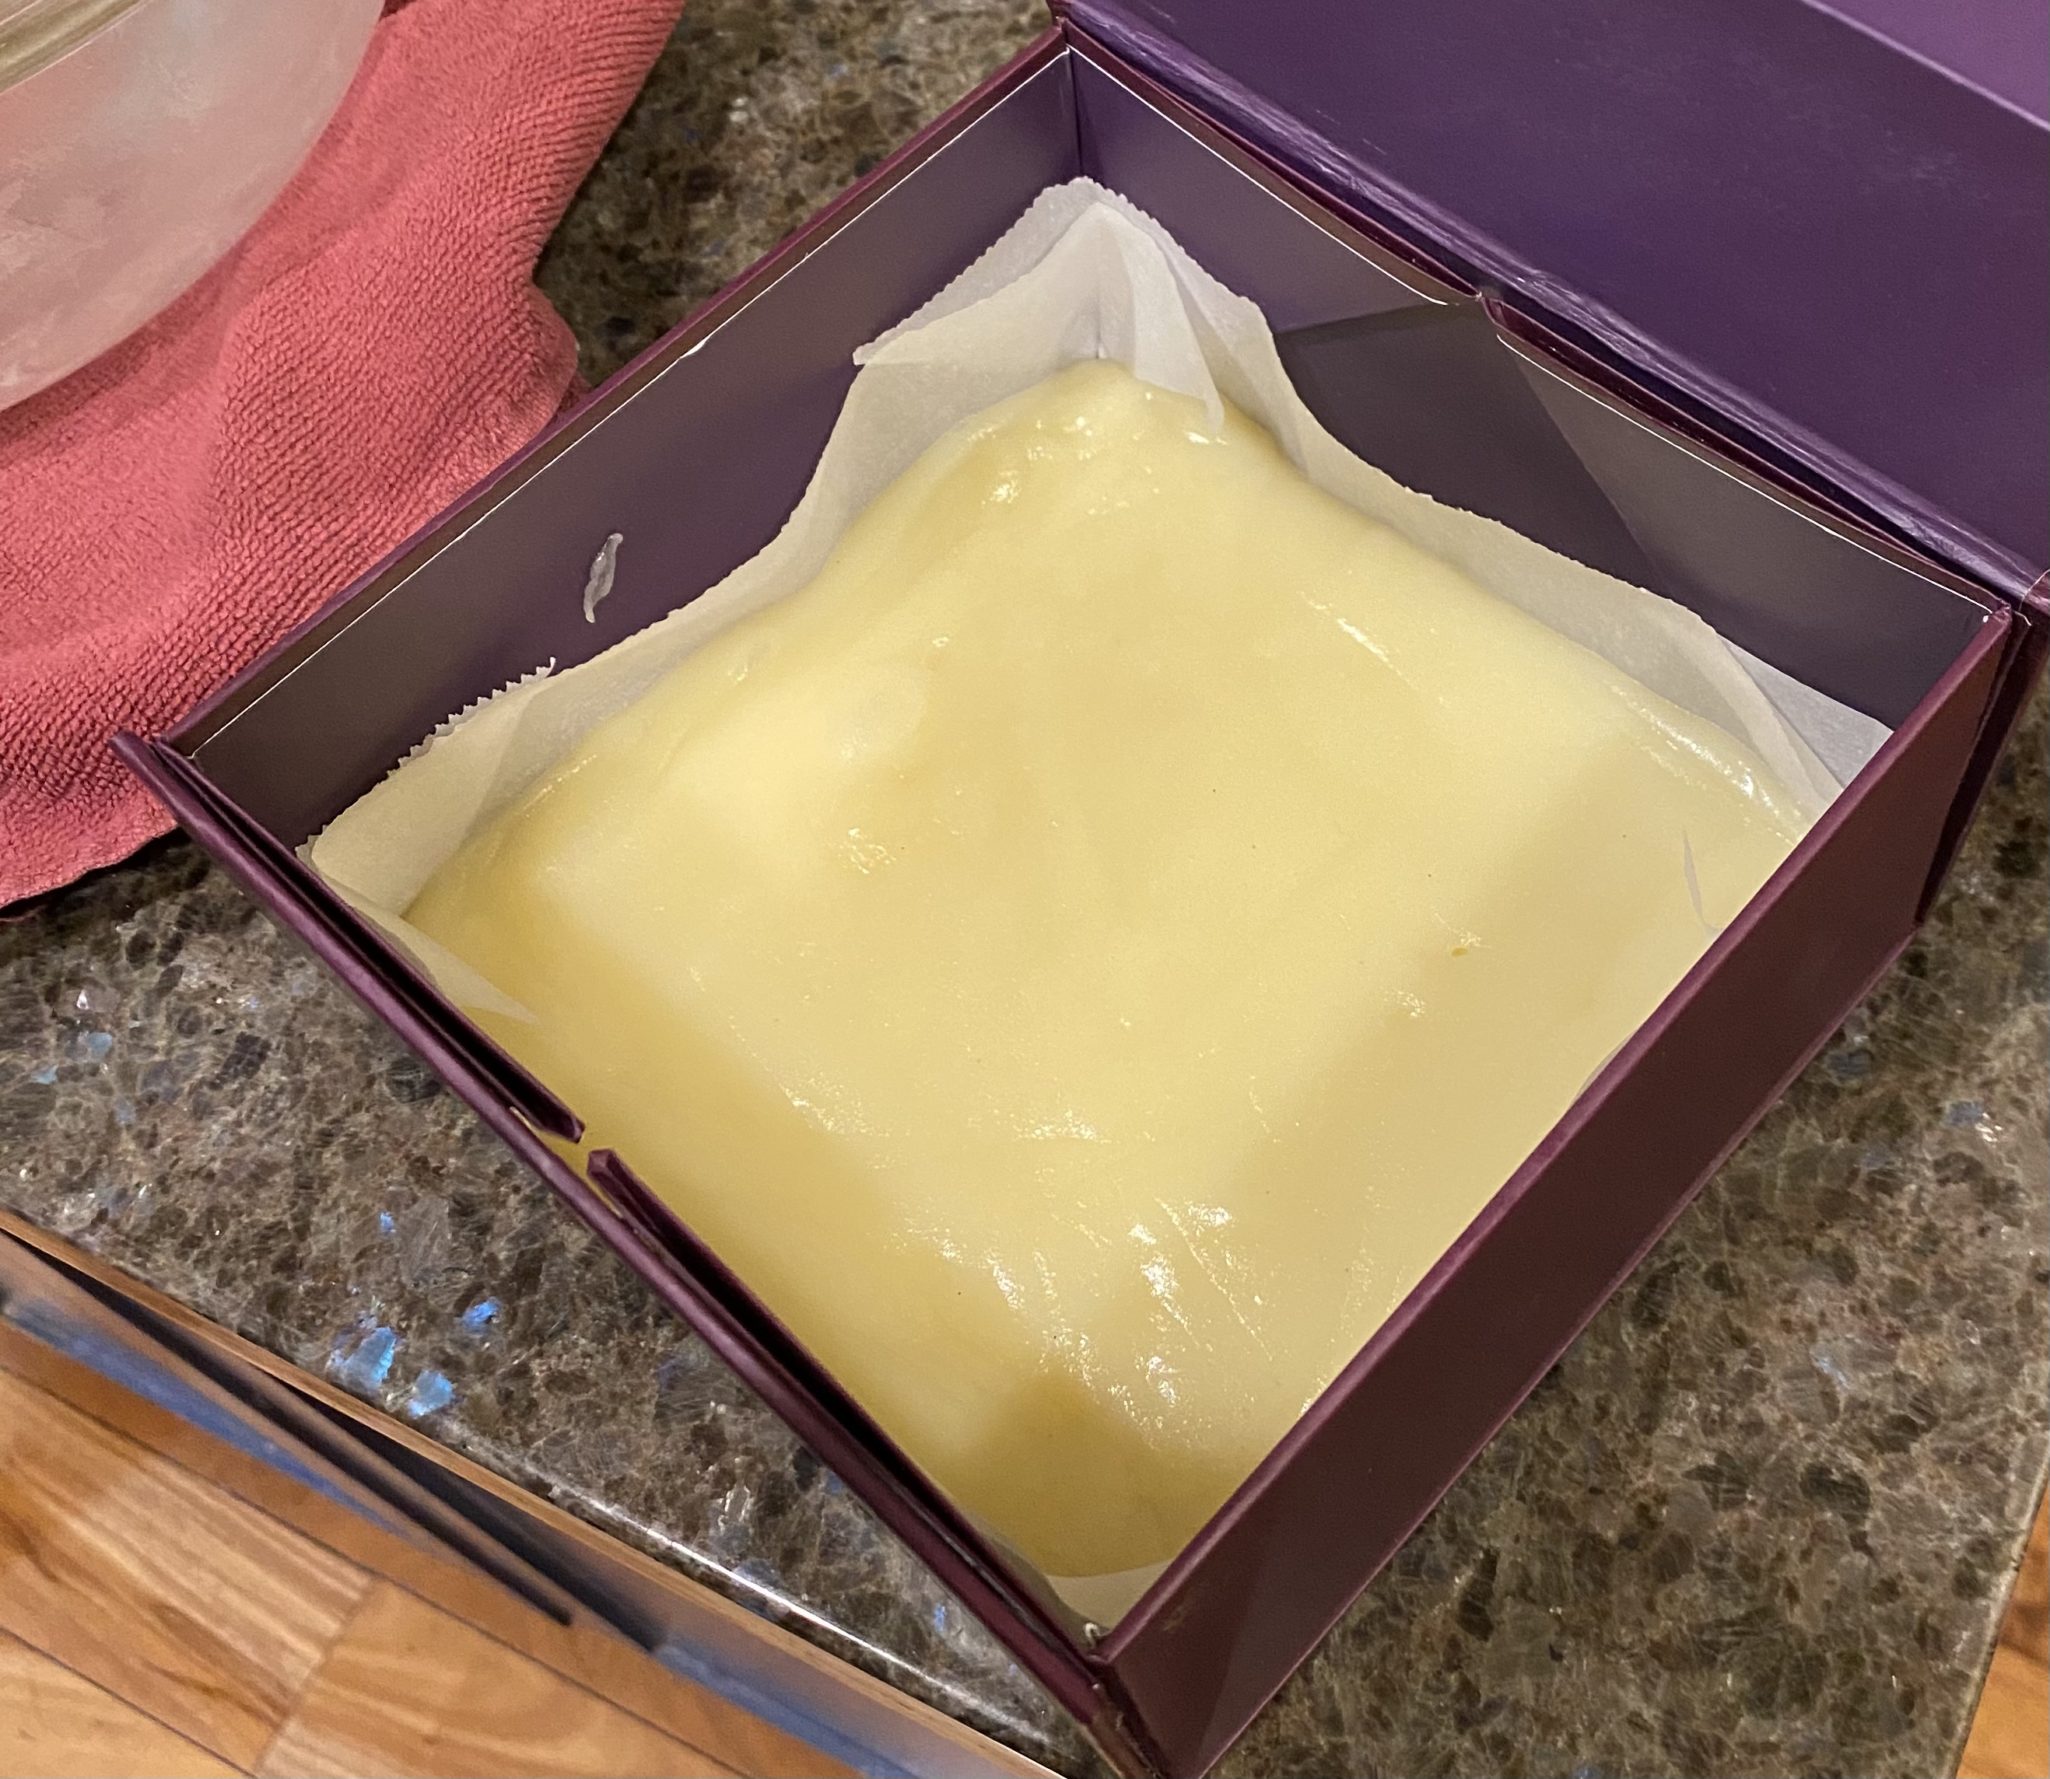
If it doesn’t get that translucent look or isn’t very elastic, try microwaving it another minute.  Transfer the Mochi into a small square pan lined with parchment.  The recipe calls for a five-by-five-inch pan.  Hmmm, not a size I have so I improvised.  Place pan (box in my case) in the fridge to chill.

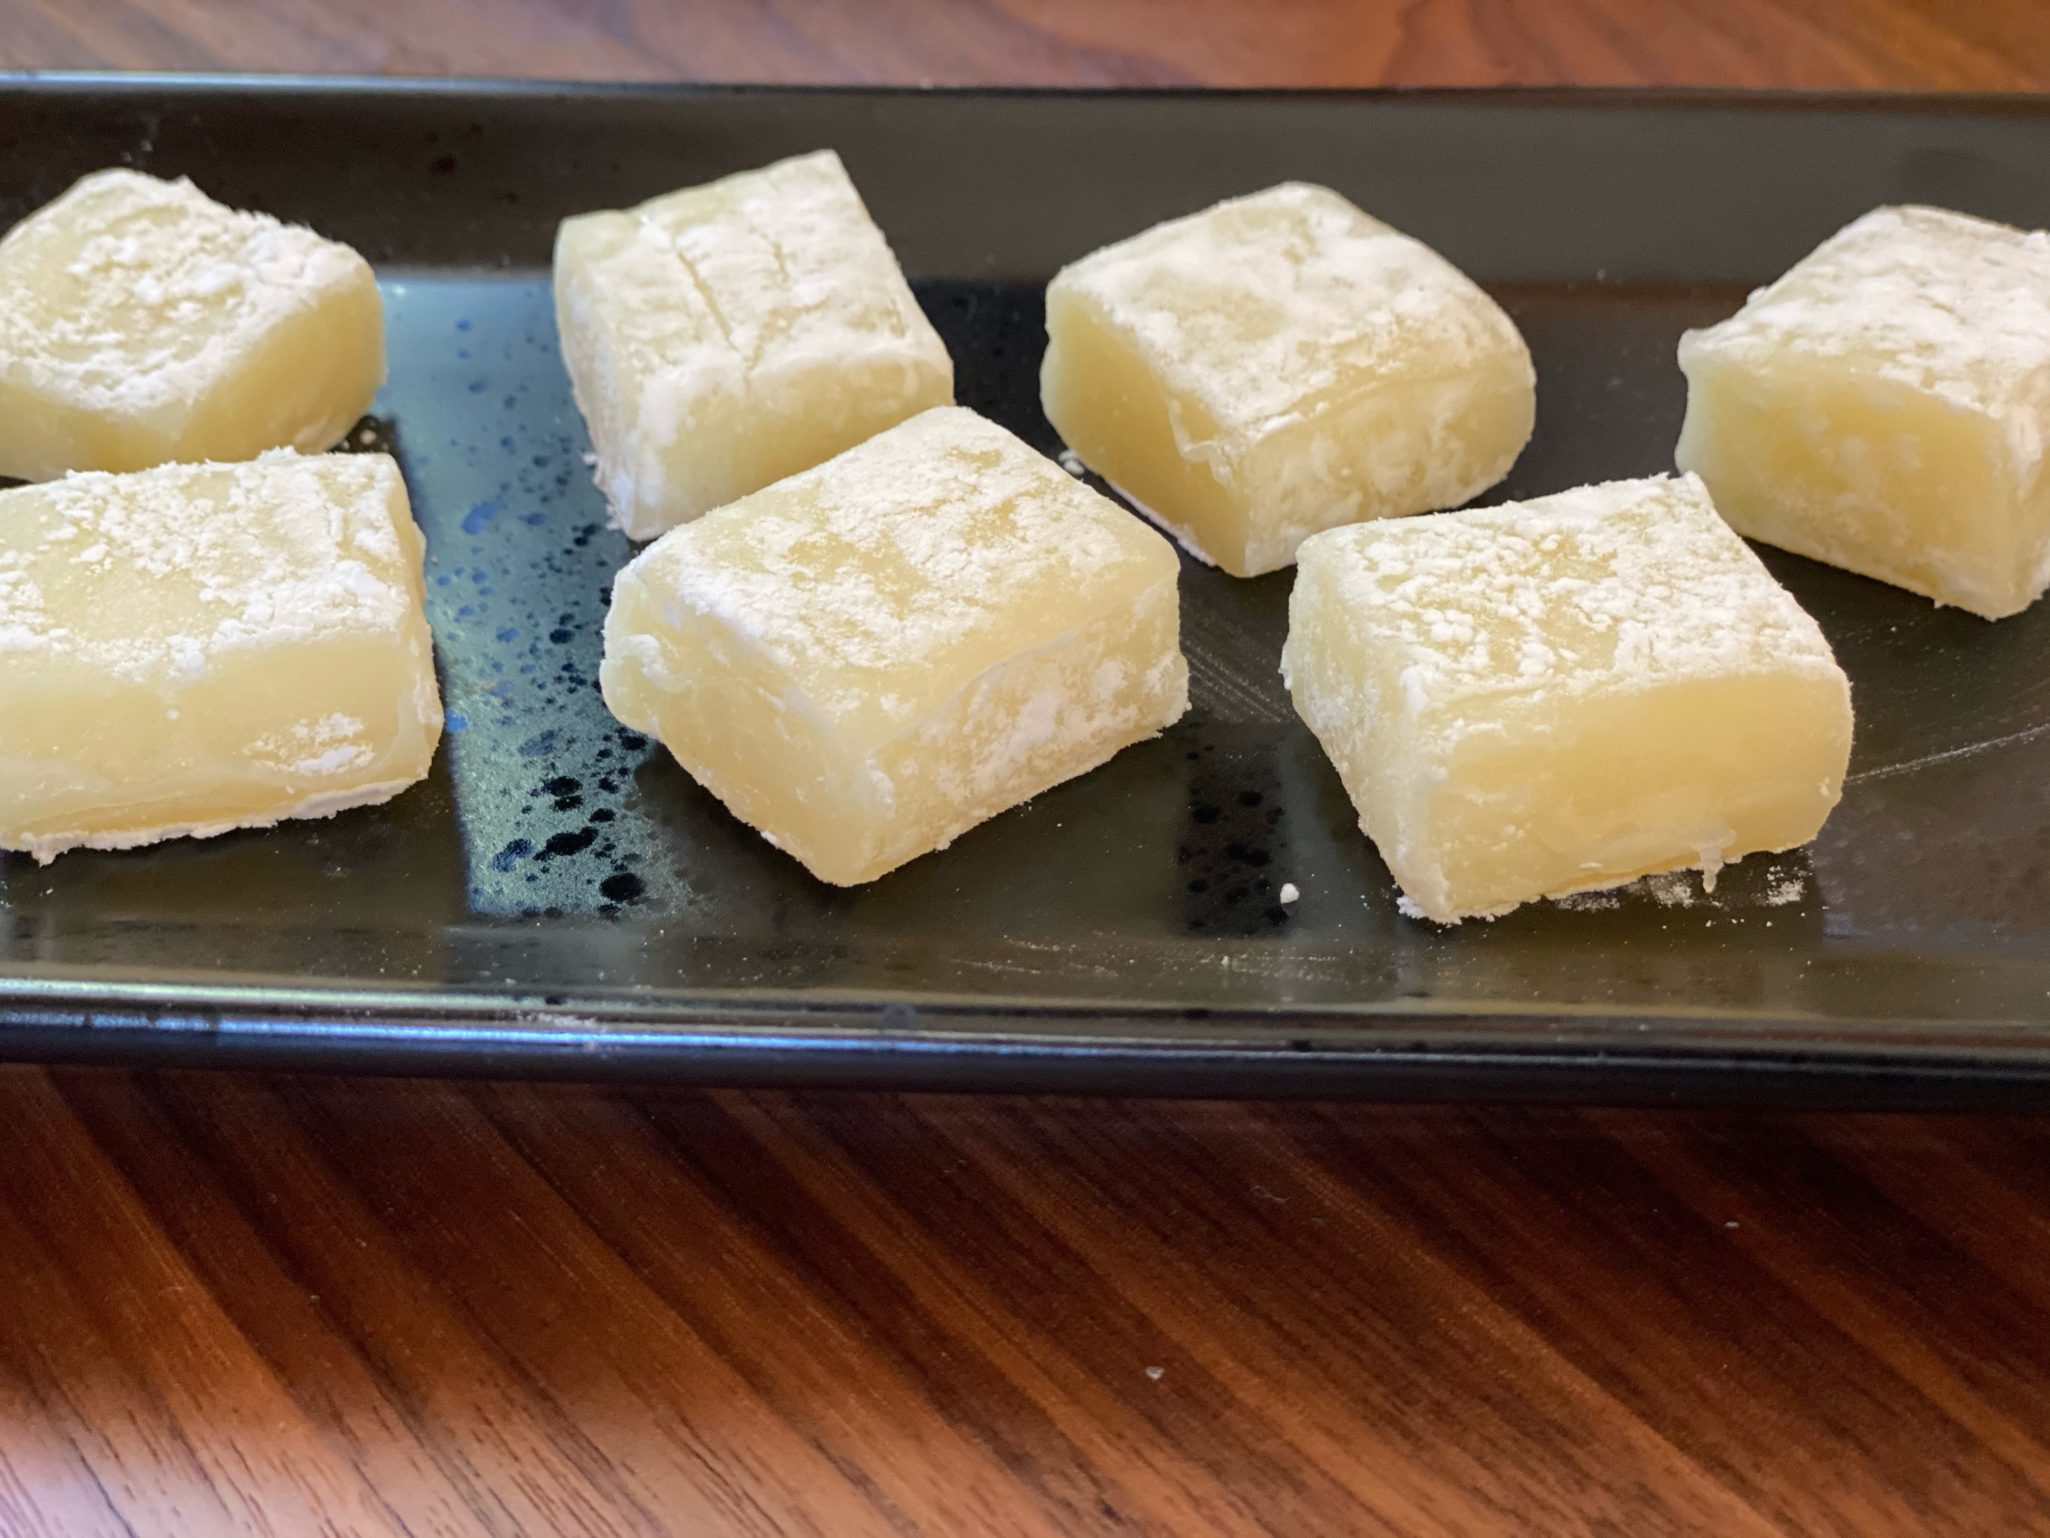
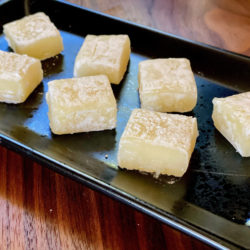
The final step is cutting the Butter Mochi.  It will be really sticky.  To keep the pieces from sticking dust with potato starch or cornstarch.  Sorry folks, powdered sugar will not work as it will absorb moisture from the mochi and turn gummy.  Serve.  Mochi can be stored at room temperature for a day or in the fridge for longer.  Bring to room temp before serving.

And one mor-chi tip

I made a second batch using coconut milk.  For folks that are milk intolerant, this would work well. Win-win.  Reduce the first microwave time to 2 minutes.  It solidified a little quicker than the regular milk version which made stirring in the butter a little harder.  You do lose a bit of the pure butter flavor but the coconut milk is a nice complement.  Play around with the microwave times for your machine.  For the second microwave session, I’d go 3 minutes first and check before zapping it further.

Print Pin
5 from 3 votes

Butter Mochi

Butter Mochi made in the microwave! Soft, chewy, buttery, a hint of sweetness, this Japanese treat is easy to make and delicious!
Course Dessert
Cuisine Asian
Keyword brown butter, butter mochi, Dessert, mochiko, sweet rice flour
Prep Time 7 minutes
Cook Time 7 minutes

Ingredients

  • 100 grams mochiko
  • 90 grams granulated sugar a little less than 1/2 cup
  • 1 cup whole milk or coconut milk
  • 3 tablespoons Cultured Butter (45 grams) TJ's French Cultured Butter or Kerrygold Salted Irish Butter. I like the bit of salt.
  • Potato starch or cornstarch for dusting

Instructions

  • Line a 5-inch square pan with parchment paper. Use any small pan, 4x6 (lol, does anyone have a pan this size?)
  • Add the mochiko and sugar to a large microwave-safe bowl, and then add about 1/3 of the milk. Stir the mixture together until there are no lumps. Add the remaining milk and continue stirring until it is smooth.
  • Put the bowl, uncovered, in the microwave and set it to cook for 2:30. If you have a 600 watt microwave, use full power. Adjust accordingly.
  • Remove the bowl from the microwave and stir the mixture until it's mostly smooth.
  • Add the butter and stir until fully melted and incorporated.
  • Microwave uncovered for another 3:00-3:30. Get to know your microwave!
  • Carefully remove the bowl from the microwave. Use a silicone spatula to knead the mochi together. The mochi is very hot, do not get it on your hands as you stir. The mixture will get very sticky and turn a translucent yellowish-white color as you knead it. If this doesn't happen, microwave it for another minute or two.
  • Transfer it to the prepared parchment-lined pan and press the butter mochi into the corners and flatten off the top.
  • Chill the mochi in the refrigerator for a few hours to firm it up. Unmold the butter mochi and peel off the parchment paper. Use a sharp knife to cut it into approximately 1" squares and then dust each piece liberally with potato starch. Brush the excess starch off and serve.
Just Another Mochi Muffin (Guava!)

Just Another Mochi Muffin (Guava!)

Yes, my romance with mochi muffins continues.

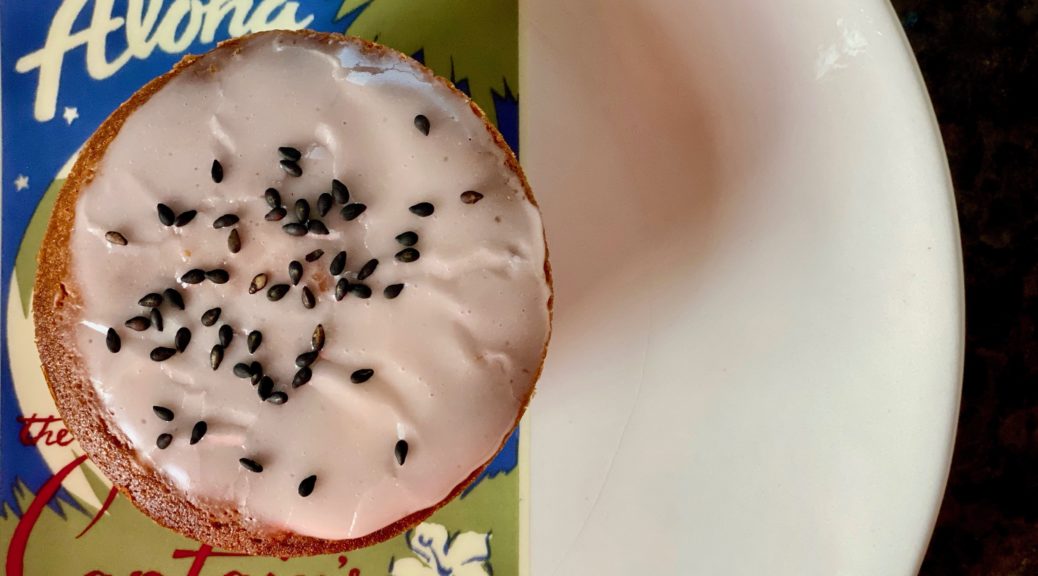
Right next door to Shuei-Do, my favorite manju shop in Japantown, San Jose, is a Poke Shop, Aloha Fresh.  As much as I like Poke, I love going for their butter mochi.  They kick it up a notch by offering different flavors like guava, lilikoi, or a brownie macadamia nut version …all are absolutely onolicious.  Butter Mochi at Aloha Fresh is limited to the weekends but lucky for me and you, Shuei-Do also makes a yummy Butter Mochi. Between the two – you are covered for your mochi fix.

But what if you can’t get to Japantown?

You can make your own AND it’s pretty darn easy.

Mochi desserts run the gamut from chewy, bouncy, creamy to moist, a little chewy, and cakey (is that a word?) texture.  I wanted a tropical flavor, buttery, crisp on the outside, chewy on the inside treat.  A recipe for Blood Orange Mochi Muffins from Cooking Therapy served as inspiration.  In place of blood orange juice, I used Guava Nectar.  The muffins were delicious and I plan to try different nectars like Hawaiian Sun’s POG, passionfruit, orange, and guava juice next time.

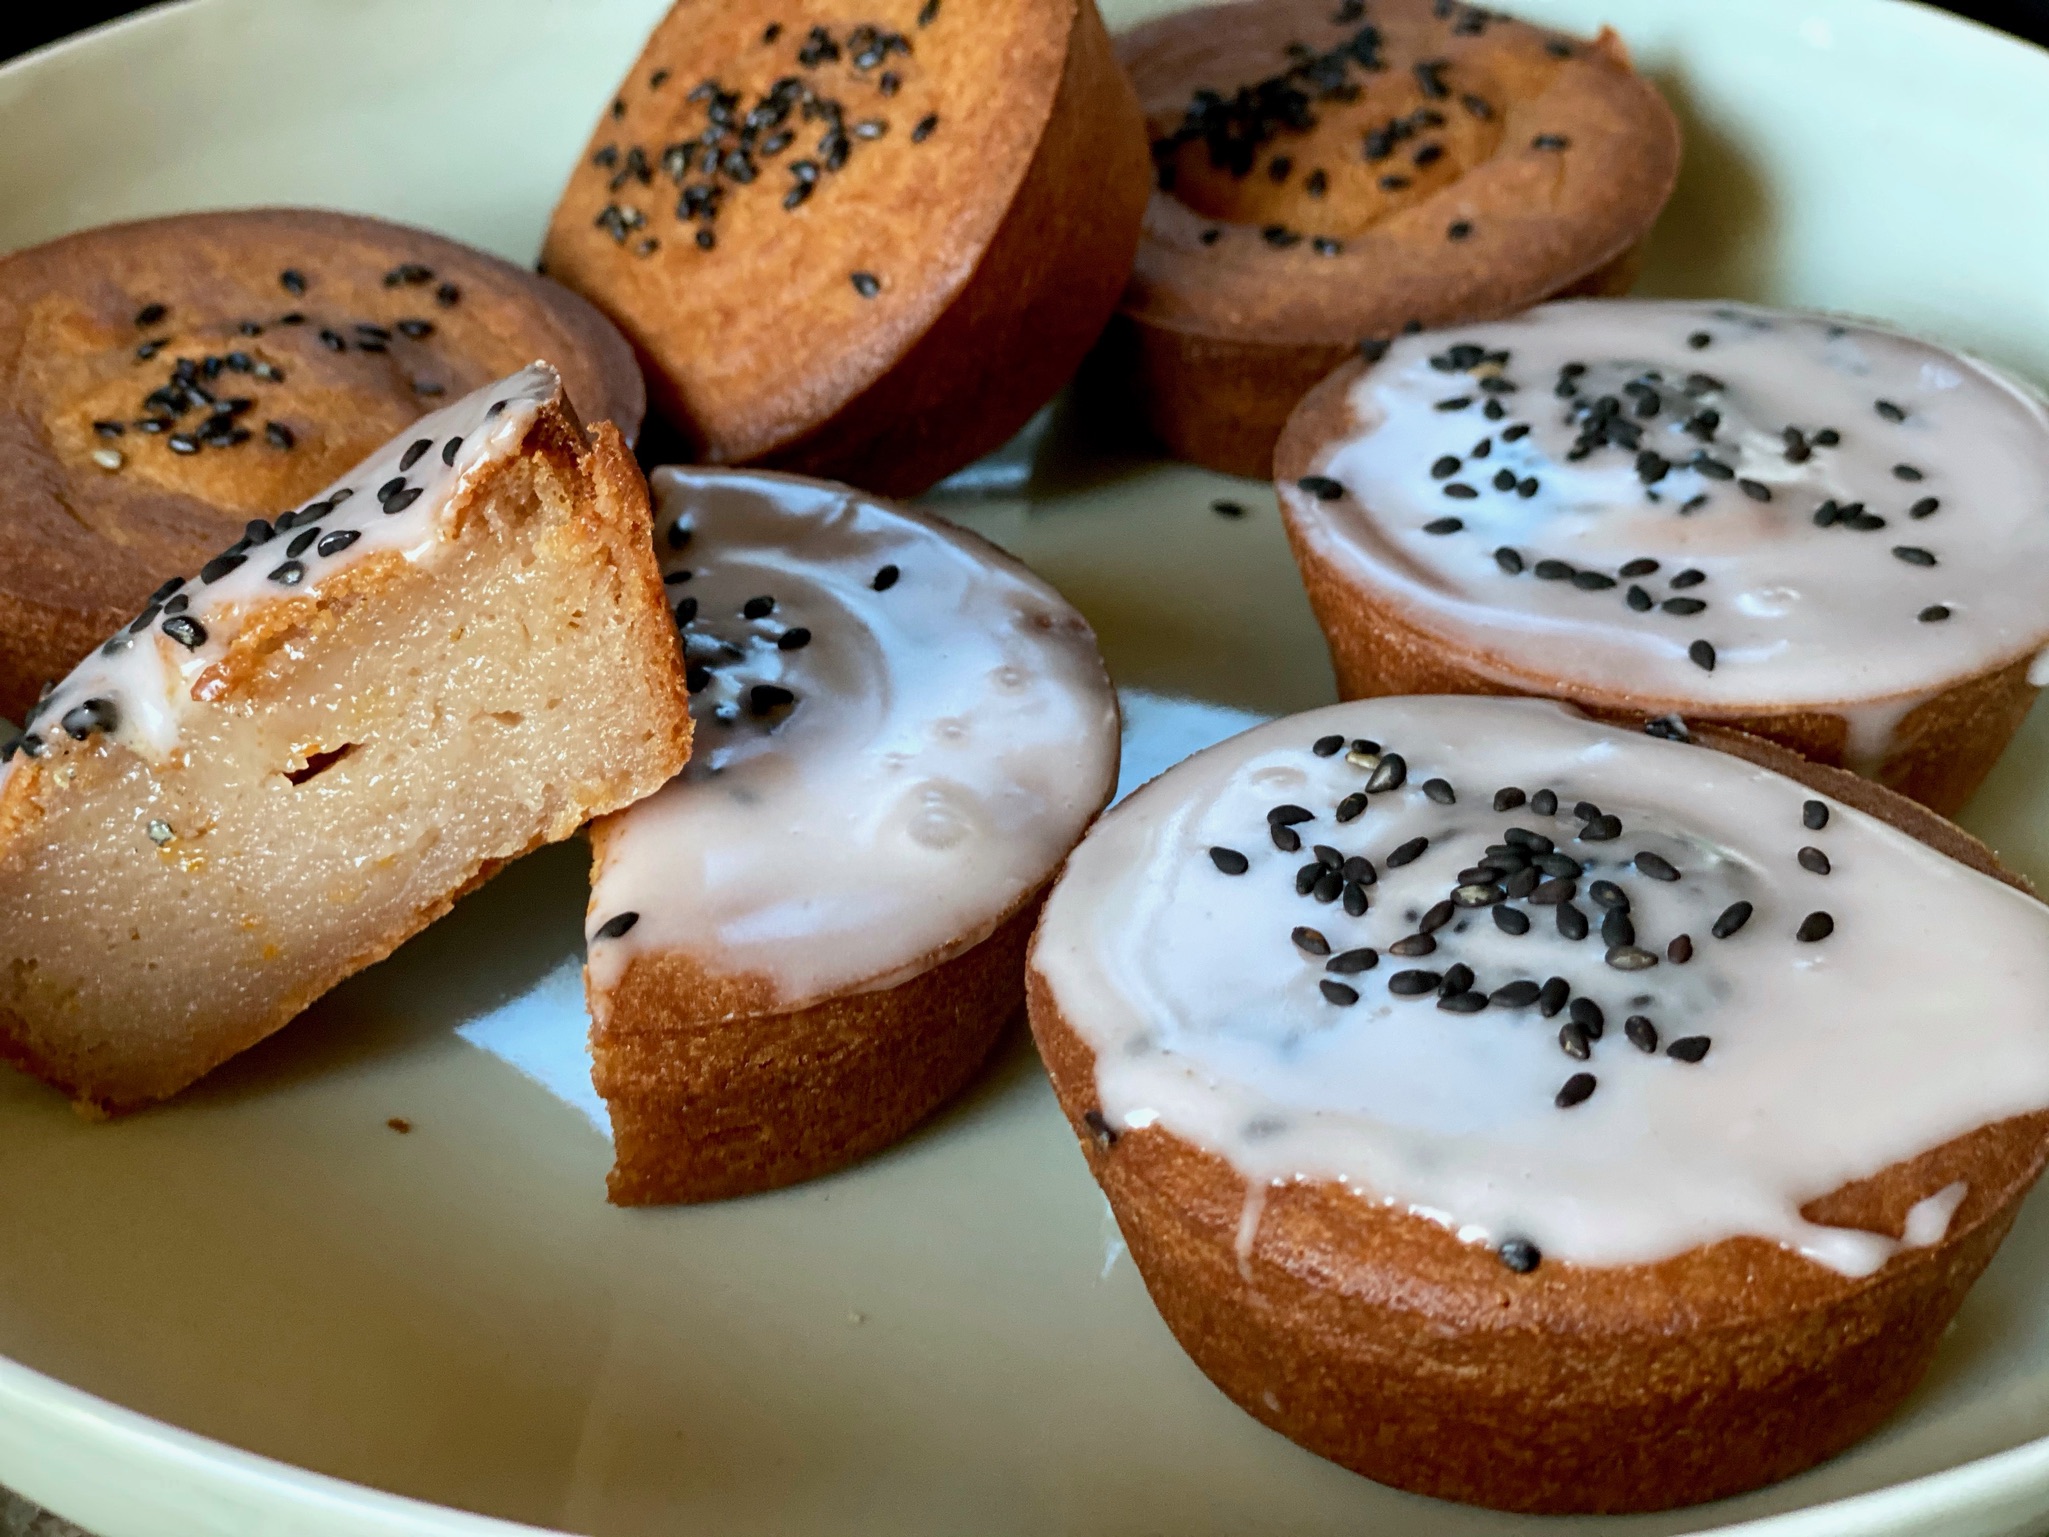
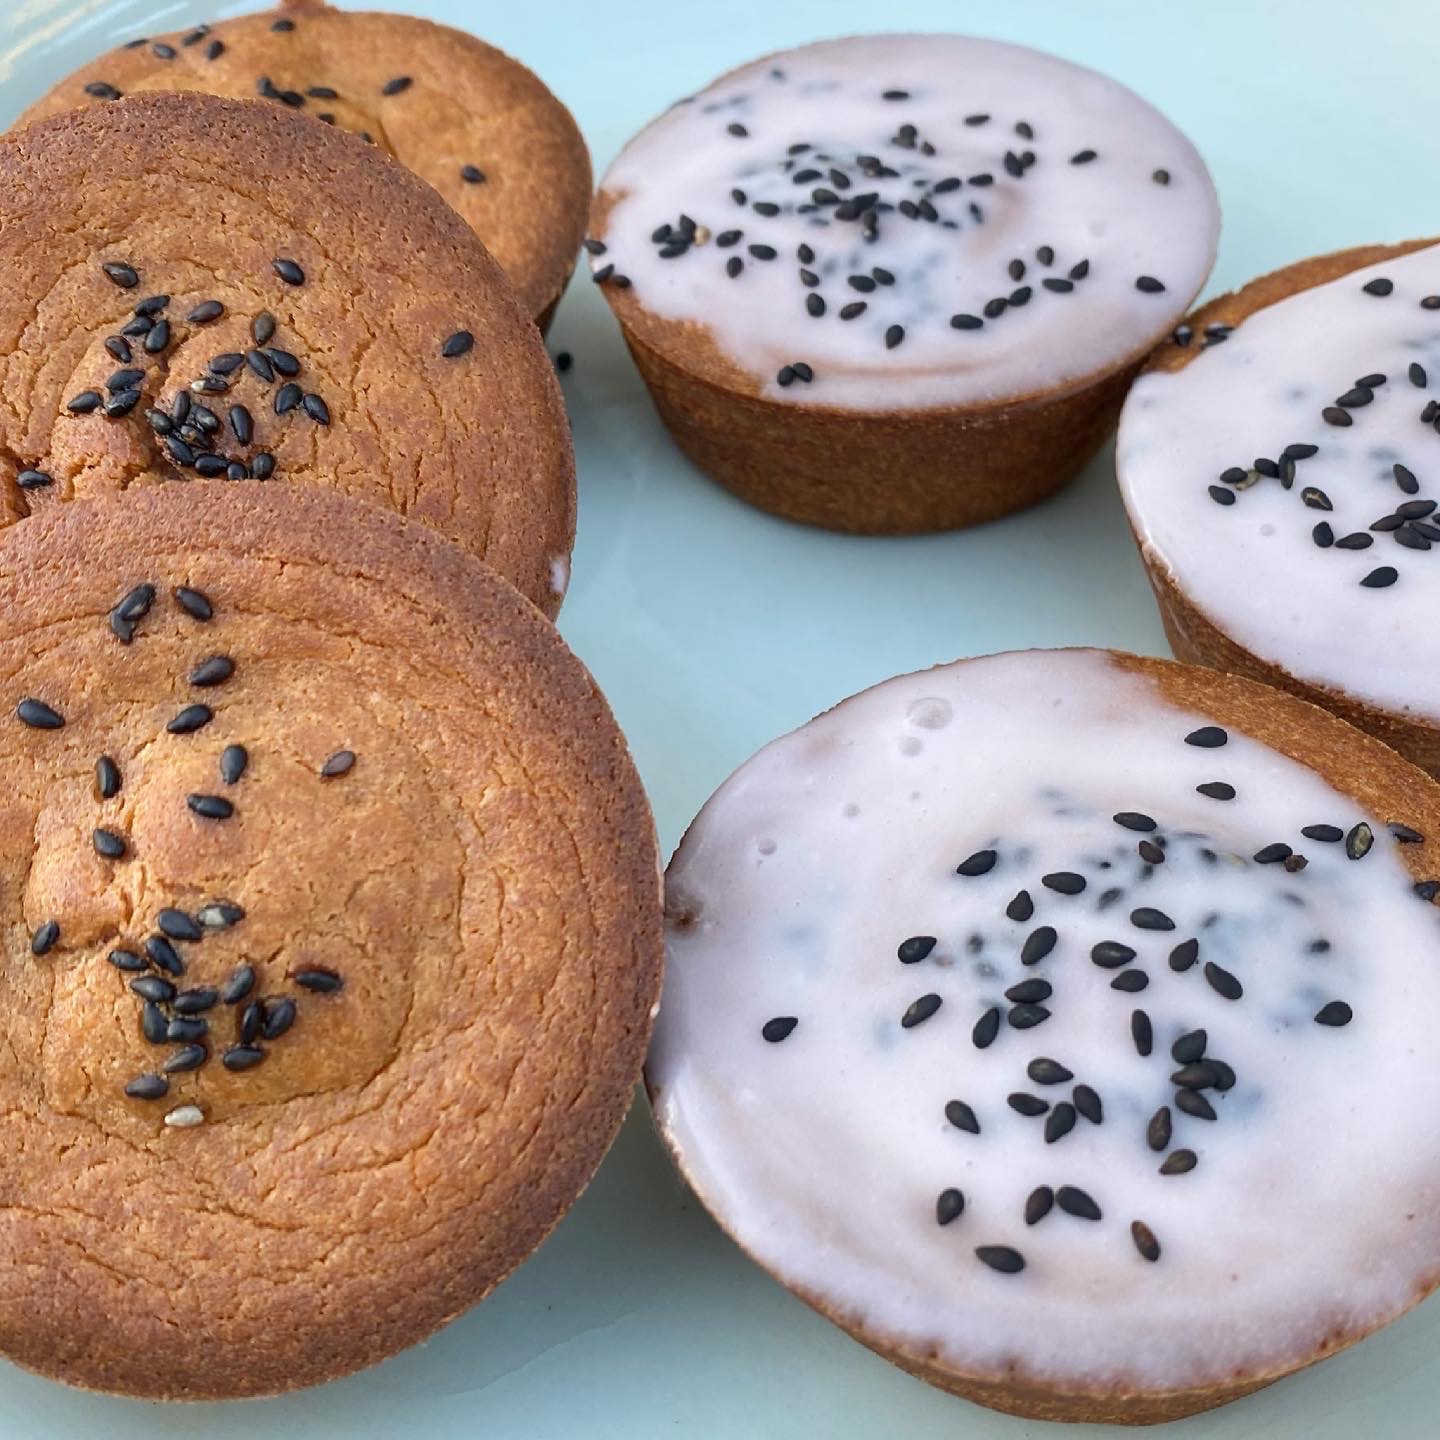
The batter comes together quickly, this is almost one bowl, one wooden spoon, easy territory.  The addition of butter is that Hawaiian tweak that makes it so delicious.  Fill well-greased muffin tins about 3/4 full.  Bake for 45 minutes, or a little longer for a crispier edge.  It will lose that crispness with time though.  Store at room temp for 2-3 days max.  Pop them in a toaster oven to crisp them a little bit.  Do not refrigerate.  You can freeze them without the icing.  Thaw and crisp in the oven.  These muffins are moist, chewy, a little squishy, yummy, and addictive.

Ice, Ice Mochi

Making the icing is easy.  Whisk the dry ingredients with coconut milk, vanilla, a pinch of salt, and juice.  The icing should be loose enough to dip each muffin top into but thick enough to adhere to the surface with only a bit of dripping. After dipping one muffin you can adjust the sugar or liquid for the right consistency.  Sprinkle topping of your choice, coconut shreds, orange zest, sesame seeds, or a bit of flaky salt.  Let the muffins sit for a couple of minutes so the icing can set, then serve.

Love mochi?  Here are more recipes using sweet rice flour!  Butter Mochi MuffinsPeanut Butter Mochi, and Chocolate Mochi Donuts.

Print Pin
4.75 from 4 votes

Tropical Mochi Muffins

A delicious, gluten-free mochi muffin, chewy, moist, and flavored with guava nectar and citrus.
Course Dessert
Cuisine Asian-American, Hawaiian
Keyword butter mochi, mochi muffin
Prep Time 10 minutes

Ingredients

  • ½ cup butter melted, if using unsalted butter, add 1/4 tsp salt to dry ingredients
  • ¾ cup granulated sugar
  • 1 cup coconut cream or full fat coconut milk
  • 1 tsp vanilla extract
  • 2 eggs room temperature
  • Zest of 1 orange preferably Cara Cara oranges
  • 1 cup guava nectar substitute mango, passion fruit, or tropical fruit blend nectar or orange juice (Cara Cara)
  • 2 cups sweet rice flour
  • 2 tsp baking powder

Guava Icing

  • 2 tbsp Guava Nectar Substitute mango, passionfruit, or tropical blend, or orange juice.
  • 2 tbsp coconut milk
  • 2 cups powdered sugar
  • 1 tsp vanilla extract
  • Zest of 1 orange optional
  • poppy seeds, shredded coconut, black sesame seeds, orange zest garnish

Instructions

  • Preheat oven to 350 degrees F. Grease one 12-cup standard muffin tin.
  • Sift the sweet rice flour and baking powder into a small bowl and set aside.
  • Add melted butter, sugar, and coconut milk to a large bowl. Mix until combined.
  • Add the vanilla extract and eggs. Mix until combined.
  • Add the guava nectar and zest. Mix until combined.
  • Into the wet ingredients. Mix until a wet batter forms. It should be a pretty loose consistency.
  • Scoop batter into the muffin pan. Tap the muffin pan 1-2 times on a flat surface to get rid of the air bubbles.
  • Bake for 40-45 minutes until the edges start to brown. For a crispier edge, bake 45-50 minutes. Don't go much longer as it may make the inside drier and a little tougher.
  • Cool for 10 minutes in the muffin pan before removing.

Icing

  • While the muffins cool, make your icing. Place powdered sugar In a small bowl. Add coconut cream or milk, nectar, vanilla, and a pinch of salt. Stir with a whisk until completely blended.
  • When muffins have cooled, remove from pan. Dip the top of each muffin into the icing and place on a wire rack. Sprinkle with sesame seeds, poppy seeds, shredded coconut. The consistency of the icing should be thin enough to dip but thick enough that it doesn't all run off the muffin top. A little bit will roll down the side of the muffin. That's okay!
  • The icing is optional. If you don't use it, sprinkle the muffins with sesame seeds or flaked coconut before baking.

Notes

This recipe can be easily halved!  
Icing is optional.  
I like using coconut cream instead of milk.  I think the muffins are little denser, richer and chewier with cream instead of milk.  Don't use lite coconut milk.
Play with flavors.  Any nectar or juice would work.  If you can find Hawaiian Sun Juice Drinks they have a variety of flavors including island favorite, POG (Passionfruit. Orange and Guava).