
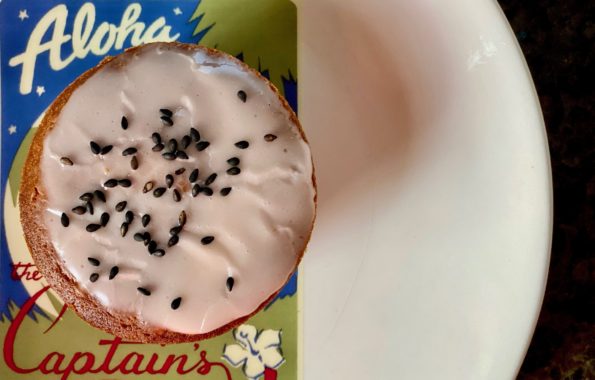
Yes, my romance with mochi muffins continues. Right next door to Shuei-Do, my favorite manju shop in Japantown, San Jose, is a Poke Shop, Aloha…
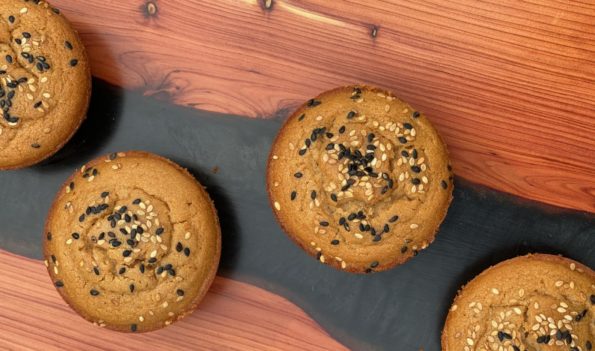
More Mochi Madness One of the most popular posts on 3Jamigos is Muffin been the Mochi that Caught My Eye (Butter Mochi Muffins) I stumbled upon…
The one consolation to the pandemic for us (which goes to show just how fortunate and entitled we are), my kids came home at various…
I was turkey-ed out. We hit the farmer’s market in town and came away with some cute Delicata and Butternut Squash, onions, fresh spinach, and…
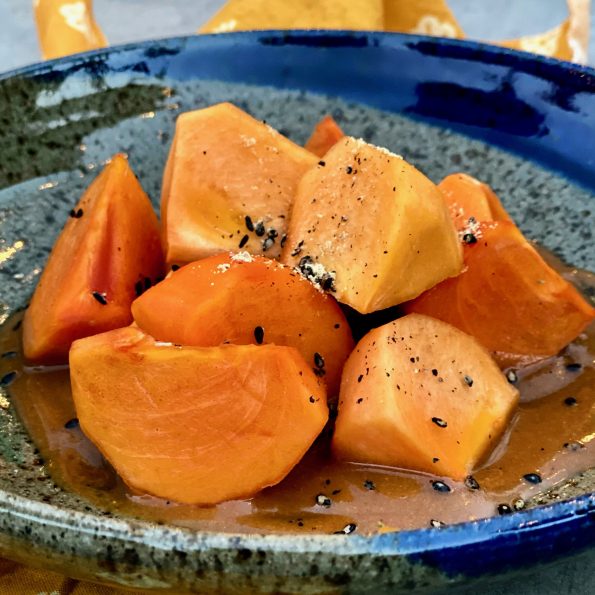
It’s persimmon season! About this time every year, my friend & co-worker, Trang, comes to work with bags of homegrown persimmons. I am not ashamed…

My favorite category for foods is not dessert. Nope, its soup. I LOVE soup. To the age-old question if you were stranded on a desert…

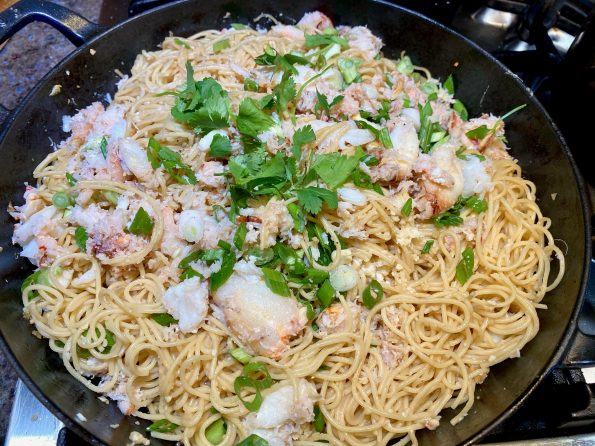
Father’s Day this past Sunday meant Hubby’s Choice. We did whatever he wanted to do, eat, and play. Here is my Haiku for Father’s Day…
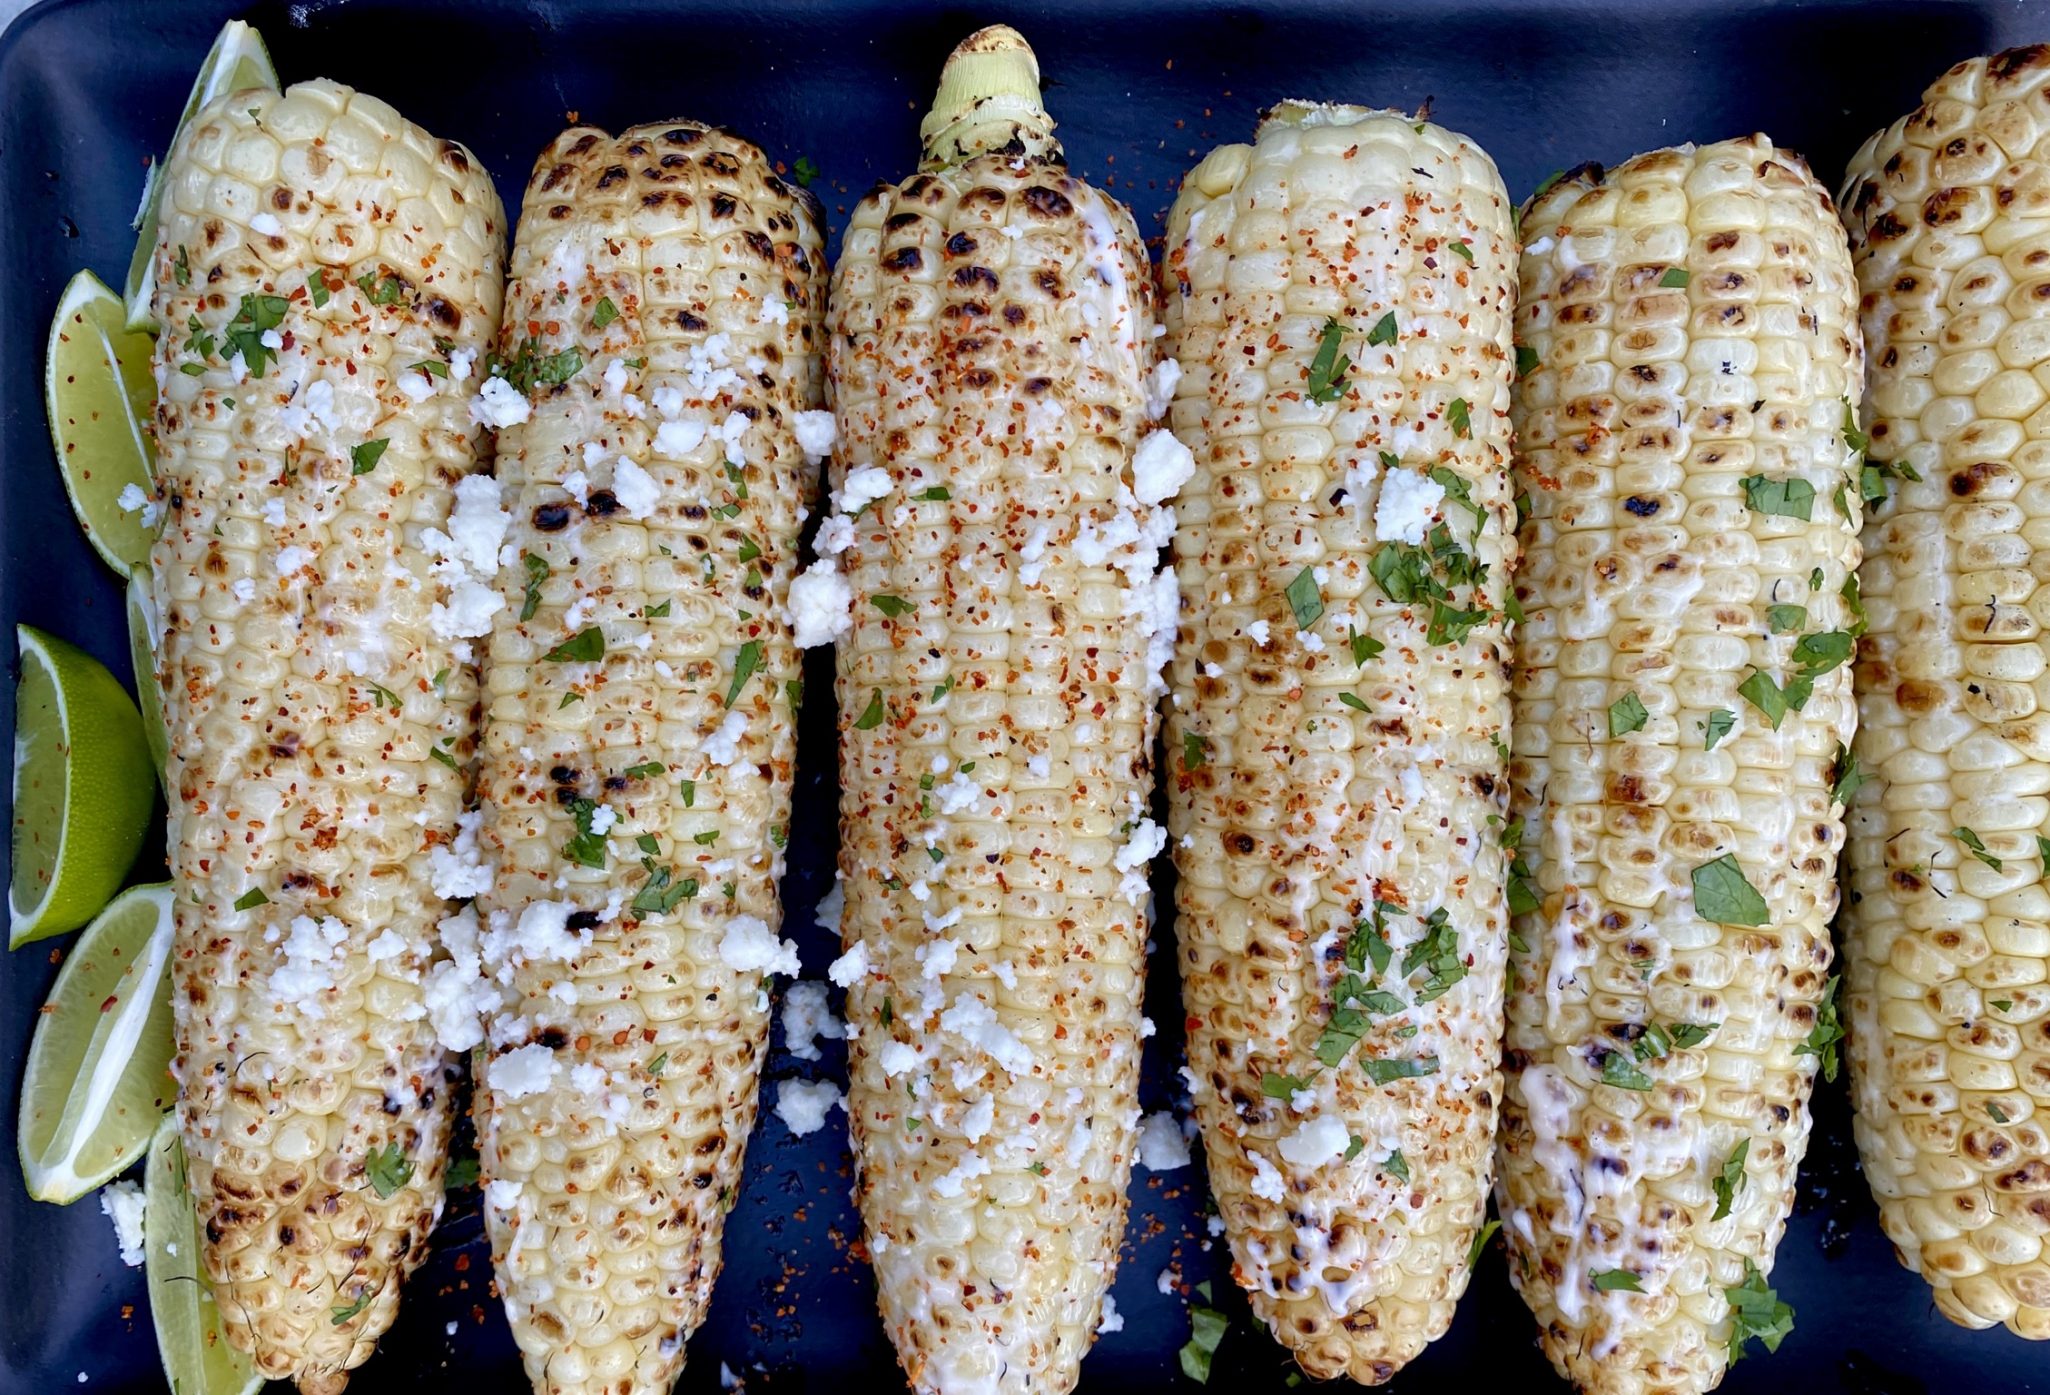
I consider my weekly trip to our local Farmer’s Market as my sanity break from COVID-19. As the weather warms not only are more folks…

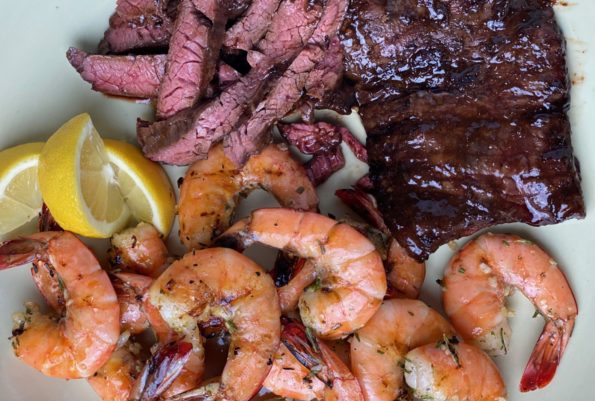
Friday night…my mind was thinking about the upcoming Memorial Day weekend. The plan, grilling on Monday. Something classic, burgers, potato salad, strawberry shortcake, the “Summer…