
Mochi Ado about Something. I tried quite a few mochi recipes this year so it seems fitting that 2021 should end on a sweet rice…
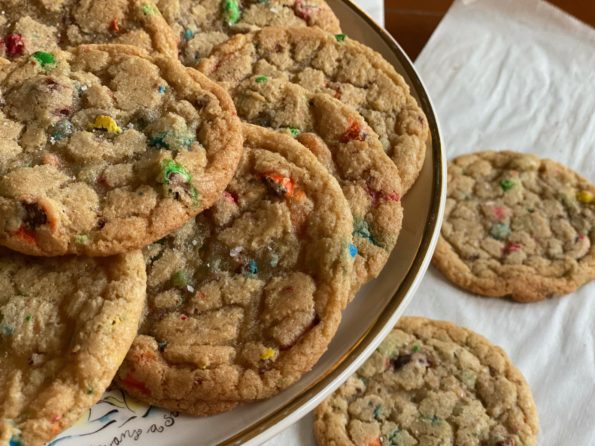
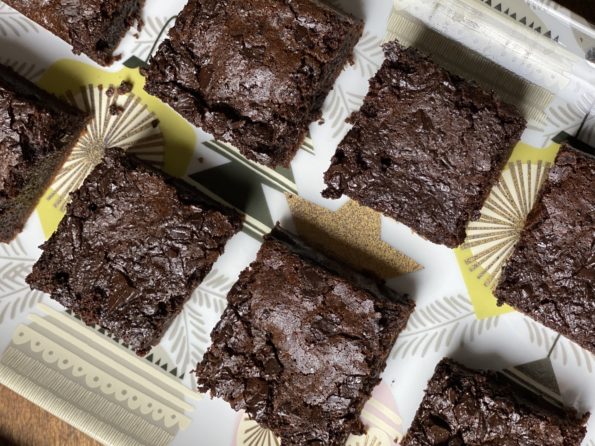
Cookie Number Two-Twelve Days of Cookies Last year my absolute favorite cookie was Eric Kim’s Grocery Store Cookie. I called it my Marie Kondo cookie,…
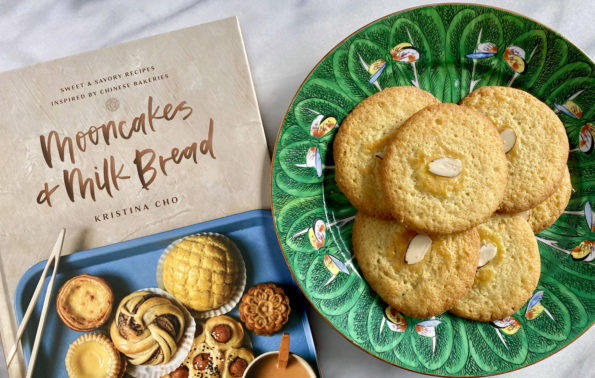
Here we go, Twelve Days of Cookies to kick off the holiday season!. From one of my favorite cookbooks this year, Kristina Cho’s Mooncakes and…
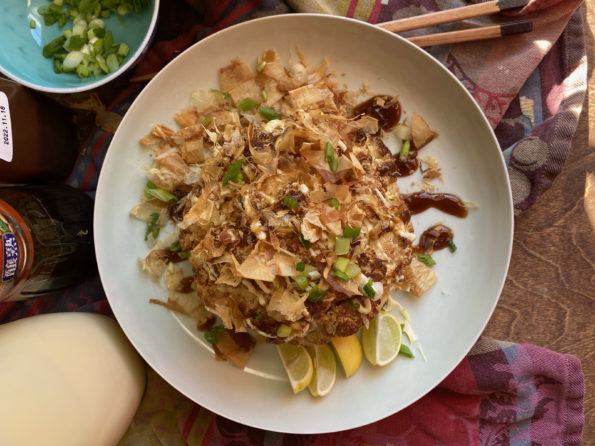
Earlier in the year as I was clicking through my Instagram, perusing what my favorite bloggers and IGers were up to, I landed on Two…
So, you drew the short straw, didn’t you? Yep, the proverbial boring Thanksgiving dish, vegetables, sheesh. Auntie has drawn dessert, ugh, which means lime green…
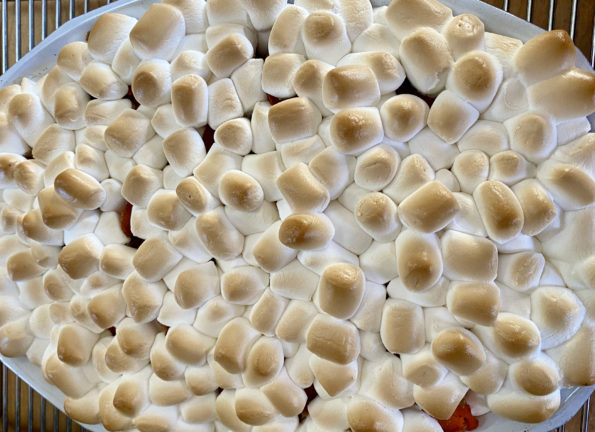
Every Thanksgiving I look forward to my cousin Gary’s Sweet Potatoes. As sure as there will be a turkey on the table, his sweet potatoes…
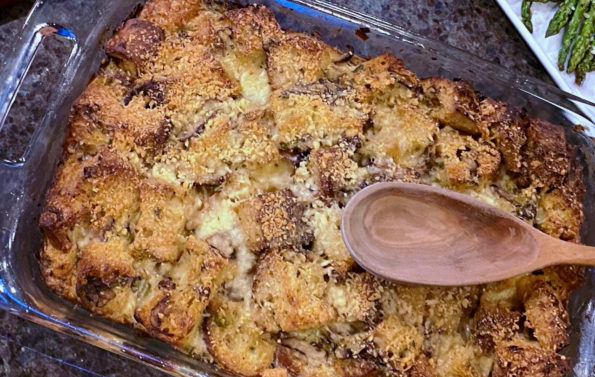
I love Thanksgiving. Unlike other holidays that seem focused on family, Thanksgiving is a free-for-all. We invite everyone we can think of, especially those that…
Yes, you are not seeing double, this is a different recipe for Ted Lasso’s biscuits! AND it’s a good one. I am a Johnny come…
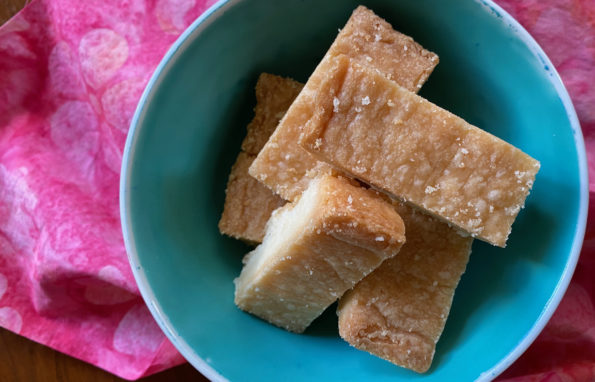
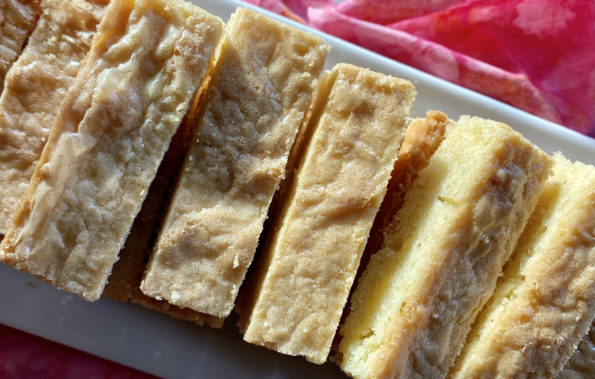
In the Queen’s Language, Cookies are Biscuits I LOVE Shortbread cookies and have quite a few recipes on 3jamigos that are shortbread-centric. I live by…