Category: Cookies

Bite Size Desserts

Lemon Cookie Very Pretty & The Cookie Is So Sweet (Blueberry-Lemon Shortbread)

Lemon Cookie Very Pretty & The Cookie Is So Sweet (Blueberry-Lemon Shortbread)

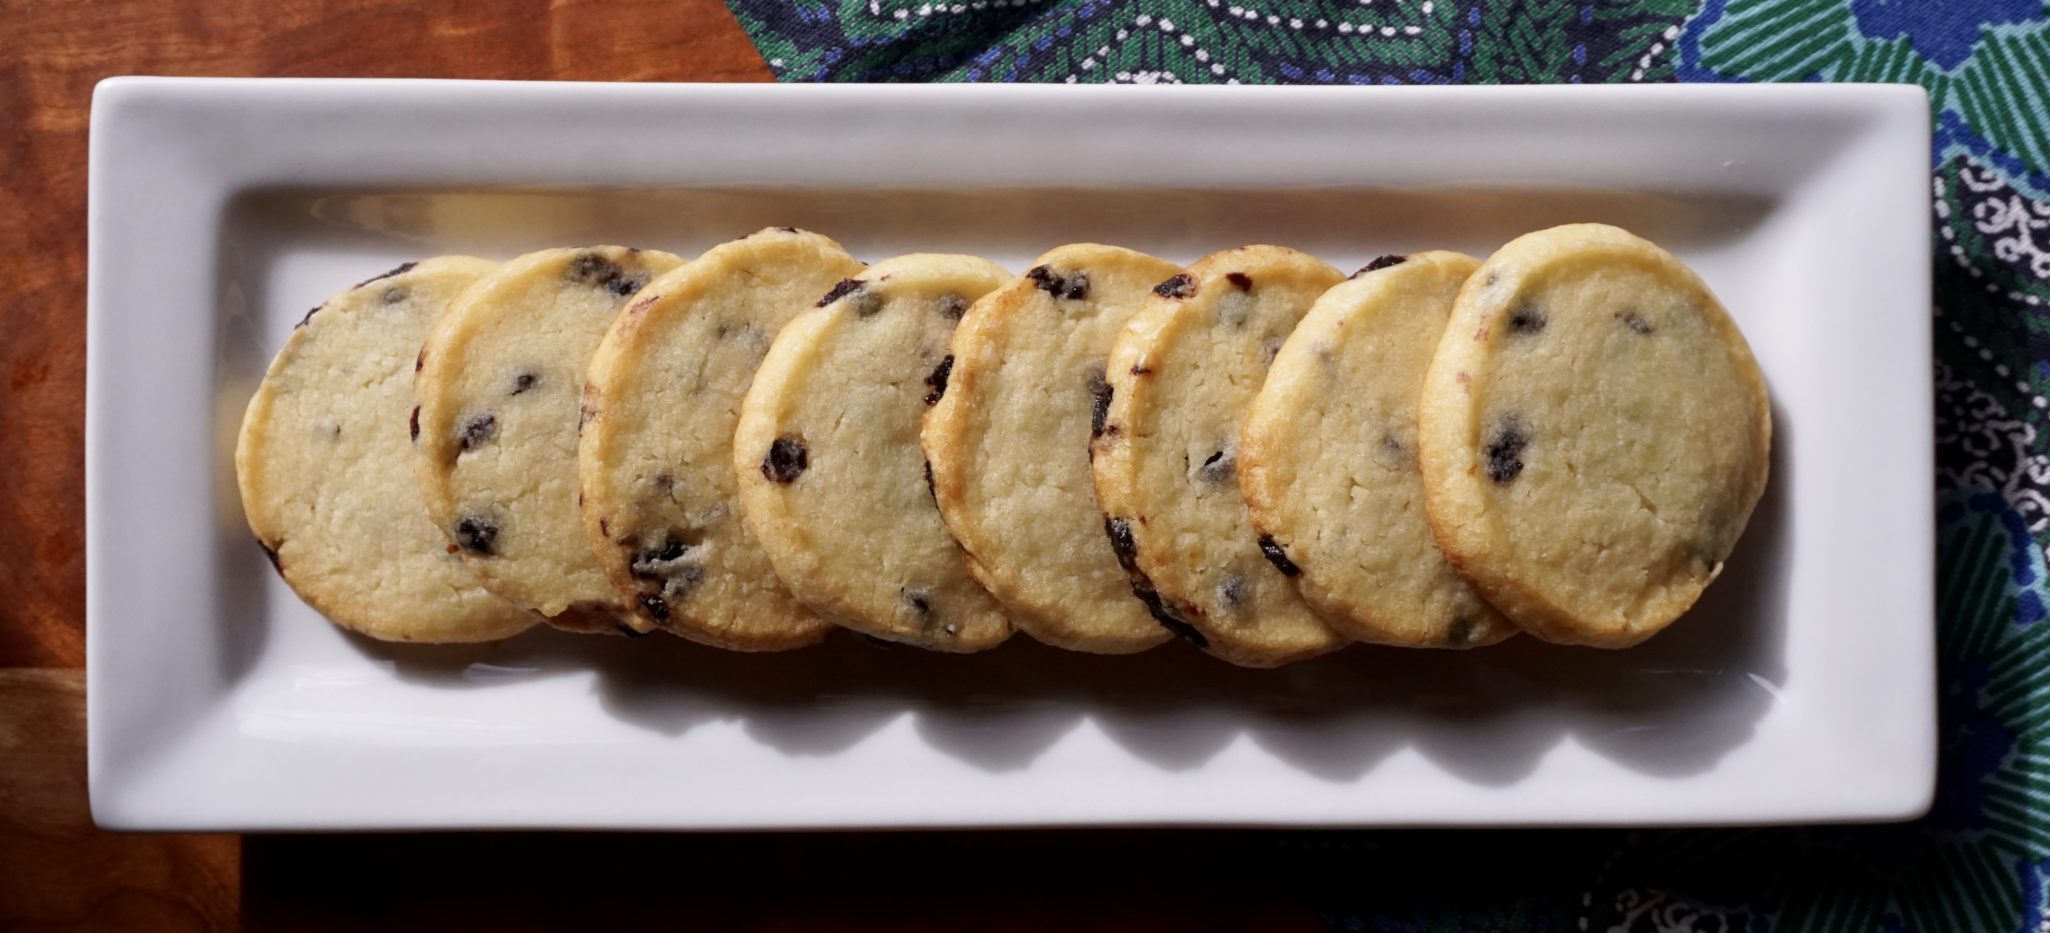
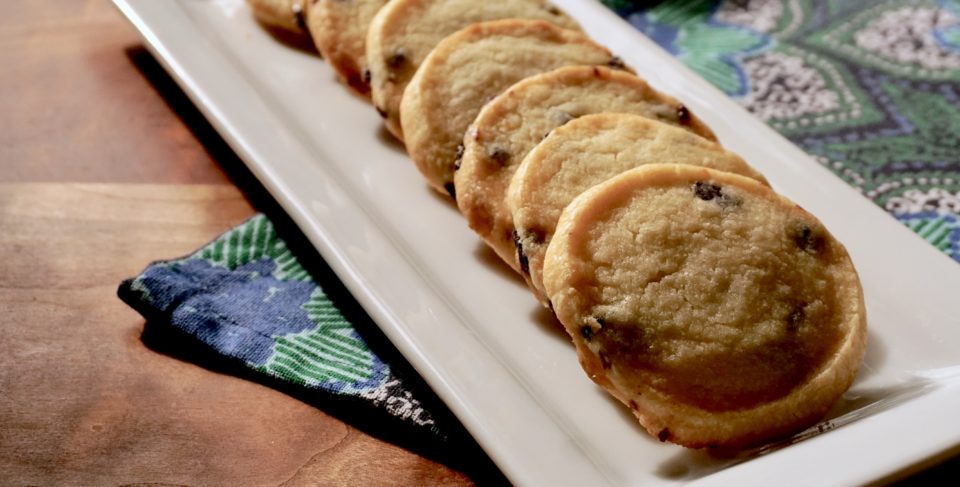
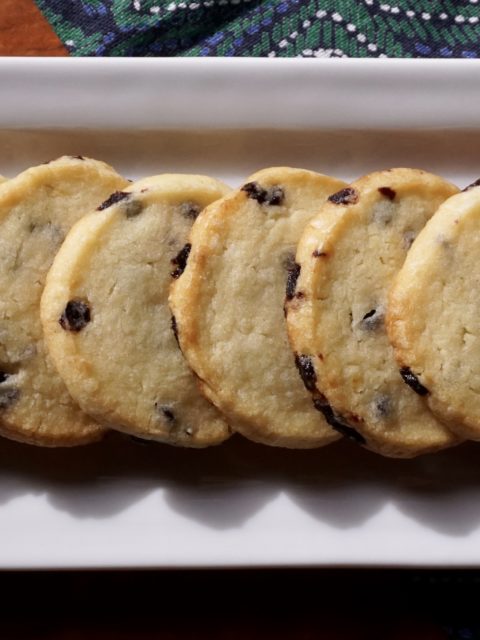
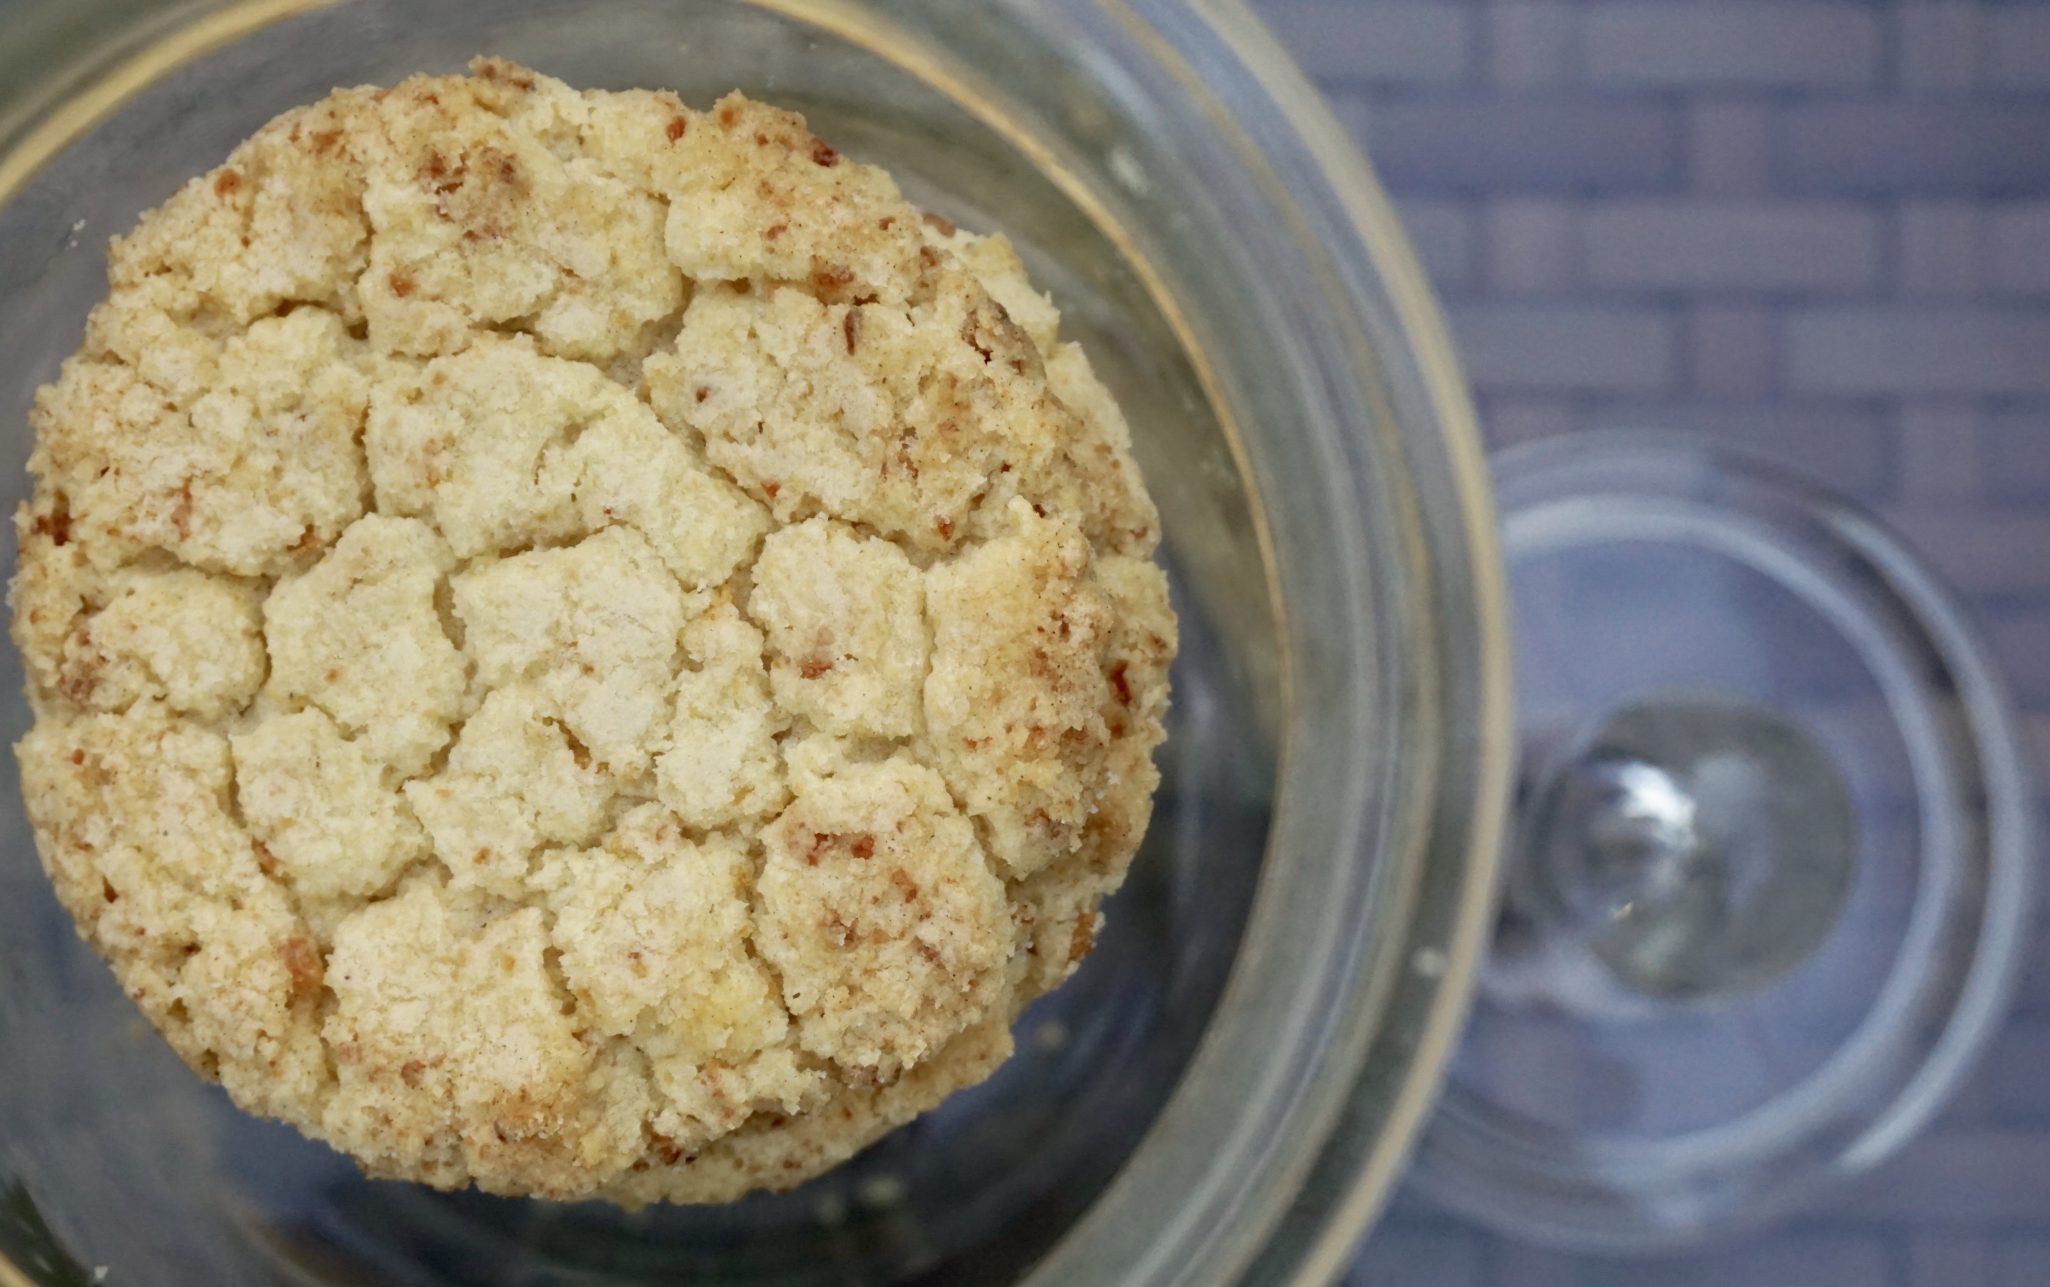
Blueberry-Lemon Shortbread from Miranda Couse’s  Easy Homemade Cookie Cookbook is a winner.  These cookies remind me of my favorite scones which have dried blueberries and lemon zest in them. As soon as I spied the recipe I knew I had to try it. The cookies are made with powdered sugar which helps to create a tender cookie. A combination of lemon juice and lemon zest give the cookies their tart, lemony flavor.  Want less pucker? Substitute Meyer lemon or a combination of lemon and orange juice in the cookie.  The use of dried blueberries in these delicious morsels intensifies the berry flavor and provides a foil to the lemon.  Trader Joe’s carries wild dried blueberries that work perfectly.
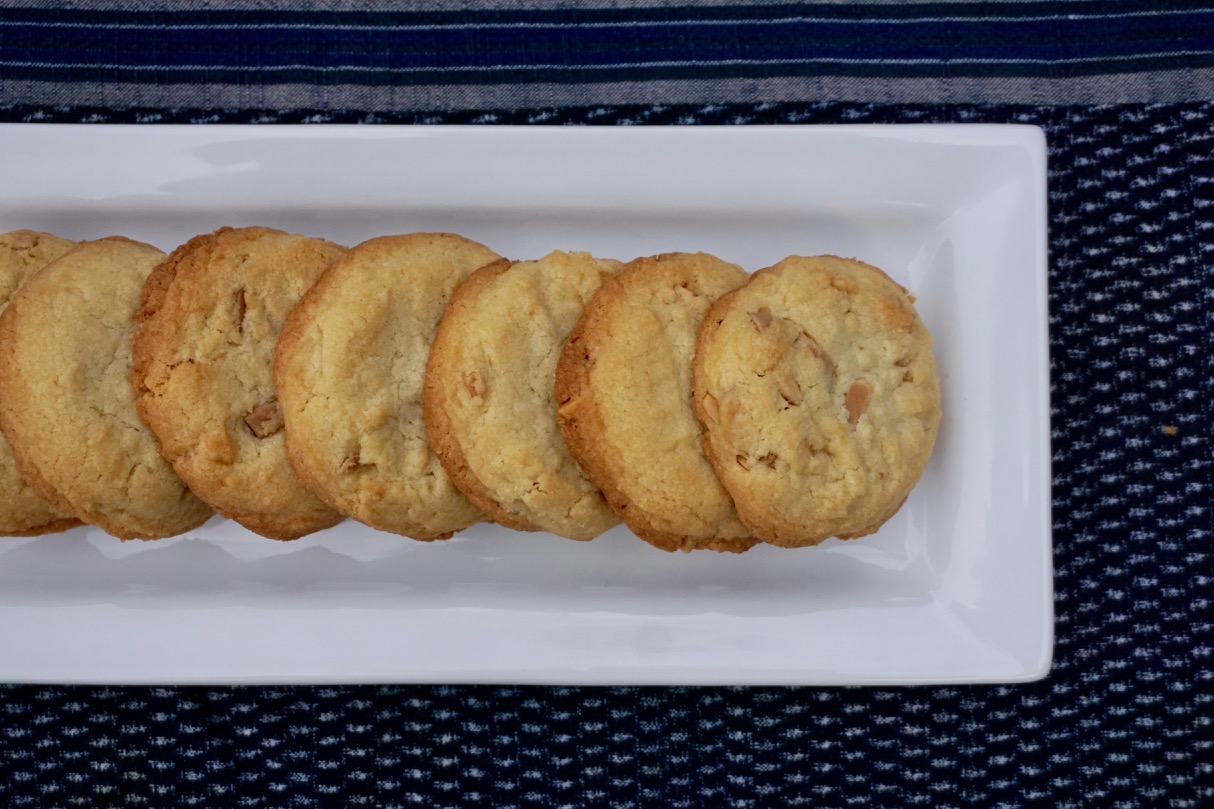
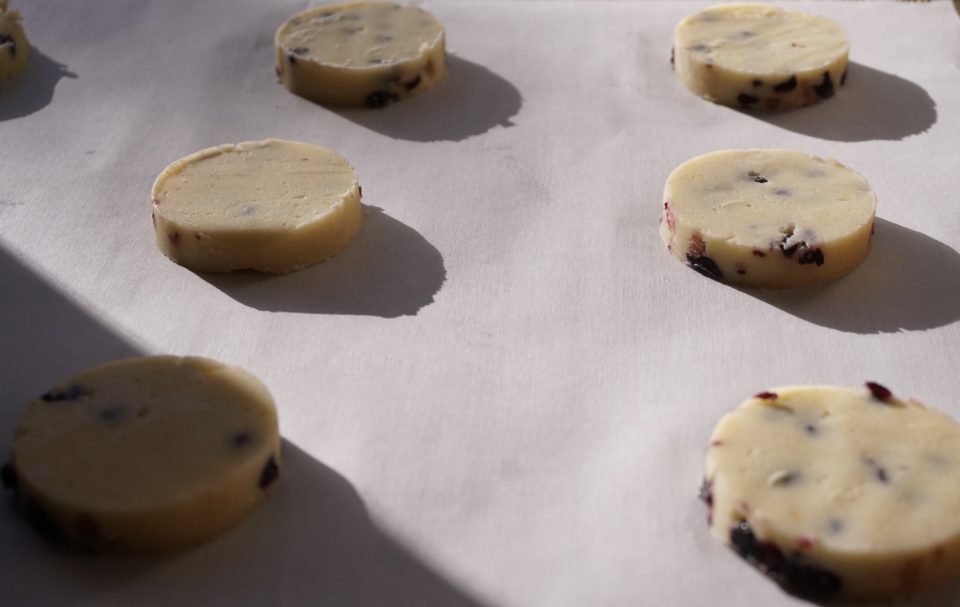
The dough is rolled out to approximately 3/8-1/2 inch thickness.  I’m sure the dough if chilled, would be firm enough to shape into a log for slice and bake cookies.  As I sat munching on one the thought occurred to me that dried cranberries and orange would also be delicious.  Can’t wait to make my next batch.  If you try a different flavor combination, let me know!

Lemon Blueberry Shortbread from Easy Homemade Cookie Cookbook

Delicious citrus-berry, buttery cookie!
Course cookies
Cuisine American
Keyword blueberry, cookies, lemon, Lemon blueberry shortbread, Shortbread

Ingredients

  • MAKES ABOUT 12 COOKIES
  • Prep: 15 minutes Chill: 30 minutes
  • Bake: 14 to 15 minutes
  • Shelf Life: 4 to 5 days
  • ½ cup 1 stick unsalted butter, at room temperature
  • 7 tablespoons confectioners’ sugar
  • 2 tablespoons granulated sugar
  • 2 teaspoons grated lemon zest
  • tablespoons freshly squeezed lemon juice
  • 1 cup all-purpose flour
  • ¼ teaspoon table salt
  • ¼ cup chopped dried blueberries Feel free to substitute other dried fruit, great combo would be orange and dried cranberries, use your imagination, like lime and strawberry

Instructions

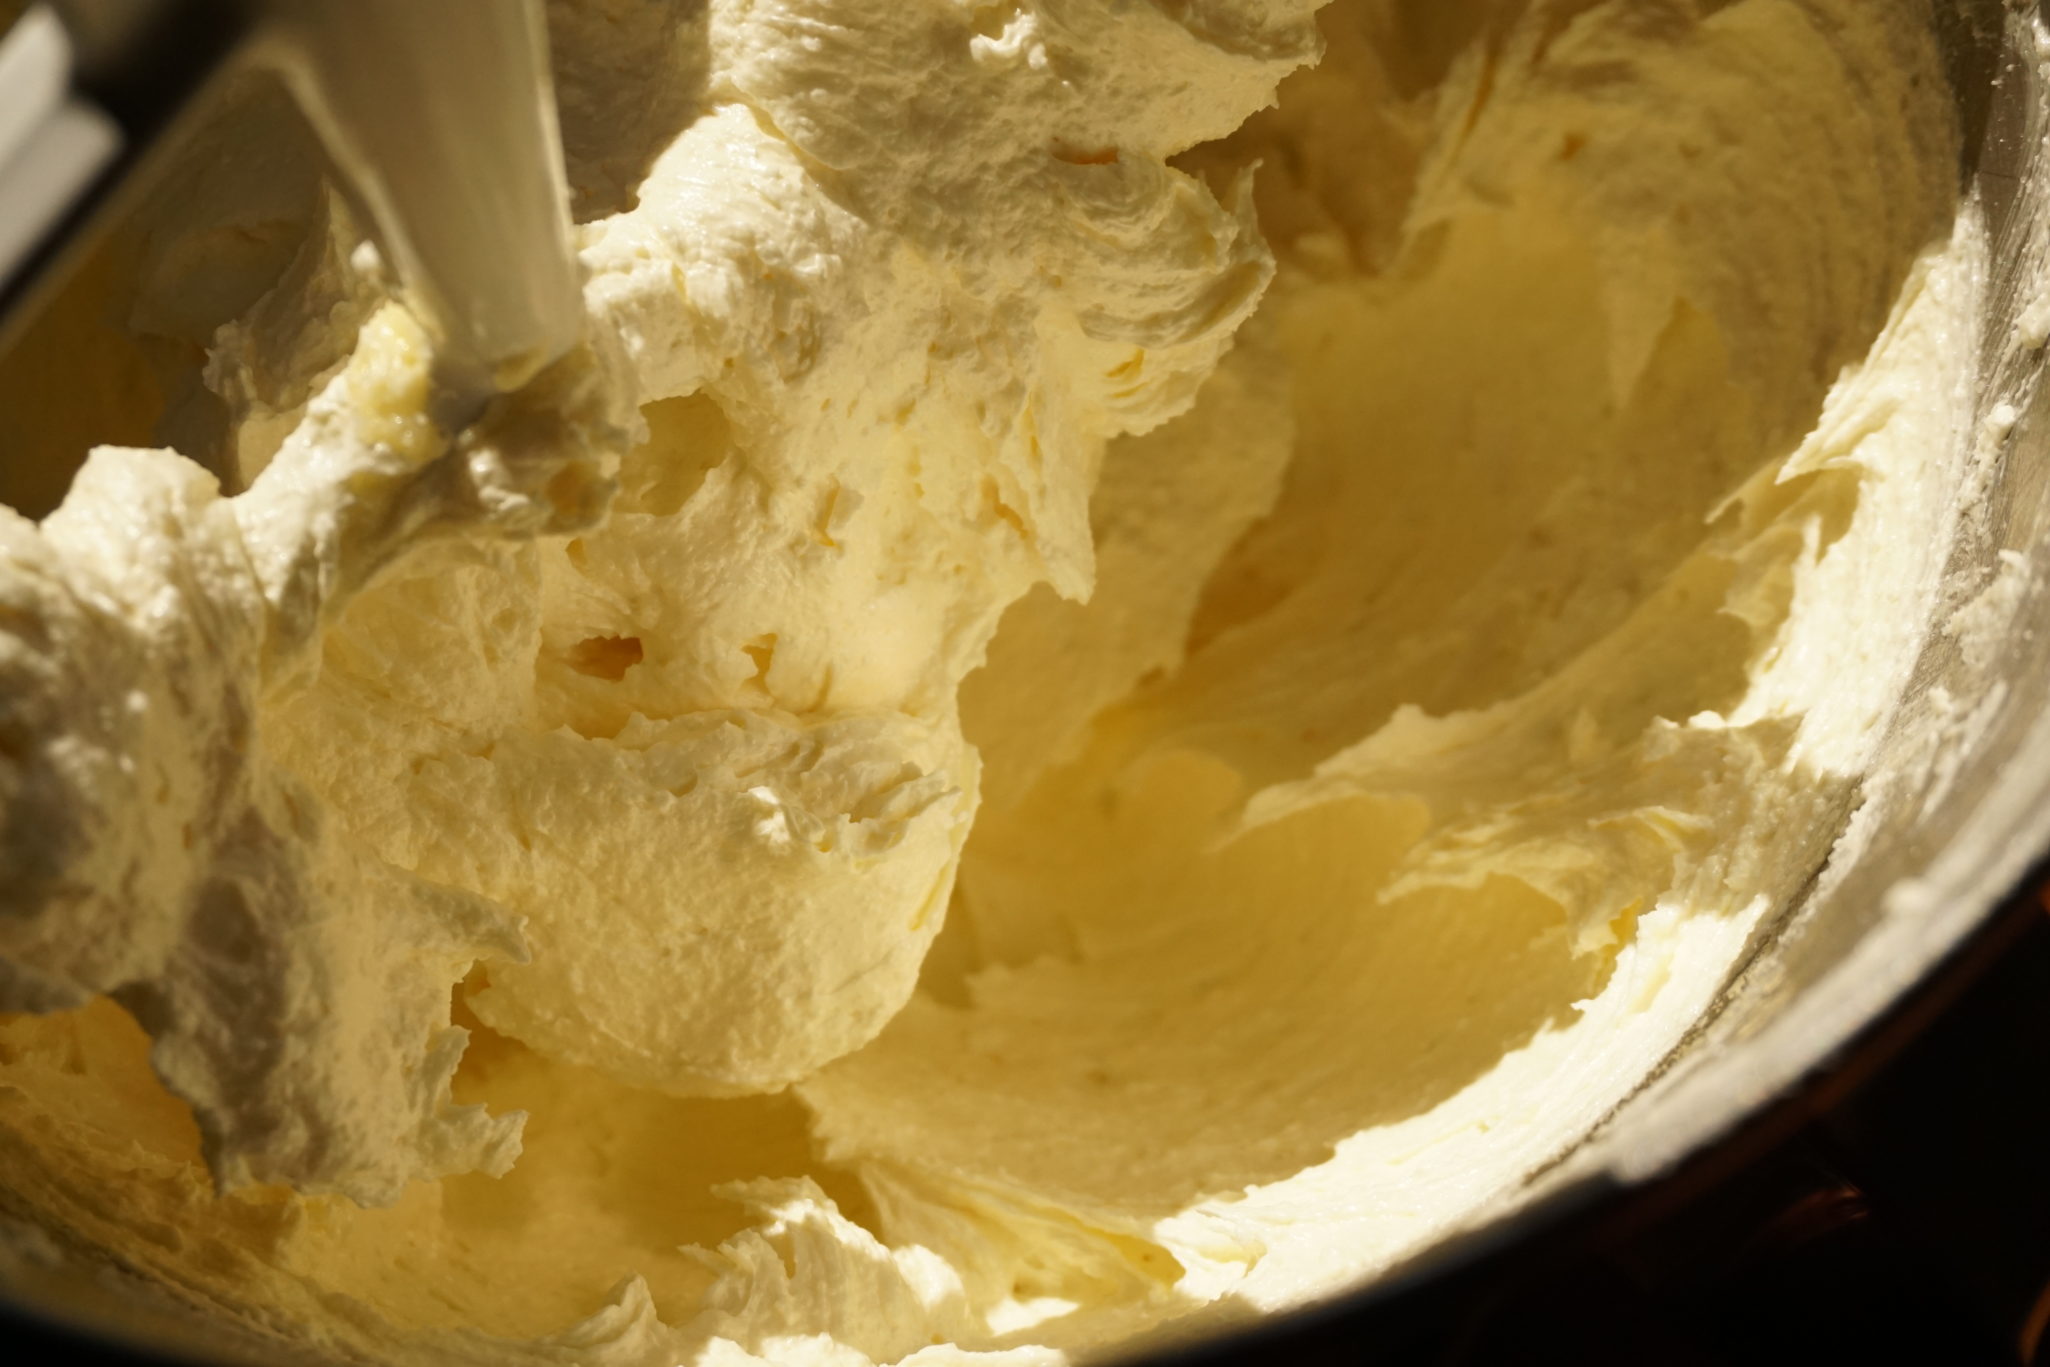
  • In a large mixing bowl, using an electric mixer on medium speed or a wooden spoon, beat together the butter and both sugars until light and creamy. This will take about 3 minutes if using an electric mixer or 5 to 6 minutes if creaming by hand. Add the lemon zest and lemon juice and beat to combine. Add the flour and salt, and beat on low speed or by hand until the dough comes together about 1 minute. Using a rubber spatula, fold in the blueberries until incorporated.
  • Place the dough between two sheets of wax paper or parchment paper. Using a rolling pin, roll out the dough to an even ½-inch thickness. Wrap the dough in the paper and refrigerate until firm, about 30 minutes.
  • Preheat the oven to 350ºF. Line a cookie sheet with parchment paper.
  • Using a 2-inch round cookie cutter, cut out the cookies and place them 2 inches apart on the prepared cookie sheet. Rechill if they seem soft.
  • Bake 14-15 minutes until edges are golden brown. Start checking at 12 minutes!
  • Let the cookies rest on the sheet for 5 minutes before transferring to a wire rack to finish cooling.
  • Like many shortbread, flavors will develop and the cookie will be even better the next day!
A Tale of Two Cookbooks (Coffee Cheesecake Swirled Brownies)

A Tale of Two Cookbooks (Coffee Cheesecake Swirled Brownies)

For those familiar with Food52 Piglet Tournament of Cookbooks, I received two cookbooks this past week that made me feel like one of the judges for the tourney.  In a nutshell, The Piglet is like March Madness, sixteen cookbooks go head to head, winner goes on, loser goes home. Judges are selected by Food52 staff and they are not just from the culinary world, but artists, writers, journalists (no pharmacists yet hint, hint) who read and cook from each book and pick their favorite.  Pairings are eclectic and at times exasperating (Robicelli’s Cupcakes vs.The Persian Table, go figure). But that’s what makes it interesting and so much fun.

Tribute to The Piglet

Which brings me back to the two cookbooks I received, Easy Homemade Cookie Cookbook and Kristen Kish Cooking.  One homey, approachable, familiar and the other dazzling, appealing, intimidating-polar opposites.

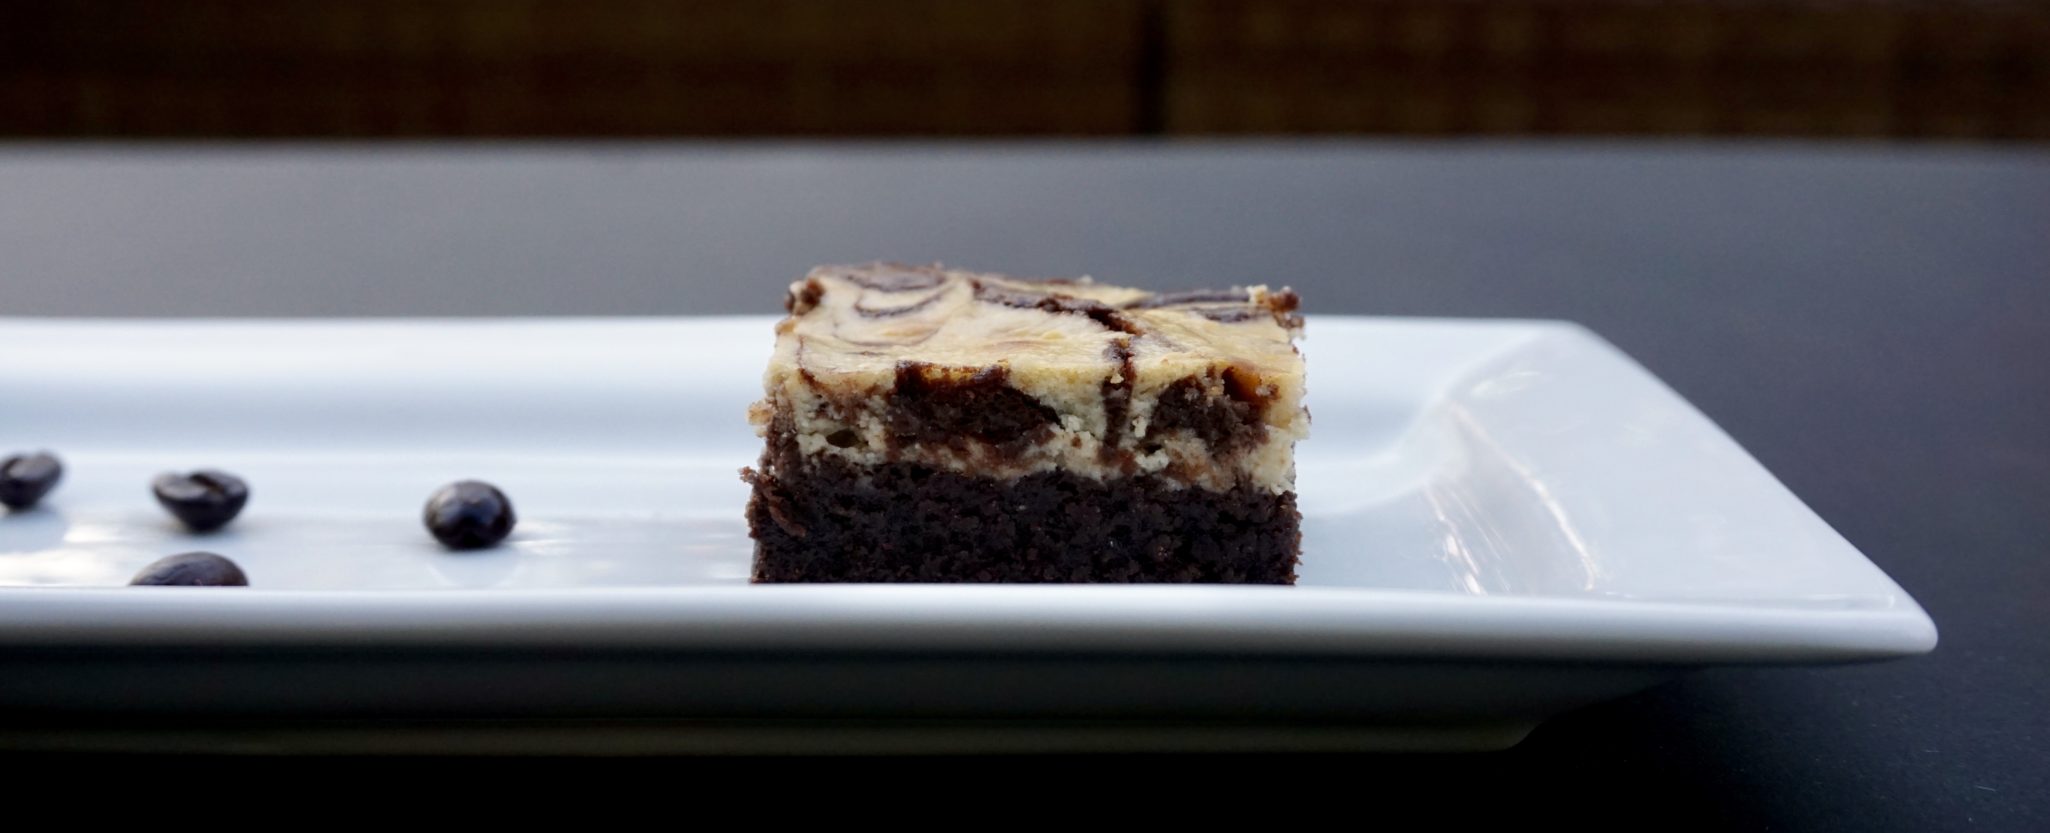
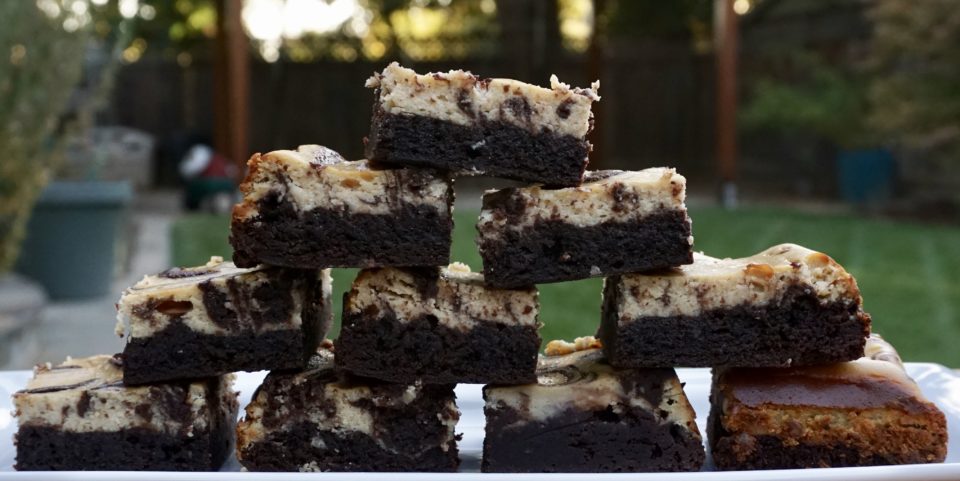
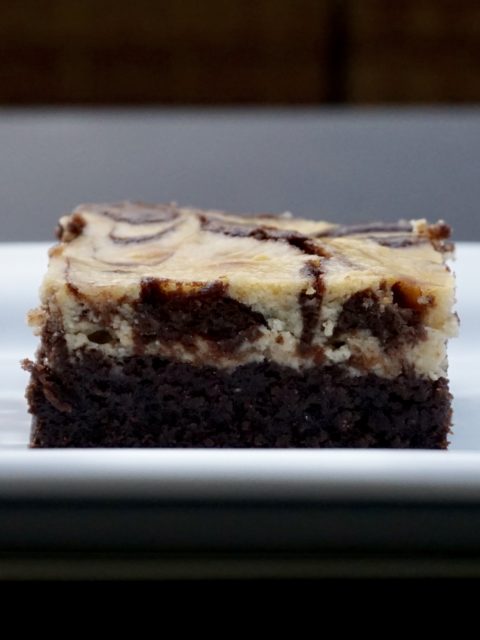
I’ll start with the familiar. Miranda Couse’s Easy Homemade Cookie Cookbook (not the catchiest title), is a compendium of standard and favorite cookie recipes.  I know, do I need another cookie book? Nope.  But this one does deserve a spot on my bookshelf and yours. The recipes are well organized, straightforward, and easy to follow.  Helpful tips and recipe tweaks are interspersed throughout the book and each recipe starts with a blurb on how many cookies it makes, baking temperature and time and their shelf life. There are photos but not for every recipe which would have been nice. The book is divided into types of cookies including drop cookies, bars and brownies, and sandwich cookies to name a few.  I have tried two recipes so far and both have passed the taste test.  The first cookie that caught my eye was a Blueberry-Lemon Shortbread which is so good, it deserves its own post.  The second recipe I tried, though brownies are not my thing, was the Coffee Cheesecake Swirled Brownies. Chocolatey and decadent, the cocoa brownie layer provided a dense, gooey base for the luscious coffee spiked cream cheese top.  I made new friends when I showed up to work with these bad boys.

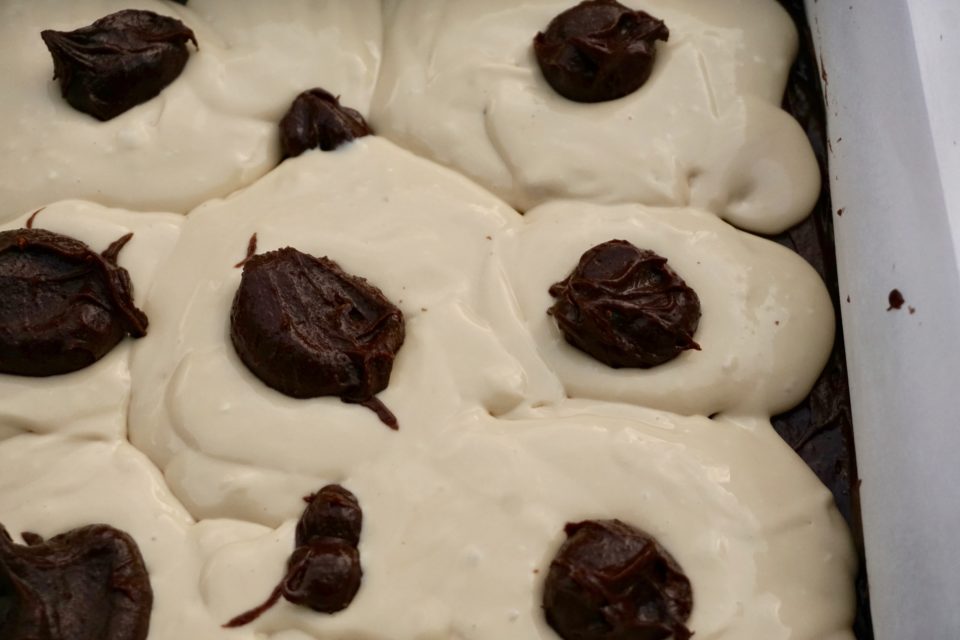
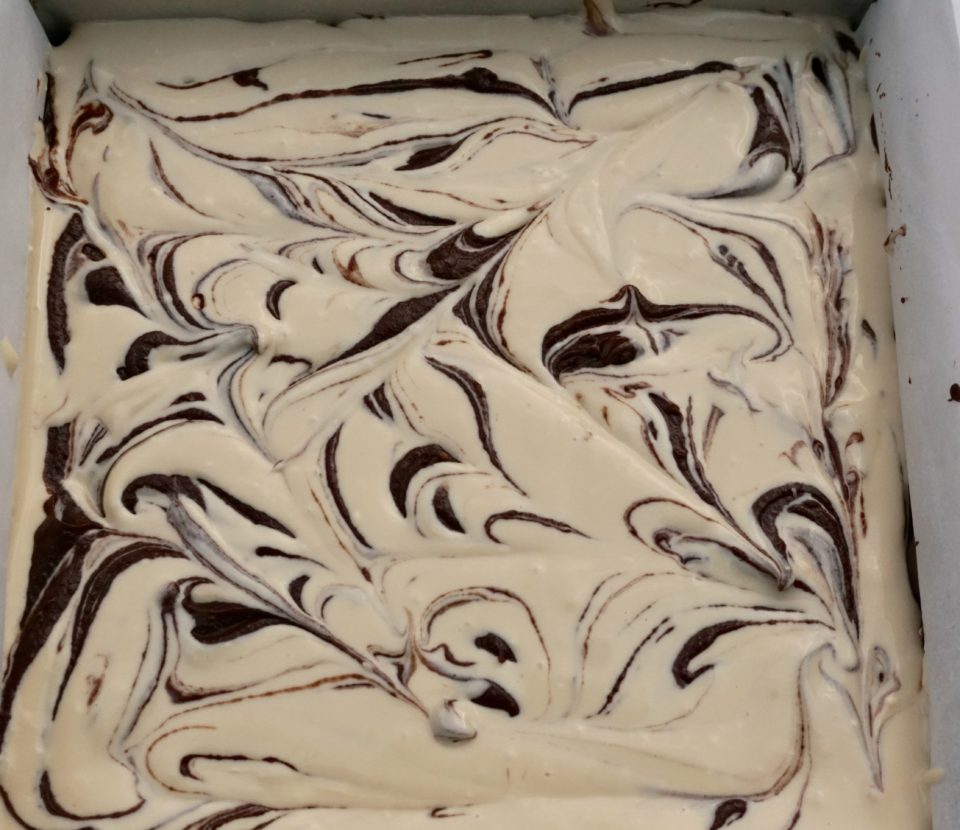
Pour dollop and swirl, the name of the game.

As I flipped through the book a thought kept running through my mind, Jamie would love this book and I plan to get her a copy of her own.

A nod to Kristen Kish’s cookbook which I will save for a weekend to read, drool over and tackle. Stay tuned.

Coffee Cheesecake Swirled Brownies

Ingredients

  • MAKES 9 BROWNIES
  • Prep: 25 minutes
  • Bake: About 35 minutes
  • Shelf Life: 4 to 5 days

For the Brownies:

  • ½ cup all-purpose flour
  • ½ cup unsweetened cocoa powder
  • ½ teaspoon table salt
  • ½ cup 1 stick unsalted butter, melted
  • cups granulated sugar
  • 2 large eggs
  • 1 teaspoon pure vanilla extract
  • ¼ teaspoon instant coffee granules

For the Cheesecake

  • 8 ounces cream cheese at room temperature
  • cup granulated sugar
  • 1 large egg
  • ½ teaspoon instant coffee granules.

Instructions

To make brownie:

  • 1.Preheat the oven to 350ºF. Line an 8-inch square baking pan with aluminum foil and spray it with cooking spray. (or use parchment paper)
  • 2.In a medium mixing bowl, sift or whisk together the flour, cocoa powder, and salt.
  • 3.In a large mixing bowl, using an electric mixer on medium speed or a wooden spoon, beat together the melted butter, sugar, eggs, vanilla, and coffee granules until thick and creamy. This will take about 2 minutes if using an electric mixer or 4 to 5 minutes if creaming by hand. Add the dry ingredients and beat on low speed or by hand until incorporated, about 30 seconds.
  • 4.Reserve about ¼ cup of the brownie batter for the top. Transfer the remaining brownie batter to the prepared pan and smooth it out into an even layer.

To make the cheesecake

  • 1.In a large mixing bowl, using an electric mixer on medium speed or a wooden spoon, beat together the cream cheese and sugar until light and creamy. This will take about 1 minute if using an electric mixer or 2 to 3 minutes if creaming by hand. Add the egg and instant coffee, and beat to incorporate.
  • 2.Using a spoon, dollop the cheesecake batter on top of the brownie mix. Add a dollop of the reserved ¼ cup of the brownie batter in the center of each cheesecake dollop. Using a skewer or butter knife, swirl the batters together.
  • 3.Bake for about 35 minutes, until the top is set.
  • 4.Let the brownies cool to room temperature and then refrigerate for 1 to 2 hours to set.
  • To serve, cut into 9 bars. Serve the bars chilled or let them come to room temperature before serving.
  • Add more chocolate to create a rich, dense brownie. Do so by melting 4 ounces of semisweet baking chocolate with the butter or add 1/2 cup mini semi-sweet chocolate chips to batter.


Corn Cookies If You Bake It, They Will Come (Momofuku)

Corn Cookies If You Bake It, They Will Come (Momofuku)

Tried and True

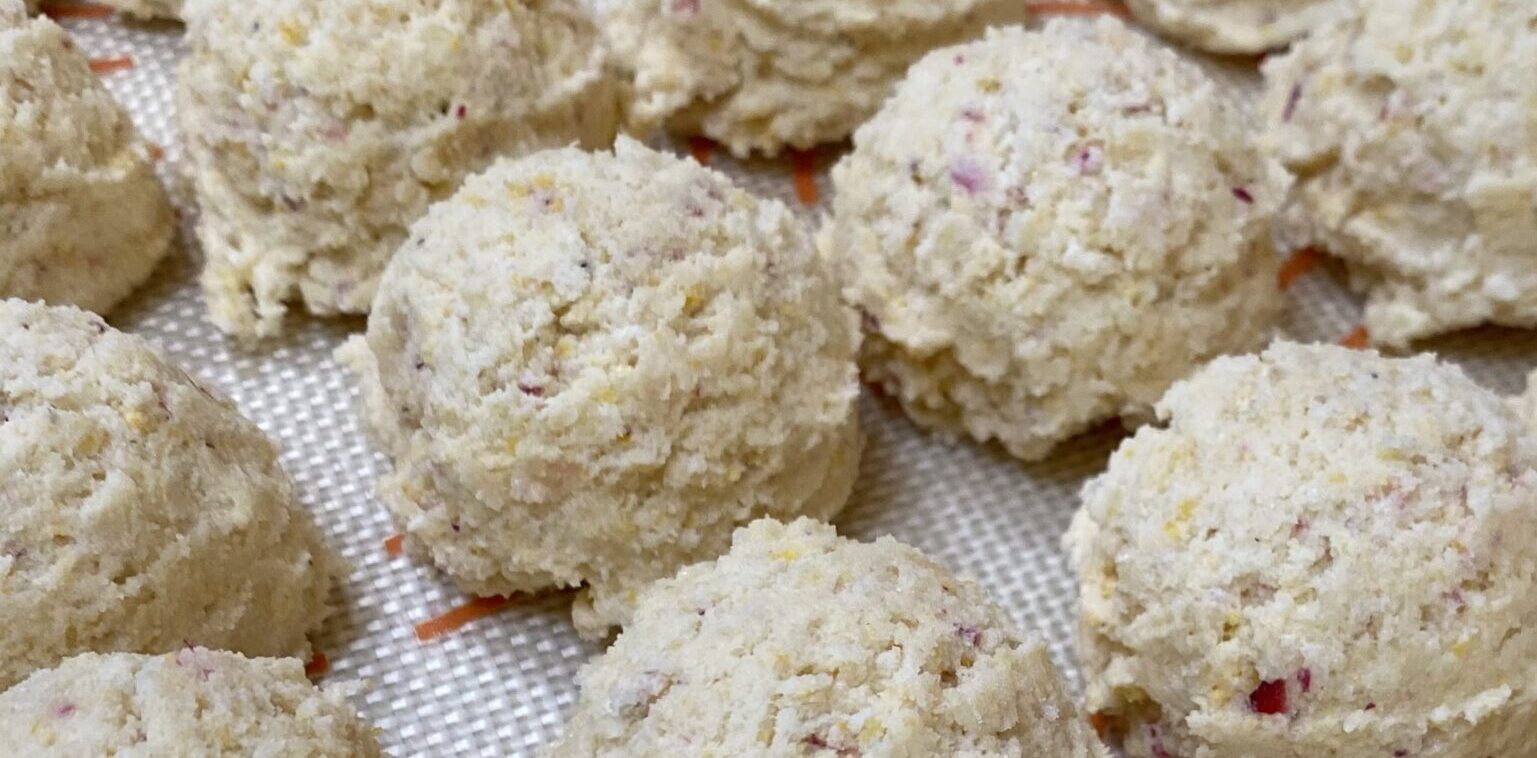
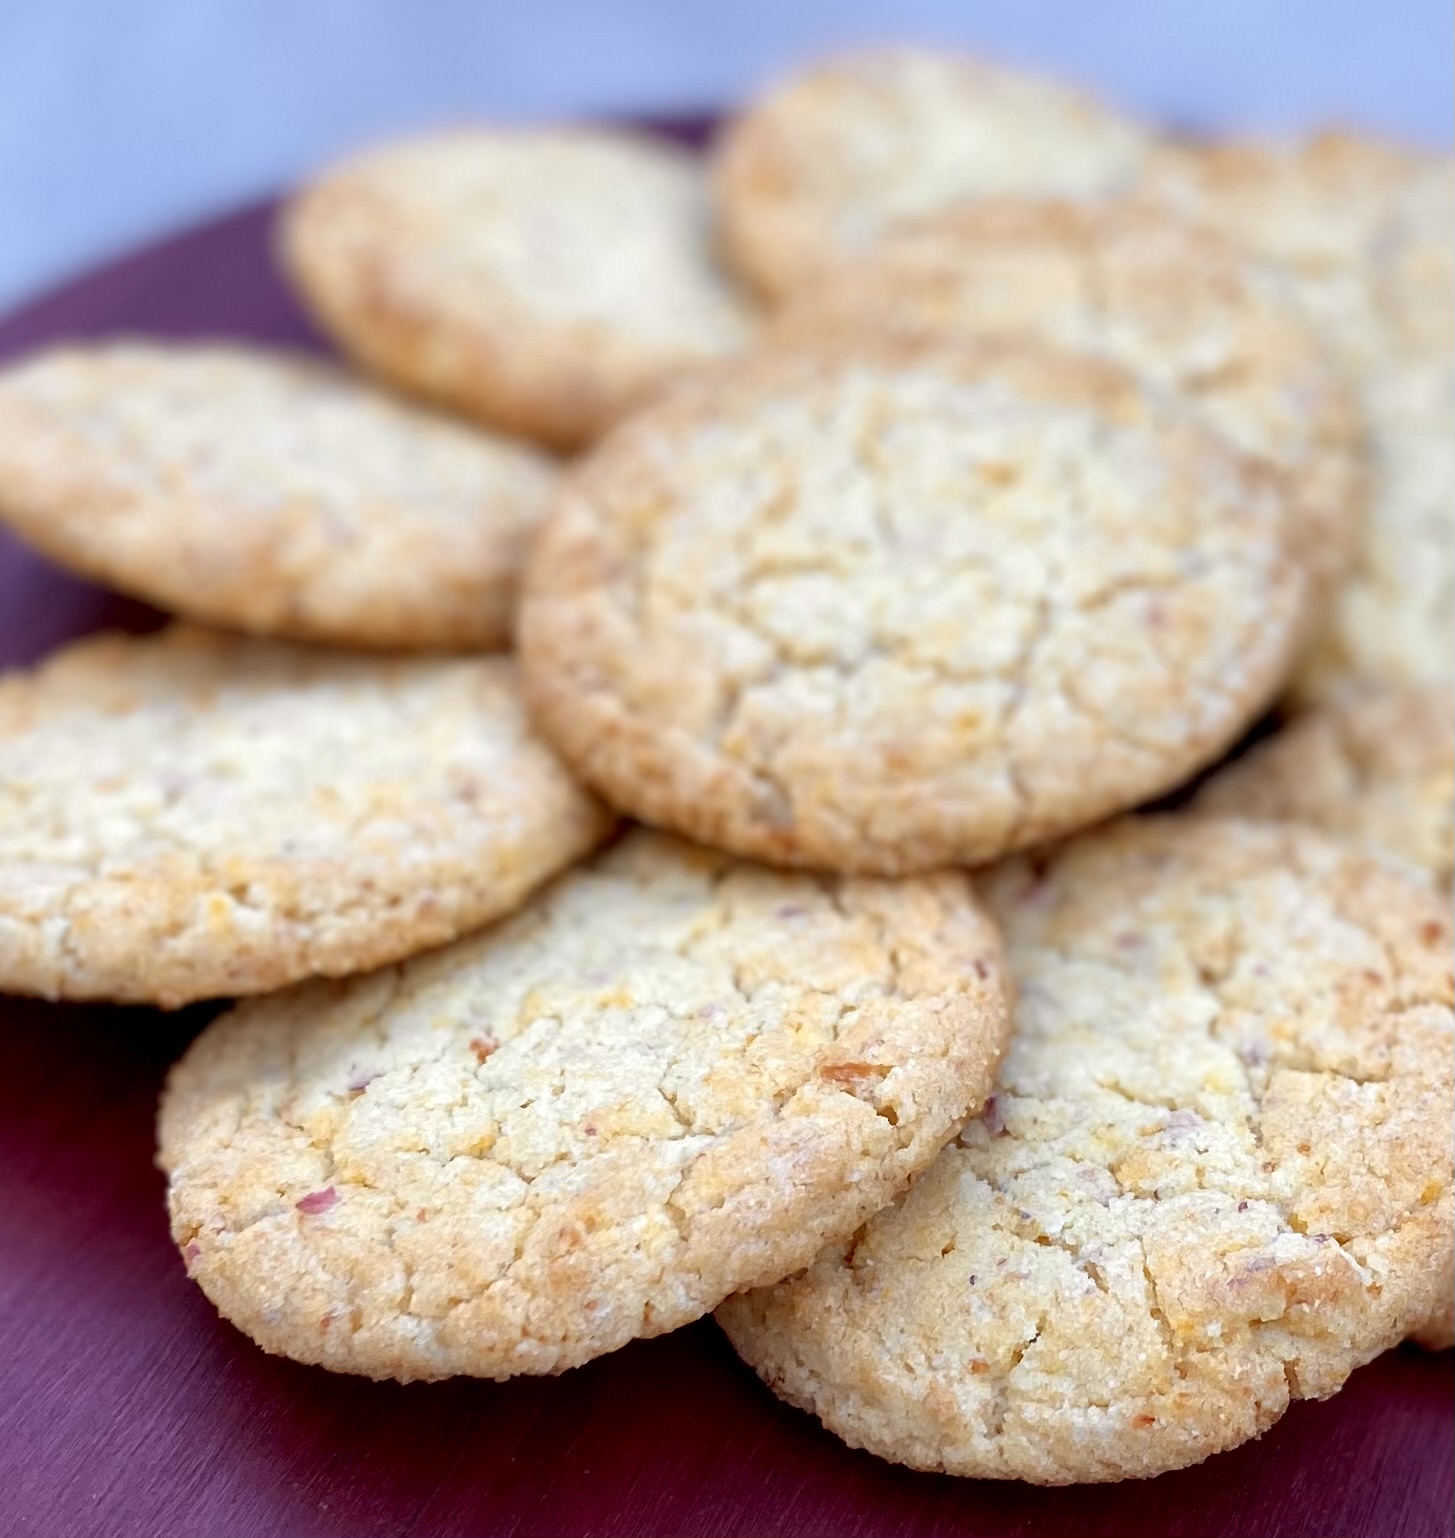
Two cookies have shown up in photos in previous posts that have never been given their just due, Christina Tosi’s Corn Cookies and Brown Butter Salted Rice Krispy Treats from Smitten Kitchen. After trying a couple of new cookie recipes that were not up to snuff, I decided to make one of these tried and true recipes to help get my cookie mojo back. The hubster lobbied for Corn Cookies so I pulled the cornflour and freeze-dried corn kernels out of the pantry, the combo that gives these cookies their one-two corn punch, and got busy.

Summer Sunshine in a Cookie

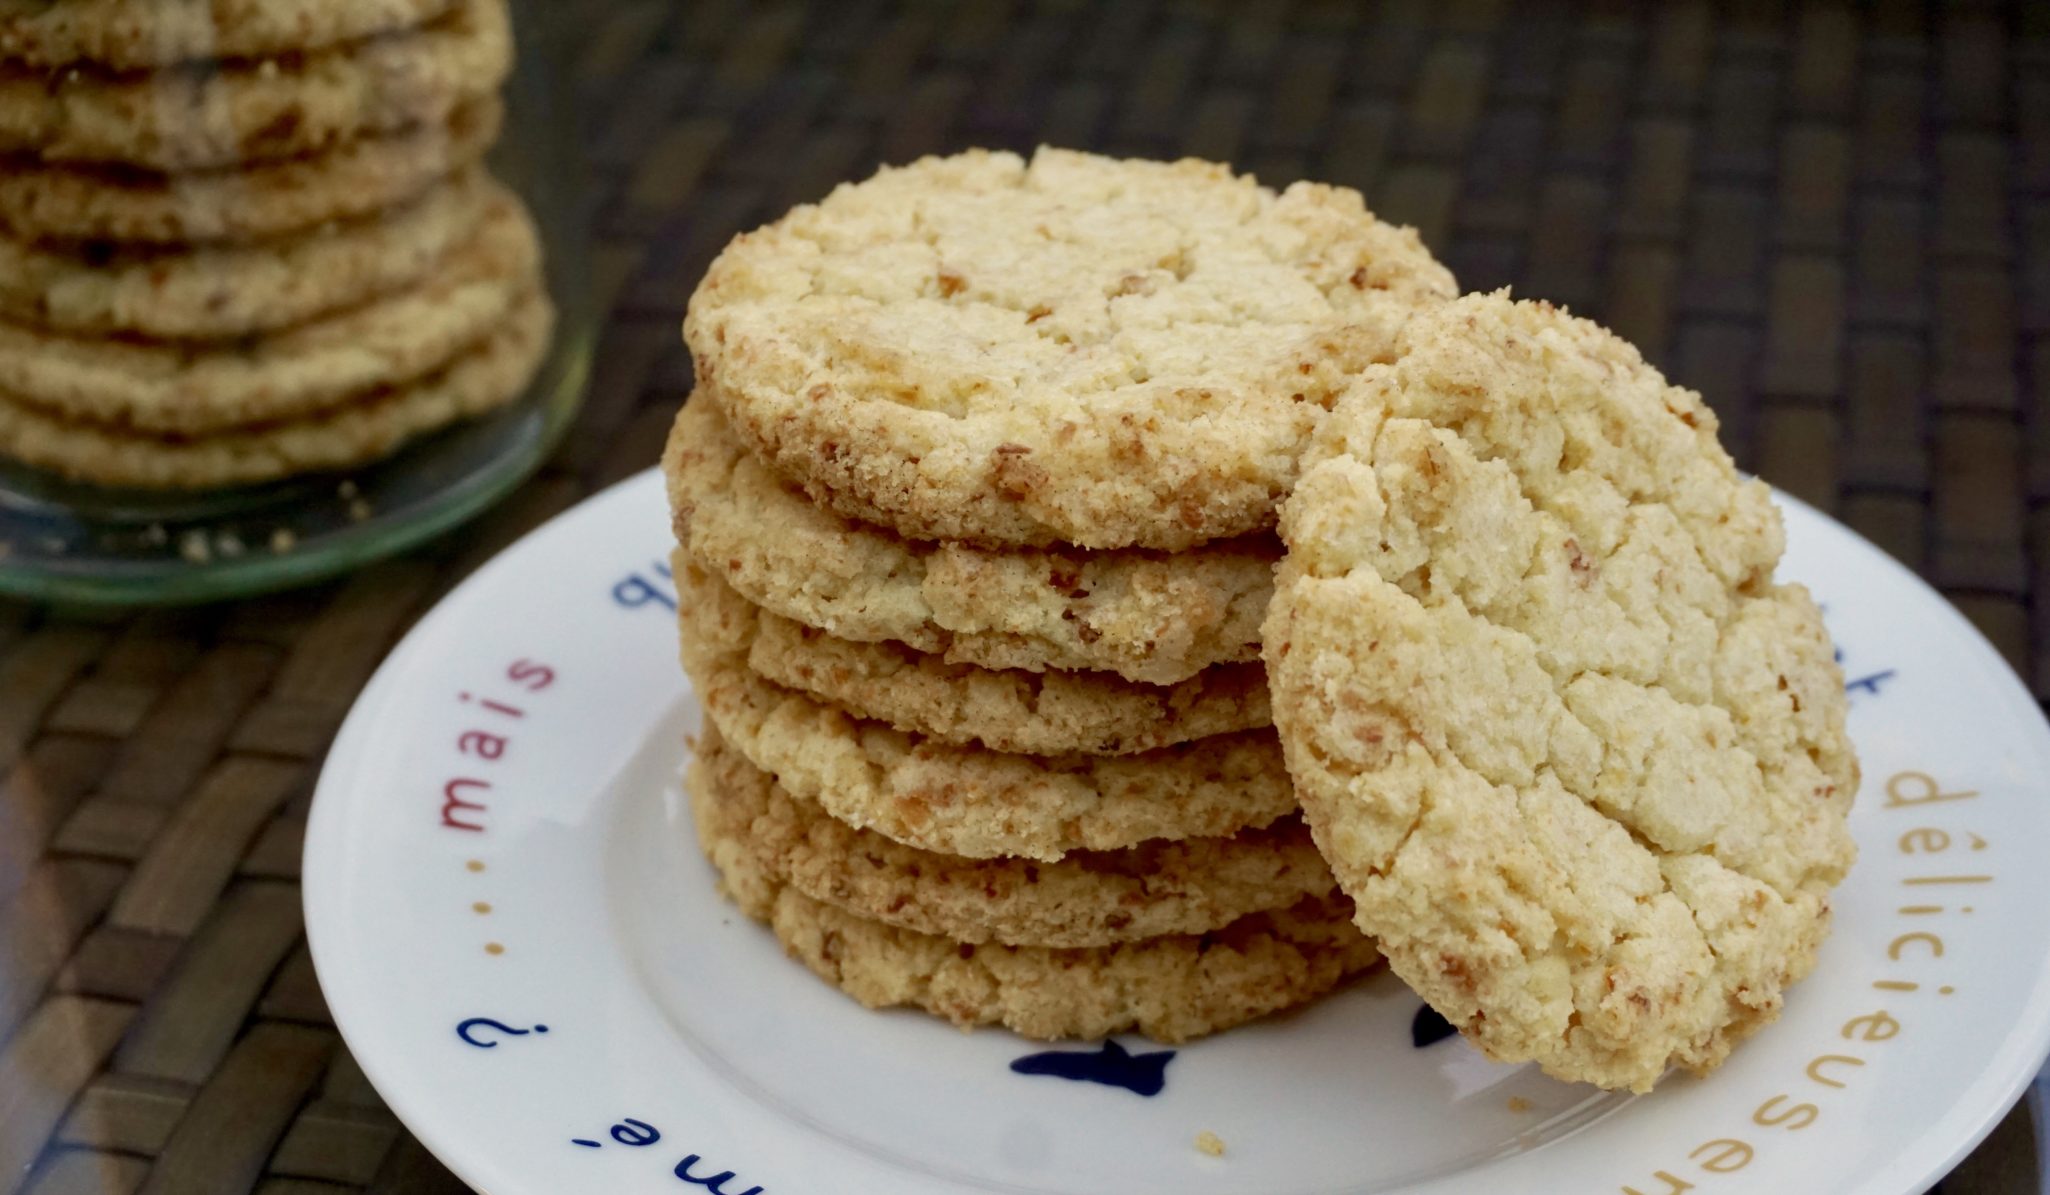
I adore these cookies. Each bite tastes like buttery, sweet-salty corn on the cob.  I imagine myself baking a batch of these at the end of every summer to soften the blow of NO MORE fresh corn at my local farmer’s market.

These cookies require beating the butter, sugar, and eggs for 7-8 minutes. Don’t skimp!
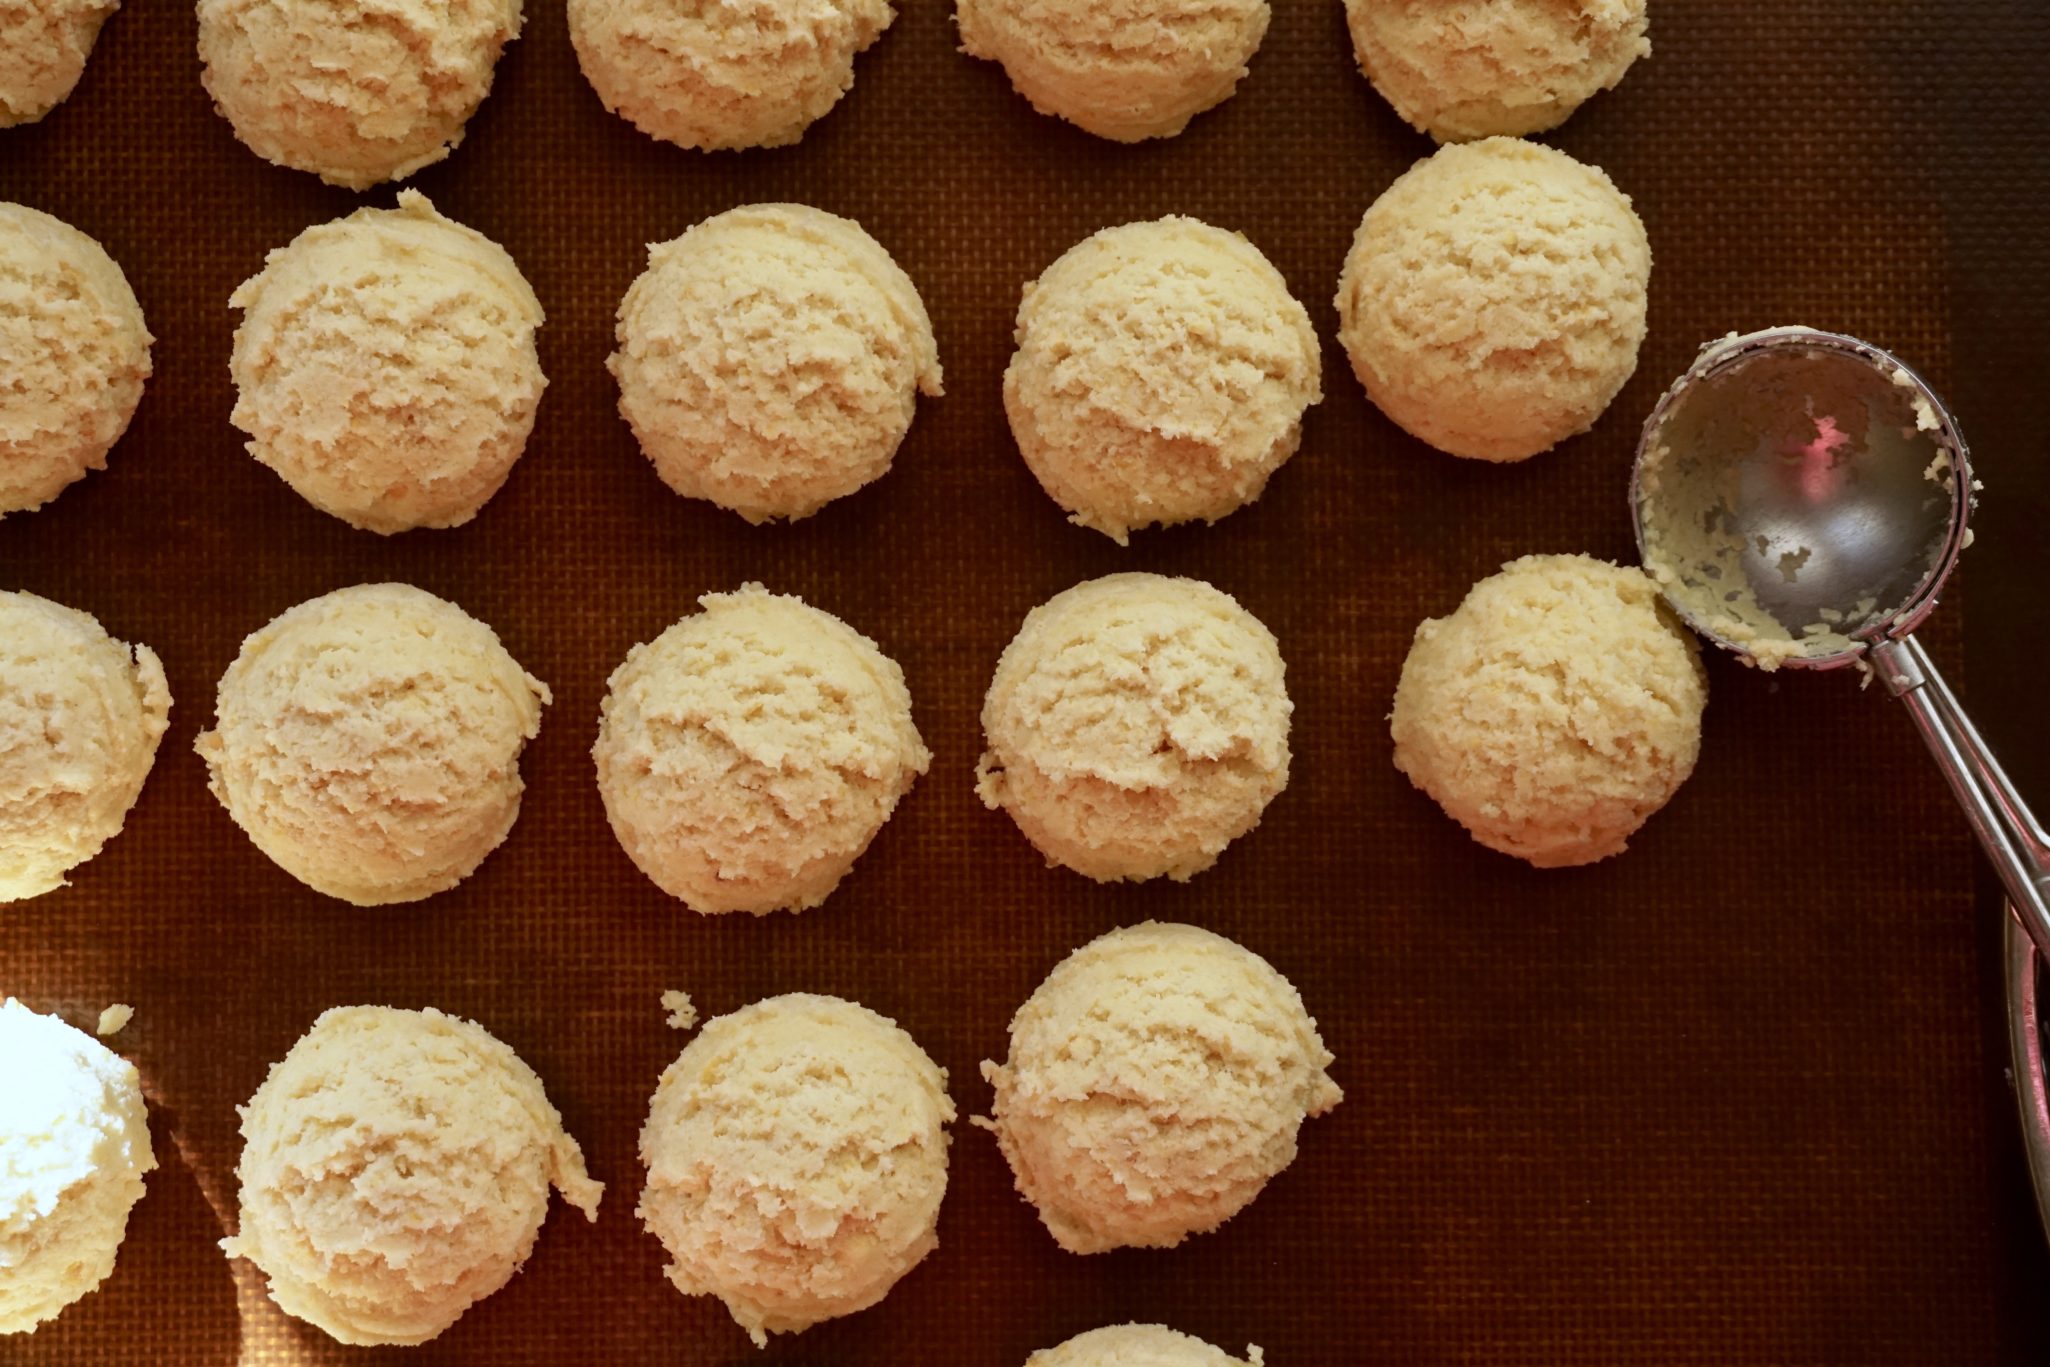
I used a 1/4 cup ice cream scoop to measure out the dough. This gives you uniform cookies.
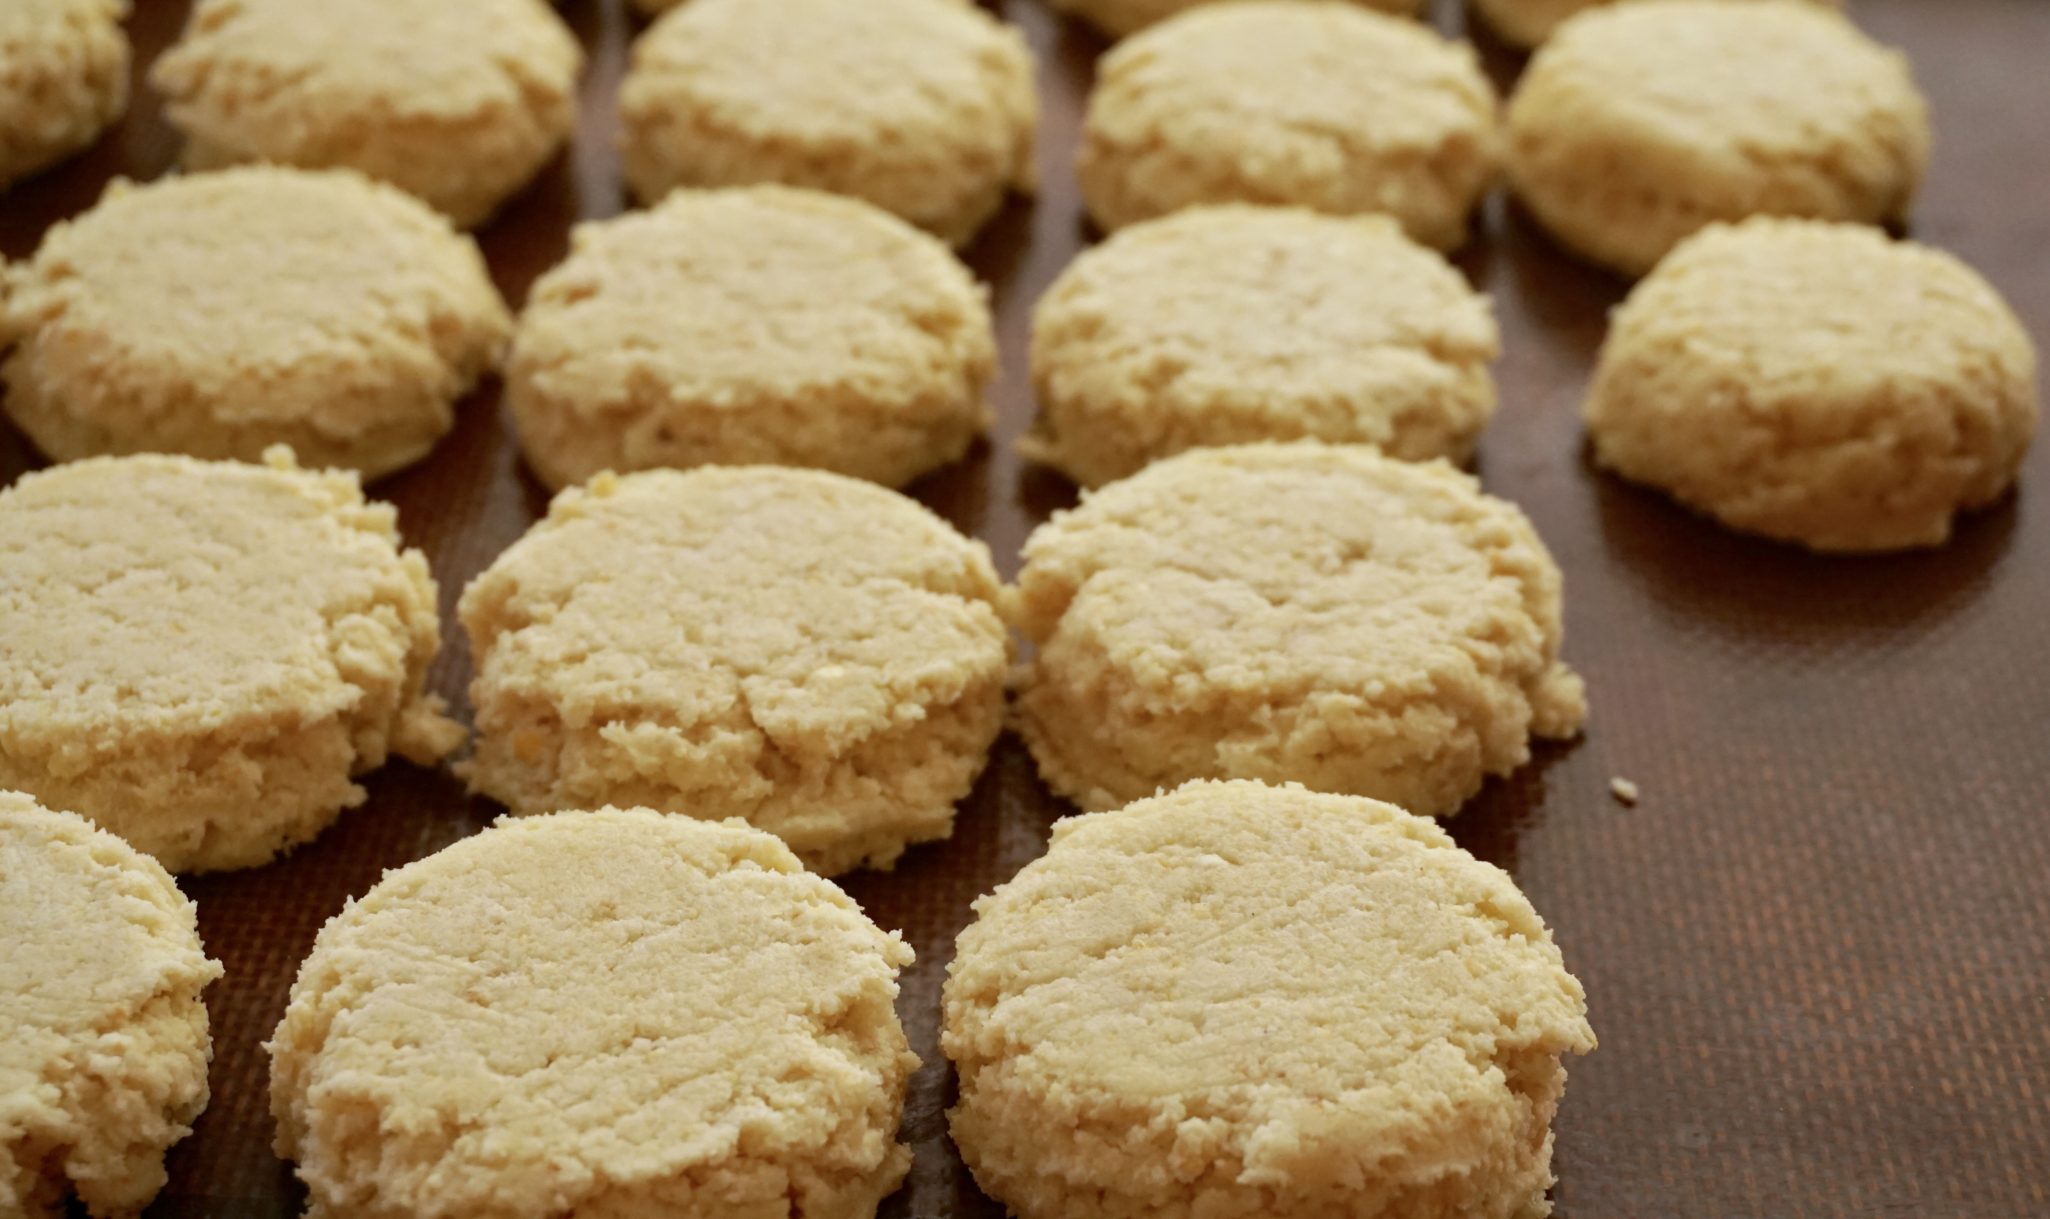
Lightly press cookie dough to approximately 1/3-1/2 inch thickness and refrigerate for at least 3 hours.

Yep, I love these cookies. So good and yet people seem to gravitate toward that plate of chocolate chip cookies.  These corn cookies are deceptively unassuming and often get passed up for cookies with bling (chips, candy bar pieces, the kitchen sink).  Sometimes I don’t say anything so I can take the cookies home for myself.  Most of the time I say “Try it, you’ll like it!”, and invariably I end up going home with an empty platter.

Corn-y Tips

The original recipe calls for bread flour but all-purpose flour can be used.  My theory is all-purpose flour causes the cookie to spread a little more and flatten out.  Bread flour has more protein giving the cookie more structure.  Corn Flour (Bob’s Red Mill) as well as the freeze-dried corn (Just Tomatoes), can be found at Whole Foods and online at Amazon. Grind the freeze-dried corn in a food processor or crush it with a rolling pin.  I make my cookies smaller using a scant 1/4 cup scoop which shortens the baking time to 10-12 minutes.  These cookies are like that ray of sunshine that warms your face and makes you smile.  Put them on your cookie bucket list! 🍪🍪🍪🍪/☀️☀️☀️☀️

Fabulous Ferry Building- I Left my Tastebuds in San Francisco

On a weekly Farmer’s Market foray, I headed to the City (yes, San Francisco) to the Farmer’s Market at the Ferry Building.  A typical visit to the Ferry Building includes:

  • Momos (Nepalese dumplings) from Bini’s Kitchen
  • Coffee from Red Bay and enjoying the fantastic view
  • A quick peruse of books at Book Passage, a small but mighty outpost of this Indie book store.  They know their books!
  • Empanadas from El Porteno Get ready to wait in line.
  • Cookies from Batter Bakery Their Sand Angel Cookie is glorious. So sad they don’t have their store on Polk now 😢
  • Getting whatever produce is in season, any gorgeous fruits and vegetables!
  • Miso & Shio Koji from Aedan which now has a grocery store with her delicious bentos in the Mission

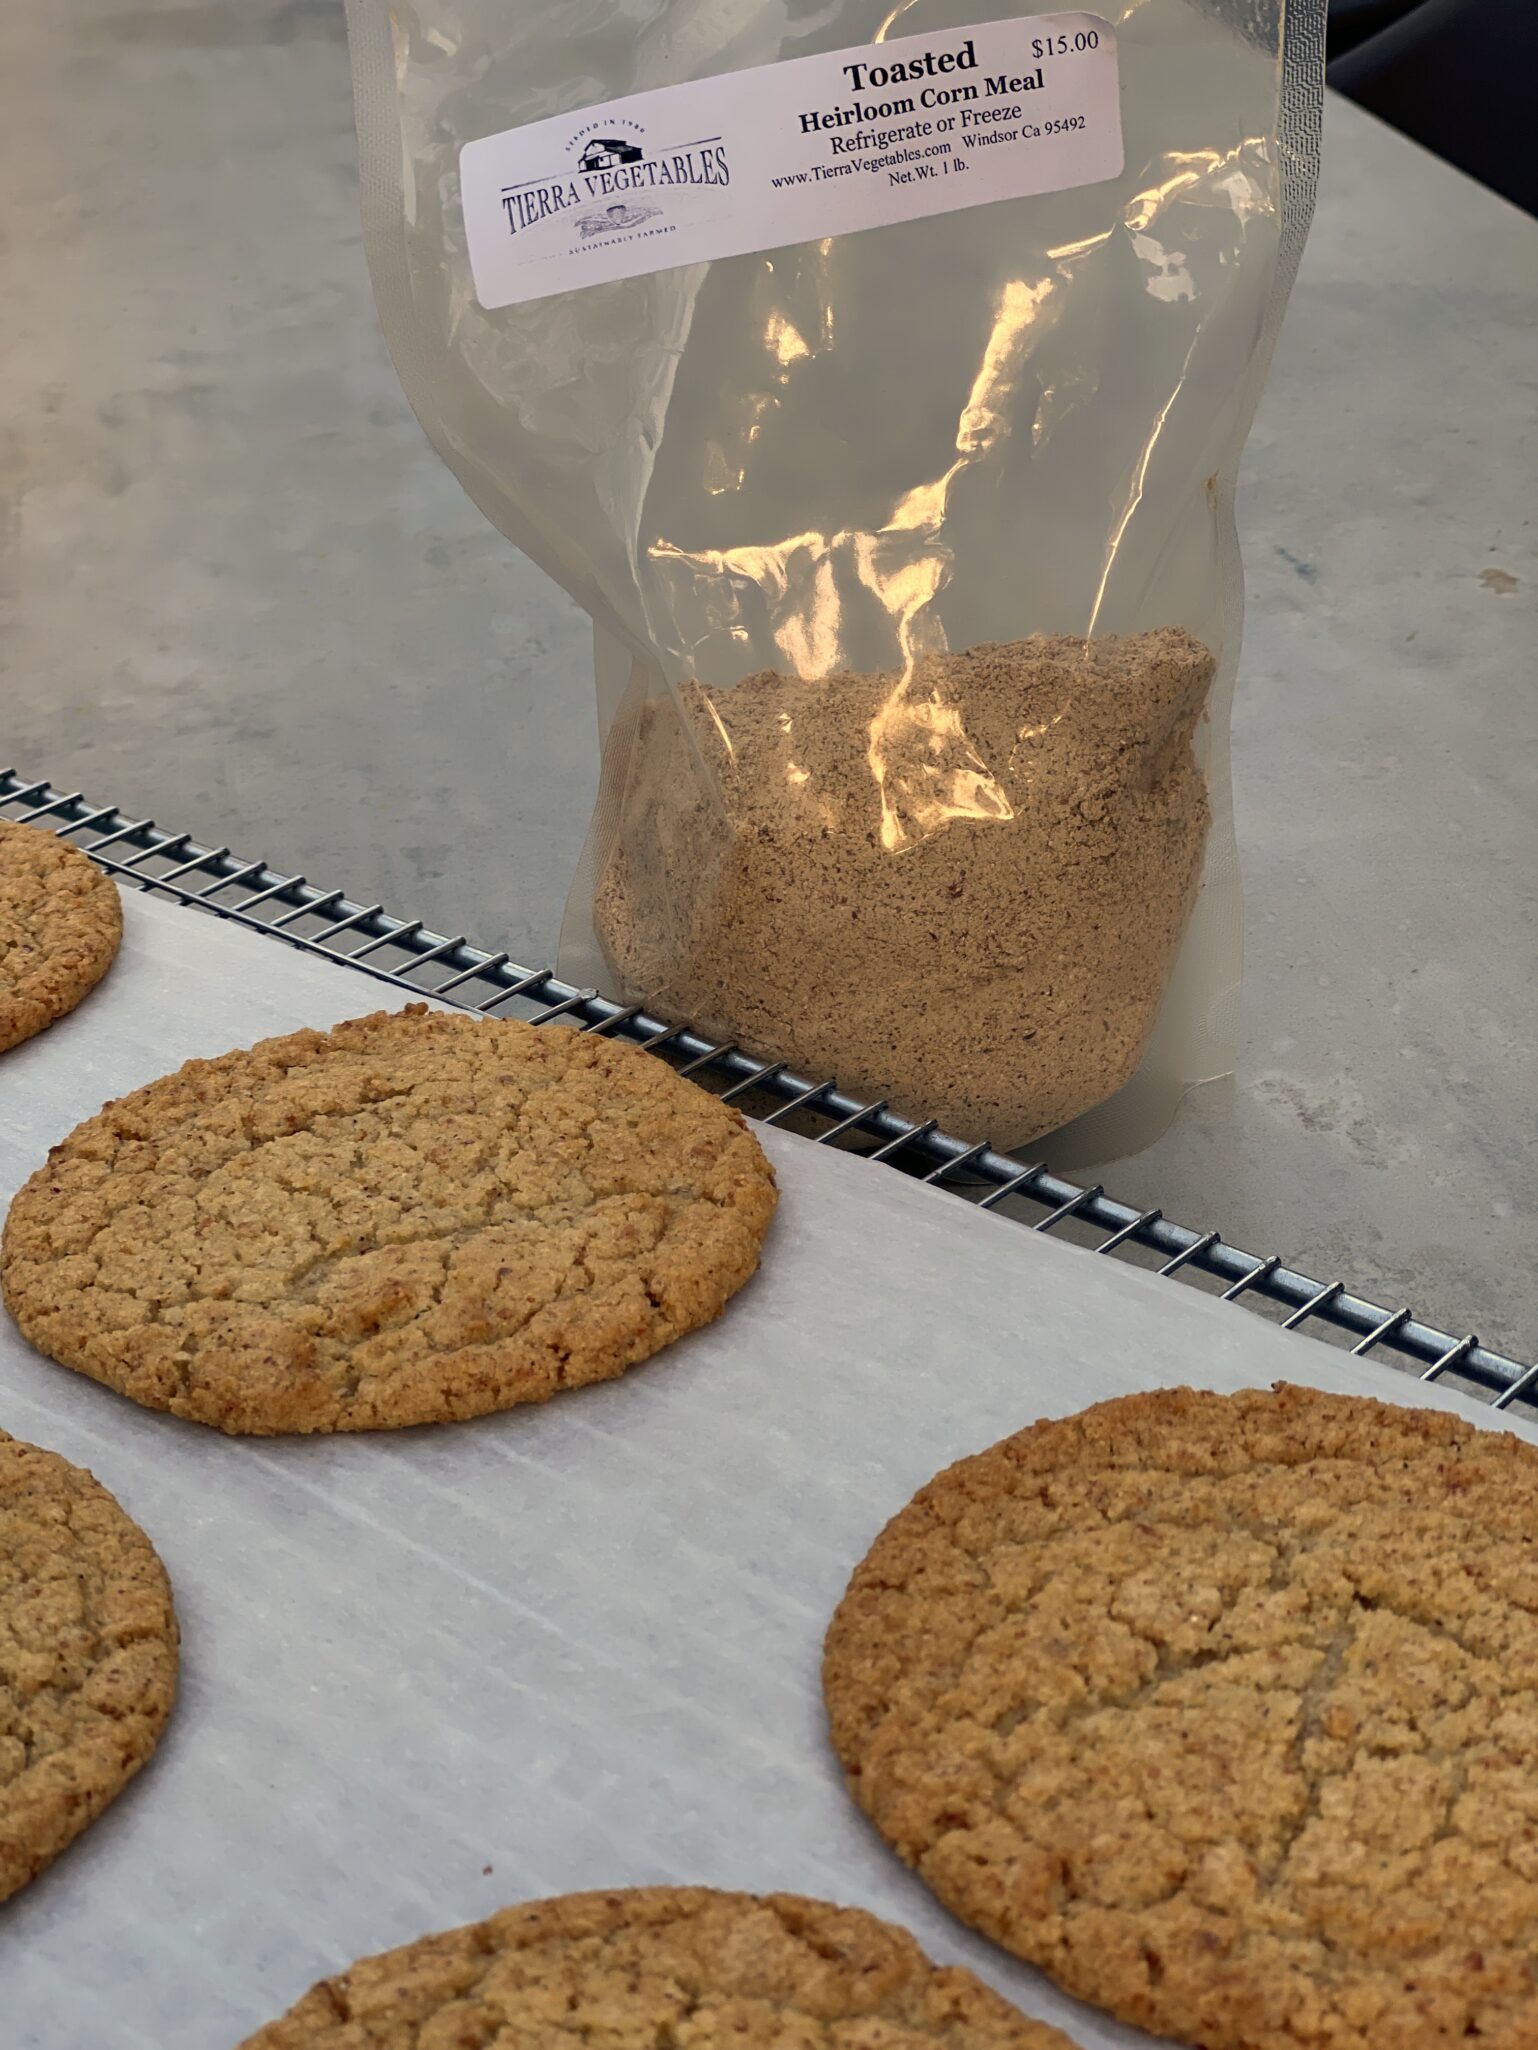
But I digress, my latest find at the Ferry Building is a local farm, Tierra Vegetables in Winsor that mills cornmeal from its own dried corn crops.  Omgoodness, the array of cornmeals in a rainbow of colors is amazing.  The aroma of toasted corn explodes as soon as you open the bag.  Simply the best.  I’ve tried their toasted black cornmeal which has a fine texture and toasty flavor, really dynamite in these cookies.

My latest batch uses their Hopi Pink Cornmeal, lighter and more subtle in flavor, if you’re lucky you’ll get one with ruby pink flecks.  Their cornmeals are milled fine so I use it in place of the corn flour. The corn varietals also have varying hardness. Talk to them, they’ll tell you which one is best for cornbread or cookies.

Momofuku Corn Cookies

Chewy, buttery, crispy edges, a cookie that taste like corn on the cob
Course cookies, Dessert, Snack
Cuisine American
Keyword christina tosi, corn cookies, momfuku
Prep Time 15 minutes
Cook Time 9 minutes

Ingredients

Creamed Mixture

  • 16 tablespoons 2 sticks unsalted butter (225gm)
  • 1 1/2 cups granulated sugar 300 gm
  • 1 large egg

Dry Ingredients

  • 1 1/3 cups bread flour or all-purpose flour 225 gm
  • 1/4 cup corn flour 45gm
  • 2/3 cup freeze-dried corn 65 gm finely ground
  • 3/4 teaspoon baking powder 3gm
  • 1/4 teaspoon baking soda 1.5 gm
  • 1 1/2 teaspoons kosher salt 6gm or half the amount of table salt

Instructions

  • Combine the butter and sugar in the bowl of a stand mixer fitted with the paddle attachment and cream together on medium-high for 2 to 3 minutes.
  • Scrape down the sides of the bowl, add the egg, and beat for 7 to 8 minutes.
  • Reduce the mixer speed to low and add the flour, cornflour, corn powder, baking powder, baking soda, and salt.
  • Mix just until the dough comes together, no longer than 1 minute. Scrape down the sides of the bowl.
  • Using a 2 3/4-ounce ice cream scoop (or a 1/3-cup measure), portion out the dough onto a parchment-lined sheet pan. Pat the tops of the cookie dough domes flat. Wrap the sheet pan tightly in plastic wrap and refrigerate for at least 1 hour, or up to 1 week. Do not bake your cookies from room temperature they will not bake properly.
  • Heat the oven to 350°F.
  • Arrange the chilled dough a minimum of 4 inches apart on parchment- or Silpat-lined sheet pans. Bake for 18 minutes. The cookies will puff, crackle, and spread. After 18 minutes, they should be faintly browned on the edges yet still bright yellow in the center; give them an extra minute if not.
  • Cool the cookies completely on the sheet pans before transferring to a plate or to an airtight container for storage. At room temp, the cookies will keep fresh for 5 days; in the freezer, they will keep for 1 month.
Holiday Cookies, Already? (Book Review-Holiday Cookies)

Holiday Cookies, Already? (Book Review-Holiday Cookies)

I love cookies and every year I look forward to baking holiday cookies to share with family and friends. The process for which cookies end up in my annual holiday platter starts..well, the day after Christmas. Throughout the year I keep an eye out for new cookie recipes to go along with my tried and true traditional shortbread and Jan Hagels that I make every year.
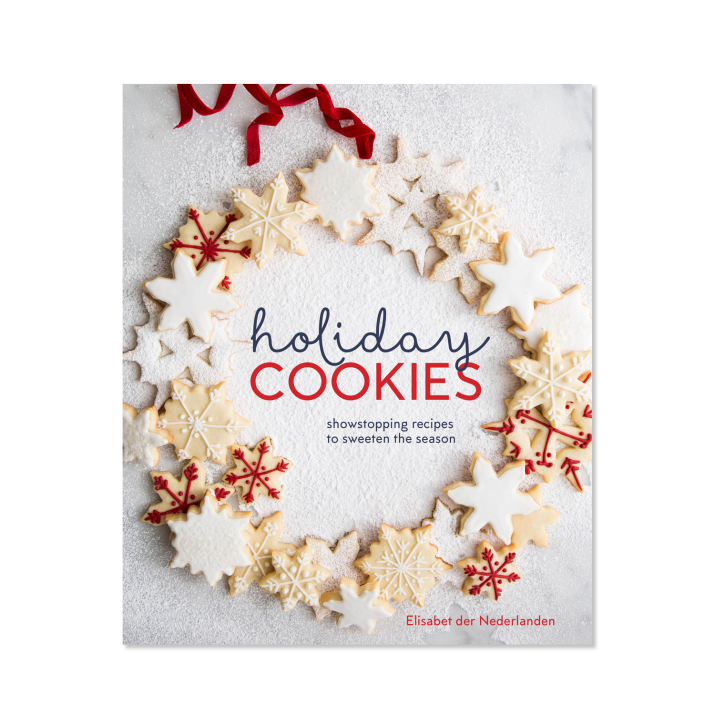
So of course I jumped at the chance to review a new book from Blogging for Books aptly titled Holiday Cookies by Elisabet Der Nederlanden. The collection is filled with classic, traditional cookies like Spritz cookies, green and red pinwheels and gingerbread. She does add a twist to many by varying the spices and flavors-eggnog madeleines, saffron biscotti or fig and cardamon rugelach which definitely add interest.  I chose the Malted Milk Chocolate Cookies to try. It called to the kid in me and conjured up images of Malt-o-meal, Ovaltine and Whoppers. This is the only recipe I have tried so far and unfortunately the cookie was pretty nondescript. Neither the malt flavor or chocolate were stood out. The cookies did not spread or crack as much as the cookies pictured, perhaps too much flour on my part (weights people). I will try other cookies in the book hope I find one for my annual holiday assortment. l’ll update my review when I do.  The recipes depend solely on volume measurements and not weights, bummers. I love cookbooks that contain both weight and volume measurements. I am a big fan of having a scale it is much more accurate and reliable.
The book starts with a section on how to pack cookies and decorate your cookies with a festive flair. Chapters are organized by classics, exchange cookies, spice and around the world. She also includes a chapter on candy and decorating. The recipes are organized with ingredients in the column on the left and directions on the right, very easy to follow. THE PHOTOS ARE GORGEOUS and the book is worth its weight in presentation ideas. Can’t wait to try a couple more recipes.

A Cautionary Tale with a Sweet Ending (Honey Roasted Peanut Butter Cookies)

A Cautionary Tale with a Sweet Ending (Honey Roasted Peanut Butter Cookies)

I can’t resist perusing the racks at airport bookstores.  Even though I always carry an Ipad, book, or magazine, I still stop and browse. While waiting for my flight to Nashville I flipped through a copy of People Magazine that had an article with Stella Parks of Serious Eats.  Her recently published book BraveTart, an homage to iconic American desserts, was already on my radar of course. The article included a recipe for Honey Roasted Peanut Butter Cookies.  They looked and sounded delicious. Trying to be as stealthy as possible I took out my phone and quickly snapped a shot of the recipe, mission accomplished I tucked my phone back in my pocket and left to catch my flight.

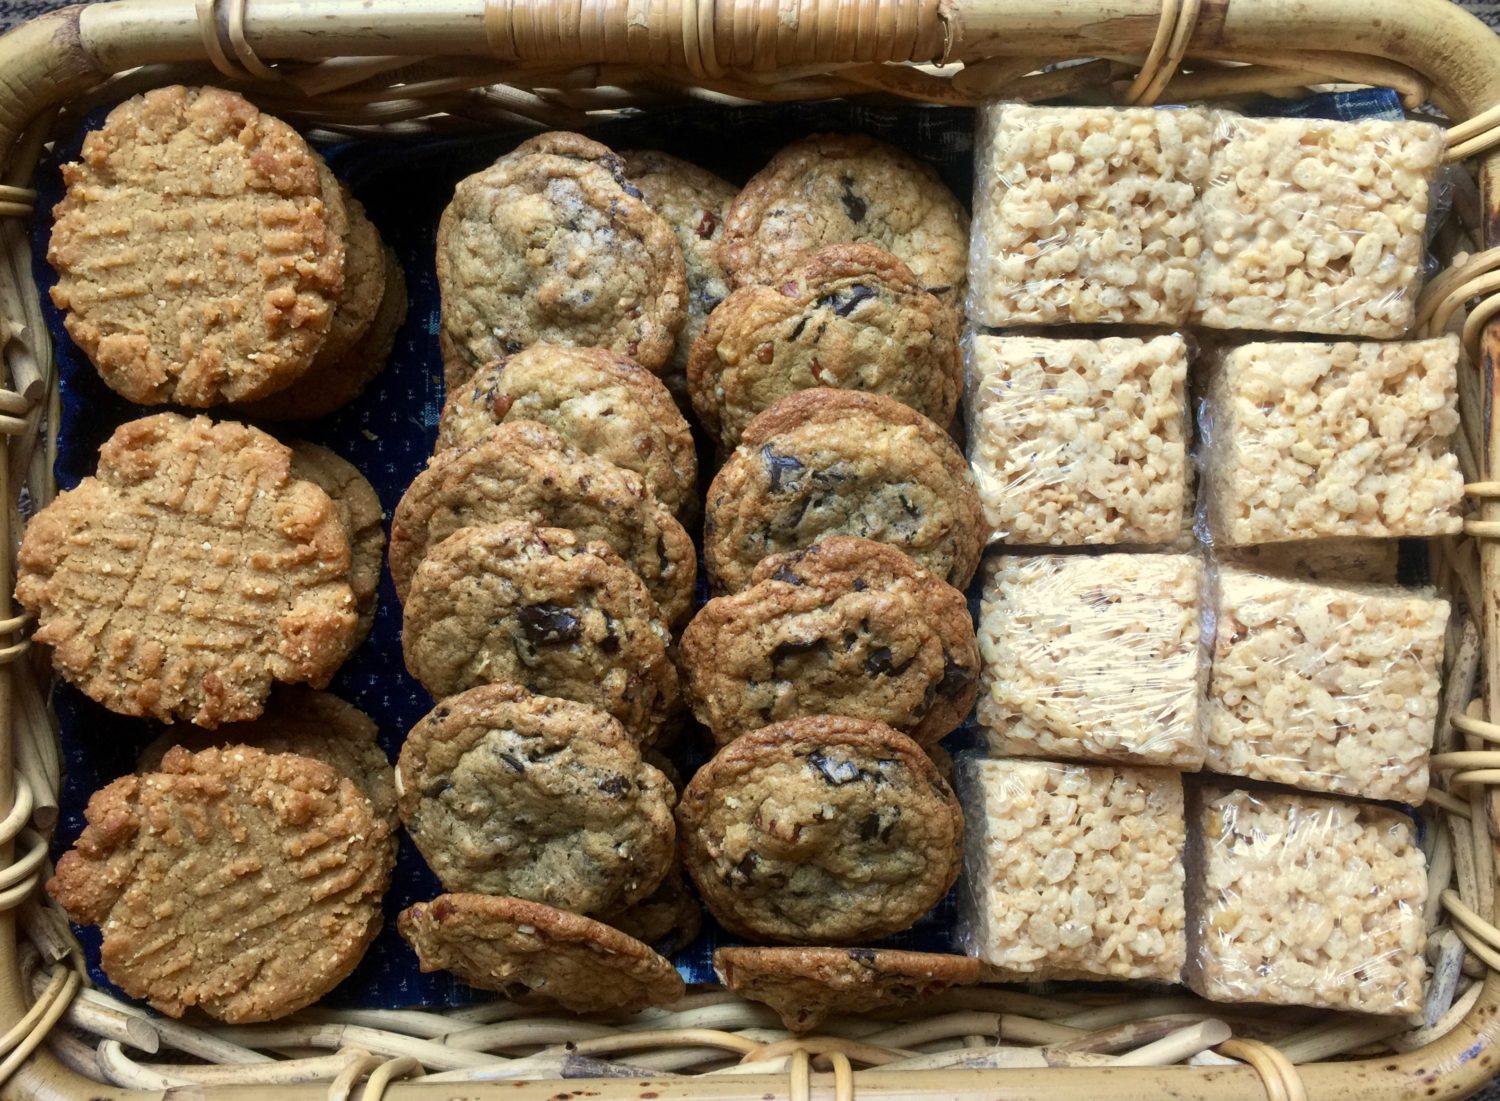
Bake sale goodies, Honey Roasted Peanut Butter Cookies, Classic Chocolate Chip Cookies and as Jason calls them Double Butter Raace Krispy Treats (aka Brown Butter Salted Rice Krispy Treats)

Nuts and Butterflies

A bake sale to benefit a bird and butterfly sanctuary directly in the path of that ridiculous wall Trump wants to build was the perfect opportunity to make Park’s Honey Roasted PB Cookies.  The recipe called for processing honey roasted peanuts for a minute until finely chopped.  Uh-oh, I don’t think so, a minute in a food processor does not result in finely chopped nuts more like pulverized nuts.  Quick, to my laptop to fire off a tweet to Stella Parks..please clarify.  A couple of minutes later..yay, a response- “should be like flour, length of time variable depending on your processor”. First hurdle cleared. Surveying the recipe I noticed some of the ingredients had weights, some didn’t.  Auugh!  This started my rant to the hubster on the inconsistencies in the recipe.

Me yelling: Why would you put the weight for butter but not the flour? WTH! This is silly! And the finely chopped nuts, that wasn’t right!  Wow, and she writes for Serious Eats?!  Boy, this book has been getting a lot of press!
Hubster hears: blah, blah, blah, BLAH and nods sympathetically (I’m sure)

I continued to grumble. After making the dough I decided to look for the recipe online, lucky for me the page for her Honey Roasted Peanut Butter Cookies is available on Google.

I ATE HUMBLE PIE

My rant was misplaced.  The recipe in the book contained weights for every ingredient and the description for the peanuts was to grind them until they were fine, like flour.

So naturally, I did what anyone would do in this situation..I started to complain about People Magazine and how they messed up the recipe. The moral of the story, do not depend on a celebrity gossip magazine for a recipe.  It also gave me an excuse to add BraveTart to my cookbook collection.

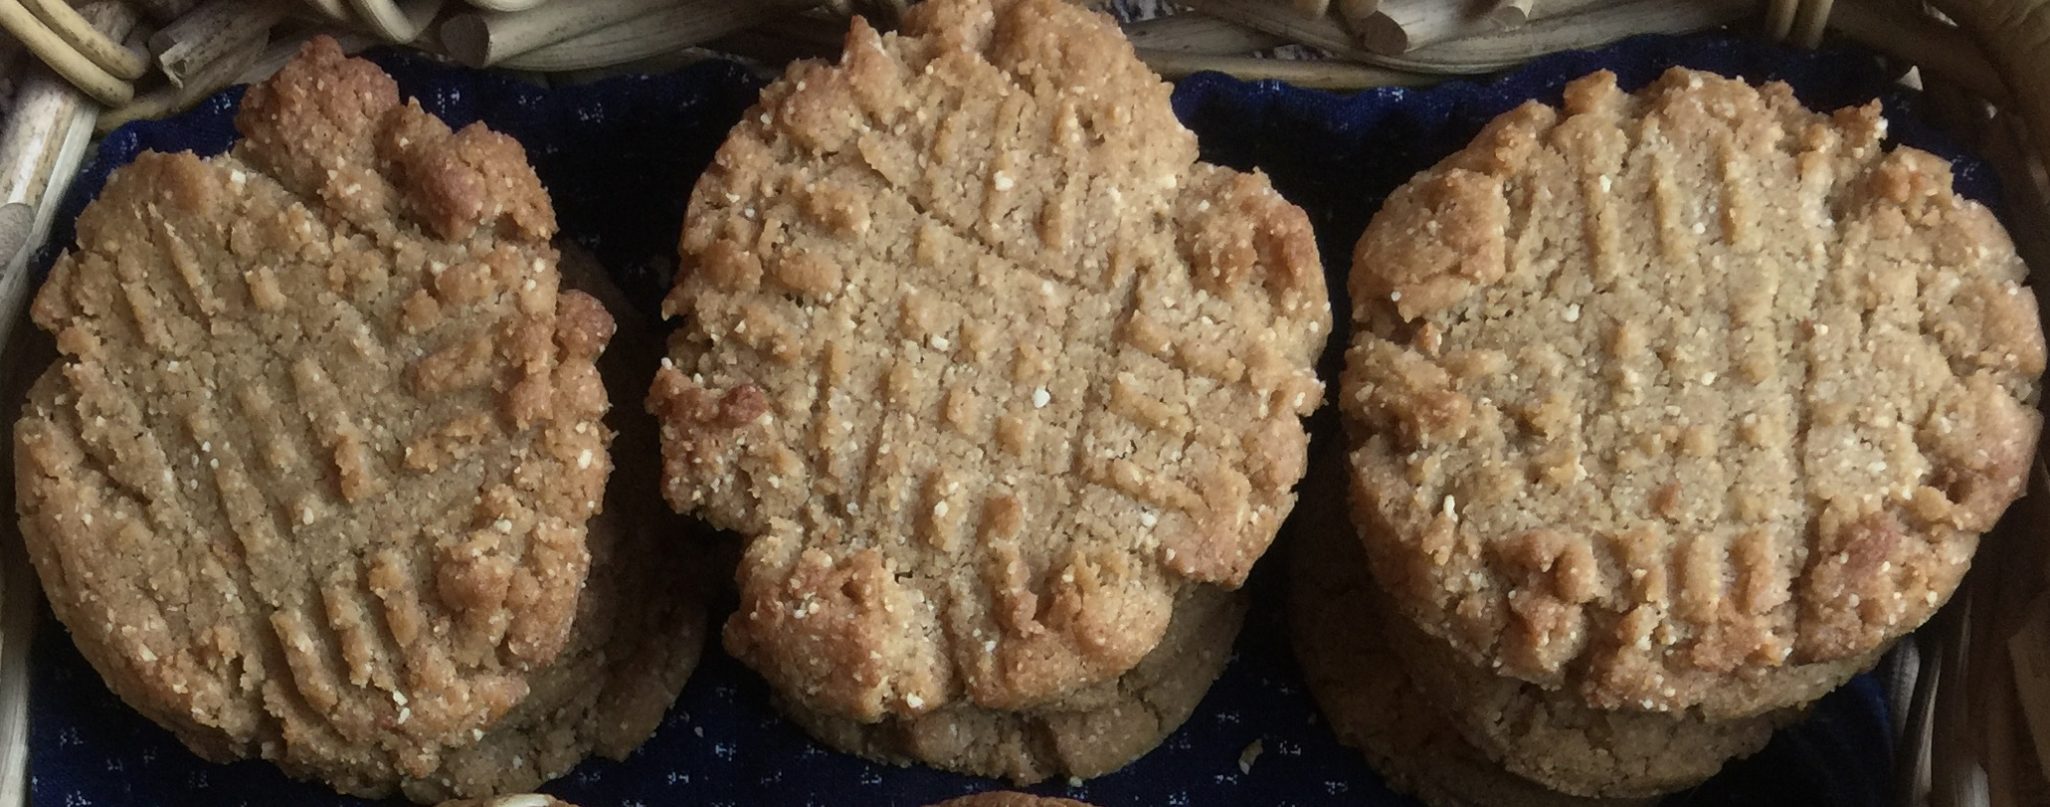
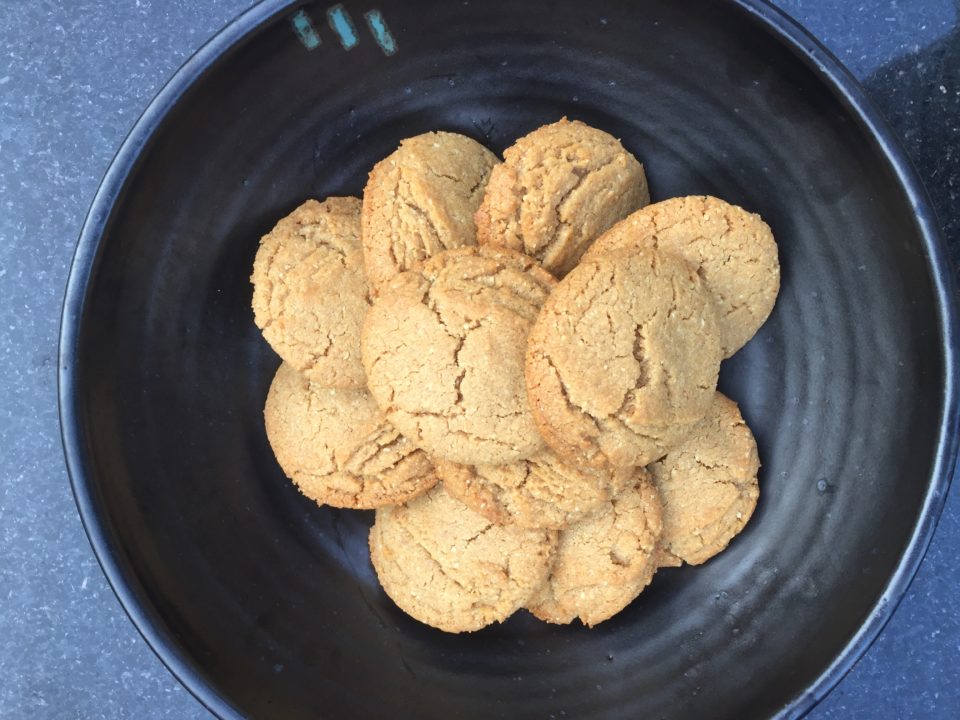
I still didn’t grind the peanuts enough which I believe changed the texture of the cookie…I was fixated on the finely chopped verbiage. The cookies did not spread like traditional cookies and ended up looking like little cracked hockey pucks. I’m guessing too much flour (no weights-grrrr) I was looking for a flat, classic-looking cookie, ironically, like the picture in People magazine.

I ended up smushing each cookie like old-fashioned PB cookies.  I will definitely try these again but next time I will grind the nuts longer and weigh my flour and use the book, lol. They are YUMMY and besides, I still have half a jar of honey-roasted peanuts left! Below is the recipe from her book, BraveTart.  You should get it, it’s that good.

Print
2 from 1 vote

Honey Roasted Peanut Butter Cookies from BraveTart

Stella Park's Honey Roasted Peanut Butter Cookies, just make them, you'll thank me
Course cookies, Dessert
Cuisine American
Keyword Honey Roasted Peanut Butter Cookies, stella parks
Prep Time 20 minutes
Cook Time 16 minutes

Ingredients

Dry Stuff (Flour Mixture)

  • 1 cup AP flour 4.5 ounces USE Gold Medal flour
  • 1-1/4 cups honey roasted peanuts 6 ounces

Next Step: Butters + Leavening Agents

  • 1-1/4 cups creamy peanut butter 10 ounces
  • 1 stick unsalted butter 4 ounces,soft rt cool (65 degrees use an instant thermometer)
  • 1.5 cups granulated sugar 10 ounces
  • 3/4 tsp kosher salt or half that amount if using regular table salt
  • 3/4 tsp baking soda
  • 1/2 tsp baking powder

Wet Stuff

  • 2 tsp vanilla extract
  • 1 large egg straight from fridge, well beaten
  • 3 Tbsp milk 1.5 ounces

Instructions

  • Adjust oven rack to middle position. Preheat oven to 350 degrees
  • Sift flour into bowl of a food processor (scoop and sweep method if not using a scale)
  • Add peanuts and pulse until fine (approximately 1 minute) almost like flour
  • Combine peanut butter, butter, sugar, salt, baking soda, baking powder and vanilla* in bowl of a stand mixer fitted with paddle attachment. I'm lazy, I add the vanilla to the milk and add it later.
  • Mix on low speed to moisten then increase to medium and beat until soft and light ab out 3 minutes
  • With mixer running add the egg in 2 additions, mixing untile ach is incorporated
  • Reduce speed to low and add peanut flour, followed by milk, mixing to form a very soft dough
  • Divide into 34-2 T (1.125 ounce) portions
  • Arrange on parchment lined baking sheet, 2 inches apart
  • Bake until the edges are firm and just beginning to brown but cookies are still puffy and steamy in the middle about 16 minutes
  • Cool on baking sheet until cookie is set about 10 minutes
  • Store in airtight container for up to 1 week at room temperature.
EmBOSSed Grahams

EmBOSSed Grahams

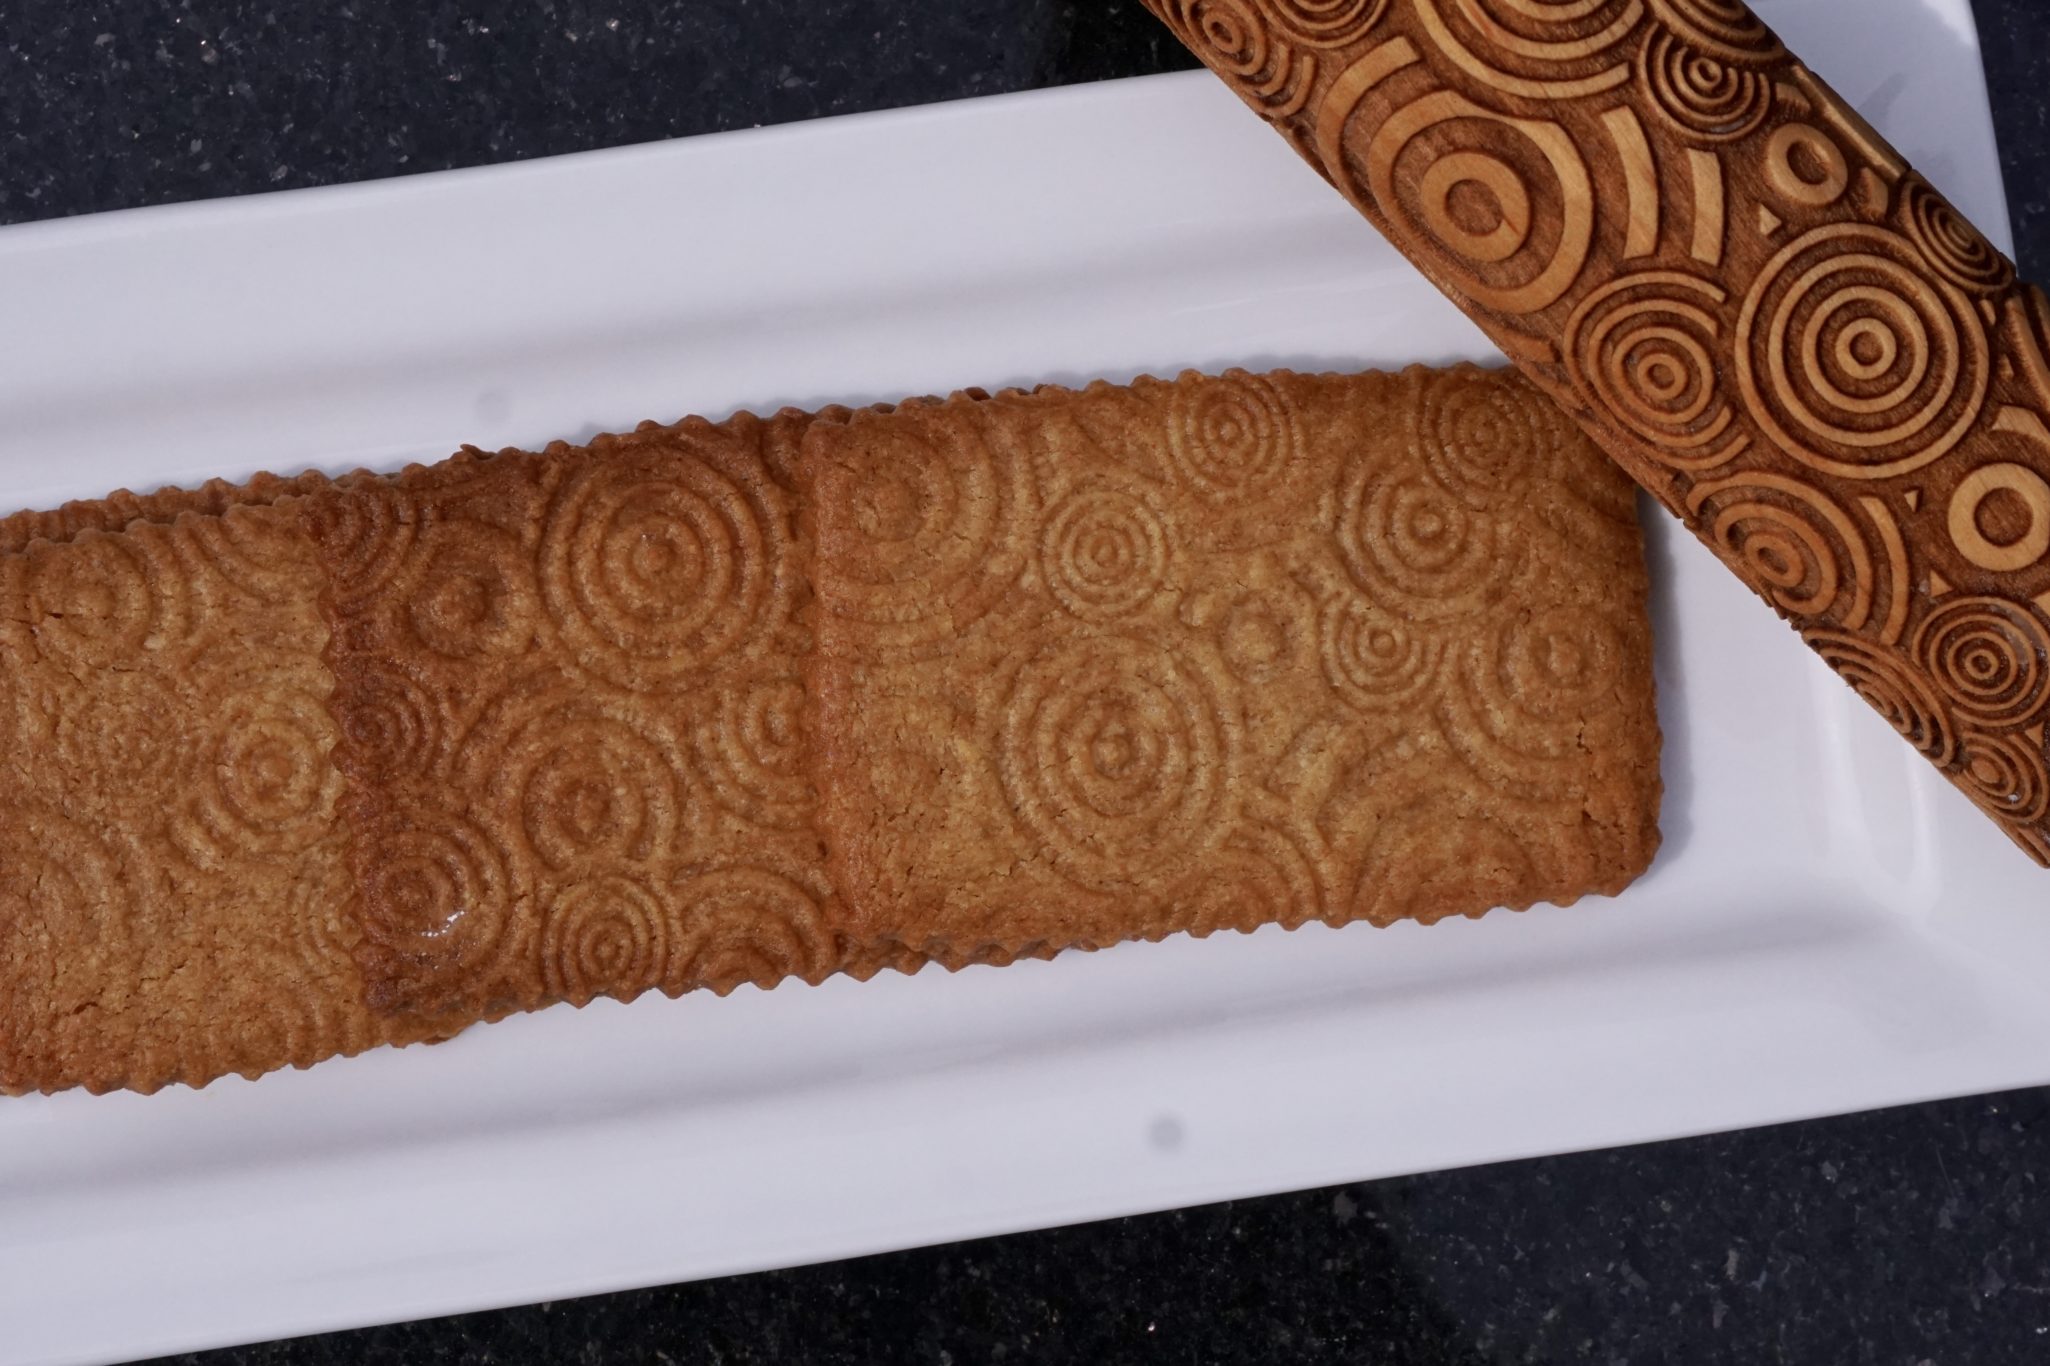
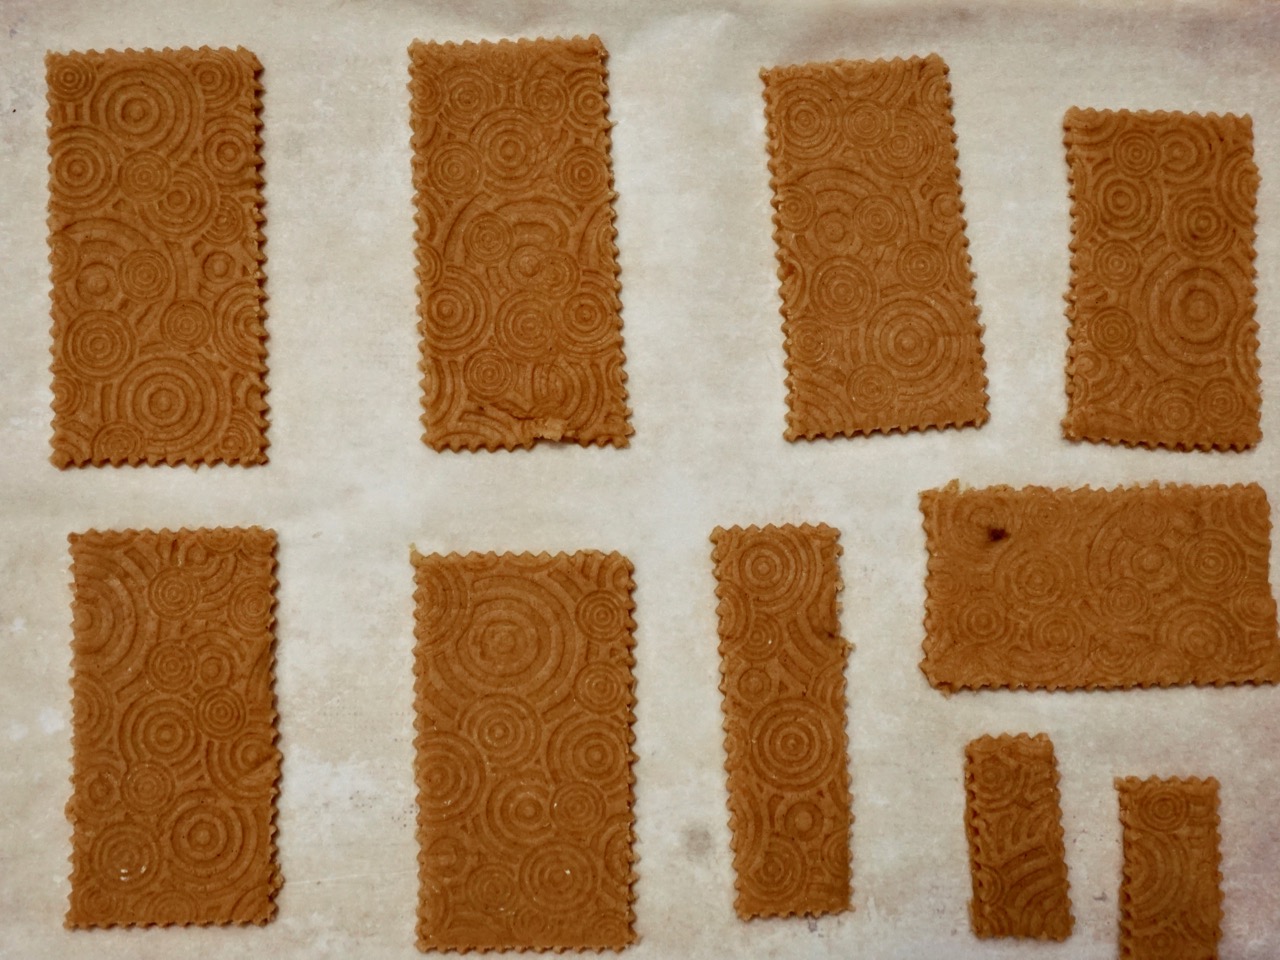
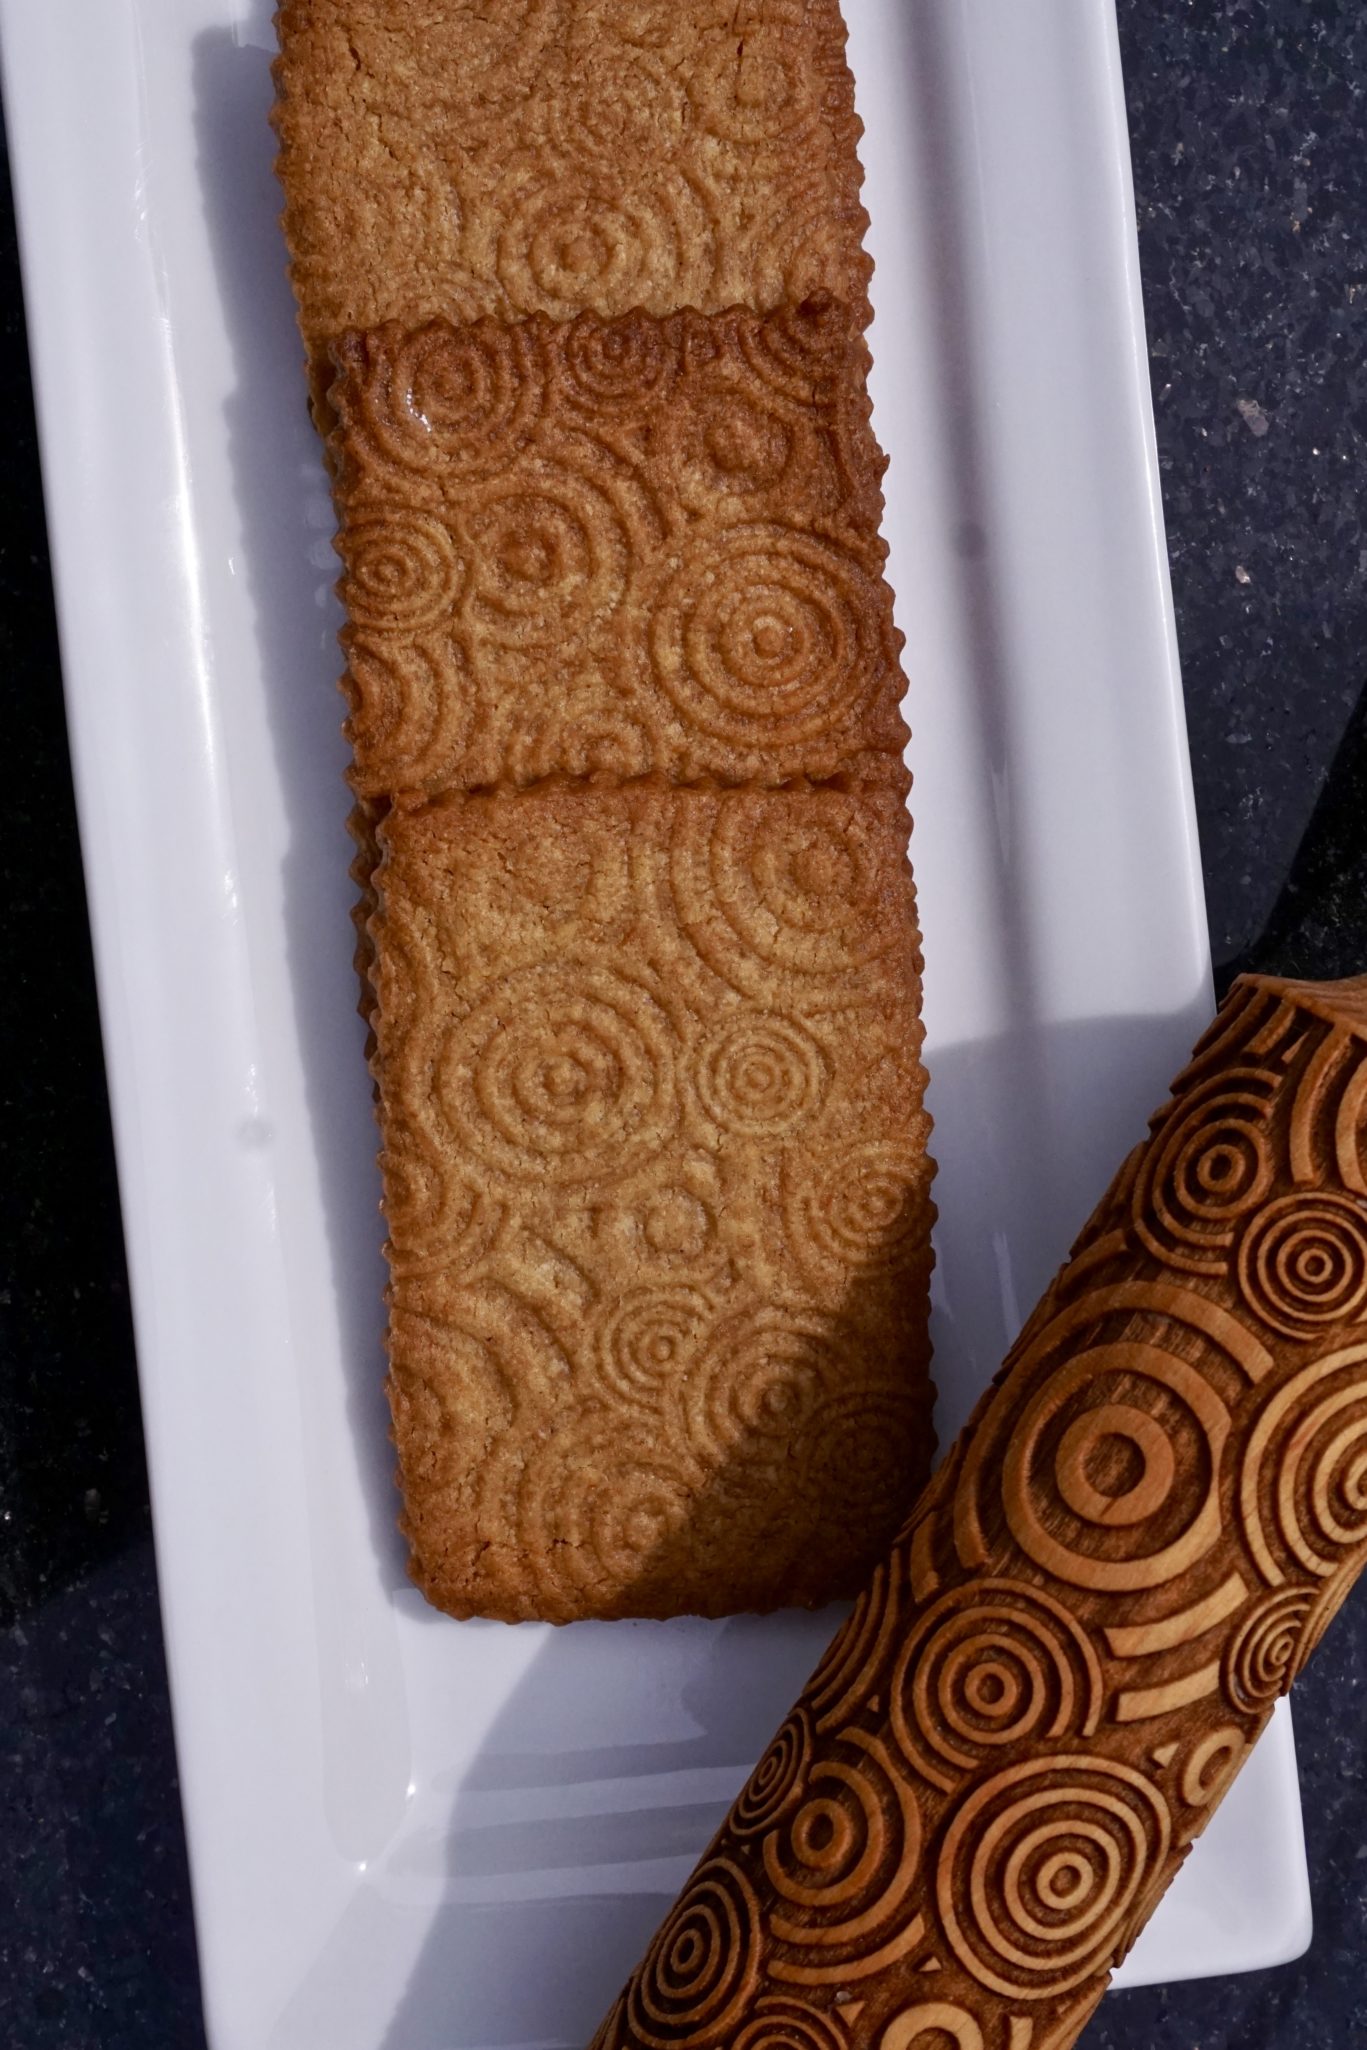
I love graham crackers and recently shared the recipe to make homemade grammies.  Easy and infinitely better than the blue box of cookies that shall not be named.  Well, I got my embossed rolling pin. Check out my fancy-schmancy graham crackers.  Takes these bad boys to a whole new level.

I found embossed rolling pins on both Etsy and Amazon.  I like geometrics but there are a bazillion designs available including cartoon characters, flowers, hearts, just about anything you can imagine.

My pin is approximately 6 inches in width.  My method is to roll the dough to 1/4 inch thickness, chill for a couple of minutes and then use the embossed pin for the last roll.  Cut the dough into 6 inches strips or the approximate width of the pin.  Press firm enough to create the embossed pattern and roll just once. STAMPTASTIC!

Strawberries and Lemon Ricotta Tarts- Smitten Kitchen

Up your graham cracker game! Homemade graham crackers topped with ricotta and strawberries, the bomb!
Course cookies, desserts
Cuisine American
Keyword graham crackers, ricotta cheese, strawberries
Prep Time 30 minutes

Ingredients

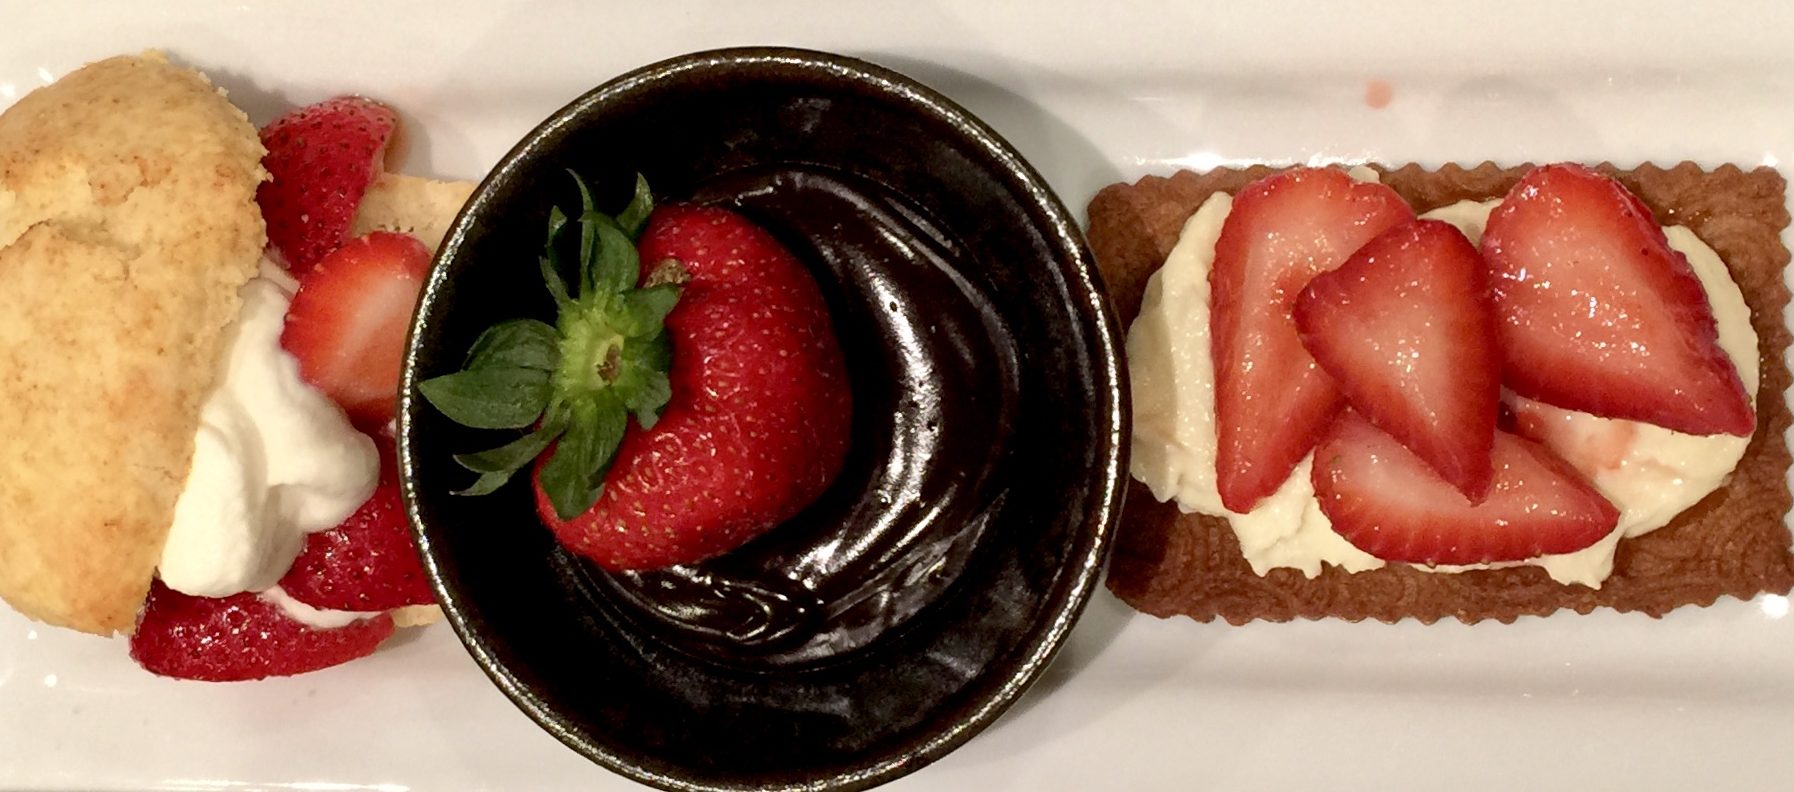
Perfect way to showcase your graham crackers. Use cracker as base, top with lemon ricotta cheese and sliced strawberries. Easy Peasy!

  • 3/4 pound strawberries thinly sliced
  • 1 1/2 tablespoons fresh lemon juice
  • 1 1/4 cups ricotta 10 ounces, fresh if you can find it, a full-fat store bought if you cannot
  • 2 tablespoons confectioners’ sugar
  • 1 teaspoon finely grated lemon zest

Instructions

Strawberry-Ricotta Graham Tartlets

  • Adapted — barely, as the recipe was just about perfect — from Food & Wine
  • Make toppings: In a bowl, toss the strawberries with the remaining 3 tablespoons of sugar and the lemon juice. Let stand until syrupy, 20 minutes. In a medium bowl, mix the ricotta, confectioners’ sugar and lemon zest.
  • Assemble tartlets: Spread about 1 tablespoon of the ricotta mixture on each graham. Arrange the strawberries over the ricotta, drizzle with the syrup and serve.
  • The strawberries are also delicious over ice cream or yogurt.
Strawberry Trio- Shortcake, dipped in Kahlua Chocolate Sauce and Strawberry Lemon Ricotta Tarts. You can never have too many strawberry desserts!


Grams eating grahams! Giving them the “stamp” of approval!
Variation on a Thumbprint: A Cheesy Favorite

Variation on a Thumbprint: A Cheesy Favorite

I wonder who came up with thumbprint cookies?  Was it intentional or a happy accident?  A baker grabbing a cookie sheet only to find she (he) had inadvertently stuck her thumbs in the cookies and thought, well heck might as well fill it with some jam.  And the rest is history as they say.  I actually googled thumbprints but alas no specific info on how they came about, just European in origin perhaps Swedish or Polish.  All I know for sure is the variations are infinite and each and every one is DELICIOUS.  It can be dolled up with nuts or not, filled with any flavor jam or jelly, or fancied up with lemon curd or chocolate ganache filling. Sky’s the limit. The cookie is buttery, with a sandy texture like a shortbread and easy to make.  When my kids were little they were in charge of the very important task of making the “the thumb holes”.
While I was flipping through Vivian Howard’s book Deep Run Roots (love, love, love) I came across a cookie that had BAKE ME written all over it, Hot Apple Jelly Thumbprints.  The twist, no sugar in the dough? A savory thumbprint made with smoked gouda or sharp cheddar and filled with a spicy apple jelly. I stuck two post-it notes on the page to make sure I try this recipe.  Here is a link to the recipe when she made them for a Tabasco Sauce function, yep a hot sauce jam-get it?

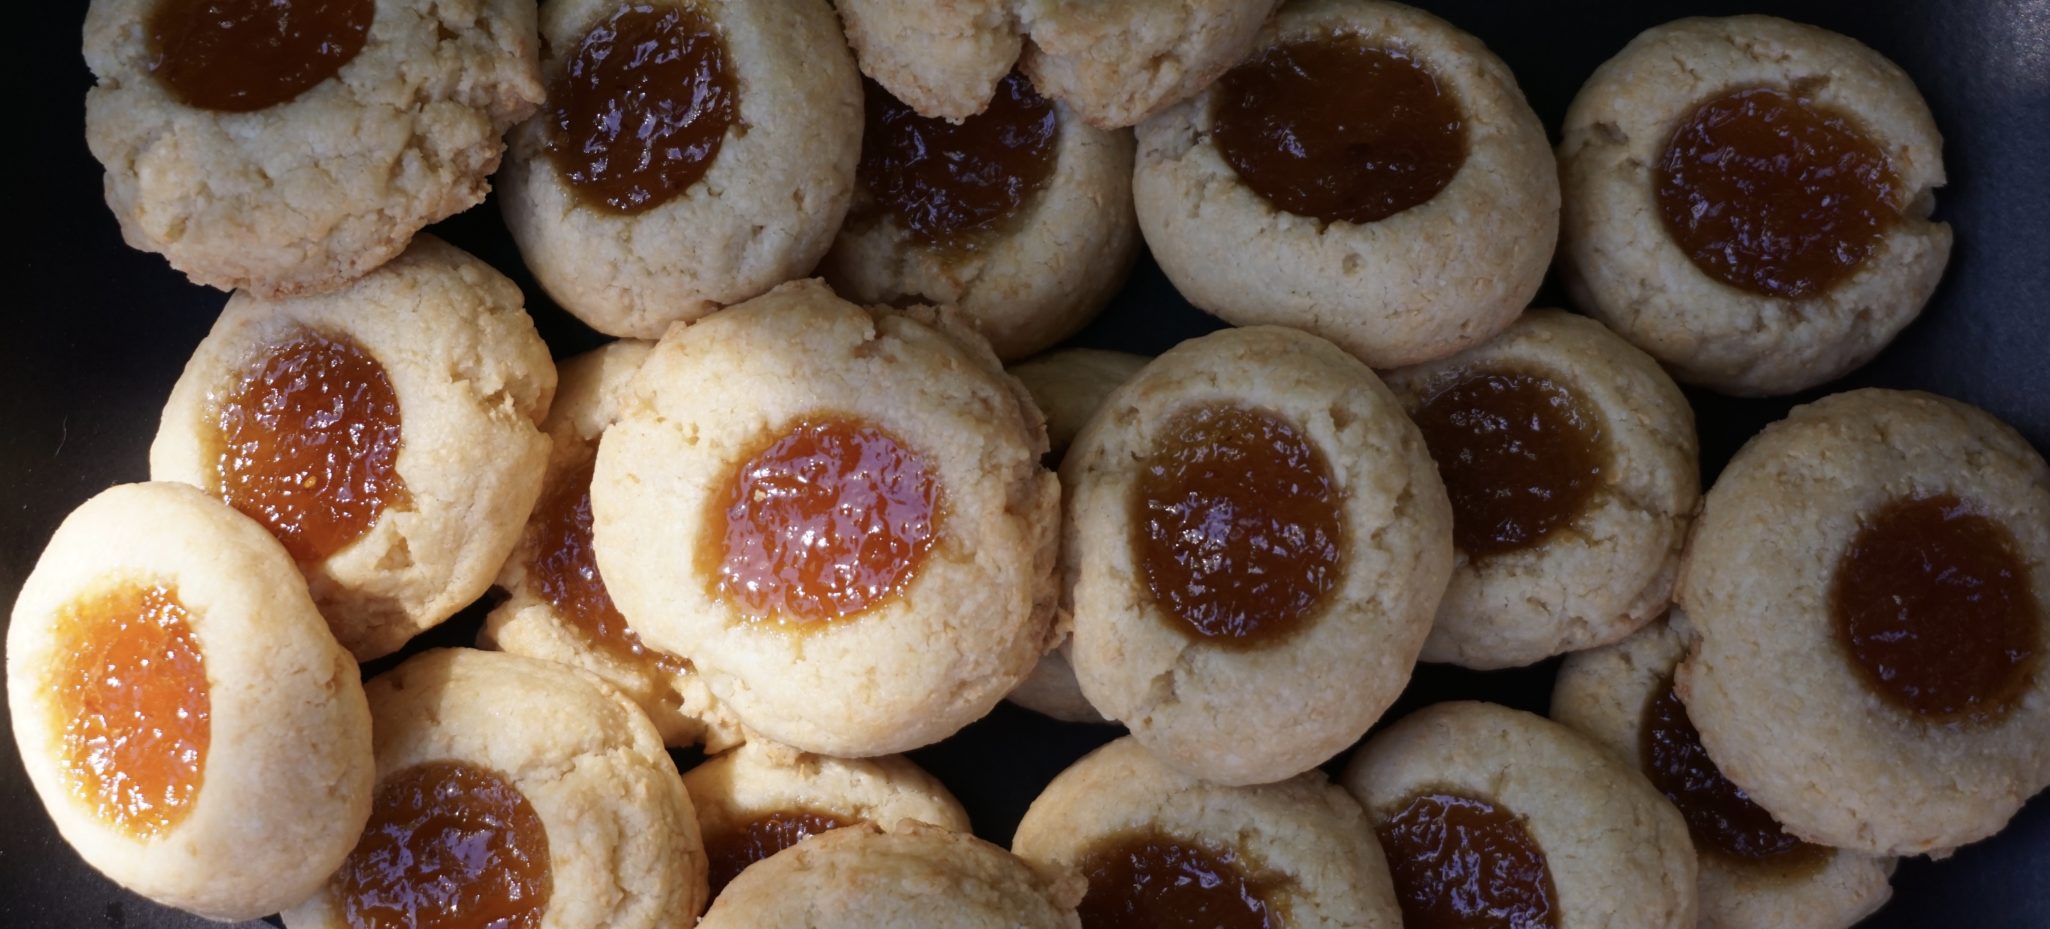
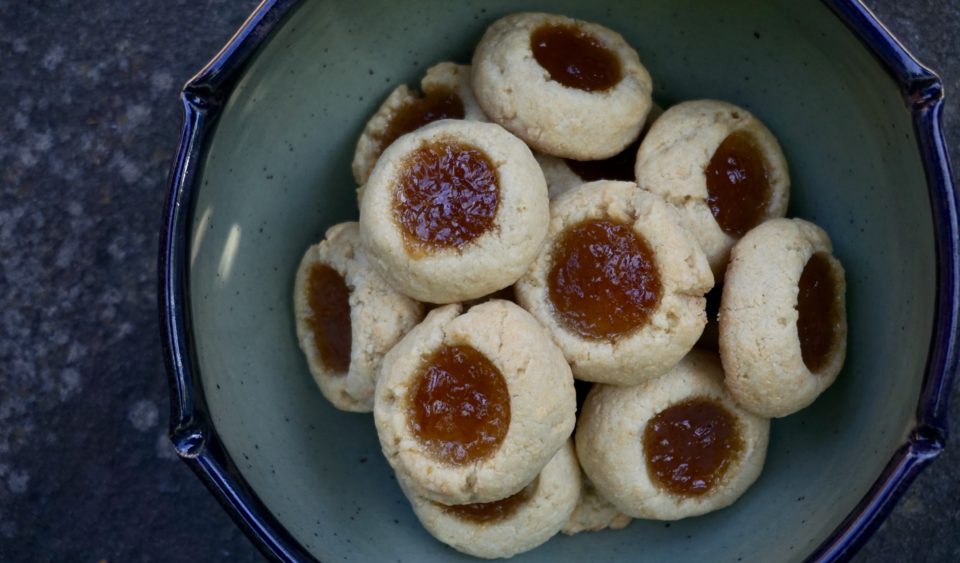
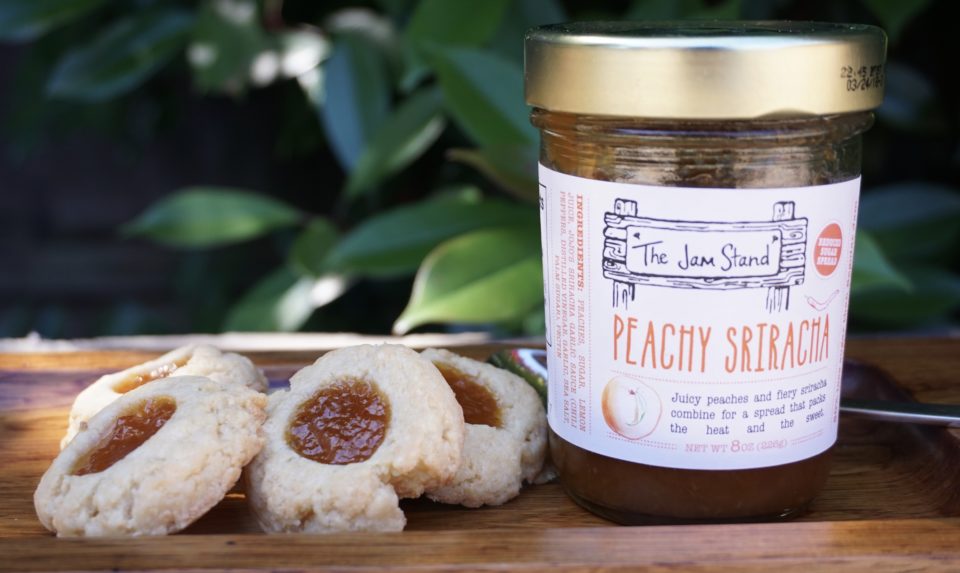
Okay, full disclosure.  I made the cookie but not the jelly. The jelly seemed infinitely more time consuming so I CHEATED.  A jar of Peachy Siracha Jam jumped out at me at the market.  It was fate.

As simple as thumbprints are to make a question arose while I was making the cookies.  Hmmm, 1-1/2 cup grated cheese.  Is that finely grated? Coarsely grated? Enquiring minds want to know.  What to do?  Fire off an e-mail to Ms. Howard hoping she will answer?  I did a search which did not turn up anything.  I then looked at Dorie Greenspan’s Cookie book knowing she had a savory section.  Bingo, Smoked Cheese Cocktail Cookies.  (She is my cookie hero).  Her process called for coarsely grated/shredded cheese which is then pulsed with cold butter in a food processor. The cookie becomes even easier to make.  Butter pulsed with the cheese and then add the flour and pulse into the dough starts to clump..done.  How easy is that?  The texture is similar to shortbread with a tiny bit of crunch which I am guessing comes from the cheese caramelizing as it bakes.  I posted the question regarding grating the cheese on Food52 Baking Club and another member told me she finely grated the cheese before mixing the dough in a Kitchen Aid.  The tip came from a Serious Eats article she had read, her cookies came out beautifully, much like a shortbread.  I leave it to you to decide which method you use.

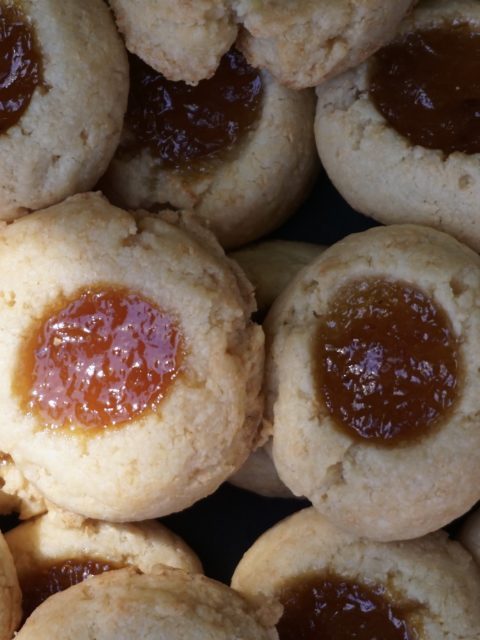
With a 2 teaspoon ice cream scoop I portioned the dough into balls and used my handy-dandy thumb of course for the centers (sadly my kids have flown the coop so I had to use my own thumb).  The original recipe calls for piping the dough out with a pastry bag.  I opted for the scoop method.  The touch of sweetness and spice comes from the jam while the cookie is infused with a savory smokey flavor from the gouda.  A beautiful balance of flavors.  I plan to make these for my next happy hour to go along with that bottle of Cava parked in my fridge.  Can’t wait.

Hot Apple Jelly Thumbprints

Ingredients

  • 2 cups all-purpose flour
  • 1/4 tsp. salt
  • 2 tsp. baking powder
  • 1 cup unsalted butter at room temperature
  • 2 1/2 cups smoked gouda shredded, at room temperature

Tabasco Jelly (recipe below)

Instructions

  • Preheat oven to 350.
  • Sift the dry ingredients. Using a stand or hand mixer, cream the butter and cheese well. Slowly add the dry ingredients and continue to paddle until nice and fluffy; about 3 minutes.
  • Using a piping bag, pipe about 2 tsp. of the cookie dough onto a nonstick baking surface. Using your thumb, make a small indentation in the center of each round. (You may want to have a little flour on hand to prevent your thumb from sticking.) Pipe or spoon about 1 tsp. Tabasco jelly into each indentation.
  • Bake for 12 minutes, or until lightly browned on the bottom.
  • Yields approximately 5 dozen small cookies.

Hot Apple Jelly

  • 10 lbs. apples of your choice (If you can find slightly unripe apples, use 5 lbs. ripe and 5 lbs. unripe, as unripe apples have more pectin)
  • 8 cups granulated sugar
  • 1/4 cup lemon juice
  • 1/4 – 1/3 cup Tabasco brand Original Red Sauce, depending on your preference for heat
  • Roughly chop the apples. Include everything—the stems, core, seeds, and skin are all important for pectin. Place the apples in a large pot and cover them with water. Bring the apples up to a boil and cook 10–20 minutes, until they are soft but not falling to pieces. Drain the water off quickly.
  • Place the apples in a colander lined with cheesecloth, and place the colander inside a larger bowl to catch the liquid that drains off. This liquid will be the “meat” of your jelly, so allow it to drain overnight for best results. You should be left with roughly 9–10 cups thickish apple nectar. (If you have more, it’s not a problem; you will just have to increase cooking time.)
  • Place a small plate in the freezer for testing your jelly. Transfer the apple liquid and the sugar to a heavy-bottomed pot and bring it up to a boil. Let this simmer for about 15 minutes. Check where you are by spooning a little of the jelly onto your super cold plate. If it firms up and wrinkles when you nudge it, you’re good to go. If not, cook it longer, testing every ten minutes or so.
  • Once you’ve reached the desired set, stir in the lemon juice and the Tabasco Sauce. The jelly should be a beautiful amber color and should be completely clear. Taste and adjust with more of either. Transfer to a container to chill.
  • In addition to using the Tabasco jelly in these cookies, it would be great served with goat cheese and crackers, or as a glaze over pork chops or ham, or as a sauce for chicken wings. It’s very versatile.


Weekend Warrior-Weekend Baker (Toasted Almond Cookies)

Weekend Warrior-Weekend Baker (Toasted Almond Cookies)

My New Year’s resolution every year is to make a concerted effort to try recipes out of the gazillions of cookbooks I own.  I generally cook or bake from only a handful of books I have, my go-tos.  One of my favorite blogs, Ipso Fatto, also collects cookbooks the difference being she actually uses hers.  Lucky for me we seem to have similar taste in cookbooks. My hubby is convinced its not so much that we have similar taste,  its because I buy every cookbook published so of course we would have the same books.  Her recent post featured a scrumptious almond cookie from Abigail Dodge’s Weekend Baker.  After reading it I spent the next hour rummaging through my bookshelves and mumbling to myself “I know I have that book, where is it”.  Eureka, finally found it.  Time to make some Toasted Almond Cookies, uh-huh.

Thanks to Ipso Fatto I am now making good on my annual new year’s resolution.

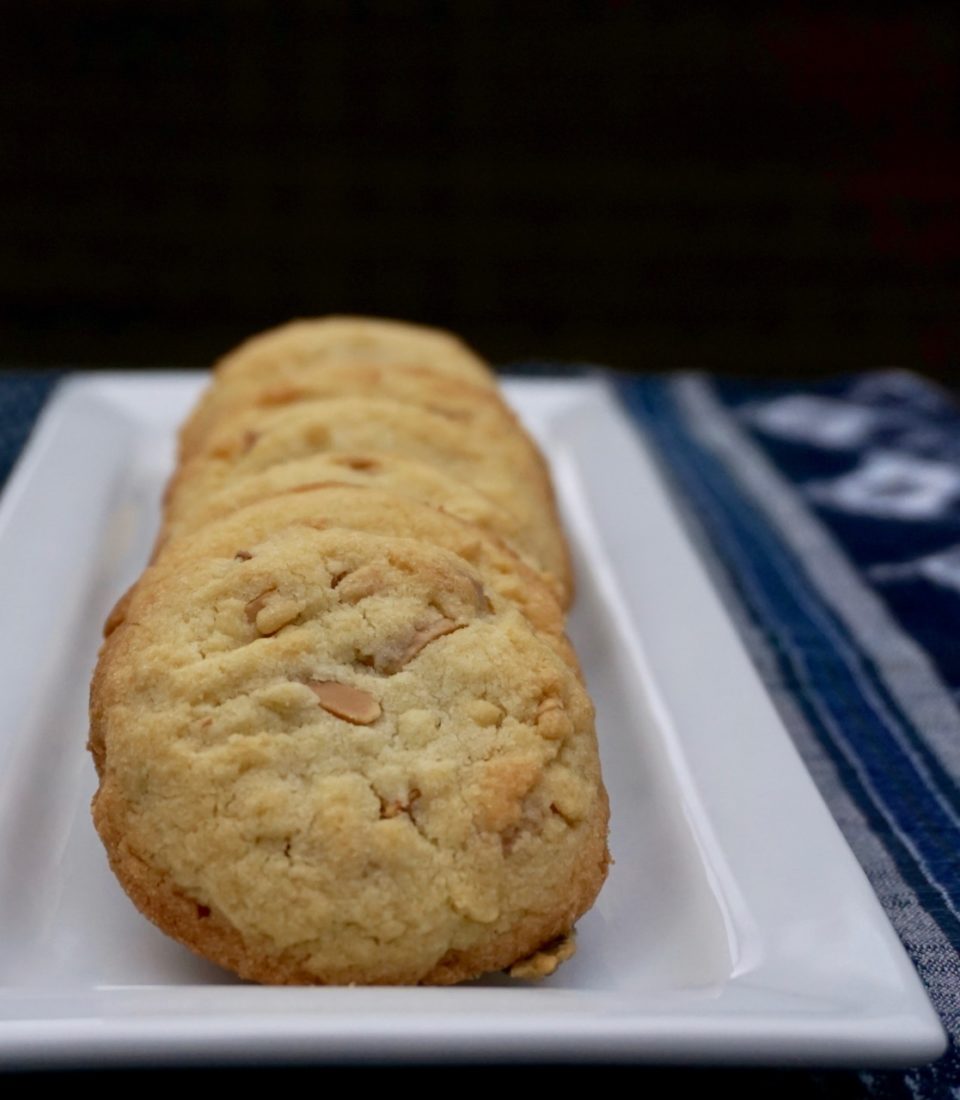
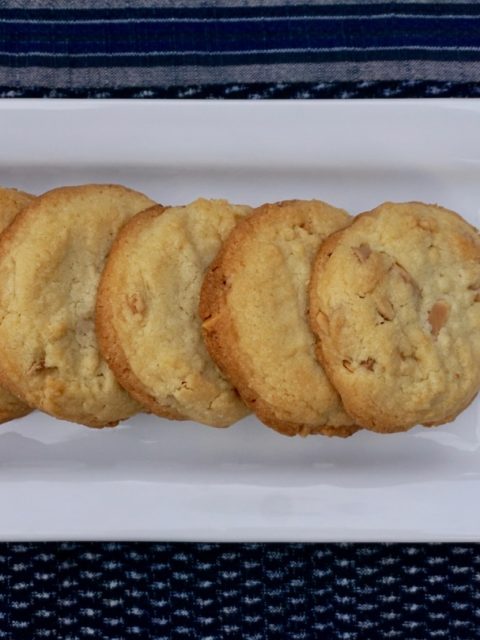
I love these cookies.  Not the prettiest cookies on the block but it was love at first bite. They’re buttery with a touch of sweetness and a nice crunch from the toasted almond slivers.  I had to stop myself from eating the whole batch. In all fairness the recipe only makes 20 cookies.  Yep, just a measly 20 cookies.

Note to self..double the recipe.

These are a snap to make.  Toasting the almonds adds flavor and crunch so don’t skip this step.  Throw the almonds on a baking sheet and toast in a 350 degree oven for approximately 5 minutes.  Easy peasy.  As the almonds cool make the dough. The cookies do not spread much so don’t forget to flatten the dough before baking.  I used a fork dipped in sugar and pressed each cookie with a criss cross pattern much like the classic peanut butter cookie.  I did not flatten the dough enough with the first batch resulting in the edges and bottoms browning before the center was completely baked.  The second pan of cookies turned out perfectly, golden crisp edges surrounding a sable’ like cookie and crunchy almonds.  Yums.

Weekend Warrior-Weekend Baker

Ingredients

  • 12 tablespoons unsalted butter at room temperature
  • ½ cup granulated sugar
  • Pinch of table salt
  • 1 yolk from large egg
  • ¾ teaspoon pure vanilla extract
  • 1/8 teaspoon pure almond extract
  • 1 ½ cups all-purpose flour
  • ½ cup slivered almonds toasted

Instructions

  • 1. Position an oven rack in the middle. Heat the oven to 350˚F.
  • Line 2 cookie sheets with parchment paper or nonstick baking liners.
  • 2. In a large bowl, combine the butter, sugar and salt. Beat with an electric mixer (stand mixer fitted with the paddle attachment or handheld mixer) on medium speed until well blended. Add the egg yolk and vanilla and almond extracts and beat until combined. Pour in the flour and toasted almonds and beat on low speed until the dough begins to clump together. The nuts will break up a bit, but that’s okay.
  • 3. Using a small ice-cream scoop or 2 tablespoons, shape rounded mounds of about 2 tablespoons dough on the prepared cookie sheets, spacing them about 1 ½”. Using your fingers, press down on each mound to flatten.
  • 4. Bake 1 sheet at a time until the cookies look dry on top and the edges are golden brown, about 17 minutes. Transfer the cookie sheet to a rack to cool for about 10 minutes. Using a spatula, lift the cookies from the sheet onto a rack and let cool completely.


Chocolate Sprinkle Cookies (Everything Is Better With Sprinkles)

Chocolate Sprinkle Cookies (Everything Is Better With Sprinkles)

Is anyone else feeling like me?  Where did the year go? I can’t believe it’s almost summer!   My kids are in the homestretch at school and finals are just around the corner.  We just dropped their care packages off at the post office, nothing like some sugar and munchies for those late-night study sessions.  I remember those days well.

Care Package Contest

Wes made his Good Cookies which truly are the study cookie of choice for our kids (I’m not jealous in the least bit, nope not at all….brats).  We packed homemade granola, Hawaiian-style sweet bread buns, and dried mangos.  I almost made the usual CCC but decided to change it up.  Back in the recesses of my mind, I remembered Jordan remarking how much he liked Chocolate Sprinkles Cookies.  Just maybe I could knock Wes’s Good Cookies off that number one spot in the care package derby….as you can tell I am not the least bit competitive.

The recipe for these kid-friendly cookies comes from Bake or Break, an absolutely wonderful site with easy, delicious recipes for all things baked.

Swap chocolate sprinkles for the chips for this riff on chocolate chip cookies. This transforms both the taste and texture of the cookie.  Chocolate flavor permeates the entire cookie rather than that burst of chocolate you get when you bite into a chip.  The edge of the cookie is crisp while the center is just a tad chewy.  Those in the No Nuts camp will be happy…not a nut to be found in this cookie.

NO Faux Sprinkles Please

The star of this cookie is the sprinkles, so please make sure you use good quality chocolate sprinkles. You know, real chocolate sprinkles not waxy pretend wanna-be sprinkles.  Guittard makes delicious chocolate sprinkles that can be ordered from King Arthur Flour or if you have an Asian market or a market that carries Dutch products, DeRuijter has a line of chocolate sprinkles that are very good.

Make these cookies soon and sprinkle some happiness and yumminess on your kids!

Everything Is Better With Sprinkles

Chocolate sprinkle cookies for the kid in all of us. Crispy edges, chewy center and chocolate everywhere
Course cookies, Dessert
Cuisine American
Keyword Chocolate Sprinkle Cookies
Prep Time 15 minutes
Cook Time 15 minutes

Ingredients

  • 2 & 1/2 cups all-purpose flour
  • 1 teaspoon baking powder
  • 1/2 teaspoon salt
  • 1 cup unsalted butter softened
  • 1 cup granulated sugar
  • 1 cup packed light brown sugar
  • 2 large eggs
  • 1 & 1/2 teaspoons vanilla extract
  • 1 cup chocolate sprinkles

Instructions

  • Preheat oven to 350°. Grease or line baking sheets.
  • Whisk together flour, baking powder, and salt. Set aside.
  • Using an electric mixer, beat butter, sugar, and brown sugar until fluffy. Add eggs, one at a time, beating just until combined after each addition.
  • Mix in vanilla.
  • Gradually add flour mixture, mixing until almost combined. Stir in chocolate. Do not over mix.
  • Using a small ice cream or cookie scoop (2 T) scoop and place dough onto lined pans.
  • Bake 10-12 minutes until edges are golden brown. Adjust cooking time for a chewy cookie decrease baking time ~1 minute for a crispier cookie increase baking time ~1 minute
  • Transfer from pan to wire racks to cool completely.