
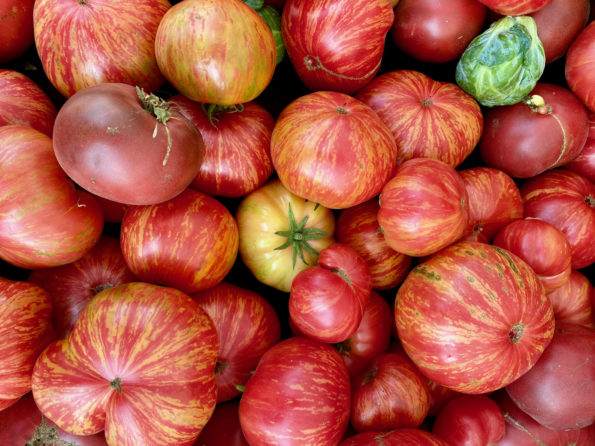
We apparently do not have the veggie garden green thumb. We planted tomatoes and squash, then fertilized, watered, and even talked to the plants but…
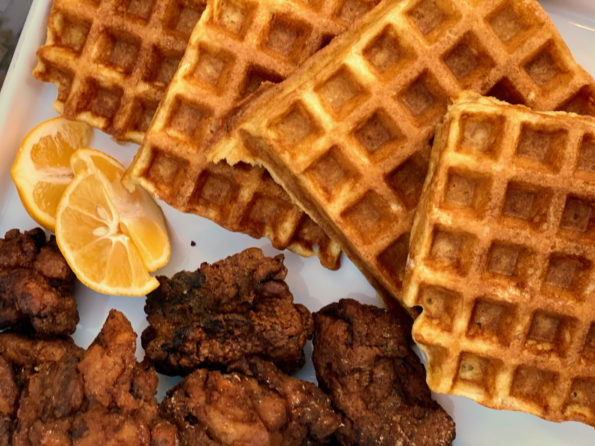
National Waffle Day was YESTERDAY a couple of days ago and yep, I missed it. But it did guilt me into pulling out my waffle…

I appreciate our backyard now more than ever as it has served as an escape during the quarantine. While it’s not very big and there…
Right before the pandemic hit we capped off a year of traveling by going to Maui. A celebration for the hubster’s birthday and his early…
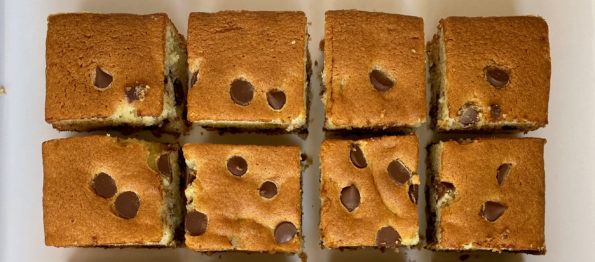
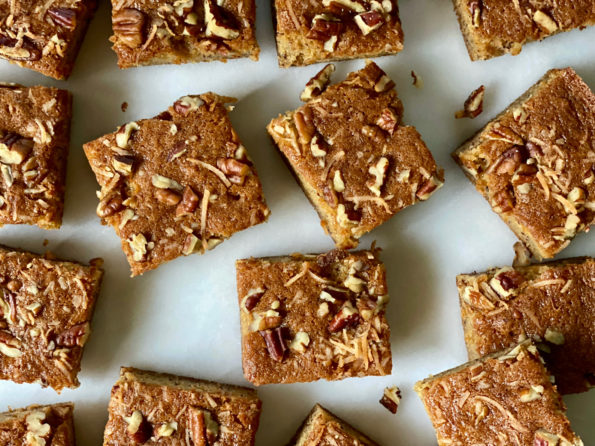
Rounding out Joy Cho month also known as Cakenado, I made her Chocolate Chip Sour Cream Snack Cake. It all started with her Mochi Banana…

I am the happy owner of Anyday Cookware, a set of bowls designed for the microwave. A podcast junkie, I am hooked on “All Things…
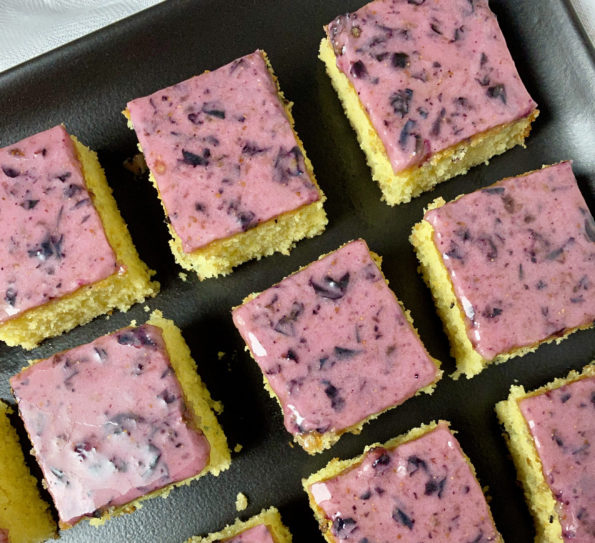
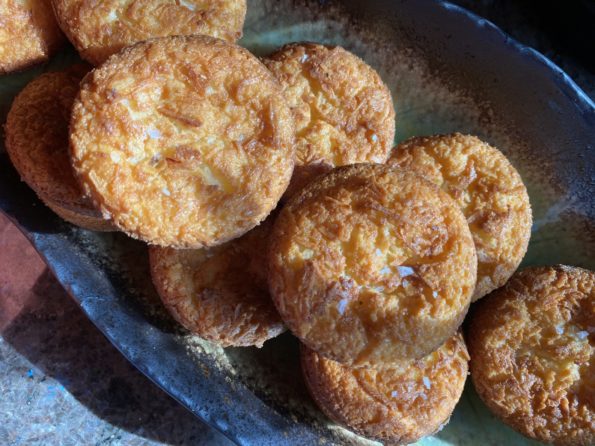
Continuing on my “All Things Joy” thread. Joy Cho, creator of Sour Cream Gem Cakes posted yet another winning snack cake (in Eater this time),…
I think of myself as a pie person but lately, I have found myself baking cakes. Not fancy multi-layer show-stopper cakes, simple one layer, easy…
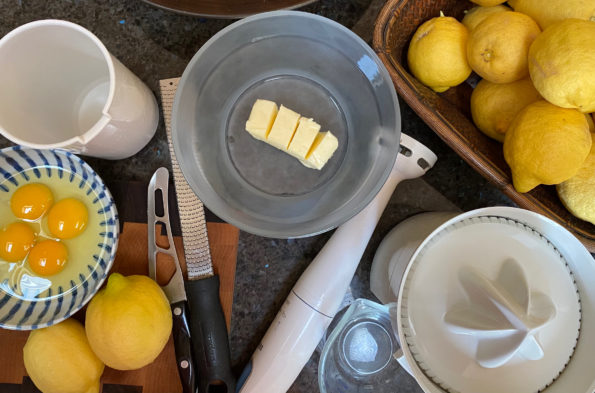
When Tree Gives You Lemons…..Make Lemon Curd! Outside my kitchen window grows one of my few garden successes, a lemon tree. While Meyer Lemon trees…