Category: Twelve Days of Cookies

Holiday cookie recipes

Corn Cookies If You Bake It, They Will Come (Momofuku)

Corn Cookies If You Bake It, They Will Come (Momofuku)

Tried and True

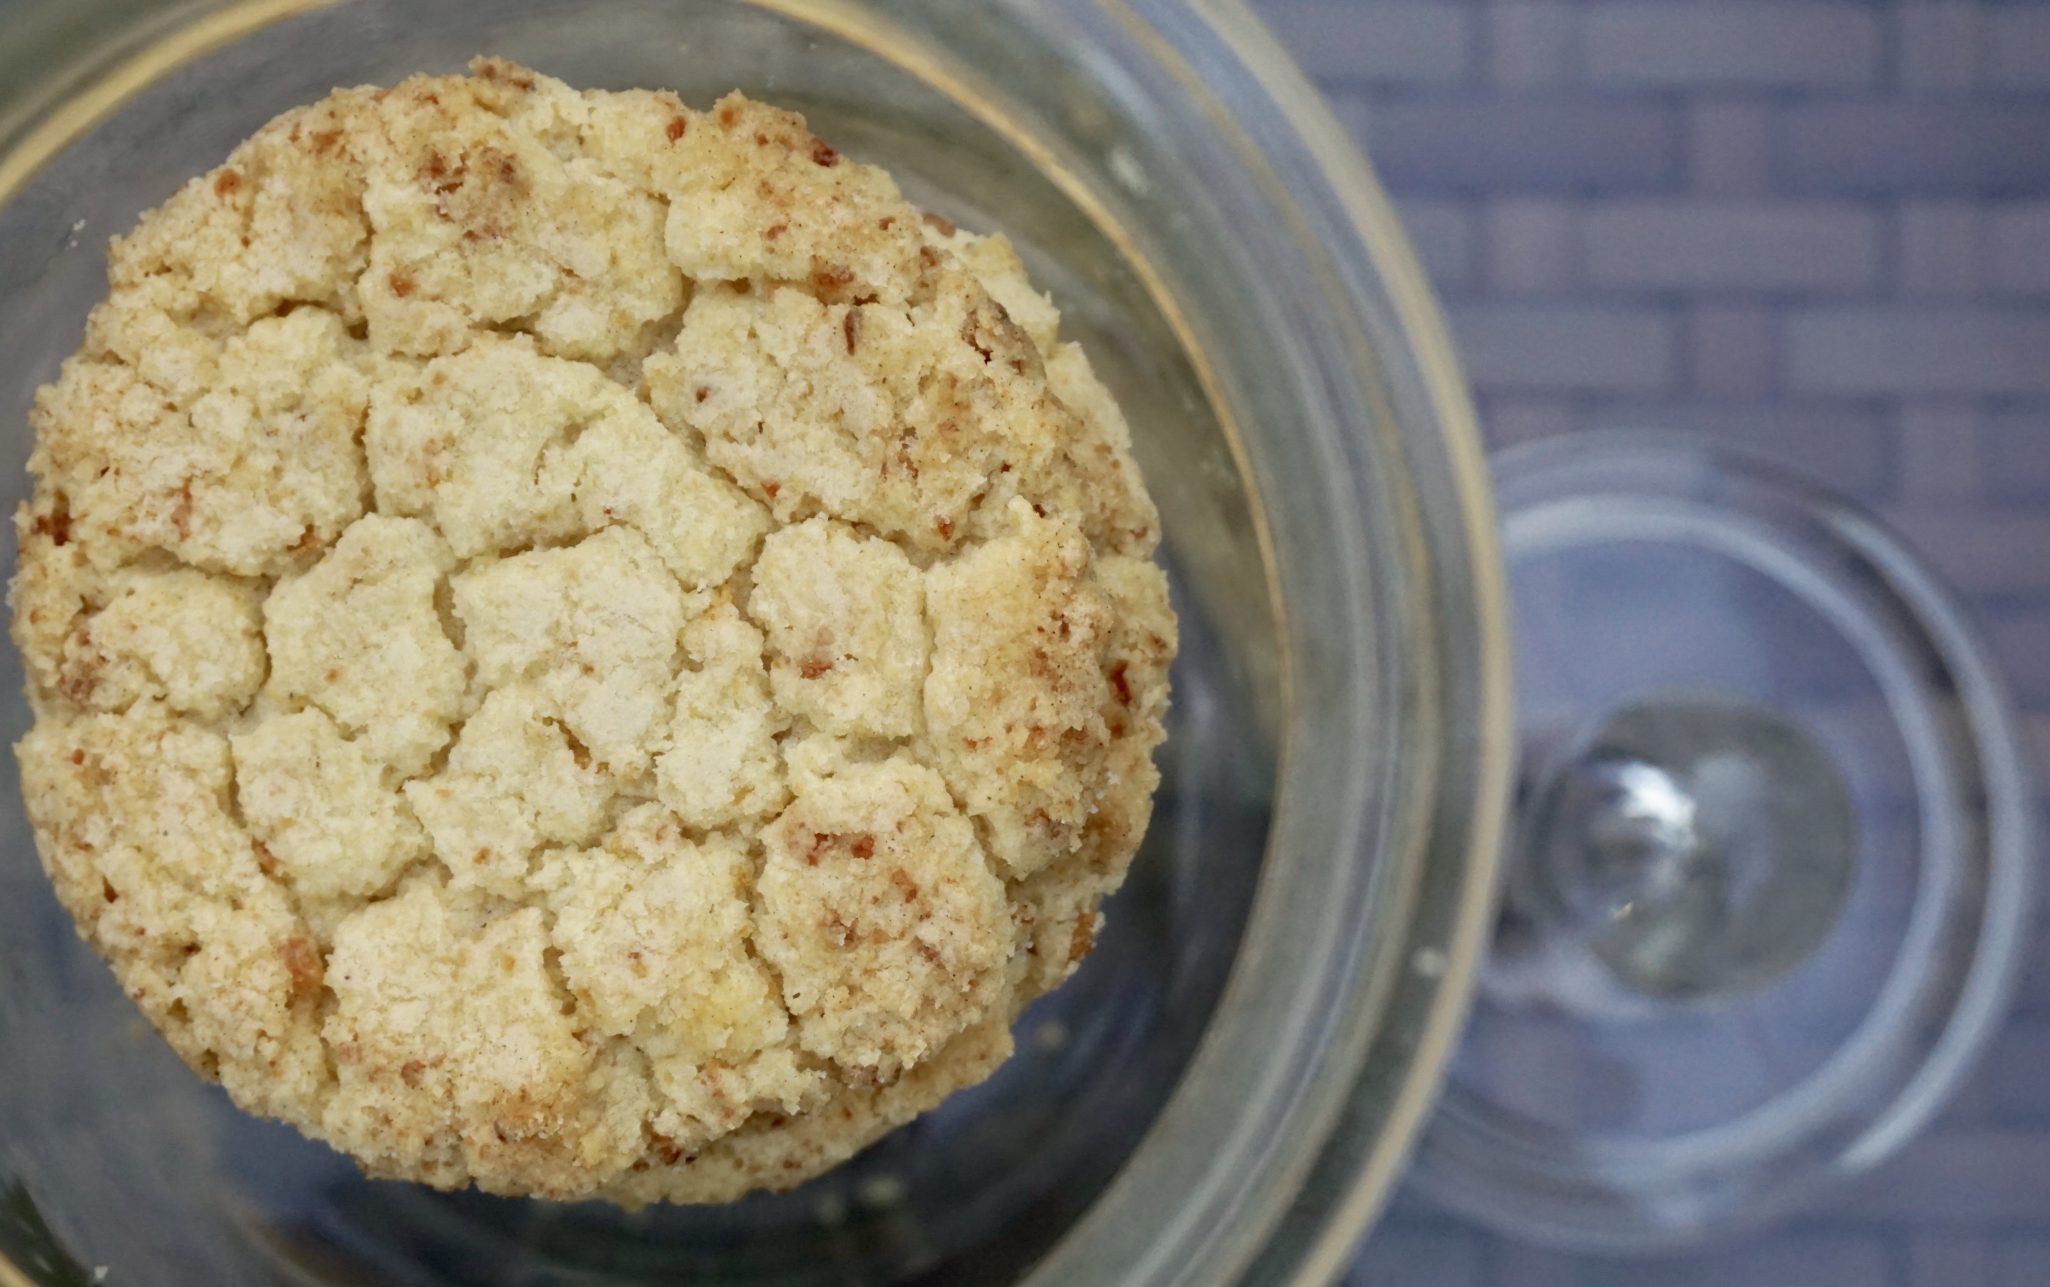
Two cookies have shown up in photos in previous posts that have never been given their just due, Christina Tosi’s Corn Cookies and Brown Butter Salted Rice Krispy Treats from Smitten Kitchen. After trying a couple of new cookie recipes that were not up to snuff, I decided to make one of these tried and true recipes to help get my cookie mojo back. The hubster lobbied for Corn Cookies so I pulled the cornflour and freeze-dried corn kernels out of the pantry, the combo that gives these cookies their one-two corn punch, and got busy.

Summer Sunshine in a Cookie

I adore these cookies. Each bite tastes like buttery, sweet-salty corn on the cob.  I imagine myself baking a batch of these at the end of every summer to soften the blow of NO MORE fresh corn at my local farmer’s market.
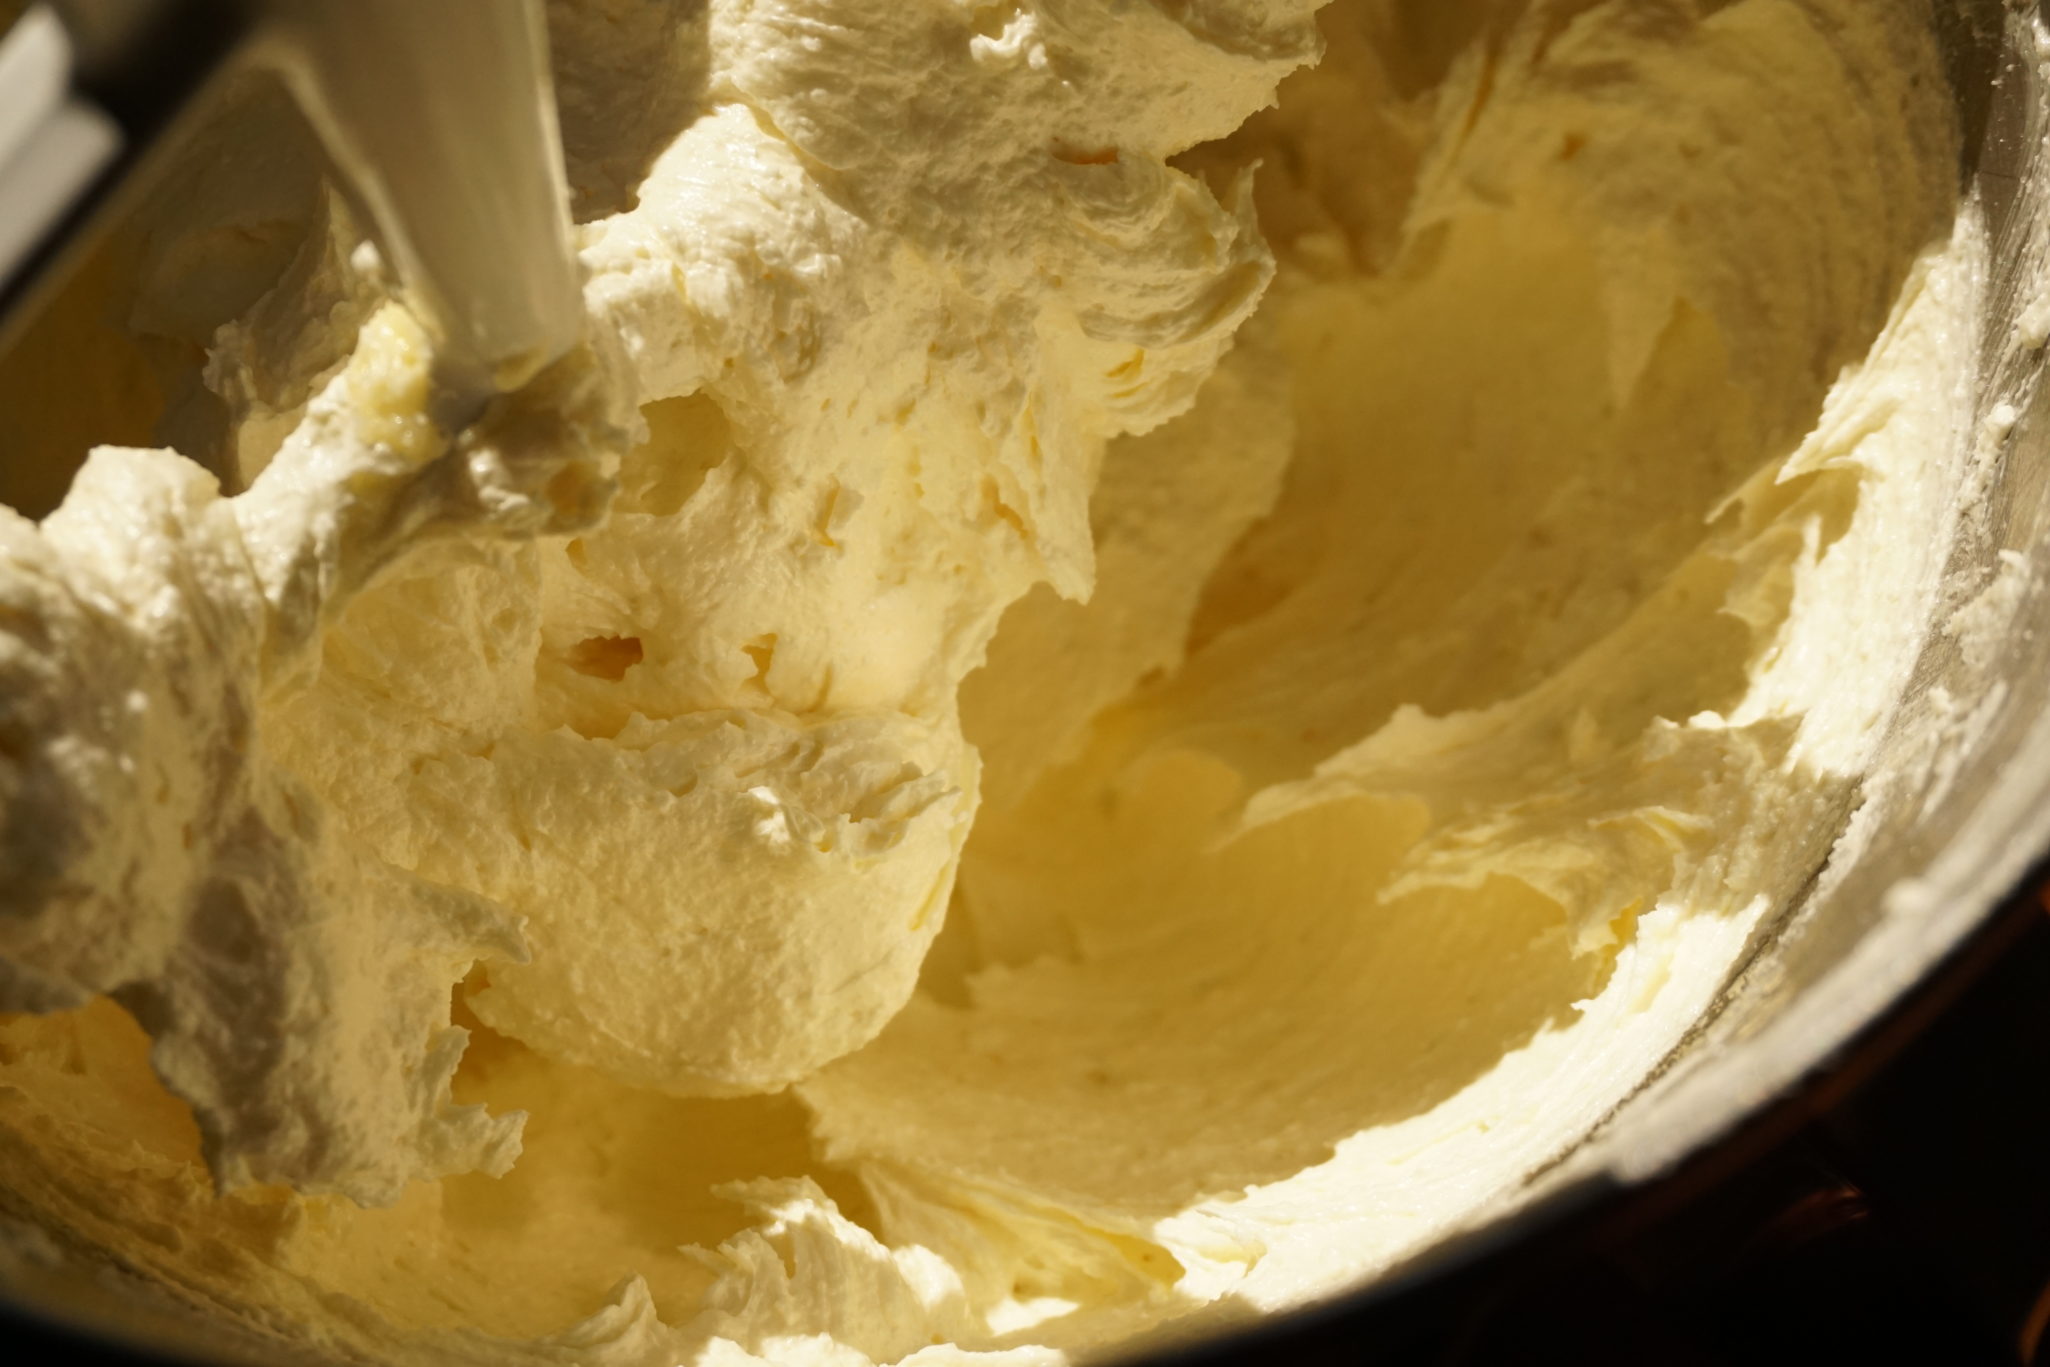
These cookies require beating the butter, sugar, and eggs for 7-8 minutes. Don’t skimp!
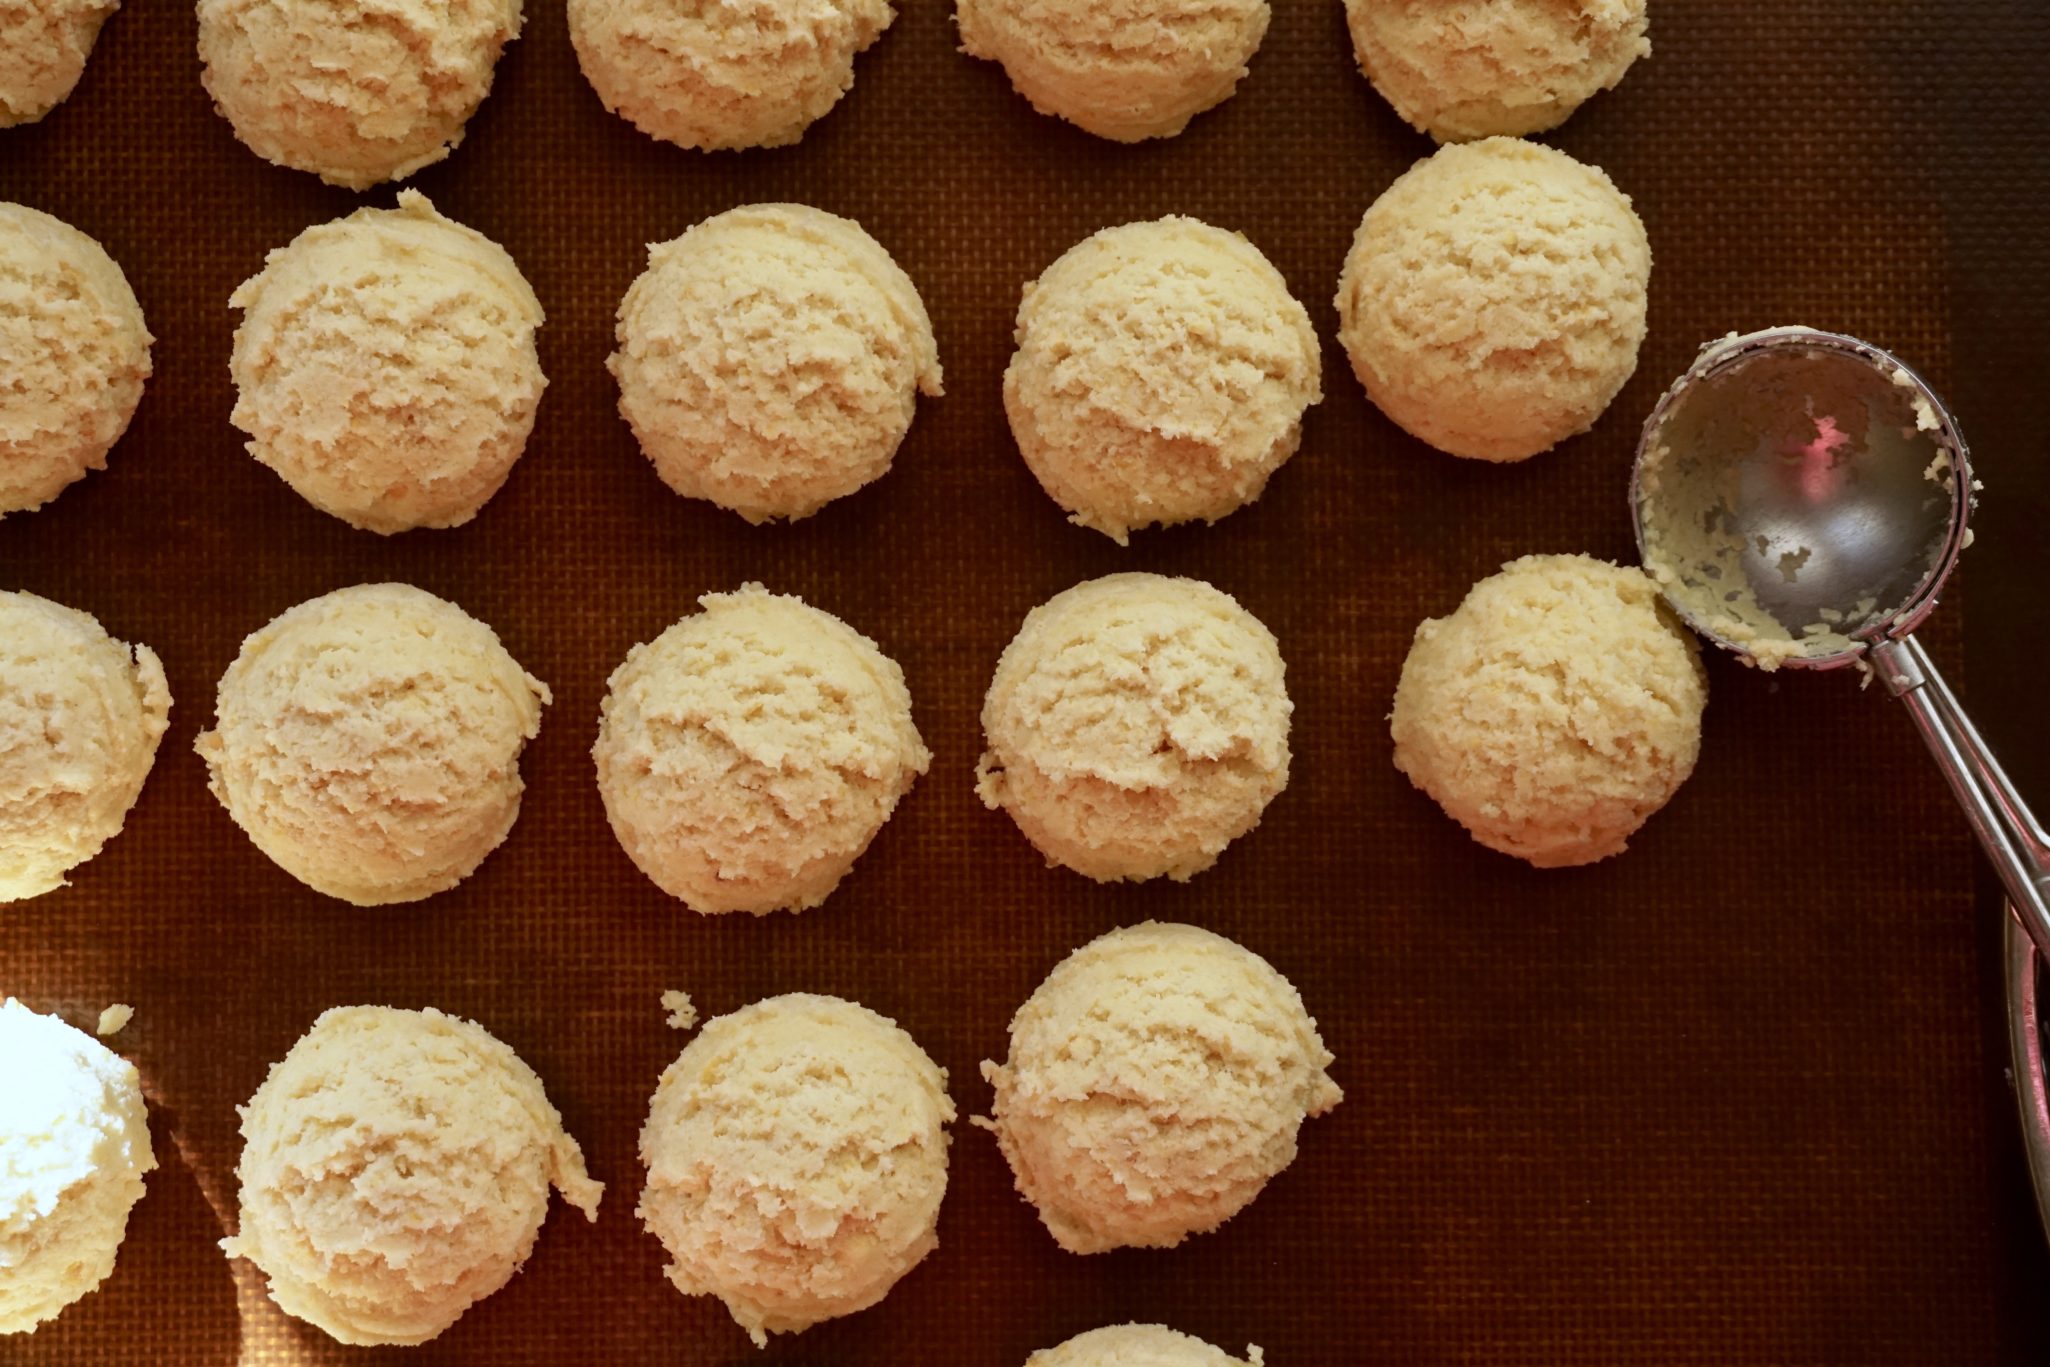
I used a 1/4 cup ice cream scoop to measure out the dough. This gives you uniform cookies.
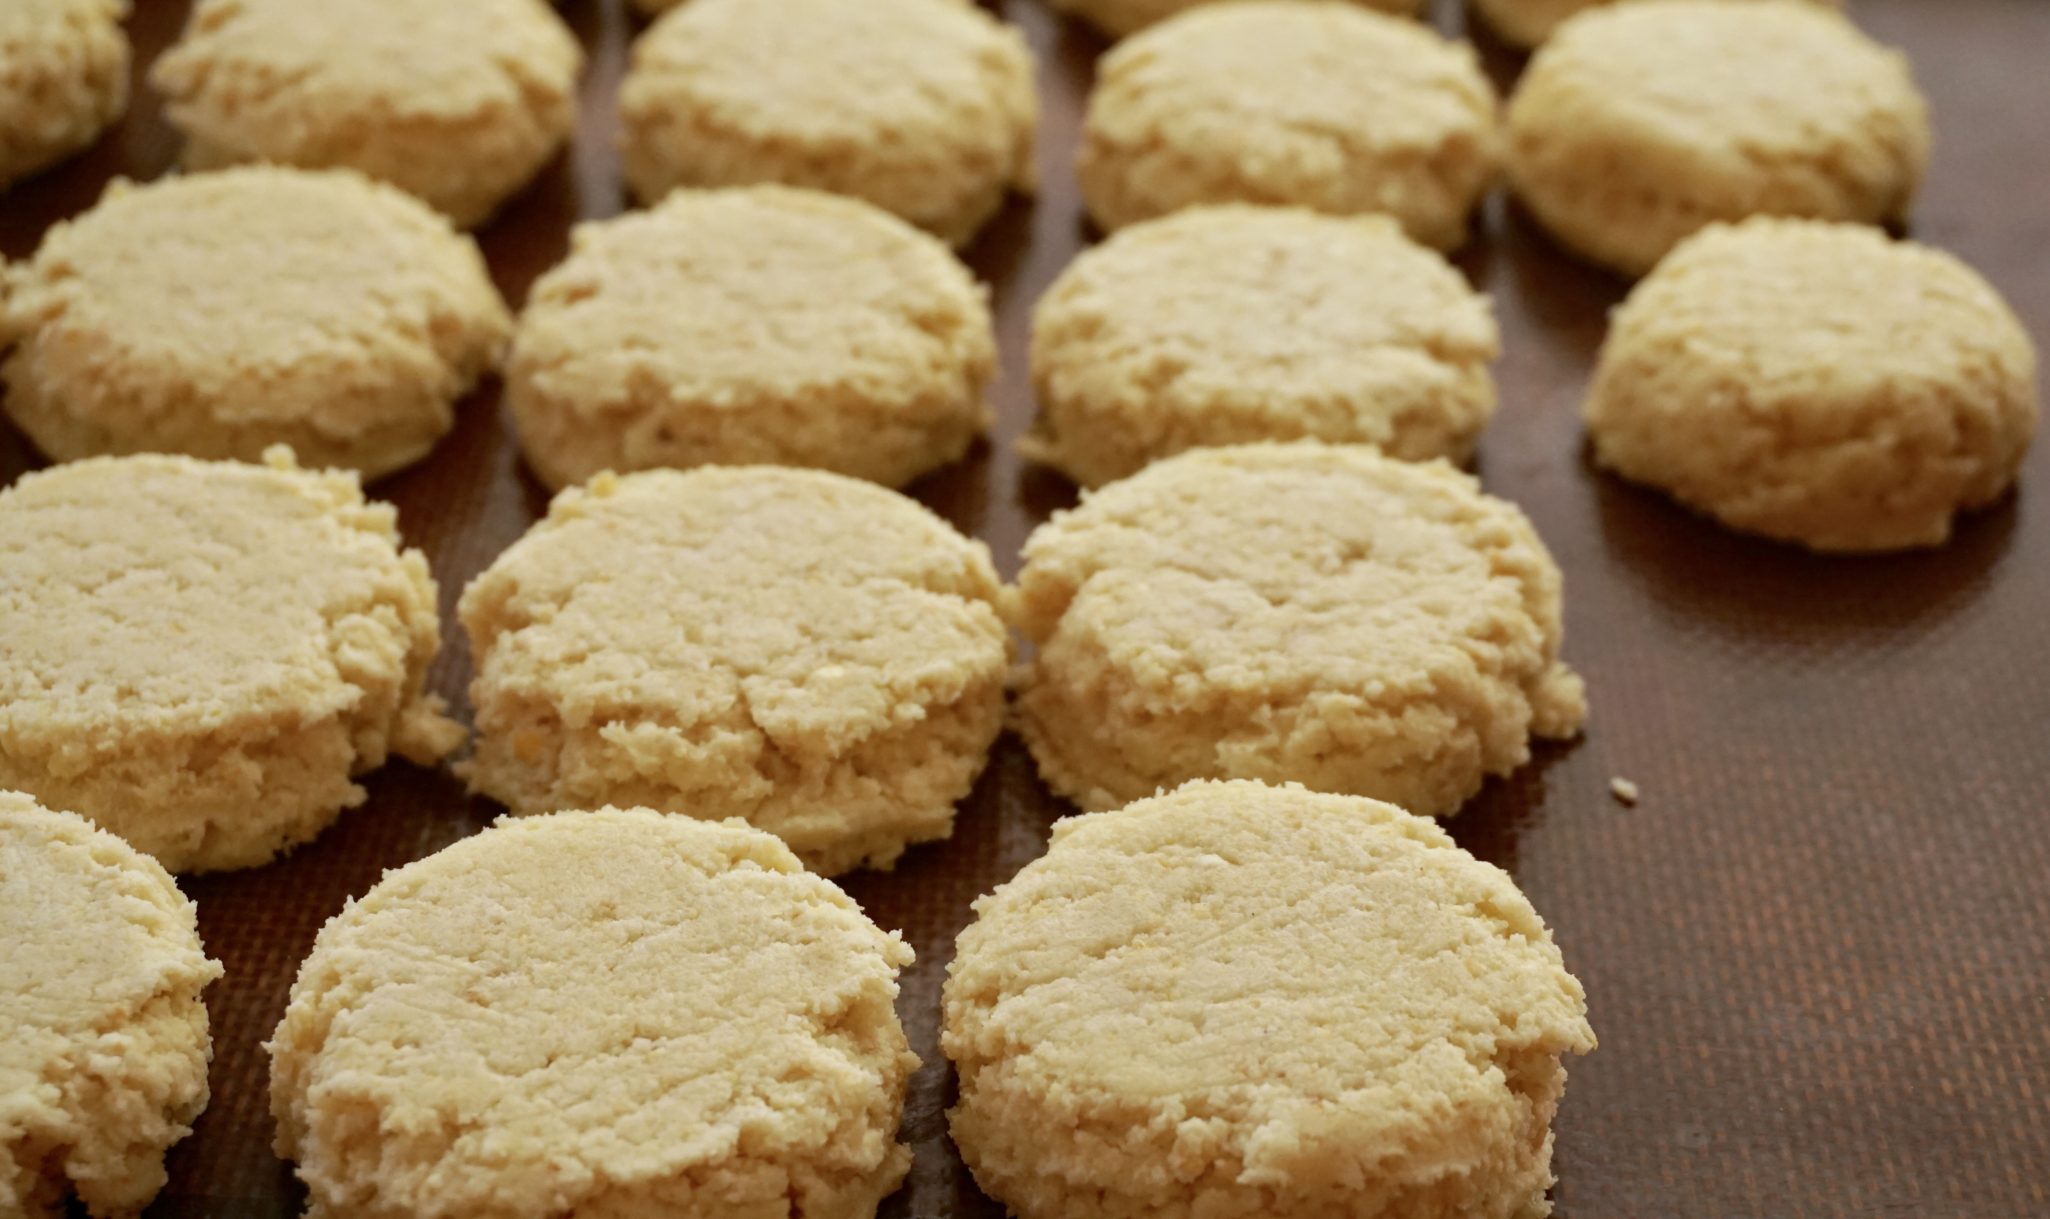
Lightly press cookie dough to approximately 1/3-1/2 inch thickness and refrigerate for at least 3 hours.

Yep, I love these cookies. So good and yet people seem to gravitate toward that plate of chocolate chip cookies.  These corn cookies are deceptively unassuming and often get passed up for cookies with bling (chips, candy bar pieces, the kitchen sink).  Sometimes I don’t say anything so I can take the cookies home for myself.  Most of the time I say “Try it, you’ll like it!”, and invariably I end up going home with an empty platter.

Corn-y Tips

The original recipe calls for bread flour but all-purpose flour can be used.  My theory is all-purpose flour causes the cookie to spread a little more and flatten out.  Bread flour has more protein giving the cookie more structure.  Corn Flour (Bob’s Red Mill) as well as the freeze-dried corn (Just Tomatoes), can be found at Whole Foods and online at Amazon. Grind the freeze-dried corn in a food processor or crush it with a rolling pin.  I make my cookies smaller using a scant 1/4 cup scoop which shortens the baking time to 10-12 minutes.  These cookies are like that ray of sunshine that warms your face and makes you smile.  Put them on your cookie bucket list! 🍪🍪🍪🍪/☀️☀️☀️☀️

Fabulous Ferry Building- I Left my Tastebuds in San Francisco

On a weekly Farmer’s Market foray, I headed to the City (yes, San Francisco) to the Farmer’s Market at the Ferry Building.  A typical visit to the Ferry Building includes:

  • Momos (Nepalese dumplings) from Bini’s Kitchen
  • Coffee from Red Bay and enjoying the fantastic view
  • A quick peruse of books at Book Passage, a small but mighty outpost of this Indie book store.  They know their books!
  • Empanadas from El Porteno Get ready to wait in line.
  • Cookies from Batter Bakery Their Sand Angel Cookie is glorious. So sad they don’t have their store on Polk now 😢
  • Getting whatever produce is in season, any gorgeous fruits and vegetables!
  • Miso & Shio Koji from Aedan which now has a grocery store with her delicious bentos in the Mission
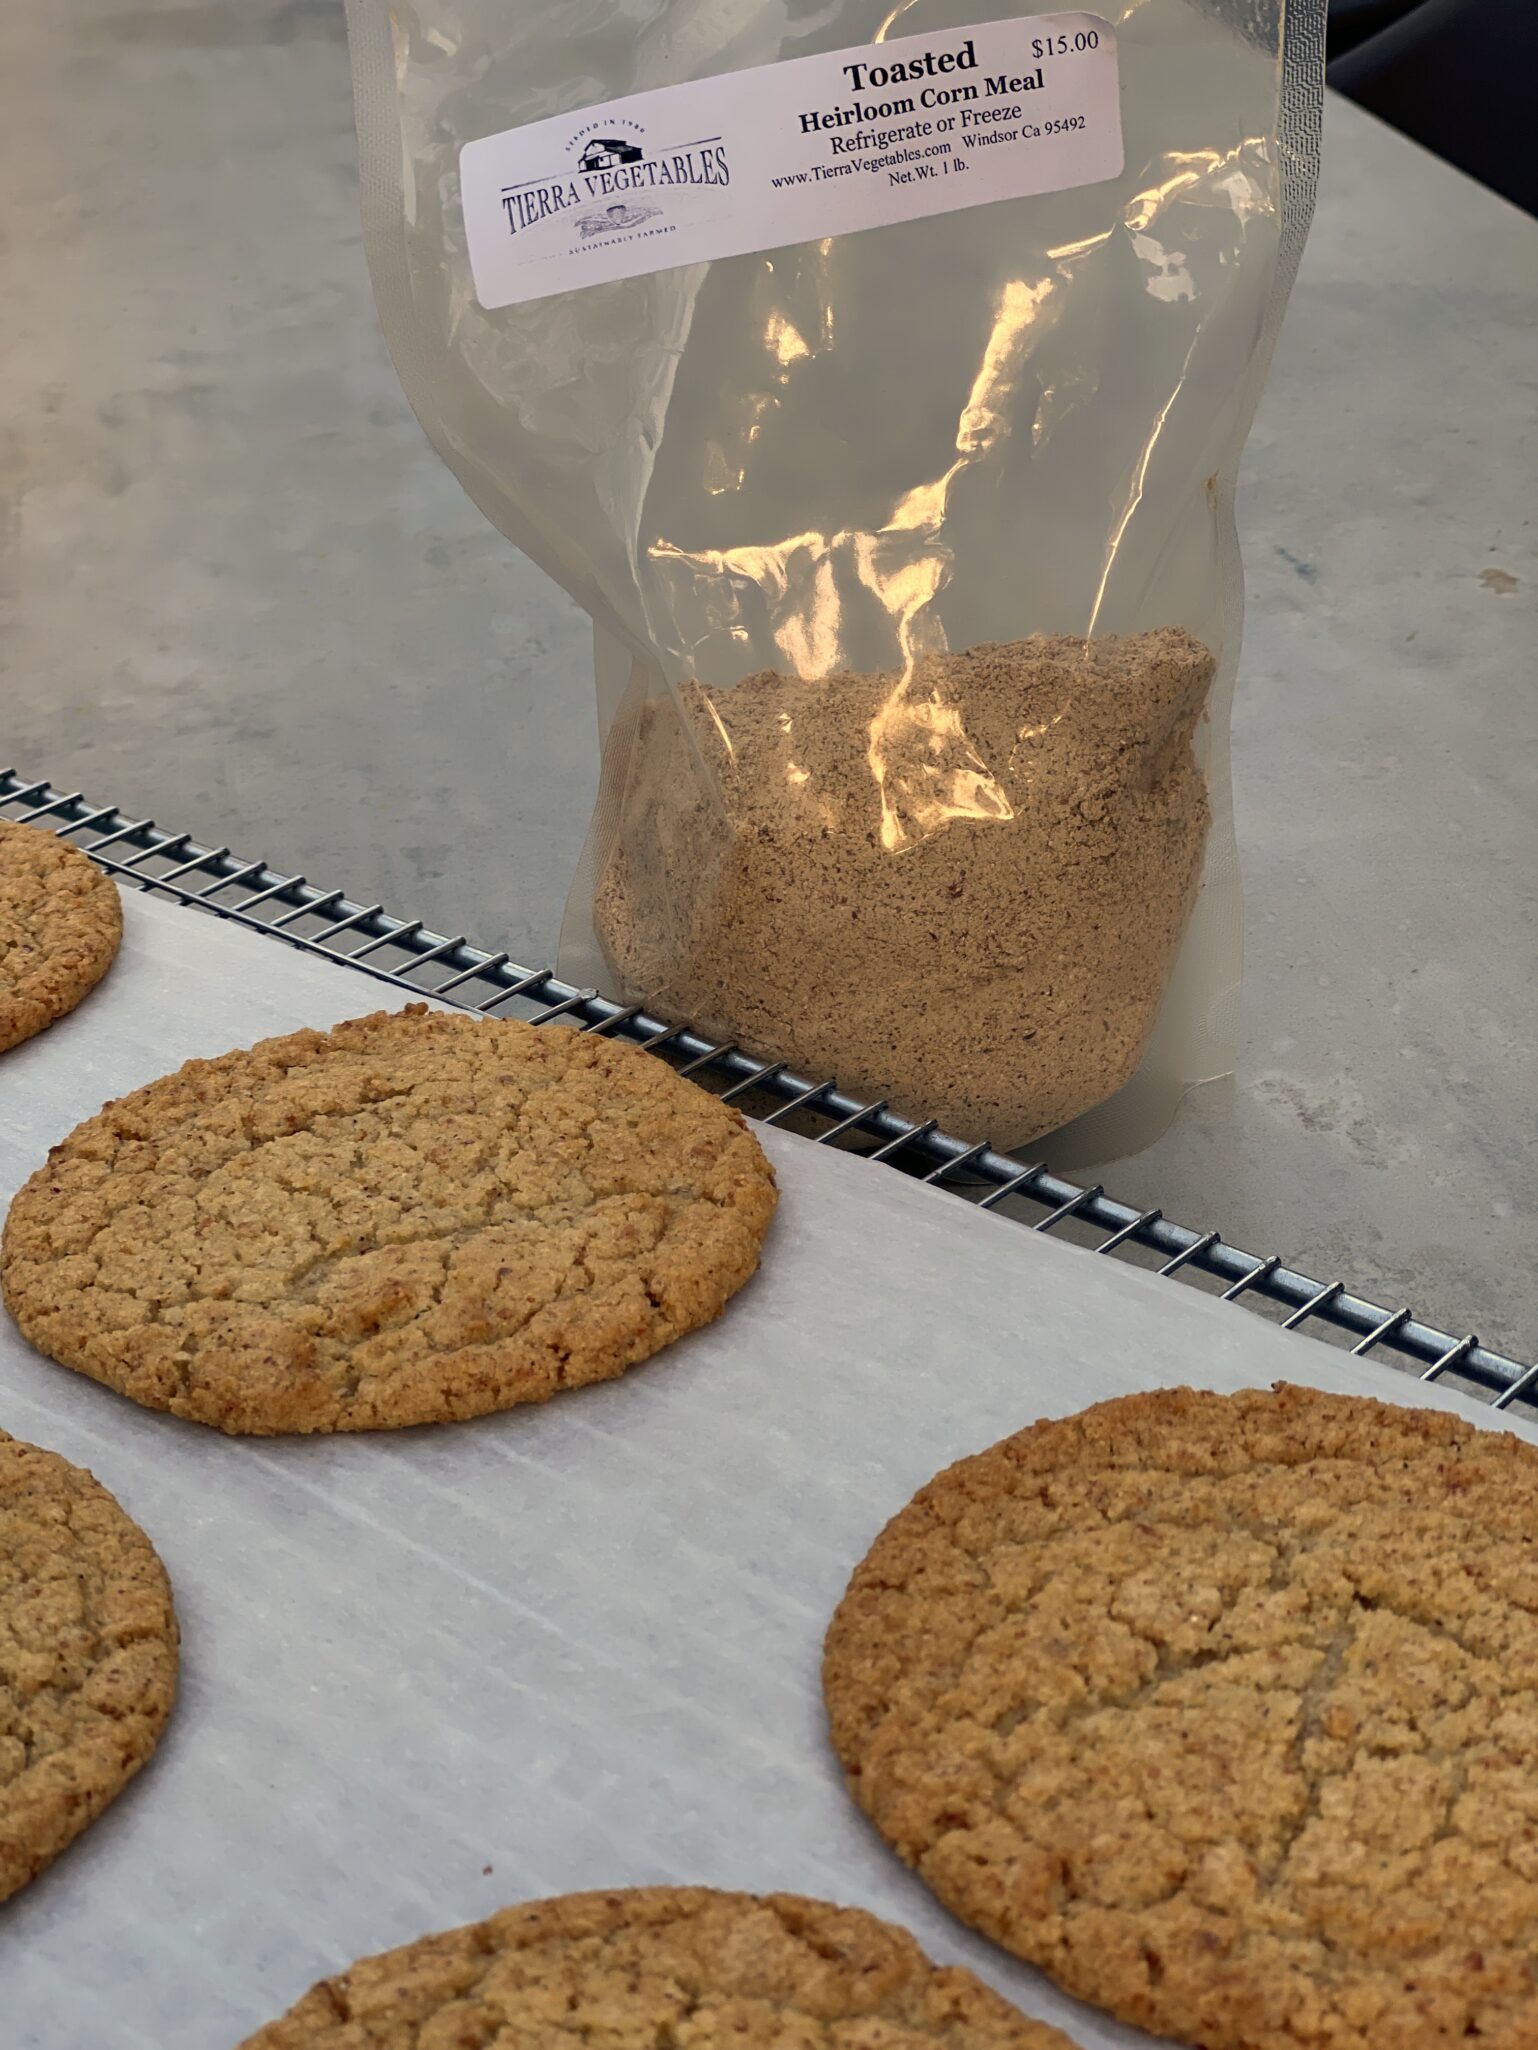
But I digress, my latest find at the Ferry Building is a local farm, Tierra Vegetables in Winsor that mills cornmeal from its own dried corn crops.  Omgoodness, the array of cornmeals in a rainbow of colors is amazing.  The aroma of toasted corn explodes as soon as you open the bag.  Simply the best.  I’ve tried their toasted black cornmeal which has a fine texture and toasty flavor, really dynamite in these cookies.
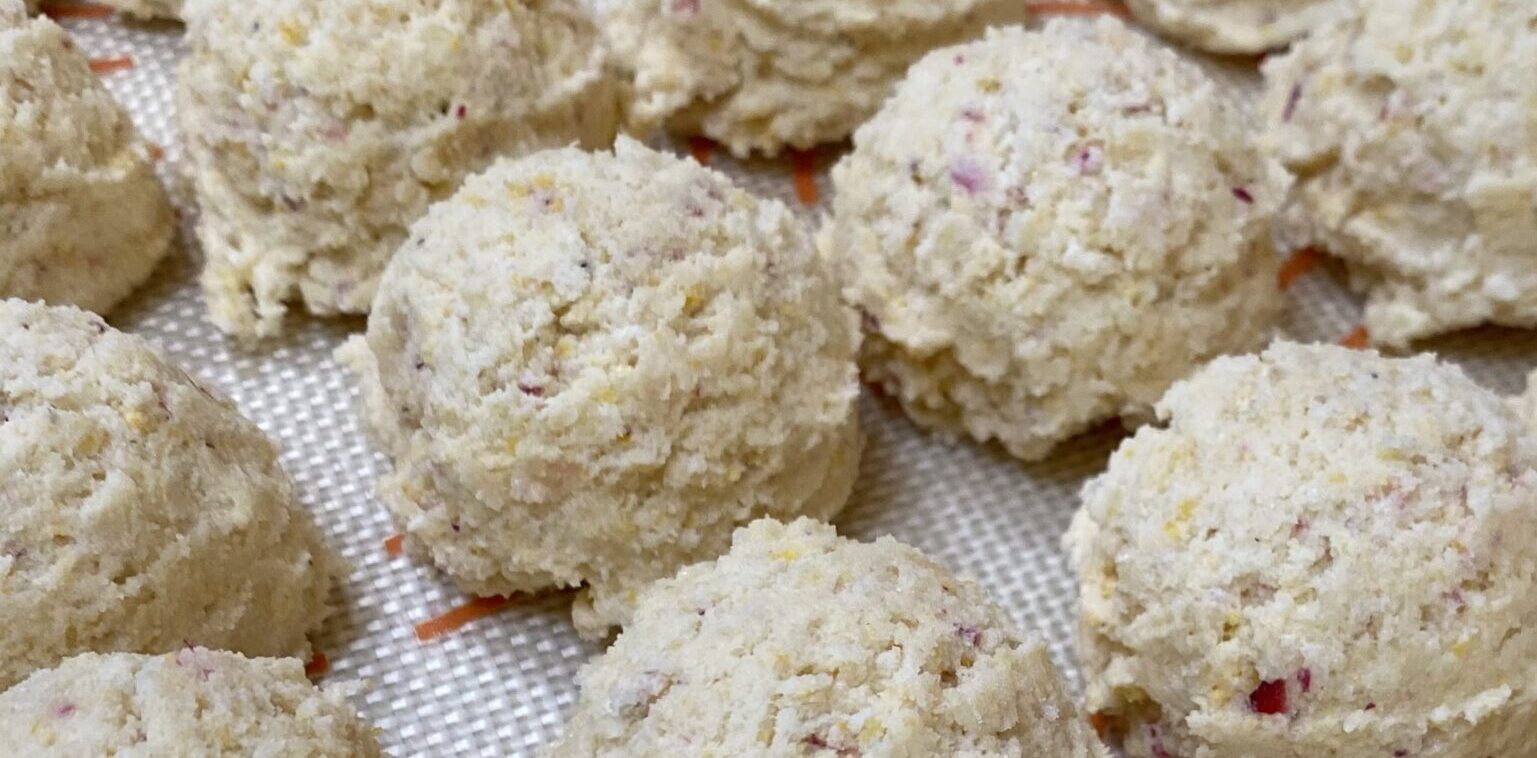
My latest batch uses their Hopi Pink Cornmeal, lighter and more subtle in flavor, if you’re lucky you’ll get one with ruby pink flecks.  Their cornmeals are milled fine so I use it in place of the corn flour. The corn varietals also have varying hardness. Talk to them, they’ll tell you which one is best for cornbread or cookies.
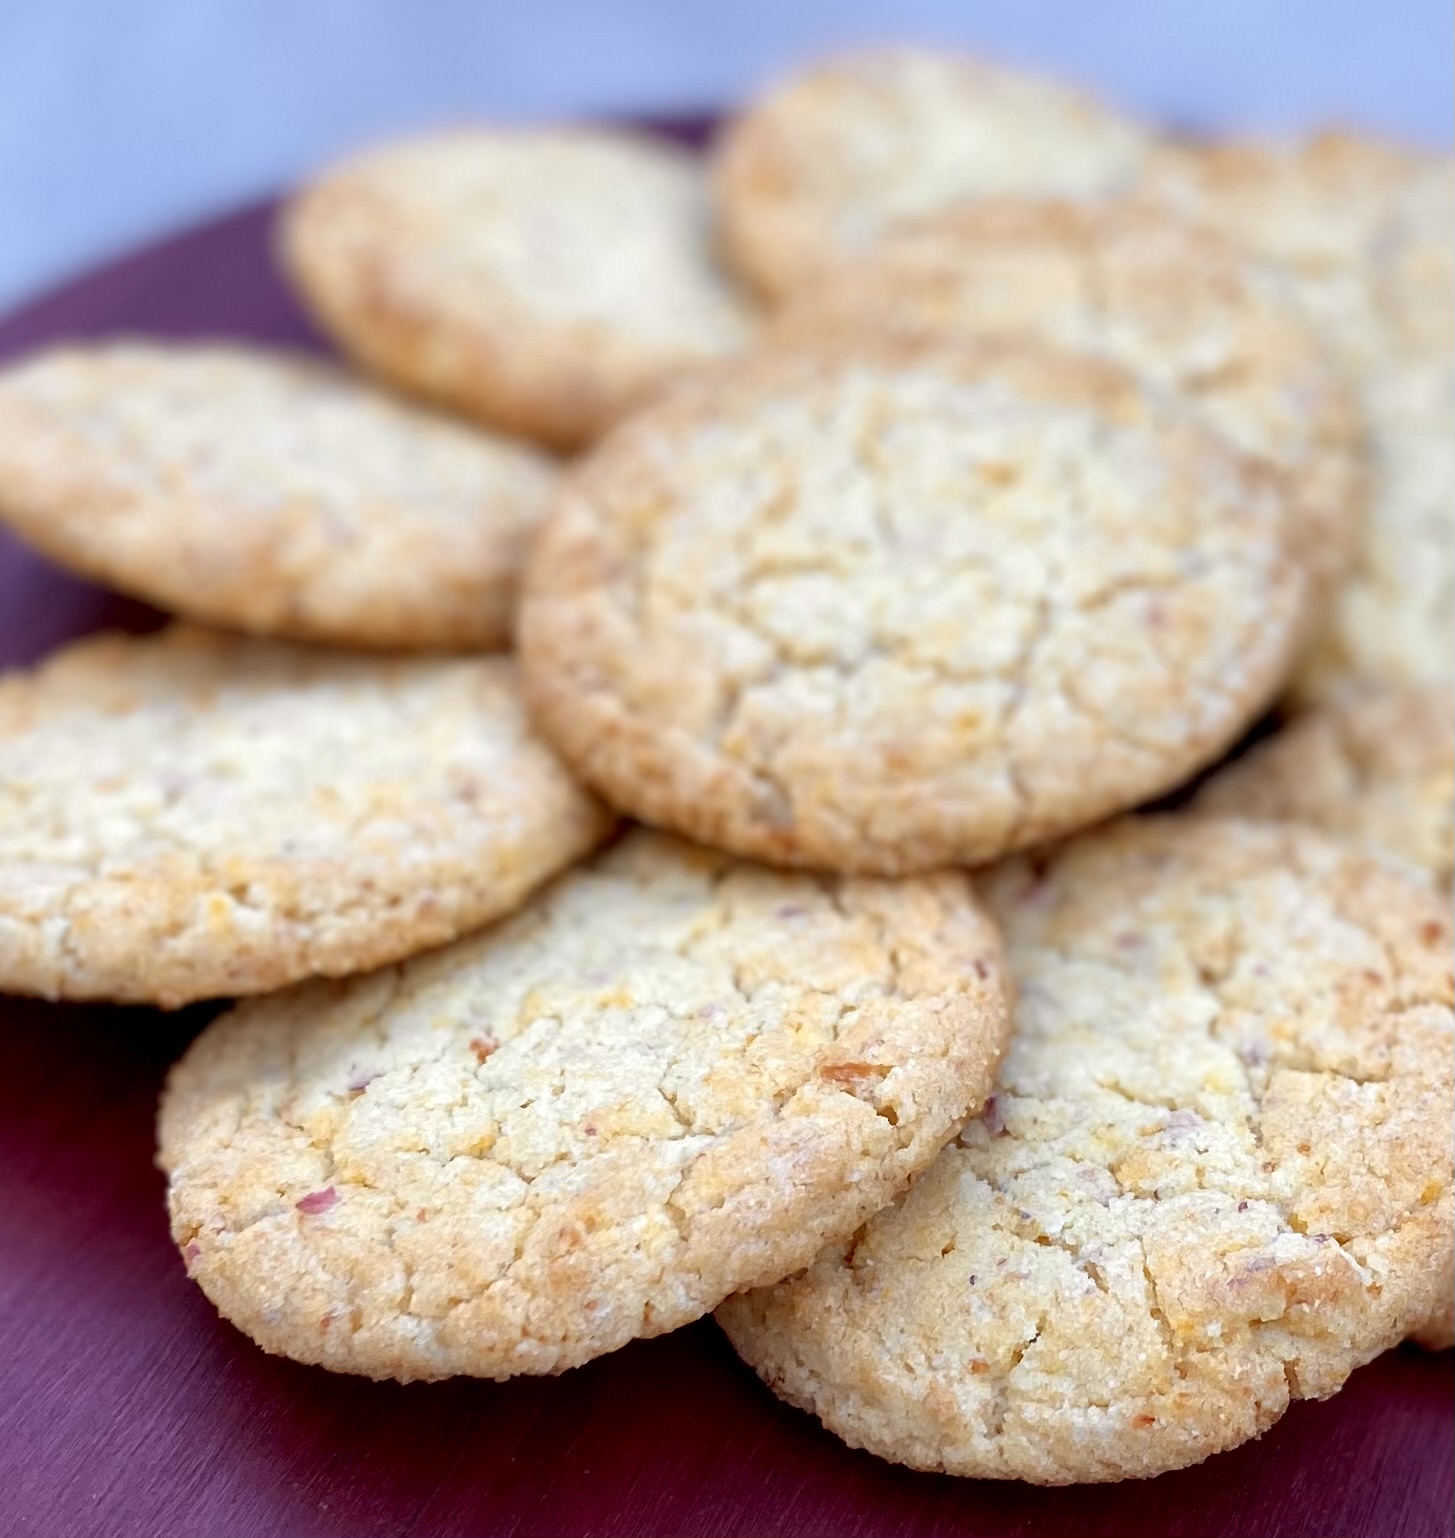
Momofuku Corn Cookies

Chewy, buttery, crispy edges, a cookie that taste like corn on the cob
Course cookies, Dessert, Snack
Cuisine American
Keyword christina tosi, corn cookies, momfuku
Prep Time 15 minutes
Cook Time 9 minutes

Ingredients

Creamed Mixture

  • 16 tablespoons 2 sticks unsalted butter (225gm)
  • 1 1/2 cups granulated sugar 300 gm
  • 1 large egg

Dry Ingredients

  • 1 1/3 cups bread flour or all-purpose flour 225 gm
  • 1/4 cup corn flour 45gm
  • 2/3 cup freeze-dried corn 65 gm finely ground
  • 3/4 teaspoon baking powder 3gm
  • 1/4 teaspoon baking soda 1.5 gm
  • 1 1/2 teaspoons kosher salt 6gm or half the amount of table salt

Instructions

  • Combine the butter and sugar in the bowl of a stand mixer fitted with the paddle attachment and cream together on medium-high for 2 to 3 minutes.
  • Scrape down the sides of the bowl, add the egg, and beat for 7 to 8 minutes.
  • Reduce the mixer speed to low and add the flour, cornflour, corn powder, baking powder, baking soda, and salt.
  • Mix just until the dough comes together, no longer than 1 minute. Scrape down the sides of the bowl.
  • Using a 2 3/4-ounce ice cream scoop (or a 1/3-cup measure), portion out the dough onto a parchment-lined sheet pan. Pat the tops of the cookie dough domes flat. Wrap the sheet pan tightly in plastic wrap and refrigerate for at least 1 hour, or up to 1 week. Do not bake your cookies from room temperature they will not bake properly.
  • Heat the oven to 350°F.
  • Arrange the chilled dough a minimum of 4 inches apart on parchment- or Silpat-lined sheet pans. Bake for 18 minutes. The cookies will puff, crackle, and spread. After 18 minutes, they should be faintly browned on the edges yet still bright yellow in the center; give them an extra minute if not.
  • Cool the cookies completely on the sheet pans before transferring to a plate or to an airtight container for storage. At room temp, the cookies will keep fresh for 5 days; in the freezer, they will keep for 1 month.
Holiday Cookies, Already? (Book Review-Holiday Cookies)

Holiday Cookies, Already? (Book Review-Holiday Cookies)

I love cookies and every year I look forward to baking holiday cookies to share with family and friends. The process for which cookies end up in my annual holiday platter starts..well, the day after Christmas. Throughout the year I keep an eye out for new cookie recipes to go along with my tried and true traditional shortbread and Jan Hagels that I make every year.
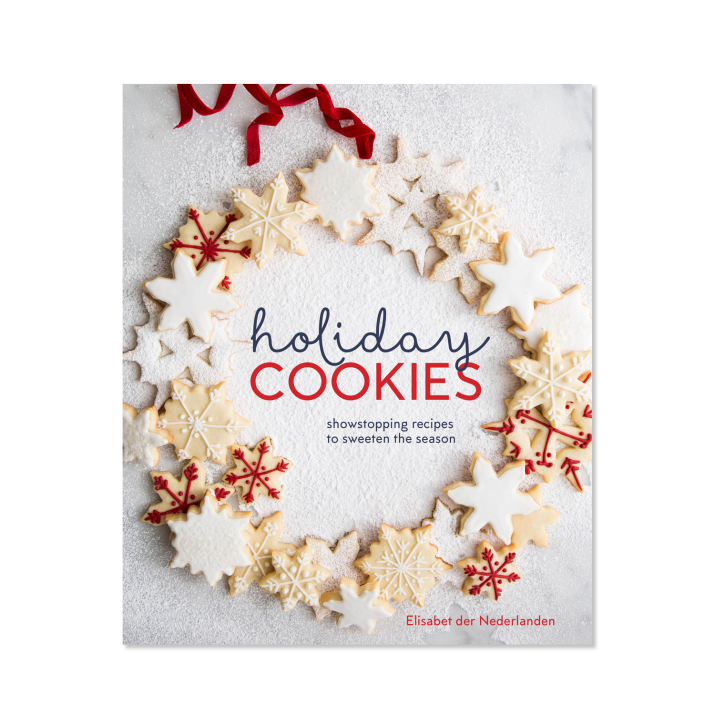
So of course I jumped at the chance to review a new book from Blogging for Books aptly titled Holiday Cookies by Elisabet Der Nederlanden. The collection is filled with classic, traditional cookies like Spritz cookies, green and red pinwheels and gingerbread. She does add a twist to many by varying the spices and flavors-eggnog madeleines, saffron biscotti or fig and cardamon rugelach which definitely add interest.  I chose the Malted Milk Chocolate Cookies to try. It called to the kid in me and conjured up images of Malt-o-meal, Ovaltine and Whoppers. This is the only recipe I have tried so far and unfortunately the cookie was pretty nondescript. Neither the malt flavor or chocolate were stood out. The cookies did not spread or crack as much as the cookies pictured, perhaps too much flour on my part (weights people). I will try other cookies in the book hope I find one for my annual holiday assortment. l’ll update my review when I do.  The recipes depend solely on volume measurements and not weights, bummers. I love cookbooks that contain both weight and volume measurements. I am a big fan of having a scale it is much more accurate and reliable.
The book starts with a section on how to pack cookies and decorate your cookies with a festive flair. Chapters are organized by classics, exchange cookies, spice and around the world. She also includes a chapter on candy and decorating. The recipes are organized with ingredients in the column on the left and directions on the right, very easy to follow. THE PHOTOS ARE GORGEOUS and the book is worth its weight in presentation ideas. Can’t wait to try a couple more recipes.

Chocolate Sprinkle Cookies (Everything Is Better With Sprinkles)

Chocolate Sprinkle Cookies (Everything Is Better With Sprinkles)

Is anyone else feeling like me?  Where did the year go? I can’t believe it’s almost summer!   My kids are in the homestretch at school and finals are just around the corner.  We just dropped their care packages off at the post office, nothing like some sugar and munchies for those late-night study sessions.  I remember those days well.

Care Package Contest

Wes made his Good Cookies which truly are the study cookie of choice for our kids (I’m not jealous in the least bit, nope not at all….brats).  We packed homemade granola, Hawaiian-style sweet bread buns, and dried mangos.  I almost made the usual CCC but decided to change it up.  Back in the recesses of my mind, I remembered Jordan remarking how much he liked Chocolate Sprinkles Cookies.  Just maybe I could knock Wes’s Good Cookies off that number one spot in the care package derby….as you can tell I am not the least bit competitive.

The recipe for these kid-friendly cookies comes from Bake or Break, an absolutely wonderful site with easy, delicious recipes for all things baked.

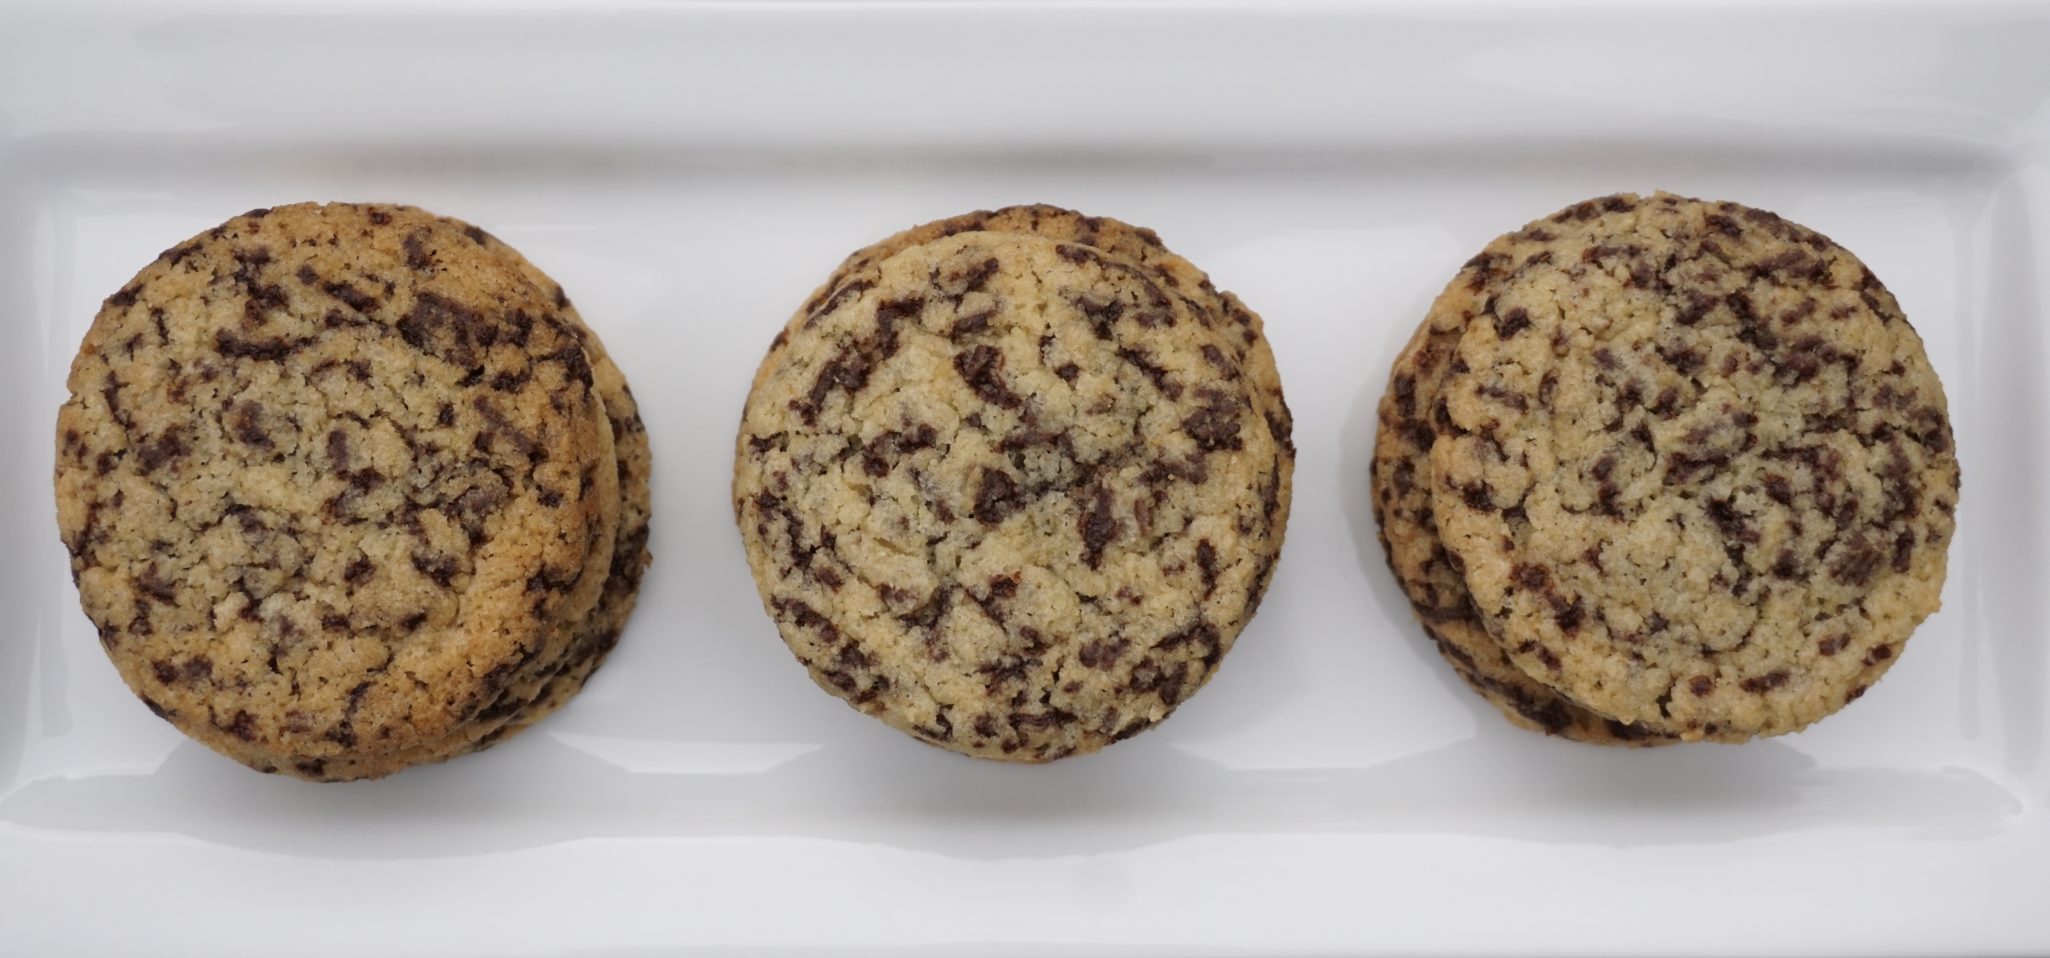
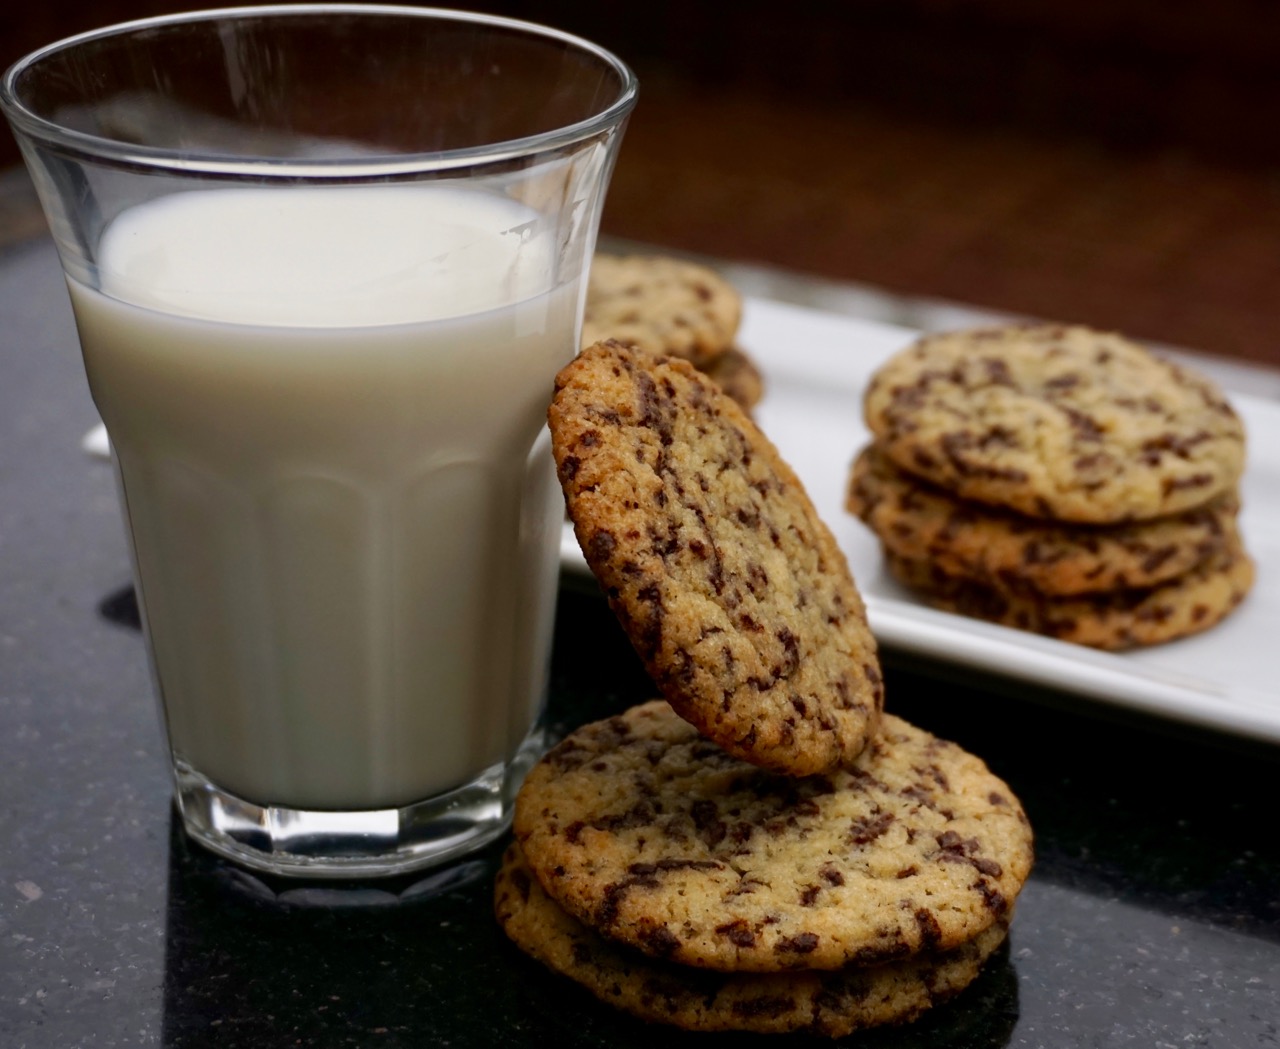
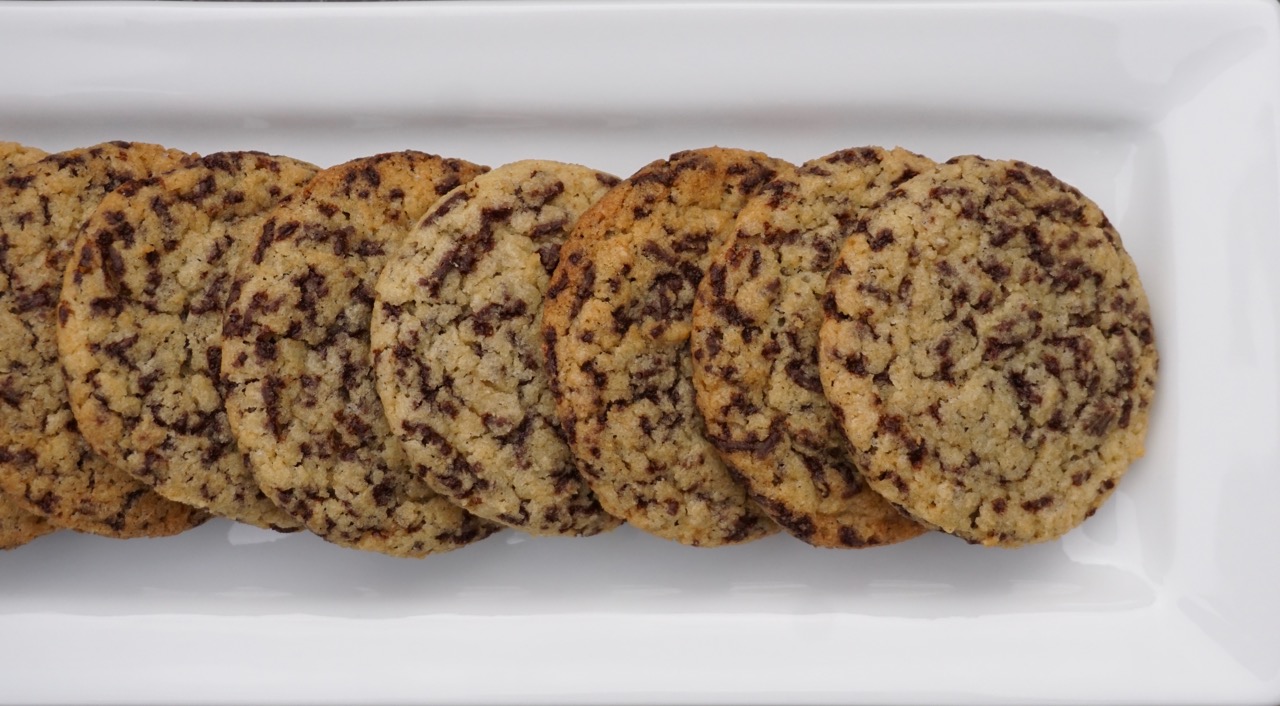
Swap chocolate sprinkles for the chips for this riff on chocolate chip cookies. This transforms both the taste and texture of the cookie.  Chocolate flavor permeates the entire cookie rather than that burst of chocolate you get when you bite into a chip.  The edge of the cookie is crisp while the center is just a tad chewy.  Those in the No Nuts camp will be happy…not a nut to be found in this cookie.

NO Faux Sprinkles Please

The star of this cookie is the sprinkles, so please make sure you use good quality chocolate sprinkles. You know, real chocolate sprinkles not waxy pretend wanna-be sprinkles.  Guittard makes delicious chocolate sprinkles that can be ordered from King Arthur Flour or if you have an Asian market or a market that carries Dutch products, DeRuijter has a line of chocolate sprinkles that are very good.

Make these cookies soon and sprinkle some happiness and yumminess on your kids!

Everything Is Better With Sprinkles

Chocolate sprinkle cookies for the kid in all of us. Crispy edges, chewy center and chocolate everywhere
Course cookies, Dessert
Cuisine American
Keyword Chocolate Sprinkle Cookies
Prep Time 15 minutes
Cook Time 15 minutes

Ingredients

  • 2 & 1/2 cups all-purpose flour
  • 1 teaspoon baking powder
  • 1/2 teaspoon salt
  • 1 cup unsalted butter softened
  • 1 cup granulated sugar
  • 1 cup packed light brown sugar
  • 2 large eggs
  • 1 & 1/2 teaspoons vanilla extract
  • 1 cup chocolate sprinkles

Instructions

  • Preheat oven to 350°. Grease or line baking sheets.
  • Whisk together flour, baking powder, and salt. Set aside.
  • Using an electric mixer, beat butter, sugar, and brown sugar until fluffy. Add eggs, one at a time, beating just until combined after each addition.
  • Mix in vanilla.
  • Gradually add flour mixture, mixing until almost combined. Stir in chocolate. Do not over mix.
  • Using a small ice cream or cookie scoop (2 T) scoop and place dough onto lined pans.
  • Bake 10-12 minutes until edges are golden brown. Adjust cooking time for a chewy cookie decrease baking time ~1 minute for a crispier cookie increase baking time ~1 minute
  • Transfer from pan to wire racks to cool completely.
Not Your Mama’s Graham Crackers

Not Your Mama’s Graham Crackers

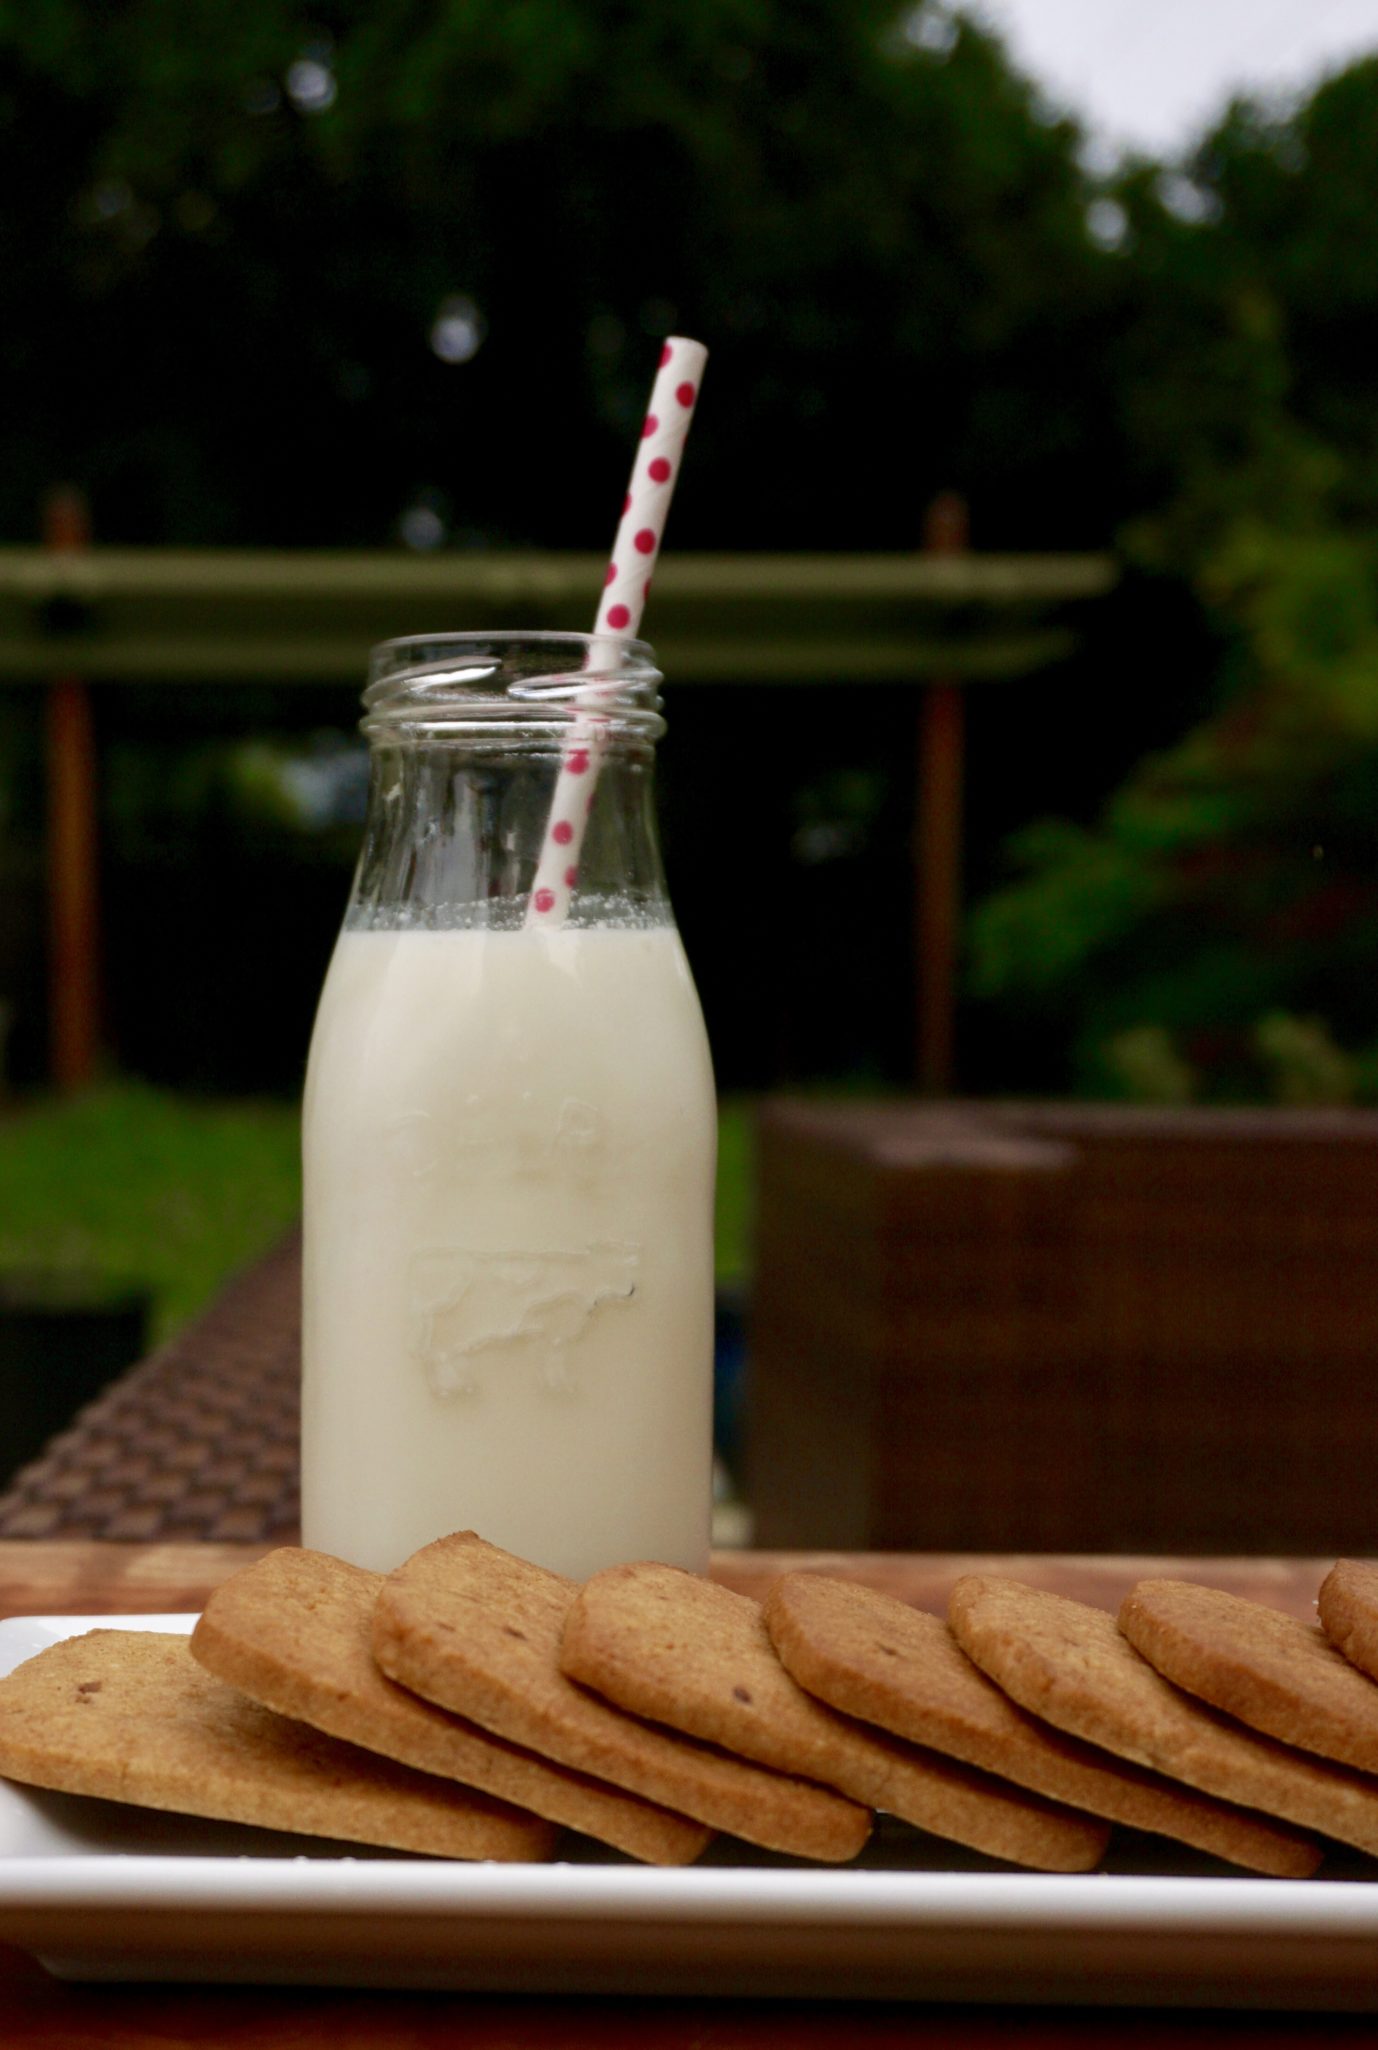
For as long as I can remember, I have loved graham crackers.  Picture a kindergartener fidgeting in her chair, hands clasped on my lap (trying to look angelic of course), waiting for the carton of milk and graham crackers.  Once I got my milk and cookie, I would break the cracker in half, dip it in my milk, and quickly pop it into my mouth and feel it dissolve on my tongue.

Stepped up Grahams

The cookie of choice, Honey Maid Graham Crackers, and not just in school.  My mom always kept a box of graham crackers in our pantry.  The perfect after-school treat or bedtime snack.

One of my favorite farmer’s market stands is the 2nd Story Bake Shop (sadly gone now).  I usually stop by for my favorite indulgence, their pie cookie.  A delicious bite-size treat of a buttery crust filled with seasonal fruit- fall apples, spring strawberries, summer peaches.

Cracker Craft

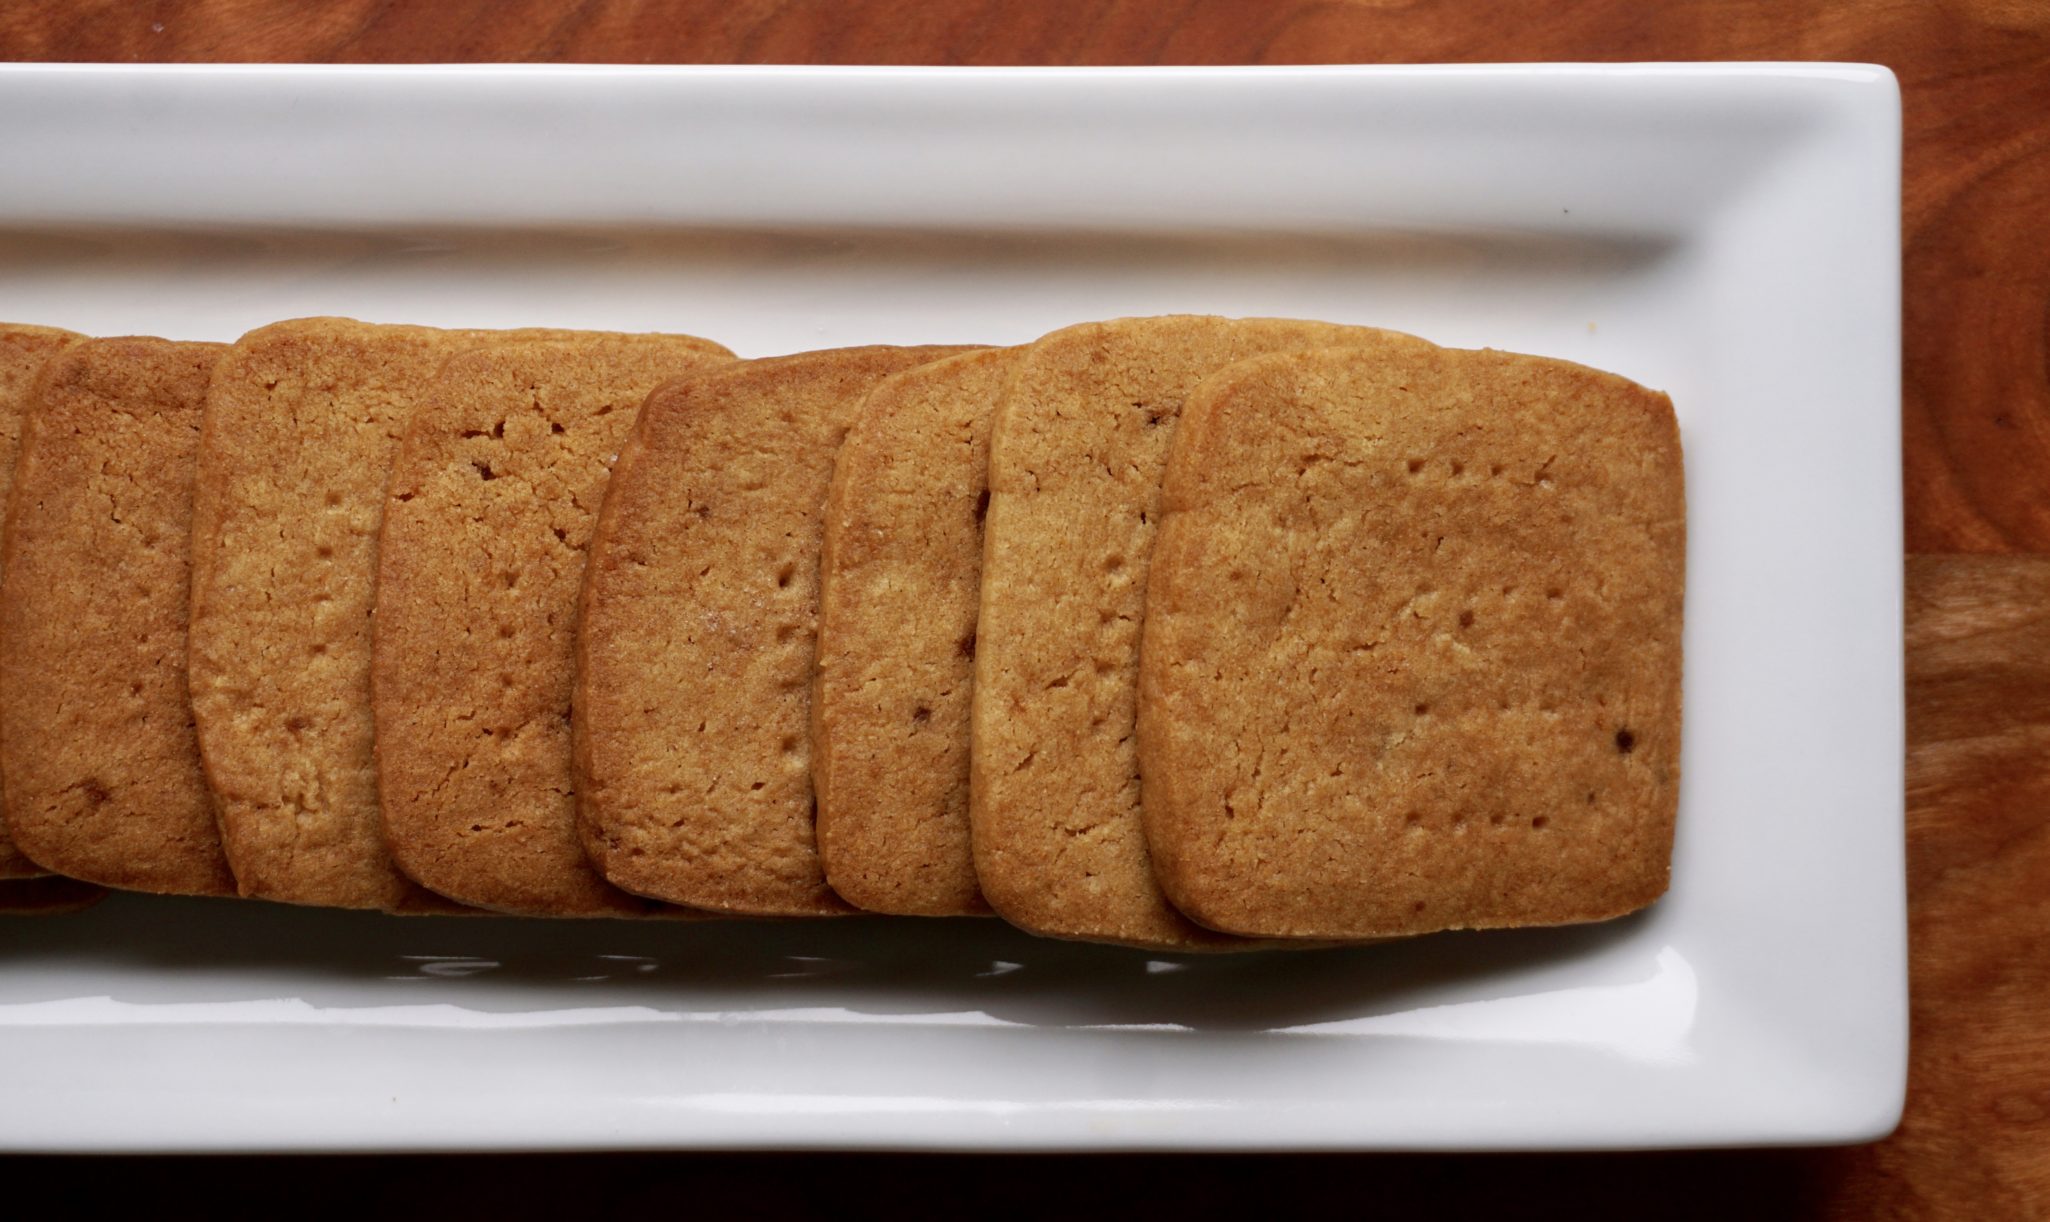
On my last visit as I grabbed my pie bite, their cookie jars caught my eye.  The first one contained almond sticks. The second had graham crackers.  The graham crackers were slightly darker than golden brown, round not square with none of the characteristic markings. They looked rather unassuming.  The vendor exclaimed it was her favorite cookie. Ok, I’ll give it a go.  It was DELICIOUS, crispy, buttery, with a hint of cinnamon and honey.  Wow, not your mama’s boxed graham crackers.

After some cajoling, banking on me not knowing the book or pastry chef, they revealed the source of their recipe.  The Craft of Baking by Karen DeMasco  (Tom Colicchio’s pastry chef).  Wouldn’t you know it, I own a copy!  No big surprise there.

Homemade graham crackers.  I know, who would have thunk it that you can actually make graham crackers at home.  Of course, you won’t have that familiar blue box with the honey bee on it, but you won’t miss it after you try these.

Making these cookies is similar to shortbread cookies.  I opted not to roll out the dough but to form a slice and bake log.  Easy peasy.  The dough is pretty soft, chilling makes it easier to form a log.  I used clover honey which is very mild in flavor.  I’m sure you can experiment with other kinds of honey.  I am waiting for my embossed rolling pin to arrive so I can roll and stamp the dough before baking, an idea I saw on food52.  The cookies looked amazing.  The embossed version in a delicious dessert can be found here!

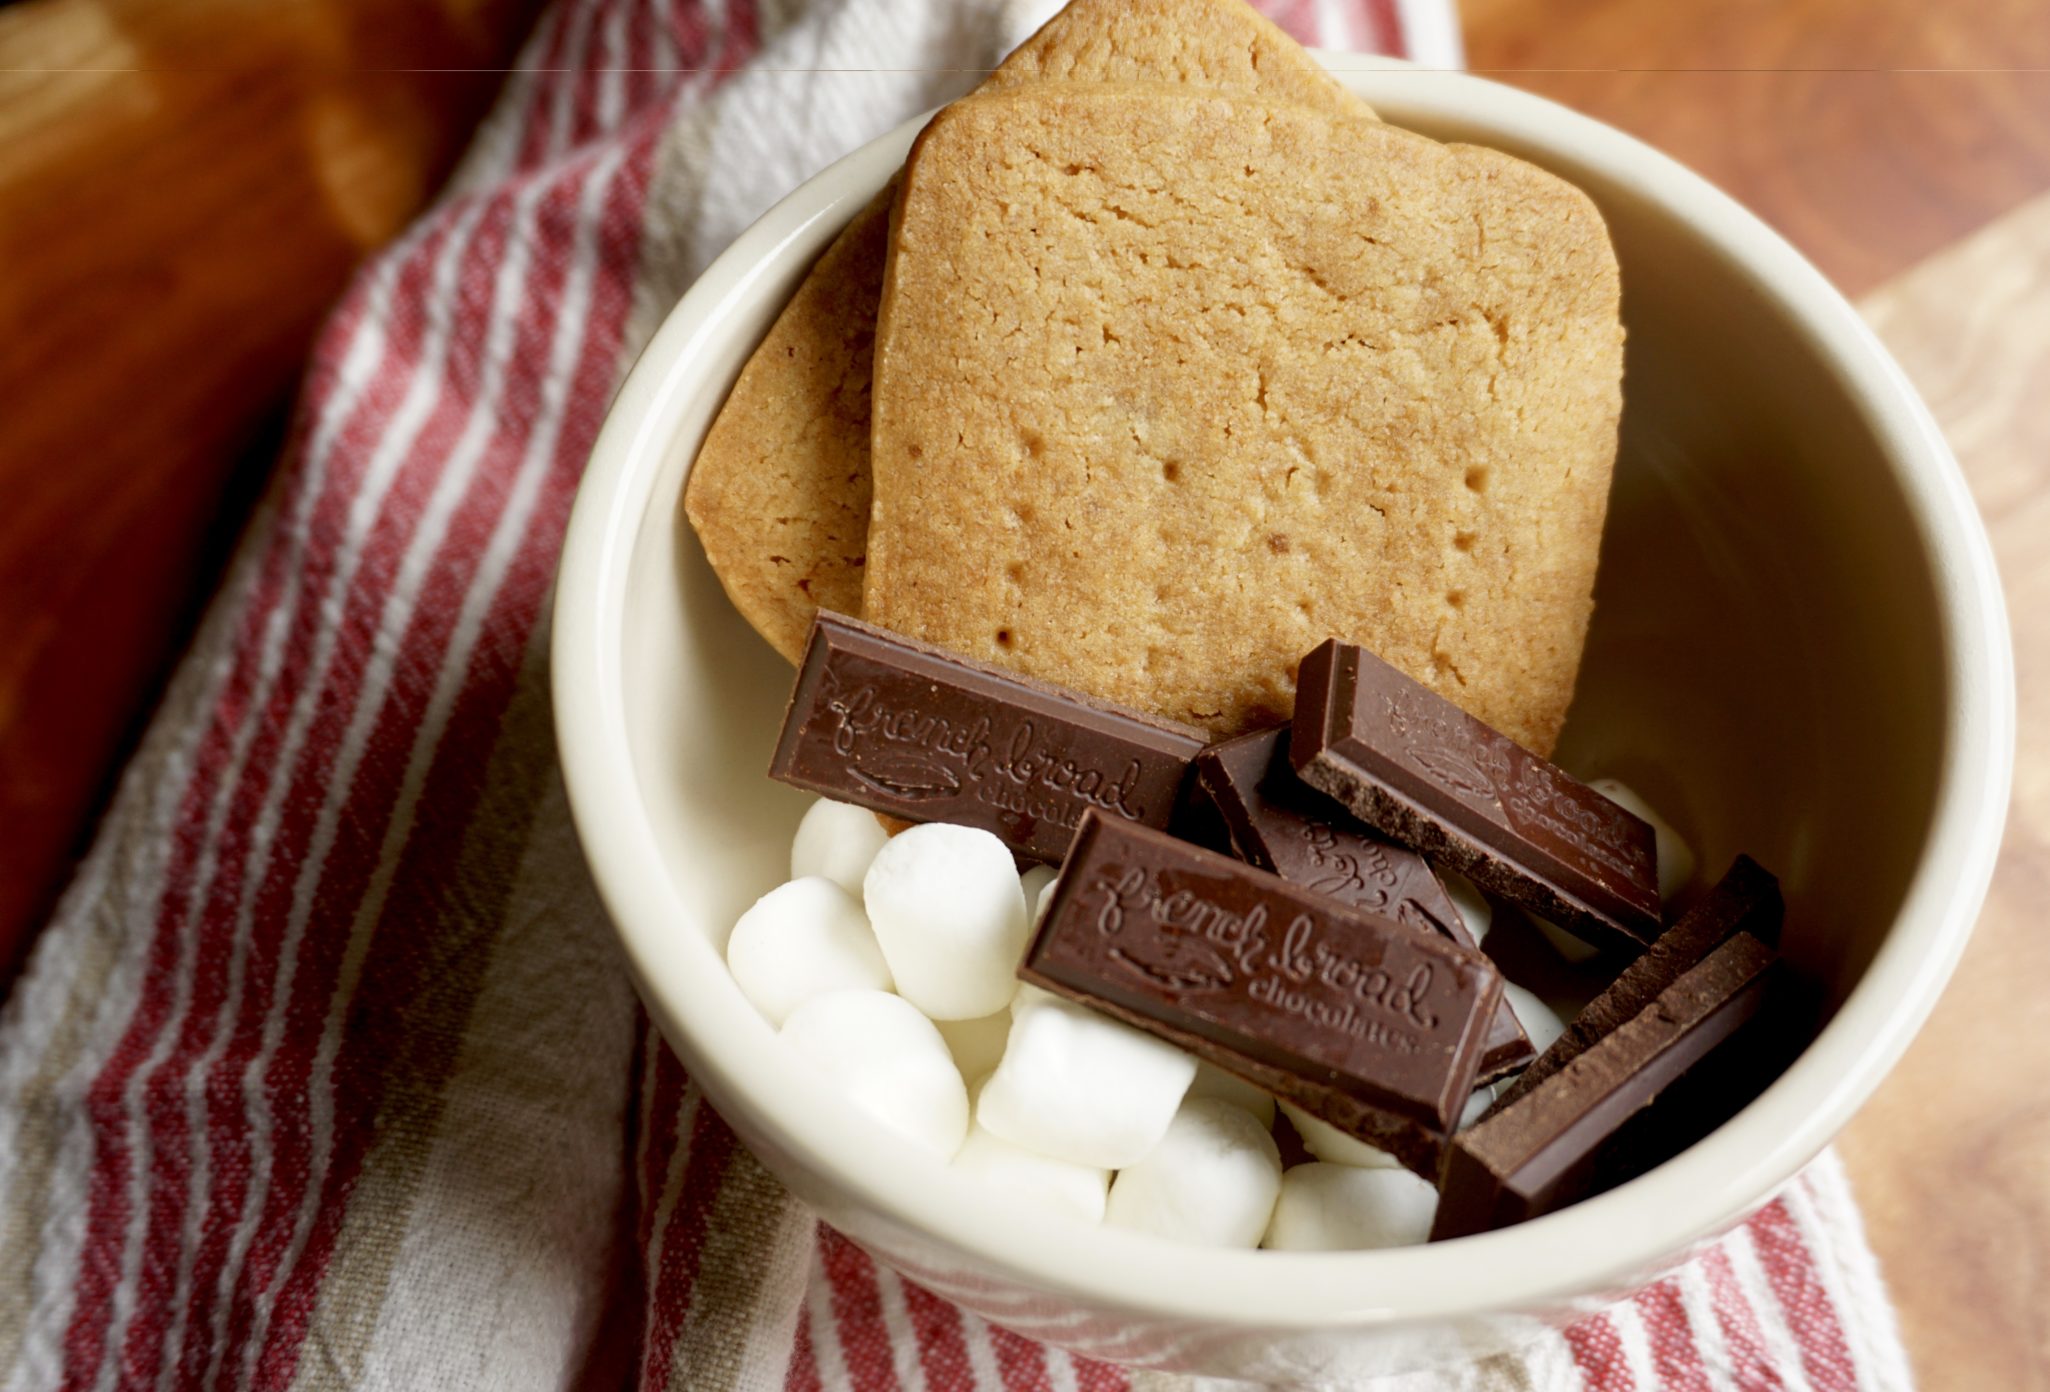
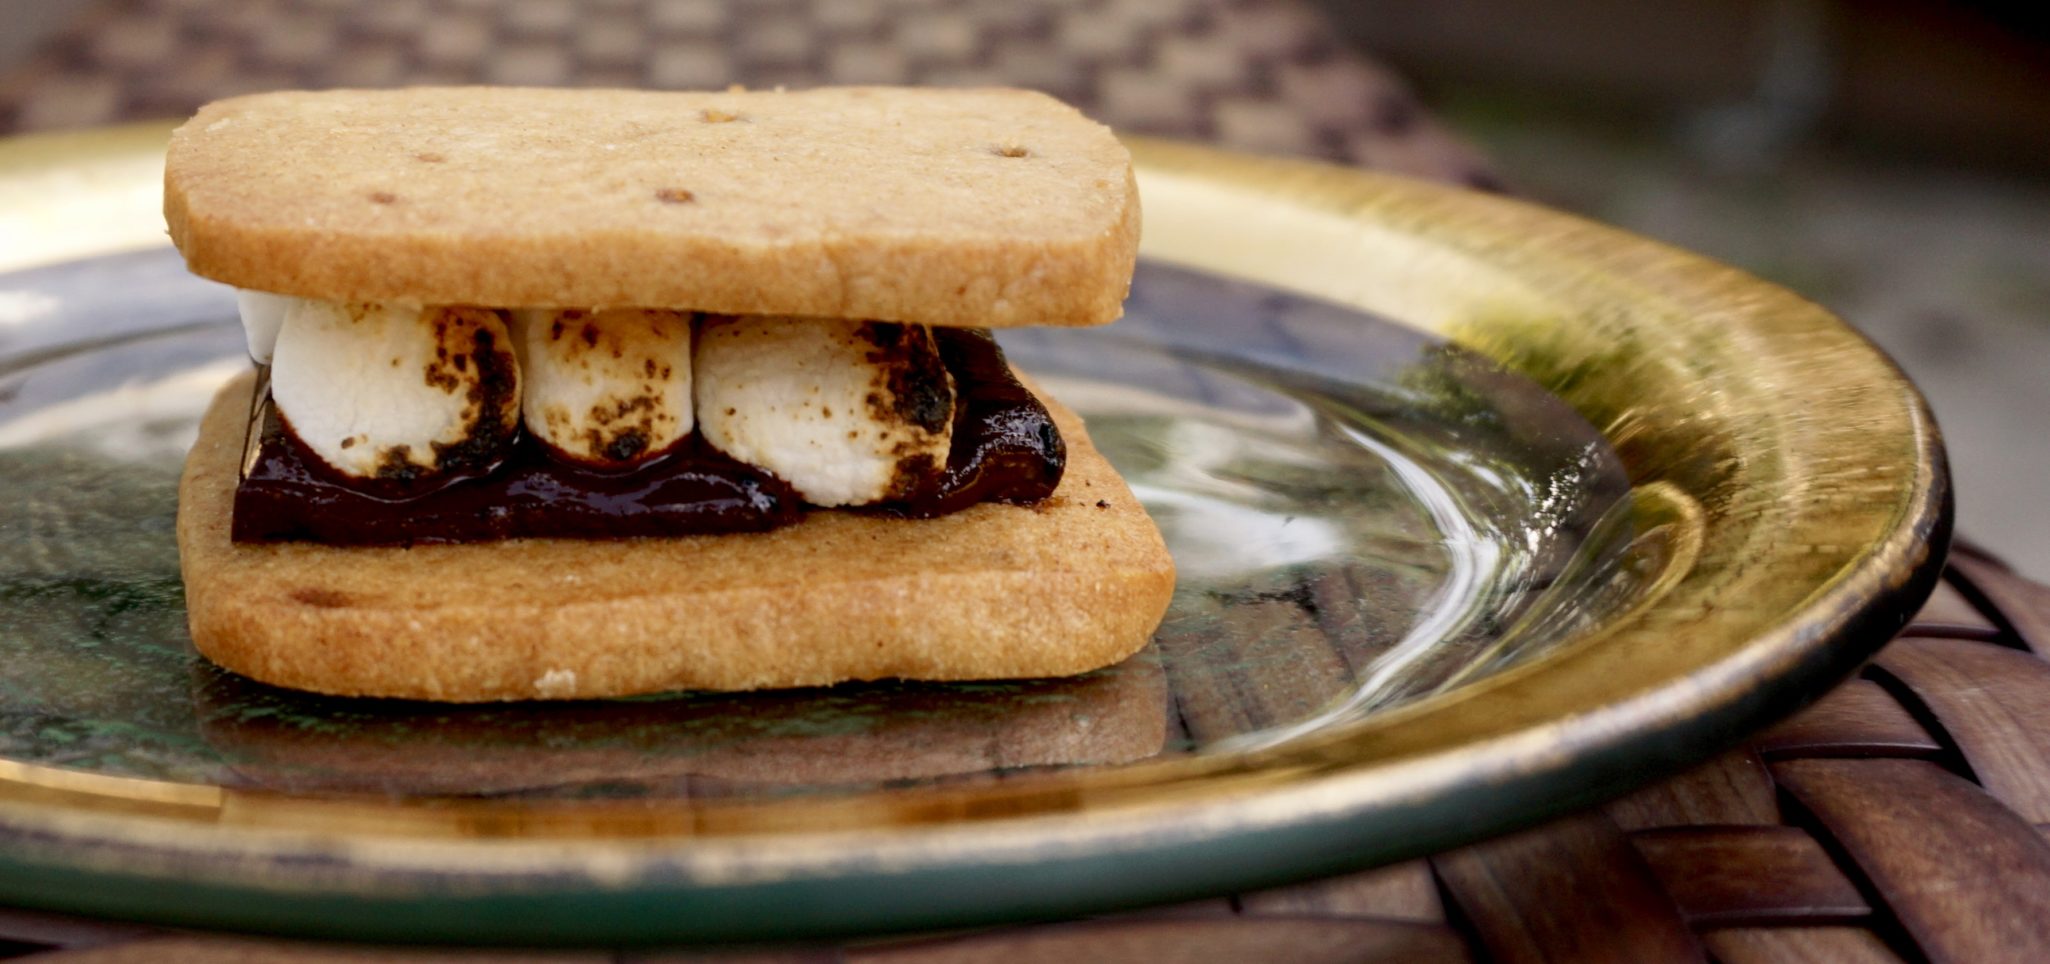
I couldn’t resist turning some of these homemade graham crackers into the quintessential campfire treat, S’mores.  I can almost hear all of you going hmmm, I remember making S’mores! So keep this recipe in mind, and when summer rolls around travel back to your kid days, get out the marshmallows, Hershey’s Chocolate bars, whip up a batch of these grammies, and enjoy!

Not Your Mama’s Graham Crackers

Course cookies, crackers, Dessert, Snack
Cuisine American
Keyword graham crackers
Prep Time 45 minutes
Cook Time 19 minutes

Ingredients

Da Dry MIx-Sift together and Set Aside:

  • 2 cups unbleached all-purpose flour plus more for rolling
  • 1/2 cup whole-wheat flour
  • 3/4 teaspoon kosher salt
  • 1/2 teaspoon baking soda
  • 1/2 teaspoon ground cinnamon

Cream Mixture:

  • 8 ounces 2 sticks unsalted butter, cut into small pieces, at room temperature
  • 1/4 cup packed dark brown sugar
  • 1/4 cup granulated sugar
  • 1/4 cup honey

Instructions

  • In a bowl, sift together the all-purpose flour, whole-wheat flour, salt, baking soda, and cinnamon.
  • In the bowl of an electric mixer fitted with the paddle attachment, combine the butter, dark brown sugar, granulated sugar, and honey. Mix on medium speed until well combined, about 1 minute. In two additions, add the dry ingredients, letting the first fully incorporate before you add the second.
  • Flatten the dough into a rectangular shape, wrap it tightly in plastic wrap, and refrigerate until chilled, about 30 minutes or up to 2 days. (The dough can be frozen, well wrapped, for up to 1 month.)
  • Preheat the oven to 350°F. Line two baking sheets with parchment.
  • Unwrap the chilled dough, and on a lightly floured surface, roll it out into a rectangle about 1/8 inch thick. Using a ruler and a pastry cutter or a sharp knife, cut the dough into 1-1/2-by-3-inch rectangles; use a spatula to transfer the rectangles to the prepared baking sheets as you go. Reroll the scraps of dough once, and cut out more cookies. Using a fork, pierce each rectangle with two rows of four to six marks.*
  • Bake the graham crackers, rotating the baking sheets halfway through, until they are golden brown, 15 to 20 minutes. Cool on a wire rack.
  • The graham crackers will keep in an airtight container at room temperature for up to 1 week.
  • *Or alternatively, shape dough into a log 3x3 square or 3 inch round, chill until dough is firm enough to cut. Slice 1/8 inch thick slices. Place on cookie sheet approximately 1 inch apart. Bake 11-12 minutes until golden brown. Optional" sprinkle with cinnamon sugar before baking.
  • Makes approximately 30 cookies
Bailey’s Irish Cream Stands In for Day 5 Holiday Cookies:

Bailey’s Irish Cream Stands In for Day 5 Holiday Cookies:

.I was going to stop at homemade Kahlua but a super simple recipe caught my eye in one of my all time favorite blogs, Smitten Kitchen.  I trust her implicitly so I knew I was going to make this.  This is a knockoff of Baily’s Irish Cream. Yep. Super simple and delicious.  I waited until the last minute to make this as it will probably not keep very long.  As I was perusing recipes for coffee liqueur I would come across recipes for a homemade irish cream.  Most called for eggs, which made me reticent to try.  Smitten Kitchen’s contains just cocoa powder, heavy whipping cream, sweetened condensed milk and vanilla.  THAT’S IT!!!  You should be really excited right now  Oh darn, one more ingredient, Irish Whiskey.  Had you for a moment didn’t I?  Unlike the Kahlua, I did spring for a bottle of Jameson’s Irish Whiskey. It’s so incredibly simple it’s nuts.  You whisk the cocoa powder with a bit of cream until it forms a paste, then you gradually add the rest of the cream, stir in the vanilla and sweetened condensed milk and Irish Whiskey, DUNZO.  Pour into cute little bottles and refrigerate.  Good for 2 weeks.  Perfect for New Year’s!  I am also going to make one with a bit of instant coffee.  Doesn’t that sound delish?  Serve it in coffee, on the rocks…yumo.

That’s it!  Please enjoy the holidays with loved ones.  That’s what matters.  Happy Holidays!

Day 5 Holiday Cookie List: Homemade Irish Cream

Knock off of Bailey's Irish Cream. It's delicious and guaranteed to warm you right down to your toes!
Course Drinks
Cuisine American
Keyword Bailey's Irish Cream

Ingredients

  • 1 teaspoon unsweetened cocoa powder
  • 1 cup 235 ml heavy or whipping cream
  • 1 14-ounce or 415 ml can sweetened condensed milk
  • 1/2 teaspoon vanilla extract
  • 1 cup 235 ml Irish whiskey (I used Jameson)

Instructions

  • In the bottom of a pitcher, whisk cocoa powder and a spoonful of cream into a paste. Slowly, whisking the whole time, add more cream a spoonful at a time until the paste is smooth and loose enough that you can whisk the rest of the cream in larger splashes. Once all of the cream is in, whisk in condensed milk, whiskey and vanilla.
  • Cover with lid or plastic wrap and keep in fridge for up to two weeks, possibly longer.
  • Serve in a tiny tumbler filled with ice, or splashed into coffee.

Notes

This is not for the faint-hearted.  Packs a nice punch.  If you would like to make it a little less boozy, add heavy whipping cream and the condensed milk 1 tablespoon each at a time, until desired taste.
 
Epic Fail: Homemade Kahlua 12 Days of Cookies: Day 4

Epic Fail: Homemade Kahlua 12 Days of Cookies: Day 4

I have been in a funk this holiday season.  Every time I go to bake cookies I get de-railed.  I thought I would make a final push and get a few done, but I was struck by the flu bug which put the big kabash on any last minute baking. This effectively ended all hope of any more scrumptious cookies.  I have the dough for these wonderful crescents from Rose’s Christmas Cookies and for Mrs. Sugaya’s pecan tartlets chilling in the fridge. But they will have to wait until after Christmas.

But all is not loss.  I did manage to make some homemade goodies that I hope you will try.  I made favorite breakfast munchies, Juli’s granola and my cousin Bonnie’s spicy pecans. Cookies are little gifts of love, peace and hope and I just couldn’t bring myself to bake many.  I wish everyone love and joy with family and friends during this holiday season even if a few of us are on opposite sides of the political spectrum.
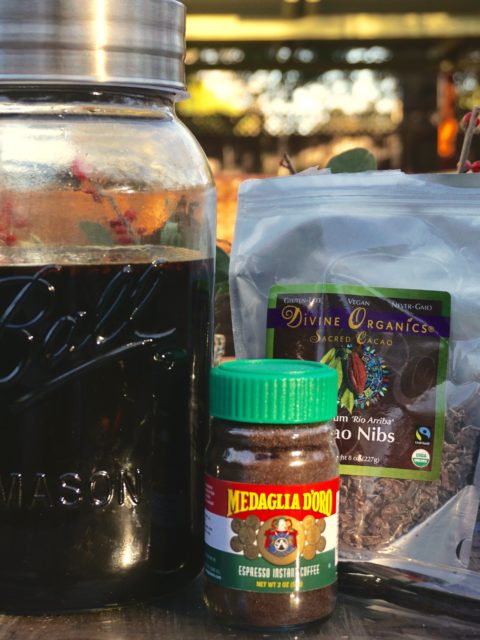
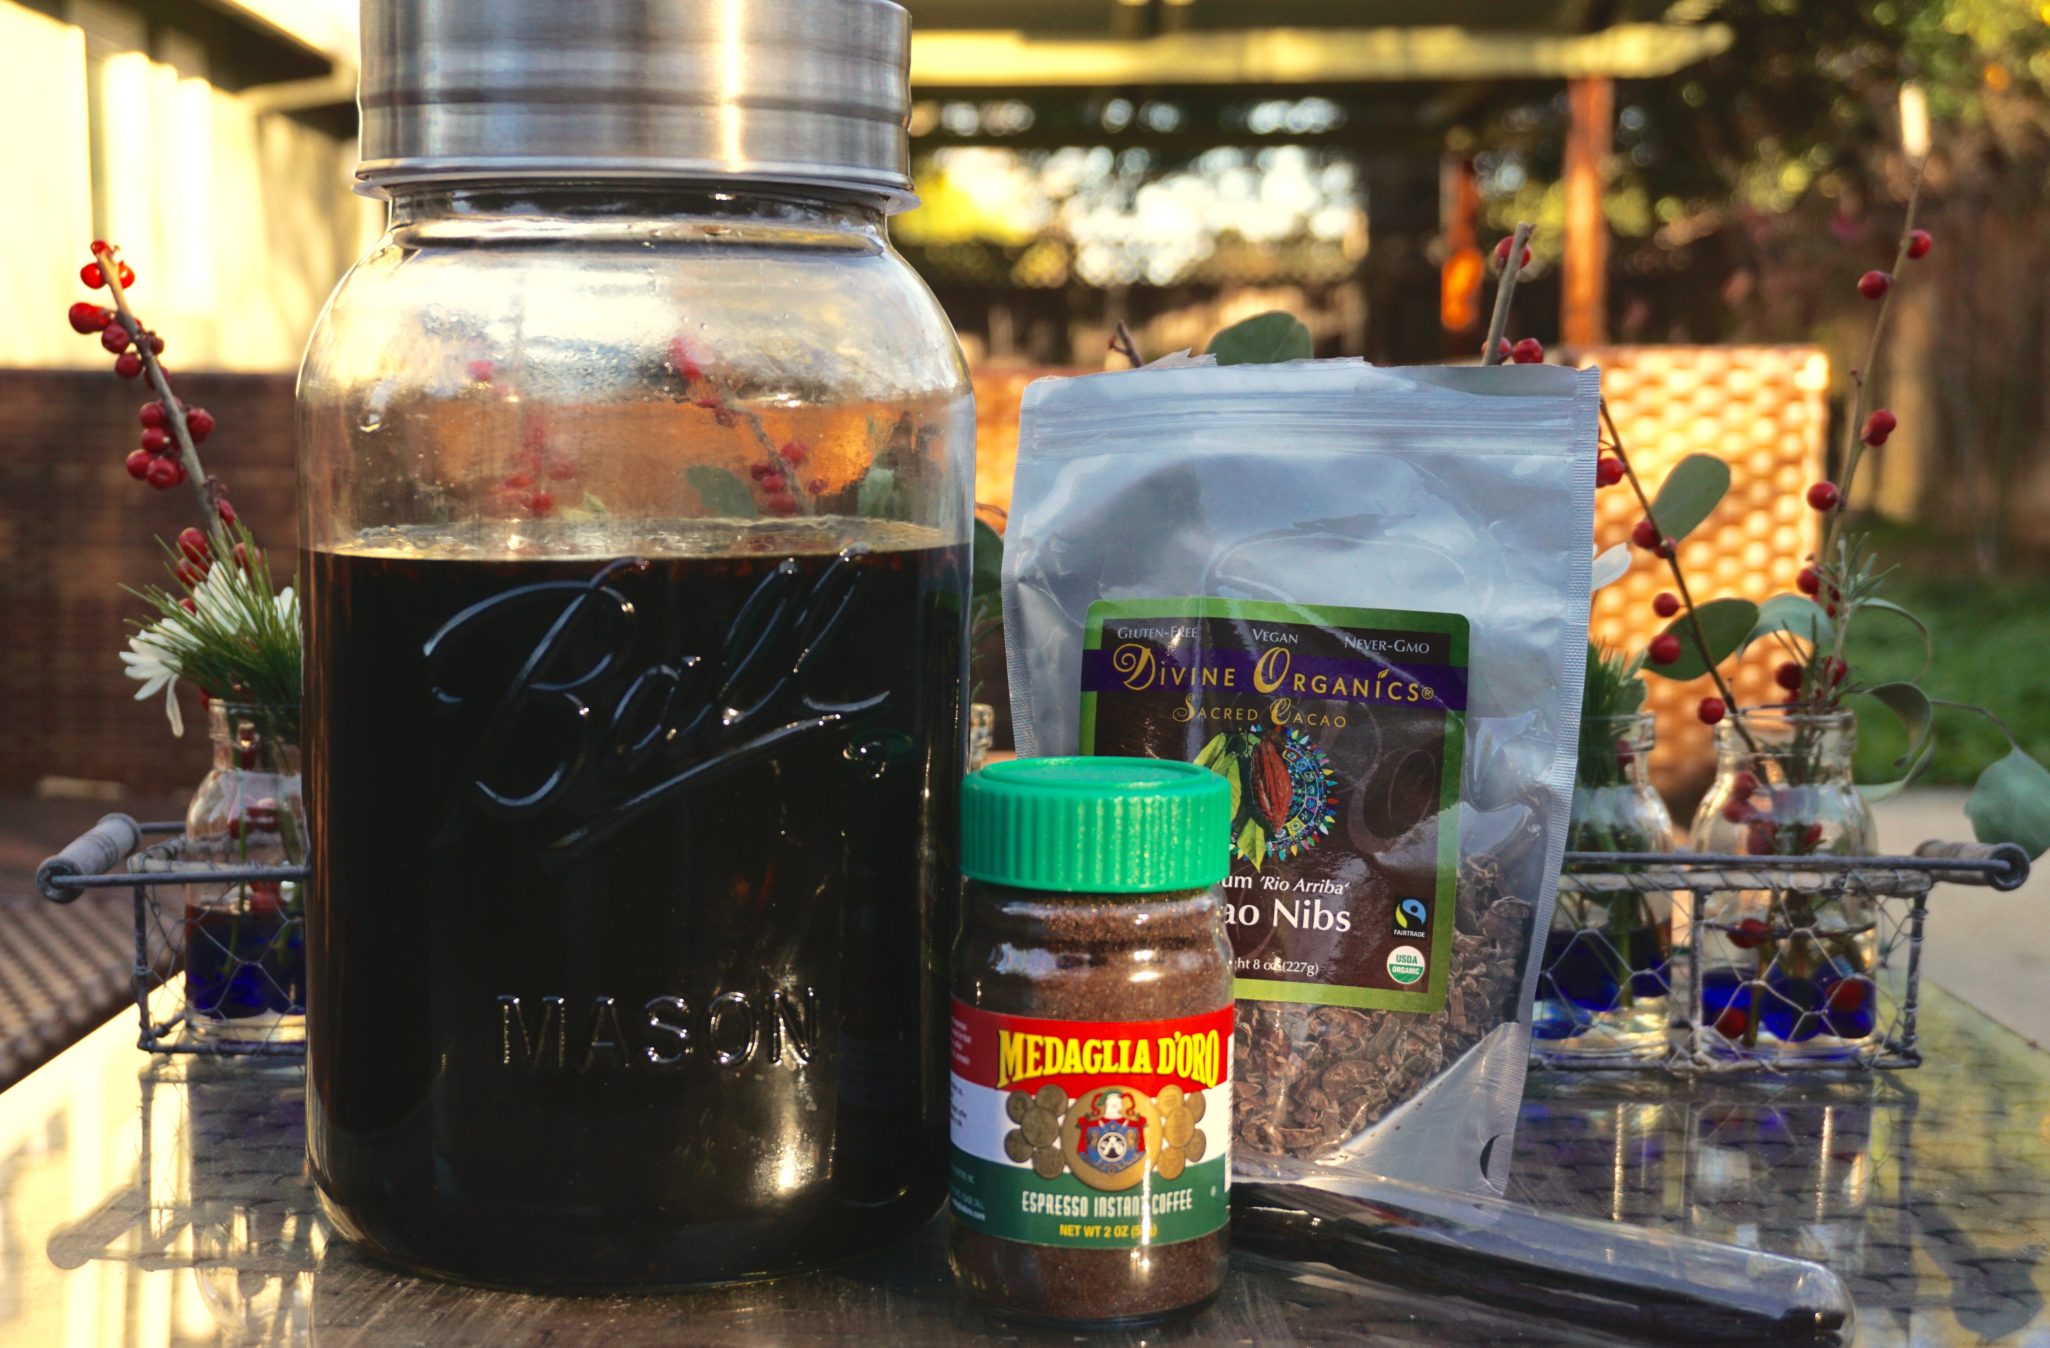
So, what did I make instead of cookies? Who guessed booze?  You would be right!  I started a couple of weeks ago after searching for a homemade Kahlua recipe. Big mistake, there must be a thousand recipes for something so simple!  So I came up with my own concoction that I think is pretty darn good and very easy.  Couple of tips, you are using a boat load of sugar and coffee, DO NOT break the bank on the vodka or rum.  I used the same vodka I used to make vanilla extract with last year, a brand from TJ’s. I picked it cause the bottle was cool looking.  I had some Meyer’s rum so I used that too.

I started with 1/4 cup instant expresso (Medaglia D’Oror) and my first batch didn’t have enough coffee flavor so I made a second batch using 1/2 cup and mix the two batches.  So I leave it to you to decide how much coffee flavor you want.  I will keep you posted on the feedback!

Homemade Coffee Liqueur

Make your own coffee liqueur aka Kahlua, easy and sure to impress your friends and family!
Course Drinks
Cuisine Mexican
Keyword coffee liquer, easy to make, kahlua

Ingredients

Adapted from Creative Culinary

  • 4 cups water
  • 2 cups brown sugar
  • 2 cups white sugar
  • 1/3-1/2 cup dried espresso
  • 500 ml vodka
  • 250 ml Rum
  • 2 vanilla beans split
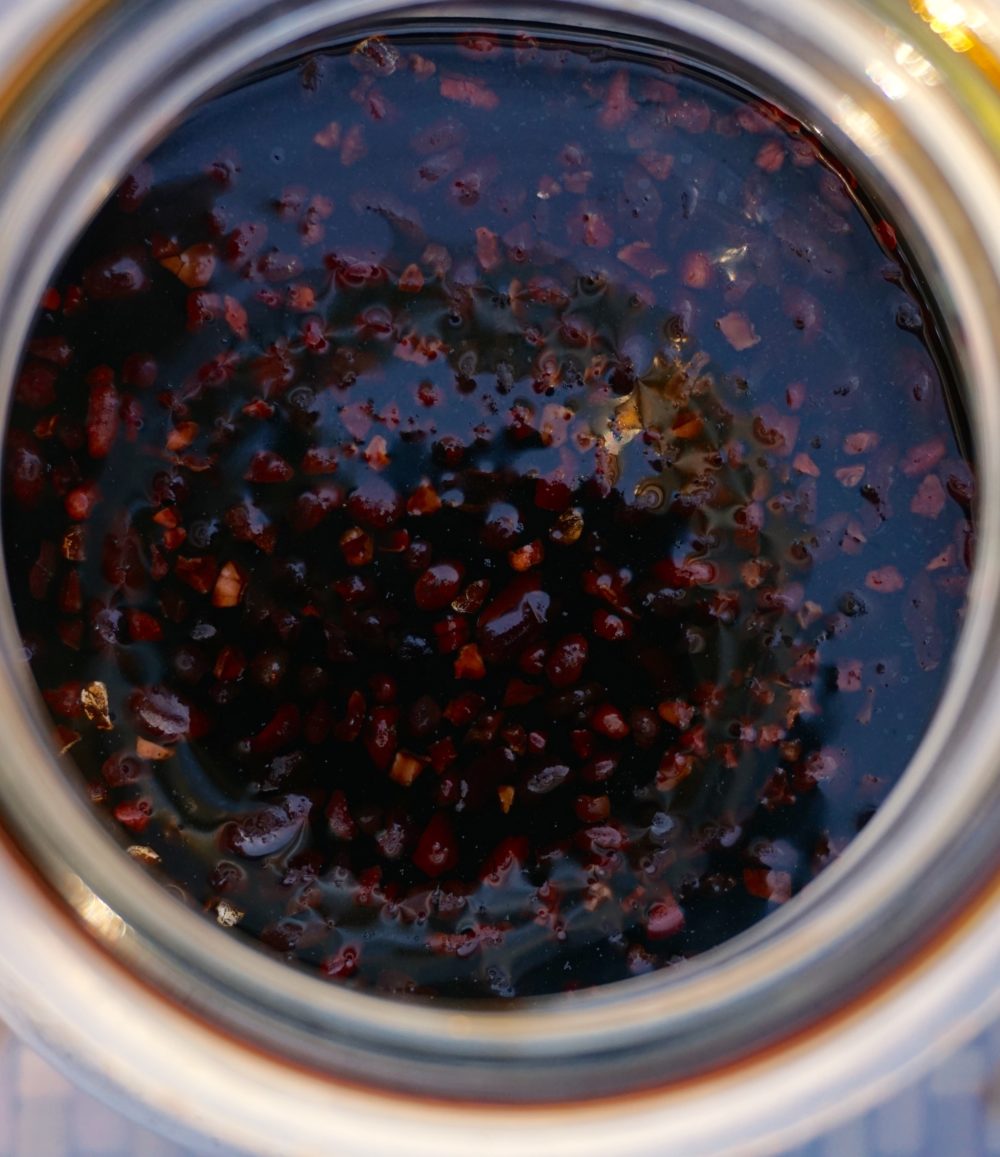
  • 2 shots of chocolate liqueur or 1 tablespoon cocoa nibs

Instructions

  • Combine the water, sugars and dried espresso in a large saucepan over medium-high heat.
  • Bring to a boil; turn the heat to low and simmer for a minimum of 1 hour.to reduce the mixture and make a more syrupy consistency. I had a final volume of approximately 3 cups.
  • Watch constantly and stir occasionally. It will boil over if not watched!!!
  • Remove from heat and let cool.
  • Add vodka, rum, vanilla beans and chocolate liqueur or cocoa nibs
  • Pour everything into a clean storage container. I love these Ball Jars.
  • Age for 3-4 weeks in a cool, dark location; stirring once or twice a week.
  • When ready to bottle, remove vanilla beans, bottle mixture and store. I strained the mixture into the bottle.
  • How easy is that?
  • Serve straight, over ice cream, mixed drinks
Like Mother, Like Daughter Day 3: Dorie’s Blondies

Like Mother, Like Daughter Day 3: Dorie’s Blondies

Hi! Jamie here. I’m back for a holiday season of cookies, Christmas music, and lying on the couch watching TV. If you haven’t guessed by now, my mom is kinda crazy about cookies—especially during the holidays. Although I beg her every year not to bake 36 dozen cookies—I eat so many of them—she somehow turns it around and gets me to bake cookies, too. Yup, I’ve caught the baking bug.

We recently had our annual cookie exchange party last week, and, being the ridiculously hyper competitive person I am, I set out to bake the best cookie. Yes, only I would try to make a fun get together an intense competition. I’m just as crazy as my mom. I choose to blame her.

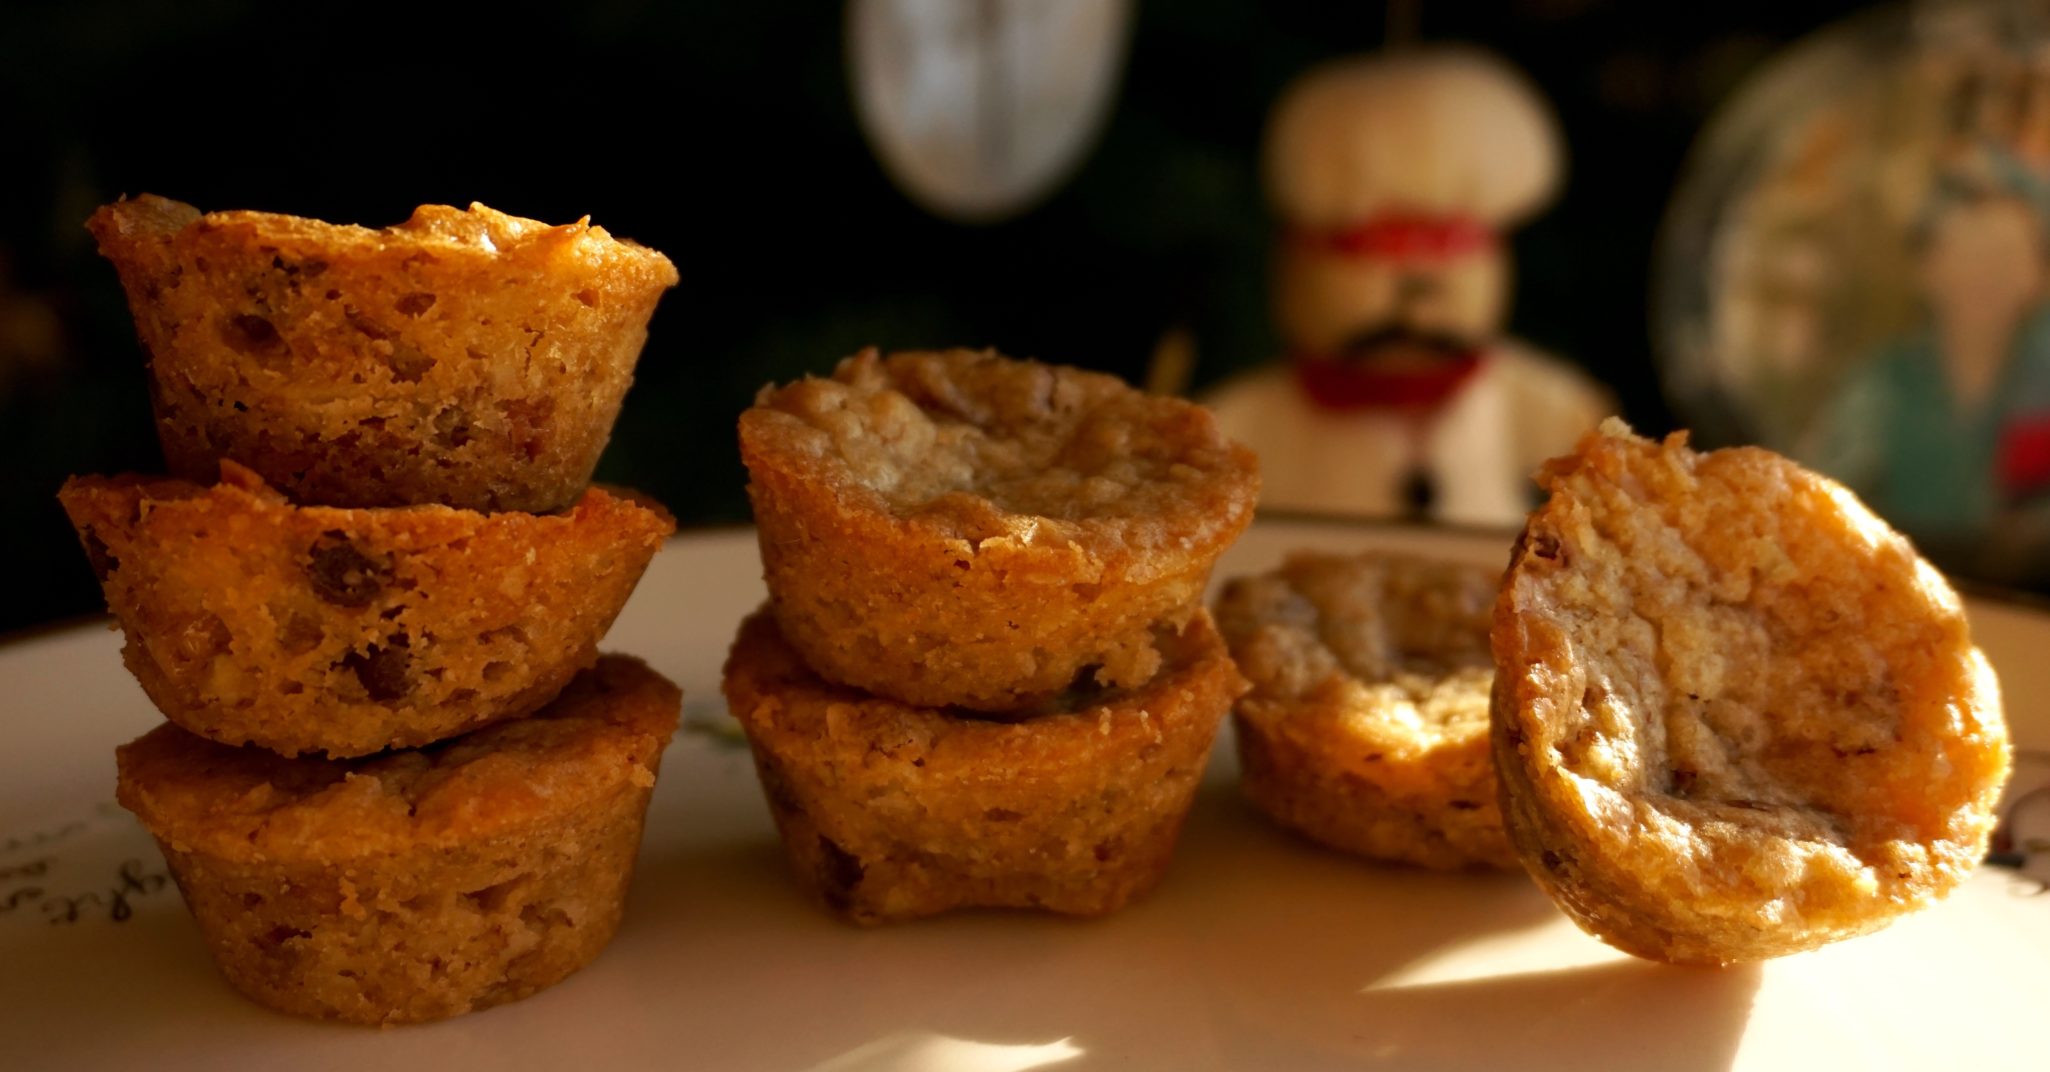
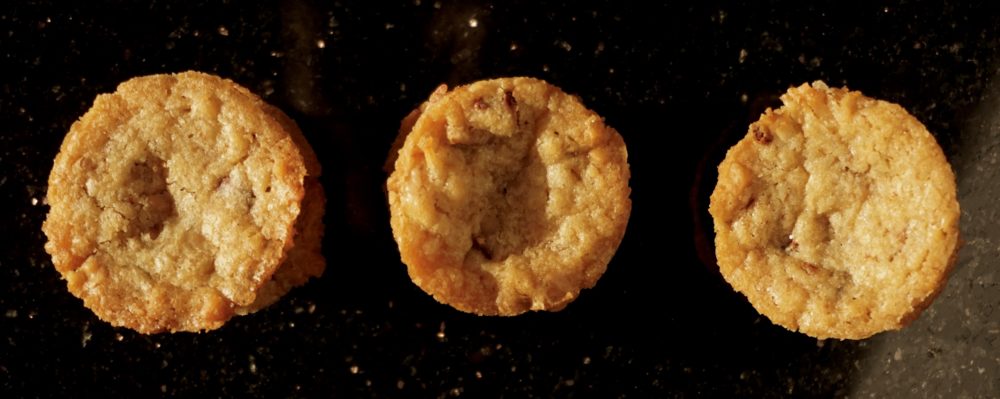
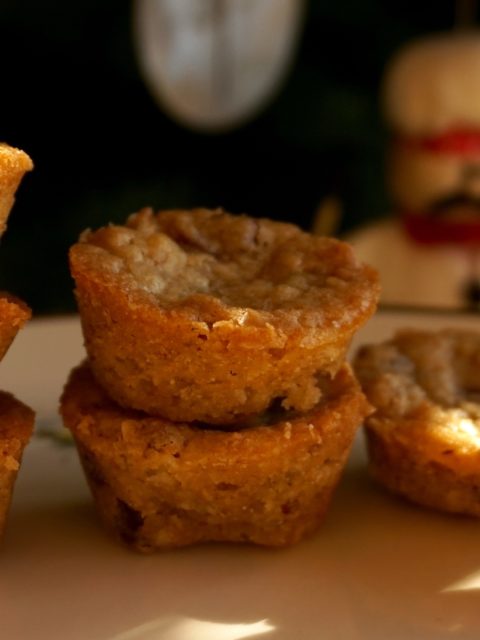
Anyways, as I was looking around for the best cookie recipe, my eyes were drawn to the THREE huge purple books that my mom had sitting on our coffee table. Yes, you guessed it, they were Dorie Greenspan’s cookie books. And no, it isn’t unusual that my mom has multiple copies of the same book, especially when they are Dorie Greenspan’s. I swear she is OBSESSED with that lady. So, I decided to rifle through the book to find the best recipe. I LOVE everything coconut, so, naturally I flipped to the back of the book to find all the recipes with coconut in them. I was surprised to find a recipe for blondies. Dorie adds sweetened coconut, chopped pecans, and chocolate chips to these classic bar cookies, and she bakes them in muffin tins. Intrigued, I set to work. I substituted unsweetened coconut for the sweetened and added a bit more sugar. I also did half mini semi-sweet chocolate chips and half toffee bits, for a little extra sweetness to make up for the unsweetened coconut.

Of course, as soon as I started scooping the cookies into mini muffin tins, my mom came over and FREAKED out over the size. Apparently Dorie’s mini muffin tins were bigger than normal mini muffin tins. I didn’t want to redo them, so I just tossed the pan into the oven, used regular tins with the leftover dough, and waited. I pulled them out in 15 min…I was scared that I would over bake them in the mini tin! I’m sure glad I did, too. The blondies came out incredibly gooey and chewy on the bottom, but had a nice crunch on top. Perfect. I sprinkled mini chocolate chips on the tops because they started to sink and then threw on some red and green sprinkles to make them really festive. They are sweet, and the nuts and coconut give it a great texture without overpowering the blondie flavor. The recipe makes about 30 mini blondies, so I would recommend doubling the recipe if you have a lot of people over.  There is a great article on Kitcn that covers these delicious blondies made 3 different ways.  Check it out!

Dories Blondies blew all the other cookies out of the water, of course. I mean, we all saw that coming.

Like Mother, Like Daughter Day 3: Dorie’s Blondies

Ingredients

Another winner from Dorie Greenspan's Cookies Book!

Makes about 30

Cooking spray or butter, for coating the pan

  • 1/2 cup coarsely chopped pecans toasted
  • 2 ounces best-quality milk chocolate finely chopped
  • 1/3 cup shredded sweetened coconut
  • 8 tablespoons 4 ounces unsalted butter, cut into chunks, at room temperature
  • 3/4 cup packed light brown sugar
  • 1/4 cup granulated sugar
  • 1/4 teaspoon fine salt
  • 1 large egg at room temperature
  • 1 teaspoon vanilla extract
  • 1 cup all-purpose flour

Instructions

  • Arrange a rack in the middle of the oven and heat to 325°F. Butter or spray a 24-well mini-muffin tin.
  • Stir the pecans, chocolate, and coconut together in a medium bowl; set aside.
  • Place the butter, brown sugar, granulated sugar, and salt in a stand mixer fitted with the paddle attachment and beat on medium speed until smooth, about 3 minutes. (Alternatively, use a large bowl and electric hand mixer.) Add the egg and beat on low, scraping the bowl as needed, until you have a smooth, creamy mixture. Beat in the vanilla.
  • Turn the mixer off, add the flour all at once, and pulse a few times to start incorporating it. Mix on low speed until the flour is almost fully blended into the dough. Add the pecan mixture, mixing just until they're evenly distributed; if you'd like, you can do the last few turns by hand with a sturdy rubber spatula.
  • Using a small cookie scoop, scoop out level portions of dough or use a teaspoon to make rounded spoonfuls and place one in each mini-muffin well. When each well has dough (you will use about half the dough), press each mound of dough down very lightly with moistened fingertips.
  • Bake until the cookies are firmly set around the edges and golden-brown in the center, 14 to 16 minutes. A tester inserted in the center of a blondie should come out clean.
  • Place the tin on a cooling rack and let the blondies rest for 3 minutes. Unmold the blondies either by turning the tin over and rapping them against the counter or popping the blondies out with table knife. Transfer the blondies to the rack and and let cool to room temperature, about 10 minutes.
  • Let the mini-muffin tin cool and and repeat baking the remaining dough.
  • Recipe Notes
  • Make ahead: You can scoop the dough out onto a lined baking sheet, pat it down, freeze until firm, and then pack the pucks in an airtight container and freeze for up to 2 months. Leave the pucks at room temperature while you heat the oven before baking.
  • Storage: The blondies are best eaten soon after they're baked, but they can be kept in a covered container at room temperature for up to 1 day. They can also be frozen, wrapped airtight, for up to 2 months.

Hi Claire J


Variations on a Thumbprint Day 2: 12 Days of Cookies

Variations on a Thumbprint Day 2: 12 Days of Cookies

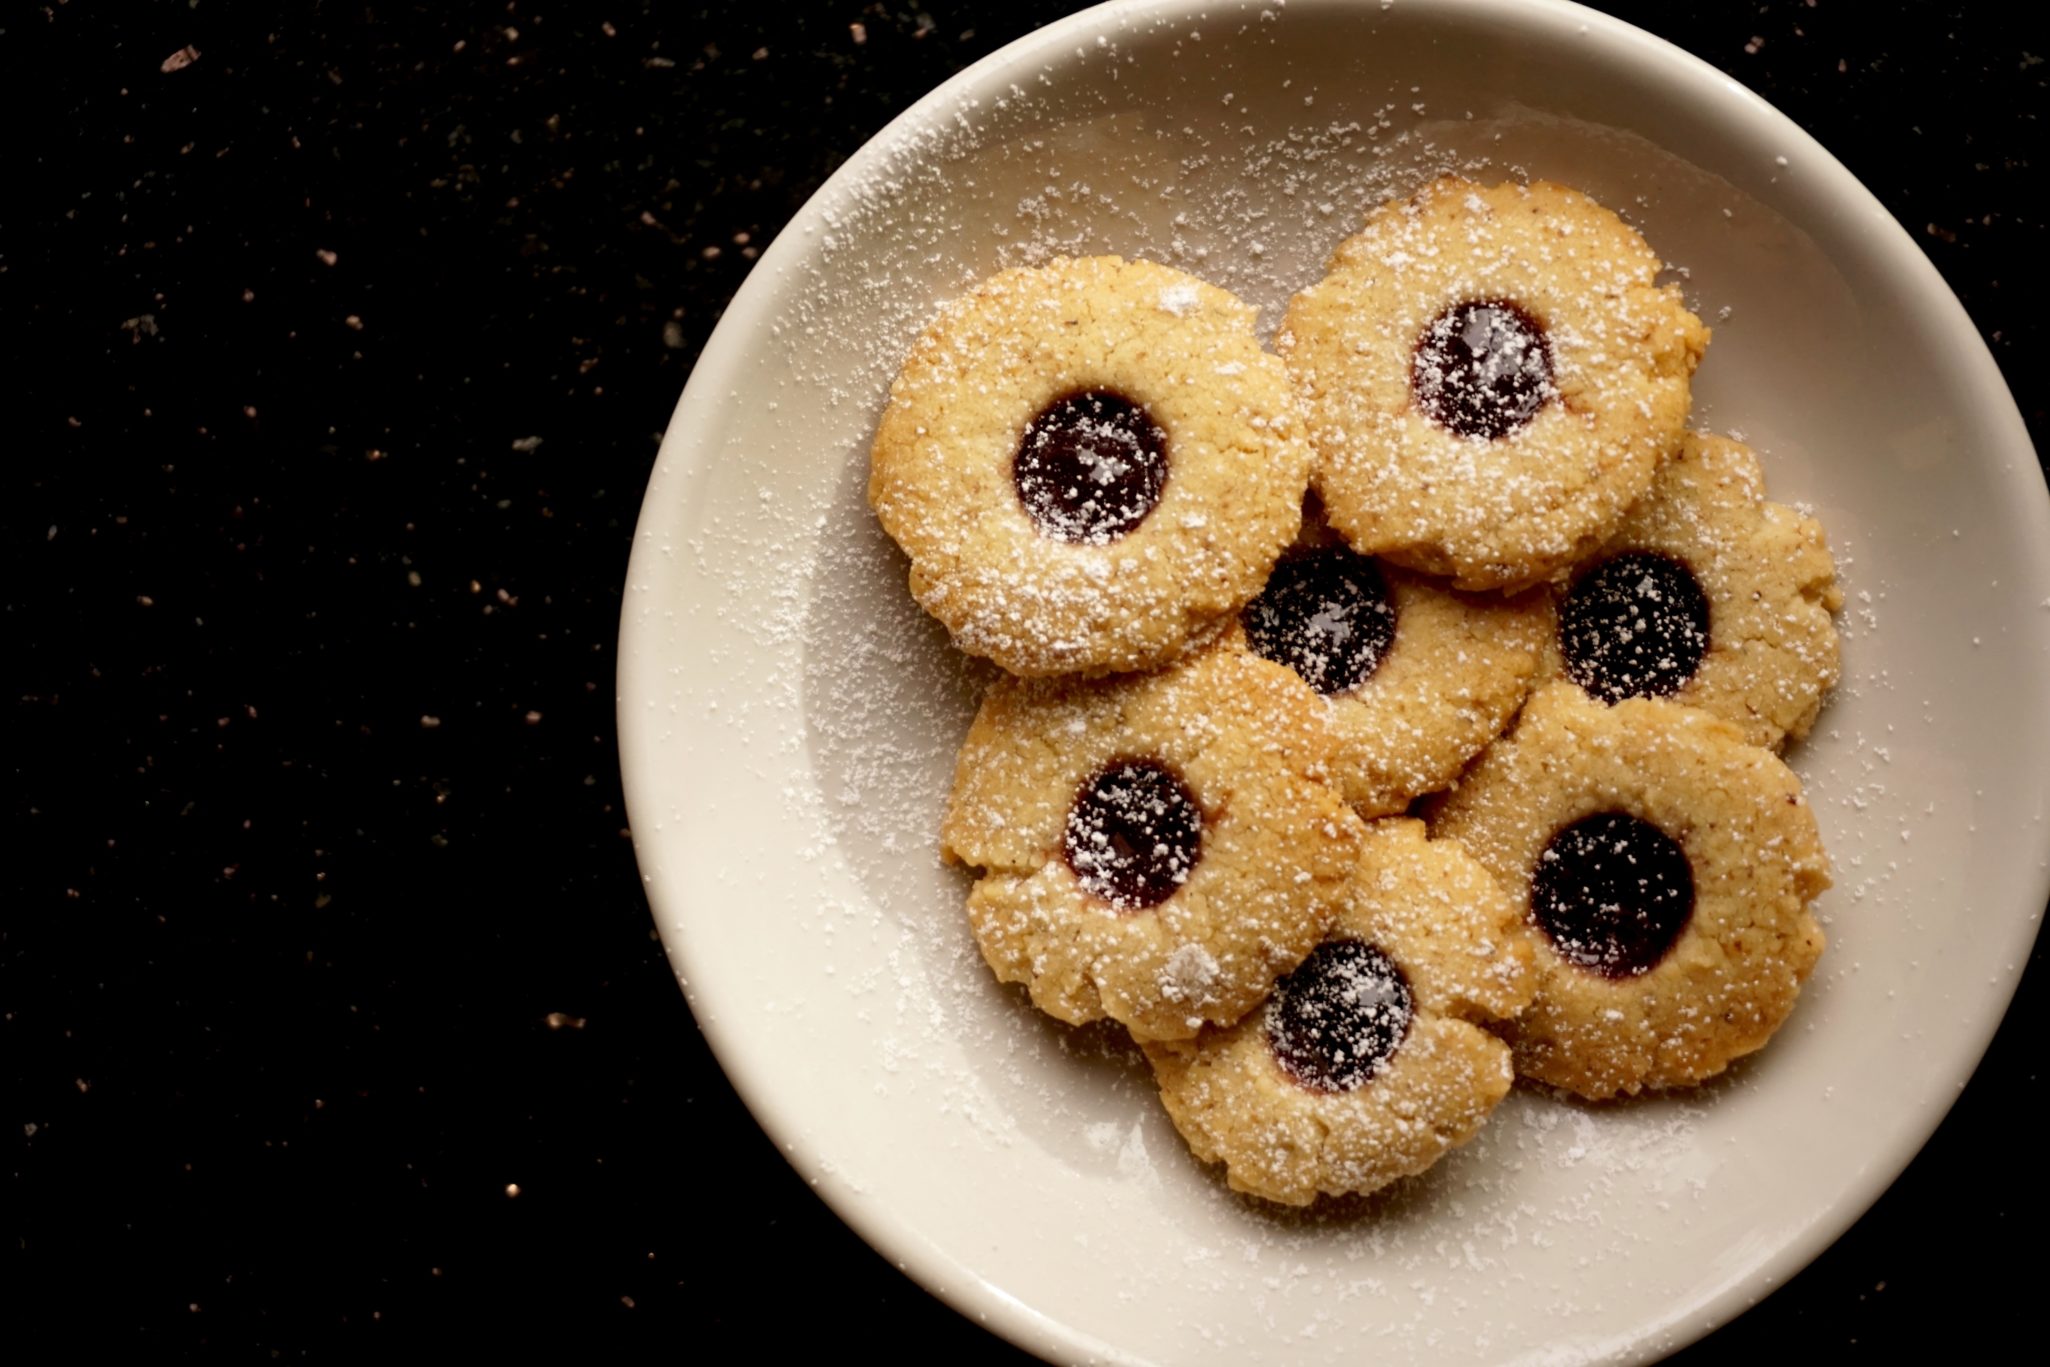
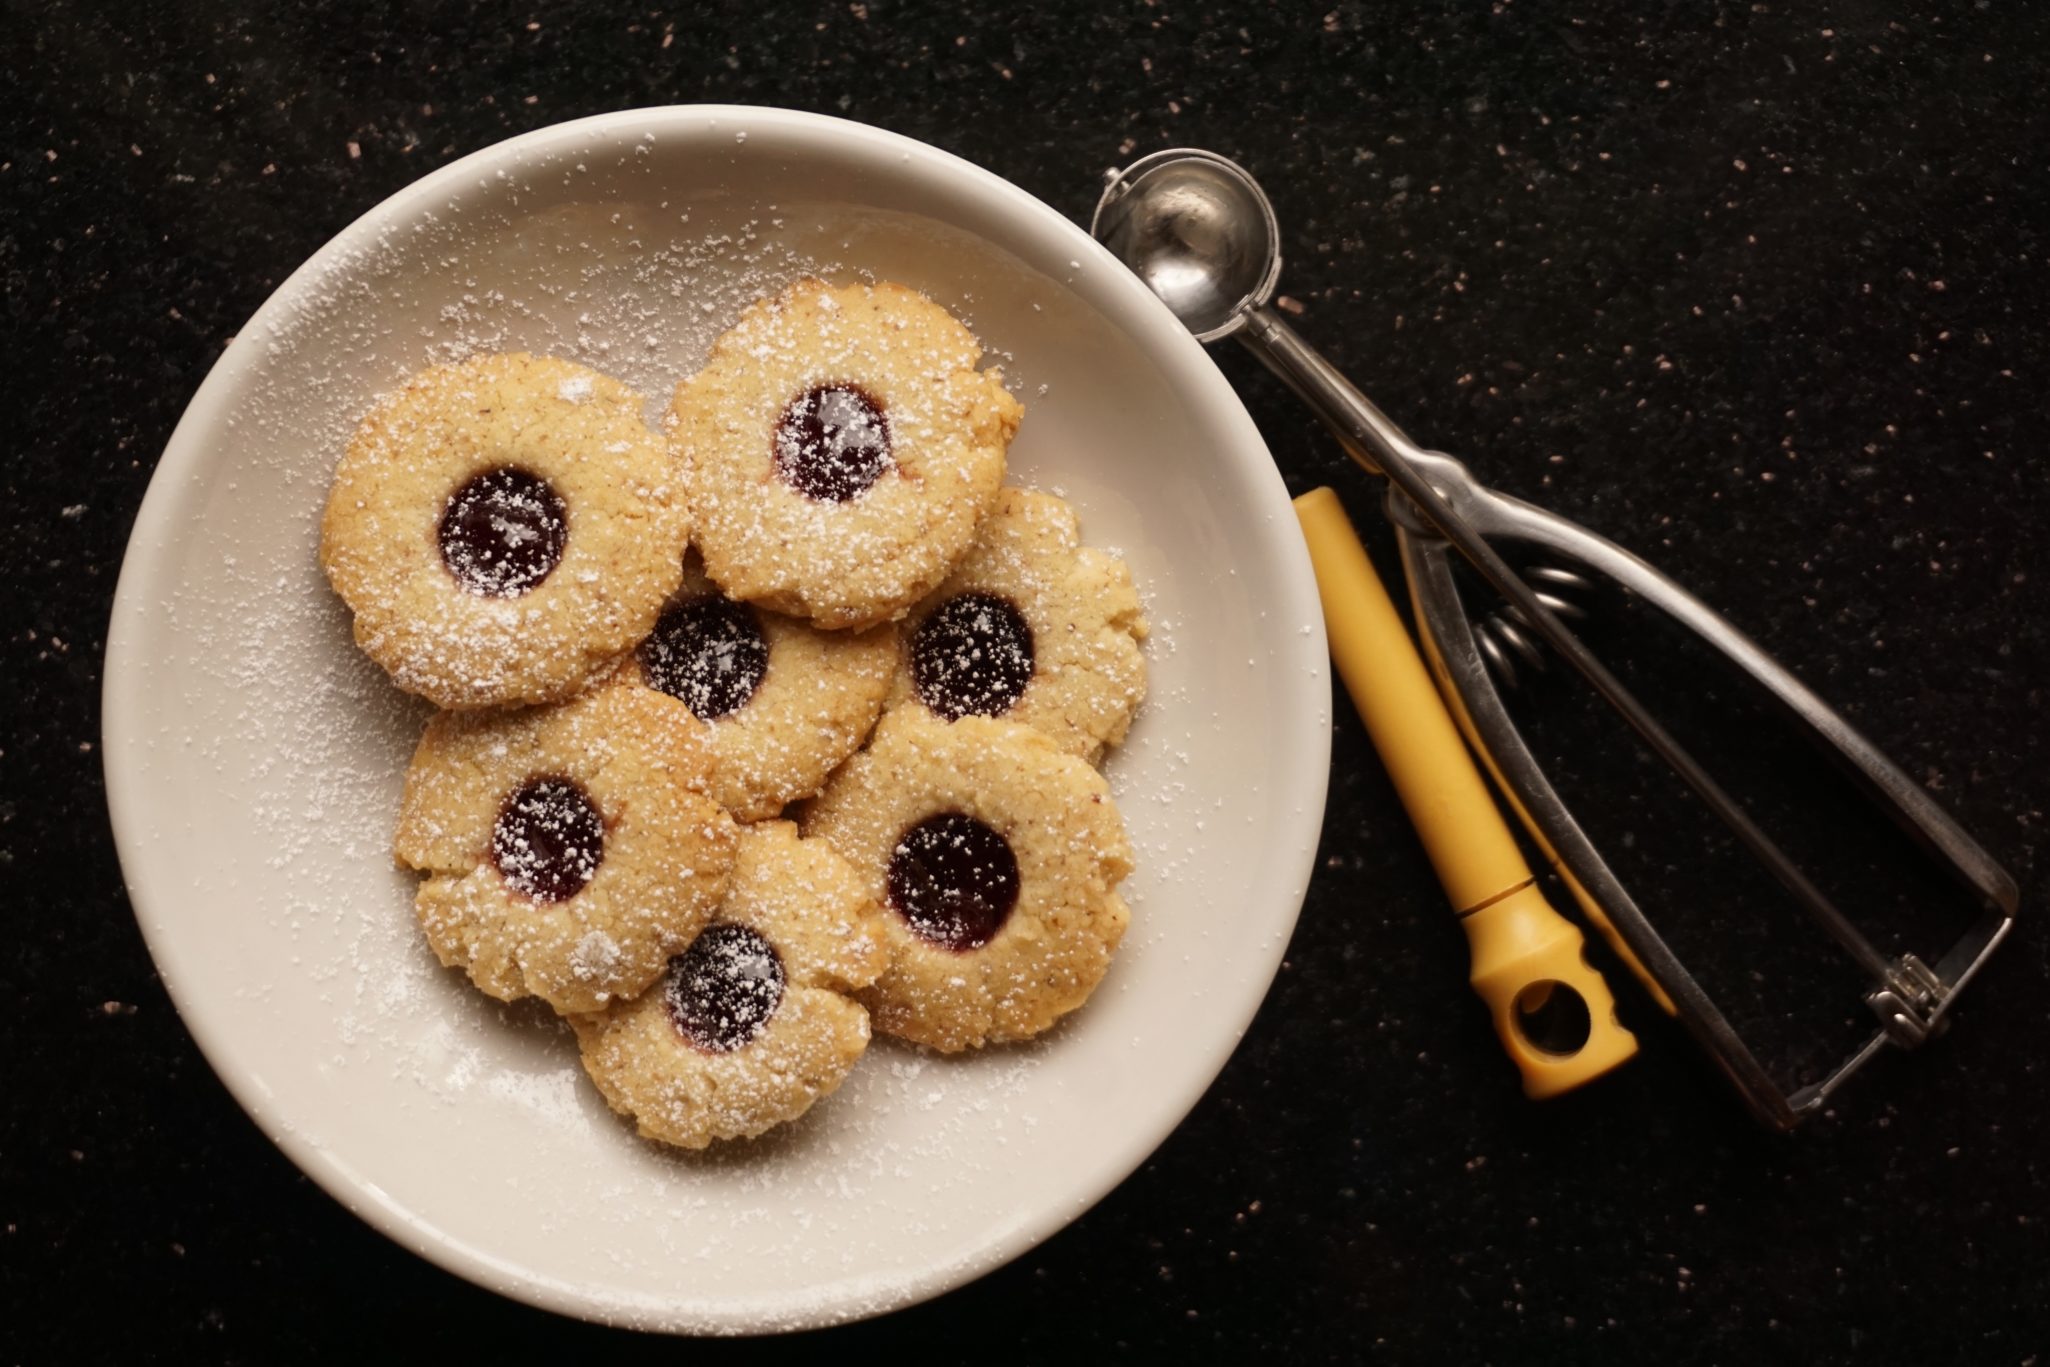
Who doesn’t like thumbprints? Not me, my kids, my hubby, nor Santa (the thumbprints were always gone from Santa’s cookie plate on Christmas morning).  While perusing the internet for holiday cookie recipes I came across the blog, Chew Out Loud.  Their most requested cookie recipe (hands down winner)  is for Buttery Jam Thumbprint Cookies. Really, is it so surprising?  A buttery meltingly tender cookie filled with a “thumbleful” (get it? thumb + thimble) of sweet jam in the center, finished with a dusting of powder sugar.  Heavenly.

So of course I included thumbprints in this year’s 12 Days of Cookies.    My favorite recipe comes from an old copy of Ladie’s Home  Journal (yes, I am that old).  I have made these every year for as long as I have been baking Christmas cookies.  The addition of ground walnuts to the dough gives these cookies a nutty edge and a slightly sandier texture.  I like filling the centers with raspberry jam, its rich ruby red color playing off the surrounding cookie. The sweet and tart flavor of the jam compliments the cookie perfectly.  You can substitute pecans for the walnuts although I prefer walnuts which have a bit of a bite that works really well.   Did I mention they are super easy to make?  Run, don’t walk to your kitchen and make these cookies now.

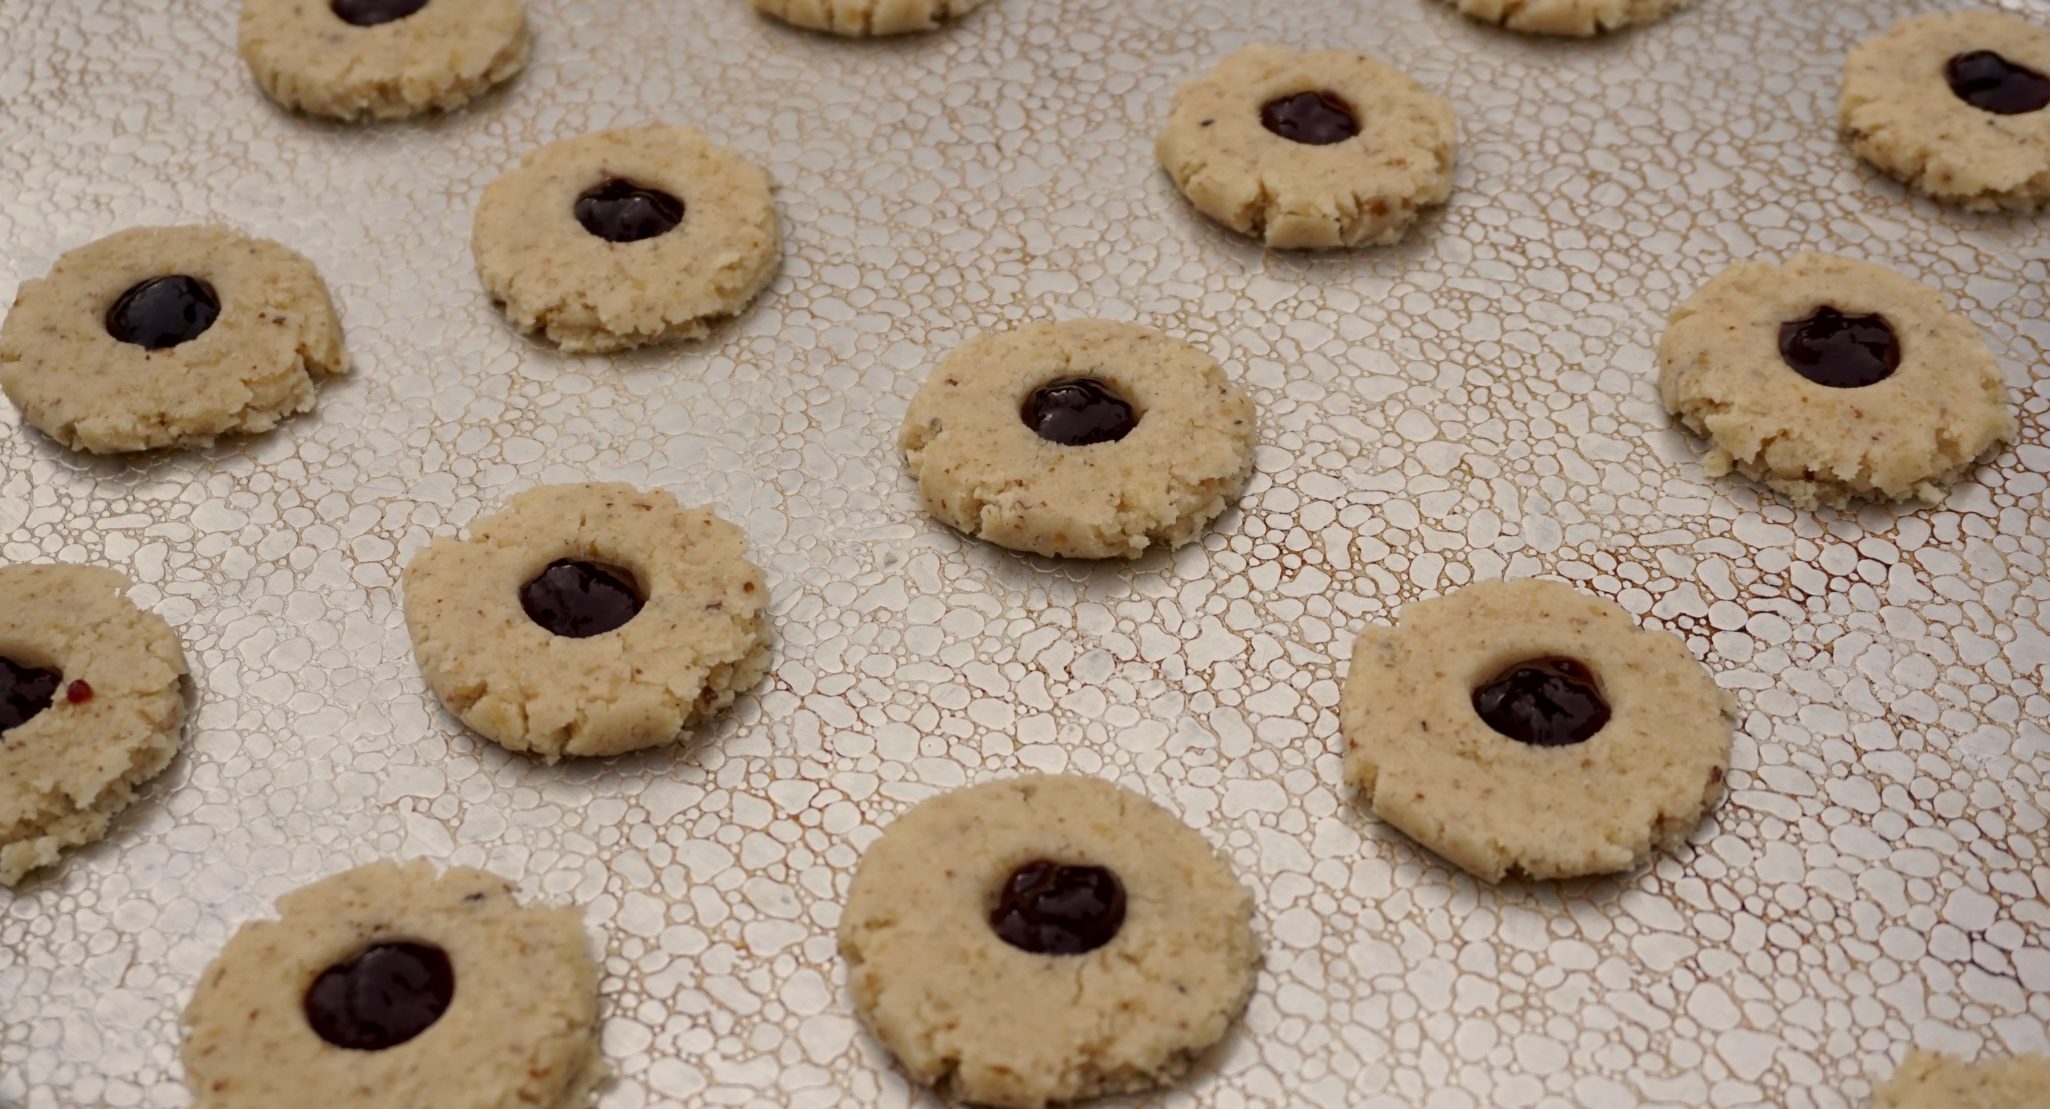
Over the years I have found little tricks that help when making cookies.  Ice cream scoops are the secret to uniform sized cookies and definitely speed up the process of scooping out the dough.  I make the indentation for the jam with my wine opener (nifty huh) and creates the perfect sized circle in the middle of the cookie, much better than my thumb!

You can use any flavor jam you like.  Put jam in a squeeze bottle and shoot approximately 1/4 teaspoon of jam into each indentation made. As the cookies are cooling, you can add a spot more jam in the center if you wish.  Sprinkle with powdered sugar.  I use a wire mesh tea strainer for my powdered sugar, works like a charm.


And for your listening pleasure the King-Blue Christmas

Variations on a Thumbprint Day 2: 12 Days of Cookies

Classic thumbprint cookie made with ground walnuts. Sandy, buttery absolutely delish!
Course cookies, Dessert
Cuisine American
Keyword Berry jam, cookies, jam, thumbprints
Prep Time 15 minutes
Cook Time 15 minutes

Ingredients

Ladies' home journal 12/93

Prep time: 20 minutes

Baking time: 10-12 minutes

  • 1 1/2 cup coarsely chopped walnuts
  • 1 cup butter at room temperature
  • 3/4 cup granulated sugar
  • 2 1/4 cups all-purpose flour
  • 1/4 cup seedless raspberry preserves
  • Powdered sugar
  • Dash of salt

Instructions

  • Preheat oven to 350 degrees.
  • Chop nuts in food processor until very fine. Beat butter, nuts, salt and granulated sugar in mixer bowl until light. Beat in flour into blended.
  • Shape dough into 1 inch balls.
  • Place 2 inches apart on ungreased cookie sheets and flatten to 1 1/2 inch circle.
  • Press into centers with a fingertip.
  • Fill each indentation with 1/4 teaspoon preserves.
  • Bake 10-12 minutes, until golden.
  • Cool.
  • Sift confectioner's sugar over cookies.
  • Makes 6 dozens.


Dutch Almond Cookies (It’s Crunch Time ) Day 1 Holiday Cookies

Dutch Almond Cookies (It’s Crunch Time ) Day 1 Holiday Cookies

One hundred and twenty-ish

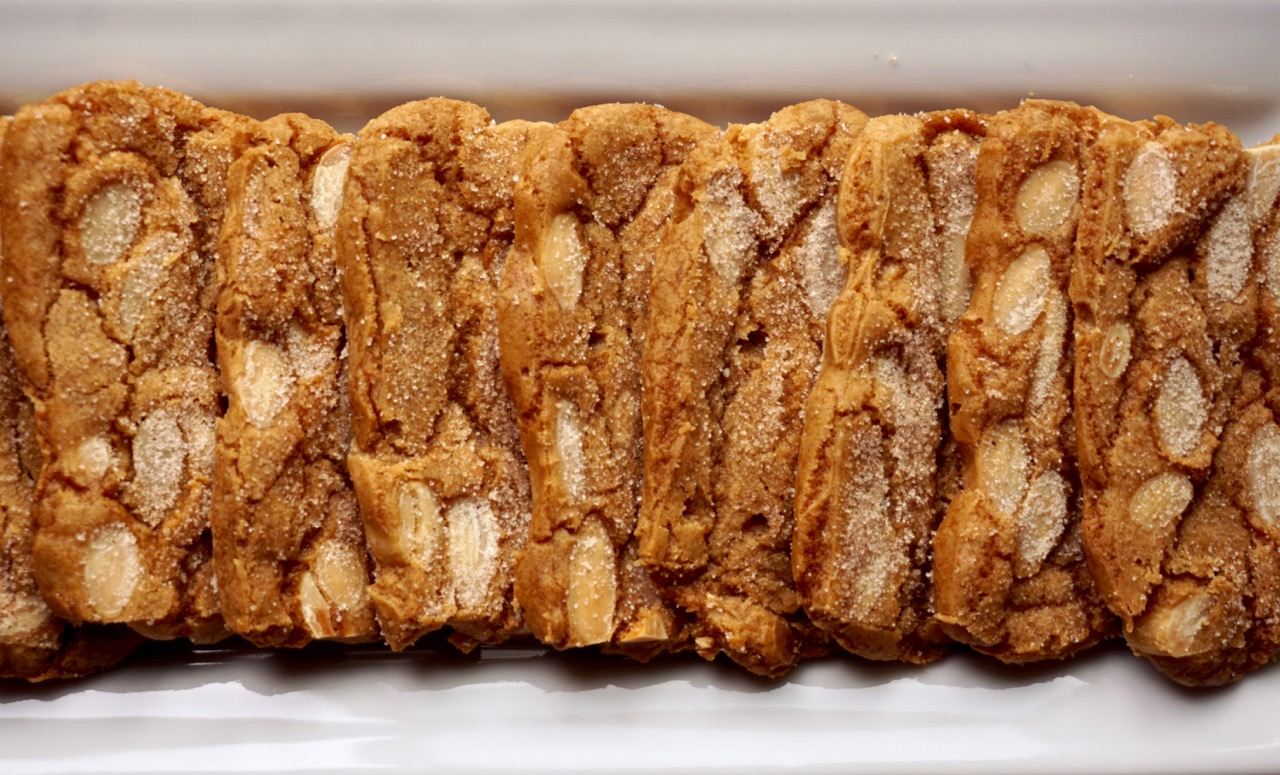
Remember that number. Way back in January we took an impromptu trip to New York for my cousin’s birthday.  My cousin’s wife Kathy, baker, crafter, home chef extraordinaire made all of the scrumptious desserts – birthday cake, lemon parfaits, and an amazing assortment of cookies for the shindig.  We ate, we danced, we laughed.  Not surprisingly I was enamored with all of the desserts Kathy made, one in particular, stood out.  A cinnamon-y, crispy-crunchy cookie with almonds scattered throughout.

When we returned home from our NY jaunt I fired off an e-mail to Kathy.

Me:  Hey Kathy, Great party!  As usual delicious food, great company, and so much fun!  Loved those crunchy almond cookies!  Mind sending me the recipe?

Kathy:  Still recovering from the party.  Yep, those are good cookies.  The recipe is from Nick Malgieri’s Cookies Unlimited, they’re called Dutch Almond Cookies.

Me: Wait, I think I have that book (surprise, surprise)

…I scurry off to find said book

Seize the Dough

The first time I made them was a total disaster.  The recipe is actually pretty simple.  Butter, brown sugar, granulated sugar, and a touch of water are heated until the sugar is melted.  Once the sugar has dissolved toss in the whole blanched almonds.  The almond mixture is then combined with the dry ingredients.  All was fine until I stirred in the flour and bam!  It seized and instantly transformed into a crumbly dry mess. Ugh.  Disappointing.  I tried to salvage it by pressing it into a baking pan and chilling it.  Unfortunately, even after chilling, it was not workable and it ended up in my compost bin.  Where did I go wrong?

I turned to my trusty laptop, googled Nick Malgieri, and fired off an e-mail lamenting my disaster.  True to form and further validating how nice bakers are, I received a response from him shortly.  After some mulling, he concluded that I had probably used too much flour.  

One hundred and twenty-ish

When you try these bundles of crispy crunchy goodness use a scale if you have one. It may save you from the “un-malleable mess” I had the first time. If you don’t have a scale, be gentle with your flour, don’t pack it in the cup when you measure.

I revisited these cookies for the holidays 2021.  This time I decided to go with the standard weight of 122gms for a cup of flour.  Worked like a charm.  I think anywhere between 120-125gms of flour should work for these cookies.  If you don’t have a scale, fluff your flour and lightly scoop it into your measuring cup with a spoon. Don’t pack it.

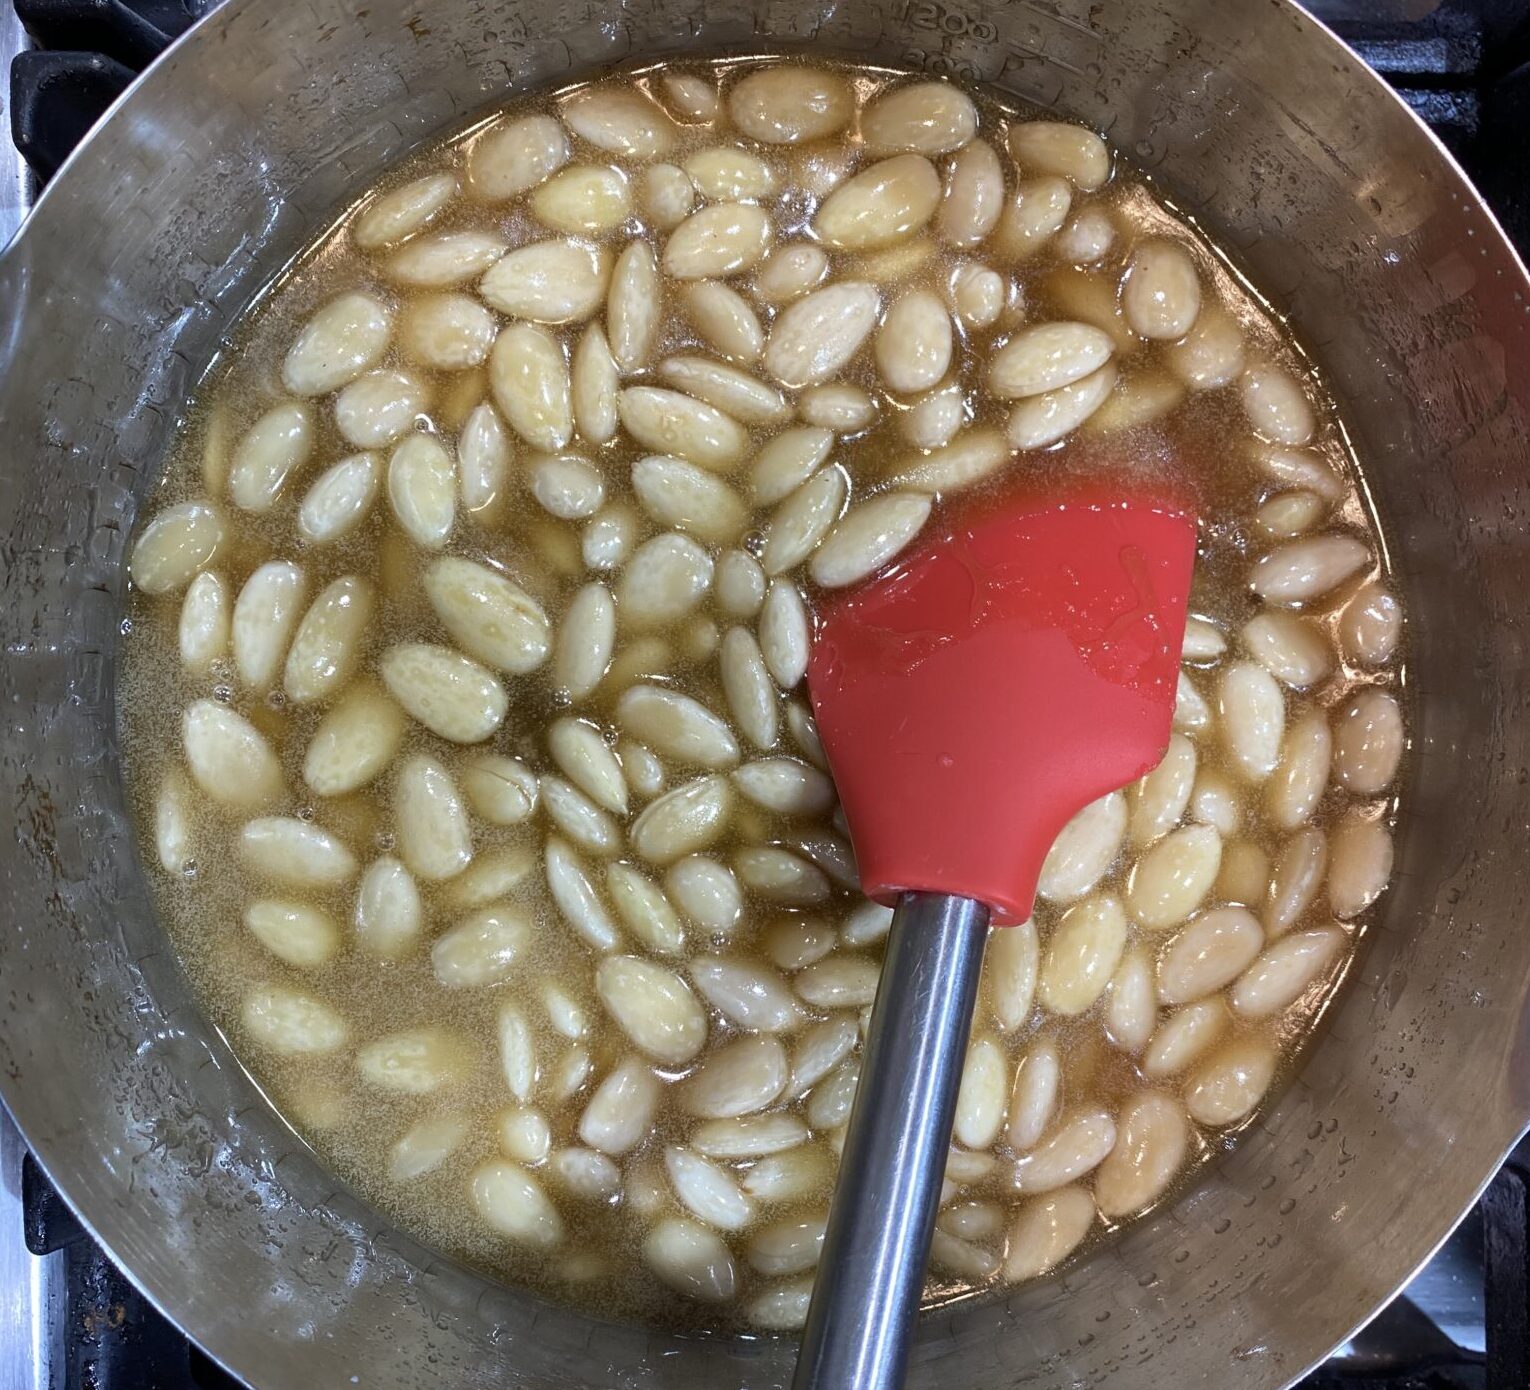
Sugar, butter, almonds, mixture on the stove before adding the flour.

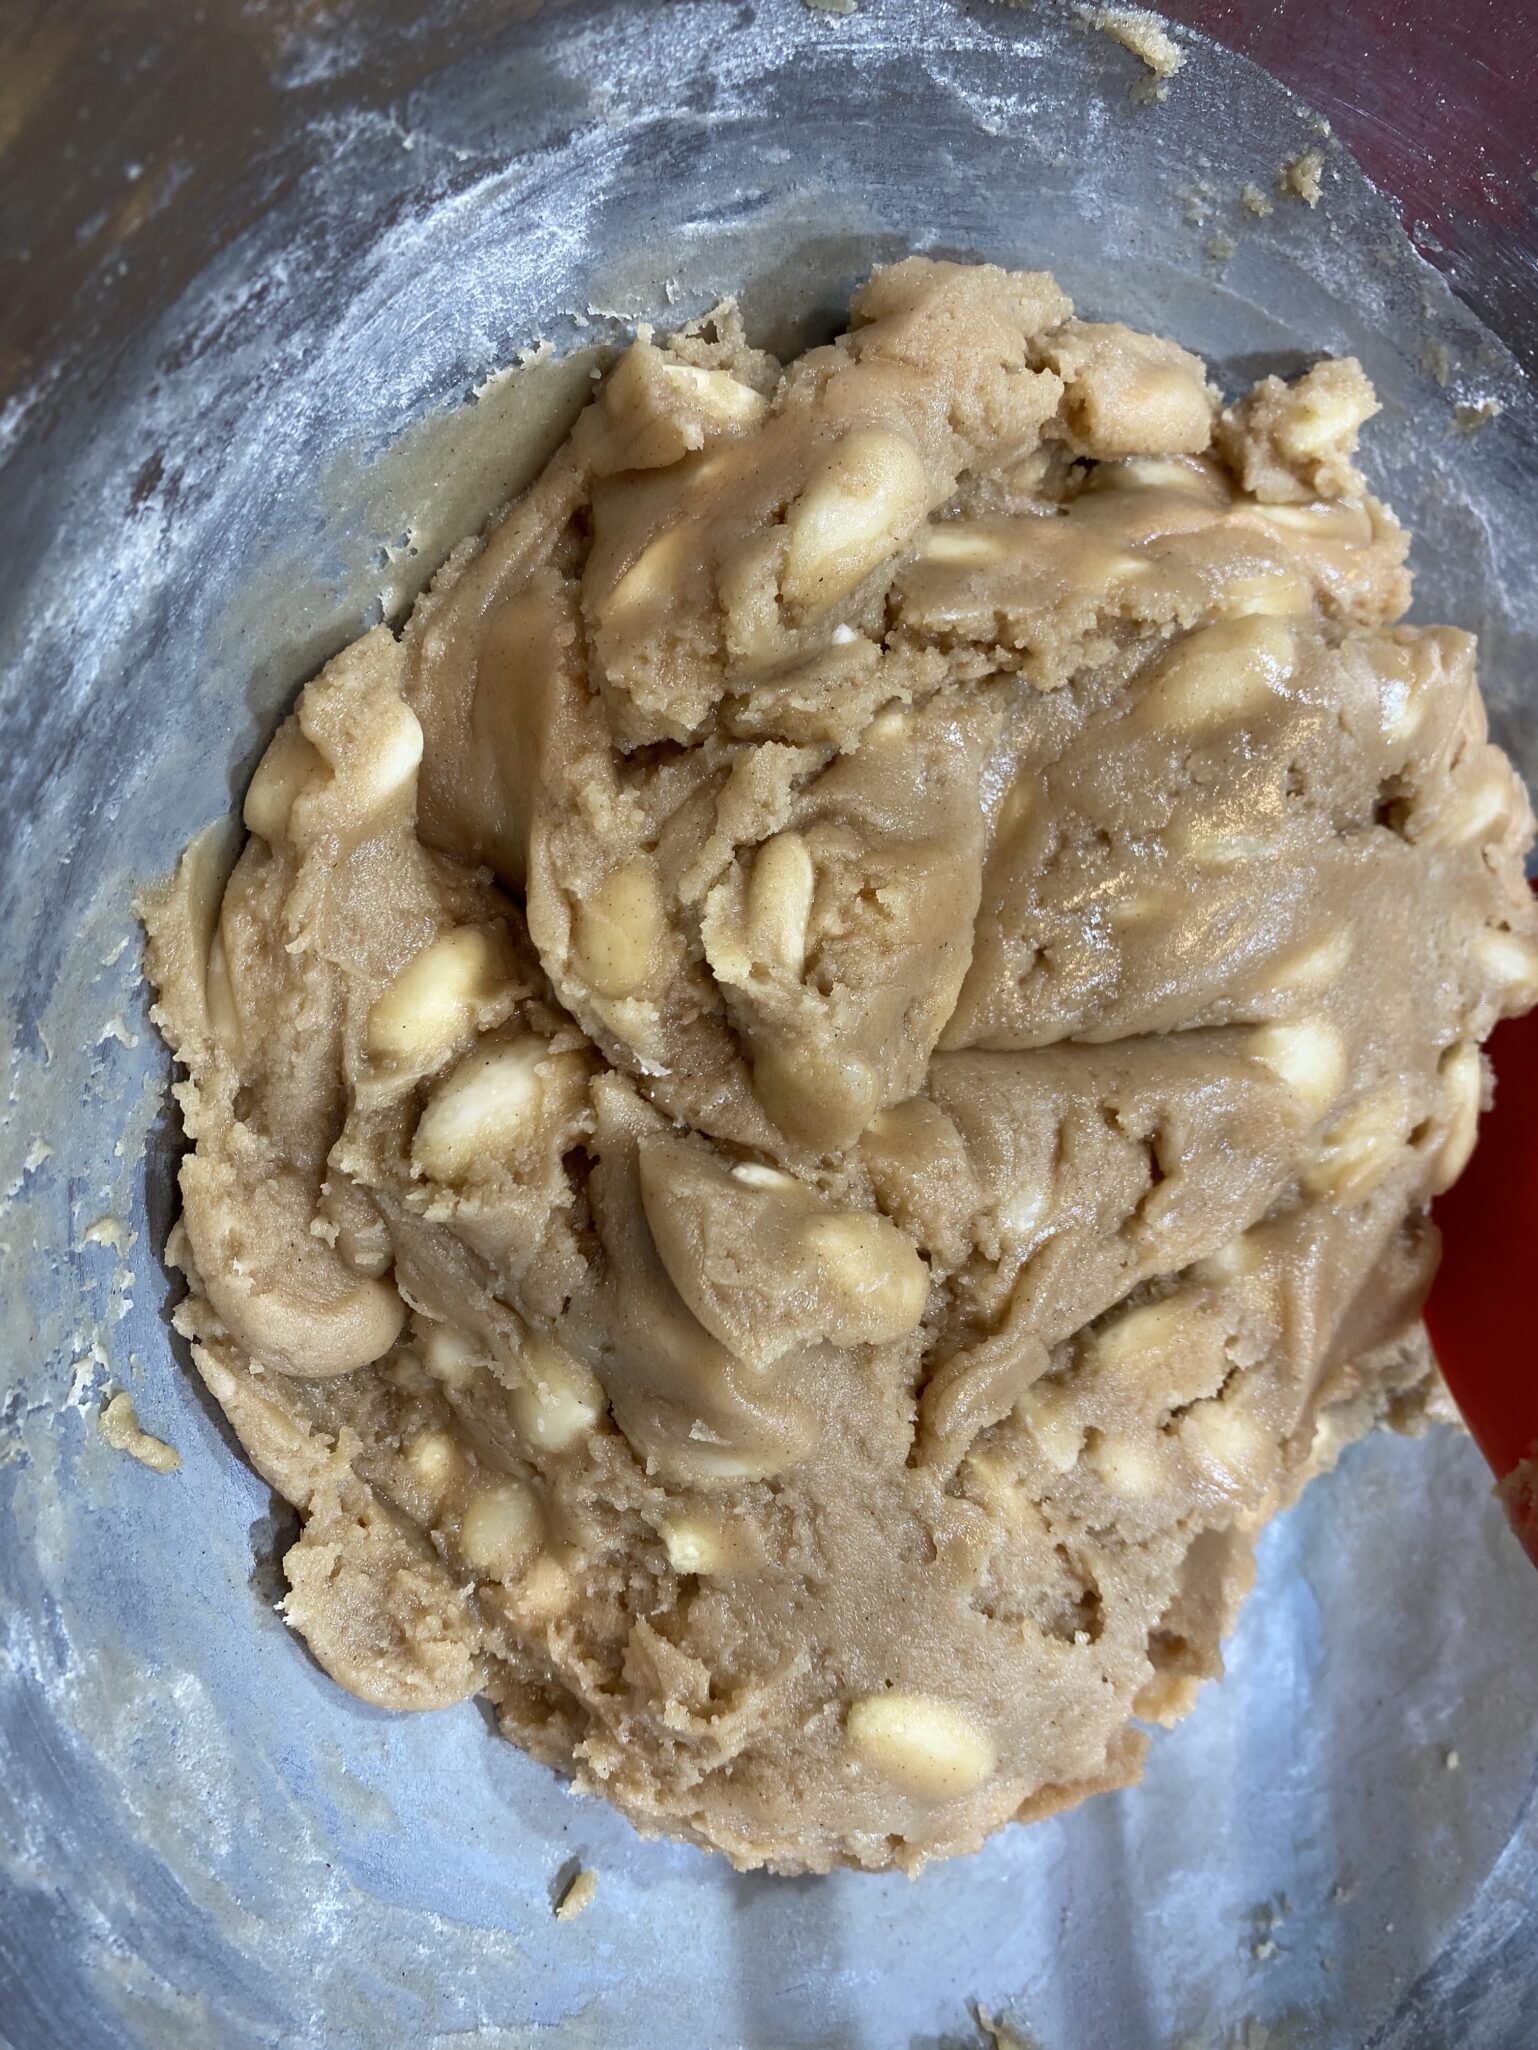
Added the flour, this is the step I always approach with trepidation…and where I implore you to get a scale!

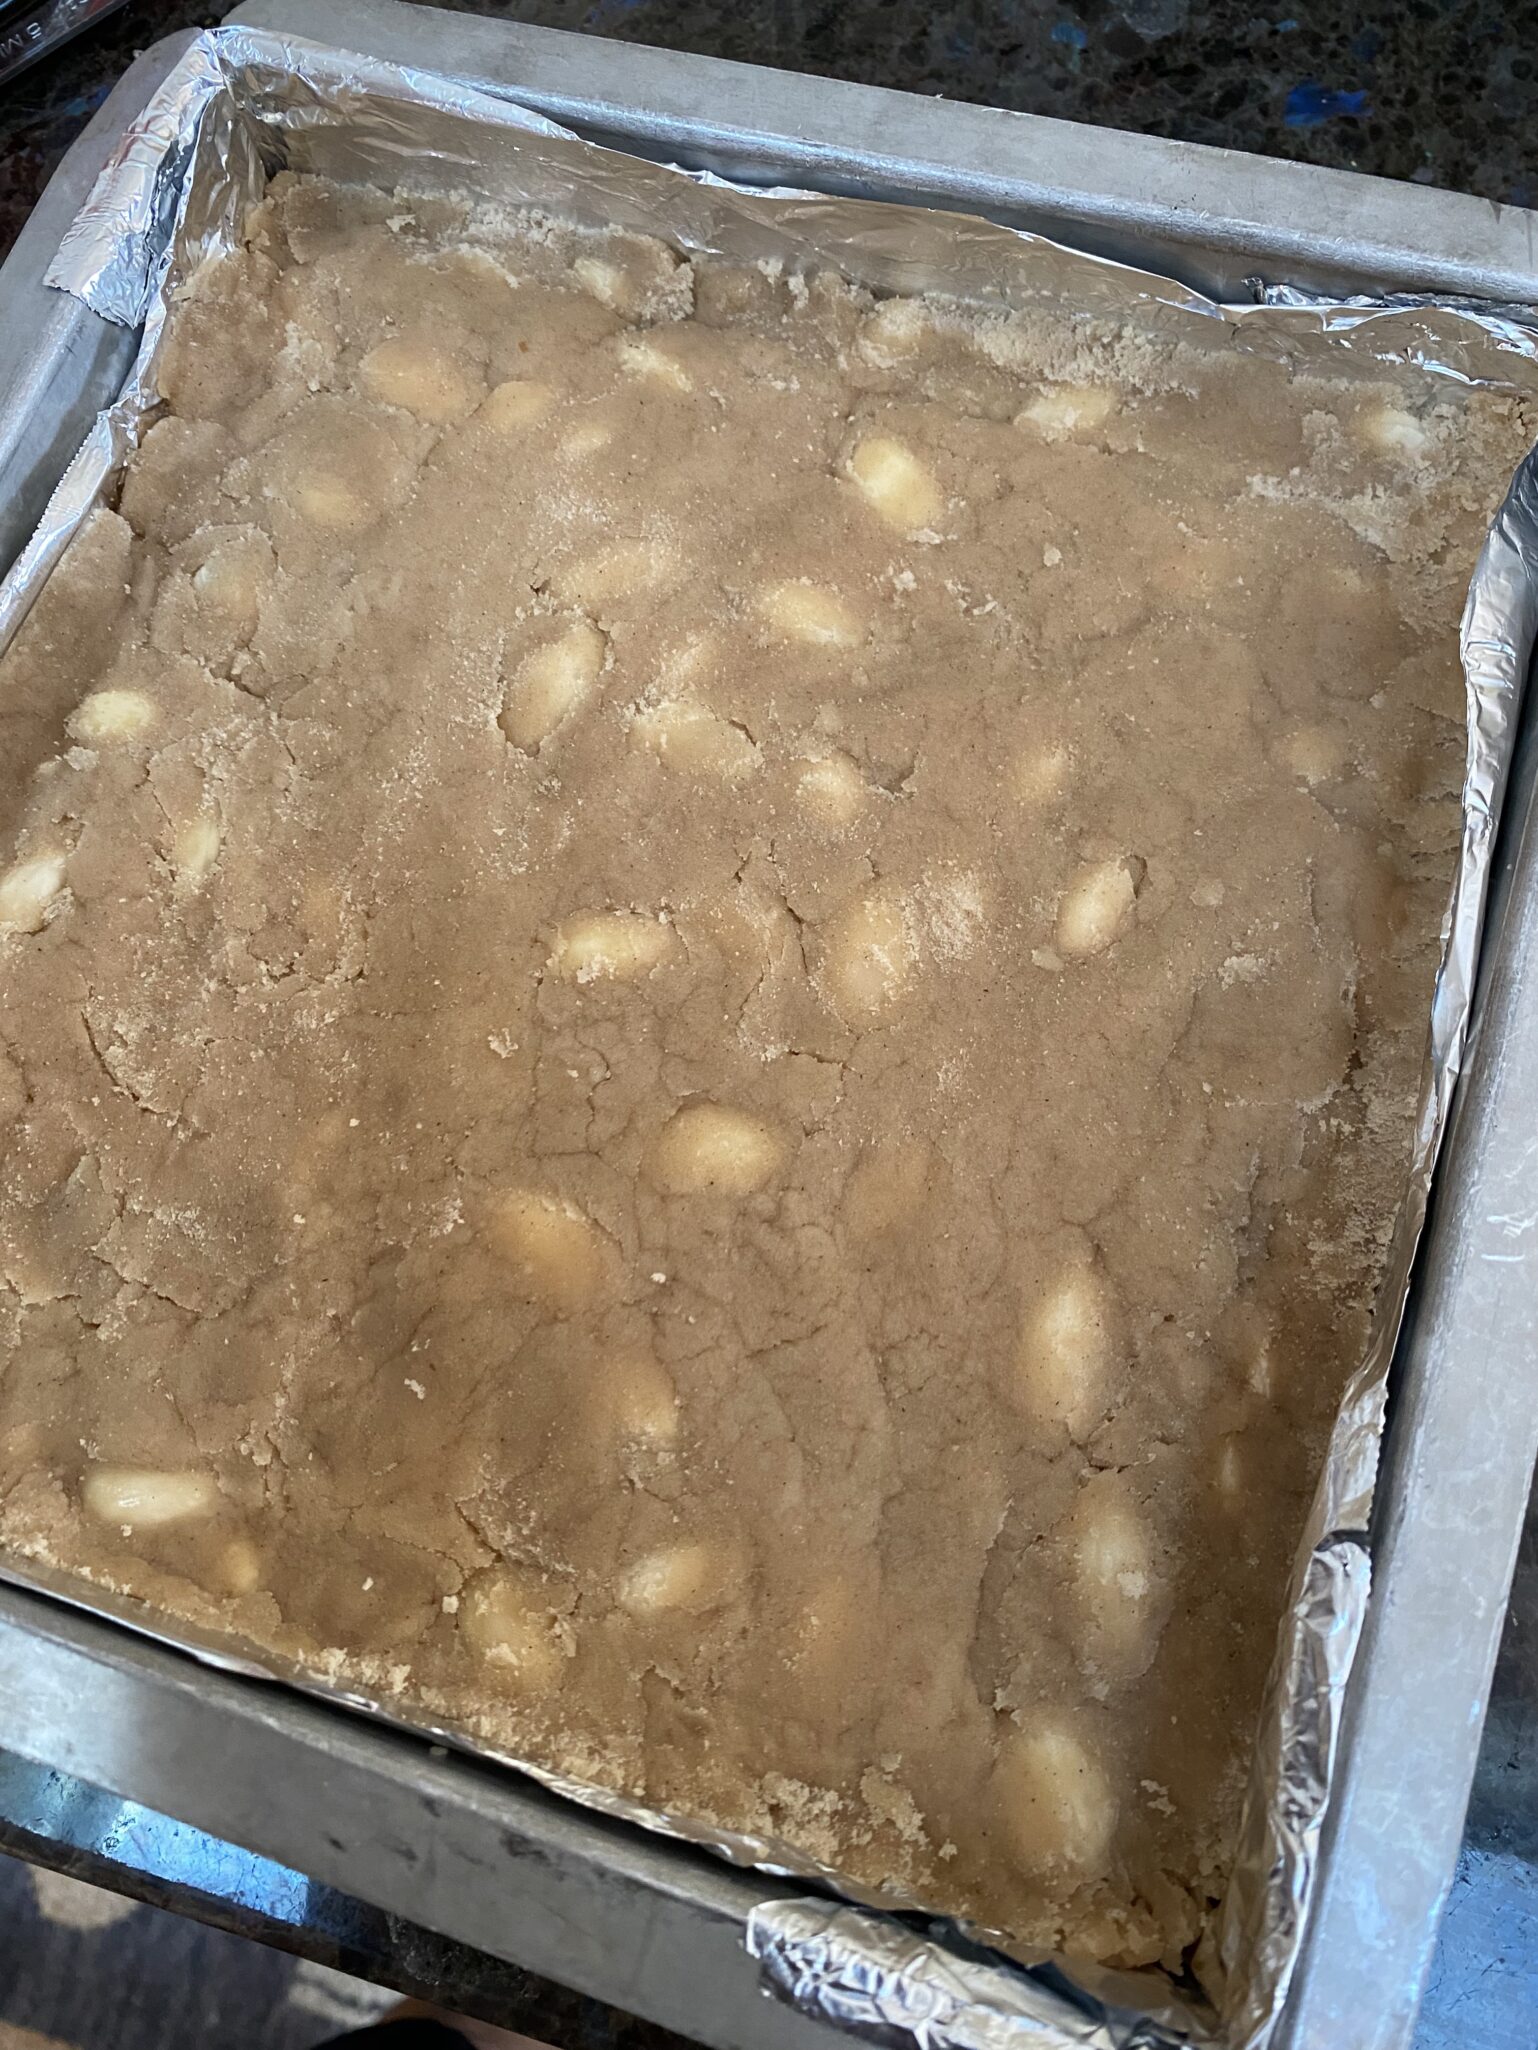
This batch actually has a smidge to much flour…see the dry parts?  But no seizing of the dough, Yay! Use parchment or heavy-duty foil with plenty of excess to grab, it was a b*tch trying to remove it, the regular-weight, too-short foil kept ripping.

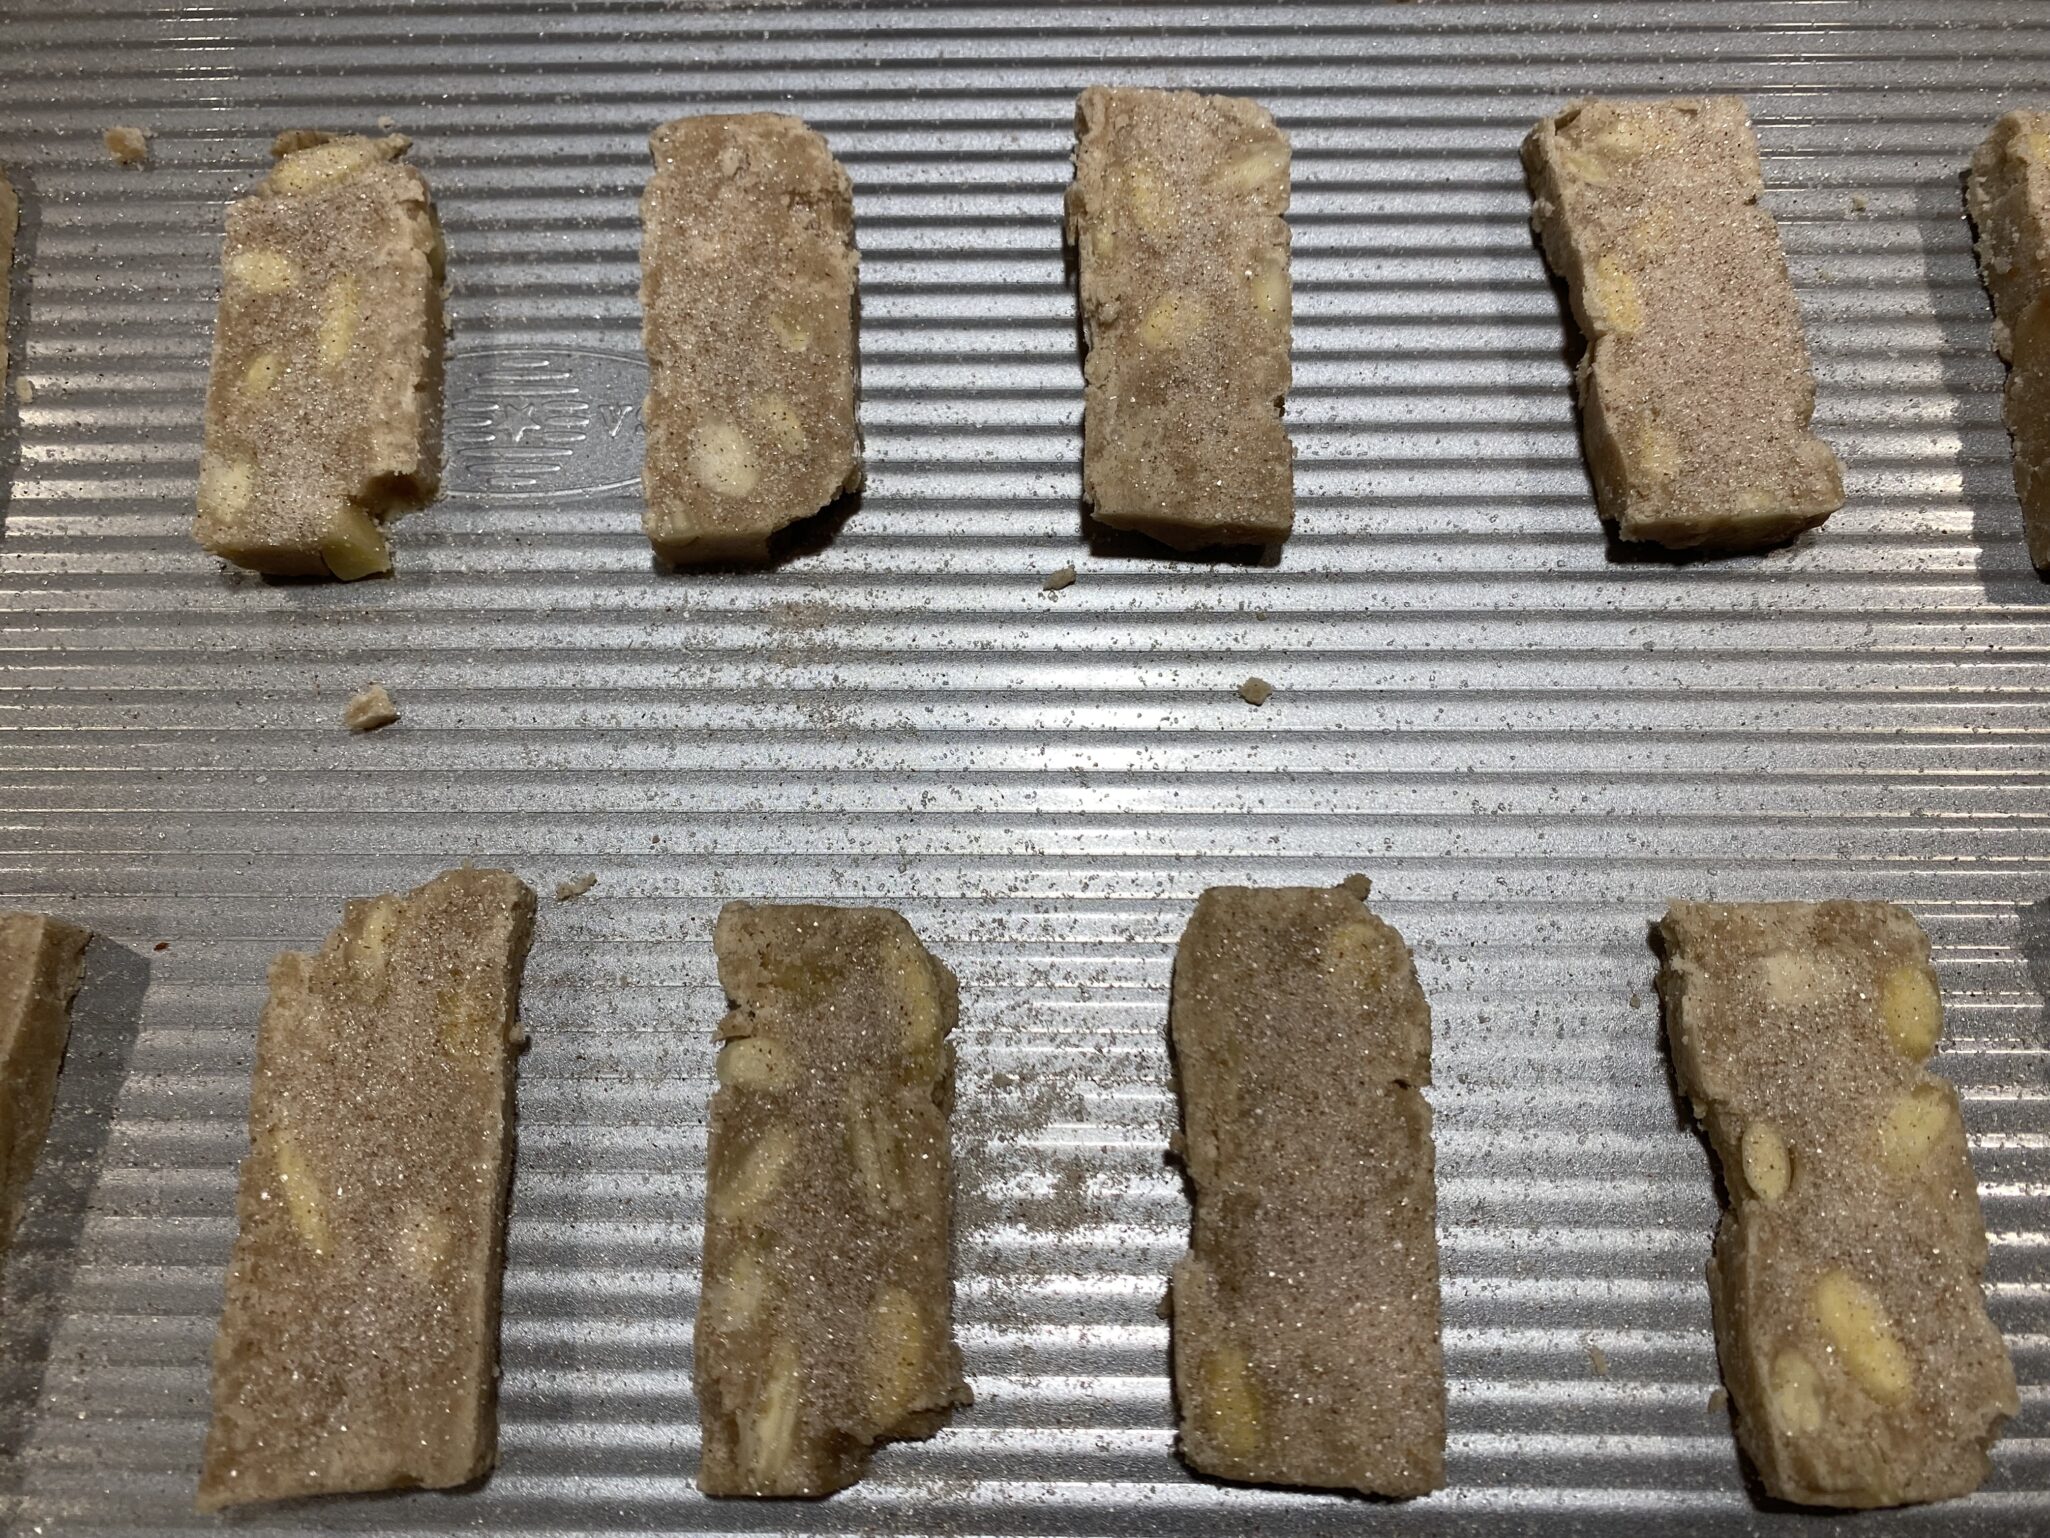
Ready for the oven, be generous with the cinnamon sugar.

This time the dough did not turn into a chalky brick, instead, it was very thick and almost pourable.  I put it in an 8×8 pan lined with foil (very important) covered it with plastic wrap and chilled the dough overnight.  Once chilled it hardens and becomes easy to cut.  Divide dough into 3 logs.  Cut 1 log at a time leaving the remaining logs in the fridge. If it crumbles while cutting, just smoosh (a technical term used by all serious chefs) it back together.  The recipe calls for 1/4″ inch slices.  These are really crunchy cookies I would slice them a smidge thinner than 1/4 inch rather than more.  Place the cookies on a parchment-lined sheet about 1 inch apart and sprinkle generously with cinnamon sugar.  Bake for 15 minutes.  Make sure to bake the cookies until they are a rich golden brown and firm to touch.  Once cooled the slices will be crispy-crunchy similar to biscotti. If under-baked the cookies will be chewy instead of crisp.

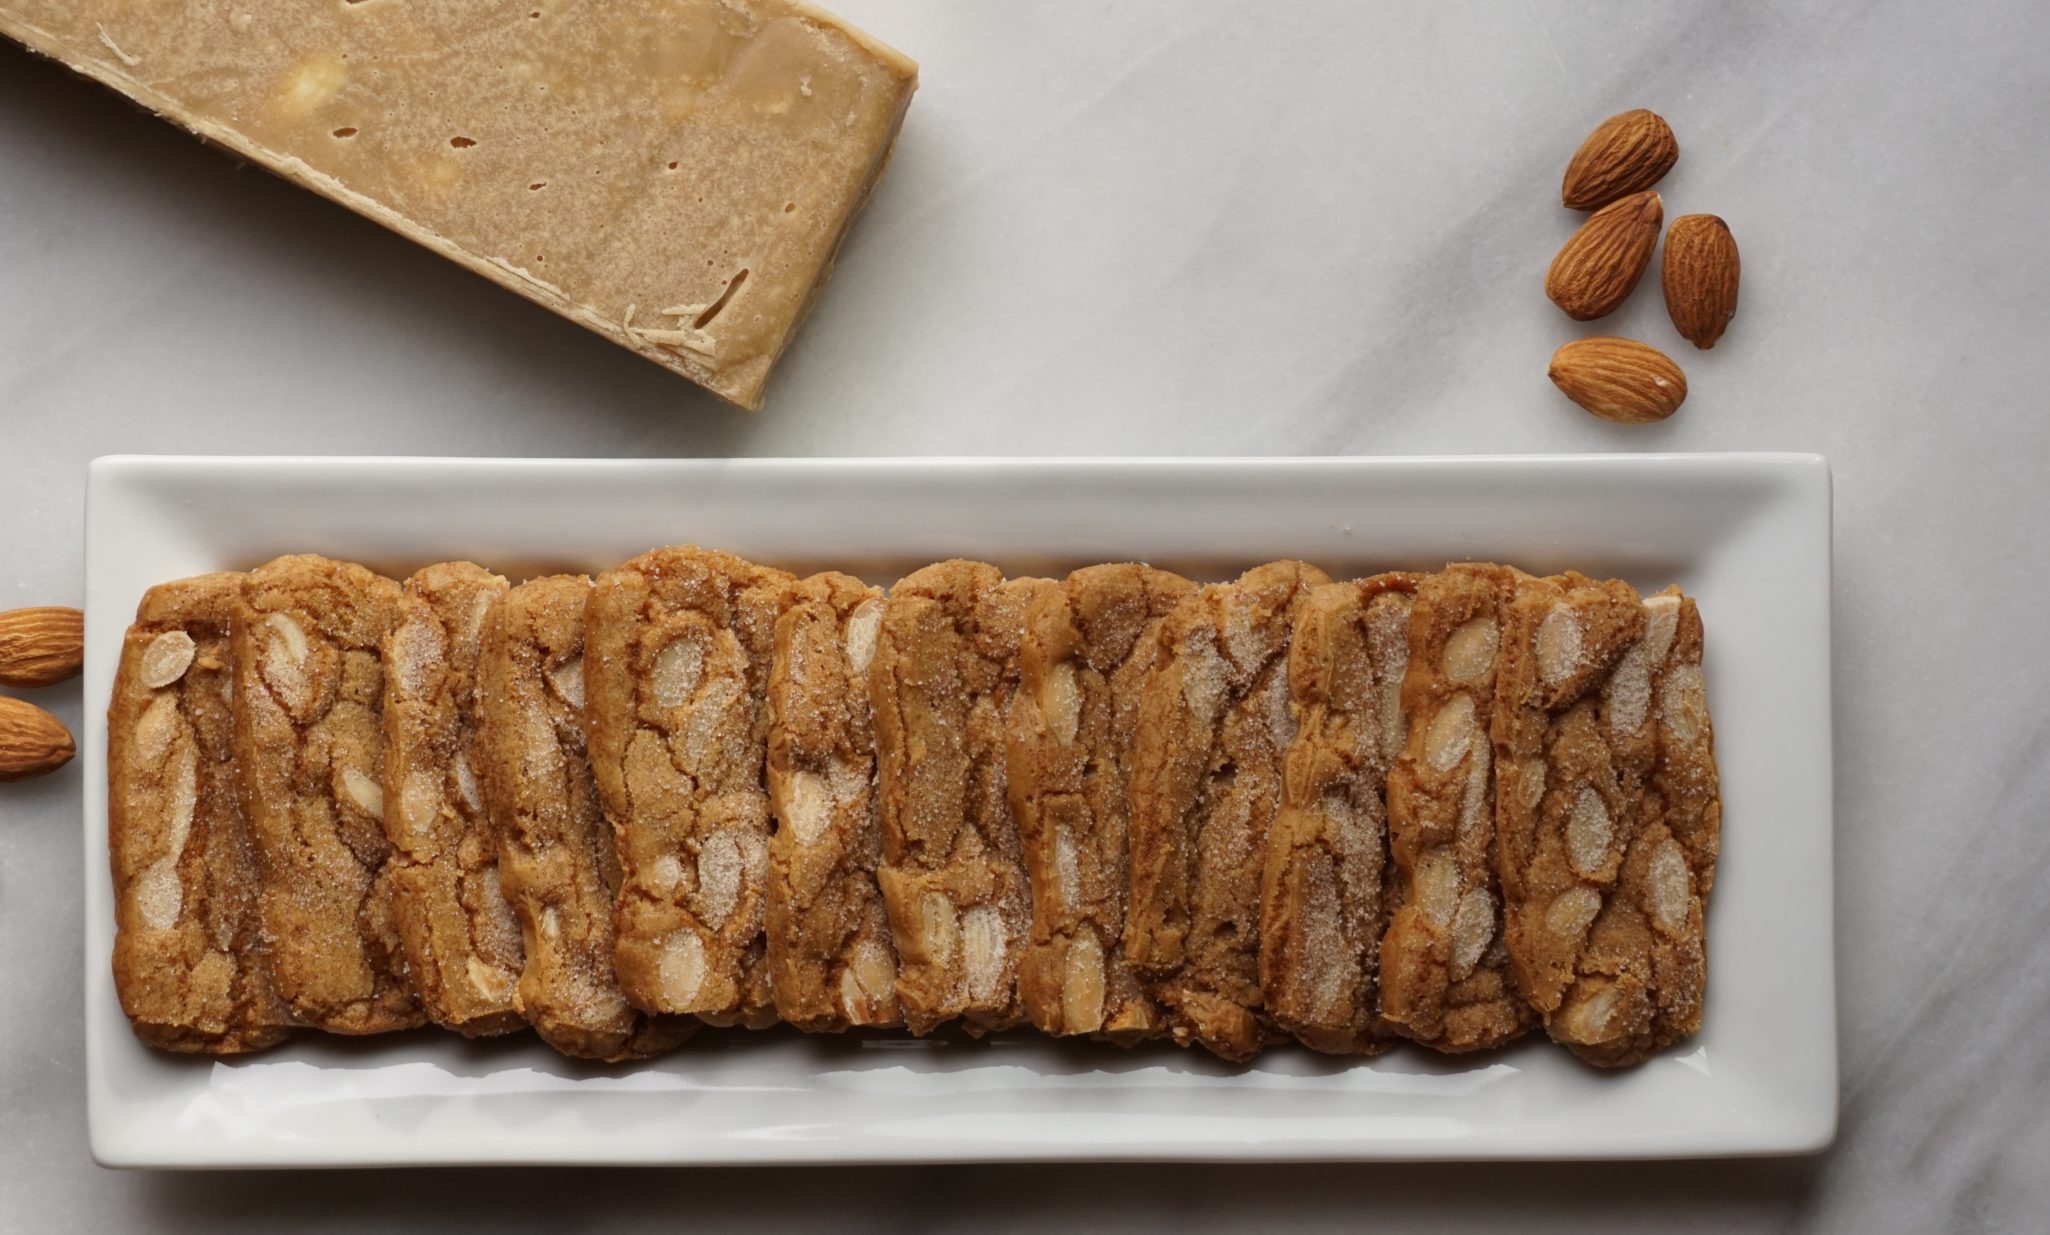
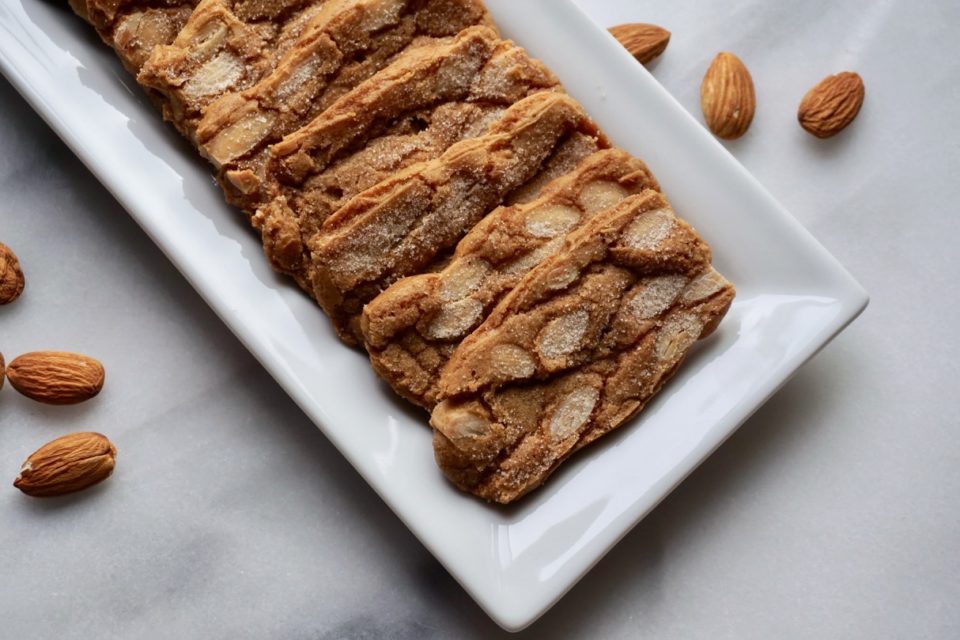
This recipe makes a ton of cookies, perfect for that upcoming holiday cookie swap. Delightful cookies, crunchy, airy, perfect with tea or coffee.

Added bonus, a holiday tune to go along with these scrumptious cookies.  From  Peanuts Christmas- Linus and Lucy


Dutch Almond Cookies Day 1: 12 Days of Cookies

Light, crispy, crunchy, almond cookies
Course cookies, Dessert, Snack
Cuisine American
Keyword Dutch Almond Cookies
Prep Time 25 minutes
Cook Time 12 minutes

Ingredients

From Nick Malgieri's Ultimate Cookies

Butter for greasing pan

Da Dry Stuff-Combine and set aside

  • 3 cups all-purpose flour 120-125gms/cup
  • 1 teaspoon baking soda
  • 1 teaspoon ground cinnamon

Da Wet Stuff

  • 3/4 cup 1 1/2 sticks unsalted butter, cut into 12 pieces
  • 1 cup firmly packed light brown sugar
  • 1 cup granulated sugar
  • 6 tablespoons water
  • 2 cups whole blanched almonds

Topping:

  • 1/2 cup granulated sugar
  • 1 teaspoon ground cinnamon

Instructions

  • Line an 8-inch square pan with aluminum foil; butter foil. Line 2 or 3 baking sheets with parchment paper.
  • In a large bowl, whisk together the flour, baking soda and cinnamon. Set aside.
  • Melt butter in large saucepan over medium heat. Remove from heat and stir in brown sugar, granulated sugar and water. Return to heat and bring to boil, stirring occasionally, until sugar melts. Remove from heat and stir in almonds.
  • Pour sugar-almond mixture into a large bowl and stir in dry ingredients. Press dough into prepared square pan, cover with plastic wrap and chill overnight or until firm.
  • About 20 minutes before you are ready to bake cookies, set racks in the upper and lower thirds of the oven and preheat to 350 degrees.
  • Prepare topping: thoroughly combine 1/2 cup granulated sugar and 1 teaspoon cinnamon; set aside.
  • Unmold the "brick" of cookie dough from the pan and place on cutting board. Cut brick into three bars, each 8-by-2 1/2-by- 1 1/4 inches (bars will be just a little more than 2 1/2-inches wide). Wrap 2 bars in parchment paper, wax paper or plastic wrap and refrigerate. Cut remaining brick into 1/4-inch thick slices. As you cut cookies, place them on prepared sheets 1 inch apart in all directions.
  • Just before putting sheets in oven, sprinkle tops of cookies generously with the cinnamon sugar. Bake cookies for about 15 minutes, or until they are golden and firm. Slide the parchment with the cookies on top onto cooling racks. Cookies will crisp as they cool. Repeat with remaining bars of dough.
  • Store cookies between sheets of parchment or wax paper in a tin or plastic container with a tight-fitting lid. If freezing the bar(s), it is best to thaw dough overnight in the refrigerator before slicing and baking.
  • Happy baking!