Category: Quick & Easy

Easy Dishes

Fresh Tomato & Sausage Pasta-When Comfort Food is Required

Fresh Tomato & Sausage Pasta-When Comfort Food is Required

Our final road trip with Moosie (for context, my daughter’s Bernedoodle whom we have been sitting for the last 4 months) took us first to Lake Tahoe for a couple of days.  A pit stop before our final destination, Salt Lake City, where we were to hand off the pooch to Sam.  Moose was bound for New York, back to Jamie and Sam. 😢

It has been a while since we last spent time in Tahoe.  We took time to wander around and check out some the new eateries.  Our favorites include  Coffeebar (☕️☕️☕️☕️/5), Great Gold (🍝🍝🍝🍝+/5),and Truckee Food Stop (🥙🥙🥙🥙/5).   We also perused the shelves at a very cute bookstore Word After Word (📕📕📕📕+/5).  I LOVE bookstores.

Perfect way to start the morning, coffee and a buttery, delicious pastry.
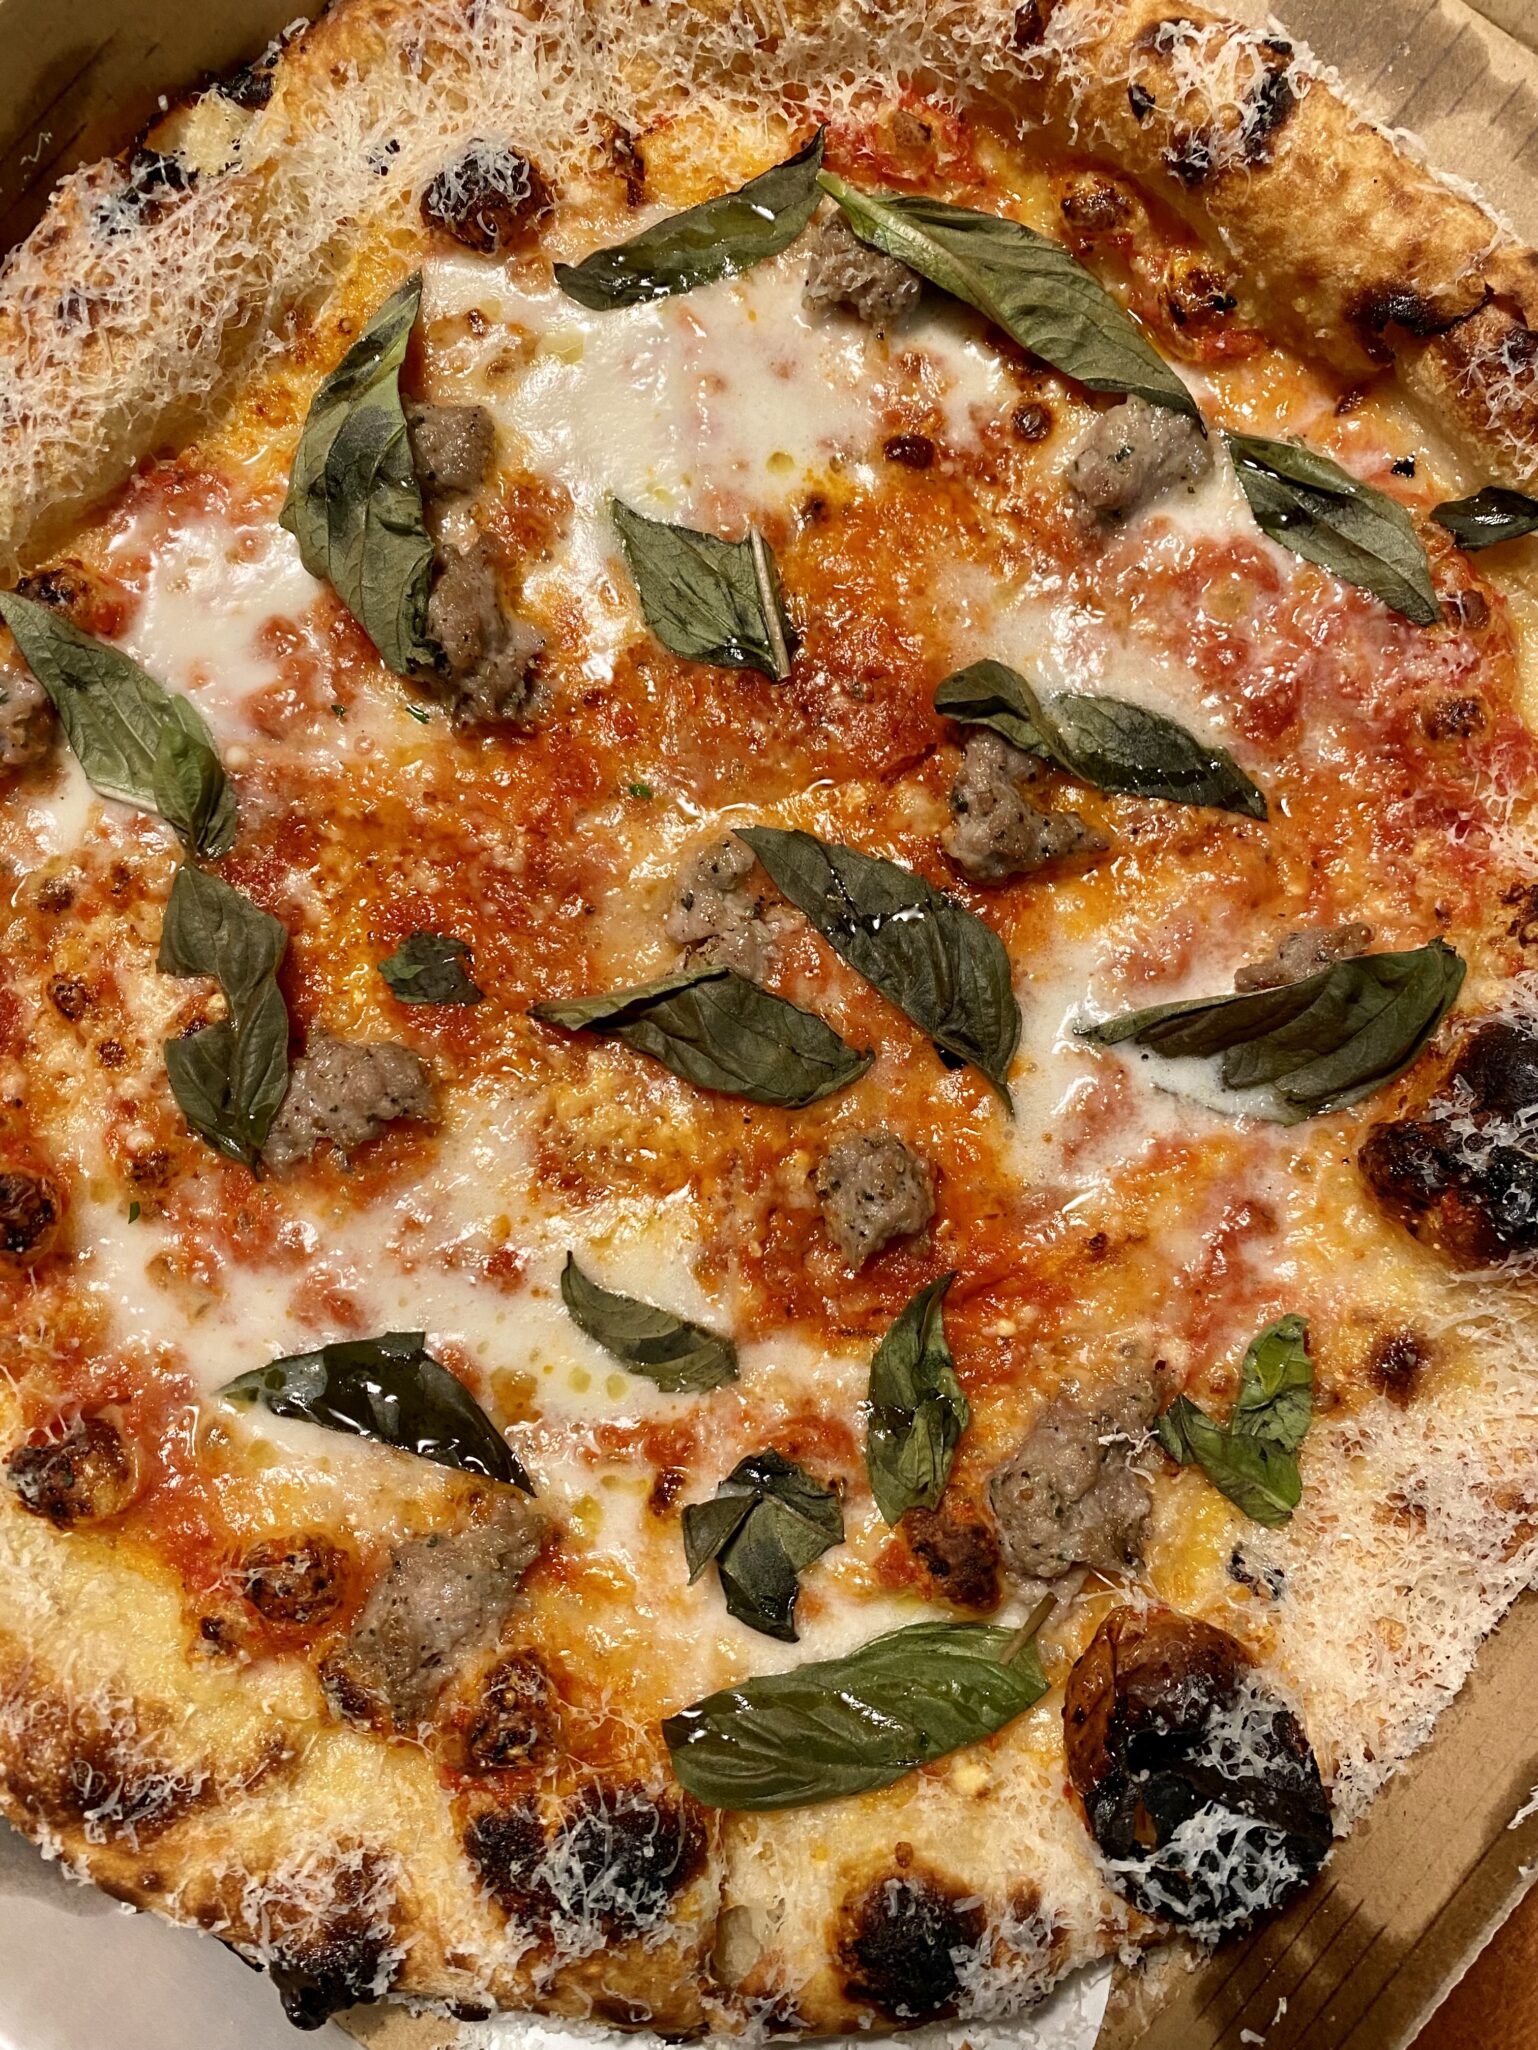
Great Gold, its roots are from Flour + Water in San Francisco, a beautiful restaurant, with great pizza and pasta, don’t pass on the Brussels sprouts!

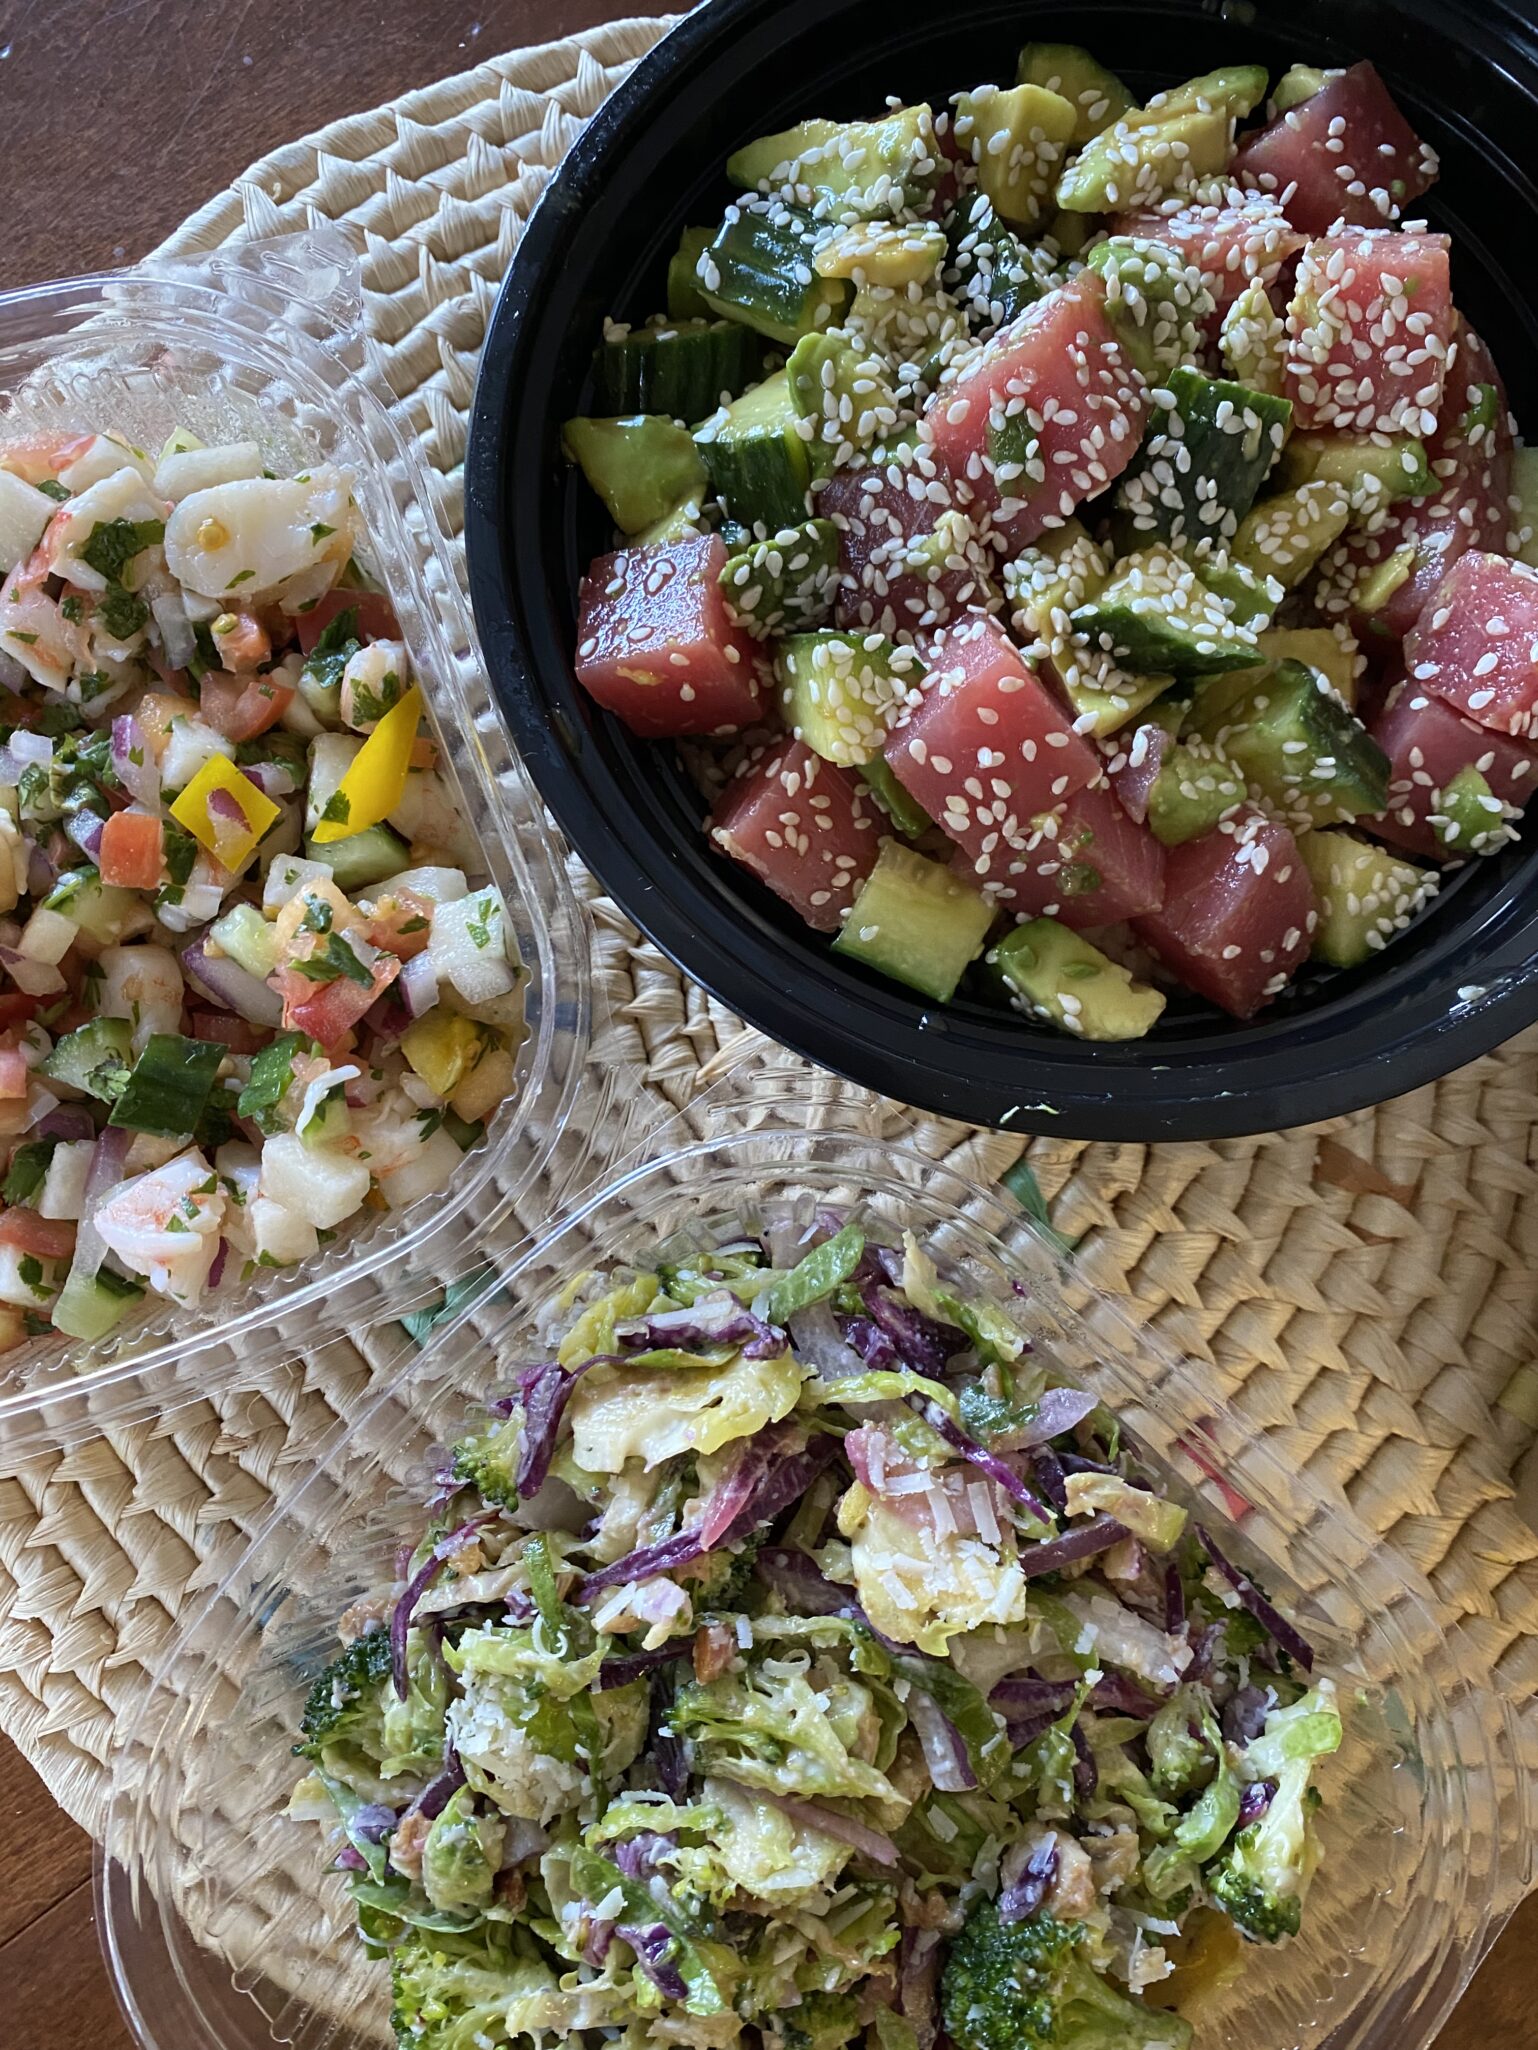
 

Truckee Food Shop features pre-made meals to take home.  They also have a nice curated selection of wines, pastas, spices, and cookbooks.  Don’t walk out without an order of their ceviche.

Comfort Food

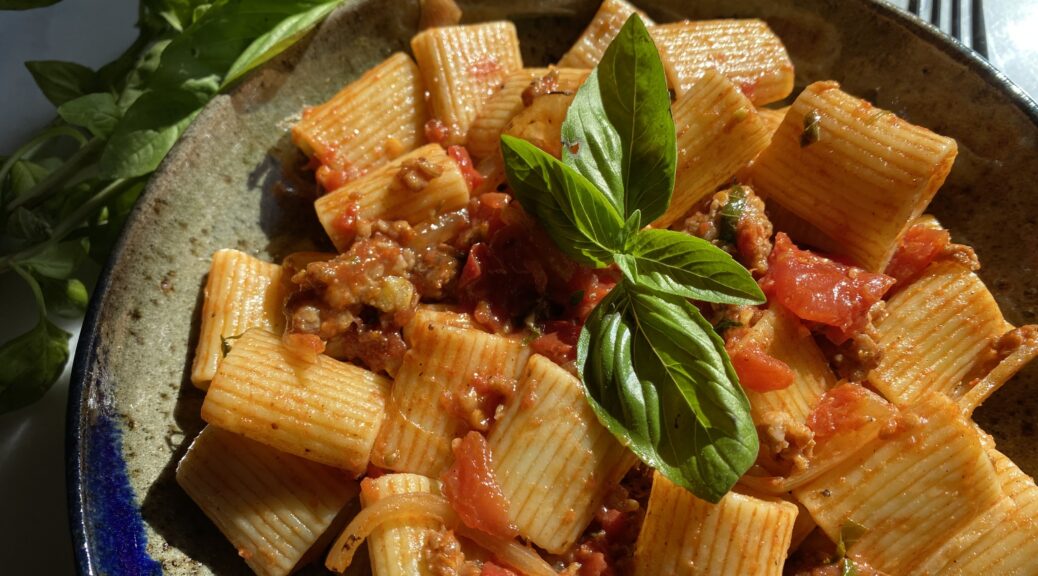
We spent our last evening in the cabin cooking, sipping wine (thanks to whoever left that nice bottle of Chardonnay in the fridge), and playing with Moose.  I had brought this week’s farmers market bounty, dry-farmed tomatoes, onions, and basil from my garden (apparently the only thing I can grow) with us.  We picked up Italian Sausages and pasta and made a quick and easy dish, Fresh Tomatoes, Sausage, and Pecorino Pasta.
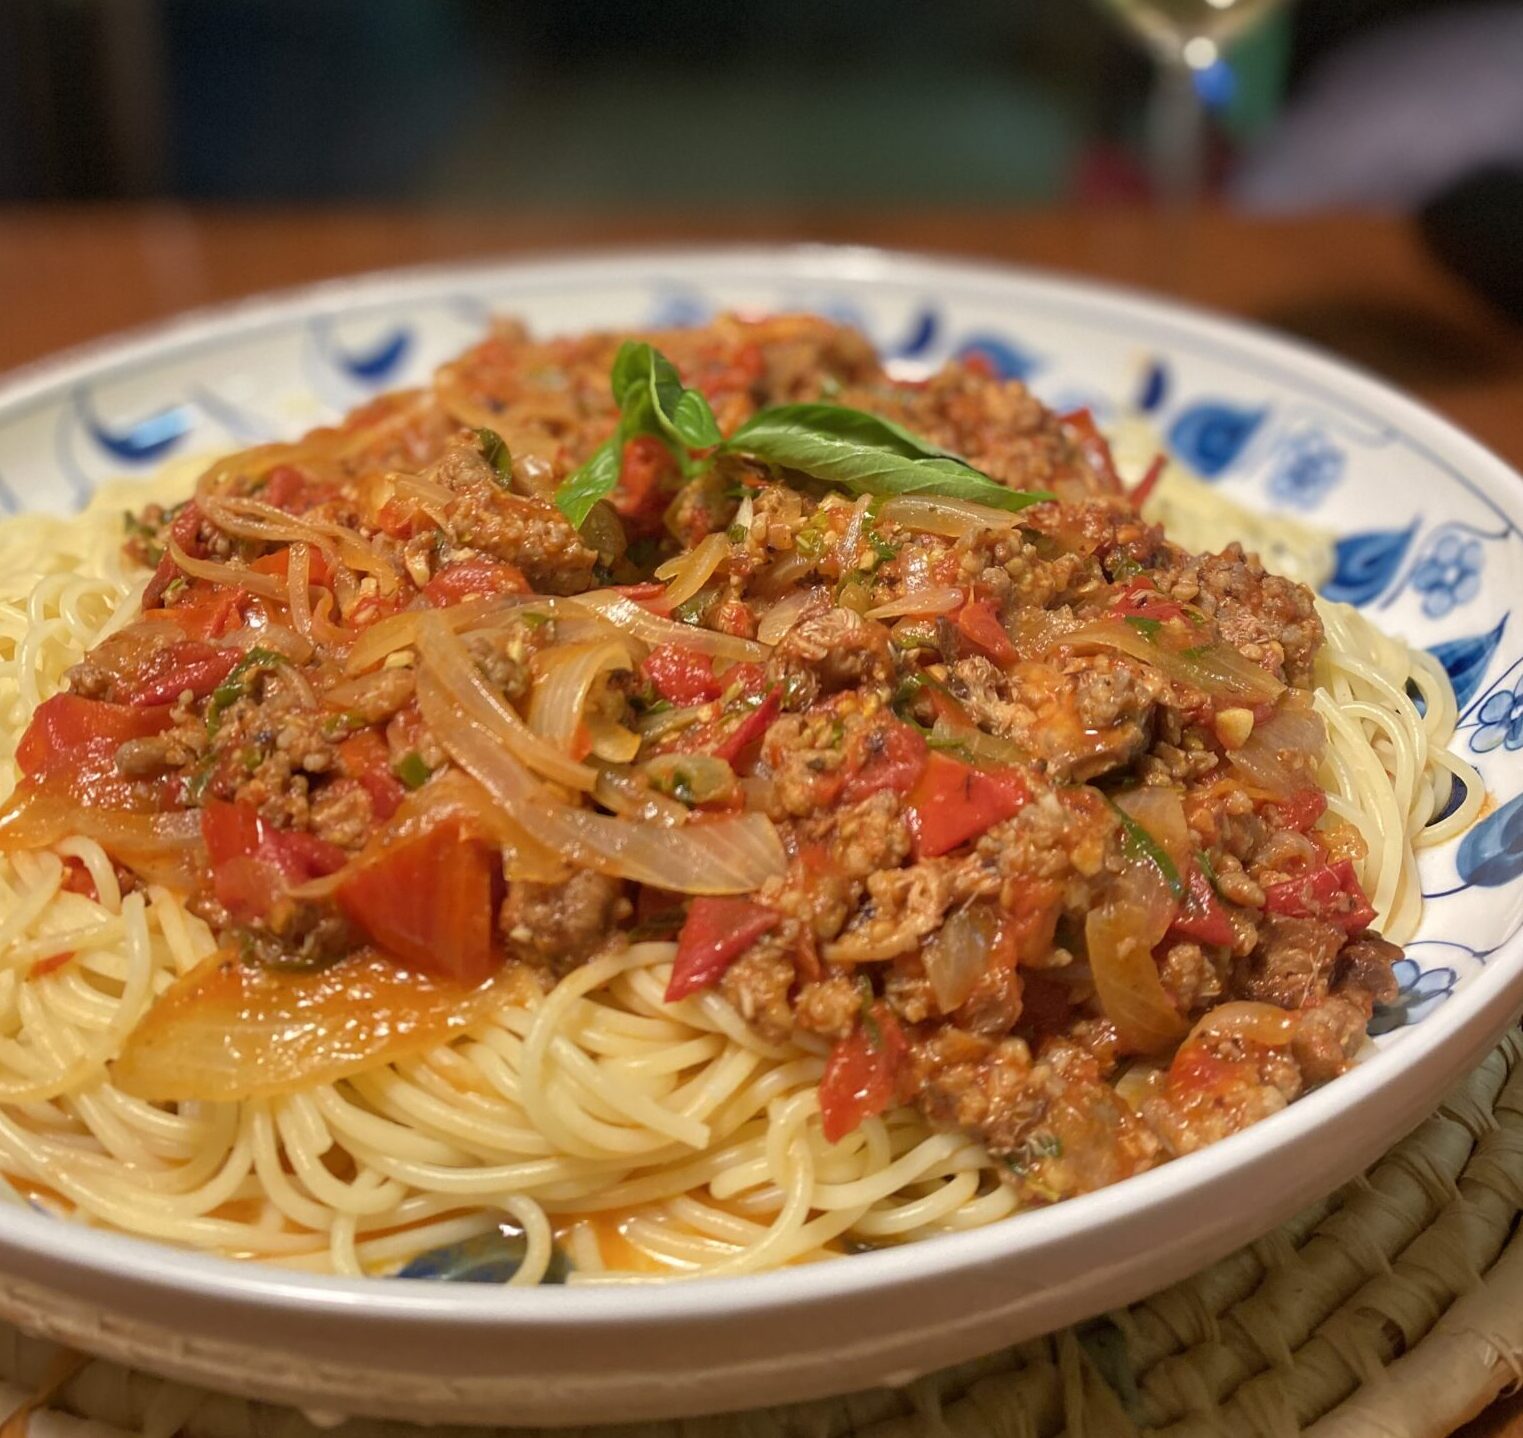
Used spaghettini the first night, I prefer a tube pasta like rigatoni mezze

Tomorrow we start the drive to Salt Lake City, maybe we should turn around and head home?  Guess that would be considered dog-napping though, lol.

Just what I needed a nice, big, bowl of pasta to ward off the pending “I ain’t got me a dog no more blues”.  This sauce comes together in the time it takes for you to cook the pasta.  Chop your tomatoes, thinly slice an onion, smoosh some garlic, crumble the sausage, combine, and saute for a couple of minutes.  That’s pretty much it.  Right before serving, hit it with some fresh herbs, and grated cheese. The OG version calls for Pecorino Romano, which packs a bigger punch than Parmesan so I cut it back a little.  You could also use Parmesan.
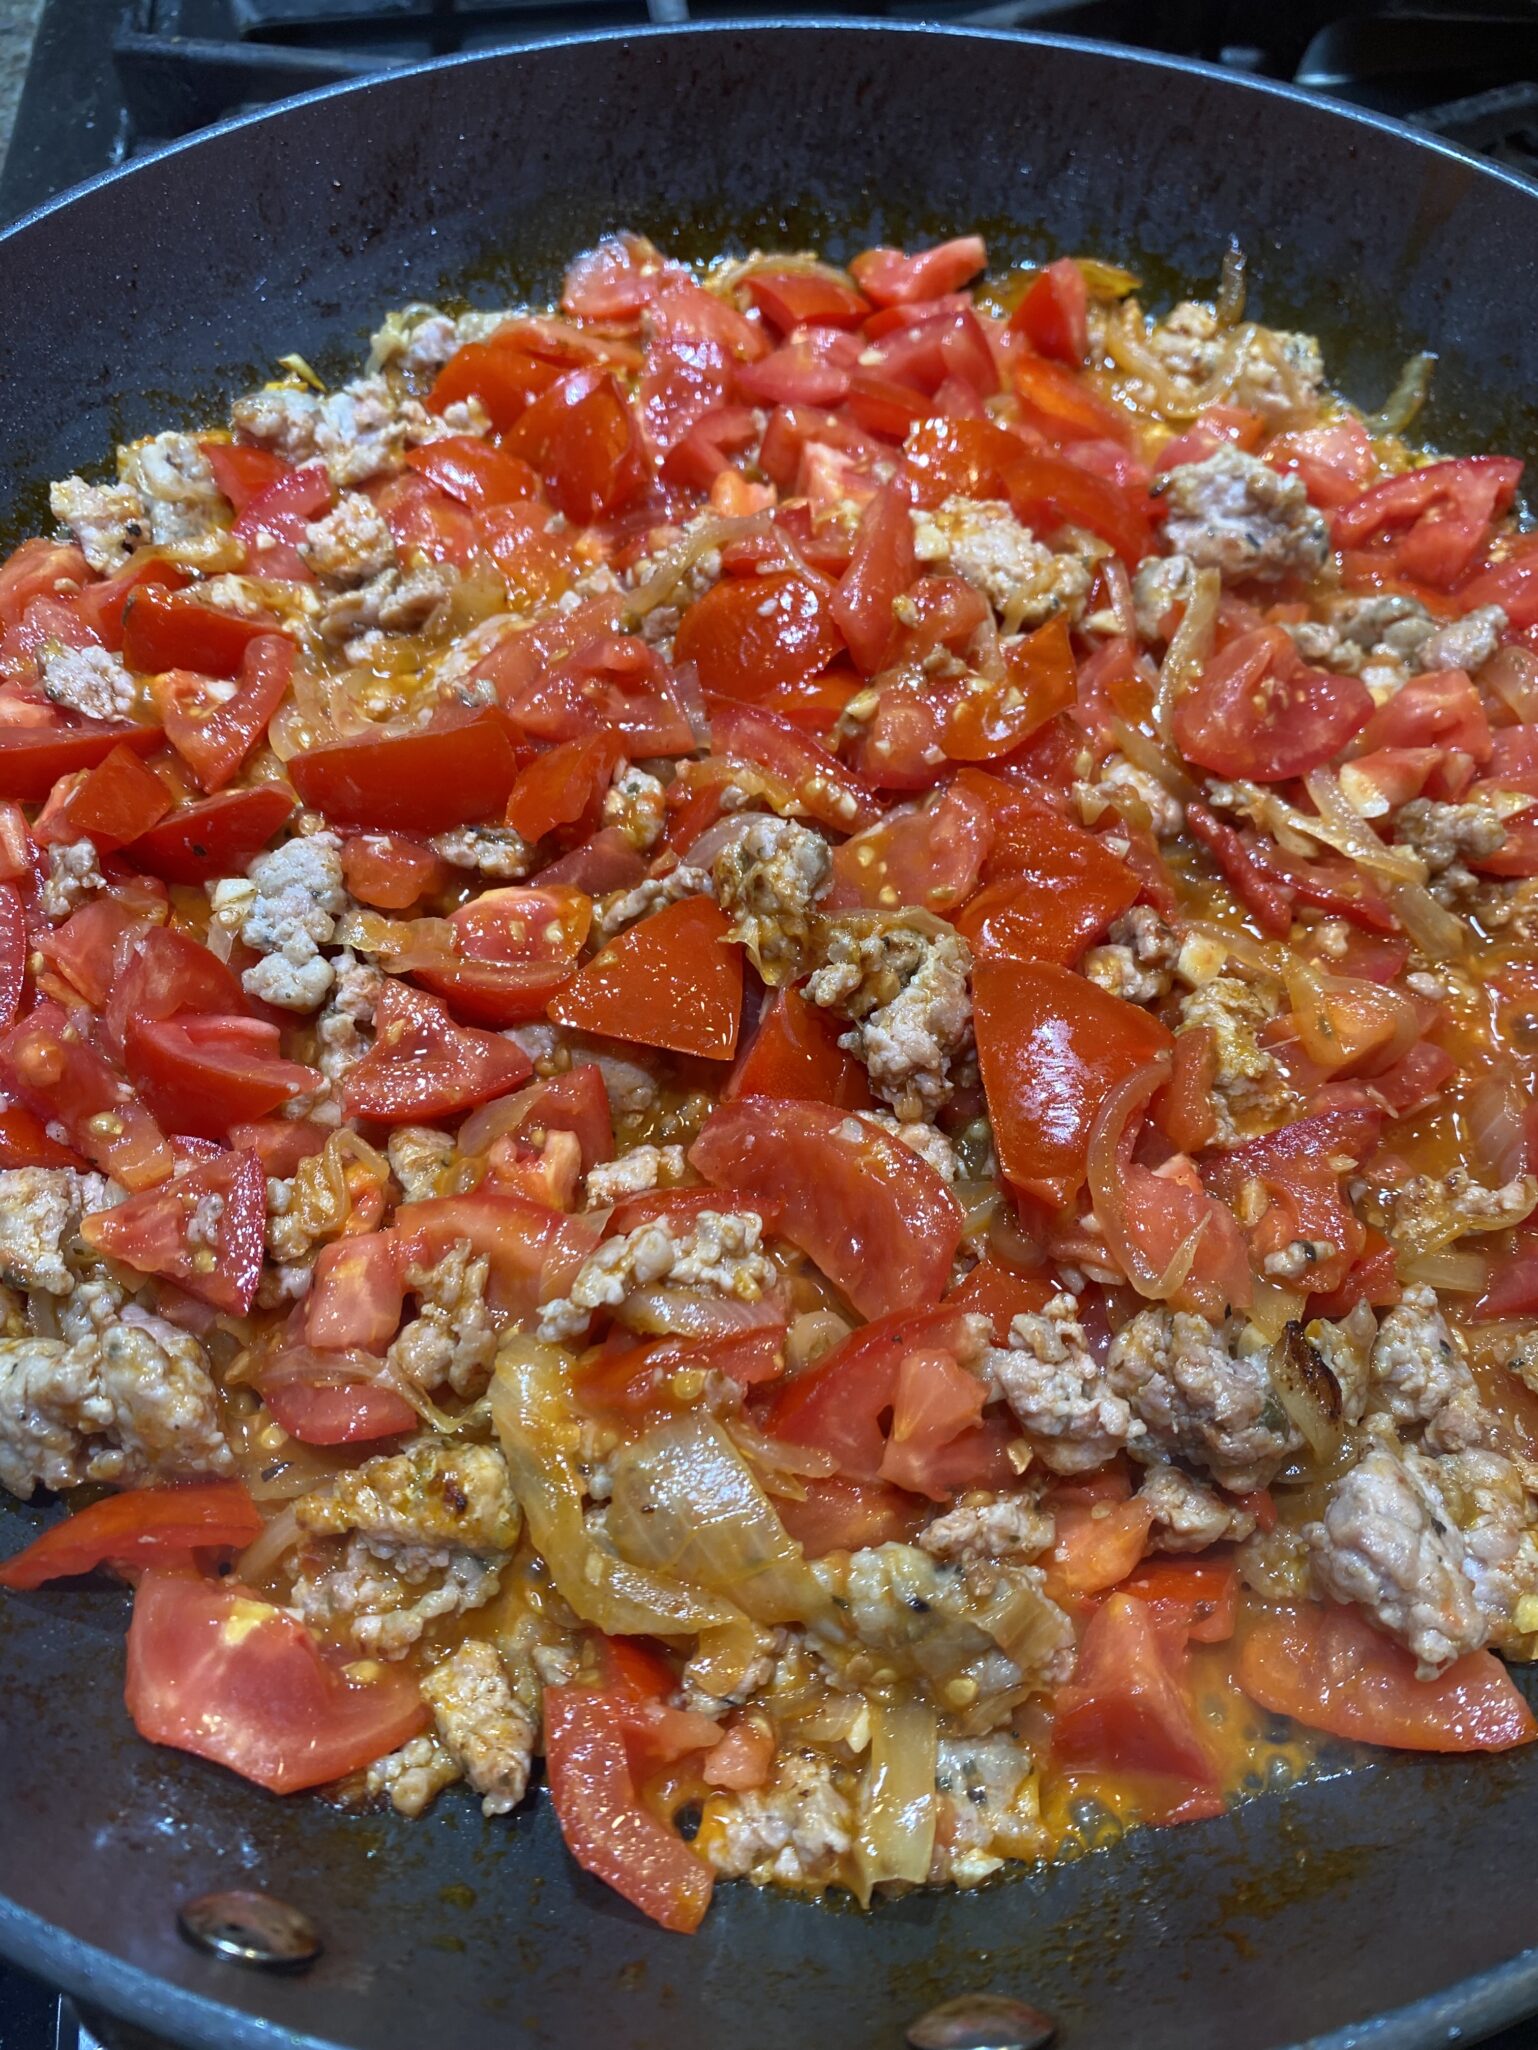
So, while you can still get wonderful fresh tomatoes (we are so spoiled in California) this is an easy, lovely meal.  Bowl food is soul food has always been my mantra.  Round it out with a glass of wine, a fresh salad, and some crusty bread.  Boom, done.

I tried this with canned tomatoes and my advice is, don’t. I doctored it with some sugar and butter but still not the same.  Unless it is the dead of winter and fresh, summer tomatoes are a distant memory…no, still don’t.  This dish is meant for fresh, sweet, tomatoes.  I’m thinking of making a batch and freezing it.  That might work.
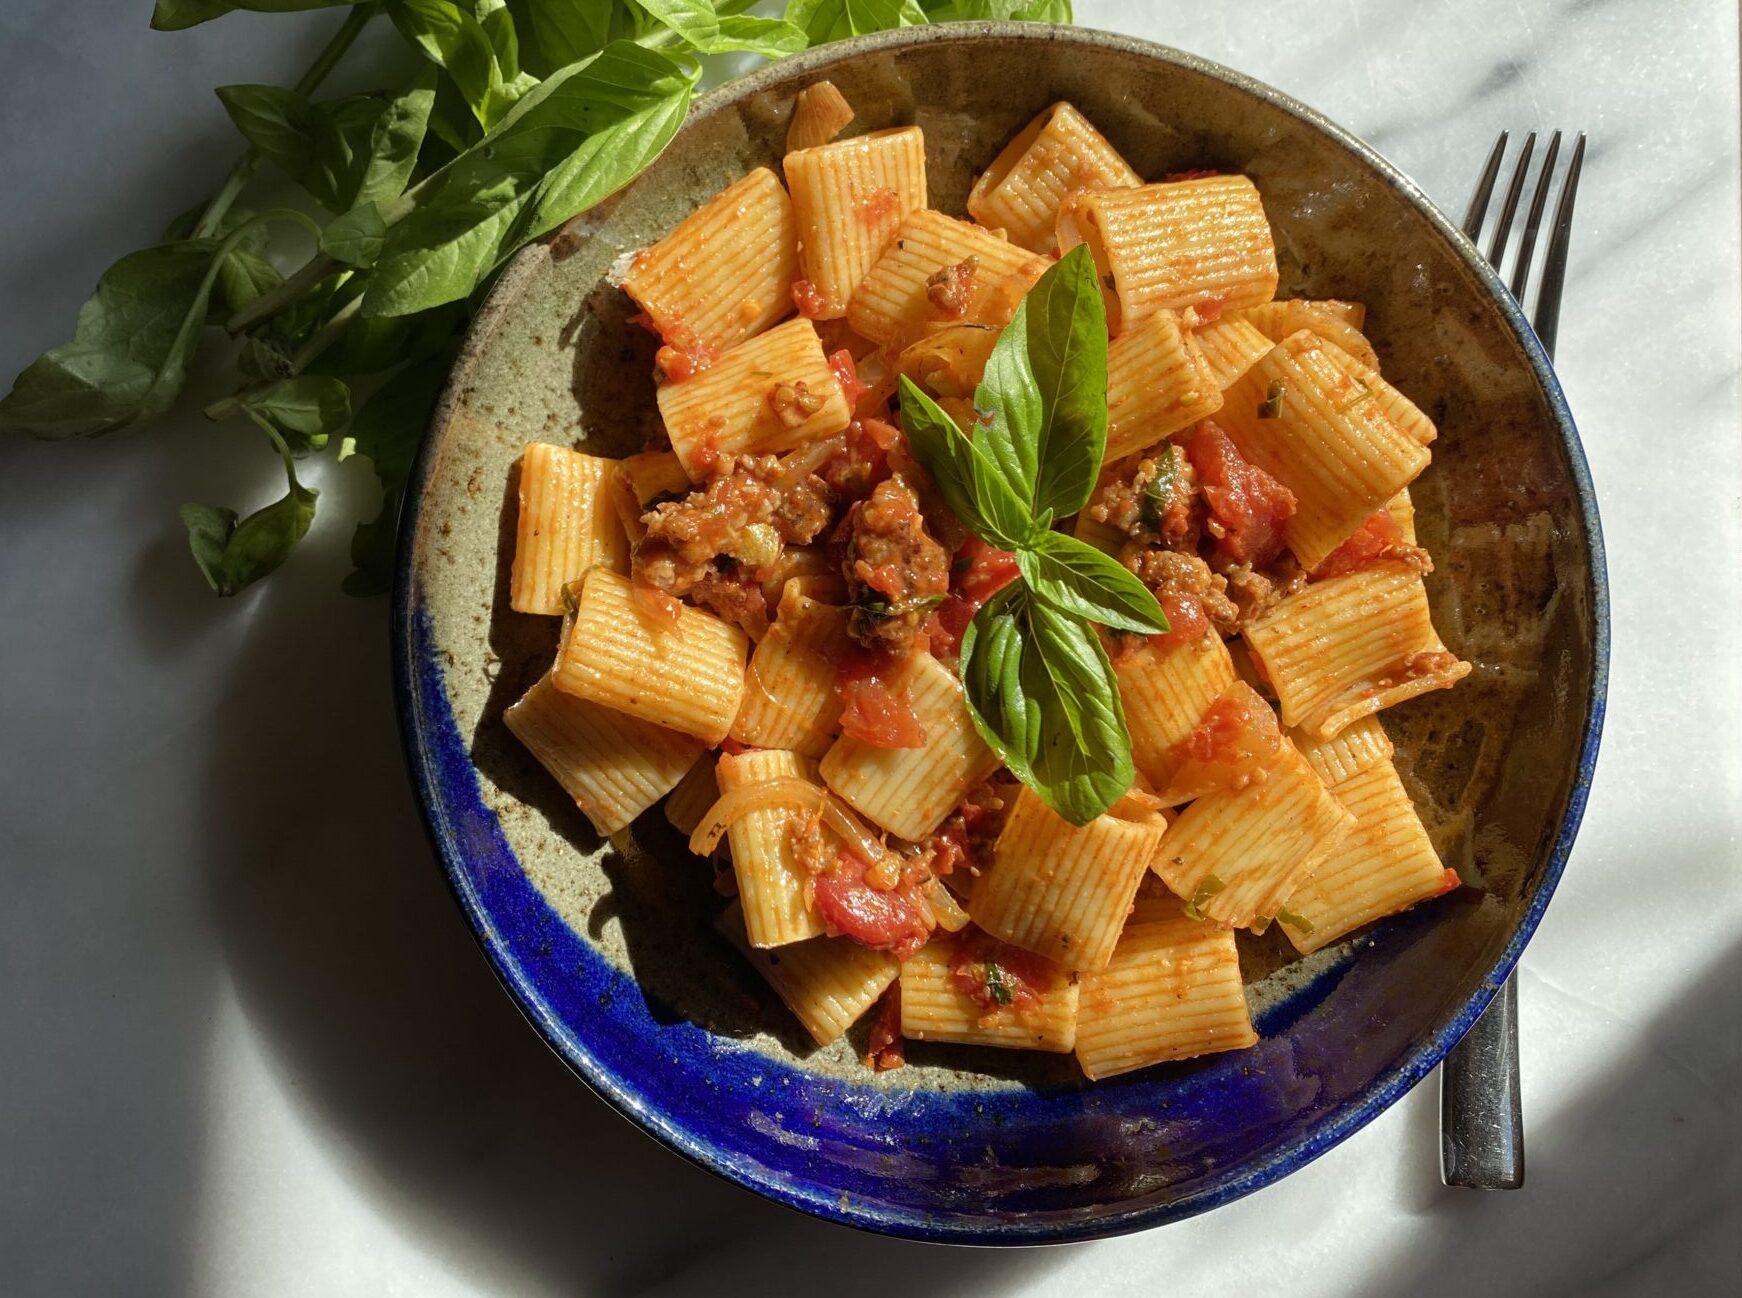
Fresh Tomato, Sausage, and Pecorino Pasta

Ripe, summer tomatoes are juicy and delicious in this pasta dish, with no seeding or peeling necessary.
Course dinner, lunch
Cuisine Italian-American
Keyword comfort food, fresh tomatoes, italian sausage, one dish meal, quick and easy, rigatoni
Prep Time 10 minutes
Cook Time 12 minutes

Ingredients

  • 8 ounces uncooked penne or meze rigatoni, or tubular pasta of choice
  • 8 ounces sweet Italian sausage or spicy works too
  • 2 teaspoons olive oil Go crazy, use a tablespoon of oil, lol
  • 1 cup vertically sliced yellow onion
  • 2 teaspoons minced garlic
  • 1/2 teaspoon chili pepper flakes optional
  • 1 ¼ pounds tomatoes, chopped dry farmed or Romas work well, or any ripe sweet tomato, some may have more moisture
  • 6 tablespoons grated fresh pecorino Romano cheese divided. sub Parmesan if you want
  • ¼ teaspoon salt to taste
  • teaspoon black pepper to taste
  • ¼ cup torn fresh basil leaves
  • 2 tbsp Italian parsley, chopped optional

Instructions

  • Cook pasta according to package directions, drain and set aside. In the Cooking Light edition this is adapted from, the recipe omits the salt and oil when cooking. I add salt to the pasta water.
  • A carryover from when the kids were little. I drain the pasta and hit it with butter and parmesan cheese. It seems to give the dish that extra oompf. I then add sauce to the pasta. I do this with my ragus, bolognese recipes also. TOTALLY OPTIONAL
  • If using sausage links, remove casings from sausage.
  • Heat a large nonstick skillet over medium-high heat. Add oil to pan; swirl to coat. Add sausage and onion to pan; cook 4 minutes, crumble sausage. by smooshing with your spatula.
  • Add garlic; cook 2 minutes.
  • Stir in tomatoes; cook 2-5 minutes depending on how you like your sauce.
  • Lower heat; stir in pasta, julienned basil, 2 tablespoons cheese, salt, and pepper. If I have Italian parsley I throw that in too.

Final Touches

  • Pour into a big serving platter or individual bowls. Sprinkle with remaining 1/4 cup cheese or let folks sprinkle their own. Garnish with remaining basil leaves. Enjoy!

Notes

Nutrition Facts
Per Serving: 389 calories; fat 10.7g; saturated fat 4g; mono fat 4.5g; poly fat 0.7g; protein 21.6g; carbohydrates 53.5g; fiber 4.5g; cholesterol 27mg; iron 3.3mg; sodium 595mg; calcium 159mg.
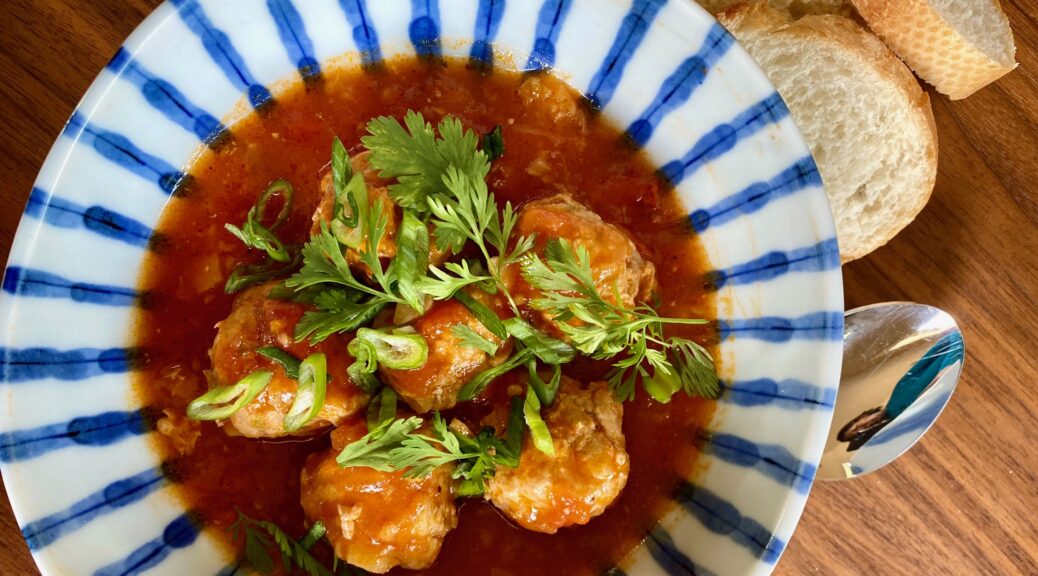
Vietnamese Meatballs In Tomato Sauce (Xiu Mai)

Vietnamese Meatballs In Tomato Sauce (Xiu Mai)

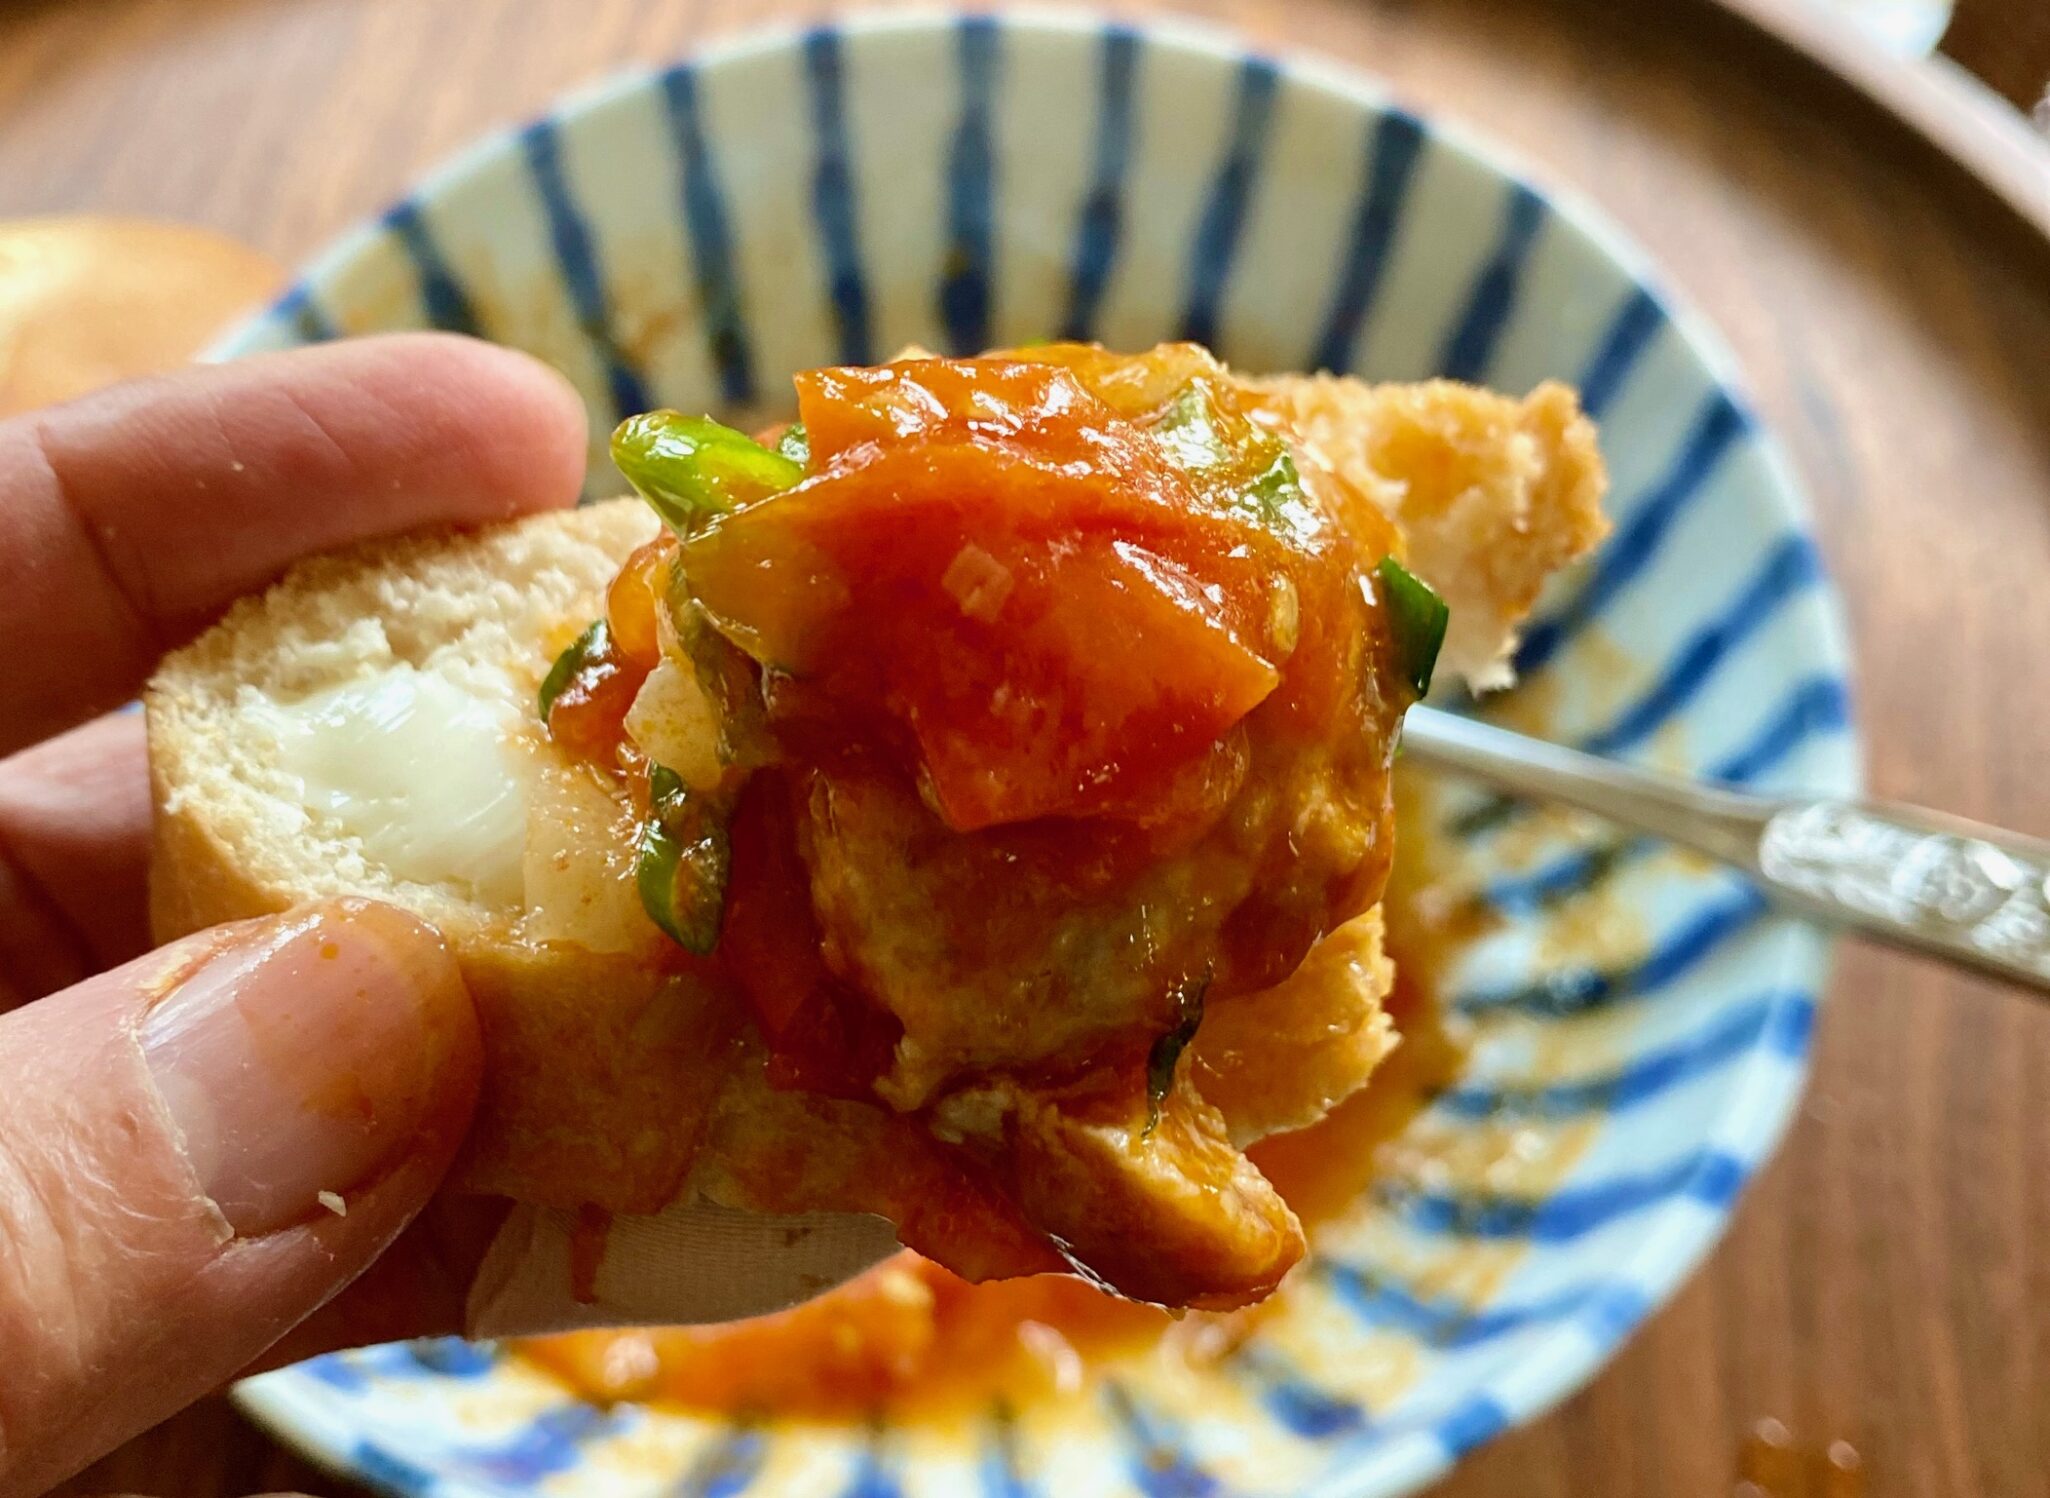
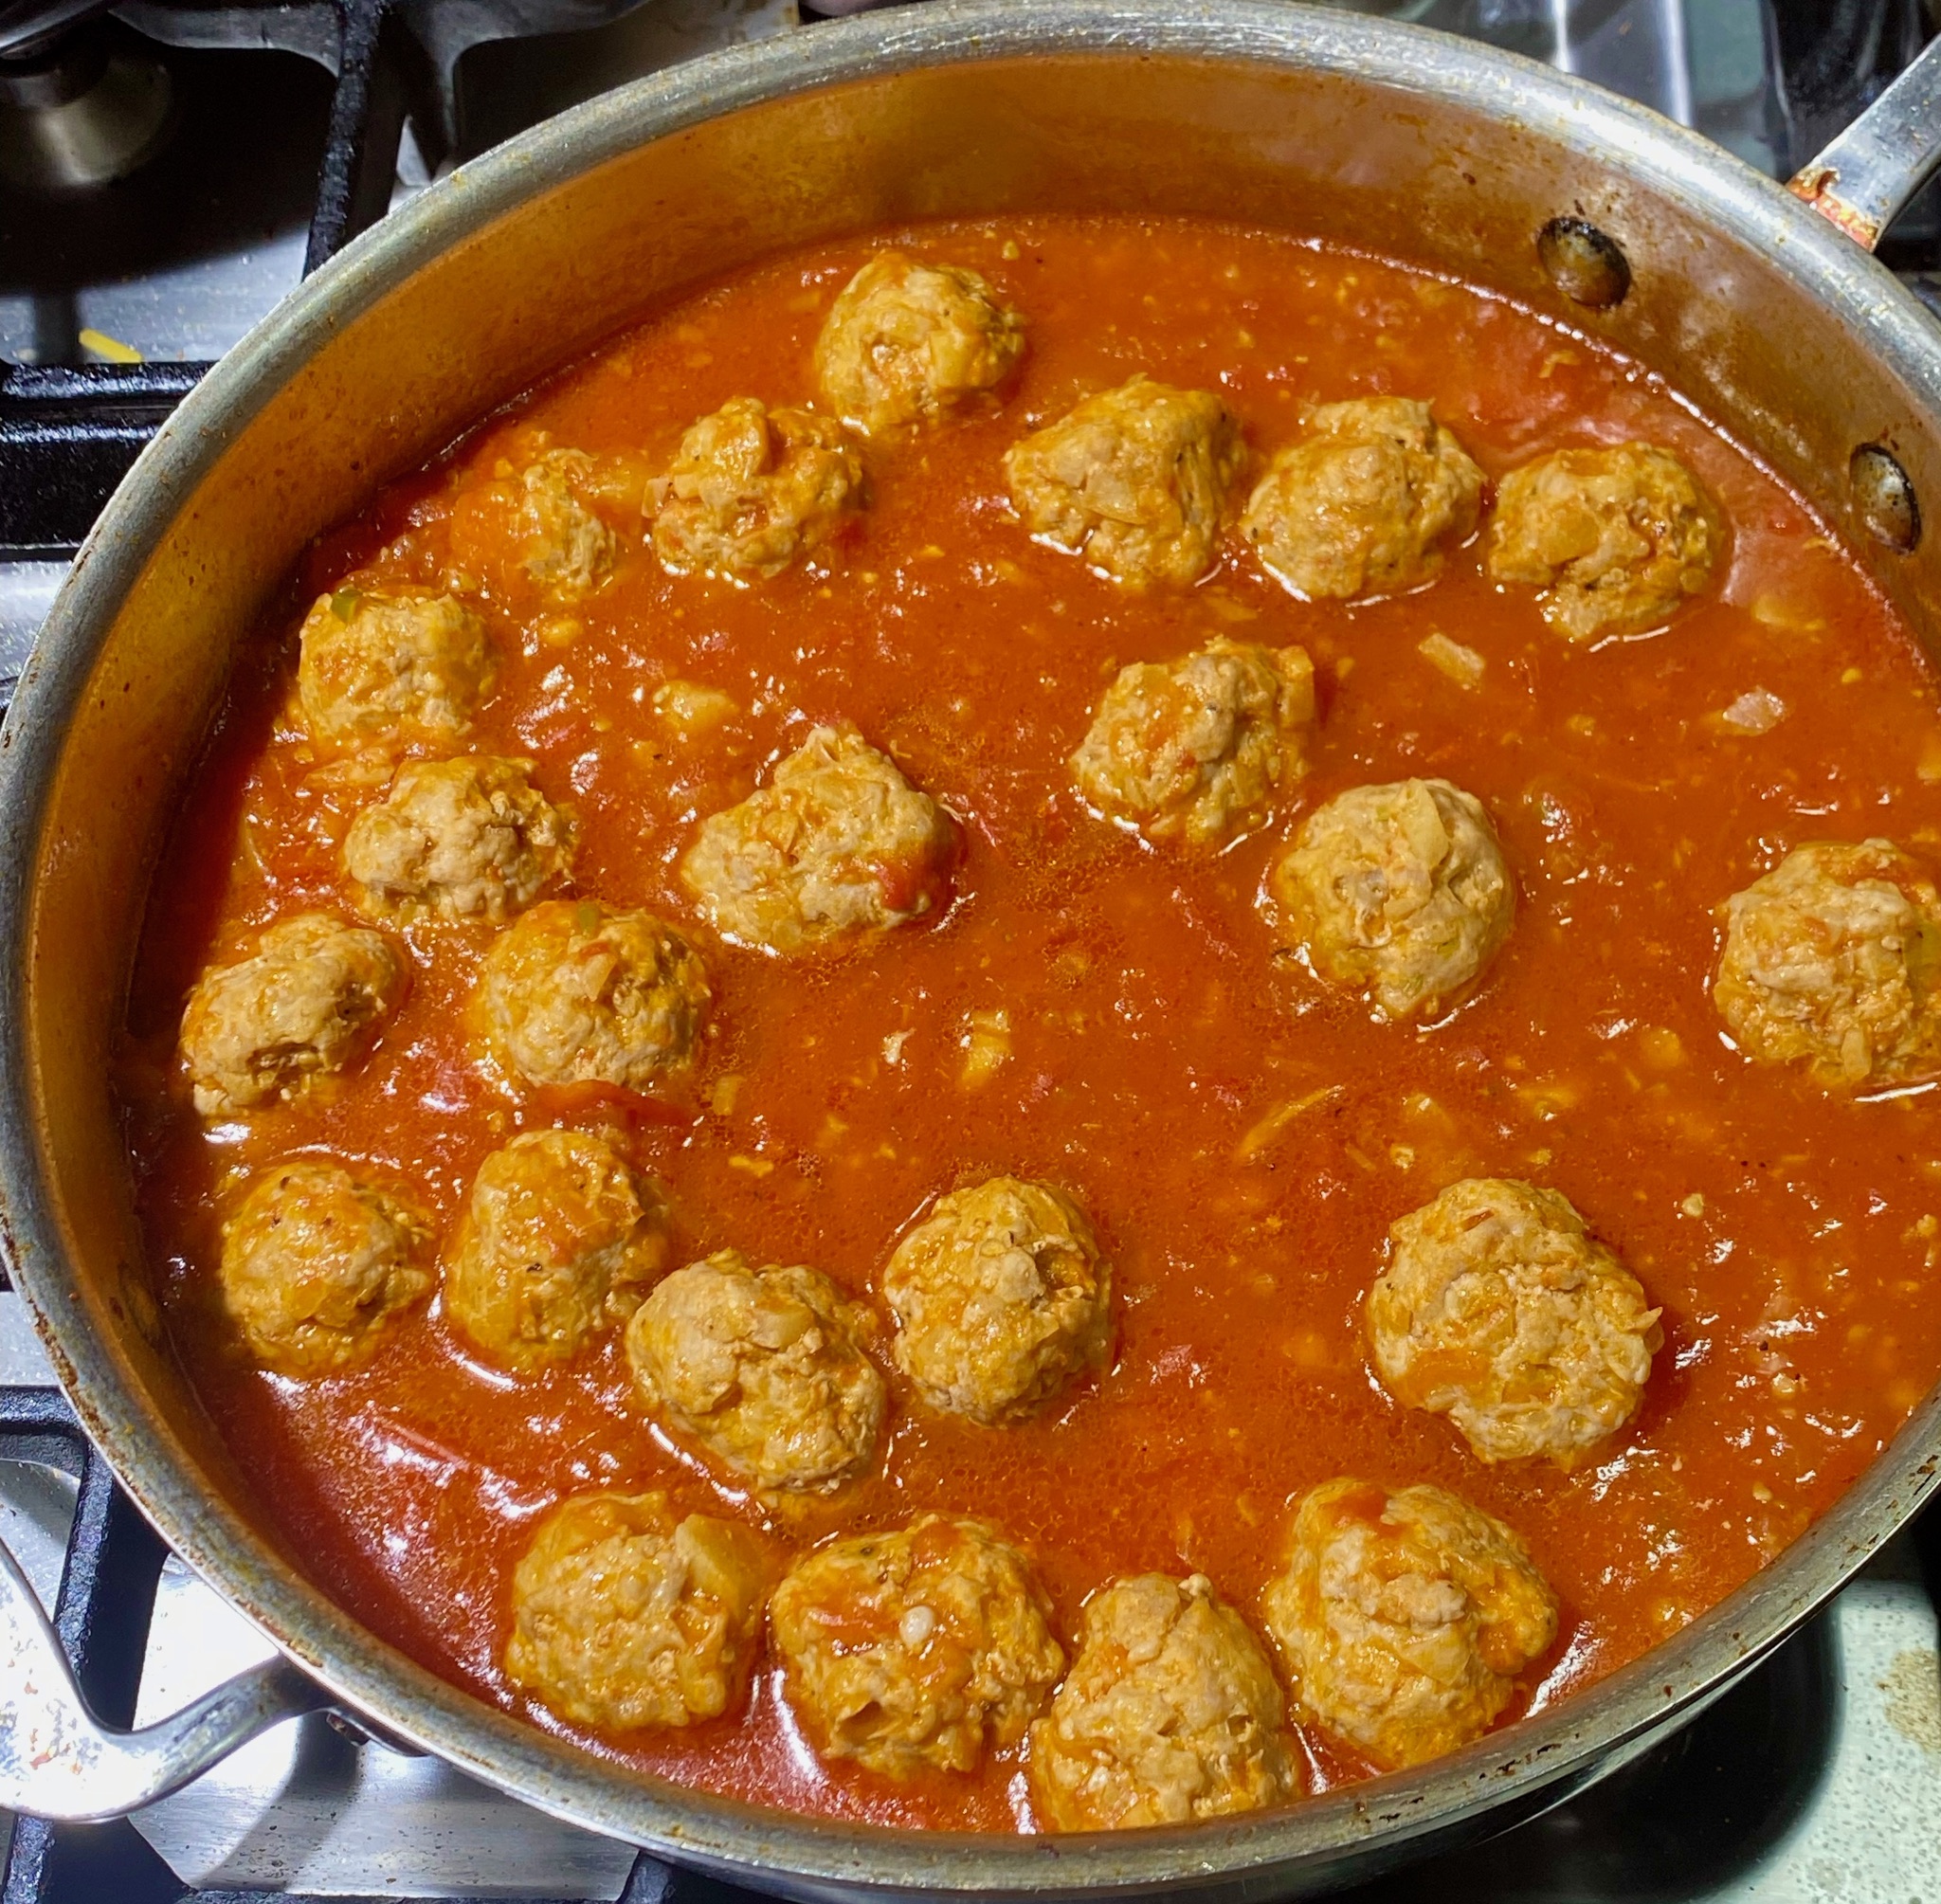
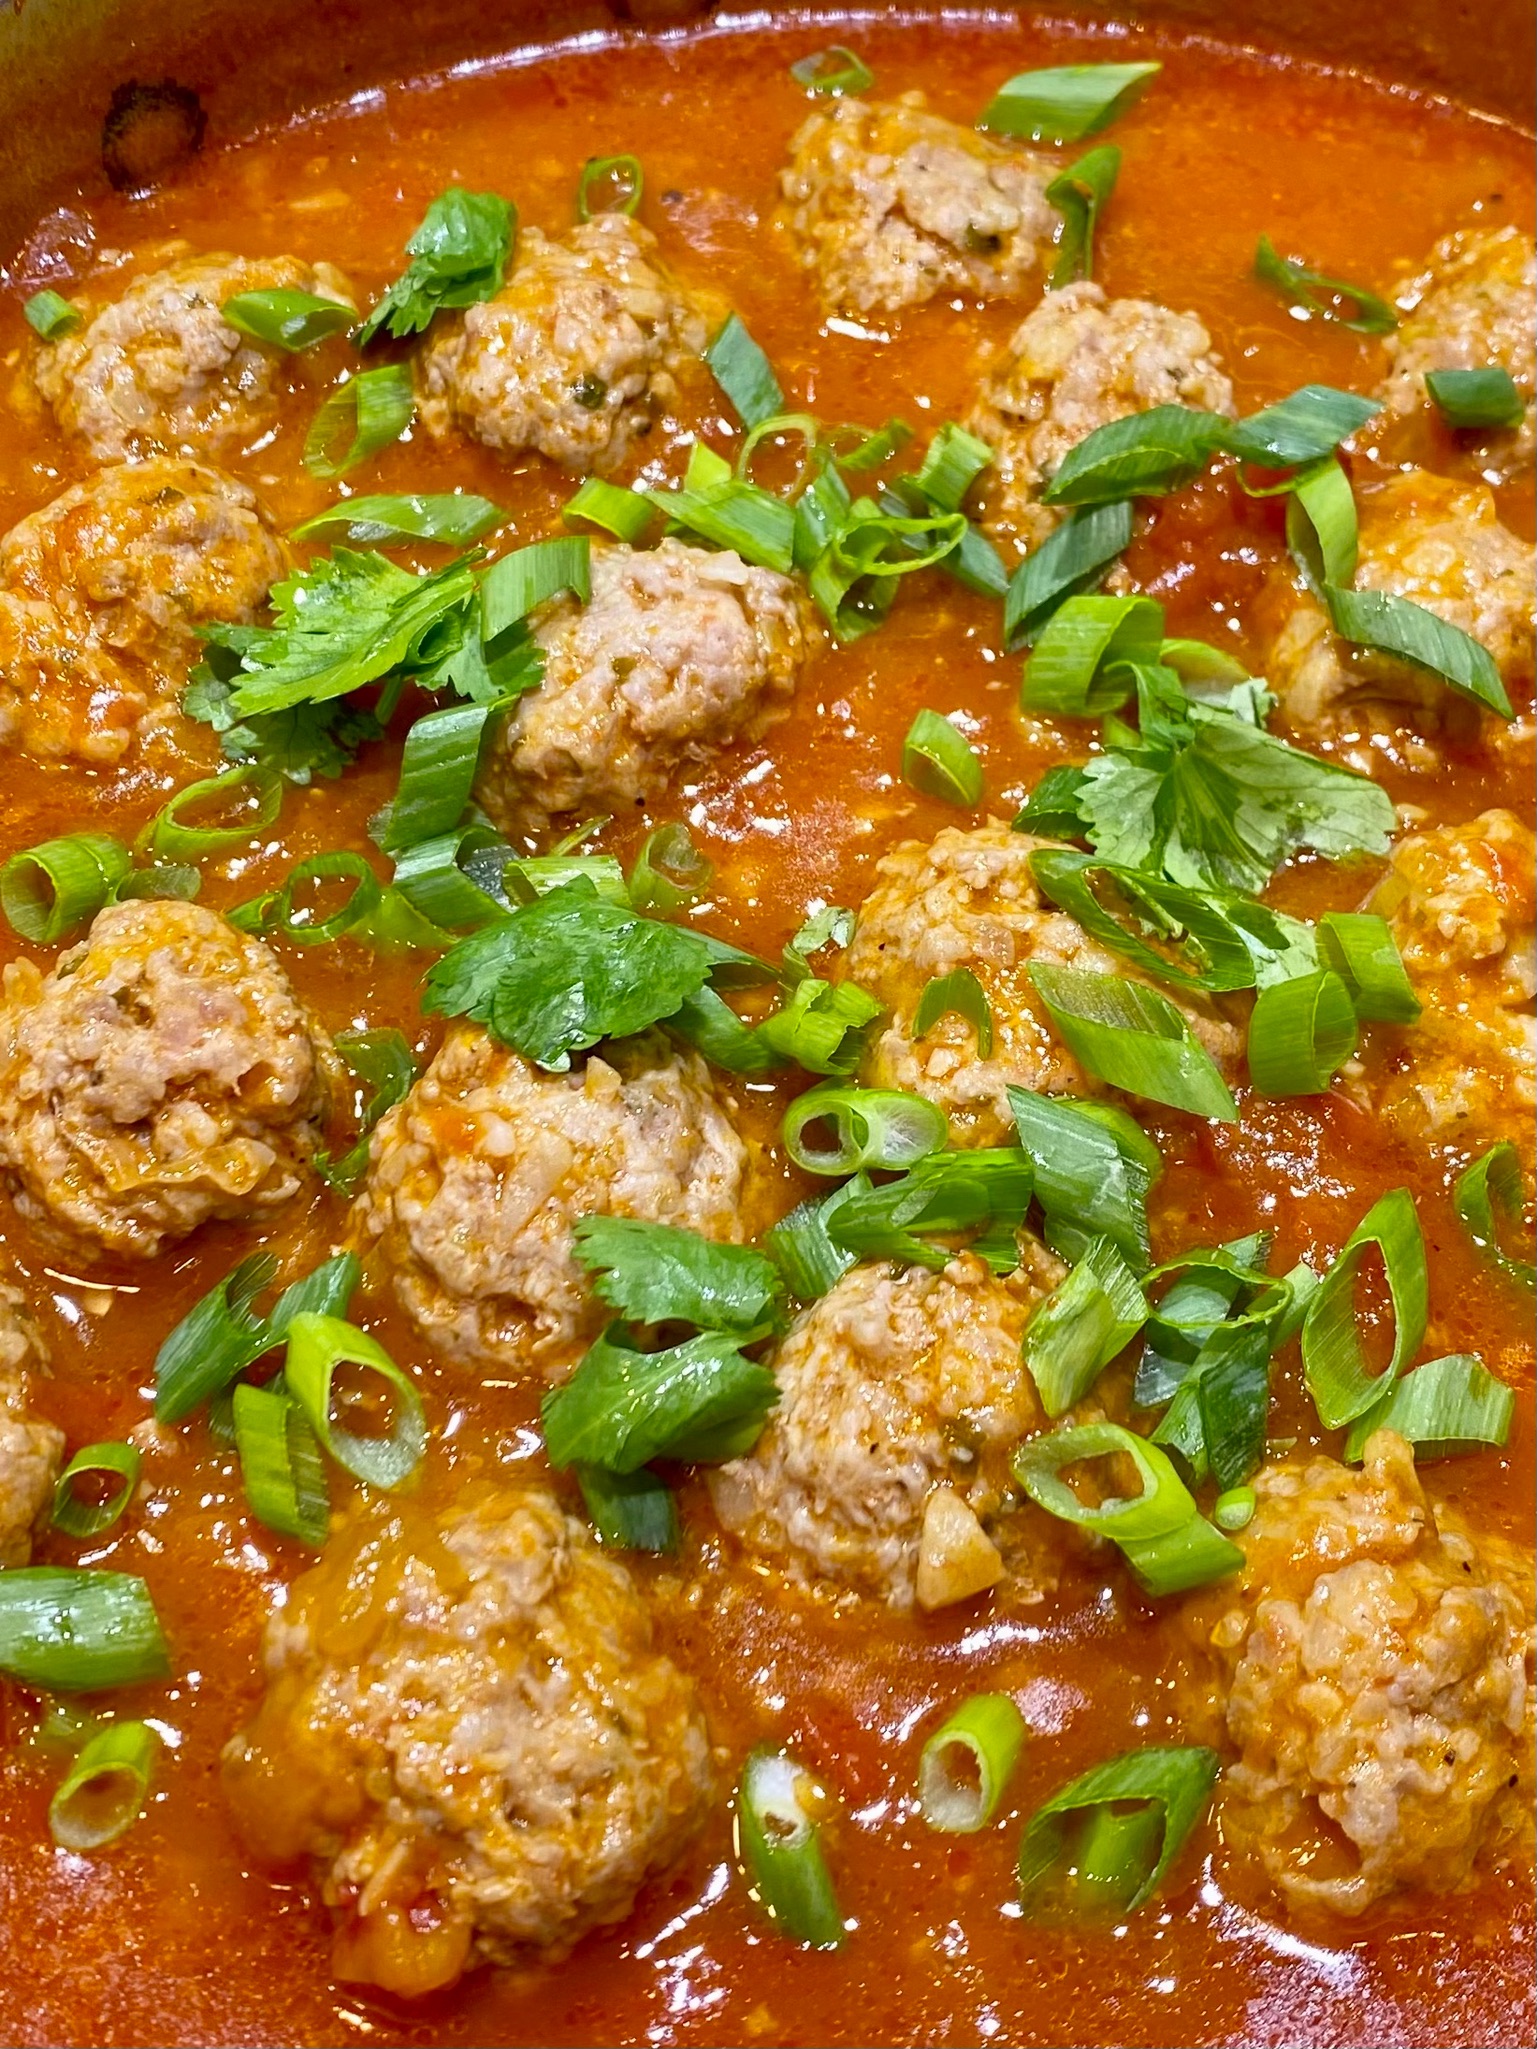
Before tomato season ends give this dish, Vietnamese Meatballs in Tomato Sauce, a try. I came across this dish on IG.  It looked scrumptious, and I’m a sucker for meatballs and fresh tomato sauce.

I did a bit of sleuthing and found that this dish is frequently served for breakfast.  Delicious, tender, succulent meatballs in a light, flavorful sweet, tomato sauce, a couple of slices of a baguette on the side to dip into the sauce-yum.  What a way to start your day.

You’ll also find these meatballs in Banh Mi, the Vietnamese version of a meatball sub-sammie.  The bread for a banh mi is a revelation. Incredibly light and fluffy with a thin crisp exterior, a riff by the Vietnamese to suit their taste.  The meatballs nestled in the roll are tender and the sauce is briny, sweet, and flavorful.  To finish, pile pickled radishes, carrots, and a garnish of cilantro, jalapenos, and cucumbers on top of the meatballs.  My kinda sammie!

Meatball Tips

I looked at quite a few recipes and a couple of things stood out.  Steaming the meatballs ensures a tender meatball.  Baking or frying them would work but the meatball won’t be as tender or moist.  The texture is much like Chinese steamed dumplings.  Instead of steaming, gently poach the meatballs in the accompanying tomato sauce. This infuses the tomato flavor into the meat, keeps the meatballs tender, and eliminates the steaming step.

I use pork, the traditional protein source, but I think ground chicken or turkey would work quite nicely in place of the pork.  Use dark meat though, the higher fat content keeps the meatballs moist and tender.

The recipe calls for fresh jicama.  No jicama?  I reach into my pantry for canned water chestnuts which work admirably.  It provides a delightful bit of crunch.  Rinse and drain the water chesnuts and then finely chop.

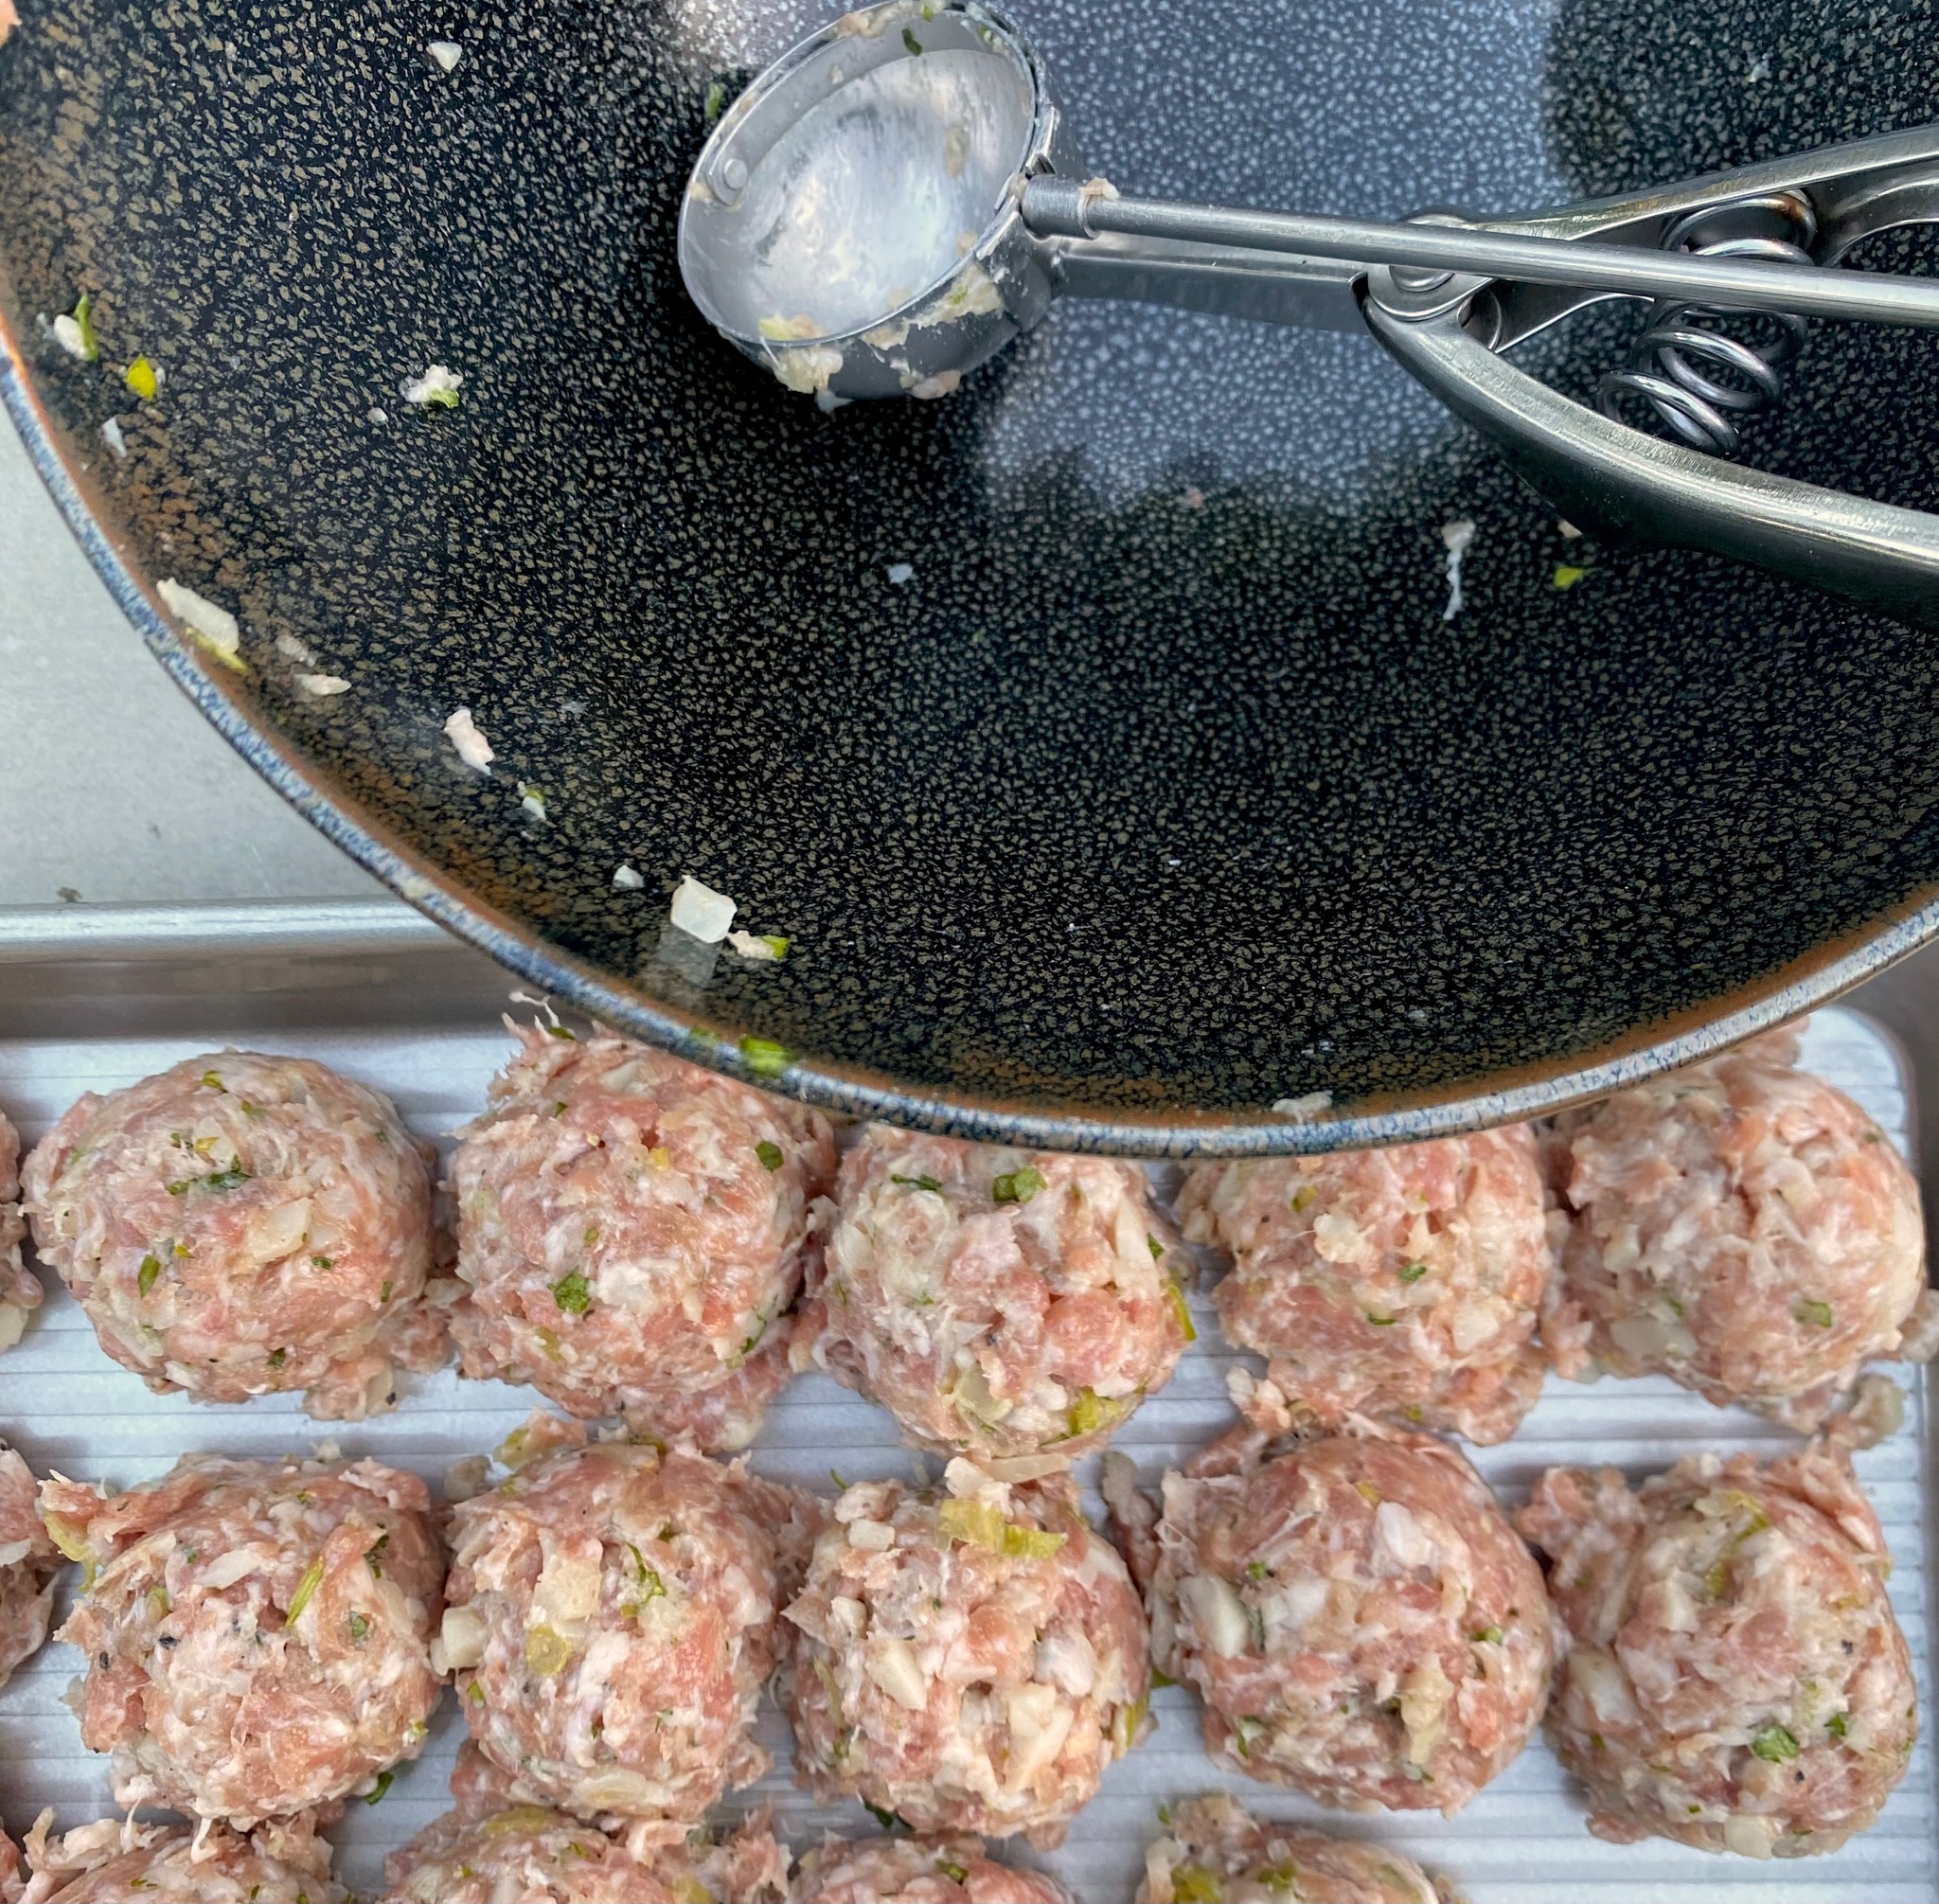
Try not to overmix the meatball mixture.  Mixing too much causes the protein in the meat to bind and contract leading to tough meatballs, a no-no.  Gently mix just to combine the ingredients evenly and stop.  Use your handy dandy ice cream scoop to portion out each meatball.  Easy peasy.

Sauce Tips

Make the sauce with fresh tomatoes (now, before tomato season ends). To enjoy this year around, make a big batch of sauce and freeze it for later.  A taste of summer in the middle of winter is always a good thing.

This is a very quick tomato sauce, for a chunkier sauce, cook the sauce for less time so the tomatoes don’t break down as much.  Use a cornstarch slurry to thicken the sauce.  You can also use stock in place of water for more flavor, or add chicken powder (Asian secret weapon in boosting flavor) if using water.

Banh Mi Me

These meatballs and sauce are ah-mazing in Banh Mi, the Vietnamese version of a sub sandwich.  A crispy light French roll filled with meatballs topped with not only the sauce but pickled radishes and carrots, cucumber slices, and herbs. This is my dream sammie, directions for the fixings for Banh Mi are here, just sub the meatballs for the chicken.  Delish.

Vietnamese Meatballs (Xiu Mai)

Delicious tender meatballs poached in a sweet tomato sauce. Comes together easily, for breakfast or dinner with sliced baguette, or as a delicious filling for a meatball bahn mi
Course Appetizer, dinner, lunch
Cuisine Vietnamese
Keyword 3jamigos.com, meatballs, Vietnamese, xiu mai
Prep Time 20 minutes
Cook Time 25 minutes
Servings 4 servings

Ingredients

Meatballs

  • 4 oz jicama (1 cup) finely diced, substitute water chesnuts 1-5 ounce can, drained and finely diced
  • 3 green onions, thinly sliced, keep the white and green parts separate. Can substitute finely minced shallots 1 large or two small for the meatballs
  • 1 lb ground pork not too lean 80/20 is perfect
  • 1 tsp garlic minced

Seasonings

  • 1 Tbsp fish sauce I use 3 Crabs, Red Boat is a bit more concentrated, would also work well
  • 1 Tbsp corn starch
  • 1/2 Tsp salt
  • 1/2 tsp sugar
  • 1/2 tsp chicken powder optional
  • 1/2 tsp ground black pepper

Sauce

  • 2 lbs or 4 medium tomatoes I prefer fresh tomatoes, if tomatoes are particularly juicy, reduce water to 1 cup
  • 1/2 Tbsp vegetable oil
  • 1/2 Tbsp garlic minced
  • 1 1/2 Tbsp tomato paste
  • 1 Tbsp sugar
  • 1 Tbsp fish sauce
  • 1 1/2 cups water can use low-sodium chicken broth in place of water
  • 1/4 tsp ground black pepper

Thickener

  • 2 tsp corn starch
  • 2 tsp water

Garnish

  • Green onions, the reserved thinly sliced green parts from the meatballs
  • Cilanto, loosely chopped optional
  • Fresh red chili peppers, deseeded and thinly sliced optional

Instructions

The Meatballs:

  • Remove the jicama skin using a vegetable peeler. Finely dice the jicama.
  • Cut off the white (root) portion of the green onions and finely chop. Chop the green onion stems. Transfer the green onion stems into a small bowl and set aside for later.
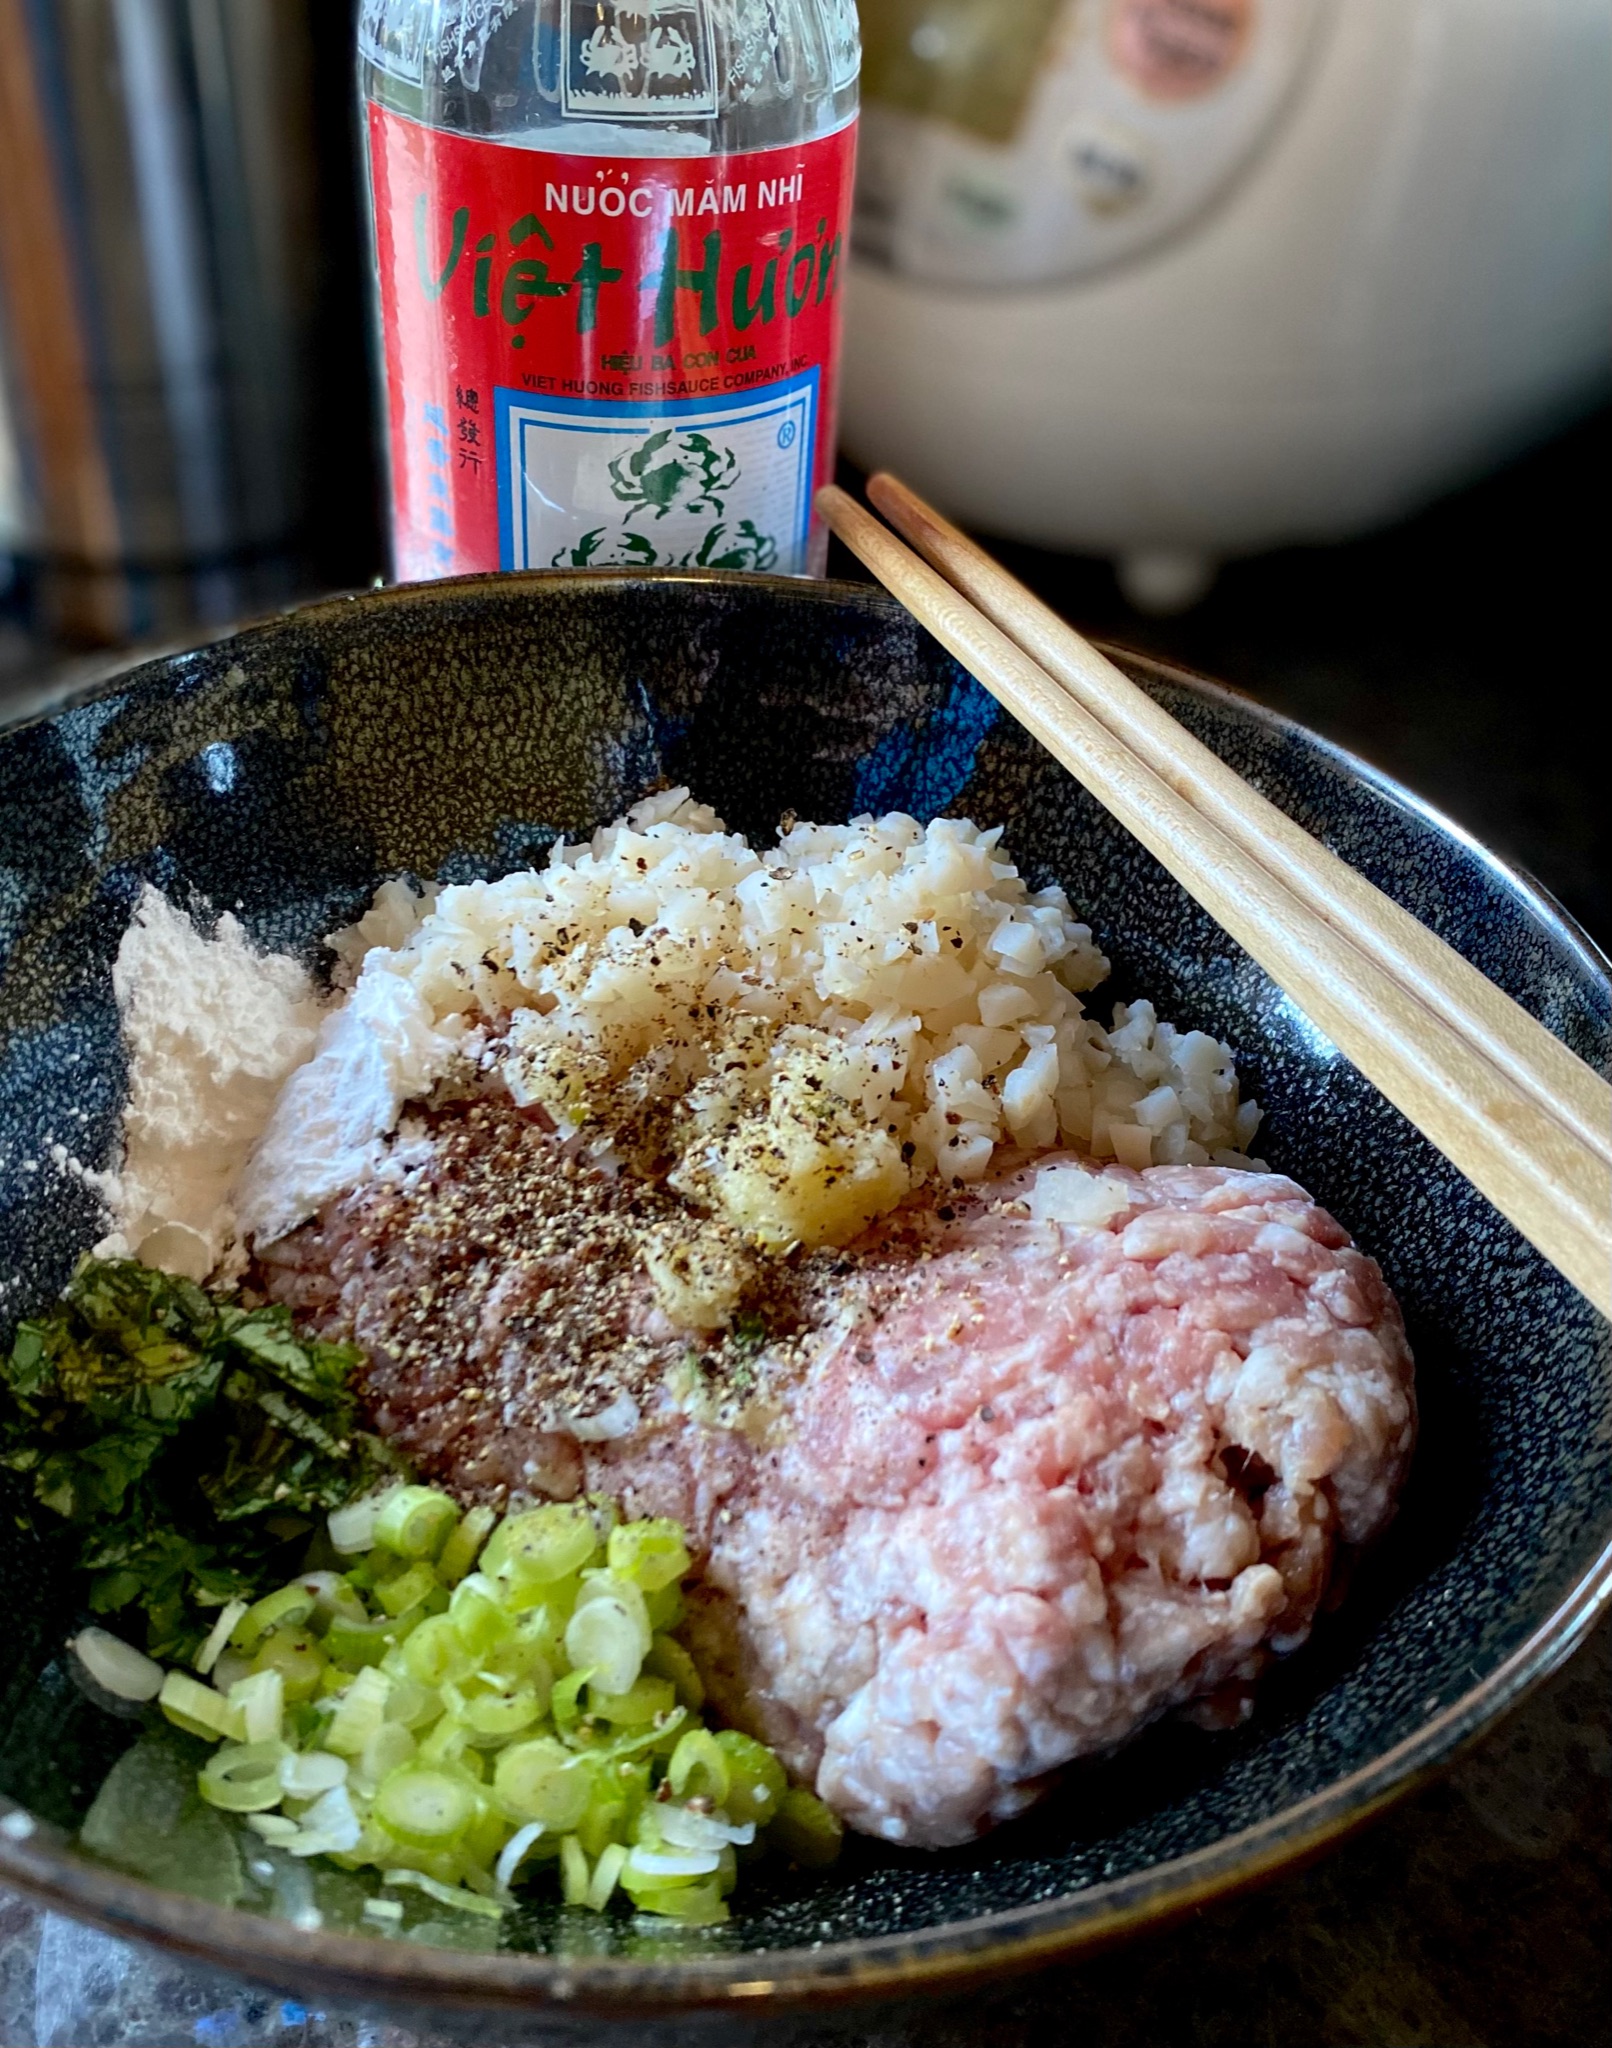
  • In a medium bowl, add the ground pork, jicama, green onion (white) root, garlic, fish sauce, cornstarch, and black pepper. Mix together by hand combining all of the ingredients well. Mix in one direction. Combine just until everything sticks together. Avoid over-working the meat mixture as this will make the meatballs tough.
  • Using an ice cream scoop (#40 ~2 T) scoop out some of the meat mixture and transfer to a large plate. Continue making small mounds until all the meat mixture is used. Wet your palms with water to prevent sticking. Gently roll each of the mounds into a ball. ( I use a #40 ice cream scoop to portion out meatballs and then roll each by hand into a ball).

The Sauce:

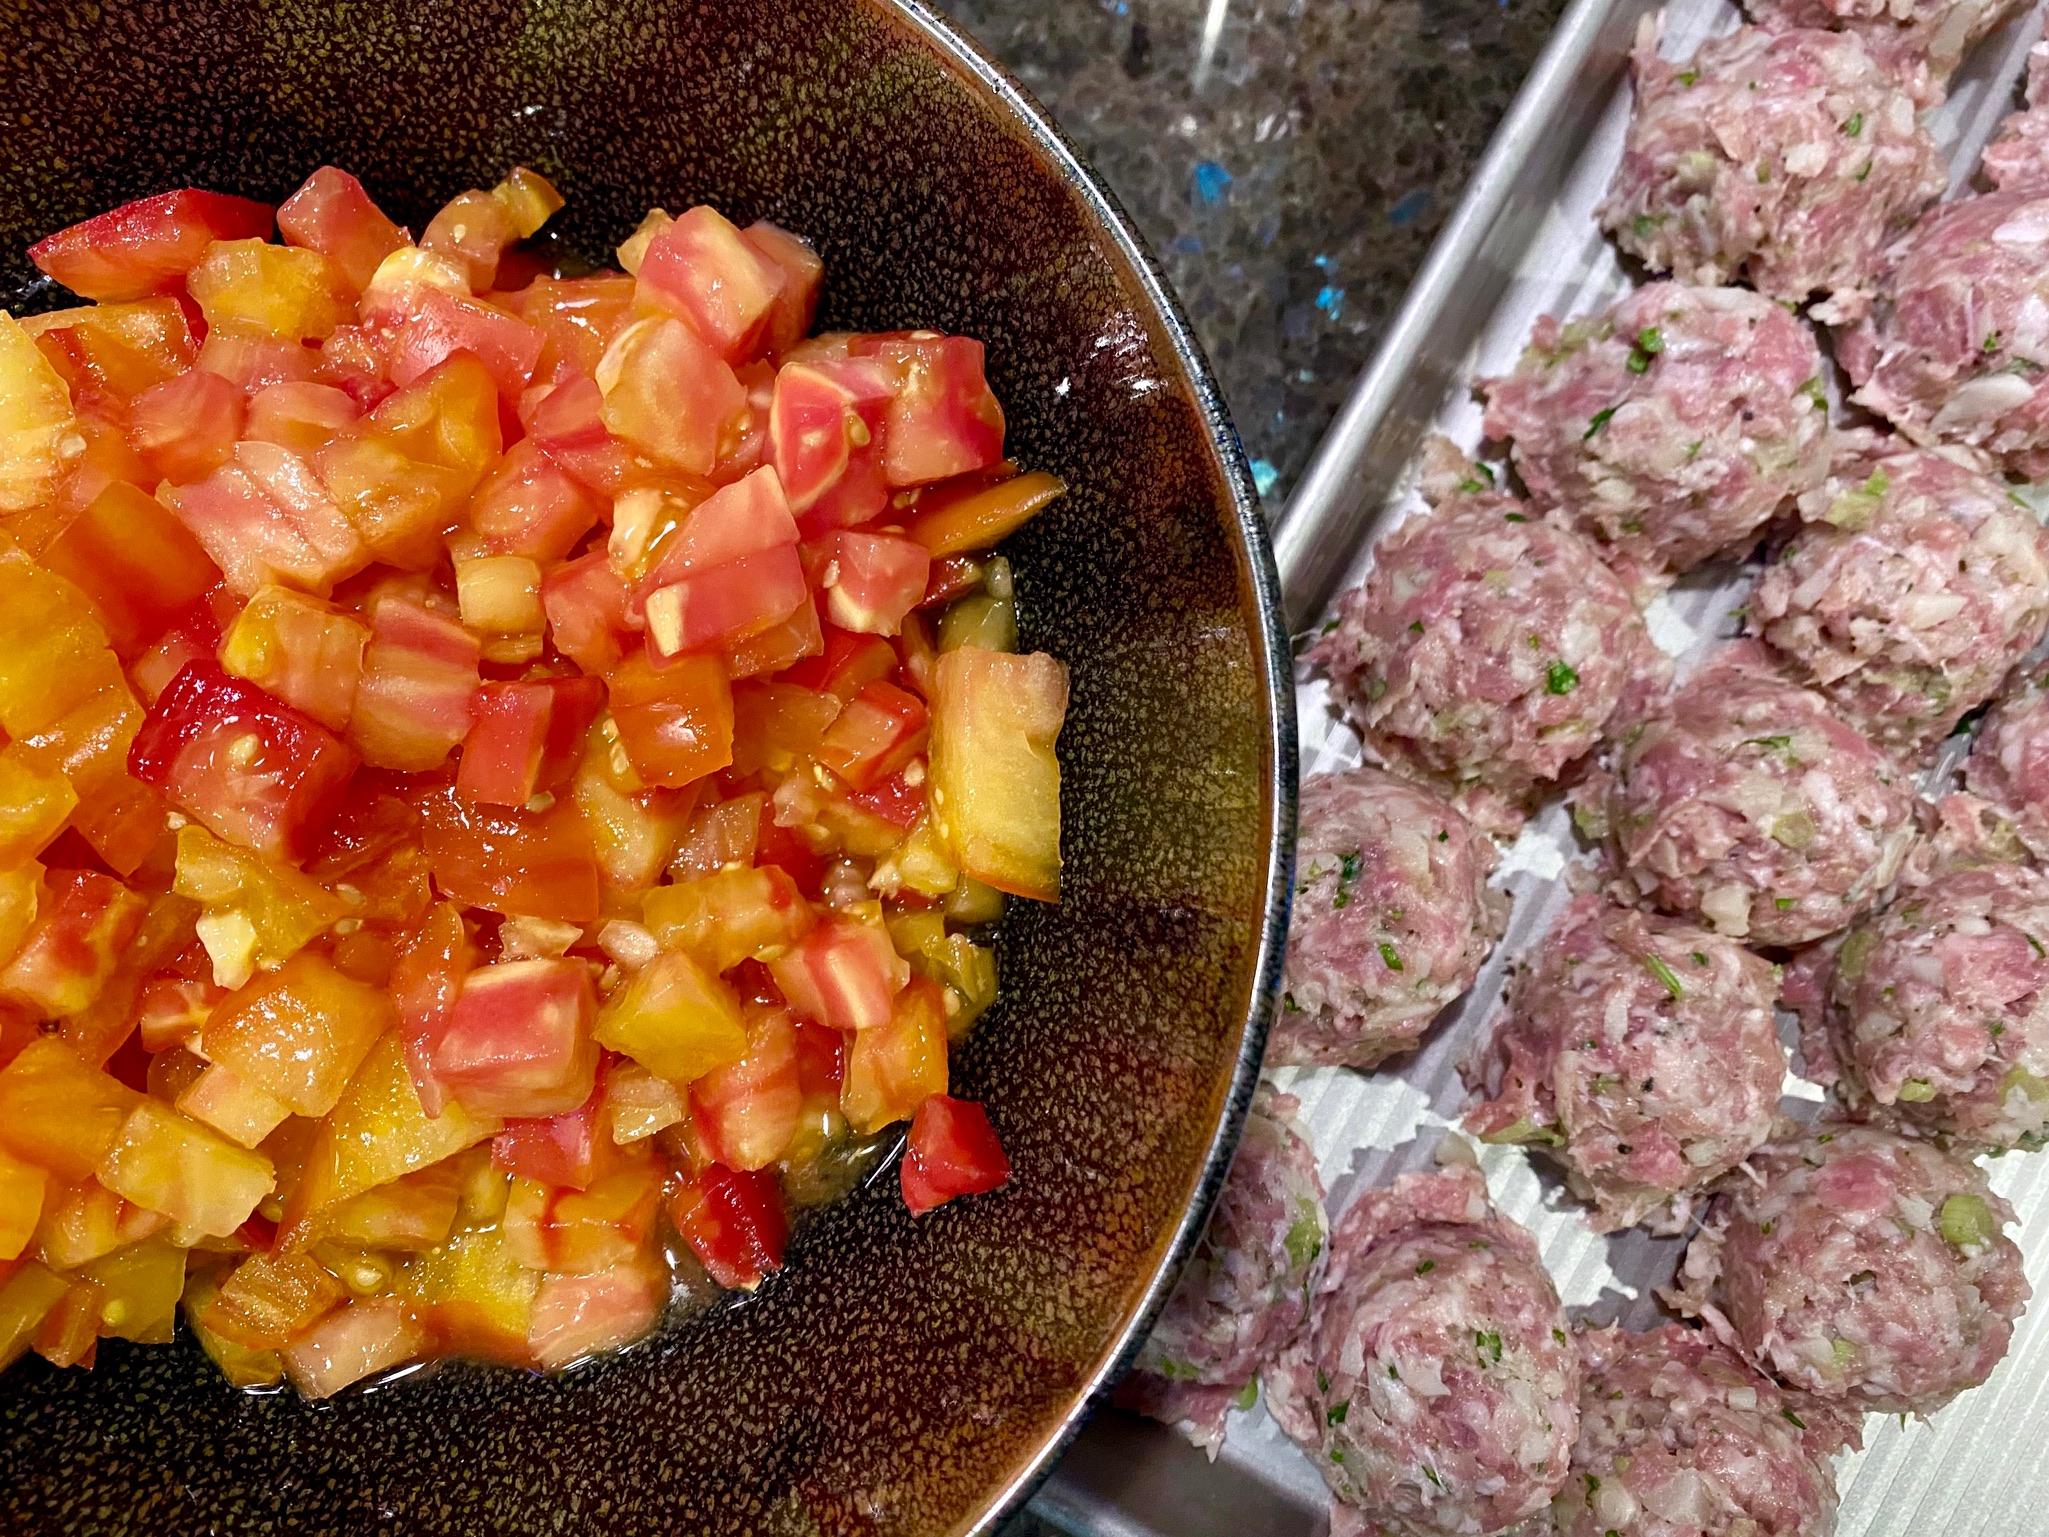
  • Chop the tomatoes.
  • Heat a large skillet over medium-high heat. When hot add vegetable oil then add the minced garlic and tomato paste. Saute for 15-20 seconds. Add the chopped tomatoes and stir together. Add the sugar, fish sauce, and water. Stir together combining the ingredients. Bring the liquid to a boil. Reduce the heat to medium-low, cover the pan, and cook for 5 minutes.

Cook the Meatballs

  • Make room in the center of the skillet by pushing the tomatoes to the side. Gently transfer the meatballs into the sauce. Cover and cook on medium-low for 5 minutes. After 5 minutes, rotate the meatballs and cook for another 5 minutes. For a thicker sauce, leave uncovered after adding meatballs.
  • Mix the cornstarch and water until smooth and add to the sauce. Stir gently to allow sauce to thicken. Continue cooking for another 2-3 minutes. Grind ground black pepper.
  • To serve, transfer a few meatballs into a small bowl along with a generous amount of tomato sauce. Top with the chopped green onions. I like garnishing with chopped cilantro and sliced fresh chili peppers. Enjoy these scrumptious Vietnamese Meatballs with crusty bread.
Baba Ghanoush (Roasted Eggplant Dip)

Baba Ghanoush (Roasted Eggplant Dip)

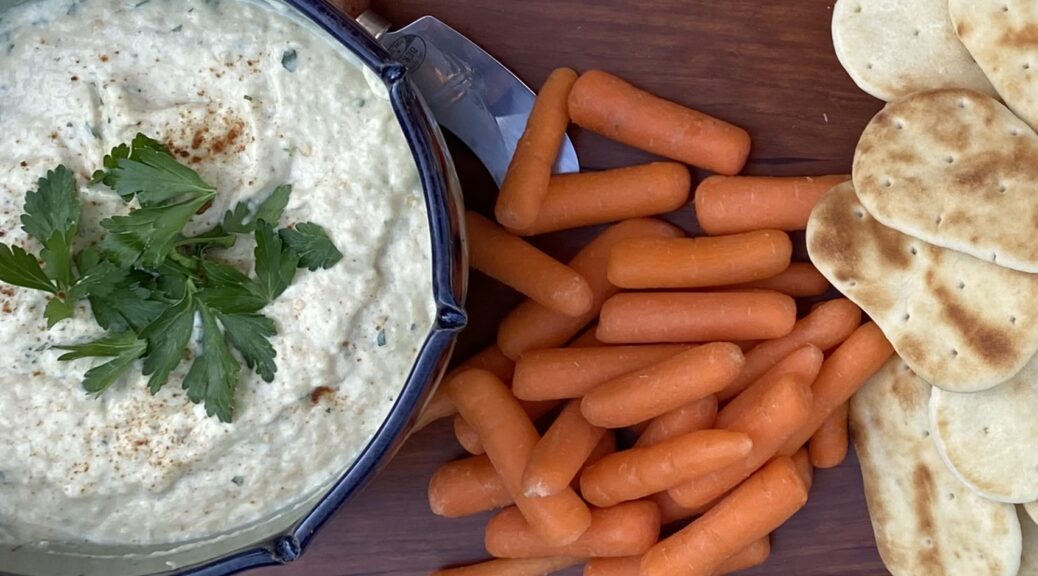
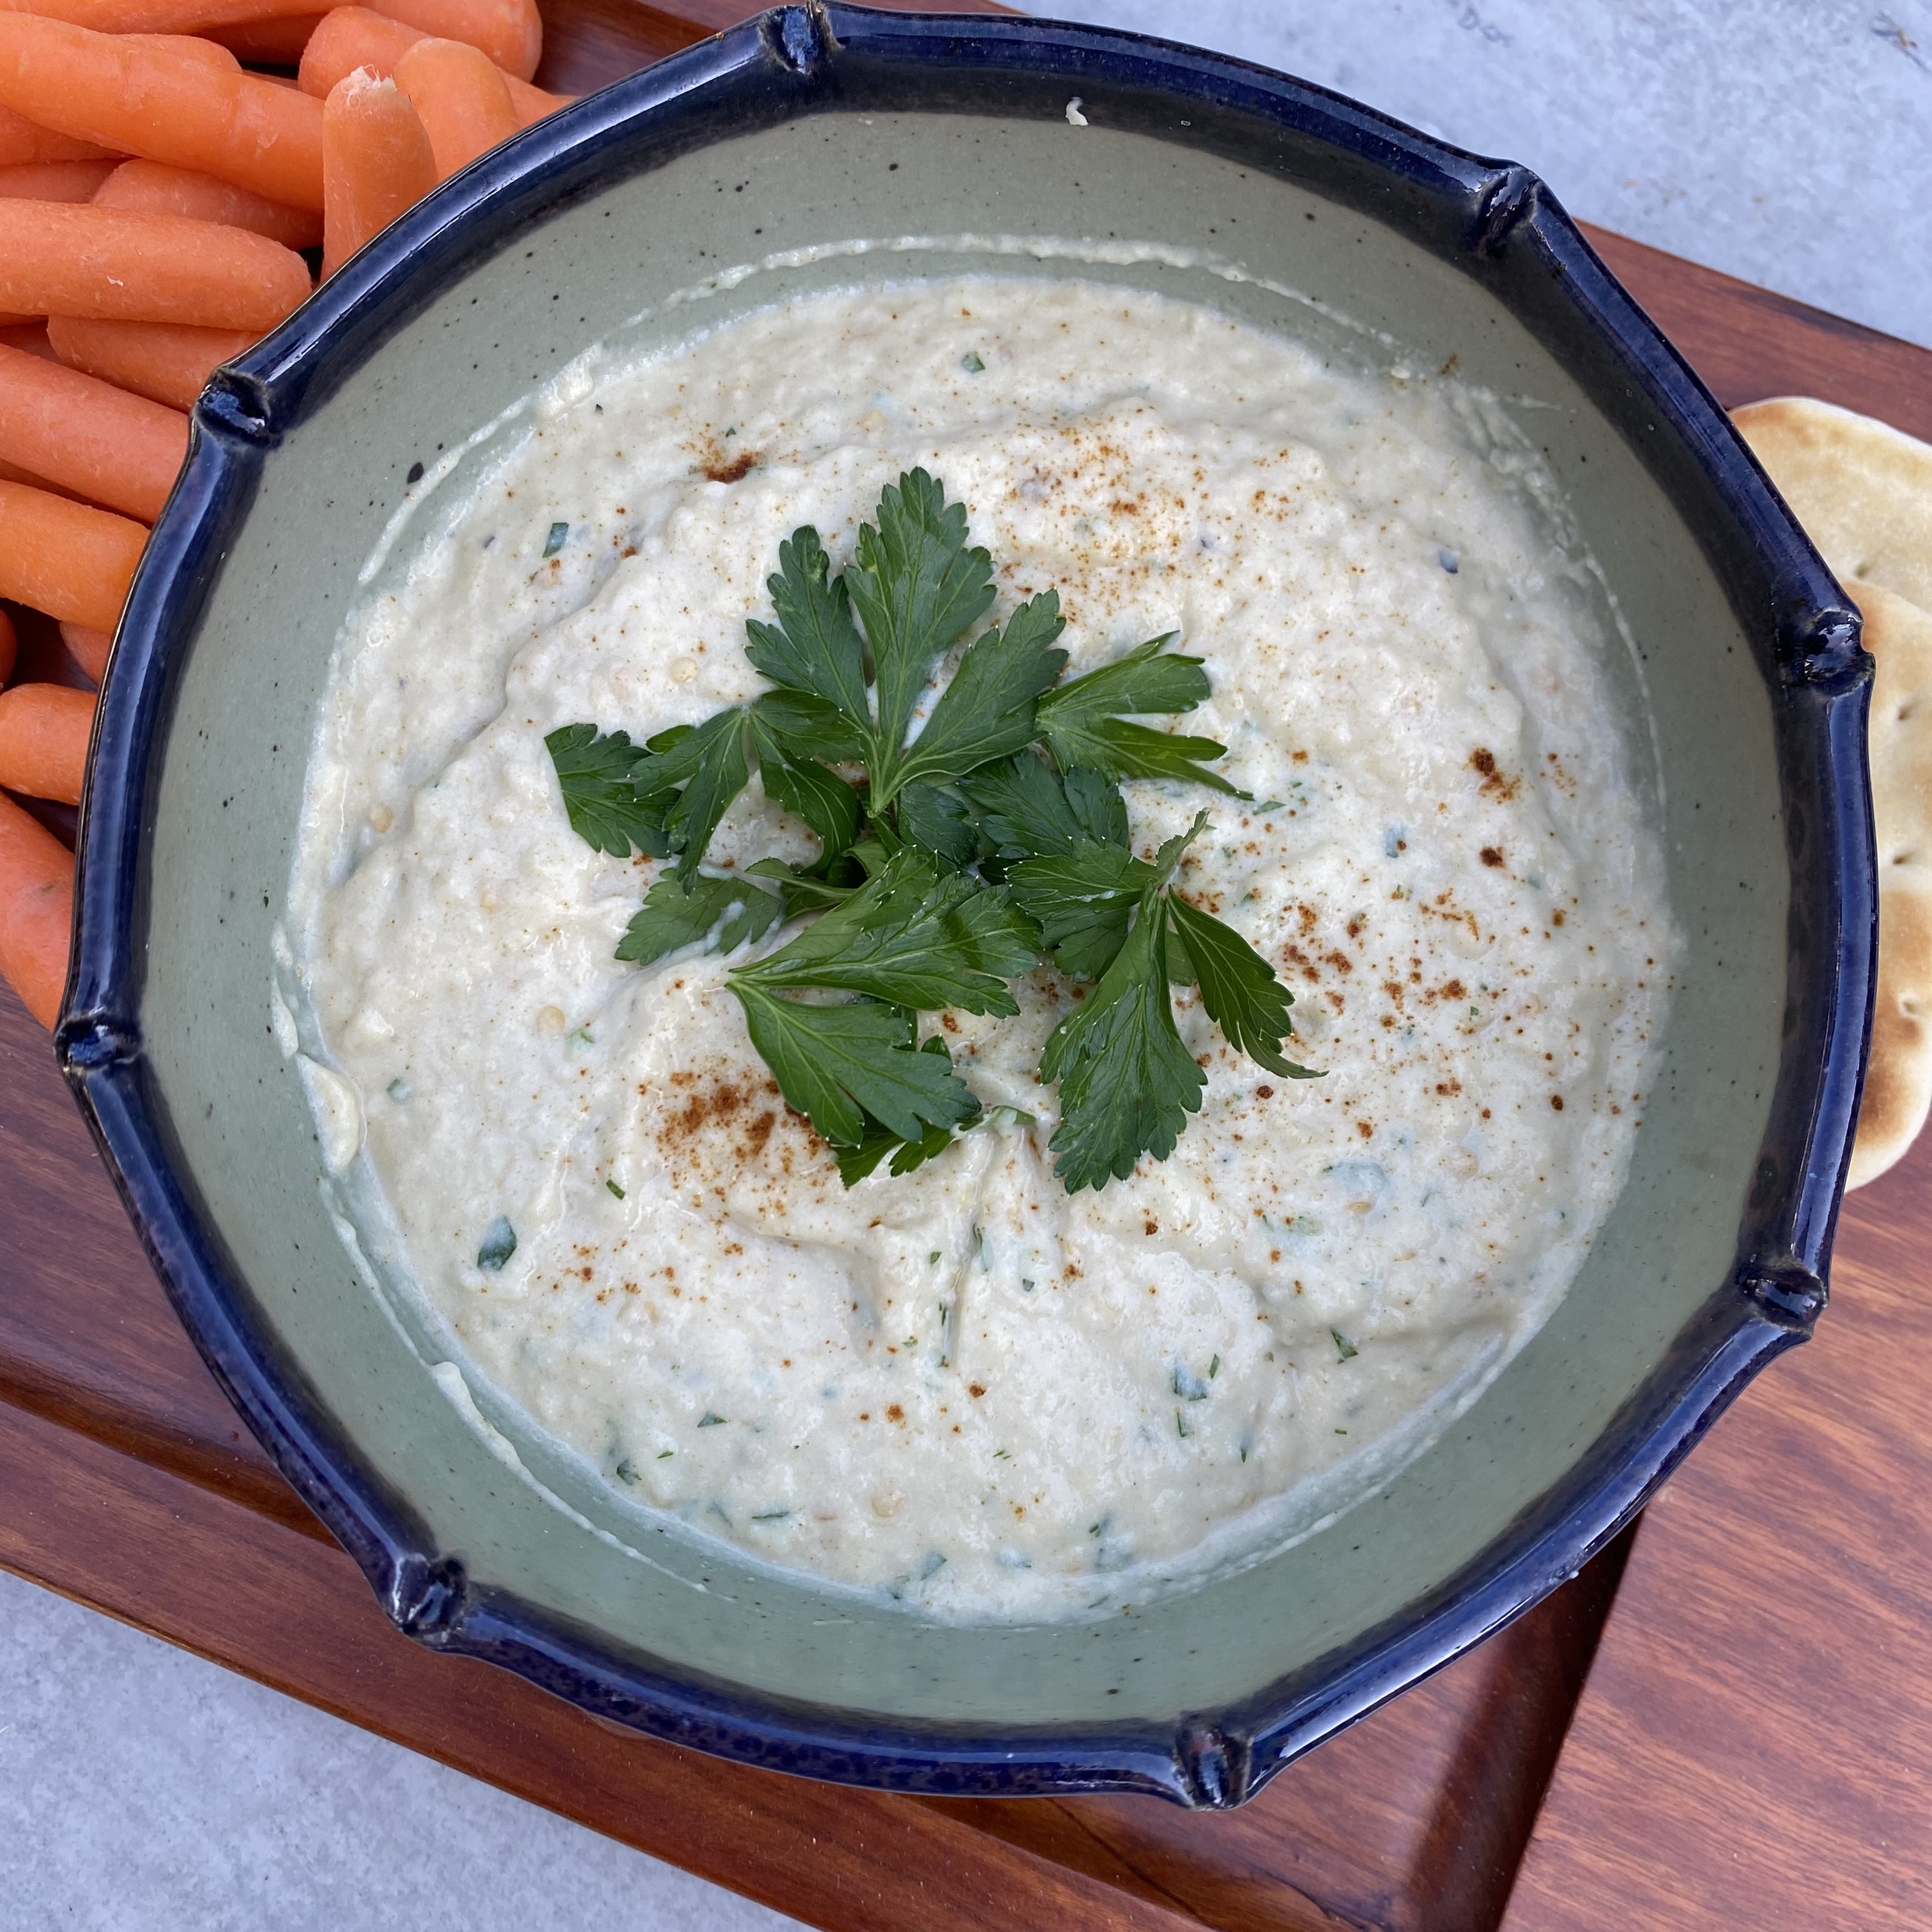
Right up there with Hummus, this eggplant dip is made with Tahini, garlic, lemon juice, parsley, and olive oil, and seasoned with cumin and smoked paprika. Eggplant contributes a lightness and creaminess different than chickpeas.  The smoked paprika and cumin add another level of smokiness, so delicious.  I adapted the recipe from Cookie + Kate, a wonderful blog filled with tips and great user-friendly veggie recipes.  This is definitely one of them.

Start with 2 medium globe eggplants and roast them, halved on a sheet pan until soft and charred.  The char gives the dip that nice smokey flavor.  This is by far the most timing consuming part of the recipe.  Luckily, there’s a hack for this below🧑🏻‍🍳.  Finishing the Baba Ghanoush is just a matter of stirring Tahini, lemon juice, olive oil, and seasonings into the eggplant-easy peasy. Tahini, a sesame seed paste, is a mainstay in Middle Eastern and Mediterranean Cuisine.  You can find Tahini in most supermarkets, TJ’s, or online.  Add a touch of cumin for earthiness and sprinkle it with either smoked paprika or sumac before serving.

Cheaters Sometimes Win

I have a confession, I don’t always have time to roast eggplants to make Baba Ghanoush.  Nope, sometimes I skip this and reach for the jar of grilled eggplant by Sadaf or Sera that I always keep on hand.  If you are in the South Bay (San Jose-Campbell area) a great store for Middle Eastern groceries is International Food Bazaar on Union.  It’s just grilled eggplant so it has the smokiness from the char and some citric acid for preserving.  Use approximately 1-1/2 cups, which is roughly equivalent to the roasted fresh eggplant.  Place the eggplant in a strainer for 15-30 minutes to drain the excess liquid.  It’s convenient and pretty darn yummy.  The jarred eggplant is pretty chunky so I use a food processor to make it.  Pulse ingredients, you don’t want to end up with a puree, pulsing allows for textural contrast.  Additionally, the dip can be made by hand, use a whisk or a fork to whip the ingredients to break up the larger pieces of eggplant.

Baba Ganoush

Baba ganoush made with oven-roasted eggplant, tahini, olive oil, lemon juice, and garlic! Adapted from Cookie + Kate
Course Appetizer, Munchie
Cuisine Middle Eastern
Keyword 3jamigos.com, baba ganoush, Cookie + Kate, eggplant
Prep Time 15 minutes

Ingredients

Use either fresh eggplant OR jarred eggplant (quick and easy)

  • 2 pounds Italian eggplants* about 2 small-to-medium eggplants*
  • 1-1/2 cups Jarred Grilled Eggplant I have used the brand Sadaf, available and most Middle Eastern stores.

Seasoning

  • 2 medium cloves of garlic pressed or minced
  • 2 tablespoons lemon juice more if necessary
  • ¼ cup tahini
  • ¼ cup extra-virgin olive oil plus more for brushing the eggplant and garnish
  • 2 tablespoons chopped fresh flat-leaf parsley plus extra for garnish
  • ¾ teaspoon salt to taste
  • 1/4-1/2 teaspoon ground cumin I LOVE Cumin, use to taste
  • Pinch of smoked paprika for garnish, or Sumac which will give it a touch of tartness

Instructions

Raw Eggplant Recipe

  • Preheat the oven to 450 degrees Fahrenheit with a rack in the upper third of the oven. Line a large, rimmed baking sheet with parchment paper to prevent the eggplant from sticking to the pan. Halve the eggplants lengthwise and brush the cut sides lightly with olive oil. Place them in the prepared pan with the halved sides down.
  • Roast the eggplant until the interior is very tender throughout and the skin is collapsing, about 35 to 40 minutes (this might take longer if you are using 1 large eggplant). Set the eggplant aside to cool for a few minutes. Flip the eggplants over and scoop out the flesh with a large spoon, leaving the skin behind.
  • Place a mesh strainer over a mixing bowl, then transfer the flesh to the strainer and discard the skins. Pick out any stray bits of eggplant skin and discard. You want to remove as much moisture from the eggplant here as possible, so let the eggplant rest for a 15-30 minutes and shake/stir the eggplant to release some more moisture.
  • Discard all of the eggplant drippings, drain and wipe out the bowl, and dump the eggplant into the bowl.

Jarred Eggplant

  • I cannot tell a lie, I will use jarred grilled eggplant in a pinch (or not) available in Middle Eastern stores. (In San Jose-International Bazaar) Use approximately 1-1/2 cups of the jarred eggplant. Drain eggplant just like the roasted eggplant and proceed.

Directions for both roasted eggplant or jarred

  • Add the garlic and lemon juice to the eggplant and stir vigorously with a fork until the eggplant breaks down. Add the tahini to the bowl and stir until it’s incorporated. While stirring, slowly drizzle in the olive oil. Continue stirring until the mixture is pale and creamy, and use your fork to break up any particularly long strings of eggplant. Once again, I take the path of least resistance and add ingredients to a food processor and PULSE to blend. You don't want to puree but leave a bit of chunkiness.
  • Stir in the parsley, salt and cumin. Season to taste with more salt (I usually add another ¼ teaspoon) and more lemon juice, if you’d like a more tart flavor.
  • Transfer the baba ganoush to a serving bowl and lightly drizzle olive oil on top. Lastly, sprinkle parsley and smoked paprika on top. Serve with accompaniments of your choice such as pita bread, carrots and cucumbers. It’s also great on sandwiches!

Notes

Serving suggestions: warmed or toasted pita wedges, carrot sticks, bell pepper strips, cucumber slices, etc.
Cook Mode Prevent your screen from going dark
Tomato Egg Fried Rice & the Fishy Bits

Tomato Egg Fried Rice & the Fishy Bits

A couple of weeks ago I was reading a post from the Woks of Life, a lovely blog on Asian cooking. Their post was on a classic Chinese dish, Salted Fish Fried Rice.  Salted Fish is a Cantonese ingredient made from white fish like croaker, salted and air-dried.  This process concentrates the flavor of the fish, it’s salty, fish-forward, and well, kinda funky in a good way.  Their twist was to substitute anchovies for the salted fish (hom yu, 鹹魚).  My first thought was “Yum, I gotta try this, I think I have anchovies in my pantry”.

They also have a cookbook out and it’s gorgeous.  If you need (who doesn’t)  a cookbook that covers Chinese cuisine for the novice to seasoned cook, Woks of Life fits the bill. You can order it from Books, Inc. or in the Bay Area, from Omnivore Books which has signed copies.

Dad and Gung Gung 1940s

Tales of My Grandfather

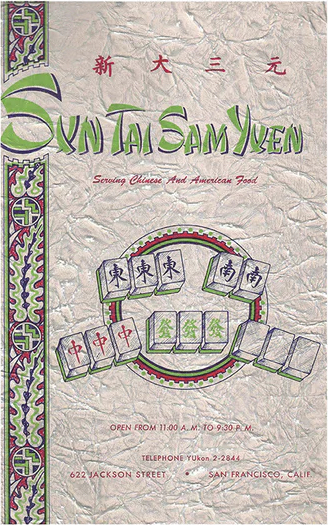
As I read their post, memories of my grandfather bubbled to the surface.  He lived in an SRO (single room only) in the heart of Chinatown above Sun Tai Sam Yuen Restaurant.  It was convenient and comfortable for him.  A line cook at Original Joe’s and at the Fairmont’s Tonga Room he walked to work from Chinatown.  His neighbors, Cantonese men of similar age, had migrated to Gum San (San Francisco) looking for work.

Read More Read More

Eric Kim’s Grape Tomato “Quick Kimchi” (Rock-Paper-Scissors)

Eric Kim’s Grape Tomato “Quick Kimchi” (Rock-Paper-Scissors)

Every Sunday I meet up with friends for coffee then we walk to our local farmer’s market to stock up for the week.  Every year, like clockwork, when summer is upon us, the following conversation takes place between us…

While Walking Back From the Market…

She who shall not be named Person #1 So, who is going to buy the Granny Cart?  I can’t lug any more melons, corn, and peaches.  We need wheels.  I feel like a Sherpa and my shoulder hurts.

She who shall not be named Person #2  Aren’t you the one on Medicare already?  You should get it.

She who shall not be named Person #3 But you’re the one with the watermelon, half flat of strawberries, and 6 ears of corn!

She who shall not be named Person #1 Wait a minute, you’re the one with grandkids, you get it.

She who shall not be named Person #2 I’m the youngest, I’m not getting it.

Needless to say, due to vanity, we are still schlepping our haul in multiple tote bags, occasionally stopping for a breather.  This Sunday may have been the breaking point, none of us could resist, so much amazing fruit right now. We loaded up on berries, peaches (Biscuit Berry Peach Cobbler), cantaloupes, (Melon, Prosciutto & Mozzarella with Basil Oil), and watermelons, (Watermelon and Tomato Salad).  Somebody has to bite the bullet and get that cart!

Tomatoes Are Coming…Update They’re Here!

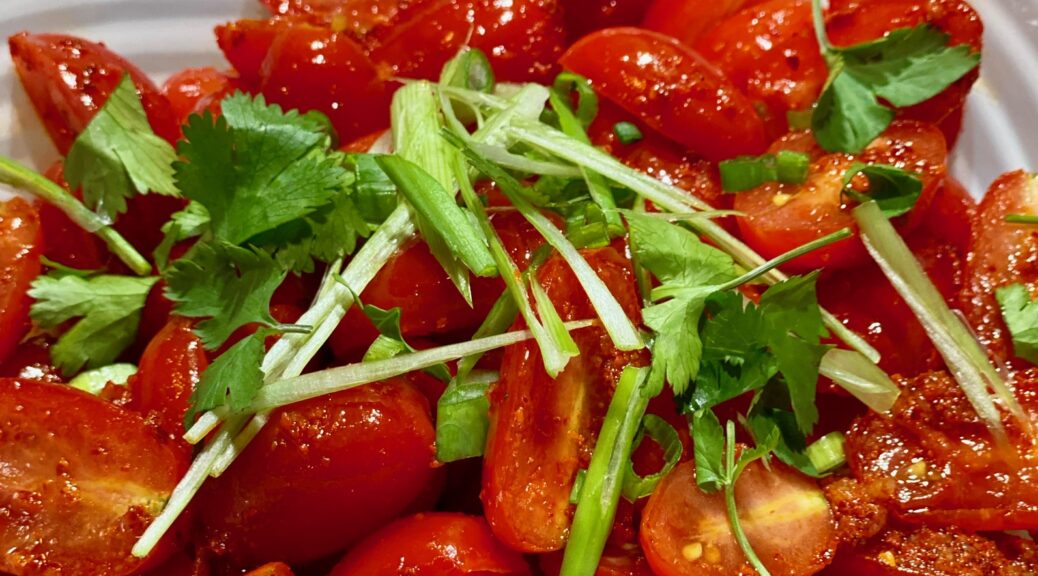
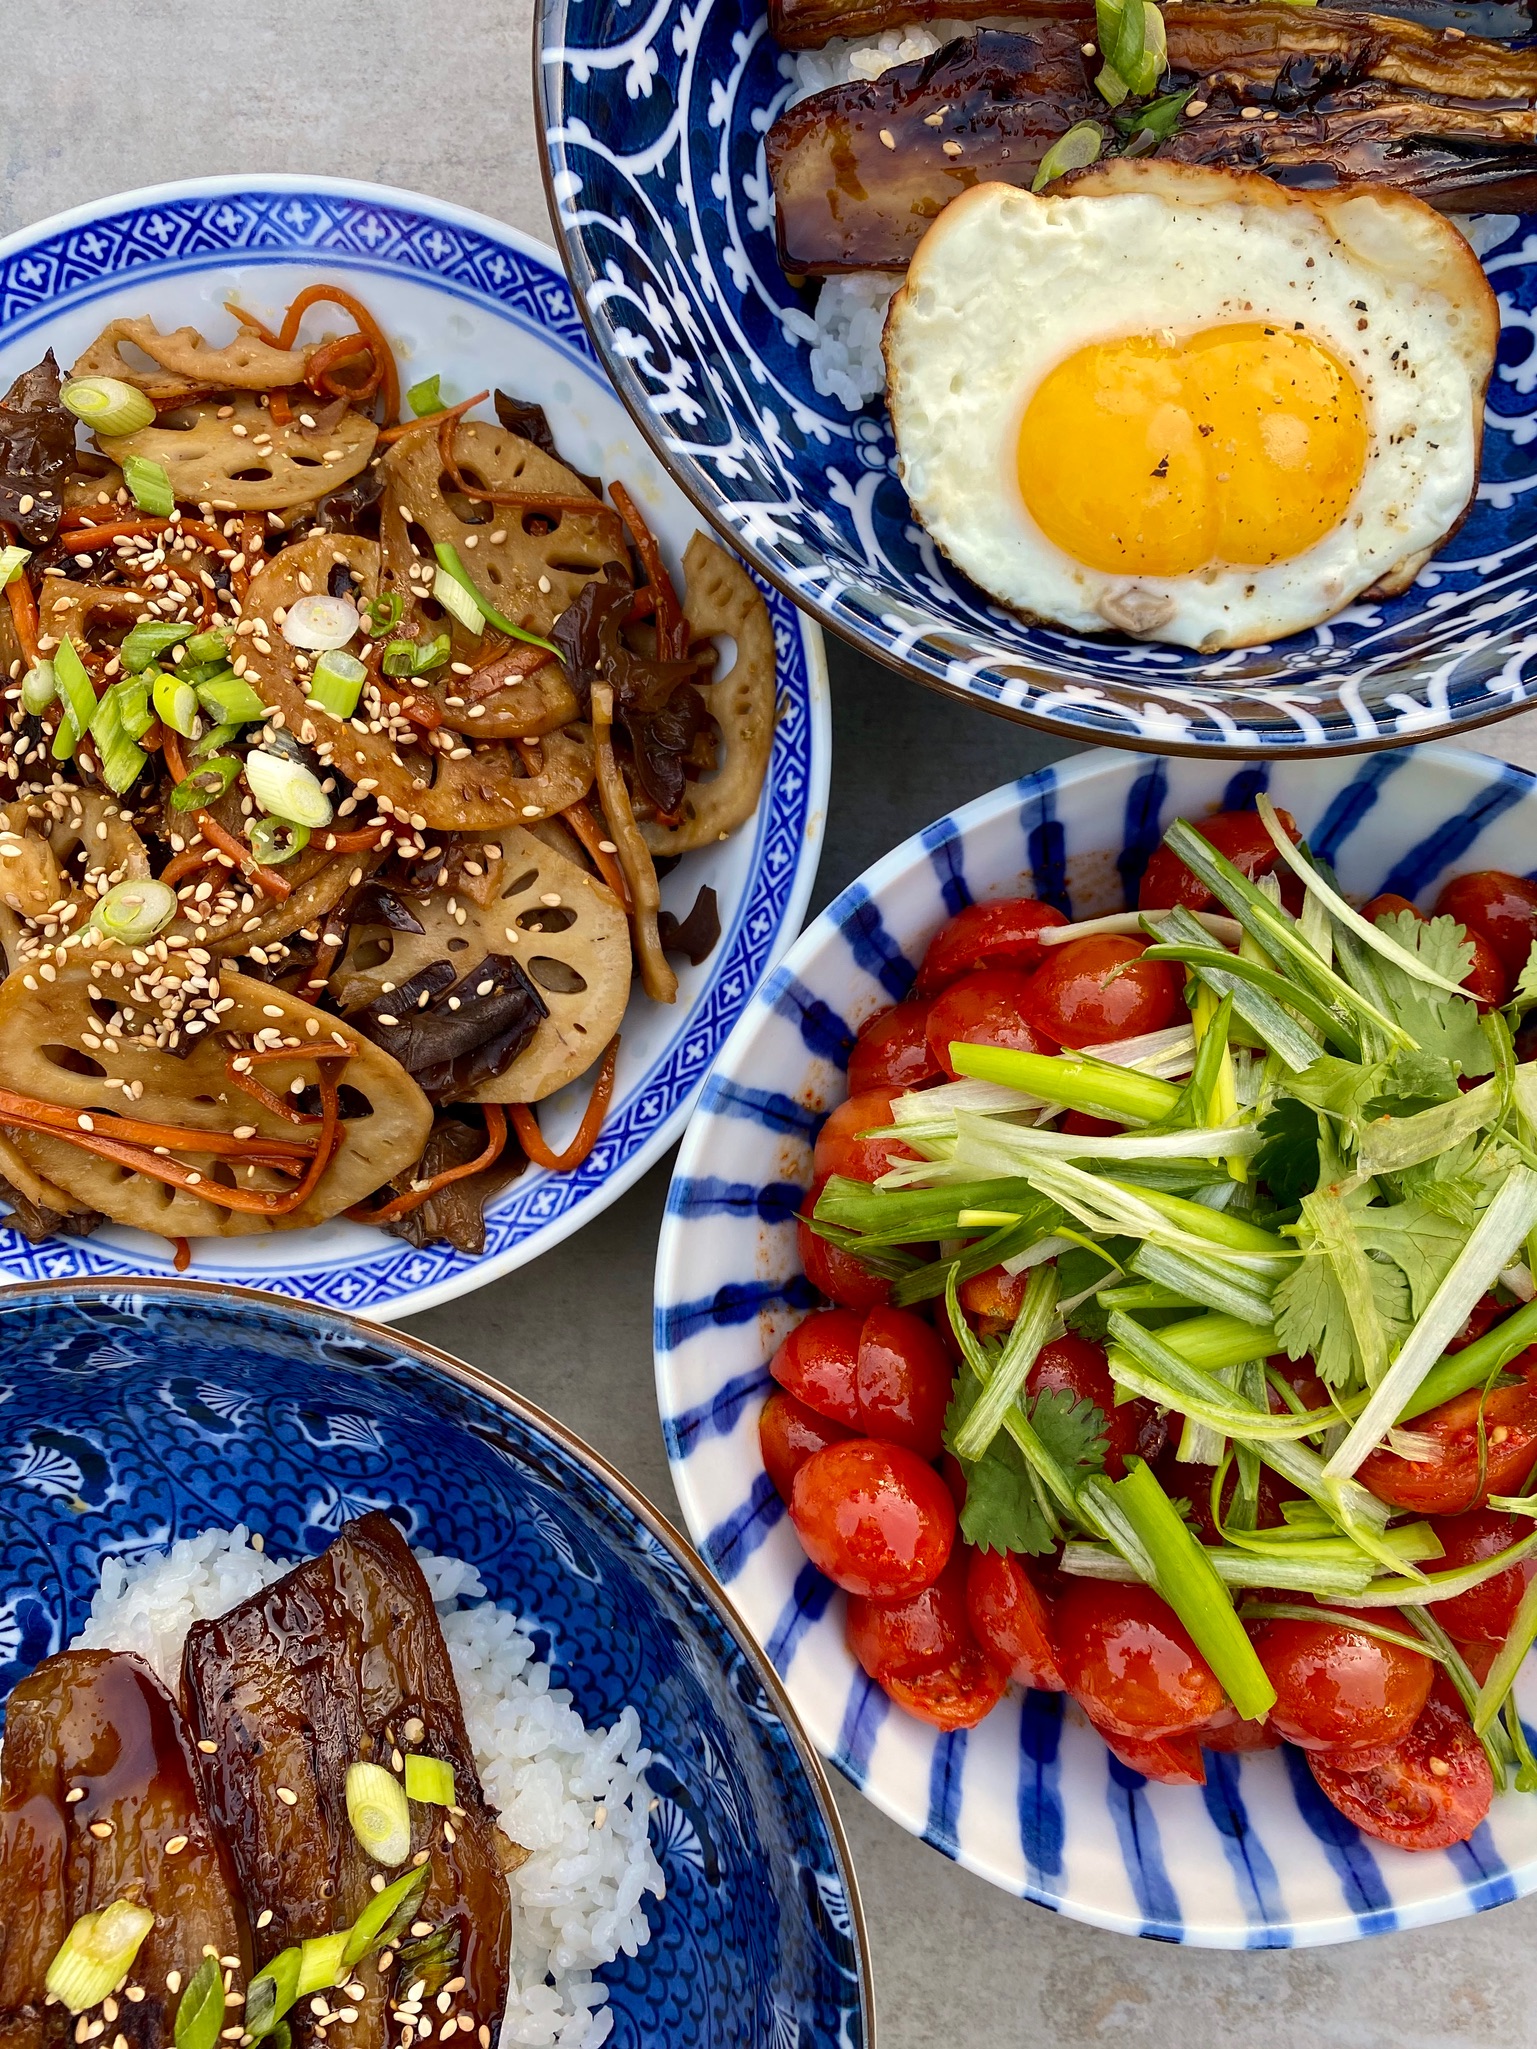
And I bought my first baskets of cherry tomatoes of the season today.  One of my favorite dishes, especially with the 90-degree weather we are having, is Eric Kim’s Grape Tomato Quick Kimchi.  I’m staying away from the stove as much as possible and this dish fits the bill. It’s the perfect way to enjoy those lovely tomatoes.

Side Dish Today…Lunch Tomorrow

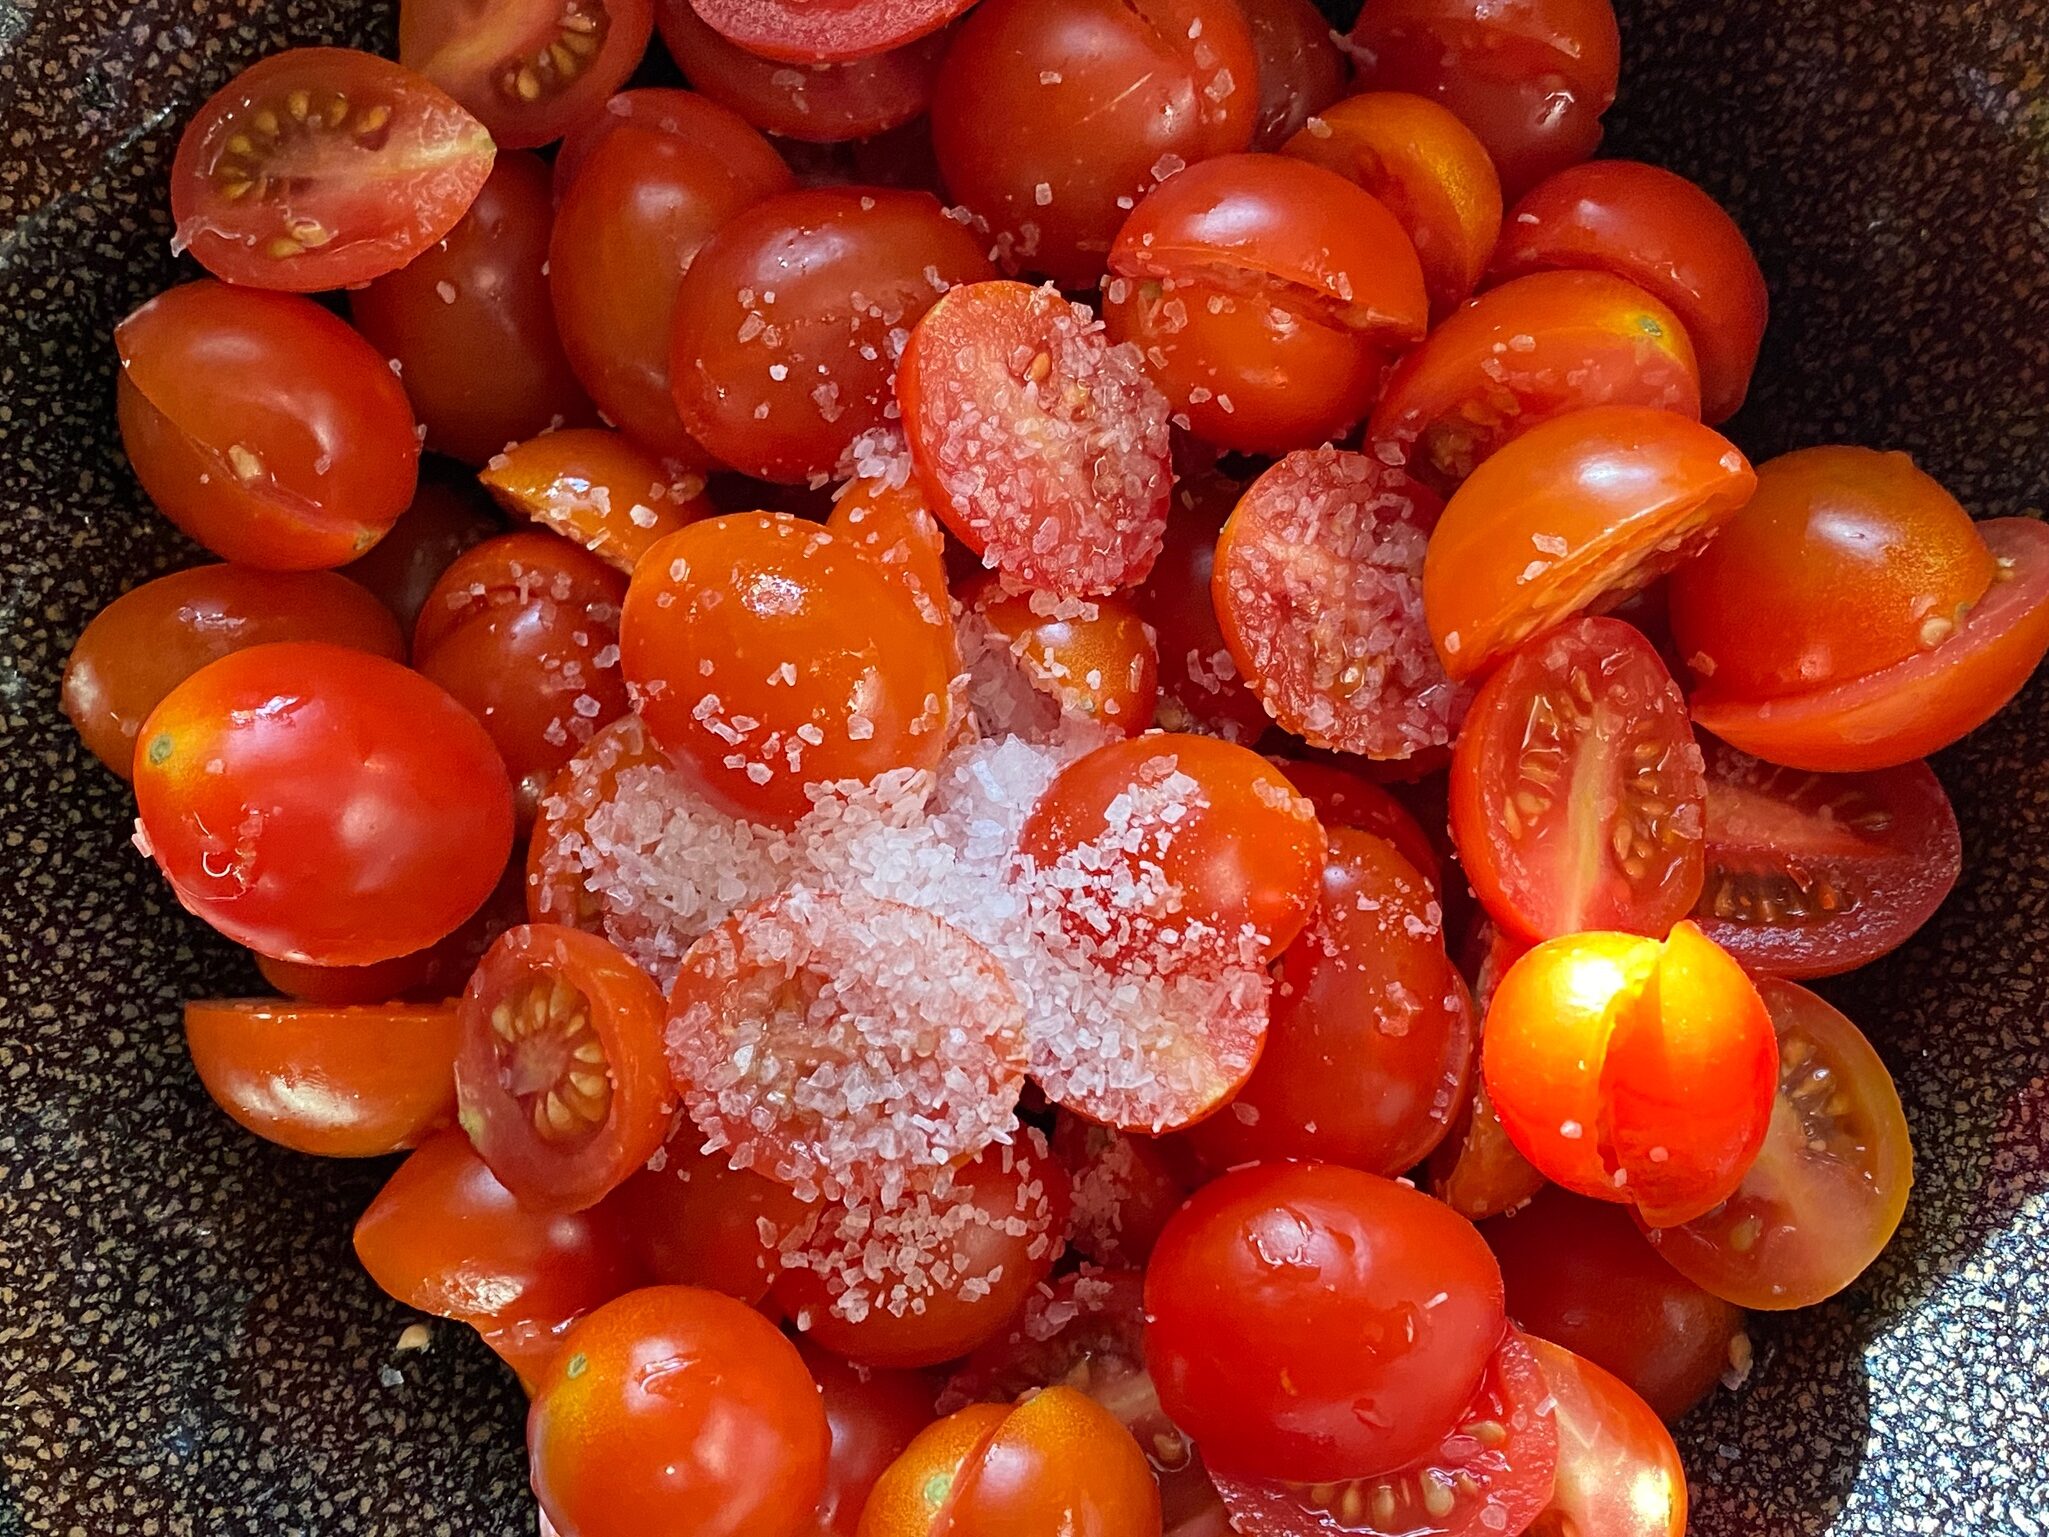
Simple to make, the time-consuming part is salting and allowing the tomatoes to drain.  Use any variety of cherry tomatoes.  The dressing consists of vinegar, fish sauce, sugar, and Gochugaru.  Red Boat or Three Crabs, are good choices for fish sauce.   Either can be found in any Asian store.  Gochugaru is Korean chili powder that can also be found in most Asian stores.  Your best bet would be a Korean market or online.  If you can’t find it feel free to substitute with chili flakes (1/4 tsp or to taste) or Aleppo pepper powder (1:1).  Toasted sesame oil provides a nutty, sweet finish to the dressing.

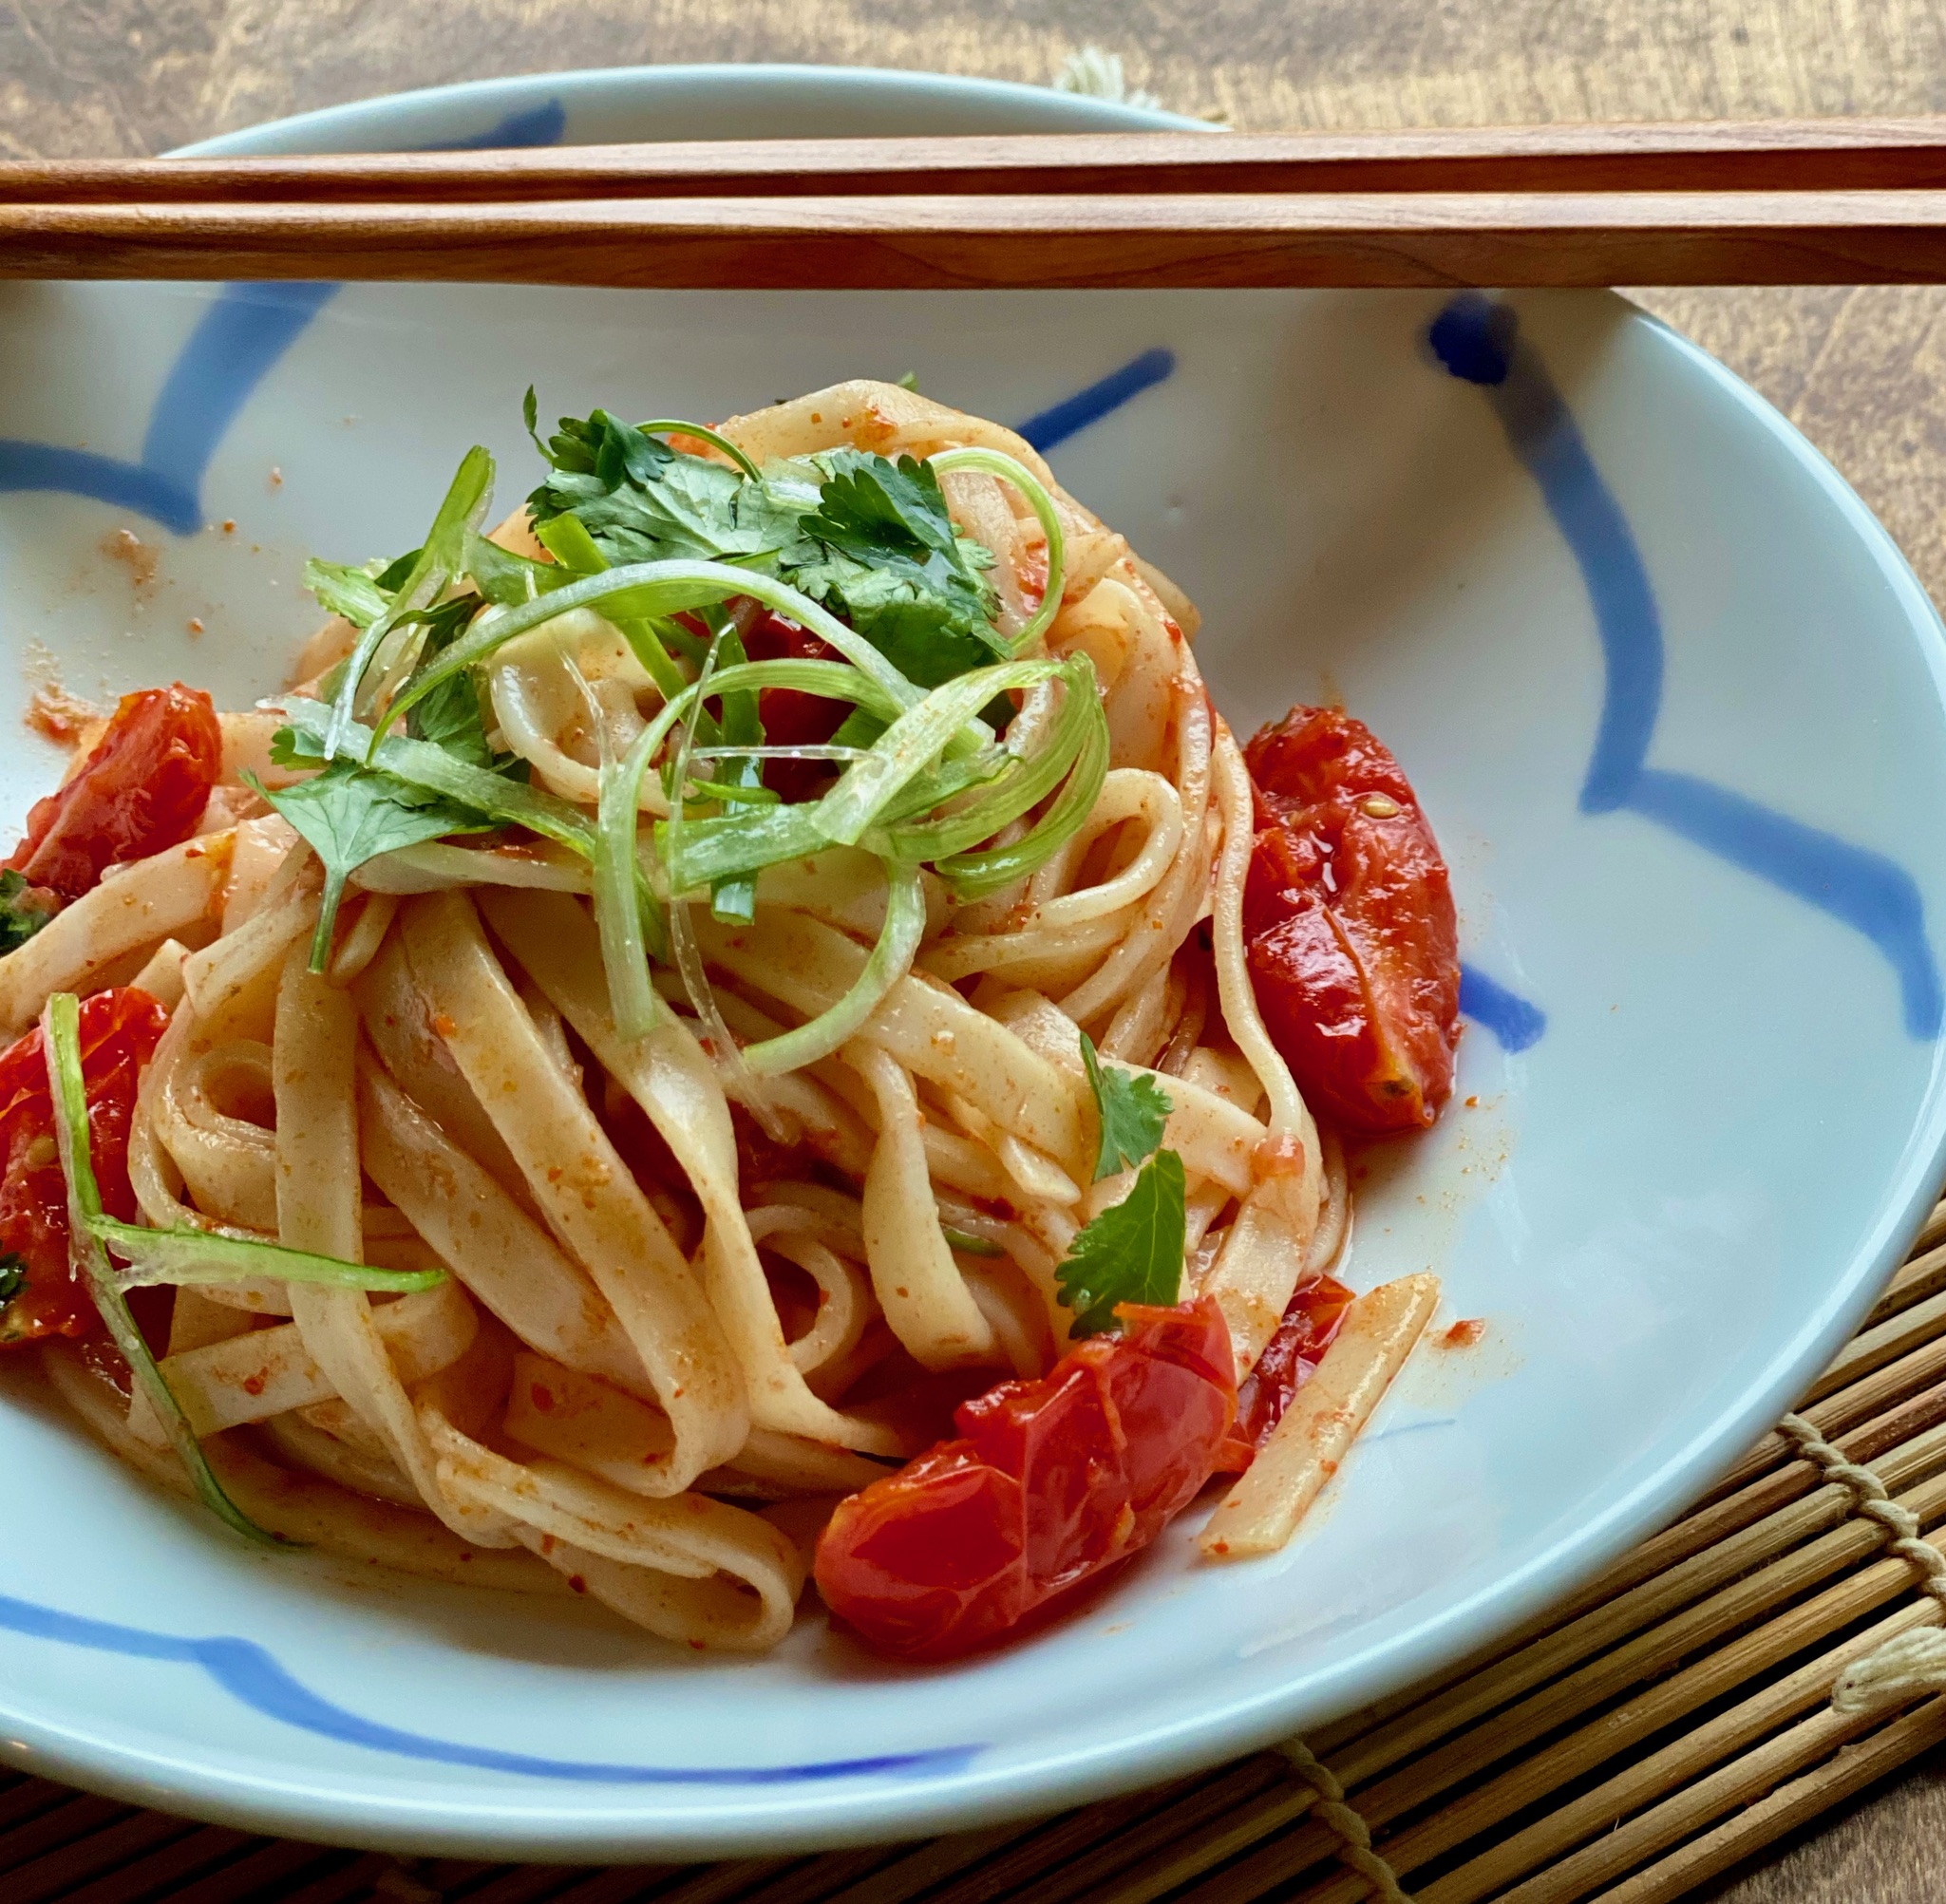
Serve it as a salad or side dish, like Banchan, it goes well with any kind of meal.  I make a big batch so I have extra for an easy lunch the next day. Just cook up some pasta, either ramen noodles or Angel Hair pasta, and toss it with the leftover tomatoes and sauce.  The pasta warms the tomatoes and picks up the flavors of the dressing, it’s delicious.

With tomatoes coming into season now and the weather warming up, this easy-to-make dish is perfect.

Grape Tomato ‘Quick Kimchi’

Eric Kim's Quick Tomato Kimchi. Refreshing, easy to prepare banchan using fresh cherry tomatoes is the perfect summer dish
Course Appetizer
Cuisine Korean-American
Keyword Banchan, cherry tomatoes, Cold Noodles with Tomatoes, grape tomatoes
Prep Time 30 minutes
Cook Time 5 minutes

Ingredients

Tomatoes

  • 1 pound grape tomatoes (or any ripe cherry tomato) about 2 to 3 cups, halved lengthwise
  • 1 teaspoon kosher salt

Banchan Dressing

  • 2 tablespoons white distilled vinegar substitute with rice vinegar
  • ½ teaspoon finely grated garlic
  • 1 tablespoon plus 1 teaspoon sesame oil Toasted sesame oil like Kadoya
  • 1 tablespoon gochugaru powder of flakes
  • 2 teaspoons fish sauce
  • 1 teaspoon granulated sugar

Garnish

  • Thinly sliced scallions chopped chives, or cilantro or flat-leaf parsley leaves for garnish (optional)

Instructions

  • In a medium bowl, toss the tomatoes with the salt, transfer to a colander, and let drain about 30 minutes. In the same bowl, add vinegar and garlic and set aside.
  • After 30 minutes, add the sesame oil, gochugaru, fish sauce and sugar to bowl with the vinegar and garlic and whisk to combine. Pat the tomatoes dry, then add the tomatoes to the dressing and toss until well coated.
  • Garnish with the optional herbs before serving. This is best eaten right away, but can be refrigerated for up to 24 hours.
  • Make this for banchan for dinner and use any remaining as a pasta sauce the next day. It is delicious with somen noodles. Cook as directed. Add tomatoes to hot noods and mix. Serve immediately.
Gochujang Buttered Noodles (Ketchup Noodles 2.0)

Gochujang Buttered Noodles (Ketchup Noodles 2.0)

My Dad made dinner most of the time.  Every evening he would leave the office, shop for dinner ingredients, go back to the office, pick up my mom, then go home.  Once home, he donned his apron and cranked out a typical Chinese meal in about 30-45 minutes.  A typical meal consisted of a quick soup, stir-fried beef with vegetables, and steamed fish.  It takes me 30 minutes just to decide what to make let alone have it on the table. Yep, my Pop was Dinner Dad Extraordinaire.

But when I stop and think about it, my mom was the one who got us up, made us breakfast, packed our lunches, and made most of the non-Asian holiday meals.  I have been giving short shrift to my mom all these years.  She accounted for 2/3 of our daily meals and my favorite lasagne.  Aiyah, I can’t believe I “marginalized” my own mom.

The Real Deal

My mom was instrumental in trying new things in our house.  An early adopter of the microwave, yogurt (before it was fashionable and filled with fruit and sugar), and frozen food.  Fridays meant Date Night for the parents and Swanson’s TV Dinners for us, and thanks to Swanson’s genius ad campaign, we got to eat in front of the TV.

There are a couple of dishes that my mom made that trumped (sorry) everything else.  First, Avocado Sandwiches.  My mom was ahead of her time-avocados, mashed with a little bit of mayo, S & P, and a squirt of lemon juice, slathered on white bread.  The OG of Avocado Toast. She’d make a killing.

Second, Ketchup Noodles. Butter, noods, ketchup,  a little salt and pepper.  There you have it, perfection.

Which Brings Me to…

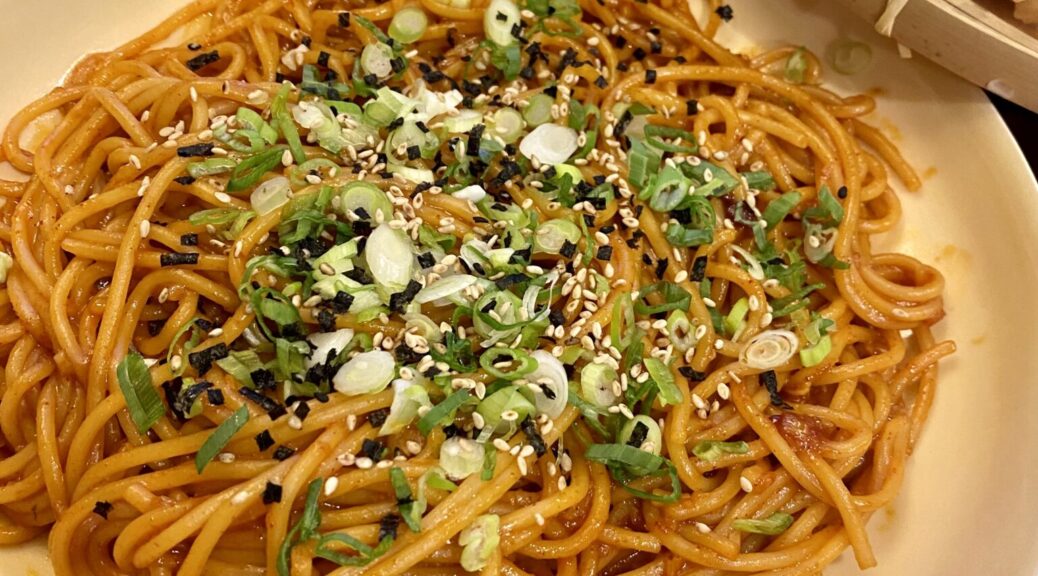
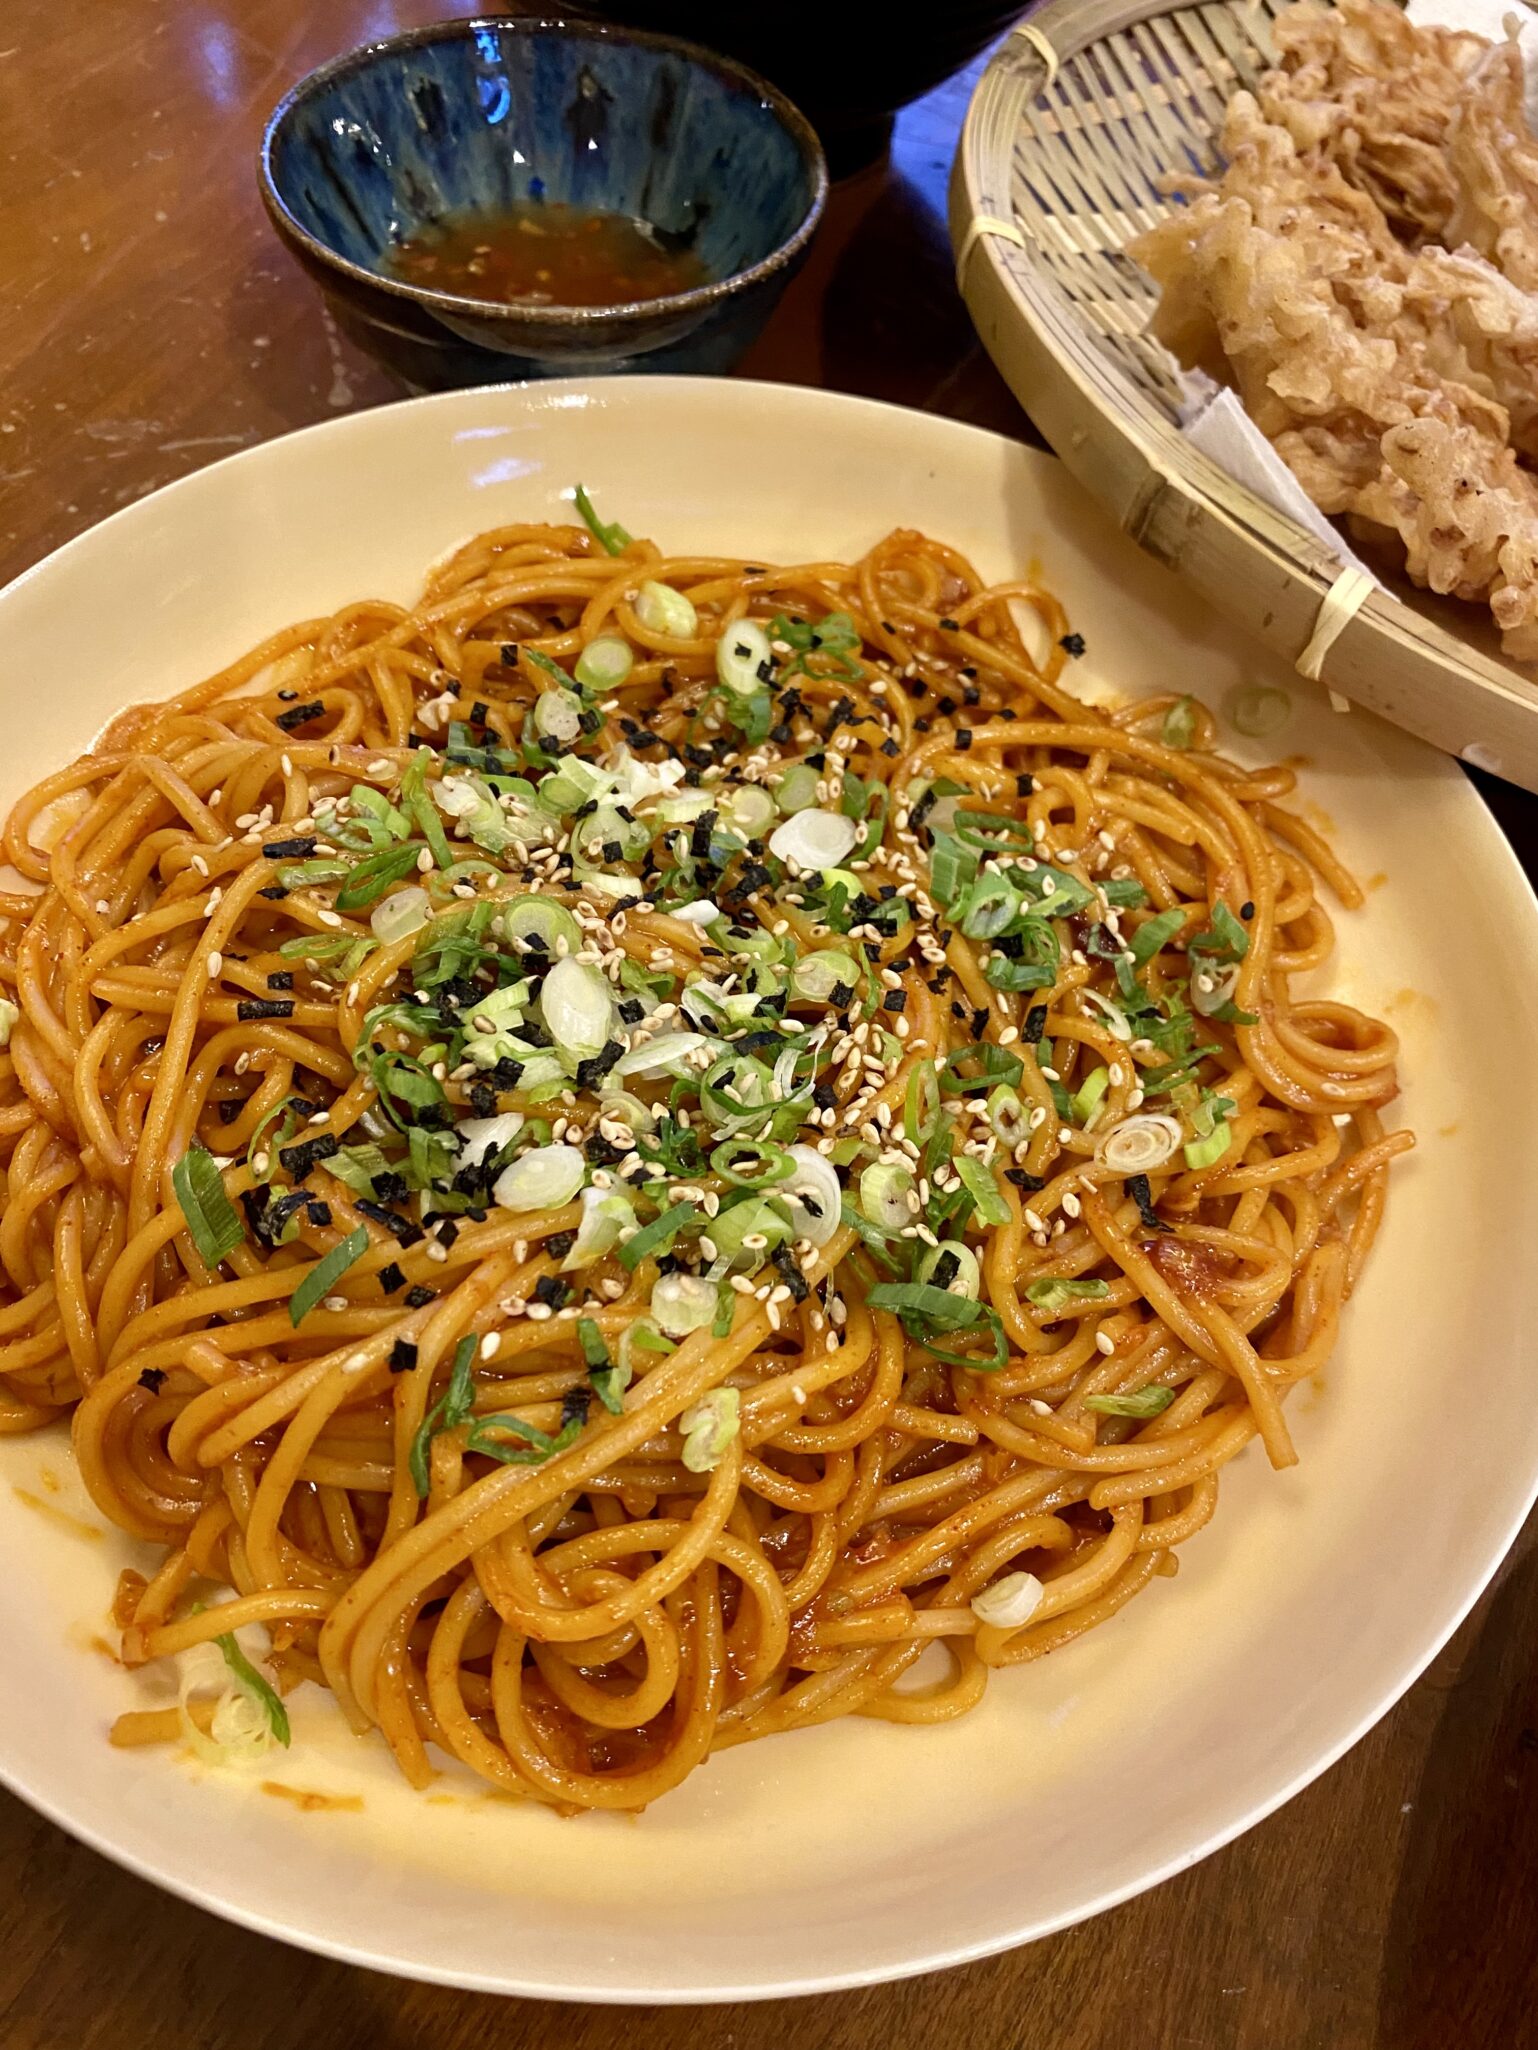
Gochujang Buttered Noodles.  A trademark Eric Kim recipe, easy, fast, and absolutely delicious.  I can’t give him 100 percent credit, this dish reminds me of my Mom’s Ketchup Noodles, think of his version as Ketchup Noodles 2.0.  Gochujang, the Korean, sweet and spicy chili paste replaces ketchup, and honey and vinegar bring a balanced sweet-tart flavor.  Fresh garlic adds punch. It’s delicious.  Another Eric recipe goes viral.

The Sauce

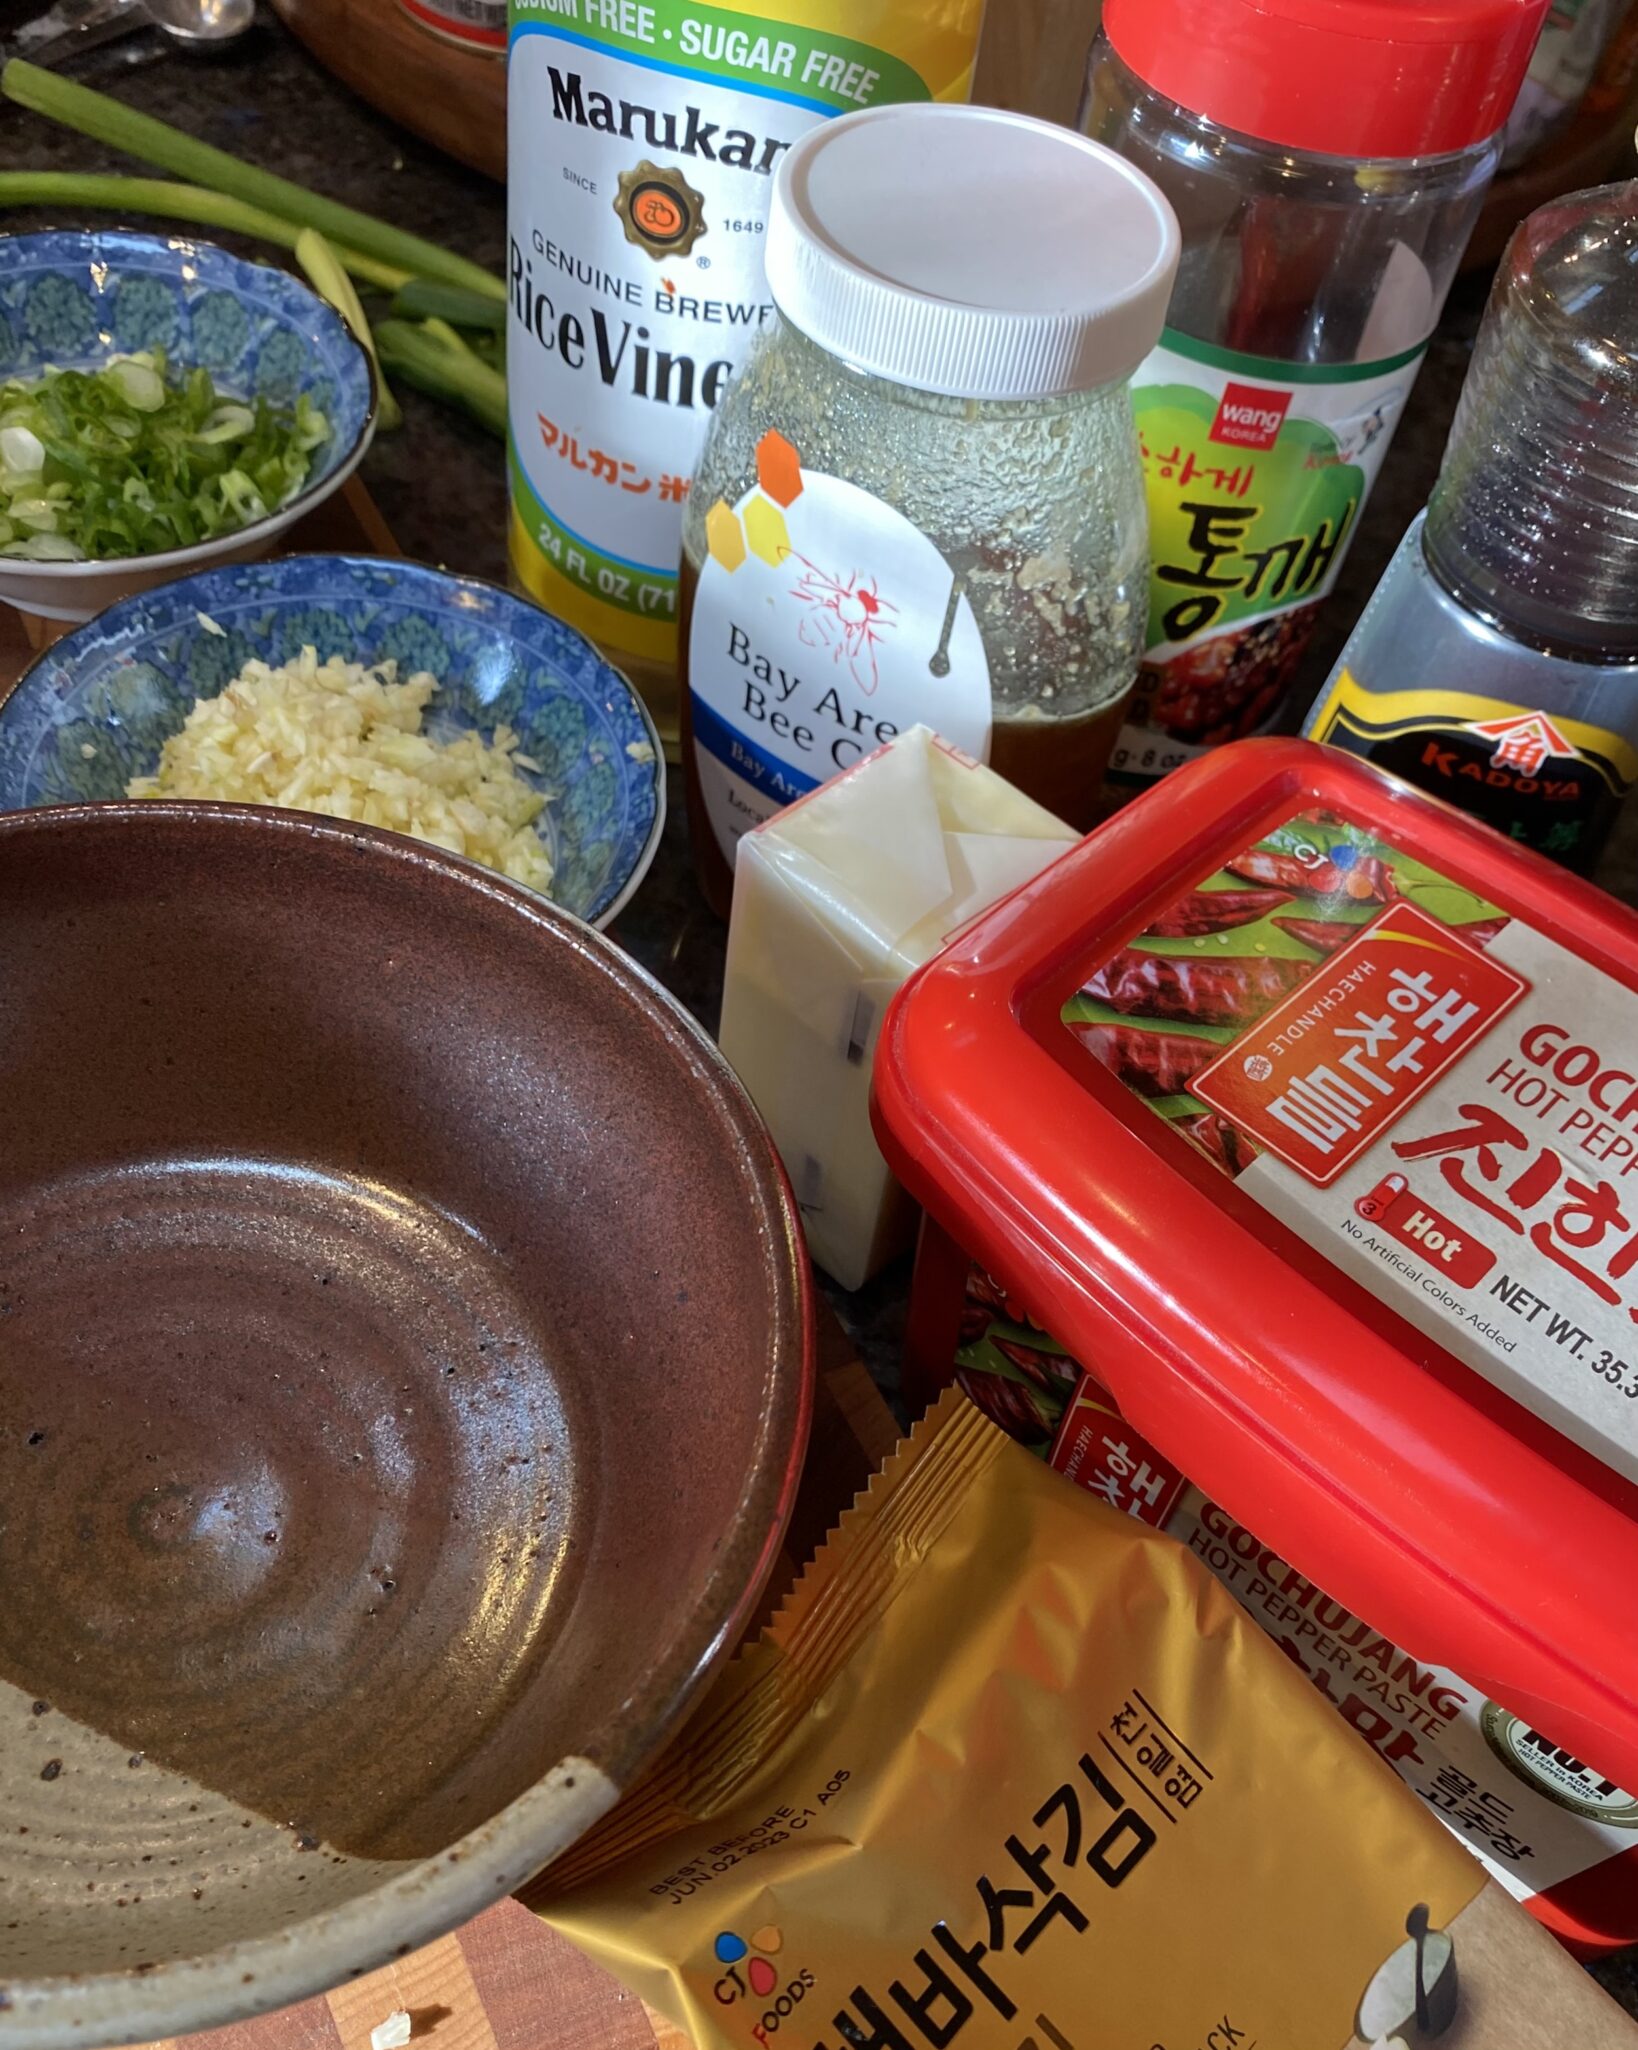
Gochujang or Korean Chili Paste comes in mild, medium or hot and can be found at most Asian grocery stores.  Trader Joe’s also carries a gochujang paste.  Do not confuse this with Gochujang Sauce which is thinner in consistency and probably contains sweeteners.   Use mild honey or agave syrup for the sweetener and rice vinegar or sherry vinegar for the acid, together they bring balance to the dish.

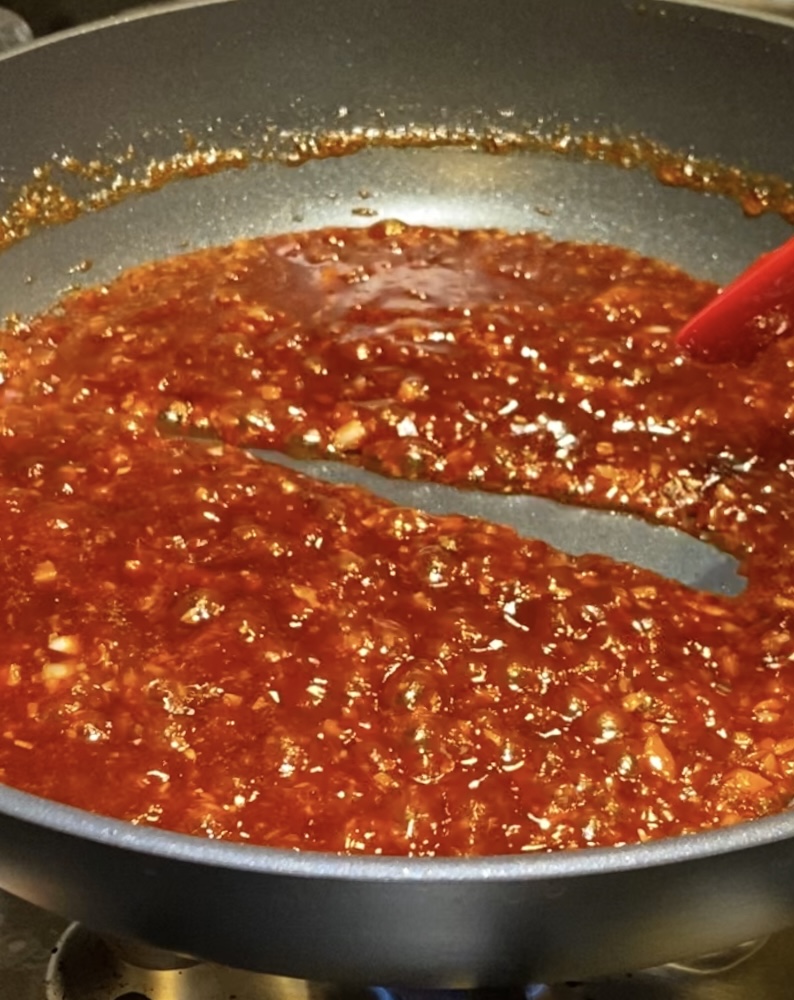
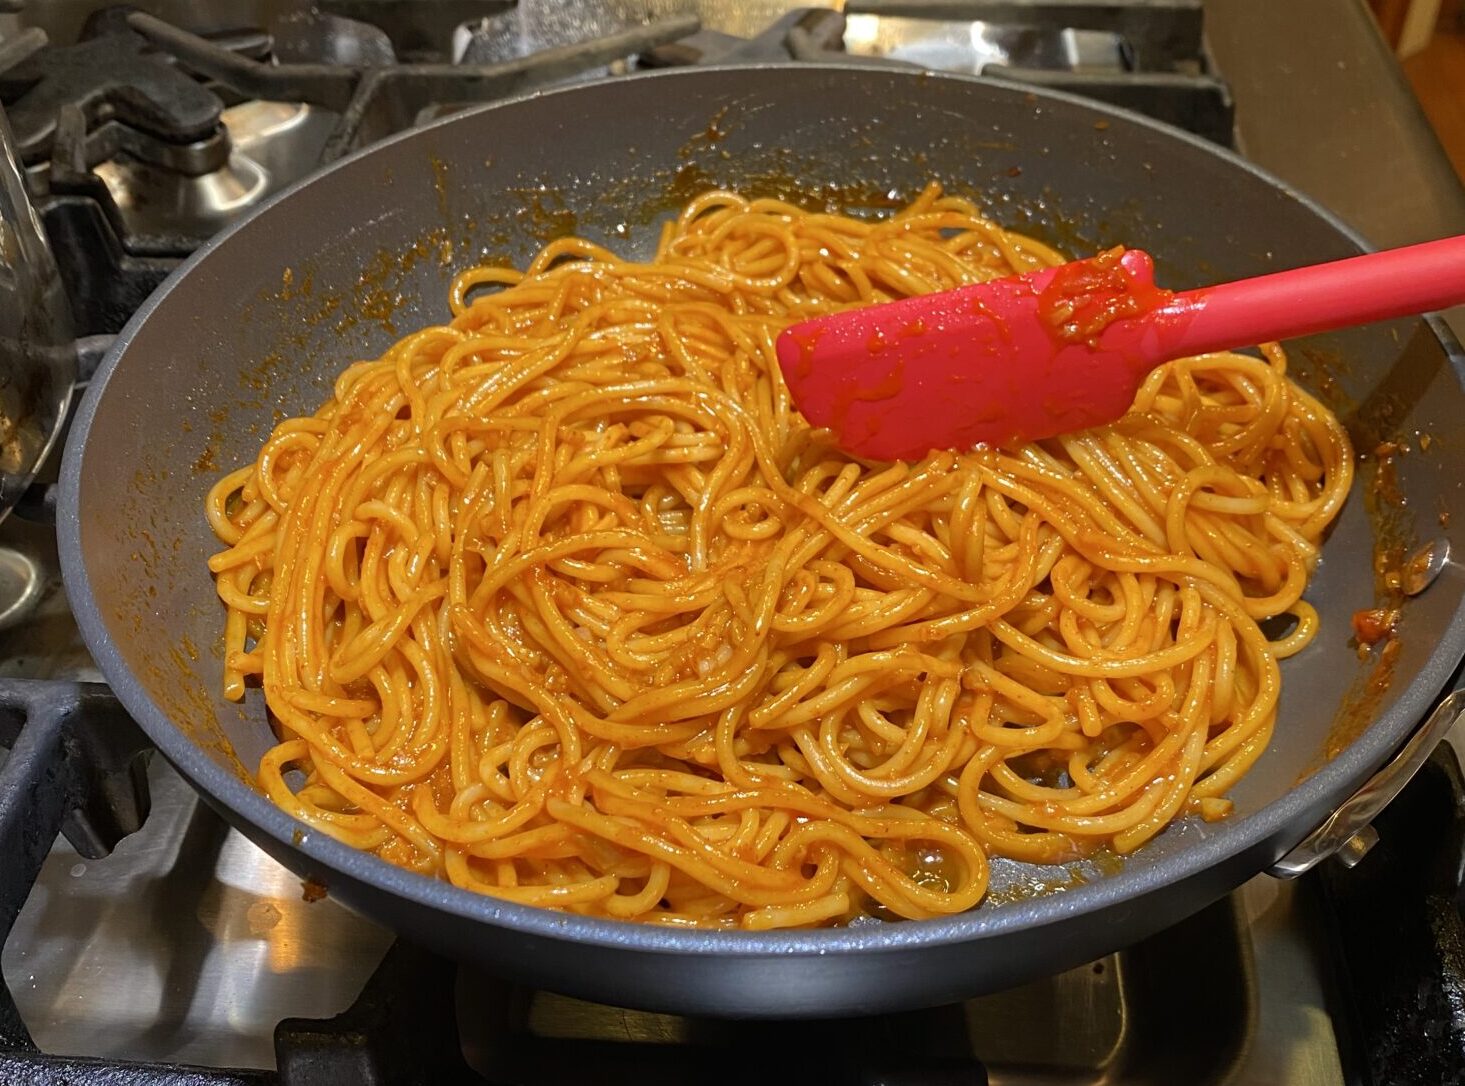
Reduce the sauce until you you run your spatula through it and it stays separate for a couple of seconds.  It will be syrupy and have a nice sheen.  Add your pasta and reserved pasta water (a little at a time to desired consistency).

The Noods

Asian pasta, like ramen or Taiwanese dry noodles, is my favorite for its texture, but spaghettini or linguine works in this dish.  The bottom line, use your favorite pasta.

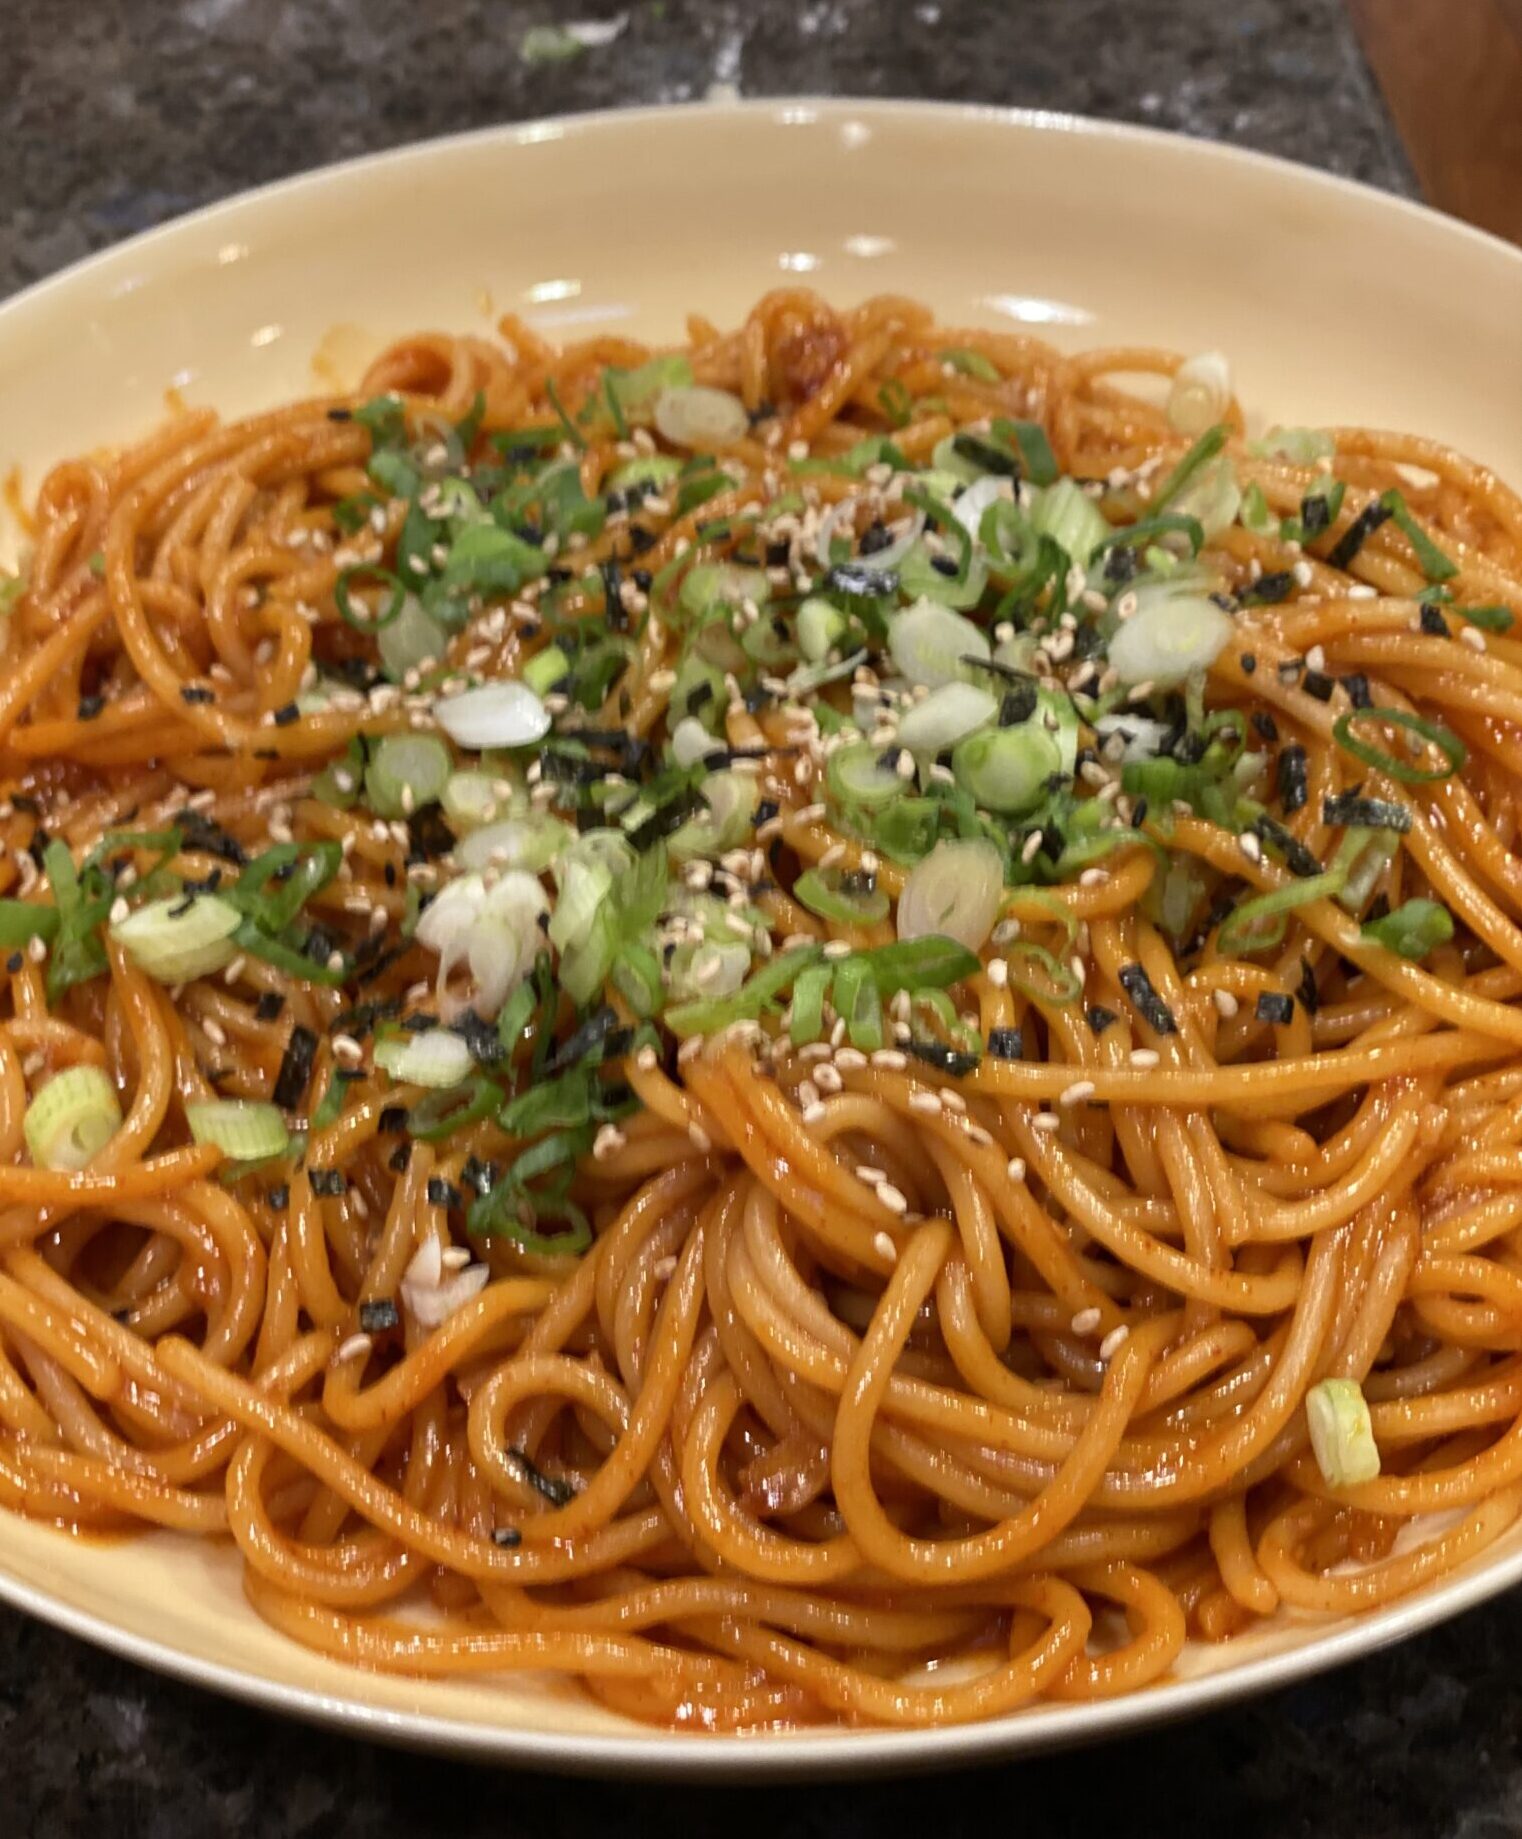
Finish the dish by garnishing it with chopped scallions, sesame seeds, and crushed seaweed.  I also like to drizzle some sesame oil on top.

Enjoy!

Gochujang Buttered Noodles

Ingredients

  • 1 pound spaghetti or other long pasta
  • 6 tablespoons unsalted butter
  • 12 garlic cloves finely chopped (about ⅓ cup)
  • Kosher salt and black pepper
  • ¼ cup gochujang paste
  • ¼ cup honey
  • ¼ cup sherry vinegar or rice vinegar
  • Finely chopped cilantro or thinly sliced scallions optional

Instructions

  • Bring a large pot of water to a boil. Add the spaghetti and cook according to package instructions. Reserve 1 cup of the cooking water. Drain the spaghetti and return to its pot.
  • While the pasta cooks, melt 4 tablespoons of the butter in a skillet over medium-low. Add the garlic and season generously with salt. Cook, stirring occasionally, until the garlic starts to soften but not brown, 1 to 3 minutes.
  • Stir in the gochujang, honey and vinegar, and bring to a simmer over medium-high. Cook, stirring constantly, until the mixture reduces significantly, 3 to 4 minutes; when you drag a spatula across the bottom of the pan, it should leave behind a trail that stays put for about 3 seconds. Remove from the heat.
  • Transfer the sauce to the pot with the spaghetti and add the remaining 2 tablespoons butter. Vigorously stir until the butter melts. Add splashes of the pasta cooking water, as needed, to thin out the sauce. Taste and season with salt and pepper. Top with the cilantro or scallions (if using) and serve immediately.
Miso-Honey Chicken with Asparagus Sheet Pan-tabulous!

Miso-Honey Chicken with Asparagus Sheet Pan-tabulous!

Sam Sifton’s What to Cook column in the NY Times is my usual starting point for what should I make for dinner during the week.  I found Yossy Arefi’s Sheet Pan Miso-Honey Chicken and Asparagus in his column a little while ago and bookmarked it.  Like so many others, I have jumped on the sheet pan meal train.  I love a cooking method that includes hashtags like #quick, #easy, and #delicious.  This recipe was simply yummy and had me licking my plate clean at the end.

Da Sauce

The flavor from the marinade manages to hit every note-sweet from honey, and spicy from chili sauce.  Eartiness and salty from the miso.  The ginger and garlic create an added one-two flavor punch.  It is absolutely delicious.  Reserve half of it to serve at the table for those who just can’t get enough of it, like me!

Most of the ingredients for the marinade are items that you probably have in your pantry or fridge, especially if you like Asian cuisine.  For those not familiar with miso-the star of this marinade, miso is a cornerstone in Japanese cooking.  It is made from soybeans that is fermented and it is responsible for that salty, slightly funky flavor and umami.  It comes in two basic types, white and red.  White miso is milder and if I could only have one miso, this would be it.  Here is a primer on miso from Spruce Eats.  Look for it in Asian grocery stores and many of the larger supermarkets.  There really isn’t a substitute so if your local markets don’t carry it, try online.

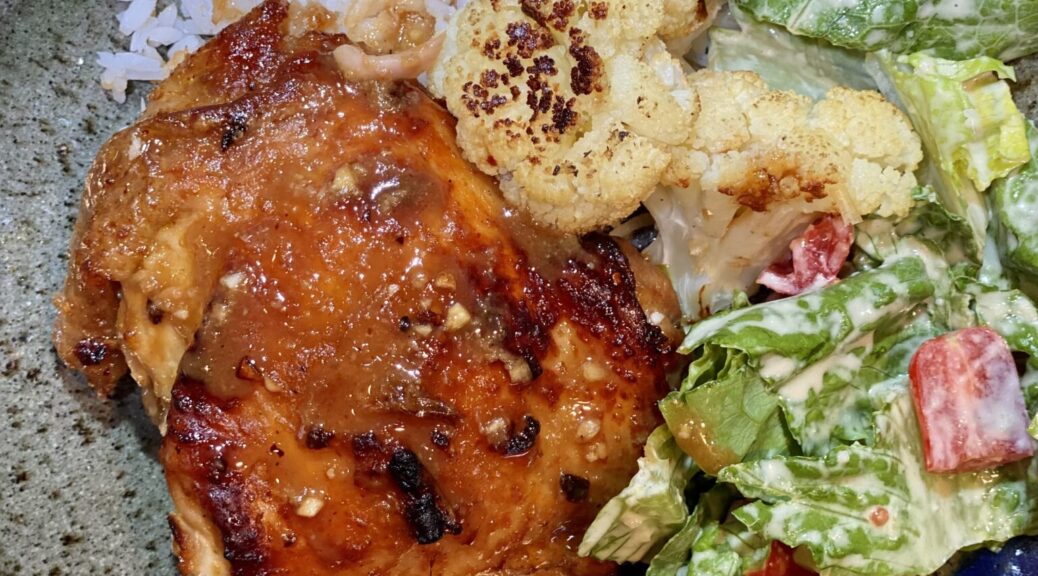
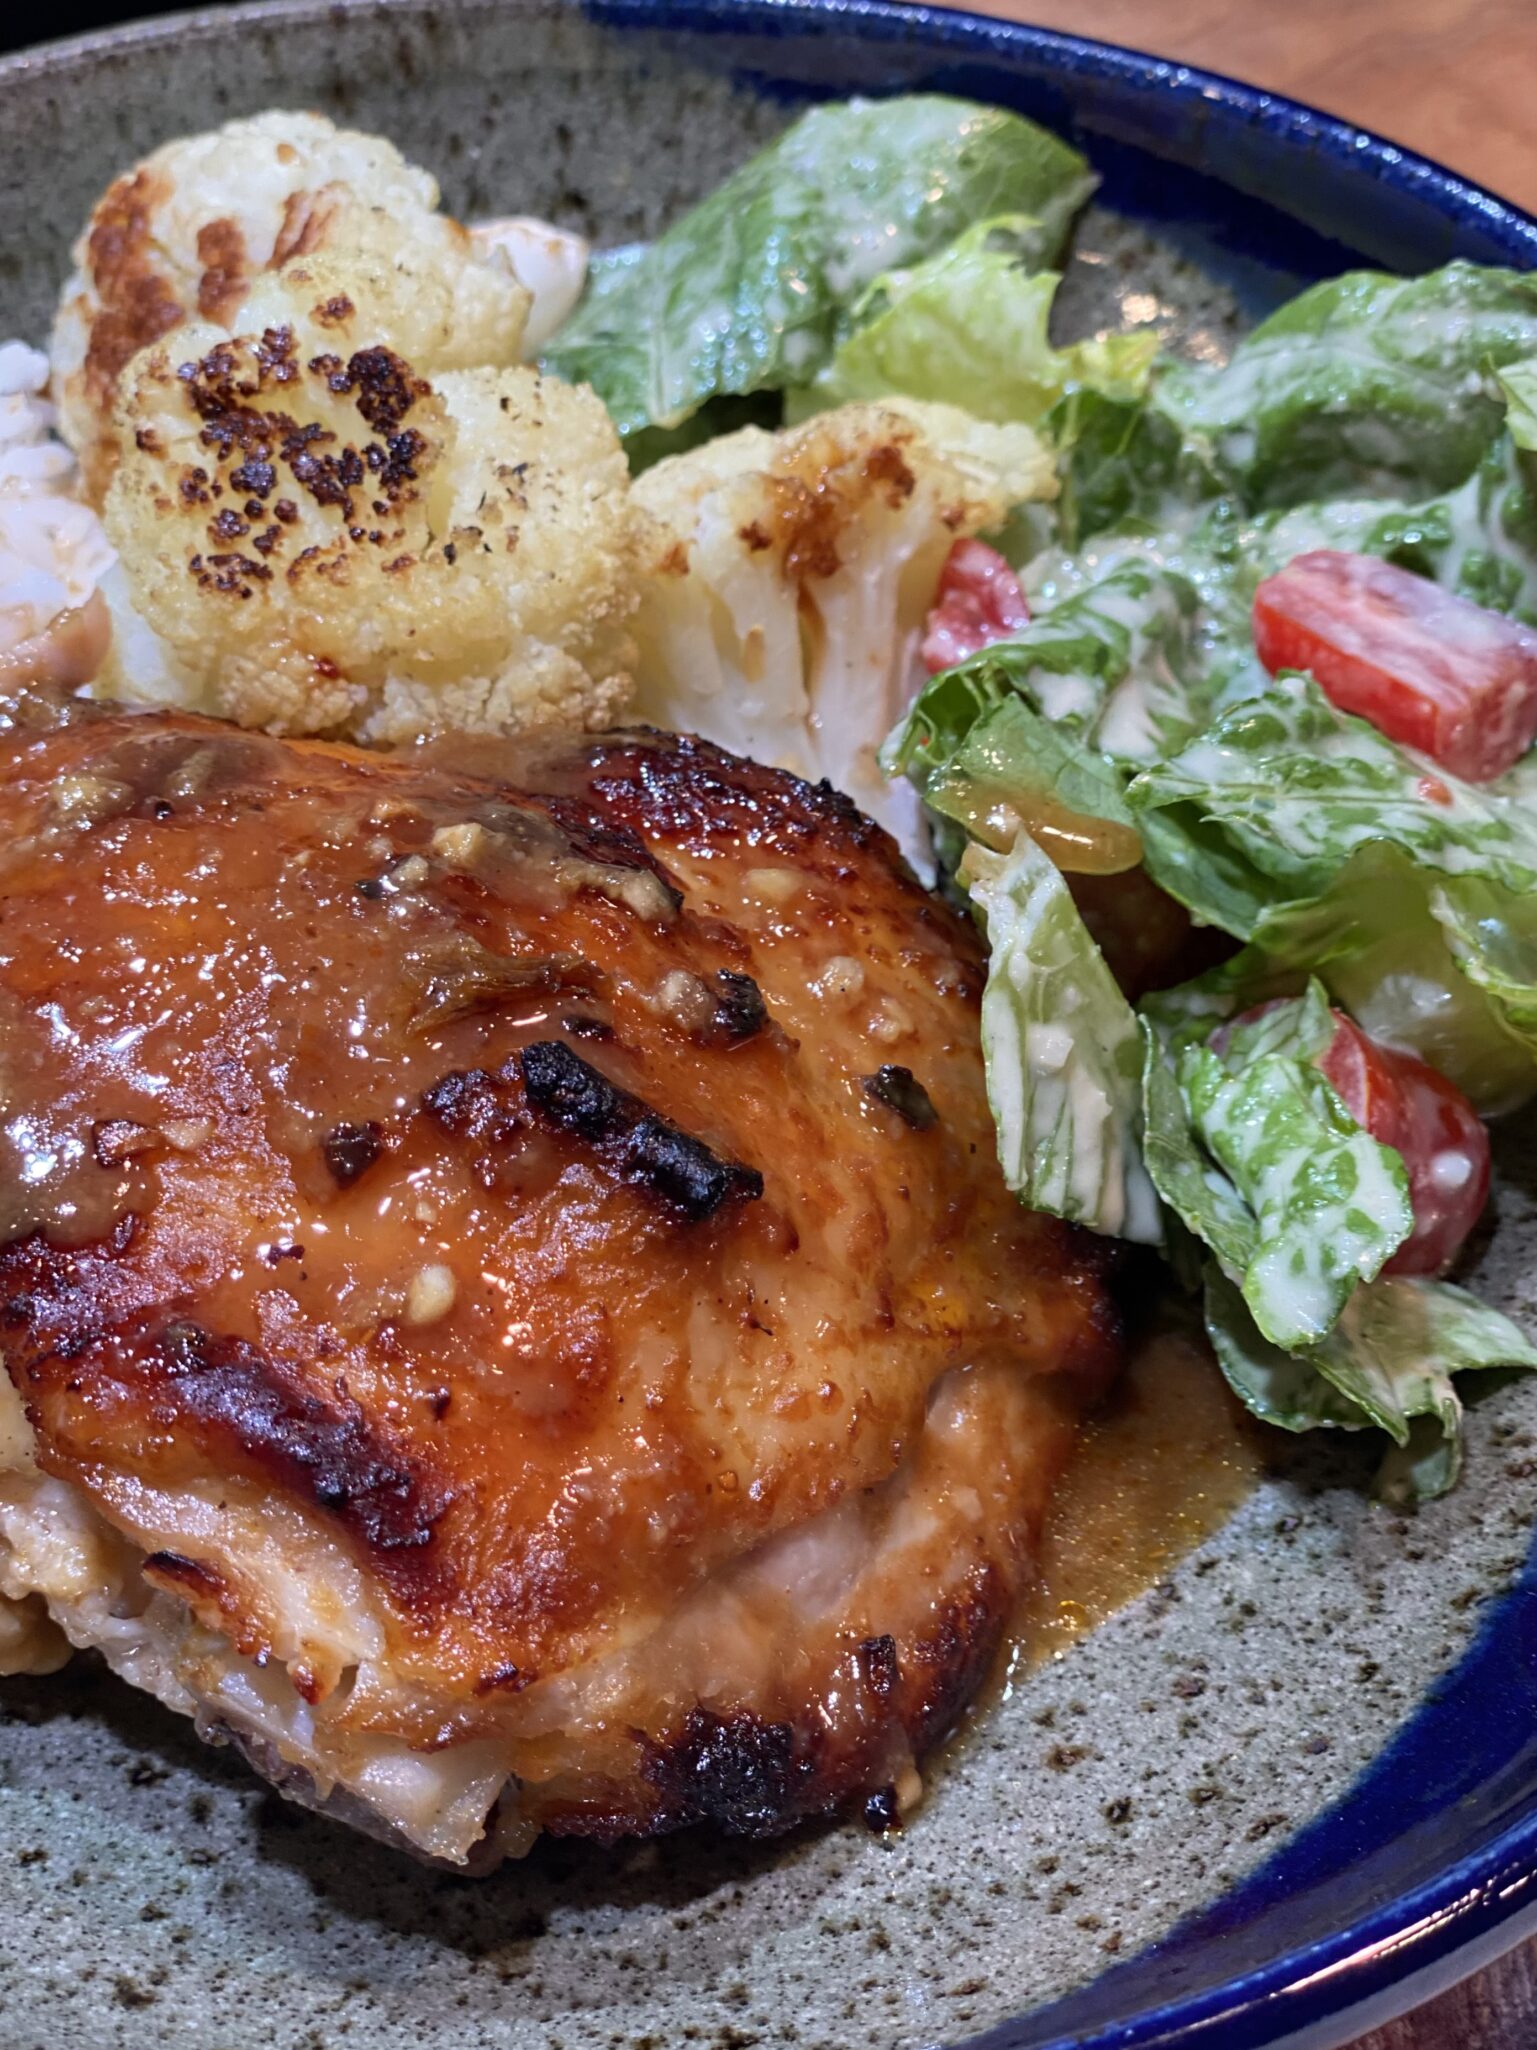
Improvising for the lack of asparagus, I grabbed a head of cauliflower from my crisper and I was in business.  I prefer bone-in chicken so I slathered the marinade on bone-in, skin-on chicken thighs and opted to roast it.  Roast the chicken and cauliflower in a 425-degree oven for approximately 25-30 minutes until the chicken is crispy and browned, and the cauliflower is tender and golden.  It would be tough to broil bone-in chicken and have it cook through, high-heat roasting works well.

Sheet-Pan Miso Honey Chicken with Asparagus

An easy and delicious one-pan meal. Chicken thighs are marinaded in honey, miso, and soy sauce elevated with the addition of minced garlic and ginger. Delicious!
Course Main Course, Meat
Cuisine Asian-American
Keyword Chicken thighs, gochujang, NYTcooking, sheet pan meal
Prep Time 10 minutes
Cook Time 30 minutes

Ingredients

Marinade

  • 3 tablespoons white miso
  • 3 tablespoons mild honey
  • 3 tablespoons soy sauce or tamari
  • 1 tablespoon rice vinegar
  • 2 teaspoons finely grated fresh ginger
  • 2 teaspoons finely grated garlic
  • 2 teaspoons chile-garlic sauce or other hot sauce
  • 1 tablespoon neutral oil + 1 tablespoon water for marinade

The Stars

  • 1 Pound large bunch asparagus trimmed
  • 2 teaspoons neutral oil for asparagus
  • 1½ to 2 pounds chicken thighs boneless, skinless (although I like leaving the skin on

The Garnish

  • Salt and pepper
  • 2 scallions thinly sliced

Instructions

  • Make the marinade: In a bowl, whisk together the miso, honey, soy sauce, rice vinegar, ginger, garlic, chile-garlic sauce, 1 tablespoon oil and 1 tablespoon water. Refrigerate half the marinade for serving.
  • Place the chicken in a shallow dish or zip-top bag and pour the remaining marinade over the top. Toss the chicken until coated and let marinate in the refrigerator for up to 30 minutes.
  • When you are ready to cook, heat the broiler with a rack set 6 inches below it. Line a large baking sheet with aluminum foil. * See notes for directions to roast chicken instead of broiling.
  • Remove the chicken from the marinade, scraping off and discarding any excess. Place the chicken in a single layer on one side of the baking sheet, with the flatter side up. Place the asparagus on the other side. Drizzle the asparagus with remaining oil, then season the asparagus; toss to coat.
  • Broil until the chicken is cooked through with some charred spots and the asparagus is browned, about 10 minutes.
  • To serve, top the chicken with a drizzle of the reserved marinade and a sprinkle of scallions.
  • Serve with rice, if desired.

Notes

A variety of vegetables can be substituted for asparagus such as bok chop, broccoli, or chard. I had a head of cauliflower in my crisper and thought, why not?  I was in business.  Too lazy to debone the chicken I slathered the marinade on bone-in, skin-on chicken thighs and roasted the chicken and cauliflower in a 425-degree oven for approximately 25-30 minutes until the chicken was crispy and browned, and the cauliflower tender and golden. Just know the bone in chicken will take approximately 35 minutes to roast so cut your vegetables to a size that needs the same amount of time.
Roasted Chicken & Croutons with Fish-Sauce Butter-Sheet Pan Magic

Roasted Chicken & Croutons with Fish-Sauce Butter-Sheet Pan Magic

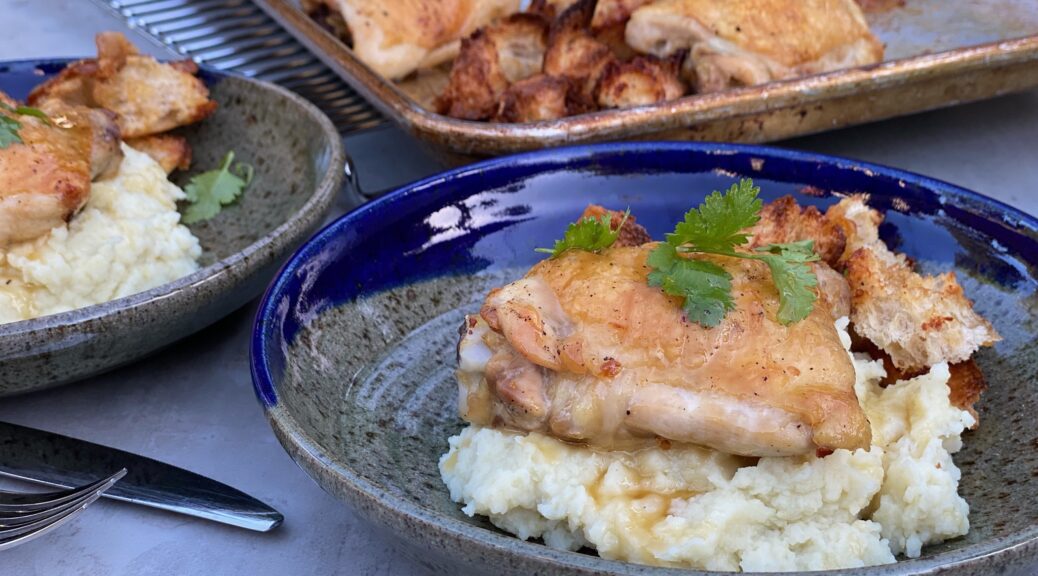
I couldn’t help but tweak Eric Kim’s Roasted Chicken with Fish-Sauce Butter title.  I added Croutons to the title because… lets be real, the croutons are the star of this dish.  It reminds me of Roti Roti, a food truck fixture in the Bay Area.  A simple winning formula of chickens roasting on a spit, dripping all that deliciousness onto a bed of potatoes below it.  Well, that’s this dish but with bread and your own oven.

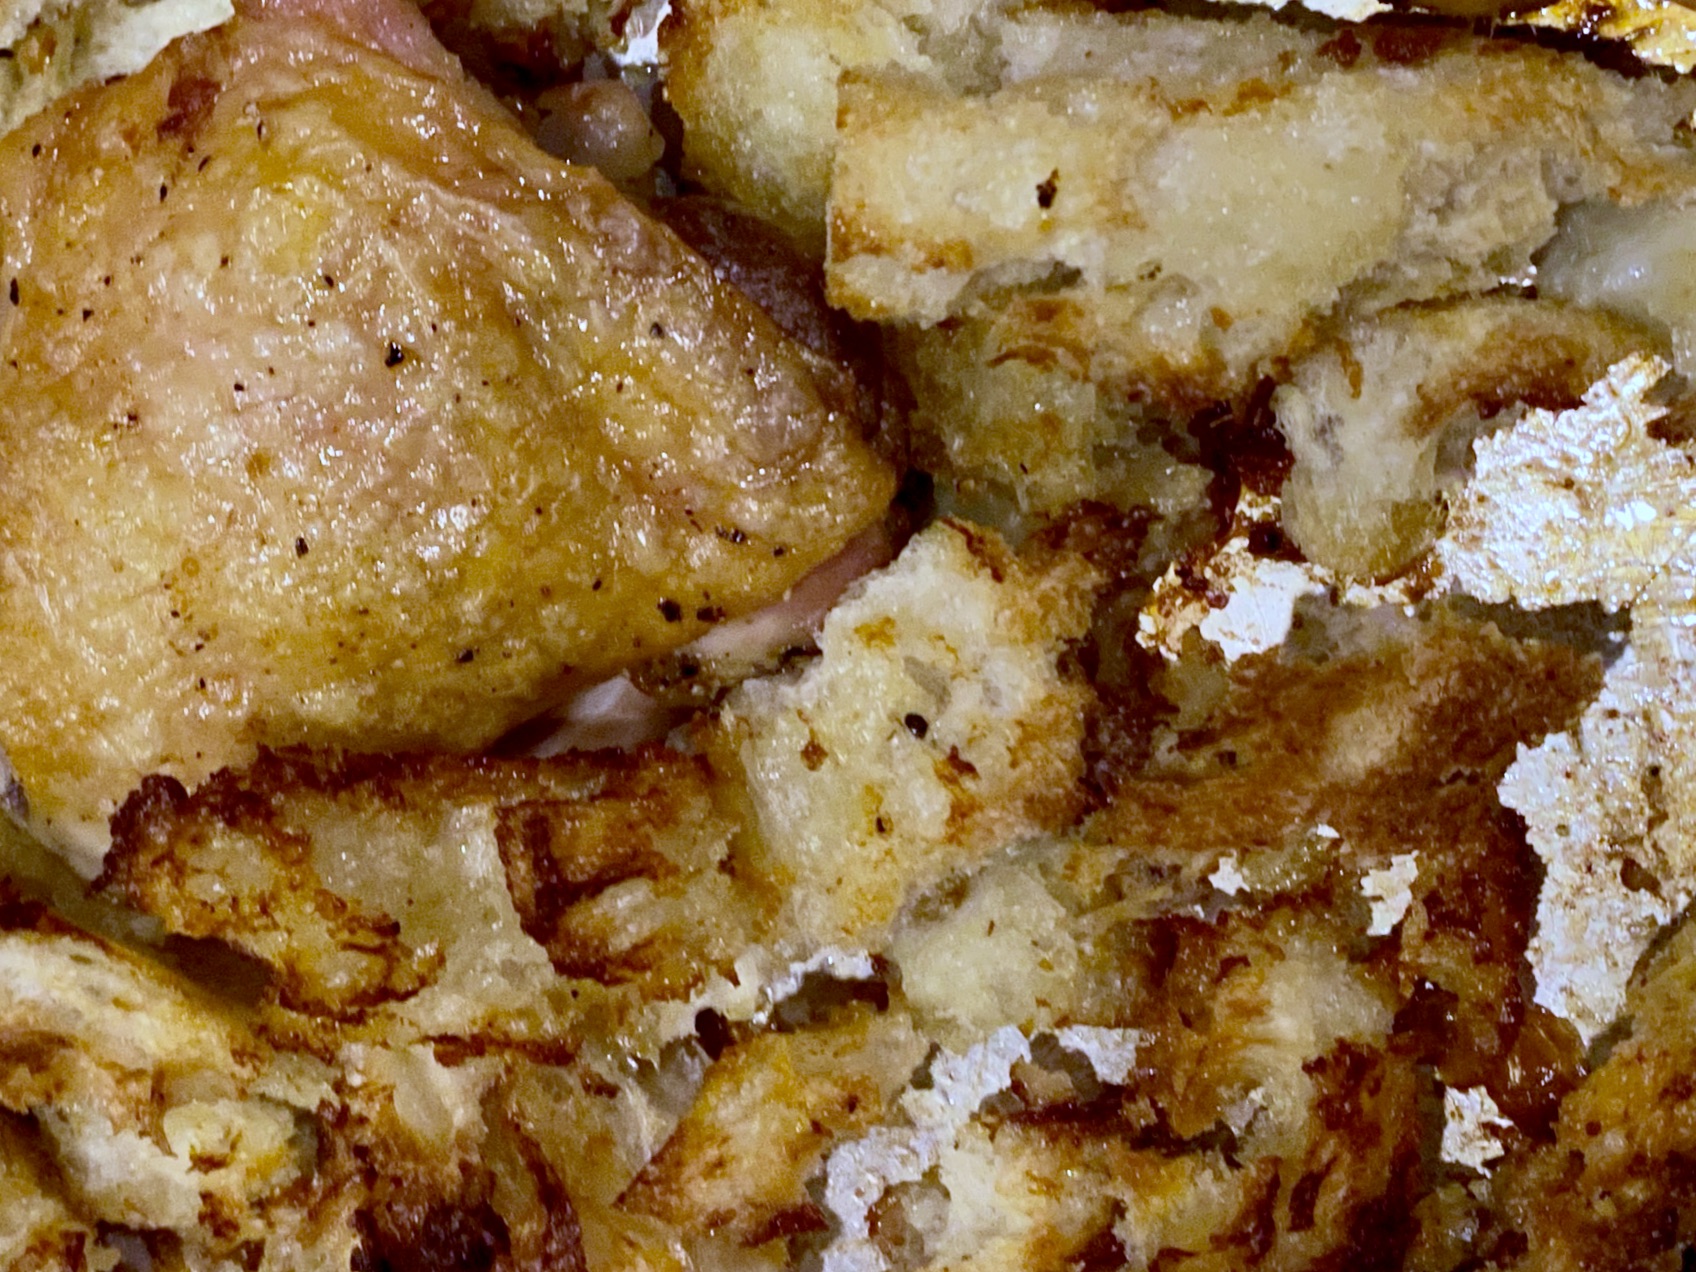
First, roast chicken thighs on a sheet pan (the operative words for an easy meal) in a 450-degree oven.  This gives you crispy skin chicken and a pool of deliciousness aka SCHMALTZ on the pan.  Then toss flakes (yes flakes, more on that later) of bread onto the pan and smoosh it around so it soaks up the chicken fat.  Shove it back into the oven, and fifteen minutes later those bread flakes have morphed into golden, crunchy, umami bombs.

It’s Soooo Good

I divide the dish evenly between me and the hubsters, he gets the chicken,  I get the croutons, yep, 50-50 all the way.

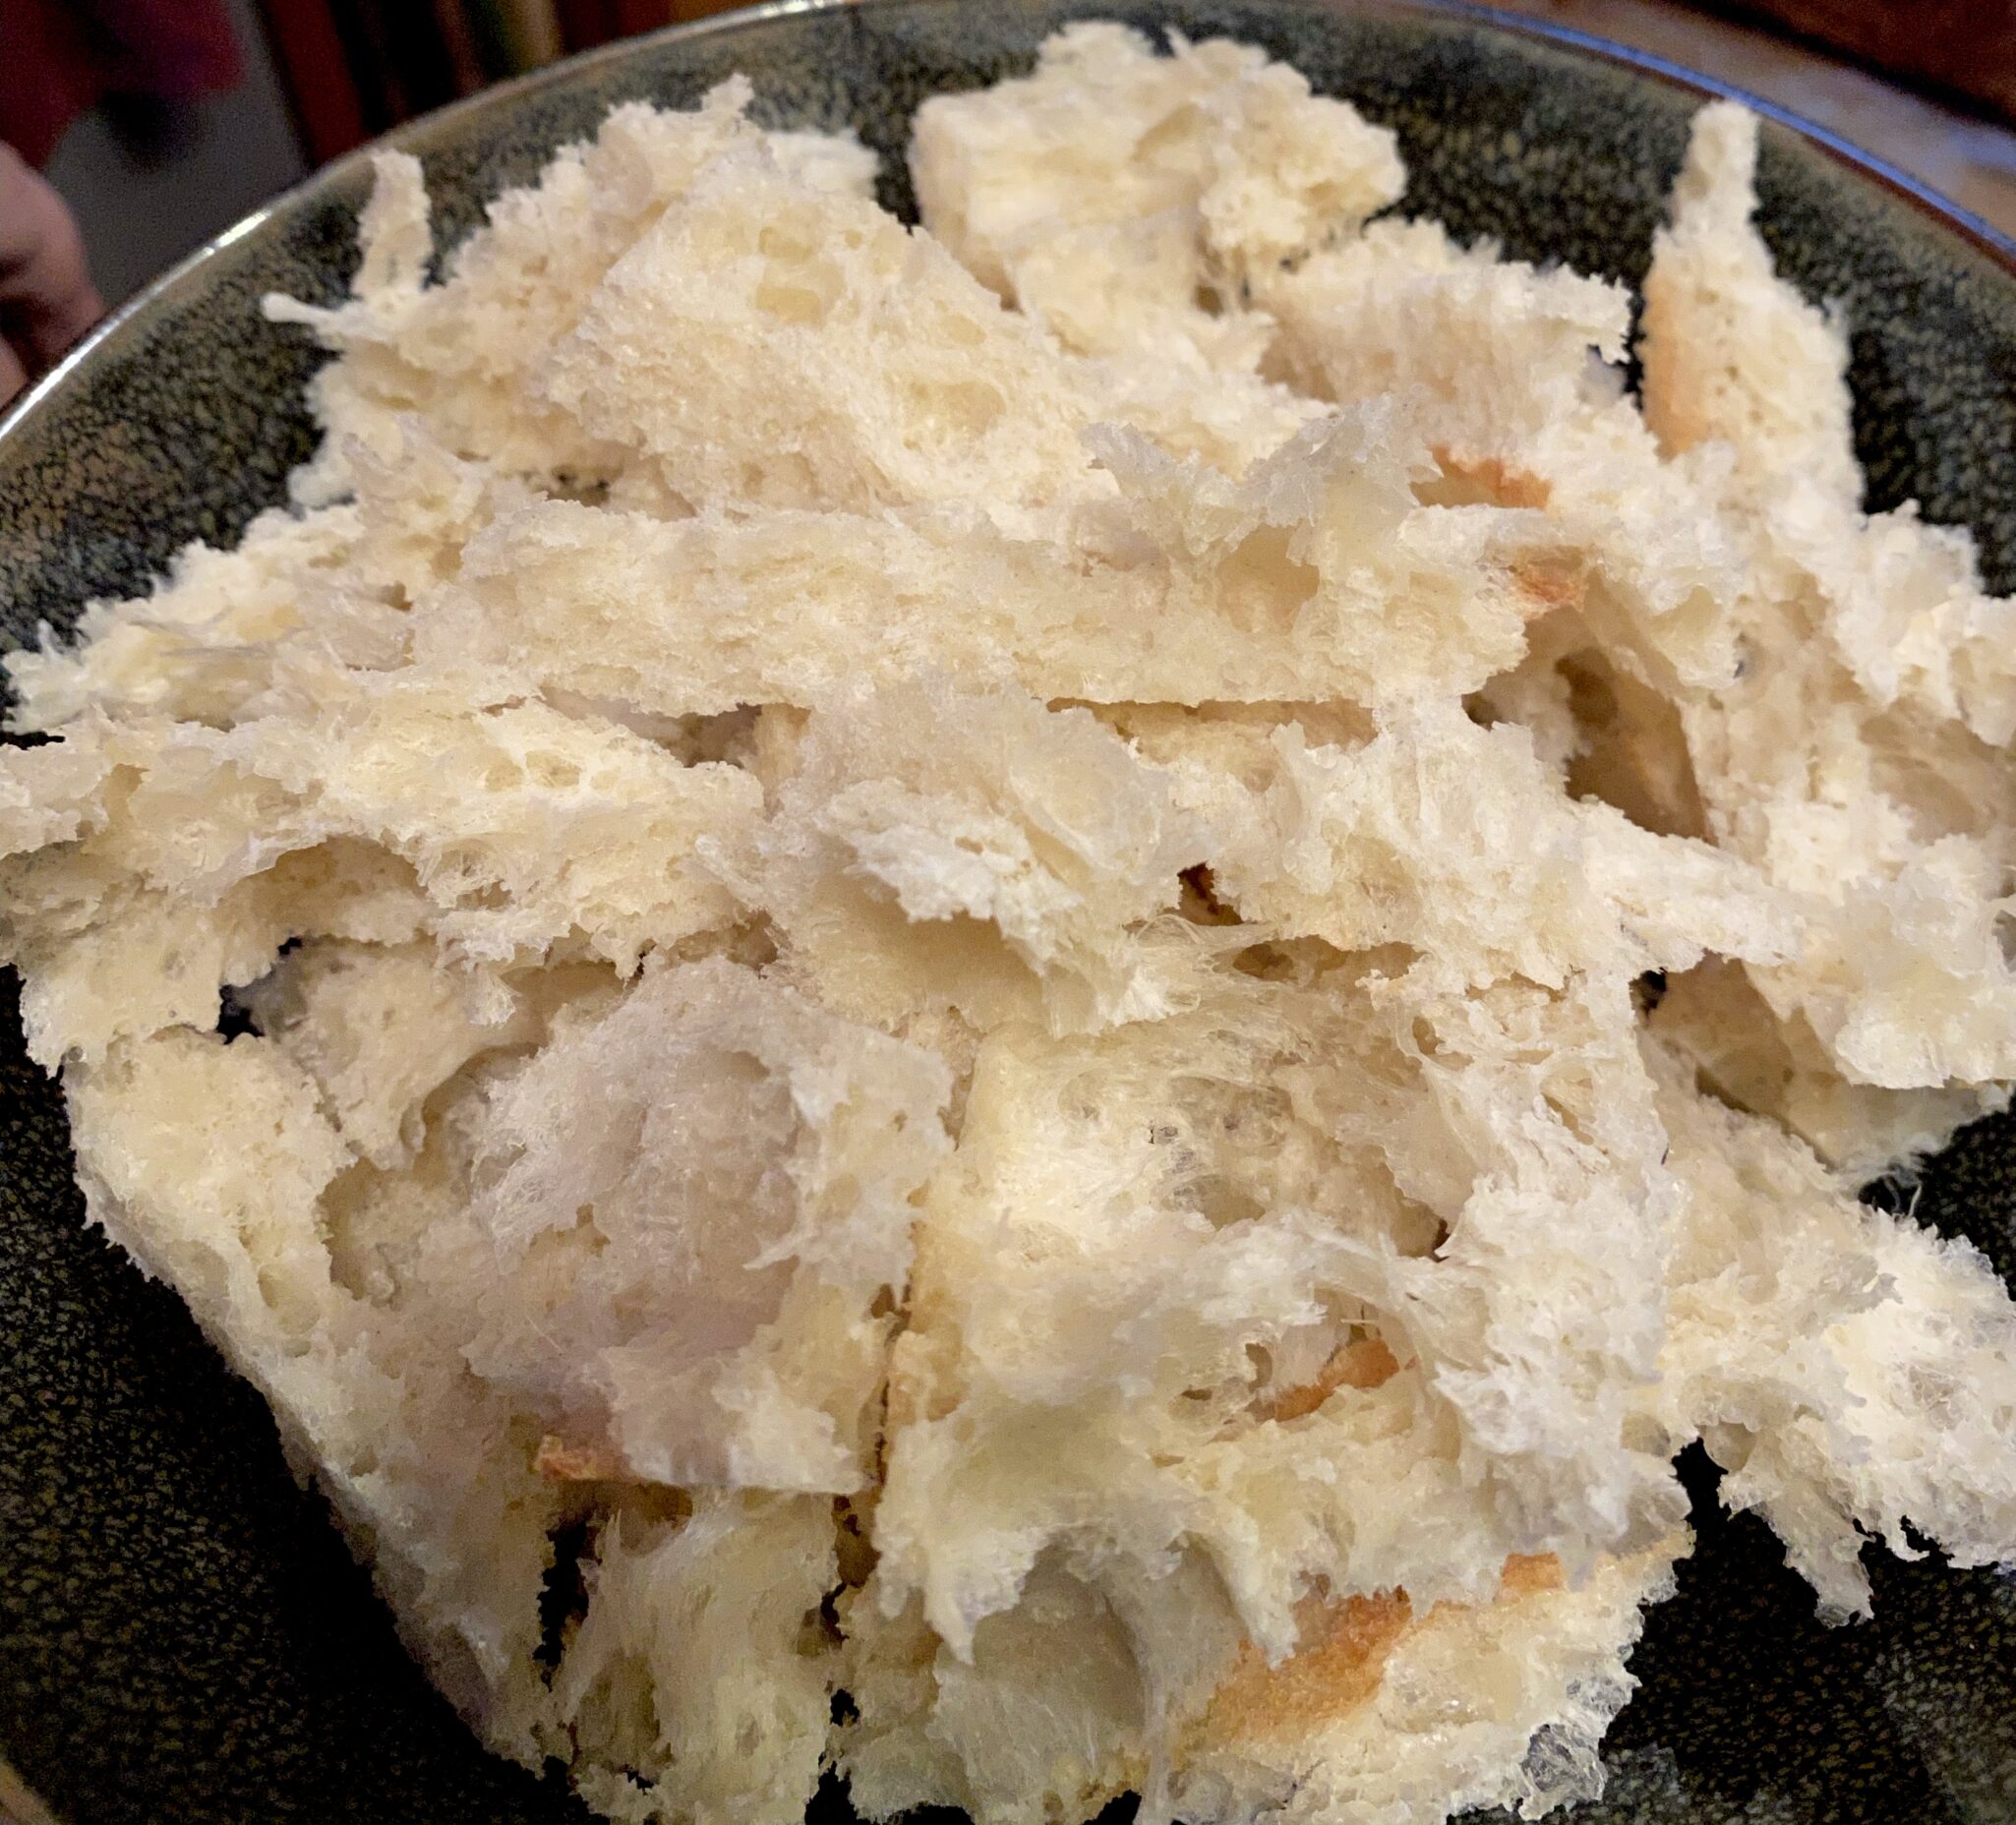
Let’s talk flakes.  You can use any bread you like, sourdough, milk bread, or my favorite, ciabatta.  The key is to tear the bread so you get shards or flakes.  Cubes don’t cut it for this dish, not enough surface area. Try to tear or split the bread to form flakes for ultimate crispness.

The rest is easy-peasy.  Place chicken on a sheet pan, and season with salt and pepper.  Go easy with the salt as the fish sauce has salt. Drizzle olive oil on the chicken and flip each piece around to coat each piece.  Roast for approximately 25 minutes.  I prefer bigger pieces of chicken so the skin crisps without drying out the chicken.  Pull the chicken out, there should be a nice puddle of schmaltz in the pan.  Add the croutons to the pan and toss the bread in the chicken fat.  Slide the pan back into the oven to crisp the croutons and finish the chicken.  If the chicken is cooked through before the croutons, pull them out and continue to bake the croutons.

Meanwhile…

While the chicken and croutons are roasting, make the Fish-Sauce Butter.  The sauce is genius, easy to make, and delish with just four ingredients, fish sauce (I use 3 Crab Vietnamese Fish Sauce), lemon juice, brown sugar, and BUTTER.  Reduce the first 3 ingredients to a syrupy consistency.  When the surface of the sauce is covered with bubbles, turn the heat off and add the chunk of COLD butter to the pan and swirl to create an emulsion.

Leave the chicken and croutons in the pan, drizzle some of the sauce on the chicken and croutons, garnish with cilantro and green onions, and bring the pan to the table.  So easy. Serve the remaining sauce on the side. If you want to be fancy, transfer chicken and croutons to a serving platter.

Accompaniments?  Rice, double carb, is always yummy, or I like serving it with mashed cauliflower.  Another winner from Eric Kim.  Sheet pan magic happening here.

Roasted Chicken and Croutons with Fish-Sauce Butter

From Eric Kim via NYTCooking, roasted chicken thighs, toasty croutons, and a scrumptious, quick sauce made with Vietnamese Fish Sauce, brown sugar, lemon, and butter. The perfect weekday meal.
Course dinner, Main Course
Cuisine Asian-American
Keyword brown butter, Chicken thighs, croutons, fish sauce, oven-baked
Prep Time 15 minutes
Cook Time 35 minutes
Servings 2 servings

Ingredients

  • 4 bone-in skin-on chicken thighs (about 2 pounds)
  • Kosher salt such as Diamond Crystal and black pepper
  • 2 tablespoons olive oil
  • ¾ pound bread crusts removed, bread torn into bite-size pieces about 4 cups;
  • 1 tablespoon dark brown sugar
  • 1 tablespoon fish sauce
  • 1 tablespoon lemon juice
  • 3 tablespoons COLD unsalted butter kept in one piece
  • Cilantro leaves with tender stems for serving
  • scallions or chives, chopped garnish for serving

Instructions

  • Heat oven to 450 degrees. Pat the chicken dry with paper towels and season lightly with salt and pepper. (The fish-sauce butter is plenty salty, so don’t overdo the salt here.)
  • Arrange the chicken skin-side up on a sheet pan and drizzle the oil over the chicken skin, coating it evenly.
  • Roast until the chicken is light gold and the sheet pan is a pool of hot, rendered chicken fat, SCHMALTZ, about 20-25 minutes.
  • Take the sheet pan out of the oven, scatter the bread around the chicken. Using tongs toss gently to coat in the chicken fat.
  • Place the pan back in the oven and roast until the chicken is golden, crispy and sizzling (you’ll hear it), about 15 minutes.
  • While the chicken roasts, combine the brown sugar, fish sauce and lemon juice in a small saucepan and bring to a simmer over medium heat. Cook, occasionally swirling the pan or stirring the sauce with a wooden spoon, until it bubbling vigorously and the mixture has reduced by about half, 2 to 3 minutes.
  • Turn off the heat and add the butter, constantly swirling the pan or stirring with a wooden spoon, until all of the butter has melted and incorporated into the fish sauce mixture. It should be a heavy syrup consistency.
  • To serve, scatter the cilantro and scallions or chives over the chicken and croutons. Spoon some of the fish-sauce butter over each chicken thigh, reserving some to add to each plate for dipping the chicken and croutons while eating, so yummy.

Notes

Roasting chicken thighs in a hot oven is a hands-off way to achieve two of life’s greatest pleasures: crispy skin and golden schmaltz. And you want that chicken fat because it will crisp hand-torn bread into croutons. A bold but balanced fish-sauce butter that you whip up on the stovetop while the rest of the meal takes care of itself in the oven, takes this over the top. Be sure to start with cold butter; the gradual melting of the fat helps thicken the sauce without breaking it.
After making this dish...go get his cookbook, Korean American, another winner.
Whip It, Whip It Good (Coconut Whipped Cream)

Whip It, Whip It Good (Coconut Whipped Cream)

We’re baaackkkkkkk!  In person meetings, dinners in restaurants instead of take-out, classes on campus instead of on Zoom, we are adjusting to living with COVID.  With midterms just around the corner, our political action group hosted a Democracy Dinner to re-engage and see folks in person.  What better way to entice folks to join us than with food!

Dinner was outside, we live in California, where grillin and chillin is a distinct possibility 24-7-365.  I stepped up to create a main dish and dessert for our Vegan dinner guests. The main dish was a no-brainer,  Spicy Noodle Salad, vegan, plus perfect with whatever came off the grill, protein or veggie. The only glitch was the original recipe called for honey in the dressing.  Made by bees, honey is on the no-fly list for vegans.  I substituted Agave Syrup for the honey which worked seamlessly.  Mission accomplished, onto dessert.

Pudding It All Together

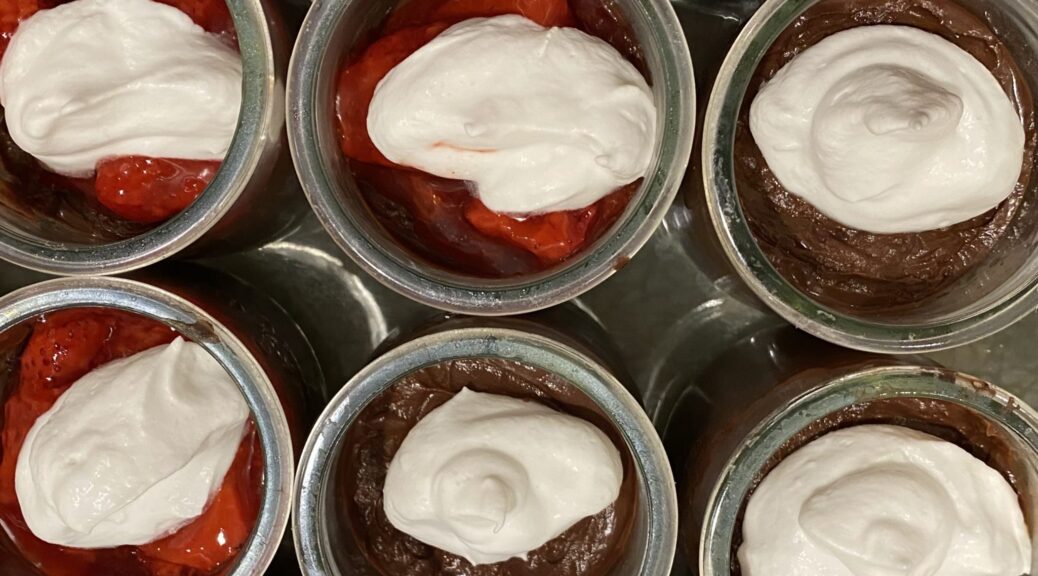
The night of the last presidential elections, as I nervously watched the results roll in, I headed to the kitchen to make something to eat to calm my frayed nerves.  I landed on NYTcooking’s recipe for a Chocolate Pudding made with Oat Milk.  A snap to make, it was chilling in the fridge within minutes.  Intensely chocolate, which appealed to my grown-up tastebuds, while the smooth, creamy texture of the pudding made me feel like a kid again.  AND, it’s vegan, oh yeah. Dessert solved.

Nifty Thrifty Wow Factor

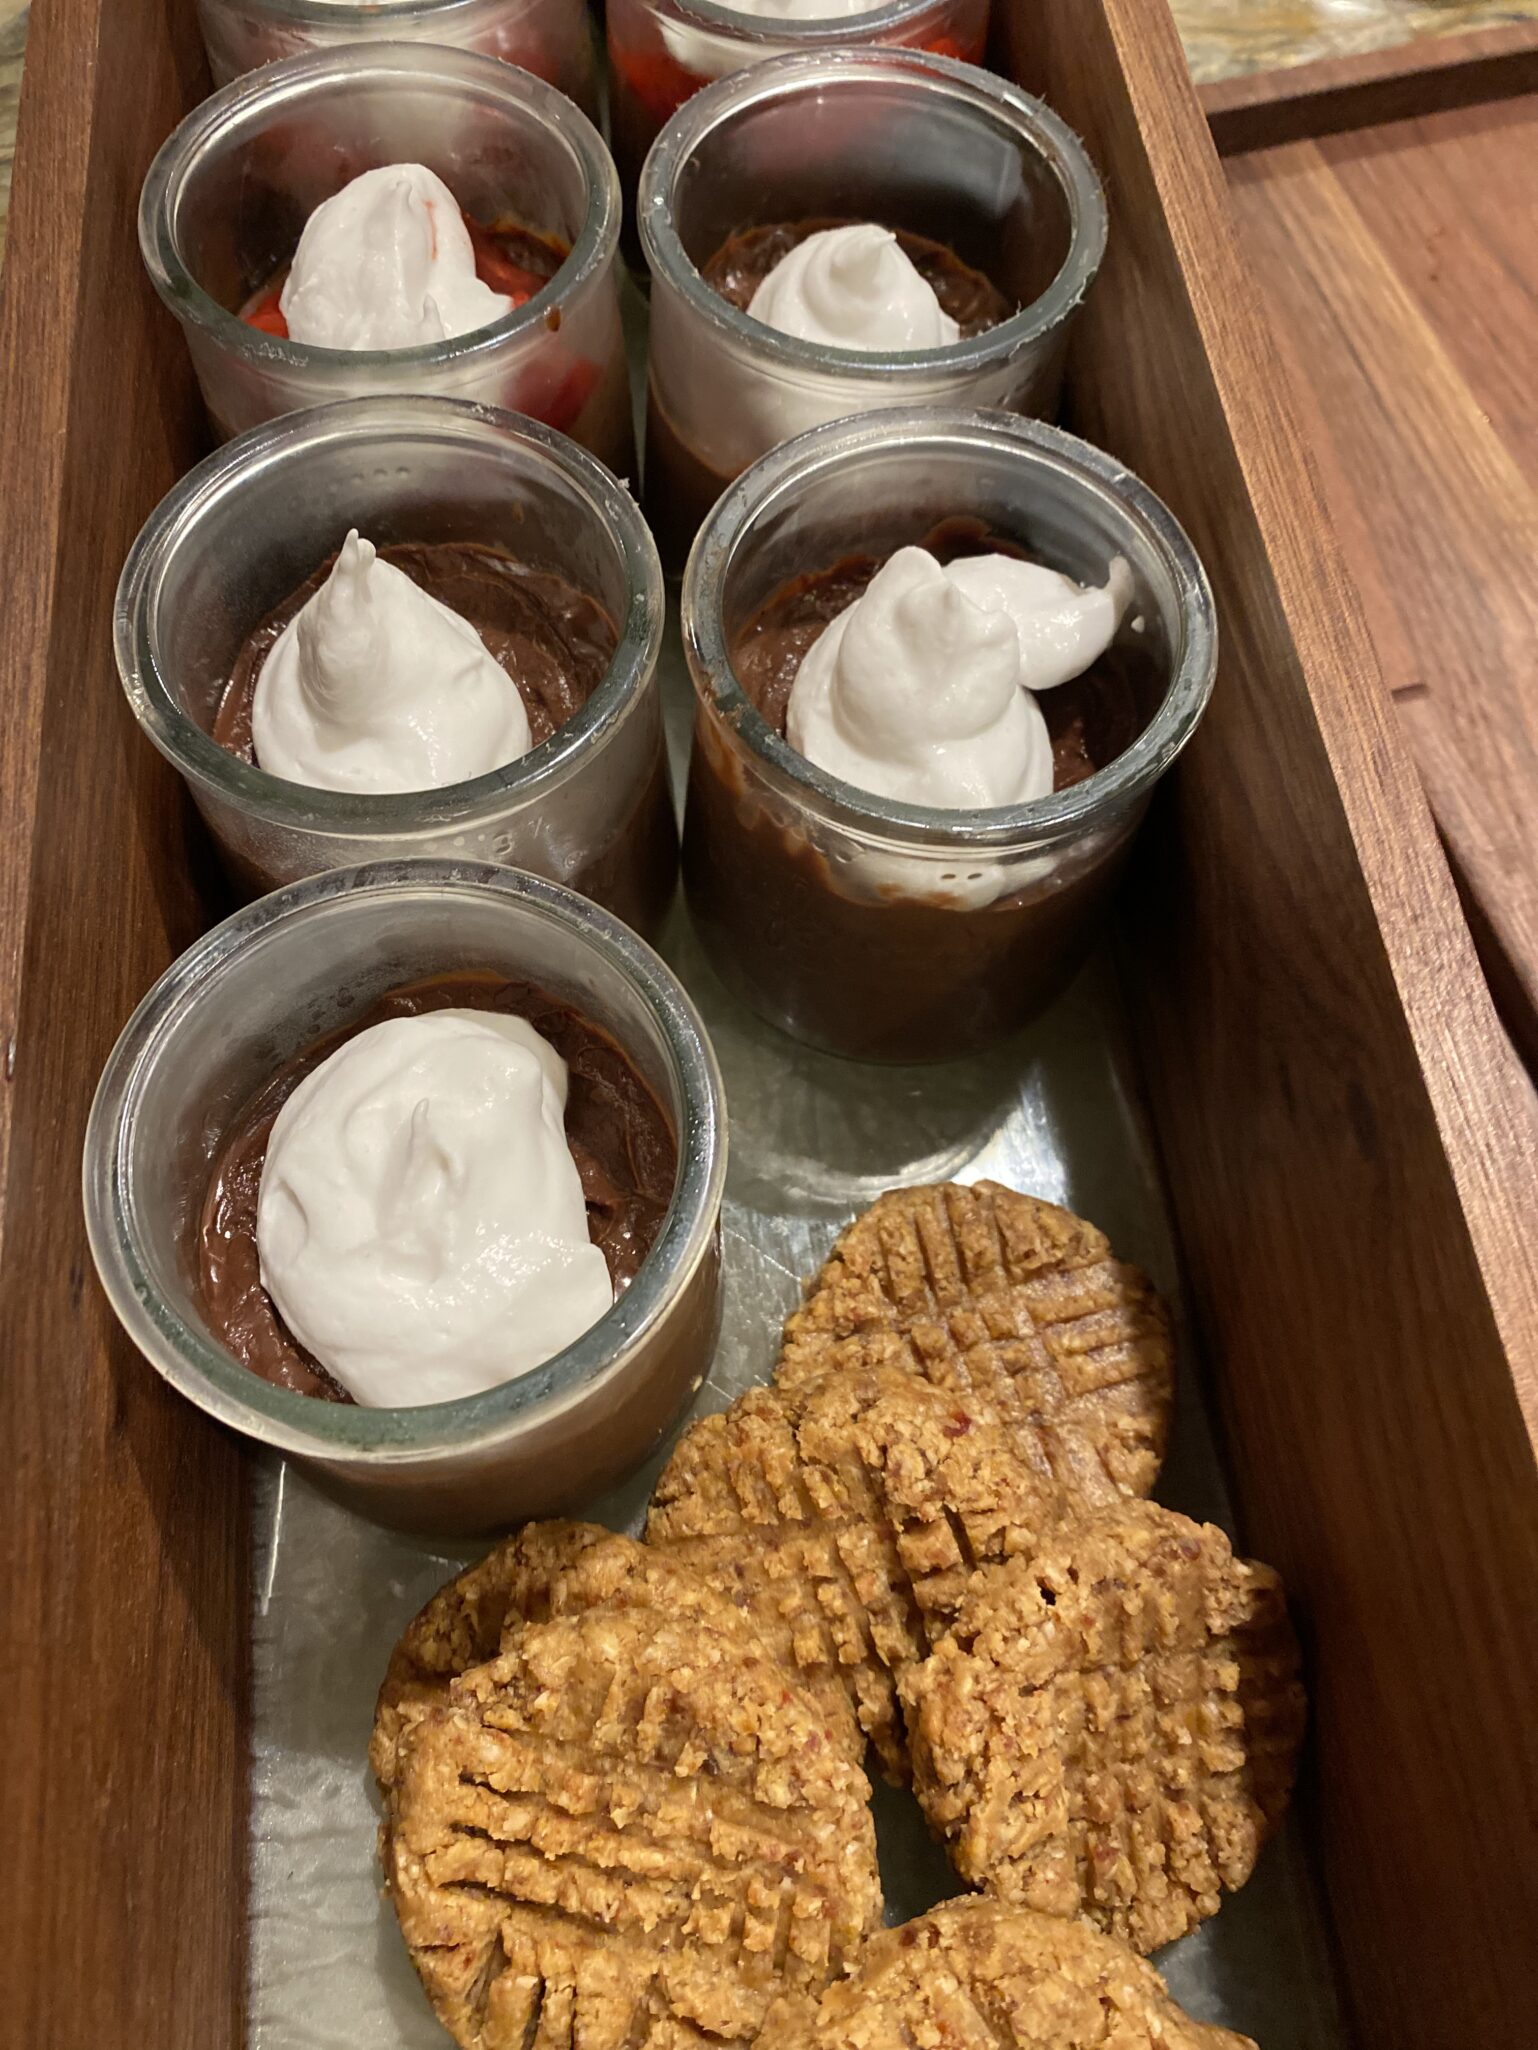
A layer of strawberry compote in between the chocolate pudding and a voluptuous coconut whipped cream on top gave the pudding a little more panache.   I rationalized splurging on expensive French yogurt by repurposing those cute little glass yogurt jars for the pudding.

Whip It, Whip It Good

I LOVE whipped cream.  So what’s a girl to do if she can’t have the perfect topping for vegan dessert?  Coconut Milk to the rescue.  A favorite vegan, gluten-free site, Minimalist Baker was ground zero for tips on how to make a delicious vegan whipped cream from coconut milk.

Start the day before you need whipped cream.  Why?  You need to chill the coconut milk to separate the cream from the liquid.  You will be using the cream part only.

My two favorite brands of coconut milk are Chaokoh and Aroy-D.  Having Aroy-D in my pantry, I placed a can in the fridge.  The overnight chill in the fridge is key to creating two distinct layers.  Aroy-D worked perfectly.  Both brands are found in most Asian Grocery stores.  Minimalist Baker likes Whole Foods 365 Coconut Milk, which might be more accessible.

Open the can, the solids will be on top, scoop all of the solidified coconut milk out and place in a chilled mixing bowl then place the coconut solids in a chilled bowl.  Whip for 30 seconds then add powdered sugar and vanilla.  I used 1/2 cup powdered sugar and it was pretty sweet. The range is 1/4 cup to 3/4 cup of sugar which you can to taste, definitely start with 1/4 cup and go from there.  Beat an additional minute or until light and fluffy.  Don’t overbeat as the cream will break down.

This is the perfect vegan substitute for regular whipped cream!  But, it is so good I would make it even if I didn’t need a vegan alternative.

Ridiculously easy Vegan Peanut Butter Cookies,Vegan Peanut Butter Cookies, like Fred and Ginger, a perfect pairing with Chocolate Puddin

To half of the puddings I added a layer of strawberry compote. Adapted from Sally’s Baking Addiction, it’s easy and delicious.  Think of it as additional bling.

Coconut Whipped Cream

A great vegan option for whipped cream, so good you may want to use this vegan or not!
Course Dessert
Cuisine American
Prep Time 15 minutes
Chill Time 1 day
Servings 4

Ingredients

  • 1 14-ounce can coconut cream or full fat coconut milk* (Savoy Coconut Cream, Aroy-D Coconut Milk, and Nature's Charm Coconut Whipping Cream work best!)
  • 1/4 - 3/4 cup icing/powdered sugar use organic to ensure vegan friendliness
  • 1/2 tsp vanilla extract optional

Instructions

  • Chill your coconut cream or coconut milk in the refrigerator overnight (see notes for top brands!), being sure not to shake or tip the can to encourage separation of the cream and liquid. See notes for more insight / troubleshooting.
  • The next day, chill a large mixing bowl 10 minutes before whipping.
  • Remove the coconut cream or milk from the fridge without tipping or shaking and remove the lid. Scrape out the top, thickened cream and leave the liquid behind (reserve for use in smoothies).
  • Note: if your coconut milk didn't harden, you probably just got a dud can without the right fat content. In that case, you can try to salvage it with a bit of tapioca flour - 1 to 4 Tbsp (amount as original recipe is written // adjust if altering batch size)- during the whipping process. That has worked for me several times.
  • Place hardened cream in your chilled mixing bowl. Beat for 30 seconds with a mixer until creamy. Then add vanilla (optional) and powdered sugar (or stevia) and mix until creamy and smooth - about 1 minute. Avoid overwhipping because it can cause separation. Taste and adjust sweetness as needed.
  • Use immediately or refrigerate - it will harden and set in the fridge the longer it's chilled. Will keep for up to 1 - 2 weeks!
  • Coconut whipped cream is perfect for topping desserts like pie, hot cocoa and ice cream. It's also ideal for french toast, pie fillings, mousse, and even no-churn ice cream!

Strawberry Sauce

Fresh strawberries in this topping for a quick, & easy topping that gives desserts that extra bling!
Course Sauce
Cuisine American
Keyword quick and easy, strawberries, strawberry sauce
Prep Time 15 minutes

Ingredients

  • 1 Tablespoon cornstarch
  • 3 Tablespoons cold water
  • 1 lb strawberries hulled and sliced in half
  • zest and juice from 1/2 small lemon
  • 1/4 cup granulated sugar 50g
  • 1 teaspoon vanilla extract

Instructions

  • In a small bowl, whisk the cornstarch and water together until all the cornstarch has dissolved.
  • Place the cornstarch mixture, along with the rest of the ingredients, into a small saucepan over medium heat. Using a wooden spoon or rubber spatula, stir the mixture as it cooks. Break up some of the strawberries as you stir.
  • Bring it to a simmer and allow to simmer for 5 minutes, stirring constantly. After 5 minutes, remove pan from the heat and allow to cool. Add vanilla extract. The mixture will thicken as it cools.