Soft Gingerbread Tiles with Rum Butter Glaze: Day 6, 12 Days of Cookies!
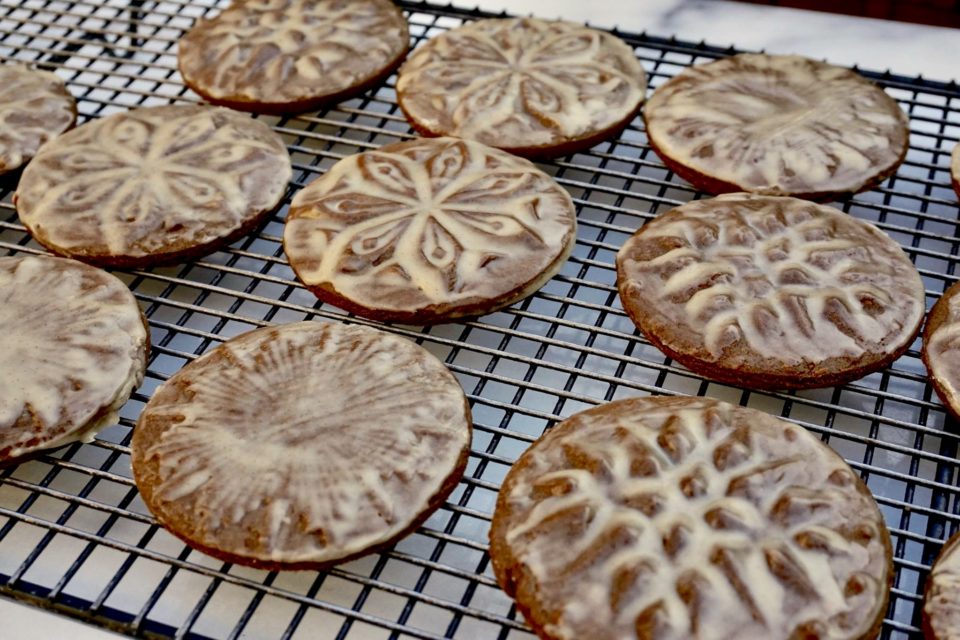
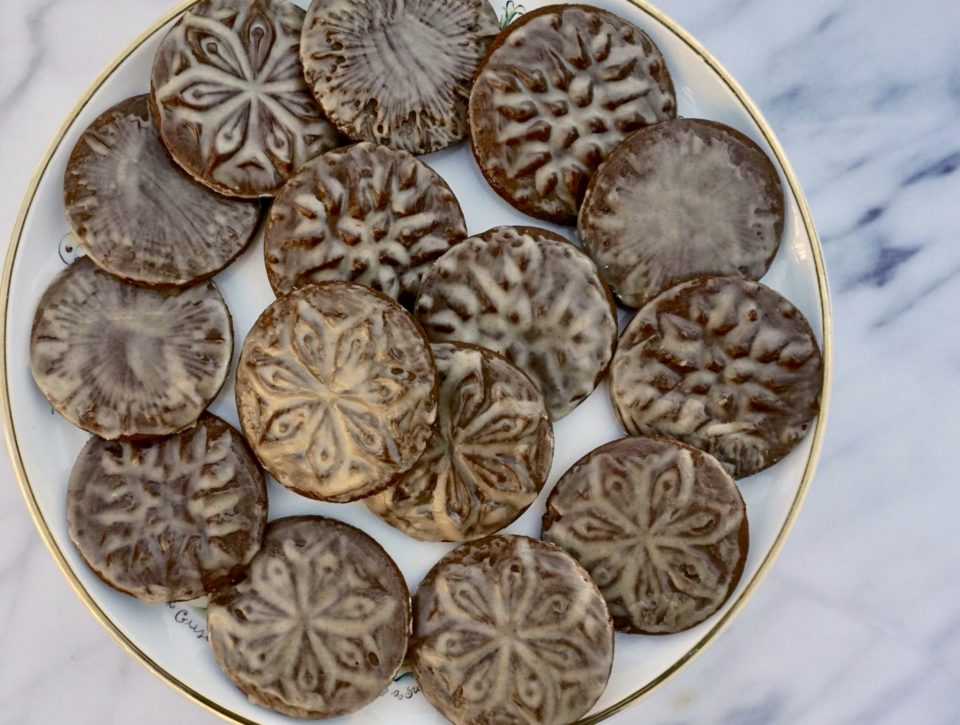
My kitchen gadget addiction got the best of me yet again. The culprit? A beautiful holiday cookie from Ottolenghi’s latest book, Sweet, Soft Gingerbread Tiles with Rum Butter Glaze. The cookies are made with either an embossed rolling pin (which I purchased to make graham crackers not so long ago) or cookie stamps holiday or all season, which I had to have. After my cookie stamps arrived I immediately set out to make these.
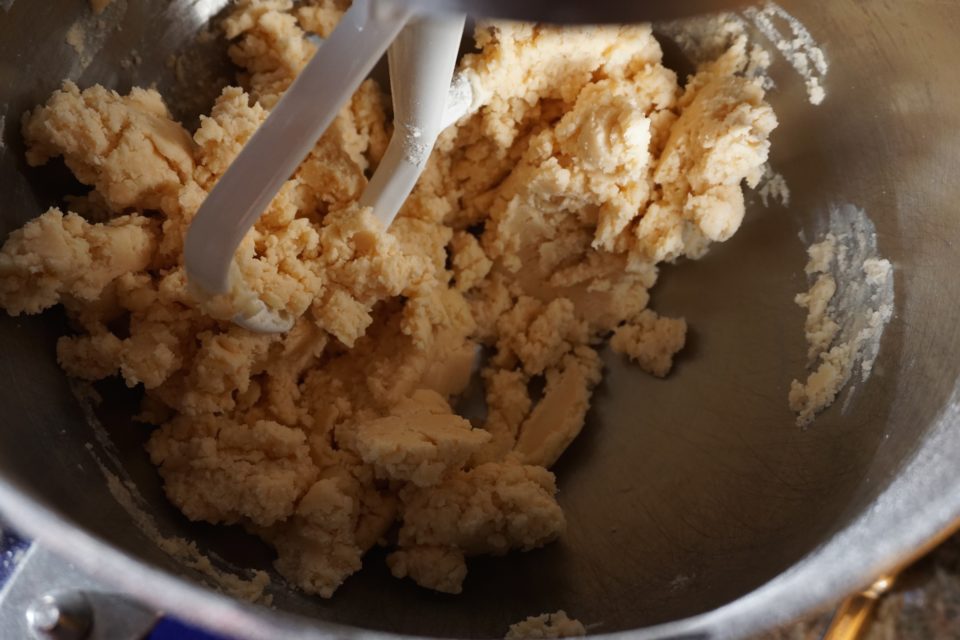
The dough is a snap to make. The aroma that filled my kitchen while they baked made me smile. The cookies are soft, cakey and spicy. Just like a classic gingerbread cookie.
The recipe calls for blackstrap molasses which is the last extraction of sugar from sugarcane. It’s pretty bitter. The first extraction produces cane syrup (like Golden Syrup), the next produces molasses and the final extraction, with even less sugar left, produces blackstrap molasses. I wanted to be faithful to the recipe so I used blackstrap molasses. The cookies are not very sweet at all. I learned that regular molasses is about 70% sugar whereas blackstrap is about 40%, BIG difference. I plan on trying this recipe with both cane syrup and regular molasses just for the added sweetness.
The most difficult part of the recipe is stamping the cookies. During baking, the cookies will rise and the pattern blurs a bit so be sure to press the cookies well so the imprint is really bold and defined in the dough.
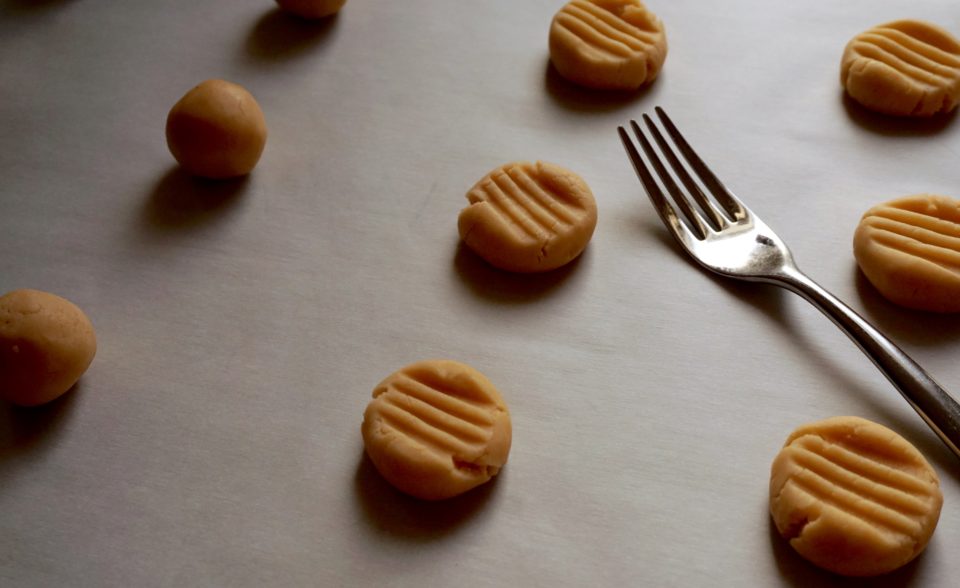
I tried two methods for stamping the cookies. For the first method, the dough is rolled into a sheet about 1/4 inch thick, stamped and cut out with a round cookie cutter. For the second method, the do/ugh is rolled into a ball (about 1.5-2 tablespoons of dough) which is then pressed with the stamp to create a cookie. Both methods worked well.
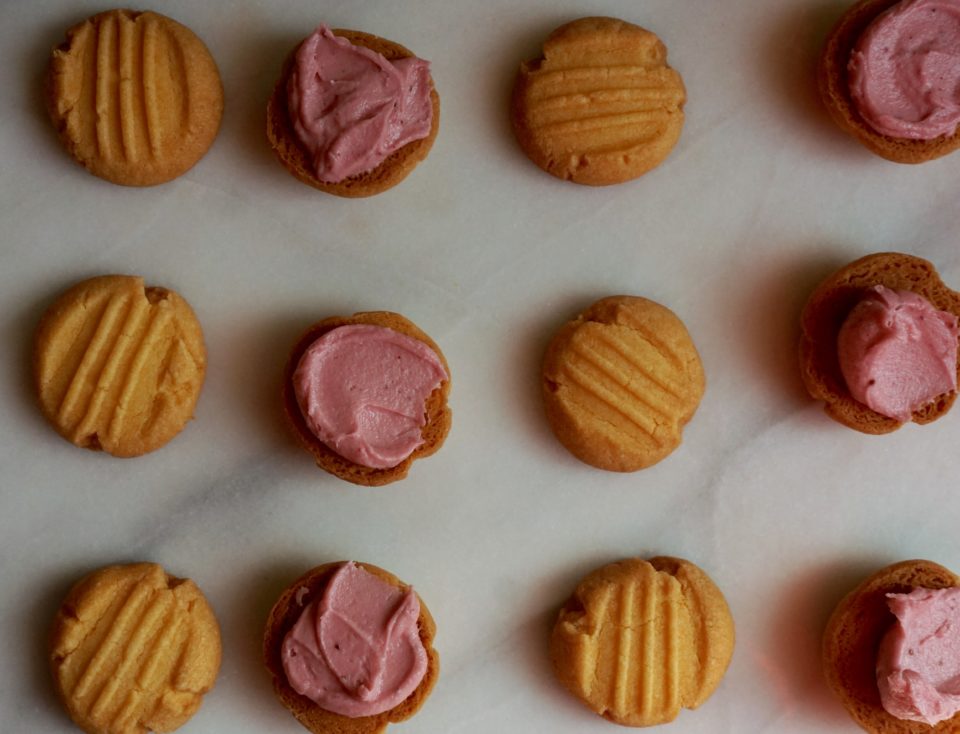
I love the rum butter glaze. It was really easy to put together and added a sheen and sweetness/flavor to the cookie. Though I brushed the glaze on, I think dipping the cookie or spreading the glaze with a spatula would make a nicer finish. The cookie does need to be warm when glazing.
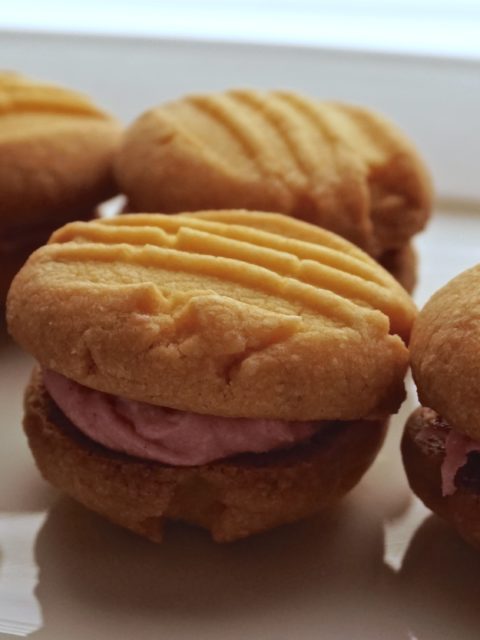
These cookies are a showstopper. I can’t wait to bake another batch.
Gingerbread Tiles with Butter Rum Icing: Day 6, 12 Days of Cookies!
Ingredients
Dough: Da Wet Mix
- 6 tbsp 85 g unsalted butter, at room temperature
- 1/3 packed cup plus 2 tbsp 90 g dark brown sugar
- 1/4 cup 100 g blackstrap molasses (can substitute golden syrup or reg molasses 1:1 for sweeter cookie)
- 1 large egg yolk*
Da Dry MIx
- 1 3/4 cups plus 2 tbsp all-purpose flour (235 gms) plus extra for pressing
- 1 tbsp Dutch-processed cocoa powder
- 1/2 tsp baking soda
- 1 tsp ground ginger
- 1/2 tsp ground cinnamon
- 1/8 tsp ground cloves
- 1/4 tsp salt
- 1/4 tsp freshly ground black pepper
Rum-Butter Glaze:
- 2/3 cup 80 g confectioners' sugar
- 1/8 tsp ground cinnamon
- 1 tbsp 15 g unsalted butter, melted and warm
- 1 tbsp dark rum or lemon juice
- 1 tsp warm water
*On Food52 it was suggested to use extra-large egg yolk or add 1 teaspoon-1 tablespoon of water to dough if it doesn't come together. I added about 1 teaspoon water. It won't come together until you knead it). Makes 12–14 depending on the size of stamp and cutter
Instructions
- Preheat the oven to 375°F/190°C.
- Place the butter, sugar and molasses in the bowl of an electric mixer with the paddle attachment in place.
- Beat on medium speed until smooth and incorporated. Add the egg yolk and continue to beat until fully combined.
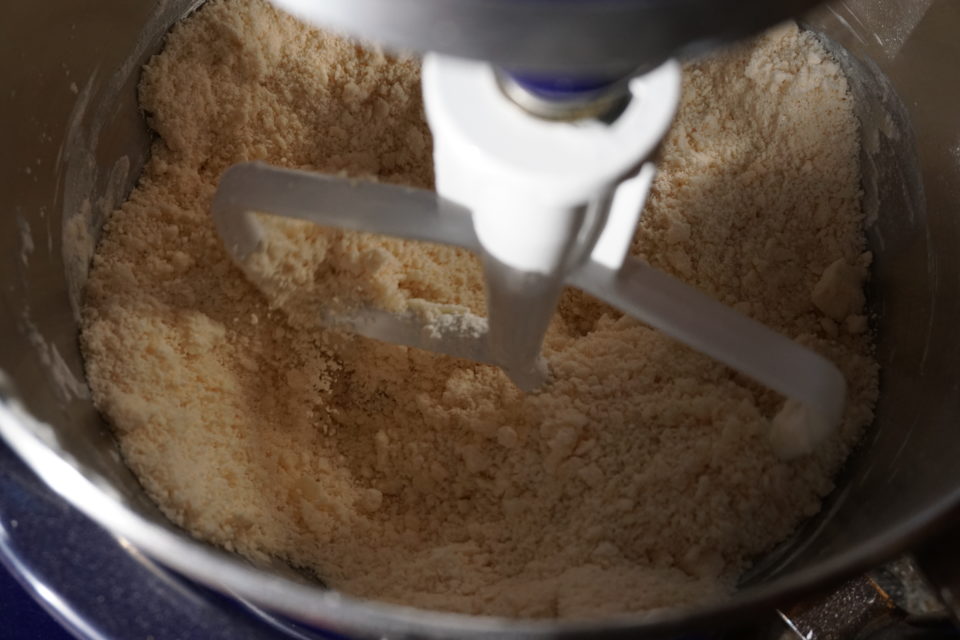
- Sift the flour, cocoa powder, baking soda, ginger, cinnamon, cloves, salt and pepper into a bowl. Turn the speed of the mixer to low, and add the dry ingredients to the butter and molasses. Once the mix comes together, tip the dough onto a lightly floured work surface and knead gently.
- Line two baking sheets with parchment paper and set aside.
Forming Cookies: Rolling dough
- Roll out the dough so that it is about 1/4 inch/ 0.5 cm thick. If the dough is very soft, you will need to chill it.*
- Dip cookie stamp in a small bowl of flour, shake off any excess, then press them firmly into the dough, one at a time to create a deep imprint. How far you need to press to get an imprint will depend on your stamp; the patterns on some are more deeply cut than others. Bear in mind that the cookies rise a little when cooked, so any soft imprints will disappear.
- Using a round cookie cutter that is slightly larger than the pattern, cut out the pieces of imprinted gingerbread. Transfer the cookies to the lined baking sheets, spaced about 3/4 inch/2 cm apart. Reroll the dough and continue to stamp and cut cookies until all the dough is used up.
Stamping Cookies: No Rolling
- I also tried instructions from the cookie stamps, roll 2 tablespoons of dough into a ball and flatten with cookie stamp. With both methods, make sure you press firmly enough to create a bold definite pattern in dough!
- Bake for 9–10 minutes, rotating the sheets halfway through, until firm to the touch. They will continue to firm up as they cool, so don’t be tempted to bake them for any longer.
Rum Glaze
- Make the rum butter glaze while the gingerbreads are in the oven, as the glaze needs to be brushed onto the cookies while they are still warm.
- Sift the confectioners’ sugar and cinnamon into a small bowl. Add the melted butter, rum (or lemon juice) and water and mix with a spoon until smooth. The glaze will thicken slightly if it sits around, if so stir a little more warm water in if you need—it should be the consistency of runny honey.
- Remove the cookies from the oven, leave them to cool for 5 minutes, then brush or dab the glaze all over with a pastry brush. Transfer to a wire rack to cool completely.
