Category: Desserts

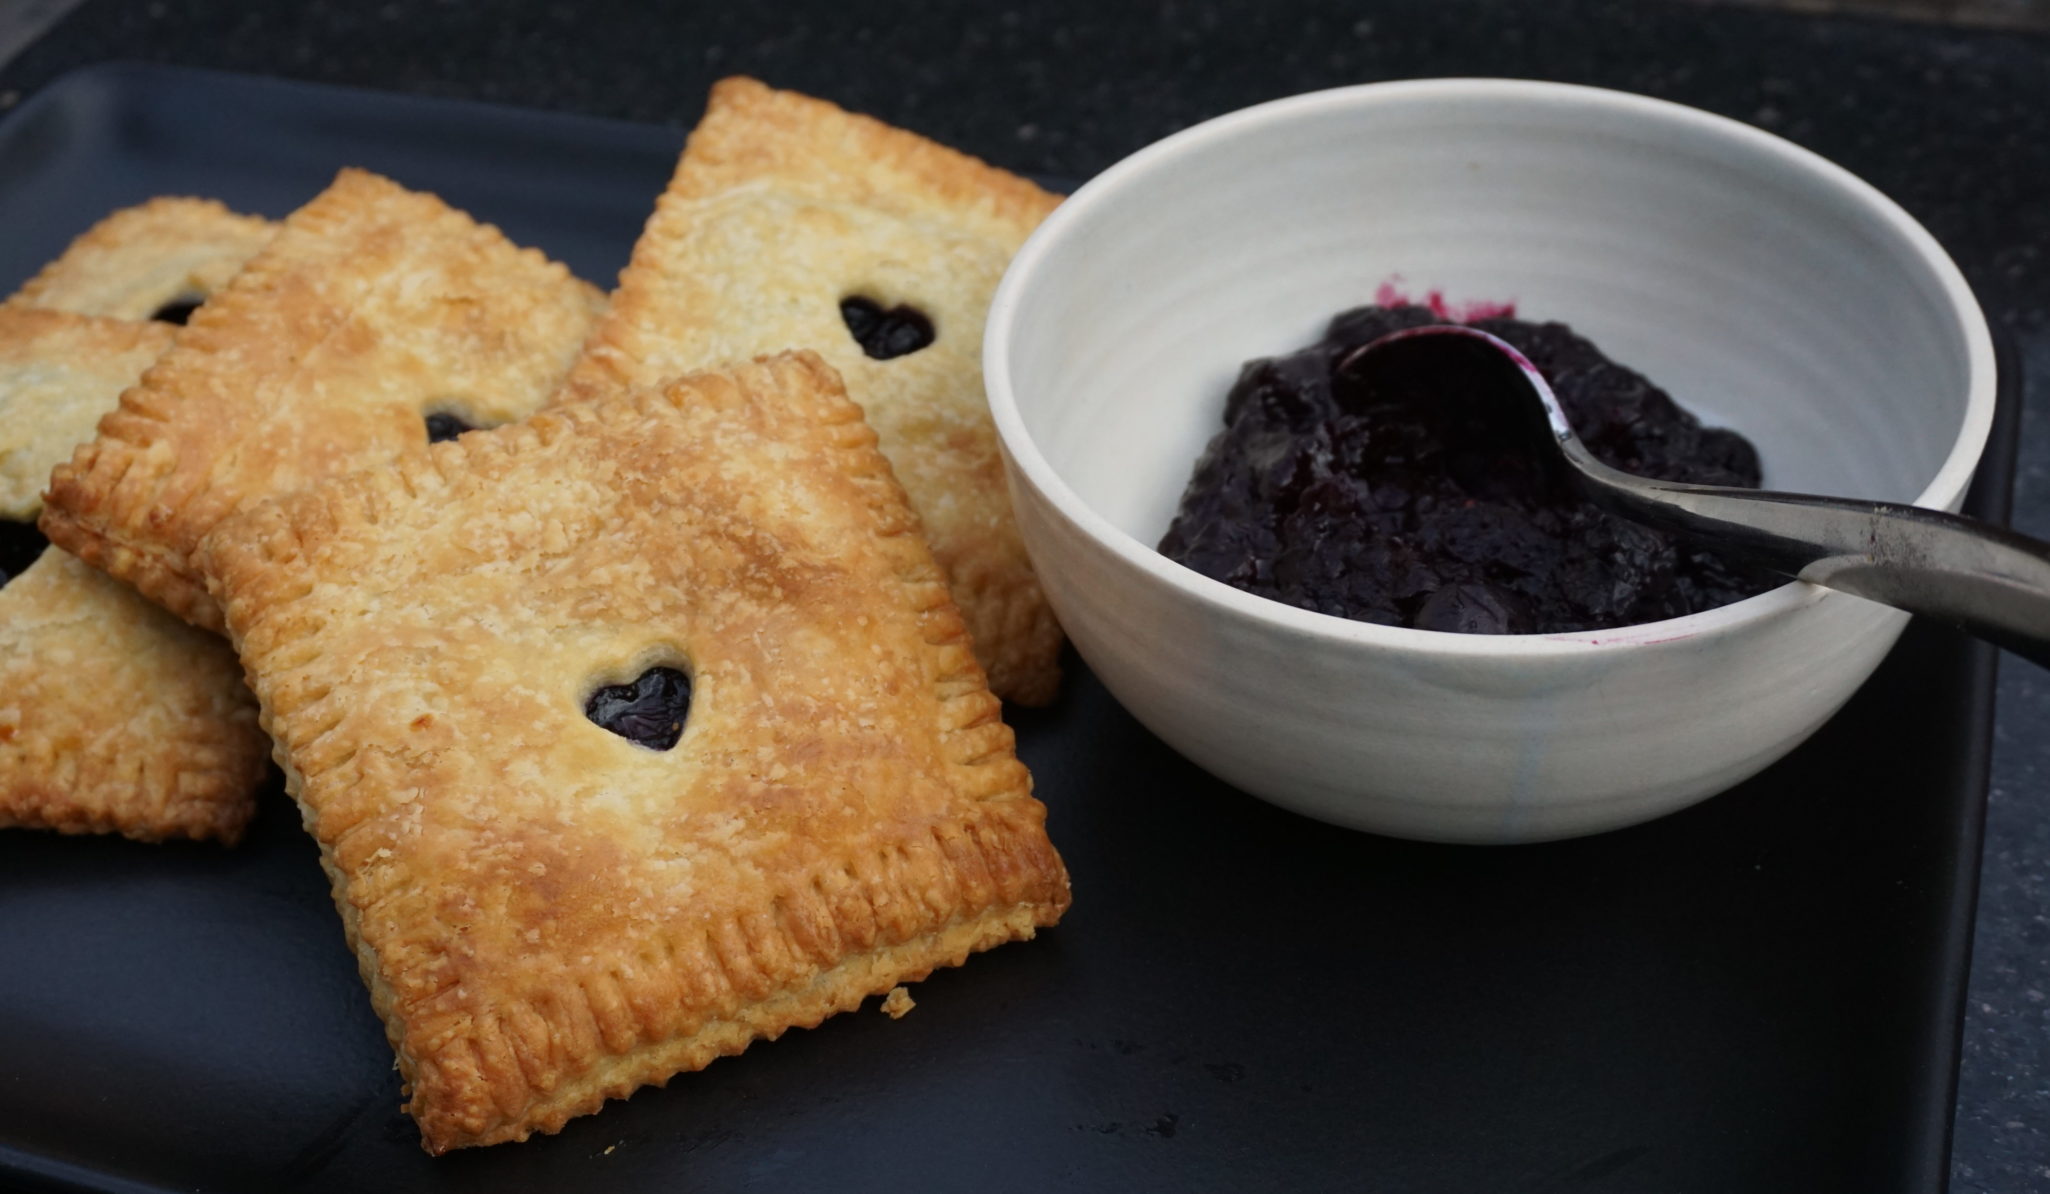
(Blueberry Hand Pies) Girls Just Wanna Have Pie

(Blueberry Hand Pies) Girls Just Wanna Have Pie

I am a pie kind of gal.  It is common knowledge, I will search for pie at every opportunity-family vacations, weekend jaunts, regattas, anytime, anywhere. Yes, some serious hunting for a slice of some “damn fine pie”.  A family trip years ago in a rental car did not deter me (our Suburban died in Salt Lake City on our way to Yellowstone for a bike trip) from stopping in Logan, Utah just to eat huckleberry pie…we had to drive through Utah to get to Yellowstone anyways, why not? Then there are my crewmates who have come to realize I don’t row to row, I row to eat pie.  Luckily they like pie too.  A 4-hour detour to Underhill Vermont for pie NBD, right?

Hand Me a Pie

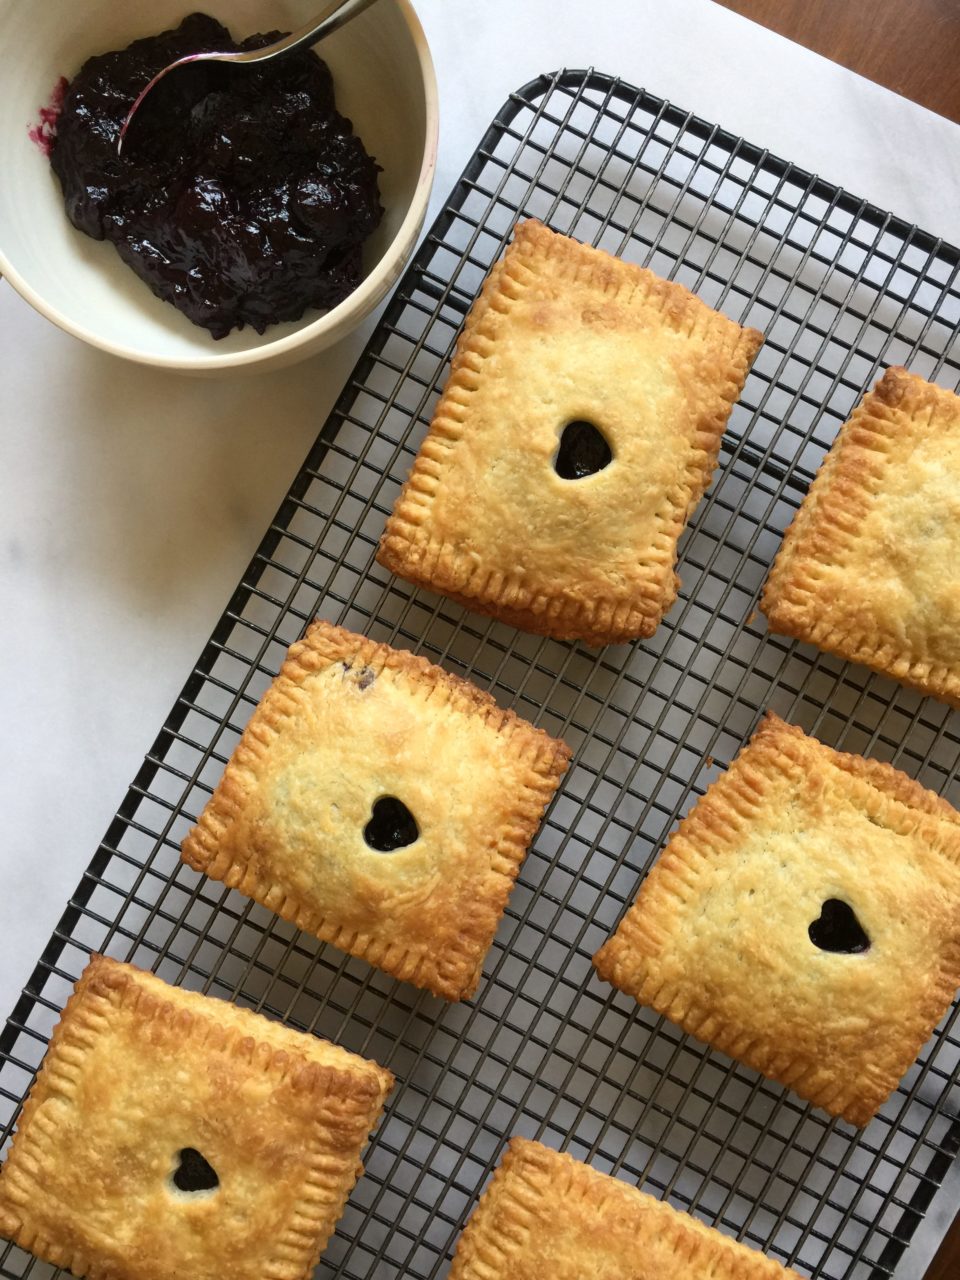
I have been eyeing a recipe for blueberry hand pies from King Arthur Flour for awhile and just hadn’t gotten off my duff to try it.  A little nudge was all I needed, which happened when a post on Ipso Fatto (on my FAV blog list) for that very recipe arrived in my inbox. Coupled with blueberries that have been so good lately….made it a no-brainer to finally try it.   I’m glad I did, these hand pies are SUPER DELICIOUS!  The crust is flaky and buttery with a touch of tartness from the sour cream. The filling is simple and straight forward, blueberries with a bit of lemon like Fred and Ginger, the perfect duo.

Cold Cash, I mean Dough

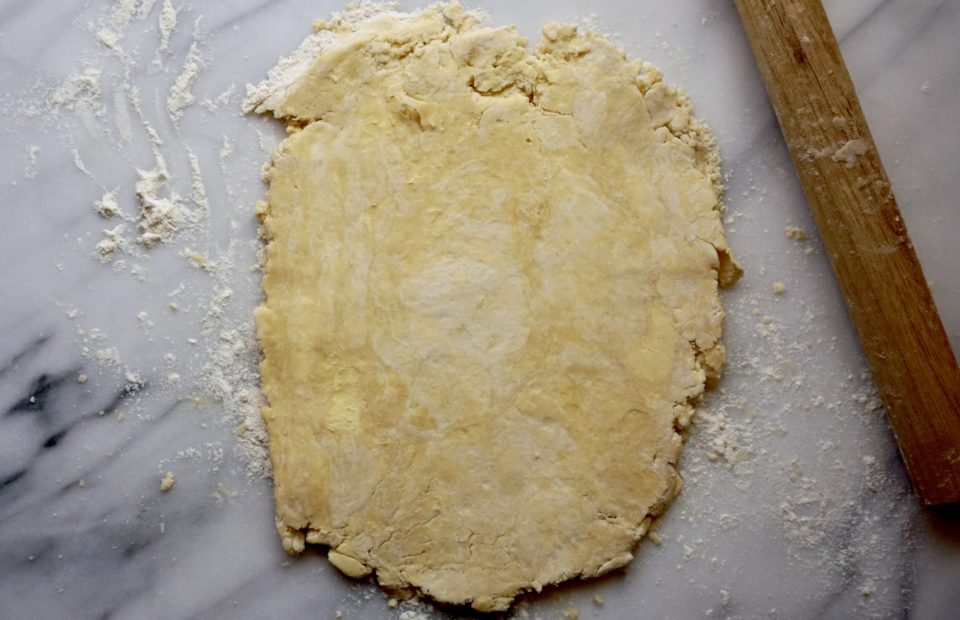
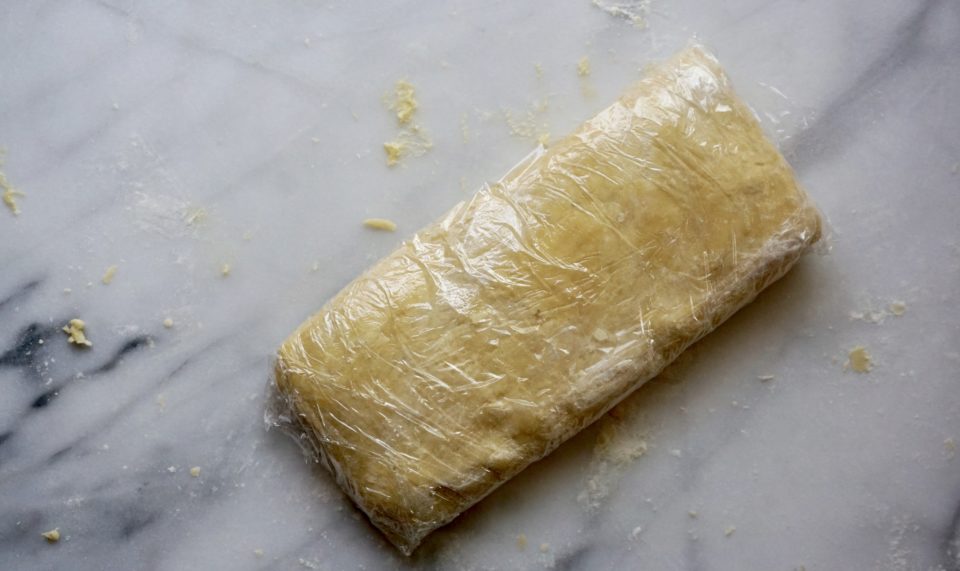
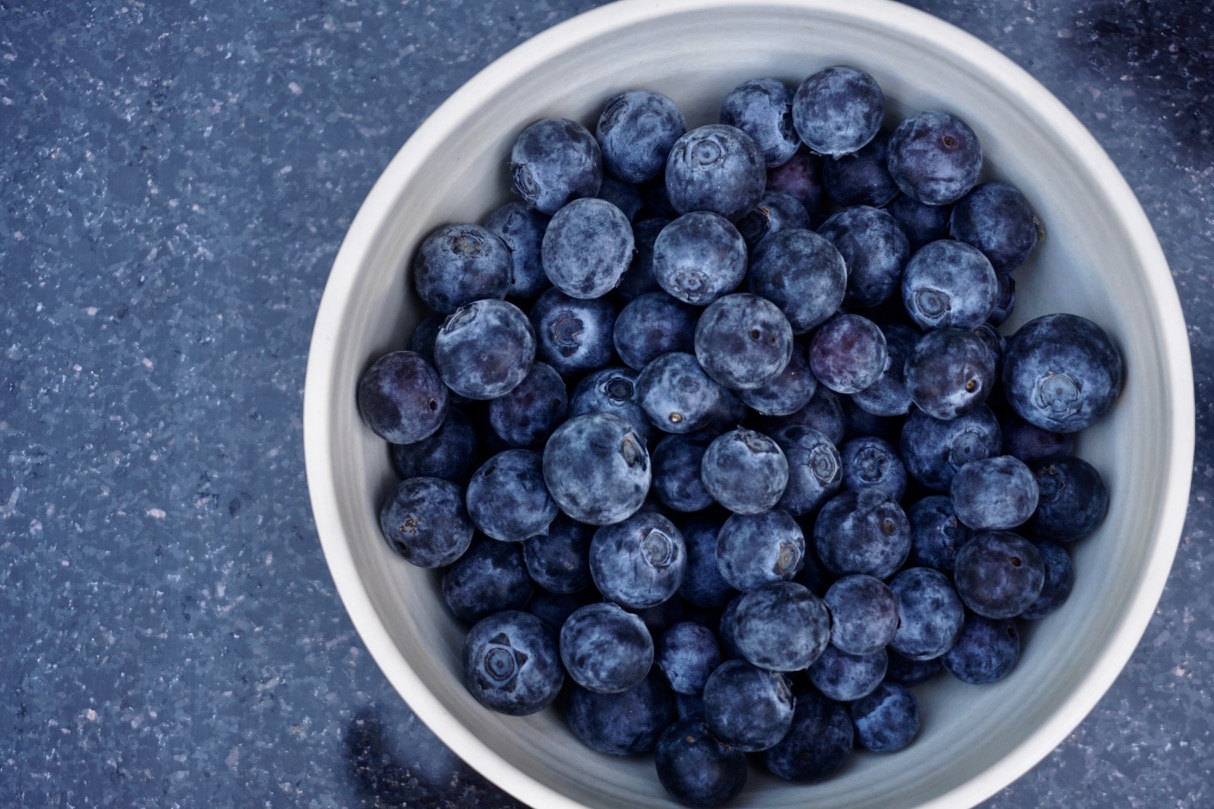
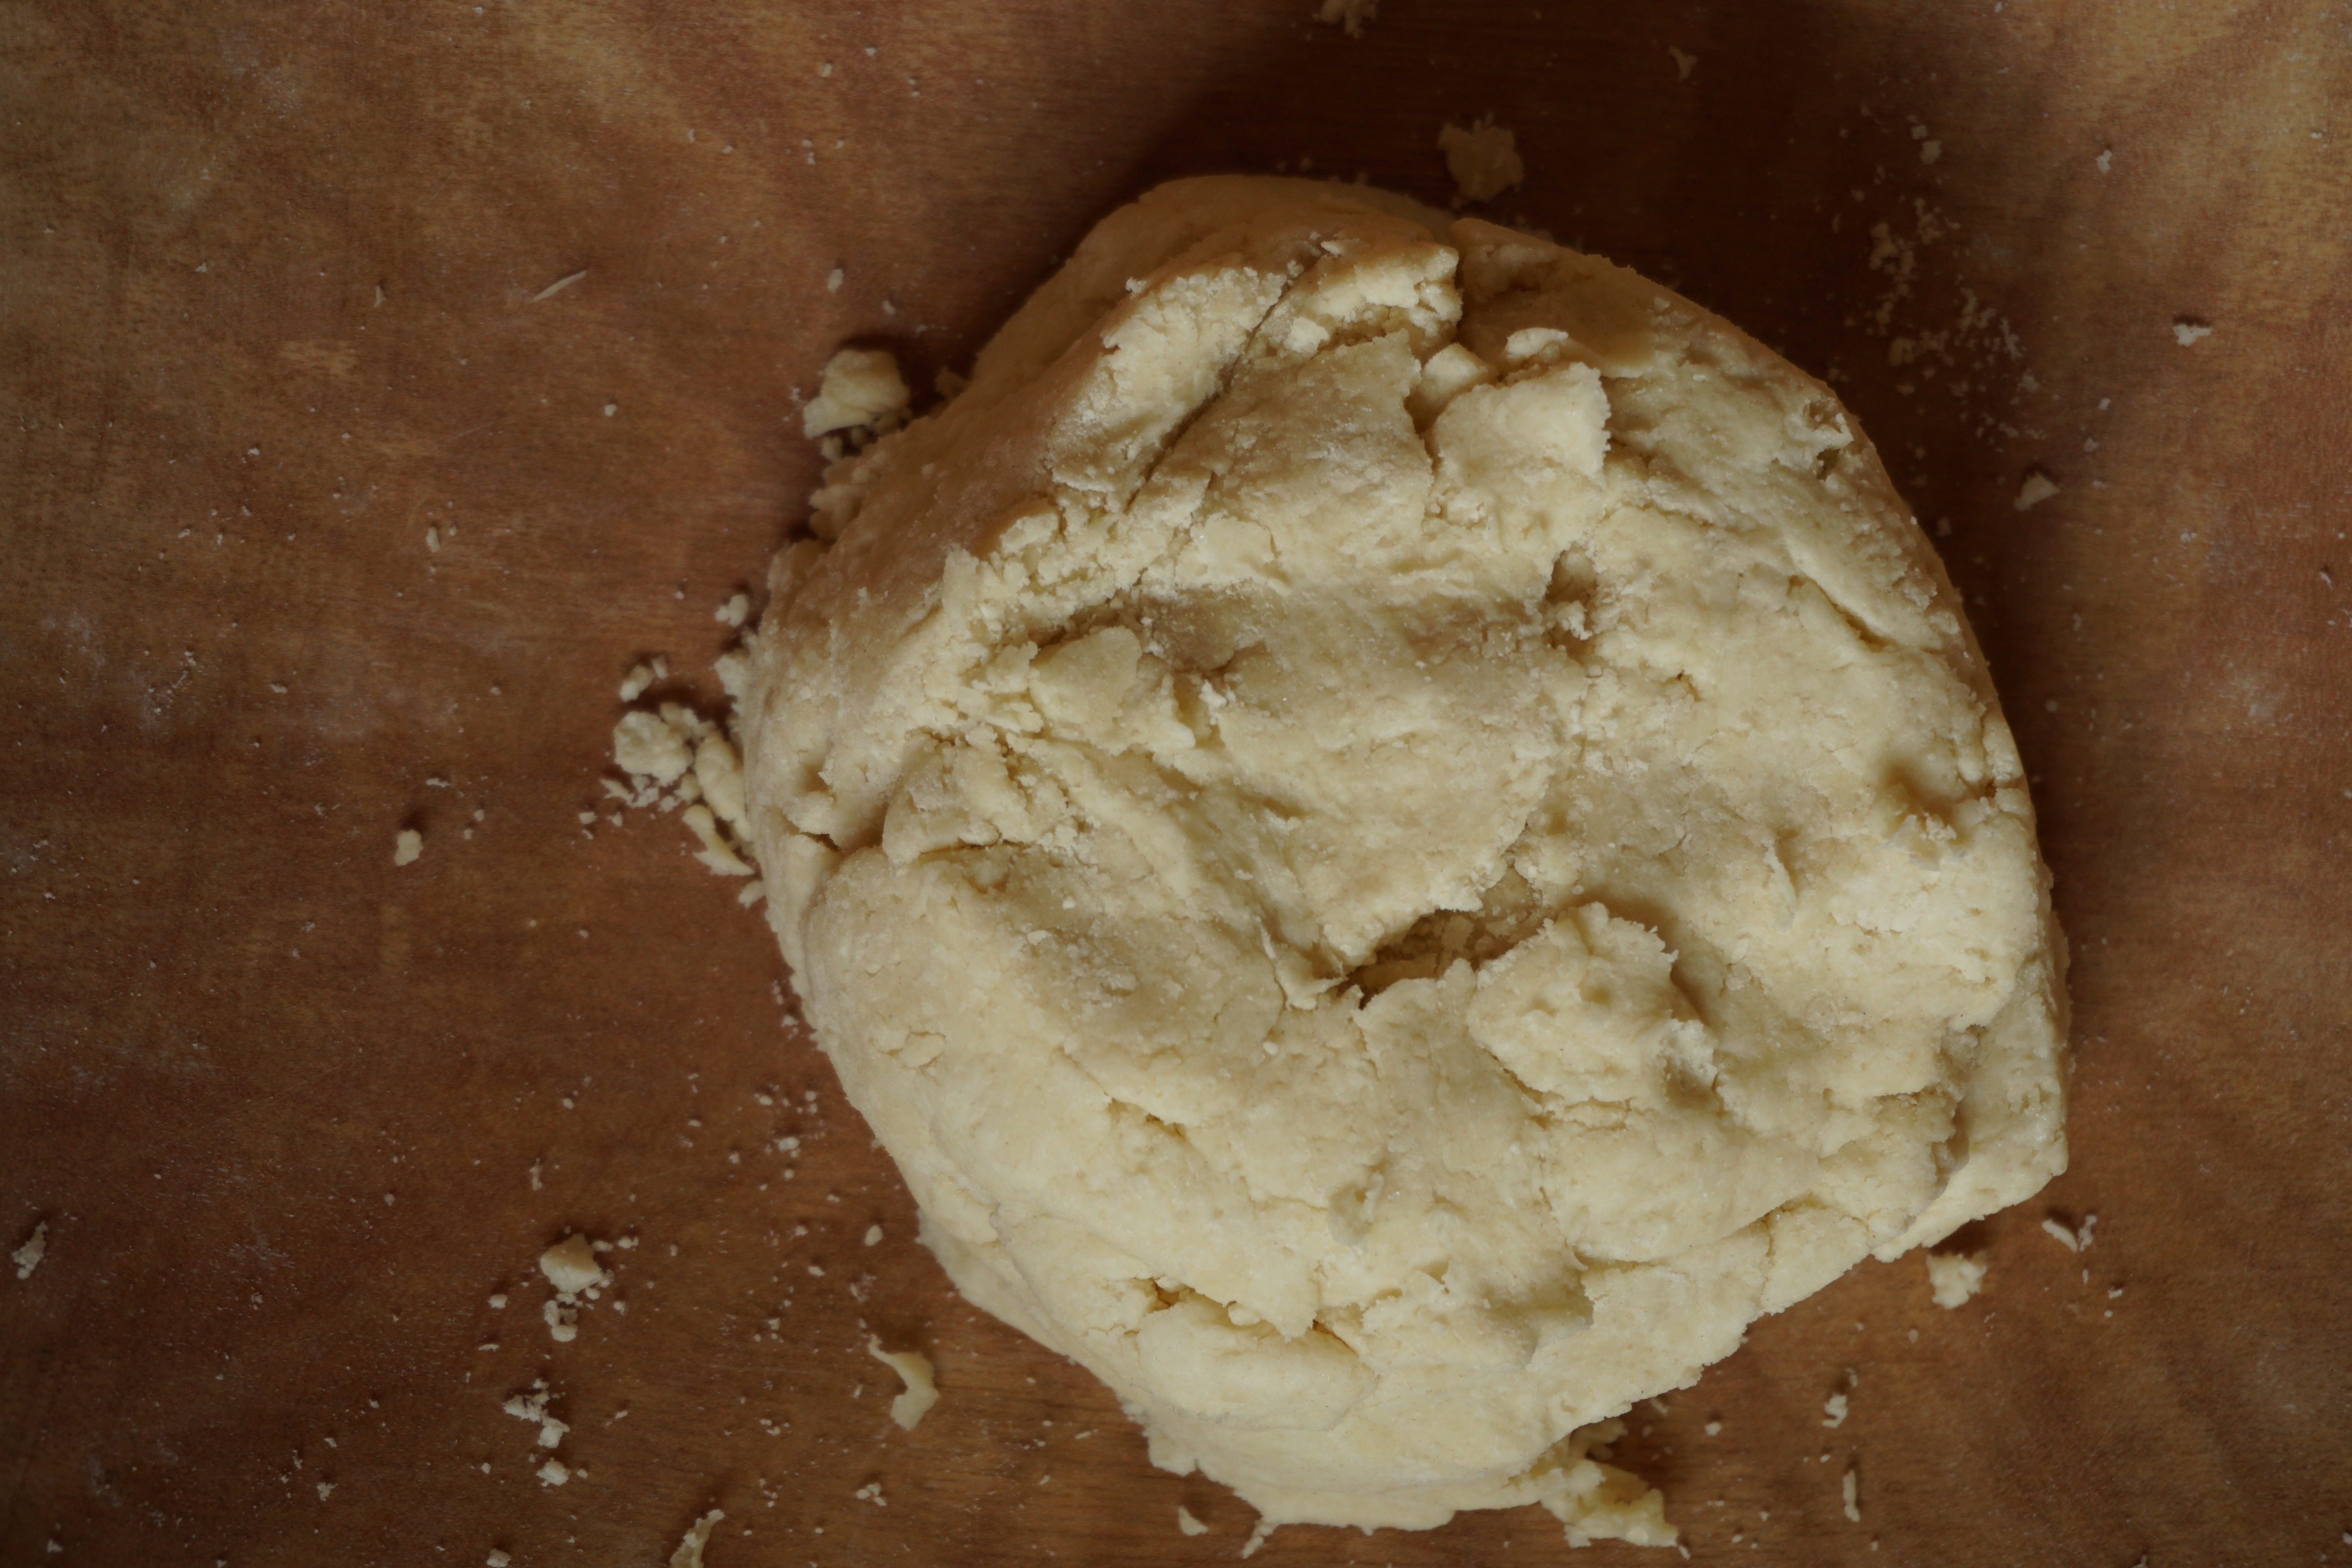
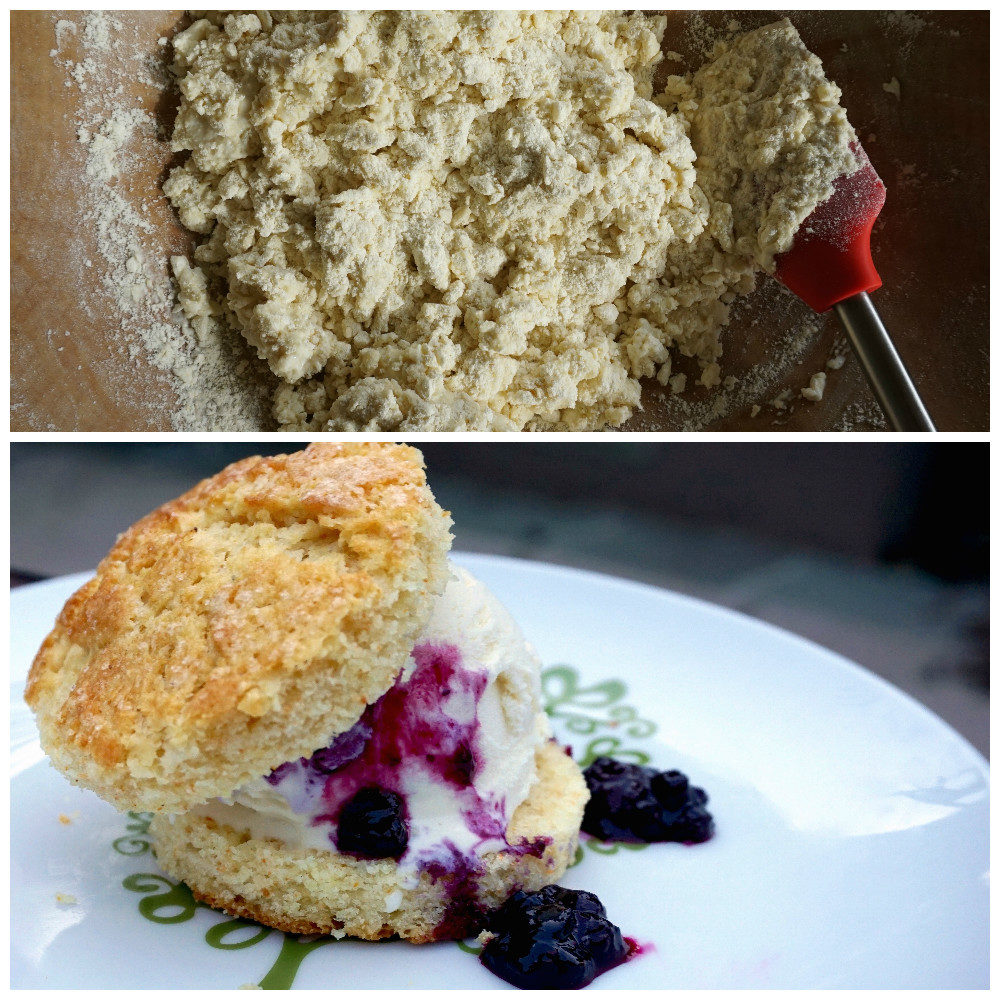
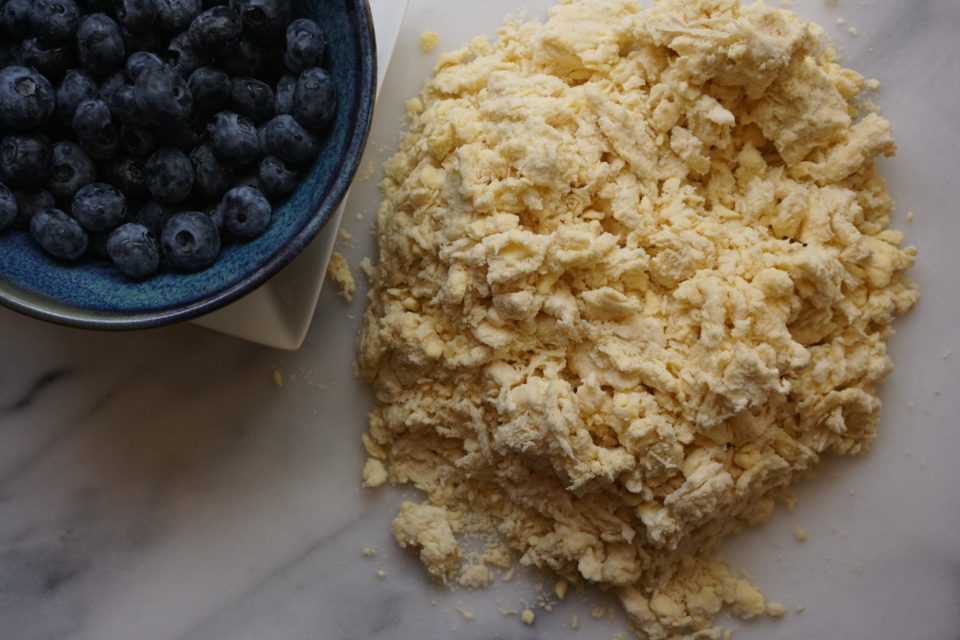
The dough is fairly easy to work with so I would recommend this for pie crust novices.  Use a food processor to combine the dry ingredients and the butter.  Use quick pulses to break up the butter into the flour.  When the butter is about pea size stop and proceed by hand.  Out comes my wooden bowl, in goes the butter-flour mixture.  Add the sour cream to this and using your hand or a wooden spoon, stir to incorporate the sour cream.  You will end up with a shaggy mess that does not stick together (see above photo with blueberries).  Pour this mixture onto a flat surface and using a dough scraper or hand “smoosh” the dough together until it comes together.  Form into a disc and chill.

The Pi Golden Rule (I just made that up) if the dough gets soft or sticky and difficult to work with, throw it in the fridge to CHILL.  This will save you lots of tears and frustration.  Roll dough out between parchment and transfer it to a baking sheet so it can chill again before cutting.

The extra step for this dough is folding it like an envelope and rolling it out a couple of times.  Much like the puff pastry process, this creates layers of butter in the dough and makes the crust FLAKY.  SO YUMMY.  The recipe calls for an egg wash and coarse sugar sprinkled on the pies.  Me, meh, sugar on my pie crust is not my thing so I skipped it, up to you.  Dust the pies with powdered sugar to add some sweetness.  I adore lemon and blueberry together so I kicked it up a notch by adding a teaspoon of lemon zest to the filling.  La la la….love it!
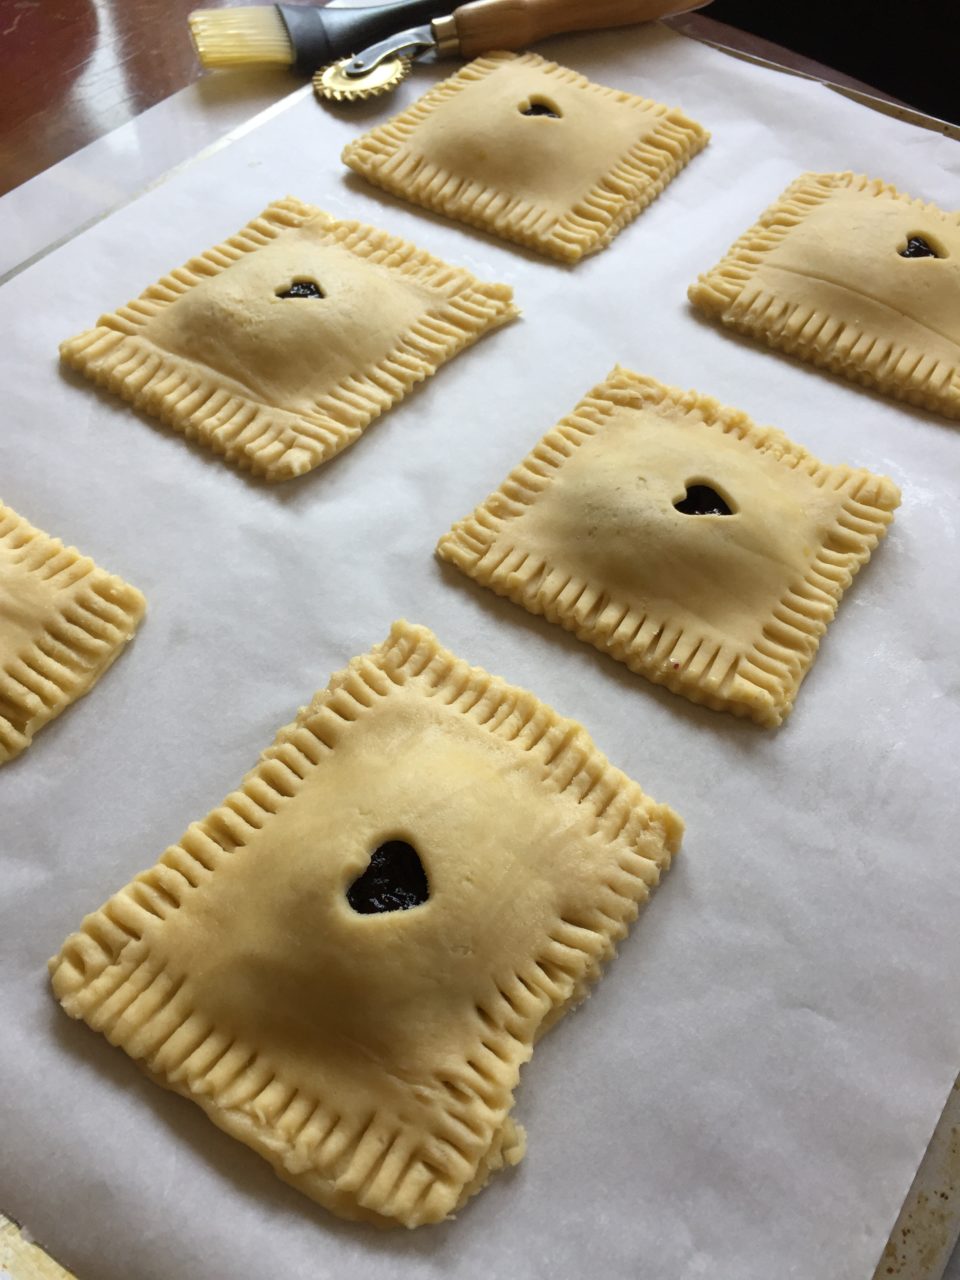
So the name of the game is don’t overwork your dough, chill it if gets too soft, work quickly.  Ta-dah! Blueberry hand pies that will blow your family and friends away.

Let Them Eat Pie

Ingredients

PASTRY

  • 2 cups 81/2 ounces King Arthur Unbleached All-Purpose Flour
  • 3/4 teaspoon salt
  • 1/2 teaspoon baking powder
  • 1 cup 16 tablespoons cold unsalted butter
  • 1/2 cup cold sour cream

FILLING

  • 2 cups blueberries fresh or frozen
  • 2 tablespoons cornstarch or 1 tablespoon Instant ClearJel*
  • 1/3 cup sugar
  • 1/8 teaspoon salt a large pinch
  • 1 tablespoon lemon juice
  • *For frozen berries use 2 1/2 tablespoons cornstarch or 1 1/2 tablespoons ClearJel.

TOPPING

  • 1 large egg beaten
  • 2 tablespoons white sparkling sugar for garnish

Instructions

  • The directions can be found here on the King Arthur Flour site.
  • Optional changes include:
  • 1/2 - 1 teaspoon lemon zest to the blueberry filling
  • Omit sparkling sugar and egg wash, dust with powdered sugar before serving.
  • I'm sure this would work with any seasonal fruit including strawberries and lime, or peaches with hint of almond extract...go for it!
Jamie’s Home, Doing the Mango Tango

Jamie’s Home, Doing the Mango Tango

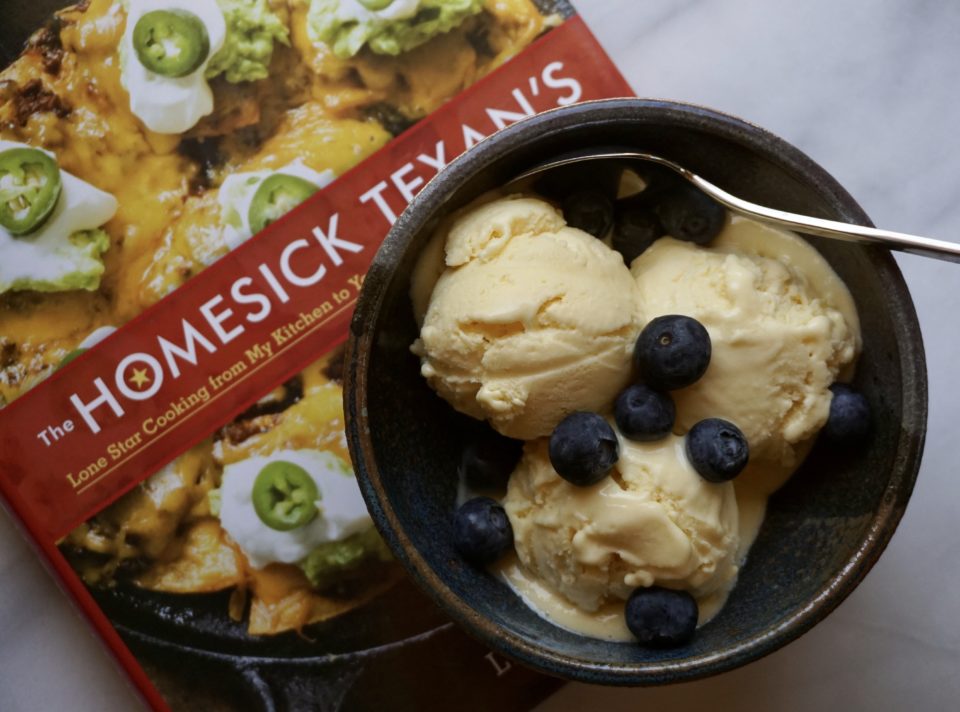
Hello friends!! Jamie here from the good ‘ol peach state. Yup, I have now moved even farther away and further south (metaphorically) from The Bay.  The deep south is definitely different than Texas.  I mean, Texas isn’t part of the south. Texas is Texas. Home of brisket, football, and deep-fried butter. Ironically, the first time I had mango lassi I was in Texas.  It was my freshman year of college, and my friends and I were doing–of course–absolutely nothing on a Tuesday night.  We heard that a club on campus was giving out free food, so we went.  Turns out, they were giving out mango lassi, and, boy, there was a lot of people there.  I soon understood why (well, other than the fact that it was free food and college kids).  It was like a mango milkshake, but even better–thicker, richer, and tastier.  Sweet with that hint of tartness from the yogurt. If you haven’t tried a mango lassi before, you need to drop everything right now and go get one.  Well, after you read this blog post, of course.

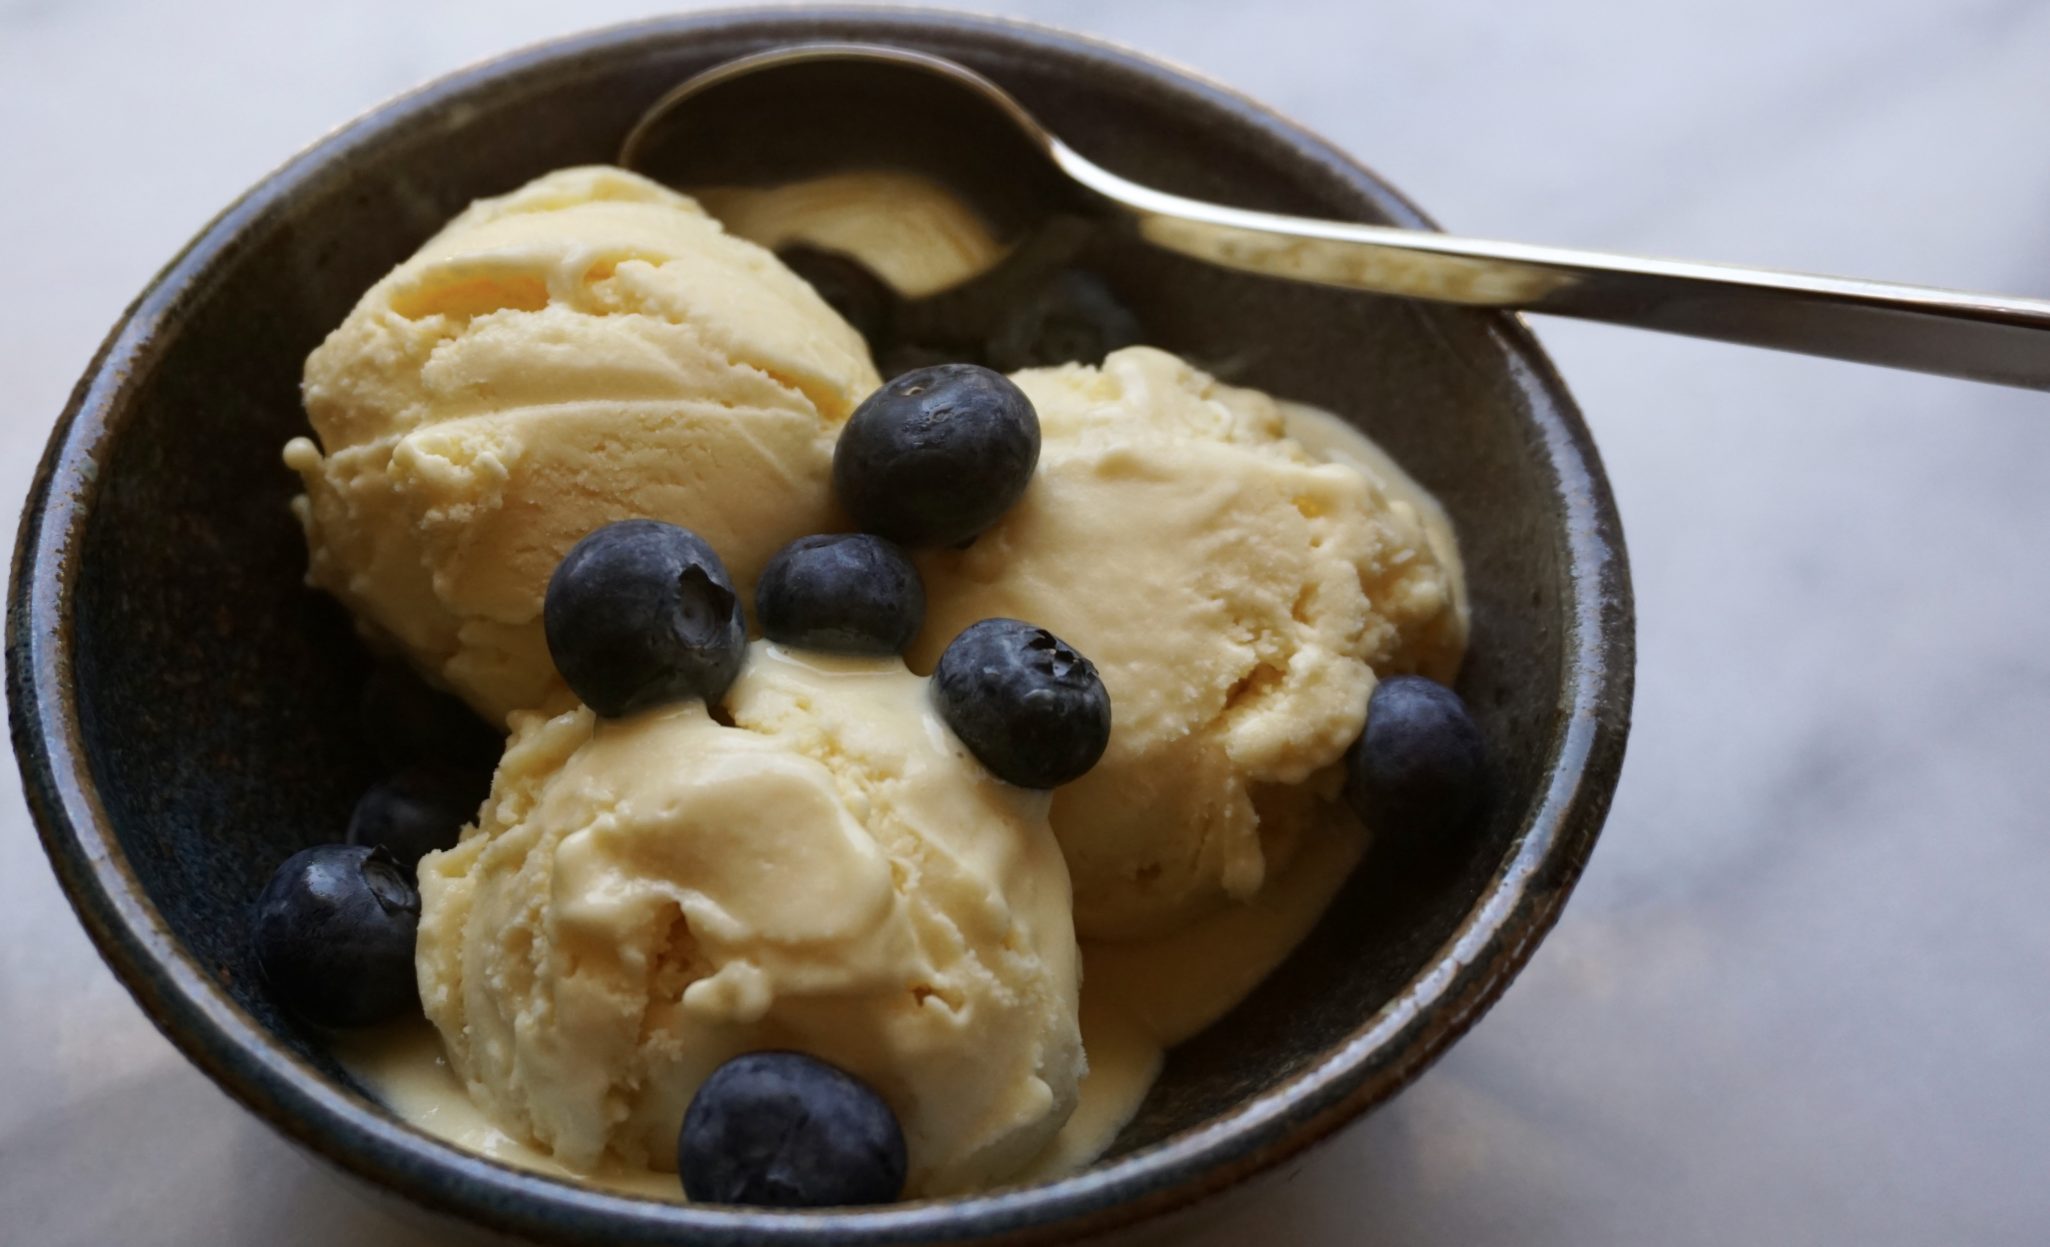
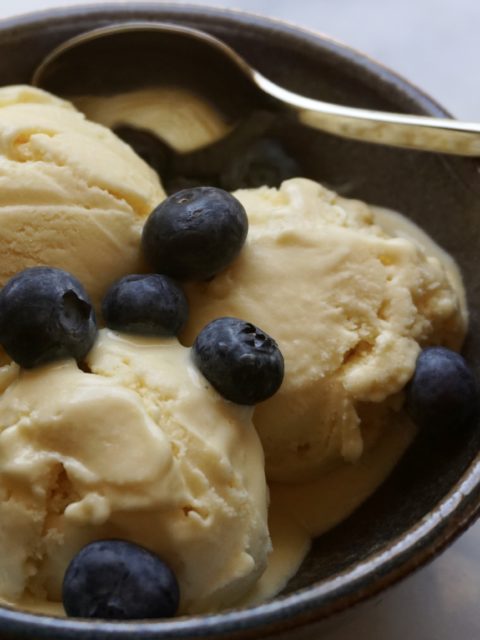
Living in Atlanta this summer has made me CRAVE ice cream.  Maybe it’s the insanely hot and humid days or maybe it’s because I have way more free time to daydream about desserts.  Whatever the reason, I’ve been dying for some ice cream. So, when I traveled home for a week for work, I broke out one of my mom’s ice cream machines. Yes, I did say “one of.” I pulled out the Cuisinart to make mango lassi frozen yogurt ice cream.  It is the CREAMIEST DREAMIEST treat of the summer. It was the easiest treat of the summer, too.  Just throw the ingredients into a blender, pour it into the ice cream maker, then pop it into the freezer.  Voila!

The recipe for Mango Lassi Ice Cream is from blogger turned cookbook author, Lisa Fain of The Homesick Texan.  I have an affinity for her .  When she  moved to New York City she started a blog about Texas life and food.  I’m like her except I am The Homesick Californian living in Texas..maybe I should start my own blog.  Just kidding Mom!

HI CLAIRE

Mango Lassi Ice Cream (Homesick Texan)

Ingredients

  • 16 ounces frozen diced mango thawed, or 2 1/2 pounds fresh mango, peeled, pitted, and diced
  • 1 14-ounce can sweetened condensed milk
  • 8 ounces plain Greek-style yogurt, preferably full fat
  • 1 tablespoon freshly squeezed lime juice
  • 1/4 teaspoon kosher salt
  • Pinch ground cardamom

Instructions

  • Place the mango, sweetened condensed milk, yogurt, lime juice, salt, and spice in a blender and then puree until creamy and smooth.
  • Freeze according to your ice-cream maker’s instructions. We have a Cuisinart Ice Cream maker. After 20 minutes of turning it was still relatively soft. I transferred the mixture to a Tupperware and threw it in the freezer. A couple days later the ice cream was still creamy.
  • Next time I made add bits of mango to the puree just to intensify the mango.
  • You can never have too much mango.
  • Another thought: I bet you could use other fruits for mangoes. Strawberries or peaches come to mind.
  • If you don't like cardamon try ginger or cinnamon in place.
  • Yield:
  • About a quart

So much fun with an ice cream machine!

Blueberry Boy Bait Cake (Gone Bakin’)

Blueberry Boy Bait Cake (Gone Bakin’)

After being on a roll for a couple of weeks I found myself with blogger’s block.  I perused magazines, poured over cookbooks and surfed food blogs looking for inspiration.  Nothing, zippo, nada, zilch, appealed..how could that be? I usually have more than a few recipes tucked away in the back of my mind that I want to try and then share with you.  Maybe I needed a vacation from food. (wow, did I just write that?)

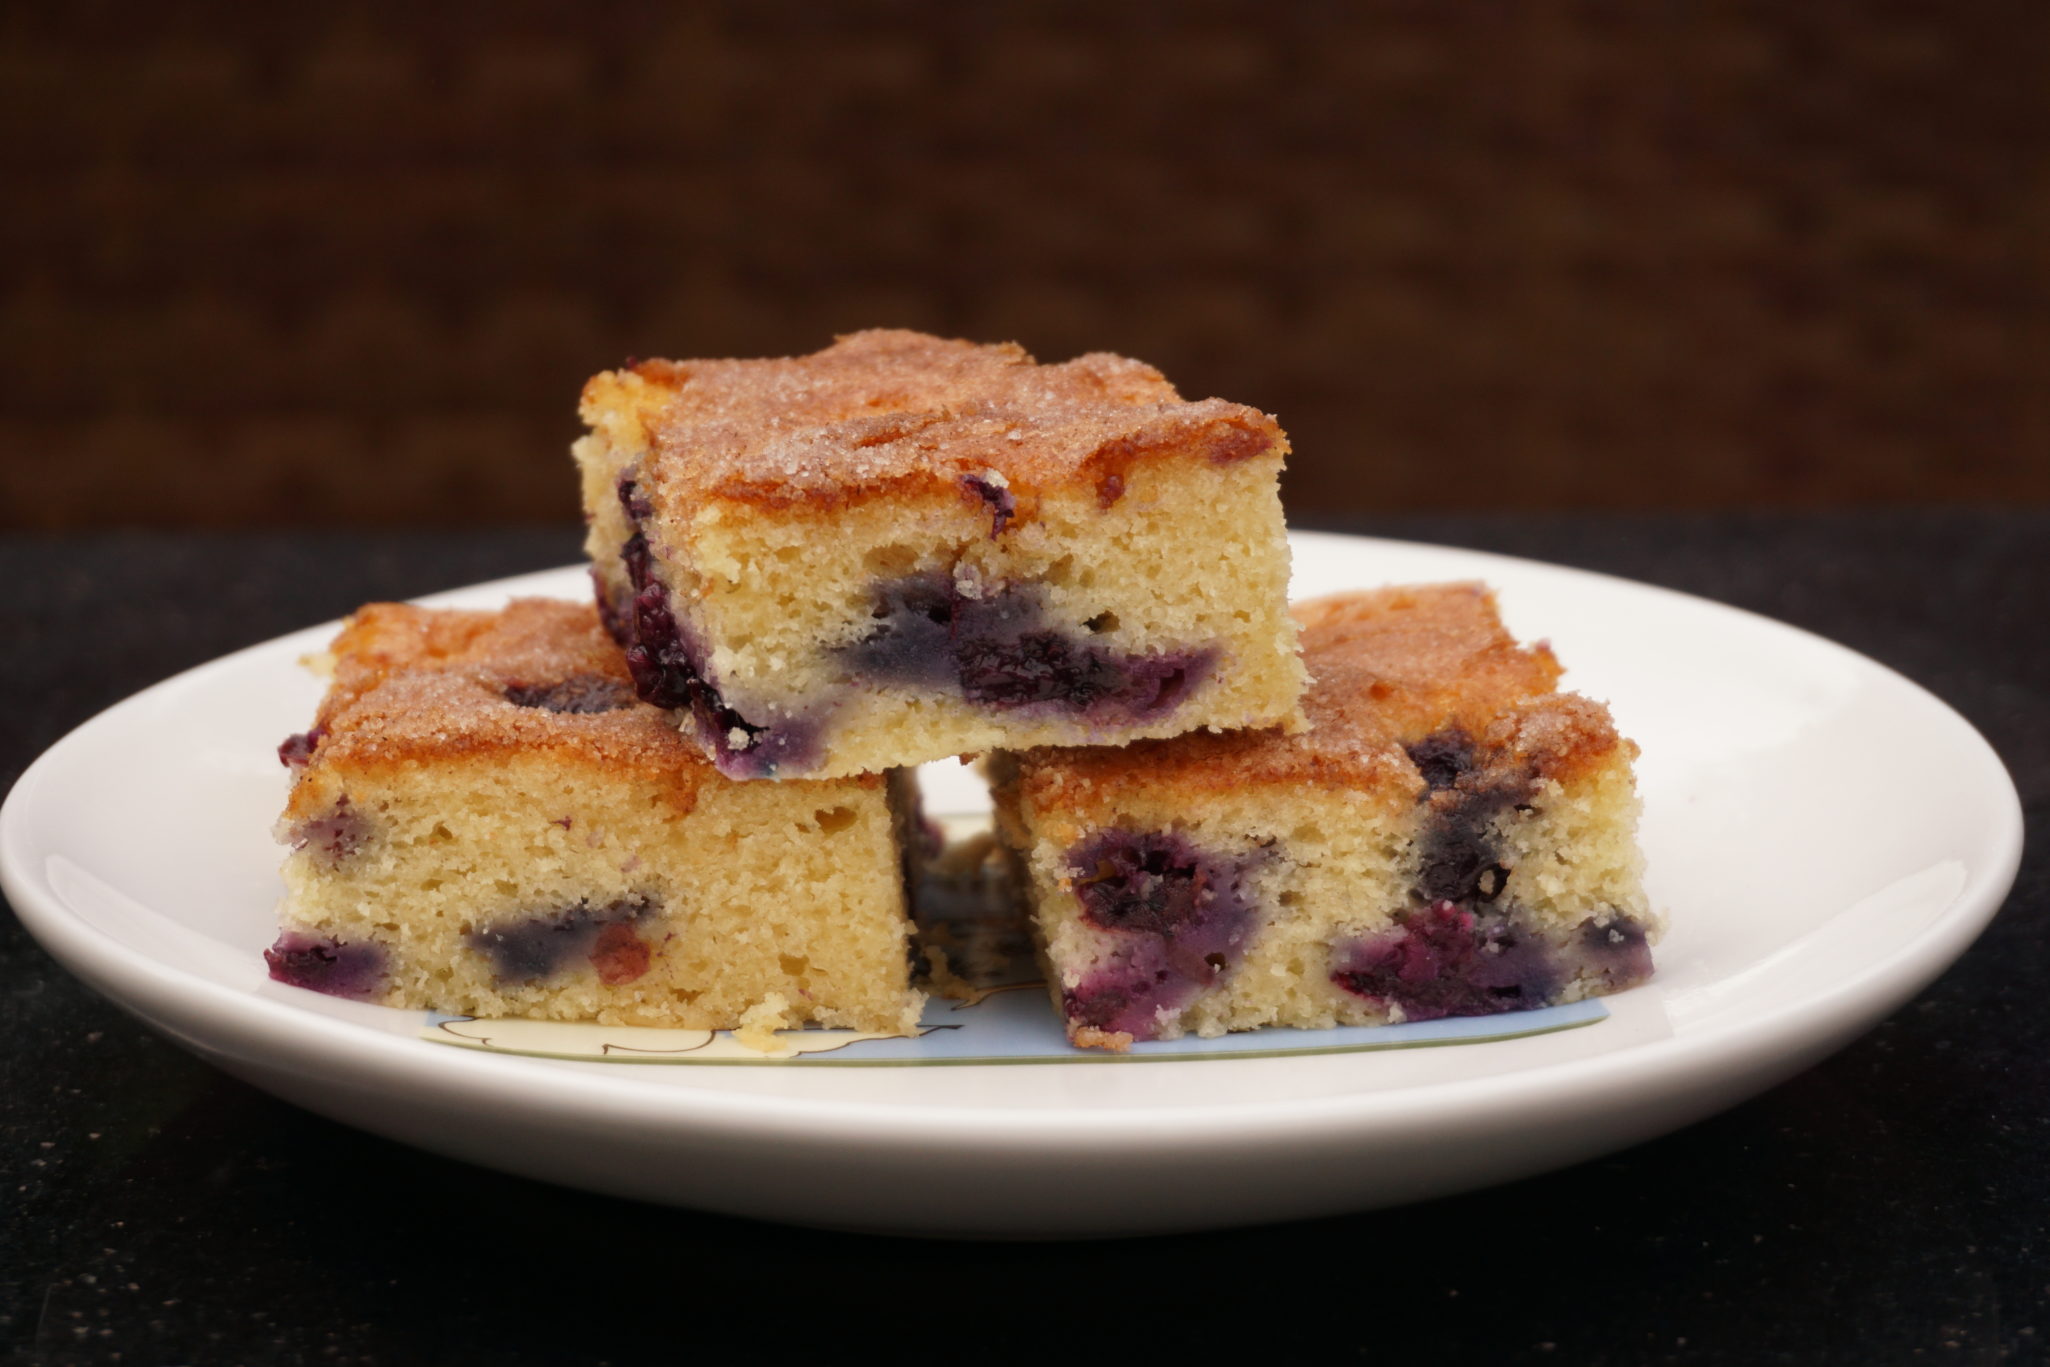
Luckily a favorite blog lifted me out of my food doldrums.  I came home from the farmer’s market with a basket of beautiful fresh blueberries and just one pie cookie from 2nd Story Bake House (I am on a self-imposed limit).  I plopped down in my favorite spot (the kitchen island) and woke up my laptop to continue my search for inspiration.  A post from Smitten Kitchen popped up on my Facebook page that immediately caught my eye.  An absolutely SCRUMPTIOUS looking cake called Blueberry Boy Bait.

BOOM!

Search over. The recipe came from a little cooking contest you might have heard of, Pillsbury Bake-Off.  Created by a teenage contestant way back in the 1950’s and touted as being so delicious it would land you a young man, it garnered her a second place finish.

Years later the recipe received a “facelift” by Cook’s Country magazine. Shortening replaced by butter,  berries were doubled, and brown sugar replaced granulated sugar.  This elevated the cake to a whole new level of deliciousness.   I started writing this post while the cake was baking, the aroma of butter, sugar, cinnamon and blueberries filled my kitchen and wafted upstairs to my kid’s room. That elicited a “what are you baking, is it ready? and when can I have some?”.

This truly is a get up off the couch now, run to the store, get some blueberries and BAKE THIS CAKE  folks.  It’s that yummy.

Spread the batter into a 9×13 pan, then top with the remaining blueberries.  Finish by sprinkling the cake with a generous amount of cinnamon sugar for a sweet crunchy bite.   You can use buttermilk instead of whole milk and substitute raspberries or a mix of fresh berries for the blueberries.

Baking time was a bit shorter than suggested (I baked it for about 35 minutes) so start checking the cake at 30 minutes.  Enjoy!

Blueberry Boy Bait Cake

A delicious, easy to make cake filled with blueberries and topped with a crunchy sugar coating.
Course Cake, Dessert
Cuisine American
Keyword blueberry, blueberry boy bait cake, blueberry cake, easy recipe
Prep Time 20 minutes
Cook Time 45 minutes

Ingredients

Adapted from Smitten Kitchen and Cook's County

Dry ingredients

  • 2 cups plus 1 teaspoon all-purpose flour 250 grams (not including 1 teaspoon)
  • 1 tablespoon baking powder
  • 1 teaspoon table salt

Wet Ingredients:

  • 16 tablespoons softened unsalted butter (2 sticks) 8 ounces or 225 grams,
  • 3/4 cup packed light brown sugar 145 grams
  • 1/2 cup granulated sugar 100 grams
  • 3 large eggs
  • 1 cup whole milk or buttermilk 235 ml
  • 1/2 cup blueberries, fresh or frozen (if frozen, do not defrost first as it tends to muddle in the batter) about 85 grams

Topping

  • 1/2 cup blueberries, fresh or frozen (do not defrost) about 85 grams
  • 1/4 cup granulated sugar 50 grams
  • 1/2 teaspoon ground cinnamon

Substitute raspberries or mixed berries for blueberries

Instructions

  • Adjust oven rack to middle position and heat oven to 350 degrees. Grease and flour 13 by 9-inch baking pan.

For cake:

  • Whisk two cups flour, baking powder, and salt together in medium bowl. Set aside.
  • In mixer, beat butter and sugars on medium-high speed until fluffy, about two minutes.
  • Add eggs, one at a time, beating until just incorporated and scraping down bowl.
  • Reduce speed to medium and beat in one-third of flour mixture until incorporated; beat in half of milk. Beat in half of remaining flour mixture, then remaining milk, and finally remaining flour mixture. Toss blueberries with remaining one teaspoon flour. Using rubber spatula, gently fold in blueberries. Spread batter into prepared pan.

For topping:

  • Scatter blueberries over top of batter.
  • Stir sugar and cinnamon together in small bowl and sprinkle over batter.
  • Bake until toothpick inserted in center of cake comes out clean, 45 to 50 minutes.
  • Cool in pan 20 minutes, then turn out and place on serving platter (topping side up).
  • Serve warm or at room temperature. (Cake can be stored in airtight container at room temperature up to 3 days.)
Strawberry Fields Forever-Strawberry Pie Now

Strawberry Fields Forever-Strawberry Pie Now

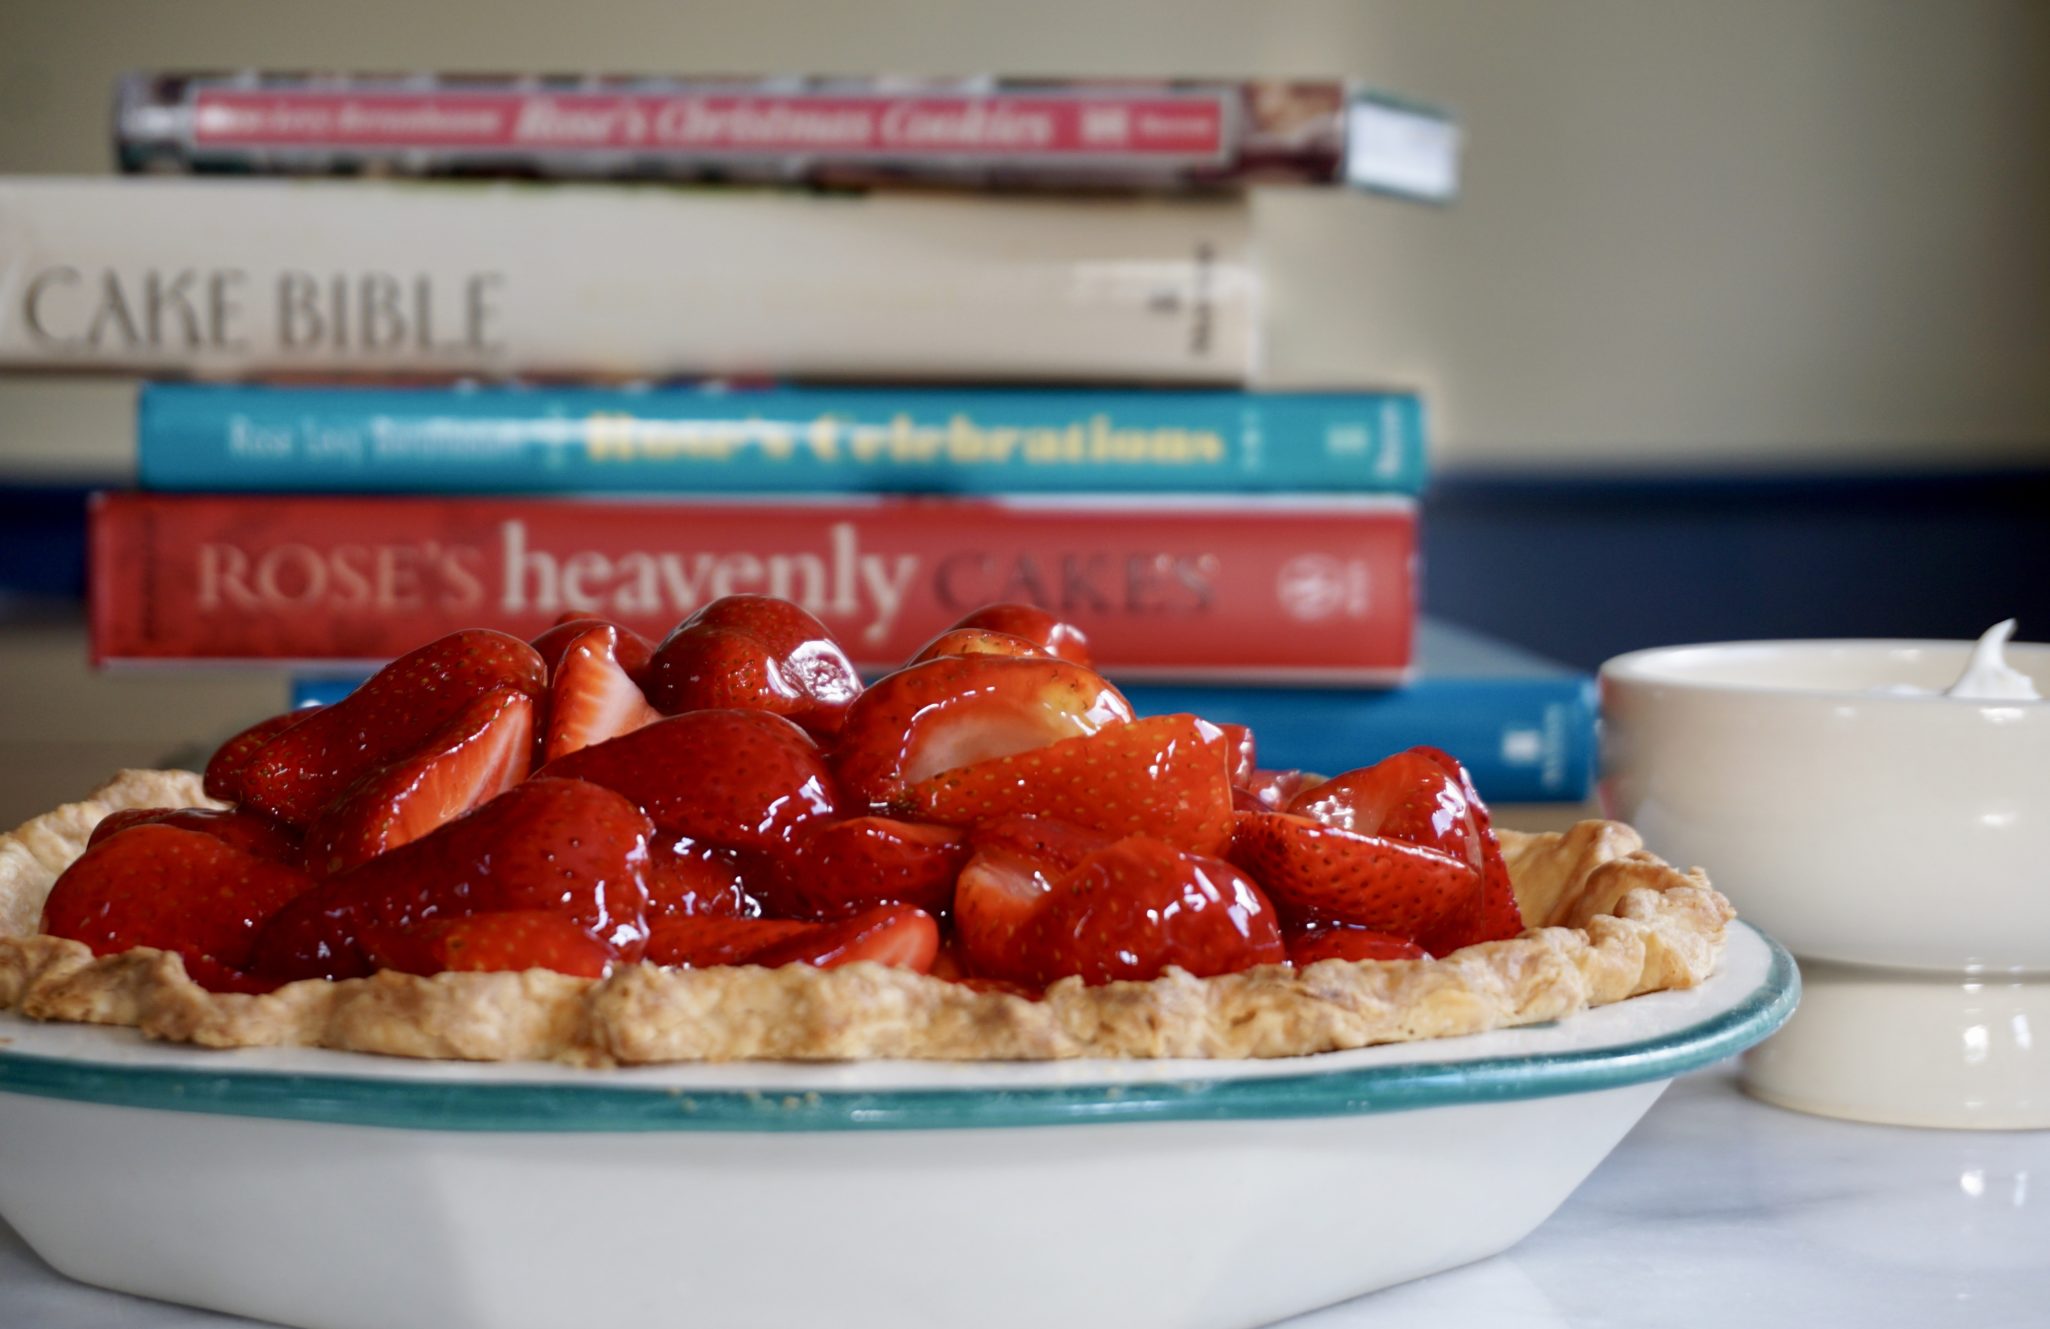
Tasked with dessert for Easter dinner at my brother’s this year, I pondered what to bring.  Inspiration hit at my local farmer’s market when I spied the baskets of luscious, red, ripe strawberries at the P&K Stand.

It’s PIE TIME, BABY

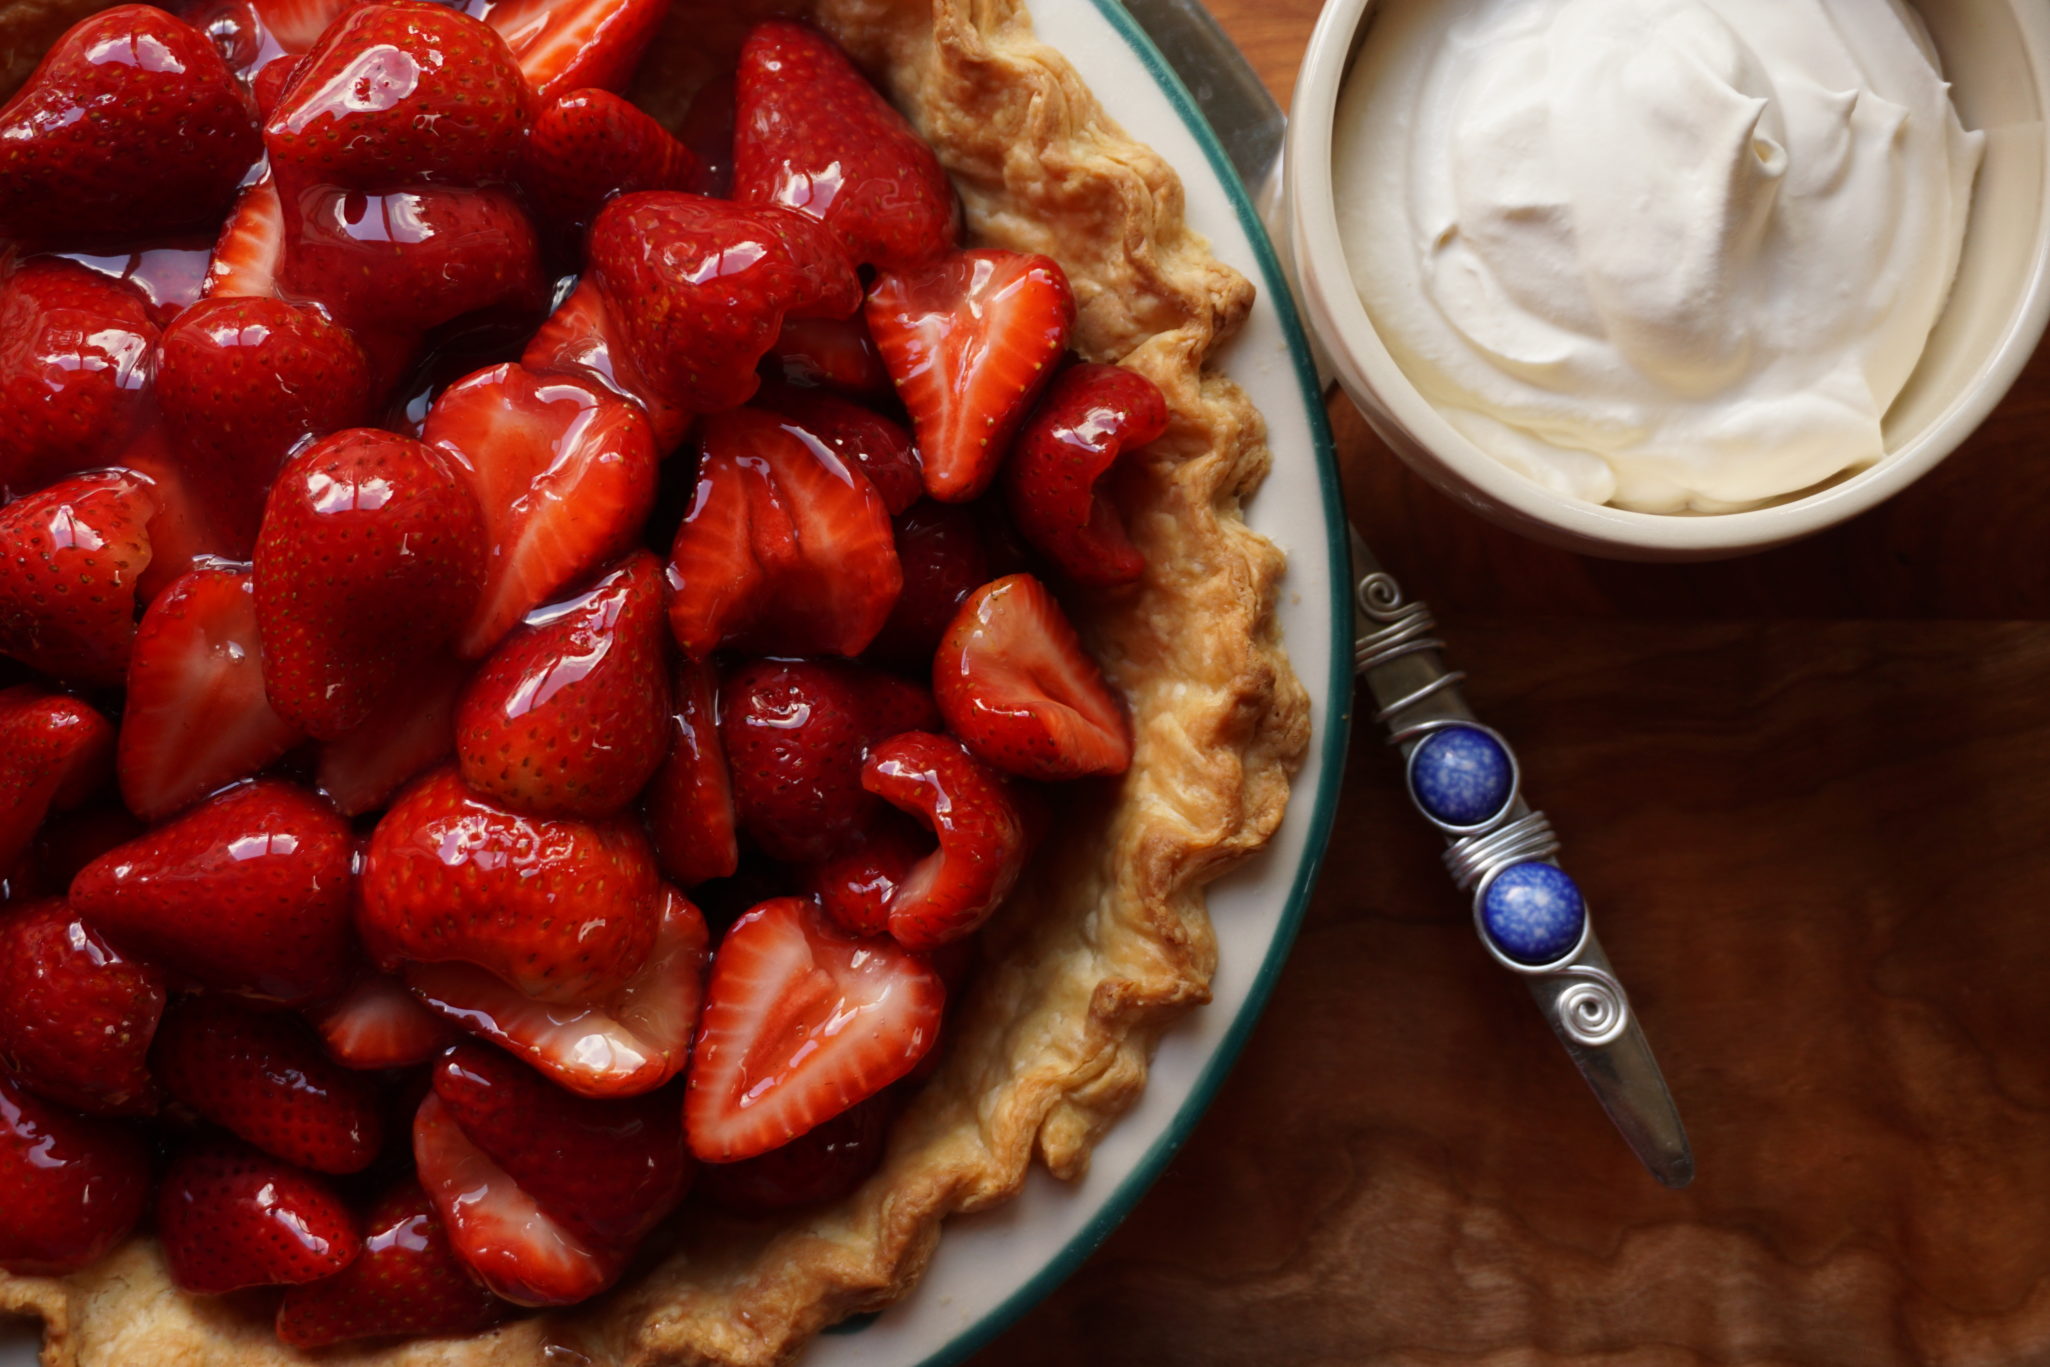
An image popped up in my head, fresh sweet ripe strawberries piled in a crispy buttery crust and topped with a dollop of whipped cream.   This perfectly describes Rose Levy Beranbaum’s Strawberry Pie recipe.  I own as many of her cookbooks as I do Dorie Greenspan’s and that’s saying a lot, both are baking gurus extraordinaire.  Rose’s recipes are organized, reliable, easy to follow, and delicious. First, the ingredients are listed by volume measurements and weights (ounces and grams, how great is that?) in all her books and then formatted in tables.  In addition, each recipe has pointers for success, helpful hints, and a Harold McGee/ Alton Brown-like blurb on understanding the recipe.  My favorites include Rose’s Christmas Cookies, Cake Bible, and her recent book  The Baking Bible.

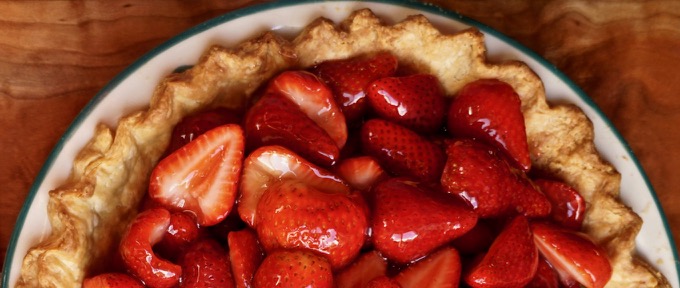
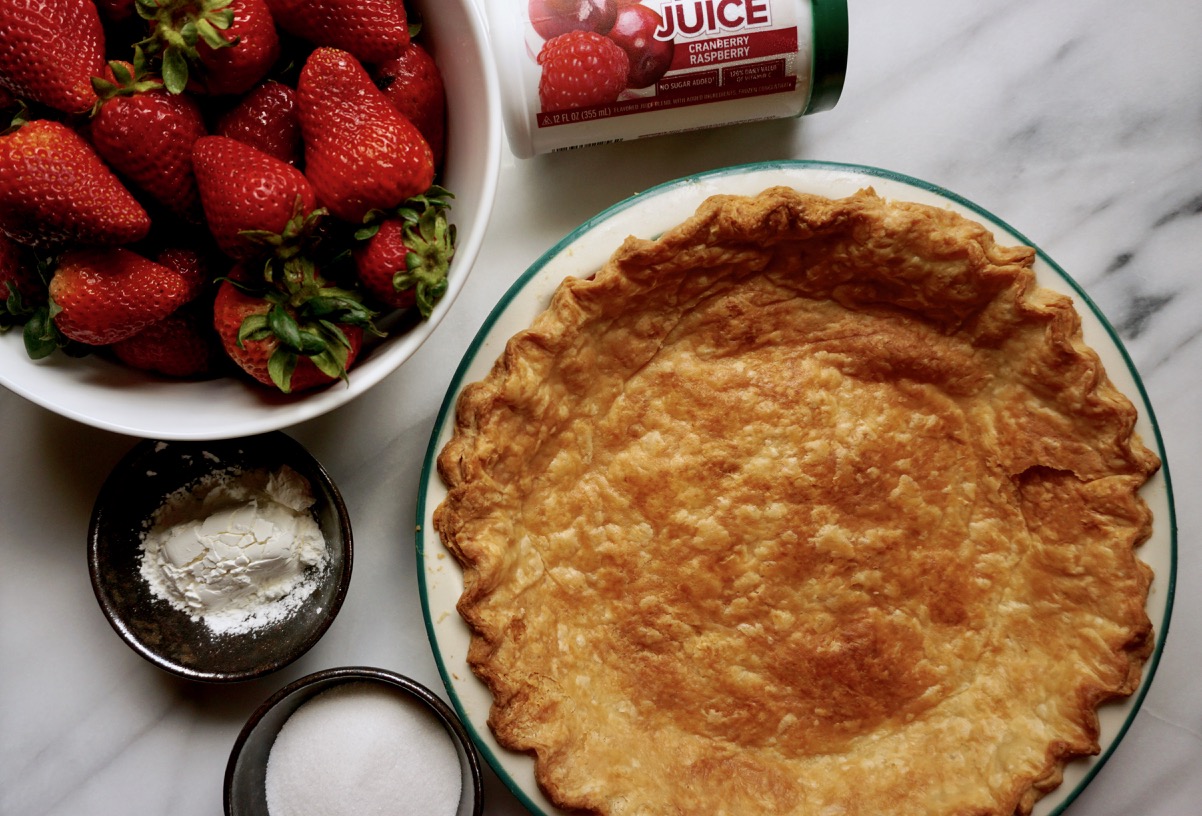
Her Glazed Strawberry Pie recipe is from The Pie and Pastry Bible. In addition to being delish, it is super easy to make. The strawberries are the star of this pie so make sure your berries are ripe and sweet. Start by slicing the strawberries in half and then making the glaze.  The glaze calls for sugar, cornstarch as the thickener, and cranberry-raspberry frozen concentrate.  Yep, frozen fruit juice concentrate.  Finally, fold the strawberries in the glaze and pour them into a pre-baked crust.

It’s all about the crust and filling, uh-huh

Use your favorite pie crust recipe (or mine), fully pre-bake it, and as it cools, make the filling.  Keep in mind the pie will need to chill in the fridge for a good couple of hours before serving.  Serve with whipped cream (totally worth the calorie splurge).

Take advantage of strawberry season and MAKE THIS PIE.  Your family will love you. Your friends will love you.  You could run for office (hint, hint) after making this pie.

Glazed Strawberry Pie from Pie and Pastry Bible

No bake strawberry pie from Rose Levy Beranbaum! It's simple and delicious!
Course Dessert, Pie
Cuisine American
Keyword pie, Pie crust, strawberries, Strawberry Pie
Prep Time 30 minutes
Cook Time 40 minutes

Ingredients

  • 1 Basic Flaky Pie Crust for a 9-inch pie See post for link to pie crust recipe
  • 1 tablespoon egg white lightly beaten
  • 1/4 cup sugar
  • 3 tablespoons cornstarch
  • 1 cup liquid cran/raspberry concentrate thawed, undiluted
  • 3/4 cup water
  • 4-5 cups strawberries rinsed, hulled, dried, and halved

Instructions

For pie dough:

  • Favorite pie crust recipe, need only a single crust.
  • Remove the dough from the refrigerator. If necessary, allow it to sit for about 10 minutes or until it is soft enough to roll.
  • Roll dough 1/8 inch thick or less and about a 13-inch circle.
  • Transfer the dough to the pie pan. Fold under the excess and crimp the border using a fork or your fingers. Cover it loosely and refrigerate for a minimum of 1 hour and a maximum of 24 hours.
  • Preheat the oven to 425°F at least 20 minutes before baking.
  • Line the pastry shell with foil and fill with pie weights, rice or dried beans. Bake for 20 minutes. Carefully lift out the rice or beans with the foil. With a fork prick the bottom and sides and bake 5 to 10 minutes more or until the crust is a golden. Check after 3 minutes and prick any bubbles that may have formed.
  • Cool the crust on a rack for 3 minutes, so it is no longer piping hot, then brush the bottom and sides with the egg white.

Make the filling:

  • In a 2-quart saucepan, mix together the sugar and cornstarch. Gradually stir in the cran/raspberry concentrate and water until smooth. Over medium heat, bring to a boil, stirring constantly. Boil for 1 minute. Remove the pan from the heat and cool completely.
  • Gently fold in the strawberries and spoon the filling into the baked pastry shell. Refrigerate for 4 hours or until set.
  • Serve with freshly whipped cream
  • Store:
  • Refrigerated up to 2 days.
  • The Pie and Pastry Bible

Notes

Press for time? Go ahead, use a commercial pie crust!  
My favorite pie crust is from Dorie Greenspan 
Blueberry Cobbler with a Cornmeal-Sugar Cookie Crust

Blueberry Cobbler with a Cornmeal-Sugar Cookie Crust

Have you been watching A Chef’s Life on PBS? You should. It follows Chef Vivian Howard who after hobnobbing in NYC for a couple of years moved back home to North Carolina and opened a farm to table restaurant. We are not talking Asheville or Charlotte, urban areas where the culinary scenes are blossoming but in her hometown of Kinston (where? get out your AAA map). From Kinston, she is creating beautiful down-home Southern food using local ingredients.
I may never find myself in Kinston but fortunately, she has written a cookbook, Deep Run Roots, that is filled with tantalizing recipes, gorgeous photos and wonderful stories about her hometown, family and friends. It’s a hefty book organized by ingredients and as I flipped through it I found myself marking quite a few of the recipes.

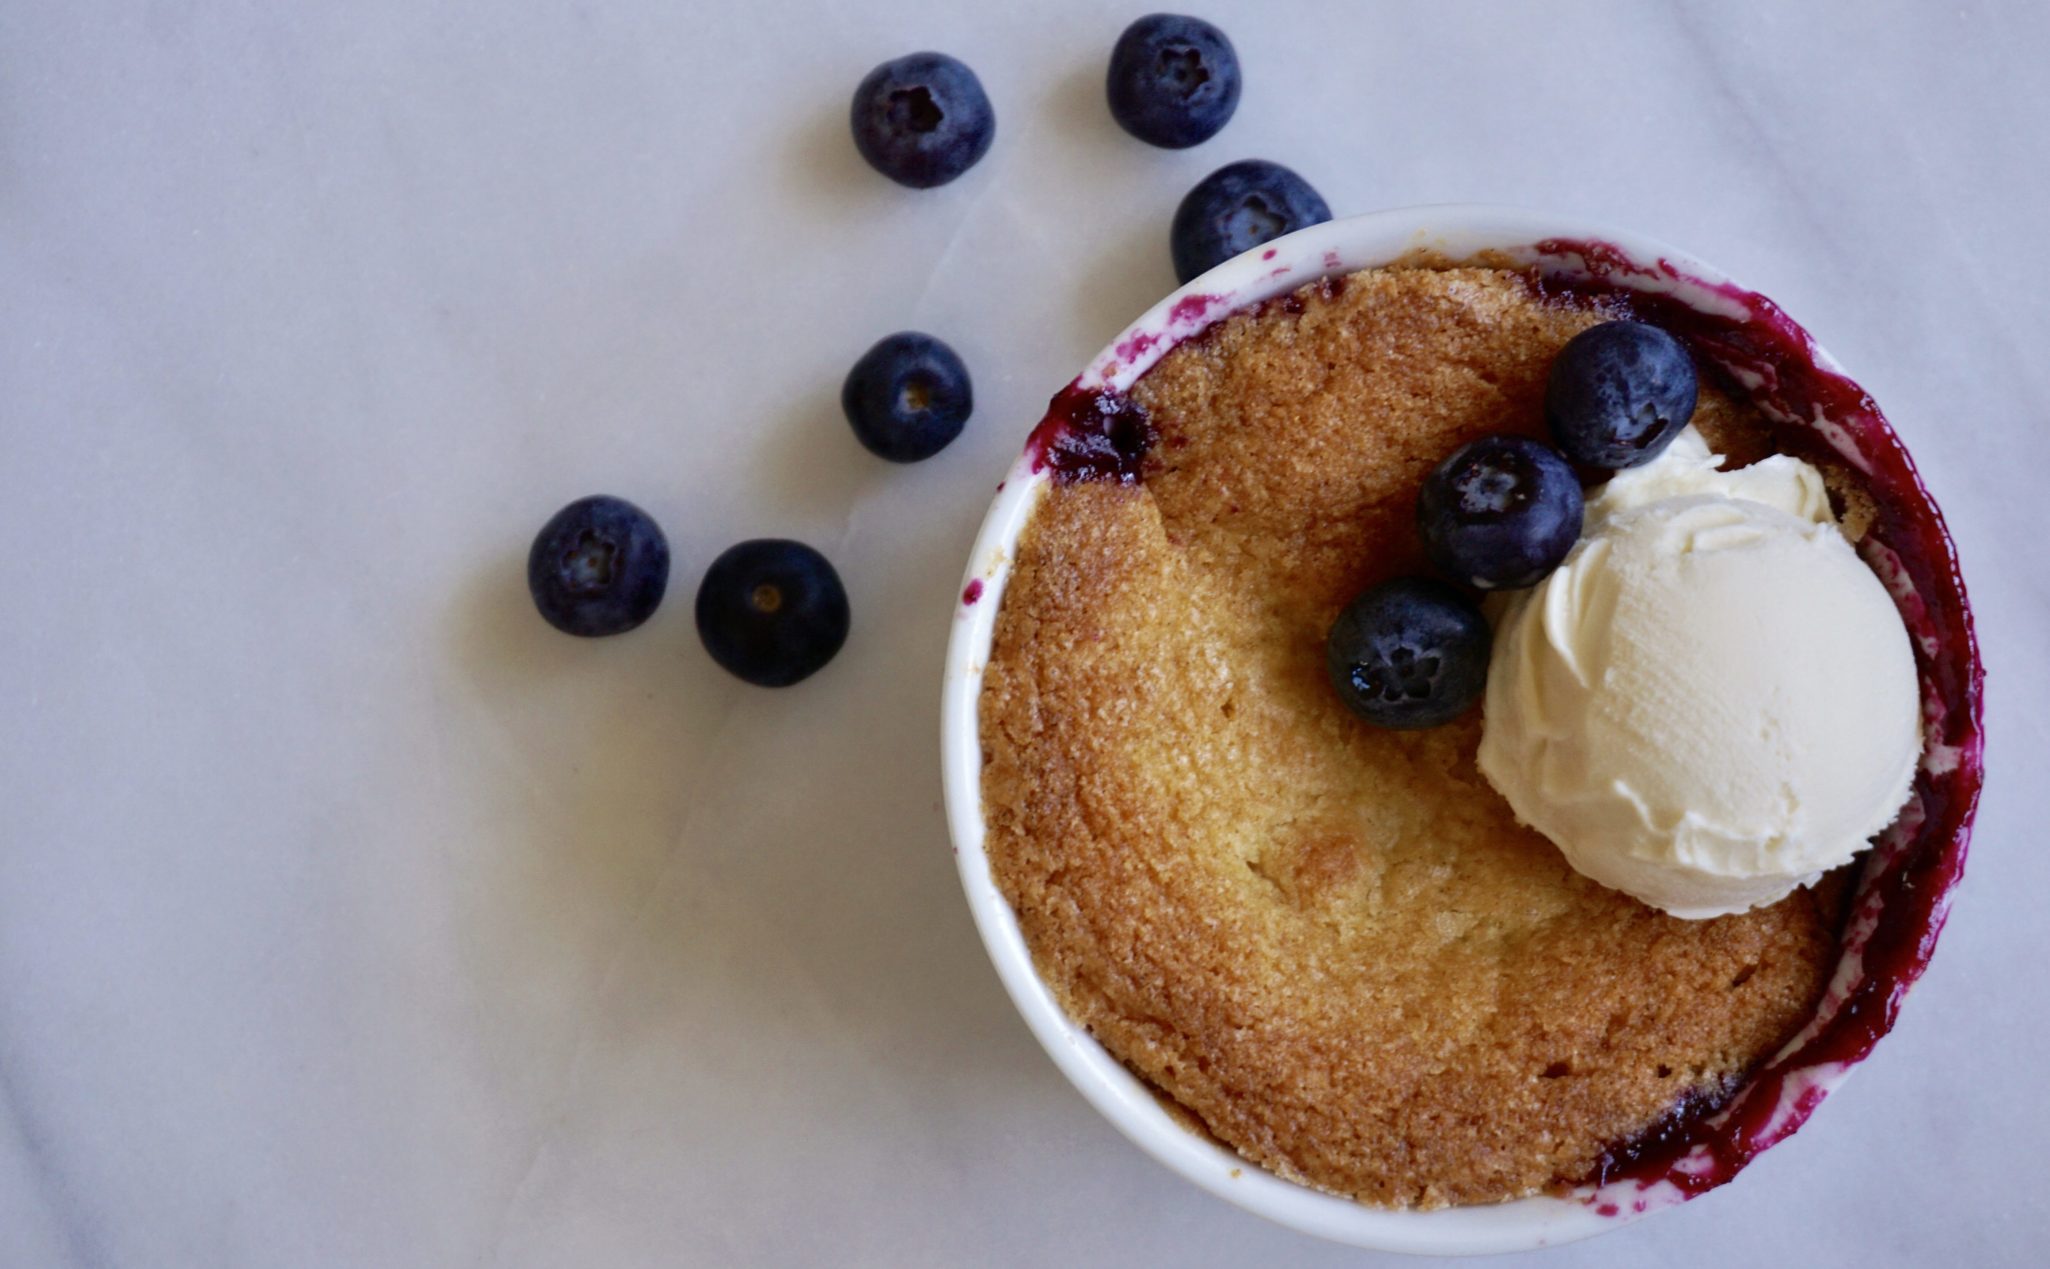
One of the many recipes I bookmarked with a post-it note was the Blueberry Cobbler with Cornmeal Sugar Cookie Crust.  Actually ,I might have put 2 sticky notes on it as I am a sucker for homey desserts like cobblers.  Start early if you want to make this as both the crust and the blueberries need “sitting” time. While the dough for the topping chills, the blueberries macerate in sugar and lemon juice.  Let me just tell y’all now, this cobbler is AMAZING.  The crust is tender and buttery with an ever so slight crunch from the cornmeal, it literally melts in your mouth.  Bubbling underneath is a sweet blueberry compote brightened by lemon zest and juice.  Of course, I took it up another notch by adding a scoop of vanilla ice cream.  Sometimes you just gotta go for it.

The nitty gritty.  I haven’t quite figured out the different types of cornmeal, stone ground vs. regular milled I am definitely open to advice or info on the different kinds.  I used Bob’s Red Mill Stone Ground Corn Flour which is pretty fine with just a slight crunch.  I tried fine stone ground cornmeal in scones before and was not crazy about the grittiness.  I guess I would choose whichever cornmeal you use and like for cornbread for this cobbler.

The crust is not a dough you would roll.  It is similar to a drop cookie dough.  I scooped out 1/3-1/2 cup portions and used saran wrap (it’s sticky) to shape the dough into 1/2 inch thick discs for my ramekins.  You could do the same for a 9×12 pan or any comparable sized baking dish and lay the discs side by side covering as much fruit as possible.

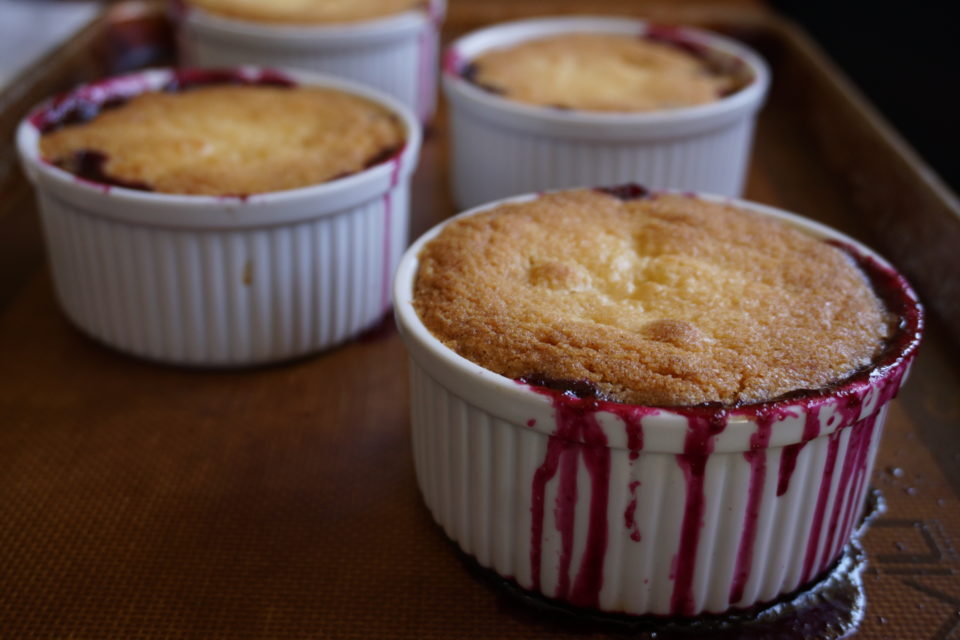
If using ramekins reduce the baking time to about 30 minutes.  Make sure to use a tray or sheet as they will bubble over (a picture is worth a thousand words).  I made half the recipe filling which filled four one cup ramekins.  I stashed the extra dough in the fridge for another day.

I plan on trying different berries and seasonal fruits with this recipe.  I’m already dreaming about  mixed berries (strawberries, blackberries and blueberries) and summer stone fruit (peaches, nectarines, plums) versions.

Blueberry Cobbler with Cornmeal Sugar Cookie Crust from Deep Run Roots

Course comfort food, Dessert
Cuisine American
Keyword blueberry, butter, cobbler, cornmeal, vivian howard

Ingredients

For the Filling:

  • 2 pound fresh blueberries or fruit of choice berries, stone fruit
  • 3/4 to 1 cup sugar
  • 4 tablespoons lemon juice
  • Zest of 2 lemons removed with microplane
  • 1 teaspoon salt

Cornmeal Sugar Cookie Crust:

  • 1 1/2 cups or 3 sticks unsalted butter softened
  • 1 cup granulated sugar
  • 1 tablespoon light brown sugar
  • 1 large egg
  • 2 teaspoons vanilla extract
  • 1 cup A.P. flour
  • 1 cup cornmeal
  • 1/2 teaspoon baking powder
  • 1/2 teaspoon salt

Instructions

Make the Filling:

  • Put all the ingredients in a bowl and press down with the back of a spoon to burst some of the berries. Stir it all together and cover.
  • Let the berries and sugar hang out for about two hours or overnight, stirring when it’s convenient.
  • After about two hours, lots of juice would have leeched out of your fruit. Strain the juice and and add it to a small saucepan. Reduce the juice by half, or until it’s nice and syrupy. Add the syrupy stuff back to your fruit and stir to combine. It should coat and cling to the fruit like that scary cherry pie filling from the can.

Make the Crust:

  • Combine the flour, baking powder and salt in a small bowl. Cream together the butter and sugars in a mixer fitted with the paddle attachment until light and fluffy. Add the egg and vanilla and paddle to incorporate. Slowly add the flour until just combined.
  • Remove the dough from the bowl, cover it well with plastic wrap, and let it rest. The cookie dough can be made several days in advance. You could even make a larger batch, freeze it.

Assemble the Cobblers:

  • Butter your 9x12 oven-safe dish and spoon the fruit into it. Or if you have ramekins/souffle dishes you can make individual servings.
  • What’s important is the filling to topping ratio. For every 1 1/2 inch of filling, you want 1/2 inch cookie crust. If your dishes go deeper, just increase both by the ratio.
  • If your topping is chilled, allow it to come to room temperature. Generally for something like this, you would be instructed to flour your work surface and roll out the dough, but for this recipe, that doesn’t really work. So just take your hands, grab a nice ball of the soft, kind of sticky dough and flatten it out between your palms until it’s approximately 1/2 inch thick. Lay that flattened, irregular disk on top of the fruit and move on to your next handful. The goal is to pretty much cover the fruit filling, without overlap but with very little exposed fruit in between. (I used plastic wrap to shape the dough)
  • Ideally you want to place the baking dish on top of a larger cookie sheet because, chances are, it’s going to bubble over, and I think that’s a good thing (unless I’m washing the dishes).
  • Bake it at 350 for about an hour. The top should be really nice and brown, not pale, but dark golden and slightly crispy looking.
  • Individual dishes will bake in less time, approximately 30 minutes.

Tips/Techniques

  • We’ve used the obvious like blueberries, blackberries, cherries, strawberries, plums, apricots and peaches for sure. But we’ve also used figs, apples, oranges, and a combination of tangerines and cranberries for a festive looking holiday cobbler. Feel free to combine fruits and add spices to suit the occasion. Clove, allspice and cinnamon work well with fruits like fig and apple.


Mom’s Apple Pie

Mom’s Apple Pie

I admit this is a misnomer.  It’s really not mom’s apple pie, at least not my mom.  My mom was not a baker.  In fact, I cannot remember a single baked good made by her…nada, zilch.  That’s not to say we didn’t have desserts or baked goods, they just happen to come from a bakery or restaurant or somewhere else, just not our kitchen.  There were plenty of bakeries in the city and in Chinatown.  My parent’s after-work excursions for dinner ingredients often included a sweet treat from one of the Chinatown bakeries.

We snacked on almond cookies from Eastern Bakery.  Swooned over the best damn sugar doughnuts in town (providing you ate them in the first 5 minutes after they were made) from Sun Wah Kue.  Hiked up the hill to the Fortune Cookie Factory.  For special occasions, we walked over to Victoria’s Bakery in North Beach, a stone’s throw away from Chinatown, and picked up a St. Honore.  Imagine a cake with layers of rum-laced pastry cream, covered with billows of whipped cream, and then wait for it…little cream puffs perched around the edge.  My mom’s absolute favorite cake.

Our favorite desserts came from a deli-restaurant we went to all the time, Ping Yuen Bakery Cafe.  Their Apple Pie was an American-Chinese mash-up.  Strictly sweet apples layered in a crust made with lard and painted with an egg wash that gave it a crackly pattern on top.  This was the apple pie of my childhood.

All About the Pie

Whoops, lost in nostalgia.  My first attempt at pie-making was an apple pie and it remains my favorite pie to make.  The crust is made with butter and a little bit of shortening, double F-bombs, flavor, and flaky (gotcha).  My current fav is Dorie Greenspan’s pie crust which you can find here.  For the filling, I opted for mace instead of nutmeg, substituted brown sugar for granulated sugar (caramel overtones), and added a squeeze of lemon (cuts the sweetness).  You could call this my lifelong project-perfect pie. When apple season rolls around I head to my favorite purveyor of apples Prevedelli Farm.  My favorites include Mutsu, Jonagolds, Pippens and Granny Smiths.  I  combine 2 or 3 different varieties of apples to hit sweet, tart, crisp, and soft all in one bite.  Experiment, that’s my mantra.

This is a good old-fashioned all-American apple pie, packed with apples, a hint of cinnamon and nutmeg surrounded by a flaky, buttery crust!  YUM.  Now go make one!

Mom’s Apple Pie

My go-to Apple Pie recipe, been using this for years. Tried and true.
Course Dessert
Cuisine American
Keyword Apple Pie, apples, Cinnamon Bun, Pie crust
Prep Time 45 minutes
Cook Time 45 minutes

Ingredients

My current favorite pie crust recipe is from Dorie Greenspan. It makes a generous amount of dough so you will have excess that you can use for hand pies or small pie.

  • Pastry for 9-inch Two-Crust Pie Link in notes
  • 3/4 cup sugar 1/2 cup granulated sugar + 1/4 c dark brown sugar
  • 1/4 cup all-purpose flour*
  • 1/2 teaspoon ground mace
  • 1/2 teaspoon ground cinnamon
  • Dash of salt
  • 6 cups thinly sliced pared tart apples about 6 medium
  • 2 tablespoons butter
  • 1 tablespoon KA Boiled Cider (secret apple booster) optional

Instructions

  • Prepare pie crust. Place in fridge to chill while making filling.
  • Heat oven to 425 degrees.
  • Mix sugar, flour, mace, cinnamon and salt.
  • Stir in apples. Turn into pastry-lined pie plate; dot with butter.
  • Cover with top crust that has slits cut in it; seal and flute.
  • Make a 3 inch aluminum foil ring. Set aside to use if crust browns too much
  • Bake at 425 for 15 minutes. Lower temperature to 375 degrees, bake until crust is golden brown and juice begins to bubble through slits in crust, 40 to 50 minutes. Cover edge with ring if necessary.
All About that ‘Crust, No Filling (Pie Crust Recipe)

All About that ‘Crust, No Filling (Pie Crust Recipe)

I absolutely love pie. Apple pie, Lemon Meringue Pie, Pumpkin Pie, Pecan Pie, Peach Pie and BANANA CREAM PIE. Yum.  My favorite part is the crust, all that buttery goodness in tender flaky sheets.  My favorite pie crust recipe is from Dorie Greenspan (ok, I might still be starstruck)  and it’s really good.  A combination of butter for flavor and shortening for flakiness.  The recipe calls for up to one-half cup of water.  Start with 6 tablespoons.  I usually don’t use more than 8 tablespoons which is well short of one-half cup.

I like starting with a food processor and finishing by hand, the best of both worlds.  The food processor makes short work of cutting the fats into the dry ingredients while finishing the dough by hand prevents overworking the dough and ending up with a tough crust.  By all means, try each method to see what gives you the best crust possible without having you tear your hair out.  Use the food processor throughout or make it completely by hand.  Directions for both are in the recipe.

Just remember the golden rules, keep your ingredients COLD.  If your dough gets too soft at any point put it back in the fridge to chill. Don’t overwork your dough.  This link is to Food52’s  (a great website-check it out) article on what “overwork” means…it’s spot on and now I don’t have to explain it!

And…..EAT. PIE.

Food52 has a great article on blind-baking their curst

Pie Crust

My favorite pie crust is from Dorie Greenspan. It's buttery, flaky and makes enough crust for some cute handpies
Course Pie, Pie crust, Pie dough
Cuisine American
Keyword buttery, Flaky, Pie crust, tender
Prep Time 30 minutes
Servings 1 double crust pie + extra

Ingredients

For a 9 inch Double Crust

  • 3 cups all purpose flour 408gms of KA flour
  • 1/4 cup sugar
  • 1-1 ½ tsp salt fine sea salt
  • 2 ½ sticks very cold unsalted butter cut into tbsp size pieces
  • 1/3 cup very cold vegetable shortening (10 ounces) cut into 4 pieces
  • 1/2 cup ice water you should not need all of it

Instructions

Food Processor

  • Put the flour, sugar, and salt in a food processor fitted with a metal blade, pulse just to combine the ingredients. Drop in the butter and shortening and PULSE only until the butter and shortening are cut into the flour. Don’t overdo the mixing- what you’re aiming for is to have some pieces the size of fat green peas and others the size of barley.*
  • Pulsing the machine on and off, gradually add about 6-8 tbsps of the water- add a little water and pulse once, add some more water, pulse again and keep going that way. Then use a few long pulses to get the water into the flour. If, after a dozen or so pulses, the dough doesn’t look evenly moistened or form soft curds, pulse in as much of the remaining water as necessary, or even a few drops more, to get a dough that will stick together when pinched. Big pieces of butter are fine. Scrape the dough out of the bowl and onto a work surface.

Hand Method: (My preferred method it allows for more control)

  • Pour dough into a large mixing bowl. Drizzle water onto dough and mix with fork to bring dough together. The dough will look a little dry but when pinched should hold together. Try not to add too much water. Pour dough onto a lightly floured flat surface and knead lightly to bring dough together.
  • Divide the dough in half. Gather each half into a ball, flatten each ball into a 1"disk and wrap each half in plastic. Refrigerate the dough for 30 min - 1 hour before rolling (if your ingredients were very cold and you worked quickly, though, you might be able to roll the dough immediately: the dough should be as cold as if it had just come out of the fridge).

To Roll Out Dough:

  • Have a 9 inch pie plate ready to go.
  • You can roll the dough out onto a floured surface or between sheets of wax paper or plastic wrap. If you’re working on a counter, turn the dough over frequently and keep the counter floured. If you are rolling between paper, plastic or in a slipcover, make sure to turn the dough over often and to lift the paper, plastic, or cover frequently so that it doesn’t roll into the dough and form creases.

Little tricks of the trade

  • Roll from the center of the dough ball out (away from you. Rotate a quarter turn and repeat. Constantly moving dough ensures it doesn't stick. I cheat, hubby got me plastic strips approximately 16 inches long and 2 inches wide in varying thickness, 1/8", 3/8", 1/4", 1/2". The ends of my rolling pin sit on the plastic strips so I roll evenly and to the right thickness.
  • If you have time, slide the rolled out dough into the fridge for about 20 minutes to rest and firm up.
  • When baking lower the rack to the lowest position in the oven. This helps crisp up the bottom crust.

I hate a soggy bottom, don't you?

    Review: Martha Stewart’s Vegetables

    Review: Martha Stewart’s Vegetables

    Early adopter.  That’s how I would describe myself when it comes to Martha Stewart.  Years ago I invested in a copy of Entertaining the book that put her on the map.  In a tiny apartment, on a student’s budget, I dreamed of hosting a Hawaiian luau or an elegant holiday soiree’. Ok, never did the luau or soiree’ but I have used many of her recipes and tweaked her entertaining ideas.

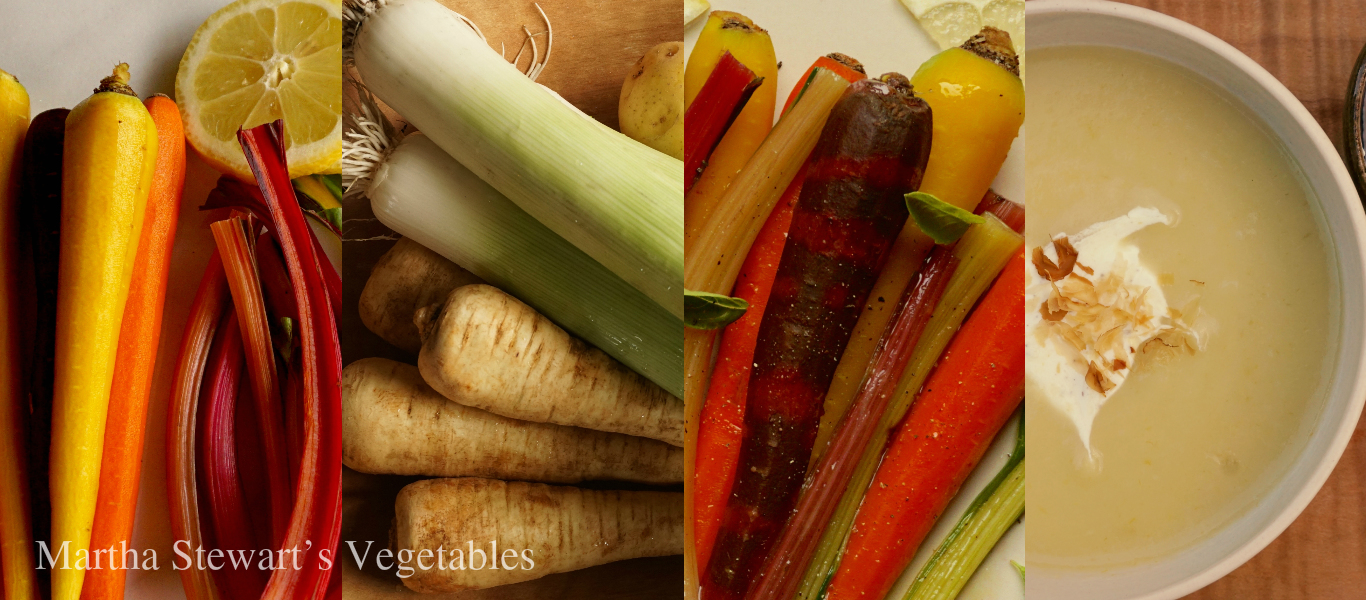
    But it has been quite awhile since I have picked up one of her books.  But Vegetables caught my eye.  We have made a concerted effort to eat more vegetables and less meat, this book was right up our alley.   First, this is not a vegetarian cookbook.  Though vegetables are definitely the star of this book there are quite a few recipes that contain meat or seafood.  Each and every recipe has a beautiful photo of the finish dish.  How cool is that?  The photos are up close, clean with simple backgrounds so focus stays on the food. The book is divided by type of vegetable such as bulbs, roots, tubers, greens and stems.  Each chapter starts with an introduction covering seasonality, buying, storing, prepping, flavor pairings and cooking.  Recipes are straight forward and uncomplicated.  Helpful hints are offered in sidebars.  As I flipped through the pages I bookmarked quite a few recipes to try.

    Always looking for new ways to serve carrots I tried rainbow carrots and chard. The vegetables are steamed and drizzled with a citrus vinaigrette.  Colorful and appetizing perfect for a summer or fall meal.  Quick and easy.  I tackled the recipe for leek and parsnip soup next. Parsnips, I have to admit, is not a vegetable I cook very often, actually ever.  Loved it.  The parsnips give the soup a sweet earthy flavor, a nice twist to the classic potato leek soup.  I also managed to make the lone dessert recipe in the book.  Cornmeal shortcakes with corn ice cream and blueberry compote.  I substituted vanilla ice cream for the corn ice cream but if Santa brings me an ice cream maker with its own compressor (hint hint) I’ll definitely try the corn ice cream.  The shortcakes were buttery with a slight crunch from the cornmeal and the lemony blueberry compote a lovely accompaniment.

    I received this book from Blogging for Books and I recommend it to anyone wanting to expand their “veggieverse”.   It’s filled with simple, delicious recipes with gorgeous photos and plenty of valuable information.  It’s a good thing.

    corn-shortcakes

    Here is a link to Cornmeal Shortcakes from Martha Stewart’s Living.  It is not exactly the same as the one in the cookbook. The difference being instead of 3 cups of all purpose flour the book’s recipe calls for 1 1/4 cups AP flour and 3/4 cup fine cornmeal.


    Apple Crisp (How Do You Like Them Apples)

    Apple Crisp (How Do You Like Them Apples)

    My consolation for summer ending is the arrival of Fall, the magical transition that eases us into the coming colder months.  The air is crisp and cool without the icy sting of winter.  I love how the trees drop their leaves creating a carpet of orange and yellow hues.  Yes, I will miss summer’s yummy bounty but the fall season has its rewards. From our weekly trek to the farmer’s market, we will bring home a variety of beautiful apples and pears instead of peaches and plums.  Not a bad trade-off.

    dsc04790Too lazy to make a pie I mulled over what to do with the apples, my aha moment came quickly, APPLE CRISP.

    Let me get straight to the point.

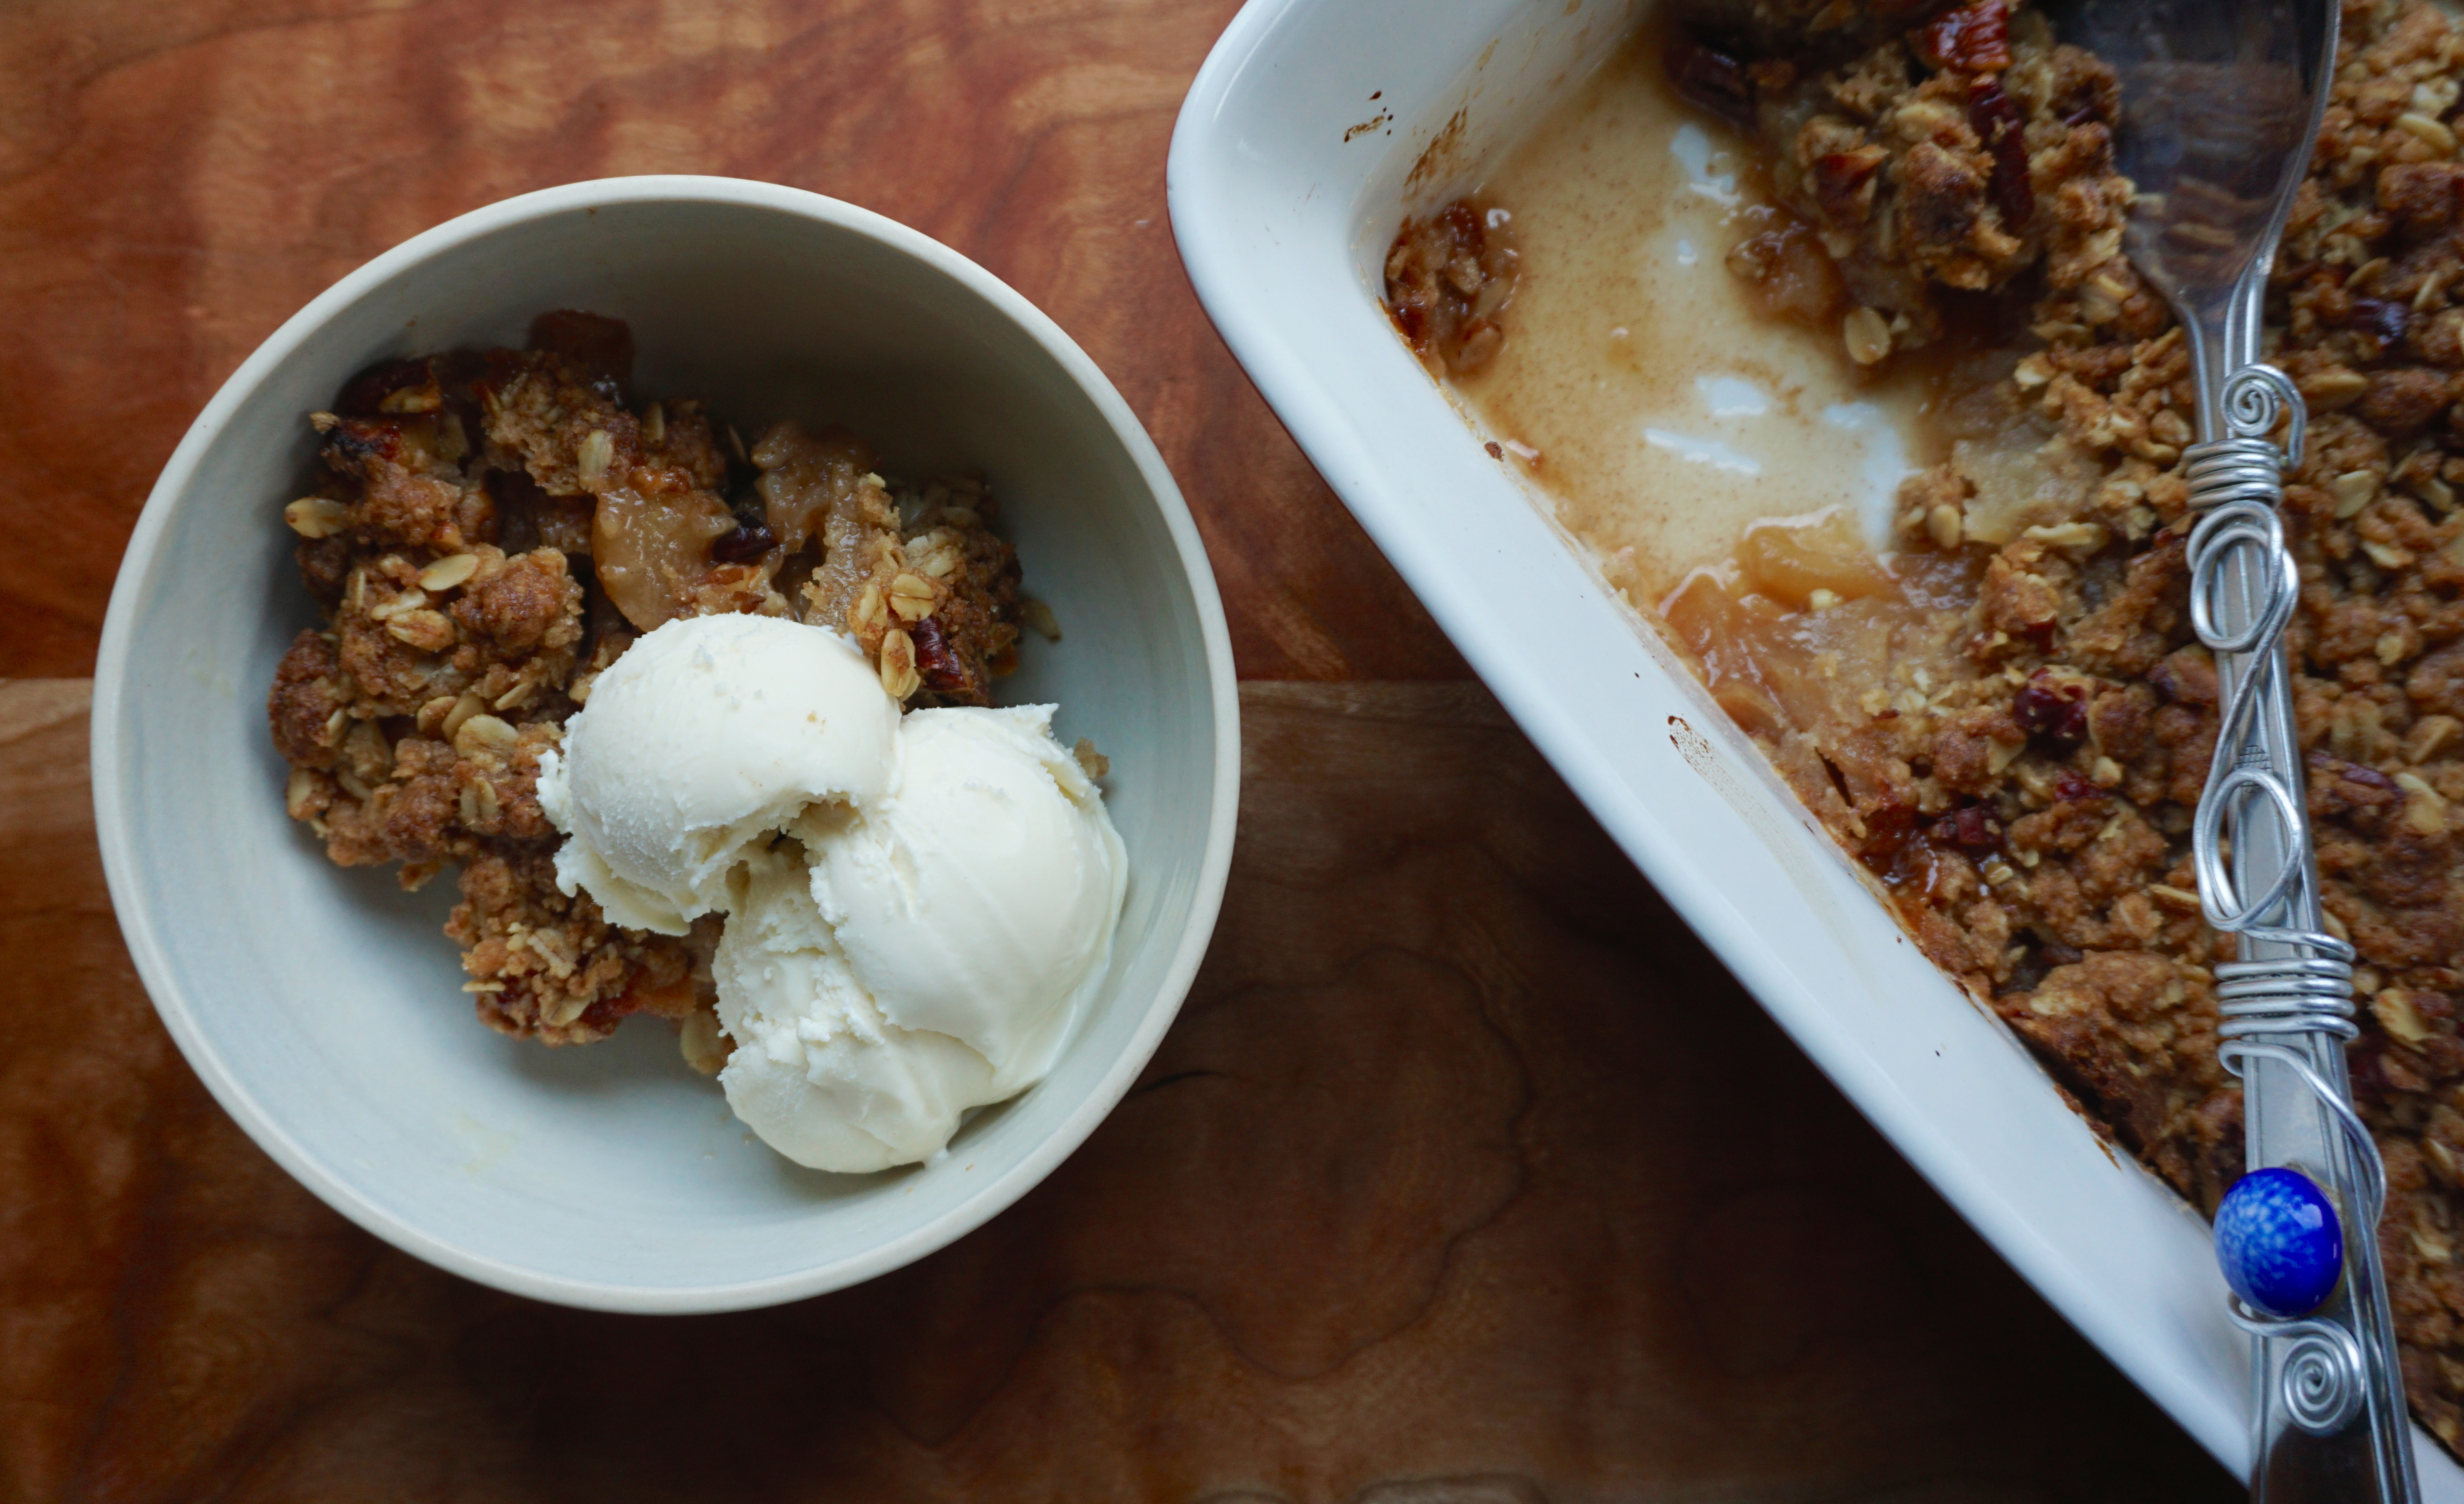
    There is never enough oatmeal, sugar, and buttery goodness blanketing the apples.  Are you with me?  Oh yeah, you are.  More buttery, crunchy, sweet topping, please.  Don’t get me wrong, I love the apple filling-warm, slightly sweet, and spiced with cinnamon and mace.  But I freely admit to being a topping junkie.  My go-to recipe is an adaptation of one I found in The Family Baker by Susan Purdy and yes, she too thinks you can never have enough of the crumble topping.  Feel free to tweak this recipe to your liking. When my kids were little they liked all things sweet. This meant I used only golden delicious apples (sometimes I snuck in a Fuji).

    I use a mix similar to my apple pie such as Pippins, Jonagolds, Mutsus, and Fujis in a 1:1 ratio now.  Explore your farmer’s market, there are so many great apples to try.  Ask your friendly apply purveyor which ones hold up well when baked.  I also add pecans to my crisp, I’m sure walnuts or almonds would work well too.  The original recipe calls for nutmeg, I like to use mace.

    But, whatever you do…

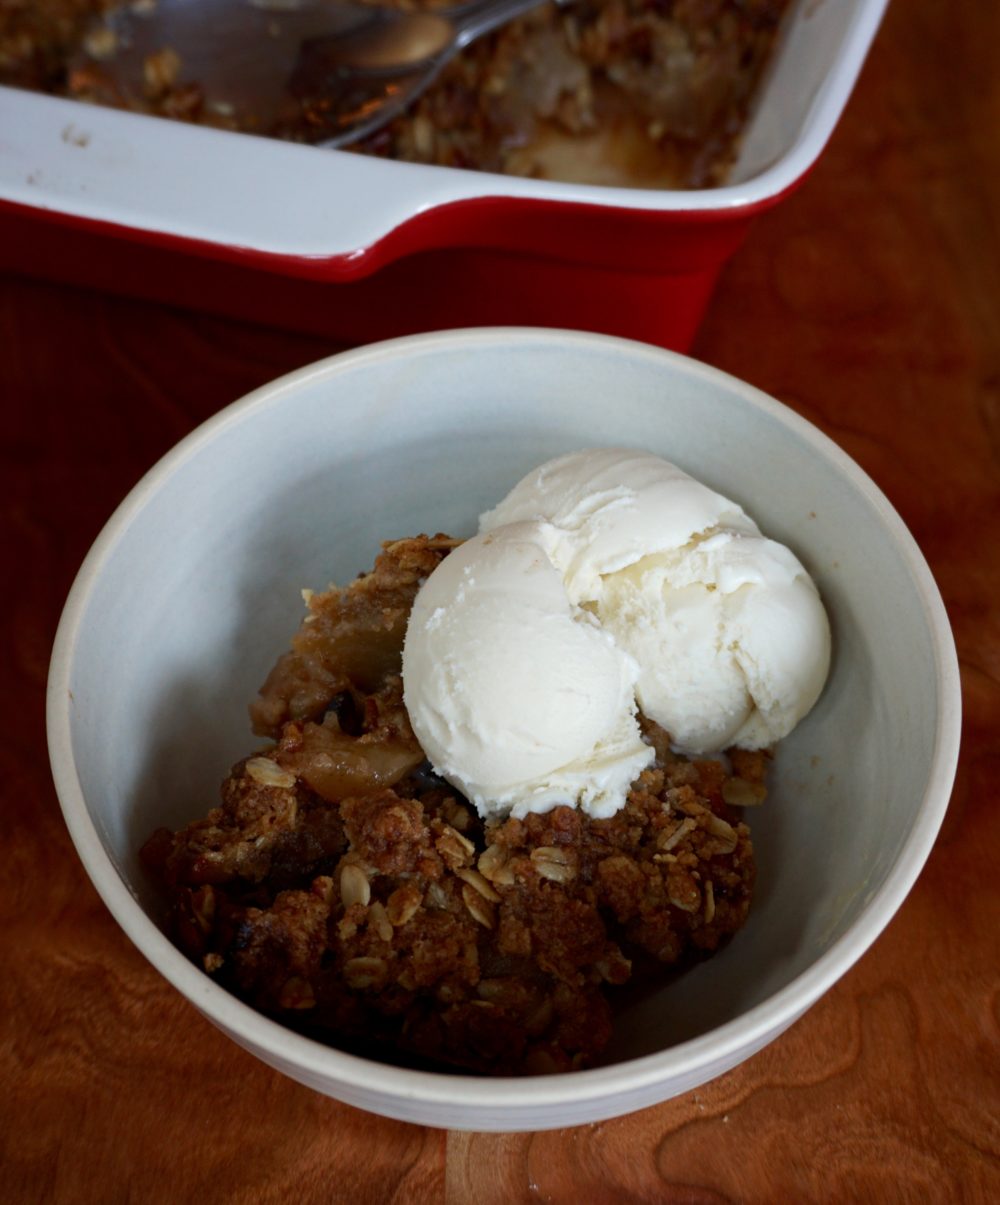
    Don’t forget a scoop or two or three of vanilla ice cream.  That makes it even better!

    How Do You Like Them Apples (Apple Crisp)

    Ingredients

    Filling:

    • 5-6 apples peeled, cored and sliced (~6 cups of apples) any combination of apples. For a more tart filling use Pippins or Granny Smiths. For a sweeter filling use a combination of Fuji's, Golden Delicious and Pippins (approximately 2 of each)
    • 1/4 cup dark brown sugar
    • 1/2 teaspoon cinnamon
    • 1/4 t grated nutmeg or mace
    • juice of 1/2 lemon
    • dash of salt

    Topping (yum)

    • 1/4 cup granulated sugar
    • 1/2 cup brown sugar
    • 1/2 teaspoon cinnamon
    • 3/4 cup all purpose flour
    • 1/2 cup old fashioned oatmeal not instant or quick cook
    • 1 stick of unsalted butter softened
    • 1/4 teaspoon salt
    • Mix topping ingredients with pastry blender or fingers until crumbly.
    • 1/2 cup chopped pecans or walnuts optional

    Instructions

    • Preheat oven to 350 degrees.
    • Butter a 9 inch deep dish casserole or gratin dish.
    • Combine sugar, cinnamon, nutmeg, salt and lemon juice with apples.
    • Pour apple mixture into dish. Top with crumble mixture.
    • Bake for approximately 40-50 minutes until topping is browned and apples are soft when pierced with a knife.
    • Serve warm with vanilla ice cream or custard sauce.