Corned Beef & Cabbage (Let’s Hash It Out)
I feel if I am going to eat a meal that is associated with a holiday I ought to learn a little bit about that particular holiday and its significance to the culture or country of origin. The extent of my knowledge regarding St. Patty’s Day is corned beef and cabbage.
So Friday as I was pulling my corned beef out of the fridge, I googled St. Patrick’s Day. In a nutshell, Patrick, before he became a saint, is credited with bringing Christianity to Ireland. St. Patrick’s Day is the day of his death. A folktale credits him with driving the snakes out of Ireland, symbolism for pagan religions as there are no snakes in Ireland.
Corned Beef and Cabbage is not the chosen celebratory meal in Ireland but rather came about here in America. Corned beef and cabbage were both relatively cheap and out of necessity became the meal of choice for the poor Irish immigrants striving to make a new life here. In Ireland, you are more likely to have Irish Stew and Soda Bread.

Shortcut Corned Beef
I will admit, I make this once a year. Don’t get me wrong, I love Corned Beef, I just don’t make it at home…except on Saint Patty’s Day. As a kid, my favorite breakfast was Corned Beef Hash by Mary’s Kitchen. Yep, hash out of a can, I thought it was delicious.
Two things I did differently this year. On a whim, I splurged on Wagyu Corned Beef Brisket from Costco. Second, we pulled out the Instant Pot. With two unknowns it’s hard to know if the Waygu or the IP was responsible for just how delicious the corned beef came out. It was tender, moist, and delicious. A variety of recipes found online served as my guide with a shout-out to Simply Recipes.
- Various recipes I looked at called for a 2.5-pound chunk of corned beef. I don’t know about you, but after cooking, it shrinks quite a bit and that wouldn’t be enough, not in my family at least. There would be little left for my fav breakfast hash (not acceptable in my book). The piece I bought was 4 pounds and fit nicely in my 6-quart Instant Pot. This was enough for dinner, the next day’s lunch, and a generous skillet of hash for that leisurely weekend breakfast.
- Rinse corned beef thoroughly before placing it in the pressure cooker, helps keep the salt at bay.
- Place the corned beef on the metal trivet that comes with the Instant Pot, makes it much easier to lift out when it is done.
- Add 1 quartered yellow onion and a couple of cloves of garlic to the pot. Sprinkle the seasoning packet that comes with the corned beef and 1 tablespoon of brown sugar on the surface of the meat.
- Add 4 cups of liquid to the pot. It may not completely cover the meat, and that’s okay. The liquid can be all water, water, and beef stock 1:1, or a can of stout and water. The Wagyu beef was on the salty side. So be careful with the stock, use low sodium or homemade.
Let’s Get to the Easy Part
Seal your Instant Pot and set it to high pressure for 85 minutes and go relax, but tell everyone you are making dinner, they’ll never know.
Once the cycle is complete, turn off the Instant Pot and allow the corned beef to natural-release for 15 minutes before taking it out. If it has not completely depressurized, vent the pot before taking off the lid. Add your potatoes, carrots, and cabbage (that you prepped while it was cooking, oops, forgot to mention). Place potatoes and carrots into the pot first, then the cabbage on top. Seal the pot and set a timer for 5 minutes. Quick release when it is done.
Slice corned beef against the grain. Serve with honey mustard and veggies on the side or if you are like the Hubster, make a sandwich…yum. Happy Saint Patrick’s Day!
But What About Breakfast?

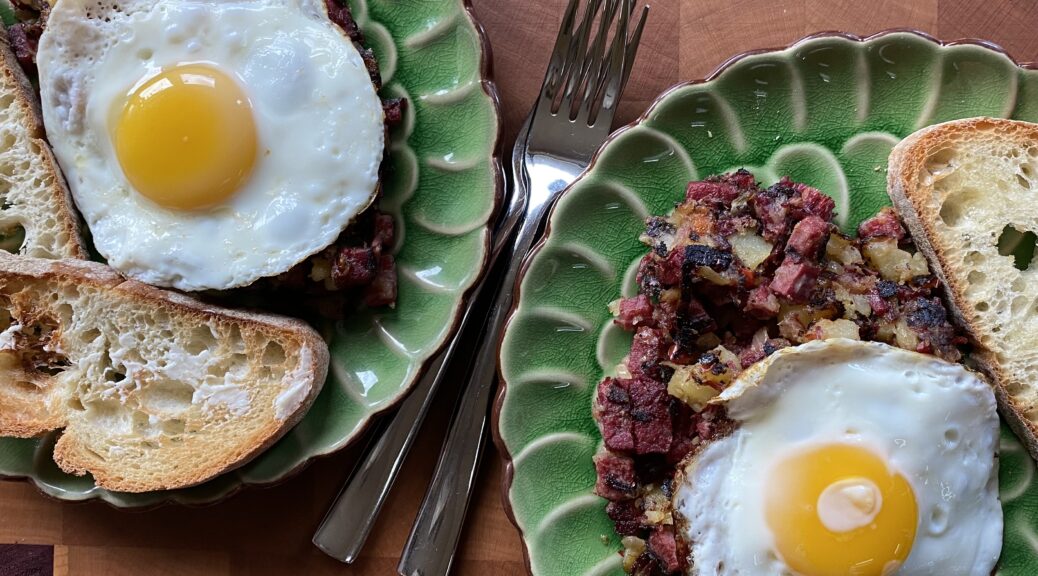
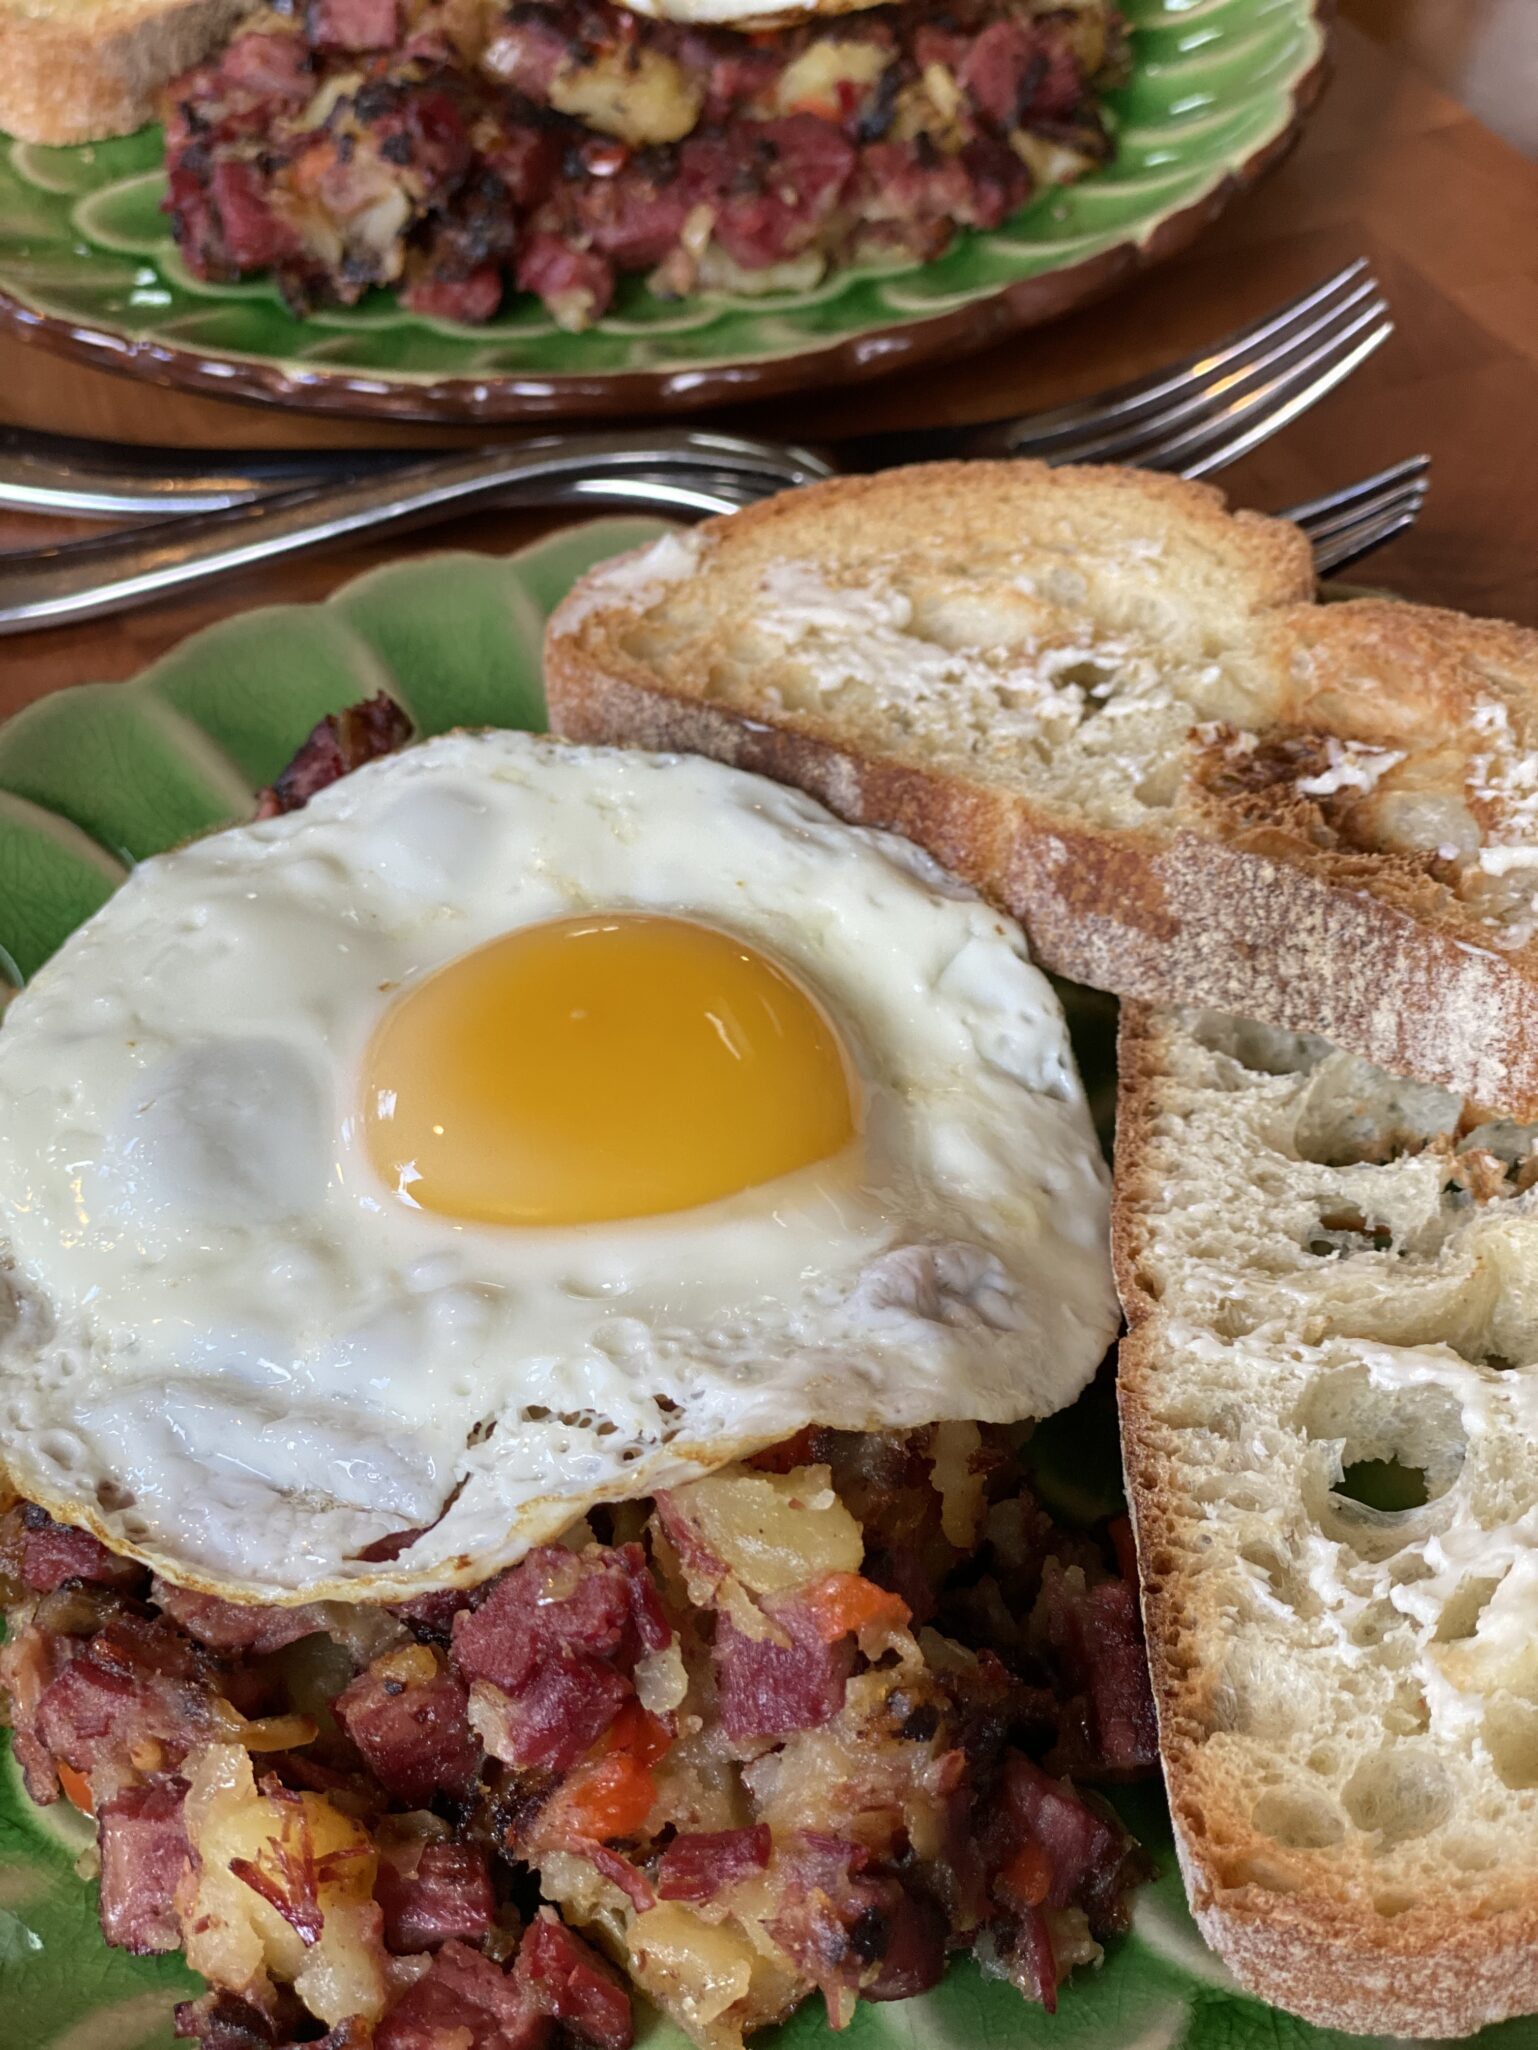
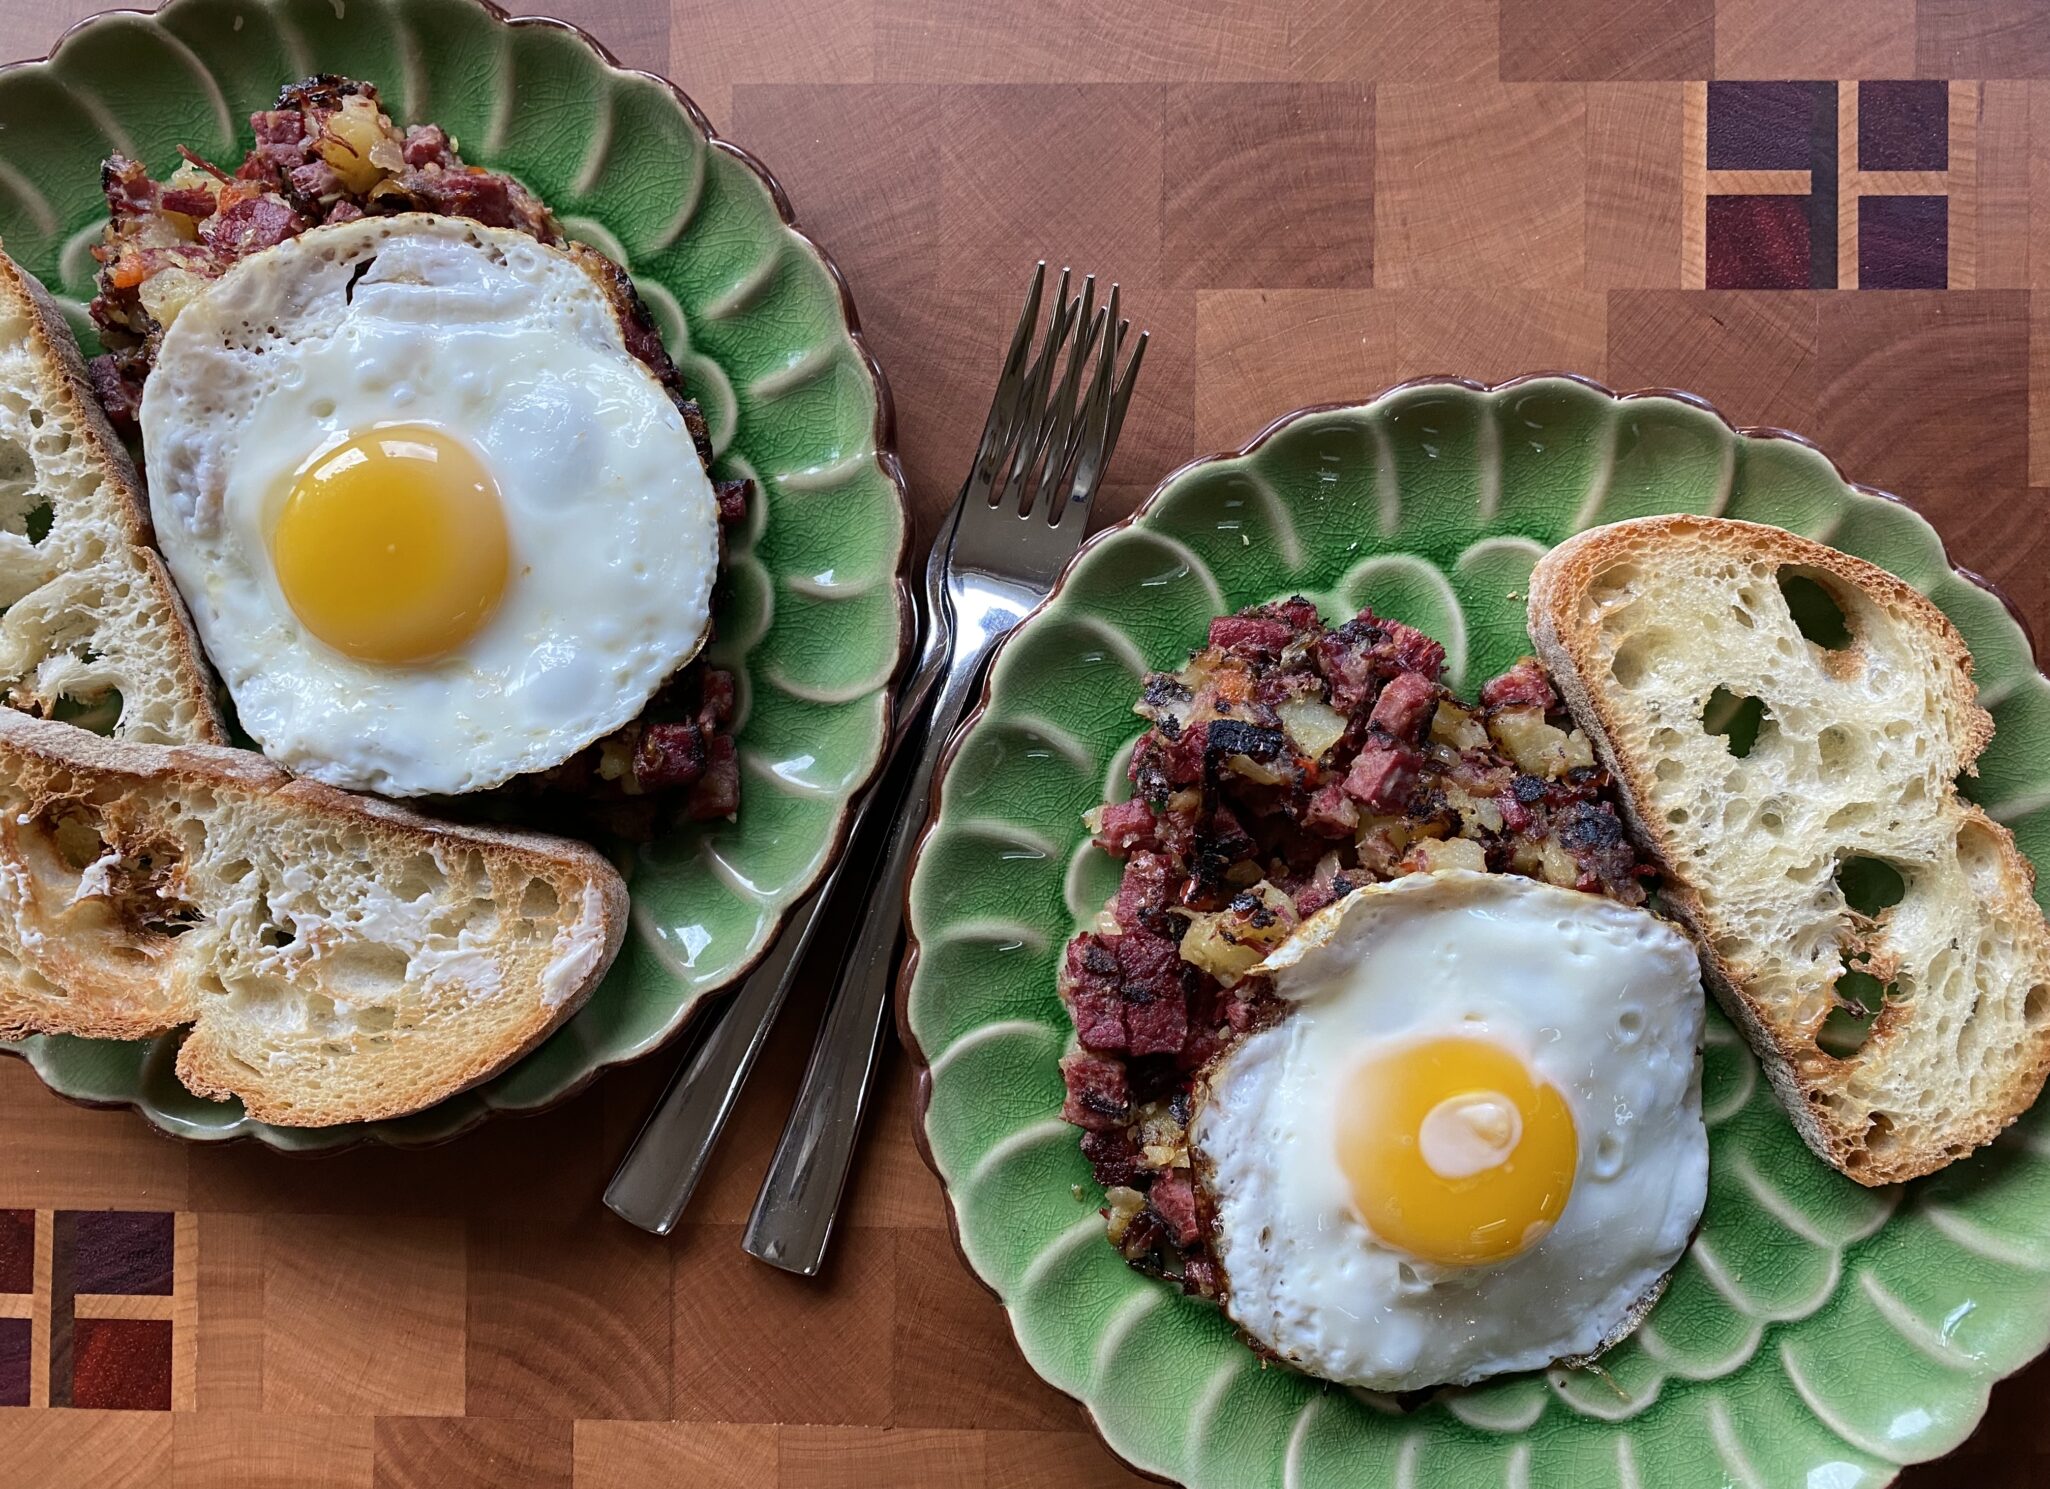
I like corned beef, I LOVE corned beef hash. The remaining corned beef became Sunday breakfast. I pulled out my cast iron skillet, the remaining beef and potatoes, chopped some onion and bell pepper, bada-bing-bada-boom, hash.
Feel free to add other vegetables or change the proportions. This can easily be a veggie-focused hash, more potatoes, throw in the leftover cabbage, add some mushrooms…it will be delightful and perfect for a weekend relaxing breakfast.

Beautiful board made by 3jamigos woodworking.
Corned Beef Hash and Eggs
Equipment
- cast iron skillet
Ingredients
- 2 to 3 tablespoons unsalted butter
- 1 small onion finely chopped (about 1 cup)
- 1/4 green or red bell pepper or pepper of choice!, chopped
- 2 to 3 cups cooked corned beef finely diced or chopped
- 2 to 3 cups chopped cooked potatoes from dinner 🙂
- Kosher salt and freshly ground black pepper
- Chopped fresh parsley or scallions
- Eggs one per serving
Instructions
- Heat butter in a large skillet (preferably cast iron) on medium heat. Add the onion and pepper and cook a few minutes, until translucent.
- Add corned beef and potatoes. Spread out evenly over the pan. Increase the heat to medium-high and press down on the mixture with a heat-proof spatula.
- Do not stir the potatoes and corned beef, but let them brown. If you hear it sizzling, that's a good sign.
- Use a spatula to peek underneath and see if they are browning. If nicely browned, use the spatula to flip sections over in the pan so that they brown on the other side. Press down again with the spatula.
- If there is too much sticking, you can add a little more butter to the pan. Continue to cook in this manner until the potatoes and the corned beef are nicely browned.
Egg-a-licious: Your choice, hash is good with eggs cooked any style
- Or cook eggs like Shashuka. When hash is close to being done, create depressions in the hash and crack an egg into each spot. Cover skillet for a couple minutes until egg is cooked to your liking.
- Remove from heat, top with chopped parsley or scallions. Season with freshly ground black pepper and salt to taste.