
This past weekend we had dinner with our “Gourmet Club”. A group of us, 5 couples, started the club when our kids were in preschool.…
I received Sam Kass’s book, Eat a Little Better: Great Flavor, Good Health, Better World to review QUITE a while ago. I wasn’t too busy…
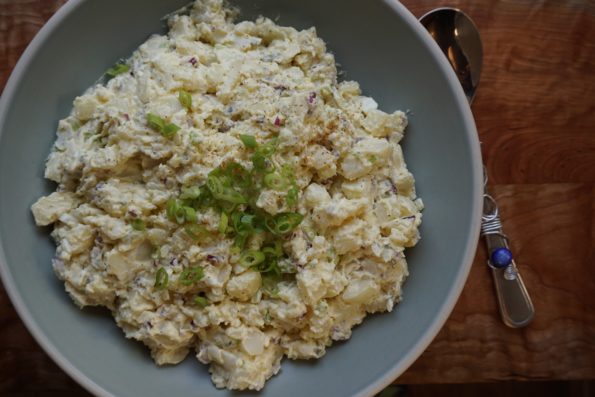
I decided to throw a surprise birthday party for the hubby. Since it was an impromptu event, I kept it simple. Just a handful of…
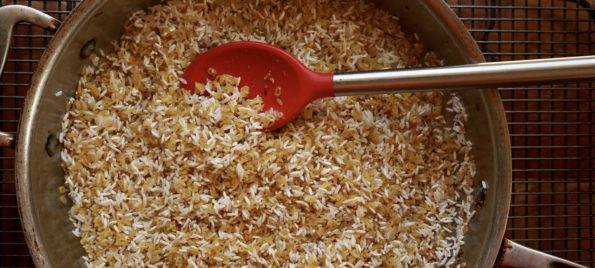
When the holidays roll around and the feasting begins, you can find me eyeing the array of side dishes on the table. Yep, scoop me…
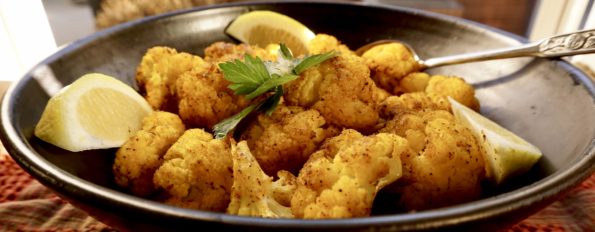
When I was a kid, there was a definite hit list of vegetables we hated. My brother and I had all sorts of tricks to…
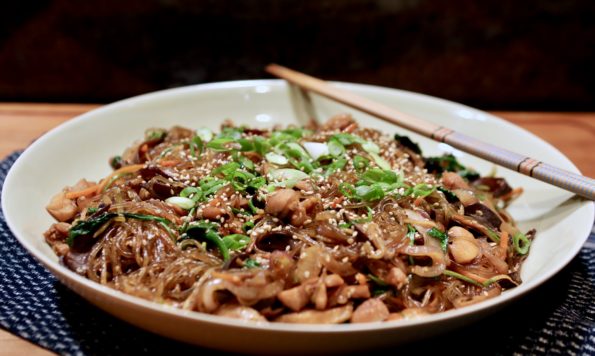
On one of our weekend food treks, hubby and I headed to East San Jose in search of egg rolls and banh mi. Right in…
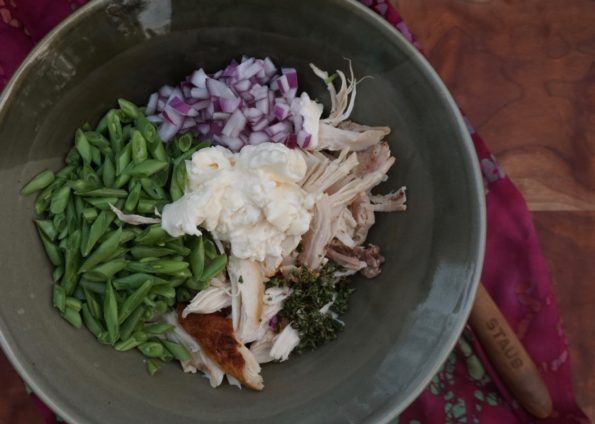
Ninety-degree weather welcomed us home from Nashville yesterday. Mother Nature is giving us one last summer hurrah and it’s a doozy. Perfect time to fire…
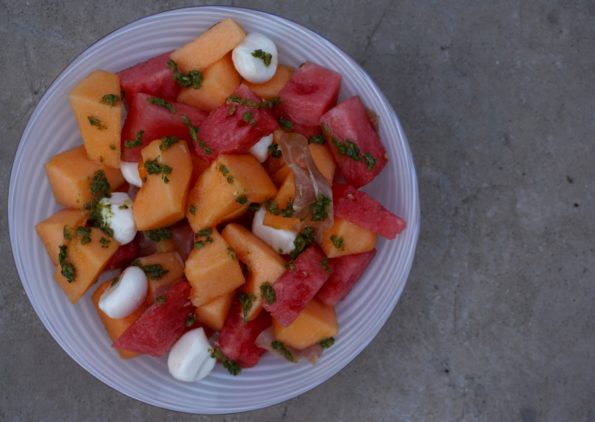
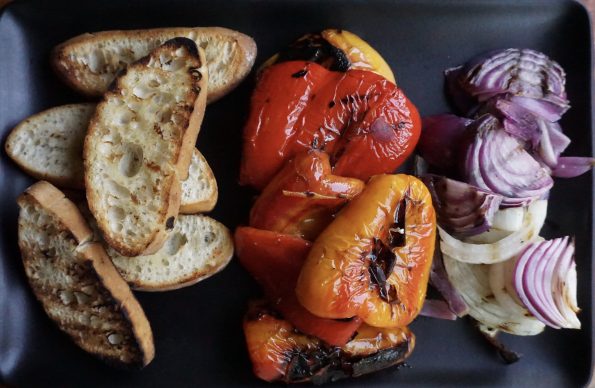
Summer has announced itself with a bang. This past week has seen temperatures touching in the 90’s. I’m not turning on the stove. Lucky for…
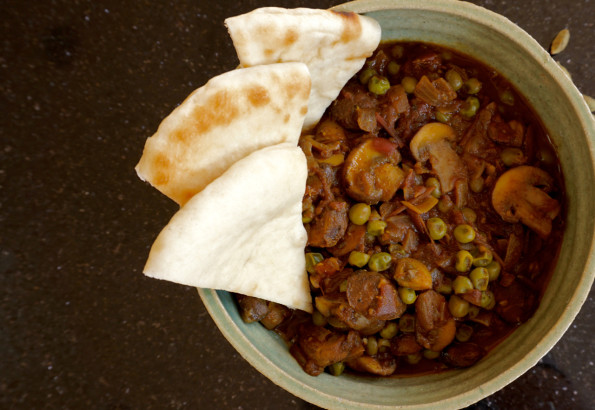
As I fixate on cookies for the holiday season, Wes continues his quest for interesting, delicious vegetarian dishes. Not surprisingly this often means Indian food. …