
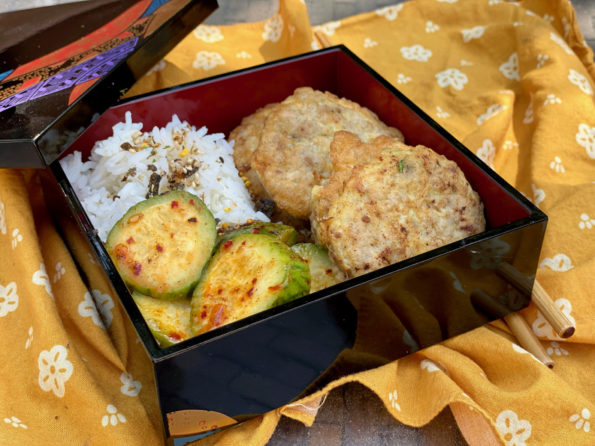
From a historical perspective, who was the OG that took a hunka meat and decided to grind it up? It was GENIUS I mean, think…
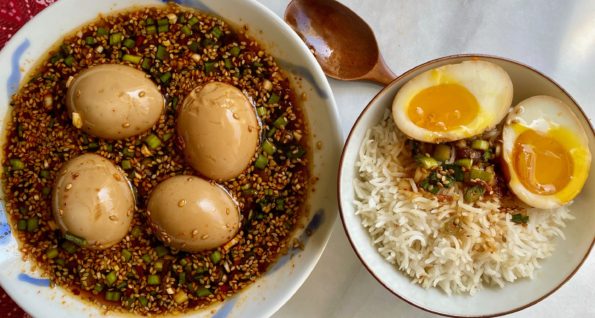
Originally, this post was going to just be about the latest Korean craze, Mayak Eggs (마약계란). TikToks, Reels, IG Stories, folks “egging” everyone on to…
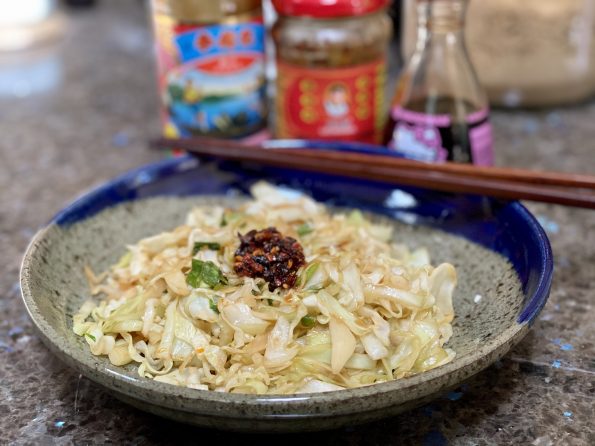
I love cabbage. This has been a recent revelation. I’m not quite sure why cabbage has grabbed my attention but I find myself throwing it…
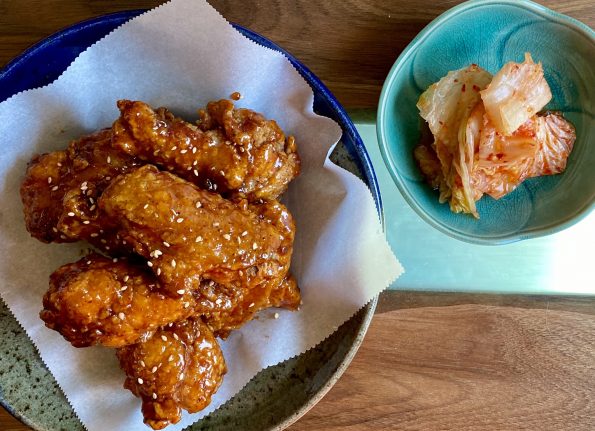
The Hubster is still on his quest for the perfect fried chicken. He is getting pretty darn close if you ask me. This time a…
I consider my weekly trip to our local Farmer’s Market as my sanity break from COVID-19. As the weather warms not only are more folks…
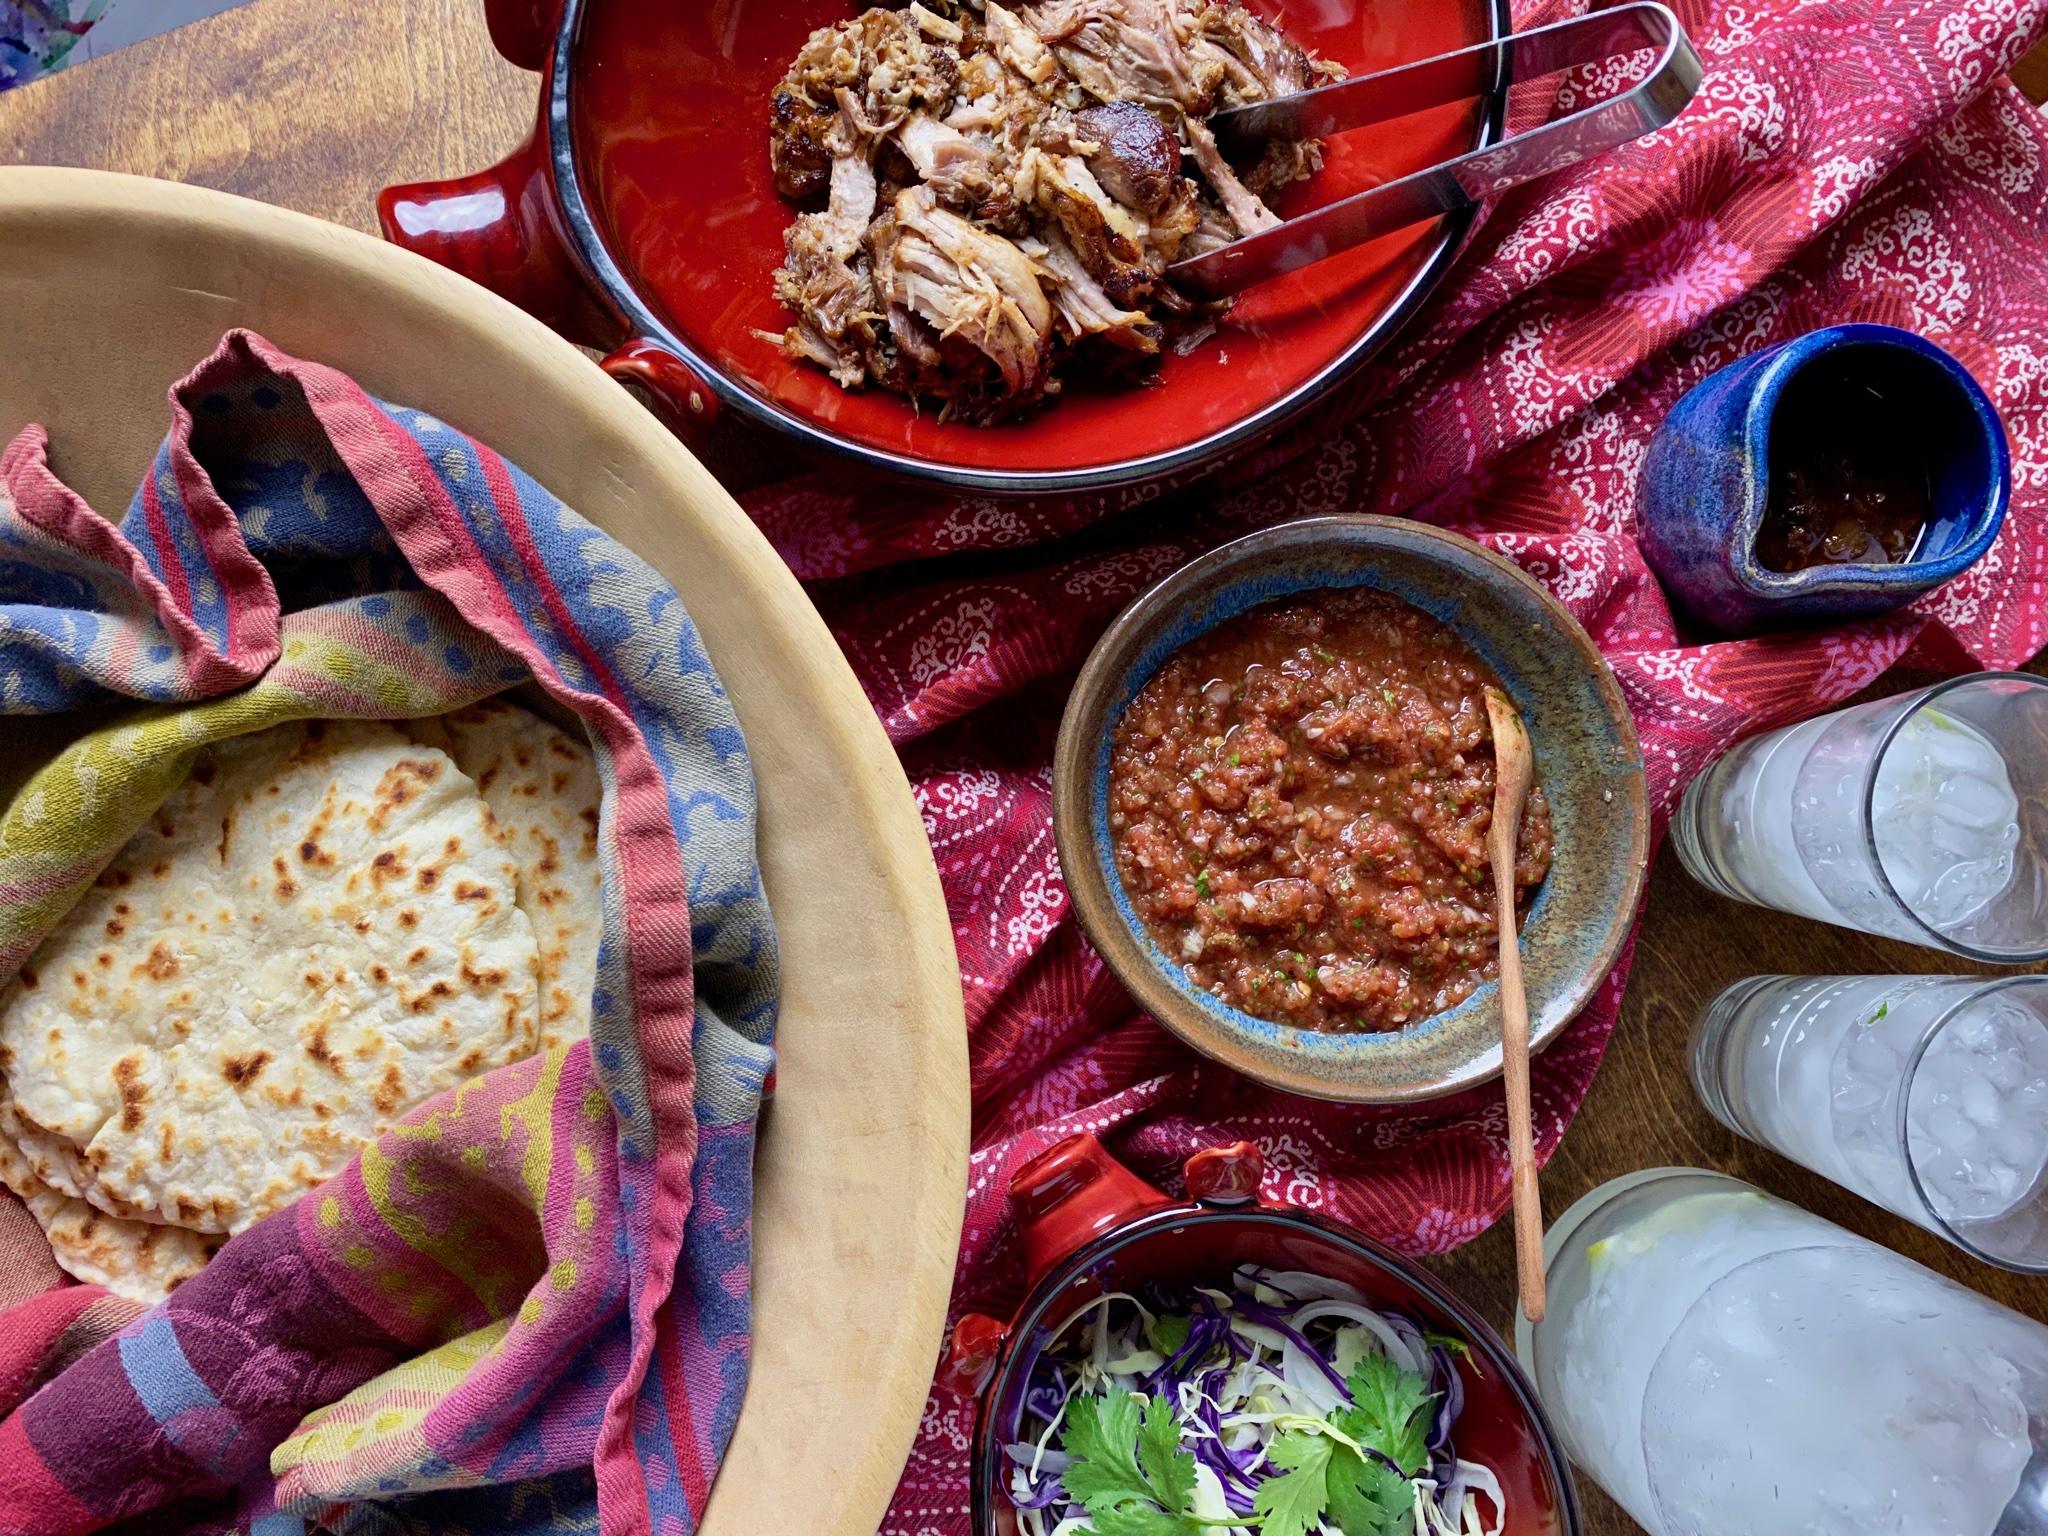
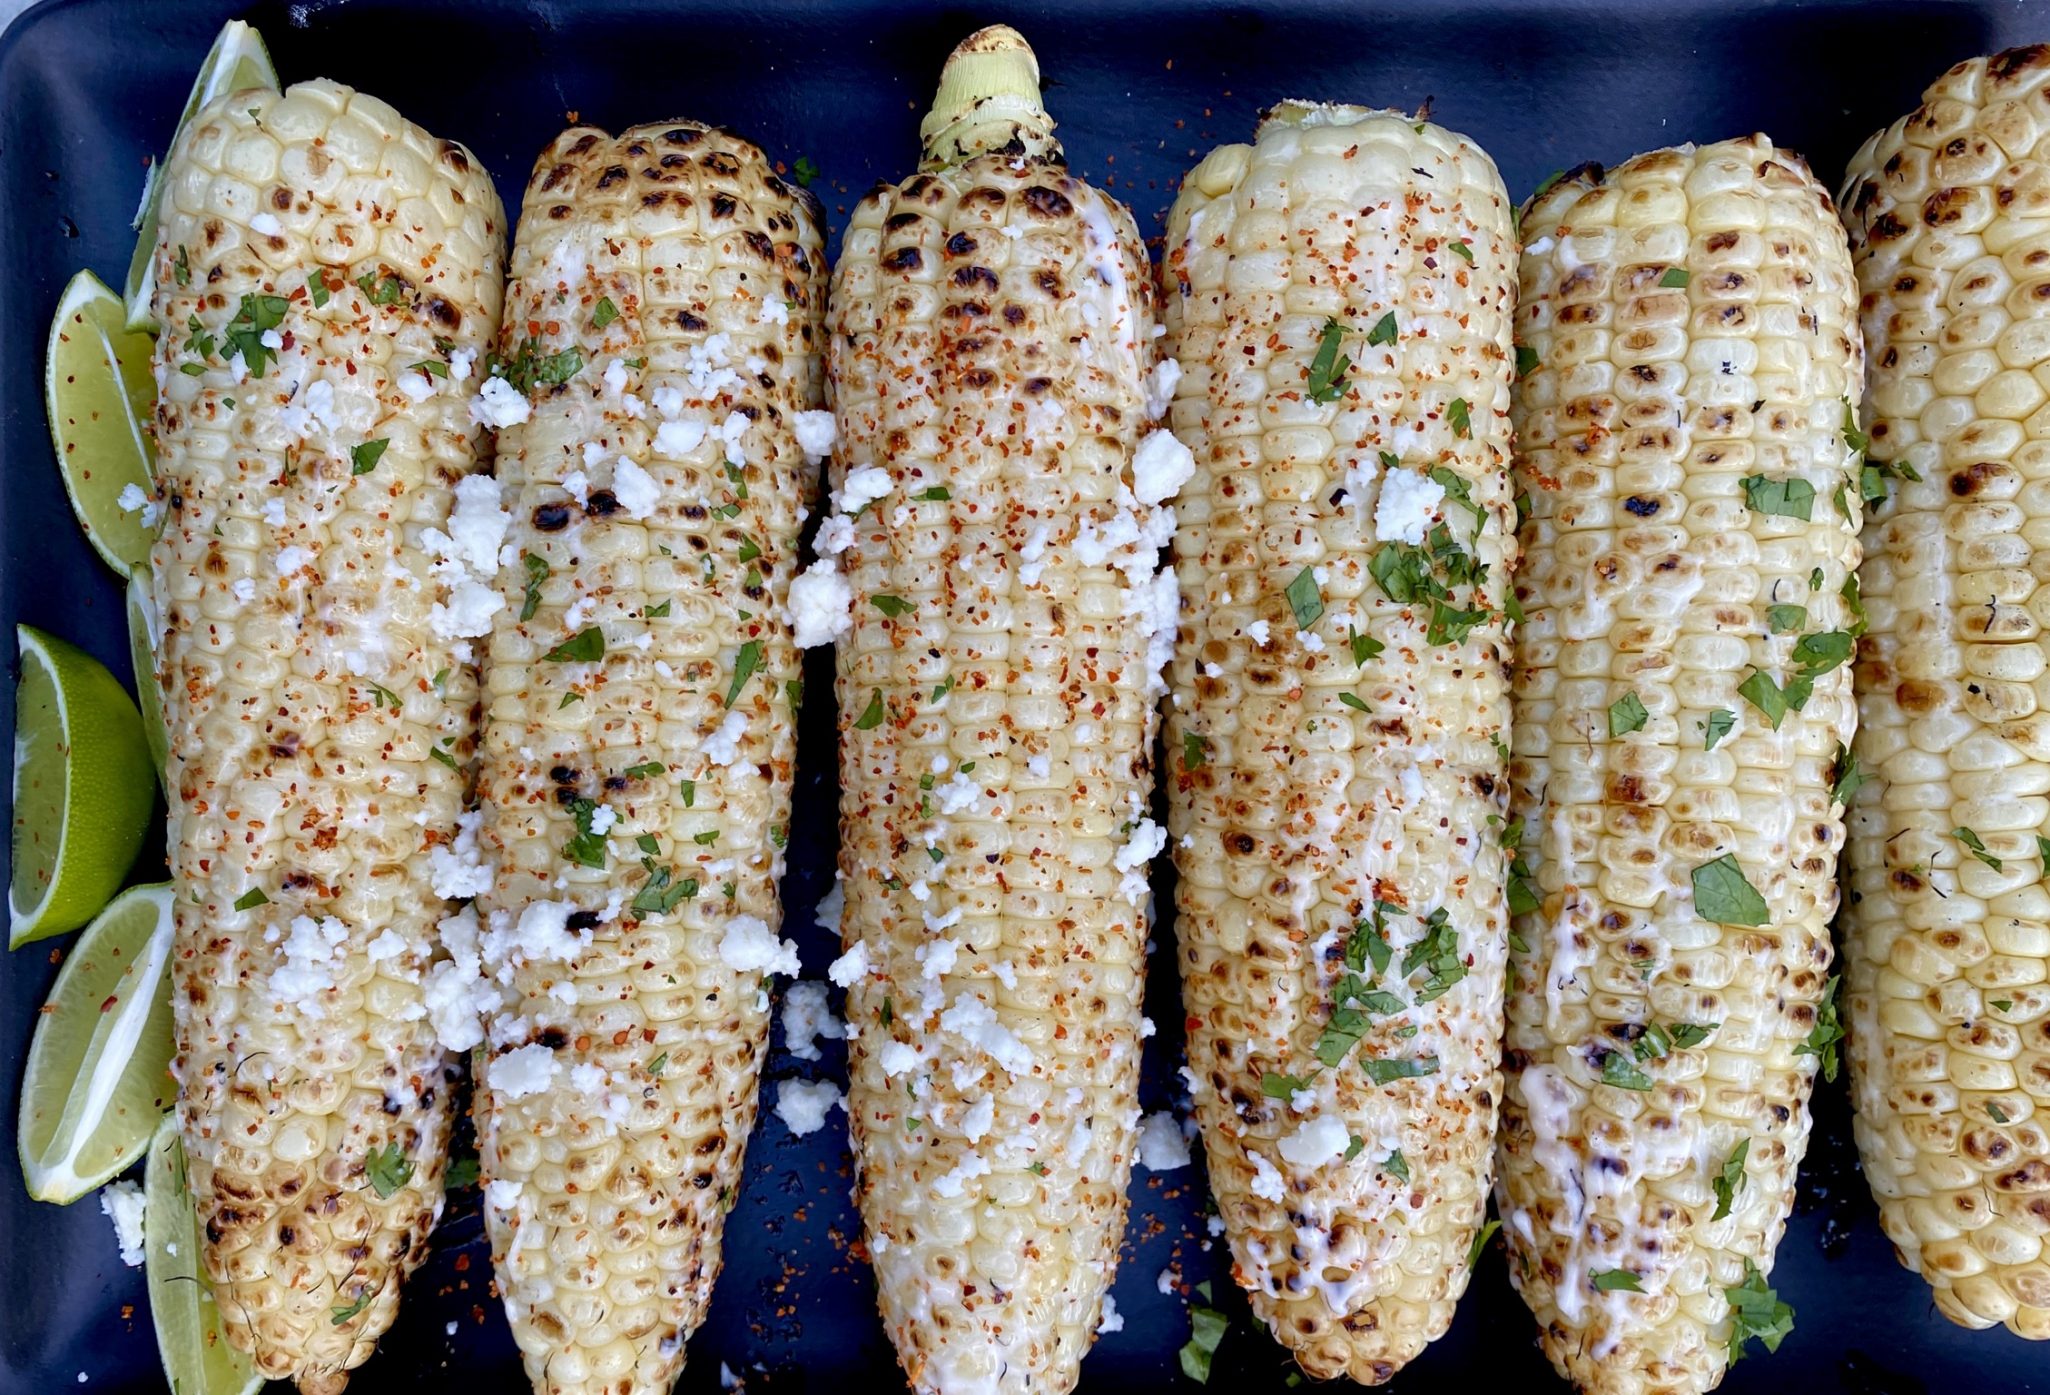
A brief moment of escape from the reality of our world right now to enjoy a Margarita and celebrate Cinco de Mayo. I got the…
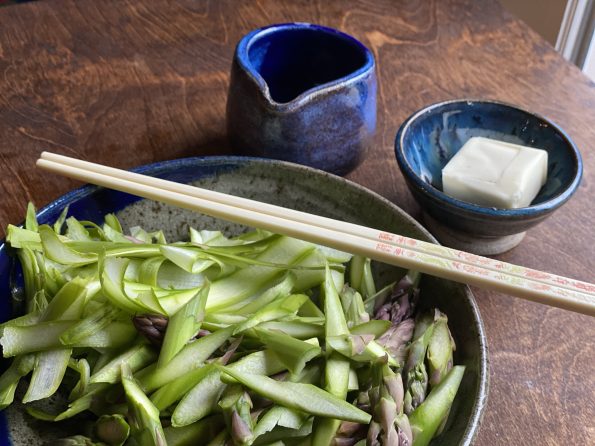
A simple and delicious way to enjoy asparagus. Just a little bit of butter, soy sauce as you saute asparagus and a dash of salt…
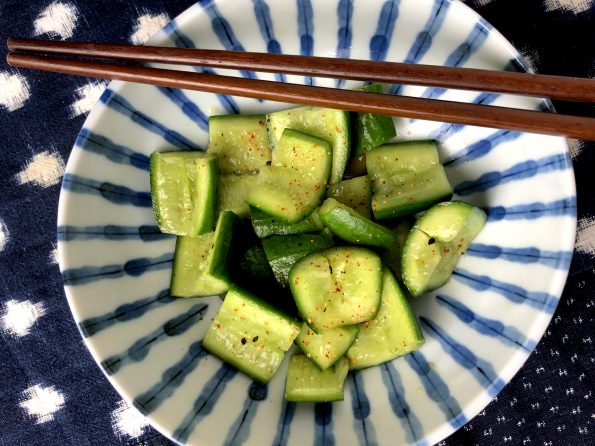
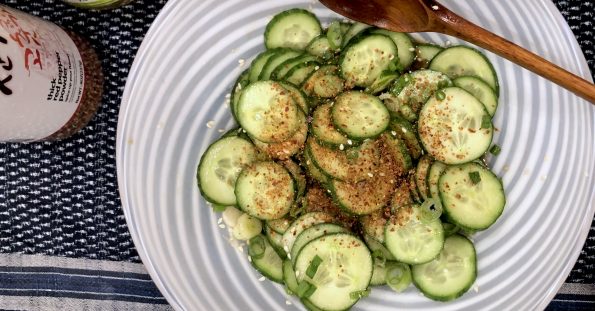
This summer I have been the lucky recipient of what seems like a bushel of cucumbers from the gardens of friends and neighbors. Luckily, I…
Are you like me? I hate making salads. I love salads, but prepping veggies, not so much. I only have enough bandwidth to prep maybe…