
My guilty pleasure during the time of COVID has been Sunday morning outings to our local farmer’s market. A chance to get out of the…
Growing up in Chinatown I took for granted that everyone had access to fresh vegetables, fish, poultry and meat. If only I had an iPhone…
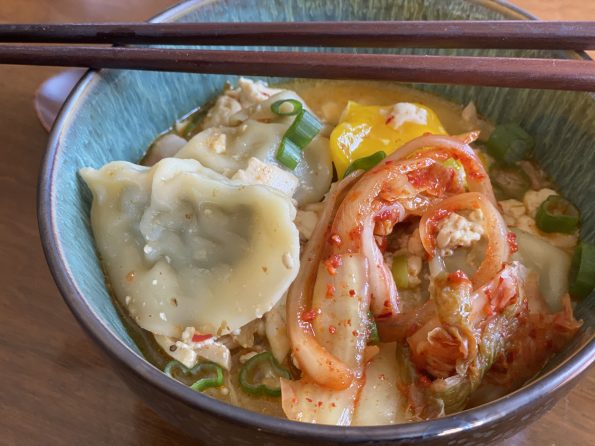
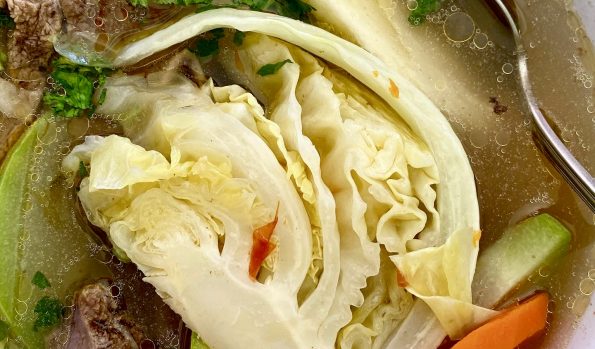
Y’all know I love soup, right? I have about a dozen recipes for different soups on 3jamigos and now I am adding one more, Kimchi…
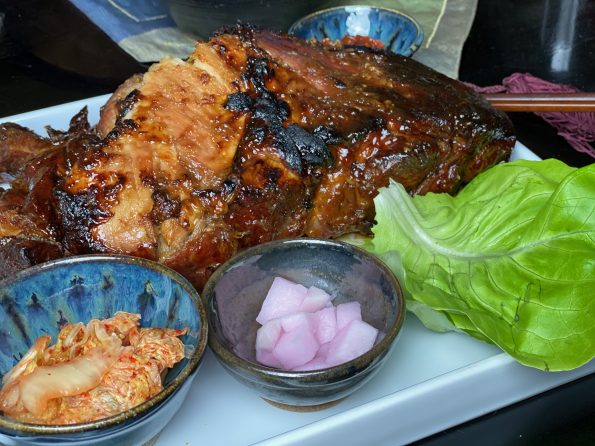
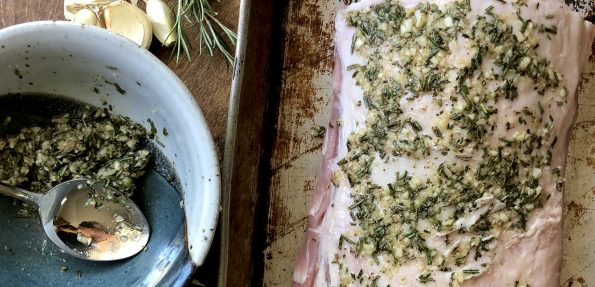
Need a dish to feed a big crowd? A dish that is easy to make and requires little attention? I have just the dish! Bo…
Last week I headed up to the City to run some errands, check on my mom’s house and visit her at the assisted-living home. We…
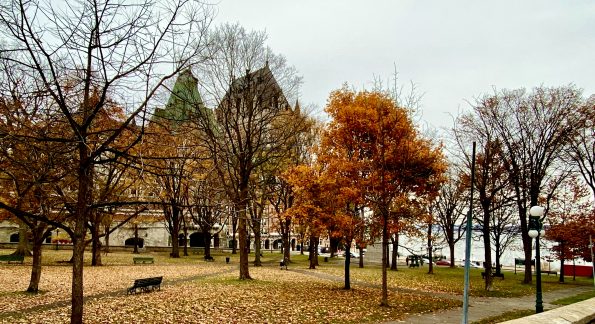
Greetings from rainy Quebec City! Hubby and I decided to take a quick trip to Montreal and Quebec City. Our last trip to the eastern…
I walked out this morning and for the first time, there was a slight chill in the air. Is Fall finally here? Hmmm. Let me…
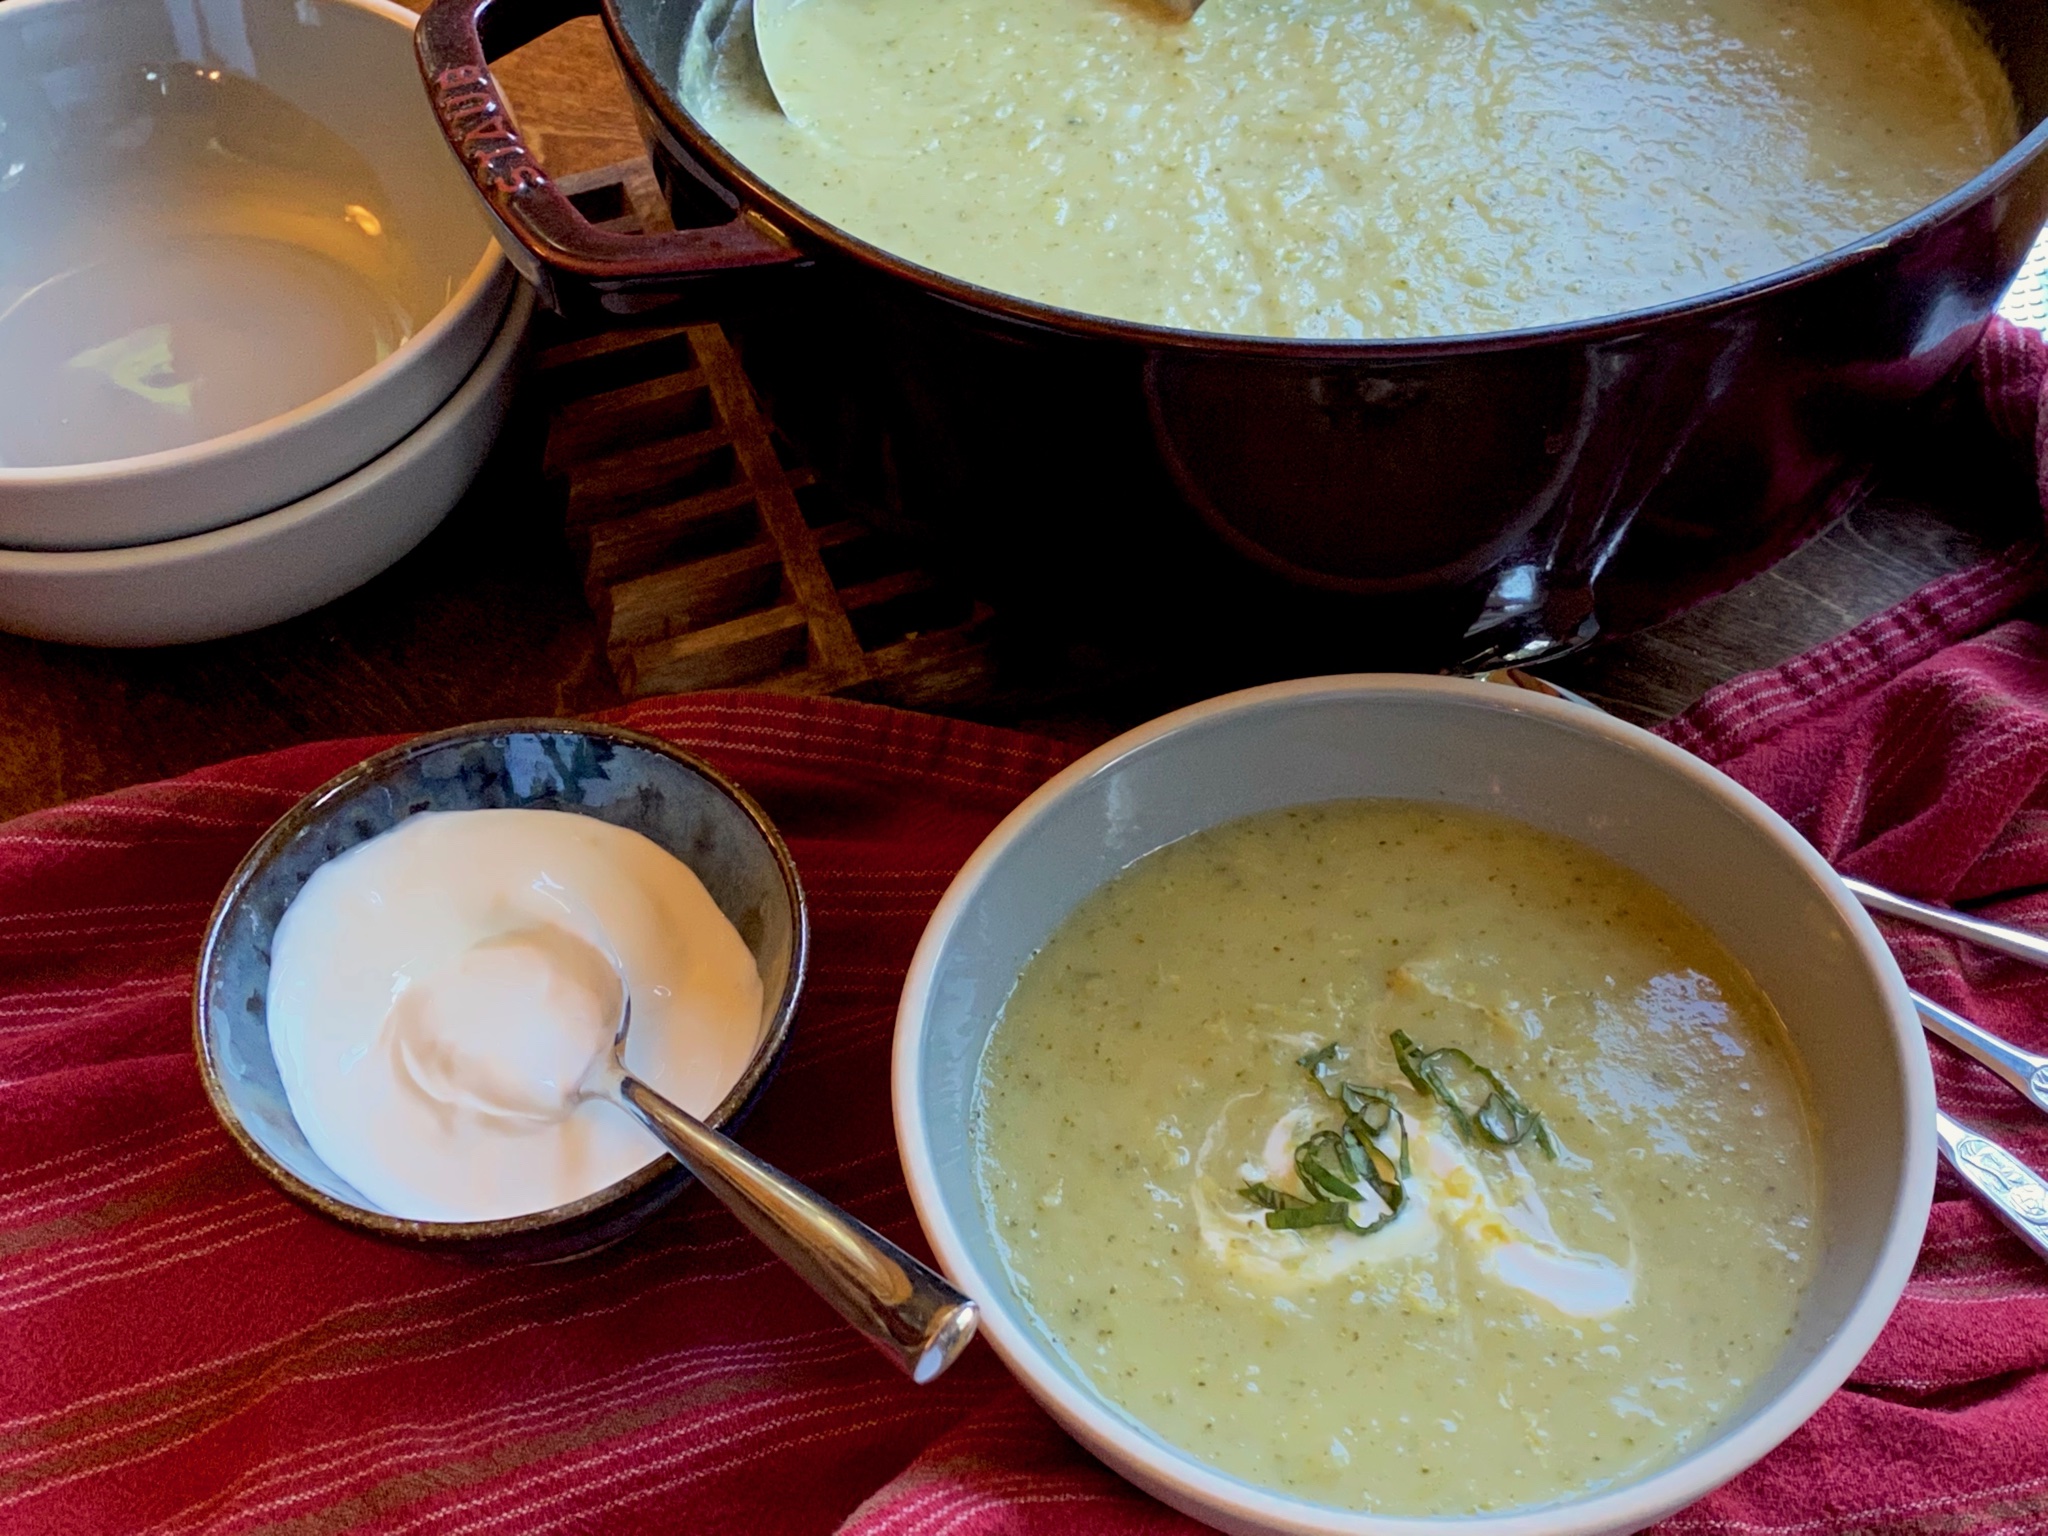
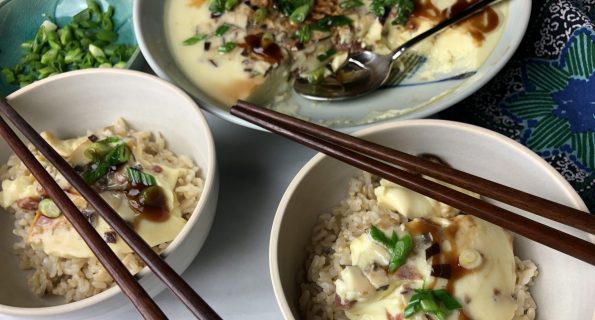
Another cold and rainy day in normally sunny California. To combat the soggy blues I pulled out my favorite therapy tools. A pot, a bowl,…
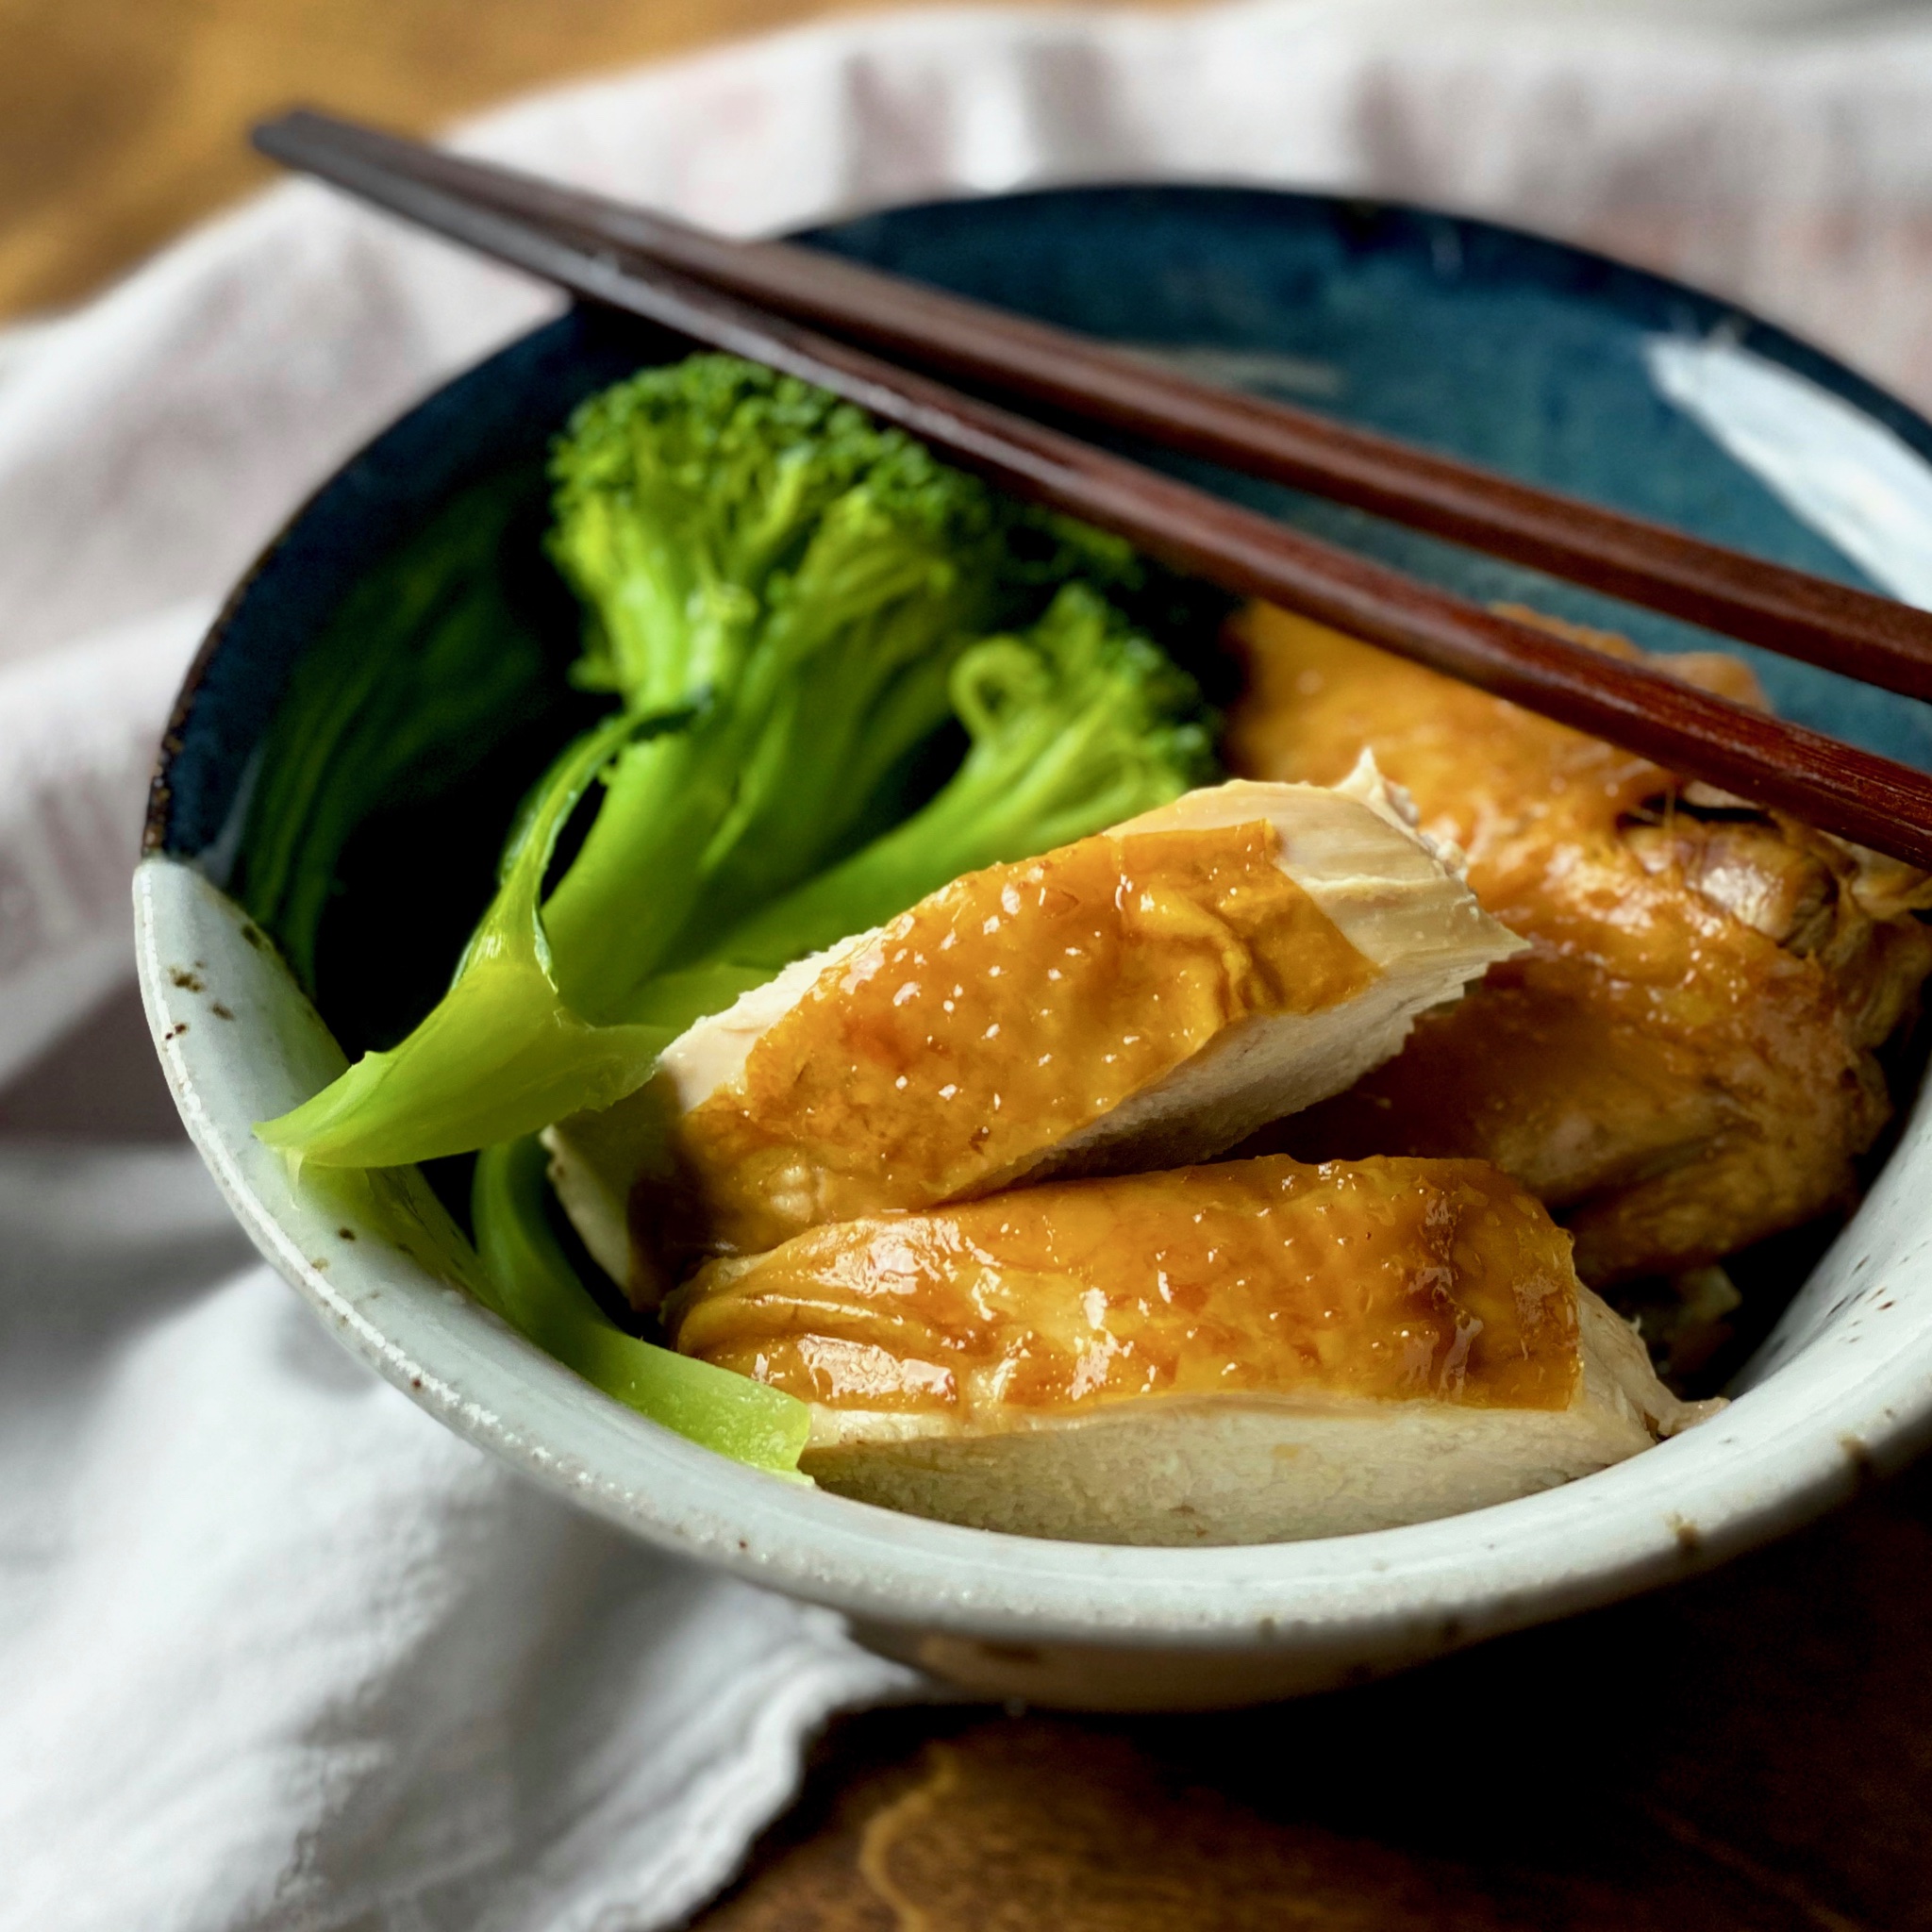
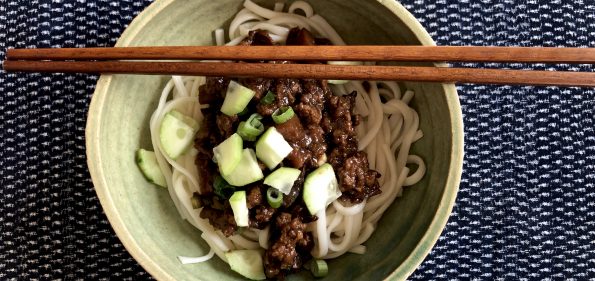
There are dishes that with the first bite I am instantly transported back to the dinner table of my childhood. My dad clanging pots and…