
I am a big fan of Ottolenghi’s cookbooks, the photos are mouthwatering and every dish I have tried has been delicious. My favorite book is…
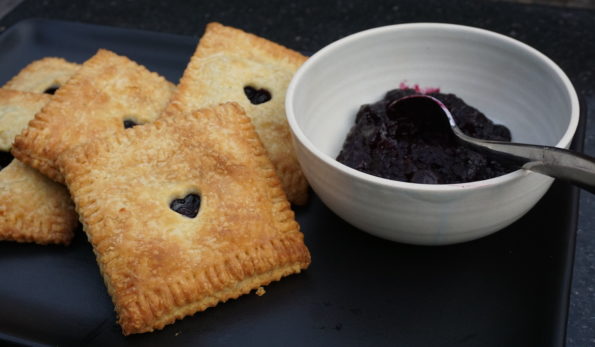
I am a pie kind of gal. It is common knowledge, I will search for pie at every opportunity-family vacations, weekend jaunts, regattas, anytime, anywhere.…
After being on a roll for a couple of weeks I found myself with blogger’s block. I perused magazines, poured over cookbooks and surfed food…

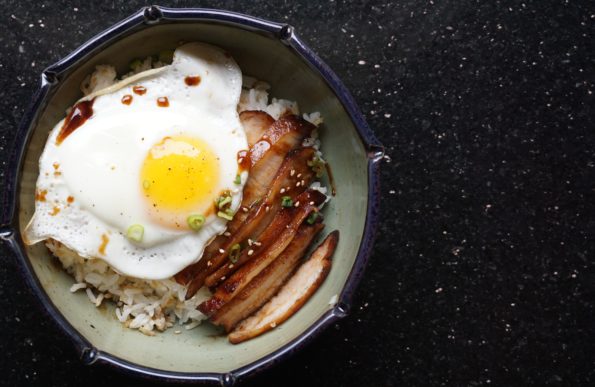
The NYT recipe for spicy pork shoulder made quite a bit so to keep things fresh and interesting (the classic leftover dilemma), we looked for different ways…
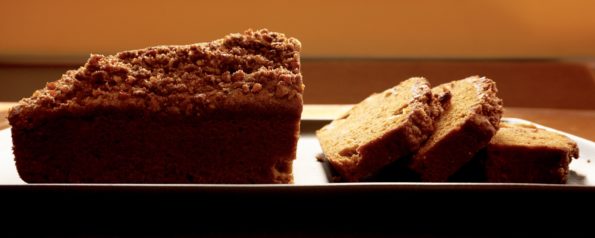
Everywhere I turn I am reminded that Fall is upon us. Shorter days, cooler nights, falling leaves blanketing the ground….and pumpkin in EVERYTHING! Pumpkin spice…
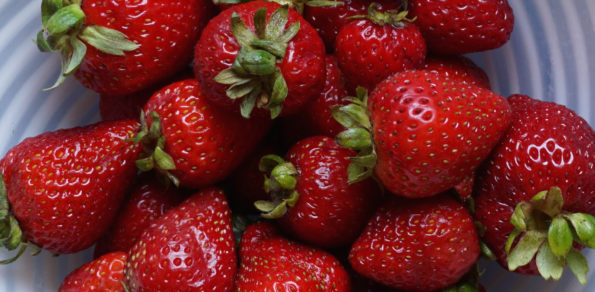
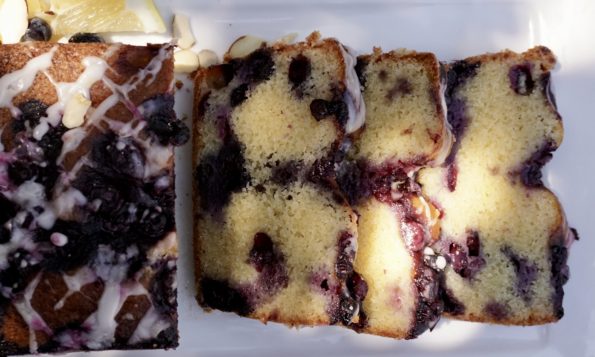
I still haven’t made that transition to feeding two instead of five. This is no more evident than when I go to the farmer’s market.…
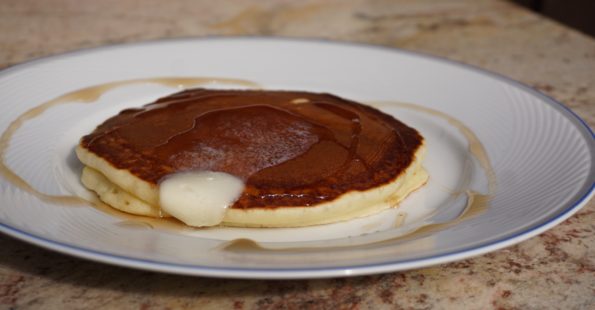
I got home from rowing the other morning and spied our stainless steel mixing bowl sitting on the counter. Hmm….looks like Wes made pancakes for…
I love Sunday morning breakfast. Instead of the rushed, quick bites during the Monday through Friday grind, weekend breakfasts are leisurely and quite the production. …

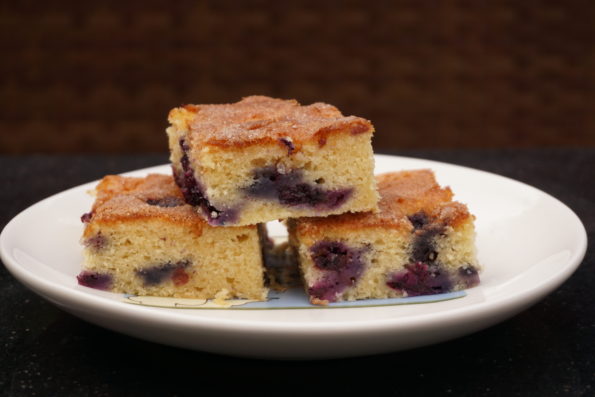
I love to bake. I bake when I’m stressed, I bake when it’s rainy. I bake for my kids, coworkers, friends, and my favorite Monday…