

Home Nothing beats coming home. Though we had a blast on our trip to Korea and Japan, it always feels good to open the front…
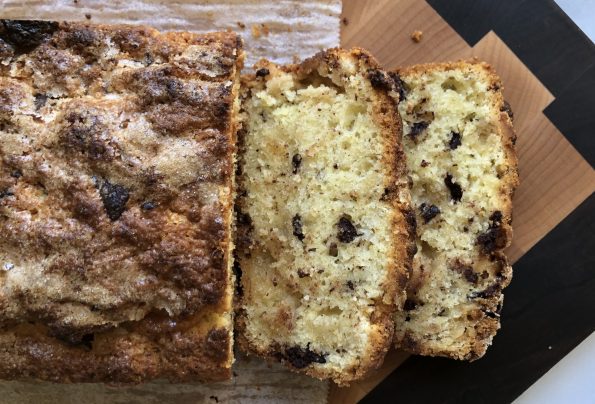
I recently added the cookbook Molly on the Range to the 3Jamigos shop. I couldn’t resist, the Kindle edition is going for a buck ninety-nine.…
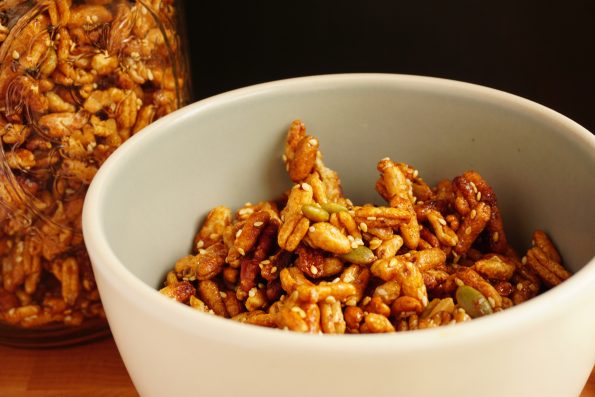
A delightful cereal made with puffed cereal and flavored with cinnamon, Mahaleb and cardamon. Delicious over yogurt or straight out of the jar. A nice…
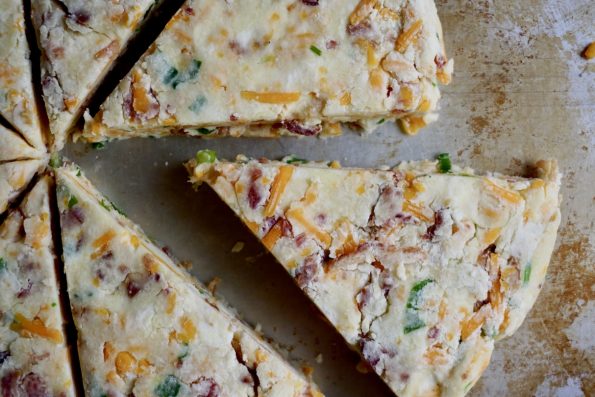
It is not surprising that I love scones. Scones are the British version of biscuits and as you all know, I am obsessed with biscuits. …

Last weekend Jamie played her version of NYT’s 36 Hours. We picked her up at the airport (SFO NOT SJC, grrrr) at 1:00 am Friday…
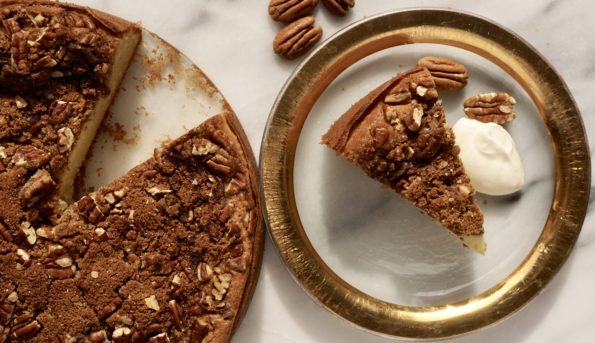
Our weekend ritual of going to the Farmer’s Market is a two-pronged mission. After stocking up on fresh seasonal fruits and vegetables we turn our…
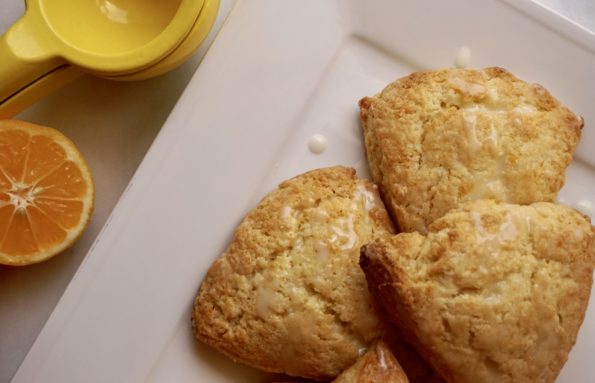
I got up this morning with scones on the brain. A while ago I had come across a recipe on the blog Dessert for Two…
I recently received Top Chef Winner Kristen Kish’s beautiful book, Kristen Kish Cooking: Recipes and Techniques from Blogging for Books. Right off the bat I…

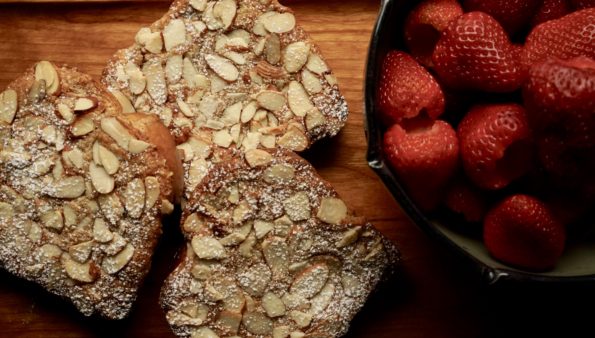
From my weekly trip to the Farmer’s Market I once again came home with way too many strawberries…I should have bought one basket but noooo…I…