Category: Cookies

Bite Size Desserts

Worlds Best Cookies (Kid Approved Cookies)

Worlds Best Cookies (Kid Approved Cookies)

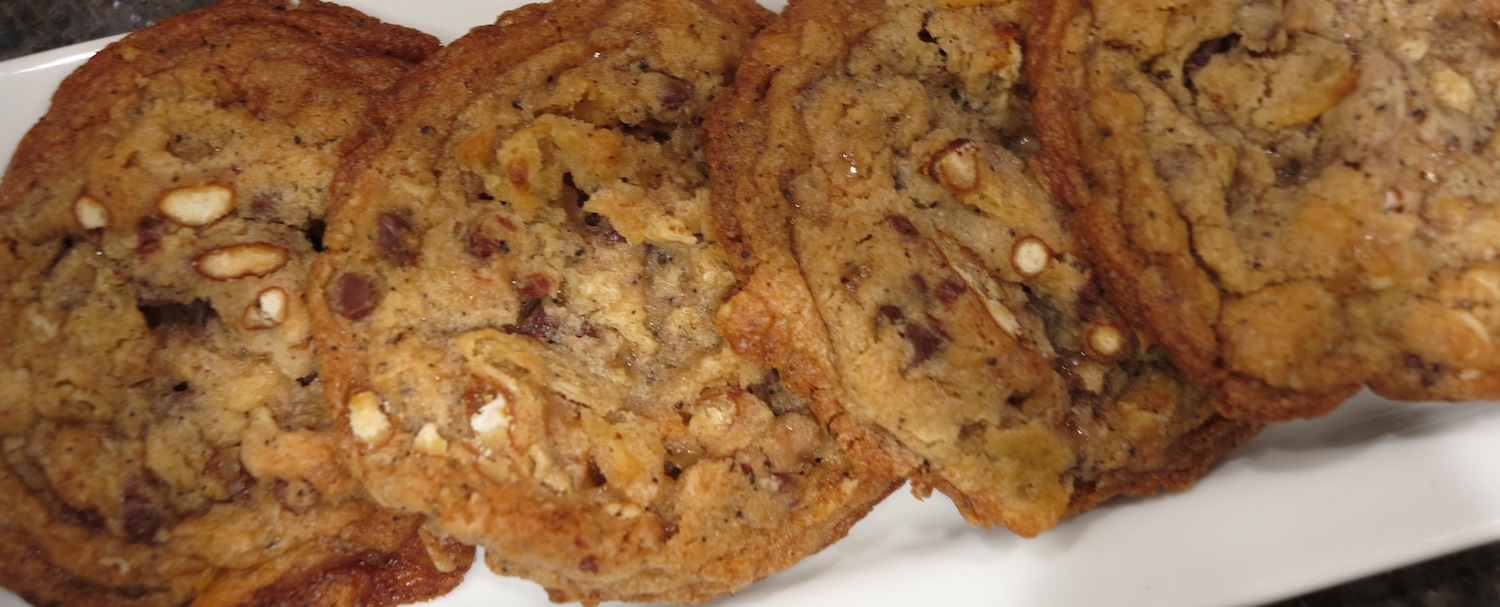
There are two types of cookies in this world, kid cookies and adult cookies, and lately, I’ve been baking lots of kid cookies like chocolate chips.  Tired of making chipsters,  I pulled my copy of San Francisco a la Carte, a junior league cookbook that’s easily 25 years old, to find the recipe for World’s Best Cookies. It’s a classic and family-favorite non-chocolate chip cookie.

DSC02598

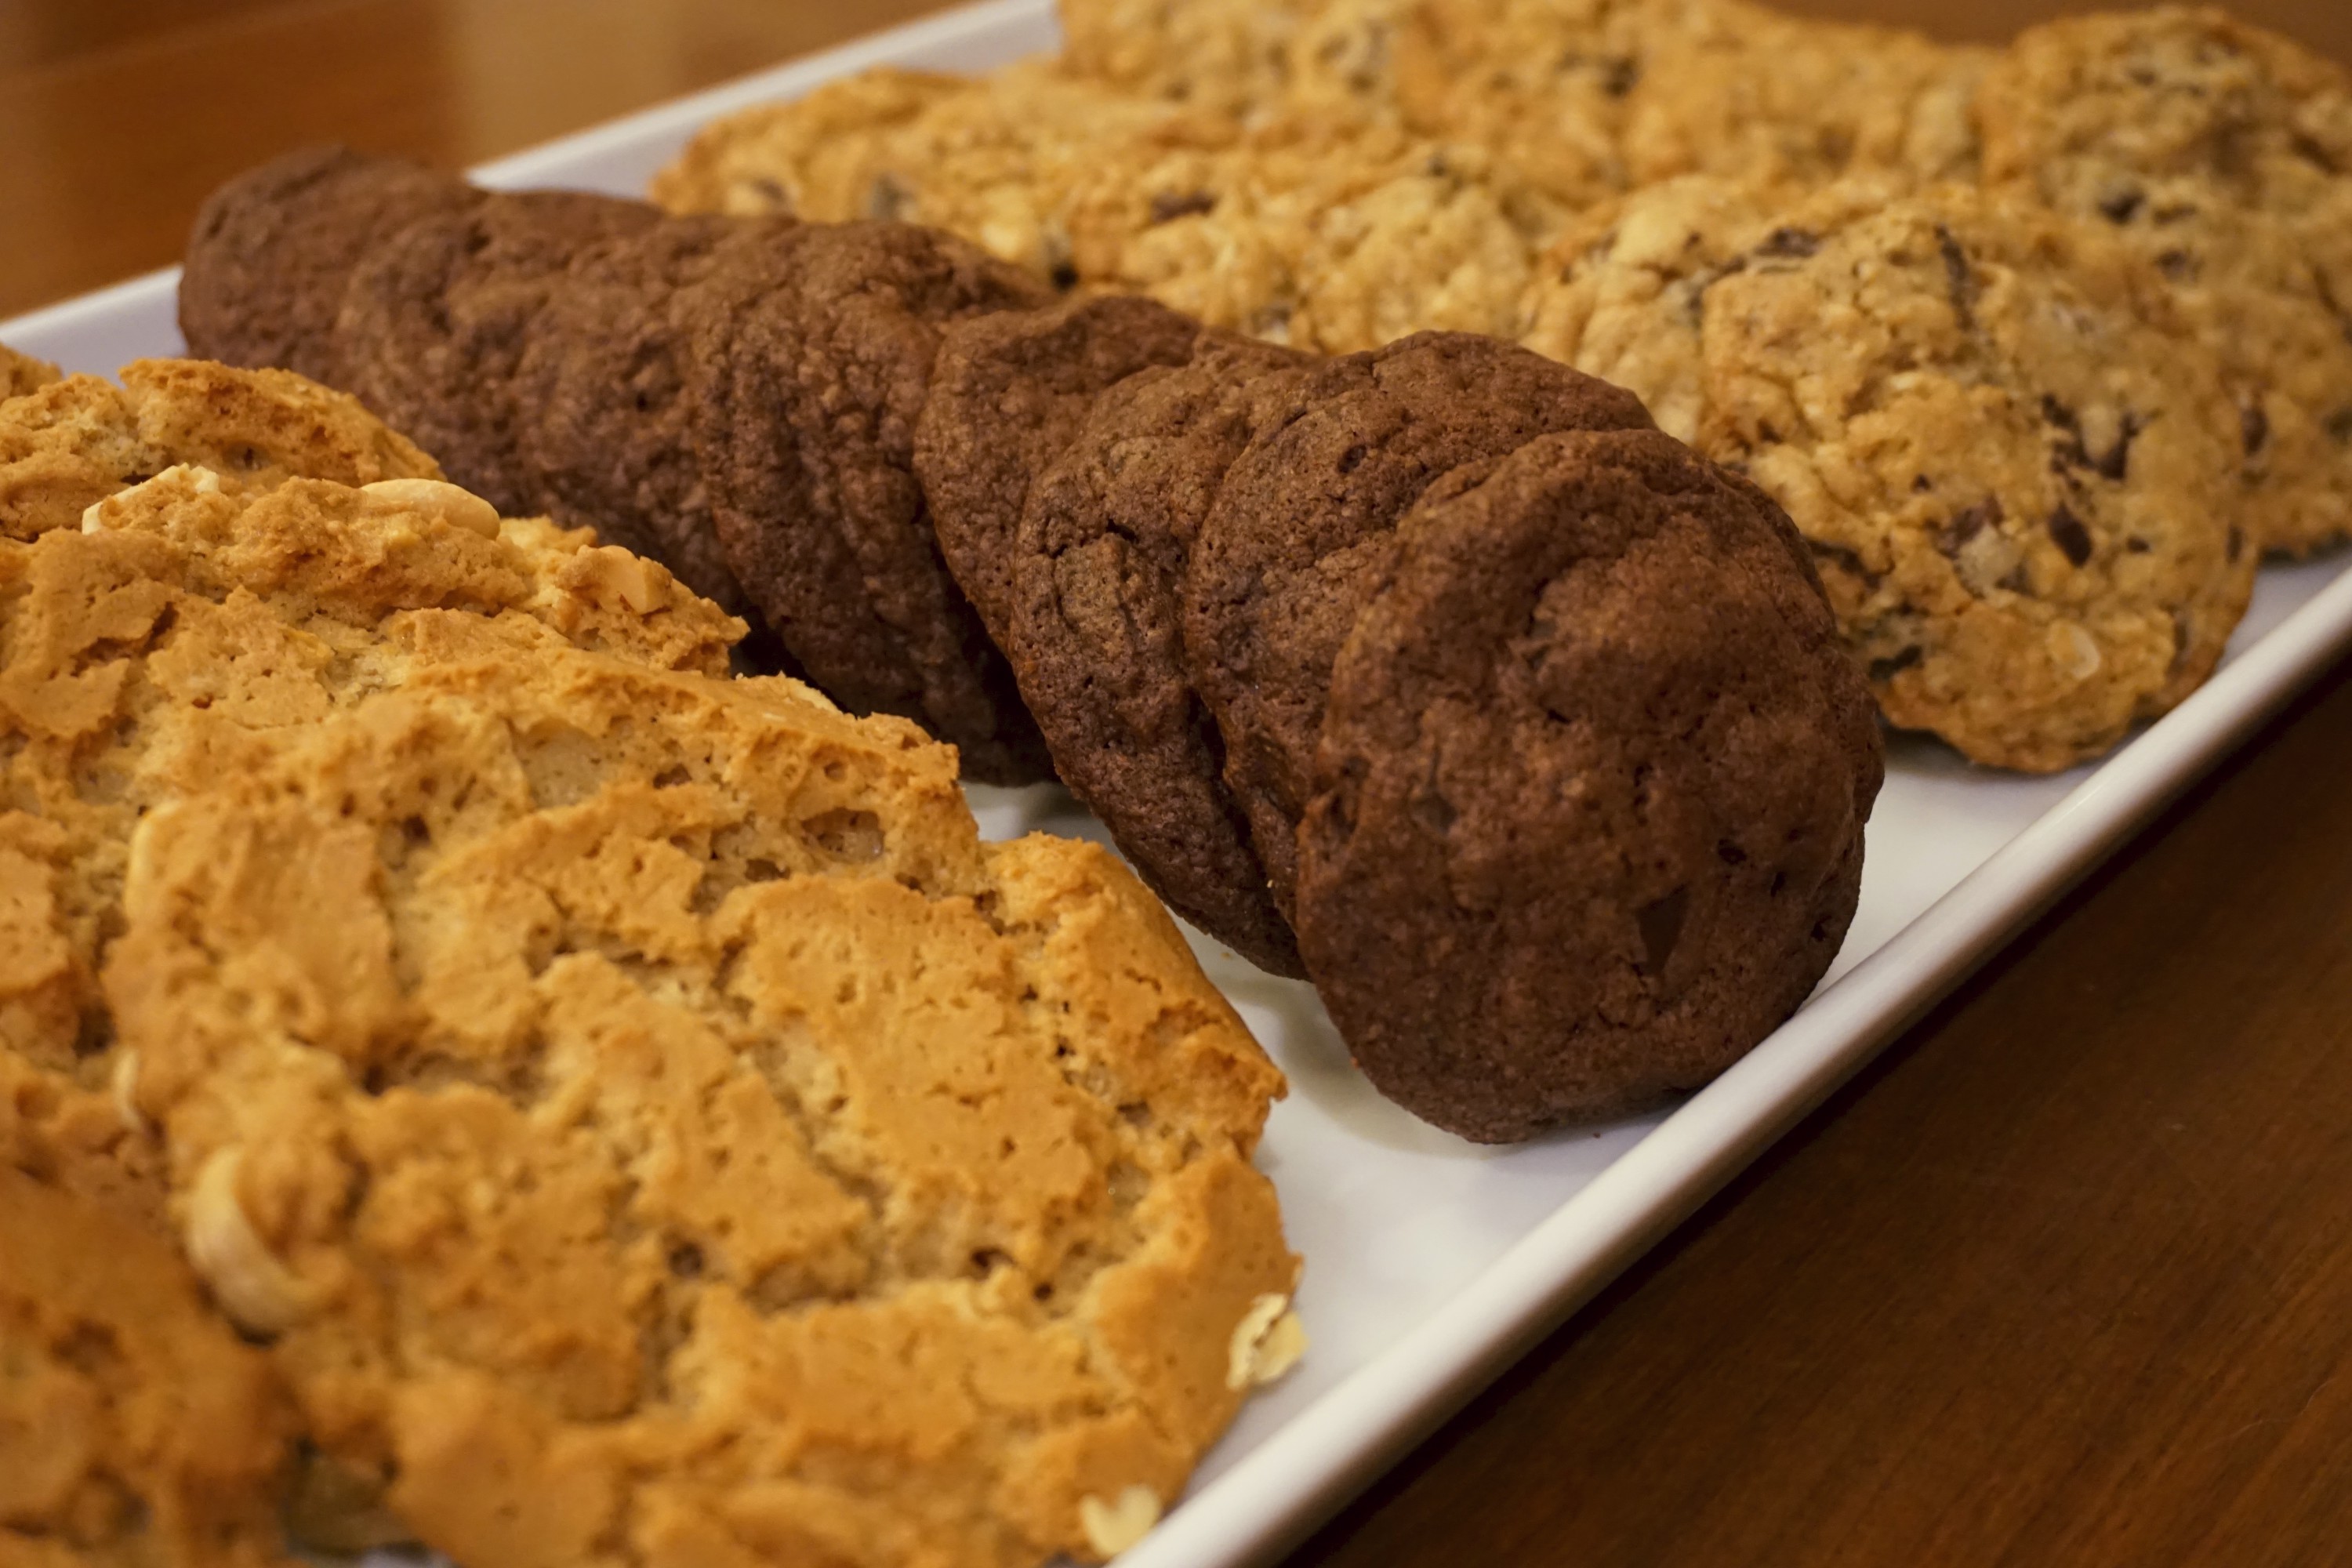
I needed lots of cookies (enough to feed a hockey team, lol) and these fit the bill.  The cookies are crispy, crunchy, chewy, buttery, and nutty. Cookie Nirvana.  The crisp texture comes from using oil in the cookie.  Cornflakes give it additional crunch while the flaked coconut and oatmeal add chewiness.  After creaming the butter and sugar, oil is added, keep mixing, the dough will look curdled but will smooth out.  Add the dry ingredients and mix until the flour is incorporated.  The dough is soft, chill it so it is easier to handle.  Use a tablespoon ice cream scoop to form the dough.  Press the cookies flat with a fork dipped in sugar.  This also gives them that distinctive crosshatch mark found on old-fashioned peanut butter cookies.  The recipe makes approximately 6 dozen cookies, plenty for a crowd.

Worlds Best Cookies

Delicious, buttery, crispy cookie made with cornflakes, coconut, oats, and nuts adapted from the San Jose Mercury News and San Francisco a La Carte
Course cookies
Cuisine American
Keyword cookies, cornflakes, oatmeal, World's Best Cookie
Prep Time 15 minutes
Cook Time 17 minutes

Ingredients

Creamed Mixture

  • 1 cup butter softened
  • 1 cup granulated sugar
  • 1 cup brown sugar packed
  • 1 egg
  • 1 teaspoon vanilla
  • 1 cup vegetable oil

Dry Ingredients

  • 3 1/2 cups sifted all-purpose flour
  • 1 teaspoon baking soda
  • 1 teaspoon salt

Additions

  • 1/2 cup shredded coconut
  • 1 cup crushed cornflakes
  • 1 cup old fashioned oatmeal not quick cook
  • 1/2 cup chopped nuts walnuts or pecans

Instructions

  • Preheat oven to 325F.
  • Cream butter and sugars until smooth and light. Add in egg and vanilla. Add in oil and mix well. At this point, the batter will look a little strange, but keep going.
  • Add in the cornflakes, oatmeal, coconut, and nuts. Mix well. Sift together flour, baking soda and salt and add to mixture. Mixture will be soft, chill for 30-60 minutes.
  • Using a cookie scoop, measure 1 tablespoon of dough and drop onto a parchment lined cookie sheets. Using a fork dipped, flatten the top of each cookie. If the fork begins to stick, dip it into a glass of cold water.
  • Bake 15-18 minutes (the recipe in the paper said 12 minutes, but in my oven, that was not enough time, or else, I like my cookies a little crispier!). Cool on cookie sheets for a few minutes, then transfer to rack to cool completely.
Milk and Cookies Anyone? (Peanut Butter Cookies)

Milk and Cookies Anyone? (Peanut Butter Cookies)

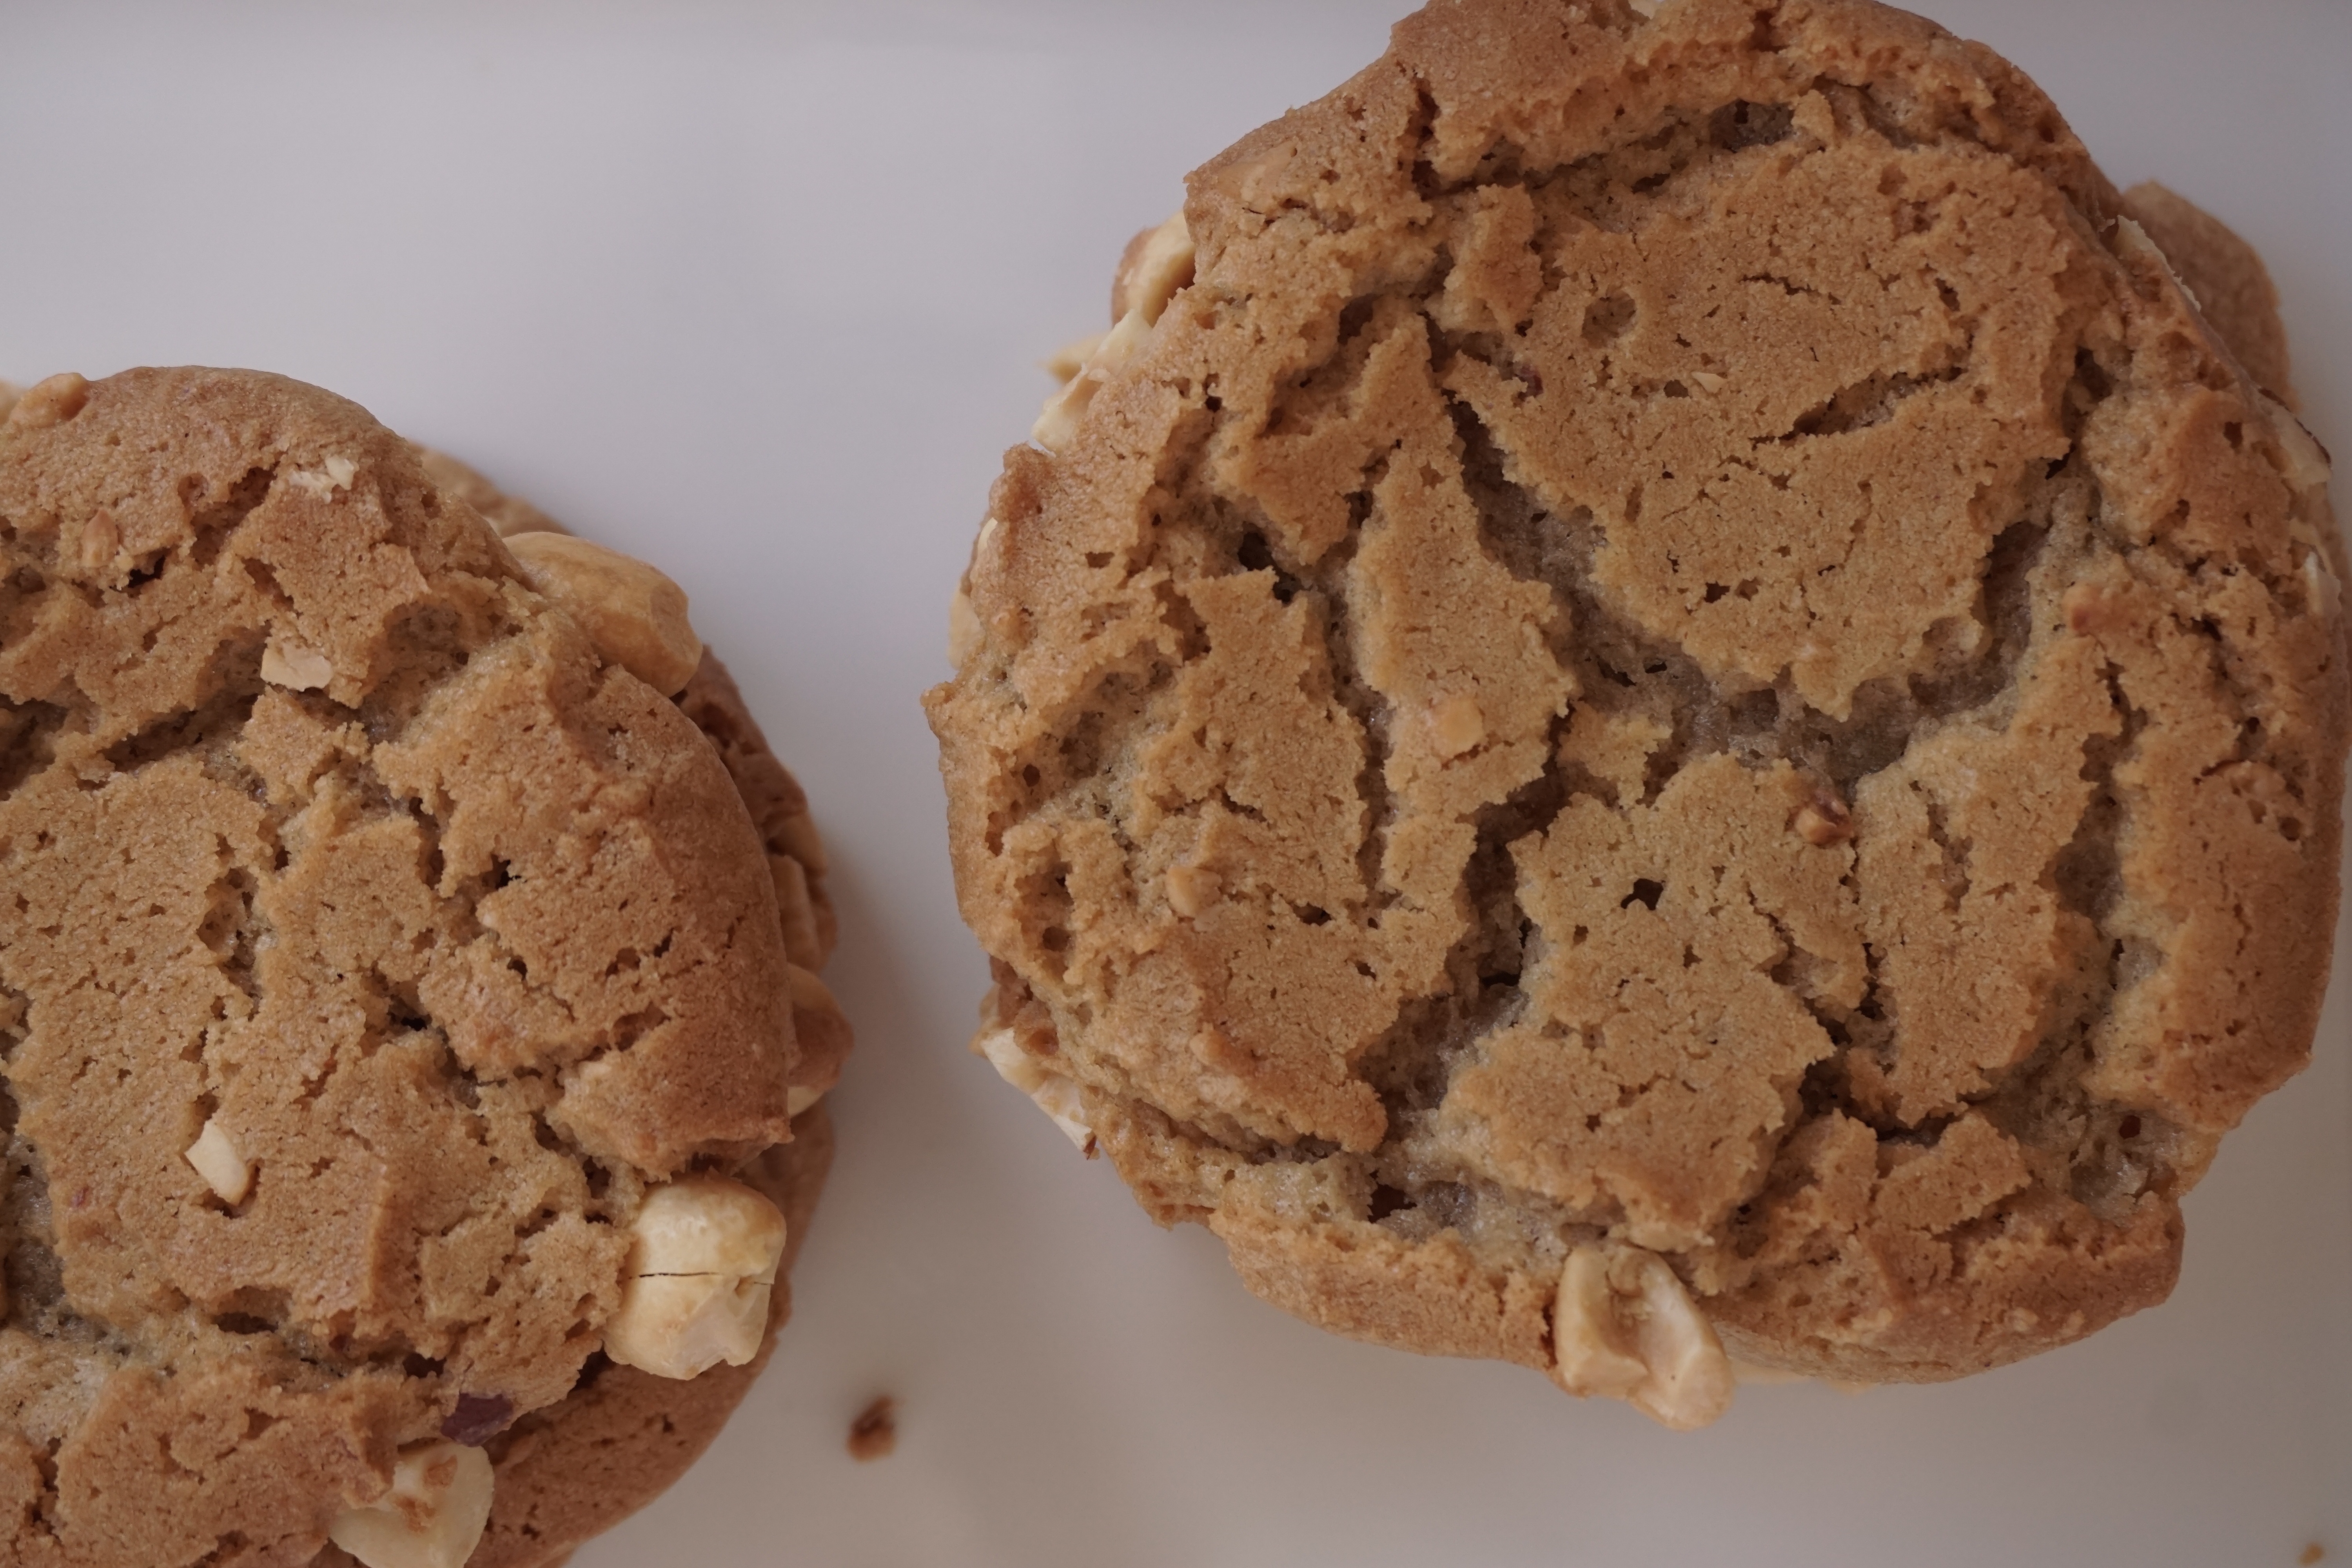
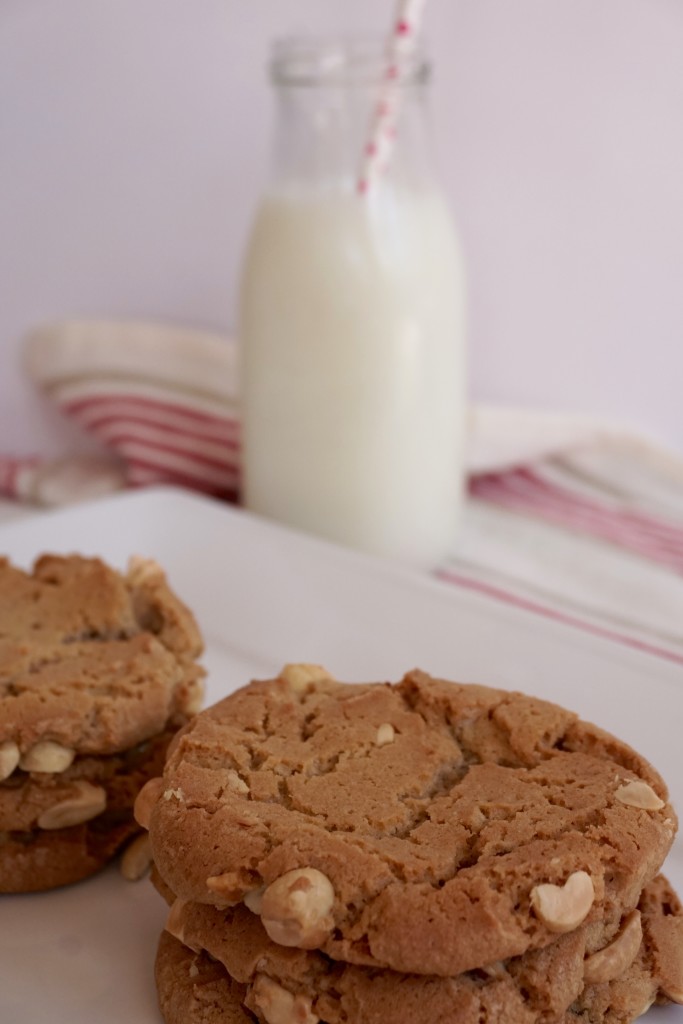
Lately I have been on a  peanut butter kick.   Slathered on apple wedges, chunks of banana, in celery to make it edible, or a pbj sandwich when I am off for a bike ride or at a regatta. It is eminently convenient, a great energy and protein source and the added bonus, a pbj sammie makes me feel like a kid again.  If you are old enough, you’ll remember the giant peanut butter cookies that every self-respecting school cafeteria sold back in the day.  Peanut Butter Cookies from the Buttery in Santa Cruz remind me of those cookies, big, chewy and peanutty. The recipe first printed by the LA times can be found via the blog, Ipso Fatto. What sets these cookies apart is rolling the dough in peanuts before baking.  It adds extra texture to an already buttery, salty, crunchy on the outside and chewy on the inside cookie, double yums.  The recipe calls for pastry flour, I used White Lilly AP flour, a soft wheat flour found in the South (perks of having a kid in Nashville).  Used for biscuits, it has a lower protein content similar to pastry flour.  I also used a low sodium crunchy peanut butter, not a health conscious decision,  I just picked up the wrong jar at the market!  I did add some salt because of this, but I don’t think it is necessary, my batch was pretty salty.  I plan to use the low salt peanut butter and omit the extra salt next time.  For the sake of my waistline the days of eating giant cookies are over so  I rolled the dough into a 12-14 inch log with a diameter of 1-3/4 inches with each slice about 1/2 – 3/4 inch thick. This made approximately 2 dozen cookies.  Bake for 12-14 minutes.  If you like peanut butter cookies put this one on your need to bake list!

DSC02275


Peanut Butter Cookies The Buttery

Ingredients

  • Adapted from the LA Times and Ipso Fatto Blog
  • 1/2 cup 1 stick unsalted butter, at room temperature
  • 1/2 cup plus 1 tablespoon baker's sugar
  • 1/2 cup plus 2 tablespoons light brown sugar
  • 1 egg at room temperature
  • 1/2 cup low salt chunky peanut butter at room temperature
  • 1 1/2 cups 6.4 ounces pastry flour or White Lily All purpose flour
  • 1 1/2 teaspoons baking soda
  • 1/2 teaspoon salt
  • 1 cup dry-roasted peanuts or honey roasted peanuts I used low salt peanuts)

Instructions

  • In the bowl of a stand mixer using the paddle attachment, cream the butter over medium speed just until creamy. Add the sugars to the butter and cream together, careful not to over-mix. Scrape down the bowl to make sure the sugars and butter are evenly combined.
  • Beat in the egg just until incorporated, then beat in the peanut butter, scraping down the bowl again after mixing.
  • In a medium bowl, whisk together the flour, baking soda and salt.
  • Add the flour mixture to the mixing bowl, beating until smooth and the flour is evenly incorporated. Scrape down the bowl, making sure the ingredients are combined and smooth.
  • Remove the dough from the bowl and form it into a rough log, approximately 2 1/2 inches thick. Place the dough in a sheet of parchment paper and roll the dough in the paper so it is smooth and a consistent 2 1/2-inches thick throughout the log. The log will be about 9 inches long. If the dough is a little soft, chill in fridge for 15-30 minutes.
  • Place the peanuts in a rimmed cookie sheet and gently roll the dough in the peanuts to coat on all sides. The peanuts should stick to the log; if they don't, brush the roll with a beaten egg, then roll it in the peanuts so they stick. Wrap the finished log in parchment paper or plastic wrap and refrigerate until well-chilled, at least 2 hours, up to overnight.
  • Heat the oven to 350 degrees. Slice the cookies into 1-inch-thick slices and place on parchment-lined baking sheets, spacing them at least 3 inches apart, as the cookies will spread while they bake. Bake the cookies until set and browned around the edges, about 20 minutes, rotating the baking sheet halfway through baking for even coloring. Cool the cookies, still on the baking sheet, on a rack until set and cool enough to handle.
  • Serve with an ice cold glass of milk!


When Life Gives You Lemons…Make Lemon Bars!

When Life Gives You Lemons…Make Lemon Bars!

Who doesn’t love lemon bars?  But just to be sure, I do have two recipes for lemon bars to cover just about everyone.

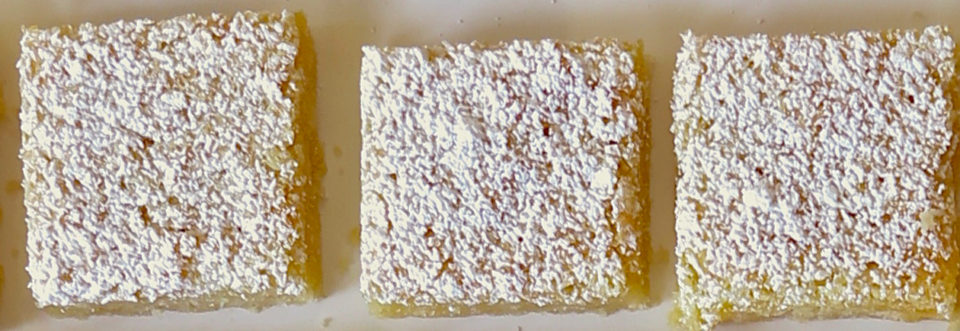
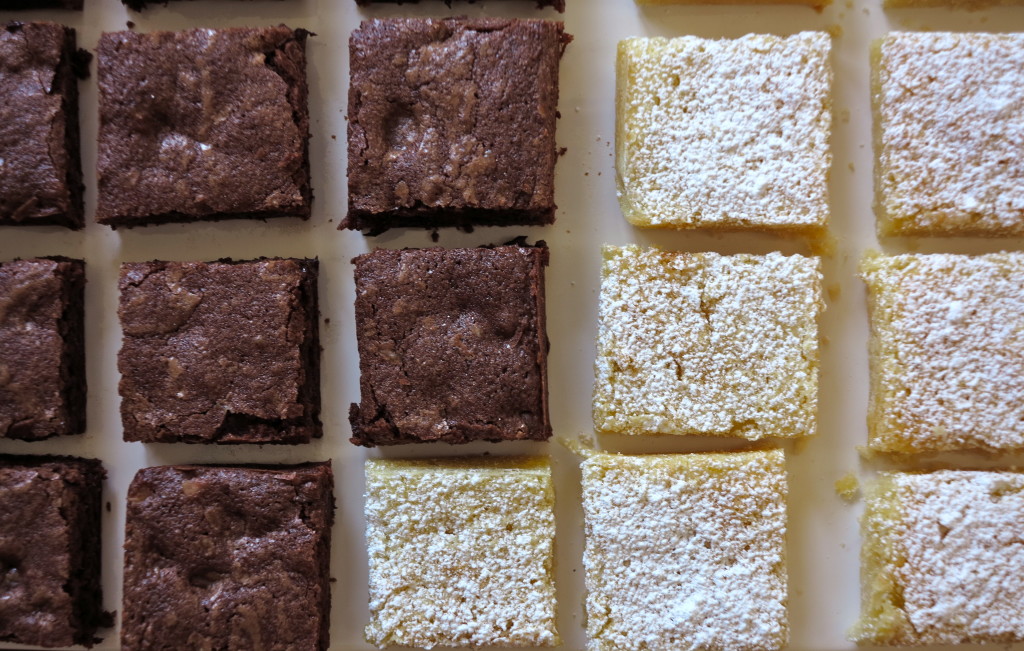
For the longest time, my favorite Lemon Bar was from Michael Bauer’s column in the San Francisco Chronicle.  A classic lemon bar with a meltingly tender crust topped with a sweet lemon curd and dusted with powdered sugar.  These bars were the hidden gems in a summer picnic basket or the citrus foil to the chocolate cookies on the holiday cookie tray.

Along came Alice

….Medrich that is, the chocolate maven. She penned a wonderful little cookbook simply titled Cookies and Brownies (still available luckily).  Fifty recipes of classic cookies to cookies with a twist.  Hands down the best snickerdoodle, delicious butter cookies with pecans and cocoa nibs, and Steve’s brownies, fudgy and decadent.  For years I shied away from the bar cookies in her book.  The recipe started with melting the butter for the crust.  Whaaat?  Melted butter for a shortbread crust?  Just didn’t seem right.  I finally gave in and I am glad I did.  These lemon bars are a party in your mouth, the classic lemon bar amped up.  The crust is buttery and crispy crunchy not soft, the perfect foil for the filling which is sweet but tart enough to make your taste buds stand up and take notice.

The next time you make lemon bars, make the classic bars if you are feeding a swarm of little kids.  They’ll love them.  But if you are taking them to your friends, make Alice’s version, all grown up with attitude, just like us!

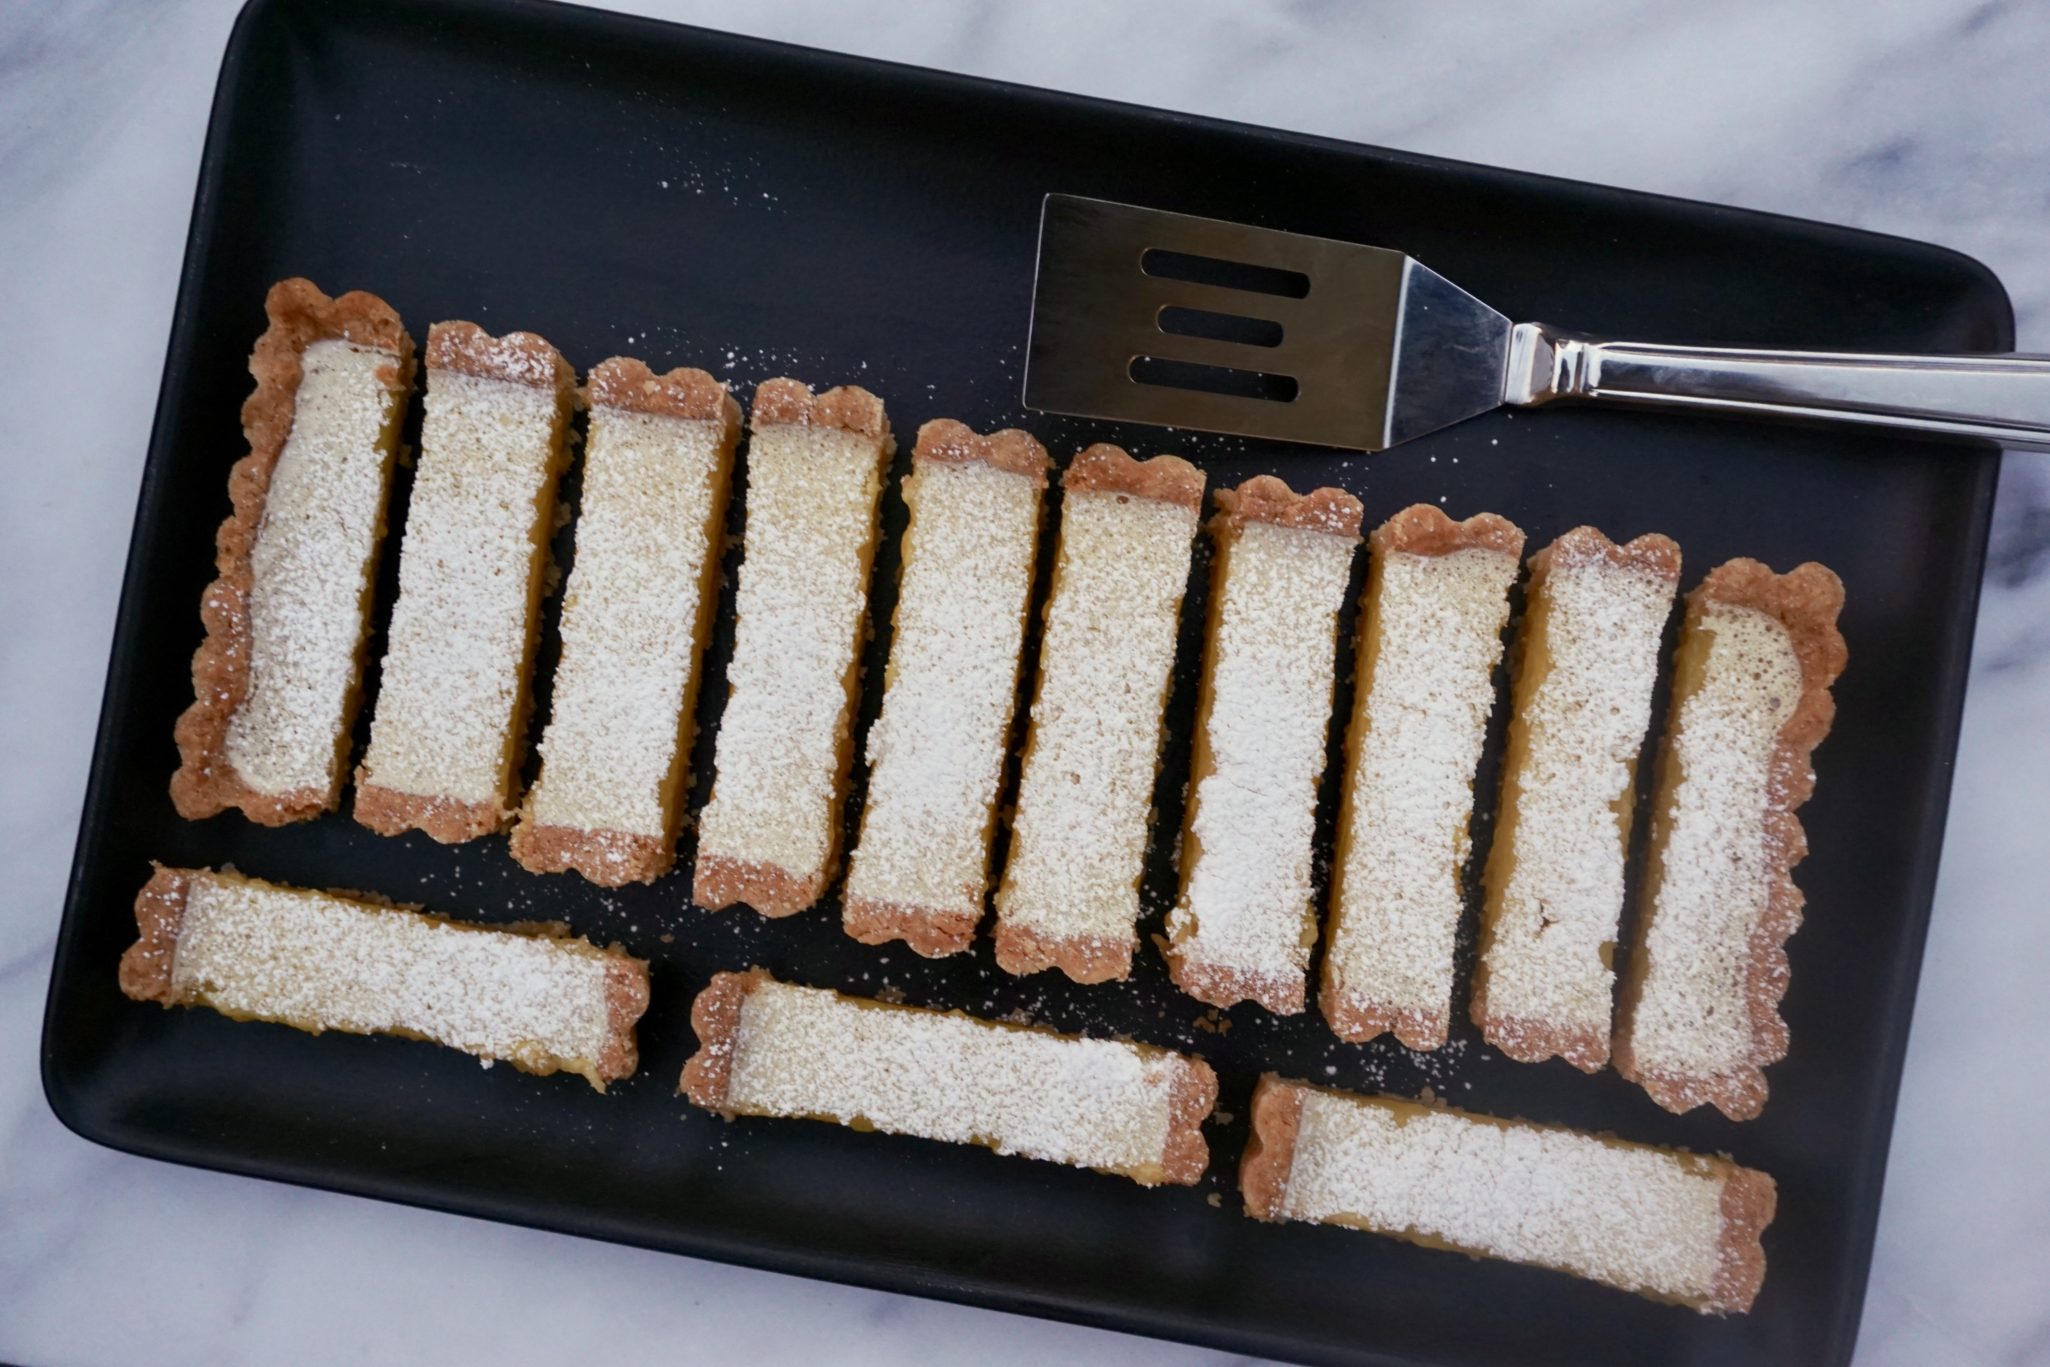
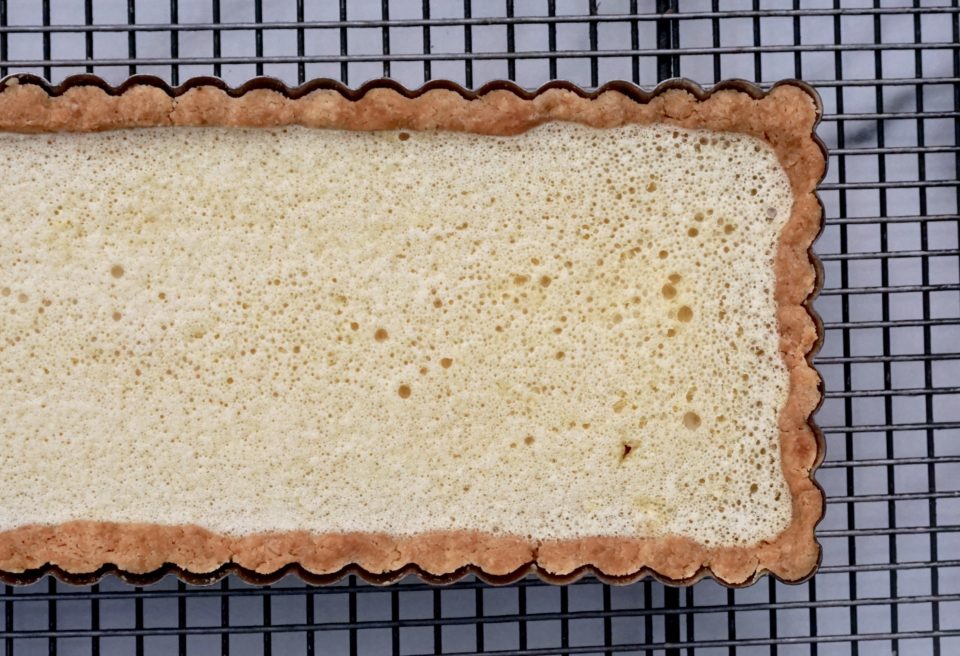
This recipe can be baked in a tart pan, once again upping the wow game on these bars. After pressing the dough into the pan, freeze for 15 minutes before baking.  If the crust puffs while baking, poke it back down with a fork.  To ensure it keeps its shape weigh the crust down with pie weights and remove about halfway through baking.  Remember to bake to a rich deep golden brown for a crispy, buttery crust.

Alice's Lemon Bars

A grown-up version of Lemon Bars from Alice Medrich. Tart lemon filling in a buttery, crisp base, absolutely delicious.
Course bar cookies, cookies, Dessert
Cuisine American
Keyword alice medrich, buttery, lemon, Lemon Bars, lemon curd, tart
Prep Time 30 minutes
Cook Time 1 hour

Ingredients

For crust:

  • 8 tbsp unsalted butter, melted 1 stick
  • 1/4 cup granulated sugar
  • 3/4 tsp vanilla extract
  • 1/4 tsp regular table salt or sea salt
  • 1 cup all-purpose flour

For topping:

  • 1 cup plus 2 tbsp granulated sugar
  • 3 tbsp all-purpose flour
  • 3 large eggs
  • 1 -1/2 tsp finely grated lime or lemon zest
  • 1/2 cup strained freshly squeezed lime or lemon juice
  • Powdered sugar for dusting

Instructions

  • Position a rack in lower third of oven and preheat oven to 350 degrees. Line bottom and sides of 8- by 8-inch baking pan with aluminum foil.

To make crust:

  • In a medium bowl, combine melted butter with sugar, vanilla and salt. Add flour and mix until just incorporated. Press dough evenly over bottom of pan. Freeze dough for 15-20 minutes until firm. Start filling while dough chills.
  • Bake 25 to 30 minutes, or until crust is fully baked, well-browned at the edges and golden brown in the center. If dough bubbles poke a few holes in it andpat it down.

To make topping:

  • While crust is baking, stir together sugar and flour in a large bowl until well-mixed. Whisk in eggs. Stir in lime or lemon zest and juice. When crust is ready, reduce heat to 300 degrees, slide rack with pan out and pour filling onto hot crust. Bake 20 to 25 minutes longer, or until topping no longer jiggles when pan is tapped.
  • Remove from oven to a wire rack to cool completely. Lift up foil liner and transfer bars to a cutting board. If surface is covered with a thin layer of moist foam (not unusual), blot surface gently with a paper towel to absorb excess moisture; repeat with a fresh piece of paper towel if necessary.
  • Using a long, sharp knife, cut bars into 16 or 24 daintier bars and sift powdered sugar over bars, if desired. Stored in an airtight container, bars can be refrigerated for up to 3 days.
  • I bake my lemon bars in a rectangular tart pan with removable bottom. It gives the bars a nice side crust and a nice finished look. The idea came from the blog Baking Obsession Check it out for instructions to bake in a rectangular pan.
Chili, Brownies & Friends

Chili, Brownies & Friends

At the risk of losing any credibility I might have earned with previous posts, yes, that is The Friends Cookbook in the photo.  I told you, I have a cookbook addiction, this proves it.  In my defense I did peruse the book before buying, first I noticed the cast of Friends did not write this cookbook, lol (not even Monica), it was actually written by a senior writer for Cooks Illustrated, the bastion of obsessive recipe testing.  Second, it was on sale…so what the heck, I took a chance and bought a copy.

IMG_8423

I kid you not, it has been my go to source for a variety of recipes, pancakes, brownies, coffeecake and yes, chili.  The recipes are fairly simple, delicious and KID FRIENDLY, a prerequisite for the last 20 years of my life.  Here are 2 favorites from the book, Flirting with Firemen Chili and the link to Absolutely Best Brownies,  Kid tested and approved.

Adapted from Cooking with Friends

Firehouse Chili

Kid friendly chili!
Prep Time 1 hour
Cook Time 2 hours
Servings 8 -10 servings

Ingredients

  • 3 T vegetable oil
  • 3 medium yellow onions chopped
  • 1 green bell pepper chopped
  • 3 medium cloves of garlic minced
  • 1.5 pounds ground beef I use a mix of beef and ground turkey or chicken 2:1
  • 2 cups canned crushed tomatoes I use a 15 oz can of fire roasted diced tomatoes
  • 1 15 ounce can of beef broth
  • 3 T chili powder
  • 1.5 t cumin
  • 1/2 t oregano
  • 1 t salt
  • 1 15 ounce can of kidney beans or pinto beans or black beans drained and rinsed

Instructions

  • Heat oil in large pot. Add the onions and saute over med heat until soft and transparent looking about 8 minutes. Add garlic and bell pepper and saute for additional 2-3 minutes. Stir in ground beef and cook until it loses pink color. Cook for about 4-5 minutes, breaking up the beef with a fork or spoon. Add tomatoes, broth, spices and salt. Bring to a boil, reduce heat and simmer for approximately 2 hours until chili thickens a little. Add beans. Ladle into bowls, garnish with shredded cheese and green onions.
  • I add corn (frozen is fine) 1-2 cups because what kid doesn't like corn and to spice it up I will add hot sauce like Cholula which is a little sweeter than Tabasco.

We’re Back! (Chocolate Chip Cookies)

We’re Back! (Chocolate Chip Cookies)

Finally, finished transferring my wp blog to self-hosting!  This calls for a celebratory post, which means food!  If there is one post you should read it is this one. Years ago a friend gave me a recipe for Mrs. Field’s Chocolate Chip cookies with the caveat “You have to promise not to give this recipe to anyone, this is THEE recipe”.  So I promised, and I have been true to my word.  Well for the most part (2 exceptions).  But, I believe the statute of limitations has passed on that promise.  So here is the recipe for Mrs. Field’s Chocolate Chip Cookies, the edges are crispy, the center buttery and chewy, full of gooey chocolate chips and the sweetness tempered by pecans.  These are absolutely amazing just out of the oven, still warm, with an ice cold glass of milk… just promise not to give the recipe to anyone!

Best Damn Chocolate Chip Cookie

IMG_8449

Mrs Field's Chocolate Chip Cookies

Mrs. Field’s Chocolate Chip Cookies…but better
Course cookies
Cuisine American
Keyword chocolate chip cookie
Prep Time 15 minutes
Cook Time 18 minutes

Ingredients

Dry Ingredients

  • 2 1/4 cup unsifted flour
  • 1 tsp Baking soda
  • 1 tsp Salt

Wet Ingredients

  • 1 cup butter, unsalted melted and lightly cooled
  • 3/4 cup granulated sugar
  • 3/4 cup brown sugar firmly packed no lumps
  • 1 tsp overflowing tsp vanilla extract
  • 2 eggs
  • 3 cups chocolate chips I reduce this to 2 cups and add toffee bits. Actually 2 cups even without the toffee. 3 is a lot.
  • 1 cup chopped nuts
  • 1/2 cup toffee bits optional

Instructions

  • Mix flour, baking soda and salt in small bowl, and set aside. Mix sugars, butter and eggs in bowl, add vanilla. Add flour mixture (add additional flour is dough seems soft, max 2 T) Stir in chocolate chips and nuts.
  • Cover cookie sheet with parchment to allow for cookies to slide off and prevent cookies from overbaking. Using ice cream scoop (1/4 cup for  big cookies, I use a 2 T scoop and bake for approx 13 min) drop dough onto pan.
  • Bake 325 15-18 min., rotate pan halfway through. Underbake for chewier, moist cookie.
  • My variations, the original was too sweet for my taste, I decreased the chocolate to 2 cups, increased the nuts to 1 1/2 cups and added 1/4 to 1/3 cup old fashioned oats.  Sometimes I throw in toffee bits 1/4-1/2 cup.

Notes

Approximately 3-4 minutes before the cookies are finished baking, open oven and grasp cookie sheet with oven mitt.  Bang the sheet on the rack to cause cookie to fall.  this creates crevices and folds in the cookies.  Optional.
Project 365: Love Apple Farm (Macarons)

Project 365: Love Apple Farm (Macarons)

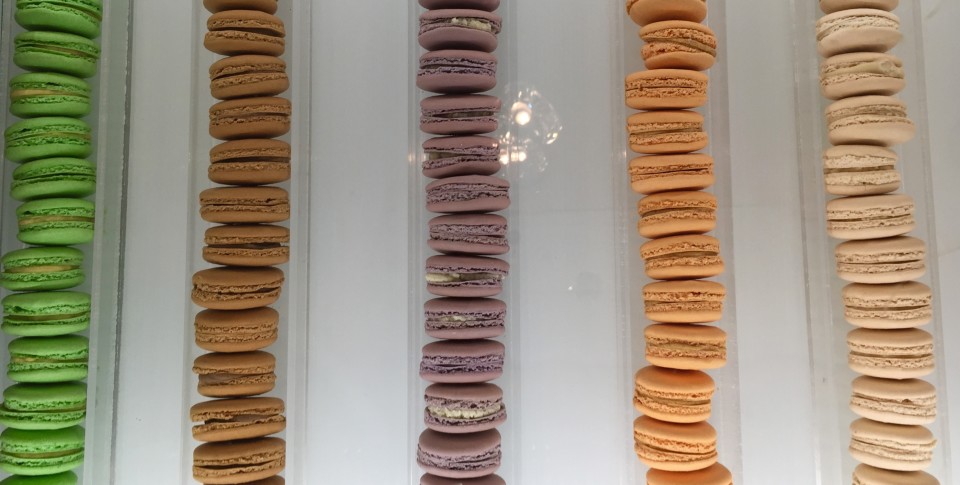
Spent a day at  Love Apple Farms at a macaron class taught by Maggie Catrell.  We arrived early and strolled the gardens winding our way through planter boxes filled with beautiful greens and herbs.  Nestled in the Santa Cruz Mountains, the farm grows vegetables for Manresa Restaurant in Los Gatos and runs a storefront offering housemade jams (the strawberry peach amaretto is killer), pickled vegetables and seeds for planting.  They offer a variety of cooking and gardening classes, well worth the drive, check it out.  Back to the Macaron class, though they sound simple, macarons can be tricky.  Here is Maggie’s recipe with her hints
IMG_0838

Before you even start making macarons, age your egg whites by separating the whites and placing them in a container.  Cover the container with plastic wrap and poke a couple of holes in the wrap.  Let the egg whites sit for a day.

Macarons

Ingredients:

  • powdered egg whites             5gms
  • granulated sugar                   28gms  (use superfine)
  • powdered sugar                  225gms
  • almond meal                        125gms (finely ground)
  • aged egg whites                  100gms
  • pinch of salt

Line a baking sheet with parchment.  To help with piping macarons, draw 1 inch circles on parchment, spaced a minimum of 1/2 inch apart.  Weigh granulated sugar and powdered egg whites and combine in a small bowl.  Sift together almond meal, powdered sugar and salt.  Using a stand mixer fitted with the whisk attachment beat your egg whites on low speed until foamy.  Gradually sprinkle powdered egg white and sugar mixture into meringue.  Increase mixer speed to medium and beat until a firm meringue forms.  Goal is firm glossy peaks, not stiff dry peaks or you have gone too far!  Add liquid flavoring at this point and coloring if desired.  Add 1/3 of sifted flour mixture and gently fold to incorporate.  Continue adding a third and folding into flour is incorporated.   When the batter becomes firm and drips slowly form your spatula, you’re done.  Put batter in a piping bag with a plain round tip (1/2 inch max for tip size). and pipe onto parchment.  Once you have filled the sheet.  Grab the pan by the ends, hold pan level and firmly tap pan on counter a couple of times.  This will bring air bubbles tot he surface, pop them with a toothpick if they don’t break.  Rest cookie batter between 30-60 minutes depending on humidity.  But definitely let them rest.

Preheat oven to 300 degrees,  Bake cookies for approximately 15 minutes, rotate halfway through.  Cookies are done when they peel off pan easily.  Pull one to check.  Ta-da!

Meanwhile back at the farm…..

IMG_1218
Happy chickens, happy eggs!

IMG_1220


IMG_1221


My Favorite Scottish Shortbread

My Favorite Scottish Shortbread

I love baking cookies.  Every Christmas I bake an assortment of cookies for family and friends, a tradition I started years ago.  Last year I made bags of granola instead and realized just how much less stress I had by not baking 10 different kinds of cookies!  But (sigh),  I’ll go back to baking cookies, its a labor of love and I am a glutton for punishment.  There are the tried and true cookies I bake year after year; the few that show up from time to time and then, one or two new cookies each holiday season.

The Perfect Cookie

The cornerstone of my Holiday box of cookies is the traditional Scottish Shortbread.  The recipe, from the long-defunct Cuisine magazine, was the bonus to the story, My Father’s Shortbread.  The author recounts watching his father making shortbread every Christmas.  His father’s only tools were his hands.  I cheat a little and use a mixer to combine the flour into the kneaded butter but everyone should make shortbread completely by hand once.

"<yoastmark

Shortbread is my absolute favorite cookie. It’s probably because I am a butter FREAK.  I love butter.  People ask, do you want a little toast with that butter?  Shortbread cookies are the closest you will get to just popping a little pat of moo-magic in your mouth.

The dough can be rolled and cut into traditional wedges or works beautifully as cutouts.  I have in my collection a couple of embossed rolling pins that can be used with shortbread.  Roll the dough to approximately 1/4 inch and then use your embossed pin to create the pattern on the cookie.  The dough is easy to work with and very forgiving.

_V3A6829
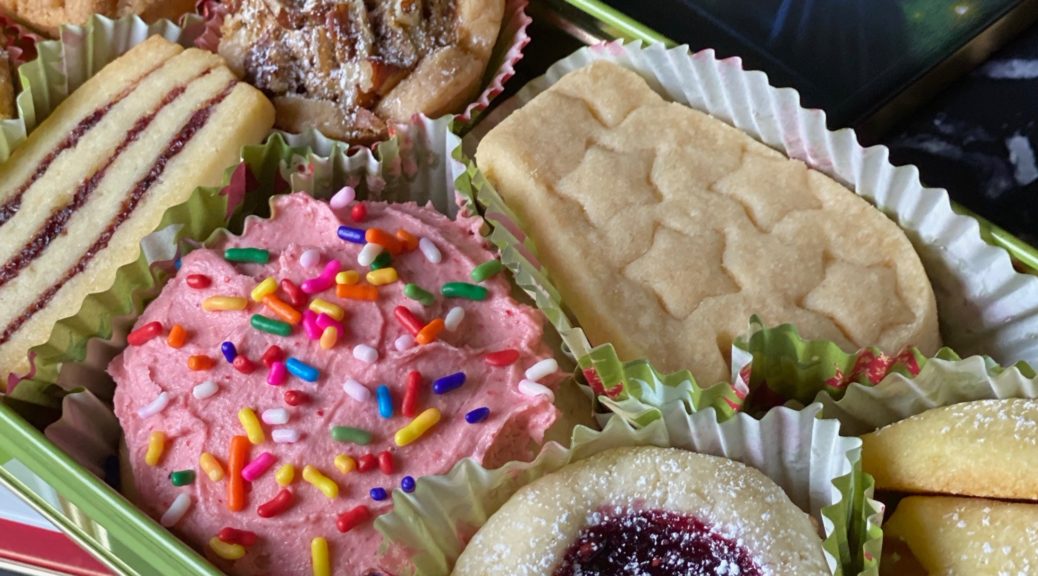
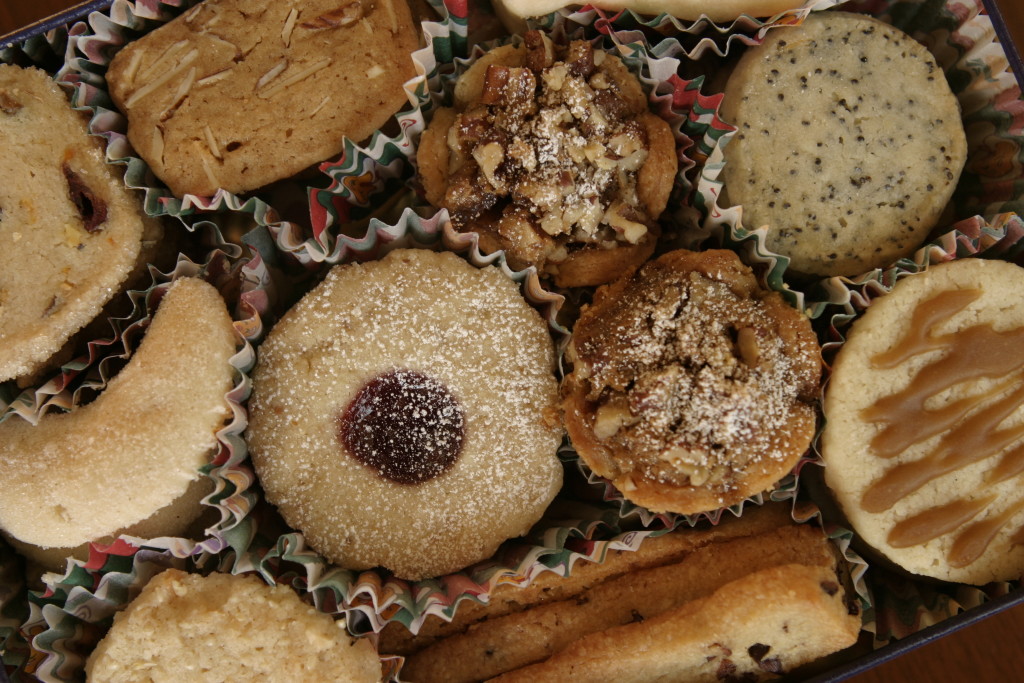
(left upper corner going clockwise) Nutmeg logs, World Peace cookies, pecan tartlets, mocha macadamia slices, jan hagels, thumbprints, crescents, peanut & bittersweet chocolate cookies, traditional shortbread, corn cookies

My Father’s Shortbread is my favorite, go-to shortbread cookie, but Bouchon’s Shortbread is a close second!

Adapted from My Father’s Shortbread by Sydney Edelson Cuisine Magazine Dec 1983

Traditional Scottish Shortbread

Butter in cookie form
Course cookies, Dessert
Cuisine European
Keyword Shortbread
Prep Time 30 minutes
Cook Time 45 minutes

Ingredients

  • 1 pound cold lightly salted butter
  • 1 cup superfine sugar
  • 1/2 tsp salt
  • 4 cups unbleached all purpose flour

Instructions

  • Work butter until soft but not melting.  Easiest thing to do is pound the butter with a rolling pin   Fold butter in half and smoosh it with pin (yes smoosh) until malleable but not warm.
  • Place butter in bowl of a stand mixer, add sugar and salt cream until combined, do not beat until fluffy as this will incorporate too much air into butter.
  • Add flour to butter mixture and mix on low until particles cling together.  Remove from bowl and knead gently until smooth and soft.  Pat or roll into a rectangle about 3/8" thick.  Mark off pieces 1" x 2-1/2", prick with fork and chill for 1 hour.
  • Cut apart and place on cold baking sheet 1/2" apart.
  • Preheat oven to 325 degrees, place shortbread in oven and immediately turn temperature down to 275 degrees.  Bake for 30 minutes, rotate pan and leave for additional 10-15 minutes.
  • Cookies are done when bottoms are golden brown and sand color on top.  You can  use cookie cutters if you wish. Shortbread retain their shape well.

Notes

Remember to turn your oven down to 275 when you put the cookies in the oven!!!