
My Christmas present arrived early this year. The twins are home! Lucky for me Jamie is in a baking mood and immediately tackled one of…
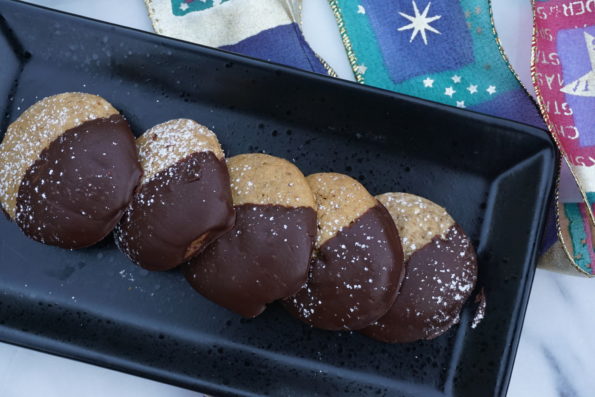
Coffee Malteds from Dorie’s Cookies a great cookie for all Java Junkies and even those that aren’t coffee lovers. The addition of malted milk powder…
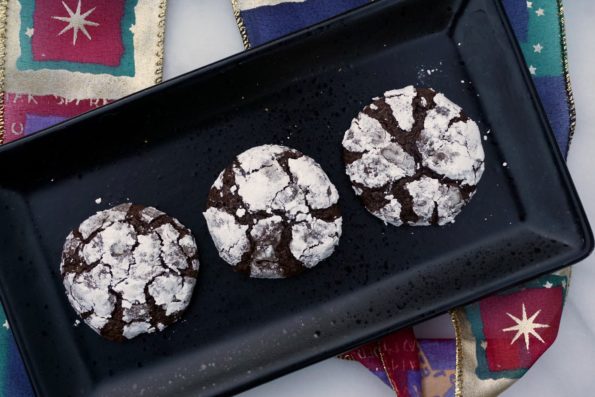
Day 2 of 12 days of Cookies. I am off to a slow start, having posted the first cookie just days ago. But I promise,…
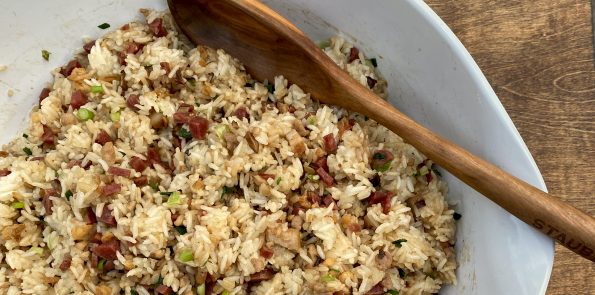
When the holidays roll around and the feasting begins, you can find me eyeing the array of side dishes on the table. Yep, scoop me…
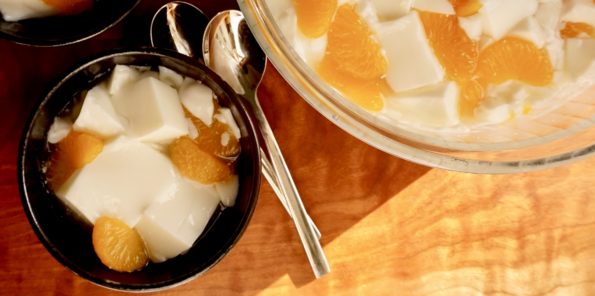
Do Not Laugh. Yes, this is a recipe for jello, not the boxed Jello you made with your mom when you were a kid (your job-pour…
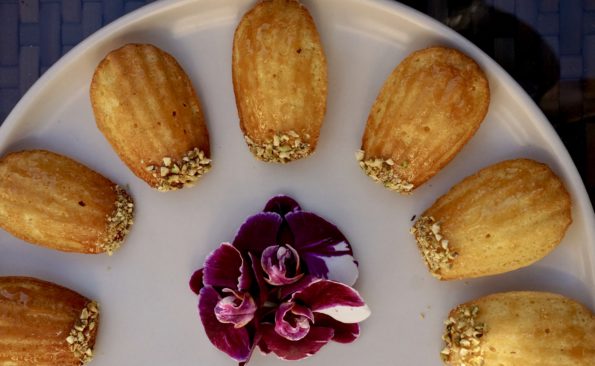
I am determined to post my Twelve Days of Cookies list before the holiday season ends. I stand a chance if I start now. This…
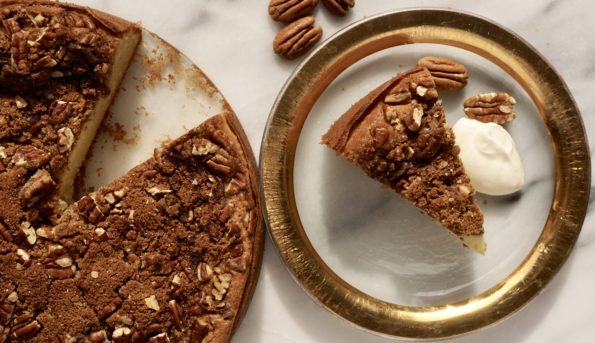
I recently received Top Chef Winner Kristen Kish’s beautiful book, Kristen Kish Cooking: Recipes and Techniques from Blogging for Books. Right off the bat I…
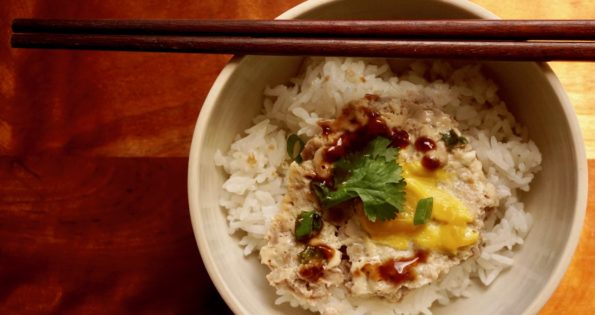
In Asian speak, this is how we say I love you… “Have You Eaten Yet?” When my kids come home I get busy in the…

Oh, the places you’ll go, the places you’ll see, the places you’ll eat ….put Nashville on your bucket list of cities to visit! To add…