
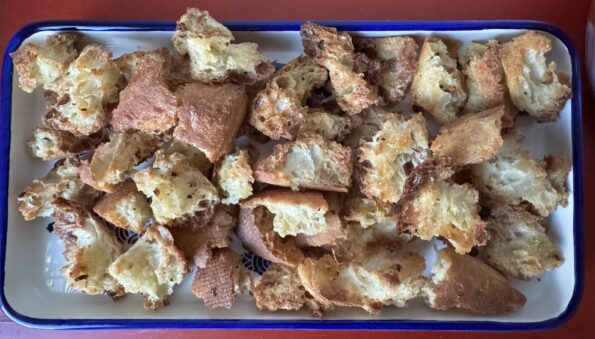
When I am shopping at the grocery store, I usually throw a bag of croutons into my cart. Even though they kinda taste like salted…
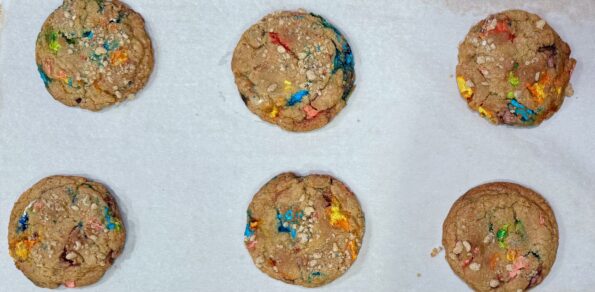
Cookies made with cereal have popped up on my feed lately and the one that caught my attention was Buttermilk by Sam’s Lucky Charms Cookies. …
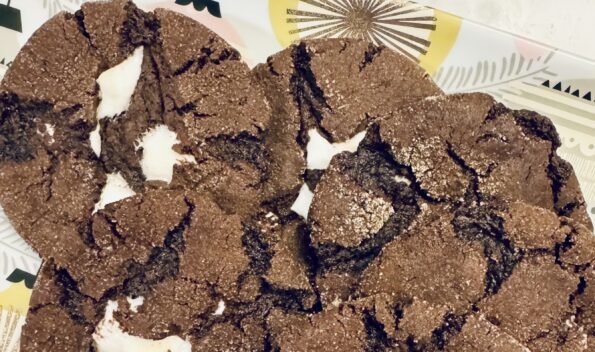
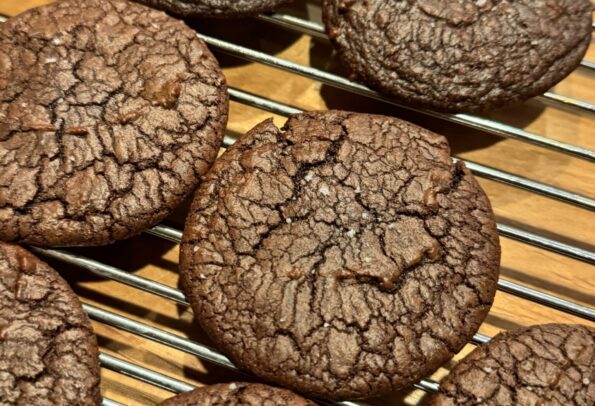
Another winner from Vaughn Vreeland and NYTCooking’s Cookie Week. He captures all the flavors of Mexican Hot Chocolate in a fabulous cookie, cinnamon sweetness, cayenne…
After I have recovered from Thanksgiving turkey-stuffing, sweet potato casserole, and pumpkin pie extravaganza, I crank up the Christmas music, which I play until New…

I know you all know I am a city girl at heart. Give me skyscrapers, bridges, cars, museums, and bright lights any day. Not that…
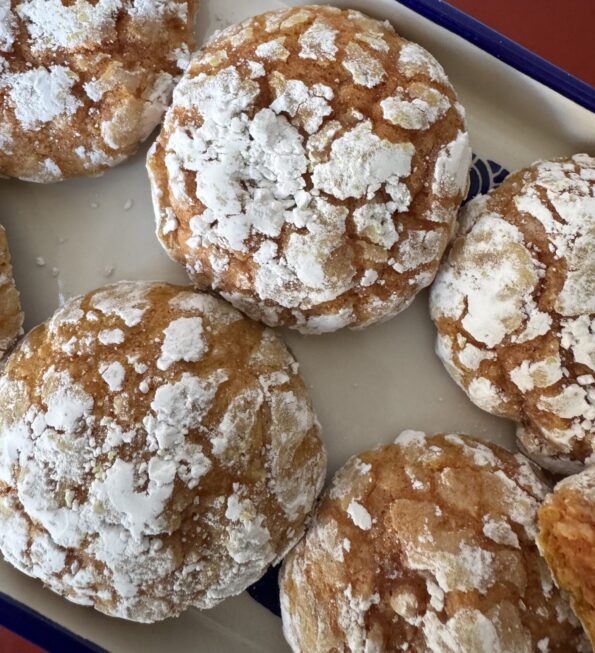
The weather has taken a definite turn so I am pivoting from stress cooking to cookie baking. It’s windy, cold, and wet, it’s time to…
I don’t hide my political views very well…and I don’t try to. You googled a recipe and my blog popped up (probably Mochi Muffins, lol)…
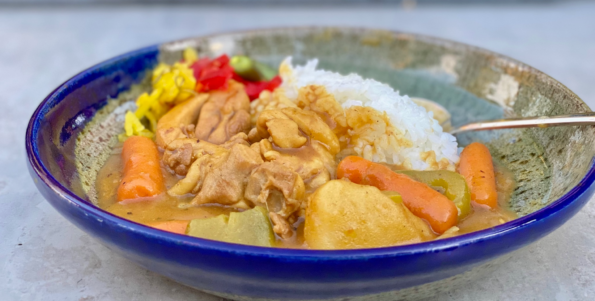
One of my favorite “cheats” are the Japanese curry blocks found in most Asian markets. These little blocks contain the spices and flavorings plus a…

Yay. Back to my second favorite city in the world…New York. In the immortal words of Tony Bennett, I left my heart in San Francisco,…