
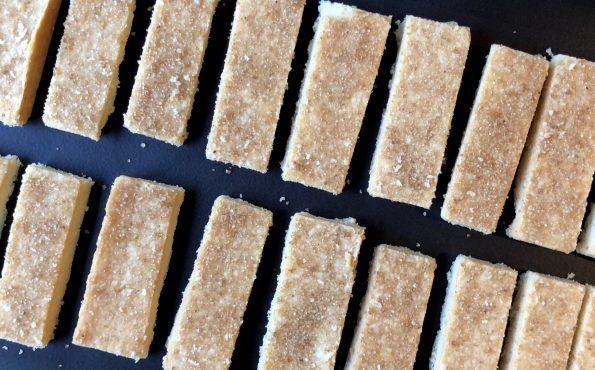
I love shortbread and any excuse to bake a batch, I am all there. So when Amanda Hesser posted an article on a favorite shortbread…
Off to see Jorge in Korea! Do you have a bucket list of things to do when traveling, if so, what’s yours? I’d love to…
Hang on to your hats, imagine Times Square, with all its neon signs and flashing lights dedicated solely to FOOD. Yep, that’s the only way…

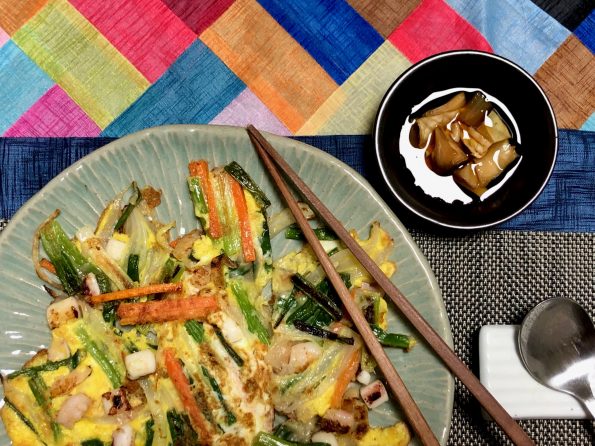
Home Nothing beats coming home. Though we had a blast on our trip to Korea and Japan, it always feels good to open the front…
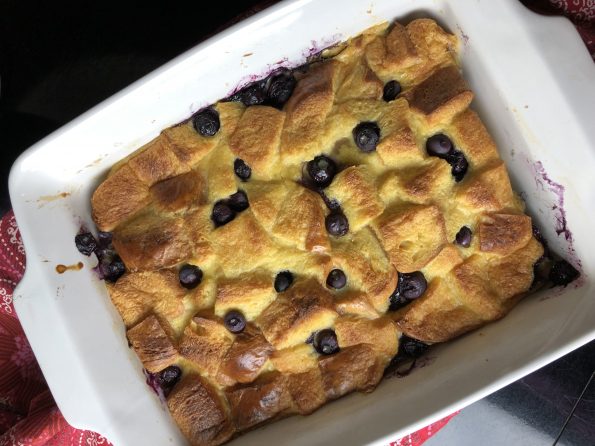
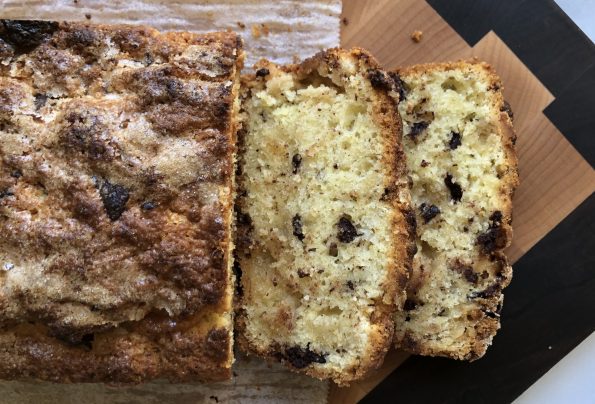
Invariably when faced with several choices for dessert I gravitate towards buttery, bready, moist, saucey (new word alert). Everyone generally clamors for the chocolate-centric desserts.…
I recently added the cookbook Molly on the Range to the 3Jamigos shop. I couldn’t resist, the Kindle edition is going for a buck ninety-nine.…
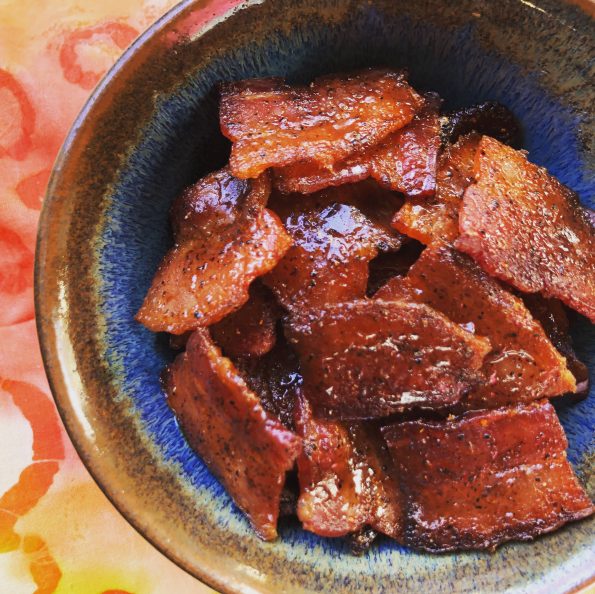
Looking for something sweet and salty to round out a cheese board for a weekday meeting, I thought of the Bloody Mary I had at…
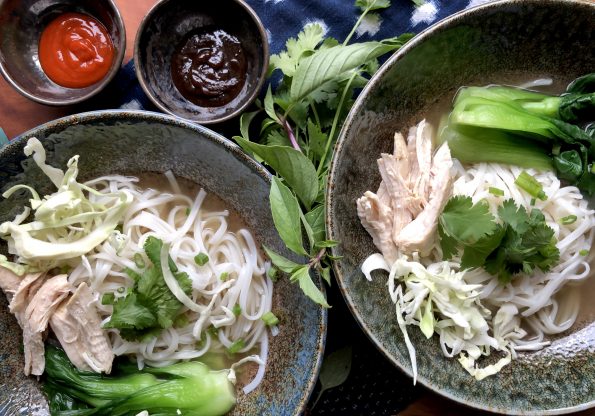
Last week I posted a teaser on Instagram and FB of a really quick version of Pho Ga, Vietnamese chicken rice noodle soup. “In less…
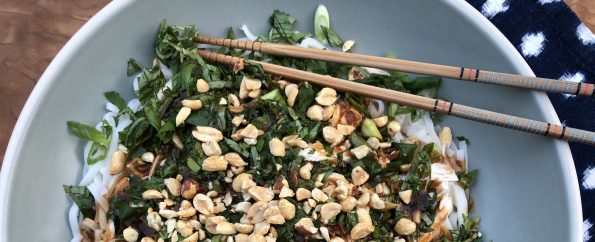
I found a recipe in the Los Angeles Times for a quick delicious Vietnamese Chicken Noodle Soup, Pho Ga. The author, Andrea Ngyuen also tacked…