
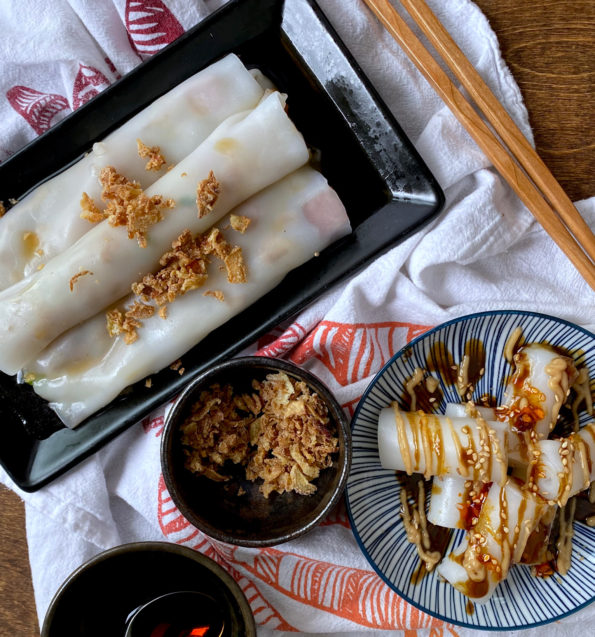
One of our favorite lunch outings is going for Dim Sum or Yum Cha. Dim Sum refers to the dazzling array of bite-size dumplings and…
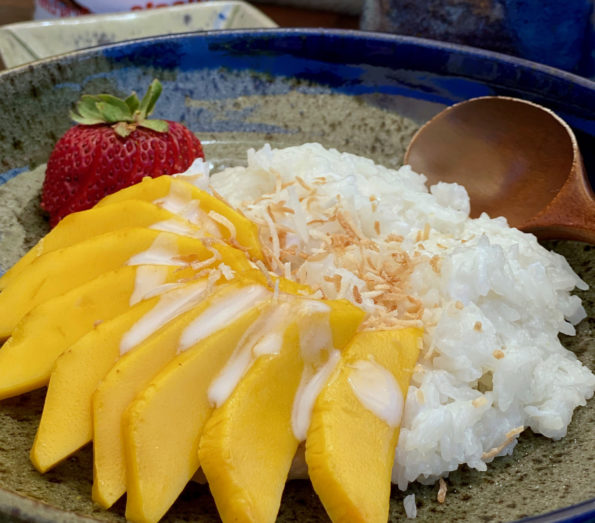
Raise your hand if you have had Mango Sticky Rice. Just trying to gauge in the pantheon of delicious desserts, where Mango Sticky Rice lands. …

Gosh, she is going to think I am a stalker! I read an article in the NYT about pastry chefs and how they are coping…
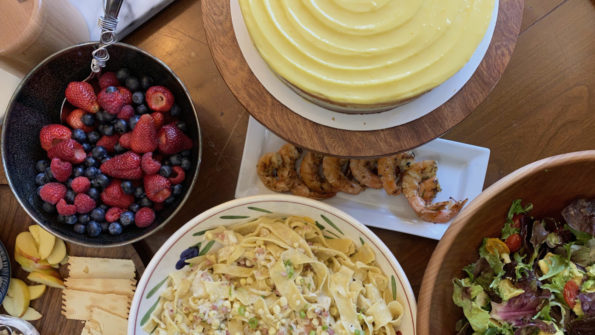
Mui is back from Minneapolis for a visit, she arrived Saturday just in time for Mother’s Day! For the first time in over a year…
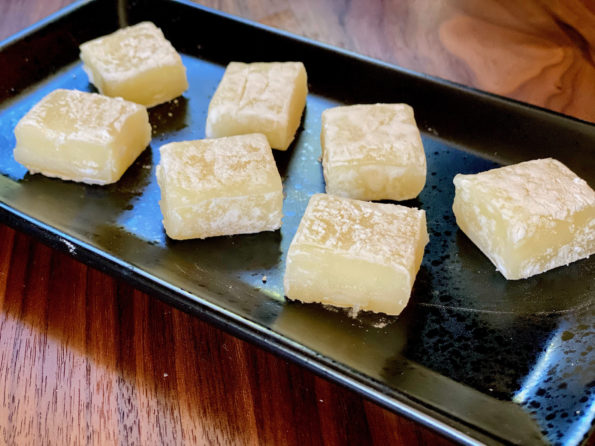
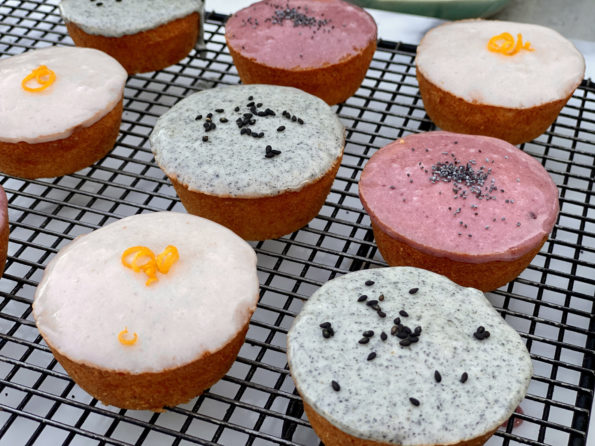
Yes, on the Mochi treat trail once again. Aside from being delicious, Mochi is pretty darn easy to make thanks to Mochiko Sweet Rice Flour. …
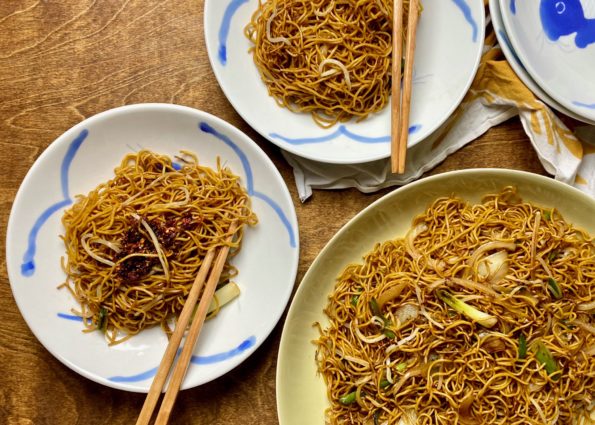
One of my favorite dishes, when we are out for dim sum, is Hong Kong Style Chow Mein or Soy Sauce Fried Noodles (豉油王炒麵). This…
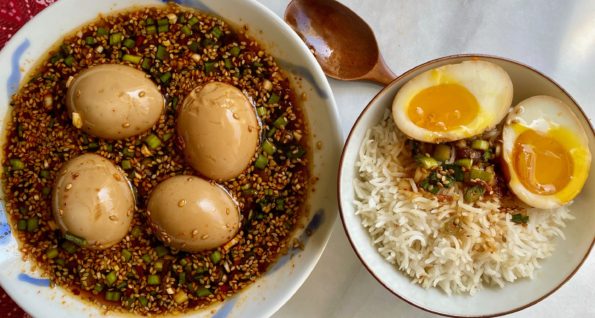
Originally, this post was going to just be about the latest Korean craze, Mayak Eggs (마약계란). TikToks, Reels, IG Stories, folks “egging” everyone on to…
Skipping across my feed lately have been a series of articles on chefs adapting to life during the pandemic. As we know, the food industry…
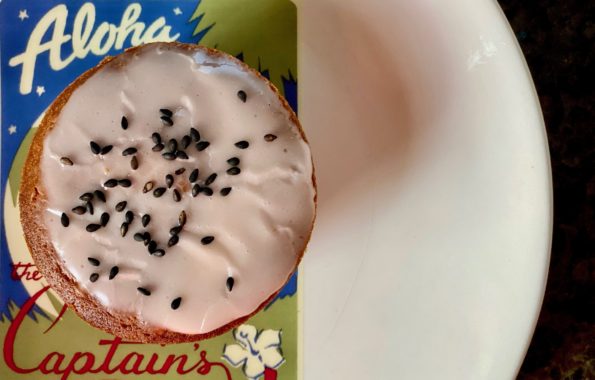
Yes, my romance with mochi muffins continues. Right next door to Shuei-Do, my favorite manju shop in Japantown, San Jose, is a Poke Shop, Aloha…