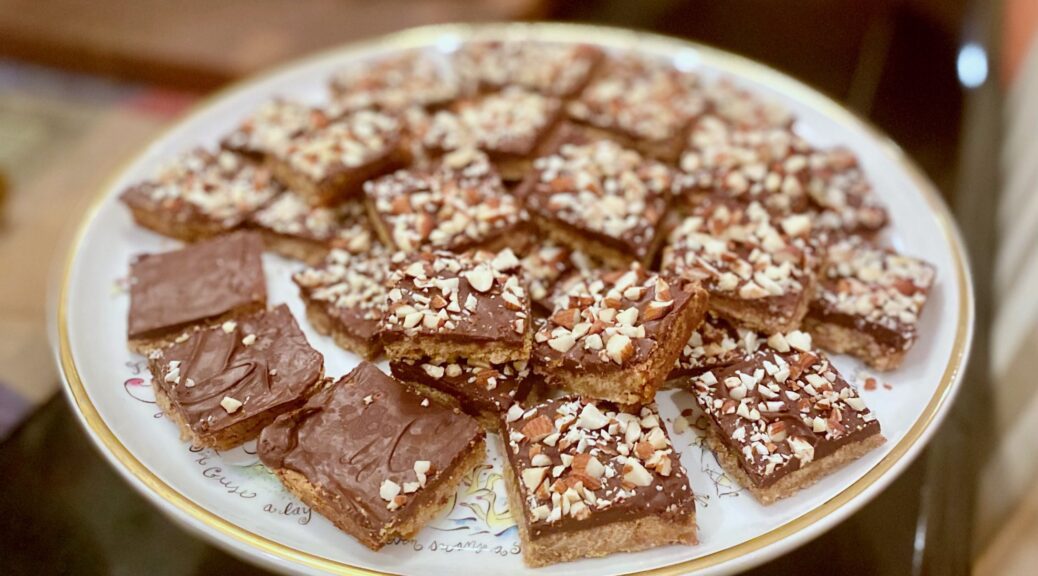
Mrs. S’s Toffee Squares
I found it! Buried in my recipe binder, a treasured recipe from my friend Joy’s mom. My favorite holiday cookie, Mrs. S’s Toffee Squares. As soon as we received her plate of Christmas Cookies I laid claim to those Toffee Squares, and truth be told, her Crescents, Pecan Tartlets, and Spritz Cookies… lol.
These delightful toffee squares made their appearance, courtesy of Joy, at our preschool cookie swap last week. A gentle reminder to find and post the recipe. So I dug into my cookie files that haven’t been digitized, lol, and luckily found her recipe. I might have to make a batch today to celebrate!
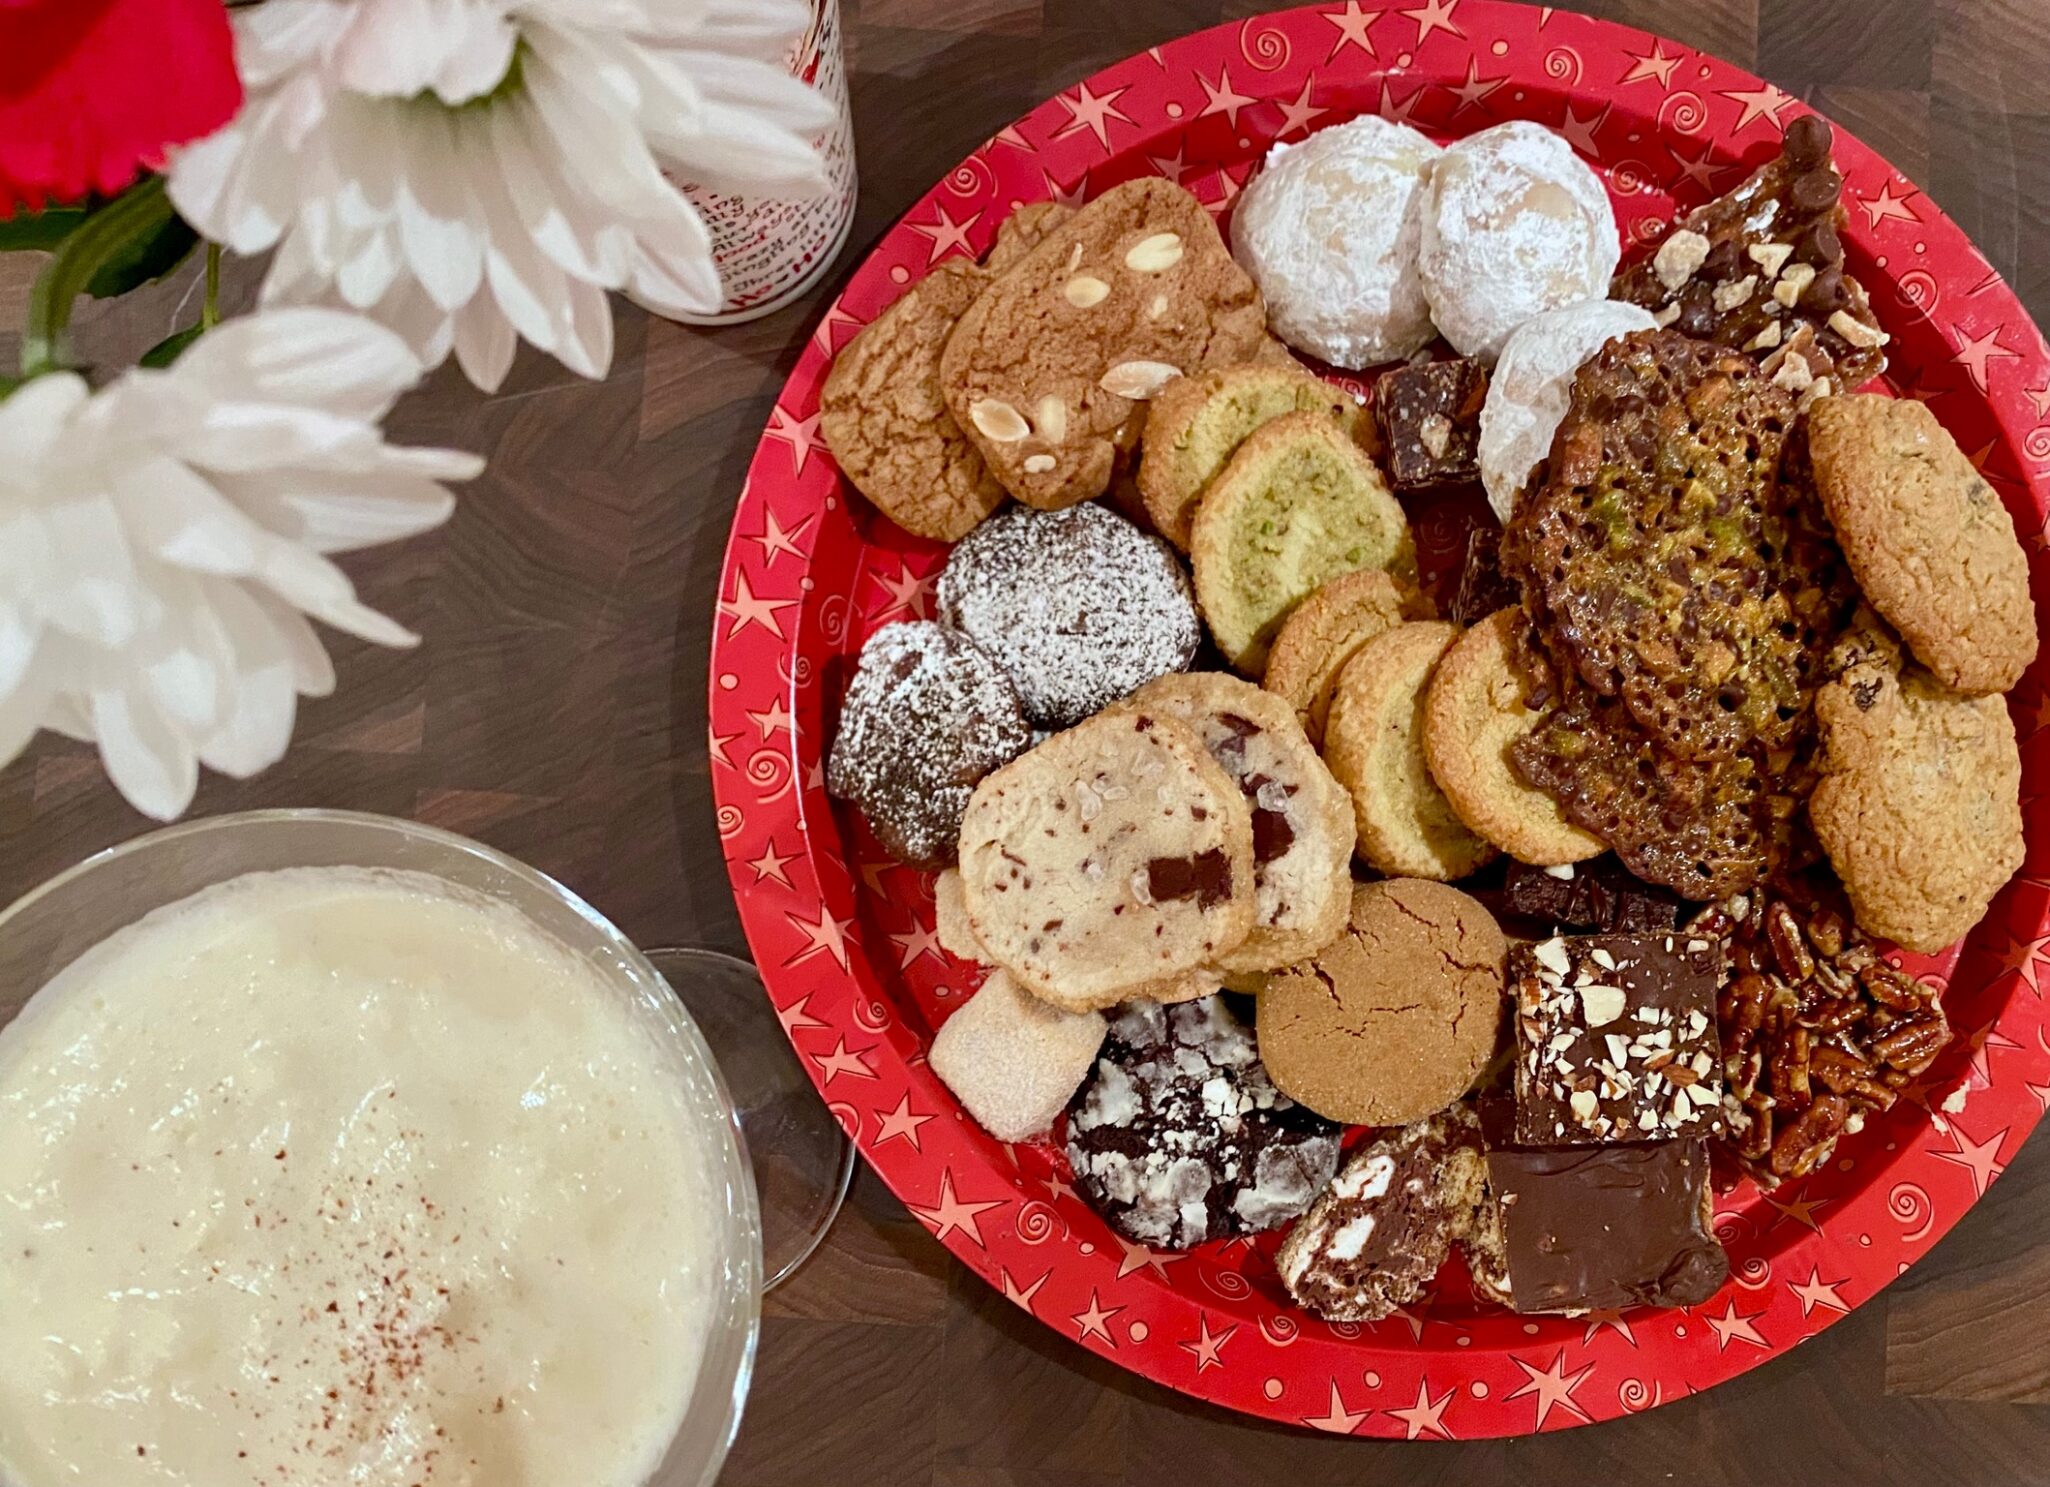
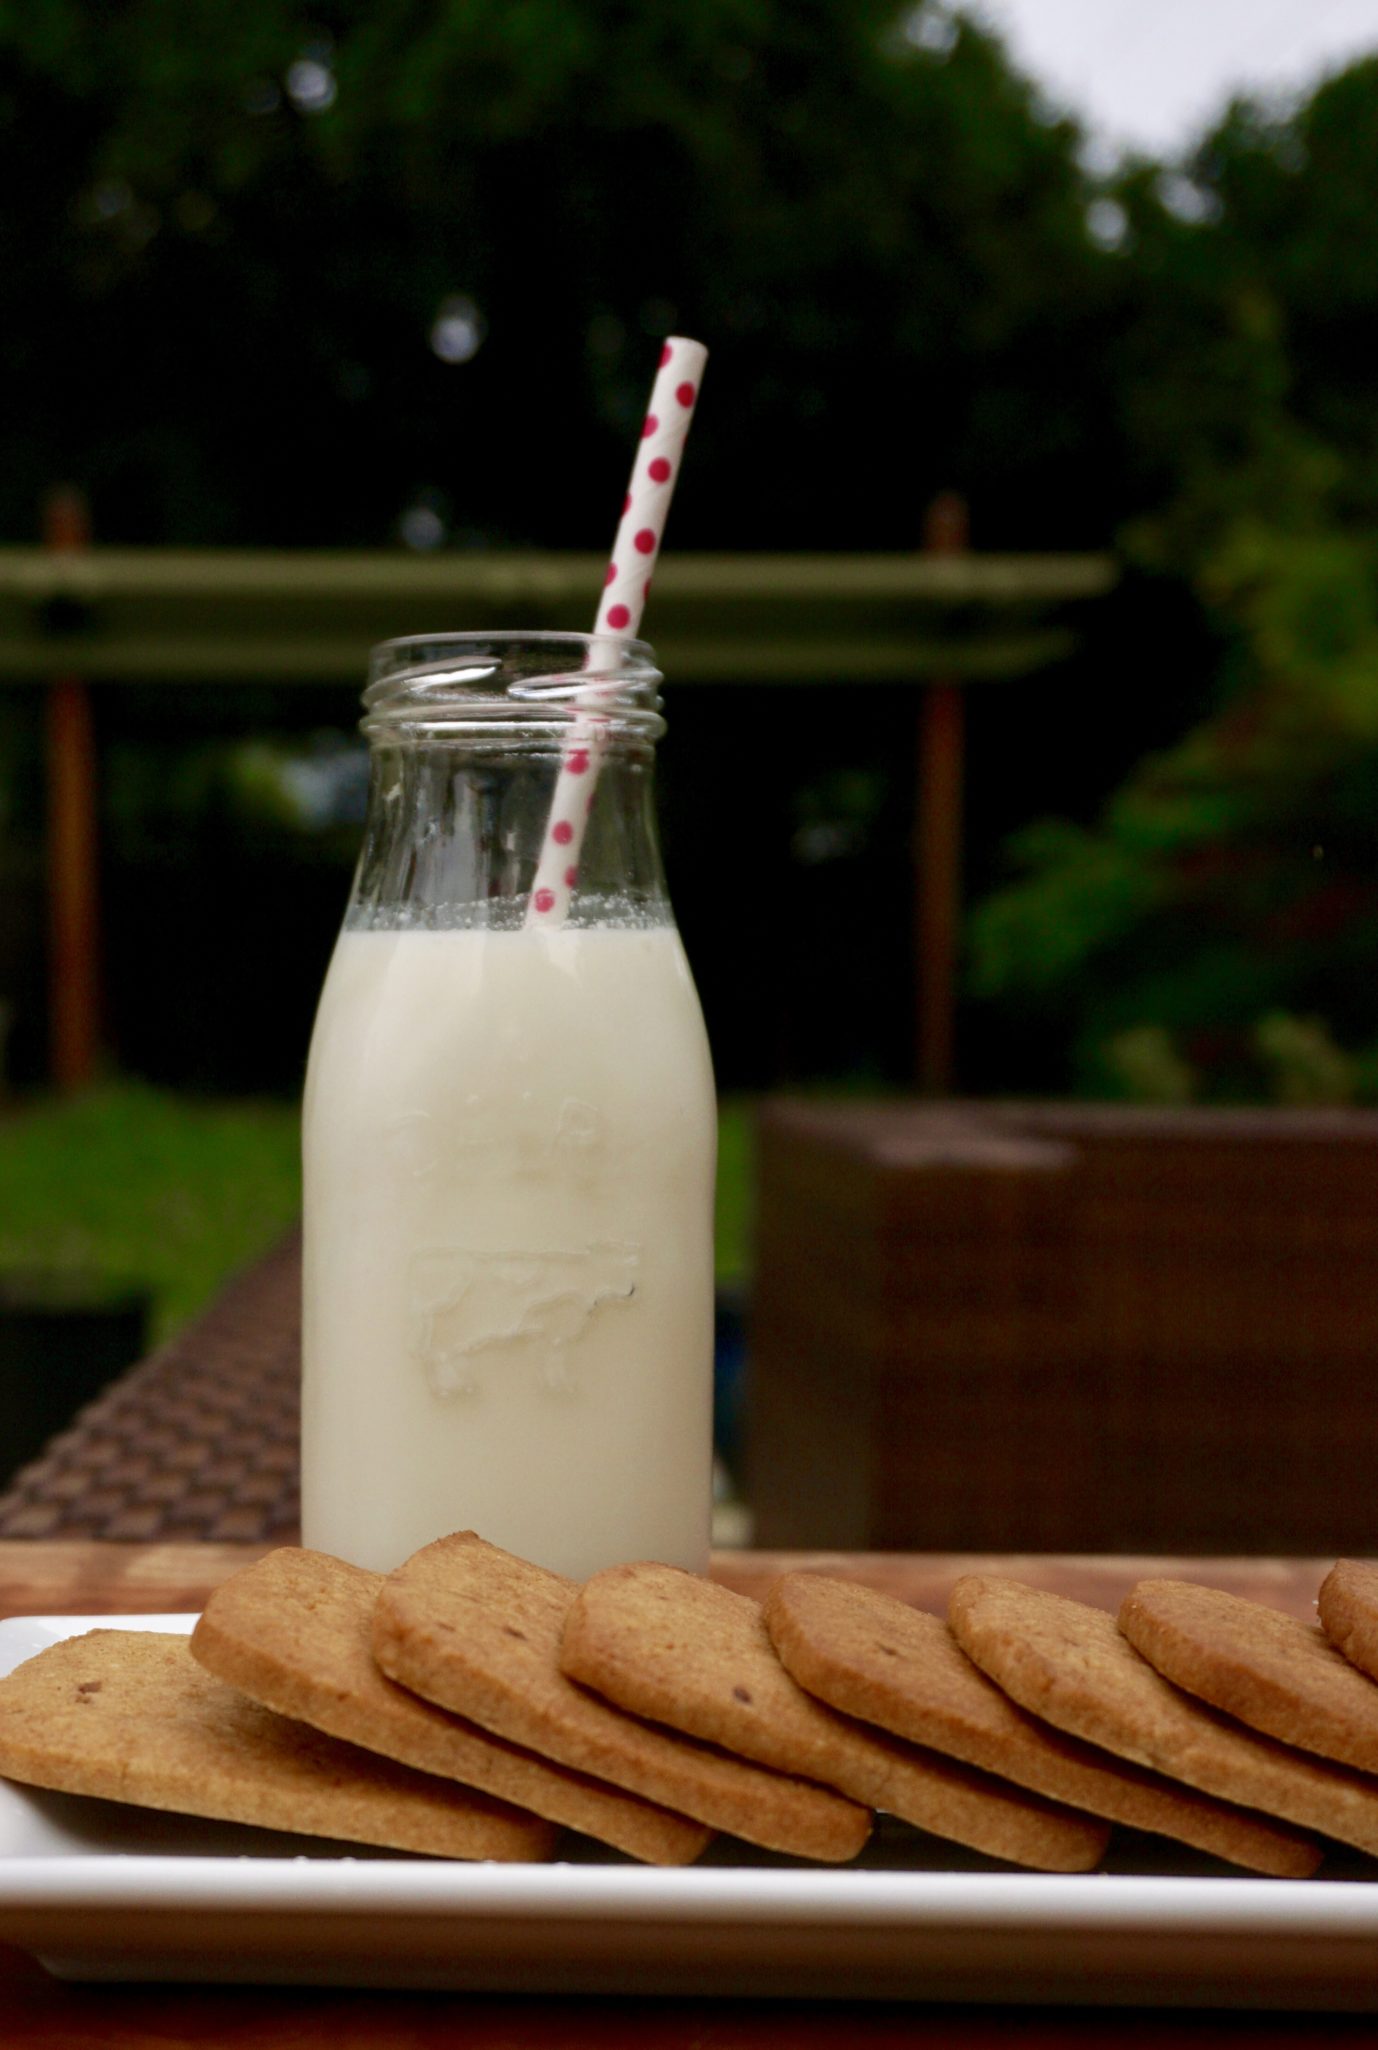
Our 25th Preschool Cookie Swap not only included a variety of delicious cookies but traditional, made from scratch, eggnog.
I also love Alice Medrich’s Toffee Bars, a recipe very similar to Mrs. S’s recipe. The directions offer a little more detail than Mrs. S’s recipe and are equally divine.
Tips for Mrs. S’s recipe:
Use salted butter. This is an old recipe, I imagine, only salted butter was available. If you use unsalted butter, increase salt to 1/2 teaspoon.
Gold Medal or Pillsbury Flour was and is, the most widely available flour. One of those would have been the flour Mrs. S used, but if you only have King Arthur, spoon it lightly into your measuring cup. I have read that folks compensate for the protein in King Arthur by reducing the amount of flour in the recipe by 1 tablespoon per cup. Haven’t tried it myself yet. Mainly because I’m nuts and have multiple varieties of flour on hand including Gold Medal, King Arthur, Bob’s, White Lily 🤷🏻♀️
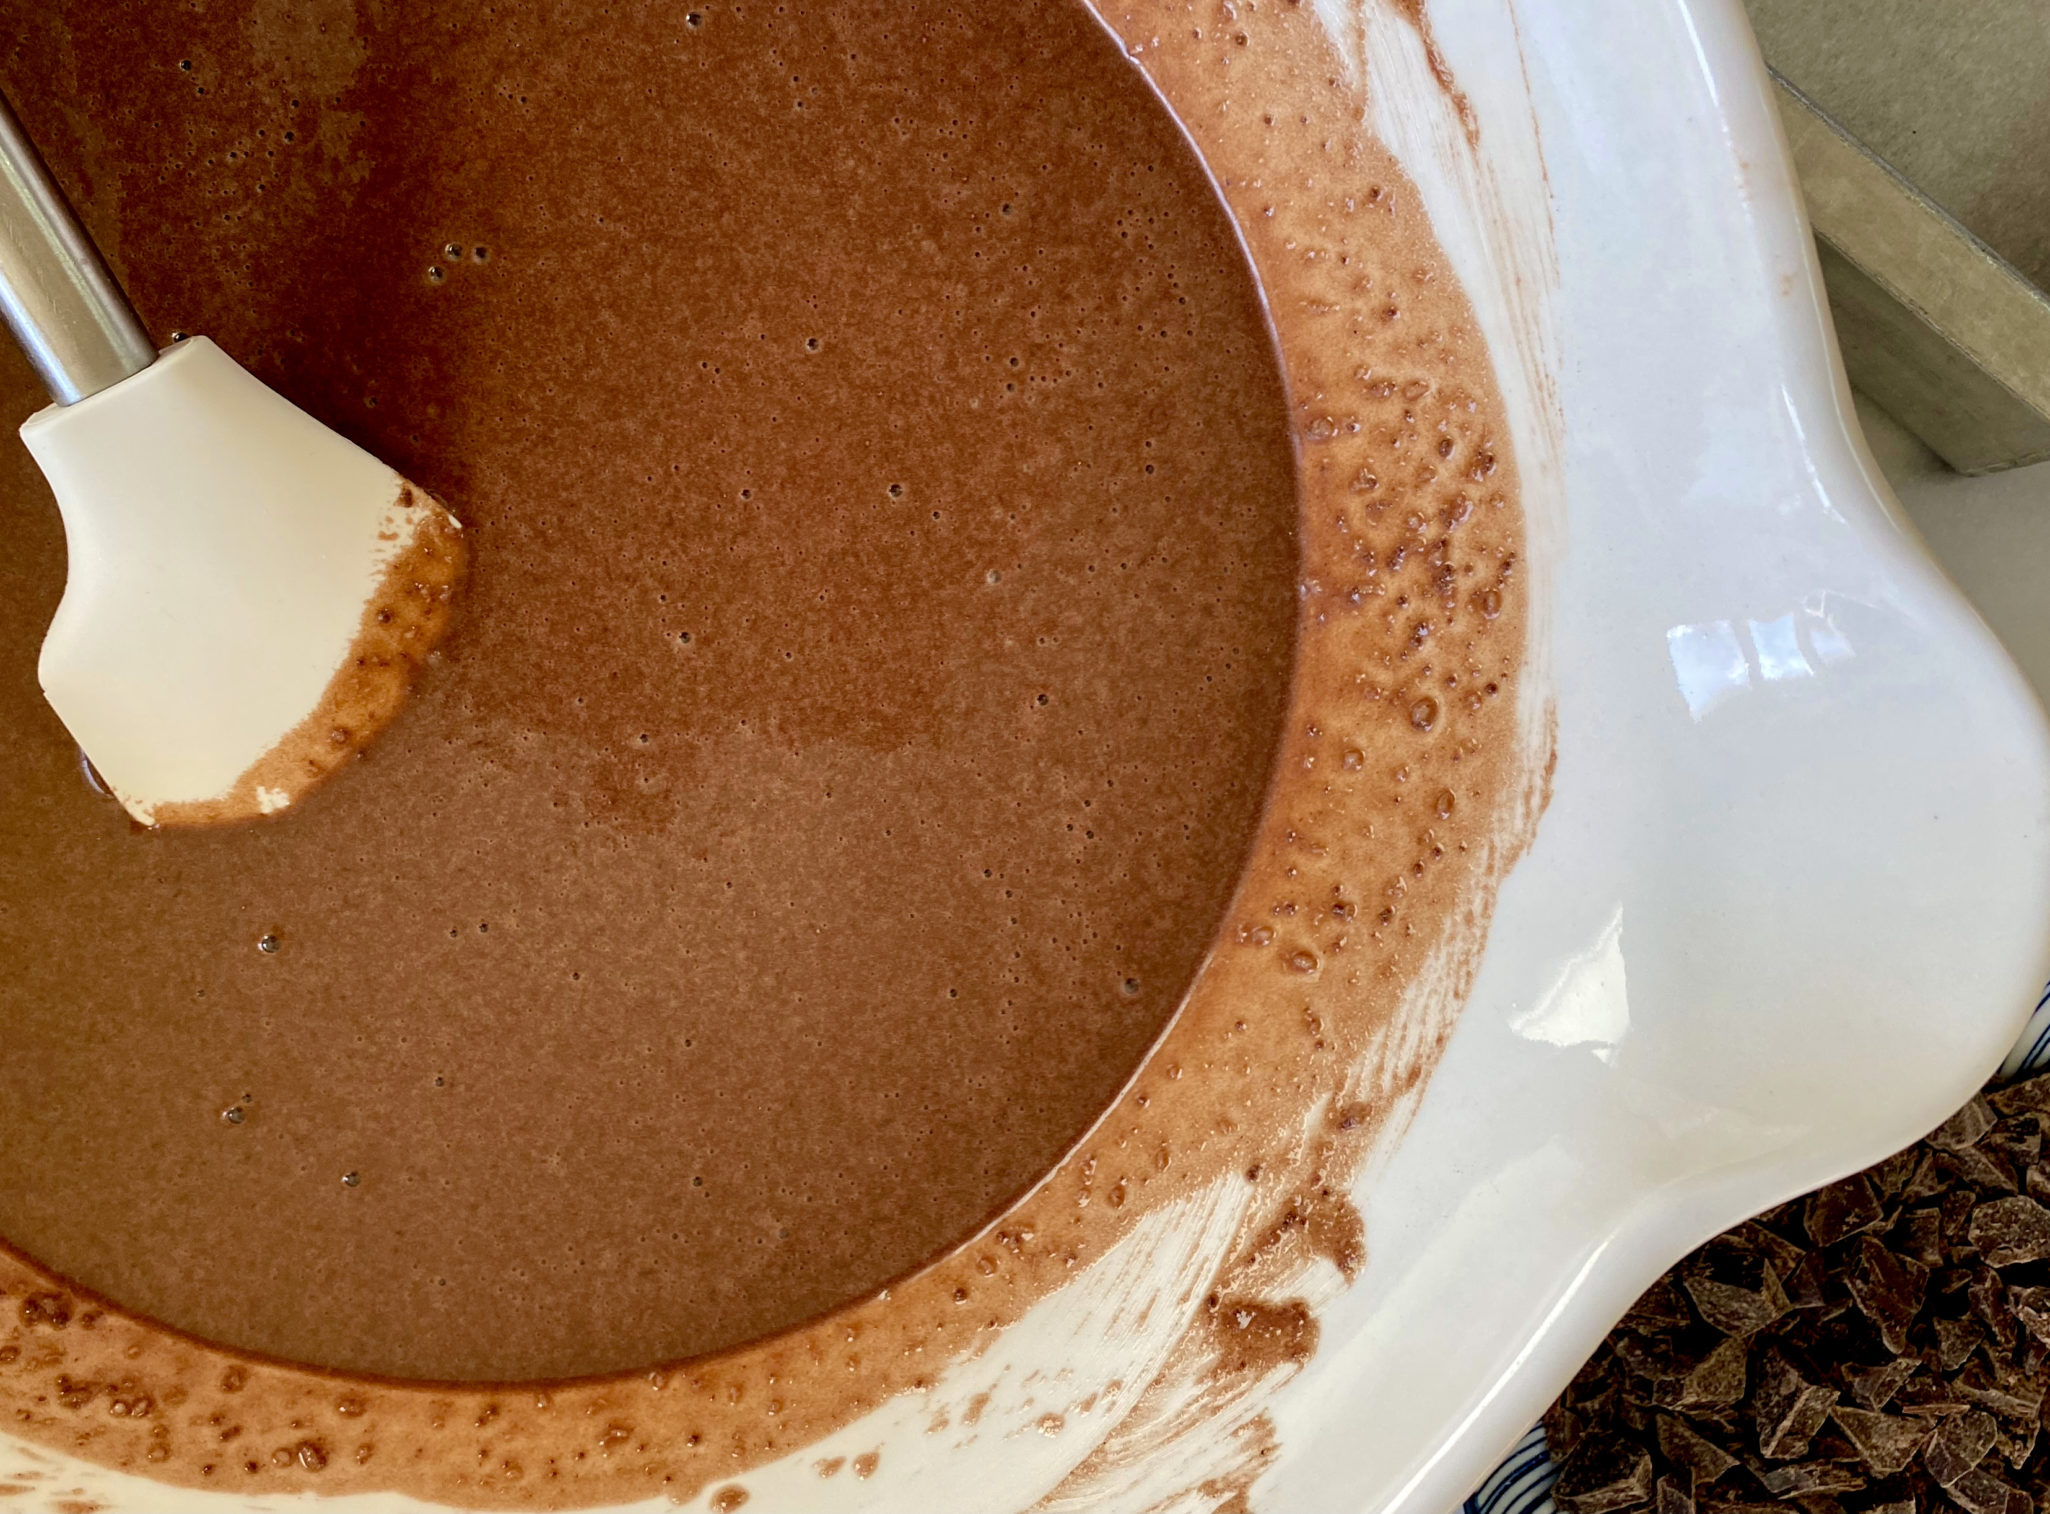
Reminder, do not overwork the dough after adding the flour to the butter-sugar mixture.
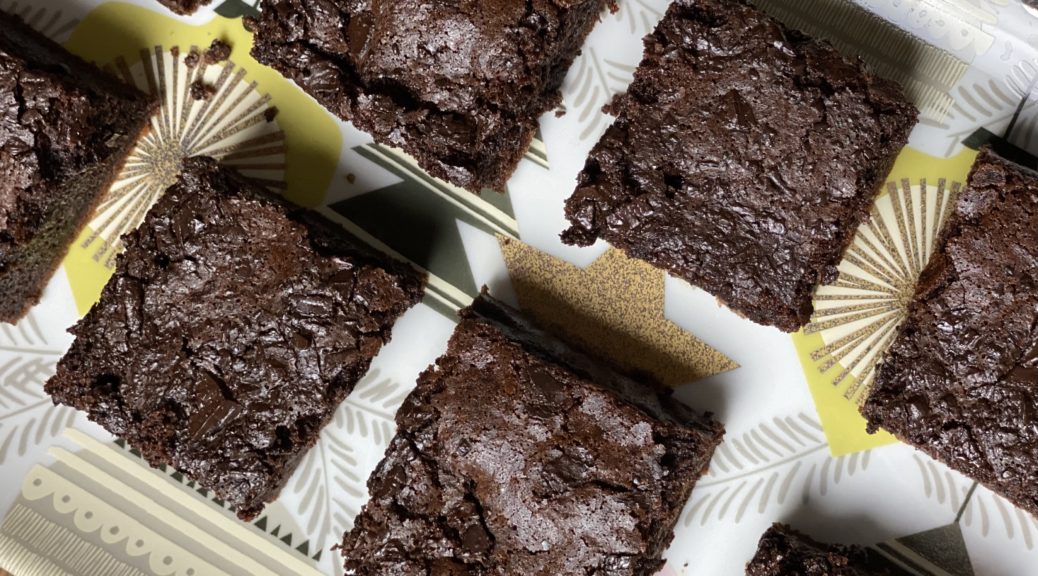
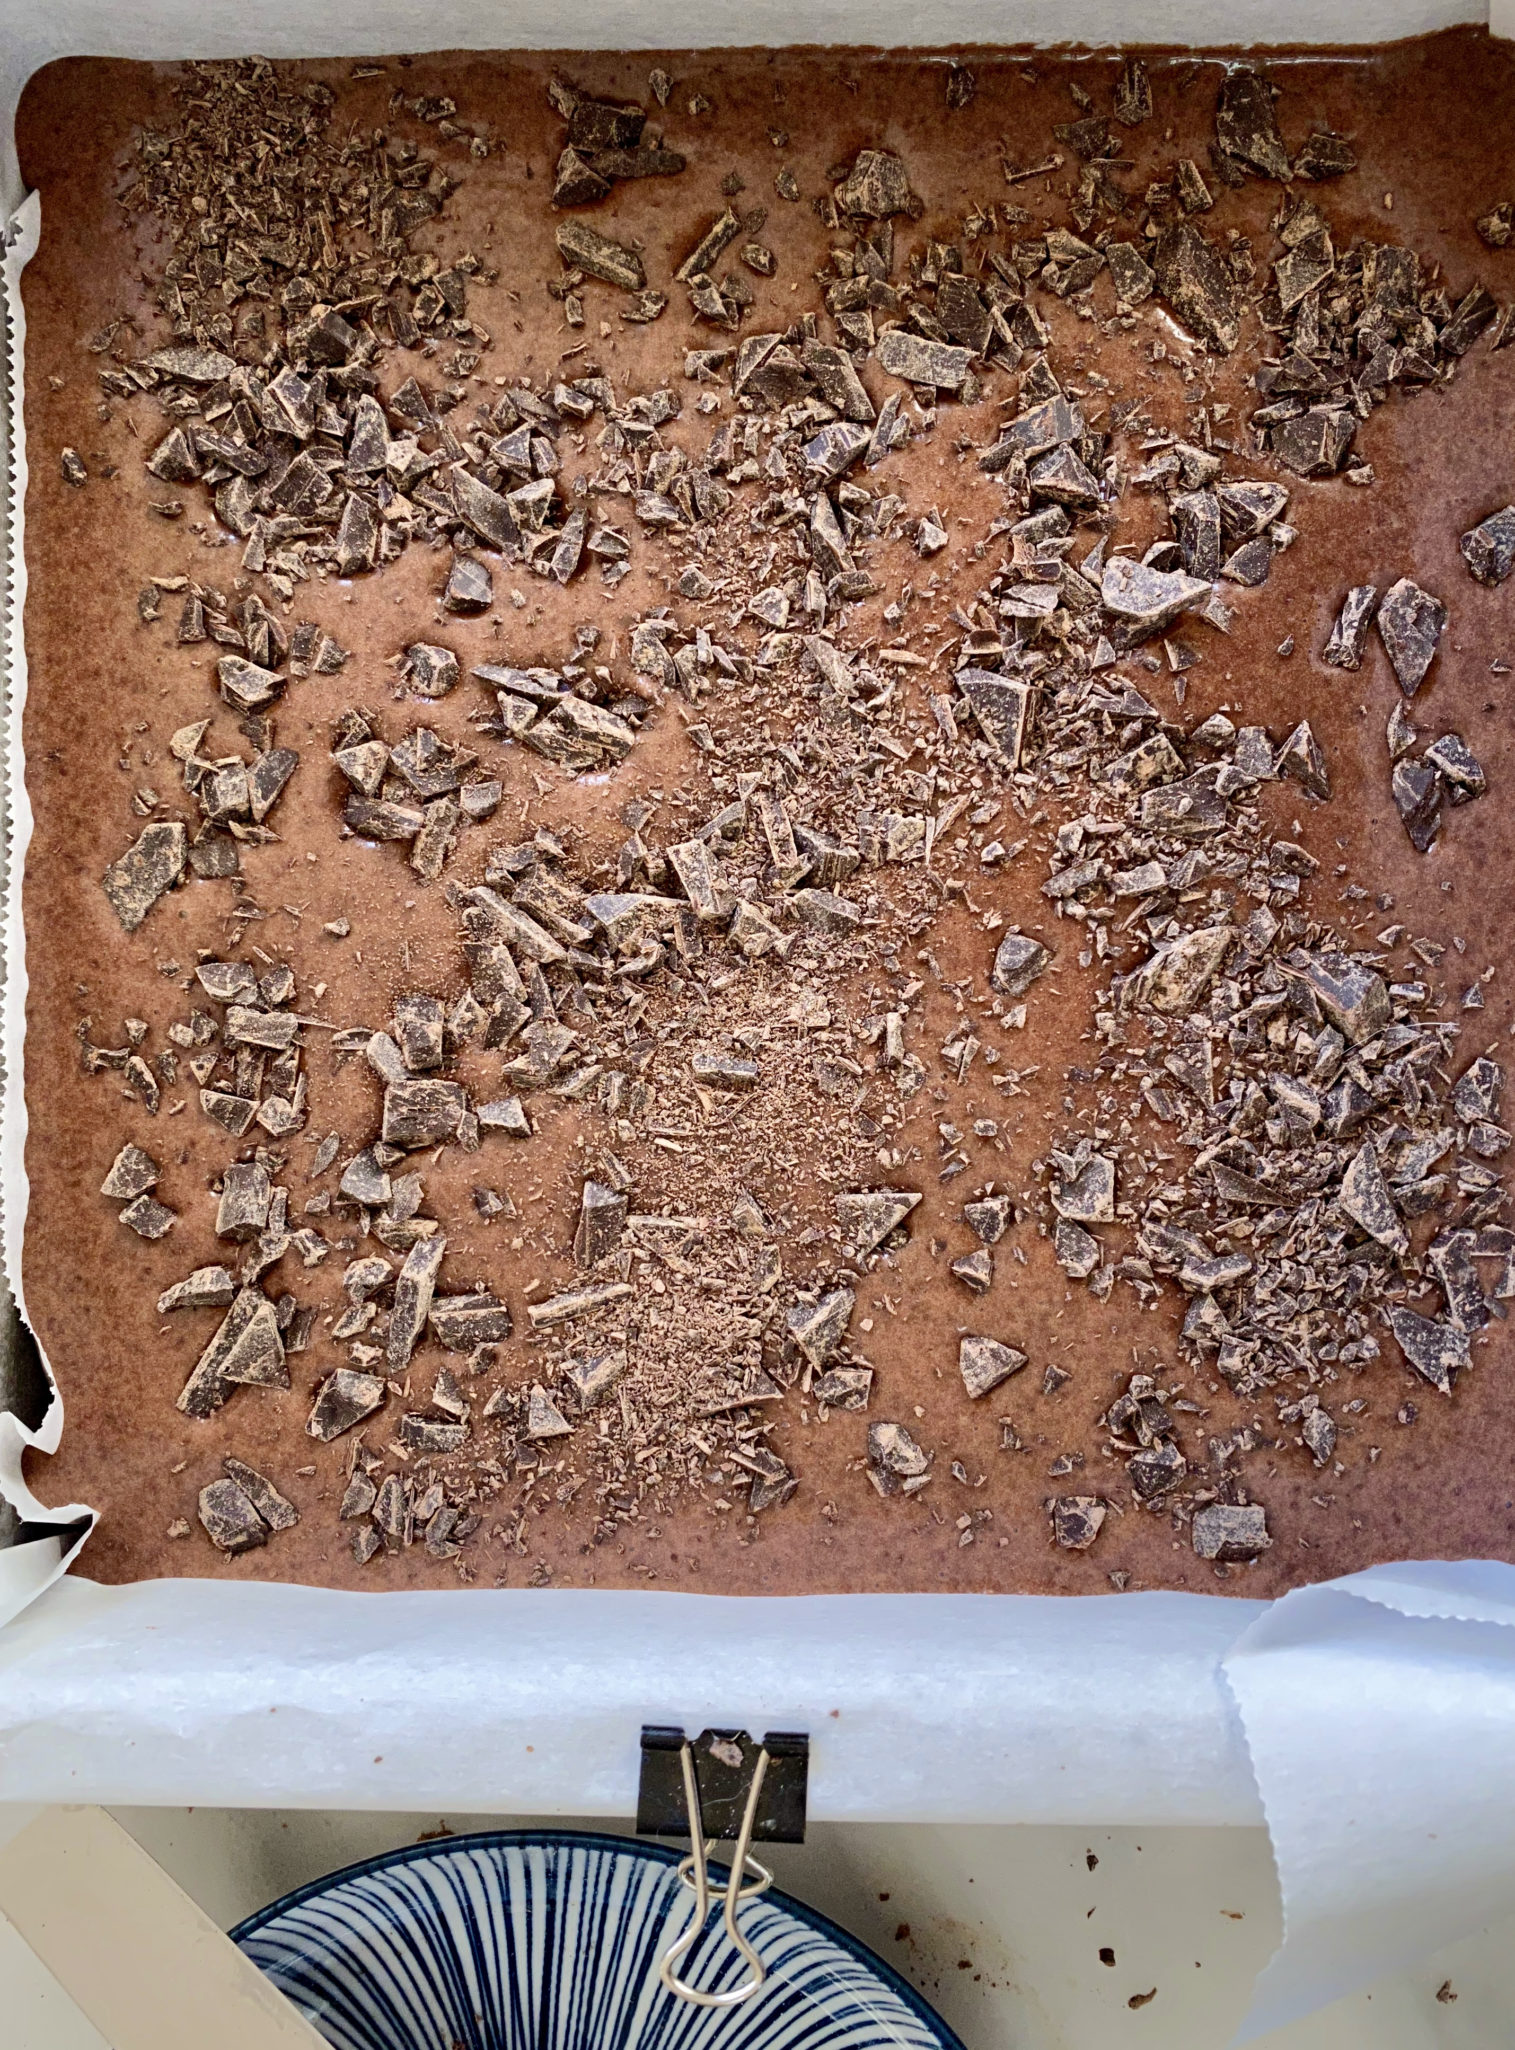
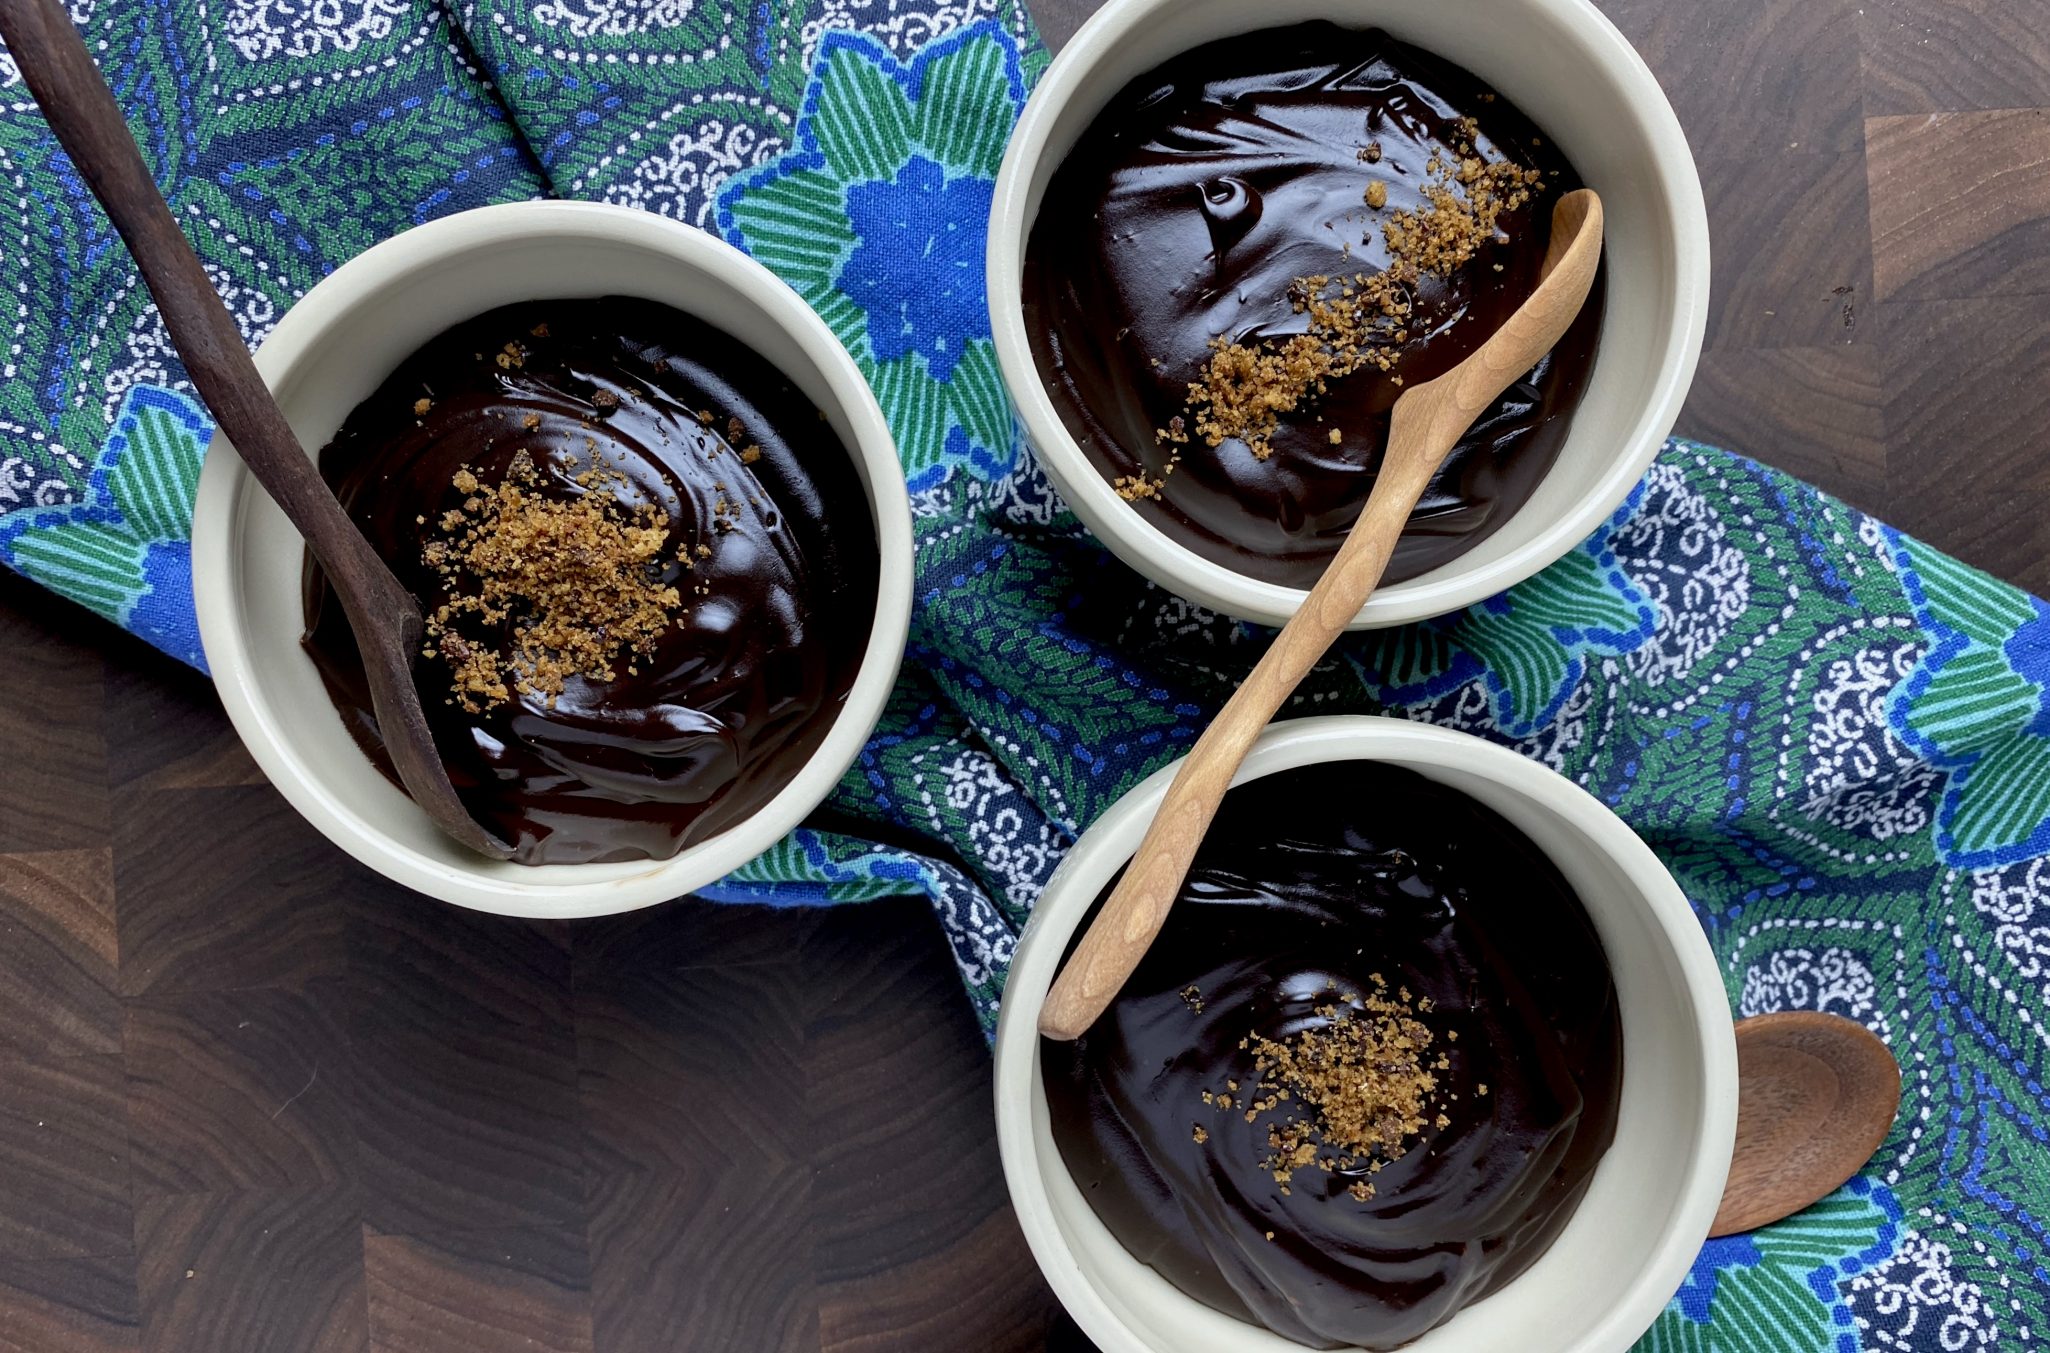
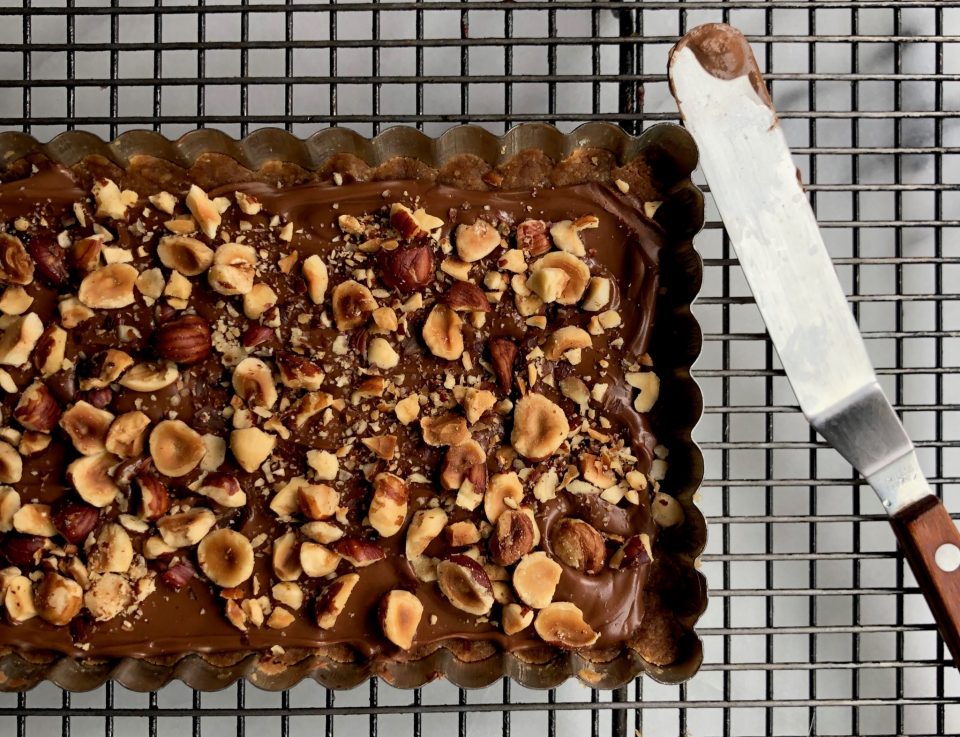
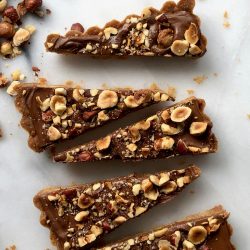
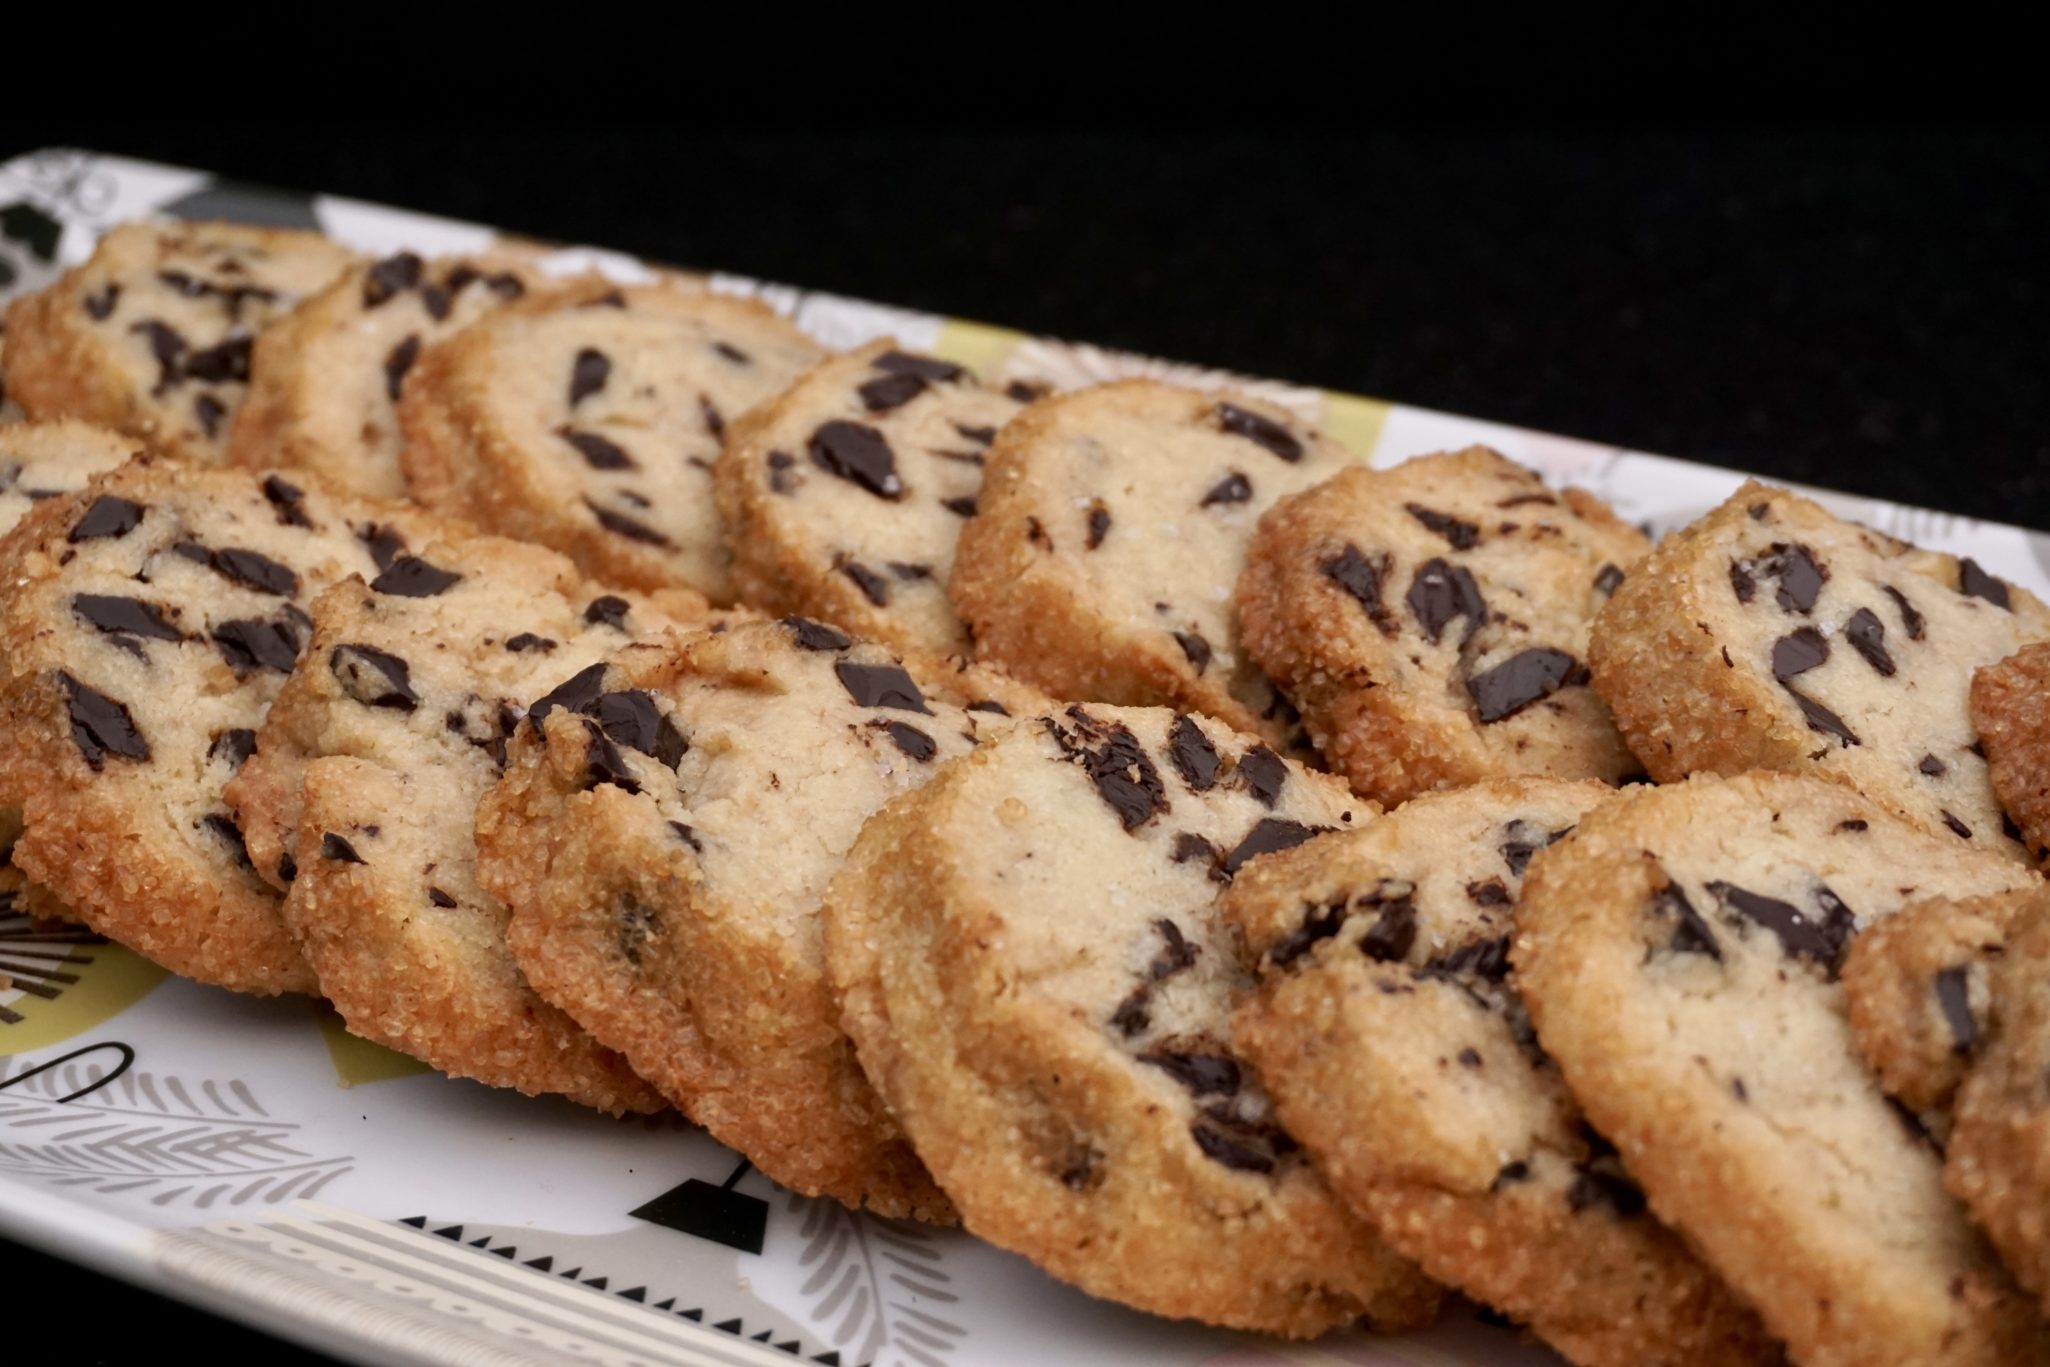
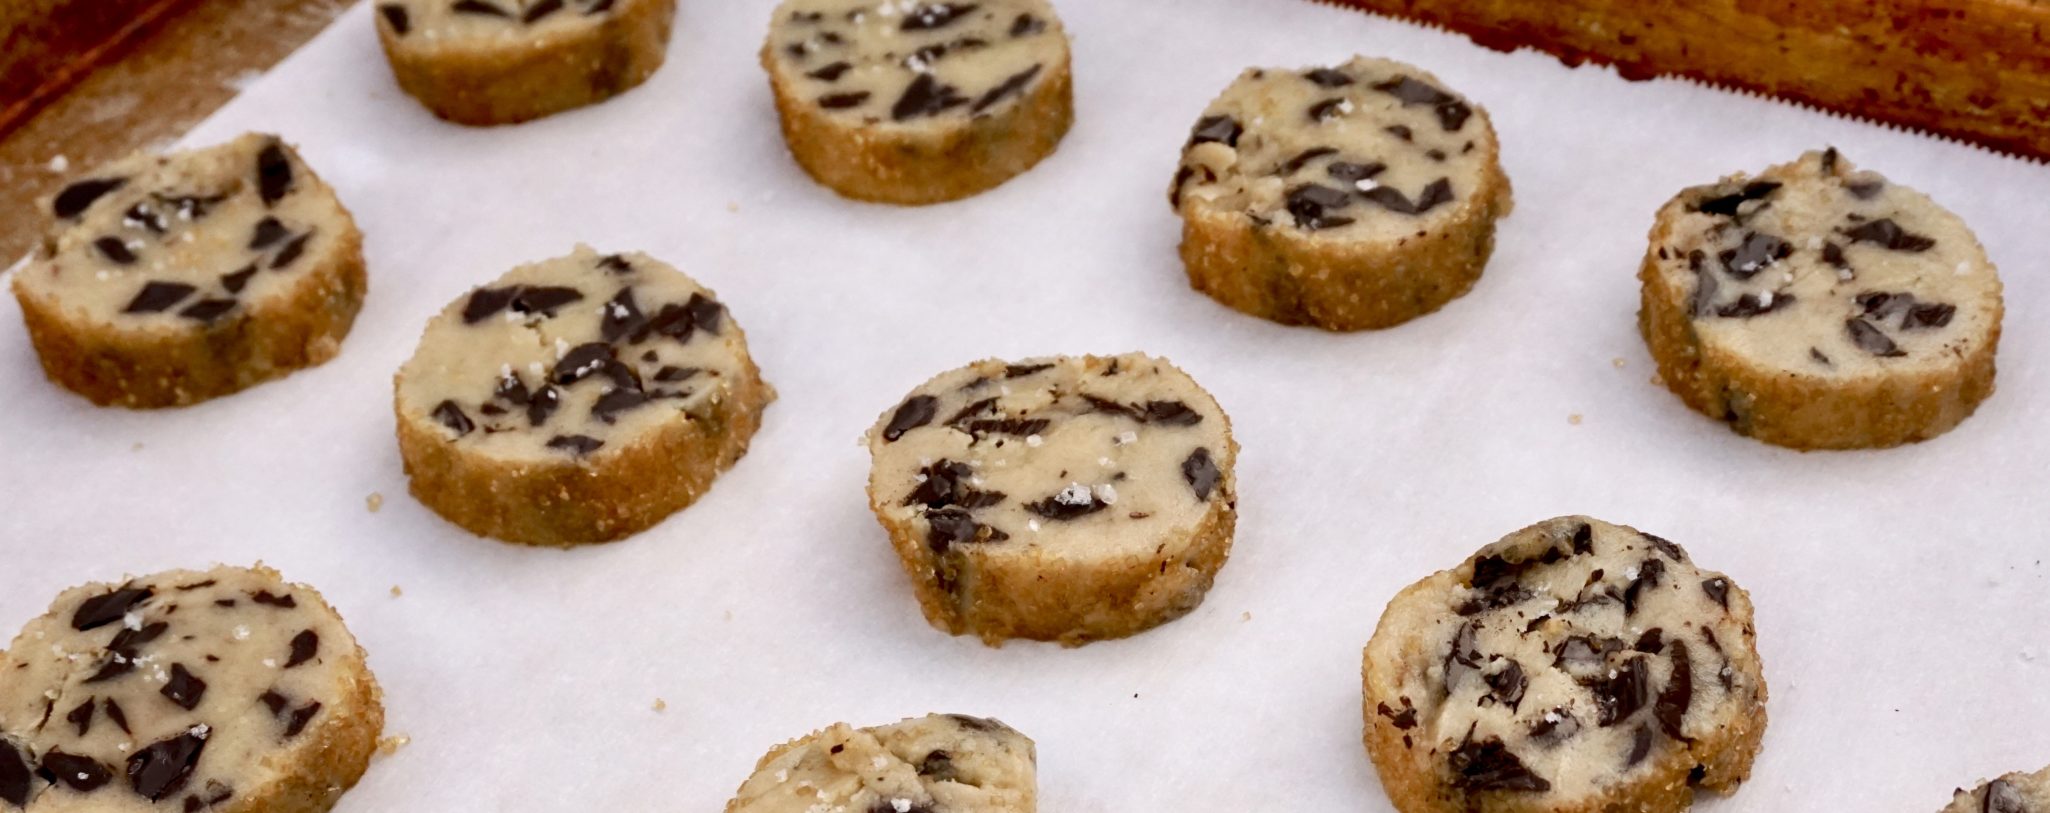
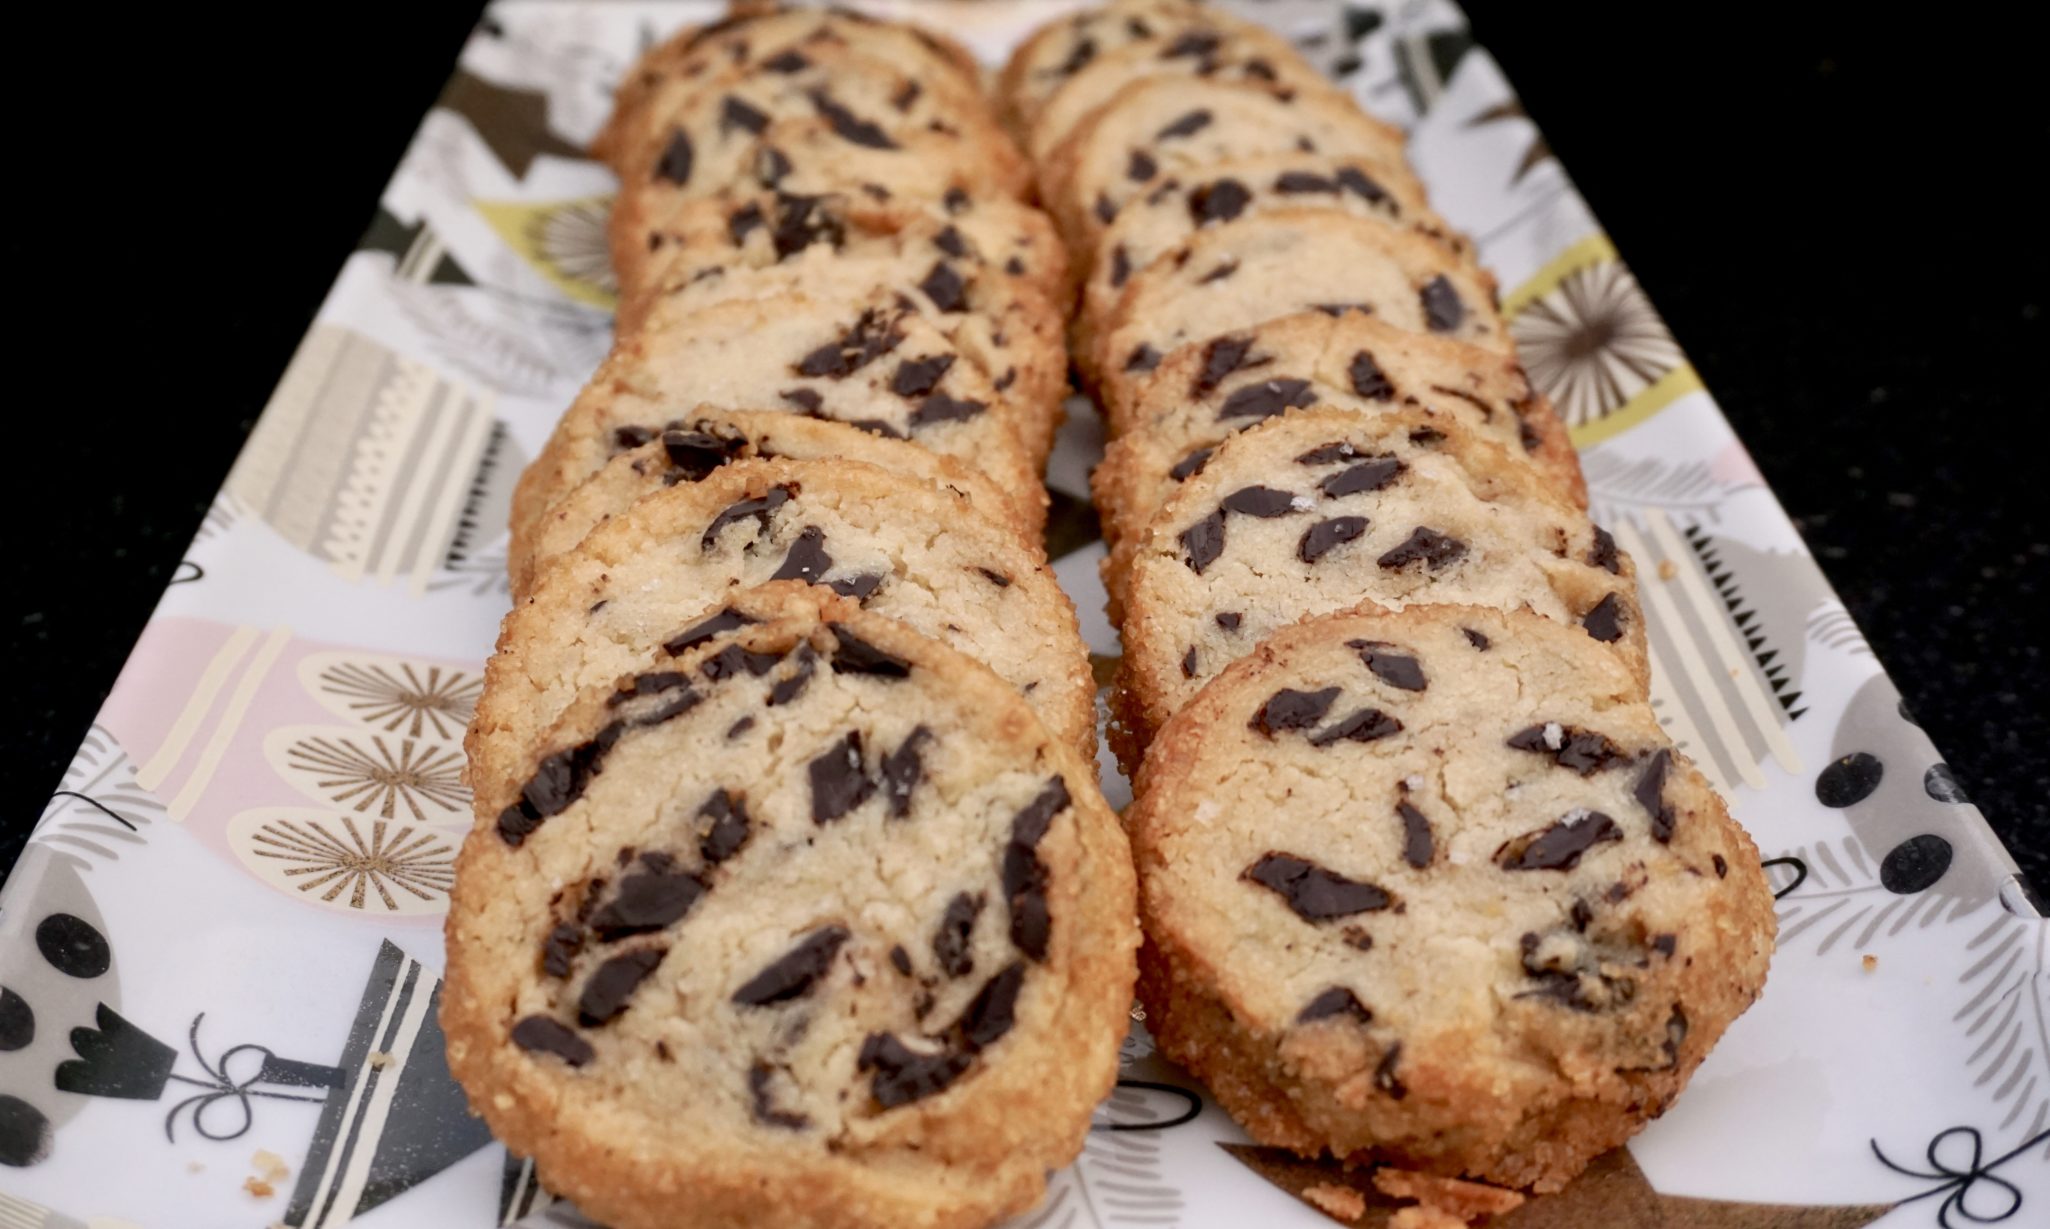
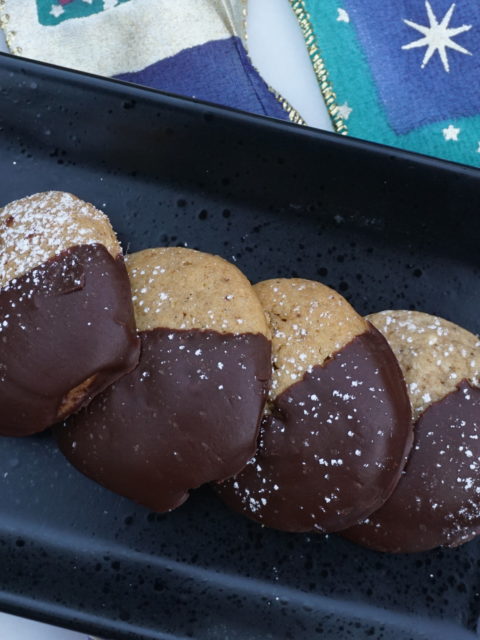
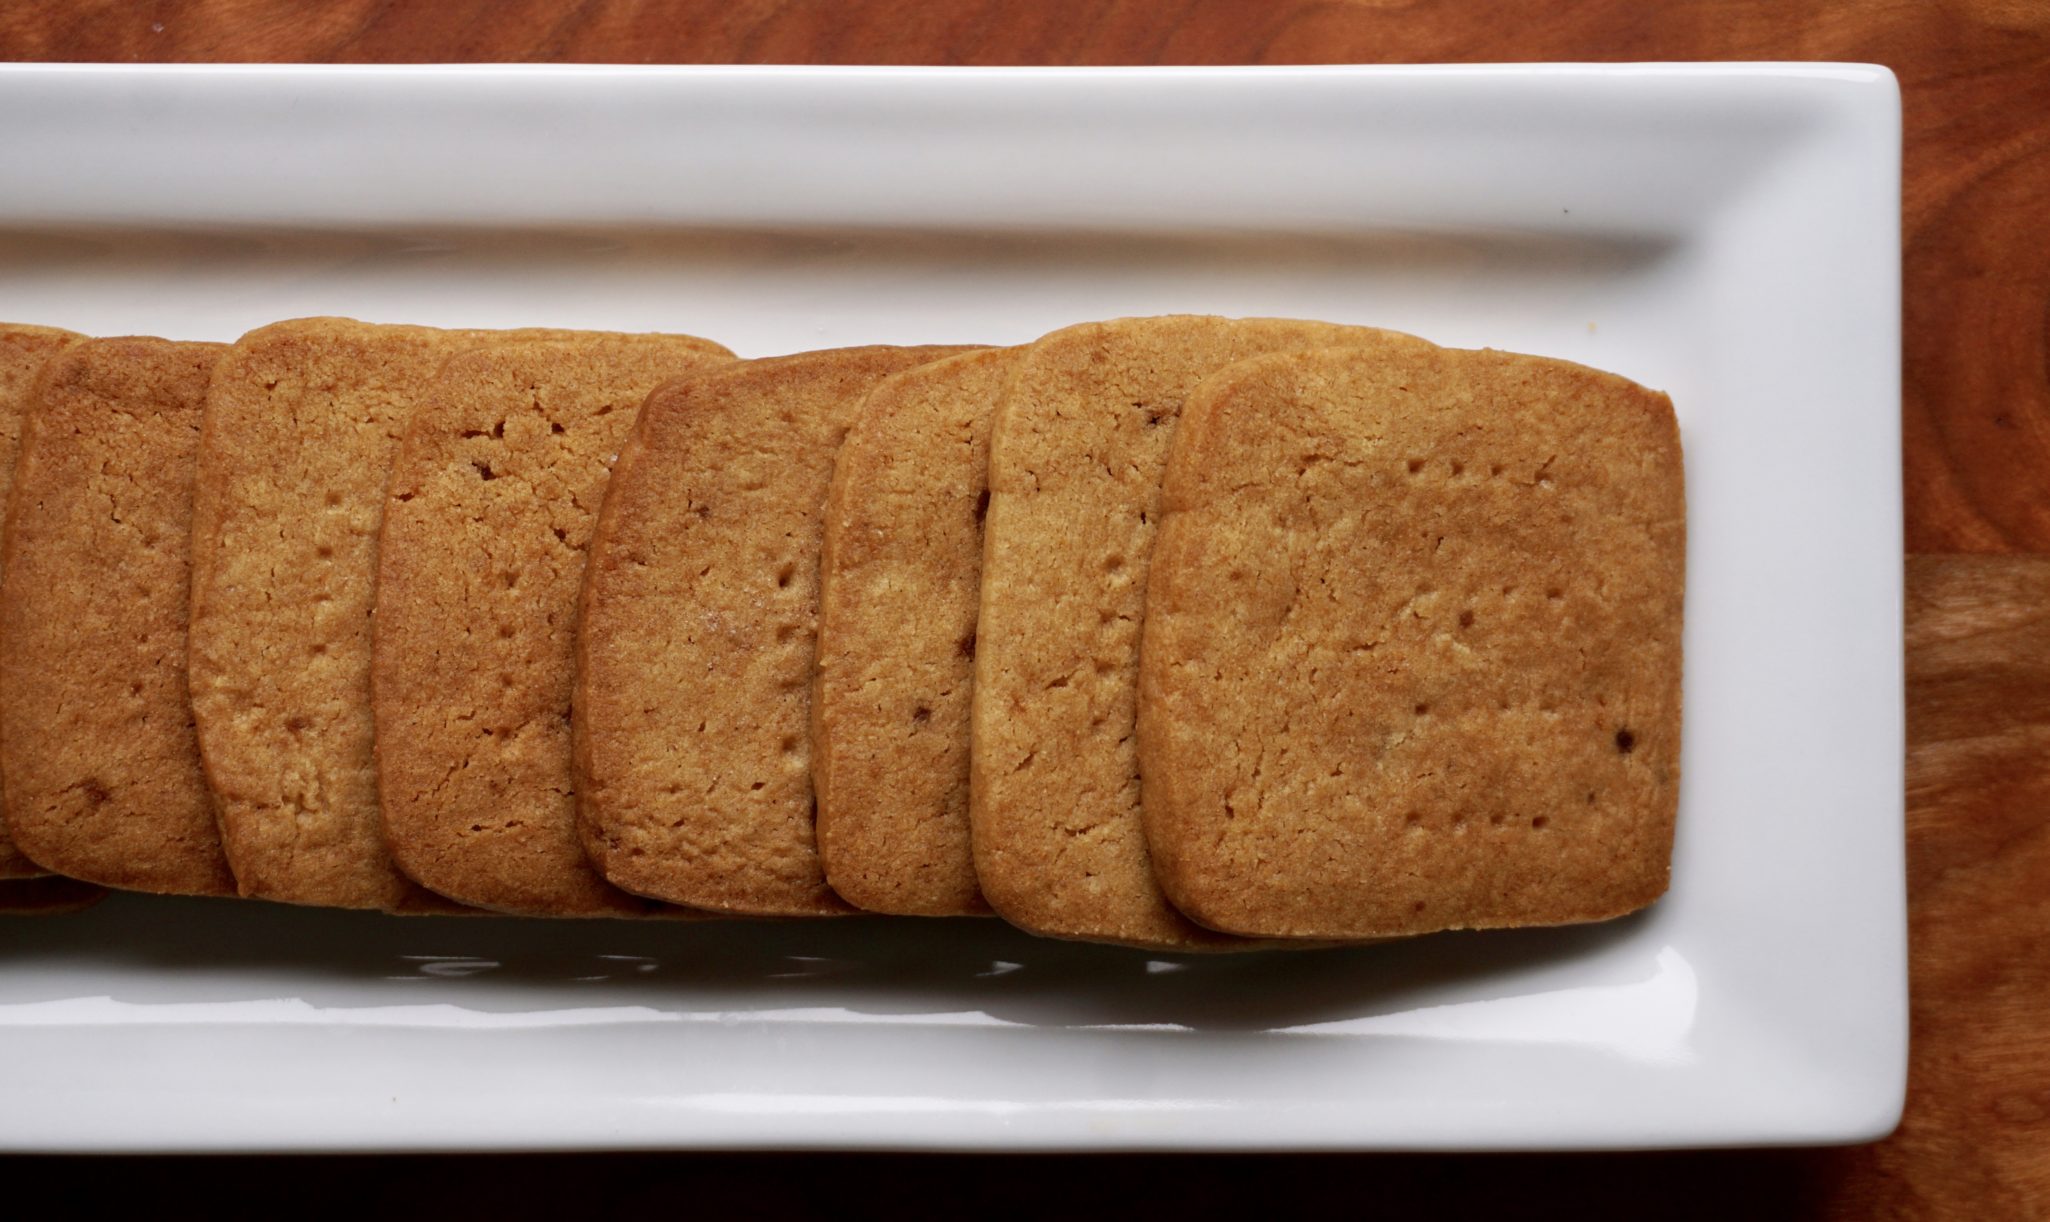
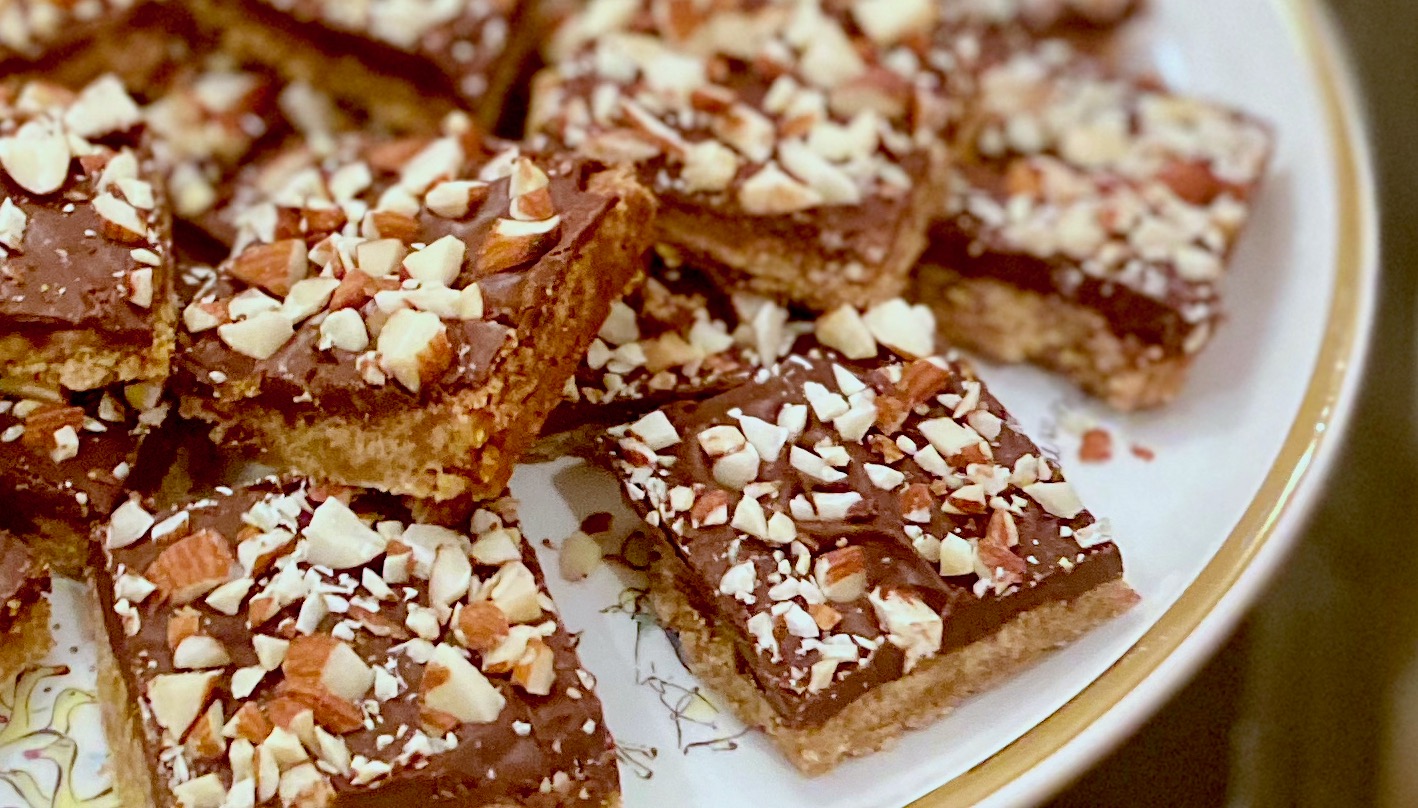
Go crazy, use different chocolate varieties for the topping, dark, milk or bittersweet. Change up the nuts too. Her recipe calls for milk chocolate and pecans or almonds, my “grown-up version” uses dark chocolate and hazelnuts.
Enjoy!
Toffee Squares
Ingredients
Cookie Base
- 1/2 cup butter
- 1/2 cup brown sugar
- 1 teaspoon vanilla
- 1 cup unsifted all purpose flour
- 1/4 teaspoon salt
Topping
- 6 1.2 ounce milk chocolate bars or 2 baker's German milk chocolate bars
- 3/4 cup finely chopped nuts pecans
Instructions
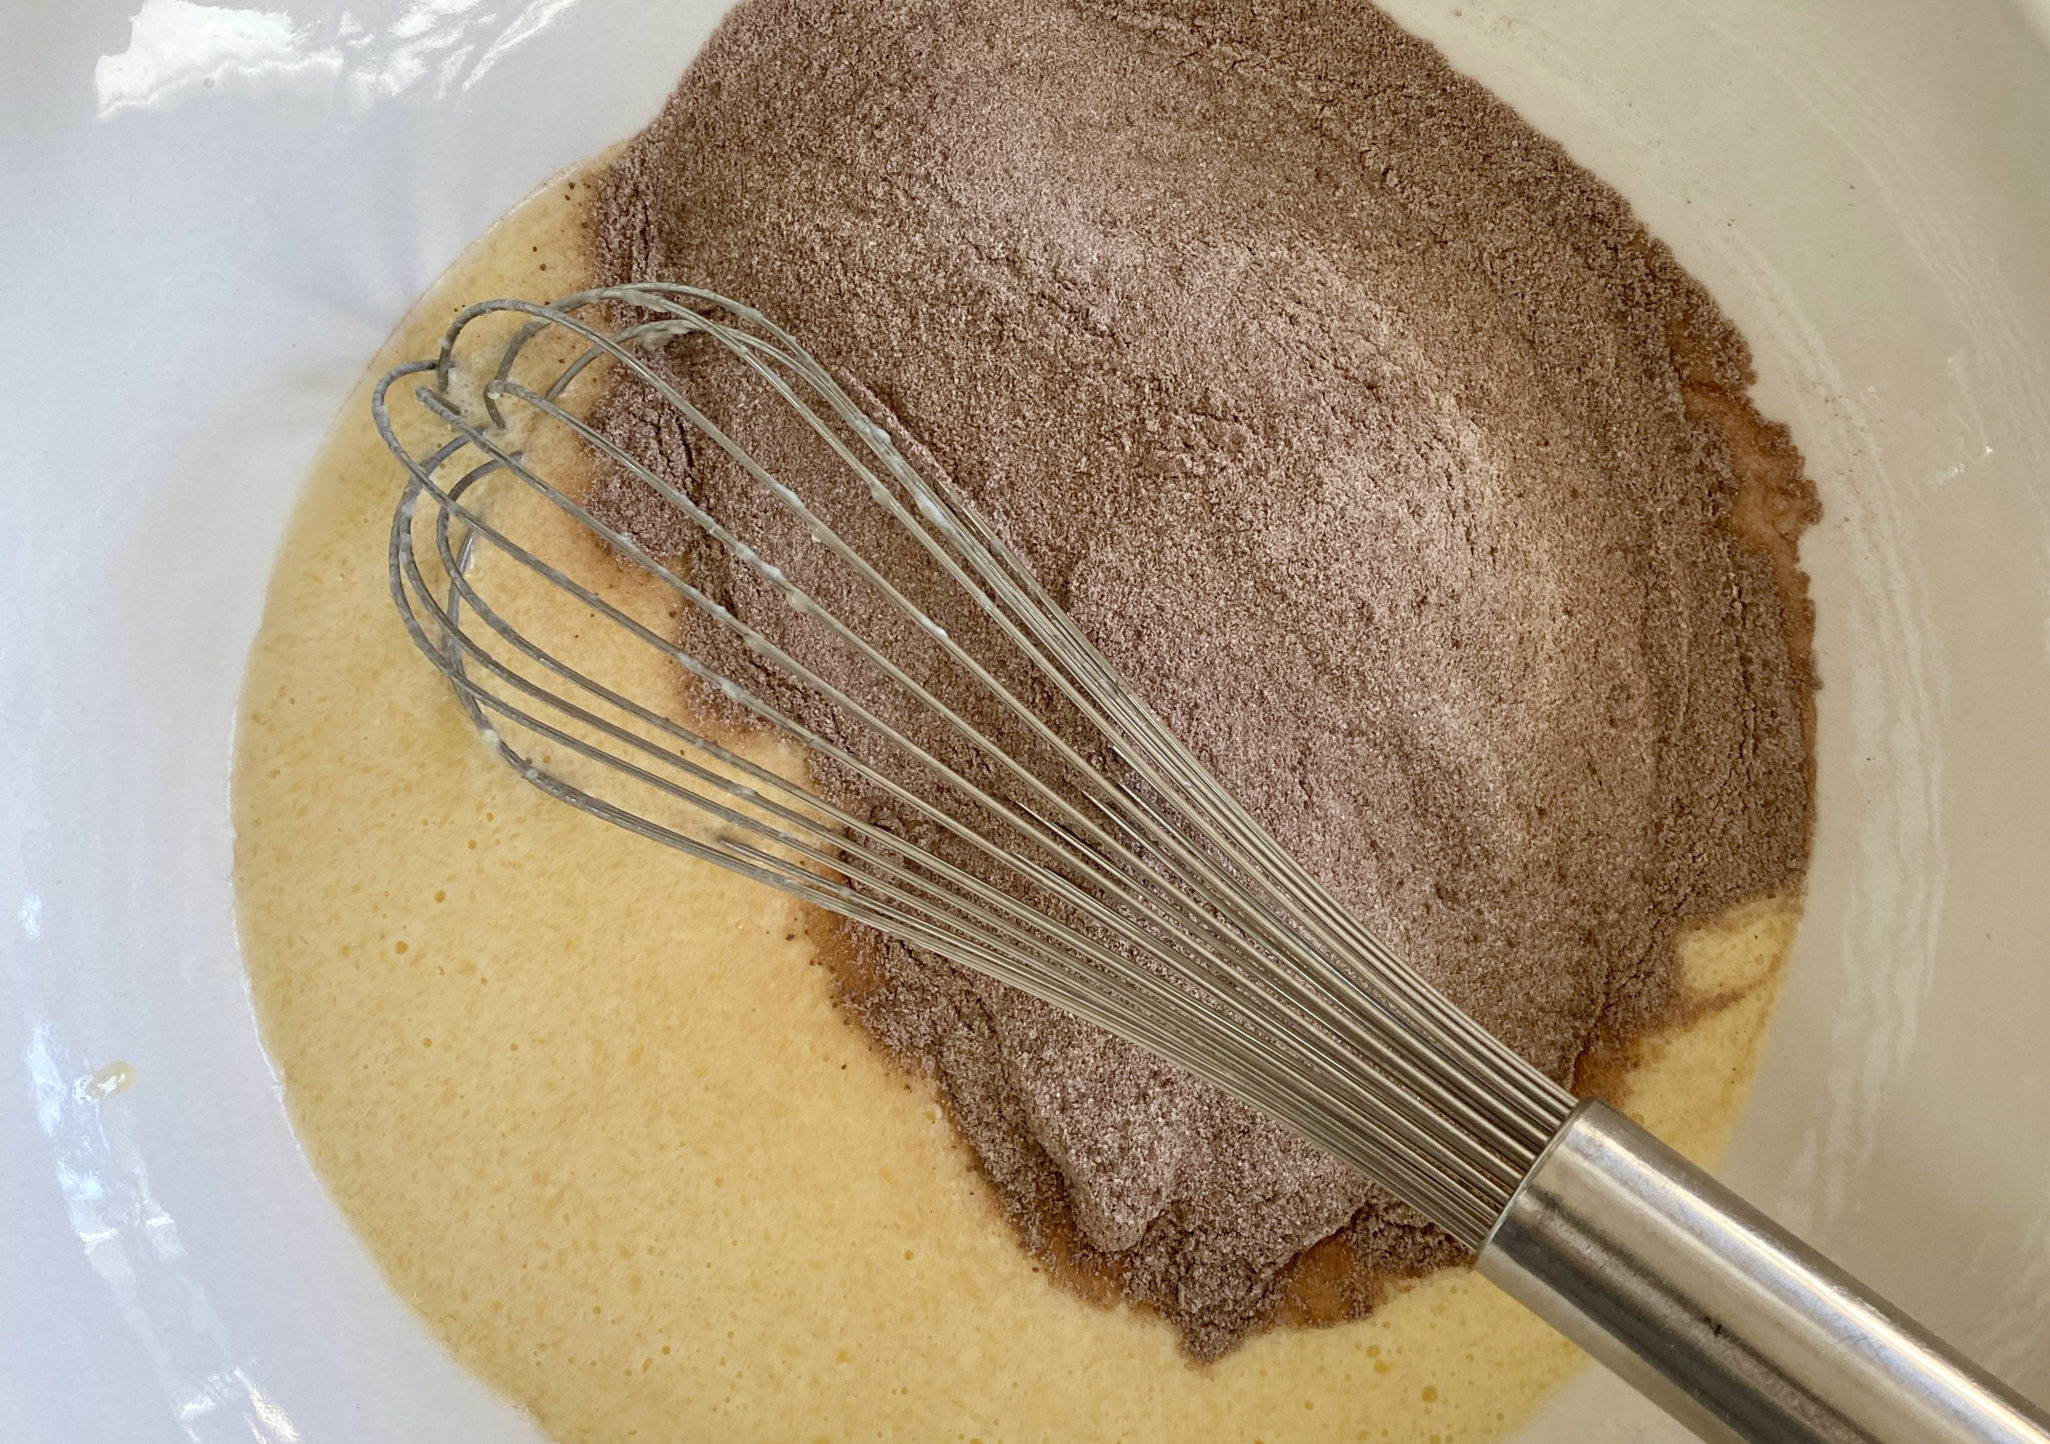
- Cream butter, beat in sugar and vanilla.
- Combine flour and salt, stir into the creamed mixture.
- Pat dough evenly into a 13 x 9 x 2 inch ungreased pan.
- Bake at 350 degrees for 25 minutes.
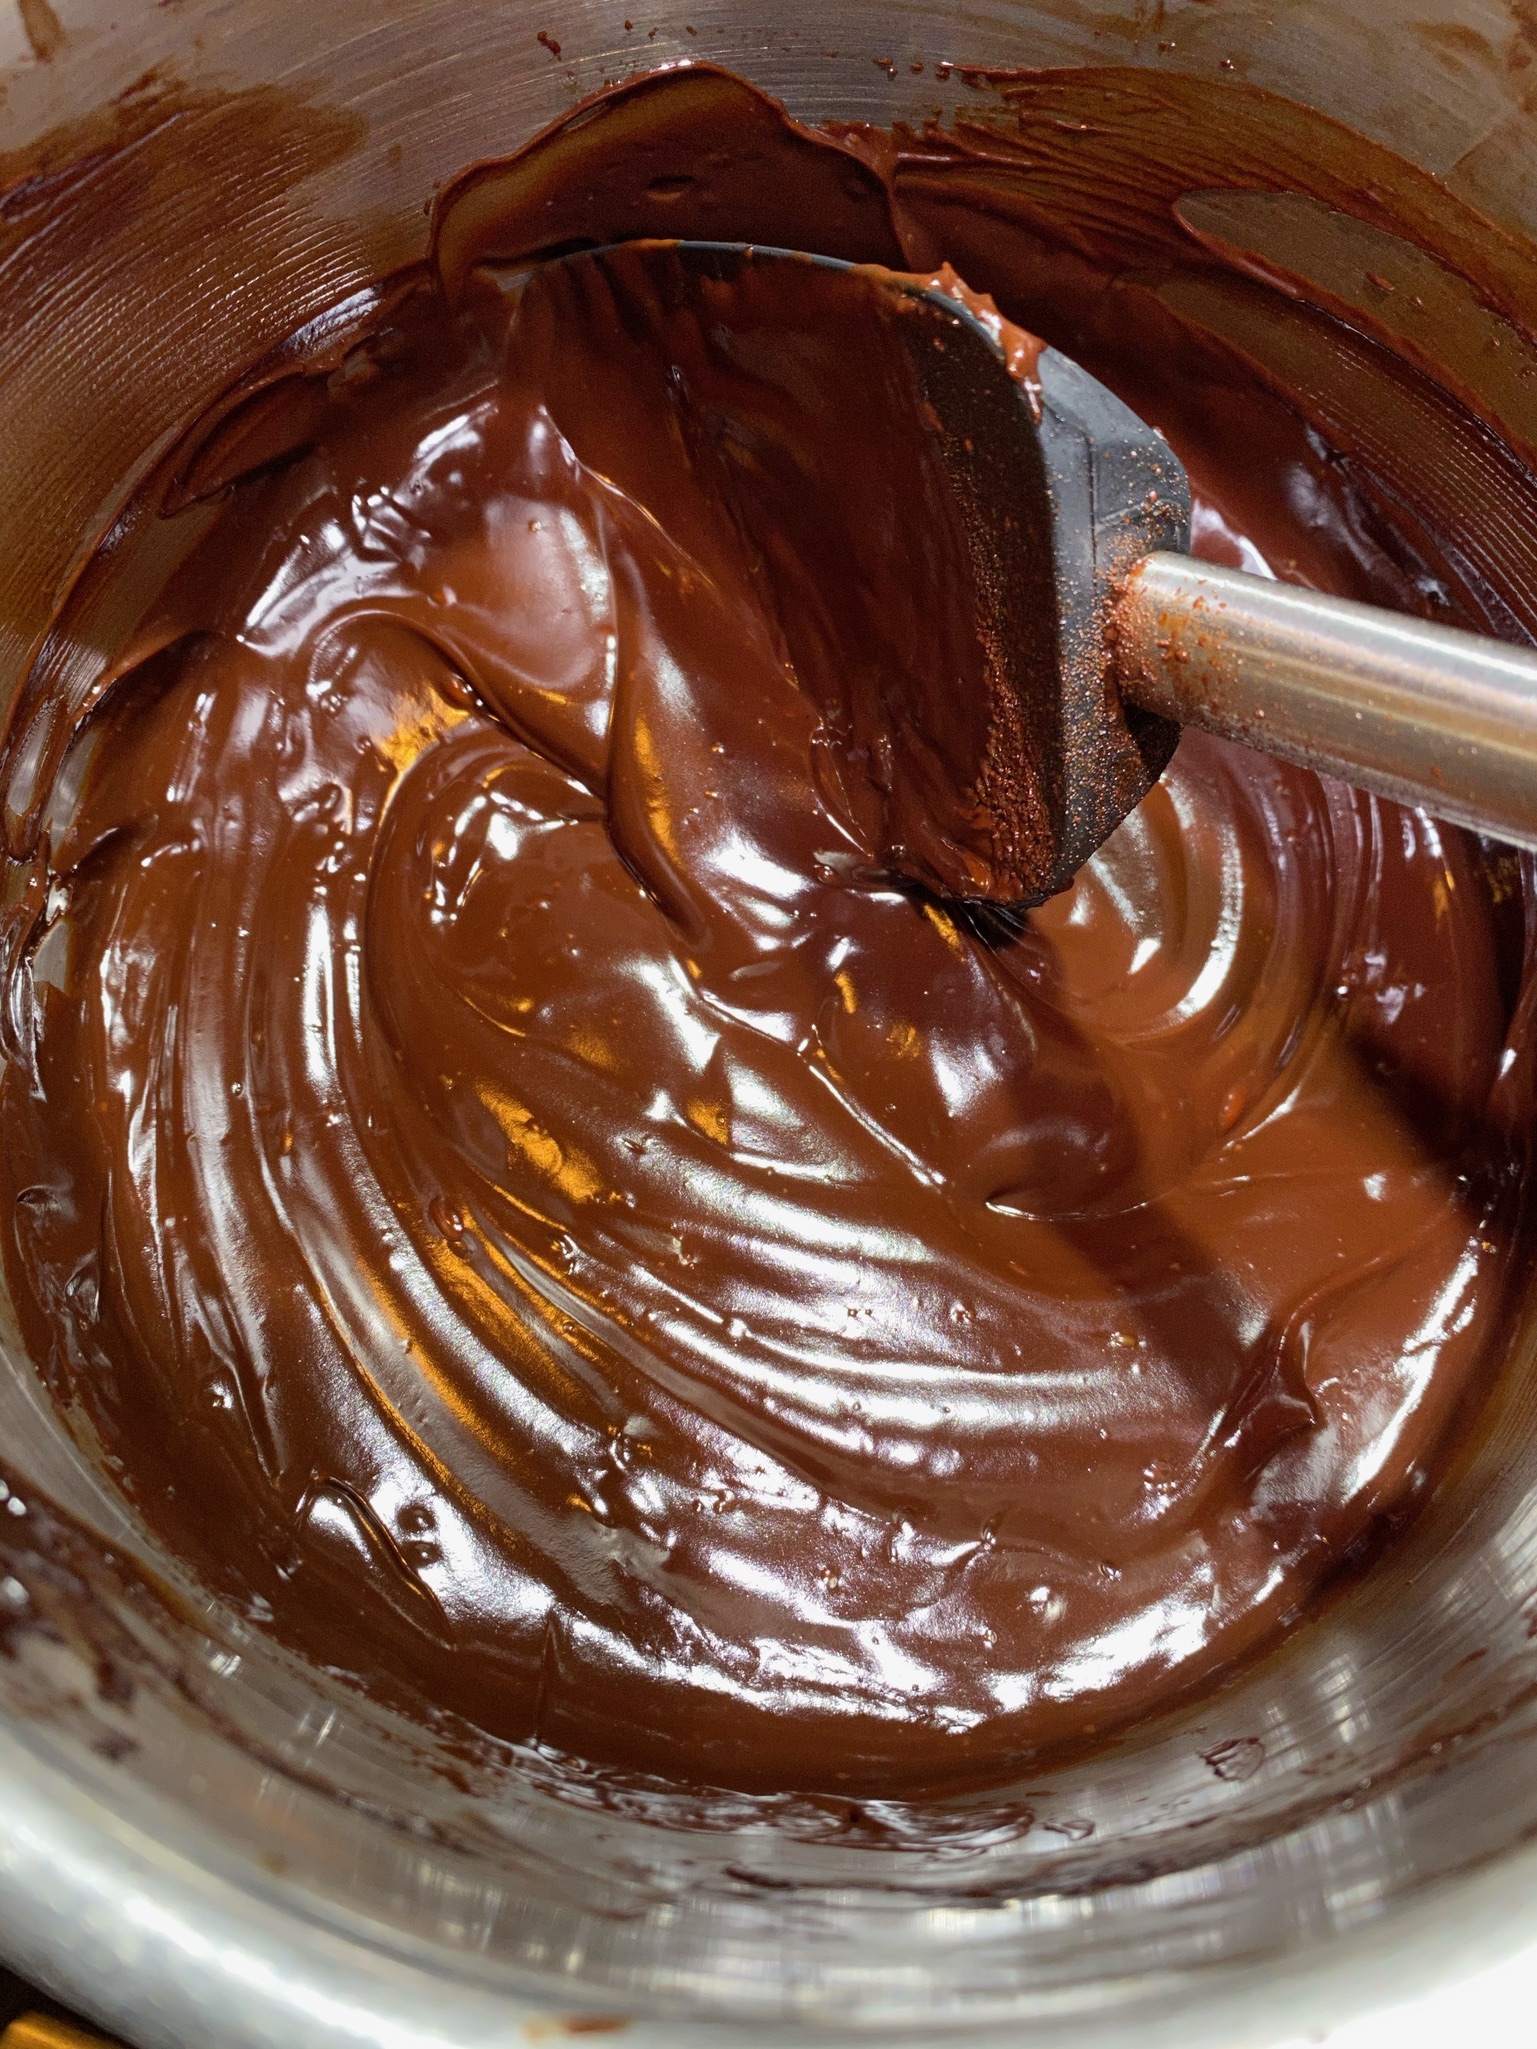
- Remove from oven, lay chocolate bars on top. When melted, spread evenly over dough. Sprinkle with nuts. Let cool, cut into diamond shape.Makes 44 cookies.