Lemon Curd, So Nukalicious!
When Tree Gives You Lemons…..Make Lemon Curd!
Outside my kitchen window grows one of my few garden successes, a lemon tree. While Meyer Lemon trees are ubiquitous here, I have a beautiful Eureka Lemon tree that despite me, produces a ton of lemons year-round. I actually fertilized it this year…I now have a gazillion of lemons. As I stare at my bowl of overflowing lemons this question comes to mind, what do I do with all these lemons?
Lucky for me, I found Melissa Clark’s Lemon Curd recipe on NYT Cooking. Not only did I make a dent in my lemon stash (albeit, a tiny dent) but the recipe calls for making the curd in the microwave, super easy. Win-win. Is it less time and work than the conventional doubler-boiler, on the stove process? Not by much, but I do like the one bowl, incremental cooking and intermittent stirring with the microwave recipe. You don’t have to stand over the stove constantly stirring.
Microwave Mania
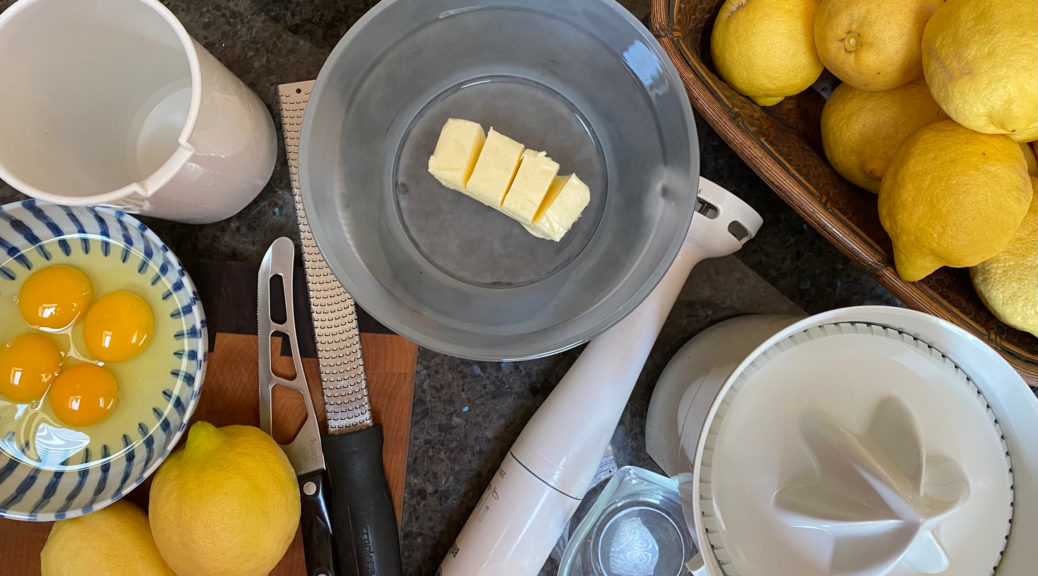
I have a 600-watt microwave, the LOW end of the microwave power spectrum (hey, I got it to reheat leftovers, don’t judge me). This is my process. Combine the ingredients using a blender or stick blender and pour blended ingredients into a microwave bowl (like a Cook Anyday bowl!).
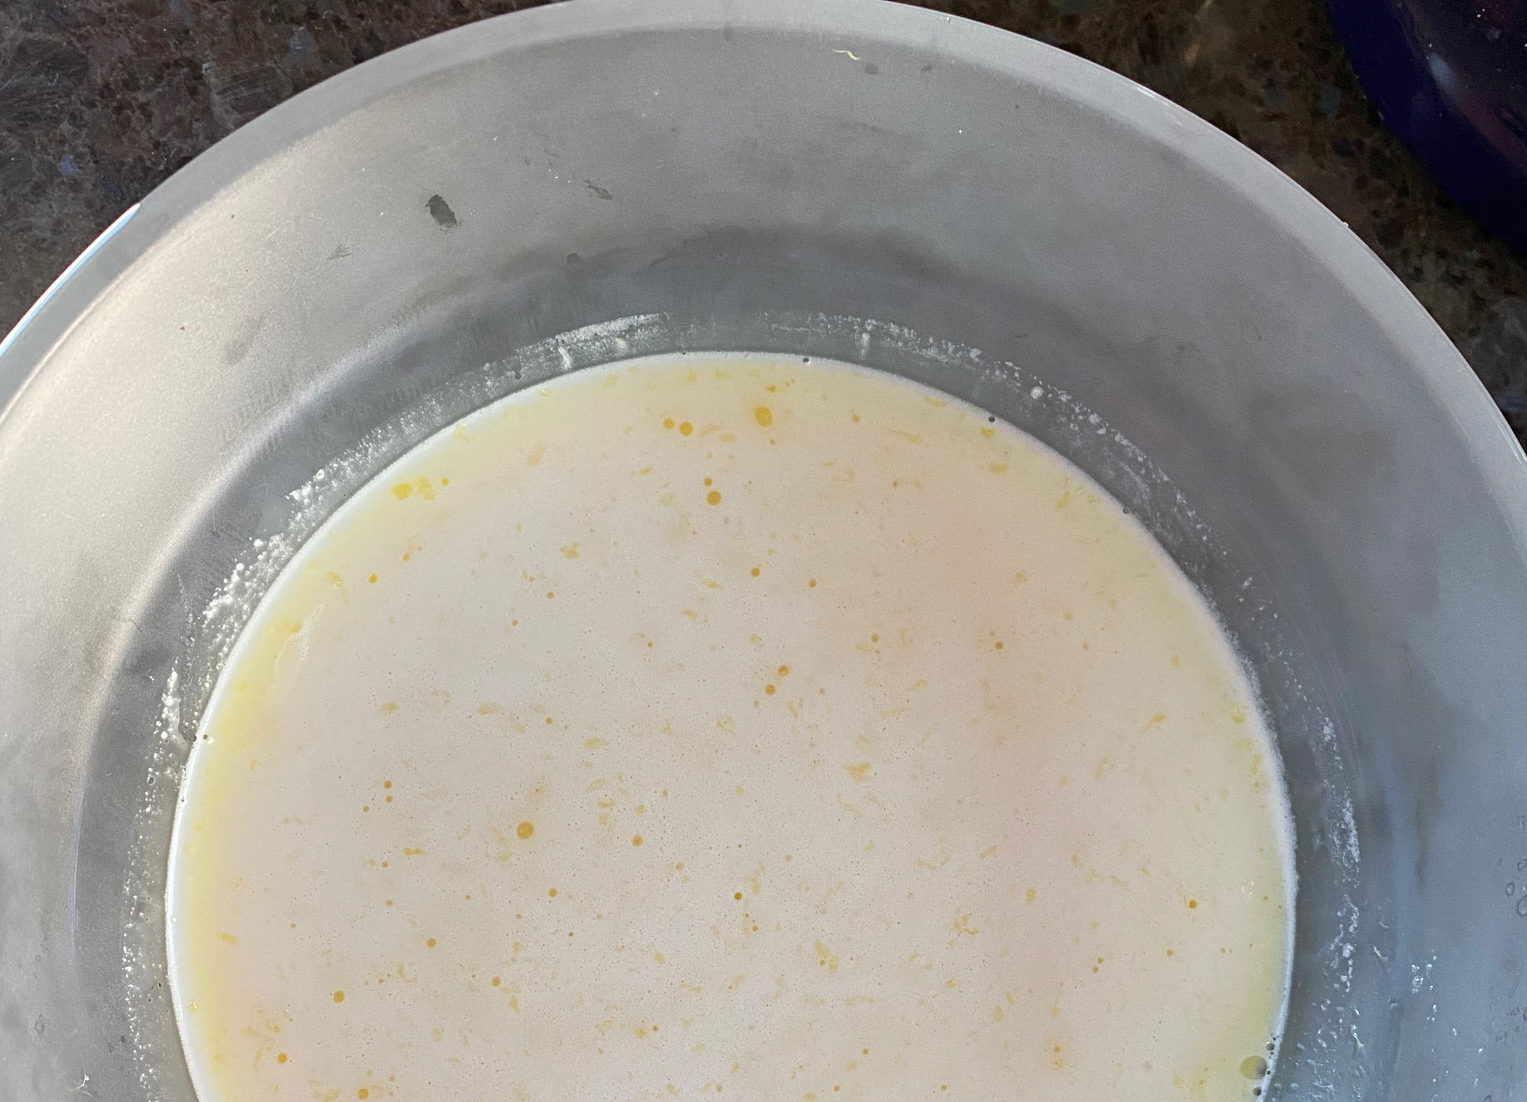
The OG recipe directions-microwave at full power in 1-minute increments, stirring between each minute. When it starts to thicken, reduce power to 70% and microwave in 30-second intervals, once again whisking between intervals.
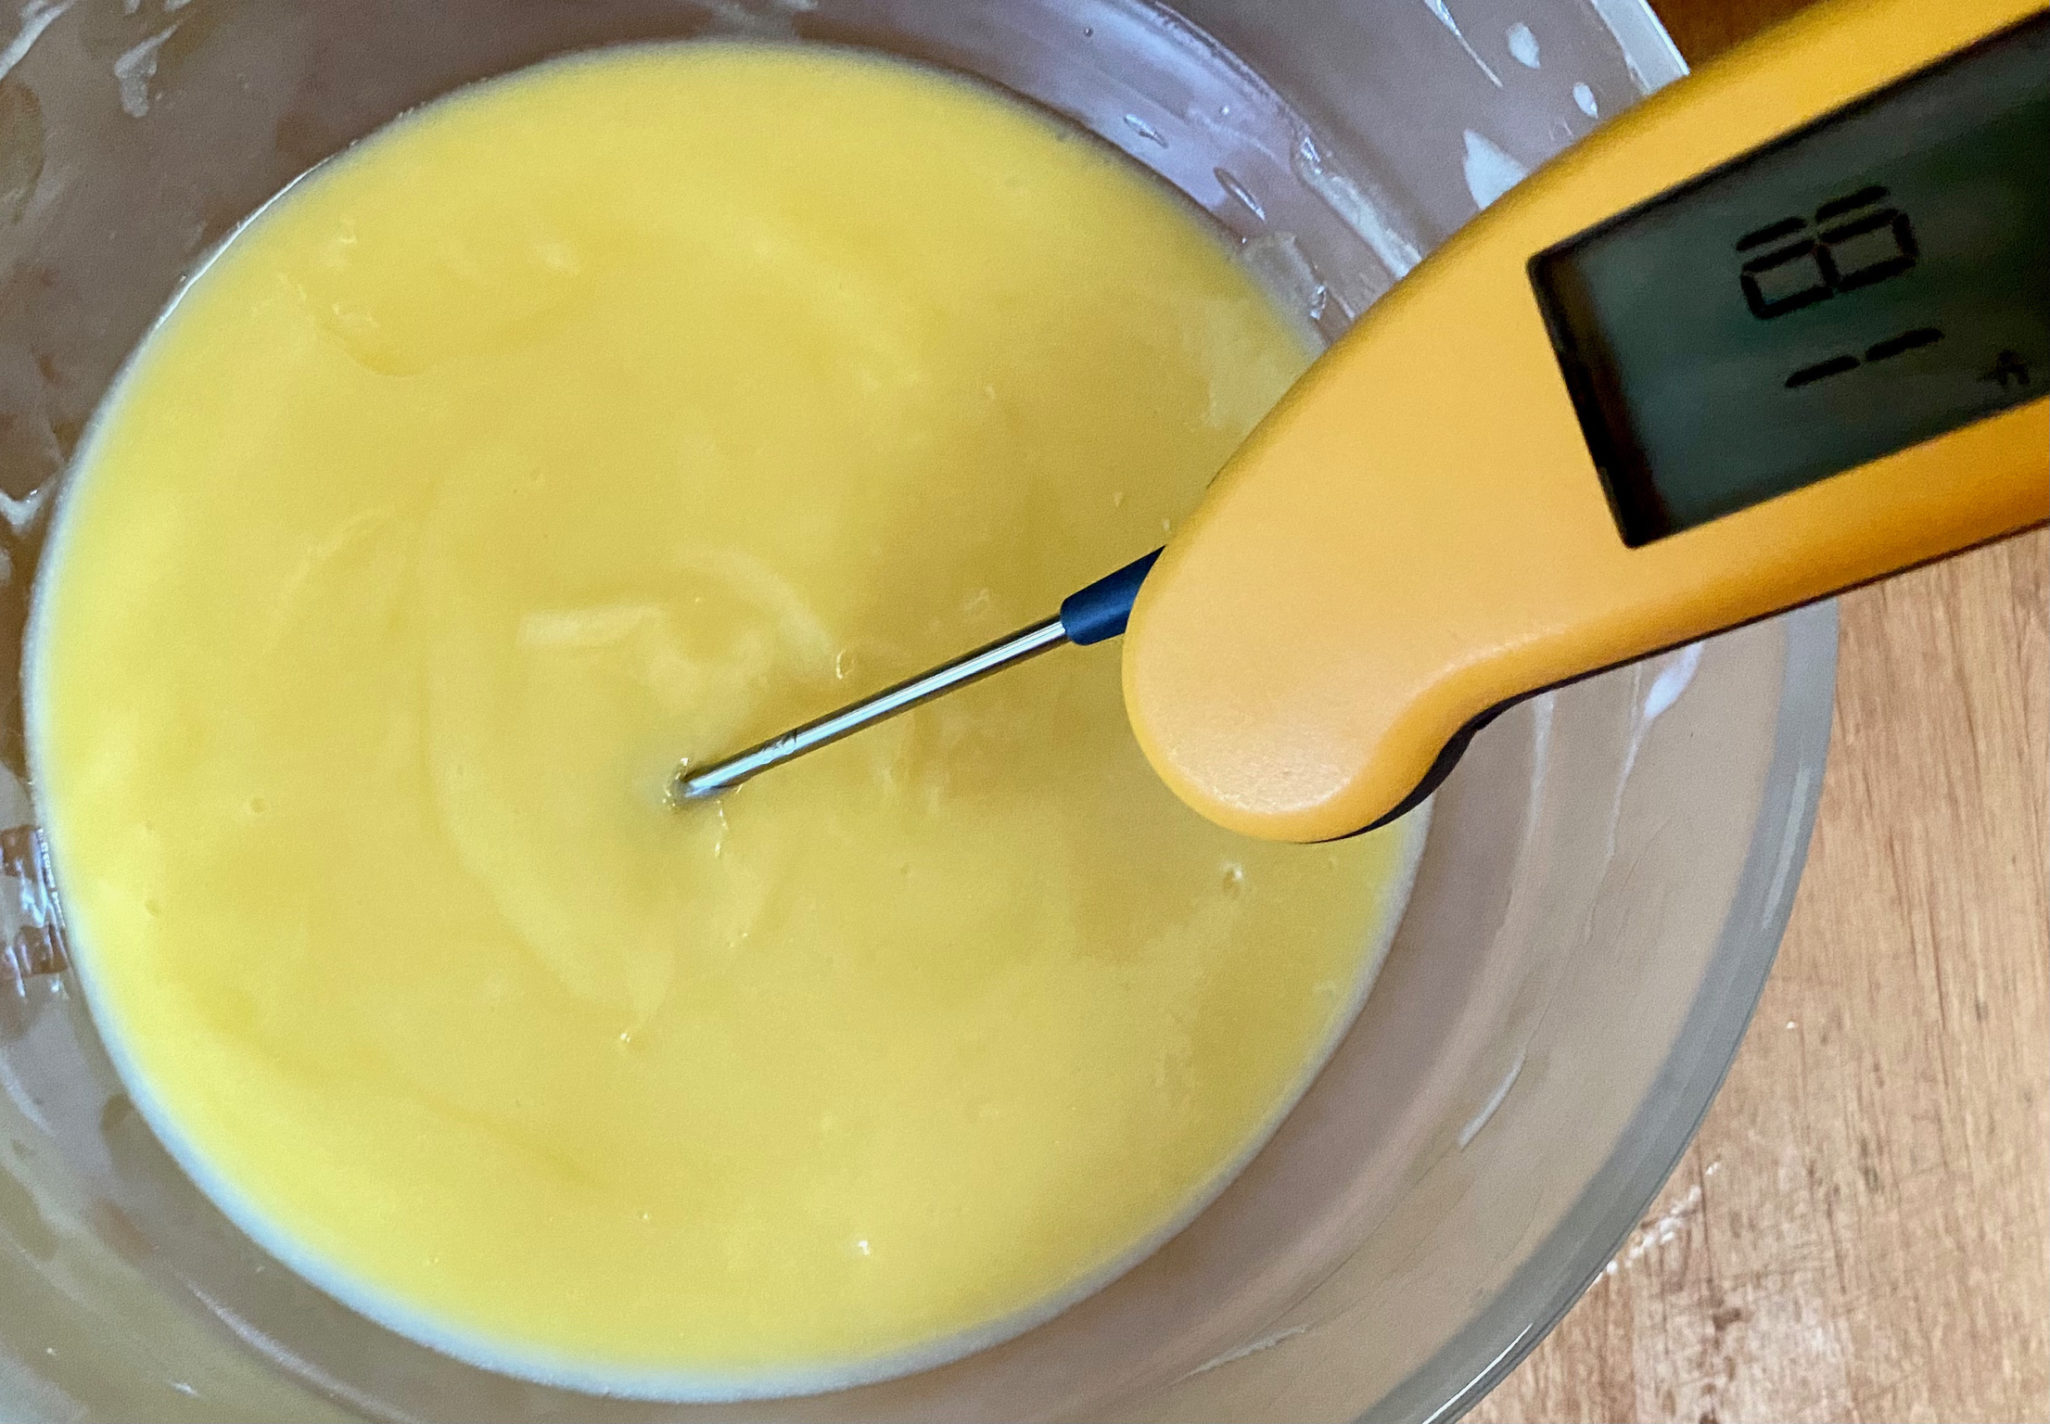
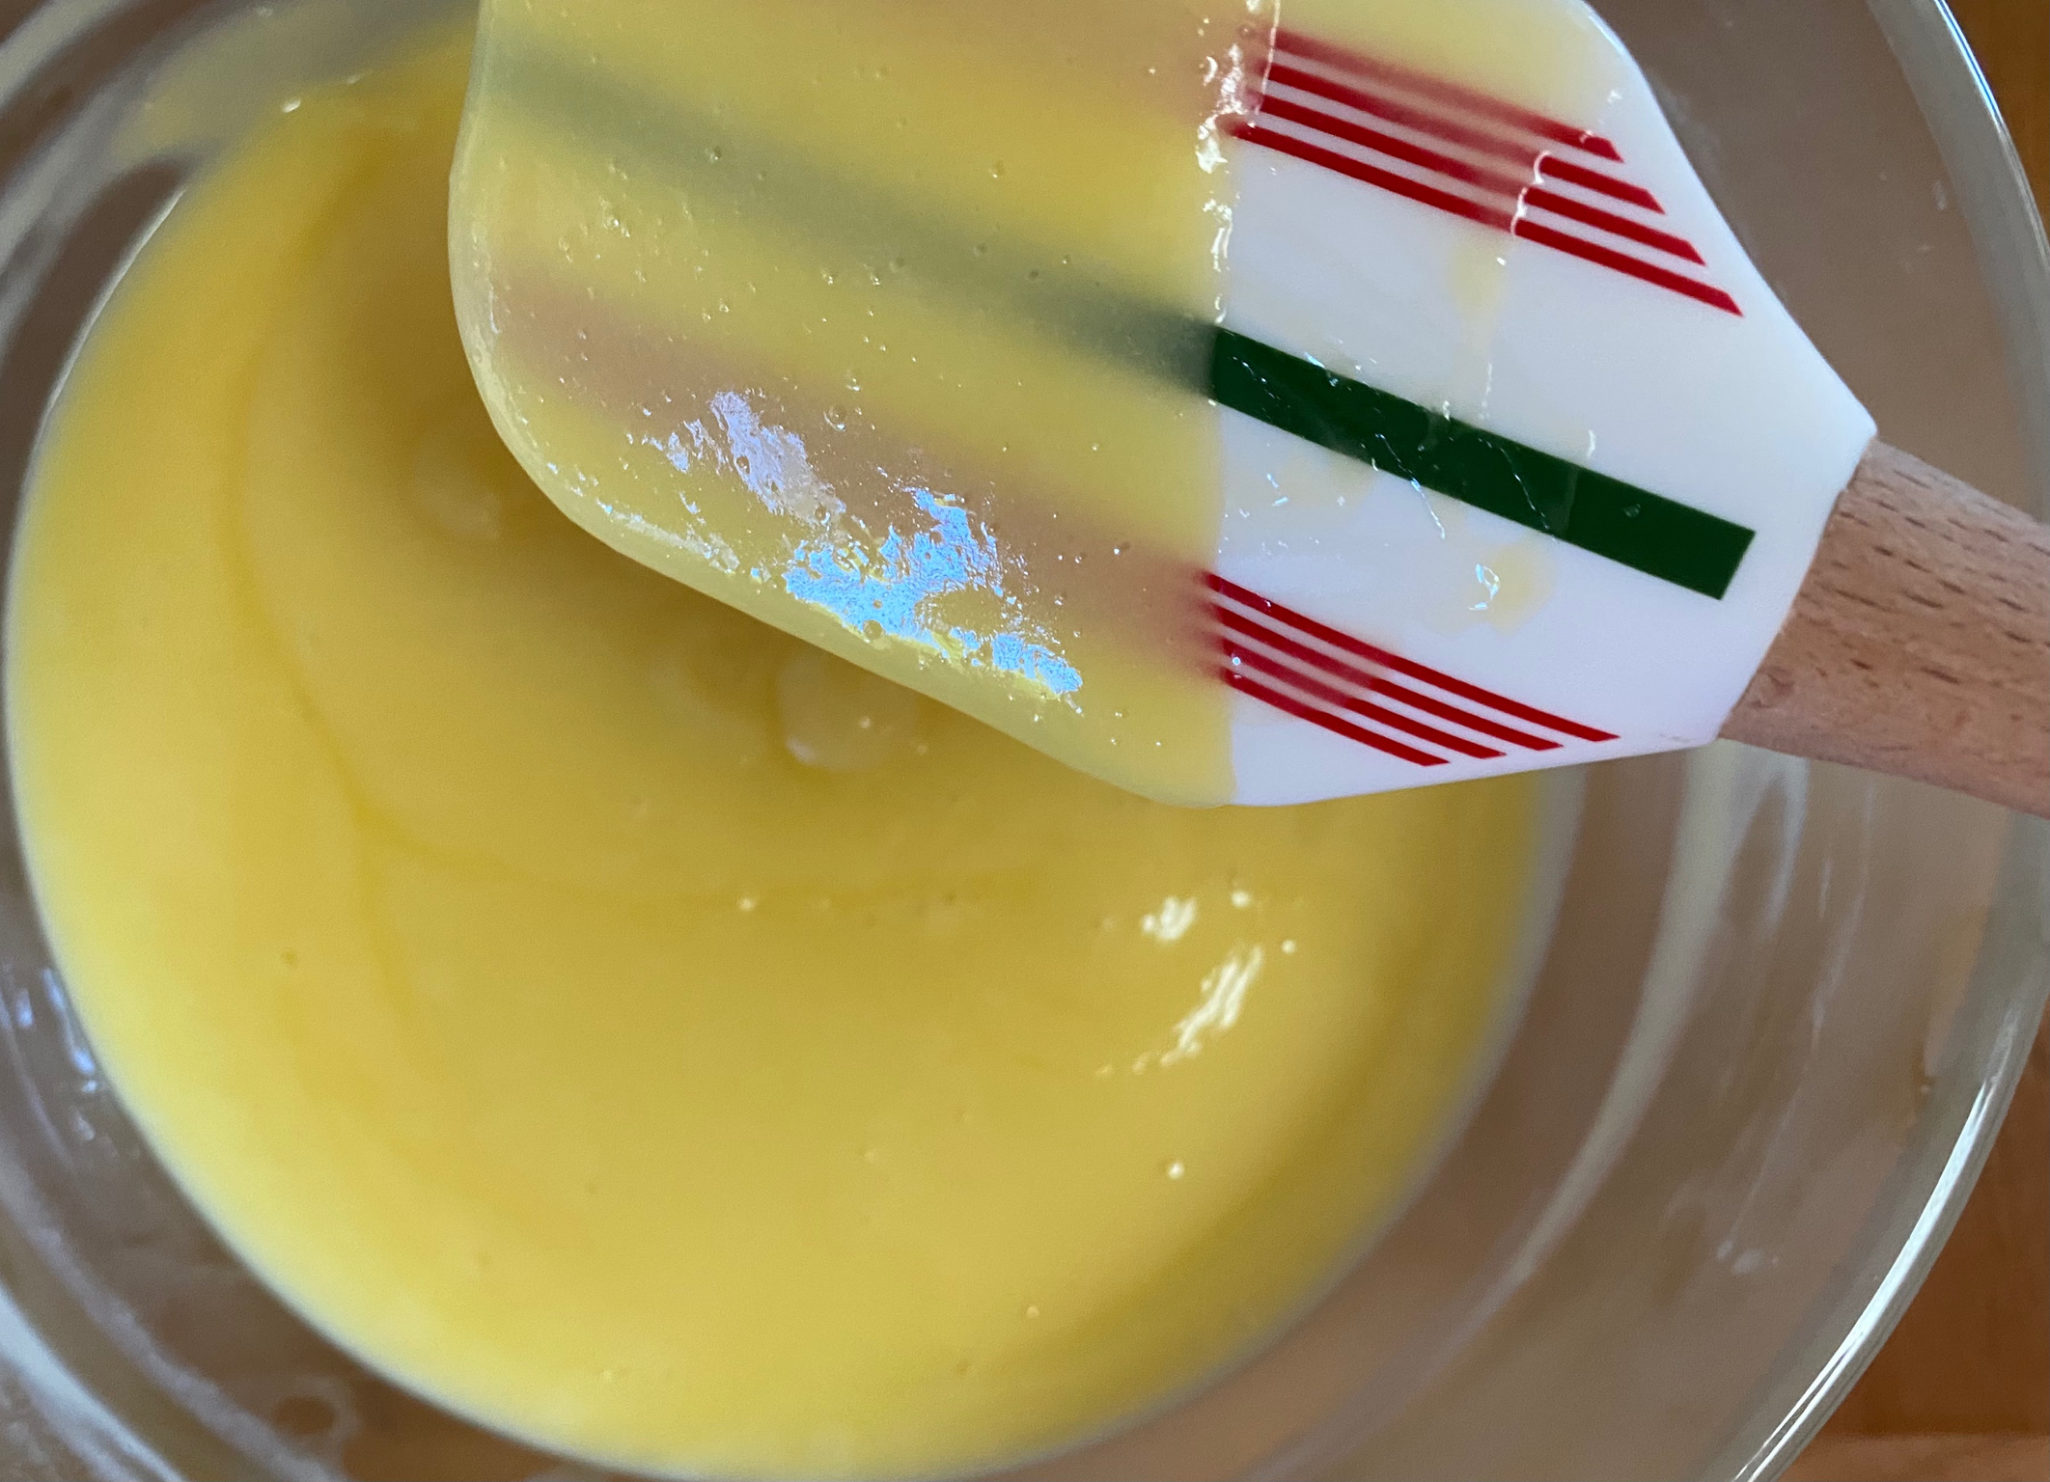
What I did-I started at full power but lengthened the first increment to 2 minutes before taking it out to whisk for the first time (low wattage adjustment). At the 5 minute mark, the curd was still pretty thin, I added one more full power minute before reducing the power to 70%. My lemon curd took another 2-1/2 minutes at 70%, 1 min increment for the first minute, and then 30-second increments, stirring each time. The curd will thicken more as it cools. The cooking process is done when the curd reaches a temperature of 180 with a thermometer or when it coats a spoon or spatula.
Moral of the Story
Adjust times according to your microwave and whisk well!
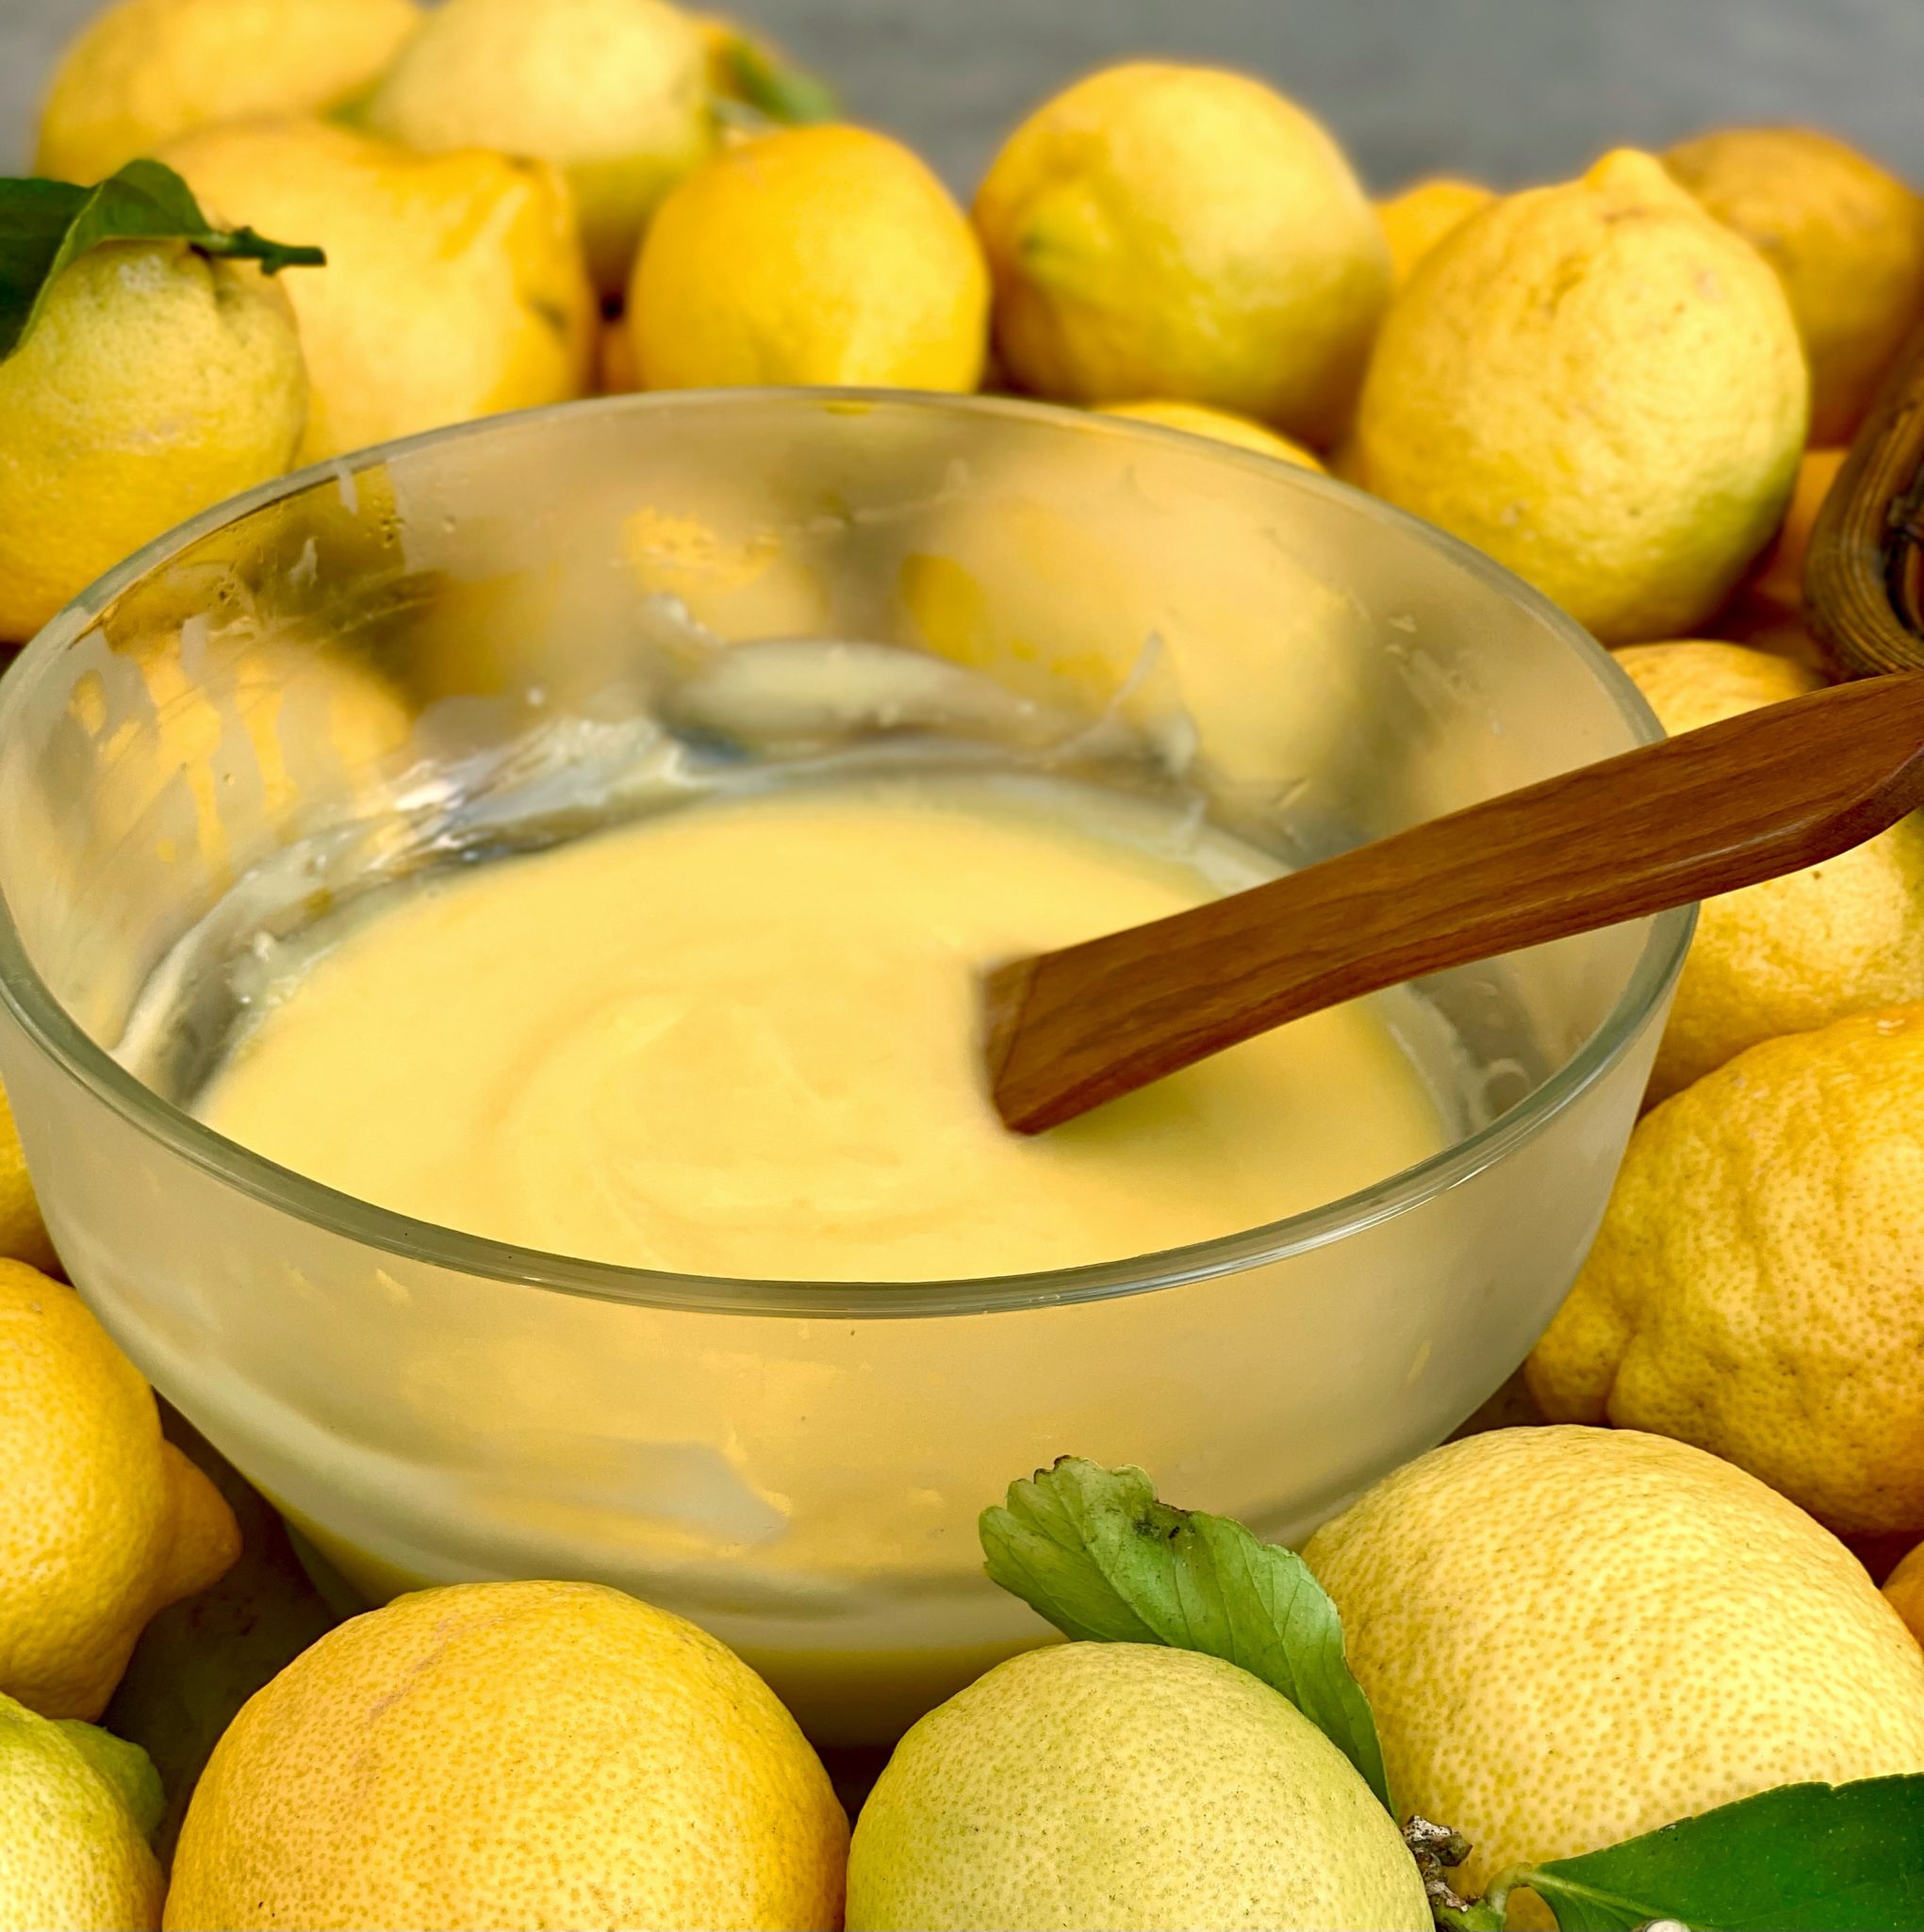
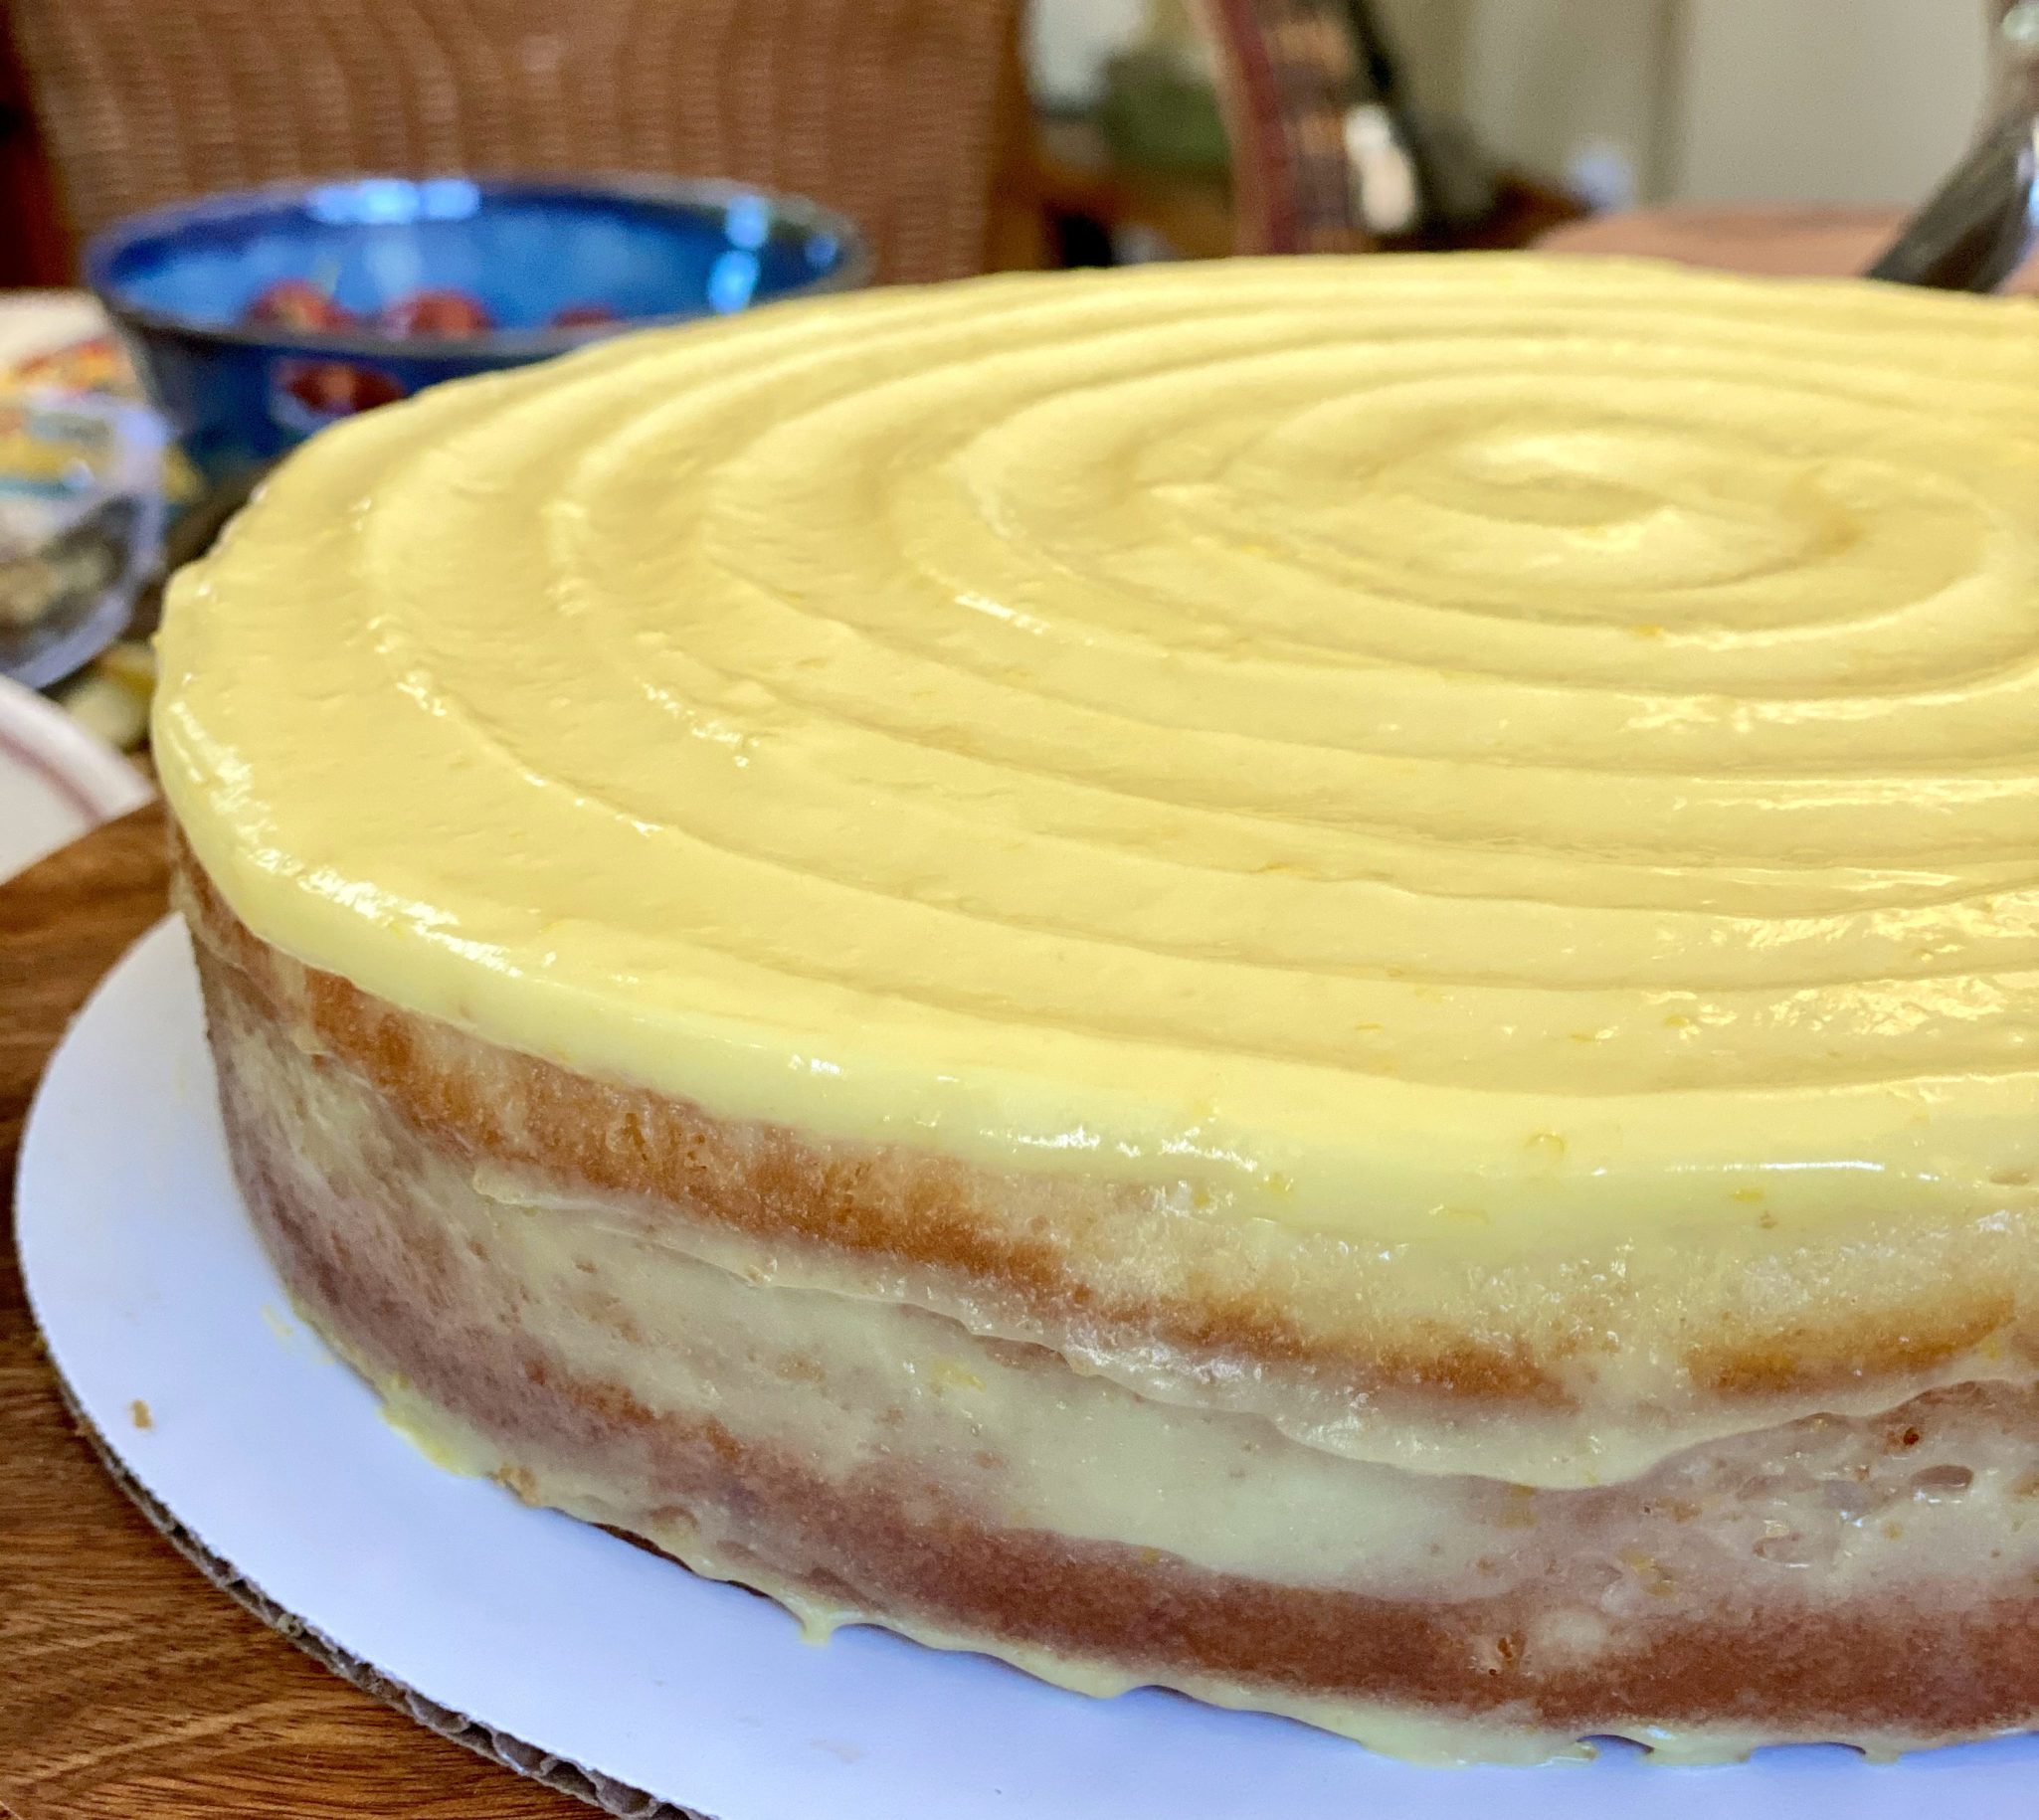
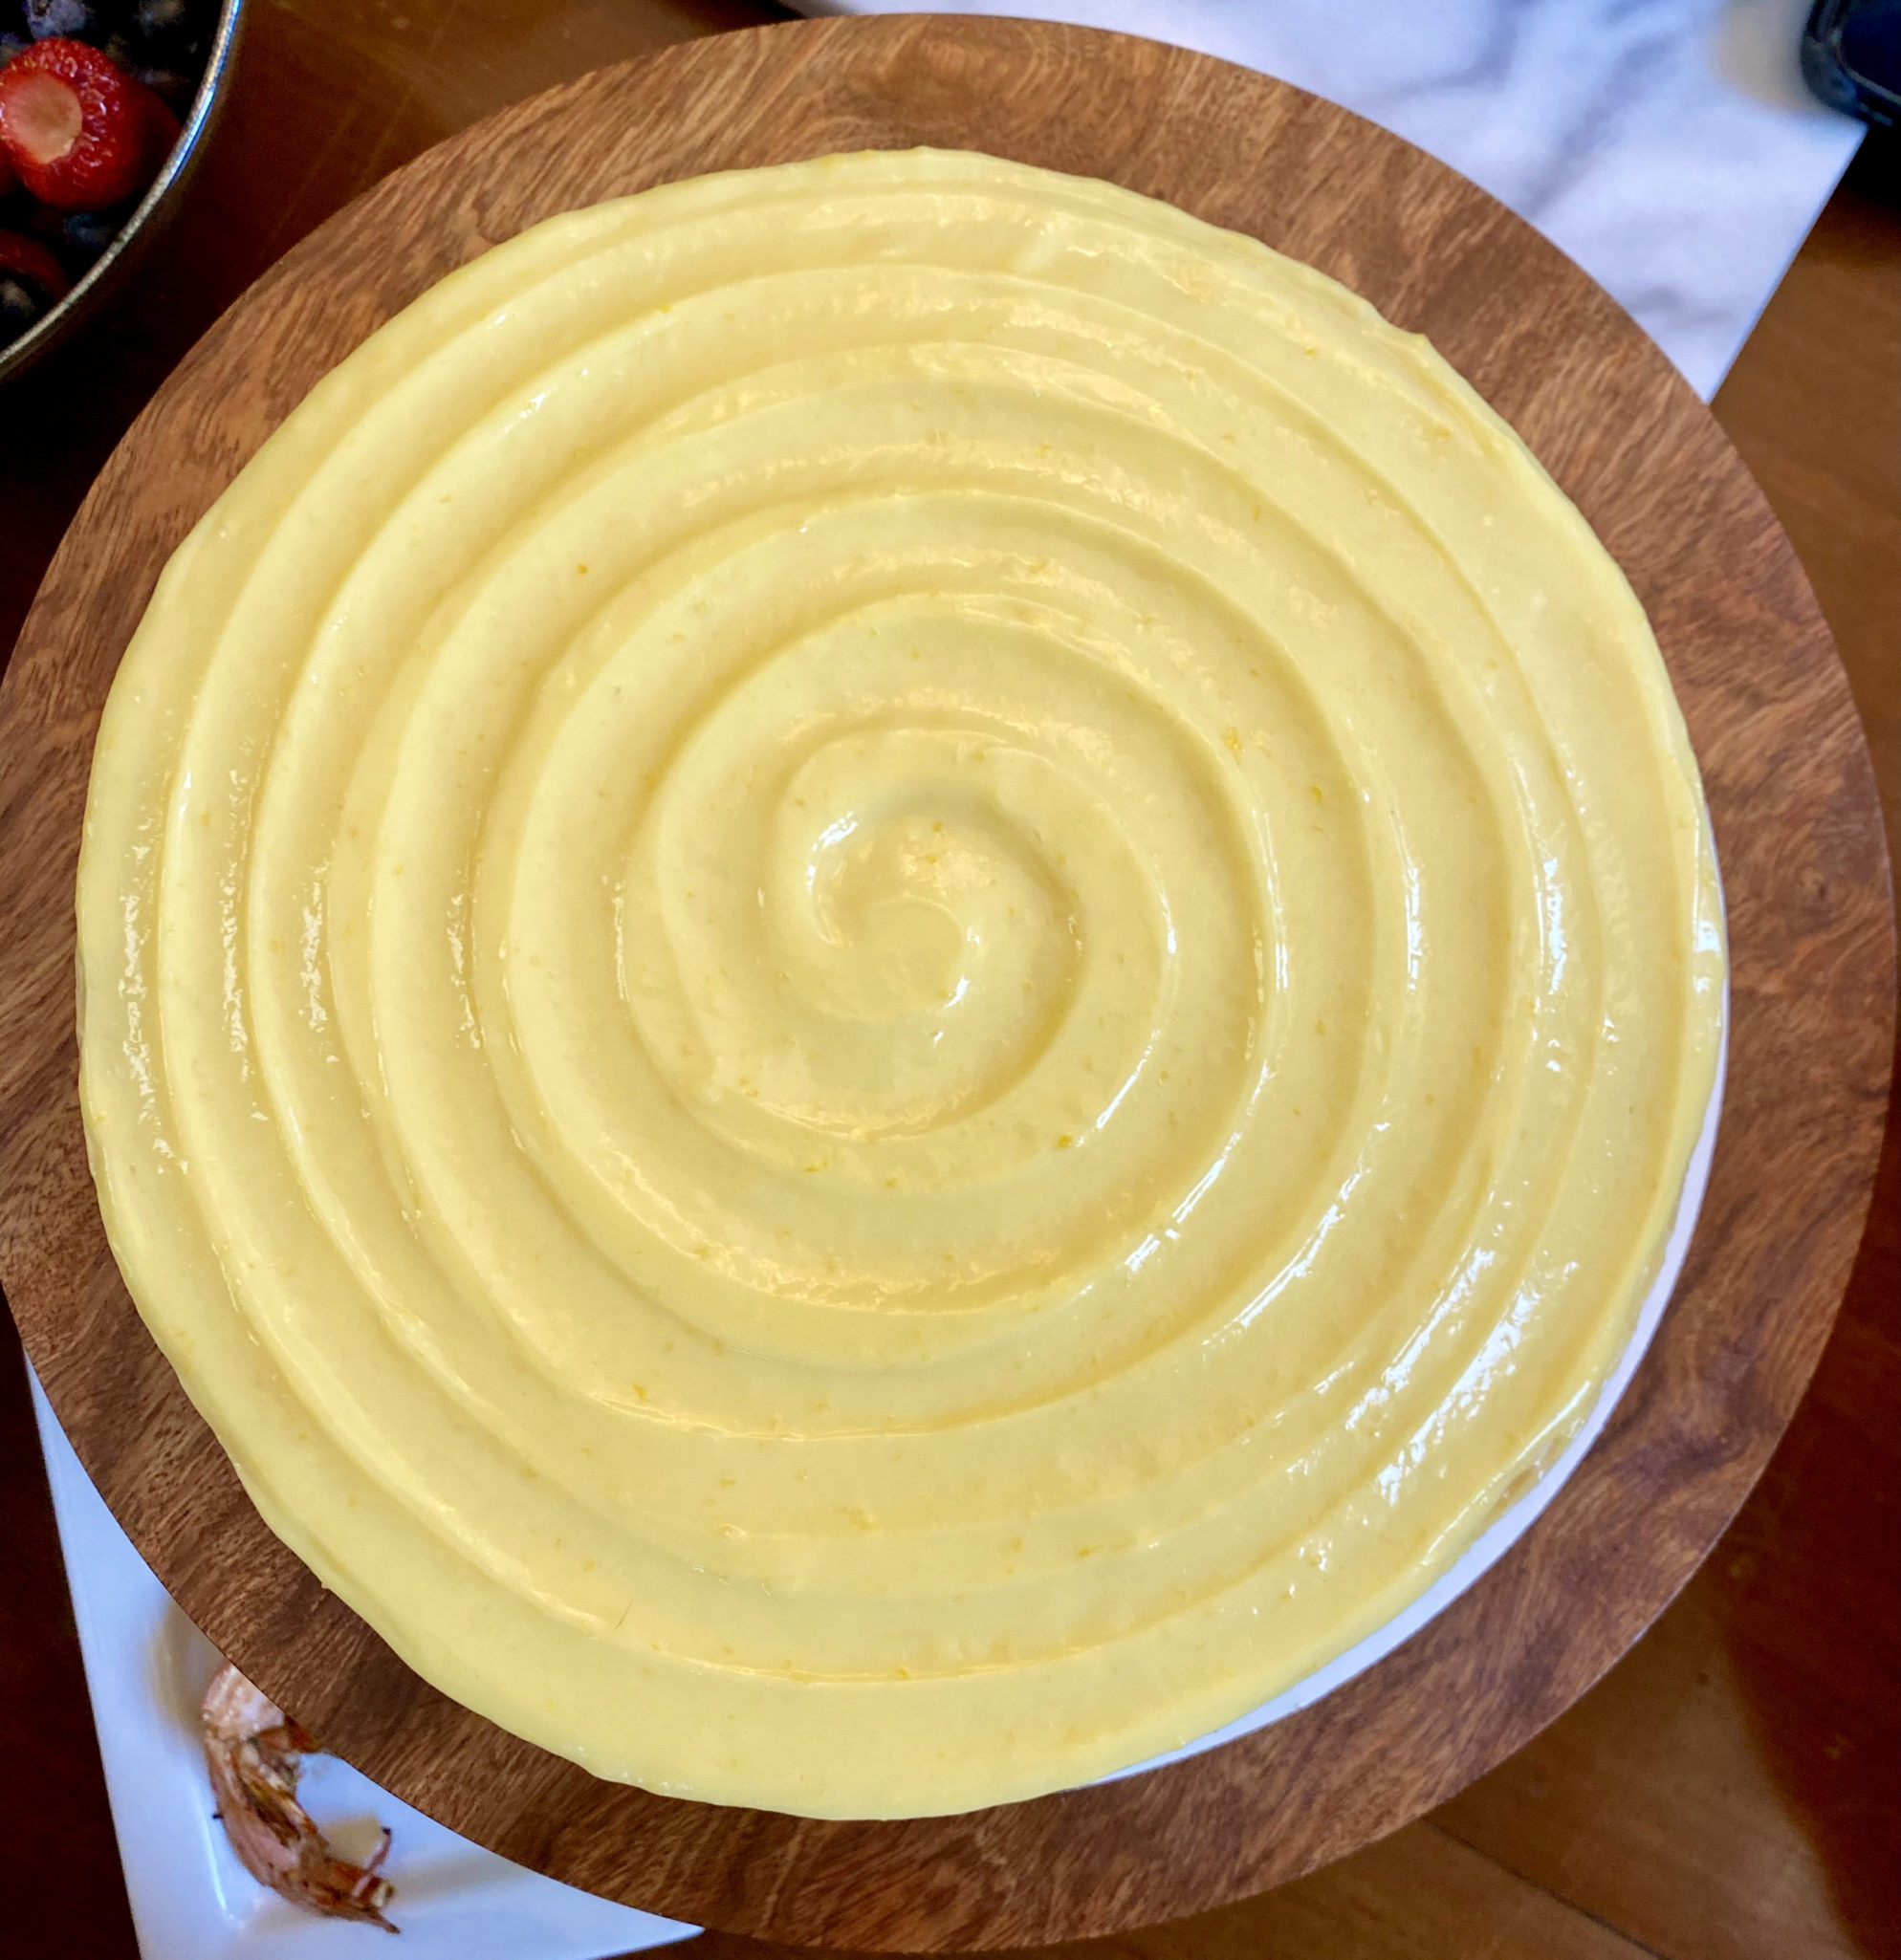
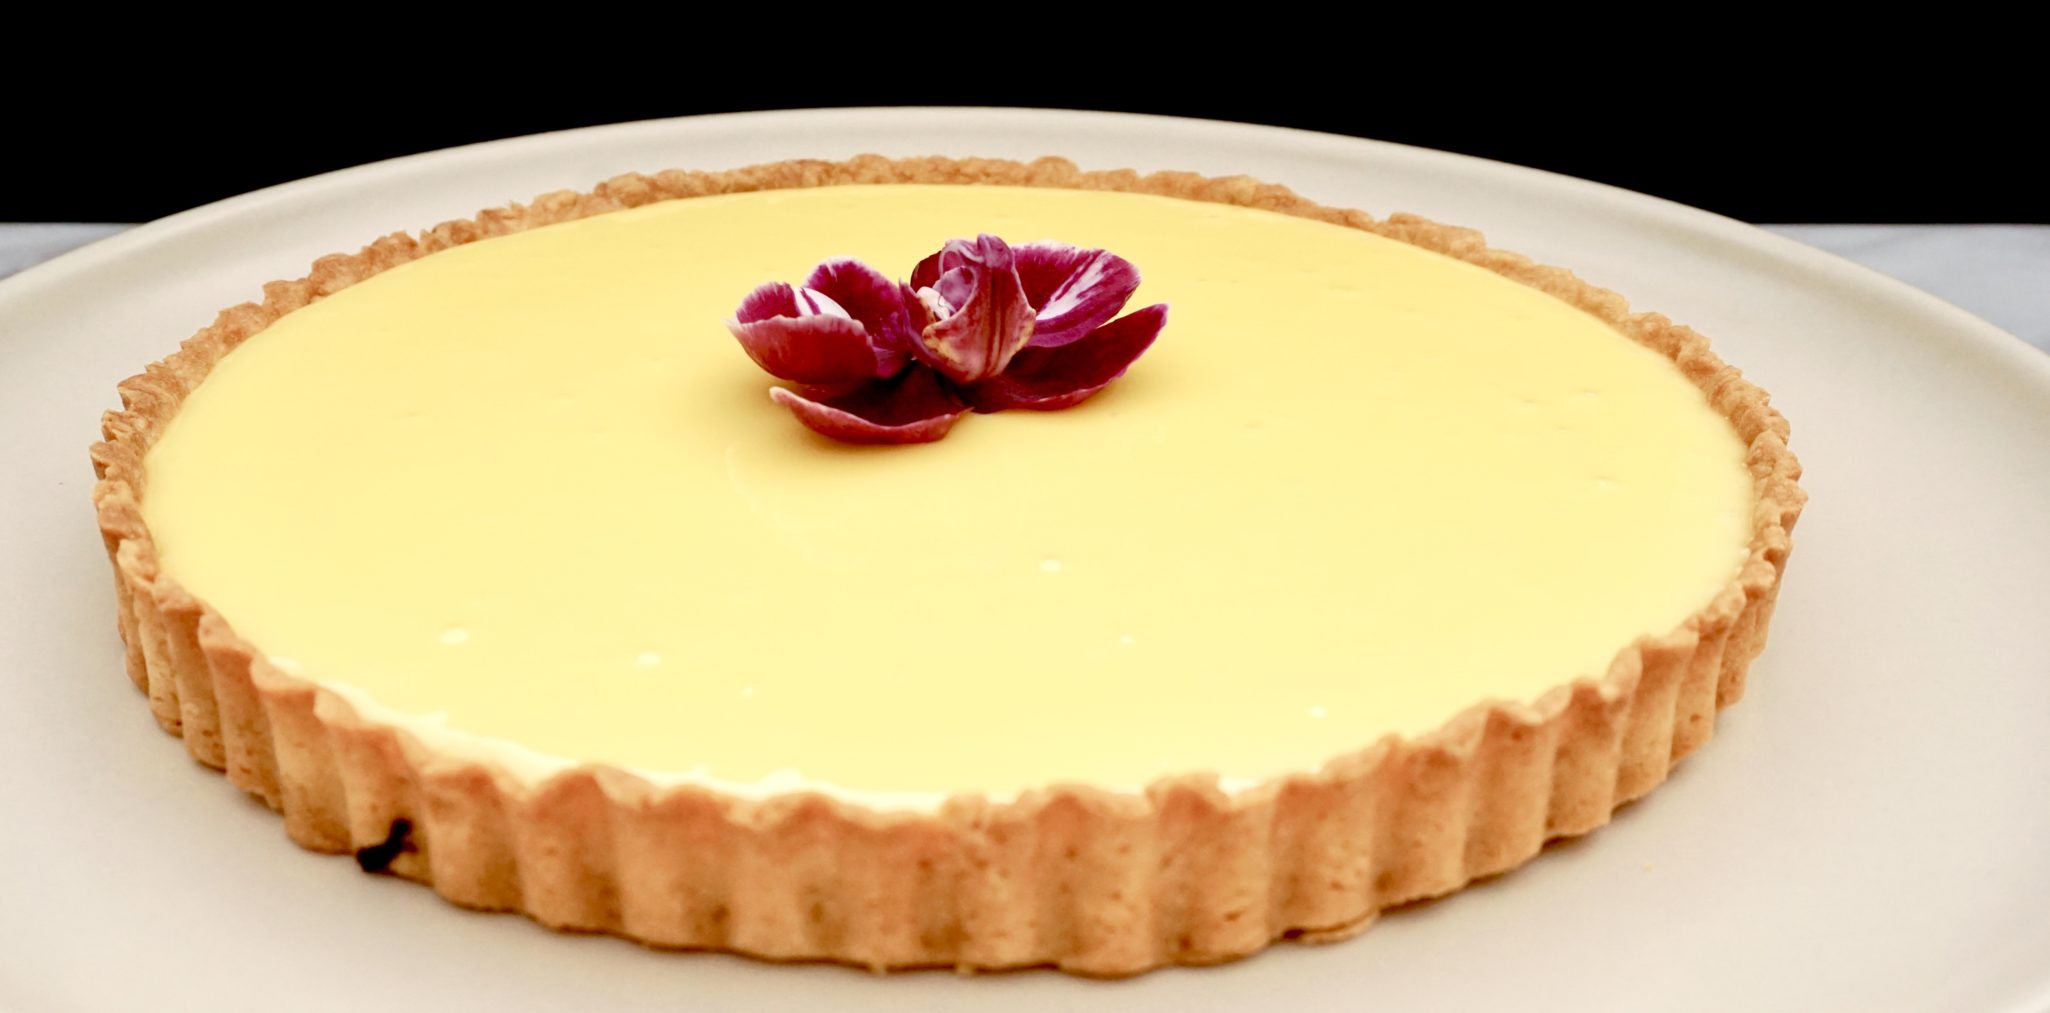
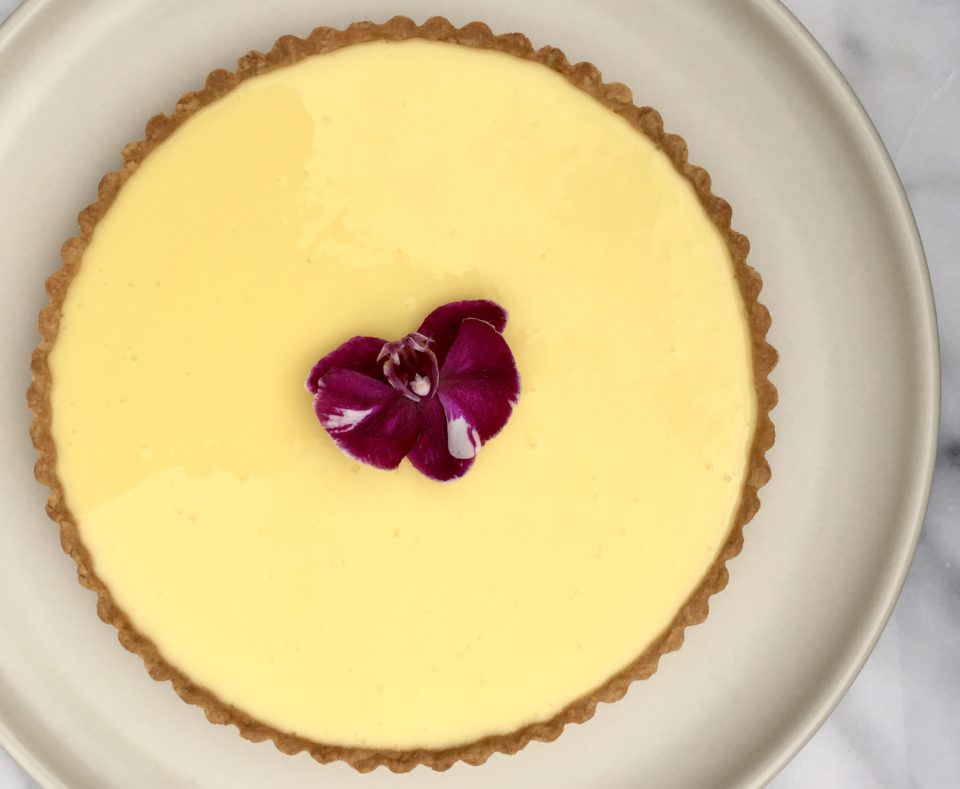
The Lemon Curd is silky smooth, luscious, and lemony. I used 3/4 cup of sugar and it was fairly tart, if you like it sweeter use one cup of sugar. Different fruits such as passionfruit or grapefruit would work well with this recipe too!
Easy Lemon Curd
Ingredients
- ½ cup (113 grams unsalted butter) 1 stick
- 2 teaspoons finely grated lemon zest
- 1 cup (240 milliliters) freshly squeezed lemon juice from 4 to 6 lemons
- ¾ cup to 1 cup (150 grams to 200 grams) granulated sugar
- 3 large eggs
- 1 egg yolk
- Pinch of salt
Instructions
- Put the butter in a large (at least 6 cup) microwave-safe glass bowl or measuring cup. Cover bowl and set your microwave on 50 percent power, melt the butter. (~1 to 1 1/2 minutes).
- Pour butter into a blender and add lemon zest, juice, sugar, eggs, egg yolk and salt. Blend until smooth. You can also use a stick blender. Pour mixture back into the same glass bowl you melted the butter in.
- Microwave mixture, on full power, in 1-minute intervals for 5 minutes. Whisk furiously between intervals, especially around the edges of the bowl. It should start to thicken. (If it looks like it’s starting to thicken before 5 minutes, stop and continue to the next step; microwaves can vary.) See post for details.
- Reduce power to 70 percent and continue to microwave for another 1 to 2 minutes, stopping to whisk every 30 seconds until the curd thickens enough to coat the back of a spoon. (It will continue to thicken as it chills.) An instant-read thermometer should register 180 degrees (yet another reason to get a thermometer)
- Whisk well. If you think there are any coagulated bits of egg, strain curd through a fine-mesh sieve into a clean bowl. Or if it looks smooth, you can leave it in its current bowl. Press a piece of plastic wrap against the surface to create an airtight seal and let the curd cool to room temperature. Refrigerate until cold, at least 3 hours.
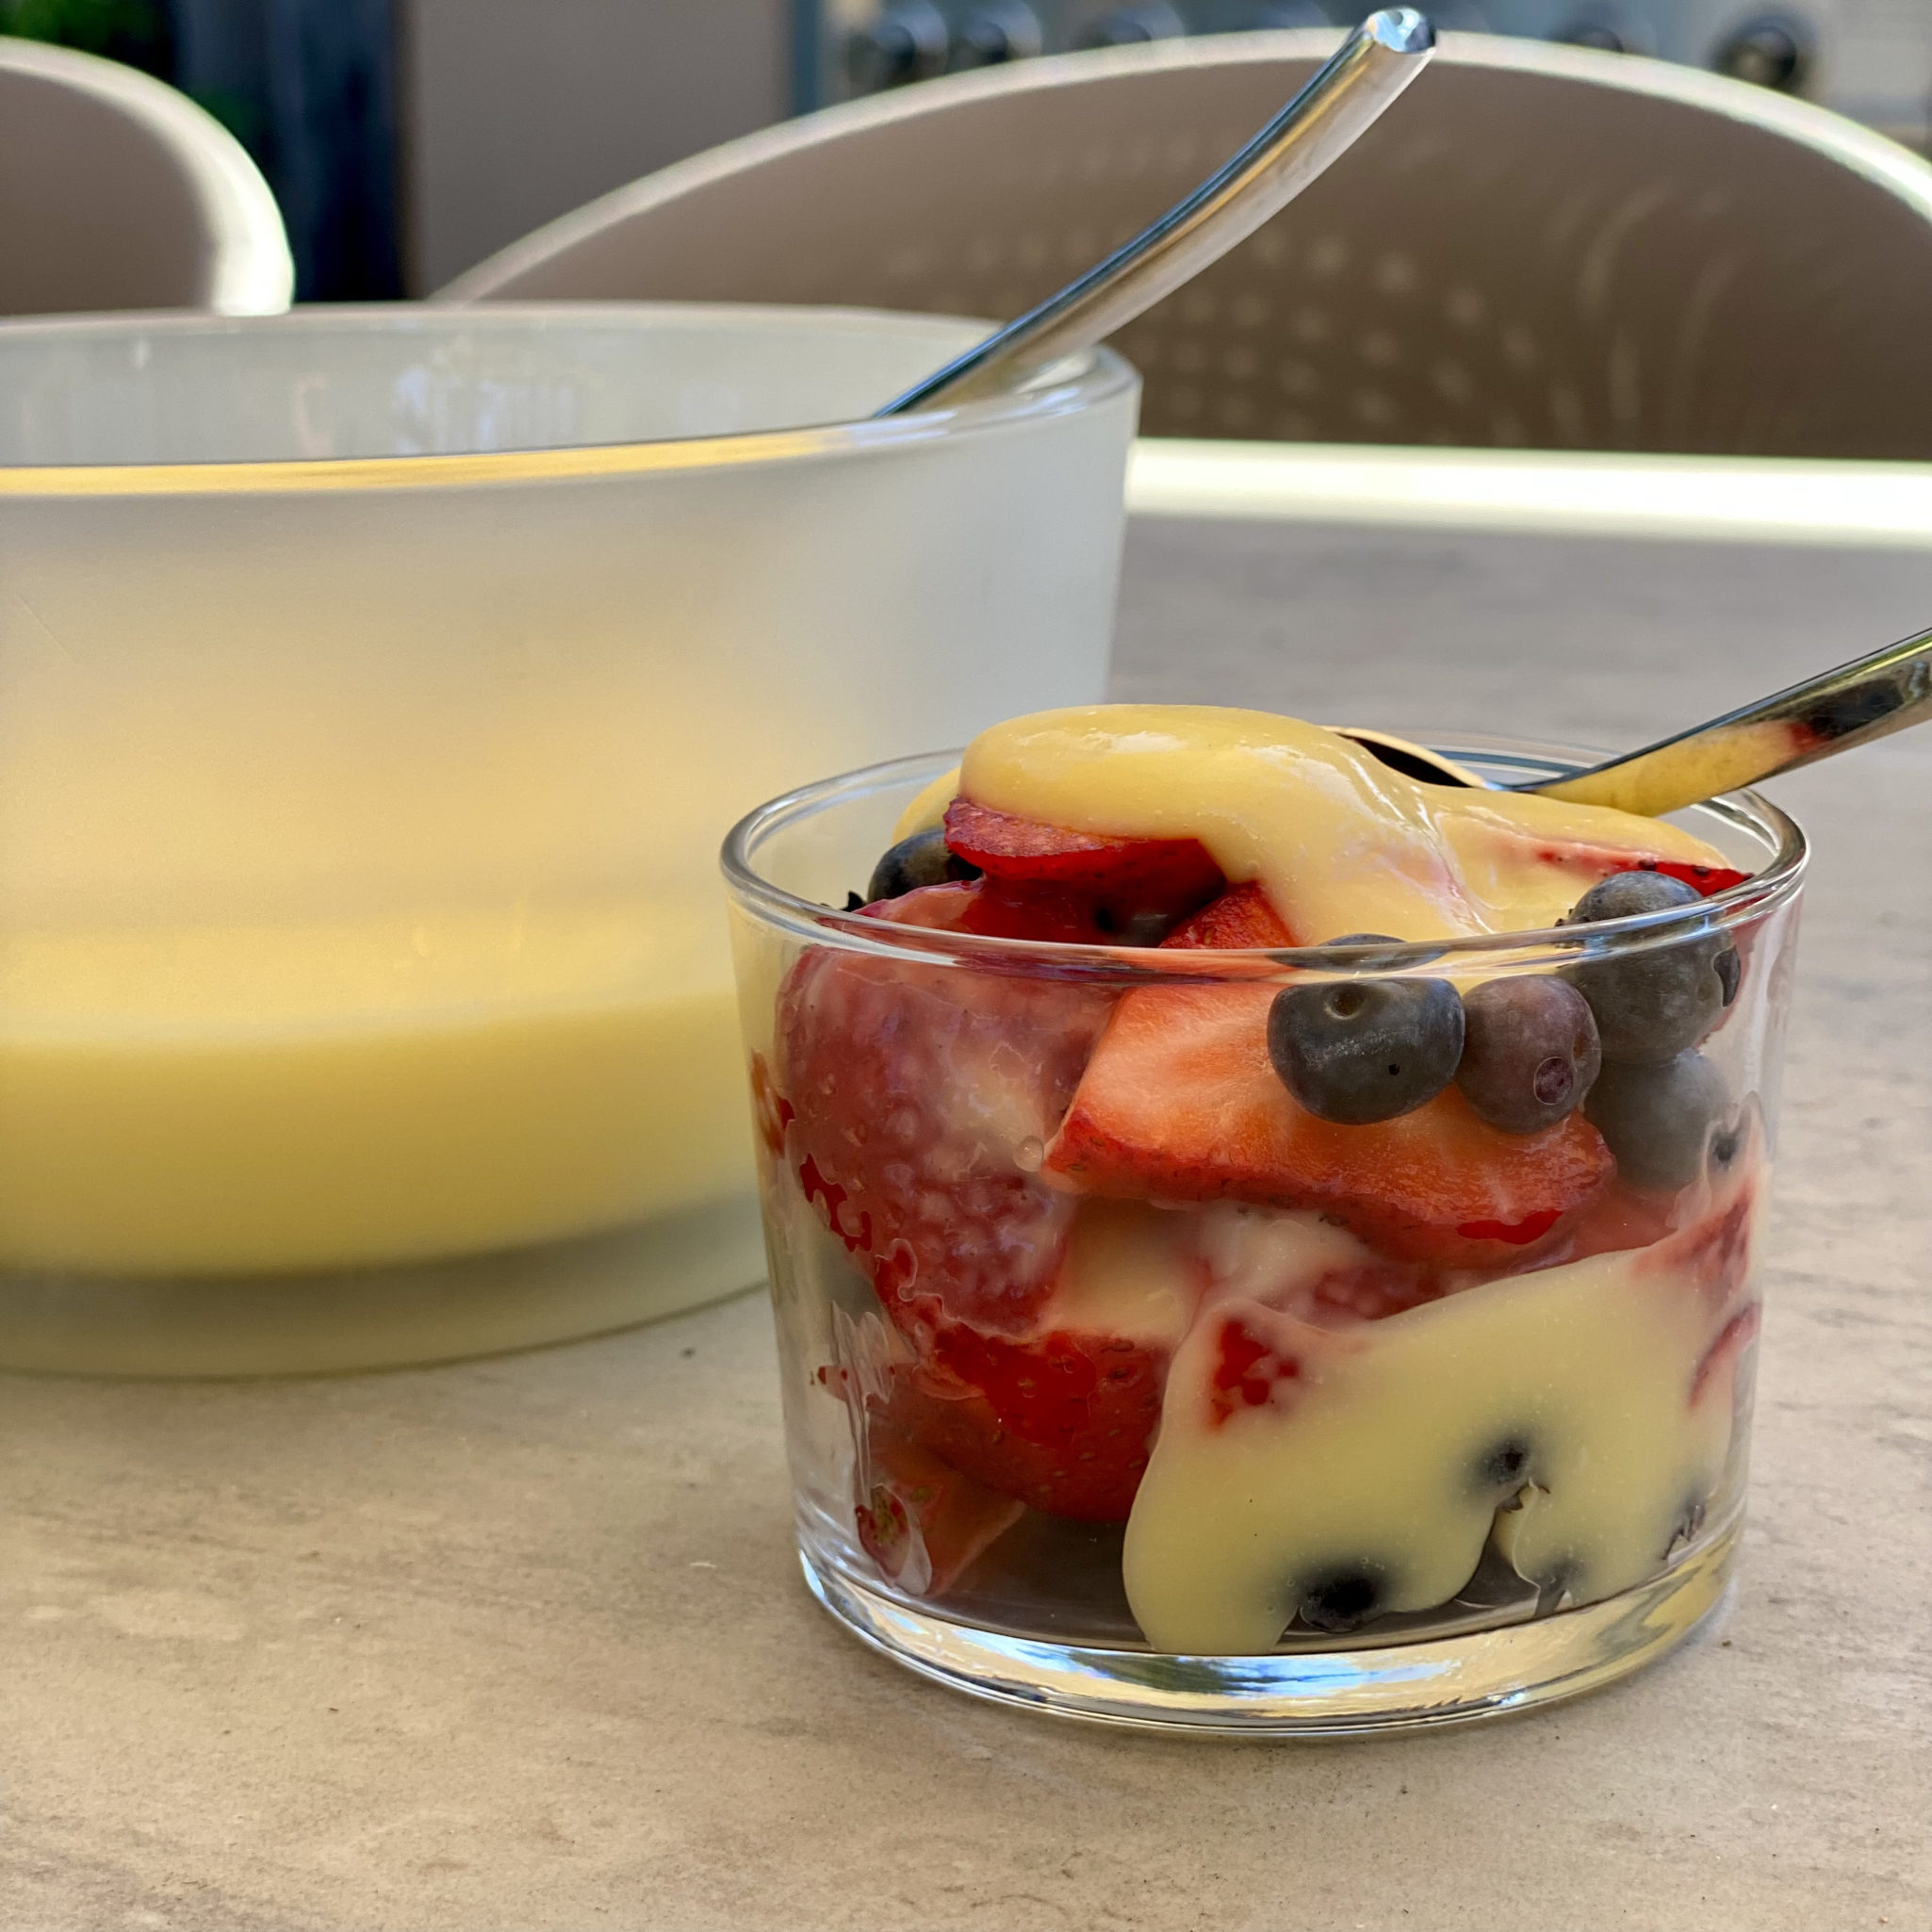
- Enjoy! Pair your curd with fresh berries, scones, or fold it into whipped cream for cake filling. Eat it off a teaspoon!


