
Skipping across my feed lately have been a series of articles on chefs adapting to life during the pandemic. As we know, the food industry…
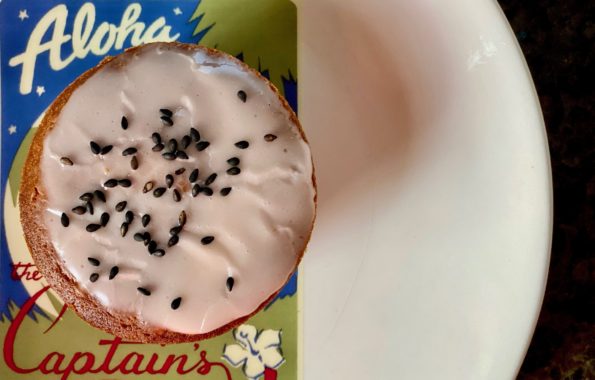
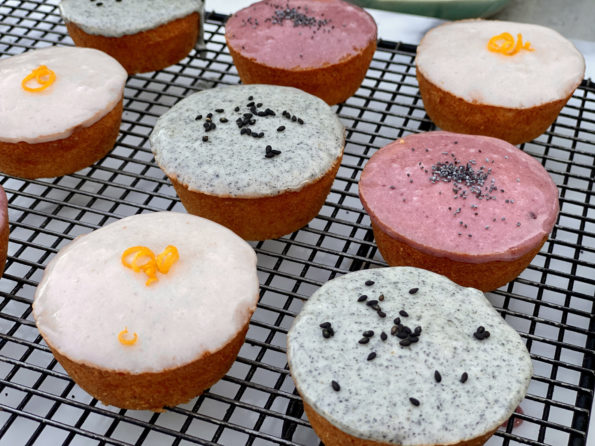
Yes, my romance with mochi muffins continues. Right next door to Shuei-Do, my favorite manju shop in Japantown, San Jose, is a Poke Shop, Aloha…
Life is on hold as we await the results of the 2020 presidential election. I swore I wasn’t going to agonize over the process leading…
Our weekly foray to the Farmer’s Market had me restocking my week’s worth of fruits and veggies。 I was looking for inspiration for a showstopper…
I am always looking for gluten free desserts and Vegan treats for my friends. This is a cataclysmic mind-shift for a person who has always…

I bought WAY TOO many bananas on my COVID reconnaissance to the grocery store last week. Luckily, too many bananas is a happy problem. Eat…
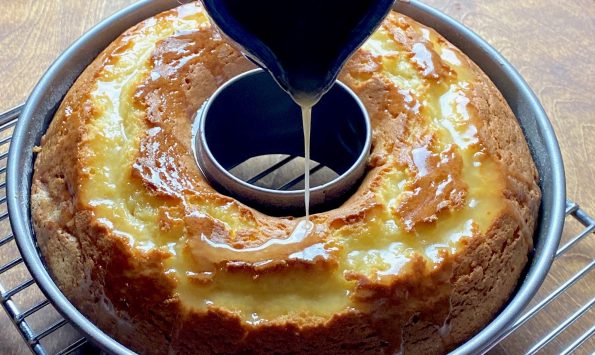
Kentucky Butter Cake. Butter, flour, sugar…more butter, and sugar. What’s not to like?
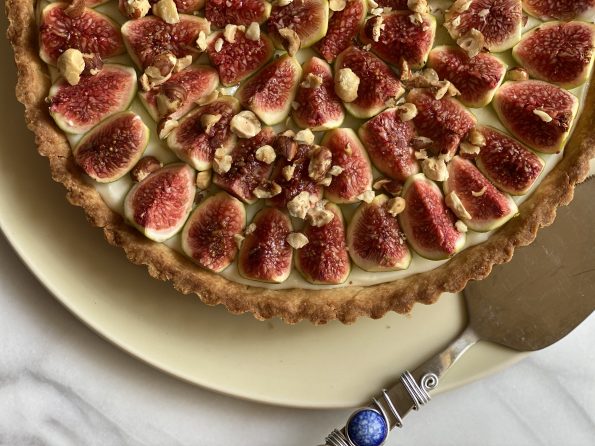
I’m pretty jazzed, a friend is gifting me a fig tree! She took a cutting, threw it in dirt and whaddya know, it grew into…
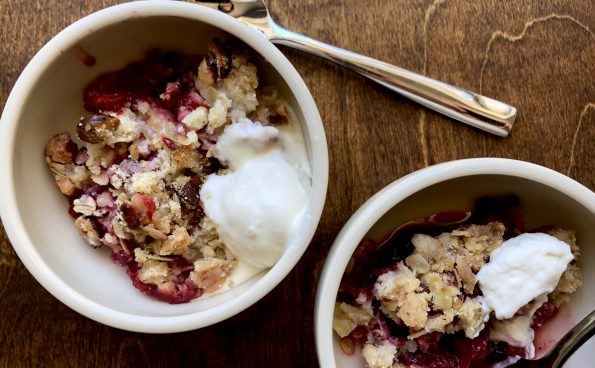
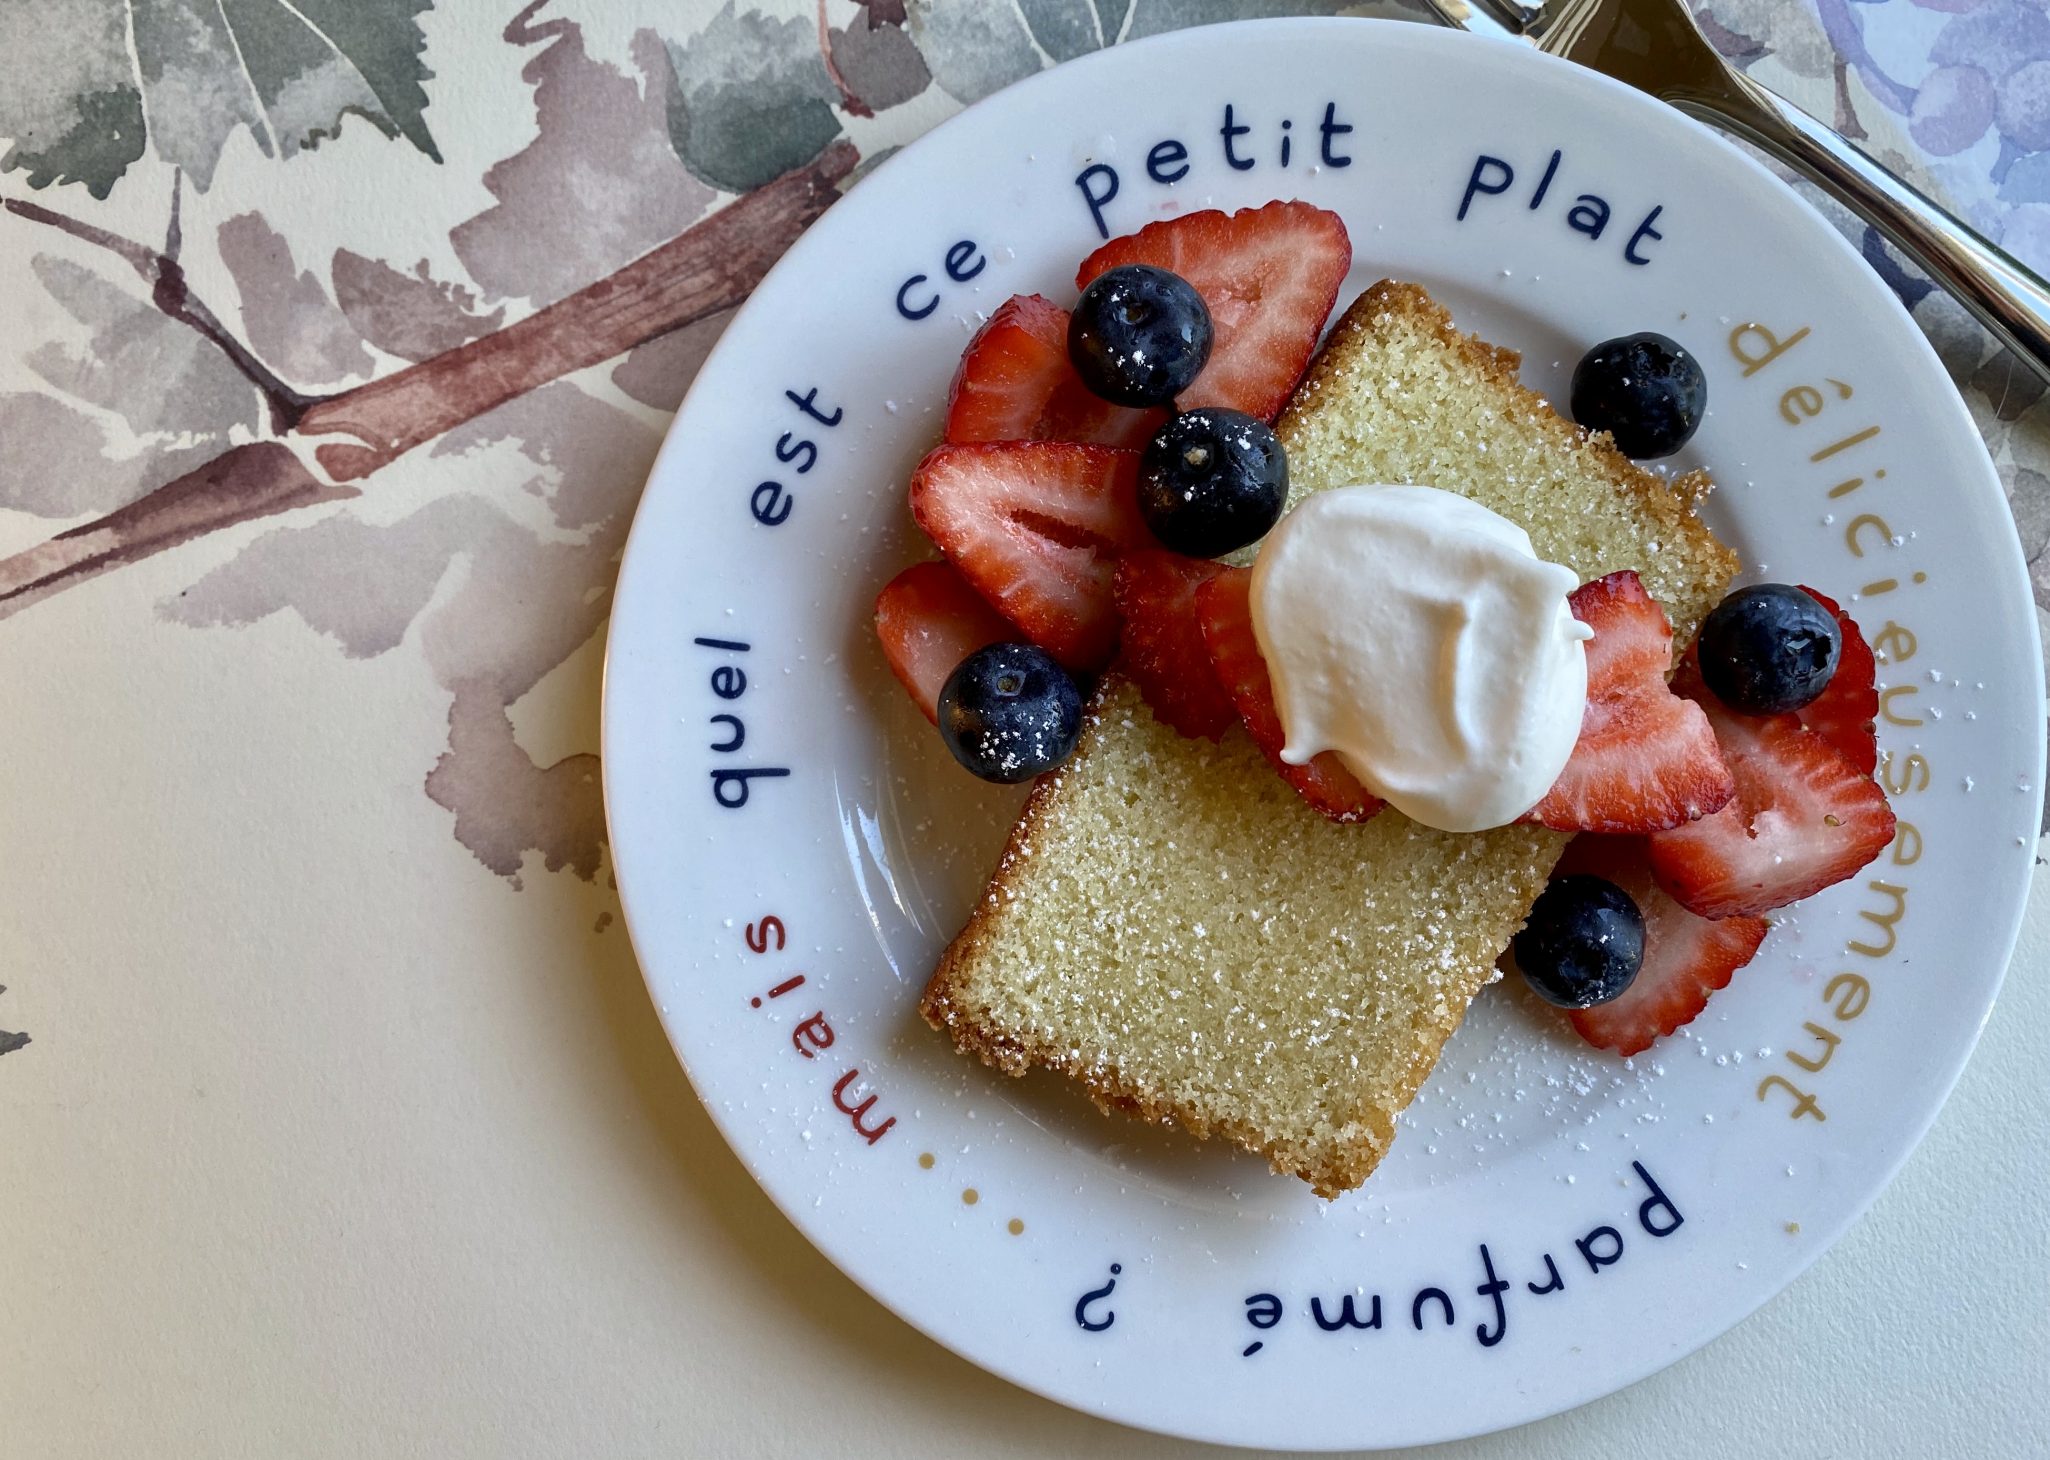
On my recent foray to the Farmer’s Market I came home with not only strawberries and blueberries but rhubarb too. I thought about making a…