Tag: butter

Molasses Snickerdoodles: Walking for Cookies

Molasses Snickerdoodles: Walking for Cookies

More rain, more gray…will it ever end?  Of course, it will but when?  Last week, the high winds took out our power at home so we escaped to San Francisco for the day.  Luckily, we had a brief, much-welcomed break in the weather and made the most of it.  It was too gorgeous not to take a walk and hit some of the scenic spots in The City.

Polk Gulch-Polk Street

There are a couple of streets that come to mind for me that define life in the city, and Polk Street is one of them. If you haven’t visited this area of the city, put it on your list.  Polk Street stretches from the  Civic Center area near City Hall, the gritty Tenderloin, all the way to the tony Russian Hill area, Aquatic Park, and Fisherman’s Wharf. To walk from Aquatic Park, the northern end of Polk to Civic Center, the southern tip, encapsulates San Francisco.

How can one street be home to Michelin-Starred Restaurants, trendy coffee kiosks, and French Bakeries, but also drug addicts and homeless sleeping in doorways or living in tents?  City life is uncensored and chaotic, where you see Everything, Everywhere, All at Once

We made a beeline for Polk Street which is only 2.5 blocks away…uphill.  The perfect way to start a walk since we’ll inevitably end up at one of the many bakeries on or near Polk.

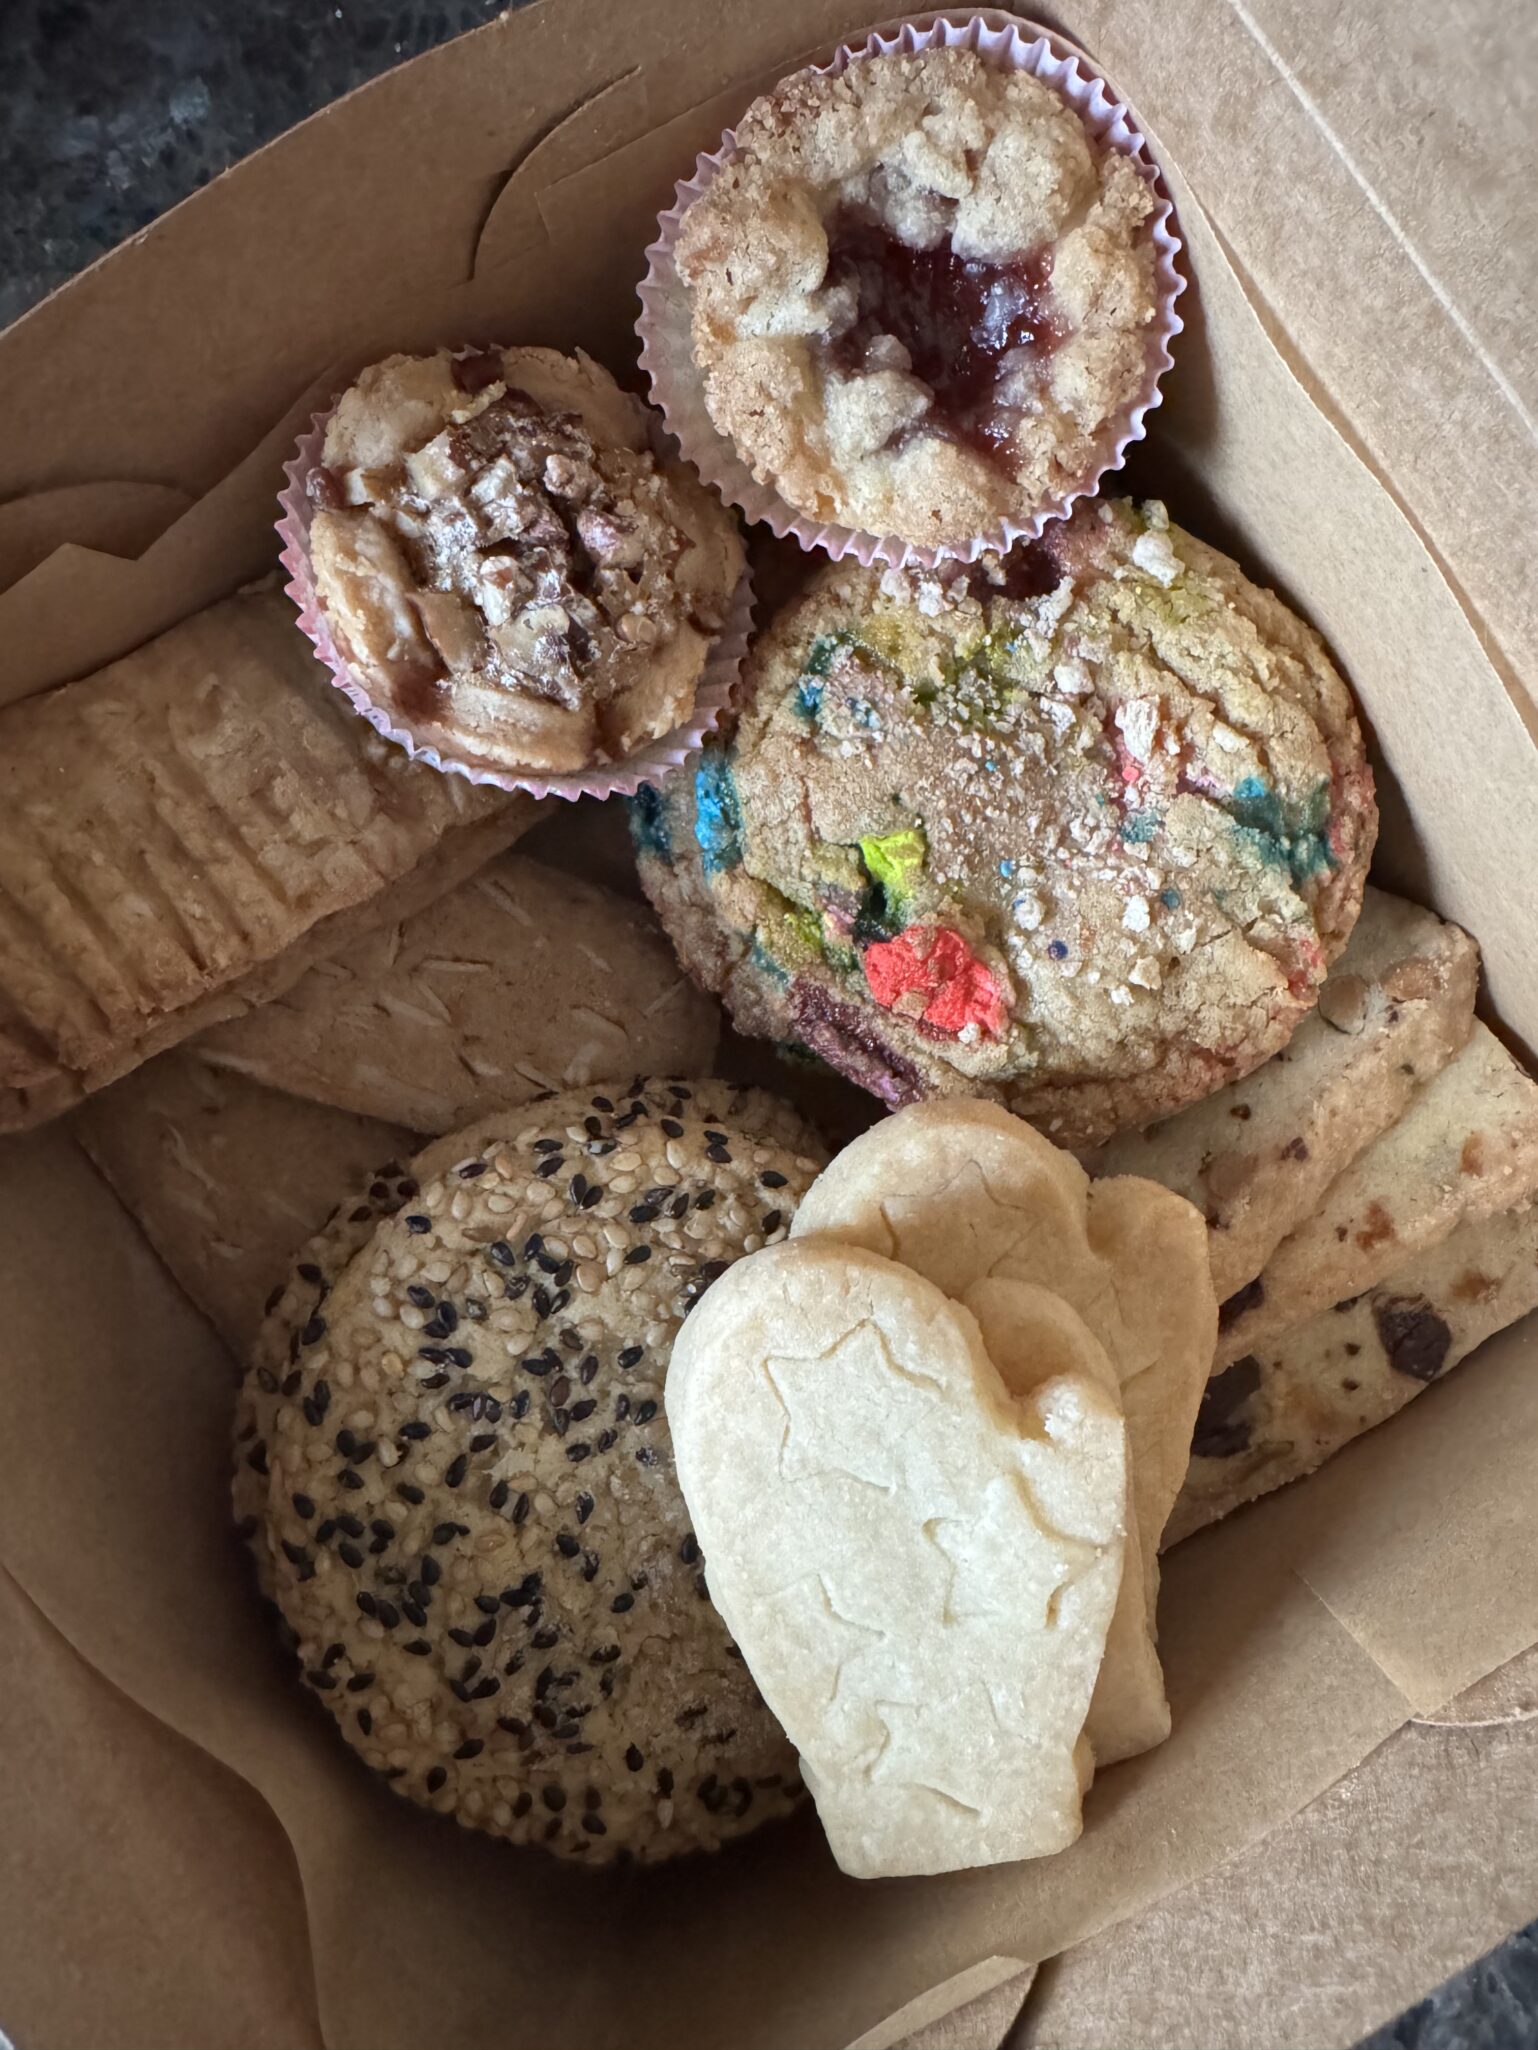
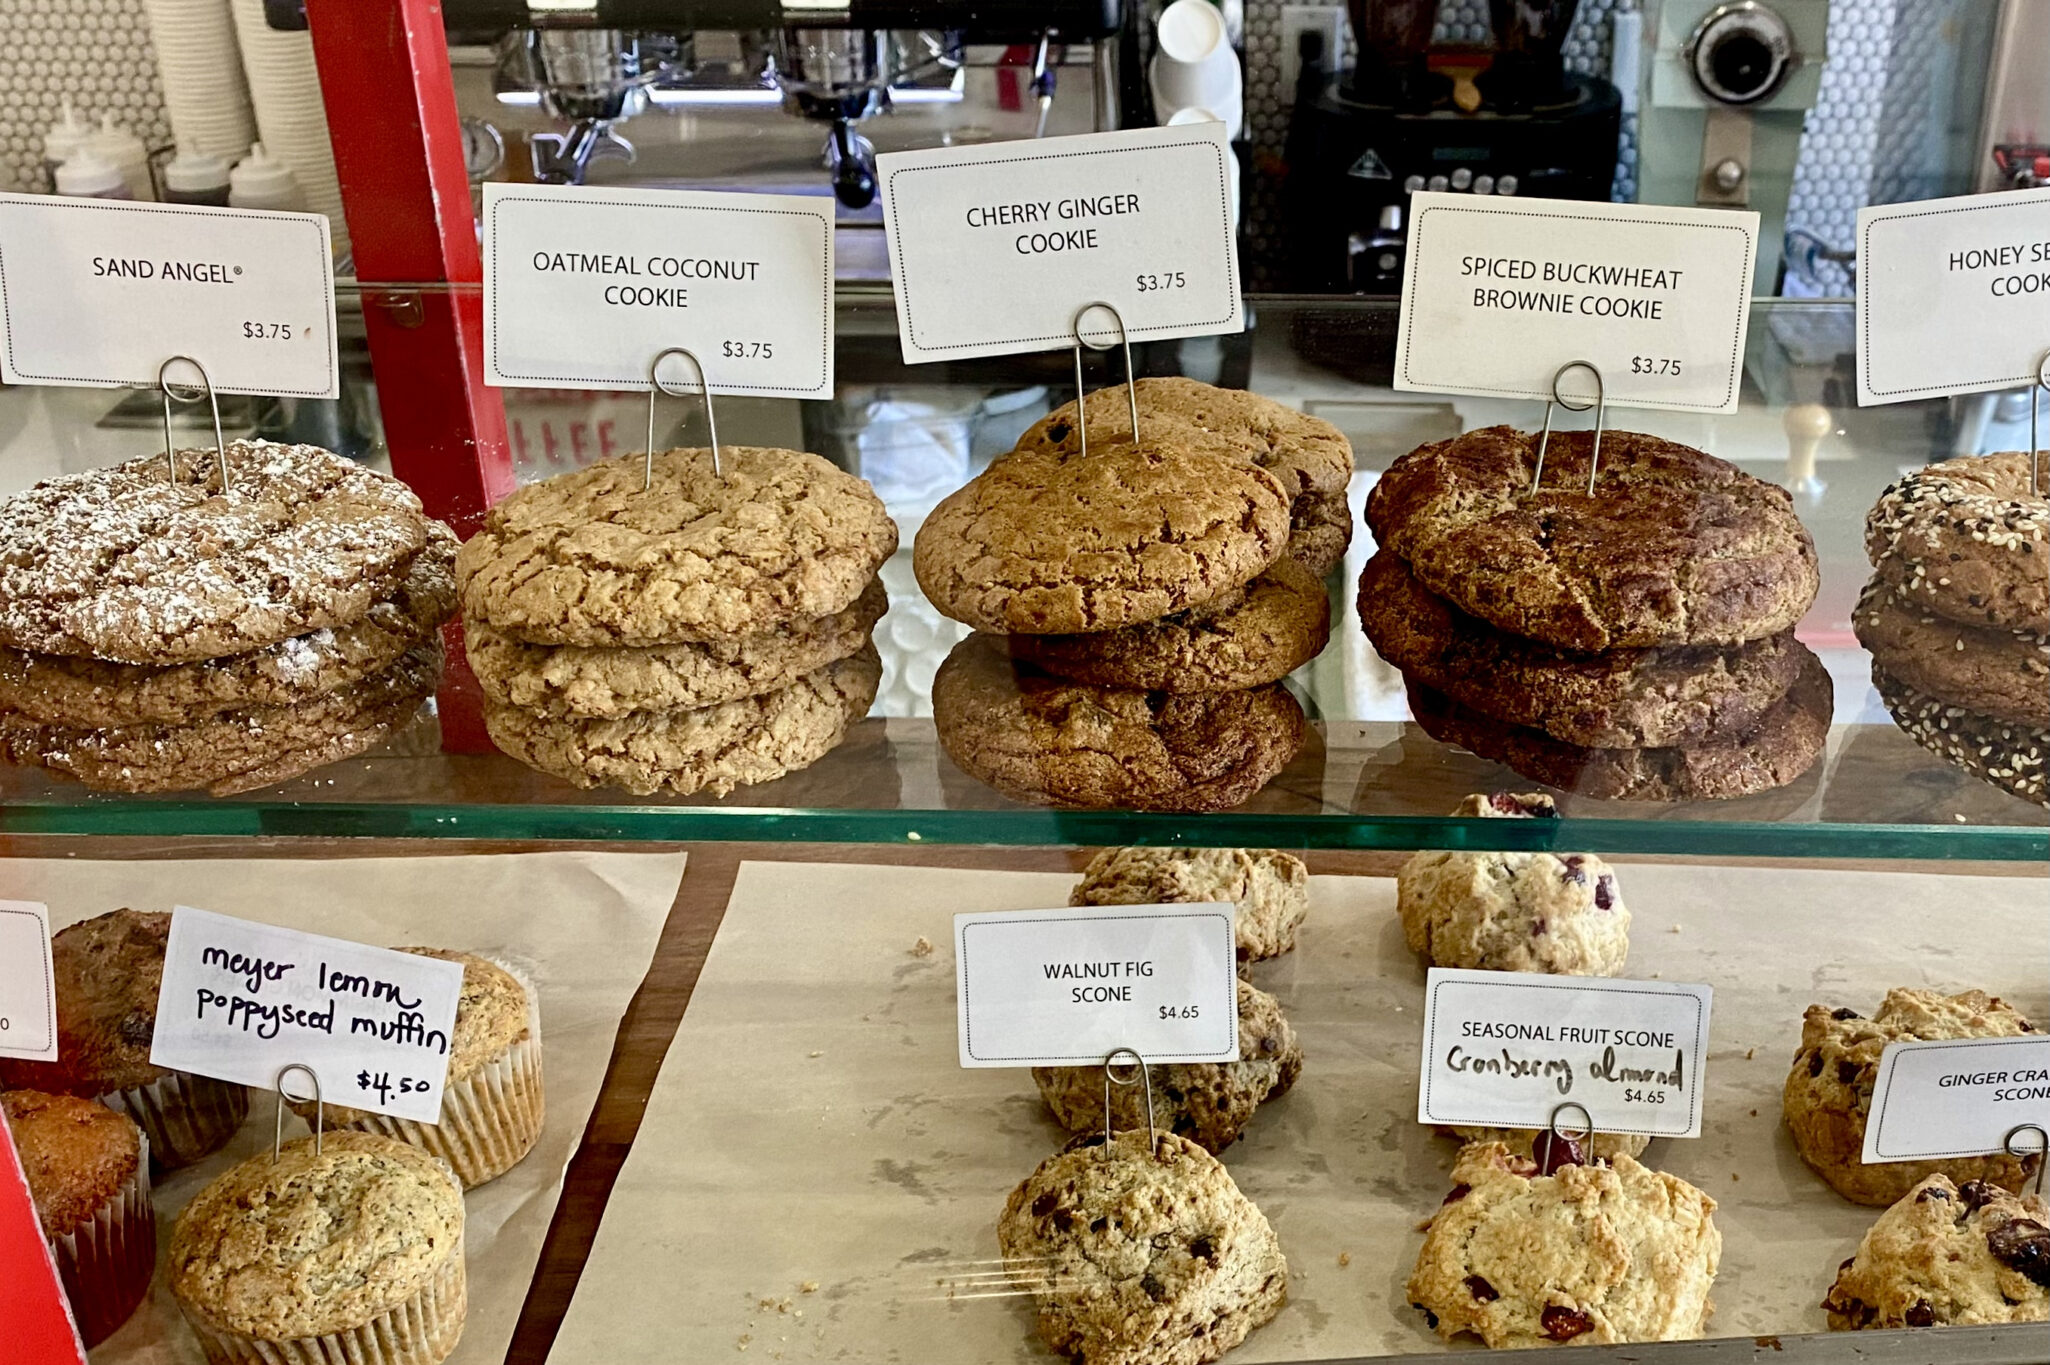
We stopped at Batter Bakery for a cup of coffee and some cookies.  Known for their cookies, I had a tough time choosing what to try.  As much as I love shortbread, which they have so many permutations, we decided on their Sand Angel and a Sesame Cookie that looked scrumptious.  The Sand Angel had me at first bite.  A molasses cookie with a crispy edge and soft, slightly cakey center, best described as a cross between a Snickerdoodle and Molasses Cookie.  Yummy on the cookie meter, 🍪🍪🍪🍪

Grabbing our coffee and cookies we continued on our walk.  I pointed out spots of interest to the hubster.  Places that were part of my childhood-my elementary school, Victor’s Pizza (still there!), and the corner my favorite dessert cafe, Blum’s occupied (sadly not there).  We passed Bob’s Donuts and Swan’s Oyster Depot, SF icons that have been around for as long as I can remember.

On our walk back we stopped to take a peek at a new neighborhood park, Francisco Park. Built on top of an old reservoir, it’s a nice respite with gorgeous views.  With a community garden, playground, picnic tables and a doggy-run on street level, the park is worth a visit.  Just a note those two highrises, the Fontanas, led to the restrictions on building heights in the city. 😉

So, after a fun day in the city, I returned home with one thing on my mind, Molasses Snickerdoodles.  Adapted from Grandma’s Molasses, it isn’t quite the same as the Batter Bakery cookie, but it’s pretty darn good!

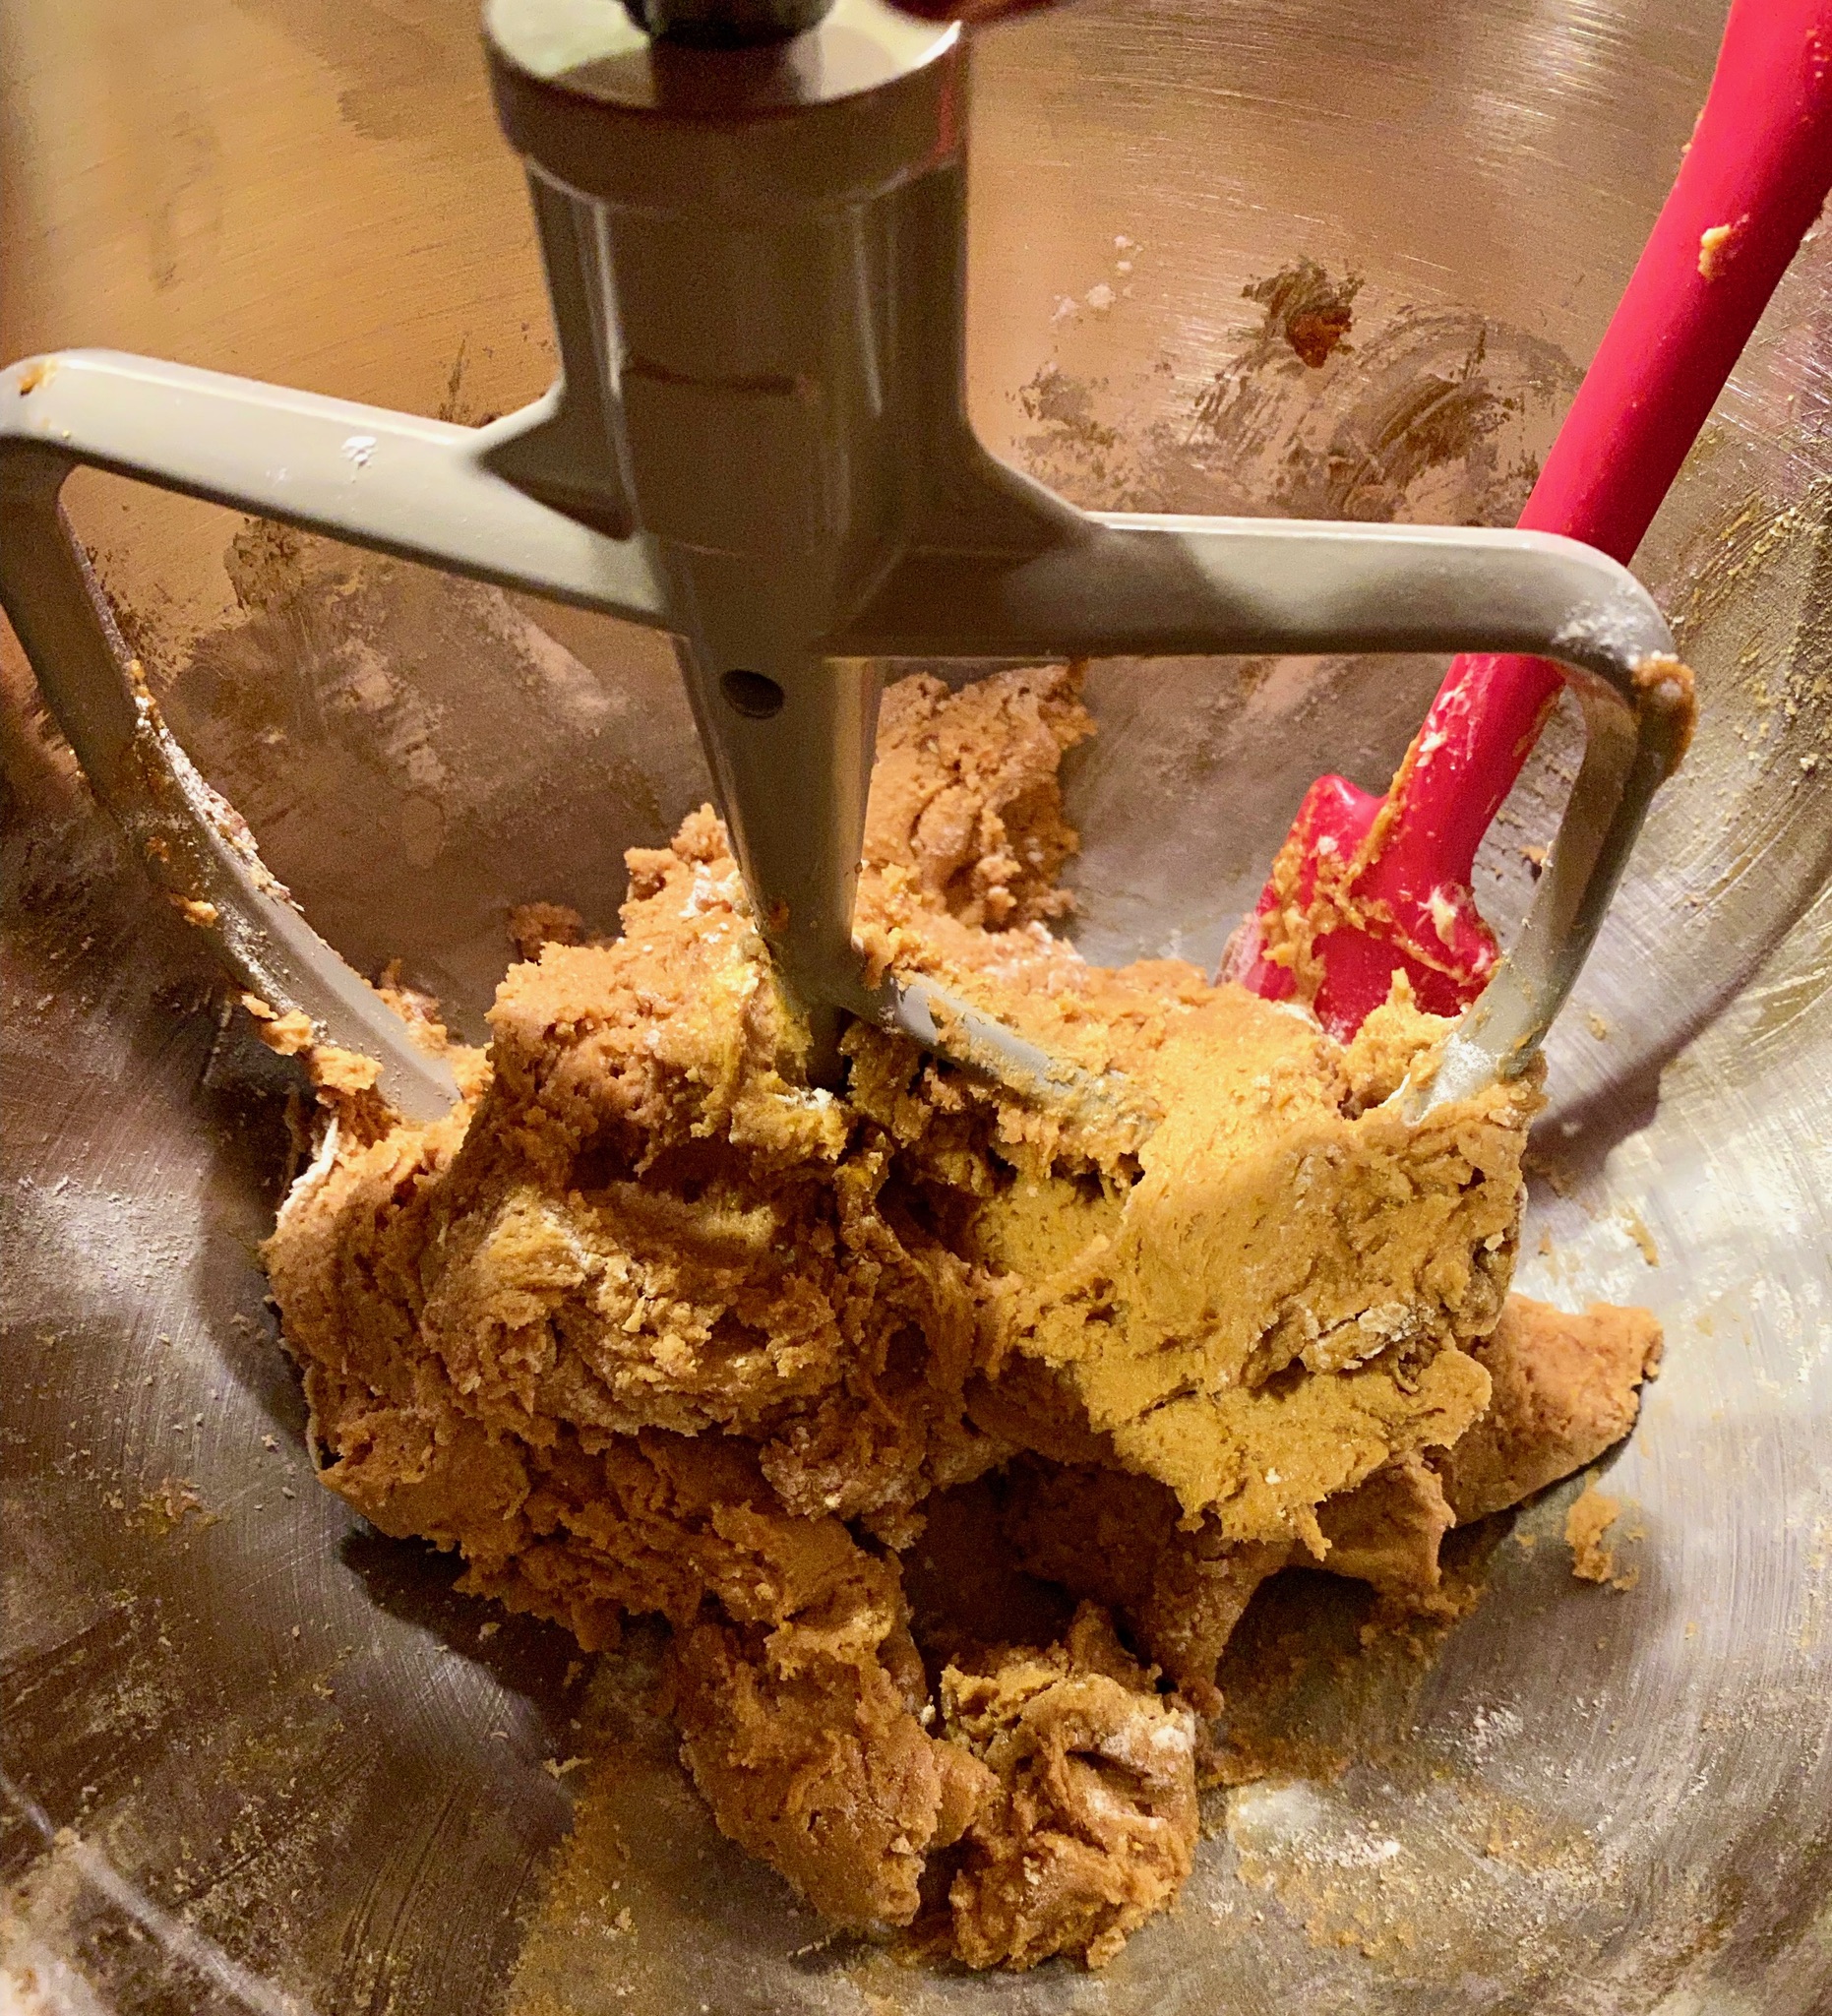
Key points: Beat butter and sugar until light and fluffy.  This will give this cookie a cakier texture in the middle. If you prefer a less cakey texture and a chewier center, two things, beat only until smooth and creamy, and during baking when the cookie puffs, pull the pan out and bang the sheet on the oven rack. Do this a couple of times.  More on this later.

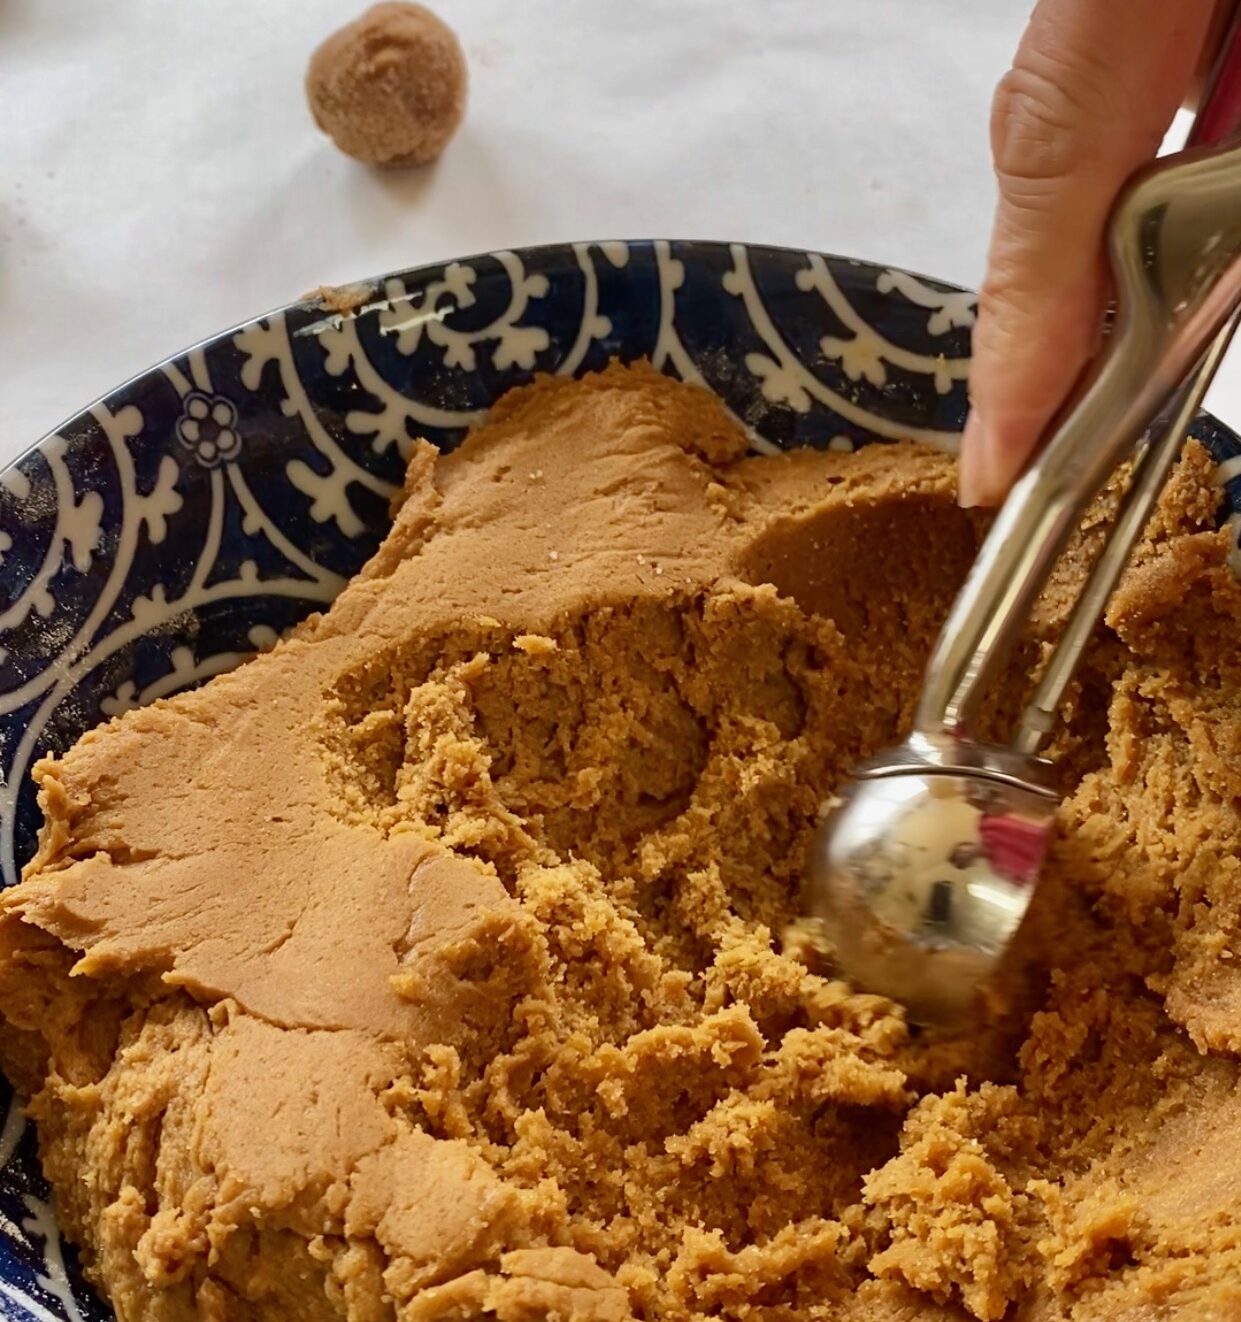
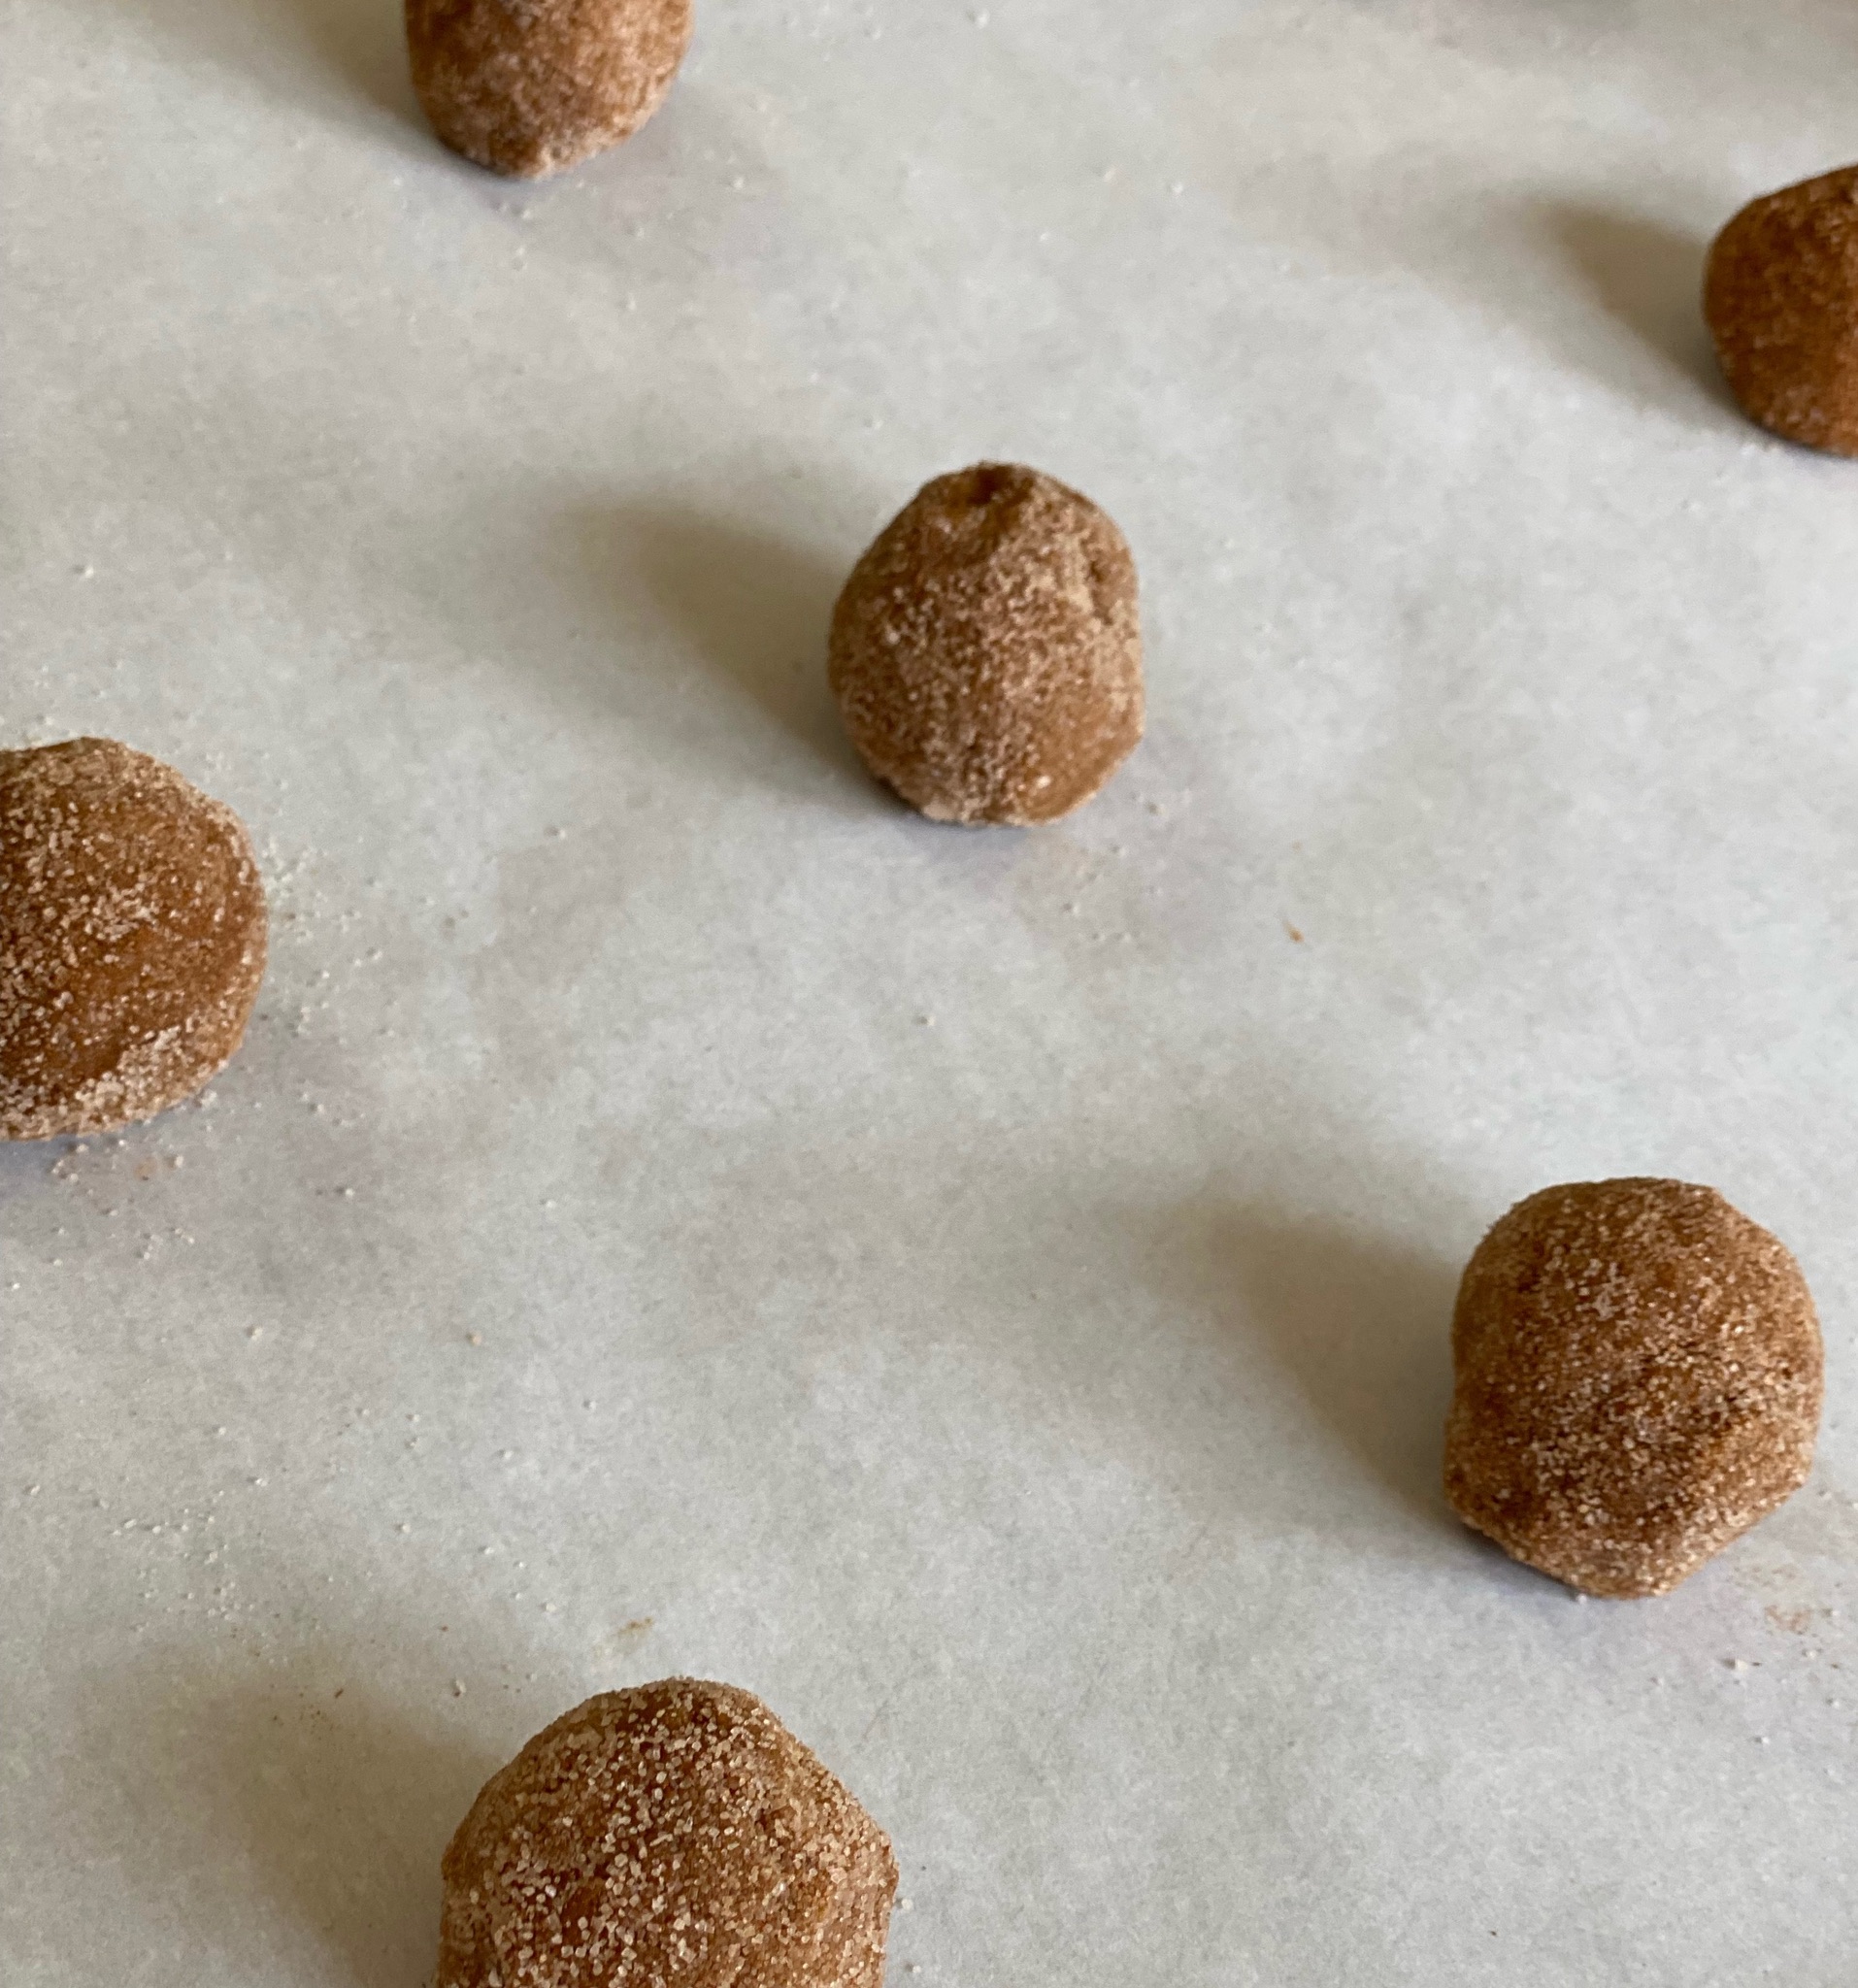
If the dough seems too soft to work with, chill it for 10 minutes.  A #40 scoop (2 tablespoons) will yield a 2.5-3 inch cookie.  Perfect dunking size.  The dough balls are rolled in a mixture of cinnamon and granulated sugar.  Substitute turbinado or raw sugar for a crunchier finish.

Variations on a Cookie

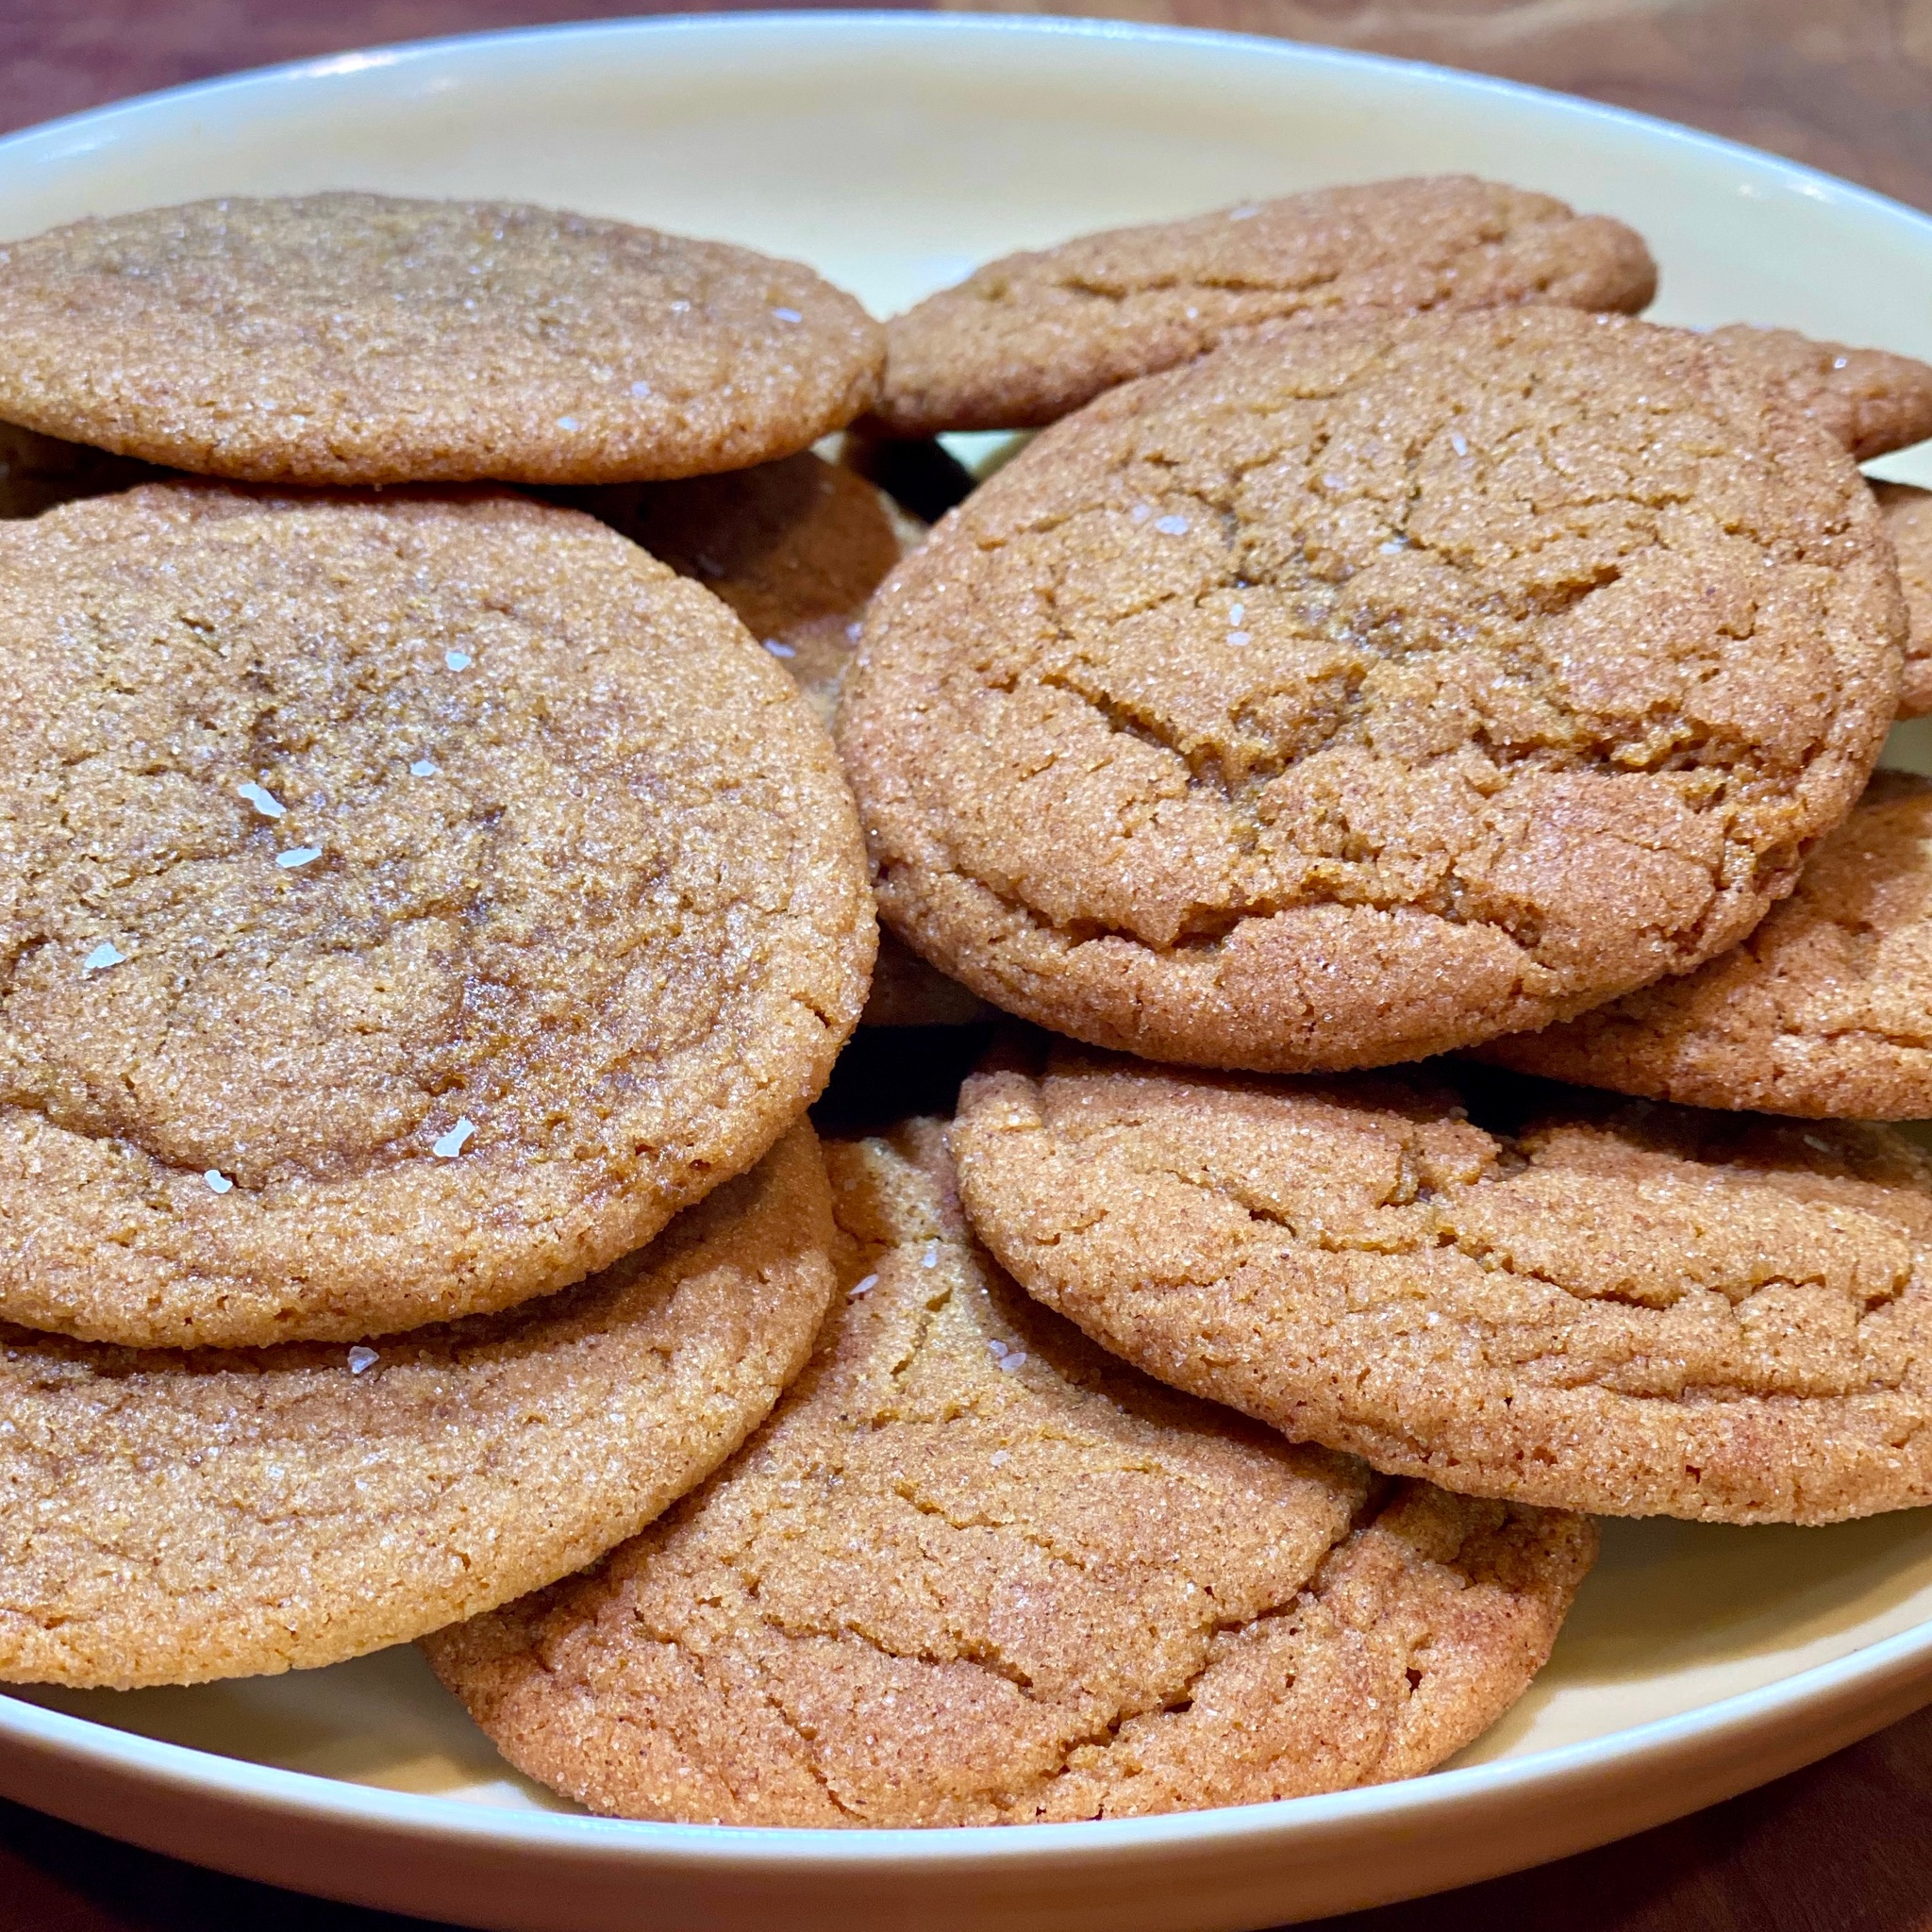
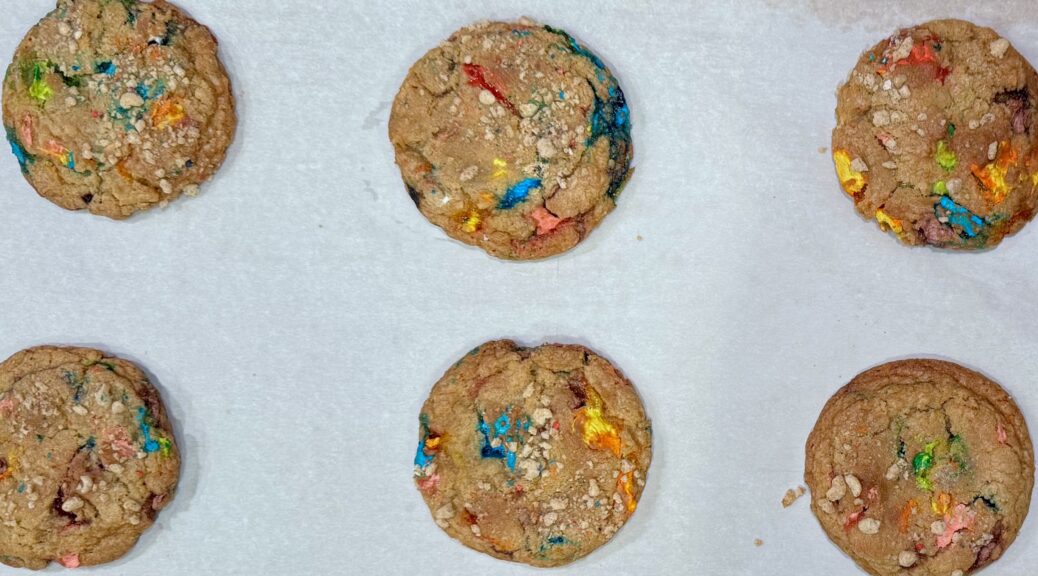
One dough, two different bakes.  The cookies on the left received Sarah Kieffer’s pan-banging baking treatment.  This means about two-thirds of the way through baking, when the cookies are puffy, rap the pan on the oven rack to deflate the cookies. Repeat this a couple of times.  The result is flatter, chewier cookies with crisp edges.  The cookies on the right were allowed to bake undisturbed, they puffed and fell naturally creating cracks.  This results in cookies that are a little thicker and cakier than the pan-banging cookies.

Enjoy!

Molasses Snickerdoodles

A rift on Snickerdoodles, adding molasses gives these cookies a nice earthy flavor. Crispy-edged, tender, slightly cakey, cookie.
Course cookies, Dessert
Cuisine American
Keyword Cookie recipe, cookies, Molasses Snickerdoodles
Prep Time 15 minutes

Ingredients

Dry Stuff

  • 1 3/4 C. all-purpose flour
  • 1/2 tsp Cream of Tartar
  • 1/2 tsp Baking Soda
  • 1/8 tsp salt

Creamed Ingredients:

  • 1/2 C. unsalted butter room temperature
  • 3/4 C. granulated sugar
  • 1/4 C. Light or mild Molasses
  • 1 large egg
  • 1 tsp Vanilla Extract

Dredge

  • 3 Tbsp. granulated, raw or turbinado sugar
  • 1 tsp Cinnamon

Instructions

  • Preheat oven to 375° F.
  • In a bowl, whisk together flour, cream of tartar, baking soda and salt until well blended. Set aside.
  • In a large mixing bowl or the bowl of a stand mixer, beat butter and sugar on medium-high speed until light and fluffy, 1 to 2 minutes.
  • Add molasses and beat until combined, scraping down the sides of the bowl as needed.
  • Add egg and vanilla and mix until smooth.
  • Add dry ingredients and mix on low speed until incorporated and no dry flour remains.
  • In a small dish, mix raw sugar together with cocoa powder and cinnamon until well blended.
  • Drop dough by the tablespoonful into sugar mixture, rolling until completely coated. (Dough will be sticky, but the sugar mixture should keep it from sticking to your hands.).
  • Arrange on non-stick or parchment-lined baking sheets, leaving 2 inches of space between cookies. Repeat with remaining dough.
  • Bake for 9 to 10 minutes or until cookies are just set on top and bottoms are lightly golden brown.
  • Let cool for 5 minutes on baking sheets and transfer to a wire rack to cool completely.
Cinnamon Toast Crunch Butter Mochi-Cereal Killa

Cinnamon Toast Crunch Butter Mochi-Cereal Killa

I am always on the lookout for mochi recipes.  Aside from being downright delicious, it is nice to have gluten-free options in your arsenal.  The blog, Little Fat Boy caught my attention with a recipe for Cinnamon Toast Crunch Butter Mochi.  Holy moly, dessert with not just one but TWO of my favorite foods, mochi and cereal, I am all in.

Bad, Bad Mom

I’m going to admit, I was one of those crazy militant moms about snacks and cereals.  The only cereals that graced our table included Special K, Honey Bunches of Oats, and Rice Krispies.  BORING.  The grams of sugar had to be in single digits for any box to make the cut.  Hostess was not part of our family’s vernacular.   To this day, I’m not sure if my kids have had a Hostess Twinkie.

Eventually, I came clean to my kids, and the flood gates opened.  They rolled their eyes with righteous indignation as I rattled off my favorite childhood snacks and cereals-Captain Crunch, Lucky Charms, HoHos, Milk Duds, BigHunks…lol.  Hey, I was a latch-key kid…unlike them…so lucky to have a mom to constantly police, I mean, watch over them!

Welcome to Adulthood

The perks of growing up, my days of being their sugar police are long over.  In fact, during their college days, care packages with Dad’s Good Cookies, Brownies, Chocolate Chip Cookies, and candies were sent on a regular basis.  We made up for years of deprivation.

All Things Mochi

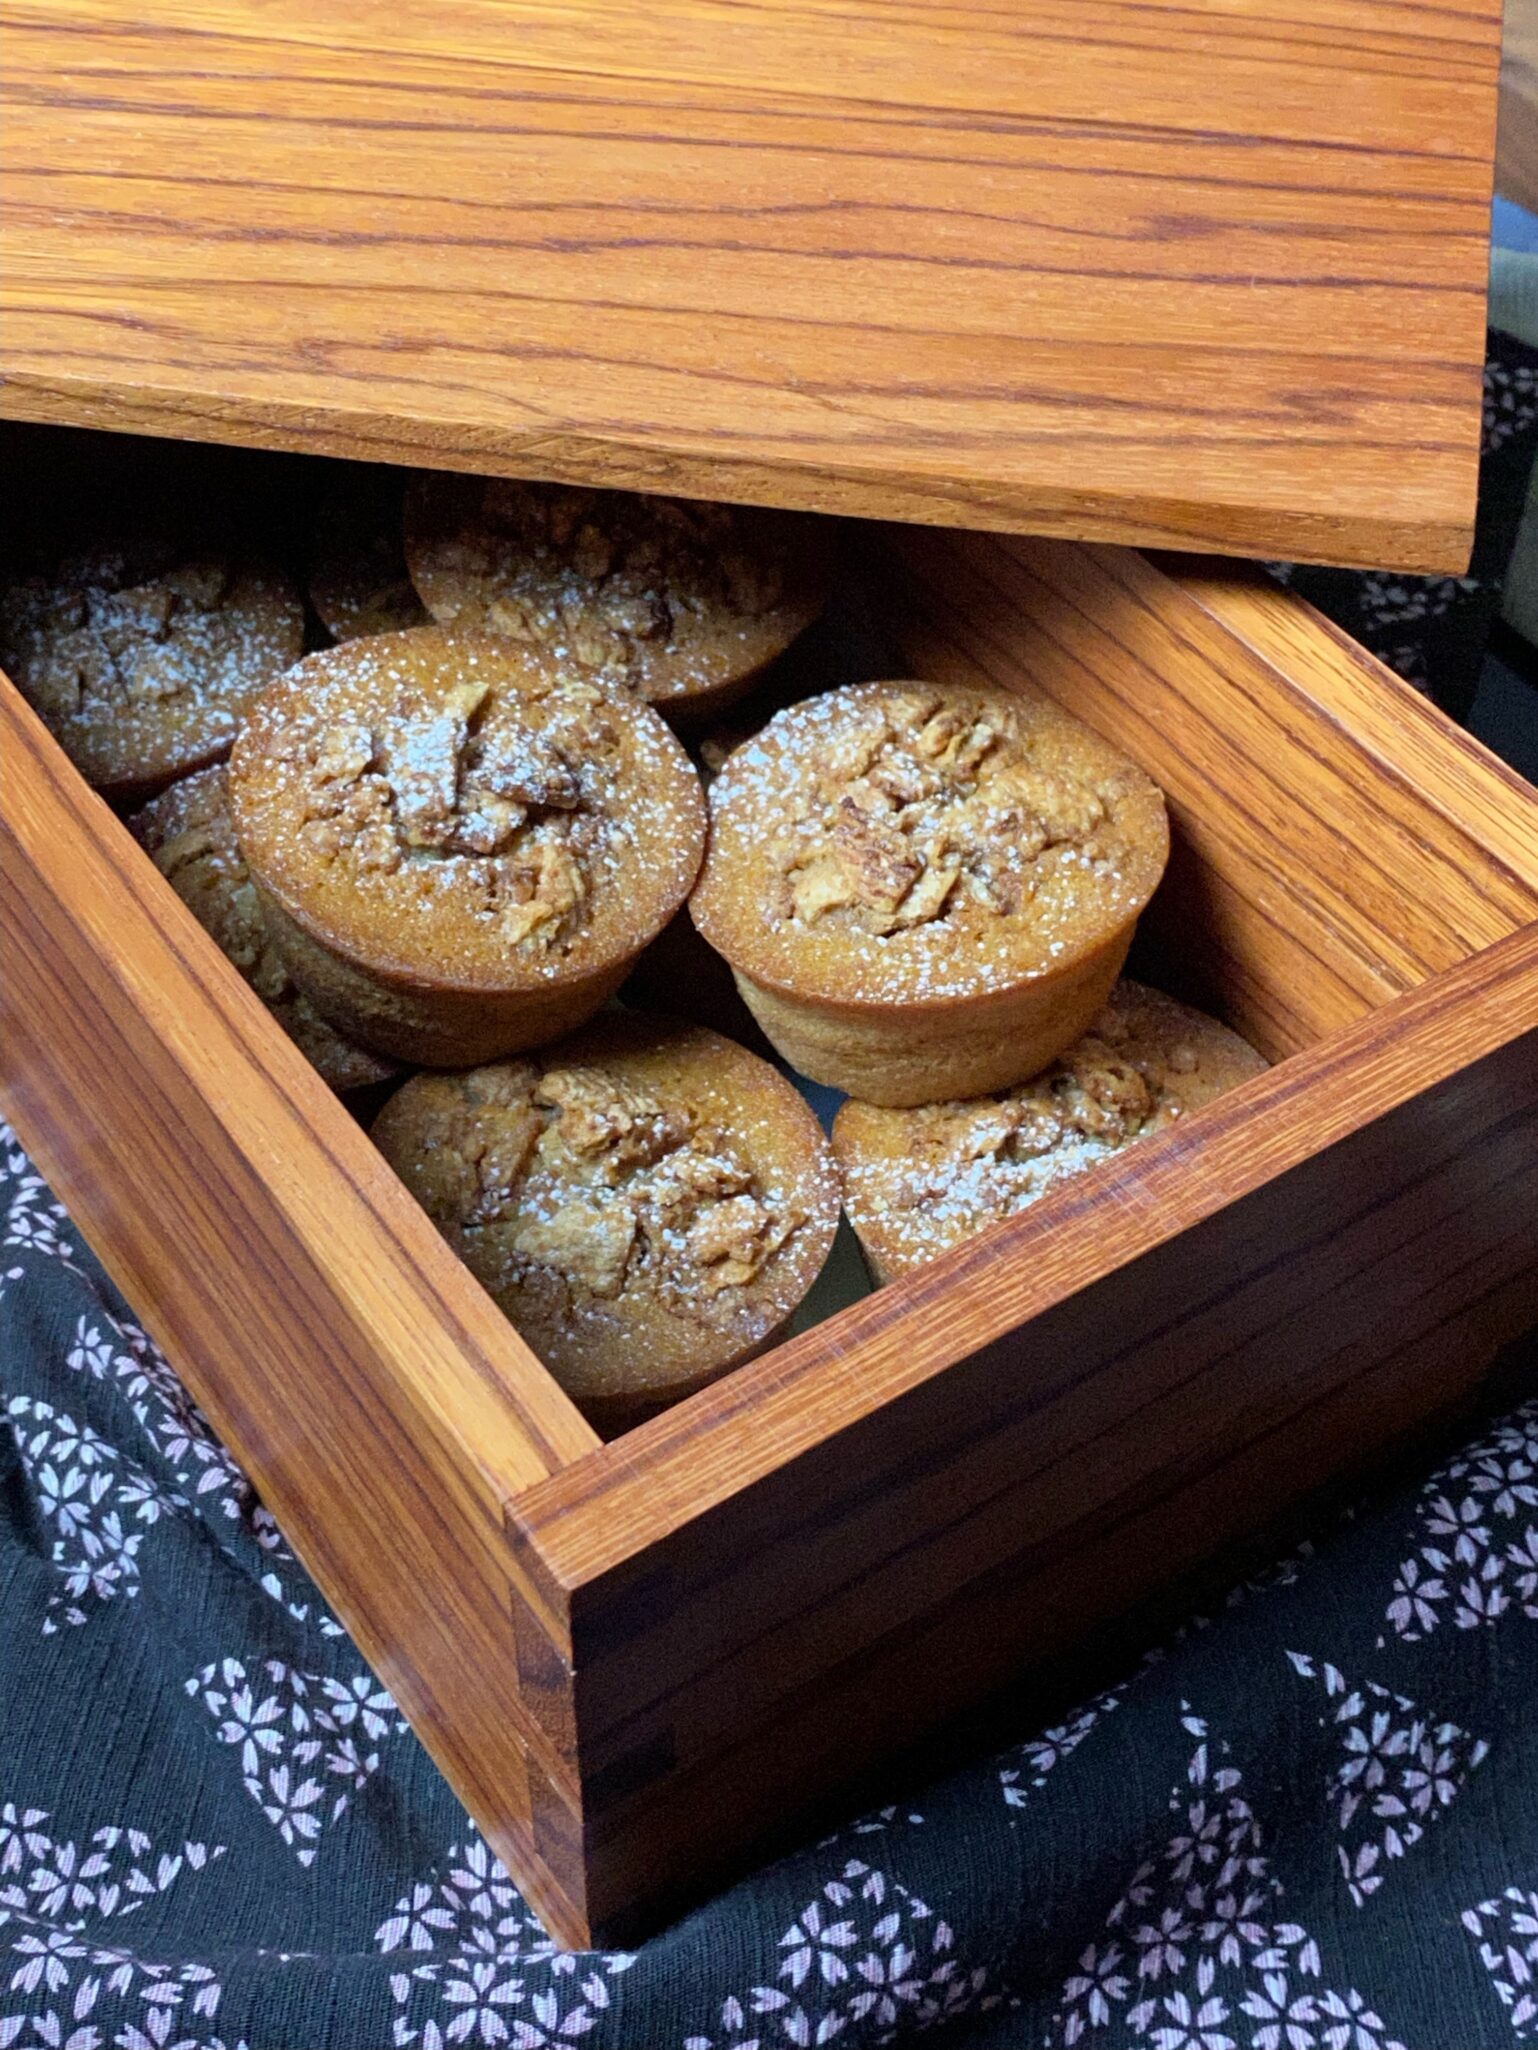
Ground Zero for mochi recipes is Butter Mochi Muffin, adapted from Snixy Kitchen (a gorgeous blog featuring gluten-free recipes), and still the most popular recipe posted on 3Jamigos.  Variations followed, Mango Mochi Muffins, Chocolate Mochi Donuts and Brownies, and Misugaru Mochi Muffins…in fact mochi has its own category on 3Jamigos.  This is the latest in my mochi mania recipes, Cinnamon Toast Crunch Butter Mochi. Remember the cereal milk at the bottom of your bowl you savored when you were a kid?  Yep, use it to make your mochi.

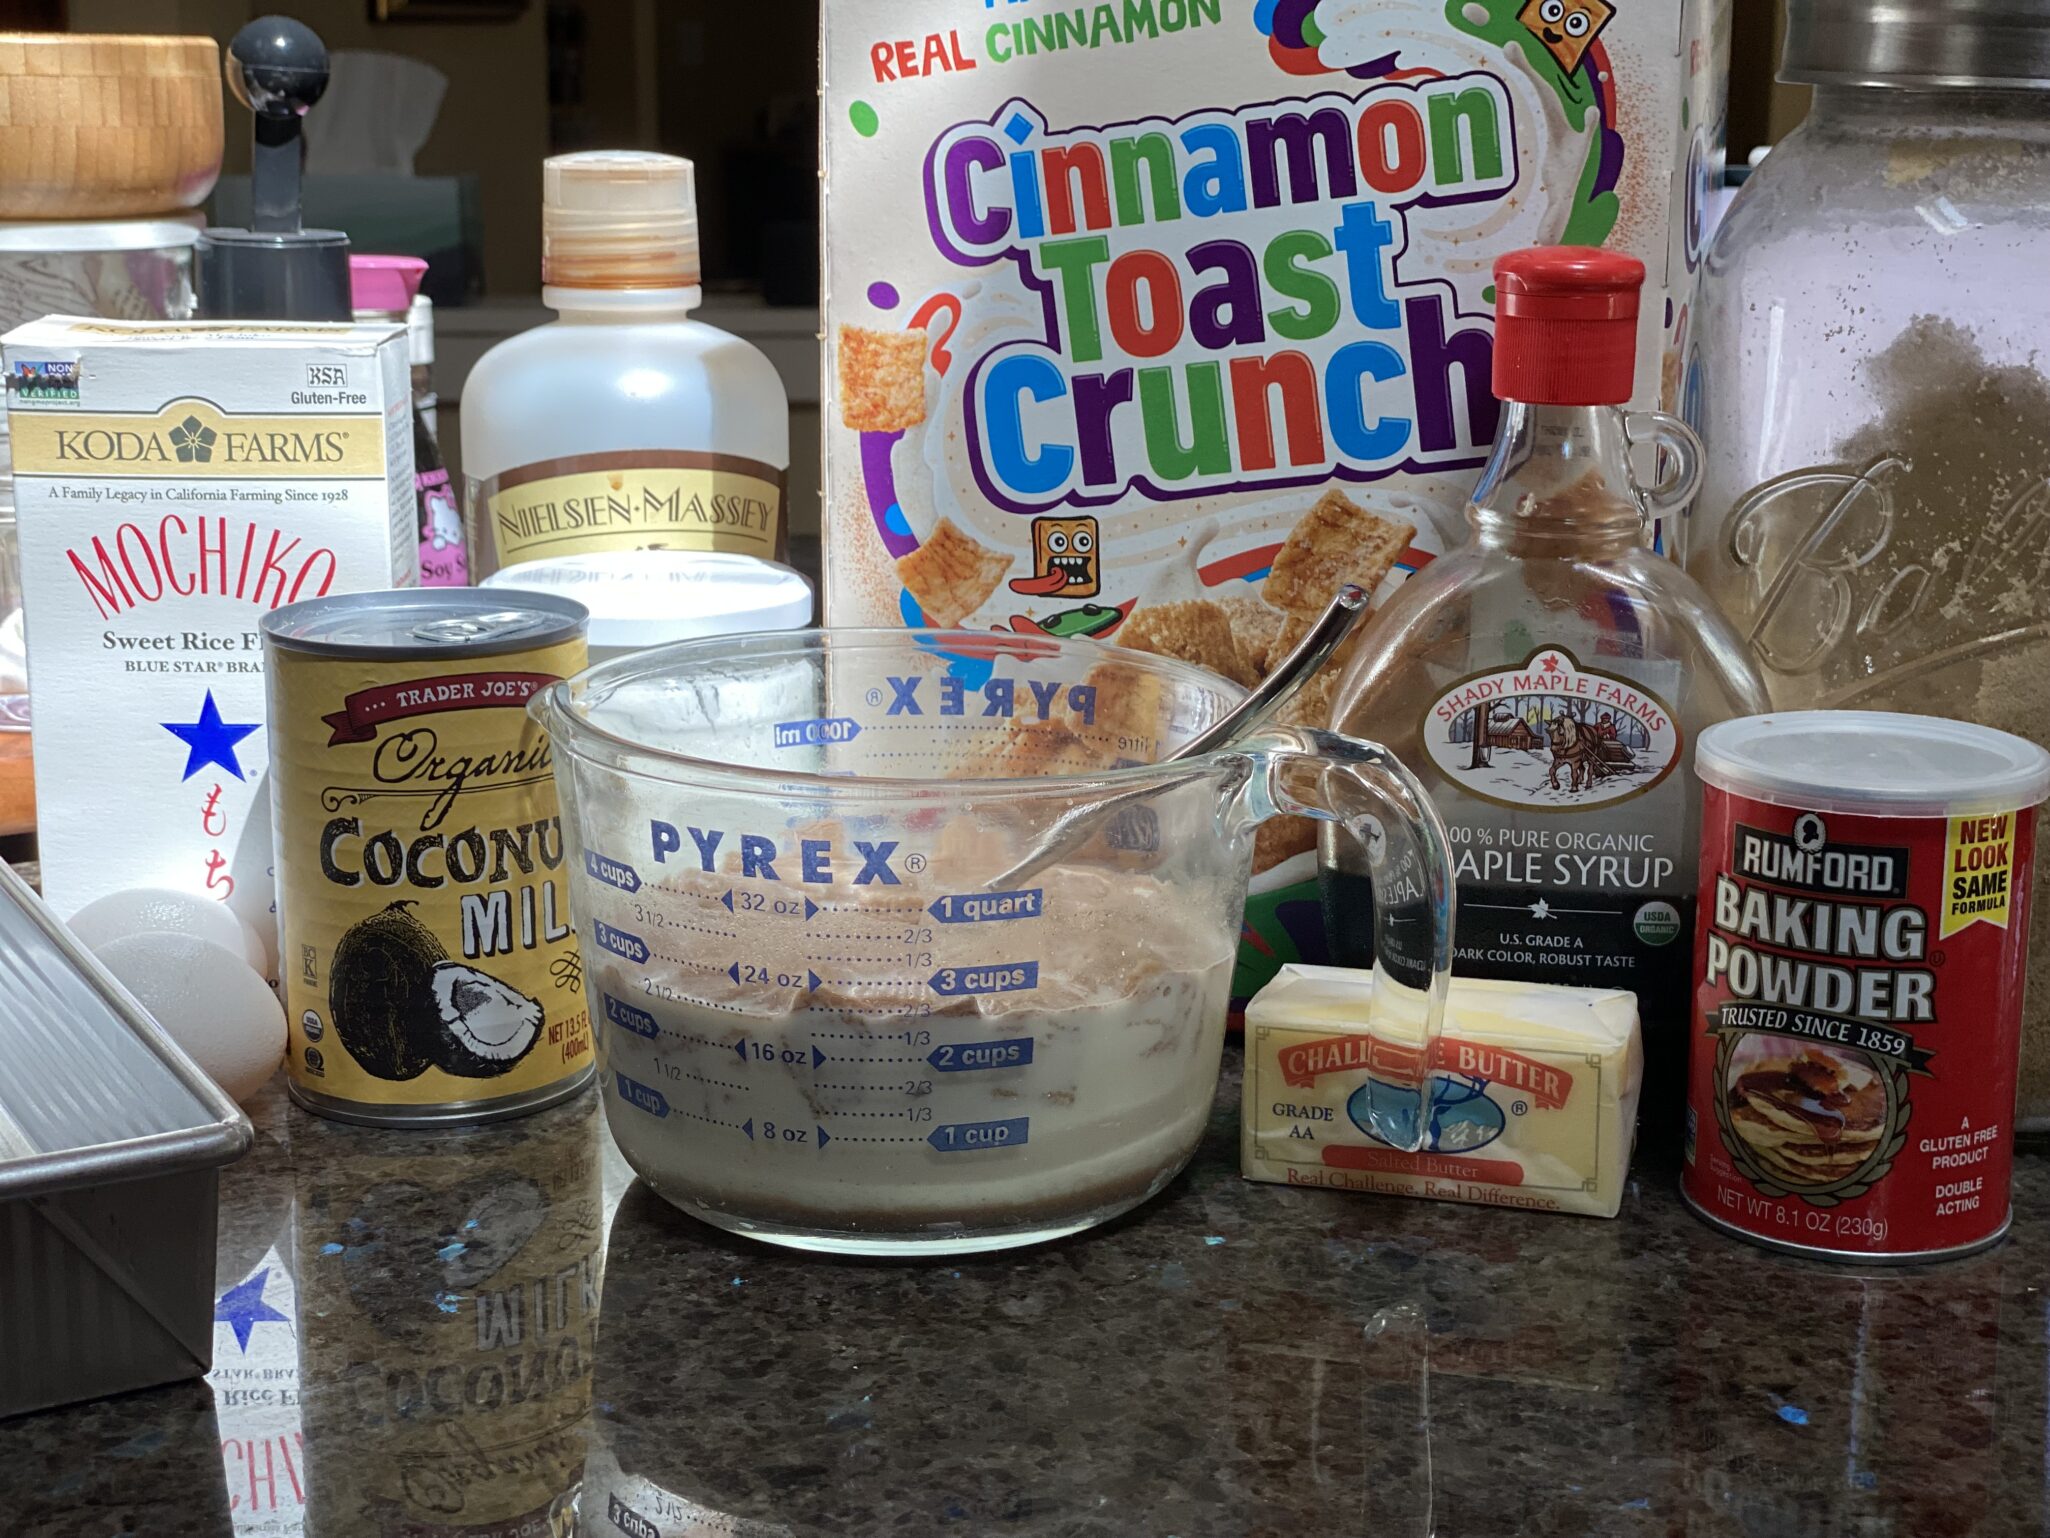
Soak the cereal for a minimum of an hour in one and a quarter cups of milk, stirring occasionally.  The recipe calls for 1 cup of milk and half a can (200ml) of coconut milk.  The cereal will absorb some of the milk, after soaking, if there is less than 1 cup of milk, add extra coconut milk to bring it to 1 cup.

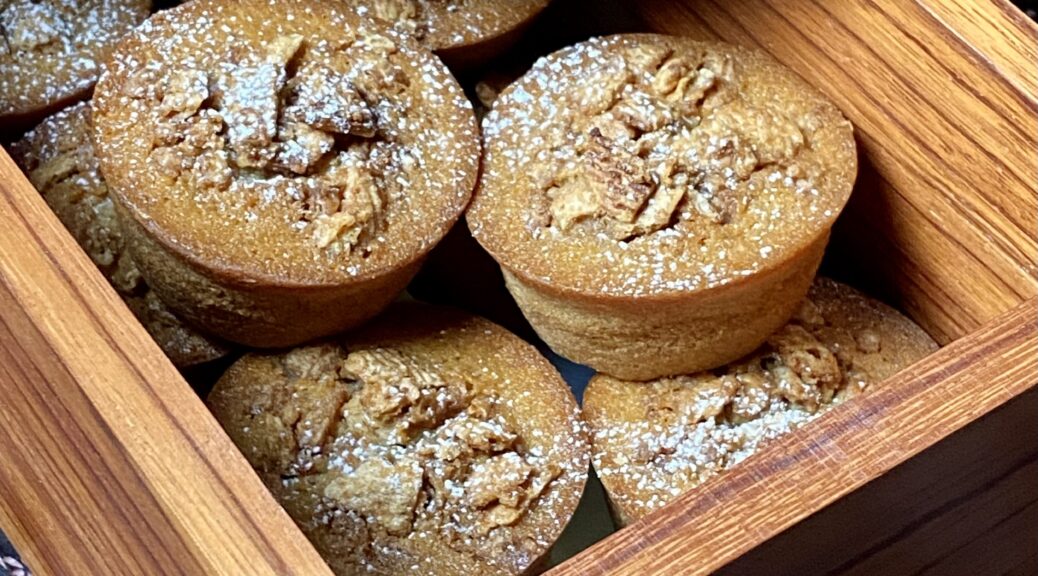
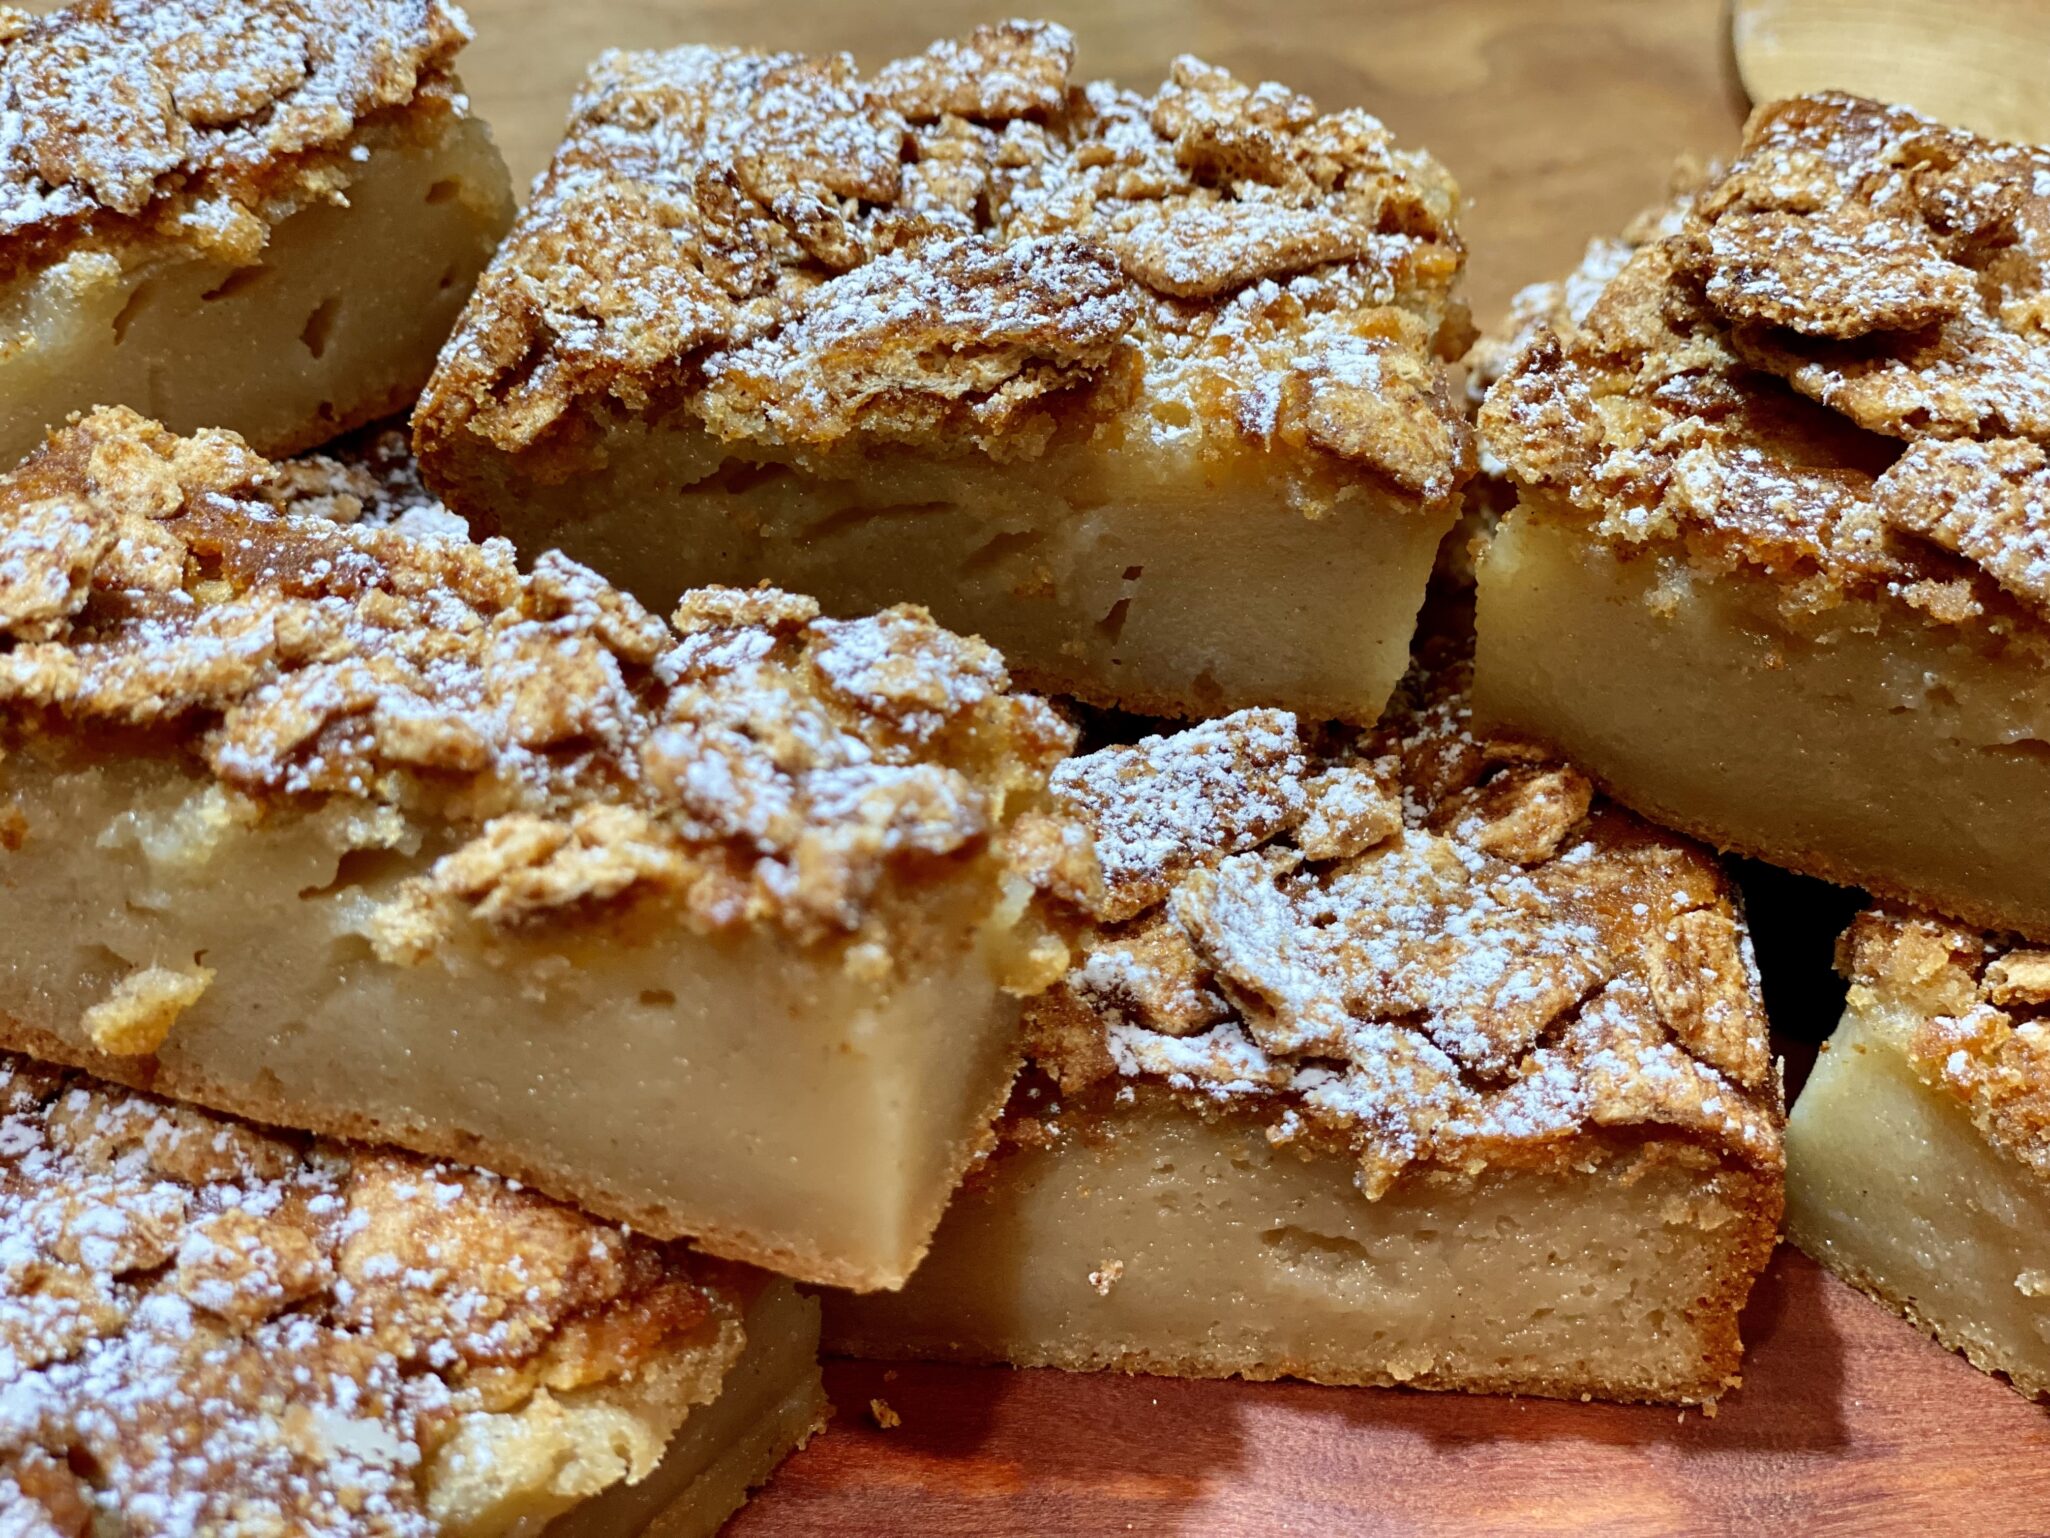
For the first batch, I followed Little Fat Boy, made them in a pan, and cut them into squares.  For the second batch, I made muffins because everyone deserves their own sweet treat.

To further crisp the Cinnamon Toast Crunch topping, I used Christina Tosi’s method to make cereal crunch.  Toast crushed cereal bathed in butter in the oven.

Delicious, sweet, with cinnamon and caramel undertones and the characteristic gooey, springy texture of mochi, this is a keeper.  Add this to your bucket list.

Cinnamon Toast Crunch Butter Mochi

Butter Mochi flavored with Cinnamon Toast Crunch. Another delicious, gluten-free treat!
Course Cake, Dessert, Muffins
Cuisine Asian, Asian-American, Hawaiian
Keyword butter mochi, cereal, Cinnamon Toast Crunch, coconut milk
Prep Time 2 hours
Cook Time 1 hour
Servings 12 servings

Ingredients

Wet Stuff

  • 2 large eggs
  • 1.25 cups milk, I like whole but lowfat, skim and alternative milks will work to soak Cinnamon Toast Crunch
  • 1/2 can of coconut milk 200ml I prefer full fat coconut milk
  • 1/4 cup unsalted butter melted
  • 1 Tbsp maple syrup or Golden Syrup
  • 1 teaspoon vanilla extract

The Dry Stuff

  • 1/2 box Mochiko sweet rice flour (glutinous rice flour) 254 g
  • 1 cup brown sugar preferably dark brown
  • 1/4 teaspoon kosher salt
  • 1 tsp baking powder
  • 1-1.25 cups Cinnamon Toast Crunch Cereal to soak in milk

Topping

  • 1 cup Cinnamon Toast Crunch Cereal for topping
  • 2 tbsp unsalted butter, melted
  • unsalted butter to grease pans

Instructions

  • Soak 1.25-1.5 cups of milk with Cinnamon Toast Crunch for at least an hour or overnight. Strain milk into a measuring cup. You should have 1 cup. If it is less than this, use extra coconut milk to make up the difference,
  • Preheat an oven to 350° F. Generously butter an 8x8 baking pan. For muffins, butter a 12-cup muffin tin.
  • In a separate mixing bowl, mix together rice flour, brown sugar, baking powder, and salt. Set aside.
  • Mix wet ingredients in large bowl, 2 large eggs, 1 cup milk (soaked in Cinnamon Toast Crunch), coconut milk, maple syrup, and vanilla extract. Blend until smooth.
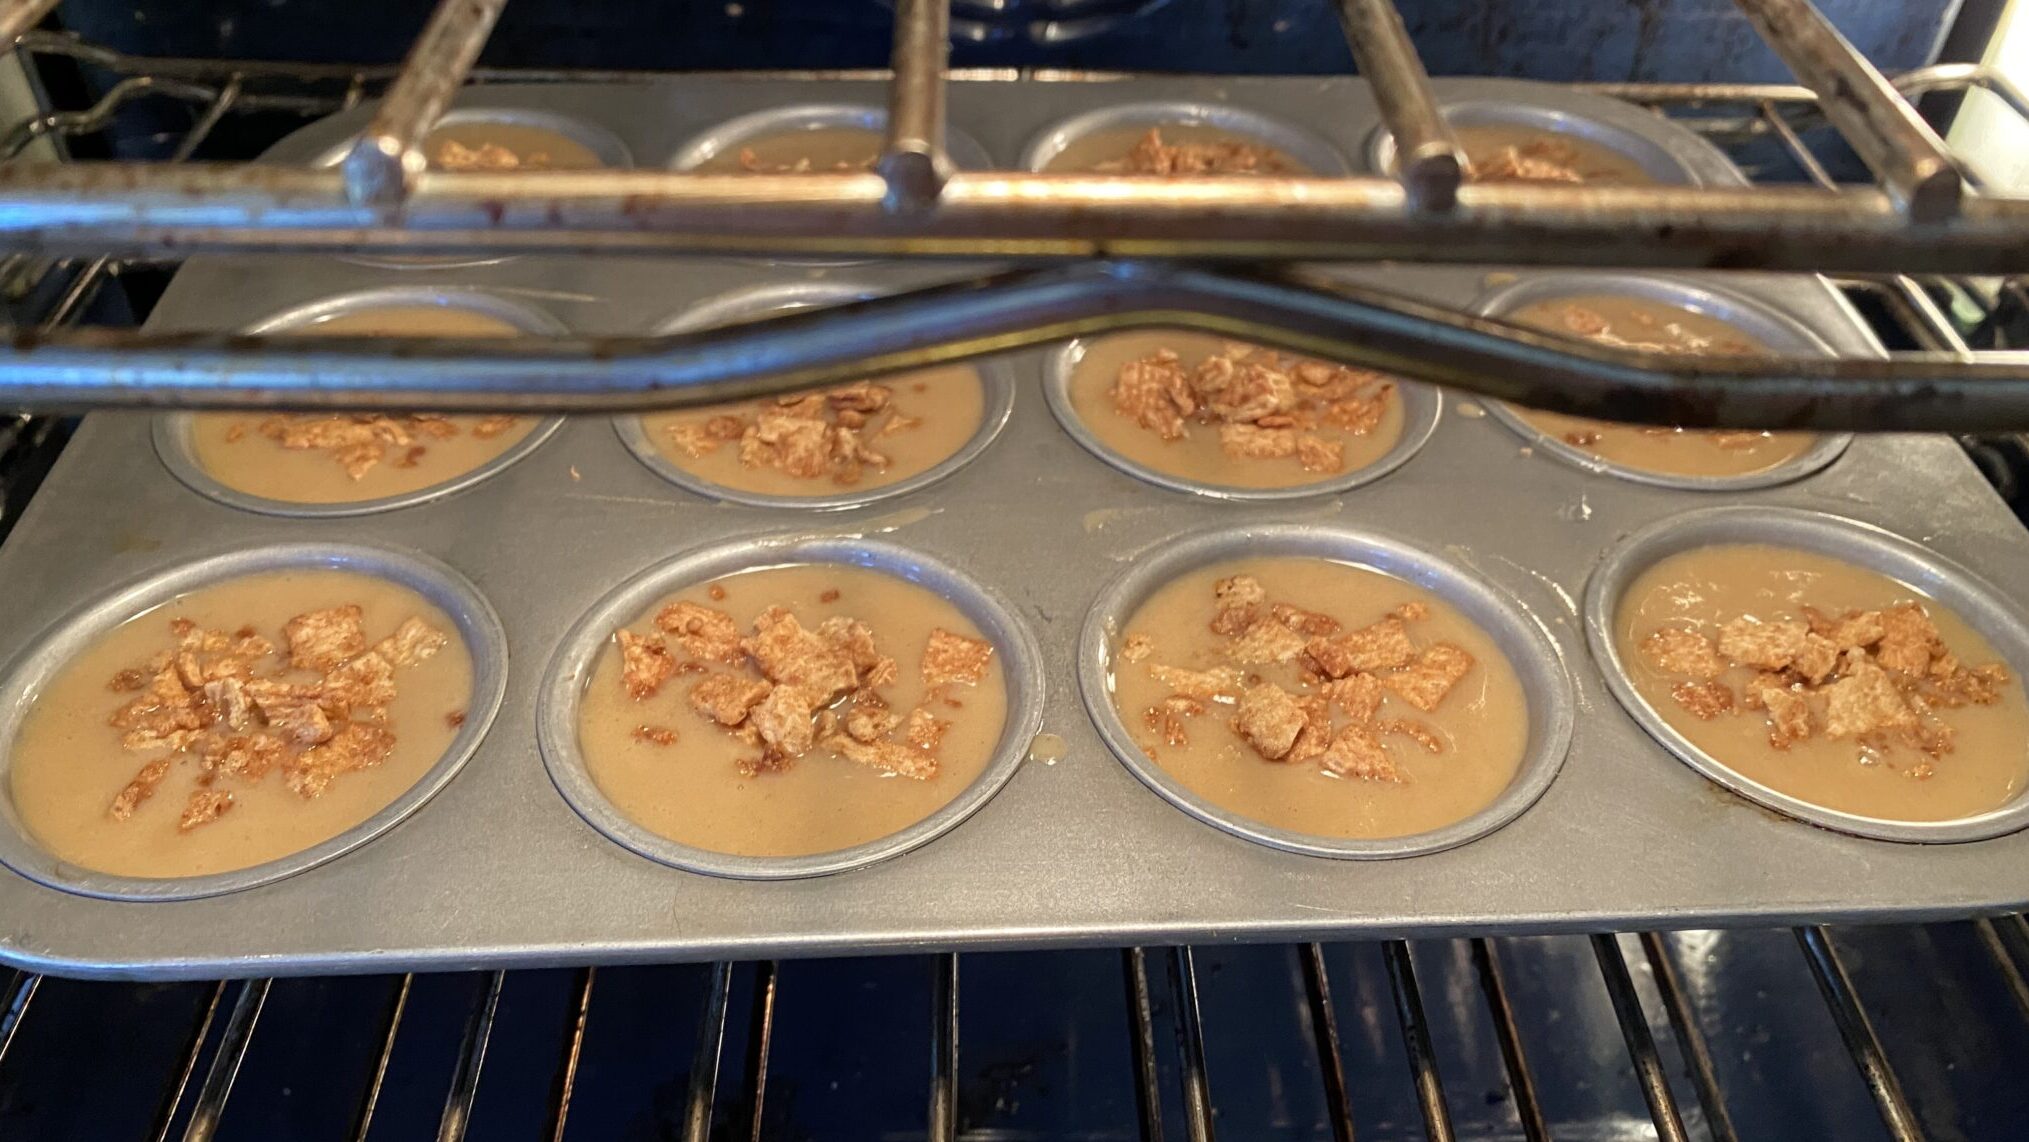
  • Slowly pour dry ingredients into a bowl of wet ingredients, whisking as you pour until it becomes a smooth batter. Mix in melted butter into the batter until incorporated, then pour batter into the buttered pan. If making muffins, pour batter into each muffin tin approximately 7/8 full. Should fill 12 cups. Tap pans on the counter to release air bubbles.

Topping

  • Crush the extra Cinnamon Toast Crunch in a small bowl and add melted butter. Stir to coat cereal with butter. Pour onto a small baking sheet and bake at 275 degrees for 20 minutes or until toasty and fragrant. Remove and cool.
  • Sprinkle toasted cereal on batter just before baking. You can forego the toasting of the cereal but you lose some of the crispiness.

Da Finish

  • Cake pan mochi: Bake for approximately 60 minutes until golden brown and set. Stick a toothpick or bamboo skewer in, it should go in smoothly and come out without any sticky stuff. If you like your mochi a little more set bake a bit longer. The less time you bake the gooey-ier your mochi will be.
    For muffins bake approximately 40-45 minutes.
  • Once cool, sprinkle powdered sugar on mochi before serving. Slice cake into squares like brownies and serve.
  • Will keep a couple of days at room temp. Do not refrigerate. Mochi is freezable.
“Lassoed” Into Making “Biscuits” (Shortbread)

“Lassoed” Into Making “Biscuits” (Shortbread)

In the Queen’s Language, Cookies are Biscuits

I LOVE Shortbread cookies and have quite a few recipes on 3jamigos that are shortbread-centric.  I live by the motto “more butter, more better”.   Food52 shared the recipe for biscuits from the Ted Lasso show, of course I made them. It was a no-brainer, an automatic cookie bucket list entry.  In fact, it was The “biscuits” that enticed me to watch the show.  Up to that point, Ted Lasso was not even on my radar despite friends and family buzzing about it.   Well, I started watching Ted Lasso and the buzz is justified.  Optimistic, empathetic, decent and endearing, qualities we seemed to be in short supply of these days.  Ted Lasso is the perfect escape and the biscuits are pretty darn good too.

The Premise

American football coach goes to England to coach FOOTBALL. LOL

Biscuits with the Boss

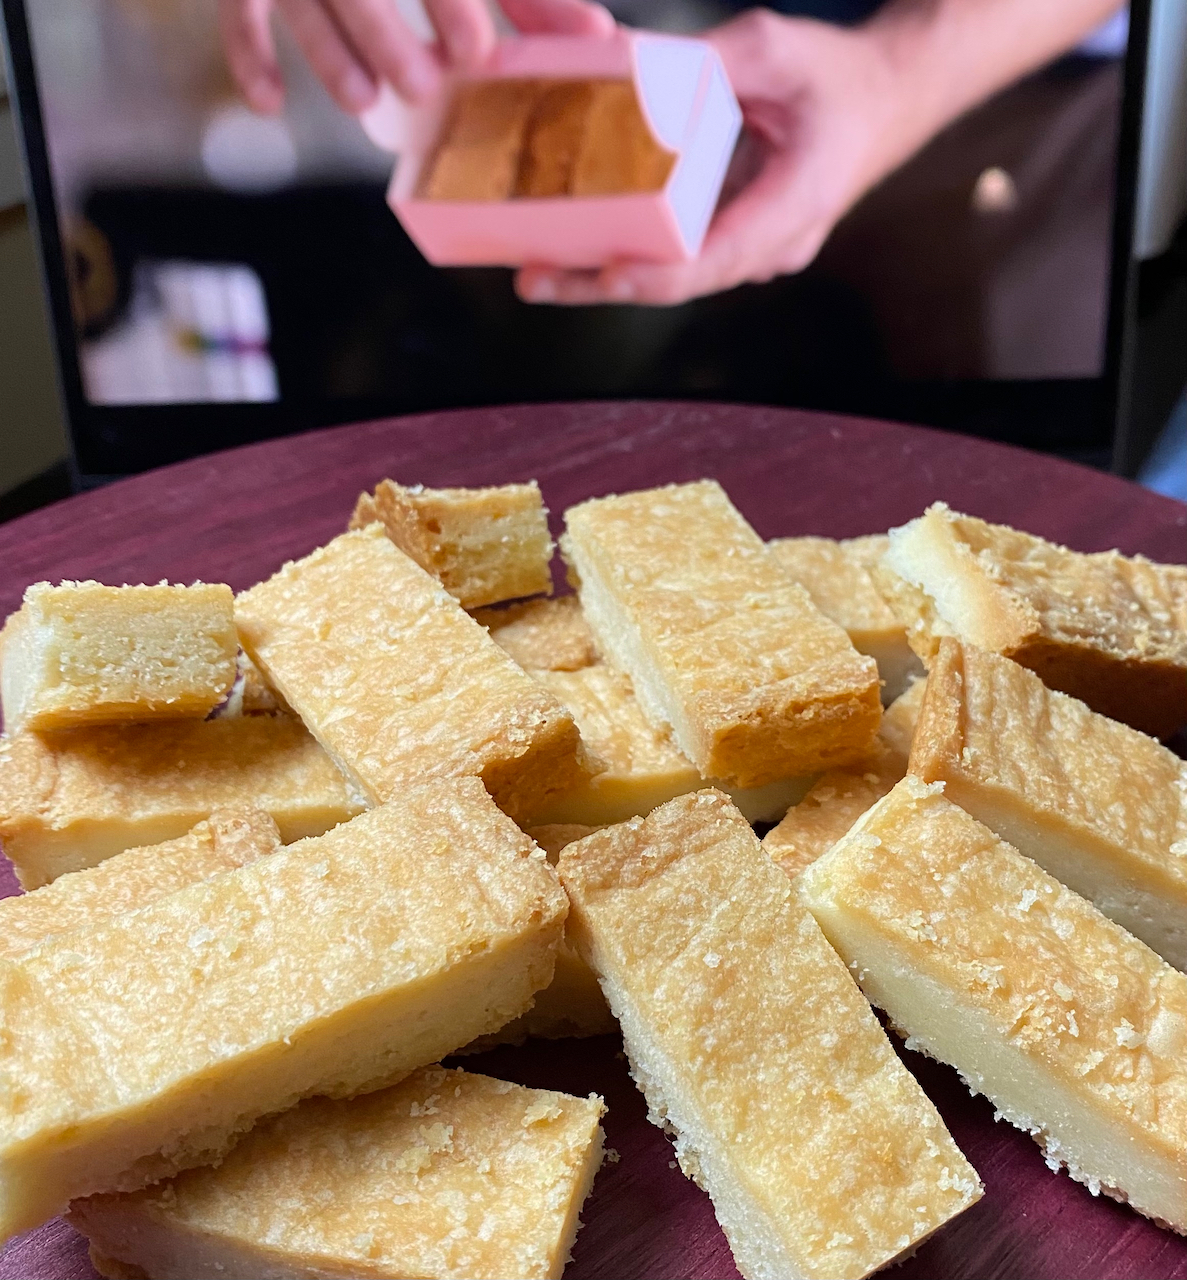
Each day Ted brings a box of biscuits (cookies) to his boss, Rebecca.  A  tiny pink box filled with buttery goodness.  Scrumptious biscuits, solid acting, a funny storyline, and Jason Sudekis, 🍿🍿🍿🍿.

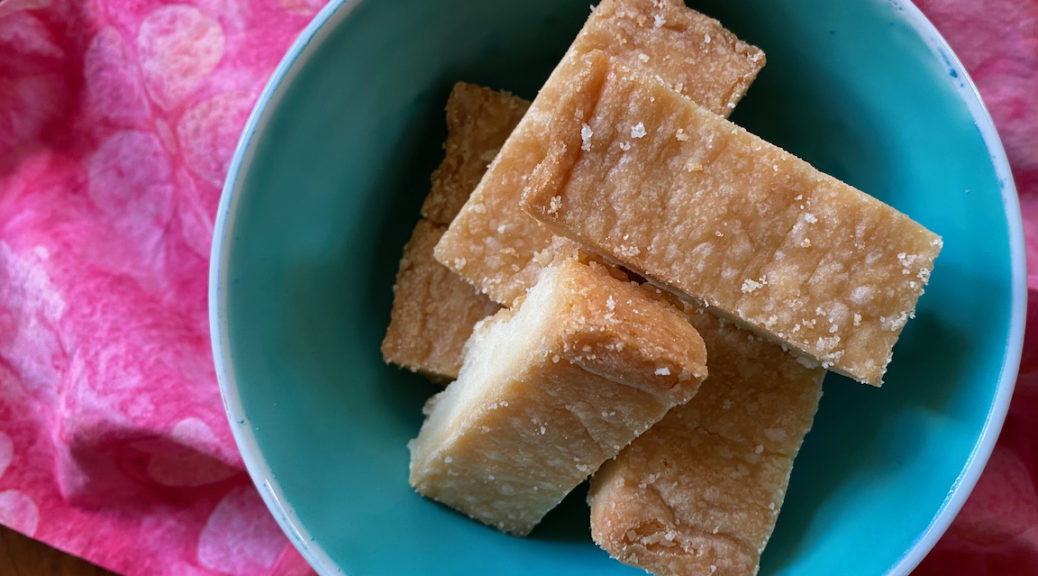
The recipe is the “official one” provided by Apple TV, the distributor of Ted Lasso.  There are other “me too” recipes out there (that of course I am going to try) like Christina Tosi’s version, but I figured this was a good place to start. These are essentially shortbread cookies.  Did I like them?  Yes.  Do I think they are the be-all-end-all?  Probably not.

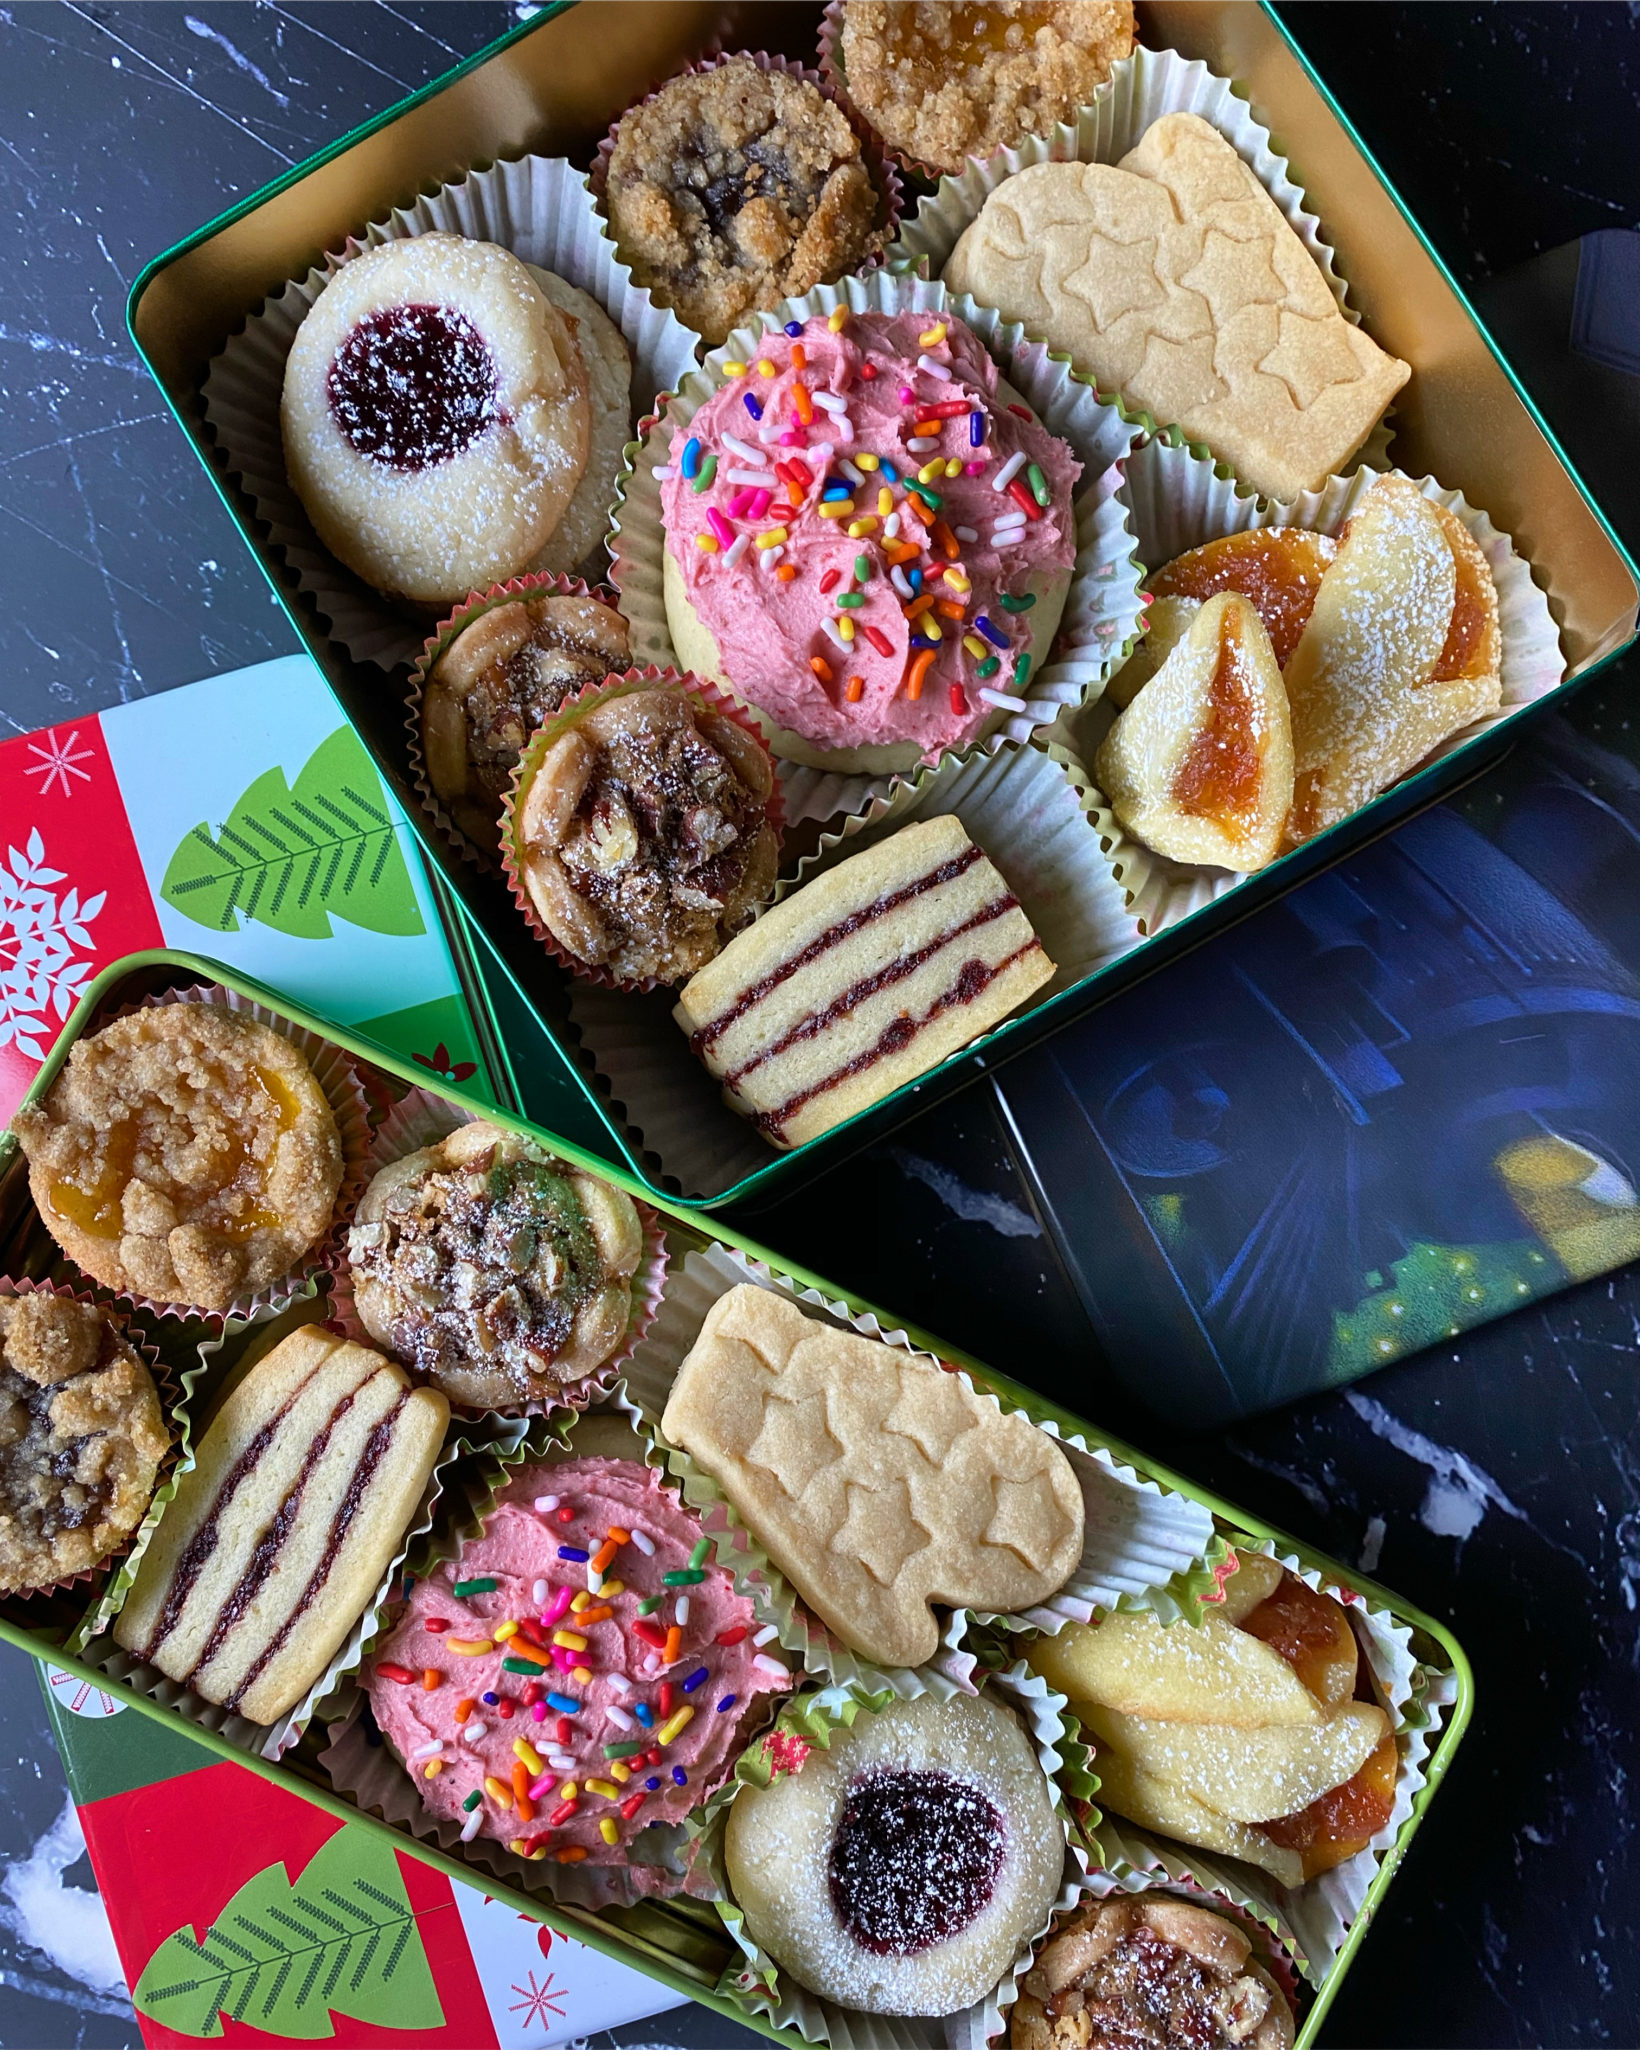
My absolute favorite Shortbread is from an essay in Cuisine Magazine (sadly gone), “My Father’s Shortbread”.   A Classic Scottish Shortbreadbuttery, sandy texture, nice crumb, melts in your mouth and yet has some substance to the bite.  It is the cornerstone of every holiday box of cookies we give out at Christmas. It is my be-all-end-all shortbread.

My second favorite is Bouchon’s Shortbread, tender, melt in your mouth, screams butter.  It is a beautiful cookie.  A little sweeter from the dusting of sanding sugar on the cookie.

Back to Ted

Don’t get me wrong.  I will make Ted’s Biscuits again.  They have a smoother texture than classic shortbread and a softer bite.  I’m guessing it has to do with beating the butter much longer than the other shortbread recipes, the addition of powdered sugar and baking at a higher temperature than classic shortbread.  The crumb is much more uniform so you don’t get that same sandy texture.

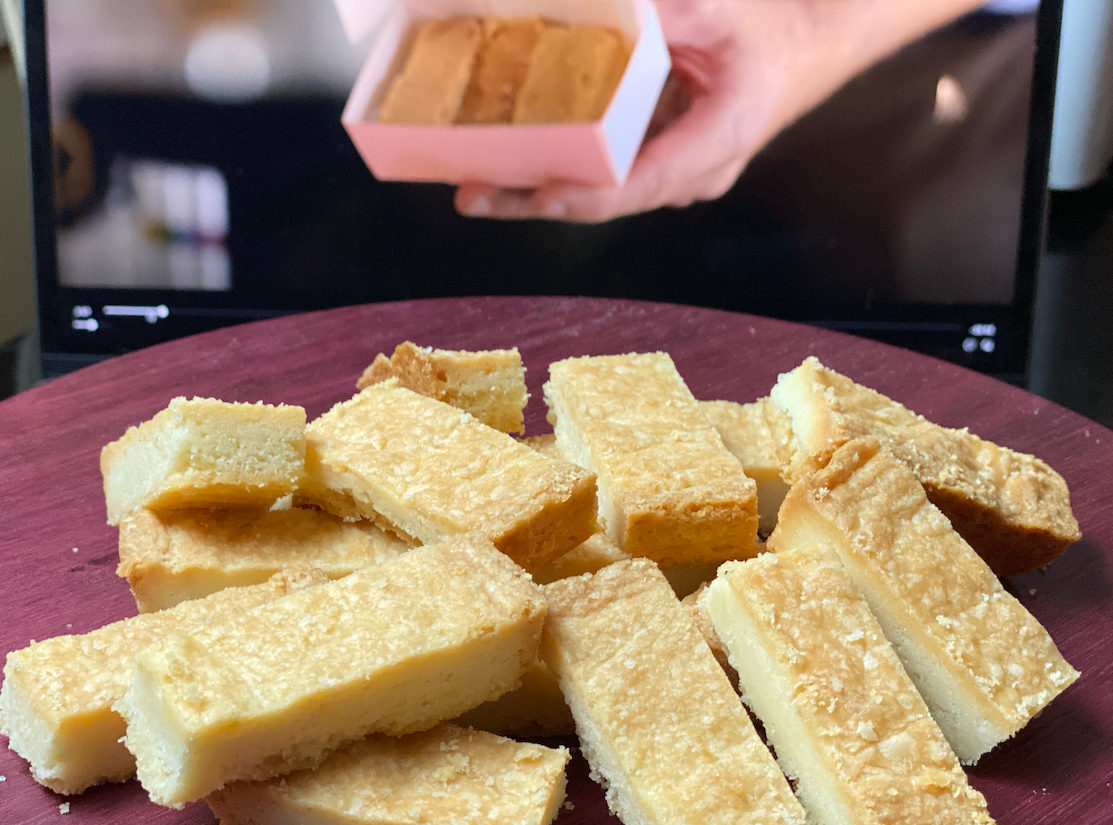
The cookies are baked in an 8 inch pan and cut after they are cooled.  Start checking at about 40 minutes during baking.  My batch turned a nice golden brown at 45 minutes.  Cool cookies on a rack.  The cookies are cut after they cool.  Use a sharp serrated knife to keep the cuts clean and minimize breaking.  I’m not sure why they aren’t cut warm, I might try that next time.

The cookie tastes better the next day, the butter flavor shines when given the chance to sit.  Patience has its rewards.

So if you are sitting down to watch Ted Lasso, make a batch of any of these biscuits.  It will make the show that much more fun and enjoyable.  If you are like Ted, have a cup of coffee not a cup of garbage water (according to Ted).  Me, I would love a steaming hot cup of tea.

Ted Lasso's Biscuits (Shortbread)

Ted’s a simple man as are his biscuits. A classic, buttery shortbread.
Course biscuits, cookies
Cuisine American, European
Keyword butter, cookies, Shortbread, ted lasso
Prep Time 15 minutes

Ingredients

  • 2 cups all-purpose flour sifted
  • ¾ cup powdered sugar
  • 1 cup unsalted butter softened
  • ¼ teaspoon kosher salt
  • Sanding sugar optional

Instructions

  • Preheat the oven to 300℉
  • Butter an 8-inch square baking pan and set it aside
  • Using a stand mixer or hand mixer, beat the butter for three to five minutes until it’s light and fluffy. Slowly add the powdered sugar.
  • Add flour and salt and mix until the dough comes together. Do not overmix.
  • Press into baking pan, keeping the dough as even as possible. I use an offset spatula and a tamper to even out the dough. Chill for a minimum of 30 minutes in the refrigerator before baking.
  • Bake for 45 to 50 minutes, or until it looks golden-brown but is still a little soft to the touch. Take the pan out of the oven. Sprinkle with sanding sugar now if using. Let it cool completely on a rack before cutting them.
  • Remove from pan and use a serrated knife to cut slices to the dimensions you like. Ted cut his into squares, I cut mine into rectangle shape like Walker Shortbread. Go find some cute pink boxes too!
Breton_Style Palets (Buttercup Babies)

Breton_Style Palets (Buttercup Babies)

The release of Dorie Greenspan’s new cookbook guilted me into getting on the J-O-B and writing this post.  It seems like only a nanosecond ago I made them when actually, the recipe for these Breton-Style Palets is from her newsletter a couple of months ago.  At the time, I posted a pic of these delicious morsels on IG.  The caption of course read, ‘notes, coming soon on 3Jamigos.  I do abuse the ambiguity of the word “soon” a little too frequently.

Without Further Ado

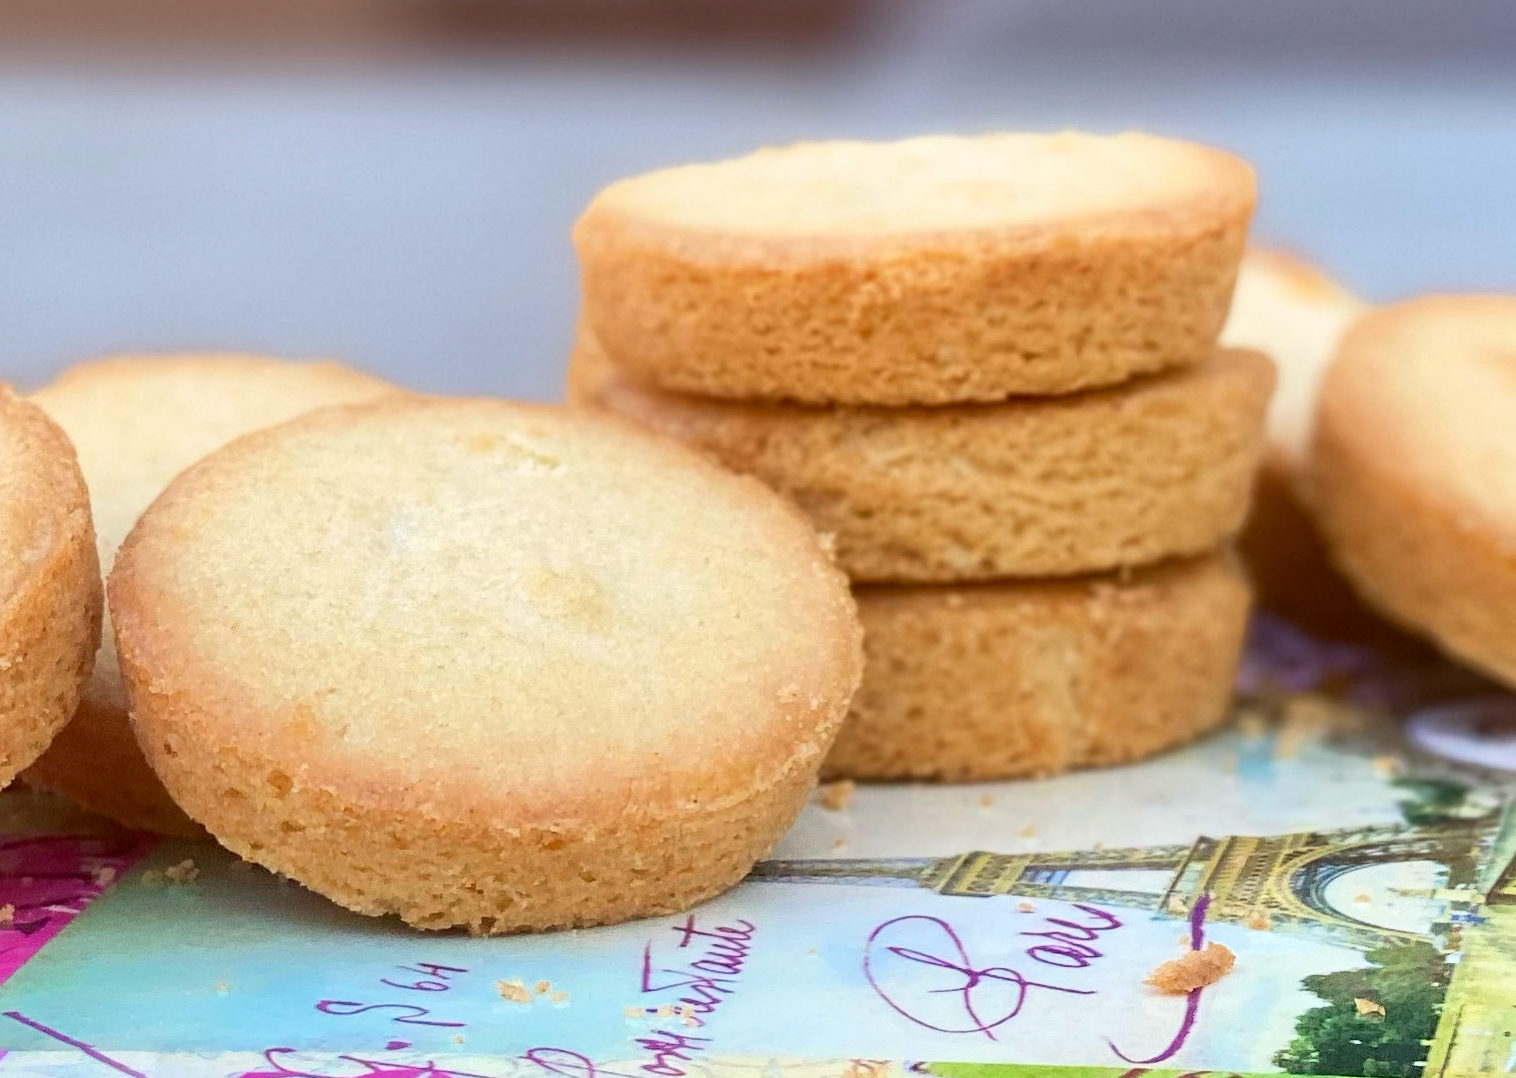
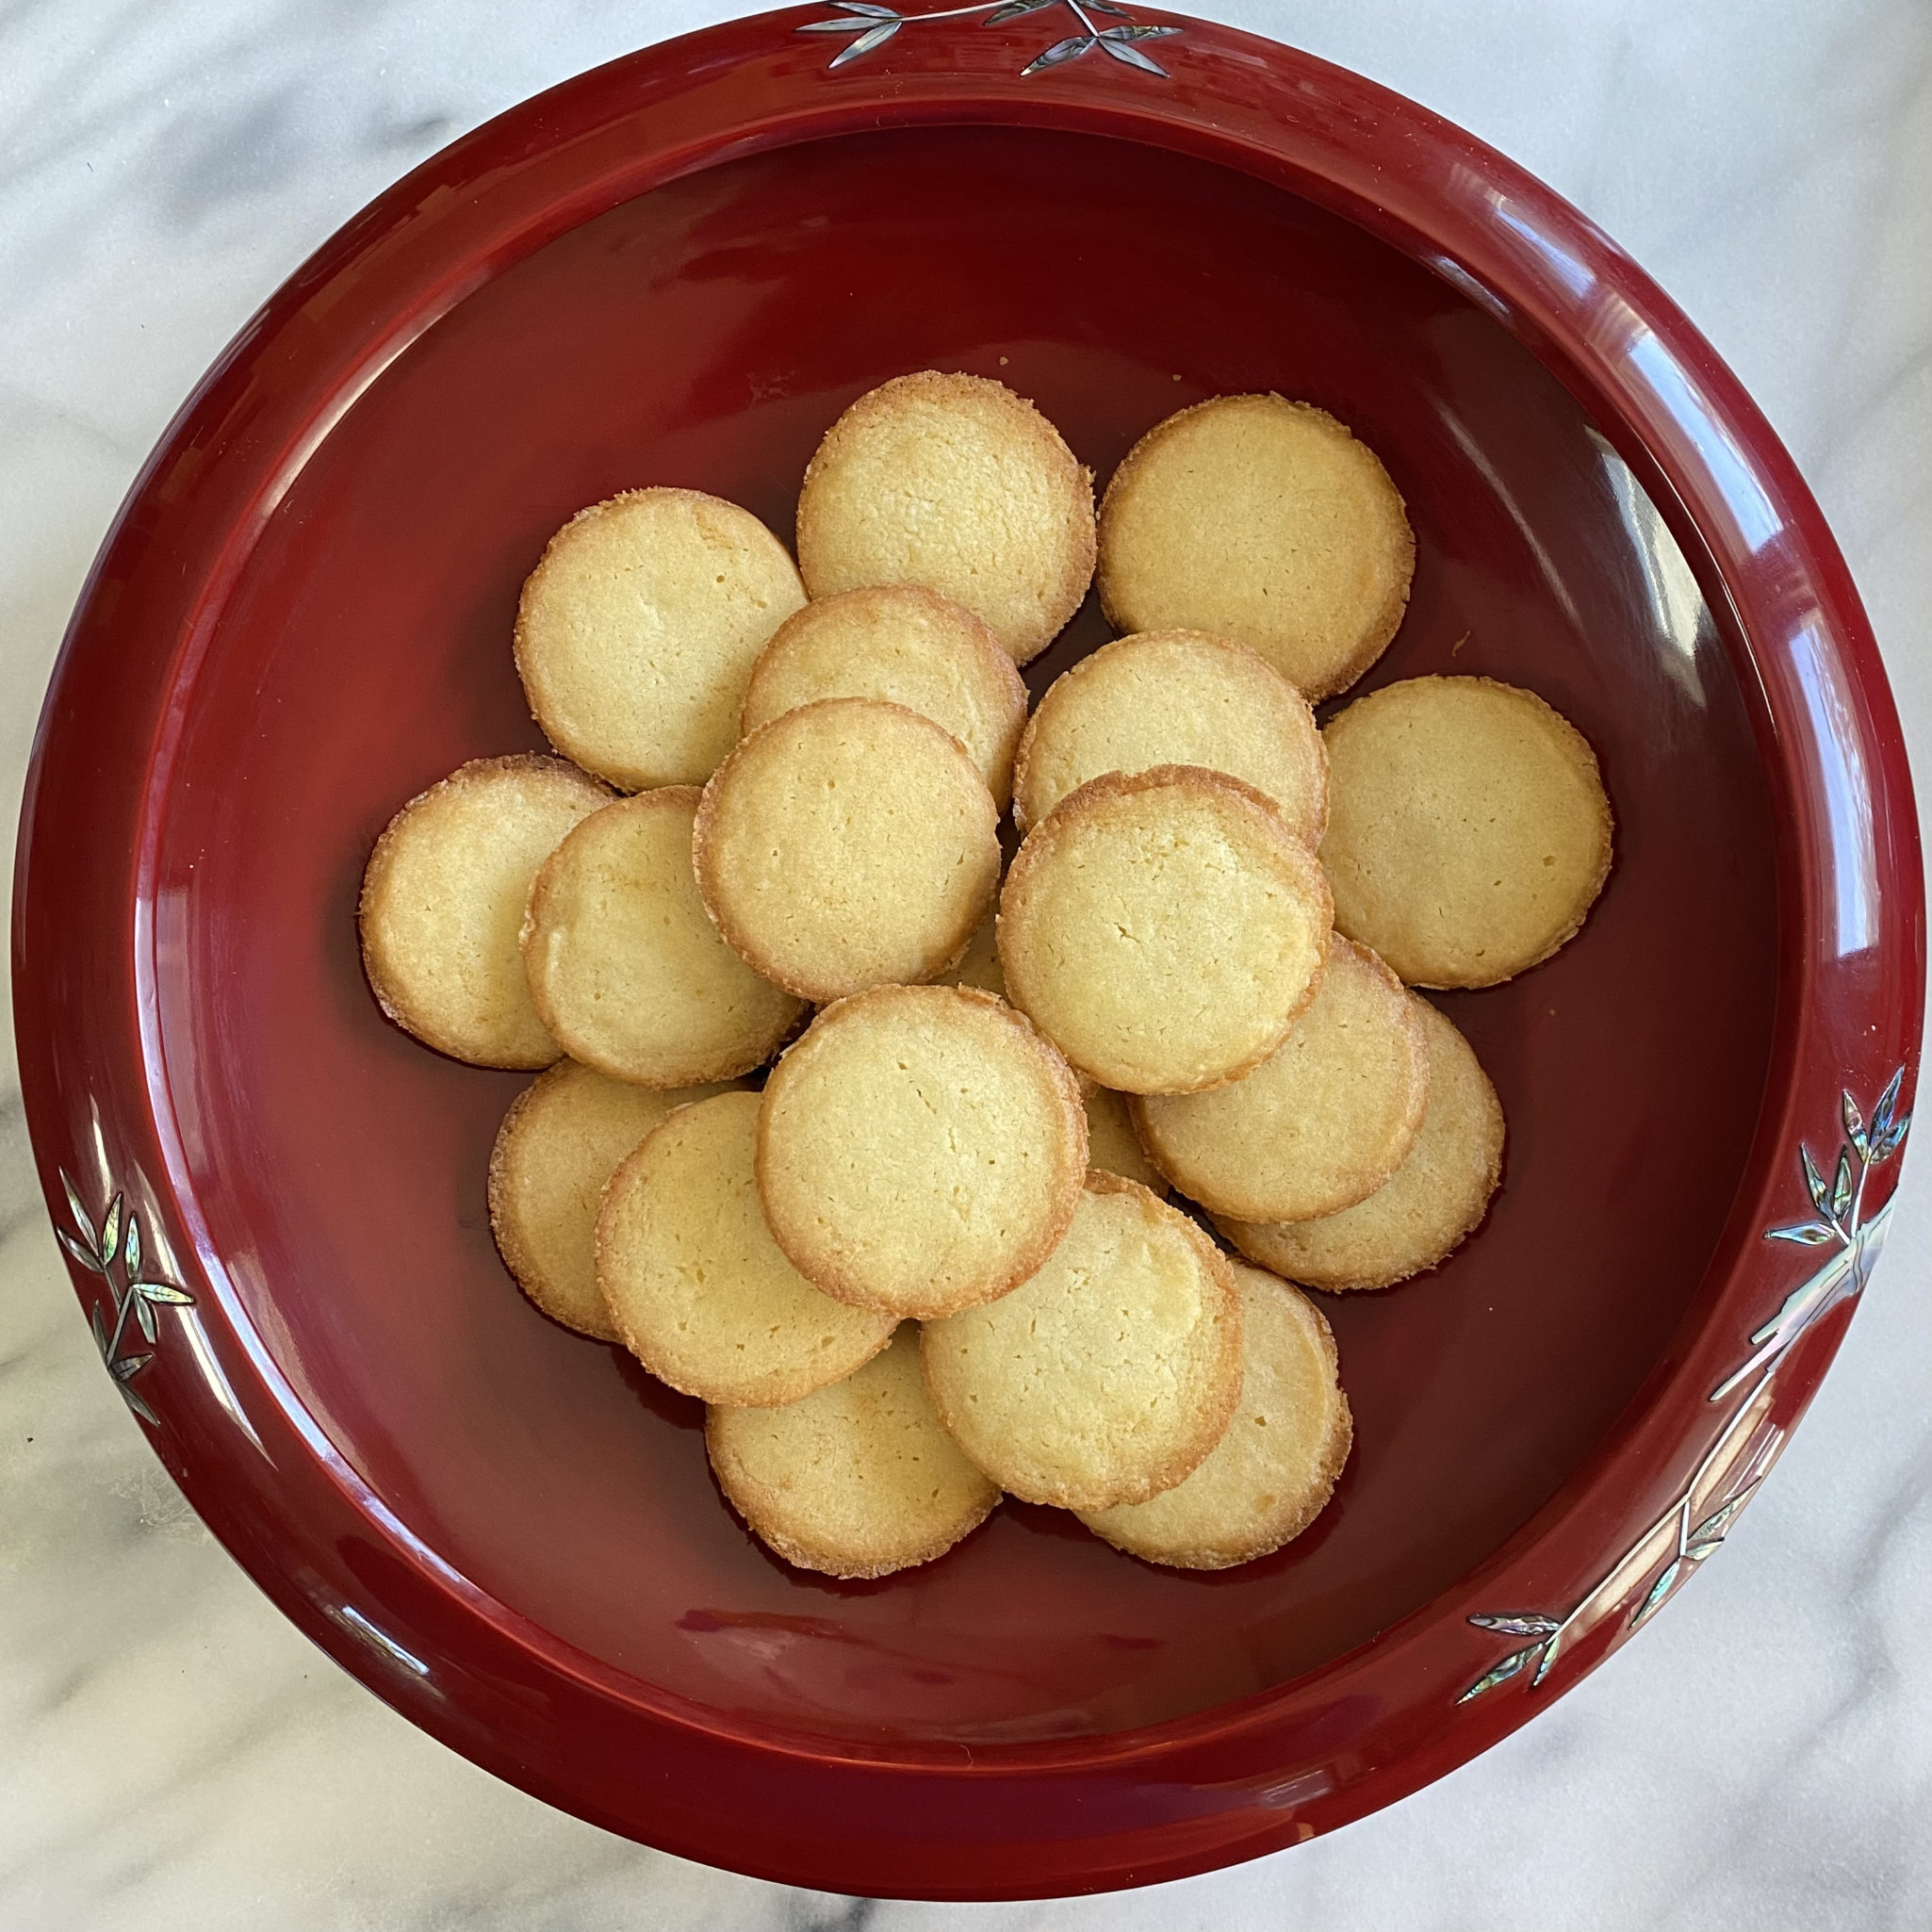
Breton-Style Palets.  Ah, one bite had me singing “Smooth like butter, like a criminal undercover, breaking into my heart like that”.  A tender buttery cookie that sits at the intersection of shortbread and Madeleine.  An absolute delight, not too sweet with a little pop of salt in each bite.

These cookies are very straightforward with a genius tweak from Dorie.  First, start with great butter, this is the cornerstone of these cookies, no skimping.  The other essential ingredients are flour, and powdered sugar, which tenderizes the cookie and gives it that sweet kick. Egg yolks which add another layer of richness, and finally, salt, for that burst of contrast at the end.  According to Dorie, you can add vanilla and or citrus zest, but I’m a purist, I didn’t.

If you start with soft, NOT melted butter, you can actually make these cookies by hand with a bowl and wooden spoon.  I used a mixer, being very careful not to overbeat the butter or the dough after adding the flour.  Overmixing the butter adds too much air.  Aim for a smooth and creamy mixture, NOT light and fluffy.  Over-beating the dough after adding the flour, develops the gluten creating one tough cookie.  So a light hand peeps.

Logging In with Dough Boi

The dough is very soft and sticky after mixing.  I leave the dough in the mixing bowl, press Saran Wrap on top, and chill it for 30-60 minutes before shaping it into a roll.  It makes life easier, trust me.  Take the dough out of the fridge and shape it into 2 logs about 6 inches long, wrap,  and then throw those bad boys into your freezer for at least two hours.  When they are thoroughly chilled, it is “slice and bake” time.

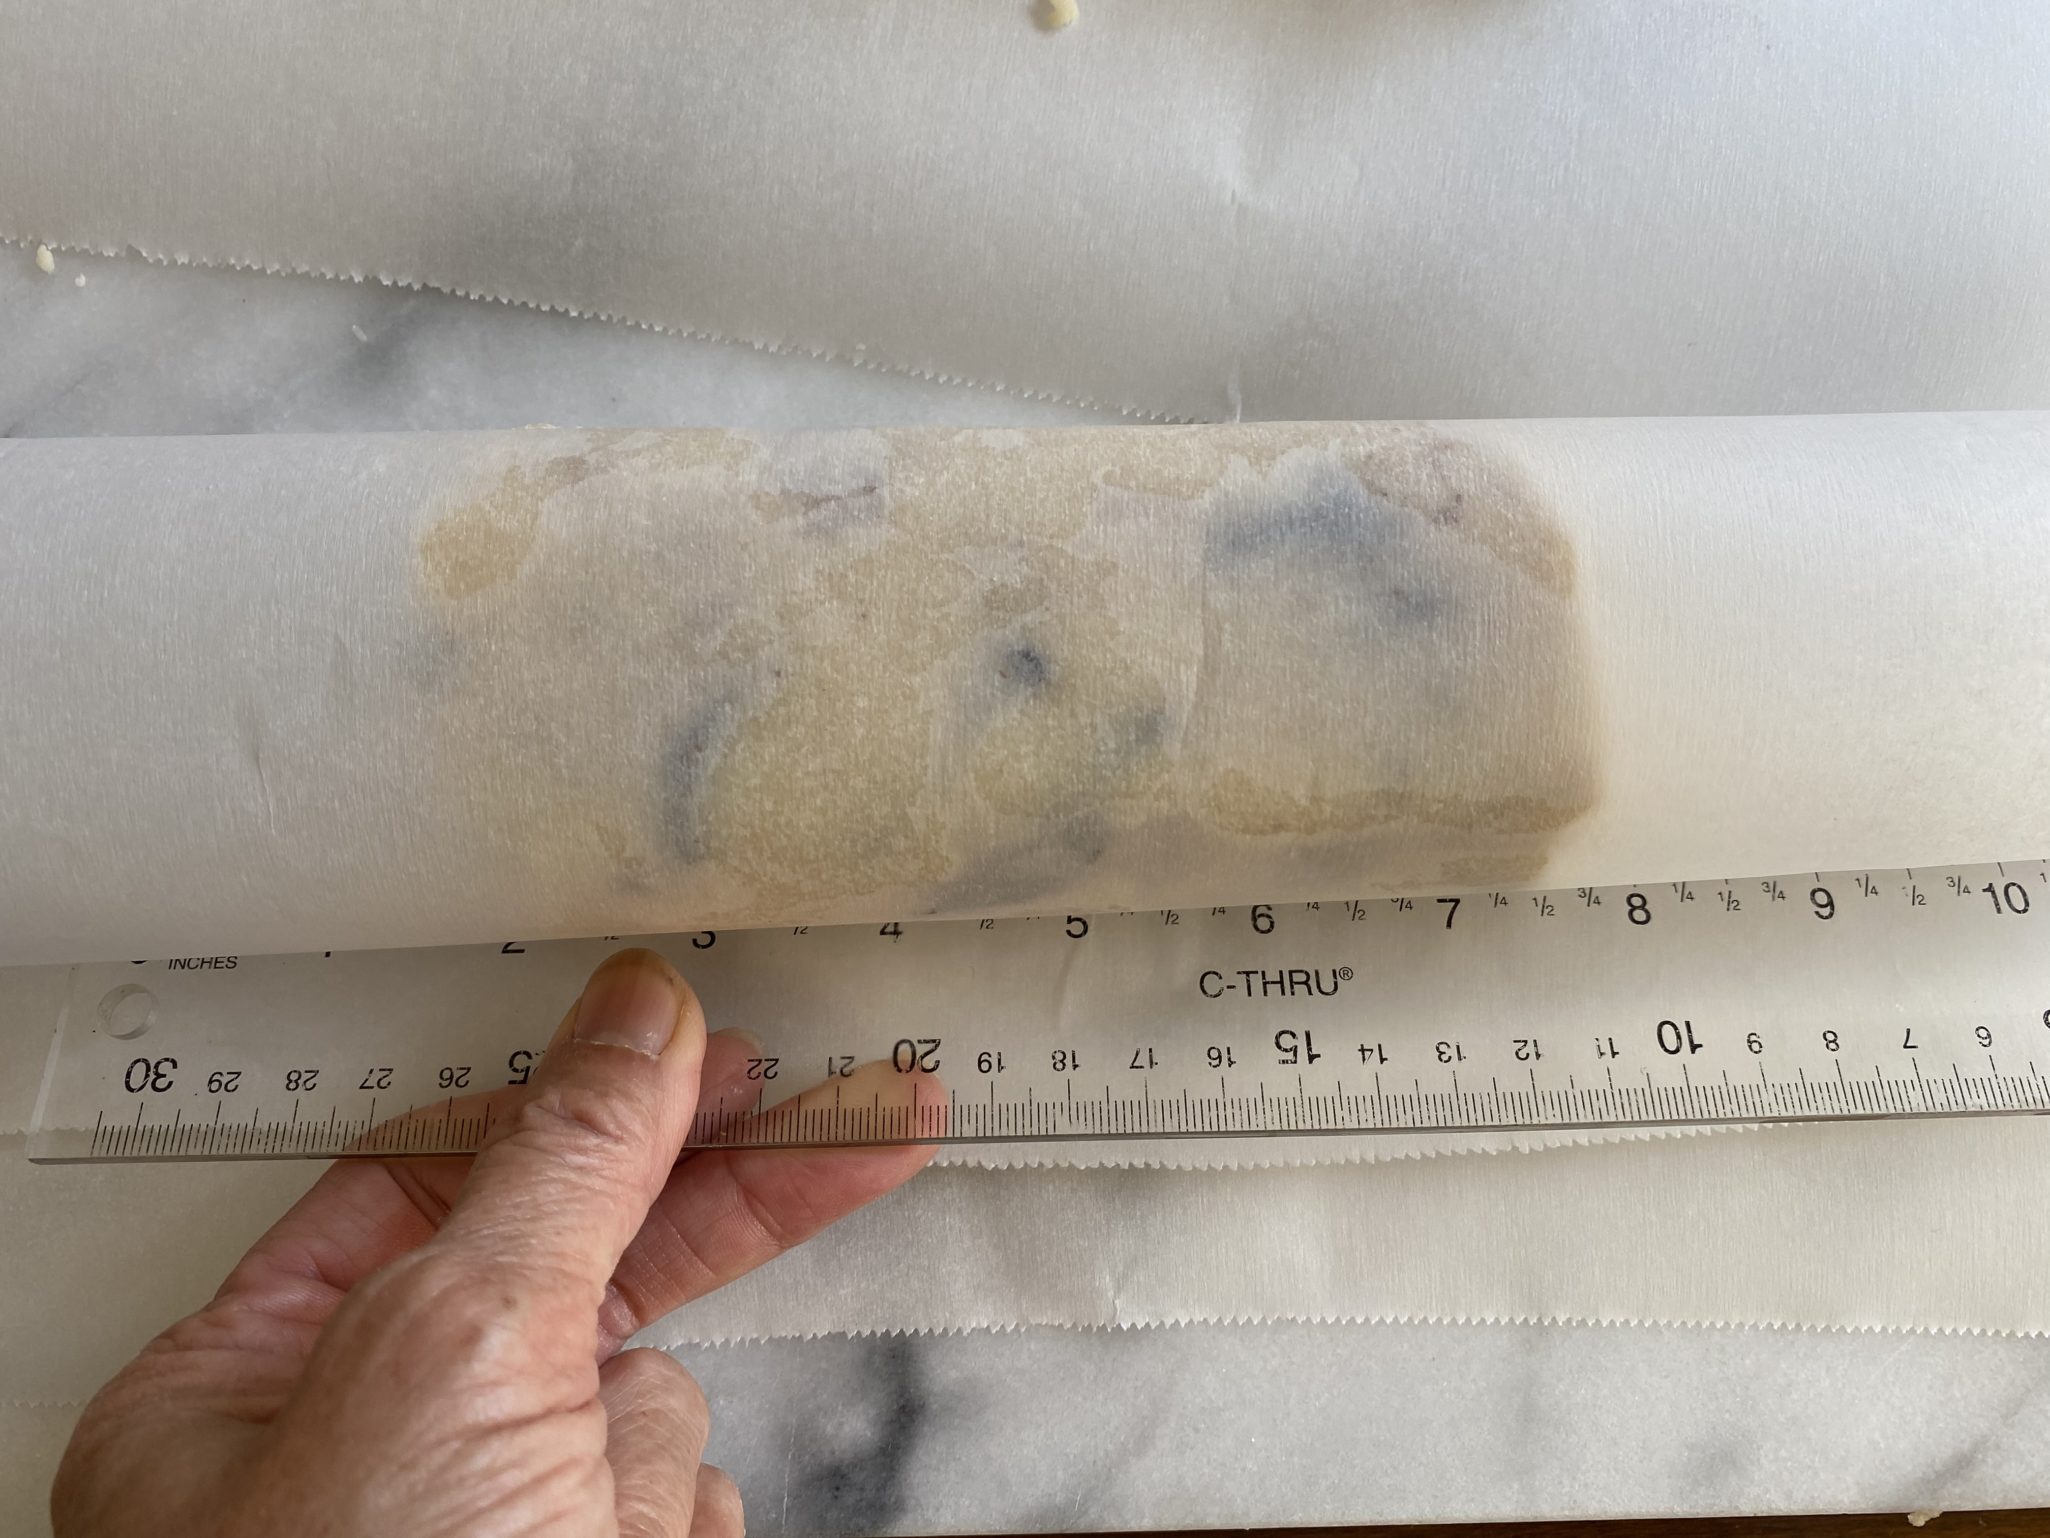
Don’t look too closely, this roll is not the butter babies of this post.  It is here to illustrate how to make a slice and bake roll round.  Roughly shape your dough into “a just short of” the size log you want. Place the dough on parchment or wax paper ( a large enough piece to surround the dough and then some), fold it over the roll, place a straight edge on top of the parchment, tucked right into the bottom part of the roll.  Hold onto the bottom edge of the parchment and pull while simultaneously pushing on your straight edge.  This creates pressure and forces the dough to form a nice round log, ta-da.  Why didn’t I make a video?  That would have been so much easier.

The Dorie Move

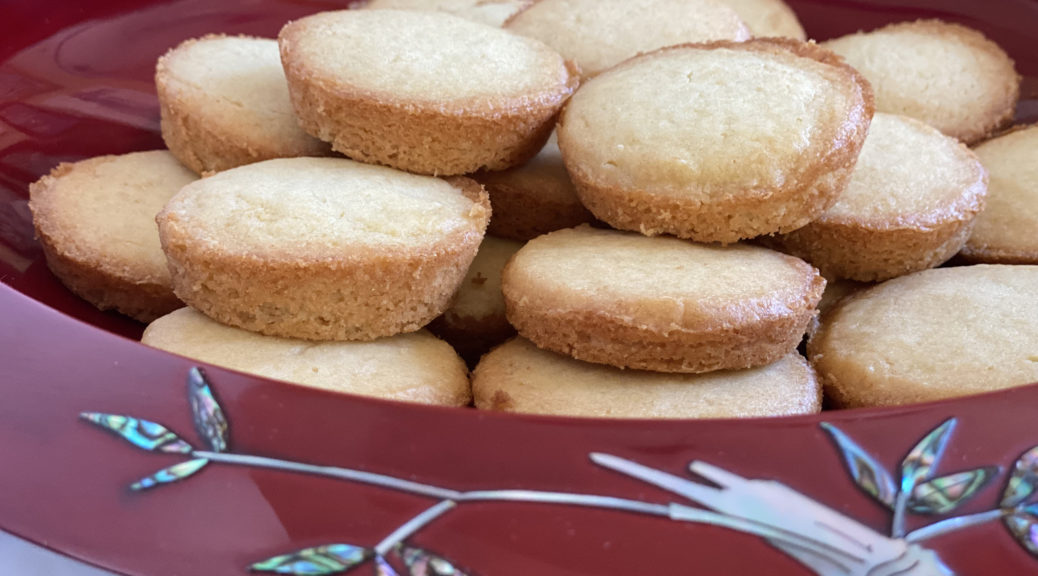
Here come the Dorie pearls of baking wisdom and technique.  This is a soft dough, which will spread when baking.  So to get those perfectly round, lovely cookies, Dorie bakes the slices of dough in a muffin tin, that’s right Buttercup, in a cupcake pan. Genius!  Beautiful, perfectly round, how did you do that-cookies.

Now go and make these cookies, they are a ray of sunshine to combat the coming winter weather.  Come back to this blog when you’re done, by then I will have posted Dorie’s Caramel  Chocolate Chunk Cookies baked in that very same cupcake pan you used for these cookies…  You’re welcome.

*Hmmm, made the Caramel Chocolate Chunk Cookies yesterday night, they were not up to expectations so I’ll have to tinker with the recipe a little…Stay tuned!

Dorie Breton-Style Palets

Another delicious cookie from Dorie Greenspan in the shortbread camp. Buttery, tender, slightly sweet, with a sprinkling of salt for that Breton signature.
Course cookies, shortbread
Cuisine American, French
Keyword butter, cupcake tin, Dorie Greenspan, salt, Shortbread
Prep Time 15 minutes
Cook Time 25 minutes

Ingredients

  • 1 2/3 cups all-purpose flour 213 grams
  • 1/2 teaspoon baking powder
  • 1/4 teaspoon baking soda
  • 8 ounces very soft (but not oily) unsalted butter 226 grams
  • 3/4 cup confectioner’s sugar, sieved or sifted 90 grams
  • 1/2 to 3/4 teaspoon fleur de sel or 1/4 to 1/2 teaspoon fine sea salt to taste
  • 2 large egg yolks at room temperature
  • 1 1/2 teaspoons pure vanilla extract, optional

Instructions

  • Whisk the flour, baking powder and baking soda together; set aside.
  • In an electric mixer on low-medium speed or with a flexible spatula (if your butter is soft and creamy, the dough is very easy to make by hand), beat the butter, sugar and salt together until very smooth. If you’re using a mixer, go easy – try not to beat air into the mixture. One by one, add the yolks and beat to blend. Beat in the vanilla, if you’re using it.
  • Add the dry ingredients in two additions, beating each until just incorporated. The dough will be soft and sticky. Cover dough with Saran Wrap and chill for 30-60 minutes.
  • Divide the dough in half and roll each half into a log that’s about 5 1/2 to 6 inches long (get the length and the width will be fine). Freeze the logs for at least 2 hours.
  • Just before cutting and baking, preheat oven to 350 degrees F. The rack should be in the center of the oven.
  • Working with one log at a time, unwrap the log and score it so that you can cut 12 rounds. If a round cracks or slivers when you cut it, just press the pieces back into shape. Drop each slice into each cupcake hole of a standard-size muffin tin.
  • Bake the cookies for 18 to 20 minutes – rotating the tin front to back after 10 minutes. Bake until the cookies are beautifully golden around the edges and just firm to the touch in the centers. Remove the tin from the oven and place on a rack, carefully run a knife around the edge to loosen each cookie, invert the pan onto a cooling rack to release them. The cookies are very fragile, so be gentle with them. Cool to room temperature on racks before serving.

Notes

Storing: Packed in a covered container, the cookies will keep for at least a week.
Alfajores (Bells Rang for this Cookie)

Alfajores (Bells Rang for this Cookie)

I found the cookie of my dreams at a family wedding a couple of years ago.  Strolling around the reception, waiting for the happy couple to arrive, I grabbed a glass of bubbly and gravitated towards the table of sweets,  a dazzling array of desserts.

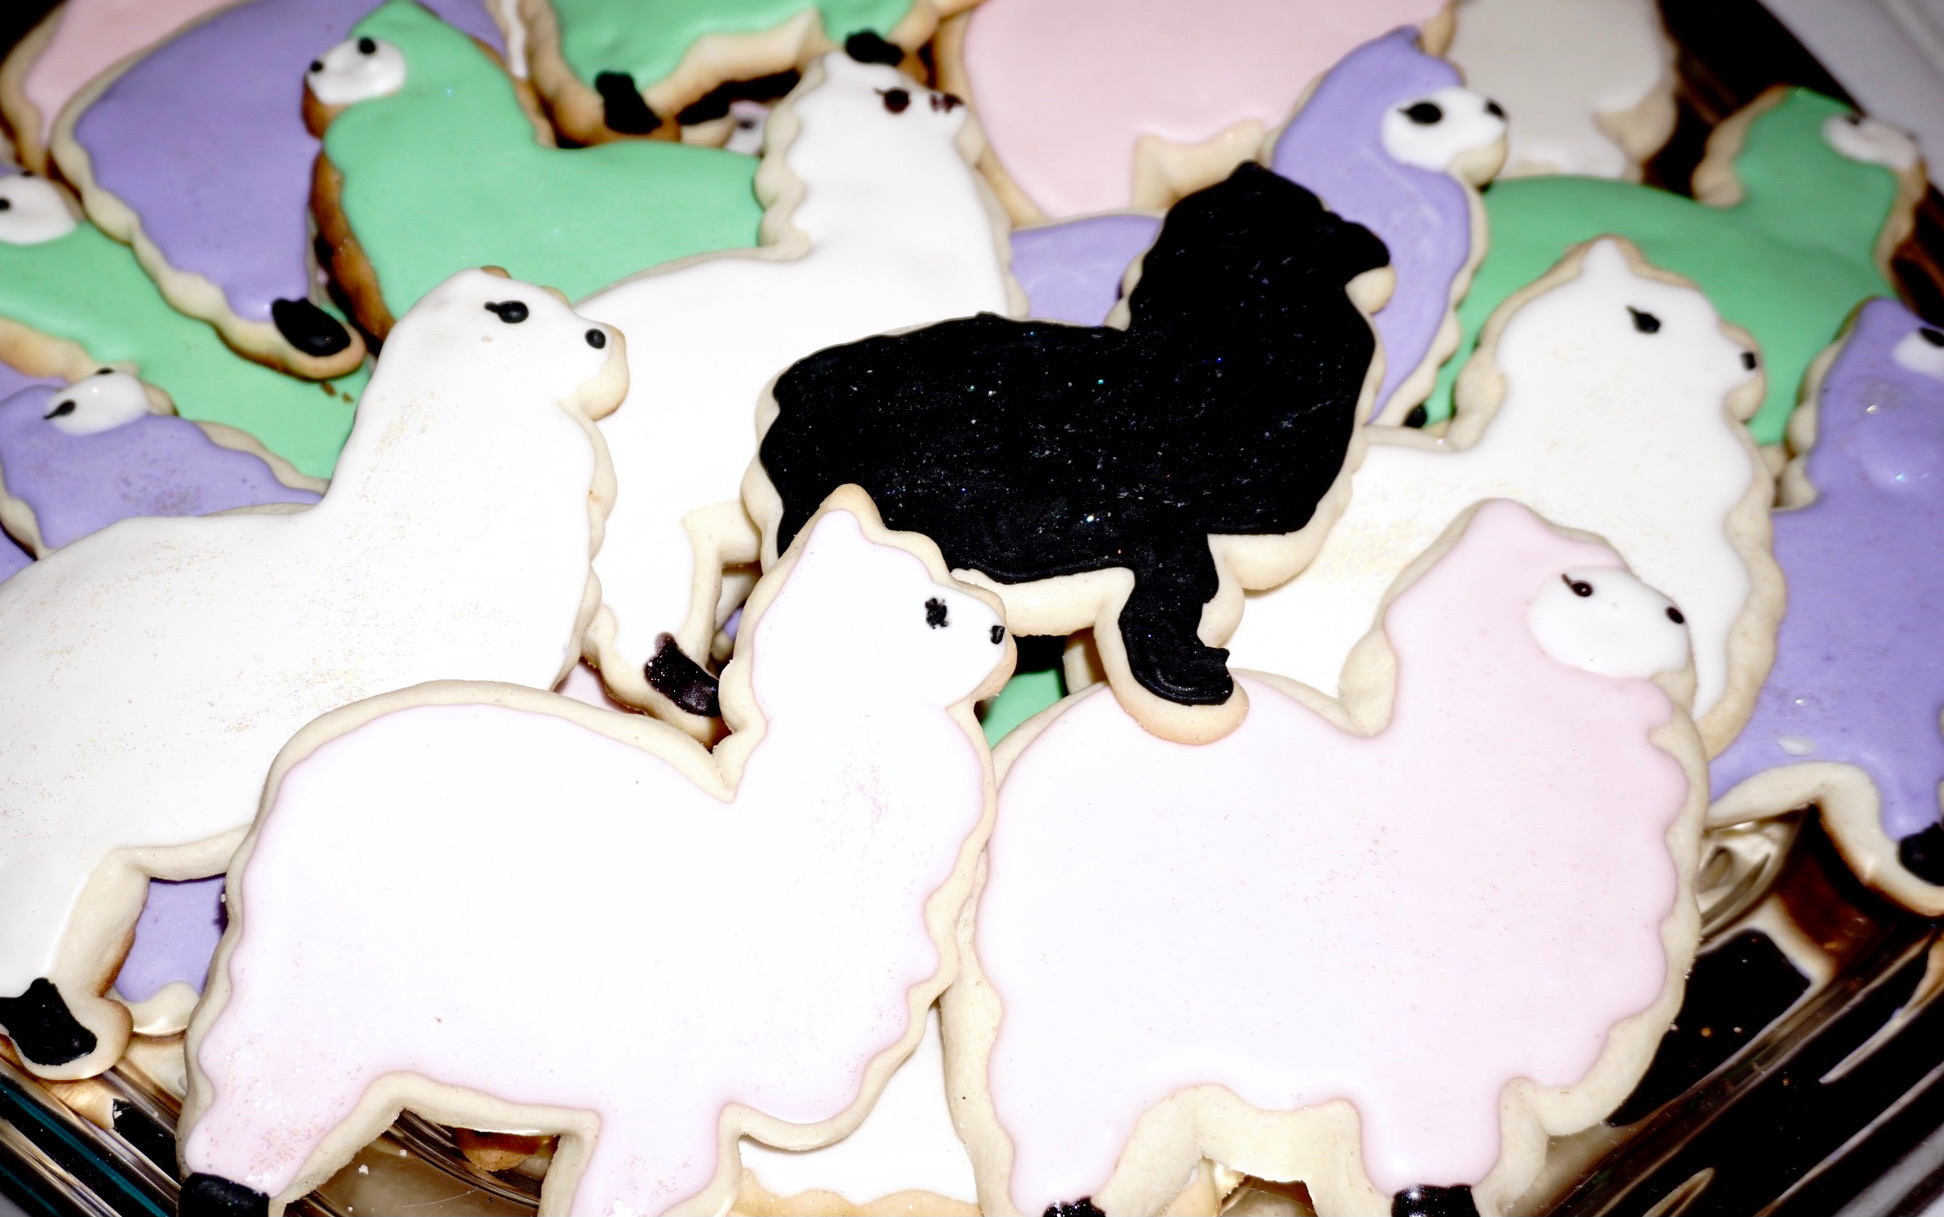
In the center of the table was an amazing assortment of cookies.  I chose the sugar cookie sheep, so cute I couldn’t resist. In fact, too cute to eat so I chose a second cookie, a petite round sandwich cookie covered with powdered sugar.  I popped one in my mouth.

Wowza, Score One for the Round Cookie

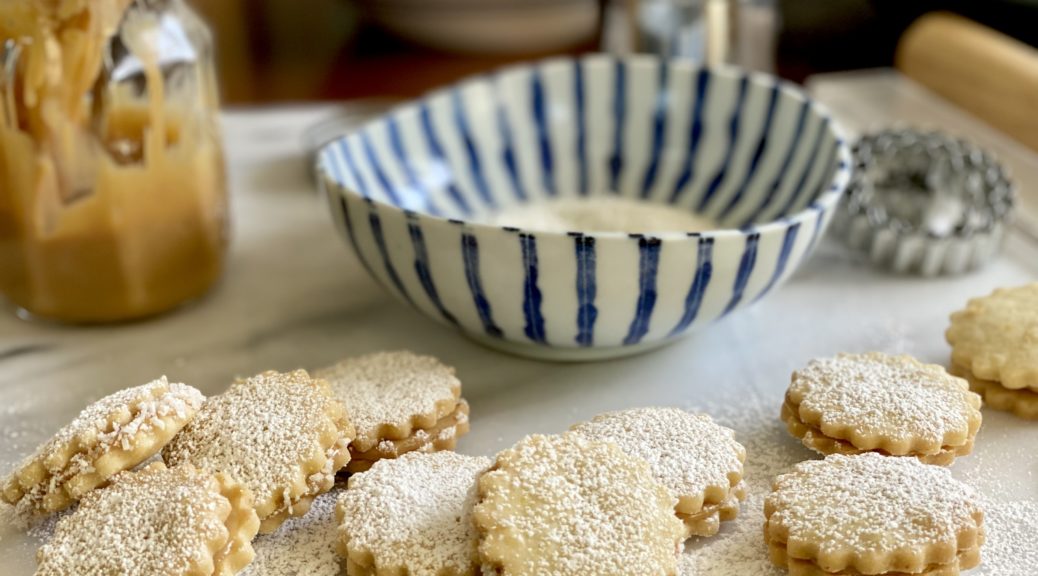
HELLOOOO…little cute as a button sandwich cookie. Where have you been all my life?  Tender, light, buttery, melt-in-your-mouth crumb with a rich-brown lovely caramel sandwiched in between. The rest of the wedding festivities were a blur as I fixated on the cookie, just kidding, it was a very nice celebration. I did eat as many cookies as I could, lol.  I stealthily circulated the room casually asking, friends and relatives about the cookies.  Ok, I’m lying…nothing stealth or casual about my inquisition.  I learned the cookies were made by the bride’s aunt who had lived in South America for a while.  The cookies were her version of Alfajores which originated in Spain and made its way to many Latin countries.  A tender shortbread-like cookie filled with caramelized milk and sugar mixture known as Dulce de Leche.  So good.

Yep, made by the bride’s aunt!  I had an “in”.  I was wowed, they were so damn good and she made enough cookies for 300+ people.  This put me squarely in the Auntie Hall of Shame.

It did take 5 years to finally get the recipe from her.  I badgered my niece occasionally to no avail (in her defense, she was pretty busy).  Finally, at her baby shower a couple of weeks ago, gracing the dessert table, a tray of cute sheep and Alfajores-ahhh, those lovely cookies, again.

Lucky for me her aunt was there and I POLITELY (I accosted her) asked for the recipe.  She proceeded to rattle it off the top of her head ending with, “it’s the orange rind that really adds to the cookie, don’t forget it”.

Thank you, Auntie

This is actually a pretty simple cookie. Unlike many recipes for Alfajores, no egg in it. It’s flour, sugar in the form of powdered sugar, butter, salt, and a touch of orange rind.  The powdered sugar lowers the protein content creating a tender, melt-in-your-mouth cookie.

The other component is the Dulce de Leche.  You could buy ready-made dulce de leche but what fun is that?  You could also make your own by cooking sweetened condensed milk, in the can, in a water bath.  This is simple but takes hours, and the remote chance of the can exploding loomed in my mind.  So I made my Dulce de Leche in the microwave.  Worked like a charm but it did have some stumbling blocks.

What You Need

A can of sweetened condensed milk (14 ounces) and a VERY LARGE microwavable bowl.  The milk will bubble and boil over if your bowl is too small, yep, exactly what happened to me.  Use a 2.5-quart bowl.  I recently bought microwave ware, Anyday Cookware, which I love, but the bowl was not quite big enough to avoid overflow.

Liquid Gold

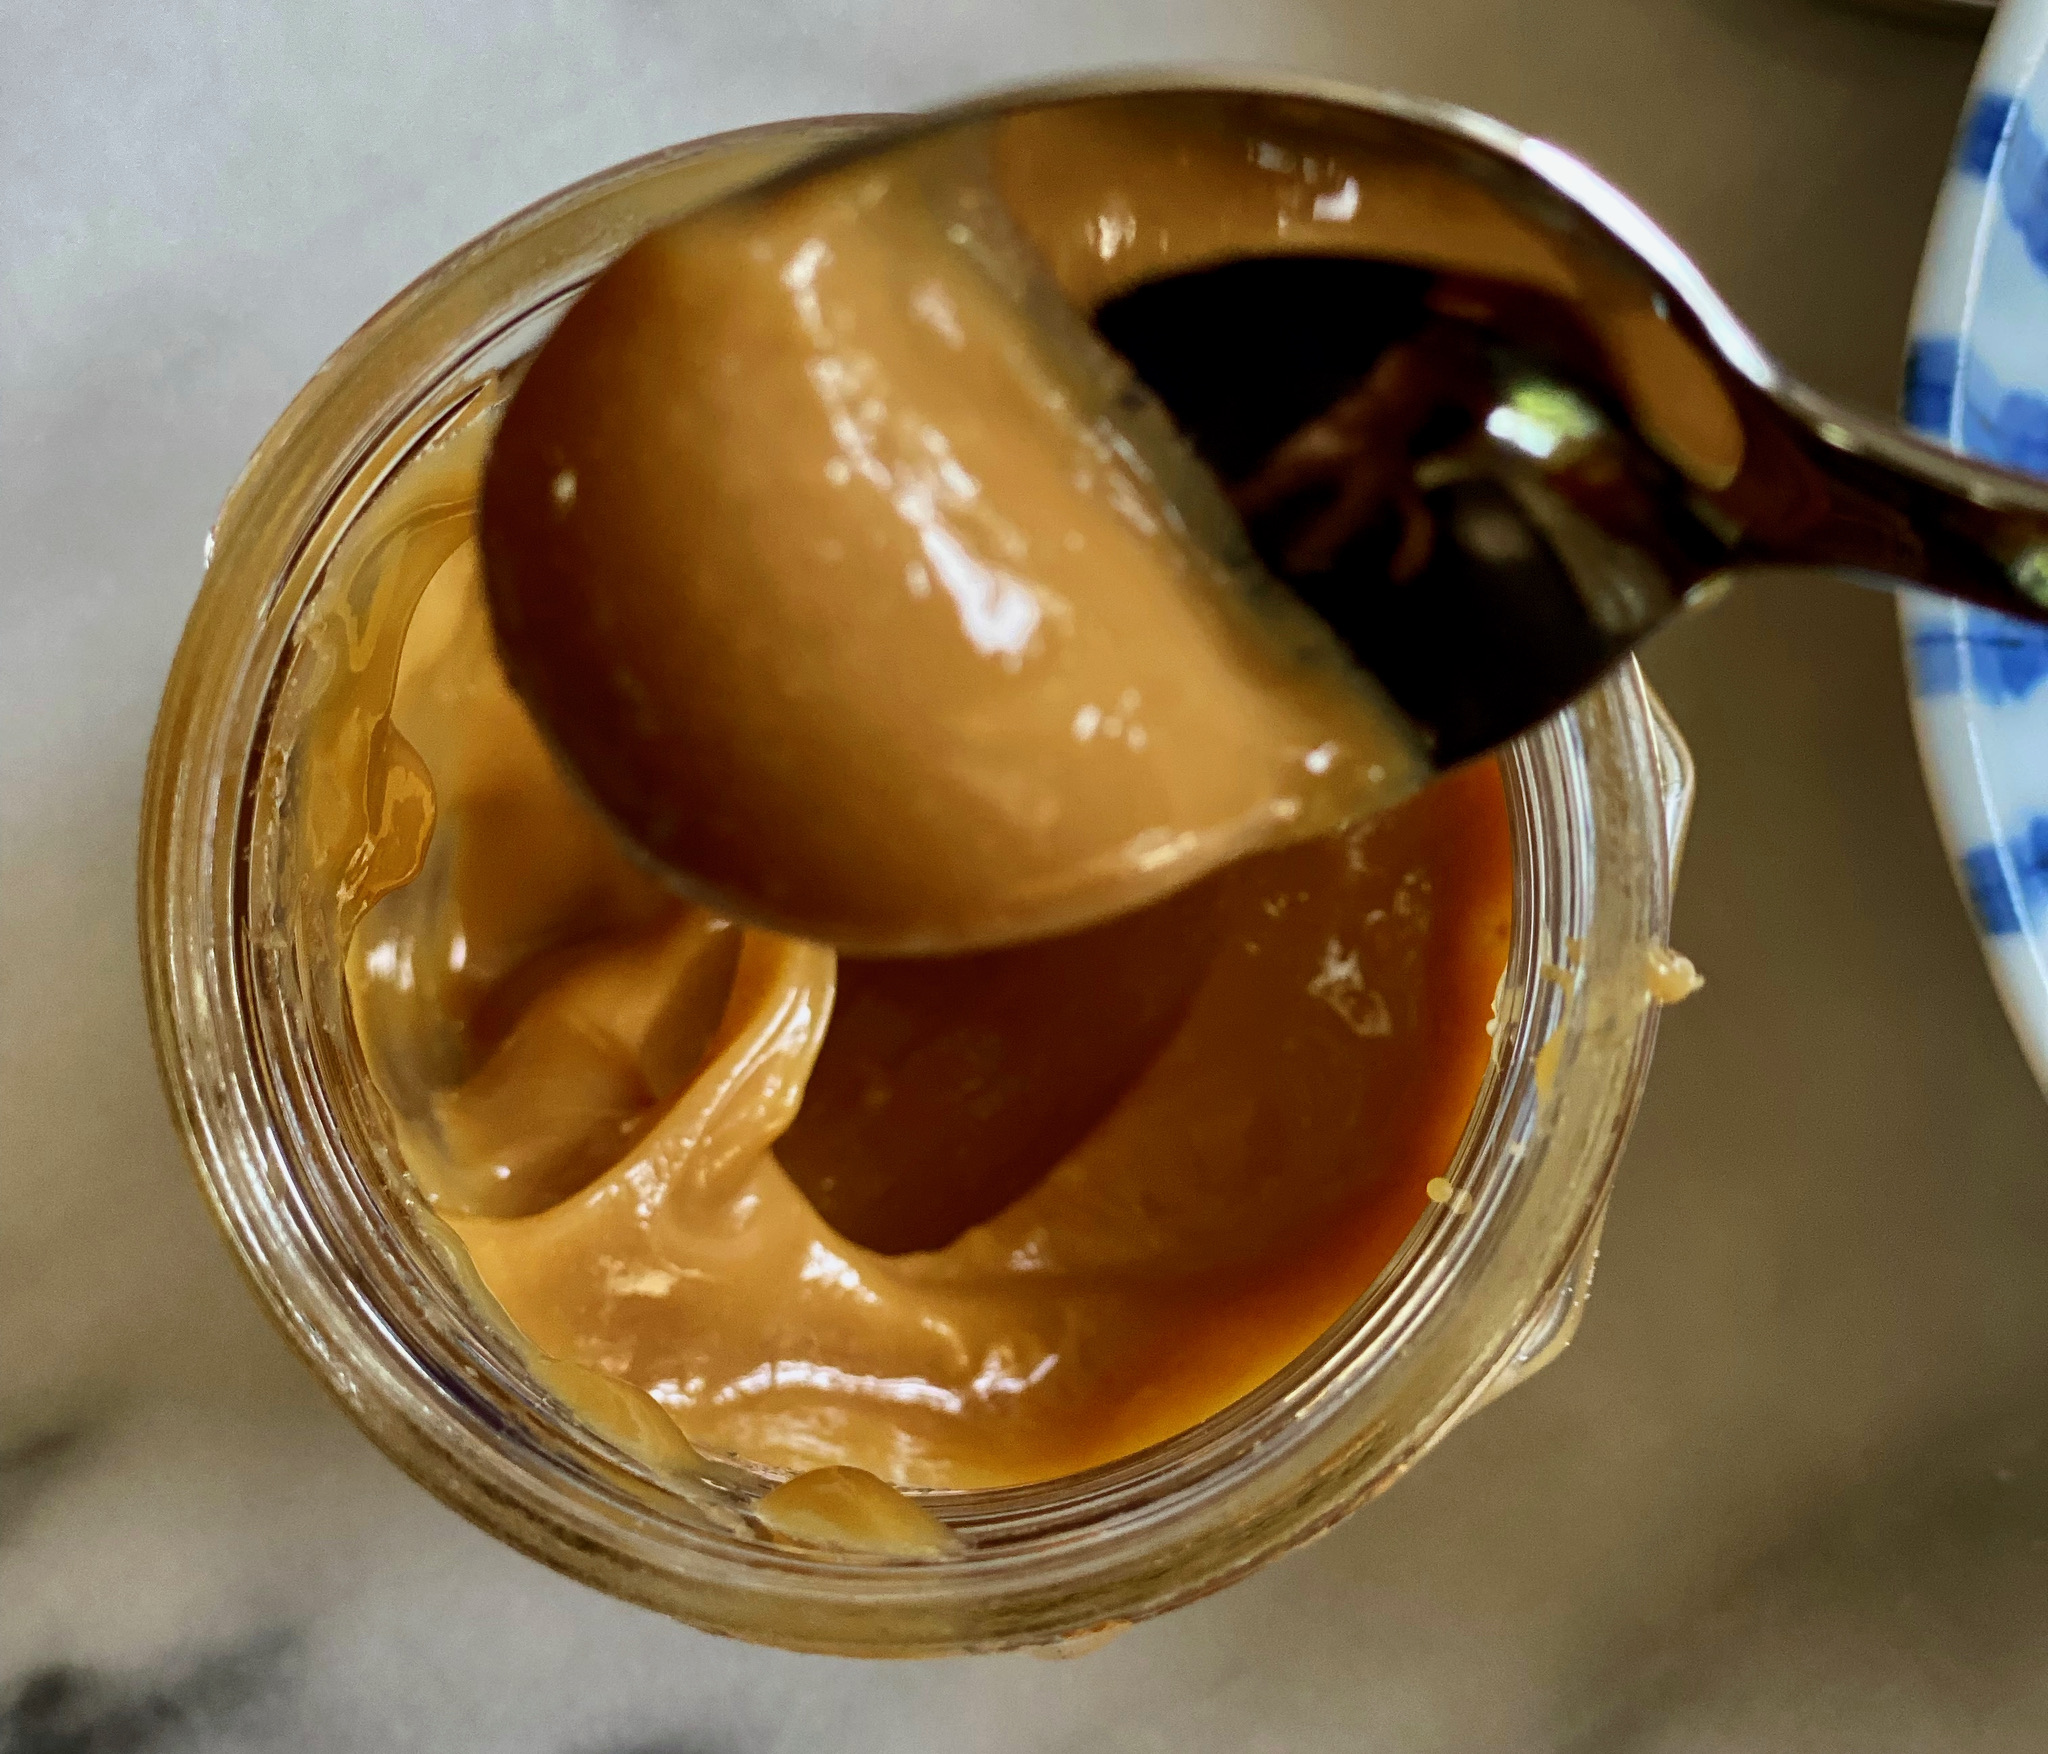
The entire process takes 12-15 minutes.  In roughly 2 minute intervals you zap the mixture, remove stir and nuke again.  The mixture will bubble and then caramelize leaving you with liquid gold aka Dulce de Leche.  It will thicken as it cools down, but you do want a nice deep brown color and it shouldn’t be runny to avoid the “ooze factor” in a sandwich cookie. Use oven mitts, stir and let it cool.  You can spoon the filling onto the cookies or use a piping bag to fill the cookies. If you like butter & caramel flavor, you are going to love these cookies.

There you have it, the cookie of my dreams.  Make a batch, I guarantee it will put a smile on your face.

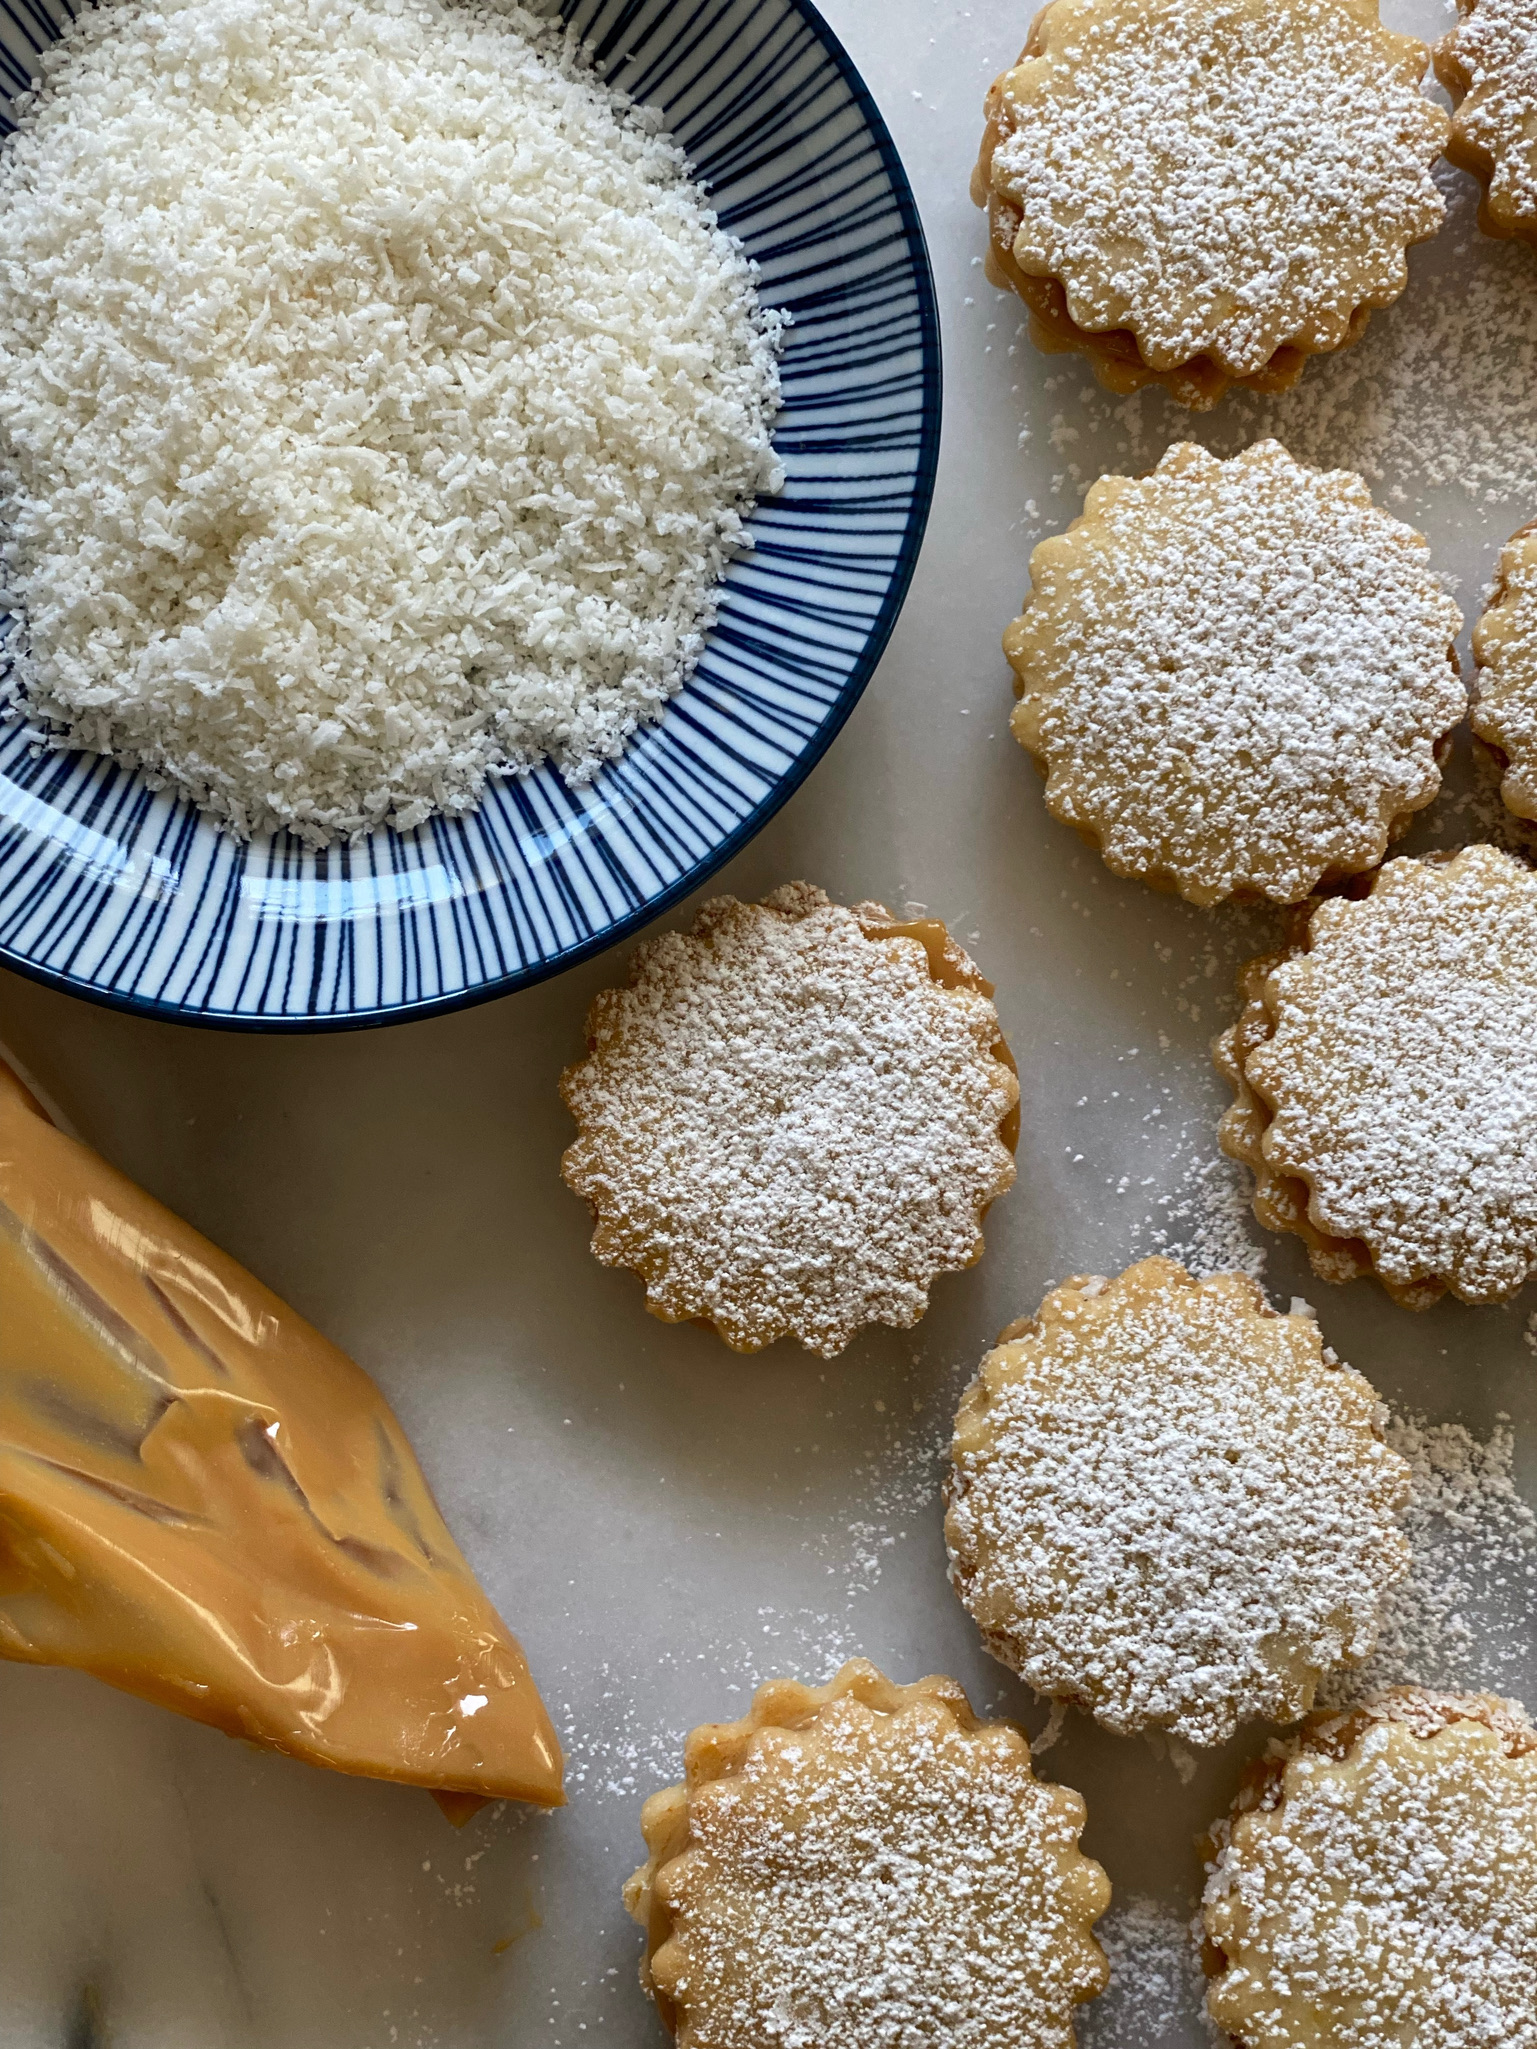
The finishing touch is optional but nice, roll the edge of the cookie in shredded coconut. Delicious.

Alfajores

A classic cookie found in many Latin American countries. A tender, buttery cookie with Dulce de Leche, caramelized sweetened milk filling.
Course cookies, Dessert
Cuisine Latin America, Spanish
Keyword Alfajores, cookies, dulce de leche
Prep Time 45 minutes
Cook Time 30 minutes

Ingredients

Cookie

  • 1 cup unsalted butter softened 2 sticks
  • 6 tablespoons powdered sugar
  • 2-1/4 cups all-purpose flour
  • 1/2 t salt
  • Orange zest from 1/2 orange
  • 1 teaspoon vailla extract or paste optional
  • finely shredded coconut, unsweetened preferred but sweetened is ok too

Dulce de Leche

  • 1-14 ounce can of sweetened condensed milk
  • Pinch of kosher salt or Fleur de Sel
  • 1/4-1/2 teaspoon cinnamon optional

Instructions

Cookie

  • Combine flour and salt in a small bowl and set aside. Zest orange.
  • Cream together butter and powdered sugar. Beat until smooth and creamy looking, should not get to the light and fluffy stage. Add orange zest, and vanilla if using, stir to incorporate.
  • Gradually add the flour mixture to the butter-sugar mixture, beat on low speed. Once the flour is incorporated, stop, do not overbeat. Remove dough from the bowl, shape into a ball and wrap with plastic wrap. Flatten the ball into a disc about 1 inch thick. Chill for at least an hour.
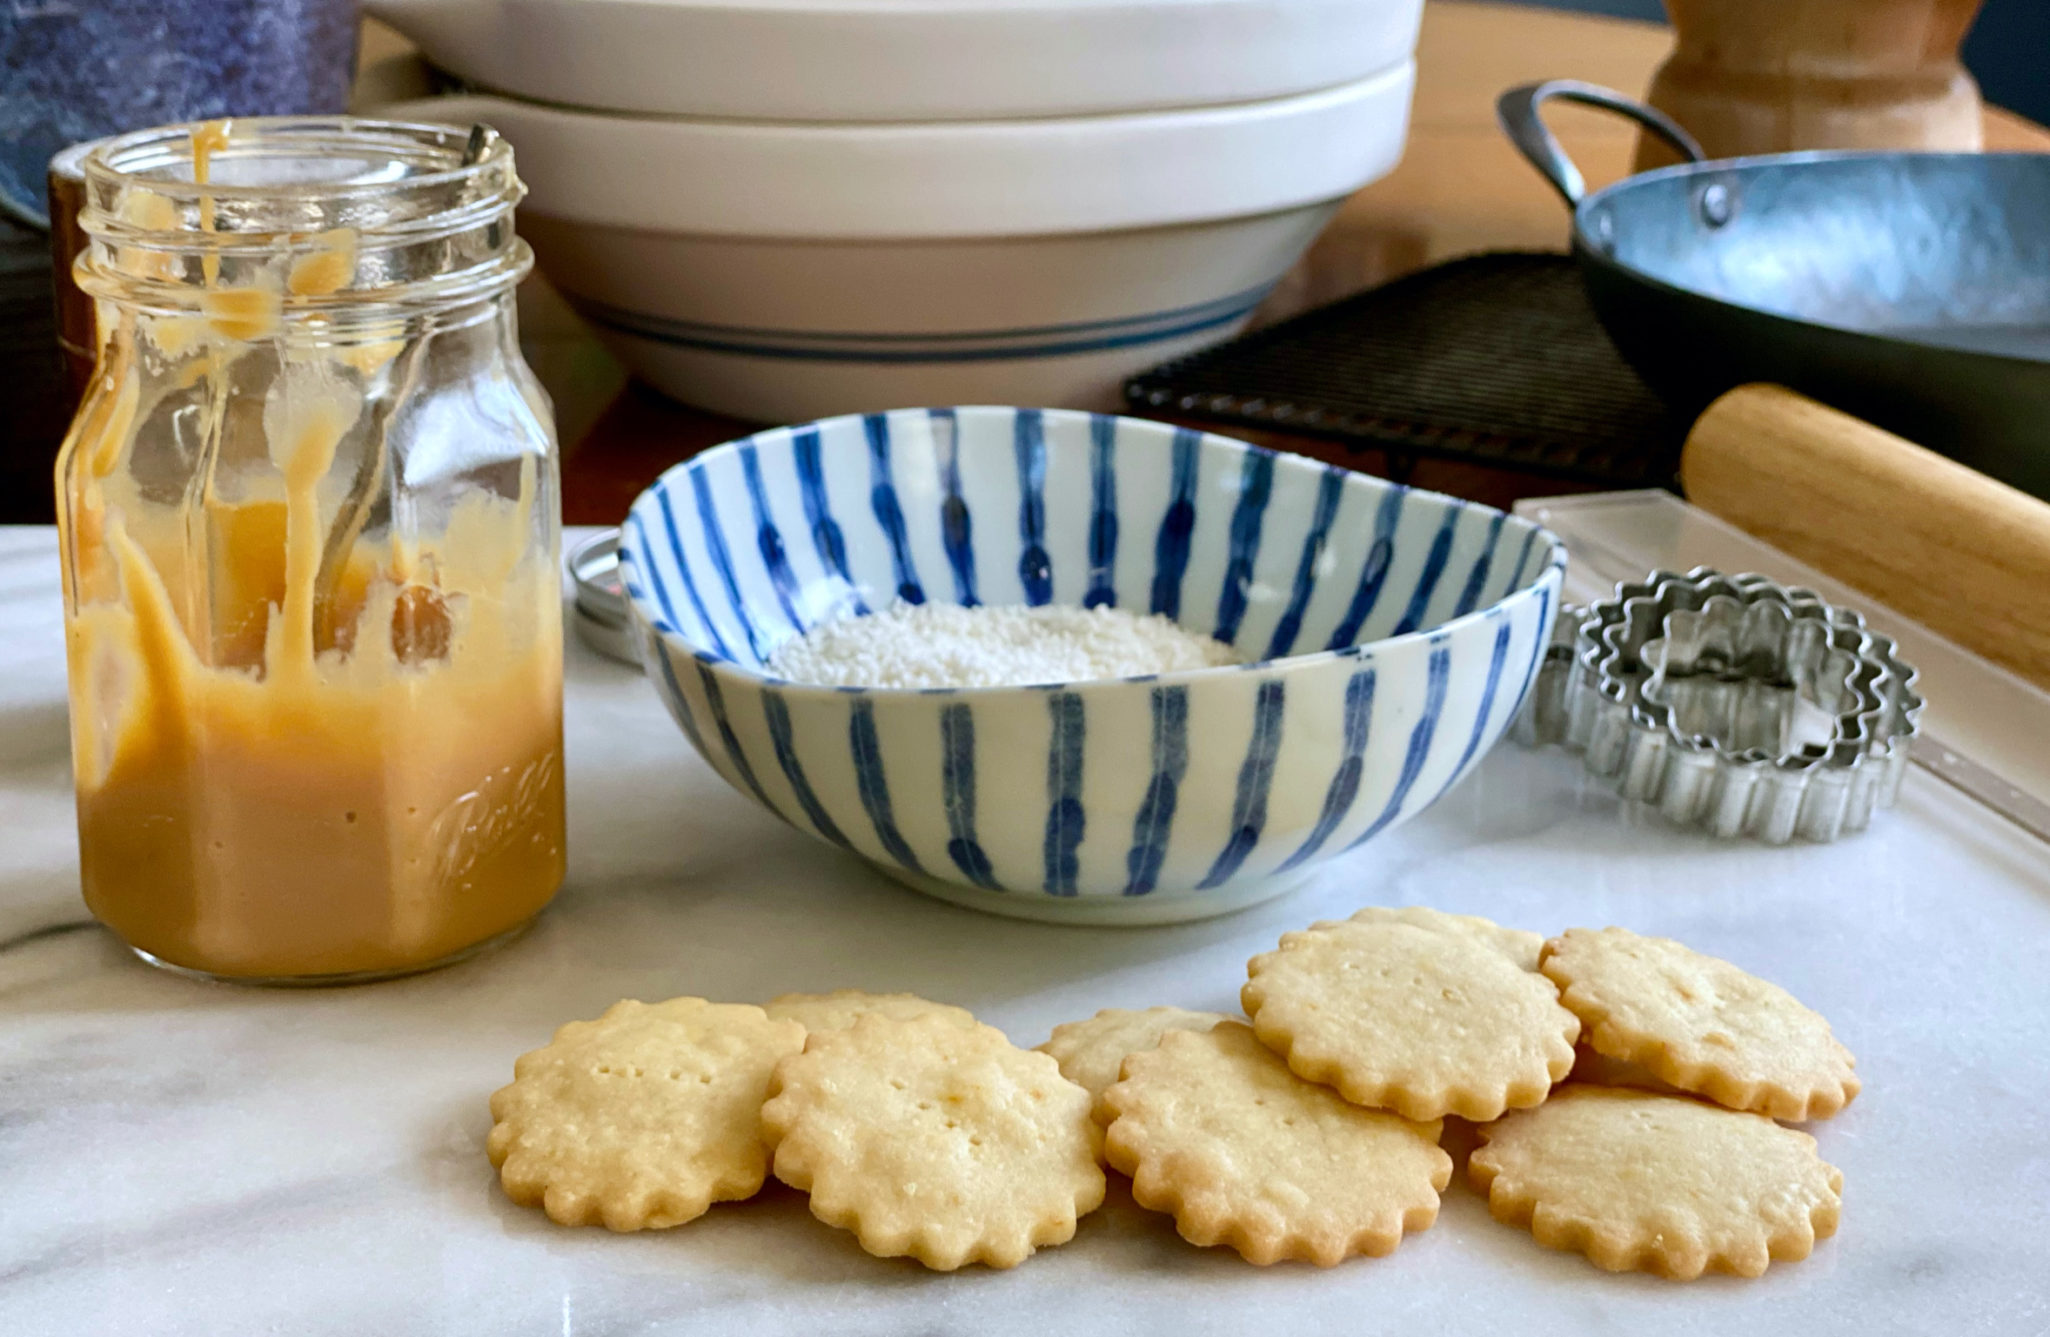
  • Roll dough out to 1/8 inch thickness. Using a cookie cutter, I use a 2 inch fluted cutter, cut out rounds of dough and place 1 inch apart on a parchment lined cookie sheet.
  • If dough seems soft at any time, re-chill.
  • Bake at 340 degrees for 12-15 minutes or until the edges just begin to color on the edges. They should be pale color. Remove and place on a rack to cool completely.
  • Once the dulce de leche is cold, fill a piping bag or use teaspoons to place dulce de leche on bottom side of half of the cookies. Use approximately 1 teaspoon of filling.
  • Top filled cookies with the remaining cookies and gently press to distribute filling. You want it to come to the very edge of the cookie. Roll edge of cookie in finely shredded coconut if you want. Dust both sides of cookies with powdered sugar.
  • Filled cookies can be kept for a couple of days at room temperature or in the fridge a little longer. The moisture in the dulce de leche will soften the cookies with time. If you want to make them ahead, don't fill them until you are ready to serve.

Dulce de Leche (Adapted from Food.com)

  • Microwave directions:
  • You will need a 2-1/2 quart microwave bowl for this recipe. If you don’t have one that big, make half at a time. Trust me on this unless you like having caramel all over your microwave.
  • Pour sweetened condensed milk into bowl. If you have a vented lid, put it on. If not, cover bowl with plastic wrap and poke a couple of holes in it so the steam can escape.
  • The gold standard will be a 1000 watt microwave, adjust accordingly.*
  • Set microwave to 50% power and microwave milk for 2 minutes. If you are adding the salt and cinnamon, add it now.
  • Remove, (use oven mitts please!) Stir and put it back in the microwave. Then nuke at half power in two and a half minute intervals, stirring in between each time, for a total of ten minutes. As you cook the milk, it will boil, expel steam and gradually turn a nice rich brown. Keep in mind, you will need a pretty thick sauce for the cookies. You may need to nuke the milk for another 2-3 minutes. You want a deep rich brown. It will thicken a little as it cools.
  • *If you have a 1200 watt microwave, set it at 40%. I have a tiny 600 watt microwave so I set the power at 60%.
  • The Other Method:
  • Requires a lot more time. First, remove the paper label from the can and place it in a heavy duty pot on its side. Fill pot with enough water to cover the can by 2 inches. Bring the water to a boil and reduce heat so the water is at a simmer.
  • Make sure the water level stays 2 inches over the can at all times!!!!!! Or the can might explode!!!! Why I use the microwave method, lol. This method comes from Serious Eats.
  • Bring the water to a boil and then reduce the heat to a simmer. Simmer milk for 2-3 hours CHECKING WATER LEVEL EVERY 30 MINUTES. Add hot water as needed. 2 hours will give you a golden caramel while 3 hours will yield a deep, dark caramel.
  • Remove can from water. Allow the can to cool completely before opening, about 4 hours.
Butter Mochi, Microwave Magic

Butter Mochi, Microwave Magic

Yes, on the Mochi treat trail once again.  Aside from being delicious, Mochi is pretty darn easy to make thanks to Mochiko Sweet Rice Flour.  I have been playing around with recipes that find their roots in Hawaiian Butter Mochi.  Sweet Rice flour, butter, eggs, sugar, and different liquids (milk, coconut milk, fruit nectars….) combined and baked into delightful bars or muffins.   A bit cakey, a bit chewy yet forgiving, sweet but not cloyingly so, and maddingly addictive. The Butter Mochi Muffins is by far the most popular recipe on 3jamigos.  But…
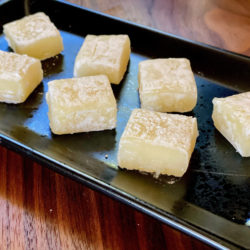
There Is A New Kid In Town

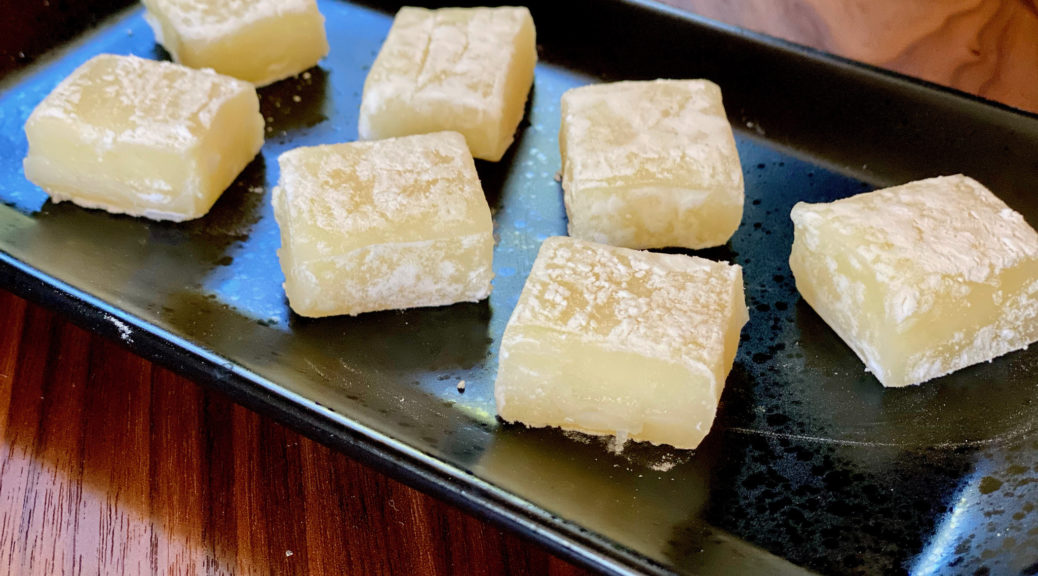
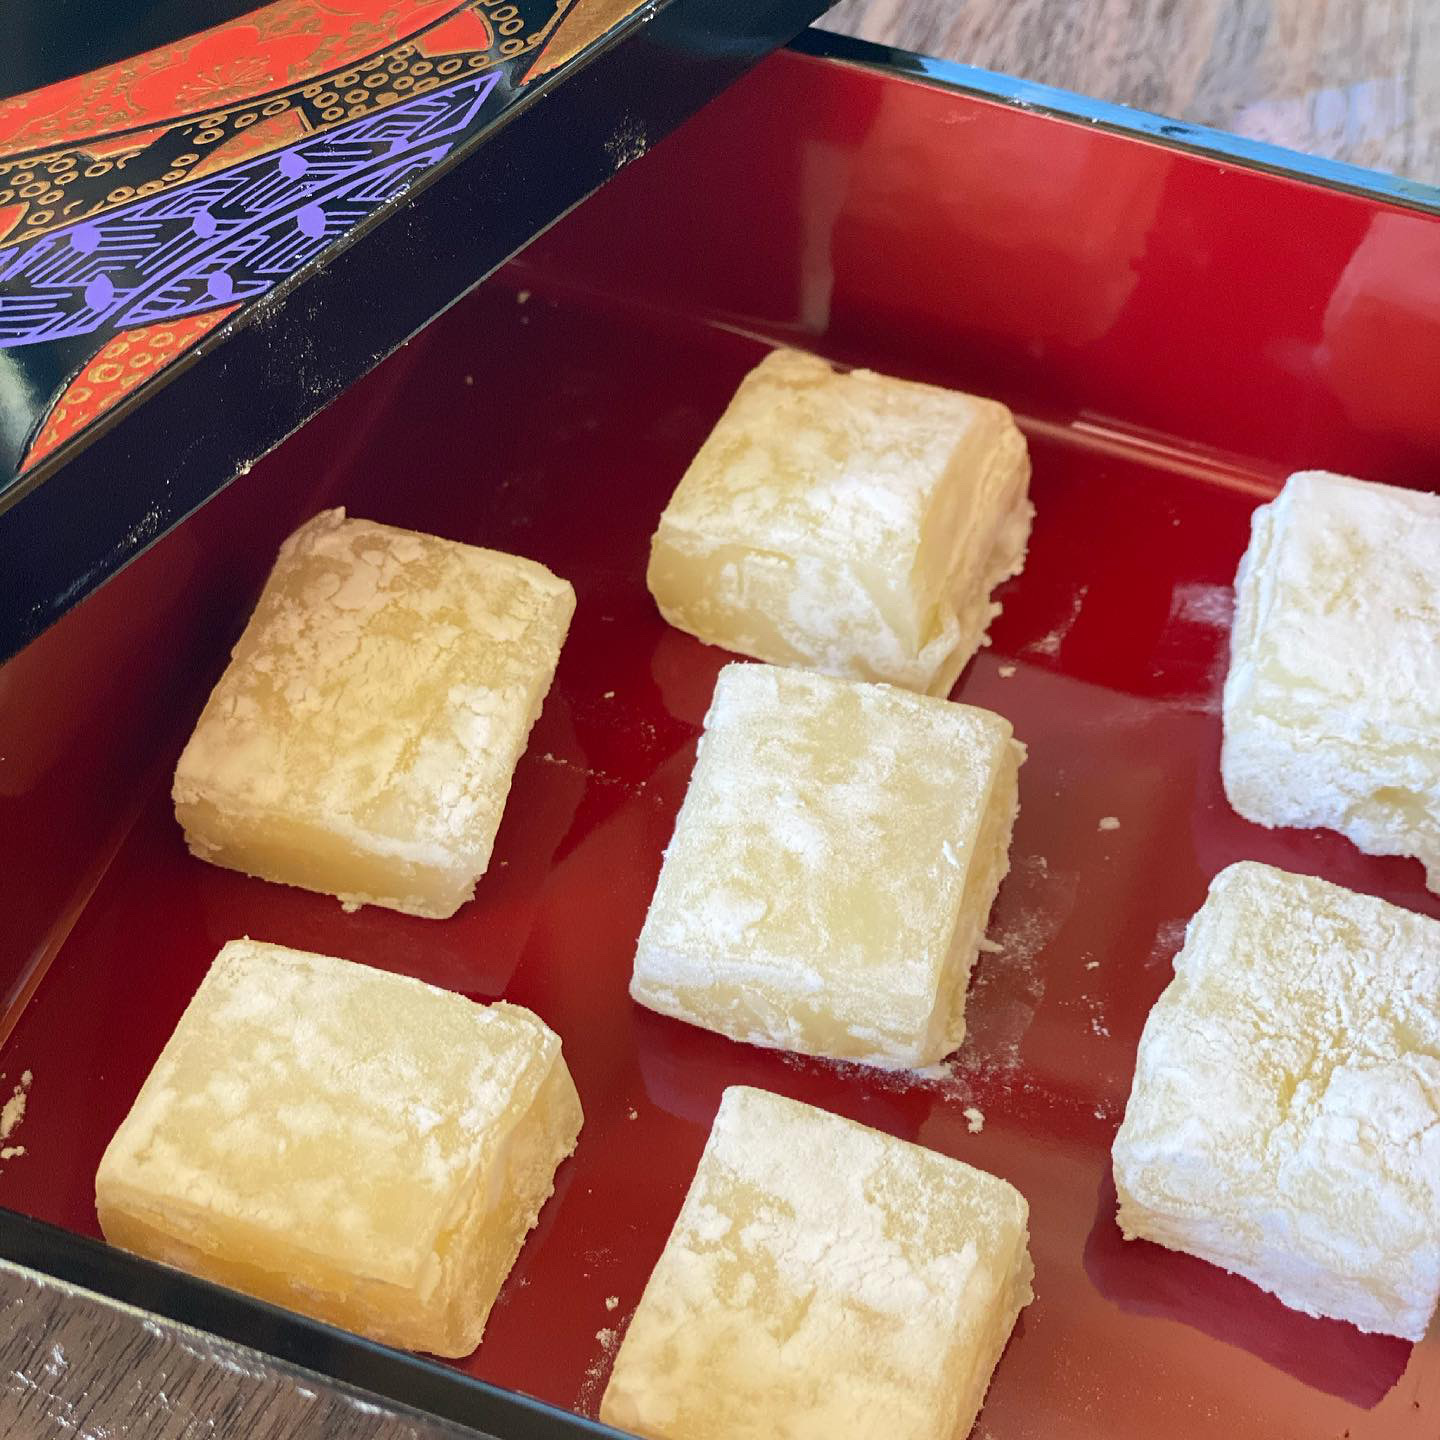
A recipe for Butter Mochi on No Recipes had me running to my kitchen.  Whaddya know, these little gems are made in a microwave.  Unlike baked Hawaiian Butter Mochi treats, this one is texturally similar to classic mochi found in Japanese Manju Shops.  (Worth a visit! Shuei-Do in San Jose or Benkyodo in San Francisco).  The riff of adding butter, sugar, and milk is genius.  You end up with a soft, chewy, smooth, slightly sweet, buttery, insanely delicious treat.

Shortcuts: Momofuku, Microwave, and Mochiko

The microwave makes this a quick and easy treat.  I’ve been playing around with cooking in the microwave ever since I bought a set of Cook Anyday Microwave cookware.  Yes I know, I could have used the pyrex glass dish I have but…damn, that Dave Chang of Momofuku is really good at getting you to buy stuff, lol.  And really, you can never have too many bowls.  I listen to his podcast and its offshoot, Recipe Club.  and I find myself laughing A LOT.  A good thing during these crazy times.

Traditionally, Mochi starts with glutinous rice that is soaked, steamed, and laboriously POUNDED into a sticky mass that is used to form those cute little balls and squares you take for granted at the Manju Shop.  Luckily, we can start with Mochiko or Sweet Rice Flour-no soaking or pounding.  Just put everything in a bowl and stir.  How easy is that?  Along with the microwave, you will be cranking out batches of Butter Mochi in minutes.

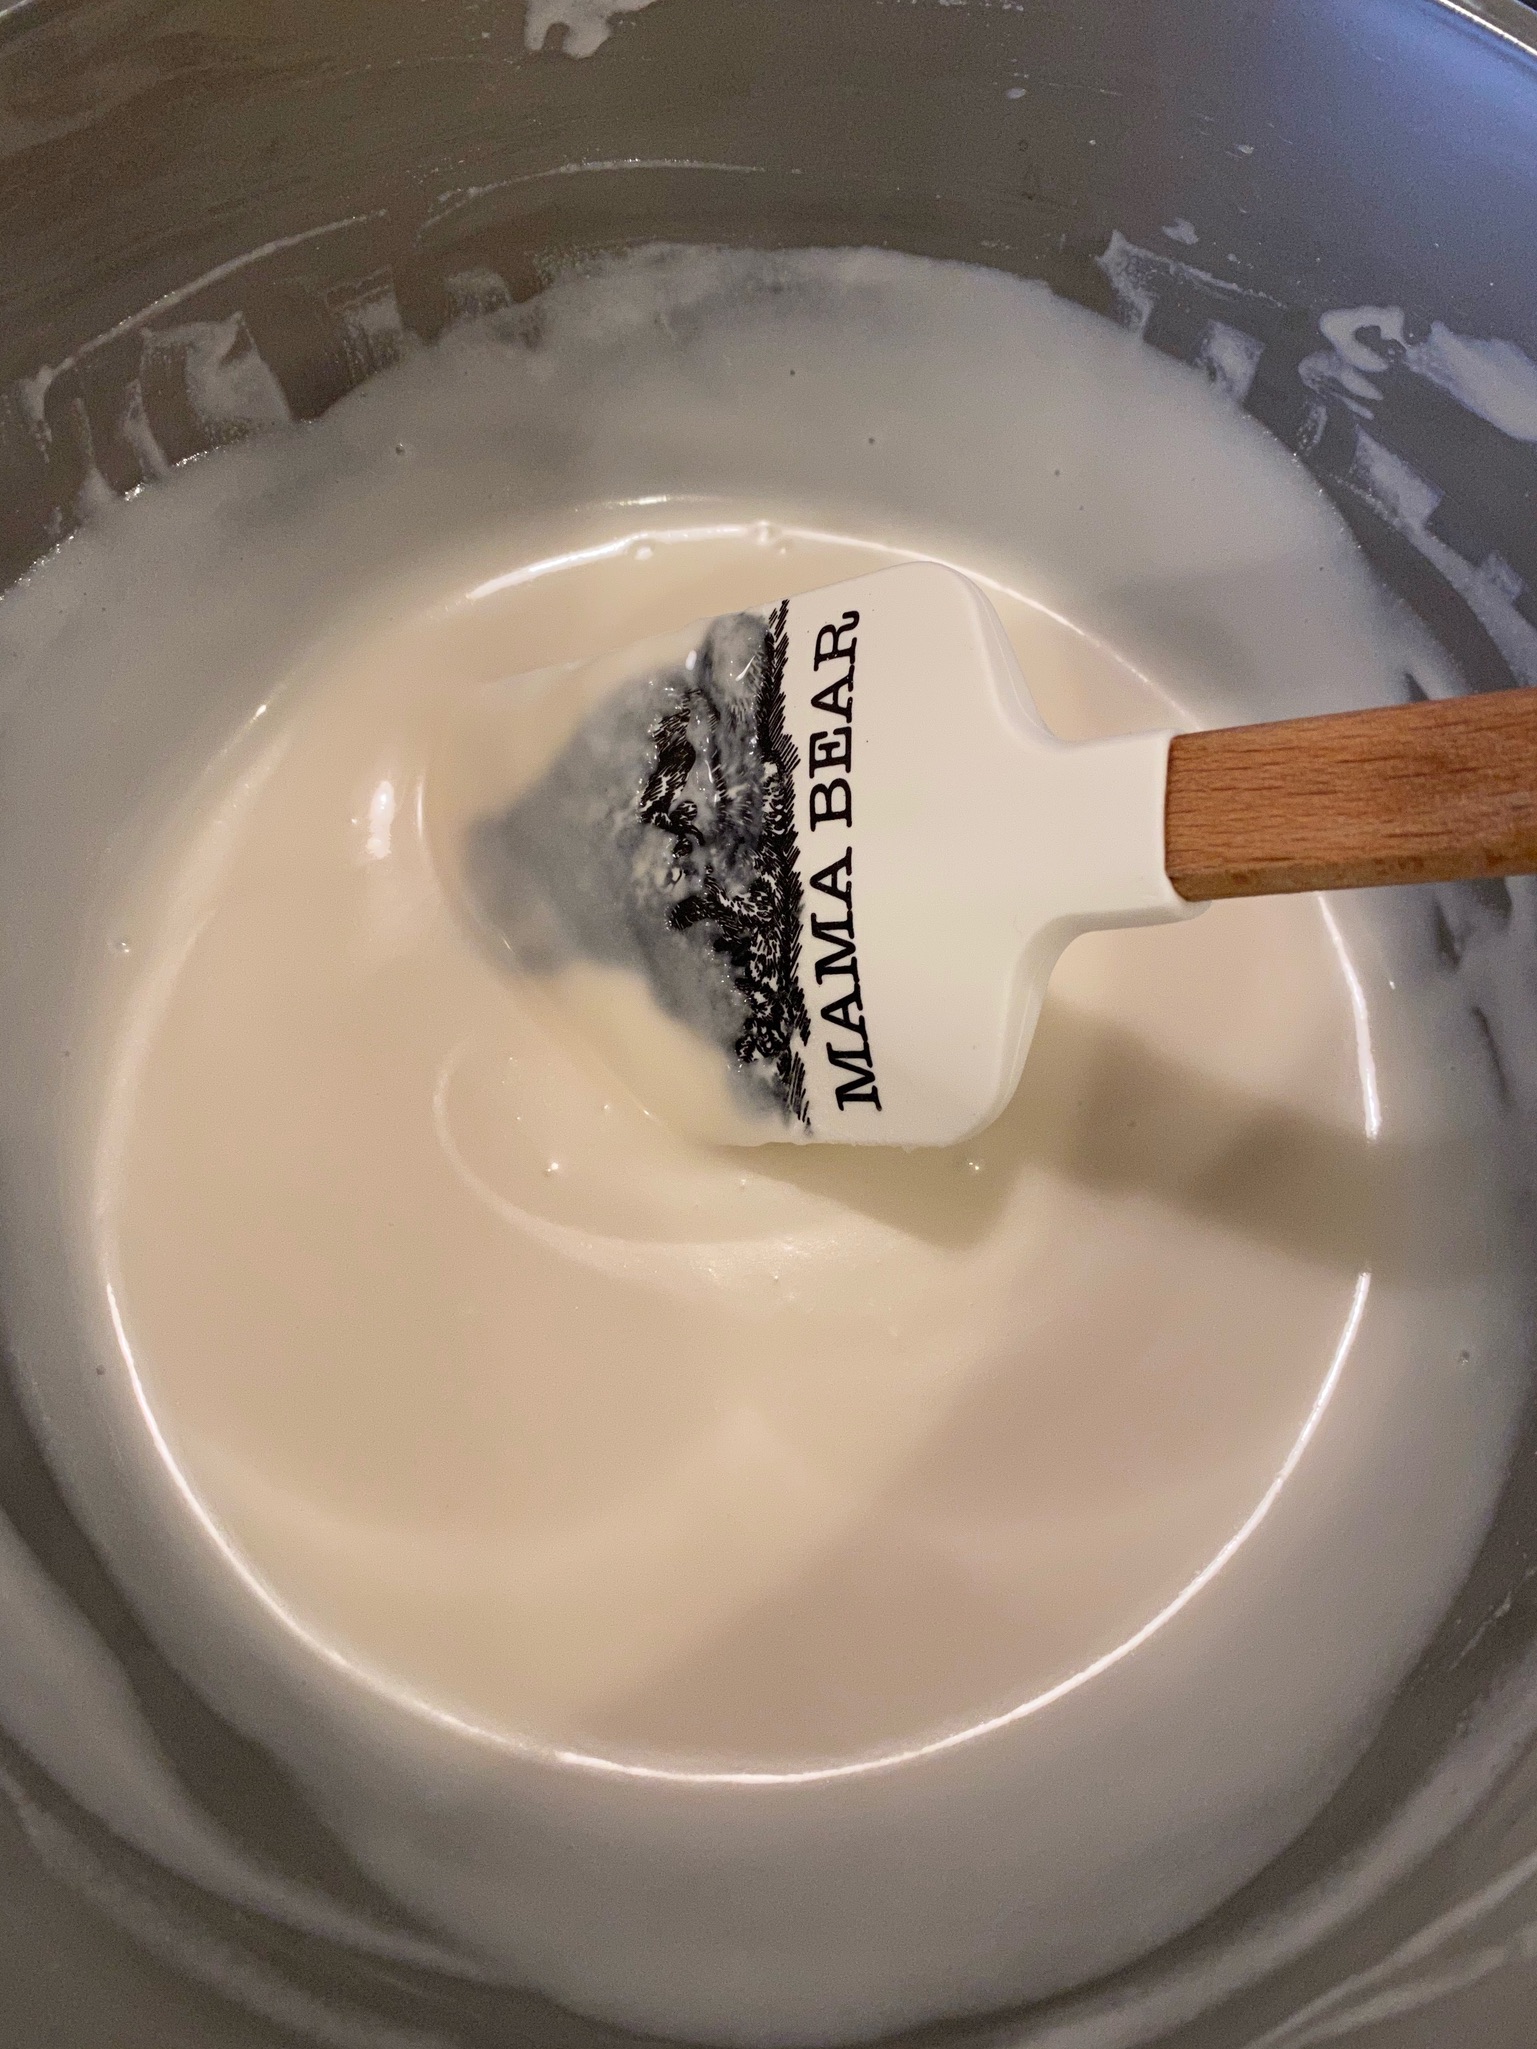
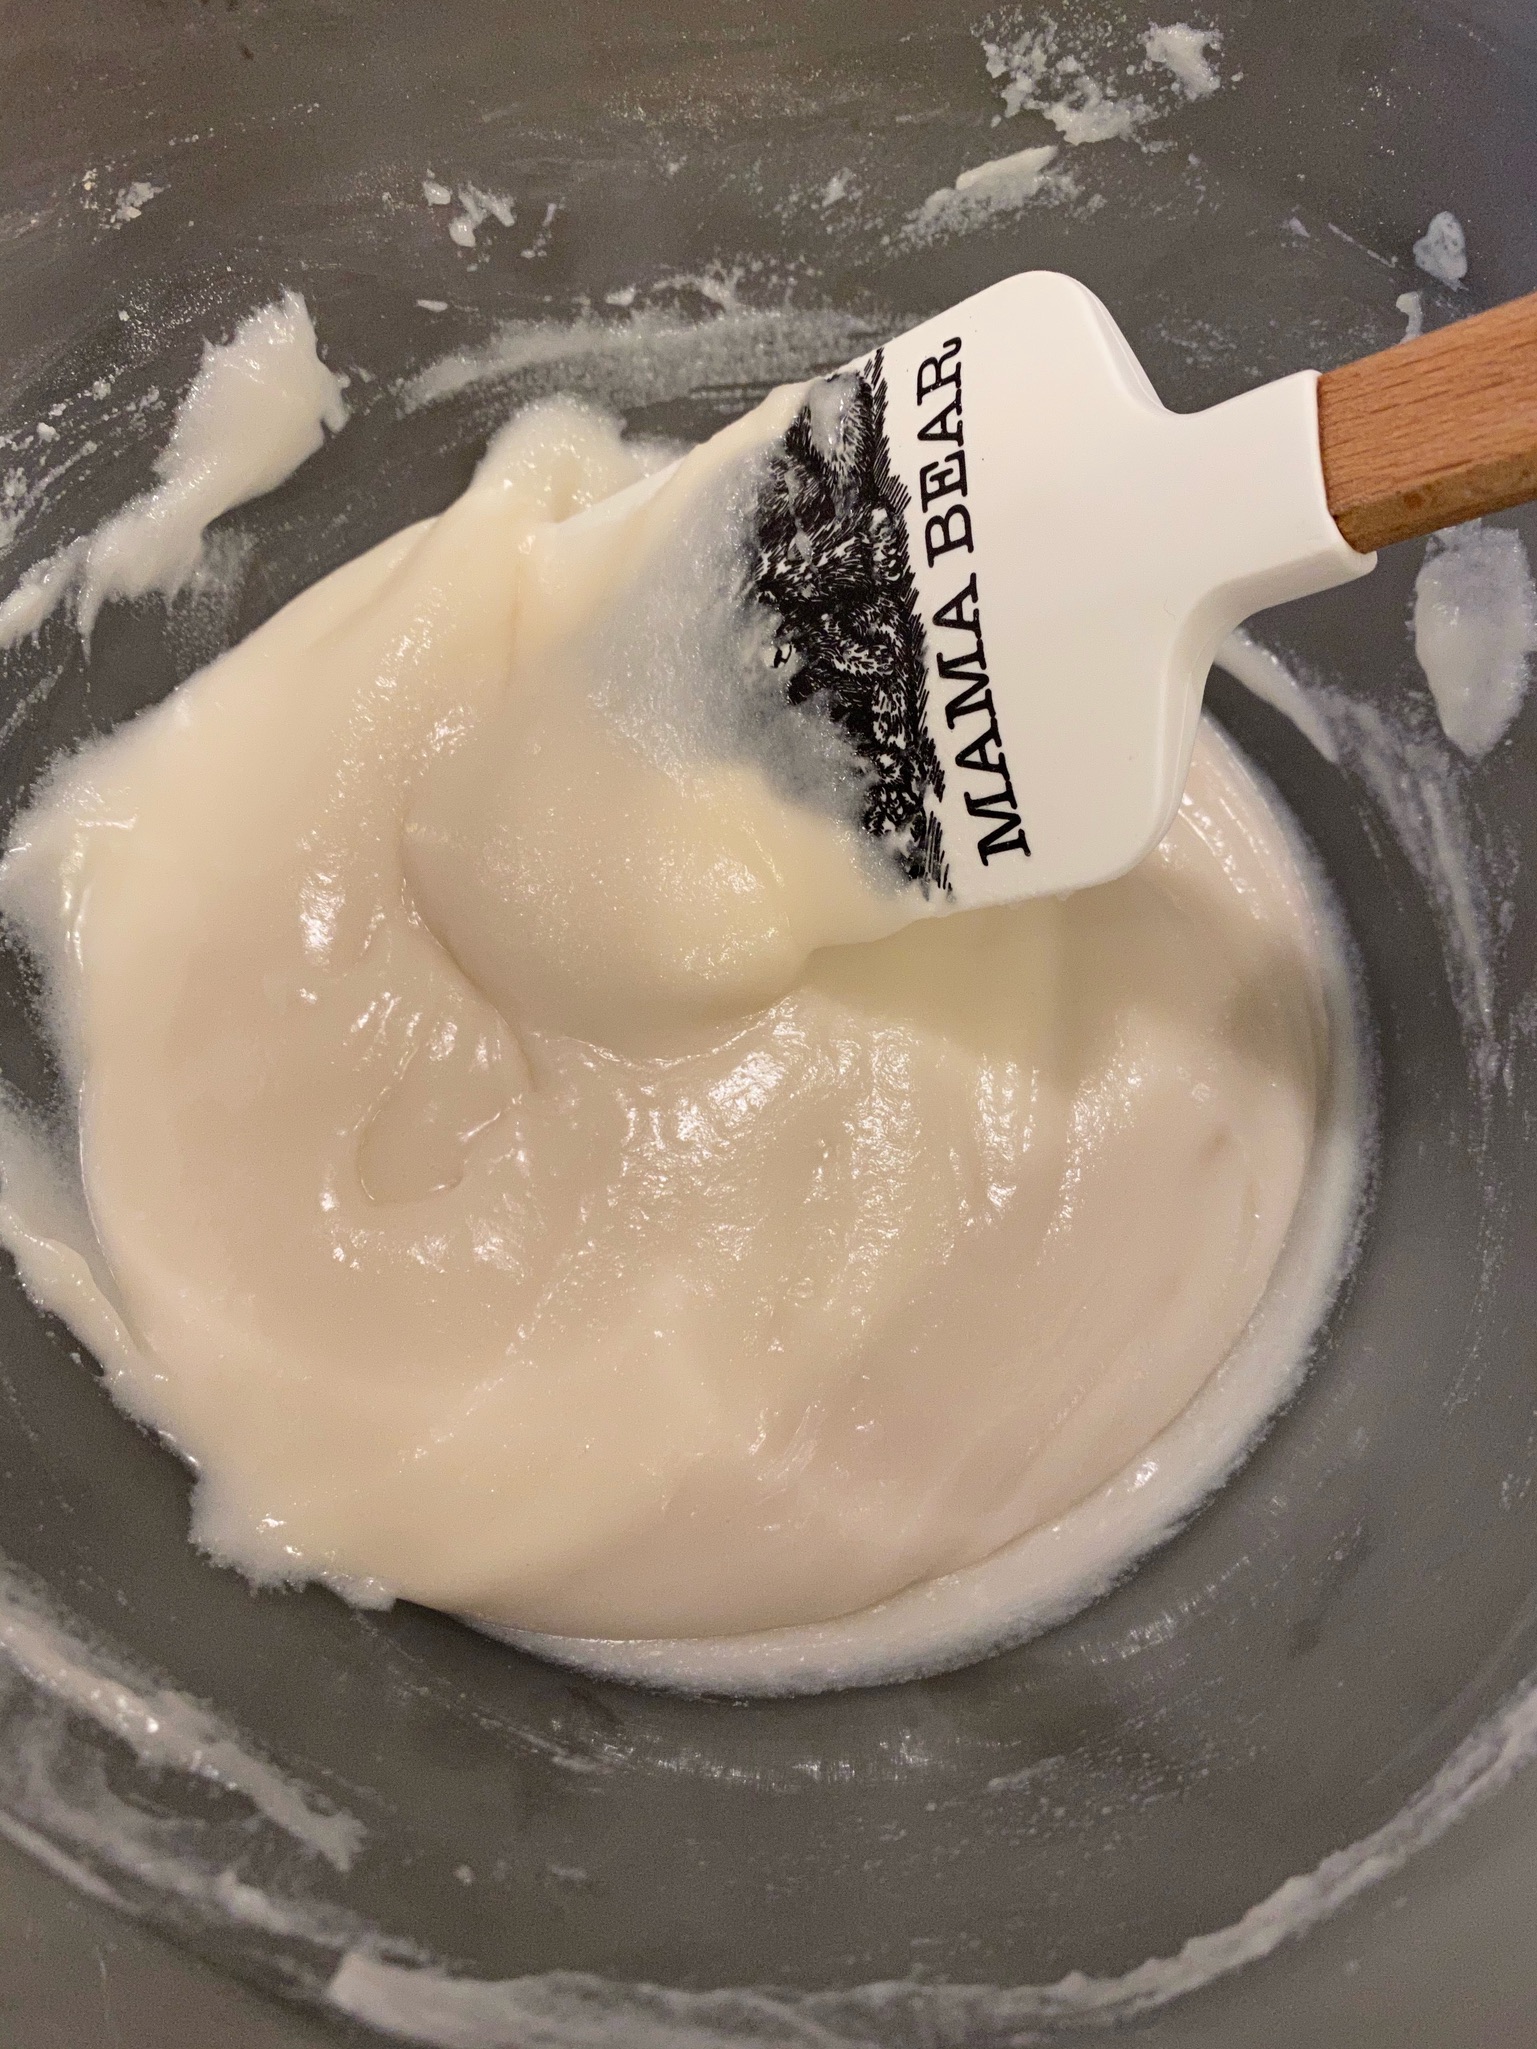
Combine Mochiko flour and sugar in a large glass bowl (or microwavable bowl).   Add one-third of the milk, stir to make a smooth paste, gradually add the rest of the milk, and stir well for a lump-free batter. Place bowl in the microwave and nuke for two and a half minutes.  The mochi will look thicker and form some lumps.  Remove the bowl and add the butter.  Stir until the butter is fully incorporated and the mixture is smooth again.  The recipe calls for cultured butter which has a slight tang.  I used Trader Joe’s French Cultured Butter.  You could probably use European-style butter like Kerrygold Irish Butter.  I also used salted butter which I think enhances the flavor.

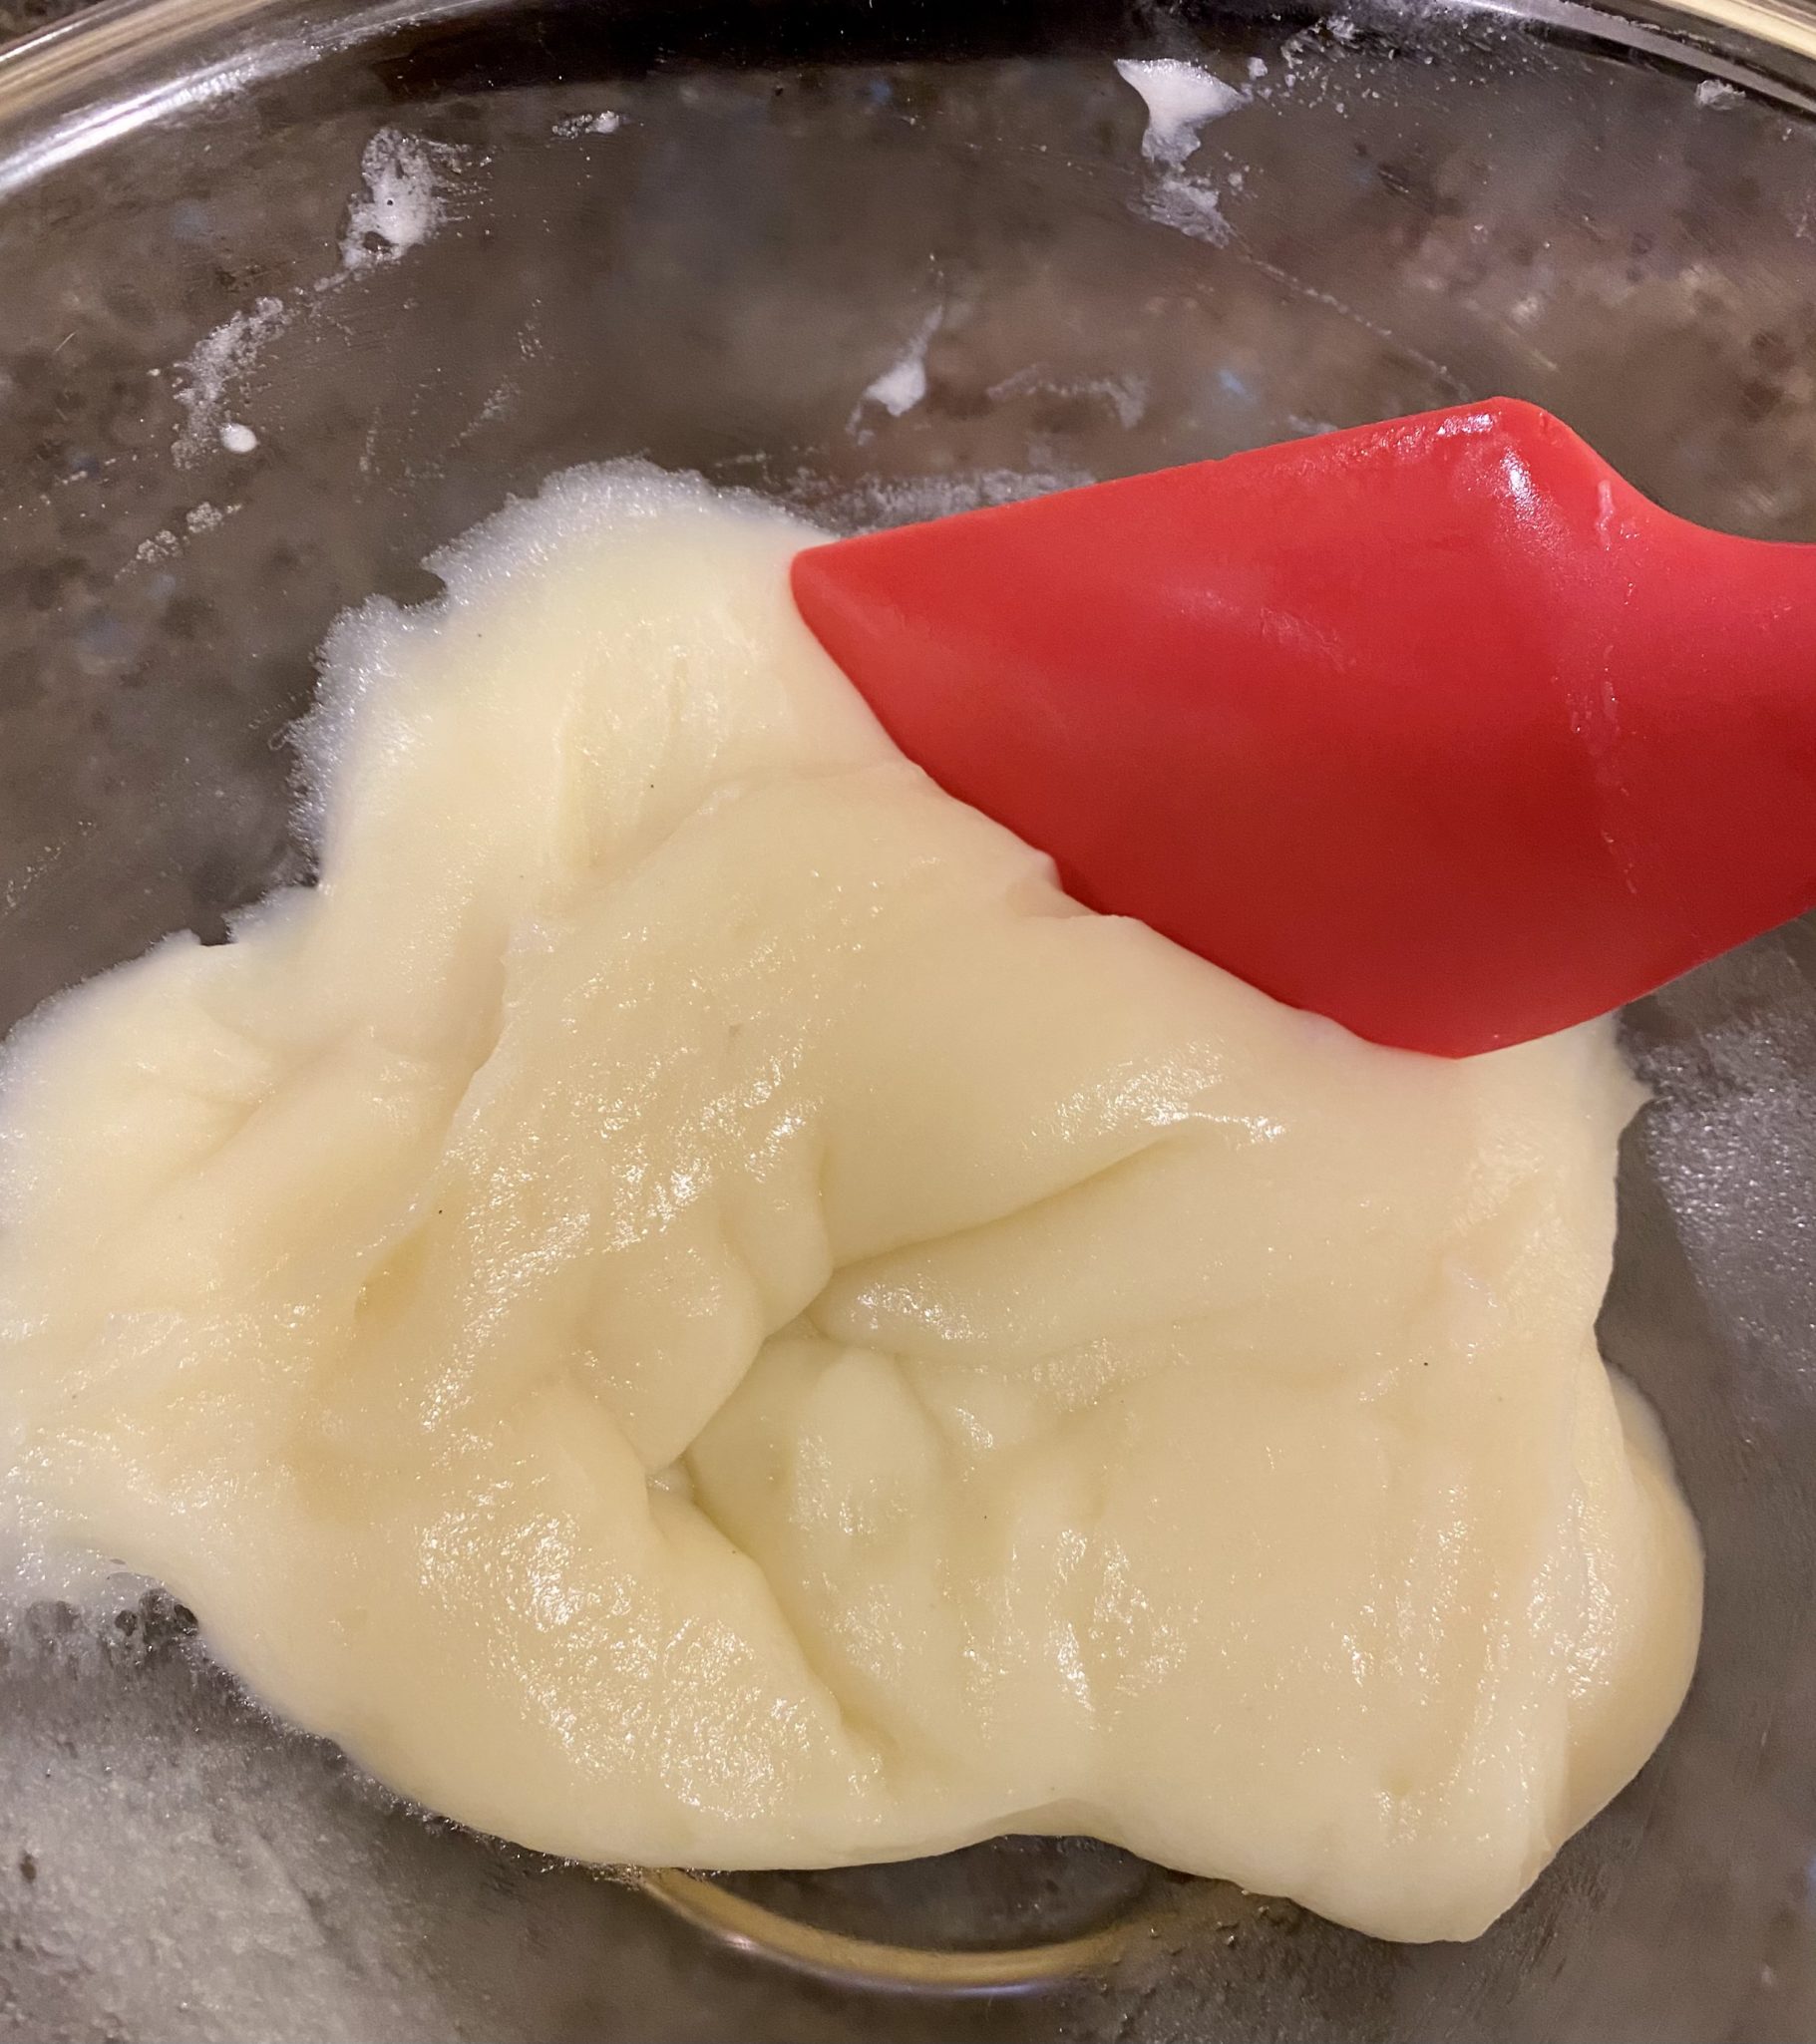
Put it back in the microwave for another three and a half minutes.  Carefully (it’s hot!) remove the bowl from the microwave and knead the dough with a wooden spoon or silicone spatula NOT your hands.  This helps create that translucent, elastic texture.

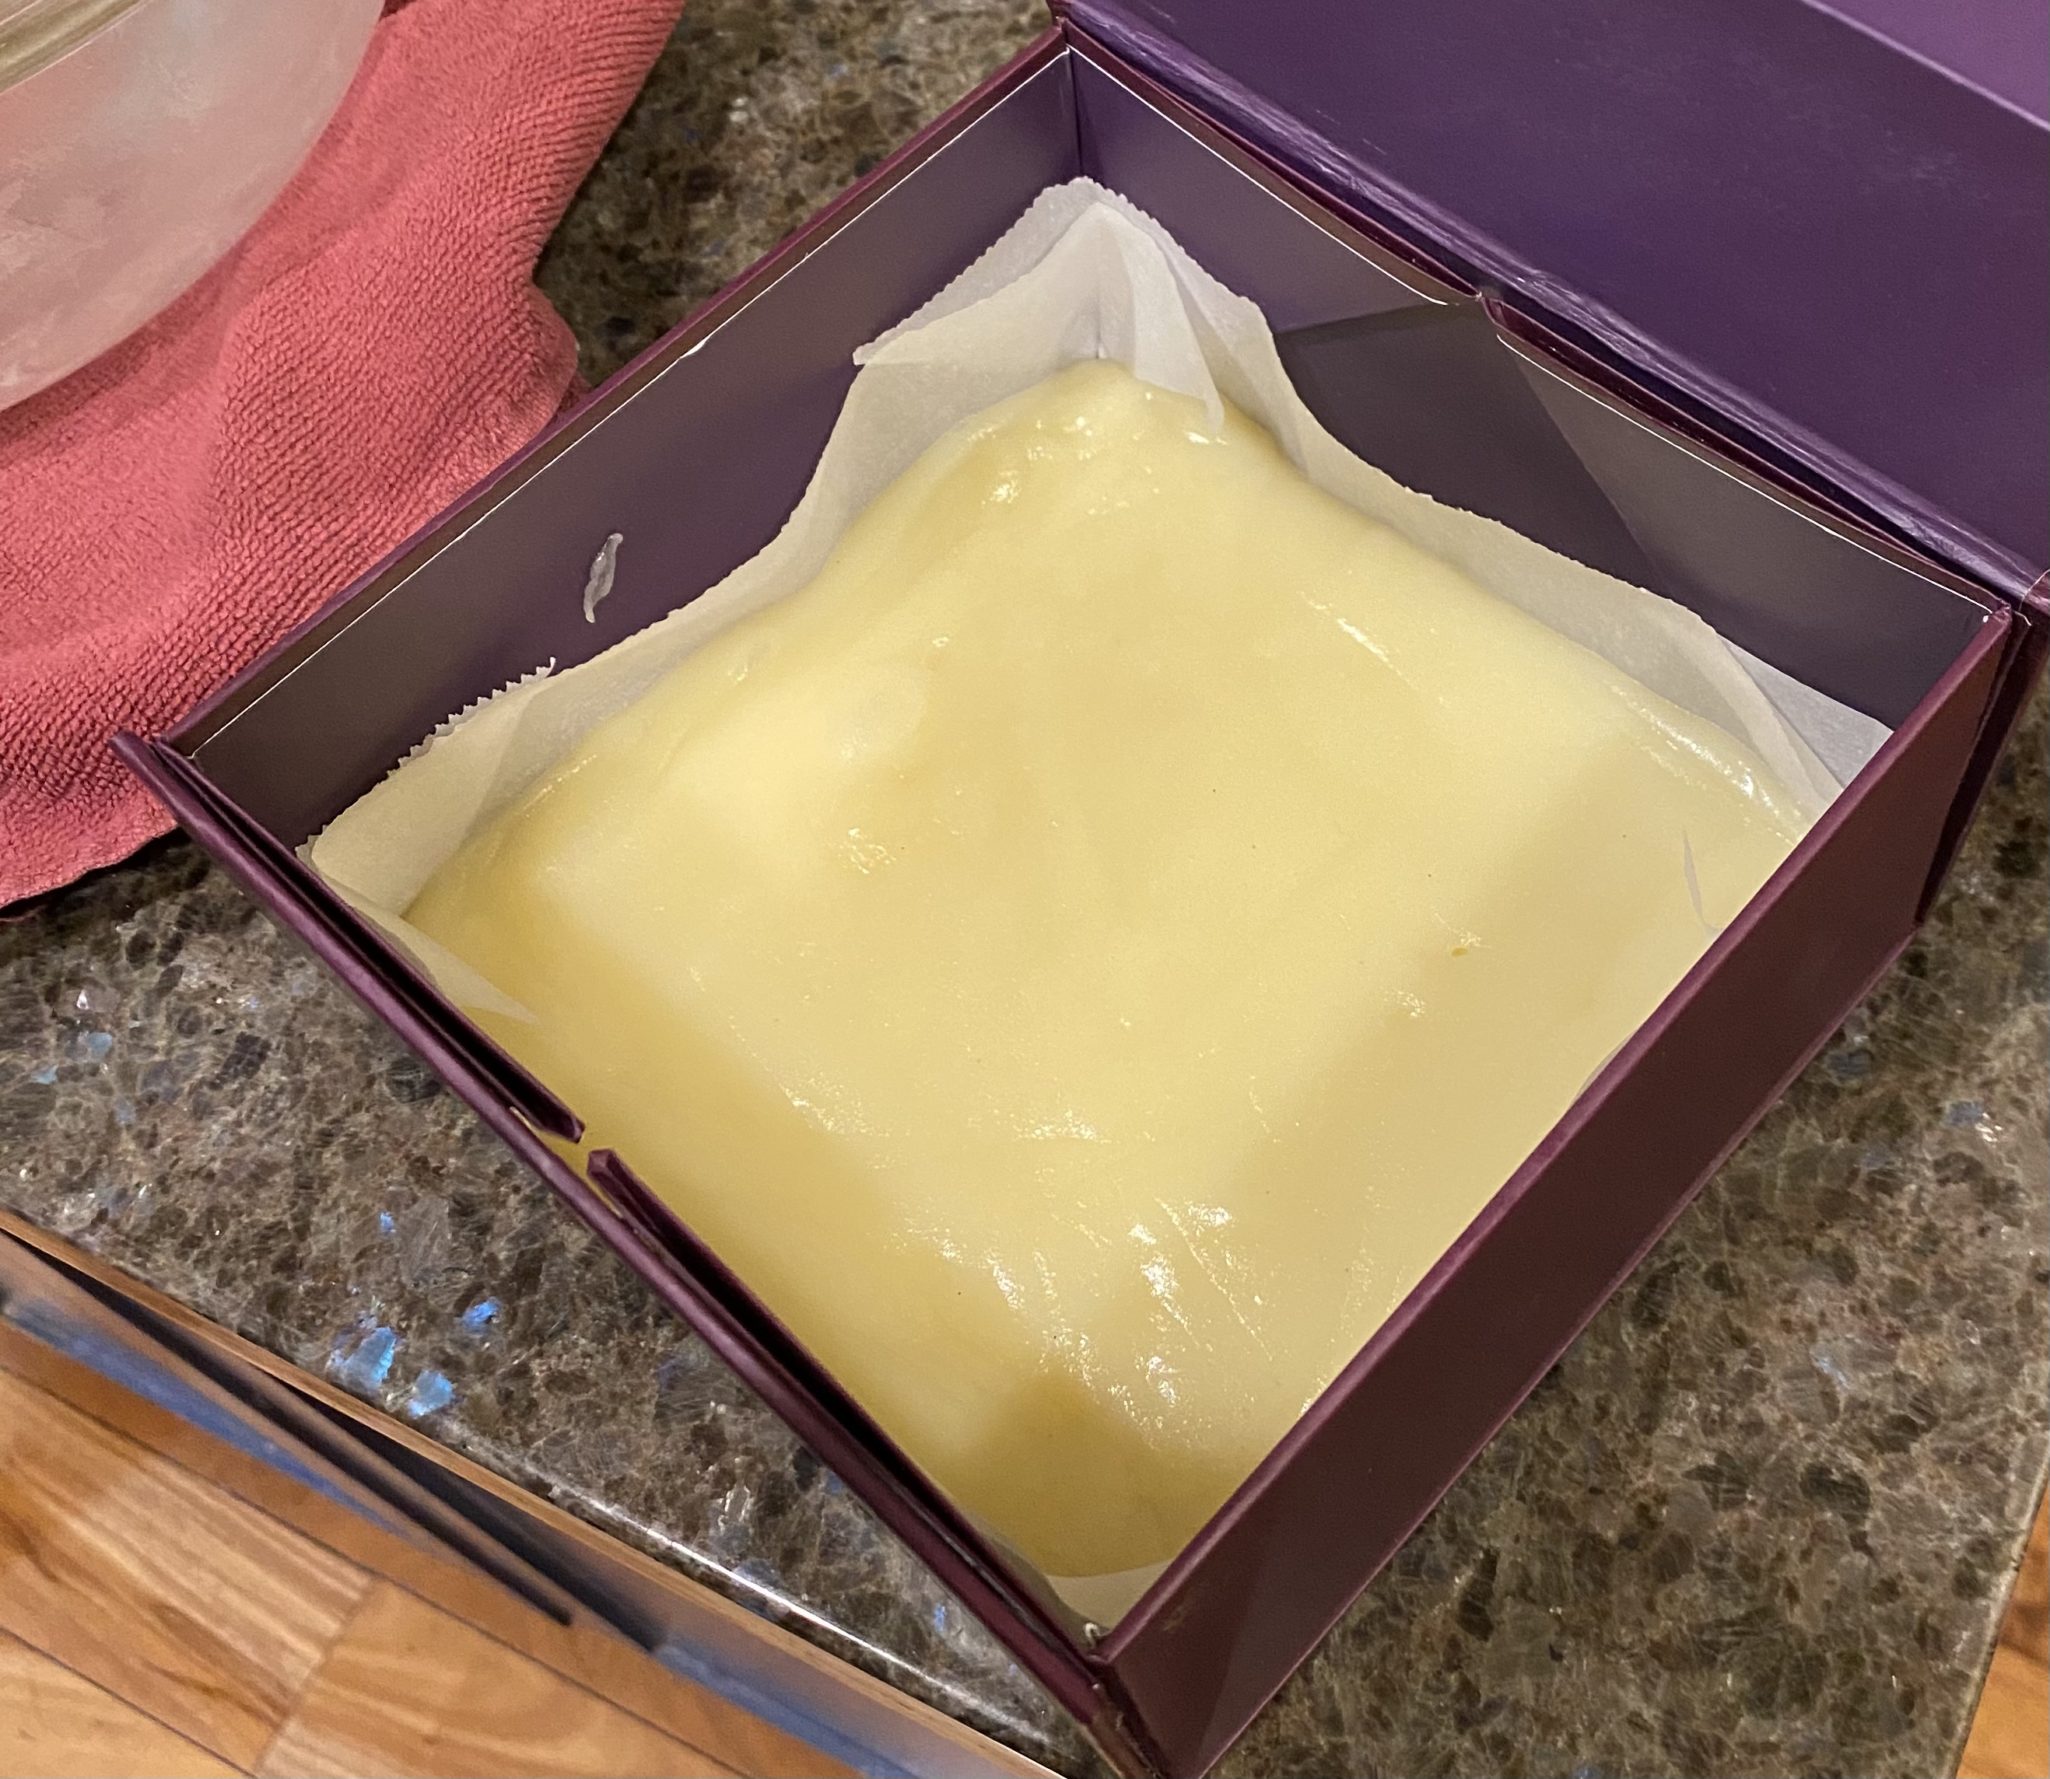
If it doesn’t get that translucent look or isn’t very elastic, try microwaving it another minute.  Transfer the Mochi into a small square pan lined with parchment.  The recipe calls for a five-by-five-inch pan.  Hmmm, not a size I have so I improvised.  Place pan (box in my case) in the fridge to chill.

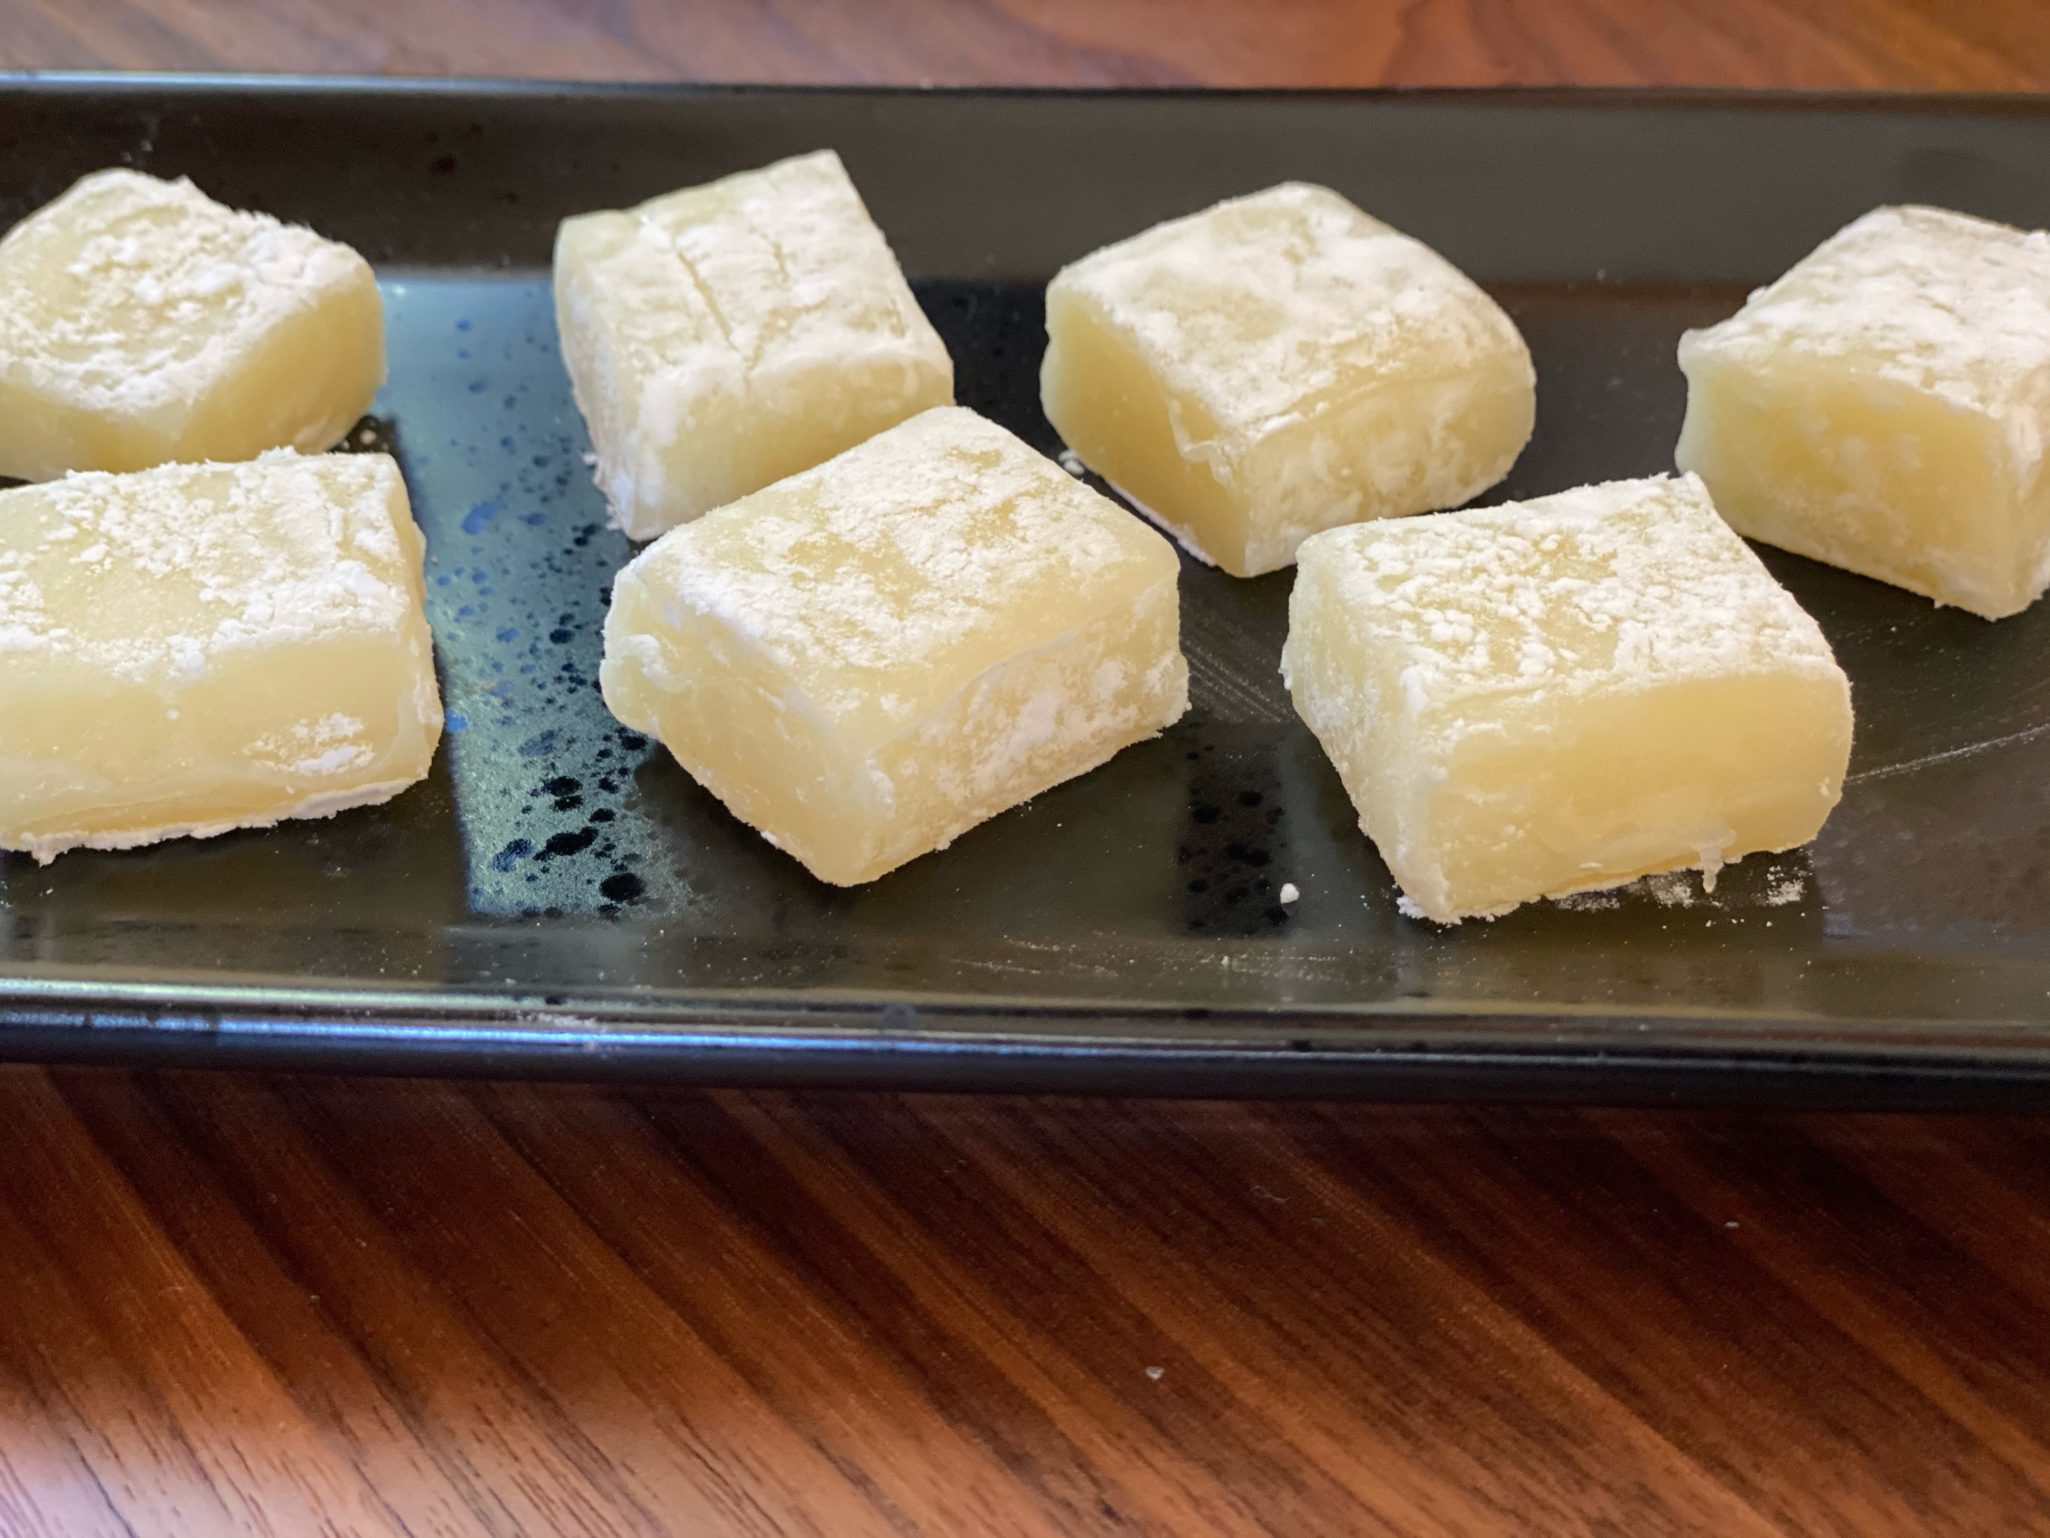
The final step is cutting the Butter Mochi.  It will be really sticky.  To keep the pieces from sticking dust with potato starch or cornstarch.  Sorry folks, powdered sugar will not work as it will absorb moisture from the mochi and turn gummy.  Serve.  Mochi can be stored at room temperature for a day or in the fridge for longer.  Bring to room temp before serving.

And one mor-chi tip

I made a second batch using coconut milk.  For folks that are milk intolerant, this would work well. Win-win.  Reduce the first microwave time to 2 minutes.  It solidified a little quicker than the regular milk version which made stirring in the butter a little harder.  You do lose a bit of the pure butter flavor but the coconut milk is a nice complement.  Play around with the microwave times for your machine.  For the second microwave session, I’d go 3 minutes first and check before zapping it further.

Print Pin
5 from 3 votes

Butter Mochi

Butter Mochi made in the microwave! Soft, chewy, buttery, a hint of sweetness, this Japanese treat is easy to make and delicious!
Course Dessert
Cuisine Asian
Keyword brown butter, butter mochi, Dessert, mochiko, sweet rice flour
Prep Time 7 minutes
Cook Time 7 minutes

Ingredients

  • 100 grams mochiko
  • 90 grams granulated sugar a little less than 1/2 cup
  • 1 cup whole milk or coconut milk
  • 3 tablespoons Cultured Butter (45 grams) TJ's French Cultured Butter or Kerrygold Salted Irish Butter. I like the bit of salt.
  • Potato starch or cornstarch for dusting

Instructions

  • Line a 5-inch square pan with parchment paper. Use any small pan, 4x6 (lol, does anyone have a pan this size?)
  • Add the mochiko and sugar to a large microwave-safe bowl, and then add about 1/3 of the milk. Stir the mixture together until there are no lumps. Add the remaining milk and continue stirring until it is smooth.
  • Put the bowl, uncovered, in the microwave and set it to cook for 2:30. If you have a 600 watt microwave, use full power. Adjust accordingly.
  • Remove the bowl from the microwave and stir the mixture until it's mostly smooth.
  • Add the butter and stir until fully melted and incorporated.
  • Microwave uncovered for another 3:00-3:30. Get to know your microwave!
  • Carefully remove the bowl from the microwave. Use a silicone spatula to knead the mochi together. The mochi is very hot, do not get it on your hands as you stir. The mixture will get very sticky and turn a translucent yellowish-white color as you knead it. If this doesn't happen, microwave it for another minute or two.
  • Transfer it to the prepared parchment-lined pan and press the butter mochi into the corners and flatten off the top.
  • Chill the mochi in the refrigerator for a few hours to firm it up. Unmold the butter mochi and peel off the parchment paper. Use a sharp knife to cut it into approximately 1" squares and then dust each piece liberally with potato starch. Brush the excess starch off and serve.
Quick Fix: Cabbage with Butter and Soy Sauce

Quick Fix: Cabbage with Butter and Soy Sauce

I love cabbage.  This has been a recent revelation.  I’m not quite sure why cabbage has grabbed my attention but I find myself throwing it into a variety of dishes-salads, curries, soups, and stir-fries.

With a head of cabbage in the fridge and little time,  I needed a quick side dish for dinner.  A recipe form Eric Kim on Food52 popped into my head, asparagus with soy sauce and butter.  Why not trade the cabbage for the asparagus?

Quick and Easy

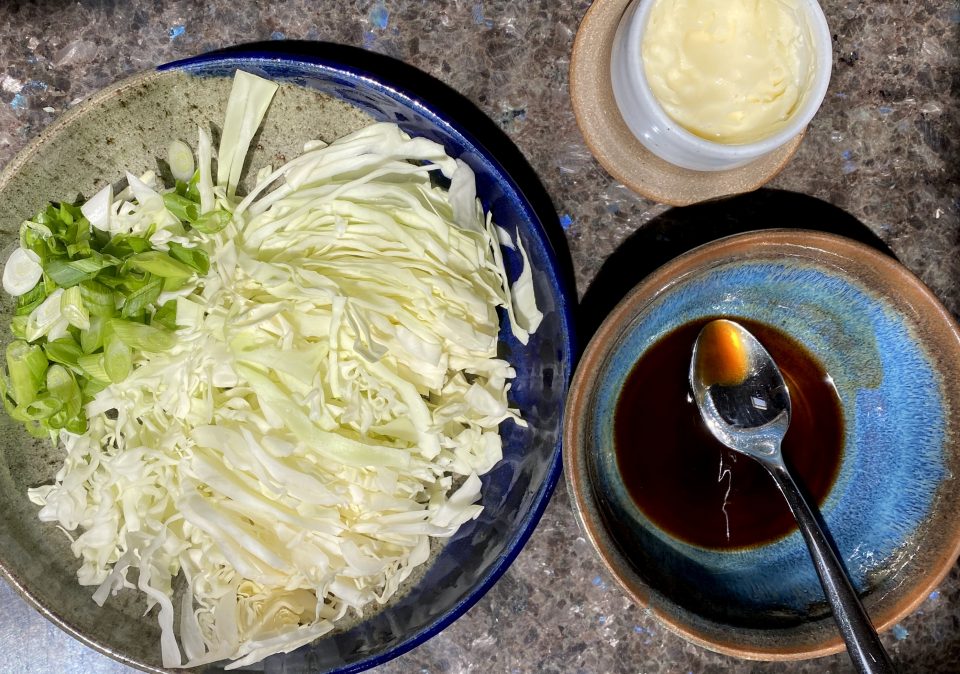
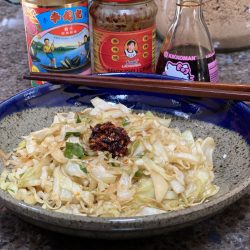
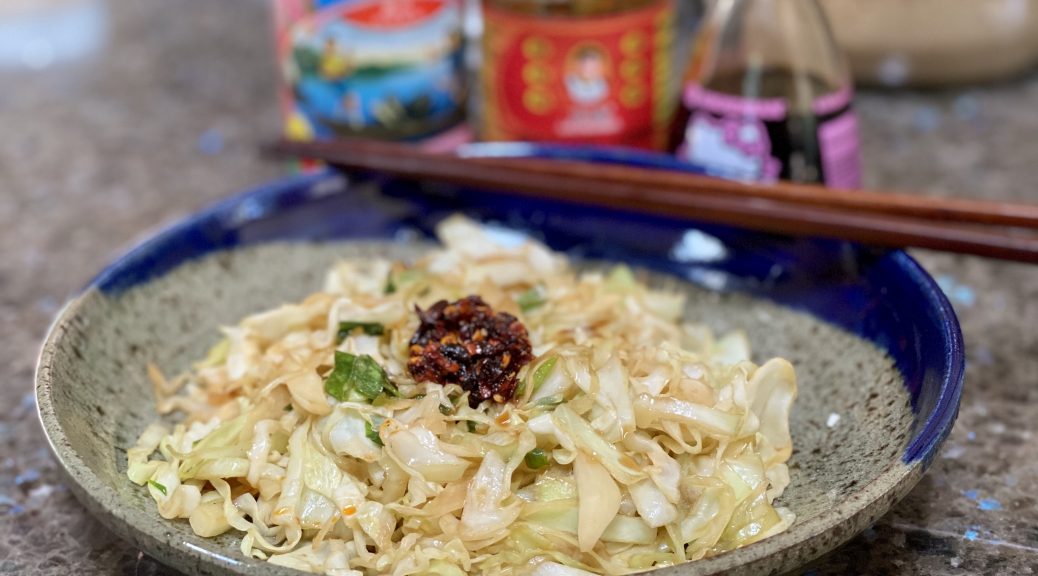
Shred cabbage, not too finely so it retains some crunch, and set it aside. Heat a pan large enough to hold the cabbage.  Melt the butter, add the cabbage and cook until it wilts.  Add soy sauce, and stir fry until the butter and soy sauce bubble.  Season with pepper and salt if needed.  Bada Bing Bada Boom, done.

Substitute ponzu soy for a touch of citrus or dashi soy for seafood twist or an equal amount of oyster sauce adds flavor also.  Garnish with sliced green onions.

Cabbage with Butter and Soy Sauce

Course Side Dish
Cuisine Asian-American
Keyword brown butter, cabbage, soy sauce
Prep Time 5 minutes
Cook Time 5 minutes
Servings 3 servings

Ingredients

  • 2 tablespoons unsalted butter
  • 1/2 head of green cabbage shredded into 1/2 to 3/4 inch strips
  • 2 tablespoon soy sauce or substitute Ponzu or Soy Dashi or use 1 T oyster sauce and 1 T soy sauce
  • Flaky sea salt and freshly ground black pepper garnish

Instructions

  • Heat a skillet over high heat and melt the butter. Add the cabbage, season with salt and pepper, and cook for 2-3 minutes until slightly wilted. Add the soy sauce and cook for another minute or until the butter and soy sauce bubble up into a sticky glaze. Garnish with sliced green onions. Serve immediately.

Notes

Okay, for you carnivores...saute' diced bacon (2 slices), omit salt and use half the butter with the bacon fat.  
Tall Order for a Better Shortbread-Bien Cuit Bakery

Tall Order for a Better Shortbread-Bien Cuit Bakery

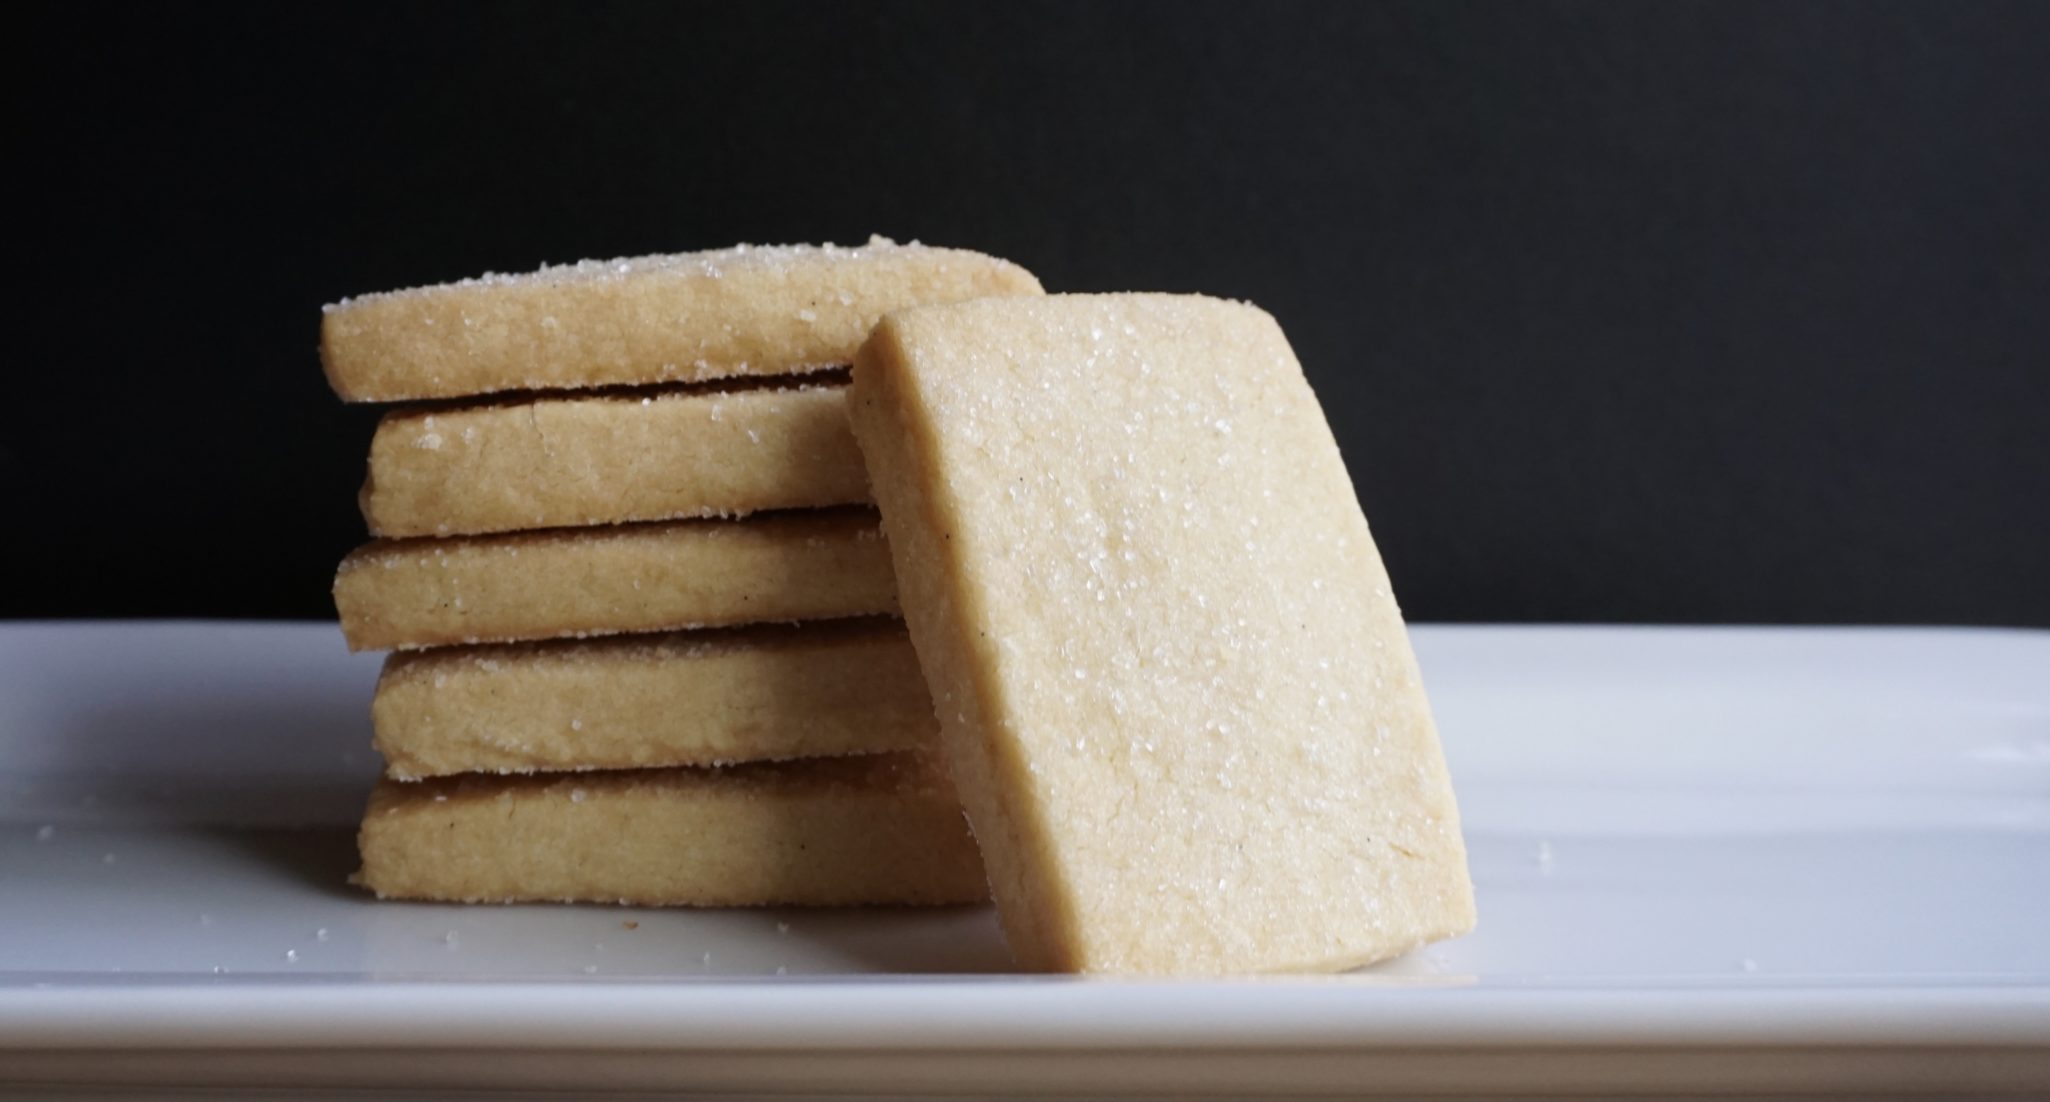
I love shortbread and any excuse to bake a batch, I am all there.  So when Amanda Hesser posted an article on a favorite shortbread that graced their office meetings, all I could think was, do I have butter in the fridge?

Duh, of course.

The title of her article, The World’s Best Shortbread Is No Longer Sold-but We Got The Recipe.

Whaat? World’s Best?  This was added incentive to make a batch.  After all, I think I already have the perfect Shortbread.  An essay entitled “My Father’s Shortbread” found long ago in Cuisine magazine was both a tribute to the author’s Scottish father and his recipe for shortbread.  It has been the cornerstone of my annual holiday cookie platter for more years than I can remember.  Bouchon’s Shortbread is similar in texture and flavor to my favorite and is my runner up.  Can Amanda’s best these? I’ll let you be the judge.

Update 10/2023:  Yes, I love shortbread and two additional recipes I have tried that are very similar to this shortbread are Ted Lasso’s Biscuits with the Boss.  Both are delightful, Christina Tosi’s and Apple TV’s (the producer of Ted Lasso).

Let’s get busy…

shortbread dough 1

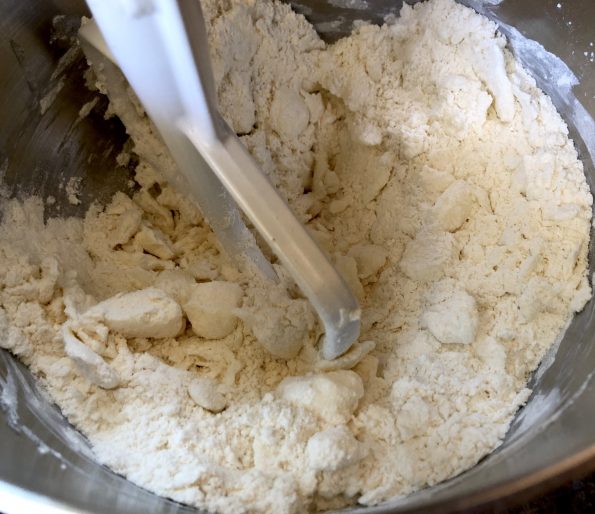
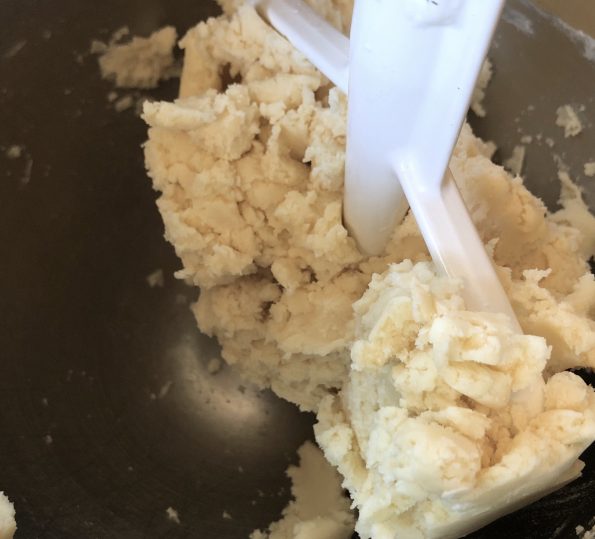
The dough comes together easily.  The dry ingredients are blended briefly in a mixer and pieces of cold butter are added and mixed at low speed just until the dough comes together.  Do not overmix.

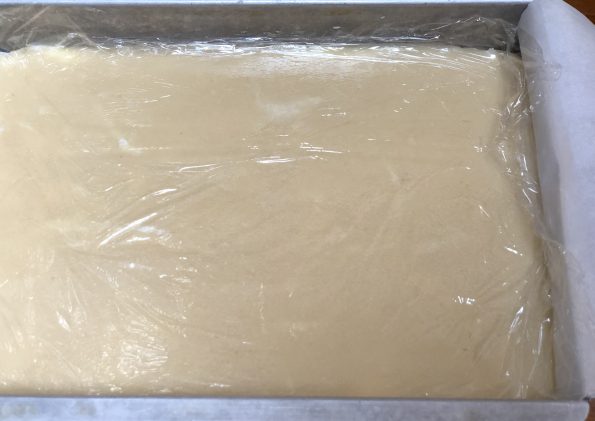
Press the dough evenly into a PARCHMENT lined 9×13 baking pan. The parchment should hang over the sides. Cover the dough and refrigerate overnight.  The parchment will make it easier to remove the cookies after baking.

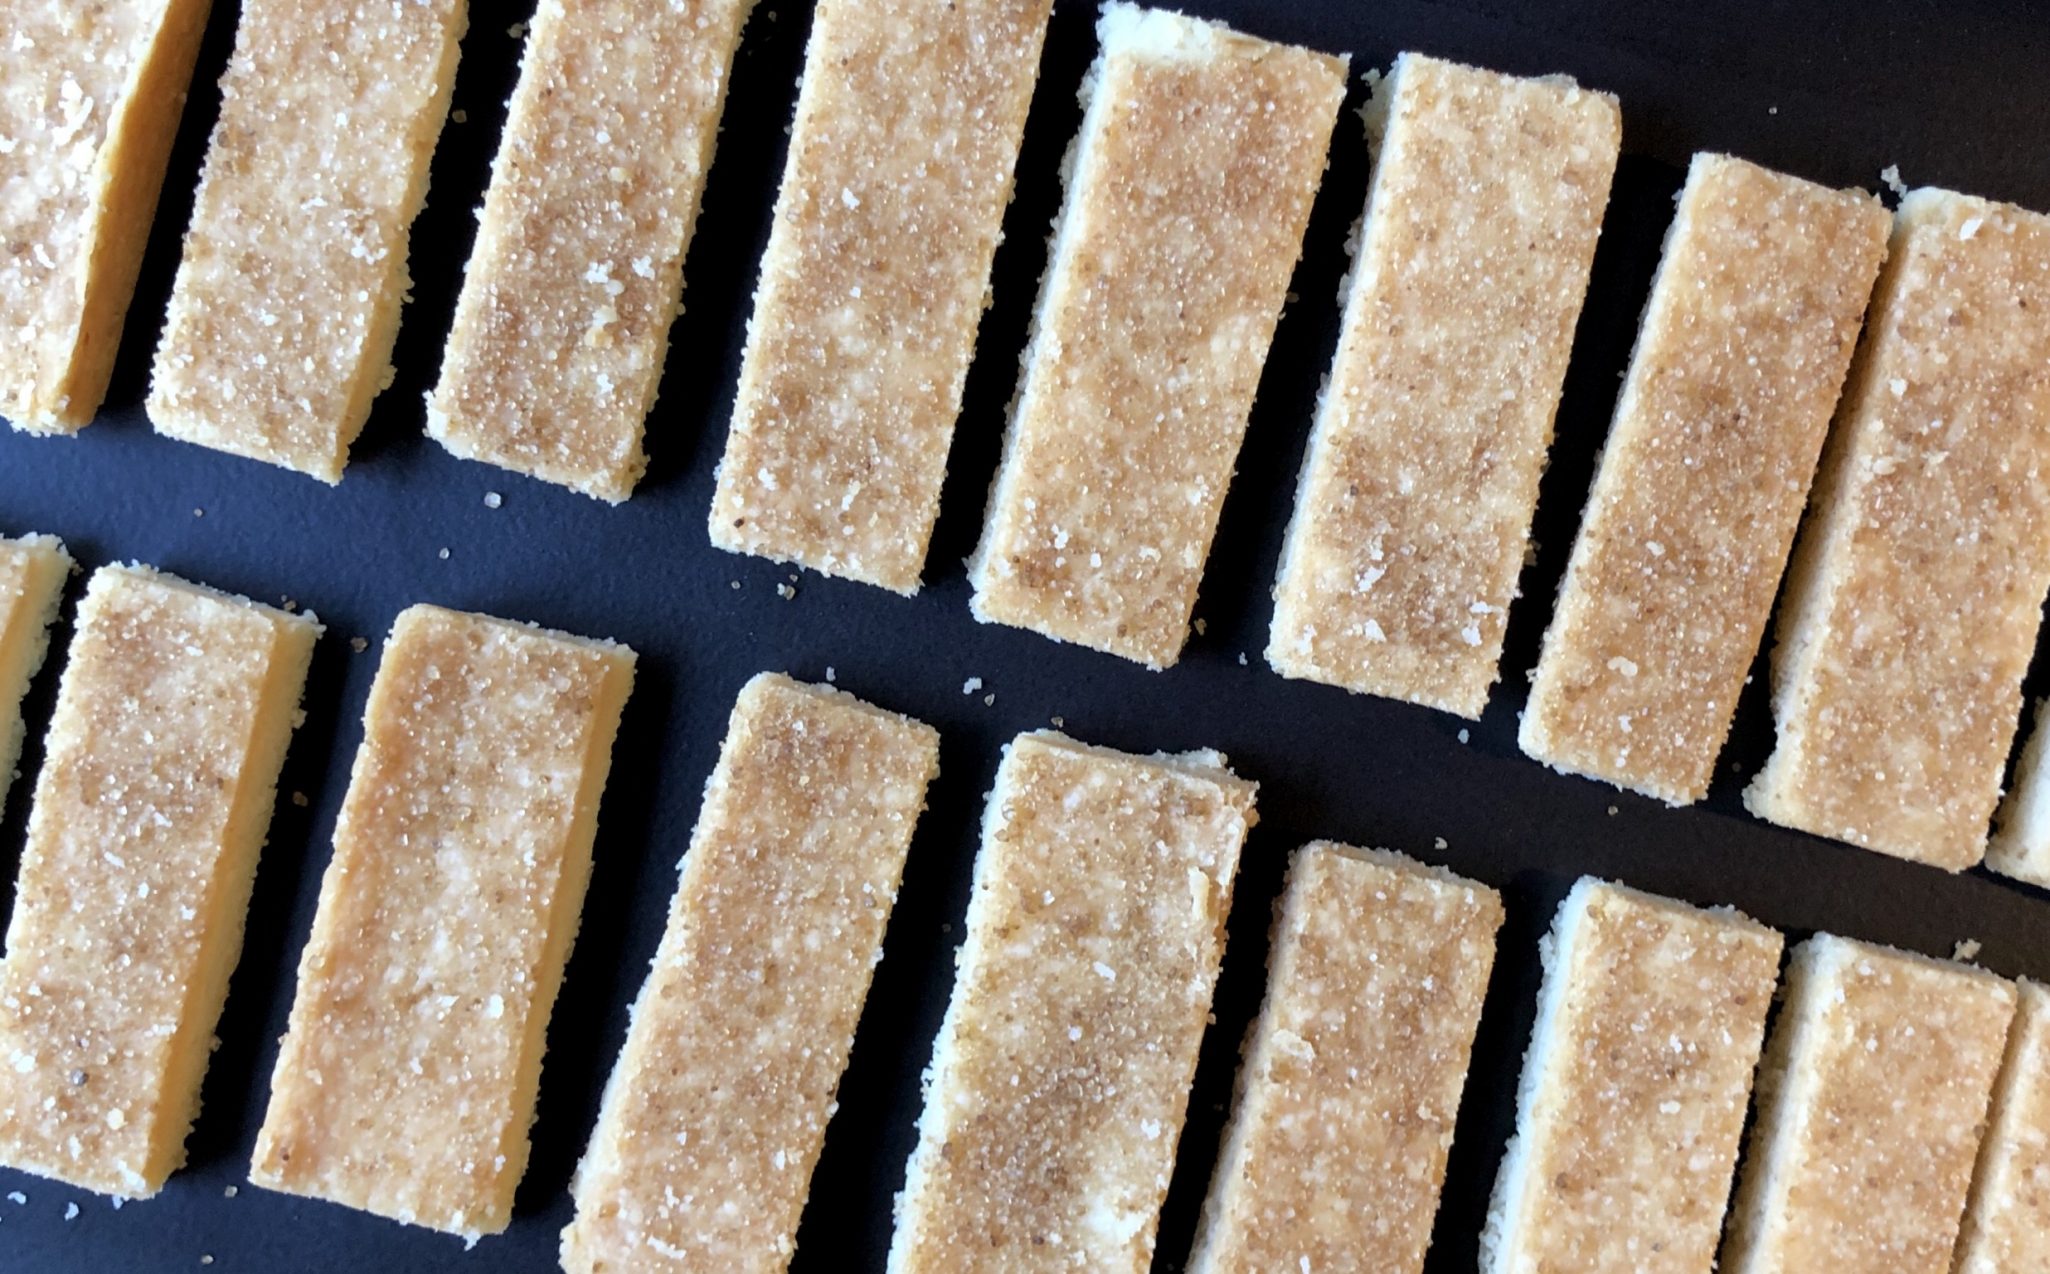
The dough should be about 3/8 inch thick. Total baking time for my batch was 50 minutes, so start checking early and rotate pan at the halfway mark.  You want a nice golden brown.  Sprinkle the Demerara Sugar on the cookie as soon as the pan comes out of the oven.  It will adhere better.  At the 5 minute mark when I tried removing the shortbread from the pan, it cracked as the parchment gave way.  Next time I might try cutting the cookies in the pan, letting it cool and then removing them.  They’re a bit fragile so you may lose a couple while removing it from the pan.  Lucky you, you get to eat those pieces.

I will admit, they’re pretty good.  The biggest difference is the use of powdered sugar instead of granulated sugar.  Powdered sugar has cornstarch and lowers the protein content of the dough.  This creates a less dense, softer cookie.  It has the prerequisite buttery flavor, but the texture is different.  The sprinkling of sugar (use Demerara or Turbinado) on the top gives these cookies a nice crunch. I love that crisp resistance you get when you bite into a classic shortbread cookie, the sugar gives that crunch. Next time I’ll try European butter to up my butter game.  After rereading Ms. Hesser’s article, with the low baking temperature, I probably could have left the cookies in for a bit longer.  This might have added some crispness and flakiness without the shortbread getting too dark.

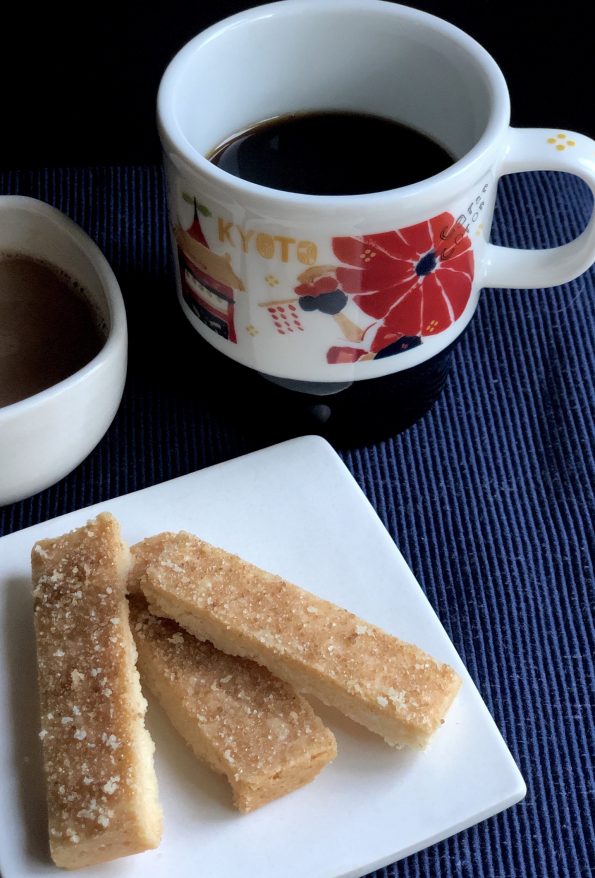
A steaming cup of coffee or tea and a few of these biscuits make for a lovely afternoon break.  Turning on Downton Abbey would make it perfect!  Update: 10/2023 If not Downton Abbey, Ted Lasso would be a great watch!

Bien Cuit Shortbread

Course cookies
Cuisine American
Keyword Shortbread
Prep Time 15 minutes

Ingredients

  • 302 grams unsalted butter
  • 93 grams confectioners' sugar
  • 3.5 grams kosher salt
  • 302 grams all-purpose flour
  • 1/8 cup regular or raw sugar for sprinkling

Instructions

  • Line a 13x9-inch baking sheet or baking dish with parchment paper.
  • Cut the cold butter and reserve at room temperature to temper slightly.
  • Mix the confectioners’ sugar, salt, and flour in a mixer fitted with a paddle attachment. Mix for a few seconds to combine the dry ingredients.
  • Add the cubed butter and mix on low speed until a smooth dough is formed and butter is fully incorporated.
  • At first, the dough will look extremely flaky and dry; let it keep mixing and it will eventually come together into a dough.
  • Dump the dough into the baking sheet ordish and spread it evenly to the corners. Cover with plastic wrap and chill overnight.
  • The next day, heat the oven to 300°Dock the dough every inch or so with a fork. Bake until the shortbread is golden brown, 60-75 minutes.
  • Remove the pan from the oven and let cool for 5 minutes. Turn the shortbread out onto a cutting board, and slice into 4-inch x ¾-inch slices. Sprinkle with raw sugar and transfer to a baking rack to cool completely. Store in airtight containers.

Notes

From a commenter on the original recipe:  
I went to King Arthur Flour's website. They have a list of ingredient conversion and I trust them, so here's what they say:
302 grams butter = 1 1/3 cup (2 2/3 sticks)
93 grams unsifted confectioner's sugar = .8 cups (a bit more than 3/4 cup + 1 tablespoon)
3.5 grams diamond crystal salt = 1 tsp on my kitchen scale (Canning salt, which has a very similar texture to table salt, comes out to 1/2 tsp)
302 grams flour = 2 1/2 cups (I'm betting this is sifted but I'm not sure)


Ladies and Gentlemen, This is Cookie Number 5 (Nibby Buckwheat Butter Cookies)

Ladies and Gentlemen, This is Cookie Number 5 (Nibby Buckwheat Butter Cookies)

One of my favorite baking goddesses (I have many) is Alice Medrich. Yes, that Alice, Chocolate Maven, Dessert Queen and creator of quite possibly the best damn lemon bars ever. Don’t get me started on her Snickerdoodles, so good.  Cookie number 5 is from her book, Pure Desserts, a shortbread cookie with a twist-Nibby Buckwheat Butter Cookies.

If you have been following 3jamigos you know that I fall in the shortbread camp for my favorite type of cookie. Buttery goodness in bite-size morsels with a hint of sweetness, sign me up.  Well lucky me, this cookie falls in that camp-buttery, slightly sweet, tender, nice sandy texture, and a cool, slightly bluish brown hue.  The cookies get kicked up a notch with the addition of cocoa nibs. This adds a subtle hint of chocolate at the finish. The color and slight earthiness from the buckwheat and the “is it chocolate or isn’t it?” from the nibs, are a cookie mindblower.

So if you are looking for a shortbread that is a little different but still buttery delicious, put this one on your list.

Bonus: Easy to make.

Do not overbeat when creaming the butter and sugar which will incorporate too much air into the dough (I might have done this which accounts for the puffiness and soft edges).  The mixture should be smooth and creamy.  Add flour and beat until it comes together, don’t overmix.

The dough can be shaped into a log, chilled and finished as slice and bake cookies.  The dough can be stored in the fridge or freezer so you have freshly baked cookies when family and friends drop by.  Everyone will think you are a badass baking queen.

Or you can get fancy-schmancy and roll out the dough and cut out cookies for a more festive look.  Put the dough in a gallon sized Ziploc bag and roll to the edges.  This will give you a sheet of dough about 1/4 inch thick, perfect for cutout cookies.  I used a fluted metal cutter which may work better than a plastic one as you have to cut through the nibs. To add festive bling, sprinkle the cookies with sanding sugar and a touch of flake salt (like Maldon) before baking.  That takes these cookies to the “bend and snap” (Legally Blond-remember?) level of attention.

Chill the dough after cutting out the cookies, the edges won’t spread as much. I was having oven issues so the edges ended up less defined. But still yummy!

Okay, not hooked yet? Still looking for a classic shortbread, try this onemy favorite traditional Scottish Shortbread or Bouchon’s Shortbread.

Nibby Buckwheat Butter Cookies

Nibby Buckwheat Butter Cookie

A delicious riff on shortbread, buckwheat flour and cocoa nibs take these cookies to a new level.
Course cookies
Cuisine American
Keyword NIbby Buckwheat Butter Cookies
Author Adapted from 101 Cookbooks (Alice Medrich)

Ingredients

  • 1 1/4 cups 5.6 ounces all-purpose flour
  • 3/4 cup 3 ounces buckwheat flour
  • 1/2 pound 2 sticks unsalted butter, softened
  • 2/3 cup sugar
  • 1/4 teaspoon salt
  • 1/3 cup cacao nibs
  • 1 1/2 teaspoons pure vanilla extract

Instructions

  • Whisk the all-purpose and buckwheat flours together in a medium bowl. Set aside. In a medium bowl, with the back of a large spoon or with an electric mixer, beat the butter with the sugar and salt for about 1 minute, until smooth and creamy but not fluffy. Mix in the nibs and vanilla. Add the flours and mix just until incorporated. Scrape the dough into a mass and, if necessary, knead it with your hands a few times, just until smooth.
  • Form the dough into a 12 by 2 inch log. Wrap and refrigerate for at least 2 hours, or, preferably overnight. Or place dough in a gallon ziploc and roll to the edges of the bag.  Dough will be about 1/4 inch thick.  Chill thoroughly before cutting out shapes.  These cookies do puff and expand a bit so also chill dough after cutting to ensure crisp edges. 
  • Position the racks in the center of the oven and preheat the oven to 350F degrees. Line the baking sheets with parchment paper.
  • Use a sharp knife to cut the cold dough log into 1/4-inch-thick slices. Place the cookies at least 1 1/2 inches apart on the baking sheets.* Or follow instructions for cut-out cookies.
  • Optional:  Sprinkle cookies with a bit of sanding sugar and an even tinier bit of flake salt like Maldon before baking.
  • Bake until the cookies are just beginning to color at the edges, 12 to 14 minutes, rotating the baking sheet from front to back halfway through the baking. 
  • Cool the cookies in the pans on a rack, or slide the parchment liners carefully onto the rack to free up the pans. Let cool completely.

Notes

The cookies are delicious fresh but even better the next day. They can be stored in an airtight container for at least one month. My batch made about 30 3-inch cookies. Recipe states approximately 48 2-1/2 inch cookies.