Crispy Cheesy Pan Pizza, Knighted by King Arthur… Flour That Is
In this topsy turvy year, where flour has been in short supply since the COVID crisis, King Arthur Flour selected a pizza as their recipe of the year. It’s easy to make with the caveat it does require a good amount of time, so plan in advance. But it is so worth the time, it’s delicious.
Years of pizza filled kids’ events-birthday parties, sports parties, playdates at Chuckie Cheese, and school functions, have left me with an aversion to pizza. But the kids have grown up, no more bad pizza, only pizza by choice, my choice.
During quarantine, our daily routine always includes someone asking, what’s for lunch? To which Wes has lately been replying, how about pizza? A couple of friends have raved about King Arthur’s 2020 recipe, Crispy Cheesy Pan Pizza which meant, pizza time baby.
Crispy Cheesy Pan Pizza-Doing the Happy Dance
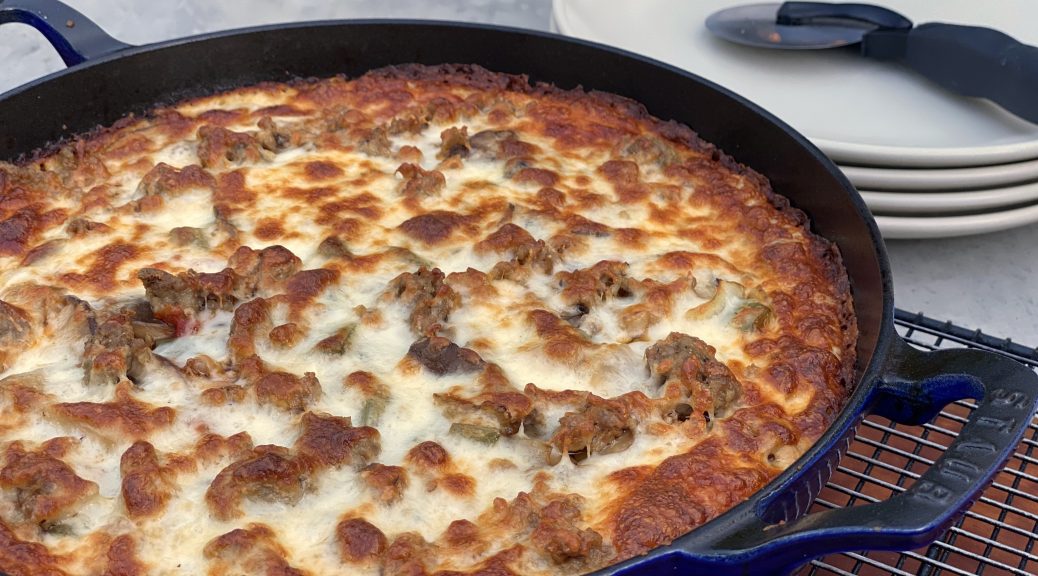
If you haven’t ever made your own bread, this is a great place to start. This is one of those insanely popular, deservedly so, no-knead bread recipes. Zero intimidation, a little bit of folding and lots of raves at the end, yep, it’s a keeper. The extended rest time gives rise (lol) to a crispy, airy, yummy crust. The center is soft and pillowy and as you move to the perimeter it takes on a nice crunch.
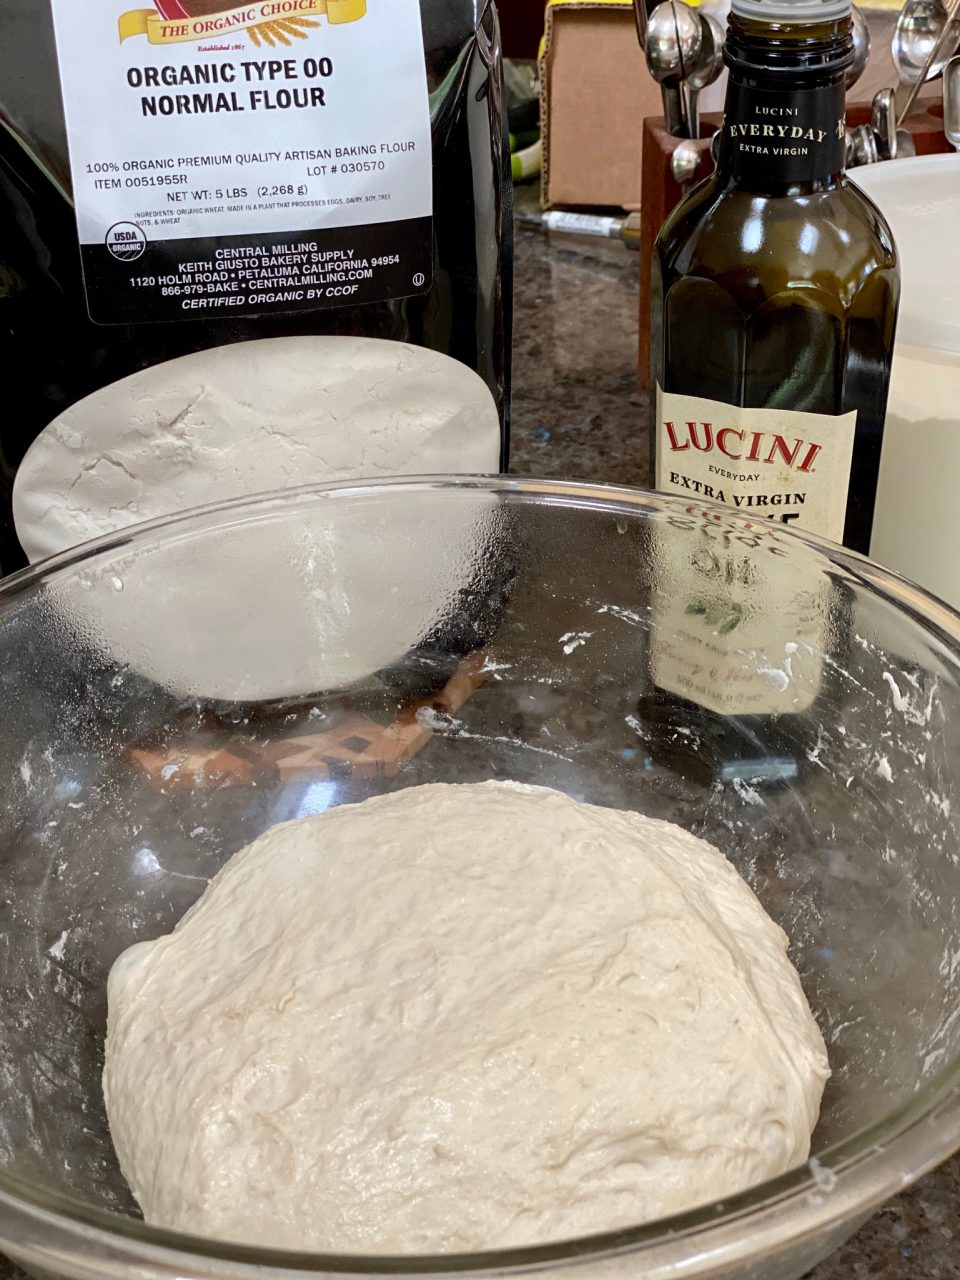
I’m sure the flour shortage during the time of COVID was pushed to new heights with this recipe. I used a 00 flour from Central Milling, I was out of KA AP flour. You could sub bread flour by Gold Medal of Pillsbury as the protein content is a little higher and closer to King Arthur AP flour. You make the dough, let it rest overnight in the fridge before putting on the final touches, TOPPINGS and then baking.
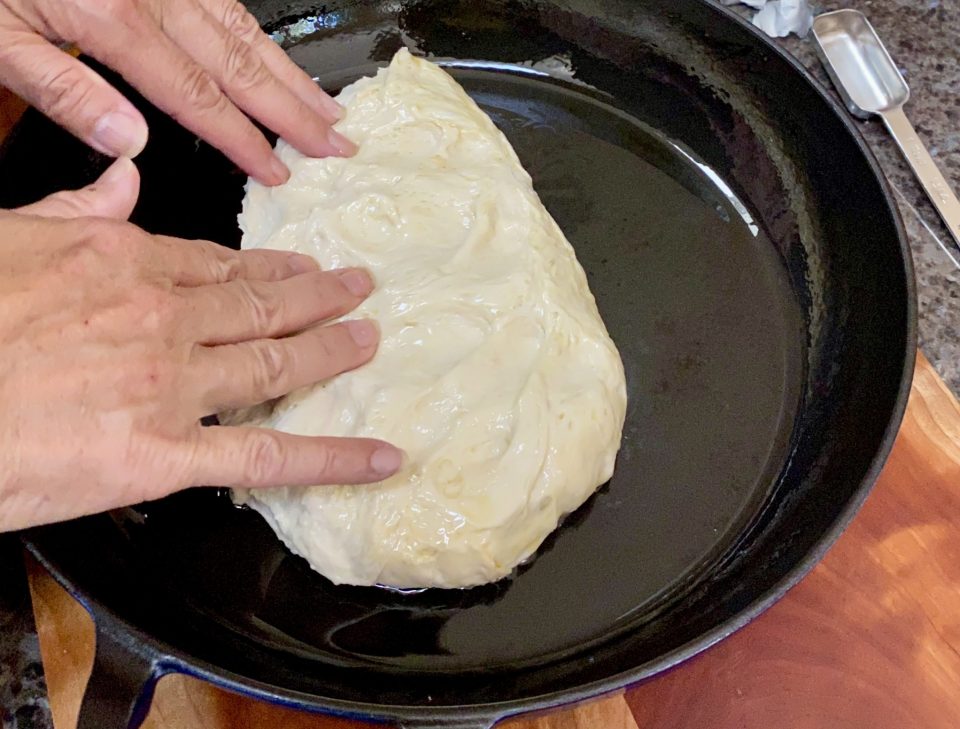
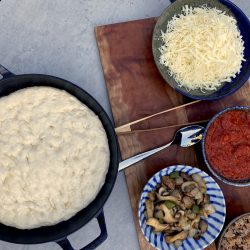
So a day later, take the dough out of the fridge and smoosh it into a cast-iron skillet, I used my Staub pan or a 9-inch cake pan would work too. But, keep in mind a heavy bottom skillet, especially cast-iron, enhances the crispiness.
Toppings
The King Arthur Flour recipe is all about the crust, no toppings so I went in search of a BOSS tomato sauce for the pizza. First and last stop, Serious Eats. New York Style Pizza Sauce, easy, tasty, a little spicy, a little sweet, a touch of basil, onion, and oregano, the perfect match. Then the killer, butter is added to the sauce, which accentuates the crust. OMGoodness, make this pizza.
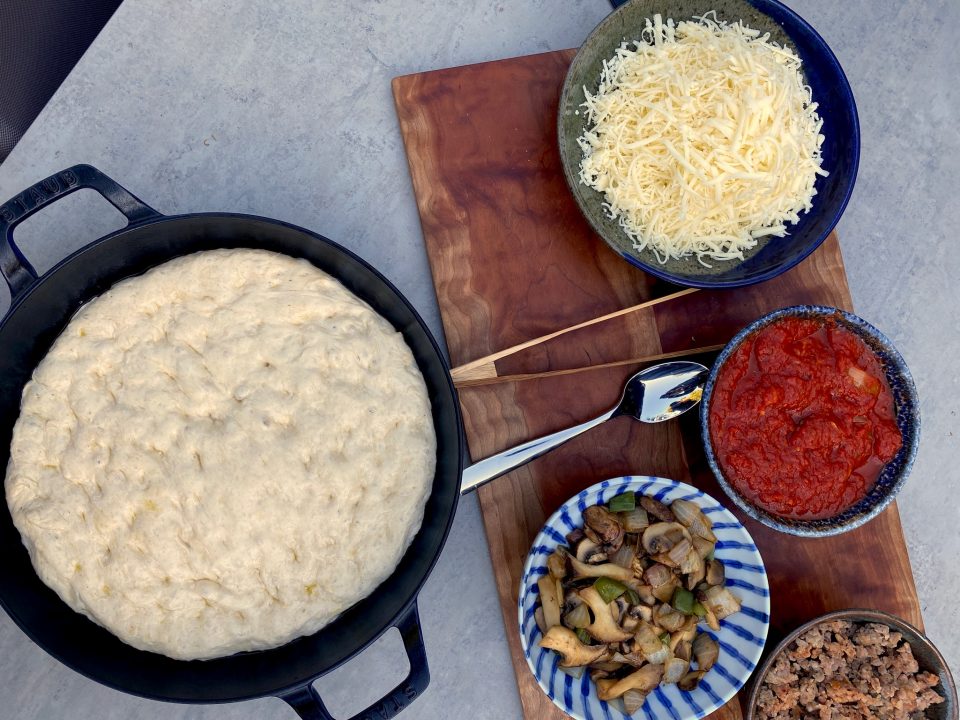
Toppings are whatever your heart desires. Our usual includes sausage and the triple-play of mushrooms, onions, and peppers. Pre-cook toppings first. My latest kick is adding arugula or micro-greens to the finished pizza.
Let me reiterate…Make this pizza, SOON.
Crispy Cheesy Pan Pizza
Equipment
- Cast-iron skillet or heavy bottom pan
Ingredients
Crust
- 2 cups King Arthur Unbleached All-Purpose Flour 240g I used 00 flour from Central MIlling
- 3/4 teaspoon salt
- 1/2 teaspoon instant yeast or active dry yeast
- 3/4 cup lukewarm water 170g
- 1 tablespoon olive oil 13g
- 1 1/2 tablespoons olive oil for the pan 18g
Toppings
- 6 ounces mozzarella, grated about 1 1/4 cups, loosely packed* 170g
- 1/3 to 1/2 cup tomato sauce or pizza sauce 74g to 113g homemade or storebought
- freshly grated hard cheese and fresh herbs for sprinkling on top after baking optional
- handful of fresh greens like arugula optional
- toppings of choice
Tomato Sauce from Serious Eats
Instructions
- Weigh your flour; or measure it by gently spooning it into a cup, then sweeping off any excess. I really like using a scale. Place the flour, salt, yeast, water, and 1 tablespoon (13g) of the olive oil in a medium-large mixing bowl.
- Stir everything together to make a shaggy, sticky mass of dough with no dry patches of flour, about 1 minute by hand, using a spoon or spatula. Scrape down the sides of the bowl to gather the dough into a rough ball; cover the bowl.
- After 5 minutes, uncover the bowl and reach a bowl scraper or your wet hand down between the side of the bowl and the dough, as though you were going to lift the dough out. Instead of lifting, stretch the bottom of the dough up and over its top. Repeat three more times, turning the bowl 90° each time. This process of four stretches, which takes the place of kneading, is called a fold.
- Re-cover the bowl, and after 5 minutes do another fold. Wait 5 minutes and repeat; then another 5 minutes, and do a fourth and final fold. Cover the bowl and let the dough rest, undisturbed, for 40 minutes. Then refrigerate it for a minimum of 12 hours, or up to 72 hours. It'll rise slowly as it chills, developing flavor; this long rise will also add flexibility to your schedule.
- Refrigerate it for a minimum of 12 hours, or up to 72 hours. It'll rise slowly as it chills, developing flavor.
- About 3 hours before you want to serve your pizza, prep pan. Pour 1 1/2 tablespoons (18g) olive oil into a well-seasoned cast iron skillet that’s 10” to 11” diameter across the top, and about 9” across the bottom. Heavy, dark cast iron will give you a superb crust; but if you don’t have it, use another oven-safe heavy-bottomed skillet of similar size, or a 10” round cake pan or 9” square pan. Tilt the pan to spread the oil across the bottom, use a brush to spread some oil up the edges, as well.
- Transfer the dough to the pan and turn it once to coat both sides with the oil. After coating the dough in oil, press the dough to the edges of the pan, dimpling it using the tips of your fingers in the process. The dough may start to resist and shrink back; that’s OK, just cover it and let it rest for about 15 minutes, then repeat the dimpling/pressing. At this point the dough should reach the edges of the pan; if it doesn’t, give it one more 15-minute rest before dimpling/pressing a third and final time.
- Cover the crust and let it rise for 2 hours at room temperature. The fully risen dough will look soft and pillowy and jiggle when you gently shake the pan.
- About 30 minutes before baking, place one rack at the bottom of the oven and one toward the top (about 4" to 5" from the top heating element). Preheat the oven to 450°F.
- When you’re ready to bake the pizza, sprinkle about three-quarters of the mozzarella (a scant 1 cup) evenly over the crust. Cover the entire crust completely for those crispy, caramelized edges. Spread small spoonfuls of the sauce over the cheese. The first cheese layer helps prevent sogginess from the sauce. Sprinkle on the remaining mozzarella.
- Bake the pizza on the bottom rack of the oven for 18 to 20 minutes, until the cheese is bubbling and the bottom and edges of the crust are a rich golden brown (use a spatula to check the bottom). If the bottom is brown but the top still seems pale, transfer the pizza to the top rack and bake for 2 to 4 minutes longer. On the other hand, if the top seems fine but the bottom's not browned to your liking, leave the pizza on the bottom rack for another 2 to 4 minutes. Home ovens can vary a lot, so use the visual cues and your own preferences to gauge when you’ve achieved the perfect bake.
- Remove the pizza from the oven and place the pan on a heatproof surface. Run a table knife or spatula between the edge of the pizza and side of the pan to prevent the cheese from sticking as it cools. Let the pizza cool a little then transfer to a cooling rack or cutting surface. No soggy crusts.
New York-Style Pizza Sauce
Equipment
- Food mill, food processor, or hand blender
Ingredients
- 1 28-ounce can whole peeled tomatoes
- 1 tablespoon extra-virgin olive oil
- 1 tablespoon unsalted butter
- 2 medium cloves garlic grated on microplane grater (about 2 teaspoons)
- 1 teaspoon dried oregano
- Pinch red pepper flakes
- Kosher salt to taste
- 2 6-inch sprigs fresh basil with leaves attached
- 1 medium yellow onion peeled and split in half
- 1 teaspoon sugar
Instructions
- Combine butter and oil in medium saucepan and heat over medium-low heat until butter is melted. Add garlic, oregano, pepper flakes, and large pinch salt and cook, stirring frequently, until fragrant but not browned, about 3 minutes.
- Add tomatoes, basil sprigs, onion halves, and sugar. Bring to a simmer, reduce heat to lowest setting (bubbles should barely be breaking the surface), and cook, stirring occasionally, until reduced by 1/2, about 1 hour.
- Discard onions and basil stems. Season to taste with salt. Allow to cool and store in a covered container in the refrigerator for up to 2 weeks.
