Category: Slice & Bake

Ladies and Gentlemen, This is Cookie Number 5 (Nibby Buckwheat Butter Cookies)

Ladies and Gentlemen, This is Cookie Number 5 (Nibby Buckwheat Butter Cookies)

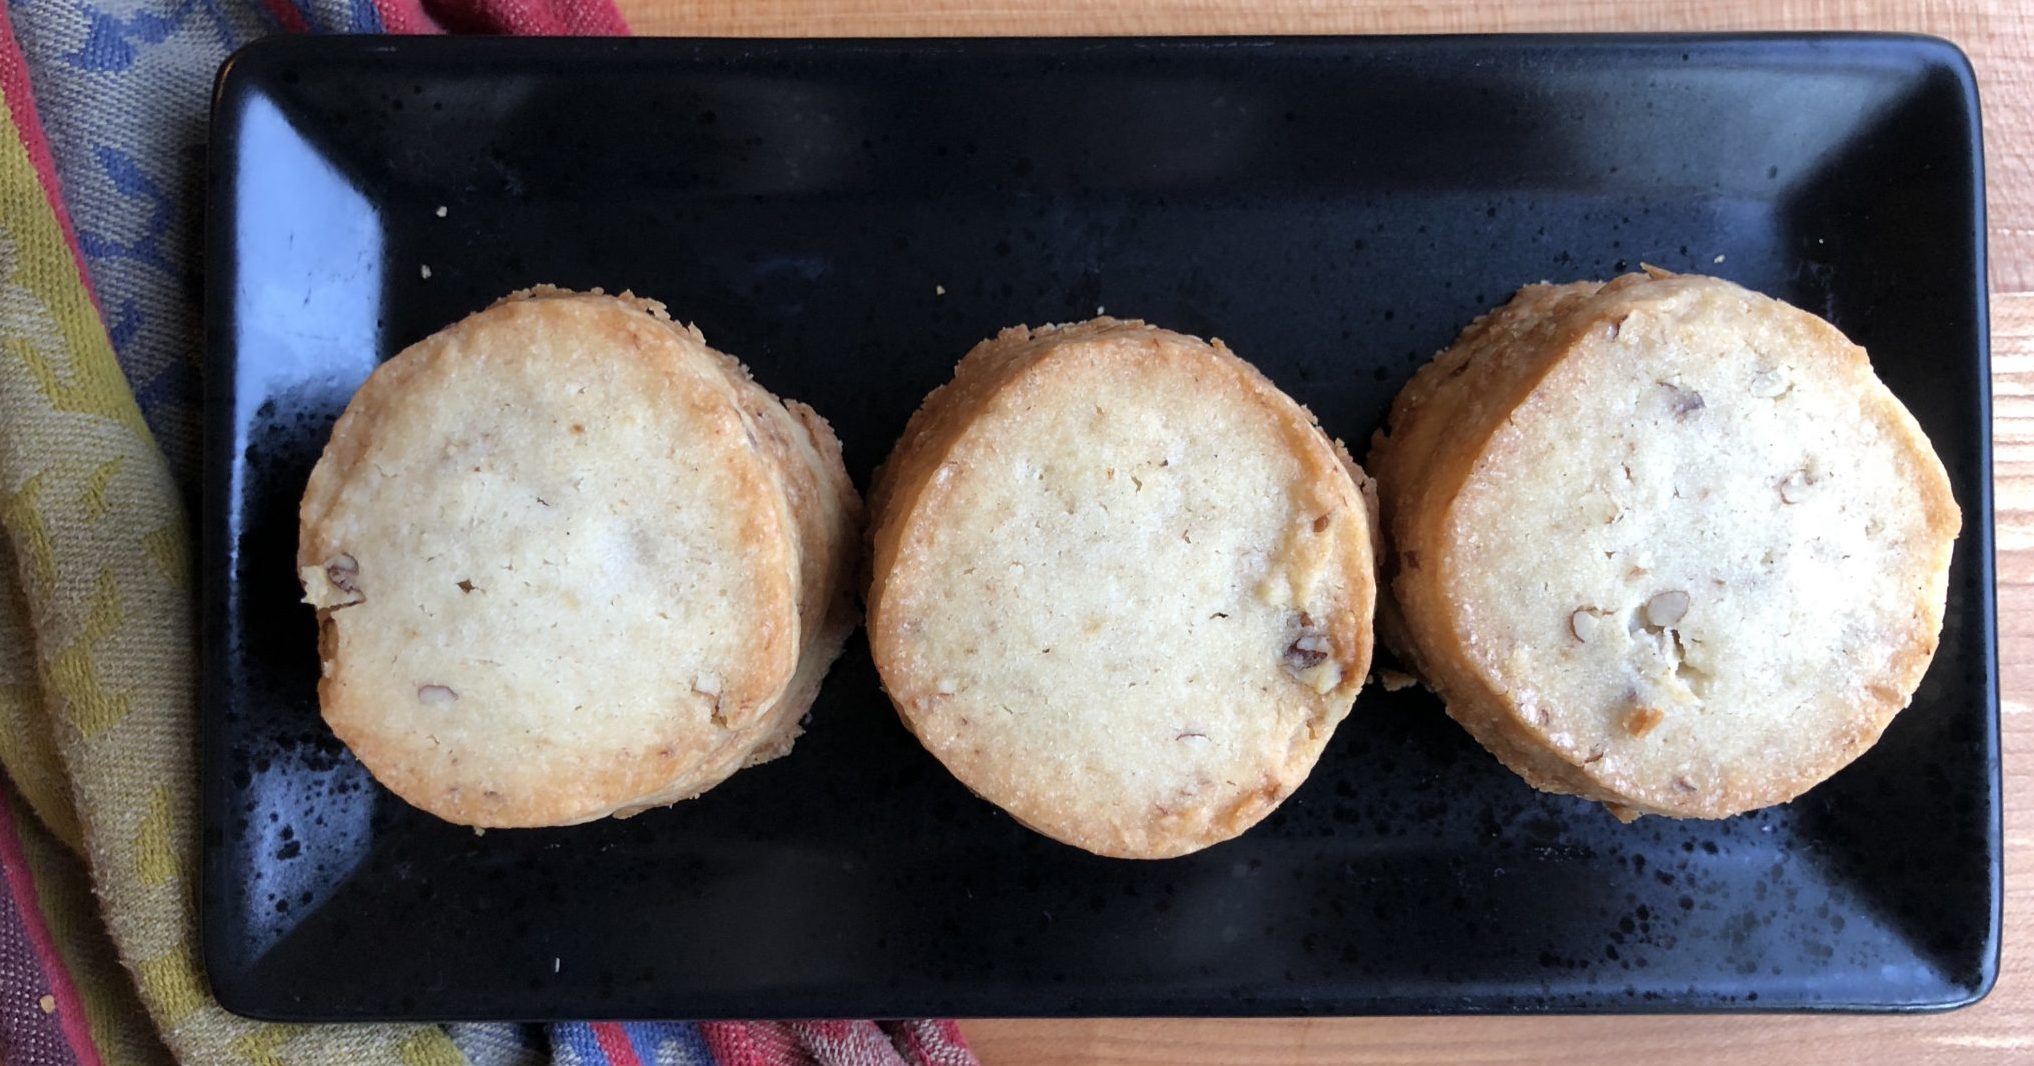
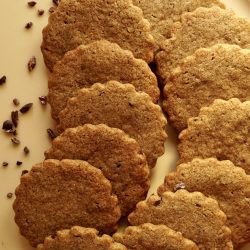
One of my favorite baking goddesses (I have many) is Alice Medrich. Yes, that Alice, Chocolate Maven, Dessert Queen and creator of quite possibly the best damn lemon bars ever. Don’t get me started on her Snickerdoodles, so good.  Cookie number 5 is from her book, Pure Desserts, a shortbread cookie with a twist-Nibby Buckwheat Butter Cookies.

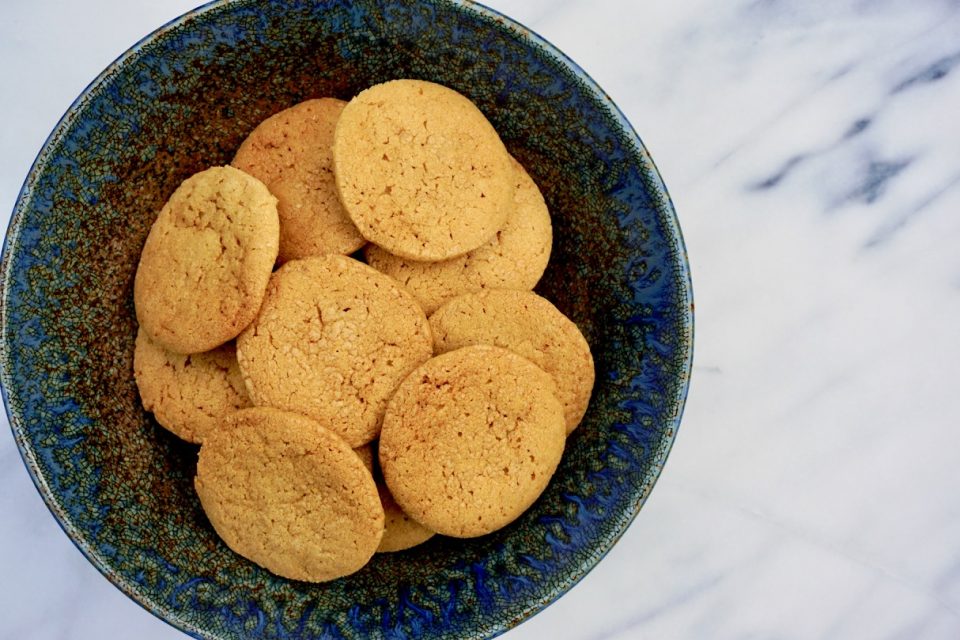
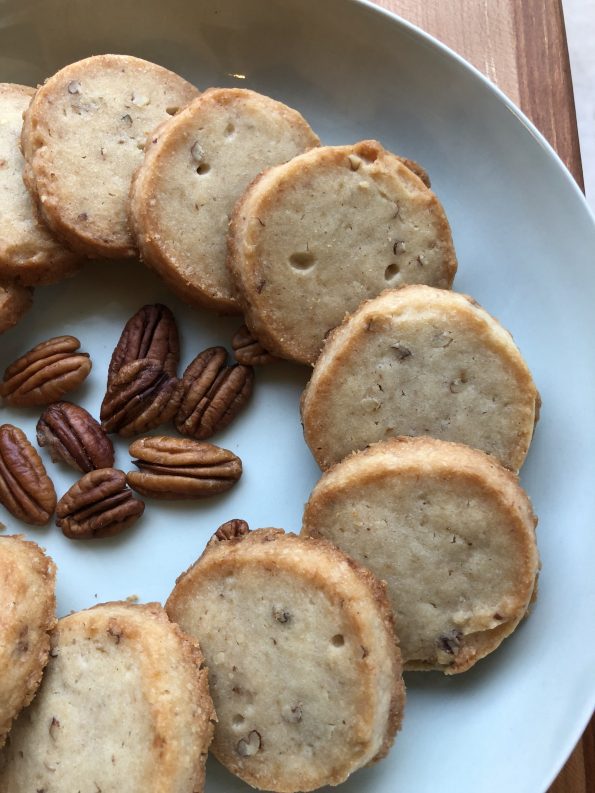
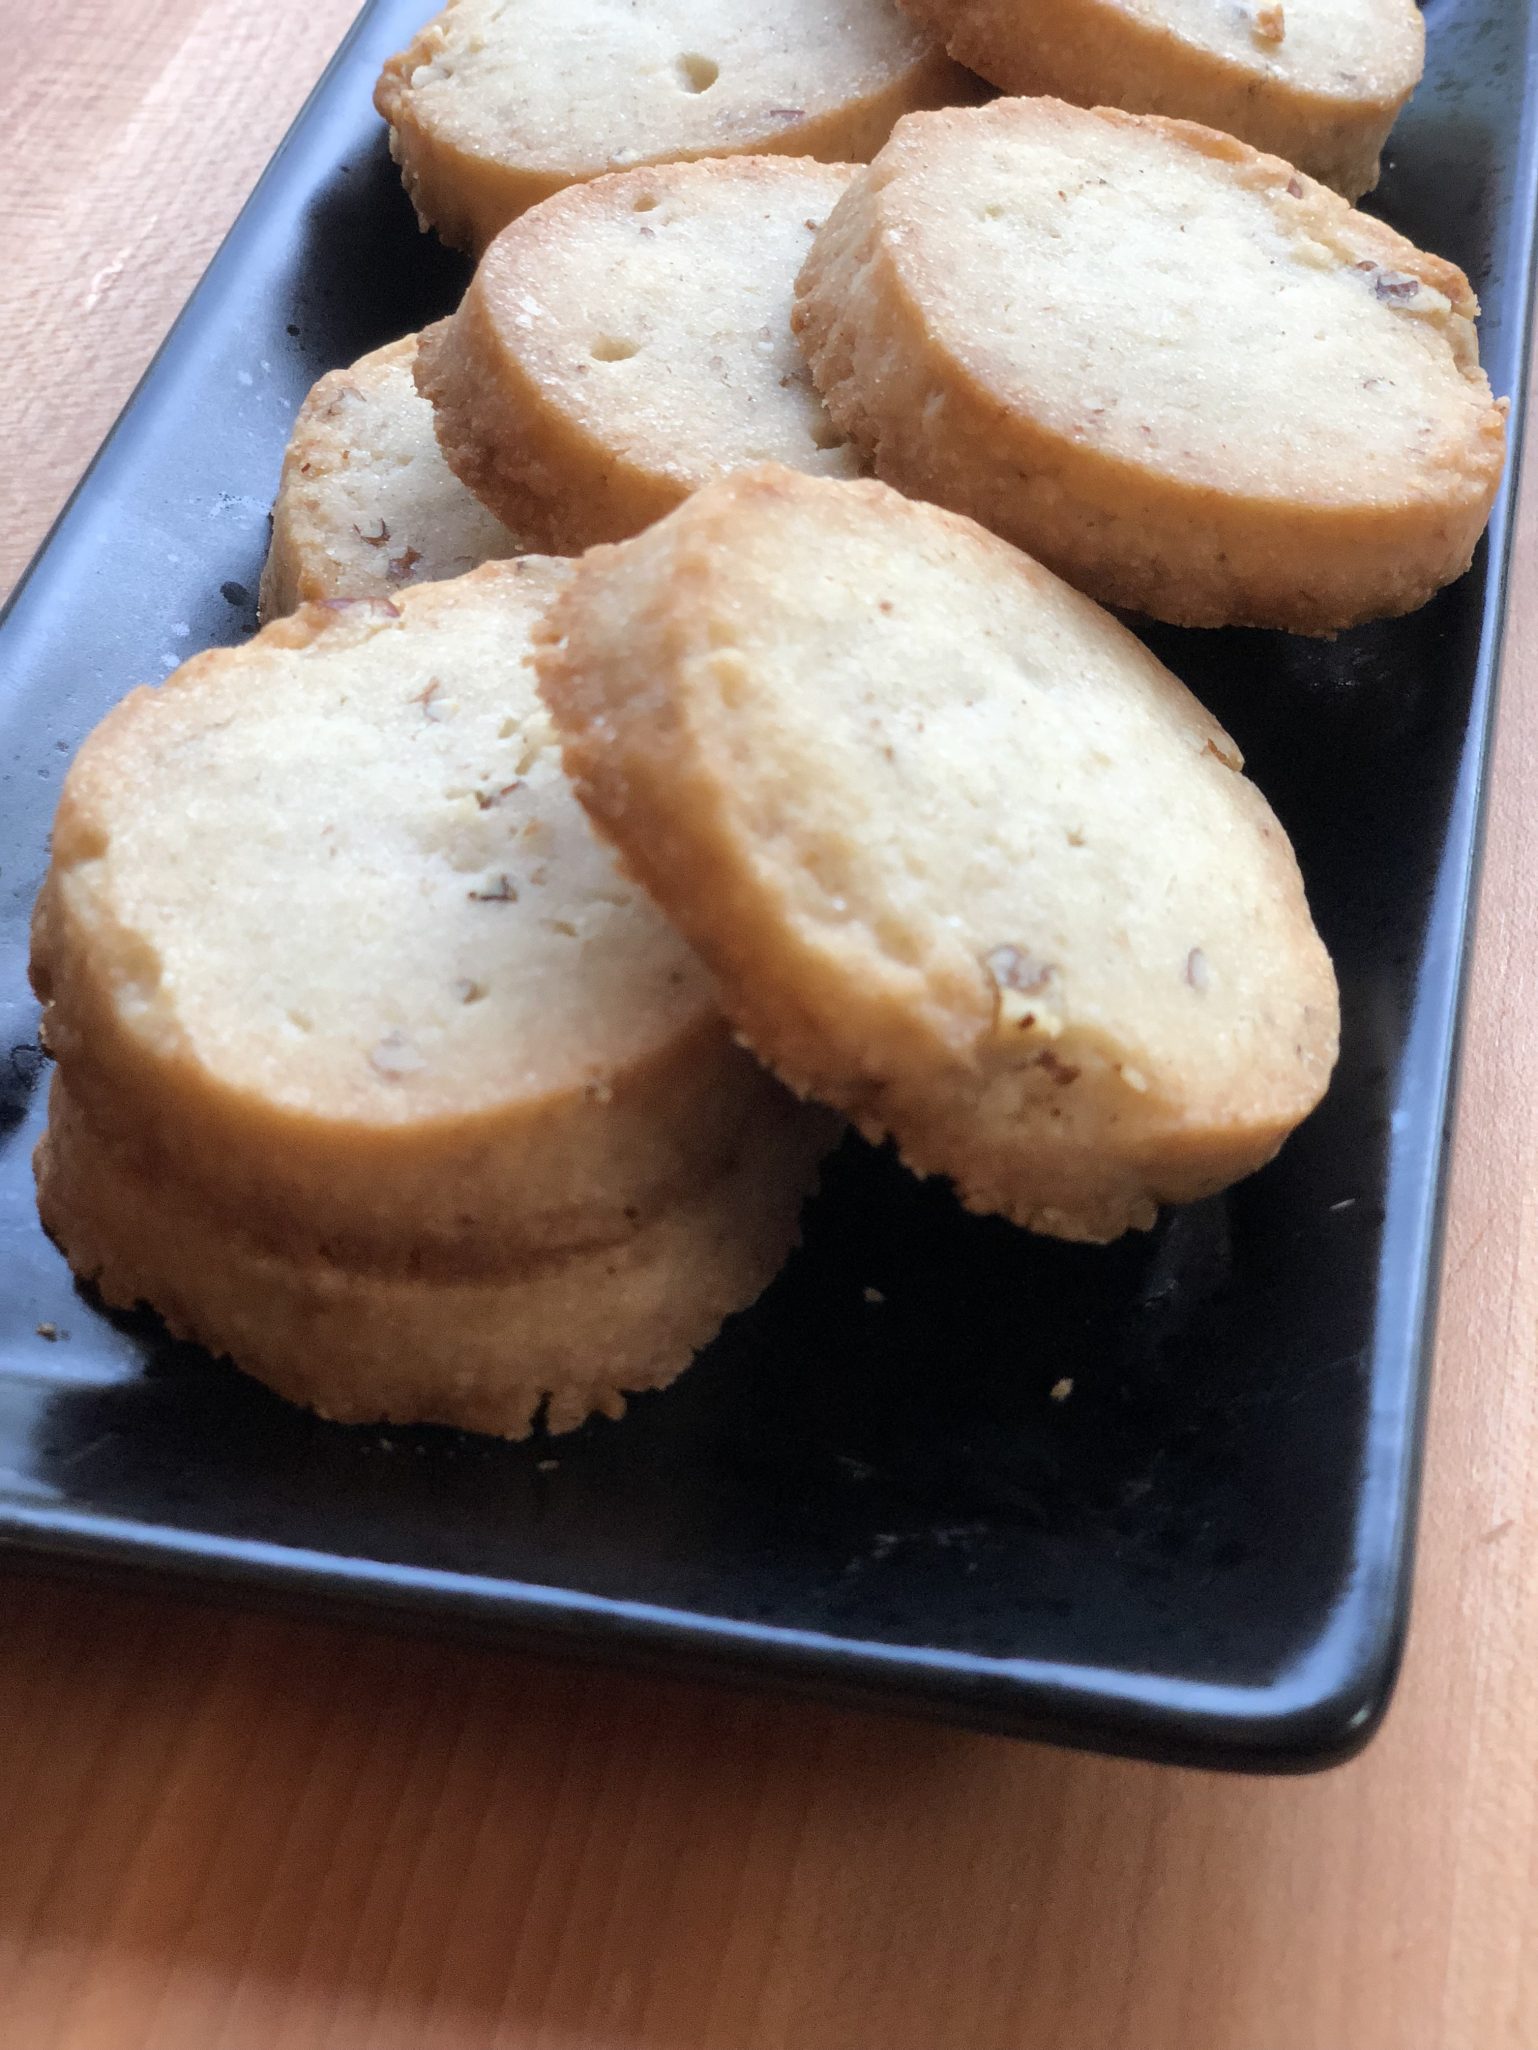
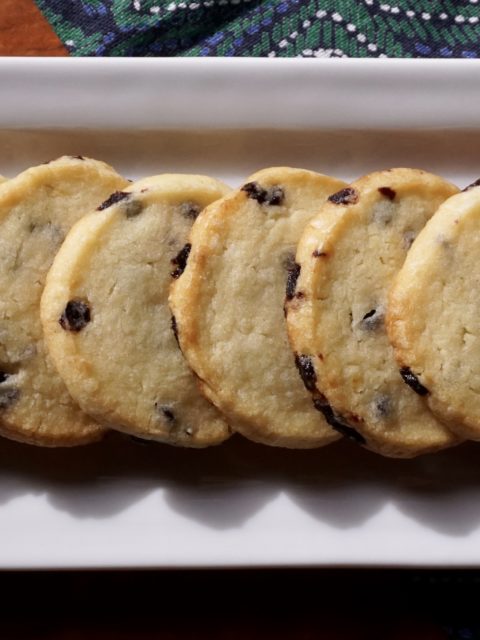
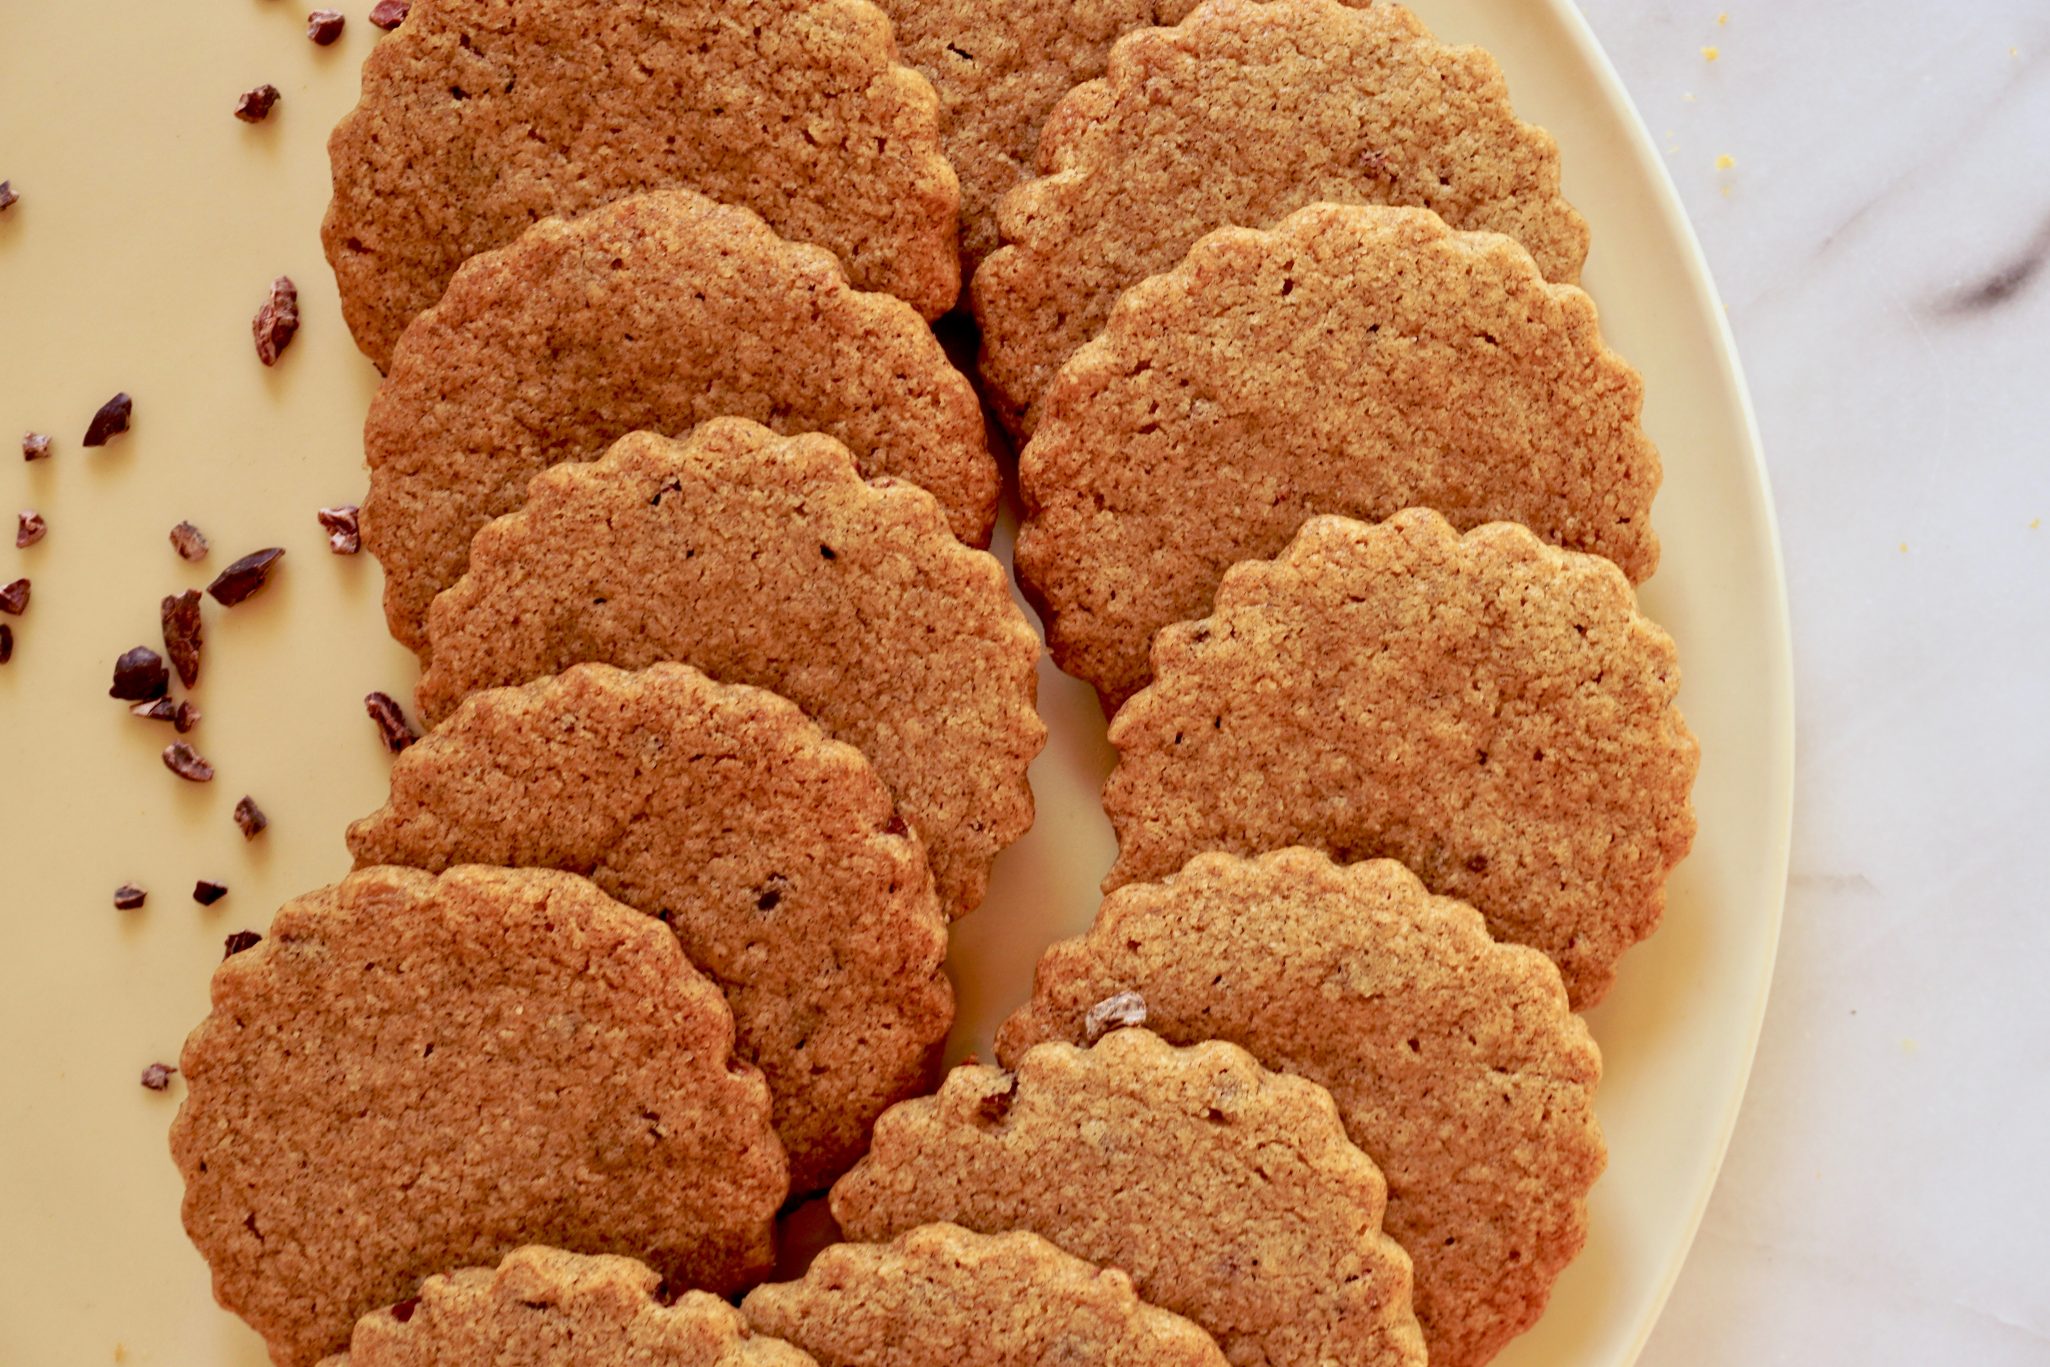
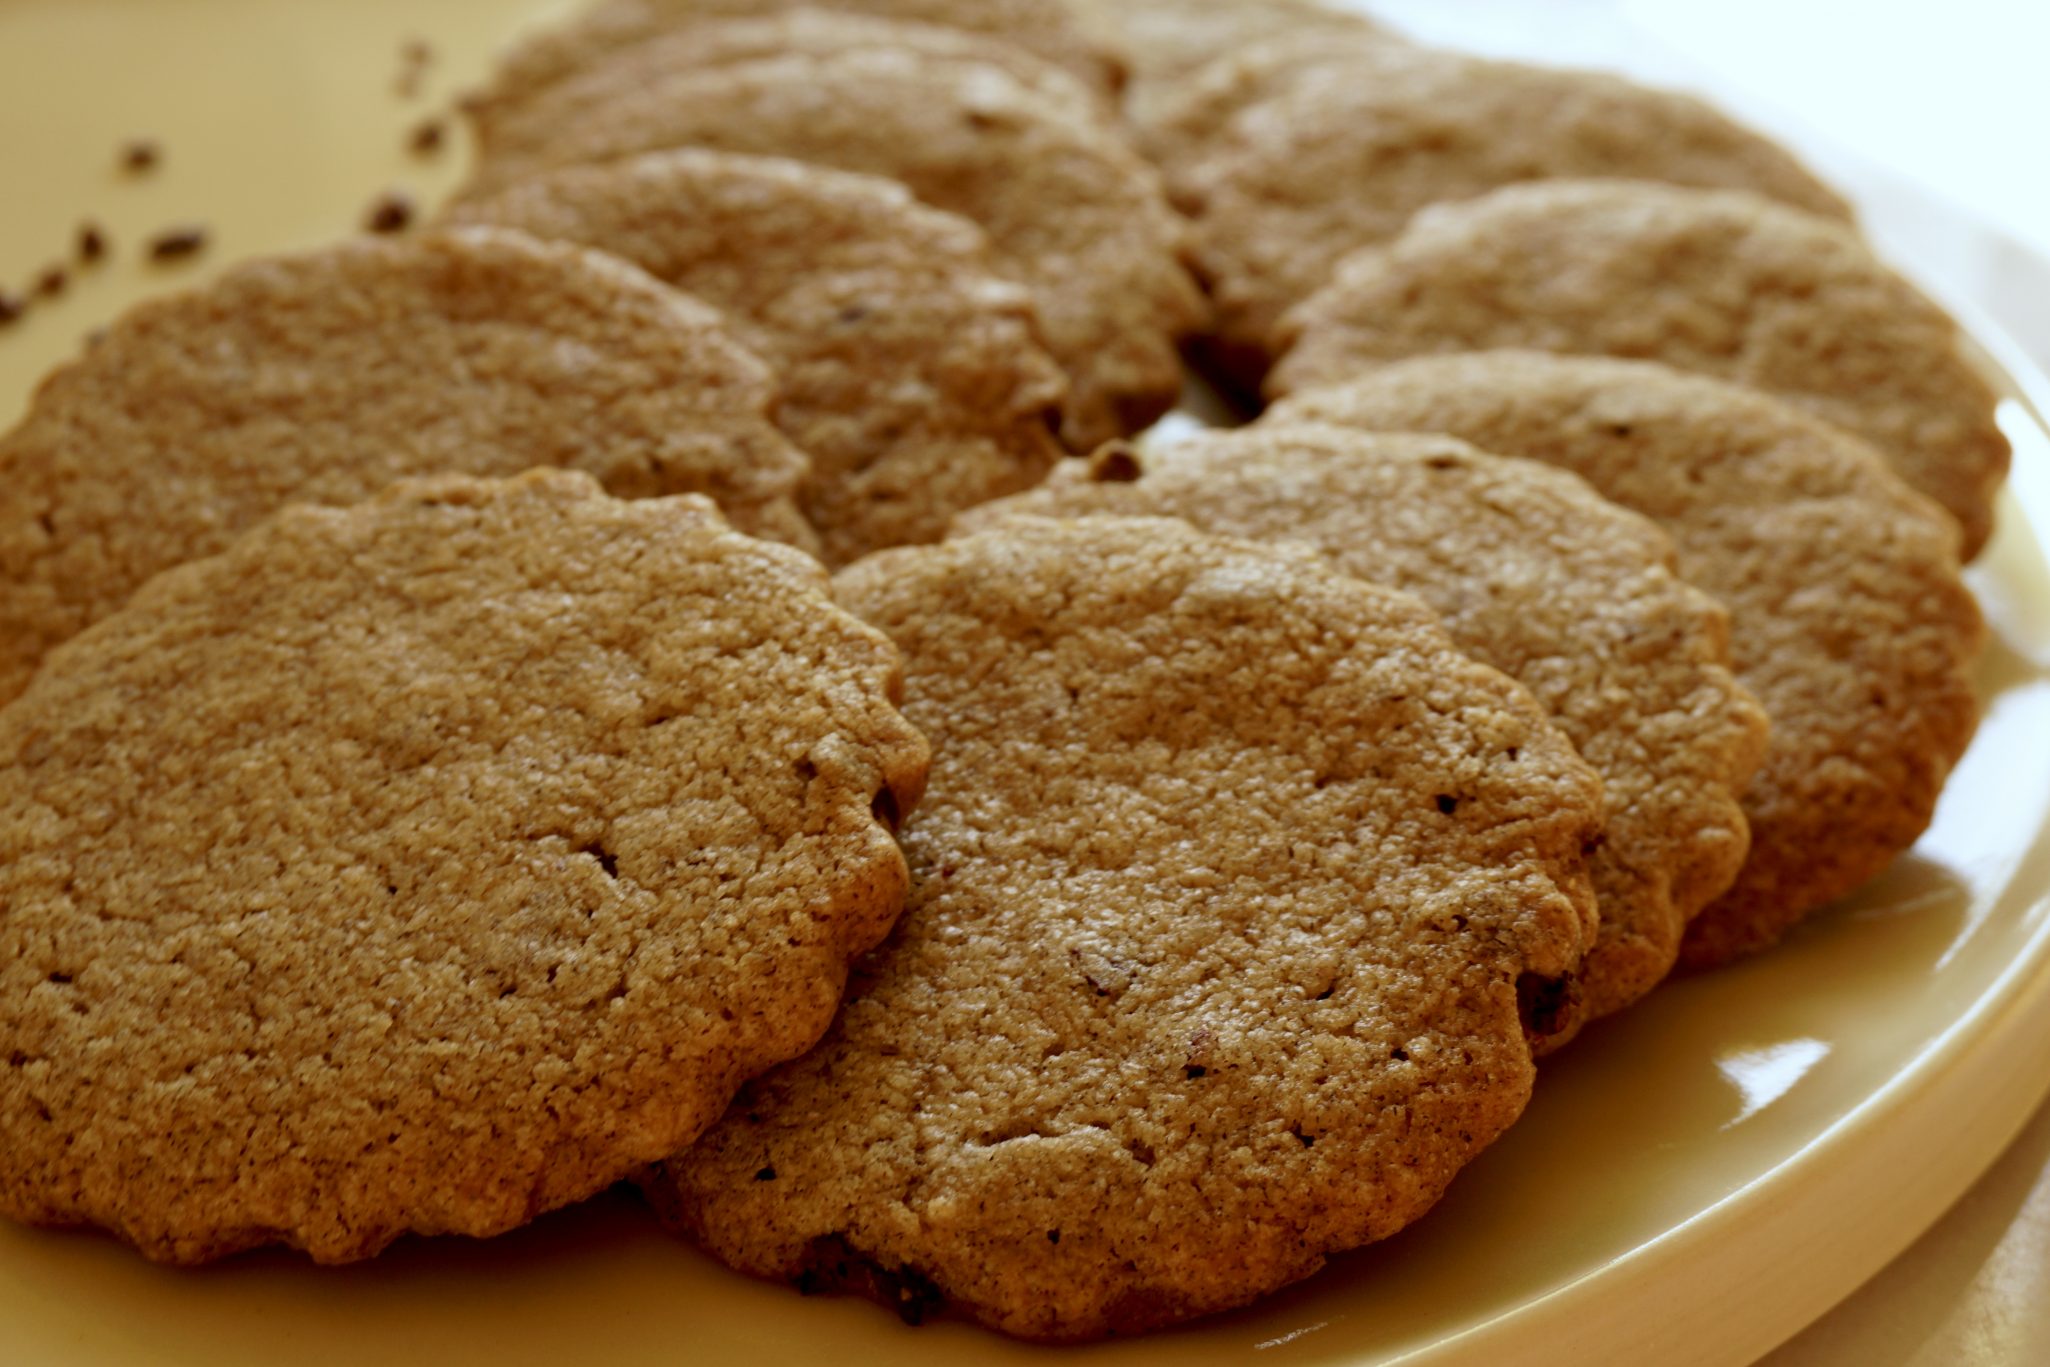
If you have been following 3jamigos you know that I fall in the shortbread camp for my favorite type of cookie. Buttery goodness in bite-size morsels with a hint of sweetness, sign me up.  Well lucky me, this cookie falls in that camp-buttery, slightly sweet, tender, nice sandy texture, and a cool, slightly bluish brown hue.  The cookies get kicked up a notch with the addition of cocoa nibs. This adds a subtle hint of chocolate at the finish. The color and slight earthiness from the buckwheat and the “is it chocolate or isn’t it?” from the nibs, are a cookie mindblower.

So if you are looking for a shortbread that is a little different but still buttery delicious, put this one on your list.

Bonus: Easy to make.
Do not overbeat when creaming the butter and sugar which will incorporate too much air into the dough (I might have done this which accounts for the puffiness and soft edges).  The mixture should be smooth and creamy.  Add flour and beat until it comes together, don’t overmix.

The dough can be shaped into a log, chilled and finished as slice and bake cookies.  The dough can be stored in the fridge or freezer so you have freshly baked cookies when family and friends drop by.  Everyone will think you are a badass baking queen.

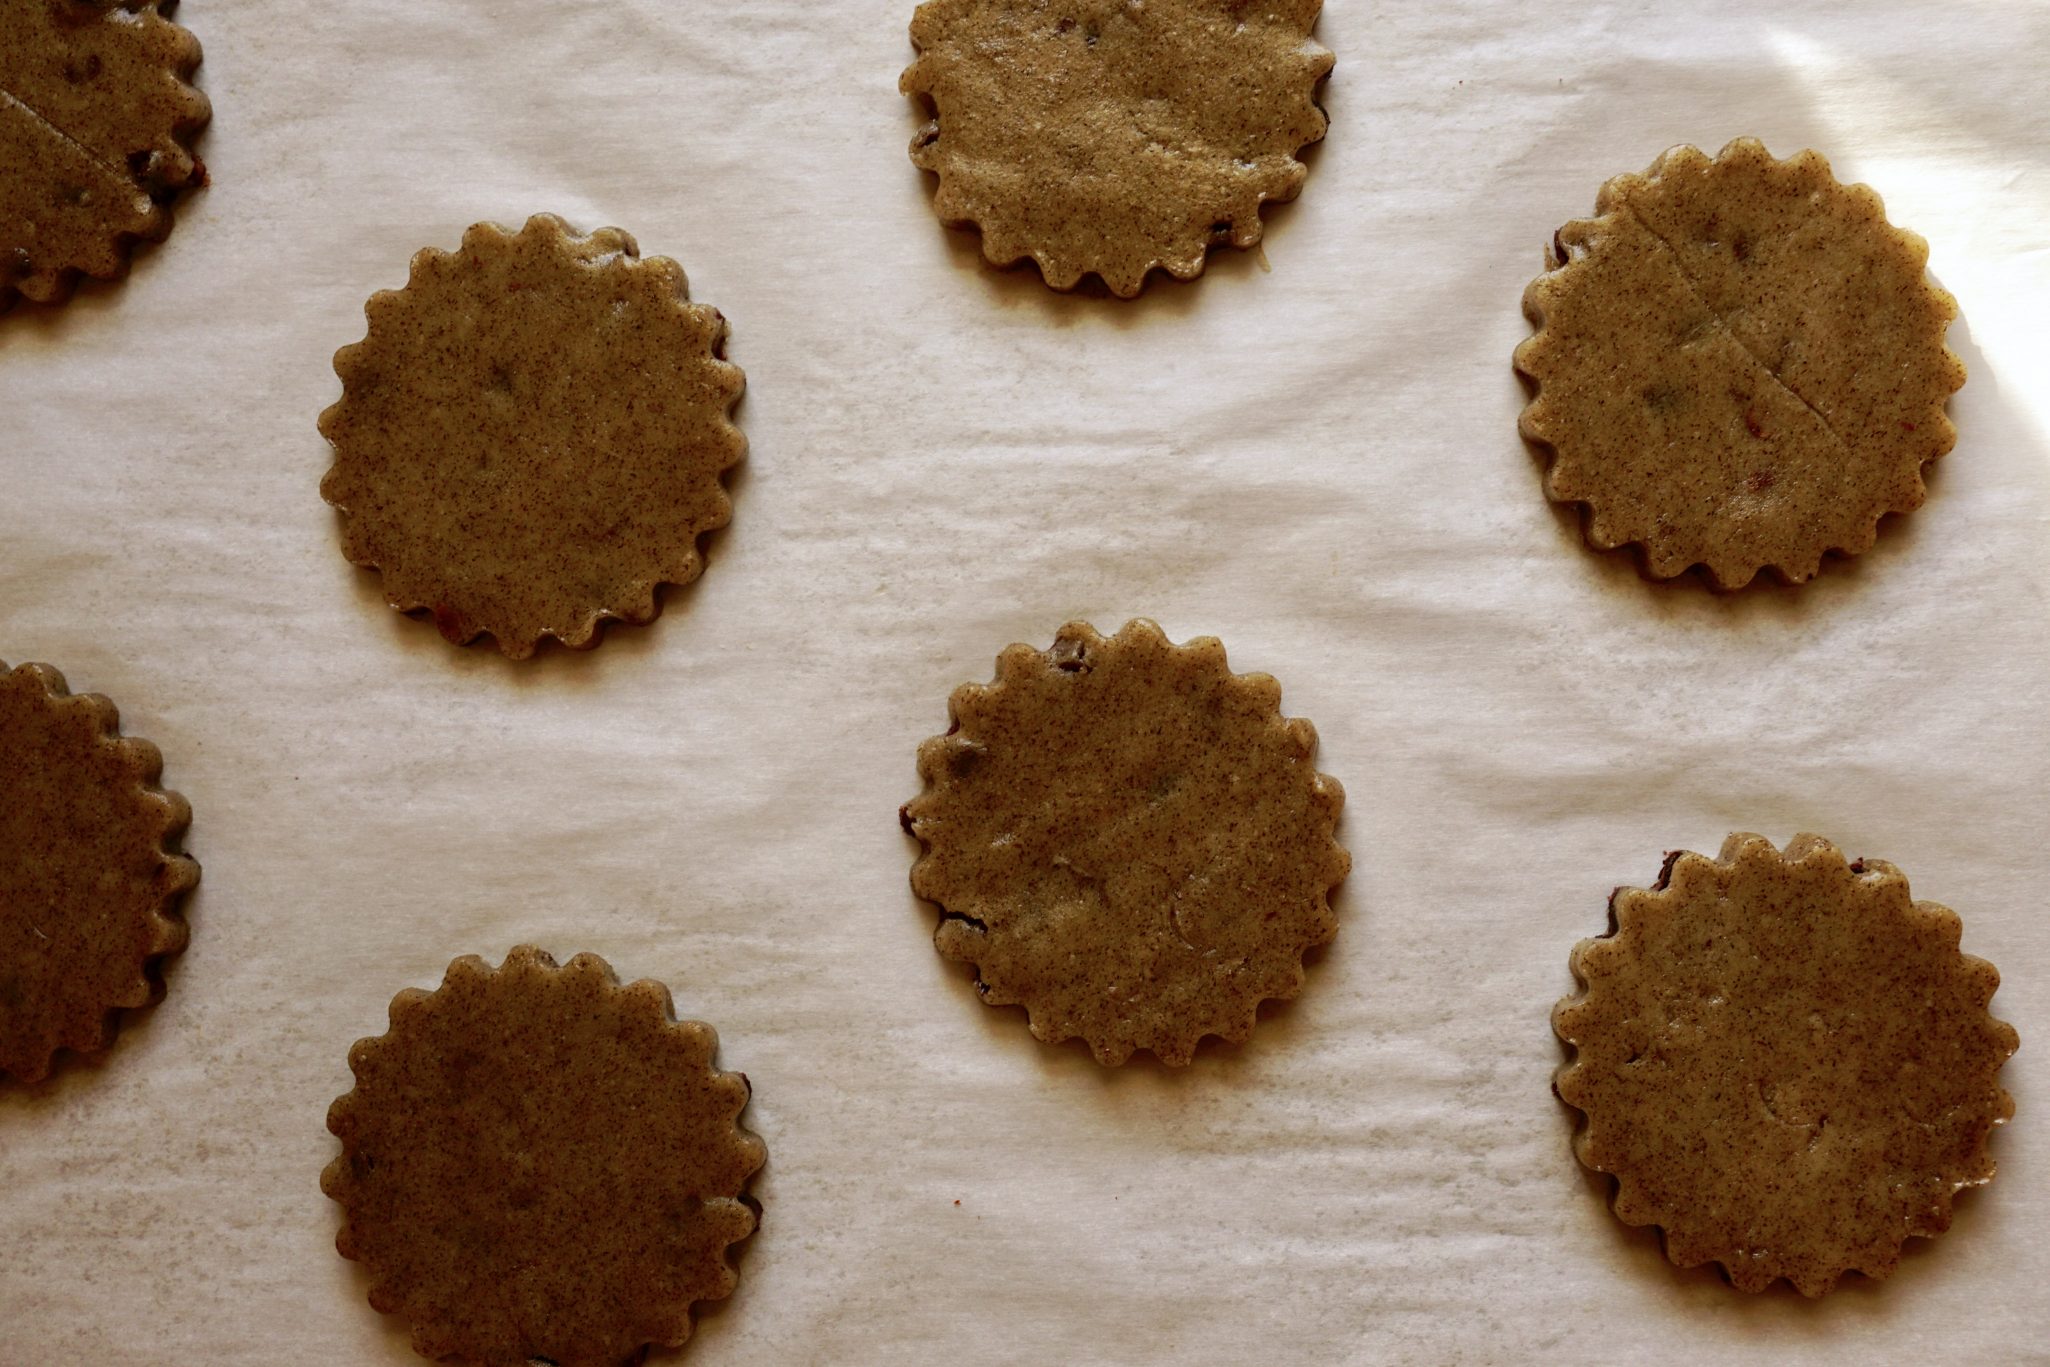
Or you can get fancy-schmancy and roll out the dough and cut out cookies for a more festive look.  Put the dough in a gallon sized Ziploc bag and roll to the edges.  This will give you a sheet of dough about 1/4 inch thick, perfect for cutout cookies.  I used a fluted metal cutter which may work better than a plastic one as you have to cut through the nibs. To add festive bling, sprinkle the cookies with sanding sugar and a touch of flake salt (like Maldon) before baking.  That takes these cookies to the “bend and snap” (Legally Blond-remember?) level of attention.

Chill the dough after cutting out the cookies, the edges won’t spread as much. I was having oven issues so the edges ended up less defined. But still yummy!

Okay, not hooked yet? Still looking for a classic shortbread, try this onemy favorite traditional Scottish Shortbread or Bouchon’s Shortbread.
Nibby Buckwheat Butter Cookies

Nibby Buckwheat Butter Cookie

A delicious riff on shortbread, buckwheat flour and cocoa nibs take these cookies to a new level.
Course cookies
Cuisine American
Keyword NIbby Buckwheat Butter Cookies
Author Adapted from 101 Cookbooks (Alice Medrich)

Ingredients

  • 1 1/4 cups 5.6 ounces all-purpose flour
  • 3/4 cup 3 ounces buckwheat flour
  • 1/2 pound 2 sticks unsalted butter, softened
  • 2/3 cup sugar
  • 1/4 teaspoon salt
  • 1/3 cup cacao nibs
  • 1 1/2 teaspoons pure vanilla extract

Instructions

  • Whisk the all-purpose and buckwheat flours together in a medium bowl. Set aside. In a medium bowl, with the back of a large spoon or with an electric mixer, beat the butter with the sugar and salt for about 1 minute, until smooth and creamy but not fluffy. Mix in the nibs and vanilla. Add the flours and mix just until incorporated. Scrape the dough into a mass and, if necessary, knead it with your hands a few times, just until smooth.
  • Form the dough into a 12 by 2 inch log. Wrap and refrigerate for at least 2 hours, or, preferably overnight. Or place dough in a gallon ziploc and roll to the edges of the bag.  Dough will be about 1/4 inch thick.  Chill thoroughly before cutting out shapes.  These cookies do puff and expand a bit so also chill dough after cutting to ensure crisp edges. 
  • Position the racks in the center of the oven and preheat the oven to 350F degrees. Line the baking sheets with parchment paper.
  • Use a sharp knife to cut the cold dough log into 1/4-inch-thick slices. Place the cookies at least 1 1/2 inches apart on the baking sheets.* Or follow instructions for cut-out cookies.
  • Optional:  Sprinkle cookies with a bit of sanding sugar and an even tinier bit of flake salt like Maldon before baking.
  • Bake until the cookies are just beginning to color at the edges, 12 to 14 minutes, rotating the baking sheet from front to back halfway through the baking. 
  • Cool the cookies in the pans on a rack, or slide the parchment liners carefully onto the rack to free up the pans. Let cool completely.
Notes

The cookies are delicious fresh but even better the next day. They can be stored in an airtight container for at least one month. My batch made about 30 3-inch cookies. Recipe states approximately 48 2-1/2 inch cookies.
A Chip Off the Old Butterscotch Block (Butterscotch Cookies)

A Chip Off the Old Butterscotch Block (Butterscotch Cookies)

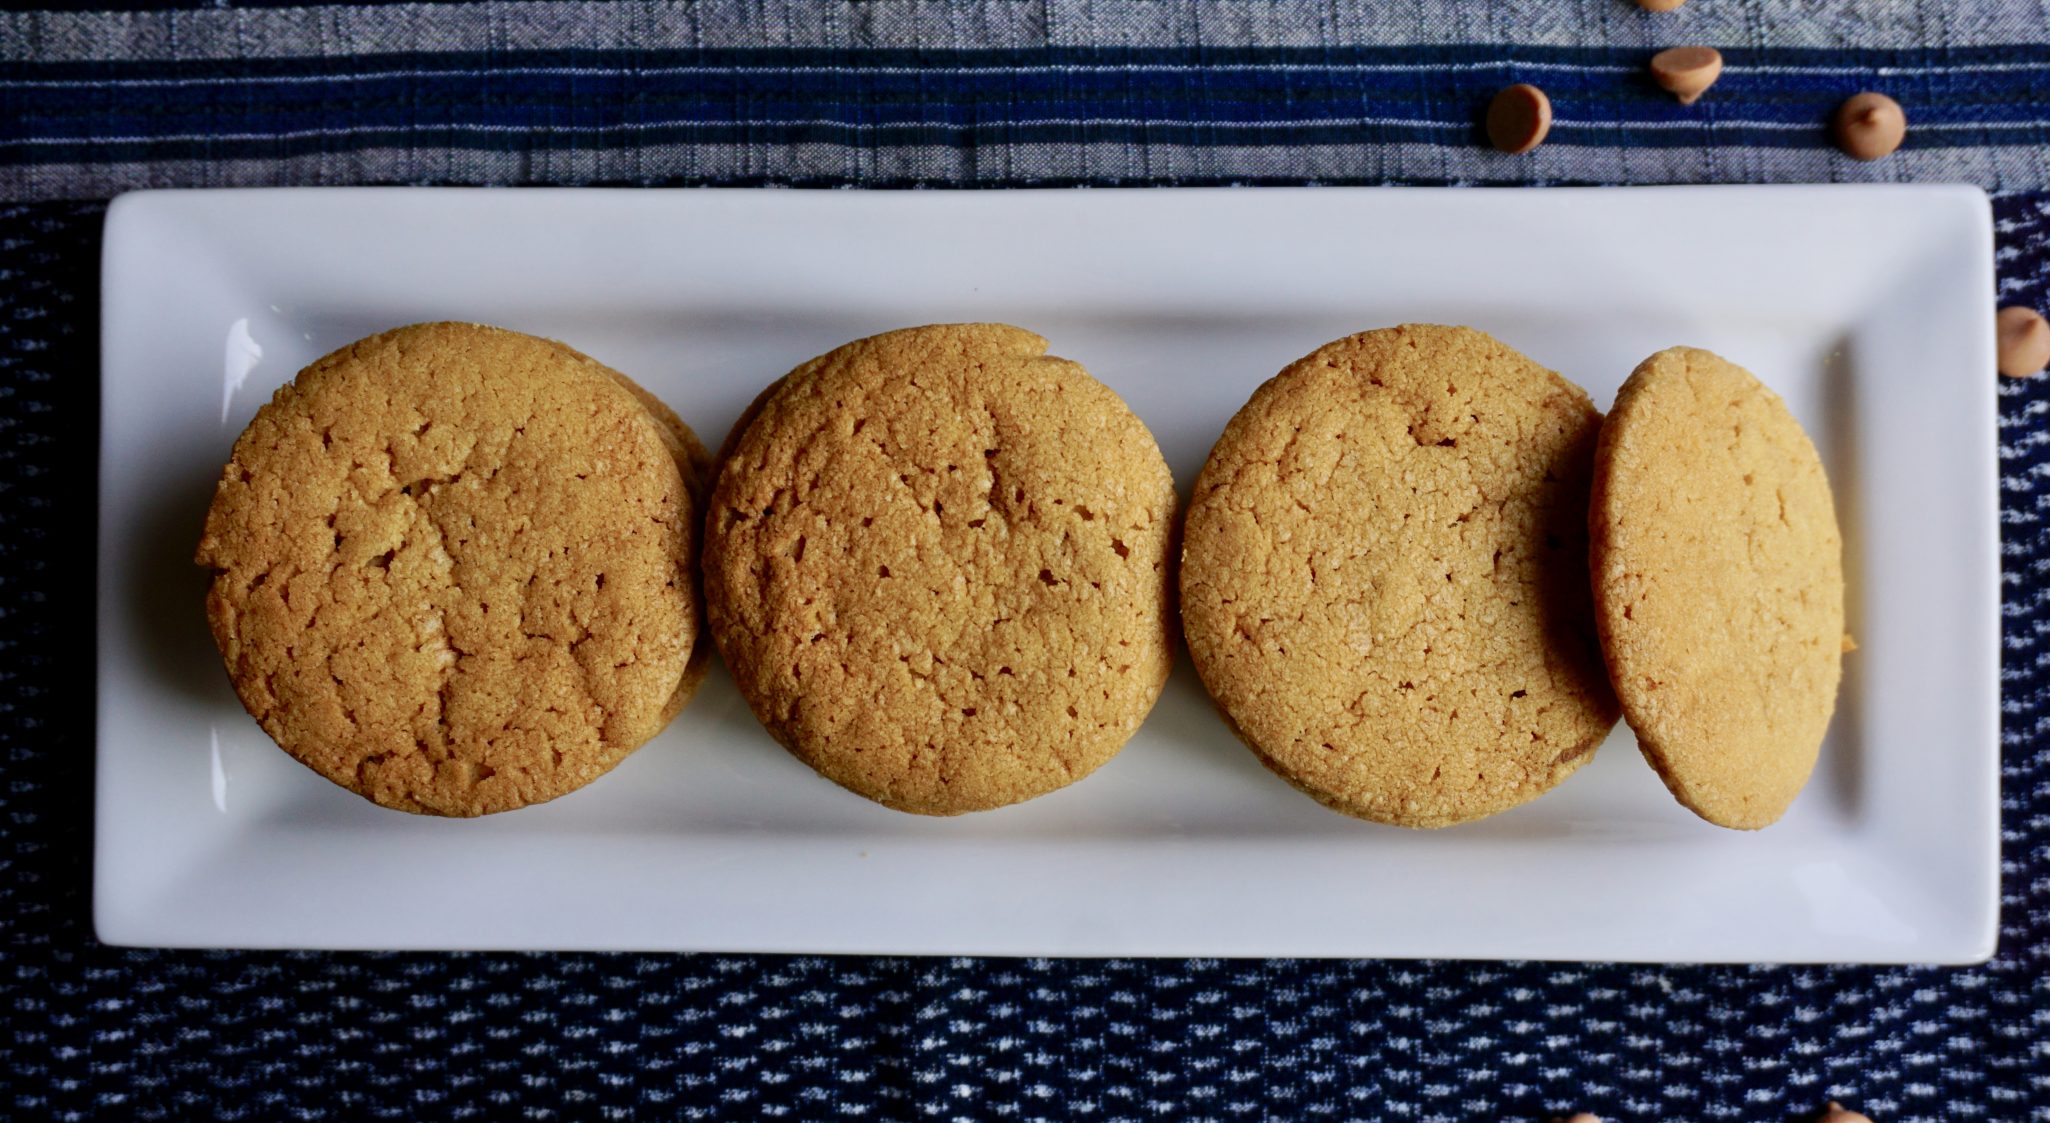
A second recipe from The Perfect Cookie by America’s Test Kitchen caught my eye for a different reason. I had just made a batch of Potato Chip Butterscotch Cookies from The Vintage Baker and now had a partial bag of butterscotch chips sitting on my counter. I have to admit, I am not the biggest fan of butterscotch chips so I don’t have a bunch of recipes with butterscotch. Here was an opportunity to use the rest of the bag.
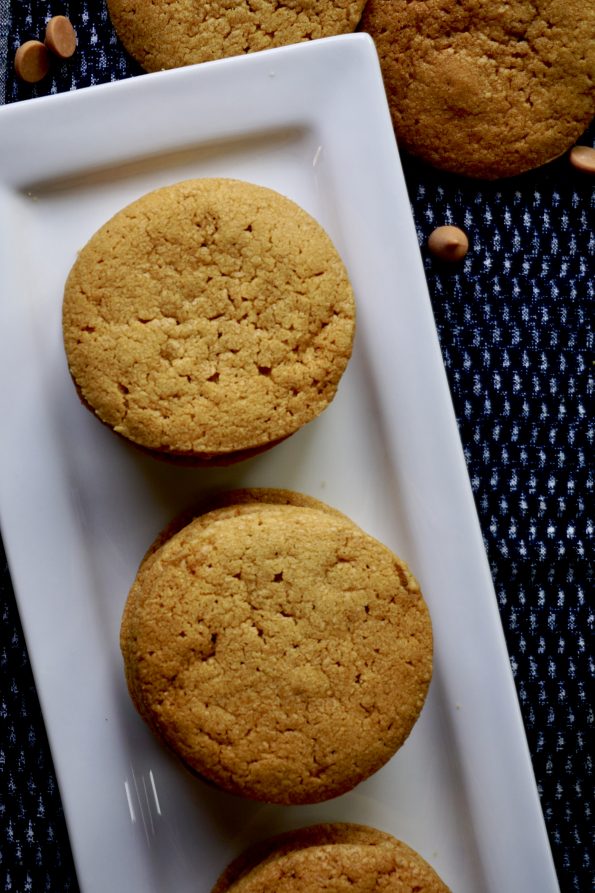
Glad I did. This is another super simple slice and bake dough. Instead of chips the butterscotch is melted and creamed with cold butter.  No chips just butterscotch flavor infused through the entire cookie, yummy. The trickiest part was melting the chips to create a smooth creamy mixture that could be blended with the butter. I used the microwave at half power to melt the chips and butter.  Stir the melted mixture and add the vanilla.  My mixture did not blend very well until I added the vanilla, so don’t worry.  After chilling the dough, cut into 1/4 inch thick slices, place an inch apart and bake.  As your kitchen fills with the aroma of these butterscotch gems, get your glass of milk or cup of joe ready.

These were a definite hit with the work peeps. Rich, deep caramel overtones in a light, crisp cookie. Big bold flavor in a plain jane package. Like they say, never judge a book by its cover.

I found an adaptation of this cookie on A Baker’s House, instead of the slice and bake method, the dough is scooped up and formed into balls and baked.  This yields a chewier in the center with a crispy edge cookie.  I love both versions.

Bake a batch of these Butterscotch Cookies and watch them disappear.

BUTTERSCOTCH COOKIES

An easy and delicious slice and bake cookie for butterscotch lovers!

Ingredients

  • 1/2 cup butterscotch chips
  • 3 tablespoons unsalted butter plus 9 tablespoons cut into 9 pieces chilled
  • 2 teaspoons vanilla extract
  • 3/4 cup packed dark brown sugar
  • 1/2 teaspoon salt
  • 1 large egg yolk
  • 1 3/4 cup all-purpose flour
  • 1 teaspoon baking powder

Instructions

  • Preheat the oven to 325 degrees F.
  • Place the butterscotch chips and the first 3 tablespoons of butter into a glass bowl and microwave in 30-second increments until melted. Stir every 30 seconds. This should take one minute to one and a half minutes. Add the vanilla and stir until smooth; let cool for 15 minutes.
  • Beat the second amount of measured butter (9 tablespoons) with the sugar and salt.  Beat until the mixture is light and fluffy.
  • Add the cooled butterscotch mixture and continue to mix until combined. Add egg yolk then reduce to a lower speed to add the dry ingredients of flour and baking powder. A dough will come together and that is your signal to stop mixing.
  • Form dough into a log approximately 2 inches in diameter and 9-10 inches in length.  Chill until firm (min 30-60minutes).  Slice 1/4 inch thickness and place on parchment lined baking sheet approximately 1 inch apart. 
  • Alternate method:  Pinch off enough dough to make approximately one inch balls ( or use a 1-inch ice cream scoop to measure out dough). Place on a parchment lined baking tray approximately 2 inches apart. 
  • Bake for 12-15 minutes or until the edges just start to brown. Cool on wire racks.

Coco-Nuts for Washboard Cookies

Coco-Nuts for Washboard Cookies

My grandma had a washboard she kept next to the bathtub in a round, white tin basin.  For those of you thinking “washboard?”, picture a rectangular wooden frame holding a corrugated metal sheet about the size of a full sheet pan.  As a kid, I watched my grandma rub wet soapy garments along the metal ridges to clean them.  All I can say is…THANK GOODNESS WE HAVE WASHING MACHINES NOW.

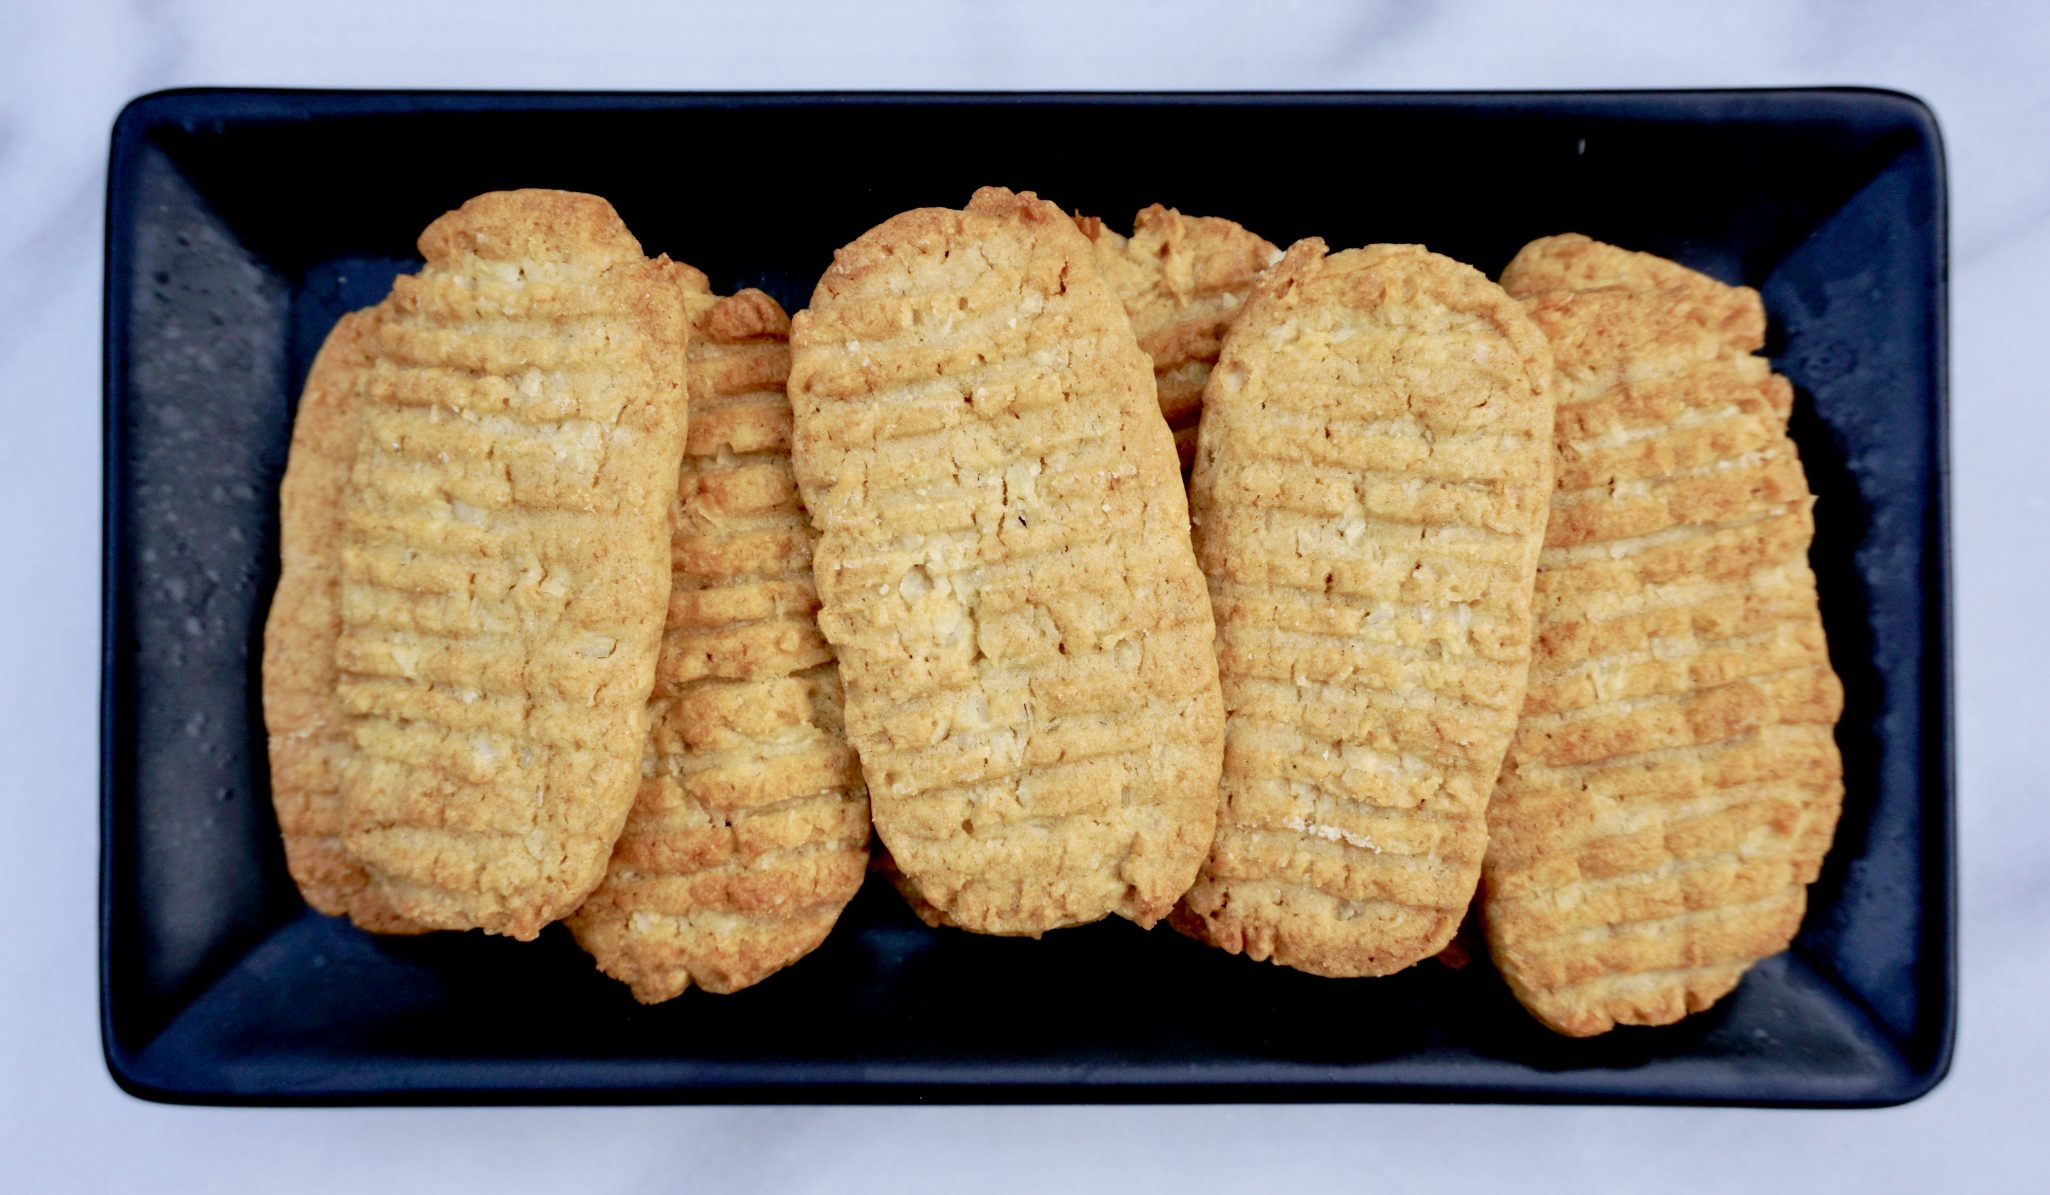
So much for nostalgic moments.  These delicious coconut cookies derive their name from that very same washboard that has gone the way of manual typewriters, record players, and cassette tapes.  Luckily this cookie hasn’t followed suit.

Cuckoo for Coconuts

I spent most of my life hating coconut. Shredded, flaked, milk, you name it, my immediate reaction was “yuck”.  But somewhere along the line, I did a 180 and now I am making up for lost time.  Coconut recipes now seem to jump out at me. I imagine those little white shreds, waving like a kindergartener with his hand up in the air telegraphing “pick me, pick me”.  As I was perusing America’s Test Kitchen’s The Perfect Cookie book-I came to a screeching halt at yep, these Coconut Washboard Cookies.

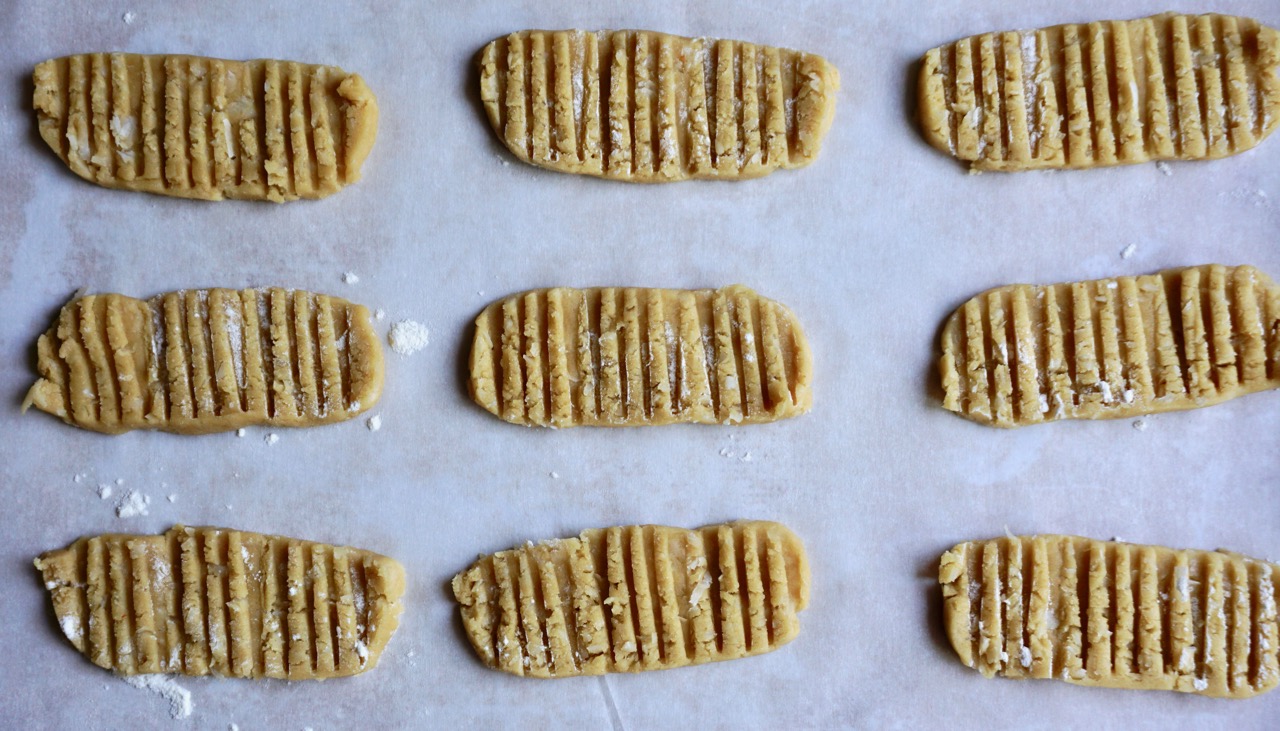
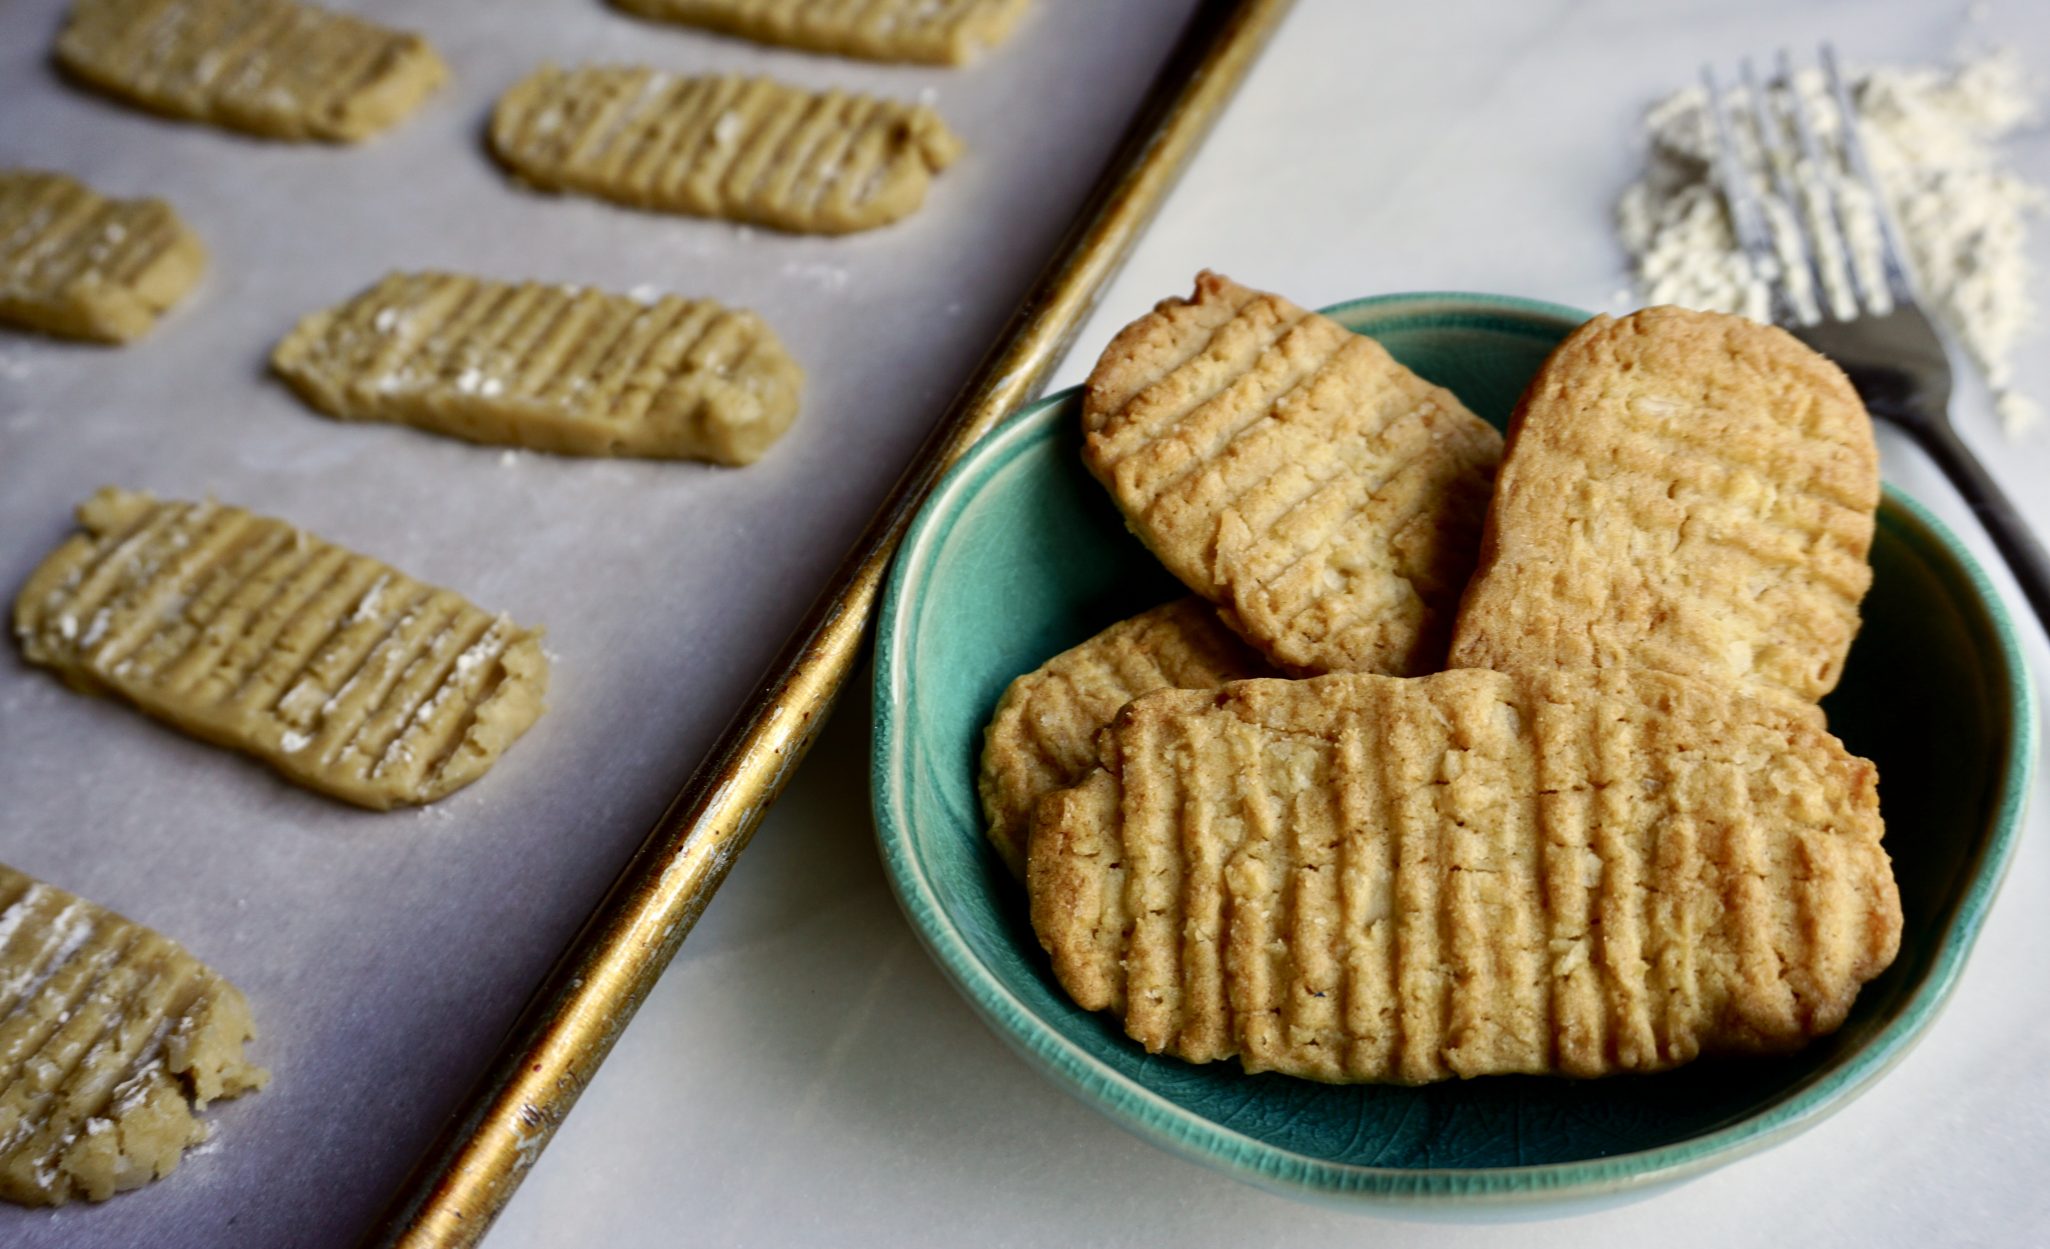
These cookies remind me of Pepperidge Farms Bordeaux Cookies. Crisp, light, buttery with the added bonus of coconut.  I might try replacing the milk in the recipe with coconut milk to see if this heightens the coconut flavor but they’re still pretty darn good without this tweak.  The dough is shaped into a rectangular roll and chilled until firm enough to cut.  Press the tines of a fork, well floured, into the dough slices to create the ridges grooved into the top of each cookie.  The perfect imitation of that old washboard.

These delectable bites are perfect with a steaming cup of coffee or tea.  Tasty and easy to make they deserve a spot on your cookie list.

This recipe is from America’s Test Kitchen’s The Perfect Cookie.  Get the Kindle edition right now!  Besides this recipe gem, the book is filled with info, tips, advice and a wonderful photos.

Coconuts

Washboards Cookies

Coconutty, crispy, buttery cookies that look like Grandma's washboard!
Course cookies, desserts, sweets
Cuisine American
Keyword buttery, coconut, Coconut cookies, Crispy, washboard cookies
Prep Time 25 minutes
Cook Time 15 minutes
Total Time 40 minutes
Servings 30

Ingredients

The Dry Mix-Combine and set aside

  • 2 cups all-purpose flour 10 oz
  • 1/2 teaspoon baking powder
  • 1/4 teaspoon baking soda
  • 1/4 teaspoon salt
  • 1/4 teaspoon ground nutmeg

The Wet Stuff

  • 8 tablespoons 1/2 cup or 1 stick unsalted butter, softened
  • 1 cup packed light brown sugar 7 oz
  • 1 large egg room temperature
  • 2 tablespoons milk sub coconut milk

The Add-In Star

  • 1 cup sweetened shredded coconut 3 oz
  • 1/4 cup finely diced dried pineapple optional to pump up the island factor!

Instructions

  • Whisk flour, baking powder, baking soda, salt, and nutmeg together in a bowl. Using stand mixer fitted with paddle, beat butter and sugar on medium-high speed until pale and fluffy, about 2 minutes. Add egg and milk and beat until well combined. Reduce speed to low, add flour mixture and coconut, and mix until just incorporated.
  • Transfer dough to a counter and, using your floured hands, roll dough into 15-inch log, then flatten top and sides to measure 3 inches by 1 inch. Wrap log tightly in plastic wrap and refrigerate until firm, at least 45 minutes or up to 3 days.
  • Adjust oven racks to upper-middle and lower-middle positions and heat oven to 350 degrees. Line 2 baking sheets with parchment paper.
  • Slice chilled dough into 1/4-inch-thick rectangles and space them 1 inch apart on prepared sheets. Using floured fork, make crosswise indentations in dough slices. Bake until toasty brown, 15 to 18 minutes, switching and rotating sheets halfway through baking. Let cookies cook on sheets for 10 minutes, then transfer to wire rack. Let cookies cool completely before serving.
Banana Pecan Shortbread (You Butter Believe They’re Vegan)

Banana Pecan Shortbread (You Butter Believe They’re Vegan)

Every now and then my political leanings sneak into a post. Nothing overt, a line, a sigh, a one-liner although I’m pretty sure my feelings are pretty obvious, oh well.  After the election I found myself feeling like that chicken running around screaming “the sky is falling, the sky is falling!  In order to not drive myself crazy, I decided I had to somehow channel that energy.  I had to stop lamenting over my latte’ and do something.

March for Science
March for Science

I went to marches and rallies, dressed Sammy up, and took him to marches.  Attended lectures, started reading books that didn’t have recipes, and subscribed to a bunch of podcasts.  Finally, I took the leap and joined a political action group organized by 3 amazing women in my community.  From there, I have met so many AMAZING people that I would not have met otherwise if not for the outcome of THAT election.

See, there is a silver lining to everything

One of which is meeting T&H. I adore them.  They are genuine, smart, funny, a little quirky (love that), compassionate, passionate…I could go on and on.

Wait, what the heck, they’re VEGAN? Dealbreaker

Just kidding.  The other night it was my turn to host our advocacy dinner meeting.  Most of the meal was pretty easy, spicy sesame noodles, a nice toss green salad, fresh berries.  Roasted salmon on the side for non-vegan, meat-eating folks (ME).  Easy peasy until…DESSERT.

What is a no-holds-bar, butter-obsessed, whipped cream-eating, dessert lover (ME again) to do?

So, being a “Big Tent” person, I went on the hunt for vegan desserts.  The first Vegan recipe I tried was an Olive Oil Shortbread with Rosemary & Chocolate Chunks from Smitten Kitchen. Pretty good…for a vegan cookie (ahhh, the qualifier). This time around I found a recipe for a Banana Pecan Shortbread on Minimalist Baker.  This looked promising.

Guess what, they are yummylicious (no qualifier).

Vegan Banana Pecan Shortbread

The secret ingredient? Coconut oil.  The cookie has a nice fine crumb and a bit of crispiness at the edges. These definitely give traditional shortbread a run for its money.  The pecans and banana add both sweetness and a buttery finish, you really don’t miss the butter.

I used refined organic expeller pressed coconut oil from Whole Foods.  Refined coconut oil has very little flavor and is a great substitute.  I threw it in the fridge for a couple of minutes to make sure it was completely solid and creamed the coconut oil with the sugar, just like butter.  I saw a couple of comments with regard to using coconut oil in the liquid state, but nope.  I’ll leave it to others to experiment.  I molded it into a cylinder, slipped it into my trusty PVC pipe (the secret to perfectly round cookies), and chilled it for a couple of hours. The cookies took closer to 15-18 minutes to bake in my oven, so start checking a little earlier than the stated baking time.

You could probably substitute a gluten-free flour mix to make this not only vegan but gluten-free.  Next time I might try substituting almond flour for part of the flour to see if it makes it a touch more tender cookie.  But honestly, it’s pretty darn good the way it is!

VEGAN BANANA PECAN SHORTBREAD

Vegan and gluten-free banana pecan shortbread cookies. Crisp with a slight tenderness, nutty and sweet. You won't miss the butter
Course cookies, Dessert
Cuisine American
Keyword banana, coconut oil, cookies, Shortbread, vegan
Prep Time 20 minutes
Cook Time 20 minutes
30 minutes
Total Time 1 hour 10 minutes
Servings 30 cookies

Ingredients

Creamed Ingredients

  • 1 cup refined coconut oil
  • 1/3 cup mashed ripe banana 1 small banana yields ~1/3 cup
  • 3/4 cup organic cane sugar or granulated sugar

Flavor Bumps

  • 1 tsp pure vanilla extract
  • 1/4 tsp sea salt

Dry Mix

  • 2 1/2 cups unbleached all-purpose flour
  • 1/4 cup pecans finely chopped
  • 1/4 tsp ground cinnamon optional but I do add it

Instructions

  • Cream oil, sugar and banana. Add vanilla, and salt, blend until incorporated.
  • Add flour and blend. (If you are adding cinnamon, add it to the flour). Add pecans and mix once more. Do not overmix.
  • Transfer to a large piece of parchment paper and roll into a tight log, ~ 2 inches wide. Freeze for 15 minutes to harden. Preheat oven to 350 degrees.
  • Unroll paper and slice cookies into slightly less than 1/2 inch rounds. Use a sharp or serrated bread knife. If it’s too soft, freeze it a little longer. If the dough has become too hard, let it rest for a few minutes at room temp to soften.
  • Place on an un-greased baking sheet approximately 1/2 inch apart. They won’t spread much. Bake for 18-22 minutes or until light golden brown.

Notes

With all the wonderful gluten-free flours now.  You could probably sub for the all-purpose flour to make this not only vegan but gluten-free!
Enhance the pecans by toasting them first.  Place pecans on a small baking sheet in a 350 degree oven for 5-7 minutes.  When you notice the aroma of the pecans they are done!
 
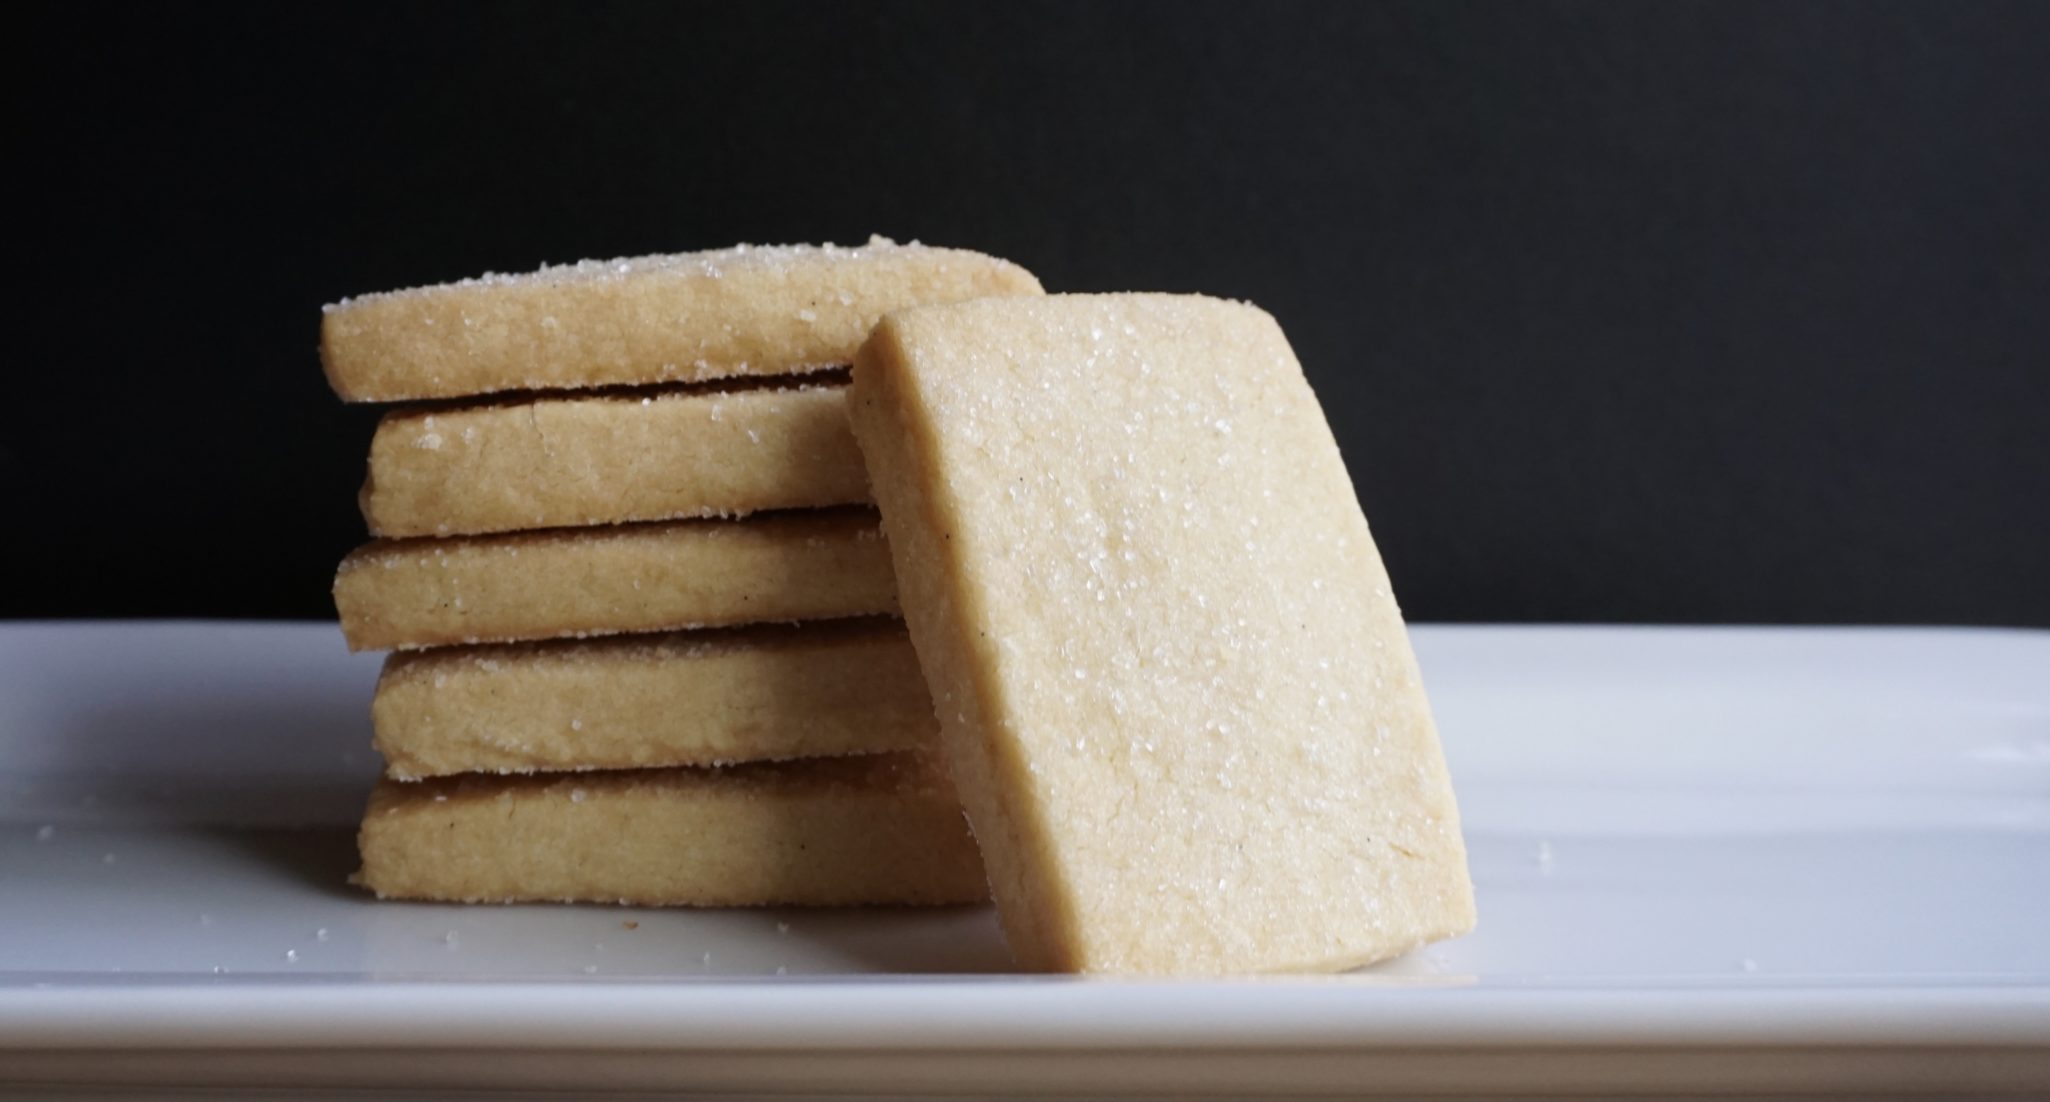
Bouchon’s Shortbread Cookie

Bouchon’s Shortbread Cookie

This month’s Food52 Baking Club pick is Thomas Keller’s Bouchon Bakery Book. A gorgeous, very heavy (a workout just lugging it around) opus on all things delicious. My copy has languished on a shelf for quite some time but this gave me a reason to take it off the shelf and dive in.  Let the baking games begin.

I start with a cookie recipe. After all, I still need to complete my holiday cookie list (wow, that’s embarrassing). I open the book and what do you know, the first chapter of the book is all about cookies. Fate. I peruse the chapter and settle on, drum roll, please……..Bouchon’s SHORTBREAD cookie. Surprised? Didn’t think so.

This is a tall order as I am convinced I already make the perfect shortbread.  A recipe saved from the long out of print Cuisine magazine has become a non-negotiable tradition in our house. The recipe was accompanied by the story of the author’s father making shortbread each Christmas.  An homage to her father and to traditional Scottish shortbread.  Crisp at first bite, meltingly tender, slightly sweet, and oh so buttery.  The perfect cookie.

Yep, tall order.

The trial:

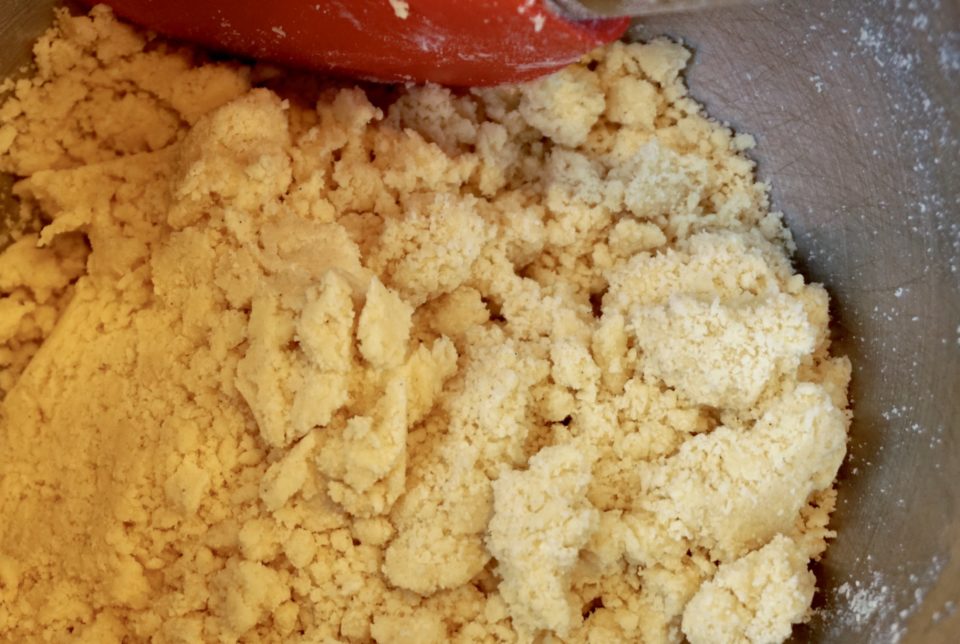
I used a European butter for it’s higher fat content after reading several comments that the dough was dry and crumbly. With a little kneading (in a Ziploc bag), it came together nicely.

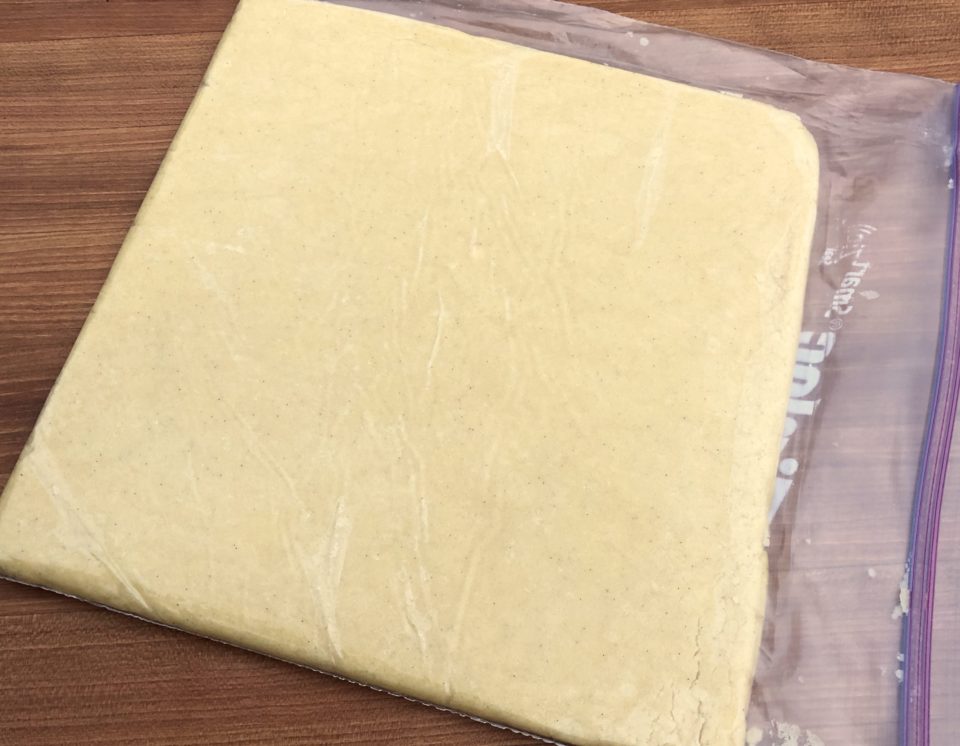
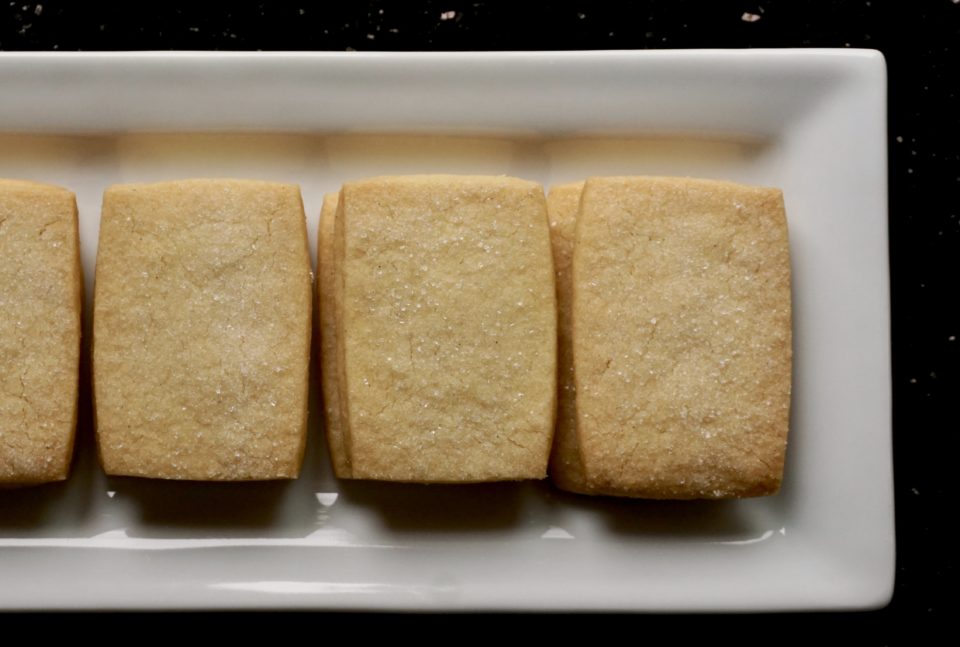
The The recipe calls for shaping the dough into a 5×5 inch block and chilling it before rolling it out.  I opted to roll the dough into the final 9-inch square before chilling as the dough was easier to work with at this stage.  After chilling the dough, cut it into 2-1/4  x 1-1/2 inch pieces.

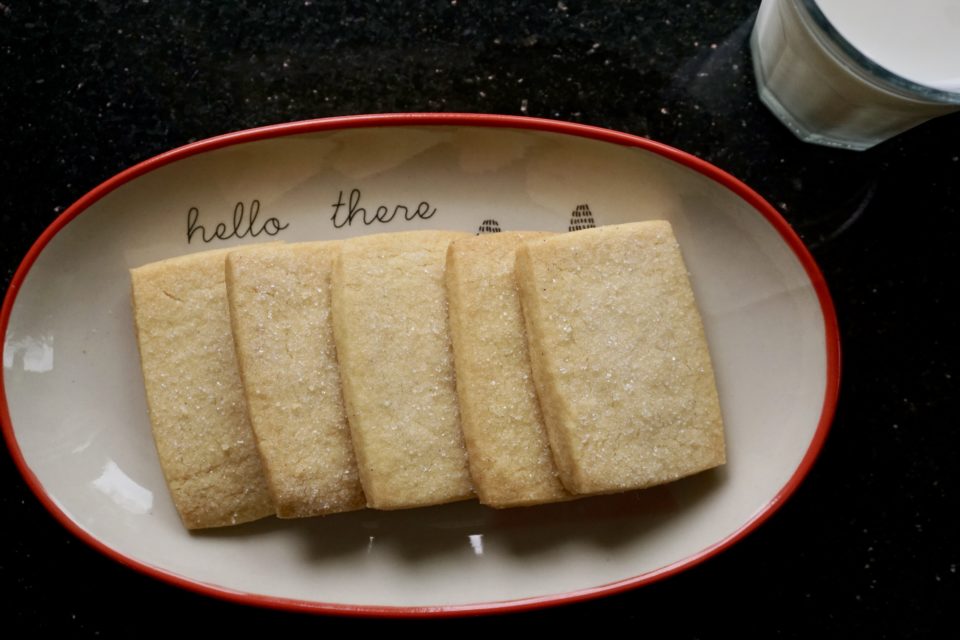
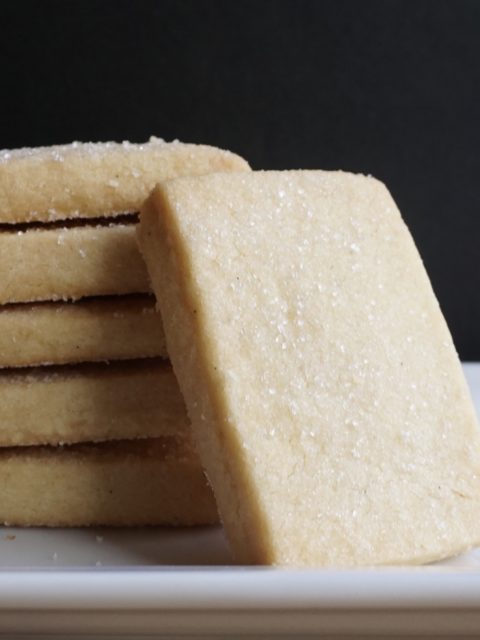
Use a pizza cutter and ruler to cut the dough, you could get fancy and use cute cookie cutters instead.  Though the recipe calls for granulated sugar, I used sanding sugar which gave the cookies a nice sparkle. Sugar bling.

The verdict:

Buttery? Yes. Crisp? Yes. Sweet? Yes. The dusting of sugar adds sweetness and a delightful crunch.  Better than the shortbread I already make? No, but I am biased.  I might try this with salted butter to see if it adds even more depth of flavor. These cookies are simple and sophisticated. Totally worth making a batch to enjoy with a cool glass of milk or a hot cup of tea depending on your mood! *The flavor improved, this was a better cookie a day later than right after baking.  

Bouchon's Shortbread

The Path of Least Resistance TK Shortbread

Buttery, sandy texture, melt in your mouth Shortbread from Bouchon
Course cookies
Cuisine American, European
Keyword biscuits, butter, cookies

Ingredients

  • 180 grams unsalted butter, room temperature 6.3 ounces
  • 90 grams granulated sugar 1/2 Cup
  • 2 grams Kosher salt 5/8 tsp-3/4 tsp
  • 5.9 grams vanilla bean paste 1 tsp
  • 270 grams all-purpose flour 1-3/4 Cup plus 3 T
  • 2 to 3 Tbsp sanding sugar for sprinkling

Instructions

  • In the bowl of a stand mixer, cream butter with the paddle attachment on medium-low speed until smooth. Add sugar and salt and mix on medium-low for 2 minutes. Add the vanilla and mix for 30 seconds.
  • Add half of the flour, and mix until just incorporated, about 30 seconds. Repeat with the second half of the flour.
  • Place a large piece of plastic wrap on the counter, and mound the dough on top of it. Form the dough into a 5 inch by 5 inch block. Wrap it with the plastic wrap, and refrigerate for at least 2 hours and up to 2 days.
  • or
  • Roll dough into 9 inch square in between parchment, or in a Ziploc bag. Cover with plastic wrap and chill.
  • Roll the dough out to a 9 inch by 9 inch square between two pieces of wax or parchment paper. You may have to pound it a bit with your rolling pin to get it to roll out. If it gets too soft, you can put it back into the refrigerator to firm up.
  • When ready to bake, place a rack in the middle of the oven and preheat it to 325 degrees F. Line a baking sheet with parchment.
  • With a sharp knife, and using a ruler, score the dough into four 2 1/4 inch wide horizontal strips. Next, score the dough into six 1 1/2 inch vertical strips. Sprinkle the dough with sanding sugar or granulated sugar.
  • Cut the dough along the scoring into 24 individual rectangles. Place the rectangles about 1/2 inch apart on the baking sheet.
  • Place sheet in oven and bake, using convection, for 13 to 15 minutes, or if not using convection, for 17 to 19 minutes.
  • Cool on baking sheet for about 5 minutes, and then move the cookies to a wire rack to cool completely. Store in an airtight container for up to three days.
Salted Butter & Chocolate Chunk Shortbread (New Year’s Resolution #2: Finish 12 Days of Cookies)

Salted Butter & Chocolate Chunk Shortbread (New Year’s Resolution #2: Finish 12 Days of Cookies)

Let’s get the apology over with first. Yikes, I wasn’t able to complete my 12 days of cookies. I started early, had help from Jamie and still came up short. Shouldn’t make excuses BUT, I am going to.  A family trip to Vegas is the clear winner of excuses and reasons why I stumbled. Of course, if I included cookies sampled at Bouchon in Vegas, I would have easily made 12, but not quite within the rules.  Second, a faulty oven. When the oven takes over 45 minutes just to reach 325 degrees, Houston, we have a problem. The last time my oven went on the fritz (a few years ago), I was baking Thanksgiving pies. Now that was a disaster.

BUT, I am determined to complete the list, after all, cookies can be made and enjoyed year around. So, without further ado…
#7 of the 12 Days of Cookies: Salted Butter & Chocolate Chunk Shortbread

After seeing this cookie pop up on various sites and blogs I knew it was destined for the 12 Days of Cookies list.  The recipe comes from the book Dining In by Alison Roman (what do you know, I am not buying this book-have I turned a new leaf? Nope, it is currently out of stock). This was a no-brainer.  Butter. Chocolate. Shortbread.  Like I was going to be able to ignore this recipe.

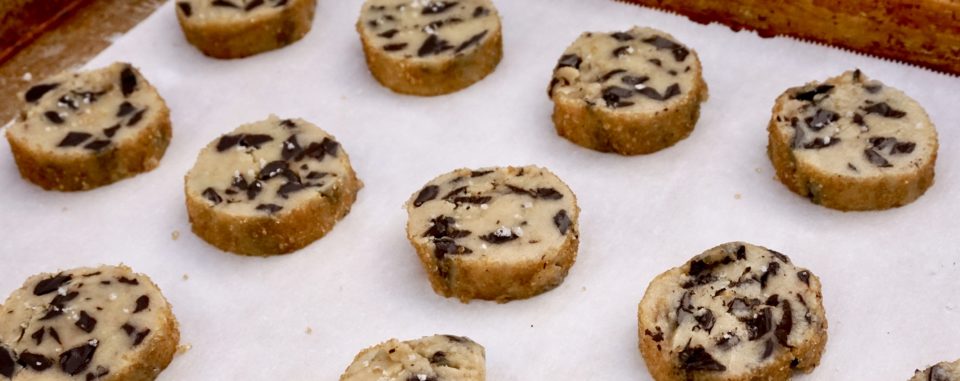
This is a slice and bake cookie, my favorite kind of cookie.  You can make the dough in advance and bake off as few or as many cookies as you like. You can freeze some of the dough for a rainy day, which in California, might not happen for awhile.

The dough was a bit crumbly straight out of the mixer so I kneaded it a couple of times until it came together.  Shape the dough into logs using parchment paper. Form the dough roughly into a log on the parchment, fold parchment over the log, and with a straight edge (ruler) placed up against the log on top of the parchment, gently pull the bottom piece of parchment while pushing the straight edge into the dough. This creates a round log. Wrap each log in the parchment and slide into a round tube (I use 3-inch diameter PVC pipe) and chill in the fridge.

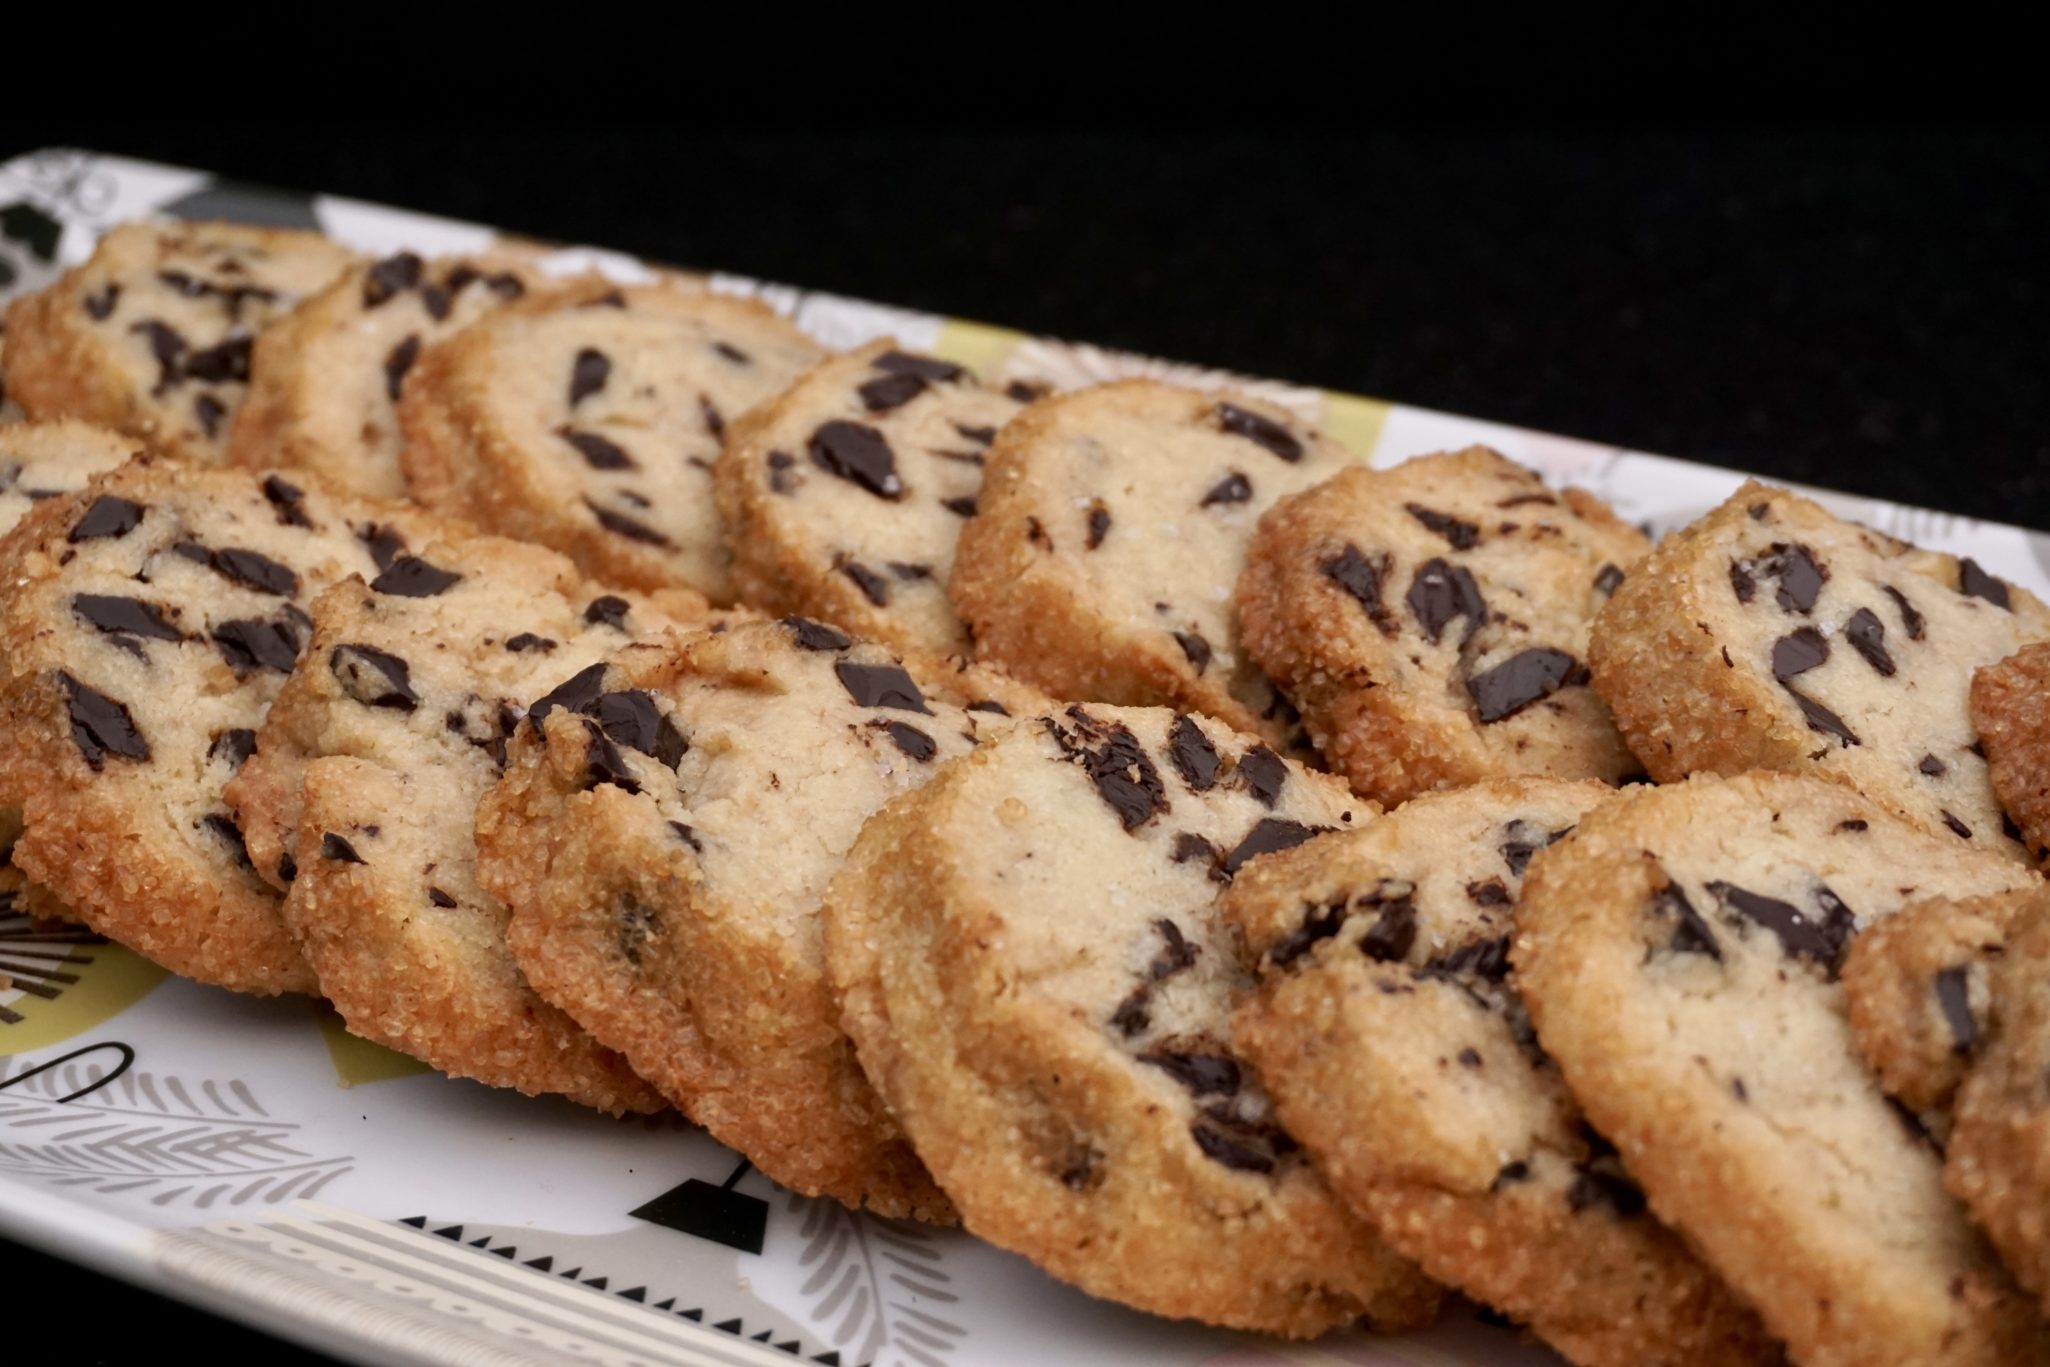
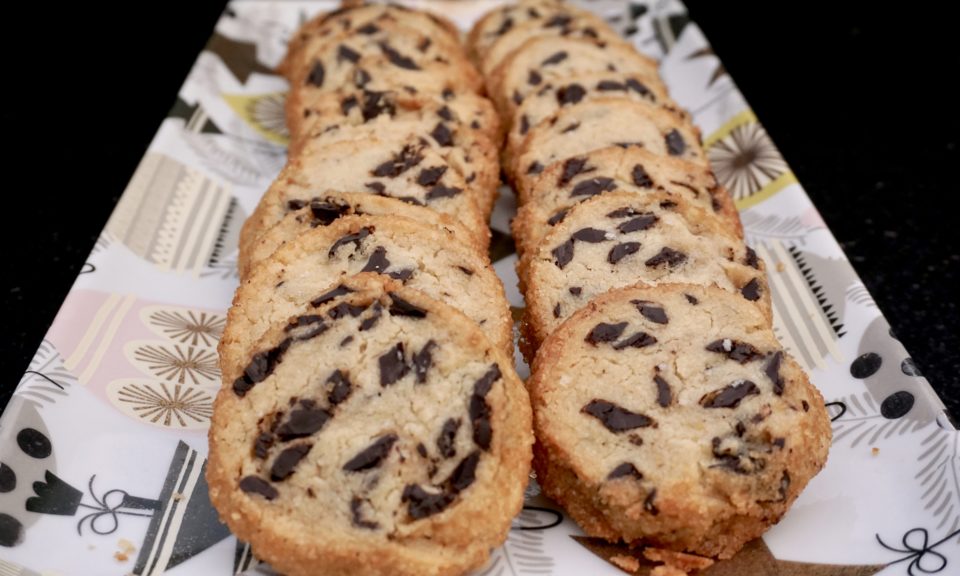
You can use raw turbinado sugar for the Demerara Sugar.  Don’t skip this step as it adds a nice crunch to the cookie. I would use semi-sweet chocolate which results in a sweeter cookie.  There is quite a bit of chocolate in this cookie which can make slicing the dough a bit tricky.  It’s okay if it crumbles when cut, just smoosh the dough back together, it will bake up fine.

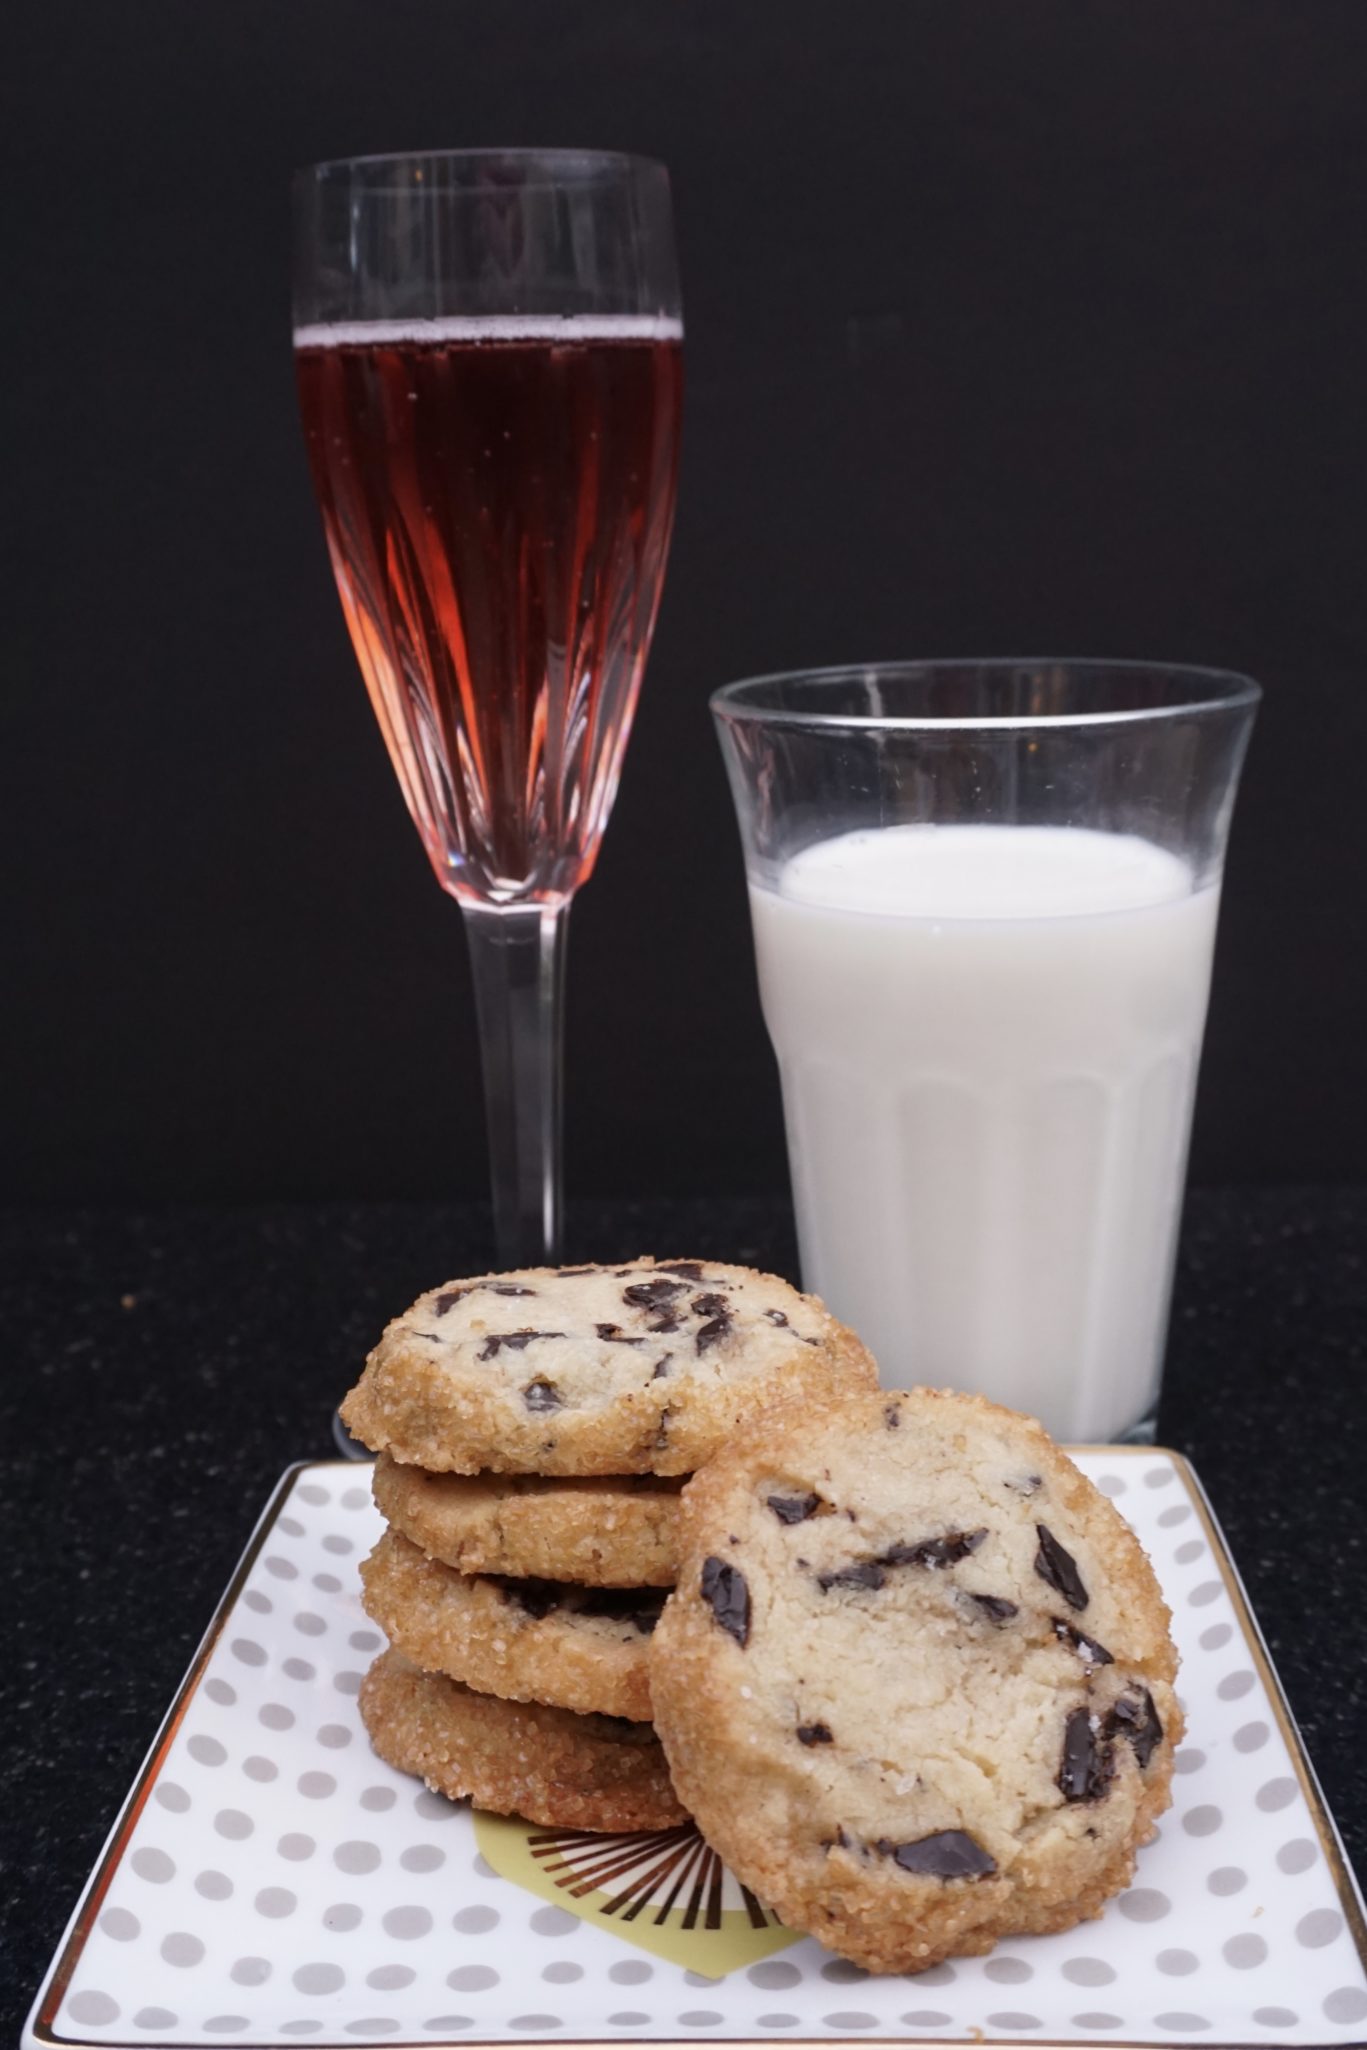
An utterly delicious cookie, buttery, sandy, chocolatety (my new word), and sweet with a surprise pop of salt.  It hits every taste sensation, and if that wasn’t enough, a crispy edge from the demerara sugar.  Cookie Heaven.  The keys to this cookie are salted butter, a sprinkling of Fleur de Sel, an edge of Demerara Sugar and of course CHOCOLATE chunks.  Hmmmmmm.

I made a batch for a friend’s New Year’s Eve Party, but unfortunately, I was too tired to attend.  I ended up in my jammies, on the couch, ringing in the New Year with a glass of milk in one hand and a cookie in the other and then promptly fell asleep.  Oh well, there is always next year.

Happy New Year Everyone!

Dilemma-A bit of bubbly or milk?


(Salted Butter & Chocolate Chunk Shortbread) New Year’s Resolution #2 Finish 12 Days of Cookies

Ingredients

  • 1 cup plus 2 tablespoons 2 1/4 sticks salted butter, cut into 1/2-inch pieces
  • 1/2 cup granulated sugar
  • 1/4 cup light brown sugar
  • 1 teaspoon vanilla extract
  • 2 1/4 cups all-purpose flour
  • 6 ounces semi- or bittersweet dark chocolate chopped (but not too fine, you want chunks)
  • 1 large egg beaten
  • Demerara sugar for rolling
  • Flaky sea salt for sprinkling

Instructions

  • The cookie dough can be made ahead and stored, tightly wrapped in plastic, up to 1 week in the refrigerator, or 1 month in the freezer. Cookies can be baked and stored in plastic wrap or an airtight container for 5 days.
  • 1. Line a rimmed baking sheet with parchment paper.
  • 2. Using an electric mixer and a medium bowl or a stand mixer fitted with the paddle attachment, beat the butter, both sugars, and vanilla on medium-high till it’s super light and fluffy, 3 to 5 minutes. Using a spatula, scrape down the sides of the bowl and, with the mixer on low, slowly add the flour, followed by the chocolate chunks, and beat just to blend.
  • 3. Divide the dough in half, placing each half on a large piece of plastic wrap. Fold the plastic over so that it covers the dough to protect your hands from getting all sticky. Using your hands (just like you’re playing with clay), form the dough into a log shape; rolling it on the counter will help you smooth it out, but don’t worry about getting it totally perfect. You can also do this using parchment paper, if you prefer, but I find using plastic wrap easier when it comes to shaping the log. Each half should form two logs 2 to 2 1/4 inches in diameter. Chill until totally firm, about 2 hours.
  • 4. Preheat the oven to 350°F.
  • 5. Brush the outside of the logs with the beaten egg and roll them in the Demerara sugar (this is for those really delicious crispy edges).
  • 6. Slice each log into 1/2-inch-thick rounds, place them on the prepared baking sheet(s) about 1 inch apart (they won’t spread much), and sprinkle with flaky salt. Bake until the edges are just beginning to brown, 12 to 15 minutes. Let cool slightly before eating them all.
Lemon Cookie Very Pretty & The Cookie Is So Sweet (Blueberry-Lemon Shortbread)

Lemon Cookie Very Pretty & The Cookie Is So Sweet (Blueberry-Lemon Shortbread)

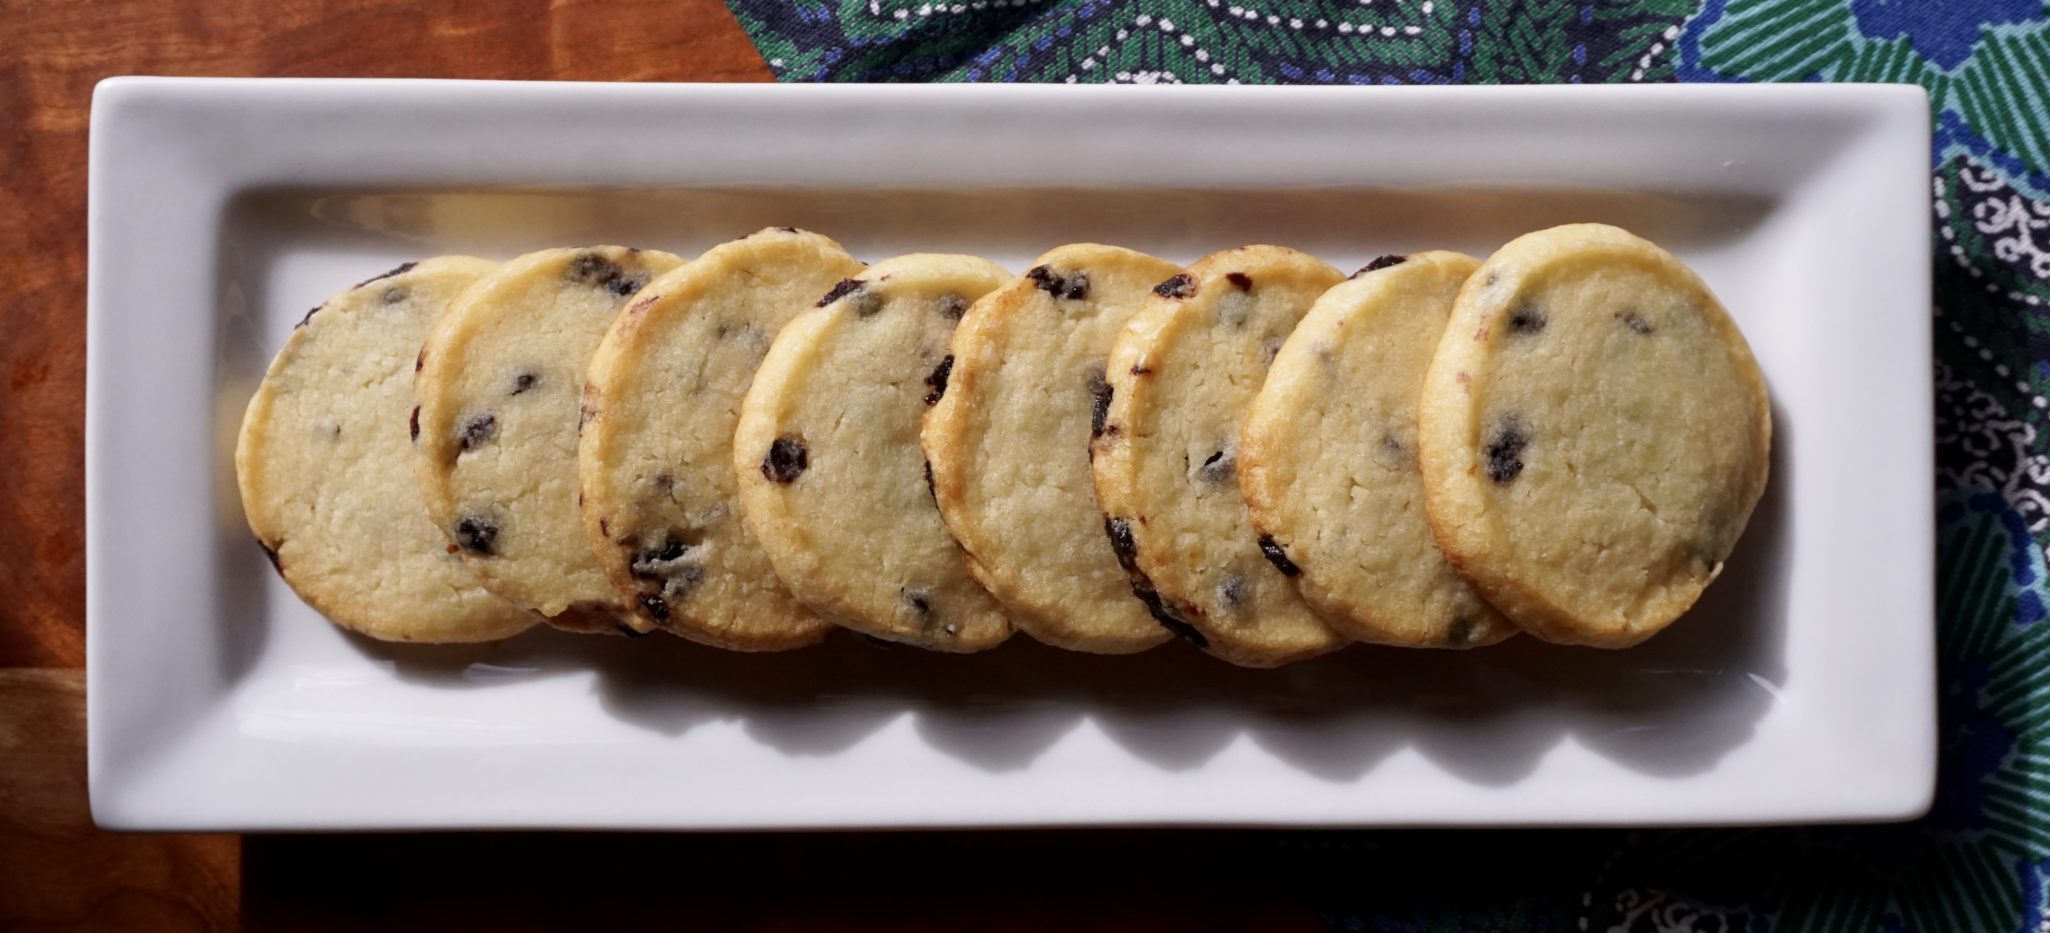
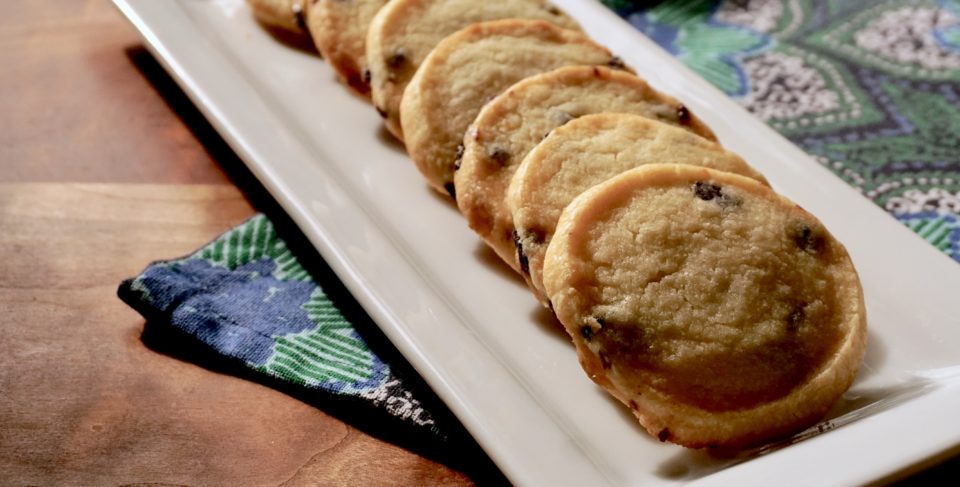
Blueberry-Lemon Shortbread from Miranda Couse’s  Easy Homemade Cookie Cookbook is a winner.  These cookies remind me of my favorite scones which have dried blueberries and lemon zest in them. As soon as I spied the recipe I knew I had to try it. The cookies are made with powdered sugar which helps to create a tender cookie. A combination of lemon juice and lemon zest give the cookies their tart, lemony flavor.  Want less pucker? Substitute Meyer lemon or a combination of lemon and orange juice in the cookie.  The use of dried blueberries in these delicious morsels intensifies the berry flavor and provides a foil to the lemon.  Trader Joe’s carries wild dried blueberries that work perfectly.
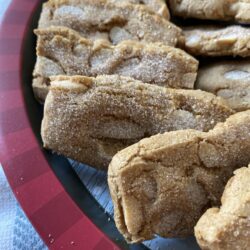
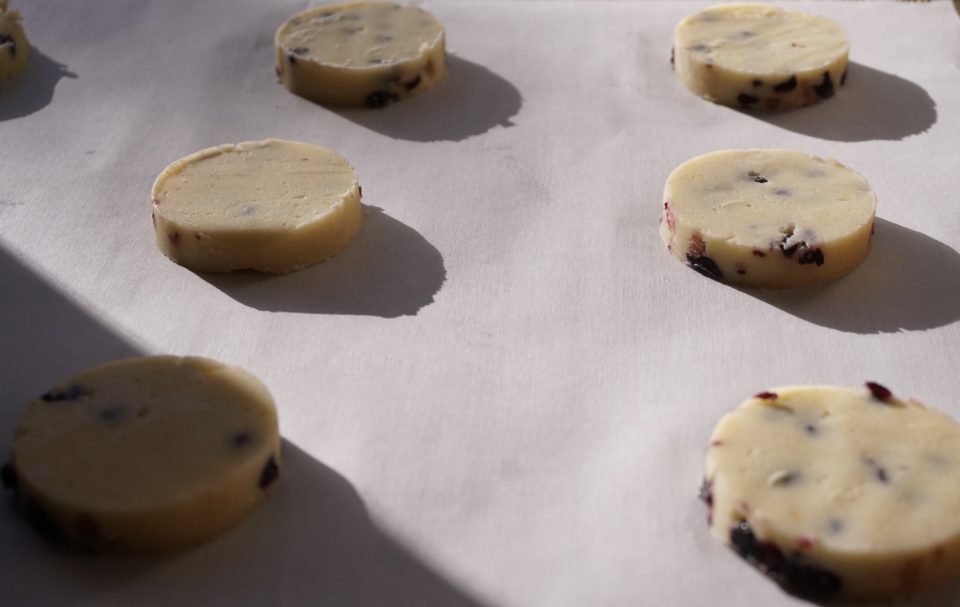
The dough is rolled out to approximately 3/8-1/2 inch thickness.  I’m sure the dough if chilled, would be firm enough to shape into a log for slice and bake cookies.  As I sat munching on one the thought occurred to me that dried cranberries and orange would also be delicious.  Can’t wait to make my next batch.  If you try a different flavor combination, let me know!

Lemon Blueberry Shortbread from Easy Homemade Cookie Cookbook

Delicious citrus-berry, buttery cookie!
Course cookies
Cuisine American
Keyword blueberry, cookies, lemon, Lemon blueberry shortbread, Shortbread

Ingredients

  • MAKES ABOUT 12 COOKIES
  • Prep: 15 minutes Chill: 30 minutes
  • Bake: 14 to 15 minutes
  • Shelf Life: 4 to 5 days
  • ½ cup 1 stick unsalted butter, at room temperature
  • 7 tablespoons confectioners’ sugar
  • 2 tablespoons granulated sugar
  • 2 teaspoons grated lemon zest
  • tablespoons freshly squeezed lemon juice
  • 1 cup all-purpose flour
  • ¼ teaspoon table salt
  • ¼ cup chopped dried blueberries Feel free to substitute other dried fruit, great combo would be orange and dried cranberries, use your imagination, like lime and strawberry

Instructions

  • In a large mixing bowl, using an electric mixer on medium speed or a wooden spoon, beat together the butter and both sugars until light and creamy. This will take about 3 minutes if using an electric mixer or 5 to 6 minutes if creaming by hand. Add the lemon zest and lemon juice and beat to combine. Add the flour and salt, and beat on low speed or by hand until the dough comes together about 1 minute. Using a rubber spatula, fold in the blueberries until incorporated.
  • Place the dough between two sheets of wax paper or parchment paper. Using a rolling pin, roll out the dough to an even ½-inch thickness. Wrap the dough in the paper and refrigerate until firm, about 30 minutes.
  • Preheat the oven to 350ºF. Line a cookie sheet with parchment paper.
  • Using a 2-inch round cookie cutter, cut out the cookies and place them 2 inches apart on the prepared cookie sheet. Rechill if they seem soft.
  • Bake 14-15 minutes until edges are golden brown. Start checking at 12 minutes!
  • Let the cookies rest on the sheet for 5 minutes before transferring to a wire rack to finish cooling.
  • Like many shortbread, flavors will develop and the cookie will be even better the next day!
Dutch Almond Cookies (It’s Crunch Time ) Day 1 Holiday Cookies

Dutch Almond Cookies (It’s Crunch Time ) Day 1 Holiday Cookies

One hundred and twenty-ish

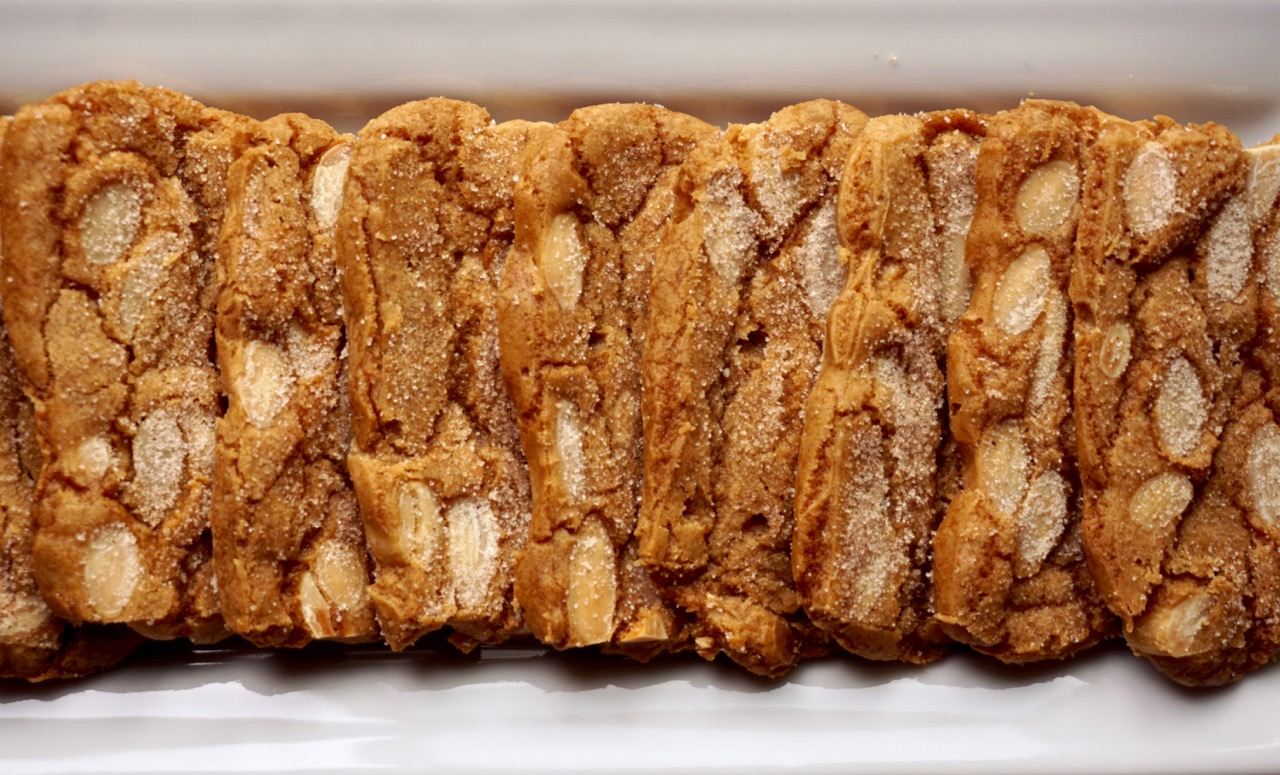
Remember that number. Way back in January we took an impromptu trip to New York for my cousin’s birthday.  My cousin’s wife Kathy, baker, crafter, home chef extraordinaire made all of the scrumptious desserts – birthday cake, lemon parfaits, and an amazing assortment of cookies for the shindig.  We ate, we danced, we laughed.  Not surprisingly I was enamored with all of the desserts Kathy made, one in particular, stood out.  A cinnamon-y, crispy-crunchy cookie with almonds scattered throughout.

When we returned home from our NY jaunt I fired off an e-mail to Kathy.

Me:  Hey Kathy, Great party!  As usual delicious food, great company, and so much fun!  Loved those crunchy almond cookies!  Mind sending me the recipe?

Kathy:  Still recovering from the party.  Yep, those are good cookies.  The recipe is from Nick Malgieri’s Cookies Unlimited, they’re called Dutch Almond Cookies.

Me: Wait, I think I have that book (surprise, surprise)

…I scurry off to find said book

Seize the Dough

The first time I made them was a total disaster.  The recipe is actually pretty simple.  Butter, brown sugar, granulated sugar, and a touch of water are heated until the sugar is melted.  Once the sugar has dissolved toss in the whole blanched almonds.  The almond mixture is then combined with the dry ingredients.  All was fine until I stirred in the flour and bam!  It seized and instantly transformed into a crumbly dry mess. Ugh.  Disappointing.  I tried to salvage it by pressing it into a baking pan and chilling it.  Unfortunately, even after chilling, it was not workable and it ended up in my compost bin.  Where did I go wrong?

I turned to my trusty laptop, googled Nick Malgieri, and fired off an e-mail lamenting my disaster.  True to form and further validating how nice bakers are, I received a response from him shortly.  After some mulling, he concluded that I had probably used too much flour.  

One hundred and twenty-ish

When you try these bundles of crispy crunchy goodness use a scale if you have one. It may save you from the “un-malleable mess” I had the first time. If you don’t have a scale, be gentle with your flour, don’t pack it in the cup when you measure.

I revisited these cookies for the holidays 2021.  This time I decided to go with the standard weight of 122gms for a cup of flour.  Worked like a charm.  I think anywhere between 120-125gms of flour should work for these cookies.  If you don’t have a scale, fluff your flour and lightly scoop it into your measuring cup with a spoon. Don’t pack it.

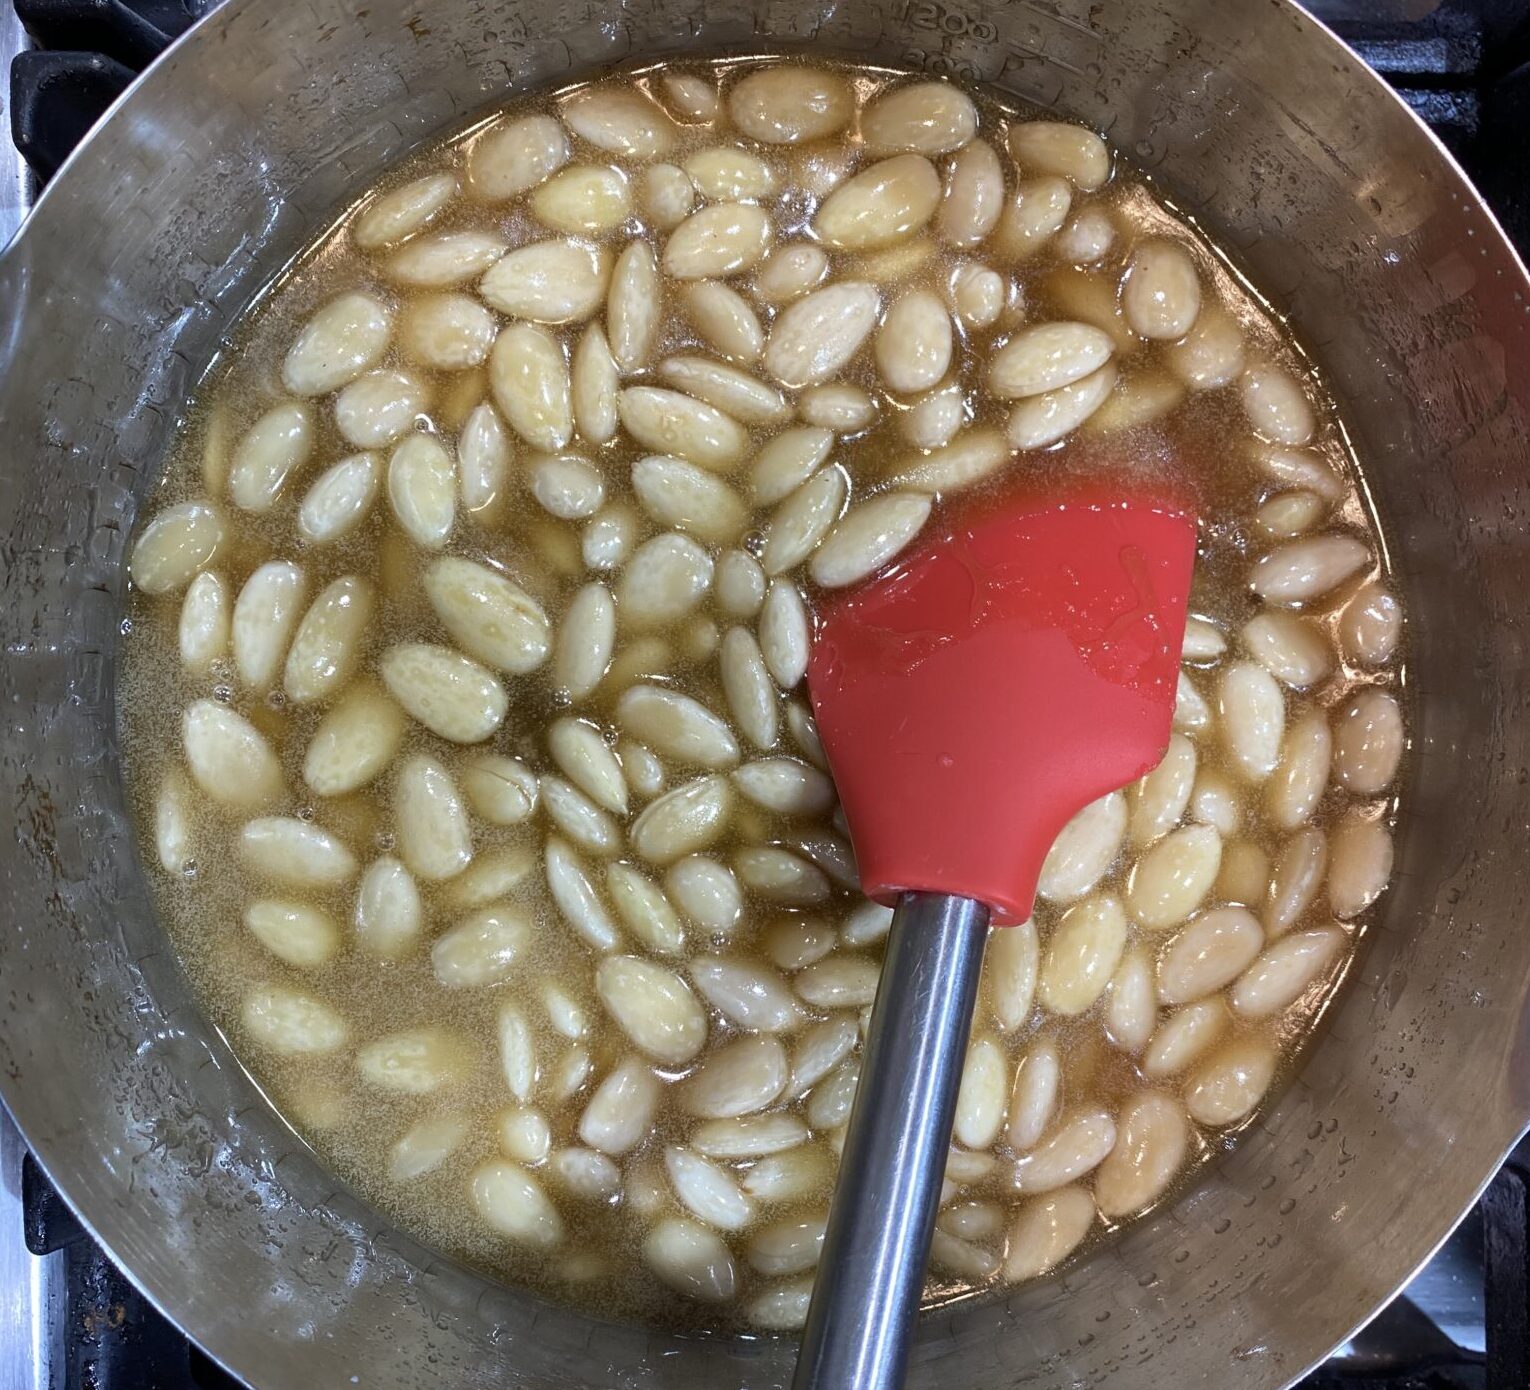
Sugar, butter, almonds, mixture on the stove before adding the flour.

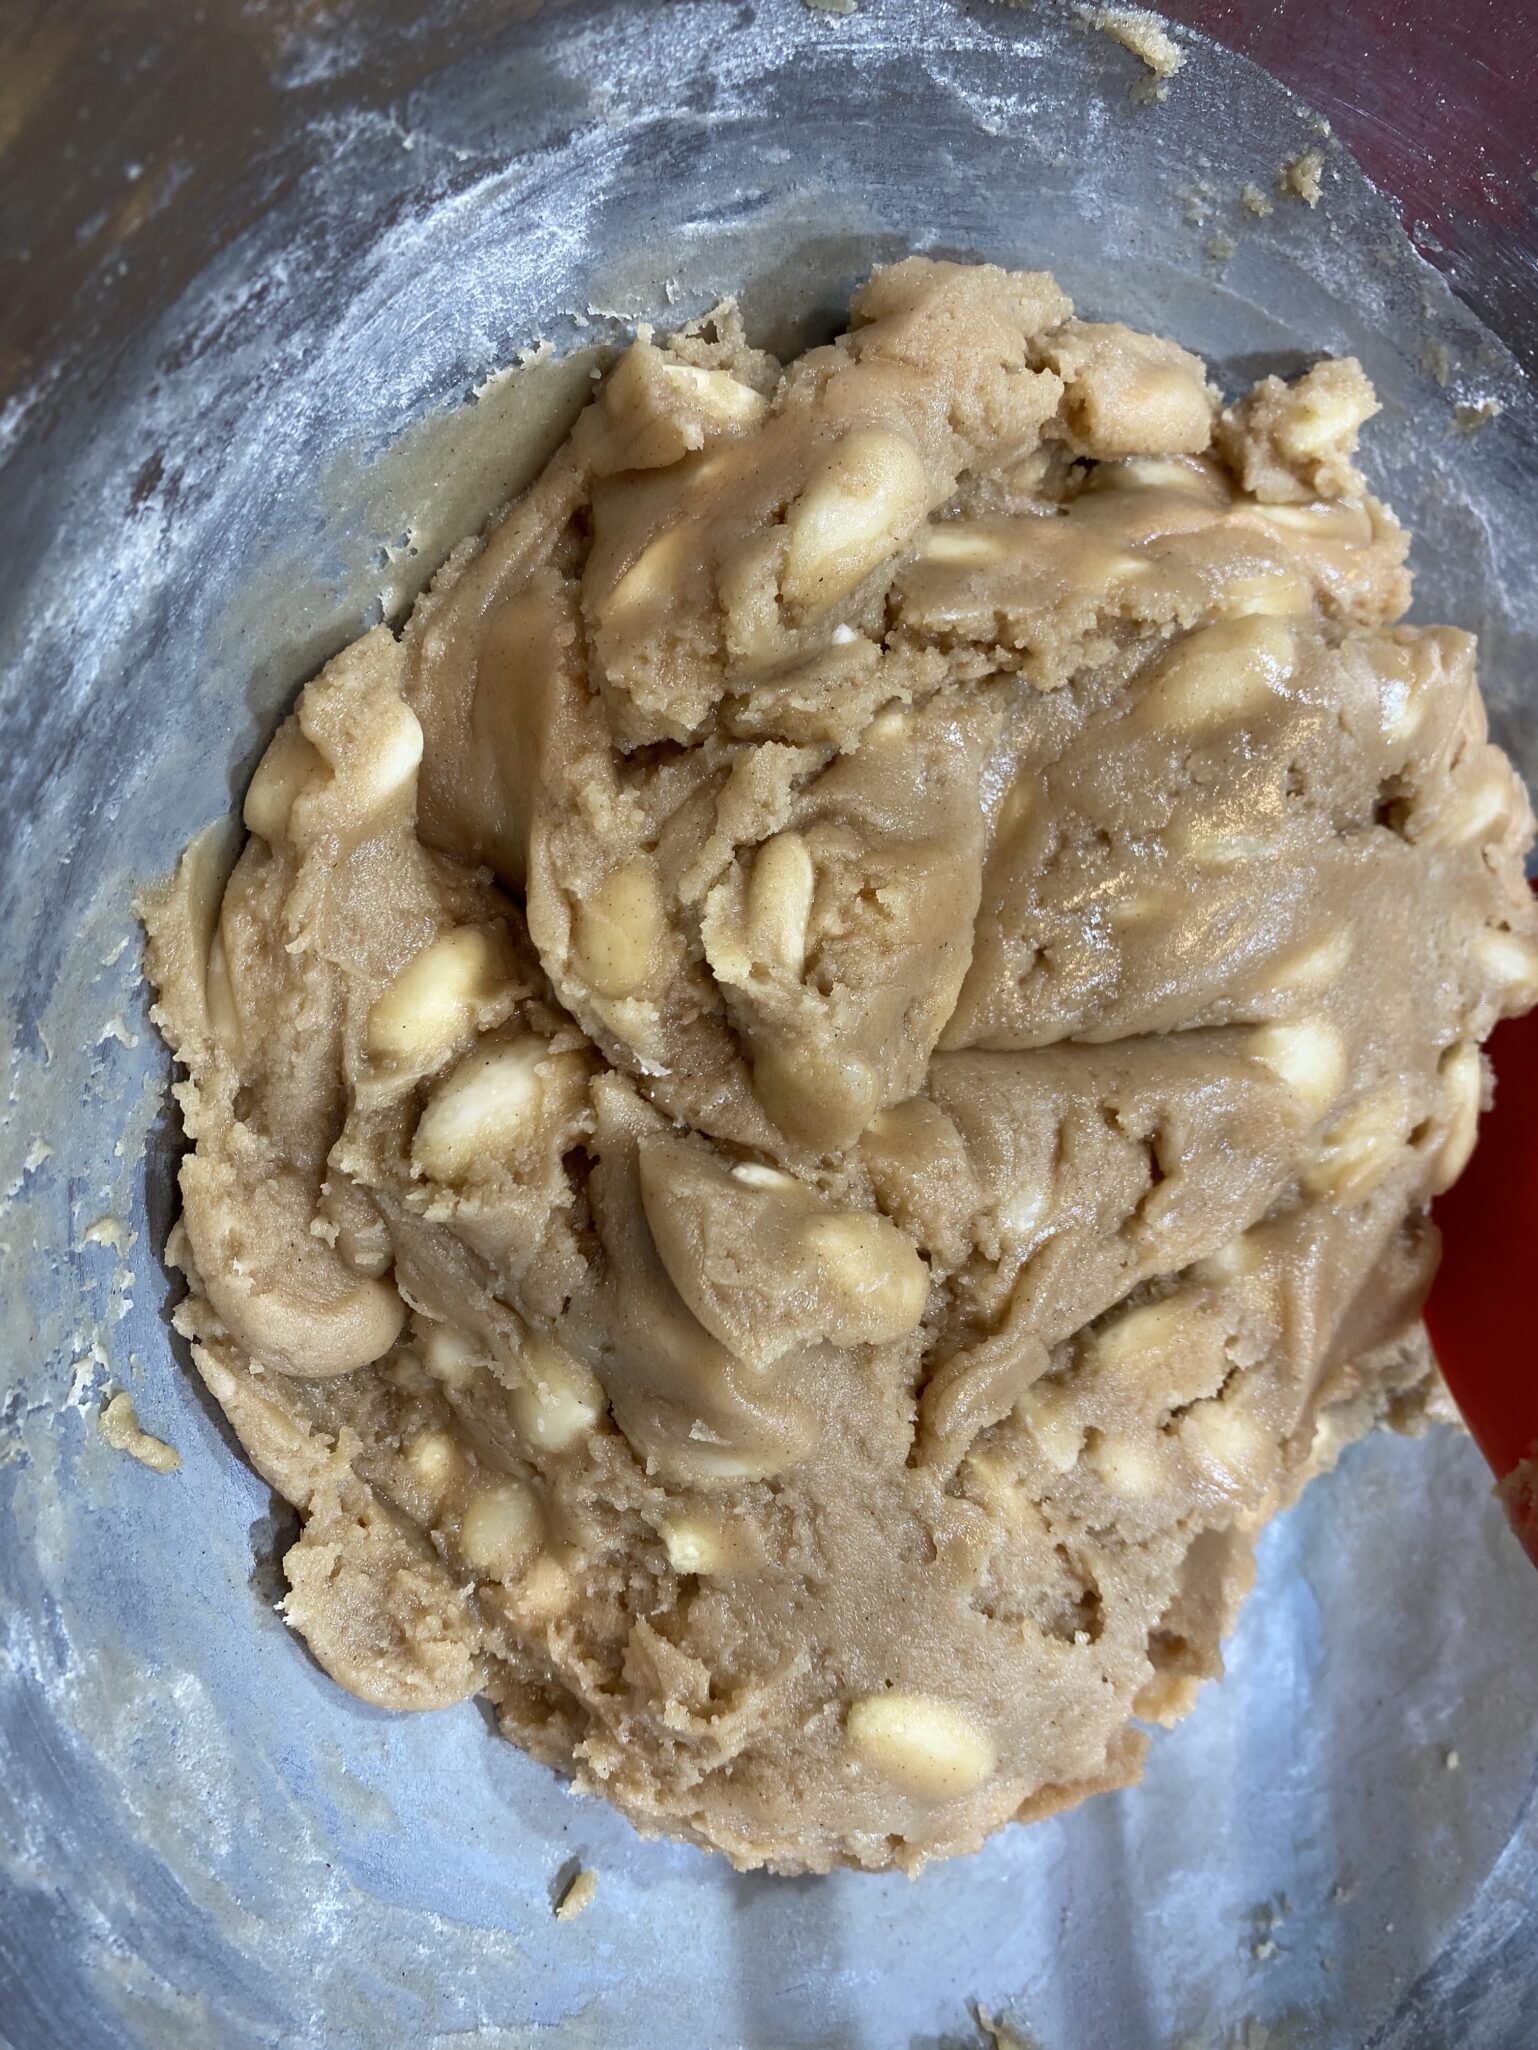
Added the flour, this is the step I always approach with trepidation…and where I implore you to get a scale!

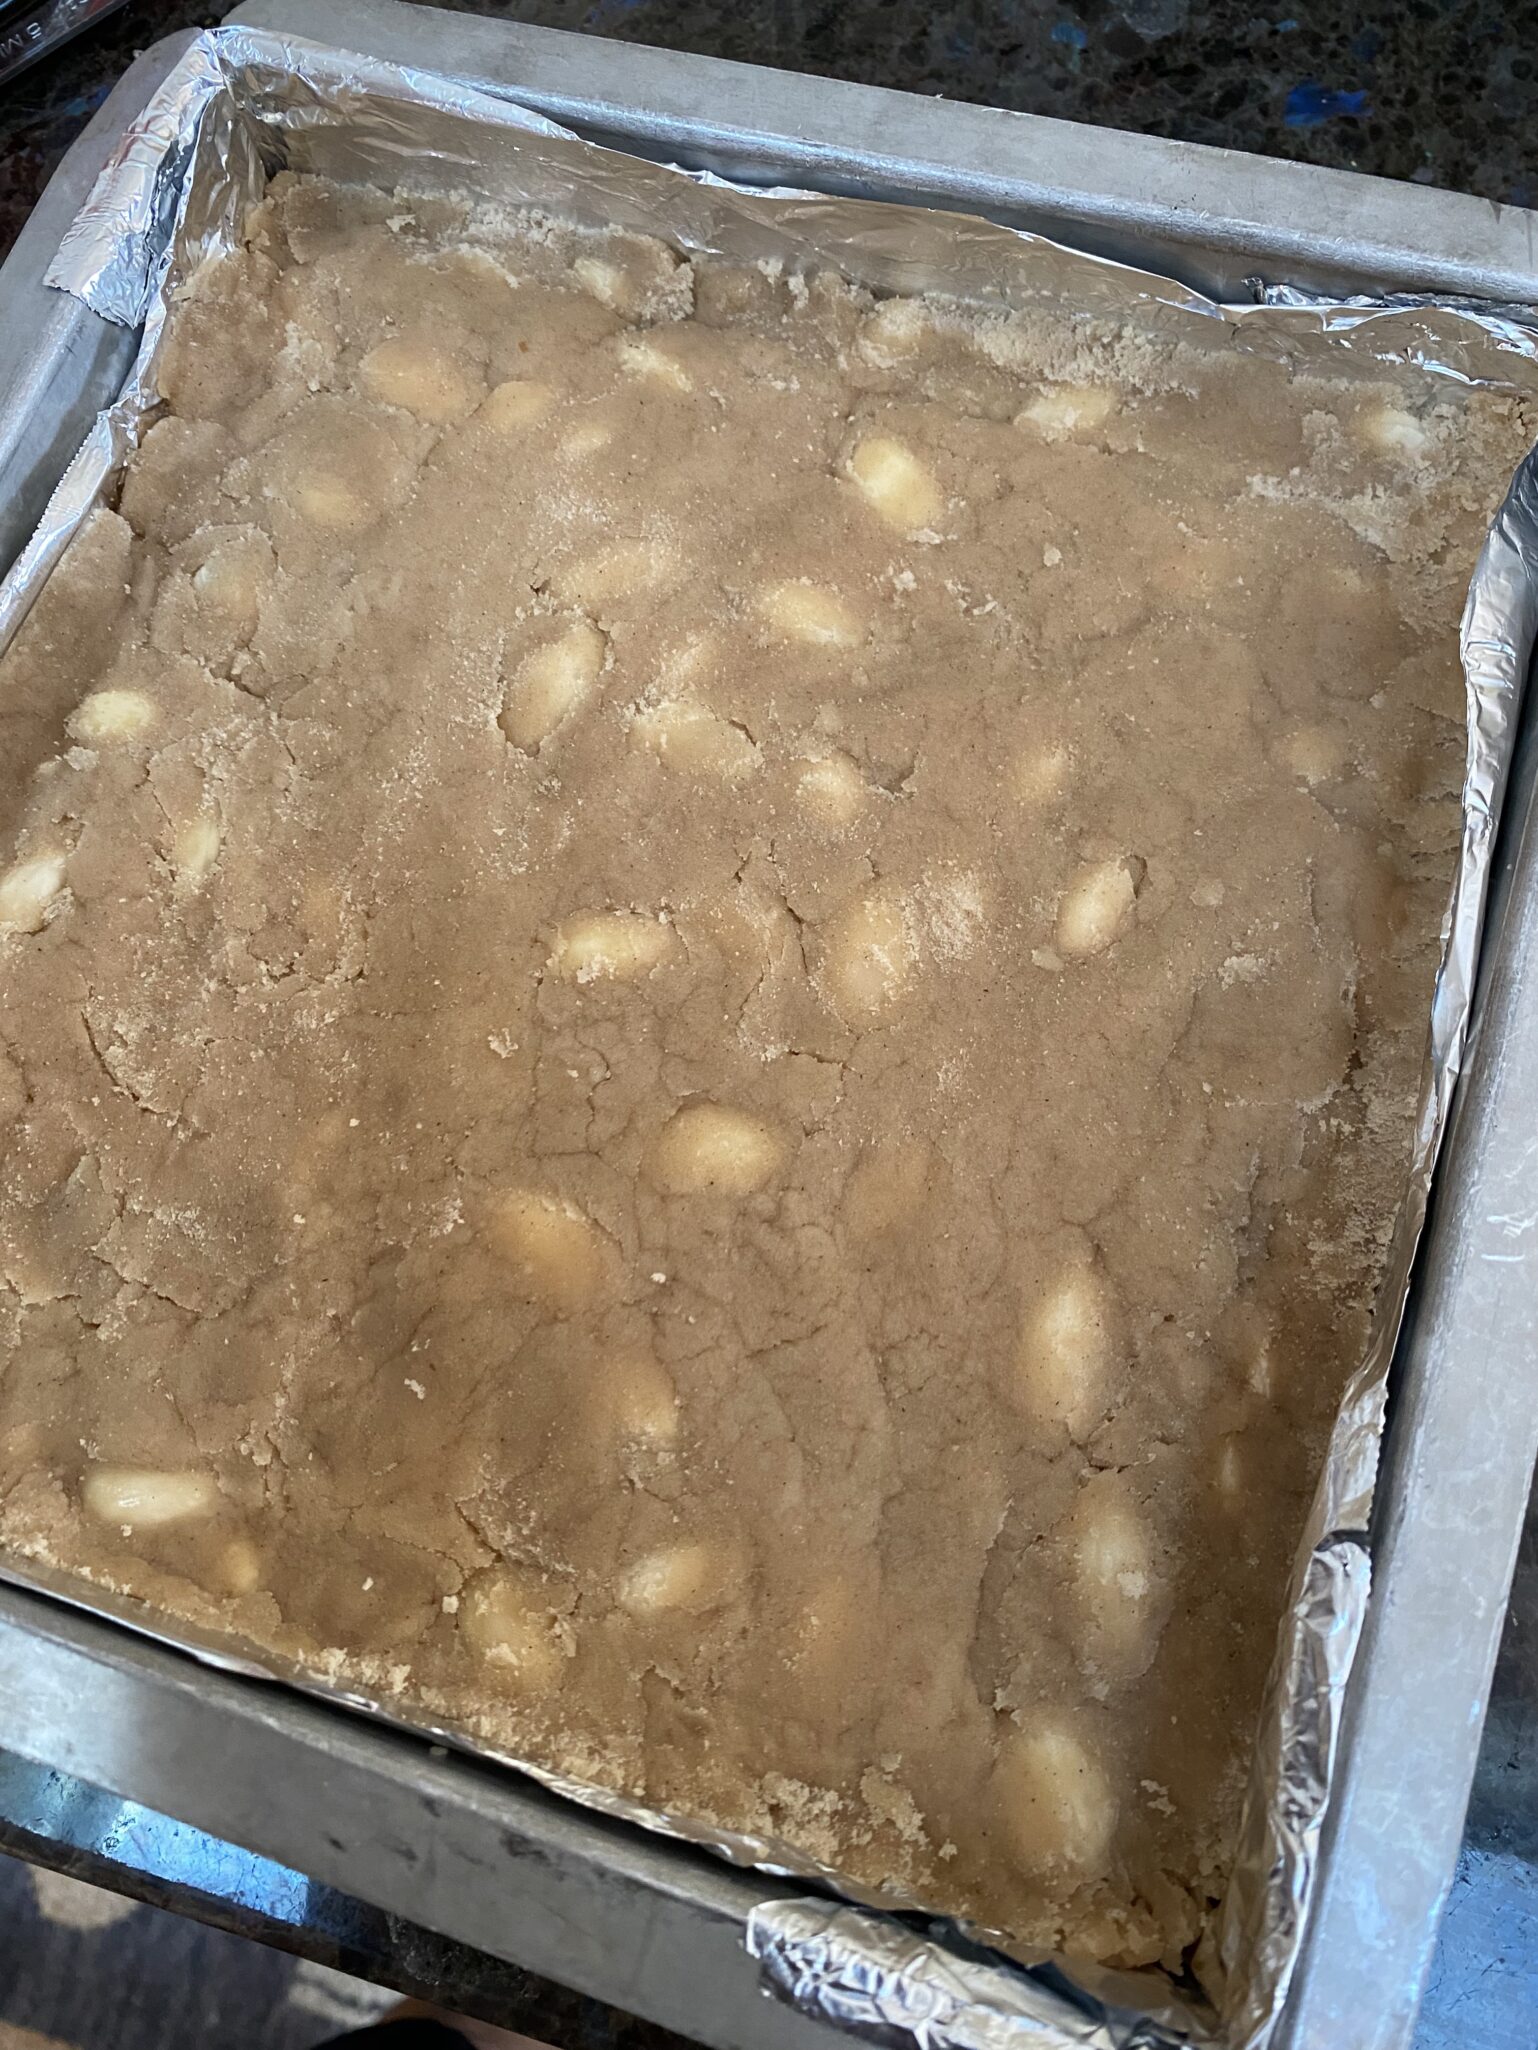
This batch actually has a smidge to much flour…see the dry parts?  But no seizing of the dough, Yay! Use parchment or heavy-duty foil with plenty of excess to grab, it was a b*tch trying to remove it, the regular-weight, too-short foil kept ripping.

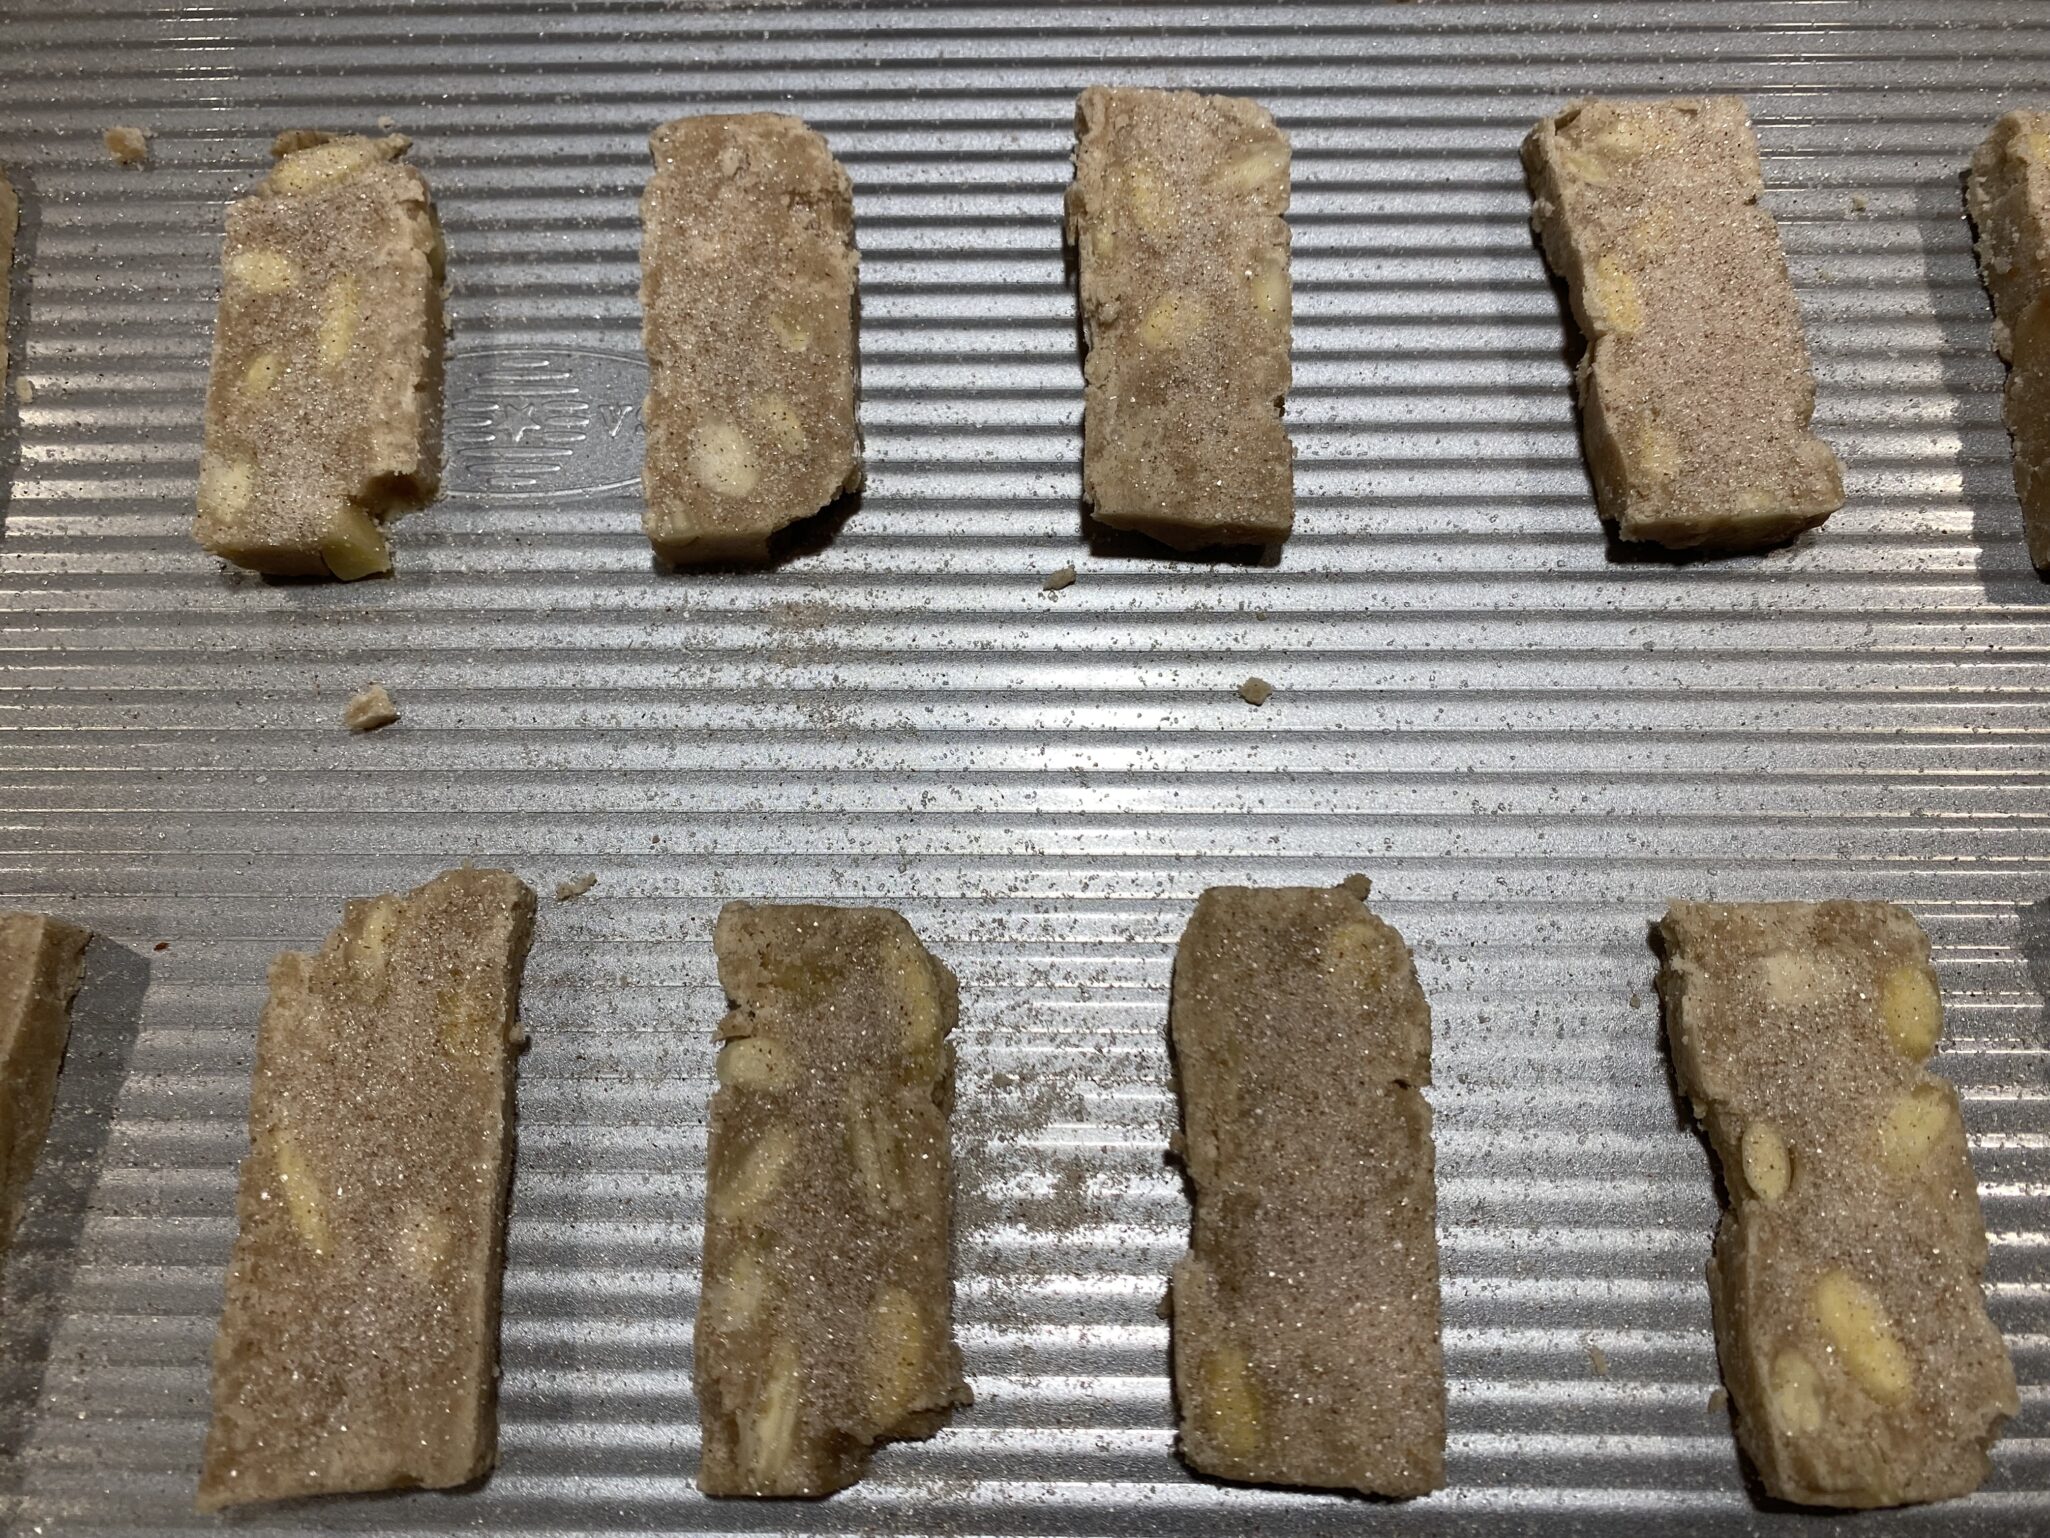
Ready for the oven, be generous with the cinnamon sugar.

This time the dough did not turn into a chalky brick, instead, it was very thick and almost pourable.  I put it in an 8×8 pan lined with foil (very important) covered it with plastic wrap and chilled the dough overnight.  Once chilled it hardens and becomes easy to cut.  Divide dough into 3 logs.  Cut 1 log at a time leaving the remaining logs in the fridge. If it crumbles while cutting, just smoosh (a technical term used by all serious chefs) it back together.  The recipe calls for 1/4″ inch slices.  These are really crunchy cookies I would slice them a smidge thinner than 1/4 inch rather than more.  Place the cookies on a parchment-lined sheet about 1 inch apart and sprinkle generously with cinnamon sugar.  Bake for 15 minutes.  Make sure to bake the cookies until they are a rich golden brown and firm to touch.  Once cooled the slices will be crispy-crunchy similar to biscotti. If under-baked the cookies will be chewy instead of crisp.

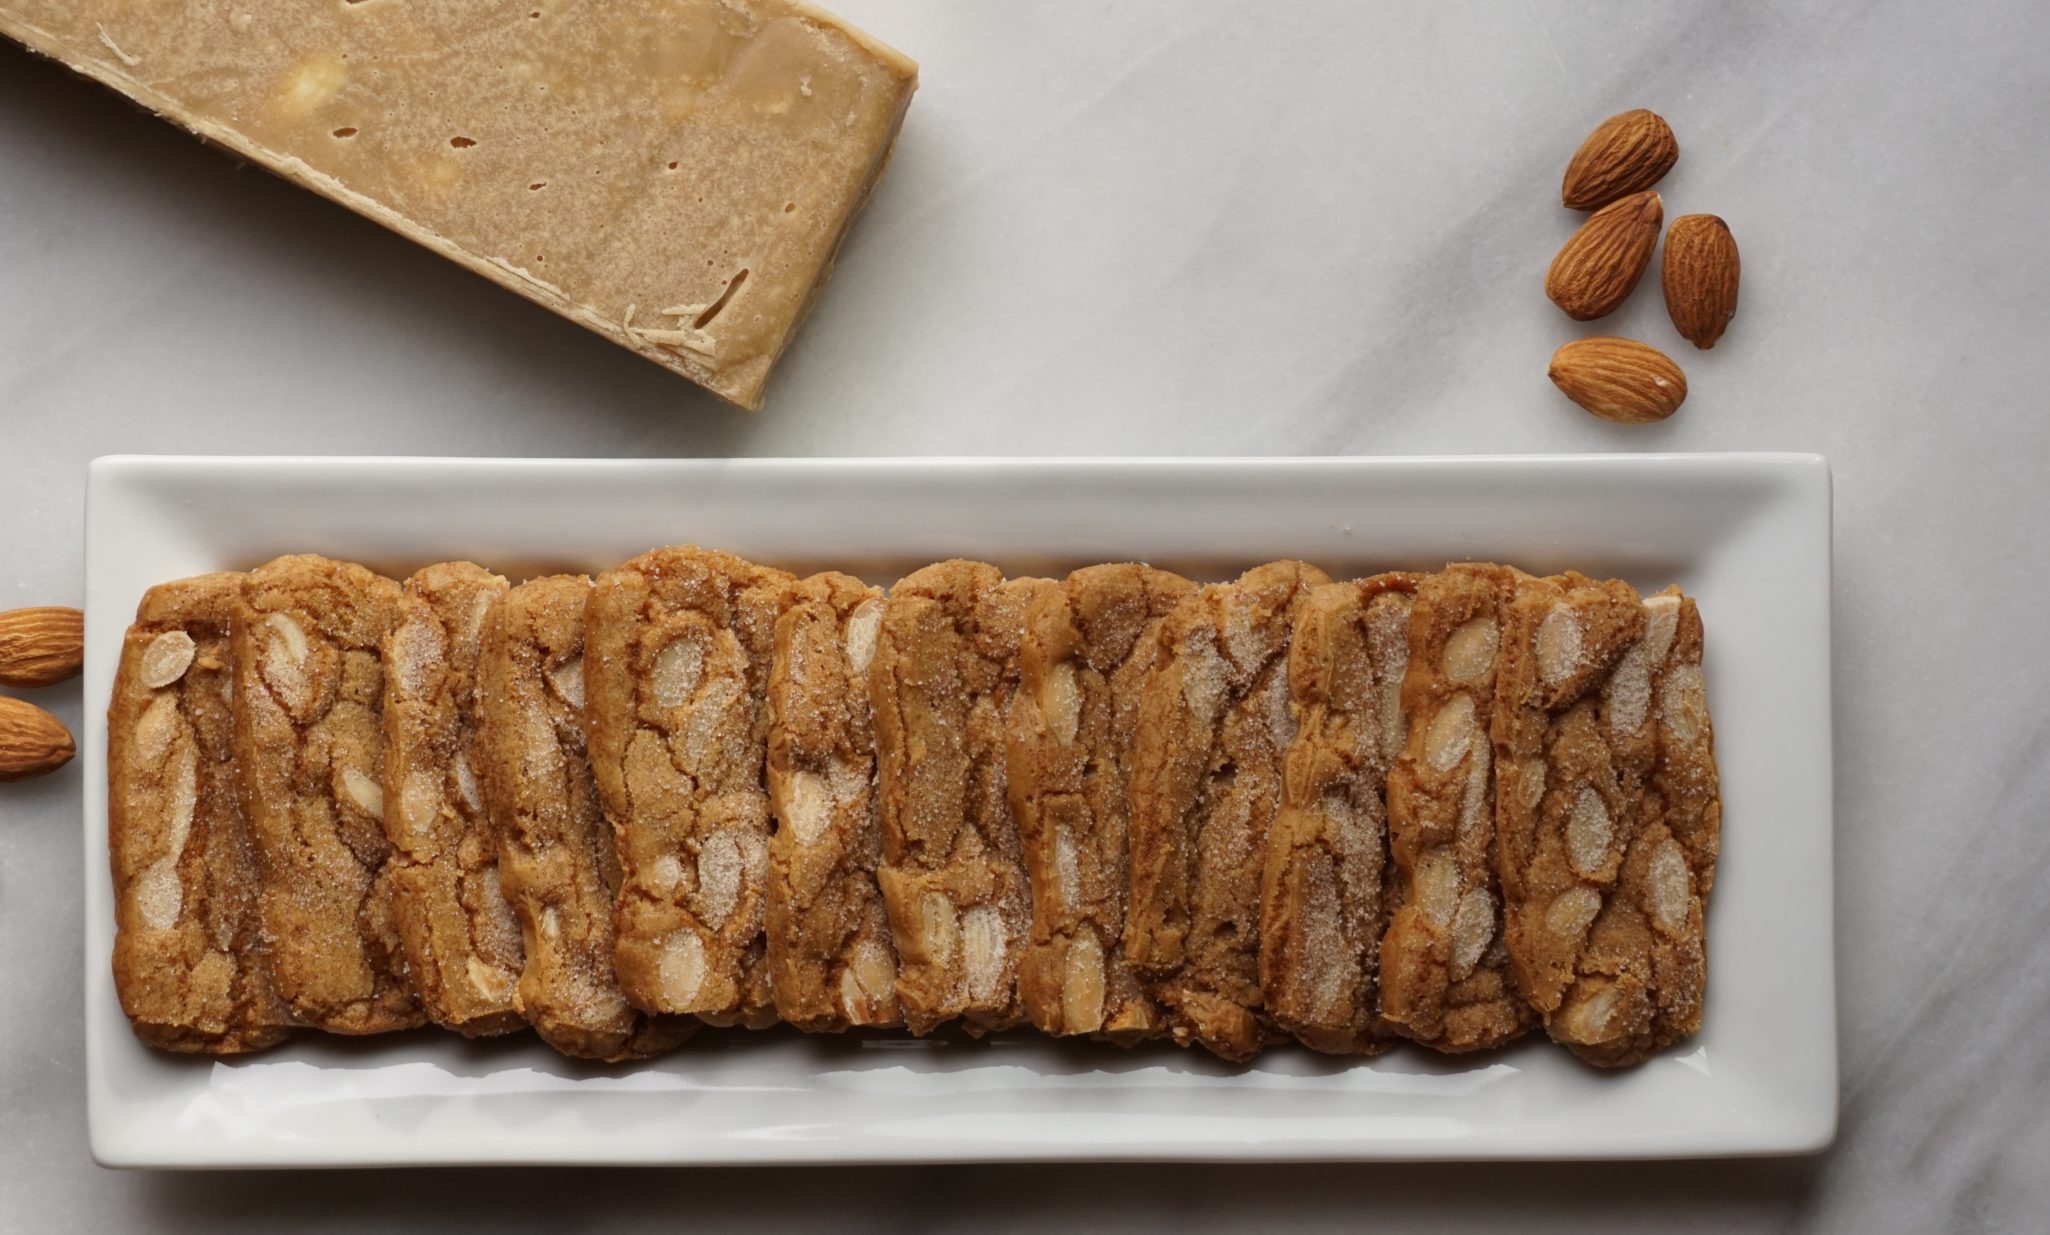
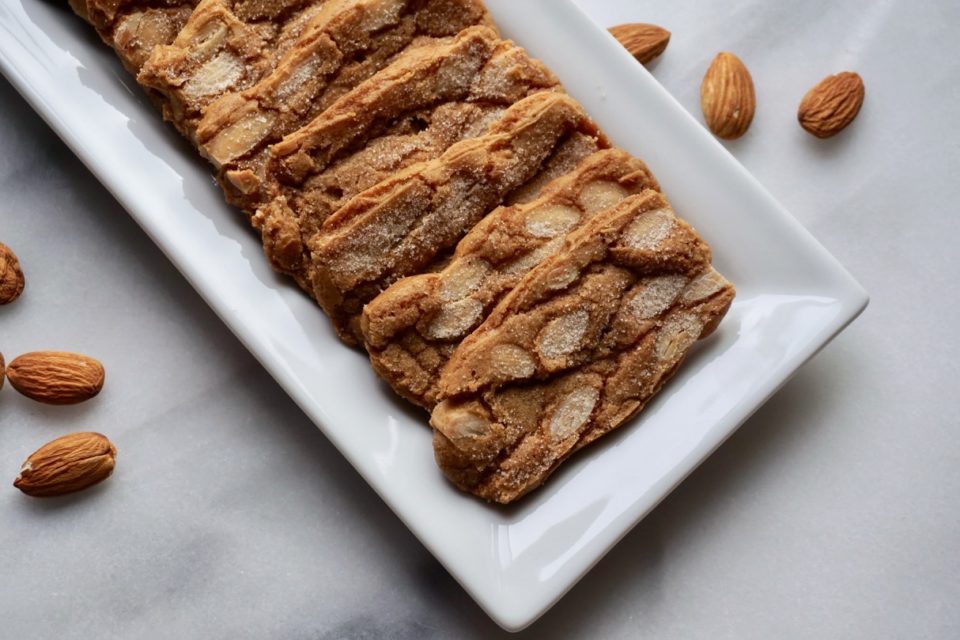
This recipe makes a ton of cookies, perfect for that upcoming holiday cookie swap. Delightful cookies, crunchy, airy, perfect with tea or coffee.

Added bonus, a holiday tune to go along with these scrumptious cookies.  From  Peanuts Christmas- Linus and Lucy


Dutch Almond Cookies Day 1: 12 Days of Cookies

Light, crispy, crunchy, almond cookies
Course cookies, Dessert, Snack
Cuisine American
Keyword Dutch Almond Cookies
Prep Time 25 minutes
Cook Time 12 minutes

Ingredients

From Nick Malgieri's Ultimate Cookies

Butter for greasing pan

Da Dry Stuff-Combine and set aside

  • 3 cups all-purpose flour 120-125gms/cup
  • 1 teaspoon baking soda
  • 1 teaspoon ground cinnamon

Da Wet Stuff

  • 3/4 cup 1 1/2 sticks unsalted butter, cut into 12 pieces
  • 1 cup firmly packed light brown sugar
  • 1 cup granulated sugar
  • 6 tablespoons water
  • 2 cups whole blanched almonds

Topping:

  • 1/2 cup granulated sugar
  • 1 teaspoon ground cinnamon

Instructions

  • Line an 8-inch square pan with aluminum foil; butter foil. Line 2 or 3 baking sheets with parchment paper.
  • In a large bowl, whisk together the flour, baking soda and cinnamon. Set aside.
  • Melt butter in large saucepan over medium heat. Remove from heat and stir in brown sugar, granulated sugar and water. Return to heat and bring to boil, stirring occasionally, until sugar melts. Remove from heat and stir in almonds.
  • Pour sugar-almond mixture into a large bowl and stir in dry ingredients. Press dough into prepared square pan, cover with plastic wrap and chill overnight or until firm.
  • About 20 minutes before you are ready to bake cookies, set racks in the upper and lower thirds of the oven and preheat to 350 degrees.
  • Prepare topping: thoroughly combine 1/2 cup granulated sugar and 1 teaspoon cinnamon; set aside.
  • Unmold the "brick" of cookie dough from the pan and place on cutting board. Cut brick into three bars, each 8-by-2 1/2-by- 1 1/4 inches (bars will be just a little more than 2 1/2-inches wide). Wrap 2 bars in parchment paper, wax paper or plastic wrap and refrigerate. Cut remaining brick into 1/4-inch thick slices. As you cut cookies, place them on prepared sheets 1 inch apart in all directions.
  • Just before putting sheets in oven, sprinkle tops of cookies generously with the cinnamon sugar. Bake cookies for about 15 minutes, or until they are golden and firm. Slide the parchment with the cookies on top onto cooling racks. Cookies will crisp as they cool. Repeat with remaining bars of dough.
  • Store cookies between sheets of parchment or wax paper in a tin or plastic container with a tight-fitting lid. If freezing the bar(s), it is best to thaw dough overnight in the refrigerator before slicing and baking.
  • Happy baking!
(Coconut Cookie Sticks) Cuckoo for Coconuts by Alice Medrich

(Coconut Cookie Sticks) Cuckoo for Coconuts by Alice Medrich

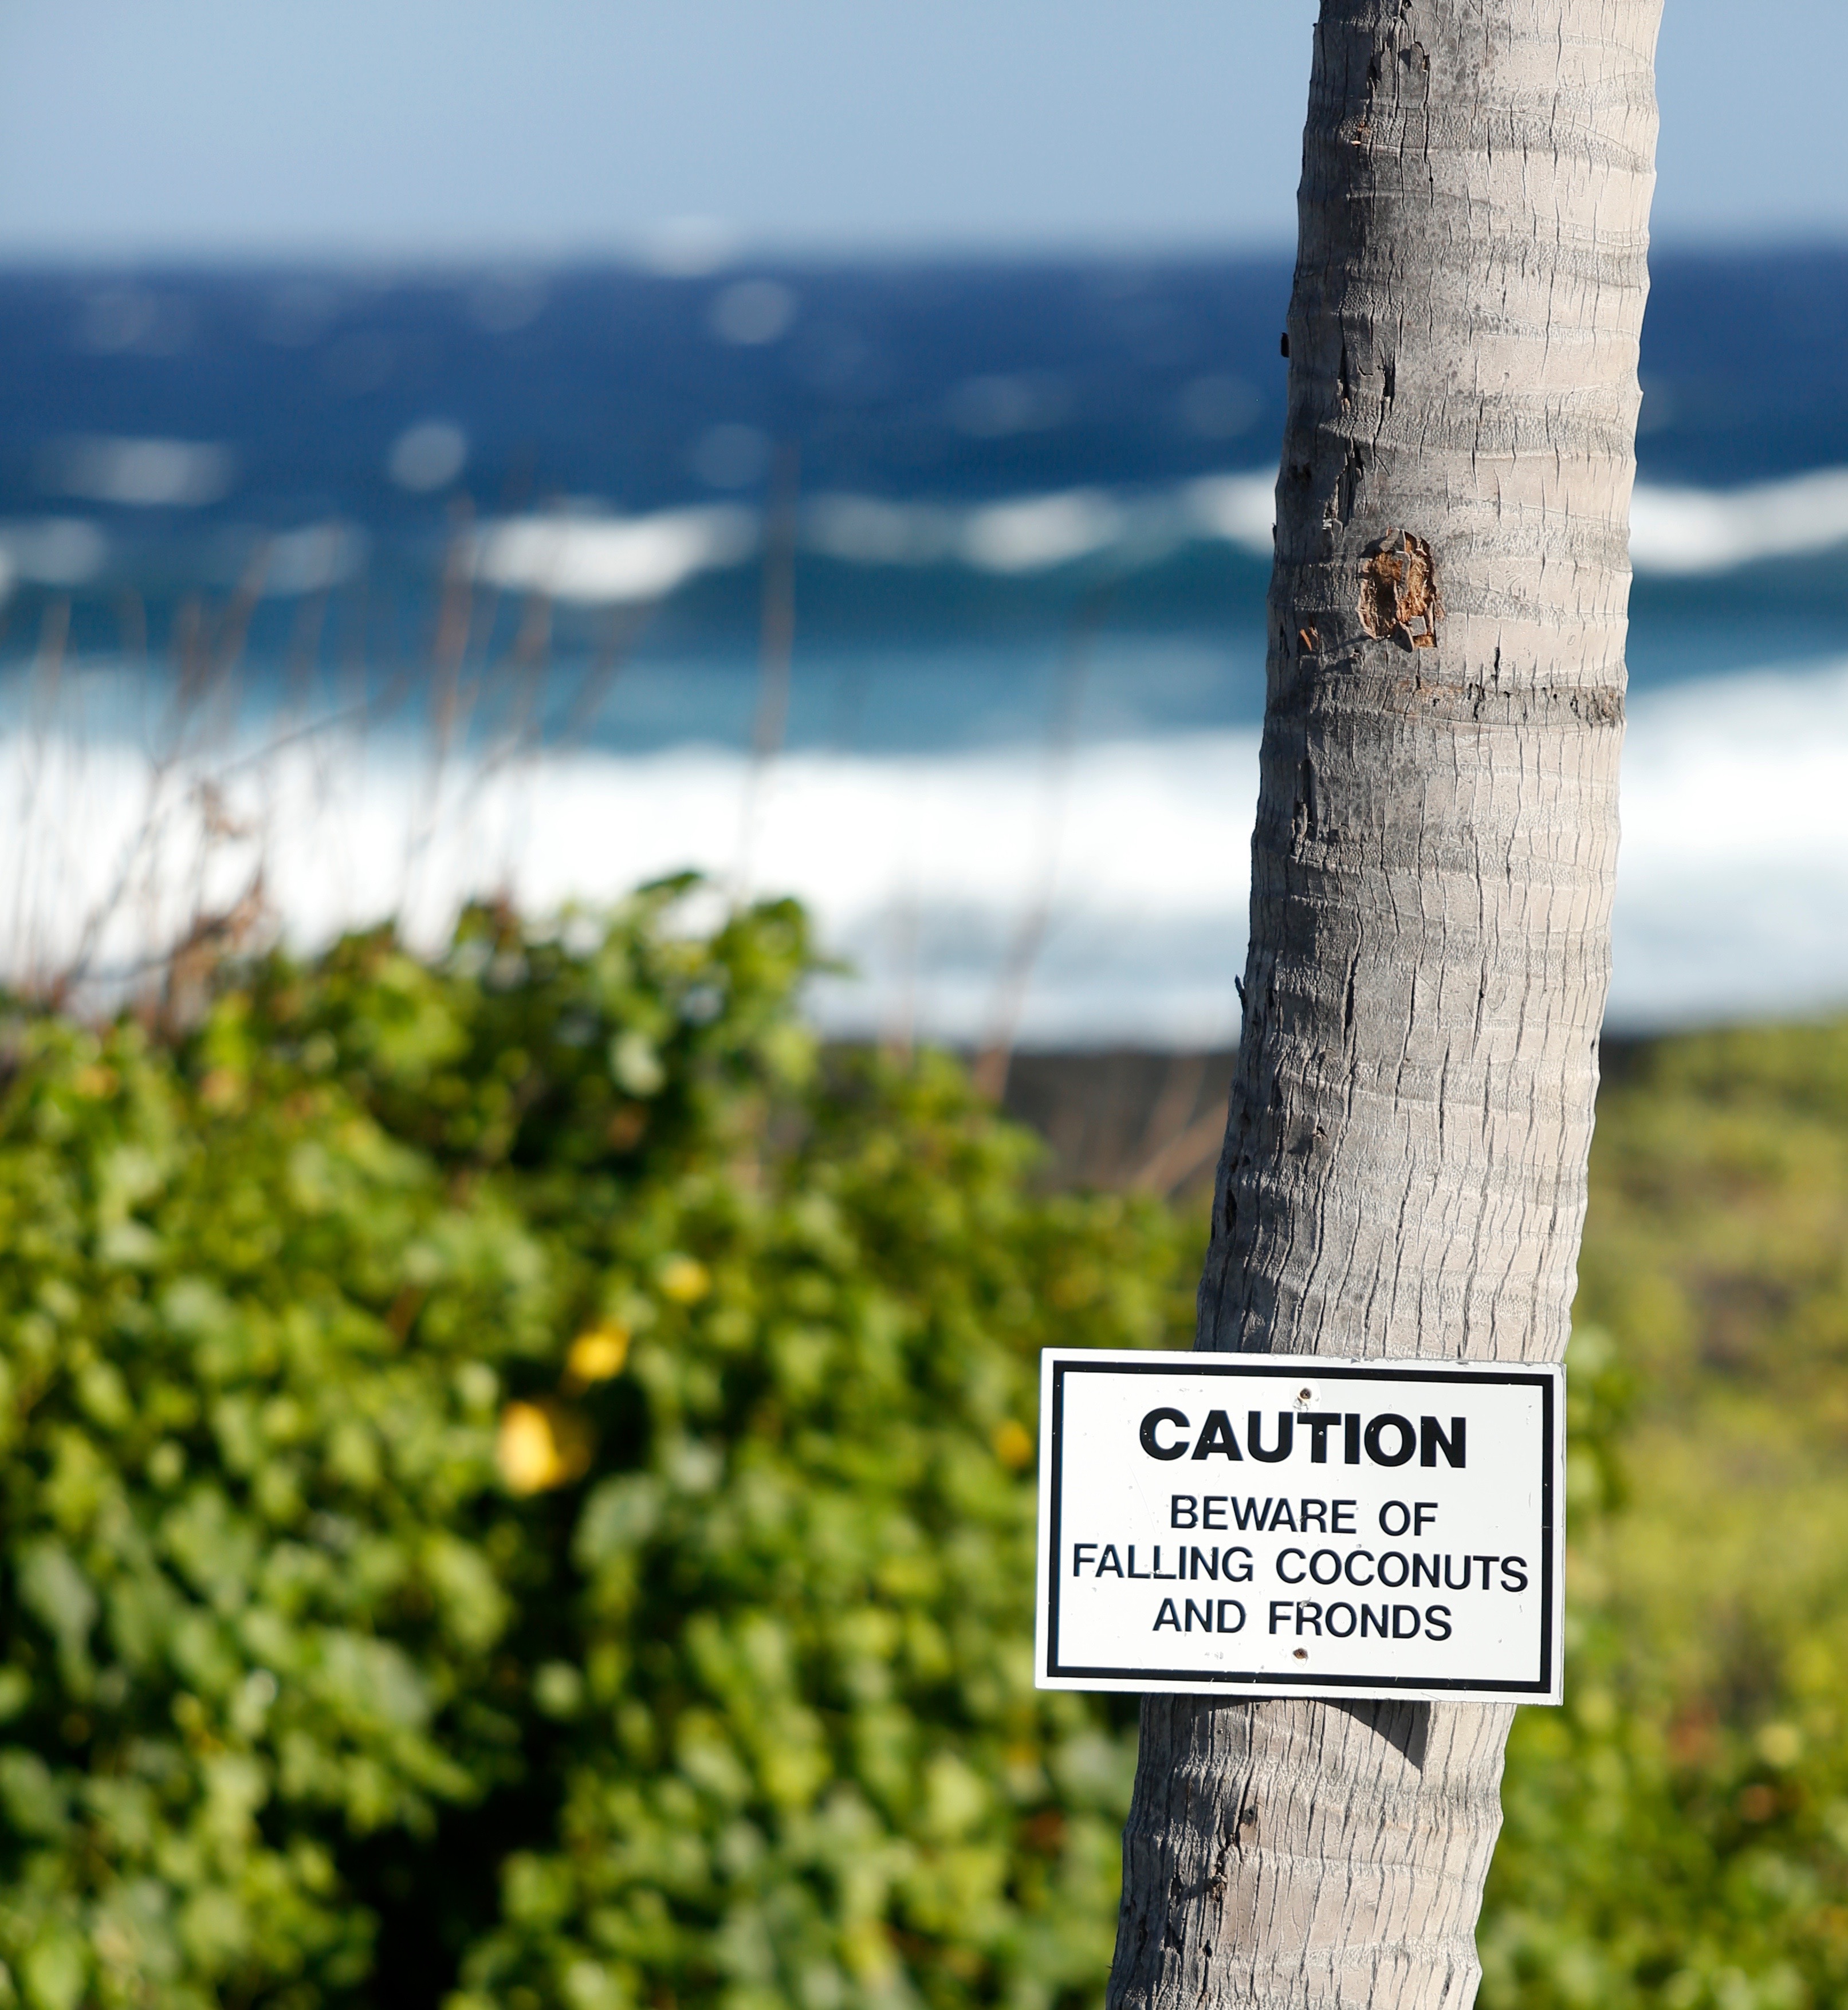
I snappd this photo at Black Sand Beach on the Big Island.  When I saw the sign on the tree, one of my favorite cookies just popped into my head, Alice Medrich’s Coconut Sticks.  Hmmm….I wonder why?  I love her coconut sticks.  A riff on biscotti, they often end up in a holiday cookie tin or in a cellophane bag with a cute ribbon as an appreciative thank you gift.

CoconutsNowadays I often find myself using coconut in my cooking & baking.  This is SO surprising since for as long as I can remember I have HATED coconut. As a kid the sight of coconut anything, cake, cookies candy elicited an automatic “Ewwww!” The feeling persisted well into adulthood.  Maybe it’s age, but I have grown to like coconut right along with brussels sprouts and naps.

With my changed coconut conviction. I have jumped off the deep end.  Curries without coconut milk, not happening. My Ranger cookies and World’s Best Cookies are made with shredded coconut, definitely bumping up the chewiness and flavor.  And of course, every batch of homemade granola has flaked coconut for that extra zing and crunch.

It’s like a new found secret weapon

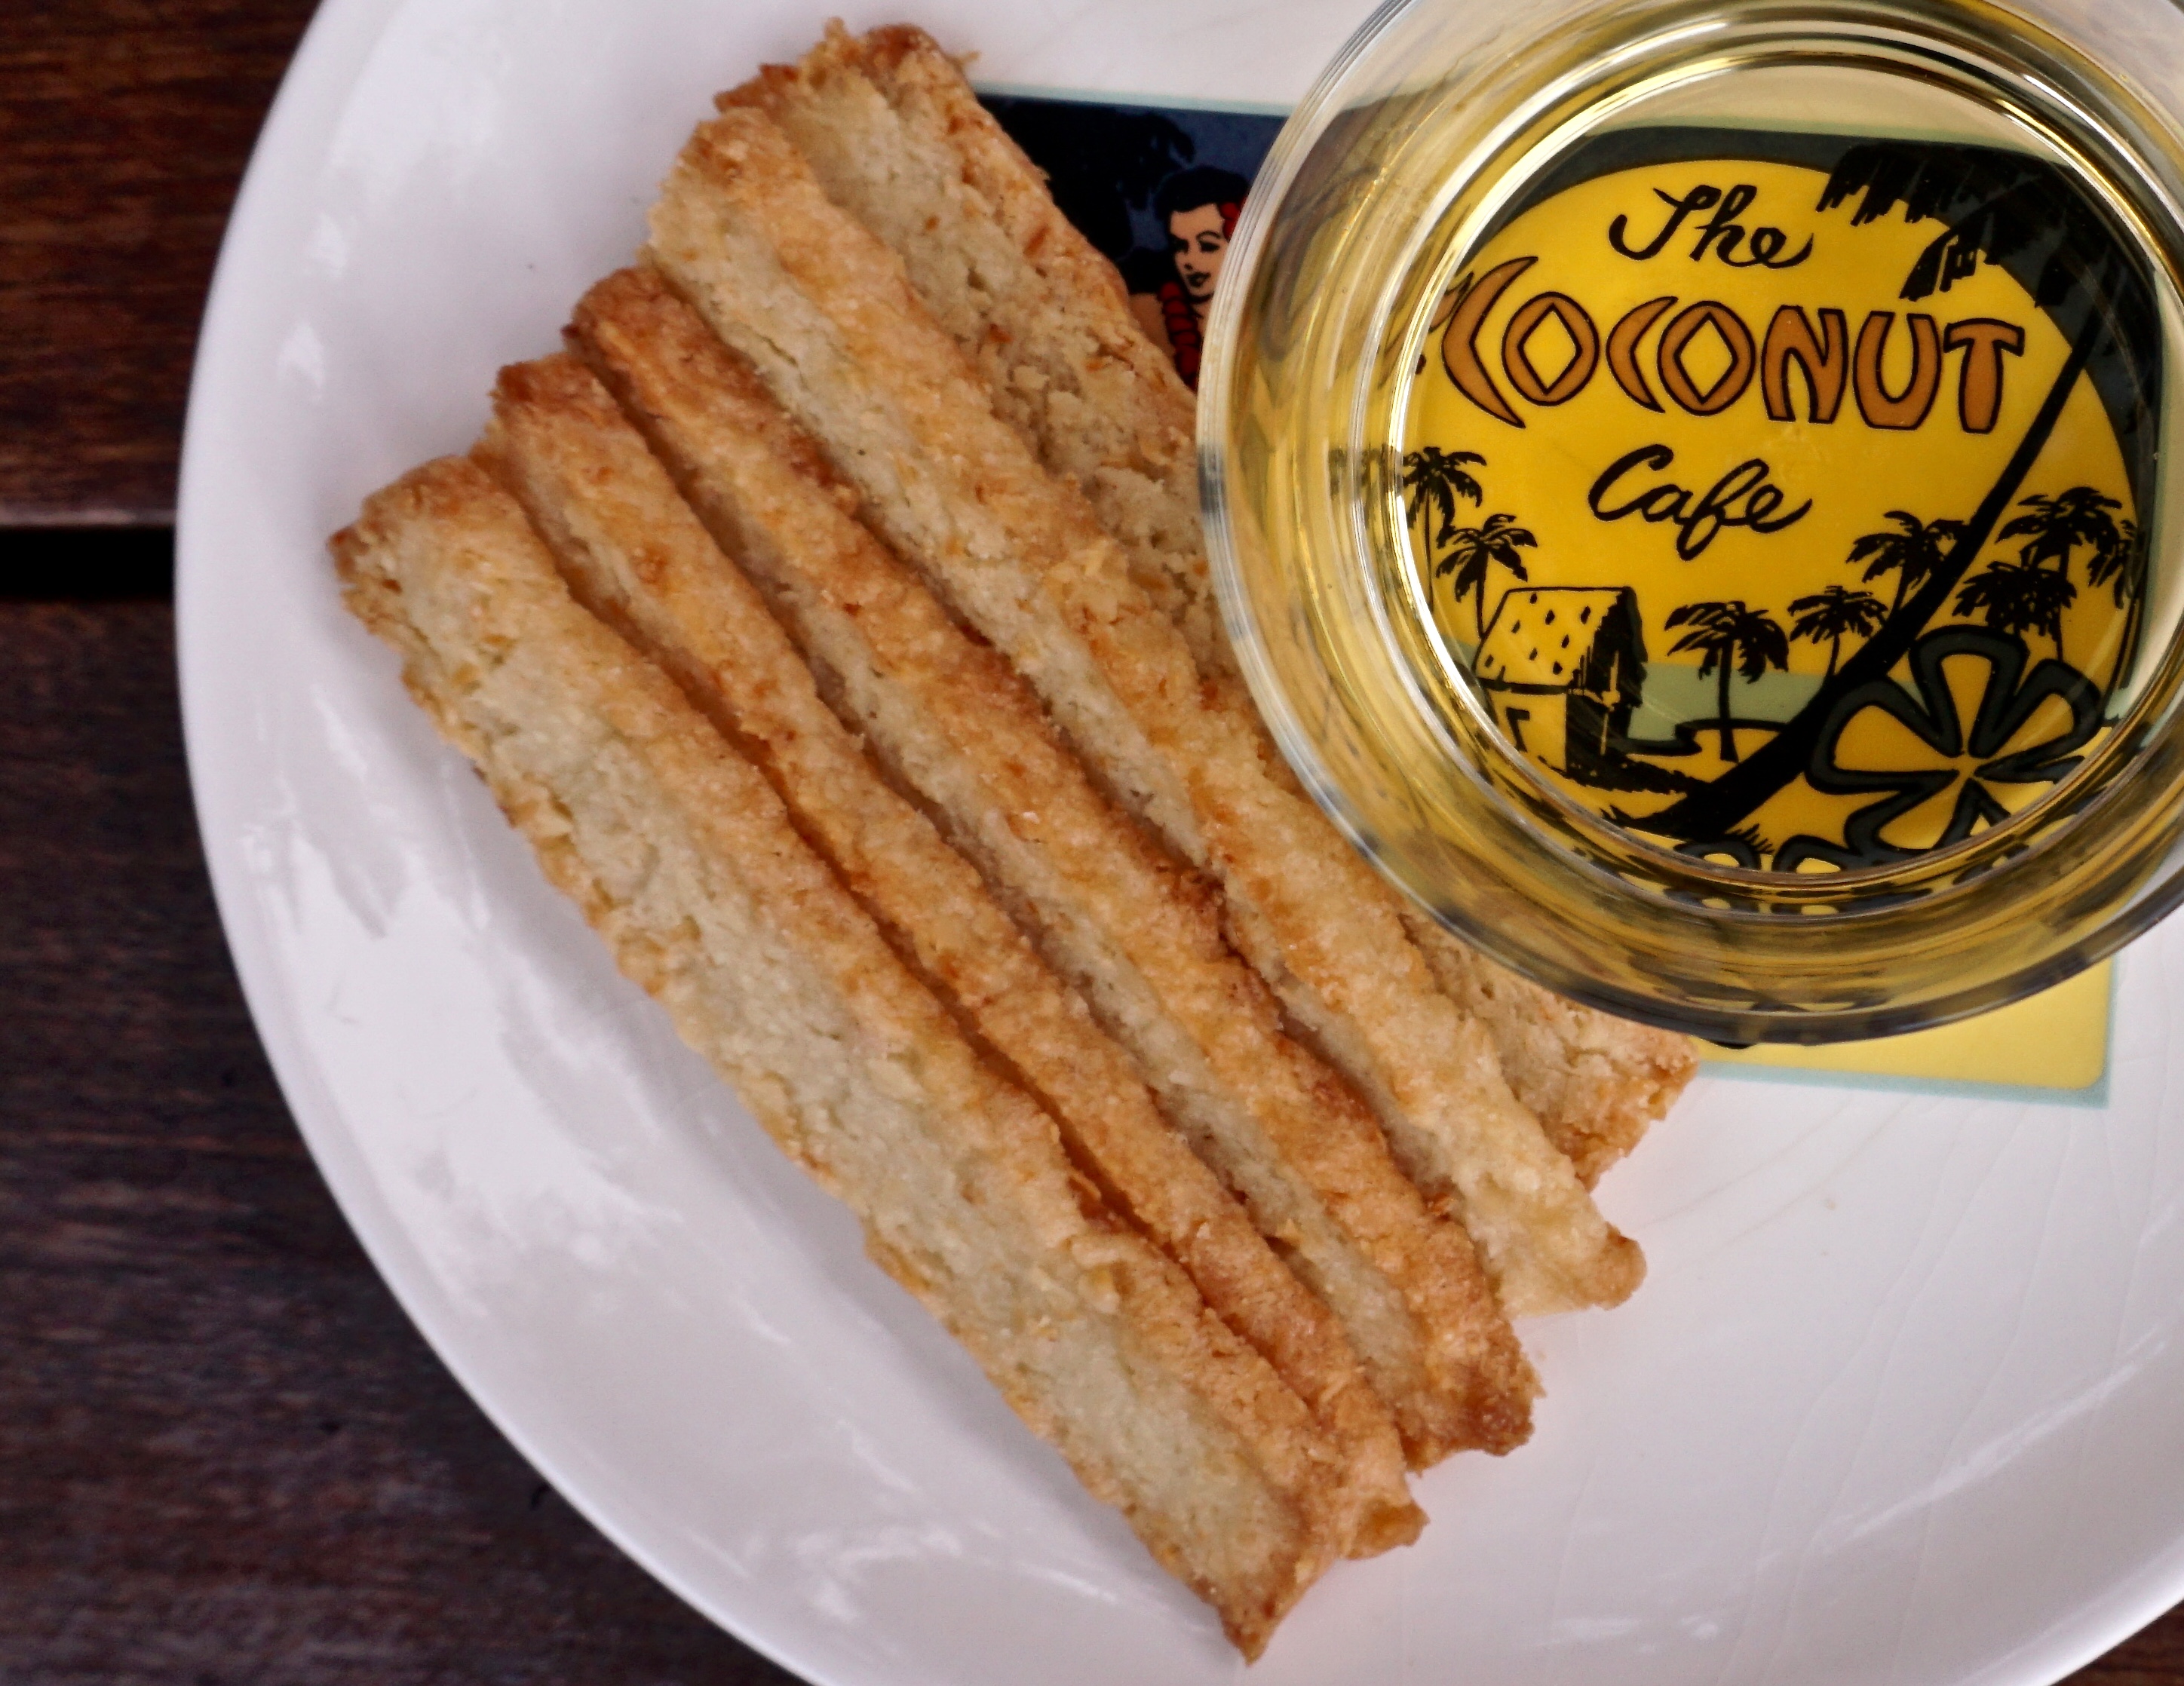
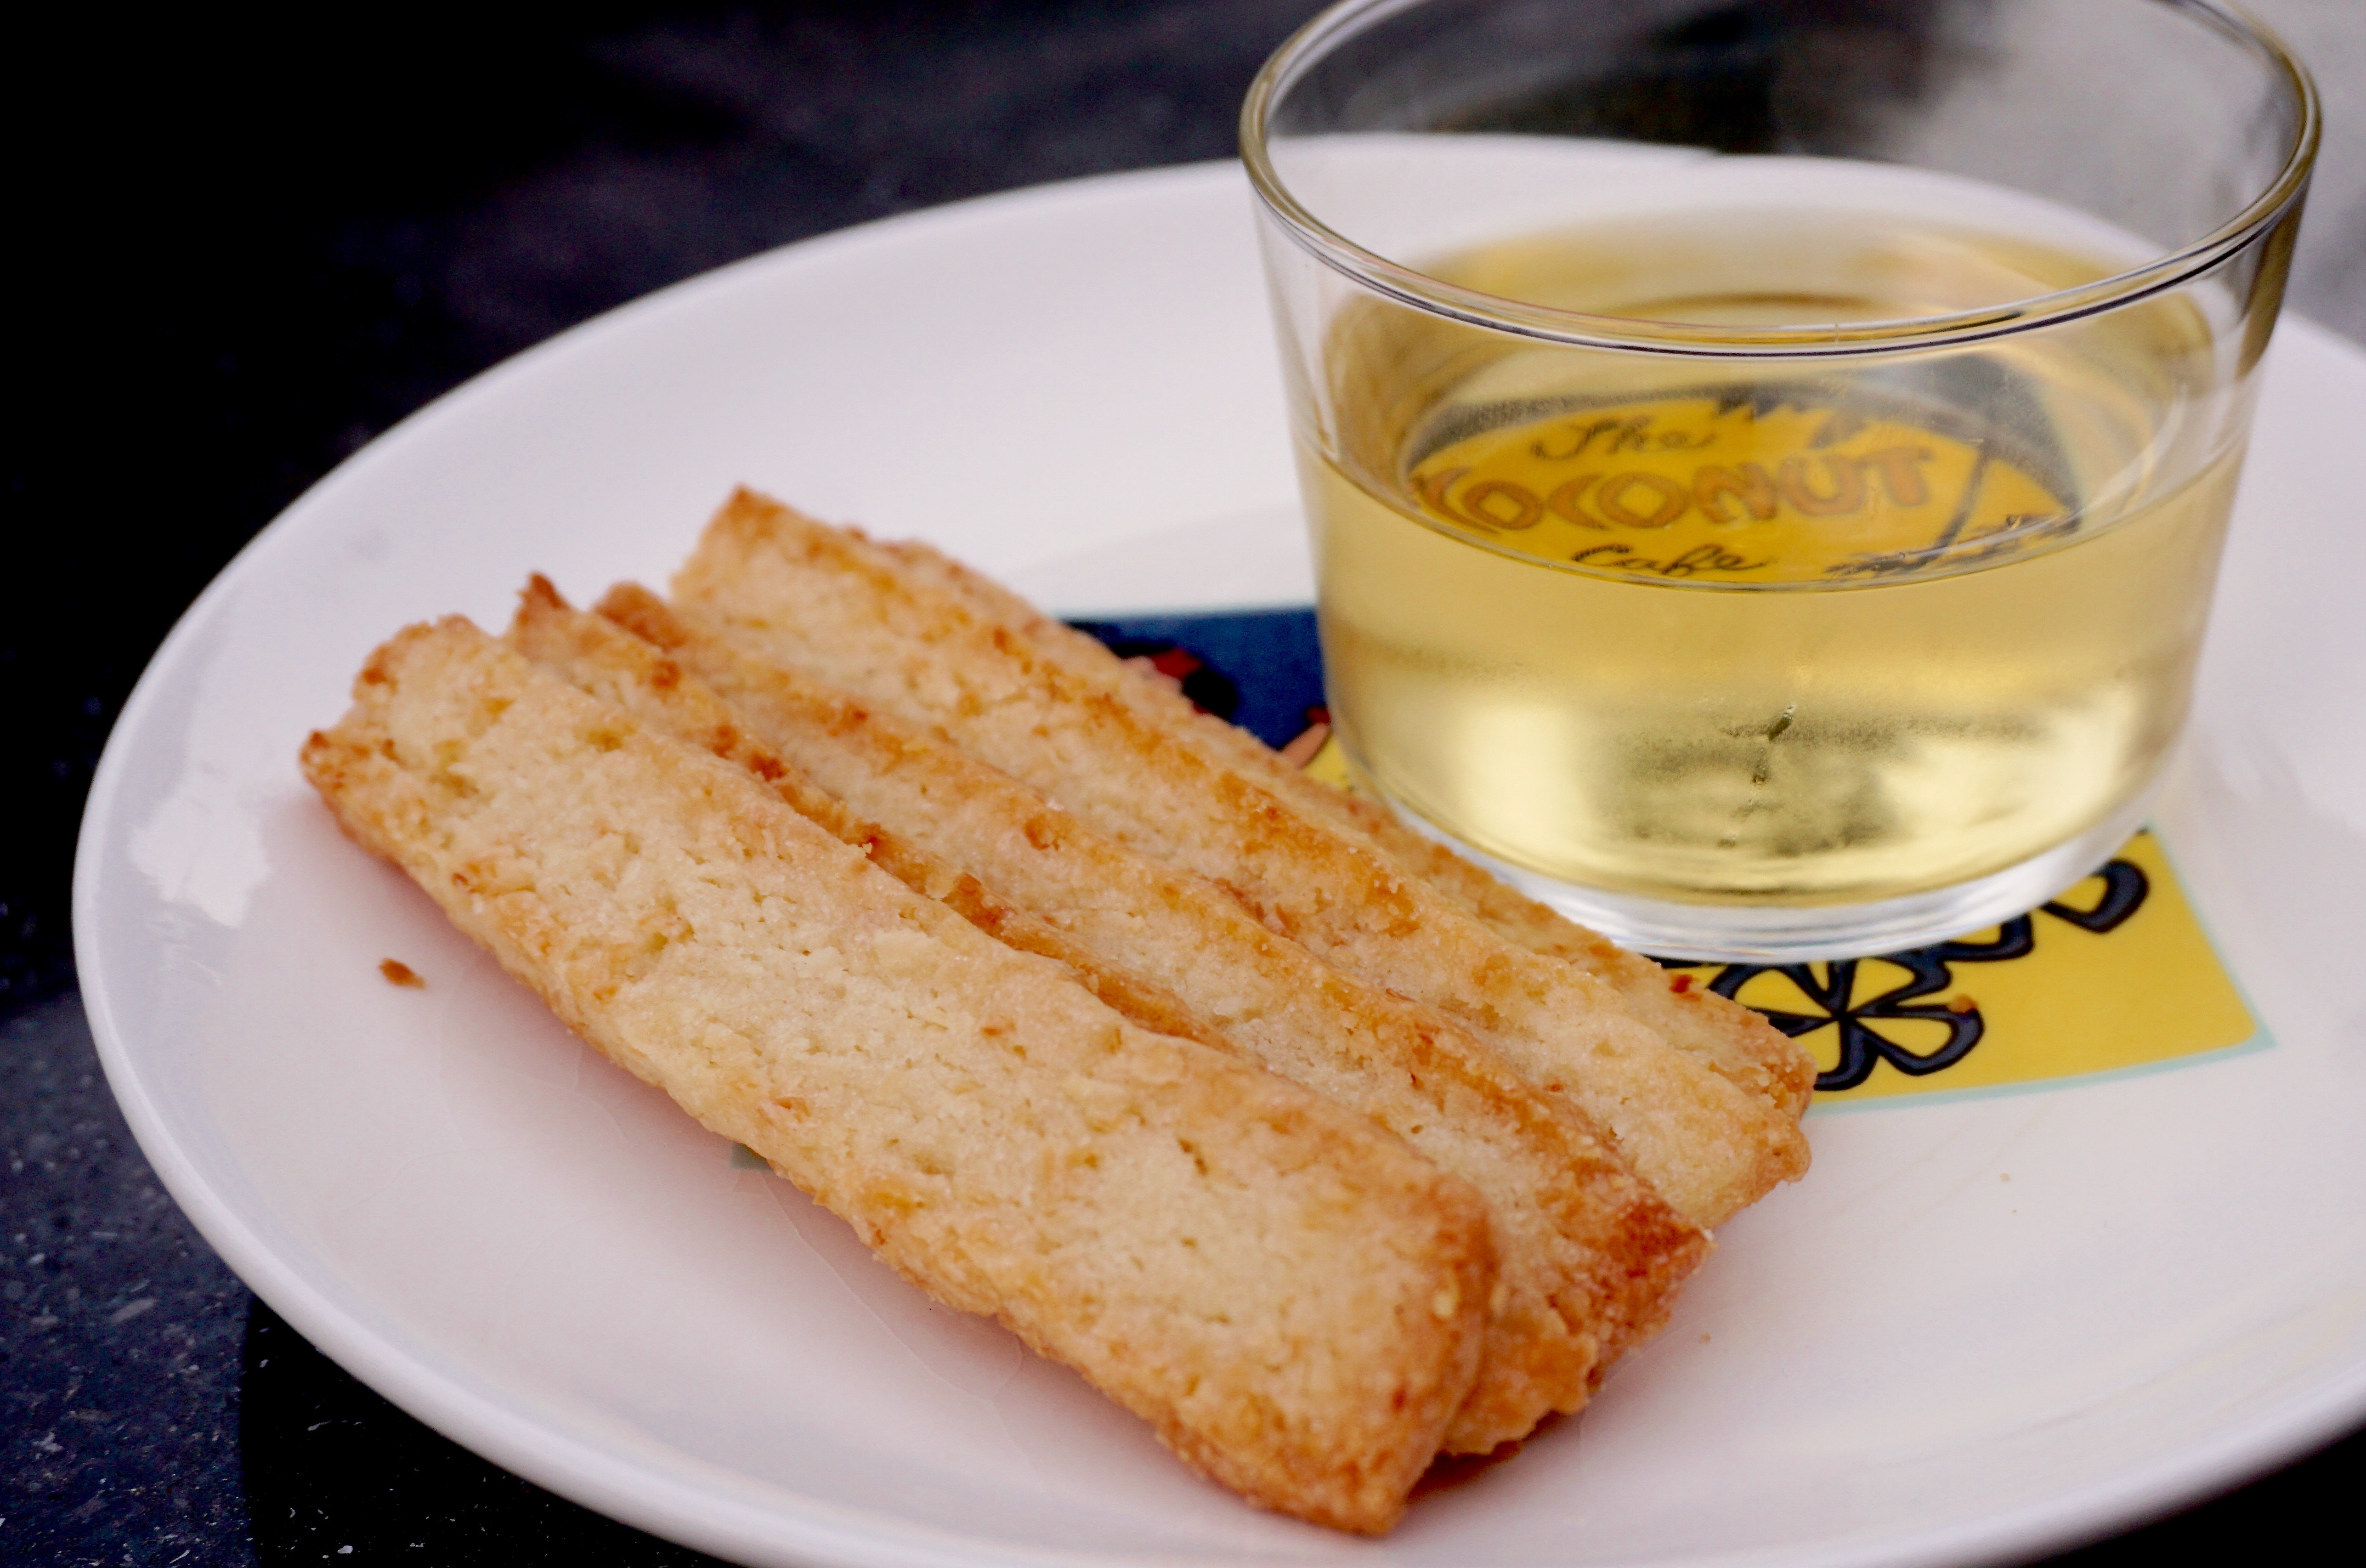
I love making and nibbling on these Coconut Sticks. Thin, crispy and buttery with shreds of coconut dancing through, they are the perfect foil for a steaming cup of tea or that morning latte.  This recipe comes from Alice Medrich’s book Chewy, Crispy, Crunchy Melt-in-Your Mouth Cookies.  If you love cookies add this book to your collection.

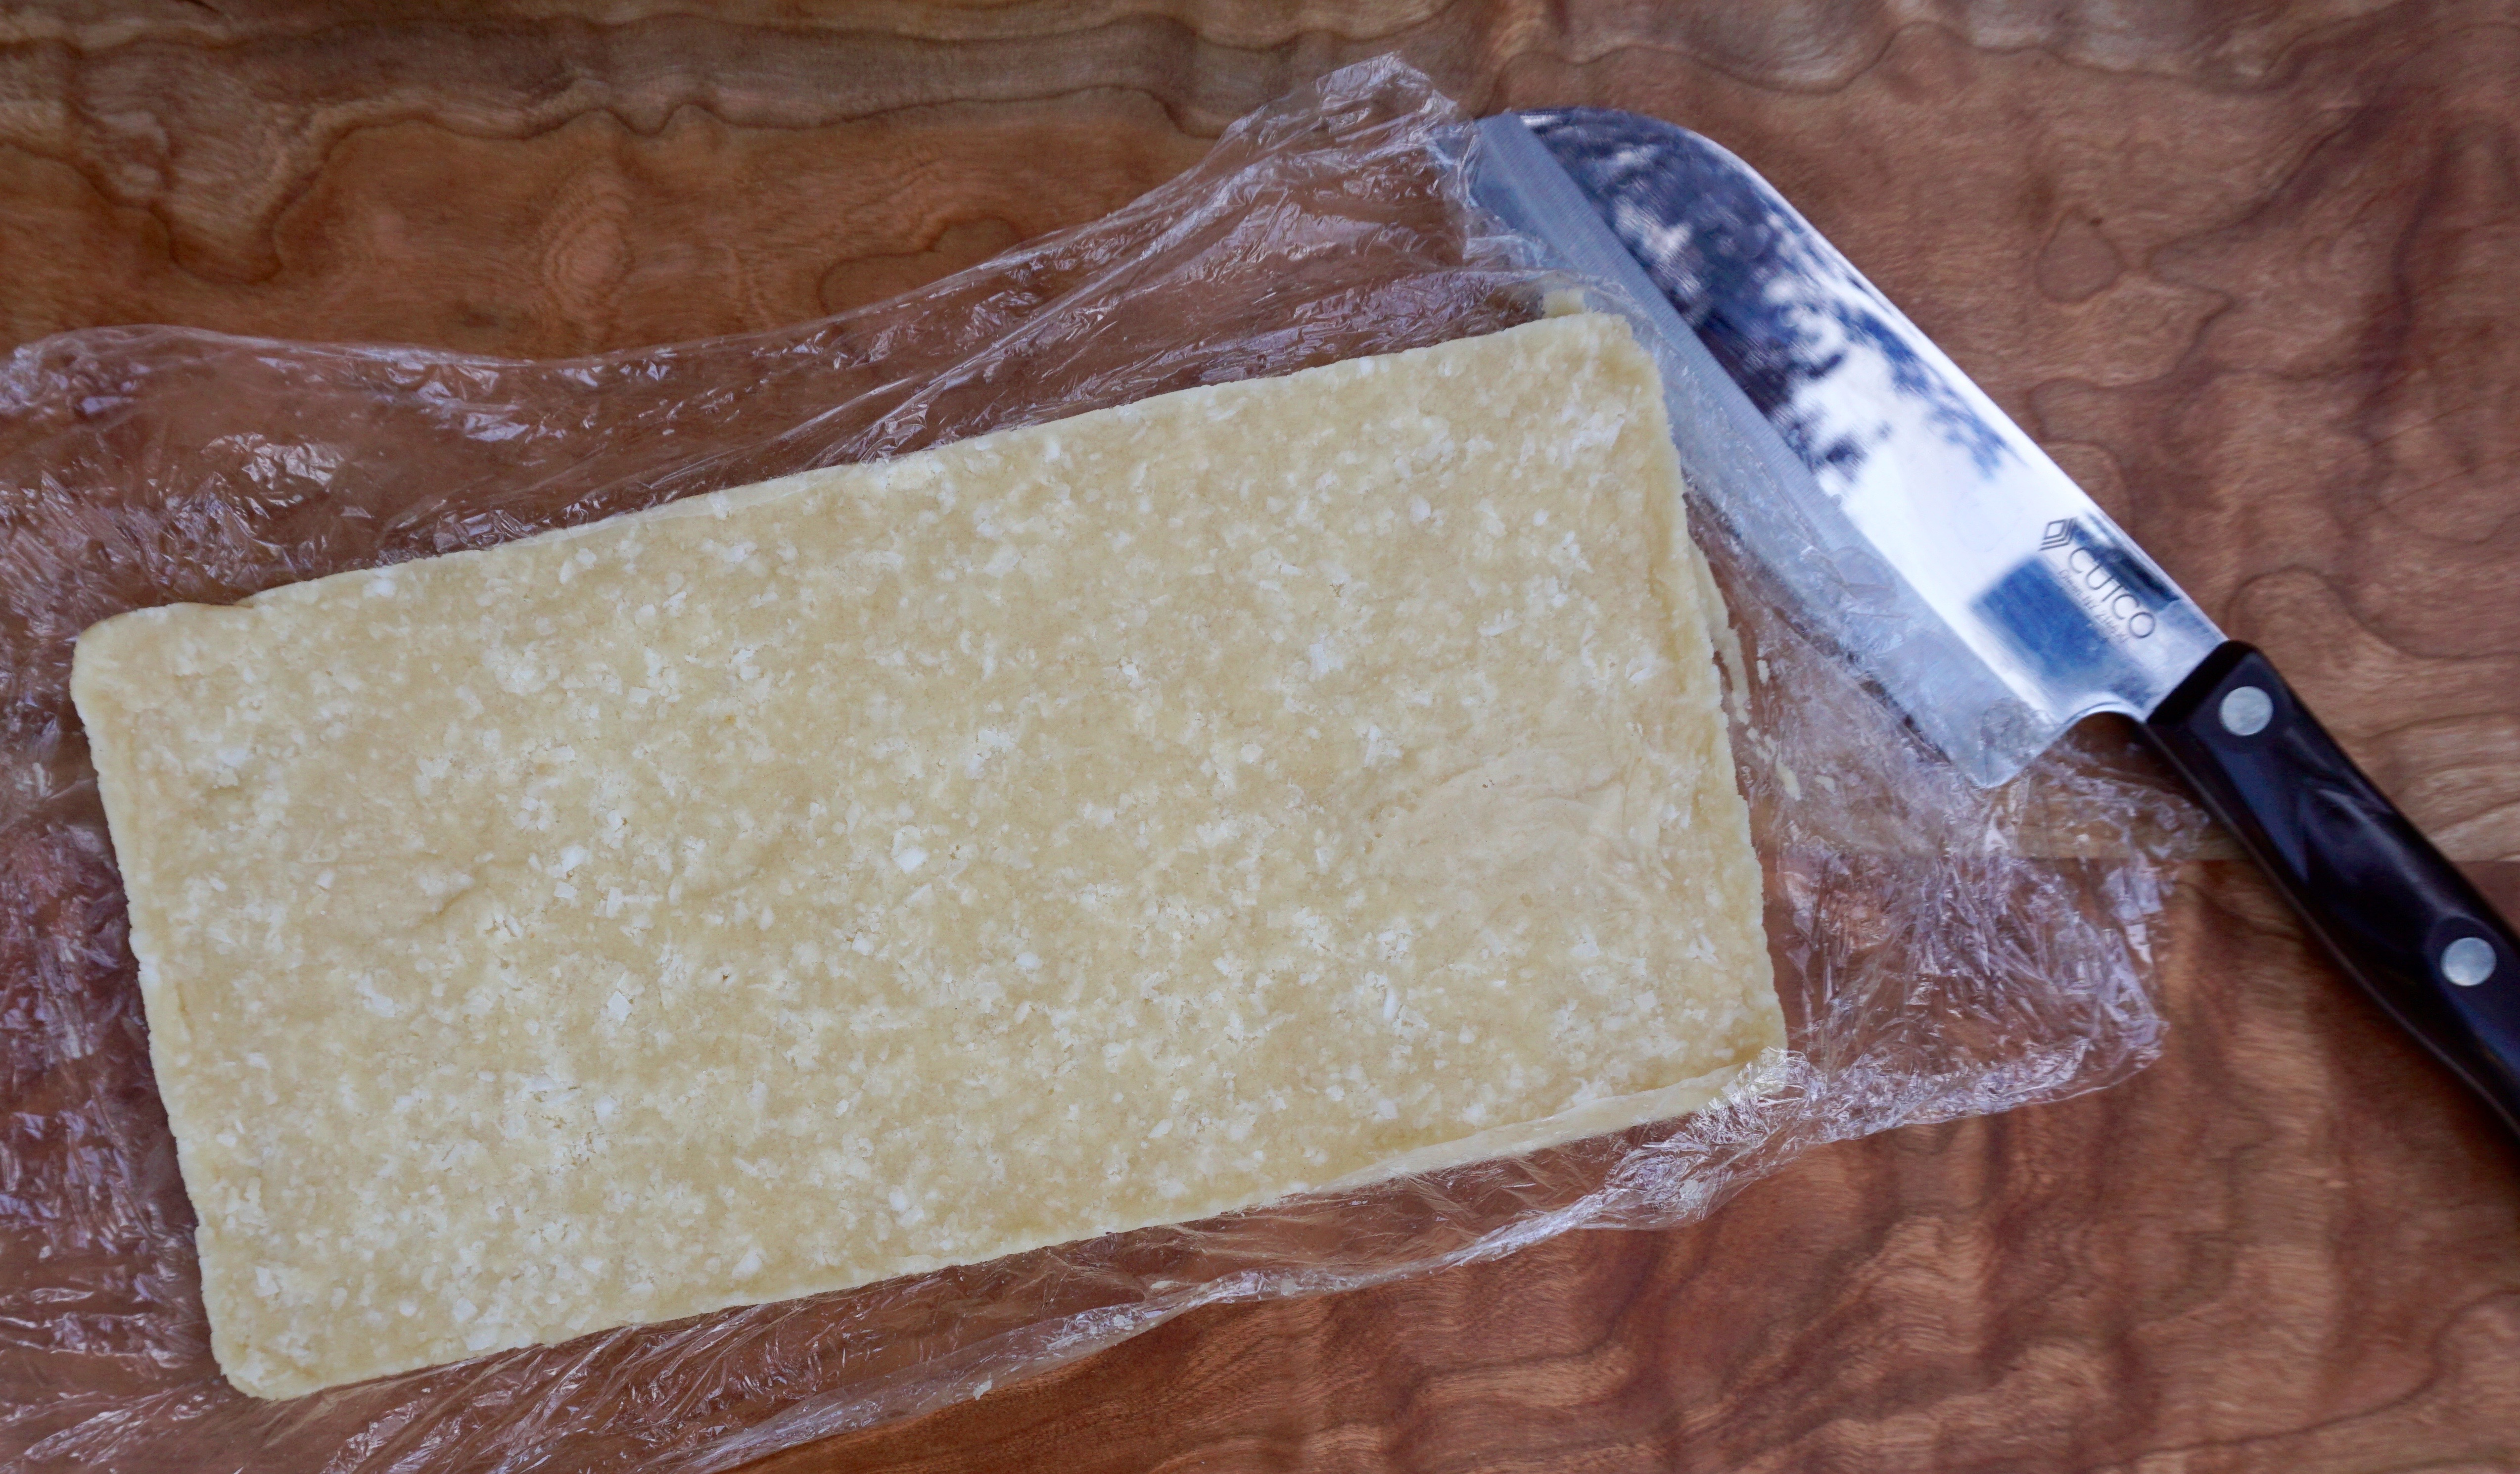
Did I mention these crunchy wonders are EASY to make?  Well of course they are, you can make the dough by hand or in a food processor (ah, yes-thereby upping them to the STUPID EASY category).  Another wonderful slice and bake refrigerator cookie.  Press the dough into a loaf pan.  Chill.  Slice.  Bake.  Eat.  Donzo.  Easy Peasy.

What took me so long to become a coconut convert?  I don’t know.  Guess I will have to make up for lost time.

Life is good, dream coconuts.

Coconut Sticks Dough

Cuckoo for Coconuts (Alice Medrich's Coconut Sticks)

Buttery coconut cookie sticks from the chocolate maven herself, Alice Medrich
Course cookies, desserts
Cuisine American
Keyword Coconut Cookie Sticks
Prep Time 20 minutes
Cook Time 15 minutes

Ingredients

  • 1 1/4 cups (5.625 ounces) unbleached all-purpose flour 159.5gms
  • 2/3 cup (4.625 ounces) sugar 131gms
  • 1 cup (~3 ounces) shredded dried unsweetened coconut 85gms
  • Scant 1/2 teaspoon salt
  • 6 tablespoons cold unsalted butter
  • 1 teaspoon pure vanilla extract
  • 2 tablespoons cold water

Instructions

  • Prepare: A 5-x-9-inch loaf pan, lined on the bottom and sides with foil or plastic wrap
  • Put the flour, sugar, coconut, and salt in a large mixing bowl and whisk to blend.
  • Cut the butter into the flour mixture with a pastry blender or two knives until the butter is reduced to small pieces.
  • With the fingertips of both hands, lightly toss and rub the mixture together until the mixture resembles coarse meal.
  • Combine the vanilla and cold water in a small pitcher or cup.
  • Stir the flour and butter mixture with a fork while drizzling the water and vanilla into the bowl. Continue to toss and stir lightly with the fork or your fingers until all of the dry ingredients are slightly damp. The dough should remain crumbly and stick together only when pinched.
  • Food Processor method: Place flour, sugar, coconut and salt in food processor bowl. Pulse 2-3 times to combine.
  • Cut butter into 1/2 inch cubes and scatter on top of flour mixture. Pulse until mixture reveals coarse meal. Small lumps are okay.
  • Combine water and vanilla extract in small cup. Continue to pulse the flour mixture and drizzle water into processor bowl.
  • Pulse into mixture starts to clump. It should not come together completely but will still be crumbly. It will stay together if pinched.
  • If using a loaf pan, dump the mixture into the lined pan and spread it evenly. Press it very firmly, making a thin layer. Or dump the mixture onto a piece of foil on a baking sheet and distribute it evenly over an area about 4 by 9 or 10 inches. Press it firmly, squaring up the edges, to make an even compact layer about 1/2-3/4 inch thick. Fold the foil over the dough and wrap it tightly. Refrigerate for 2 hours or overnight.
  • Preheat the oven to 350°F. Position racks in the upper and lower thirds of the oven.
  • Unwrap the dough and transfer it to a cutting board. Use a long sharp knife to cut the dough crosswise into 1/4-inch (or thinner if possible) slices. Use the knife to transfer each slice to the lined or greased cookie sheets, placing the slices 1 inch apart. The slices will be fragile and require the support of the knife in transit; the results will be worth your careful effort.
  • Bake for 11 to 14 minutes (baking time will vary depending on thickness of cookie), until the cookies are golden with golden brown edges. Rotate the pans from top to bottom and from front to back halfway through the baking time to ensure even baking.
  • For lined pans, set the pans or just the liners on racks to cool; for unlined pans, use a metal spatula to transfer the cookies to racks. Cool the cookies completely before stacking or storing.
  • May be kept in an airtight container for several days.