Category: Drop Cookies

Anzac-ly The Delicious Biscuit (Cookie) I Was Looking For

Anzac-ly The Delicious Biscuit (Cookie) I Was Looking For

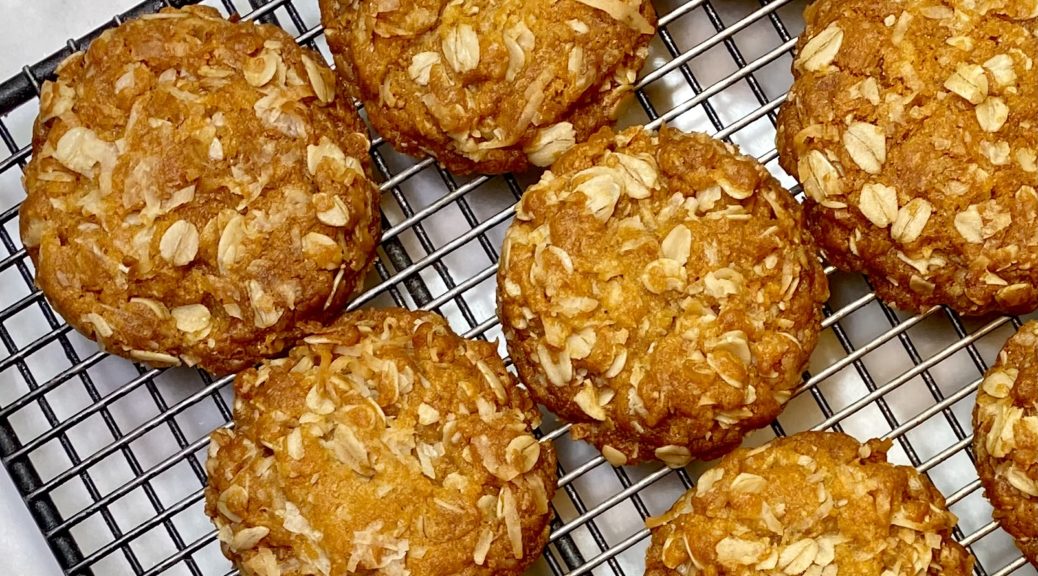
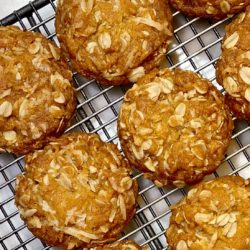
Marching orders in hand, I gathered the ingredients to make Anzac Biscuits.   Think Oatmeal Cookie meets Oatcake or Granola Bar…you end up with a biscuit (cookie) that is buttery, sweet-salty, chewy-crispy (are these oxymorons?), and EXTREMELY delicious.

A Brief History On Anzac Biscuits

These tasty biscuits (cookies) can be traced back to World War One and the Australian-New Zealand Army Corps (ANZAC).  As the story goes, moms and wives sent these biscuits to their soldiers fighting, both as a morale booster and reprieve from the dreary military rations.  Made simply of flour, coconut, oatmeal, Golden Syrup, butter, they were easy to make and tasty.   The end product was a caramel-ly sturdy biscuit that traveled well and lasted a long time.  A welcomed treat from home.

Simplicity At Its Finest

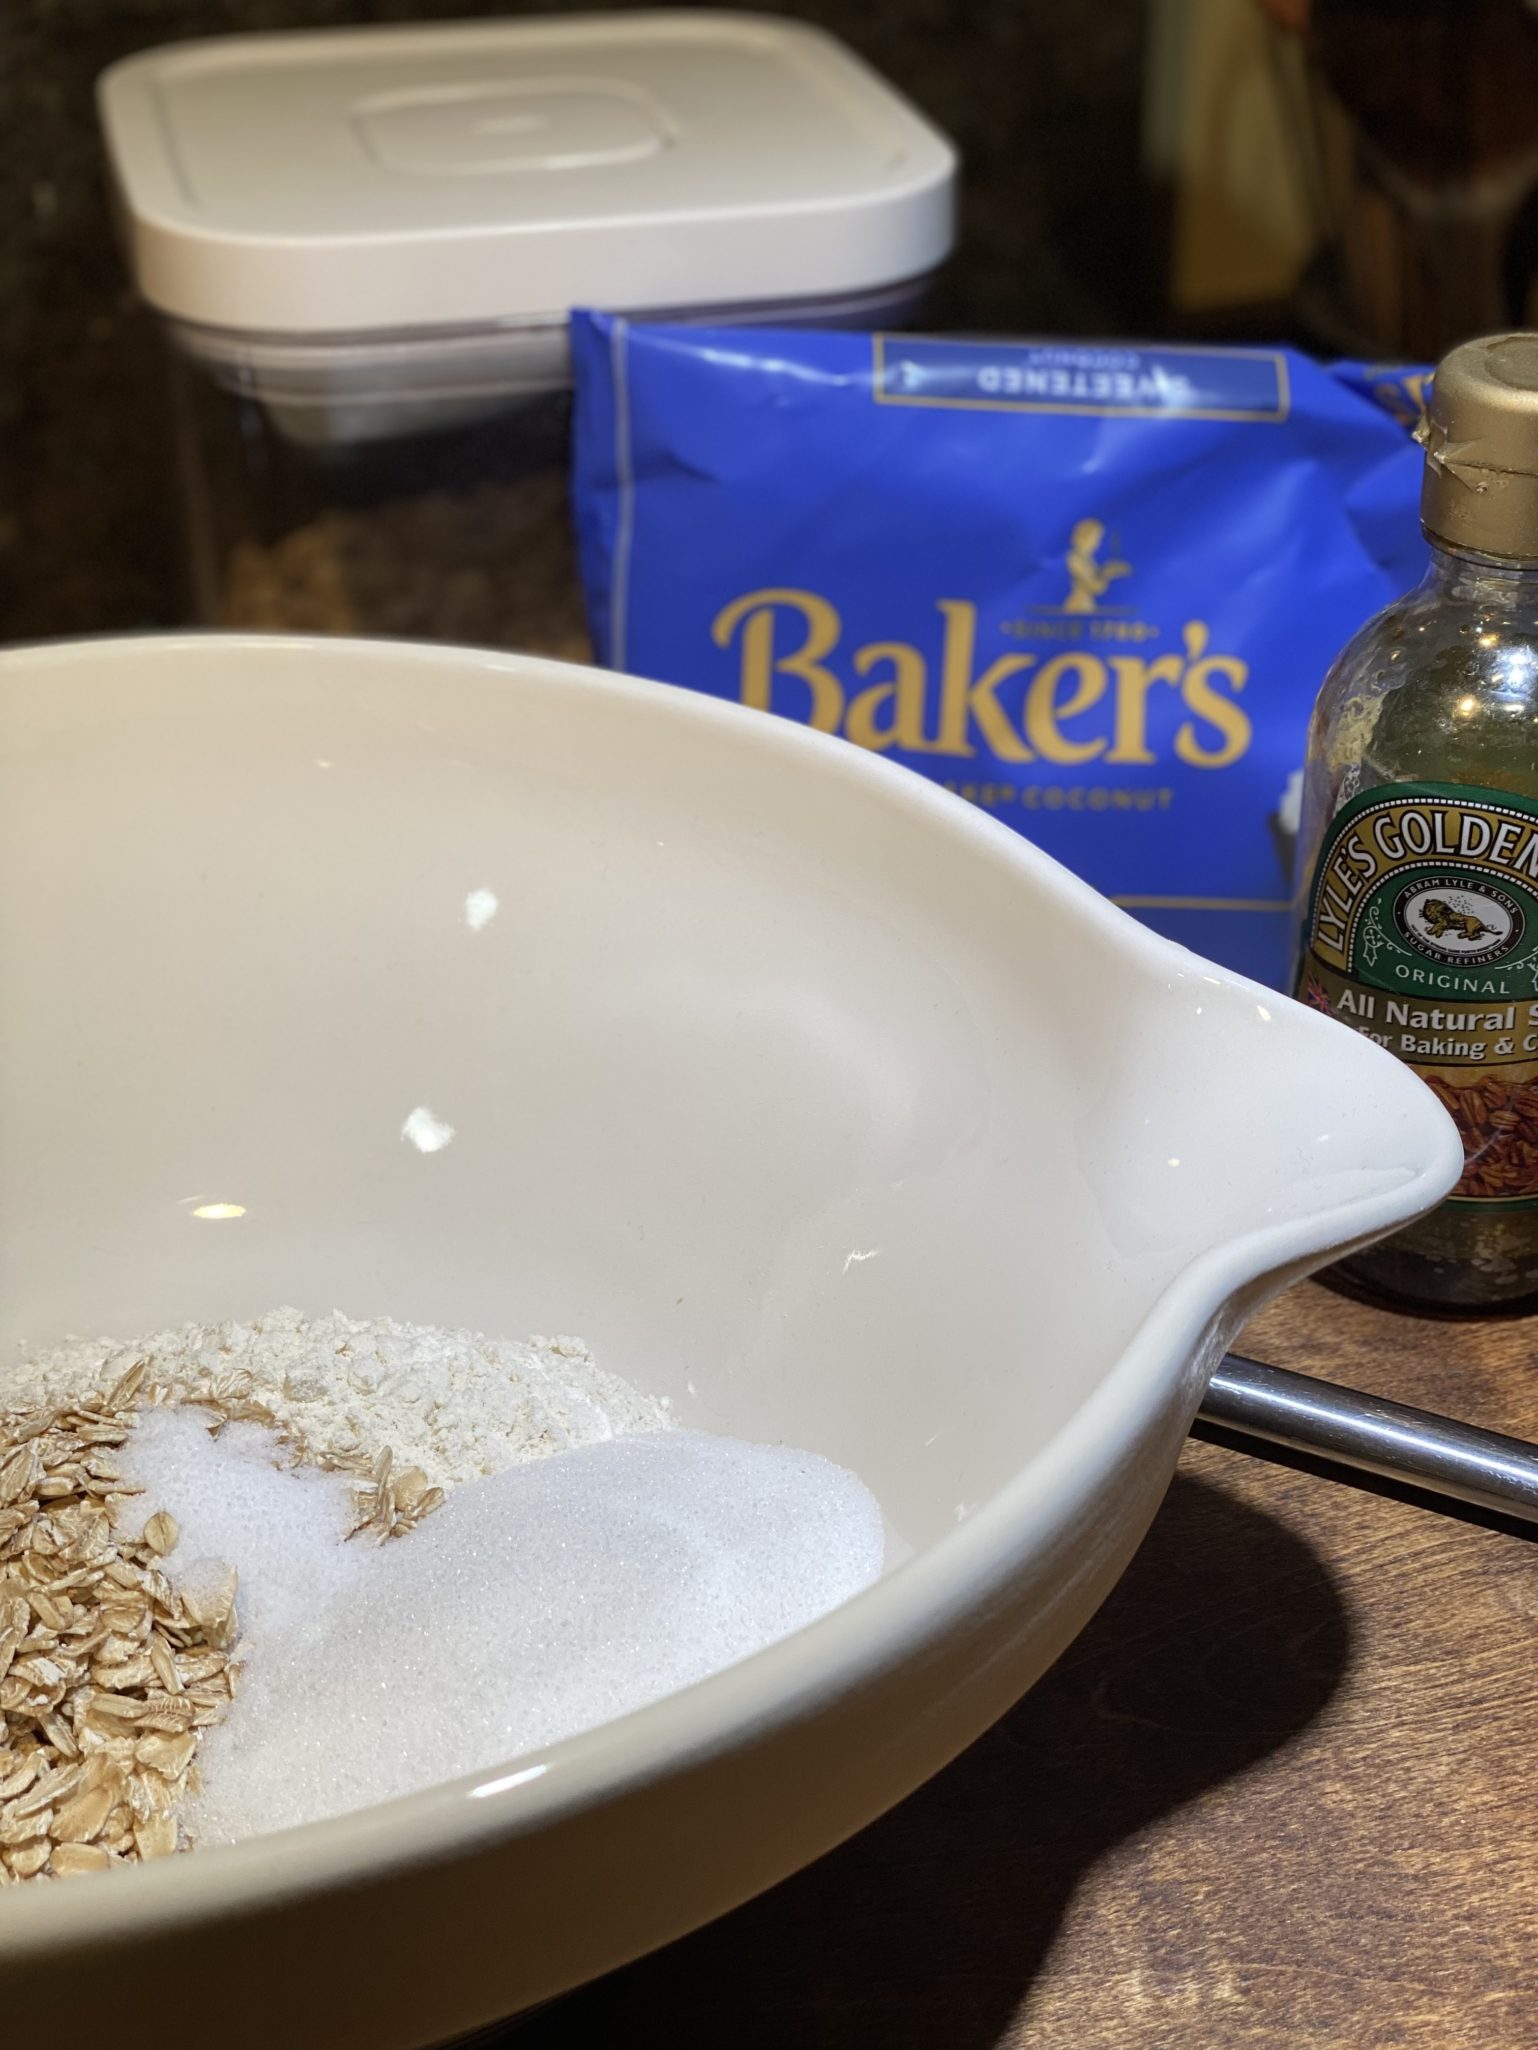
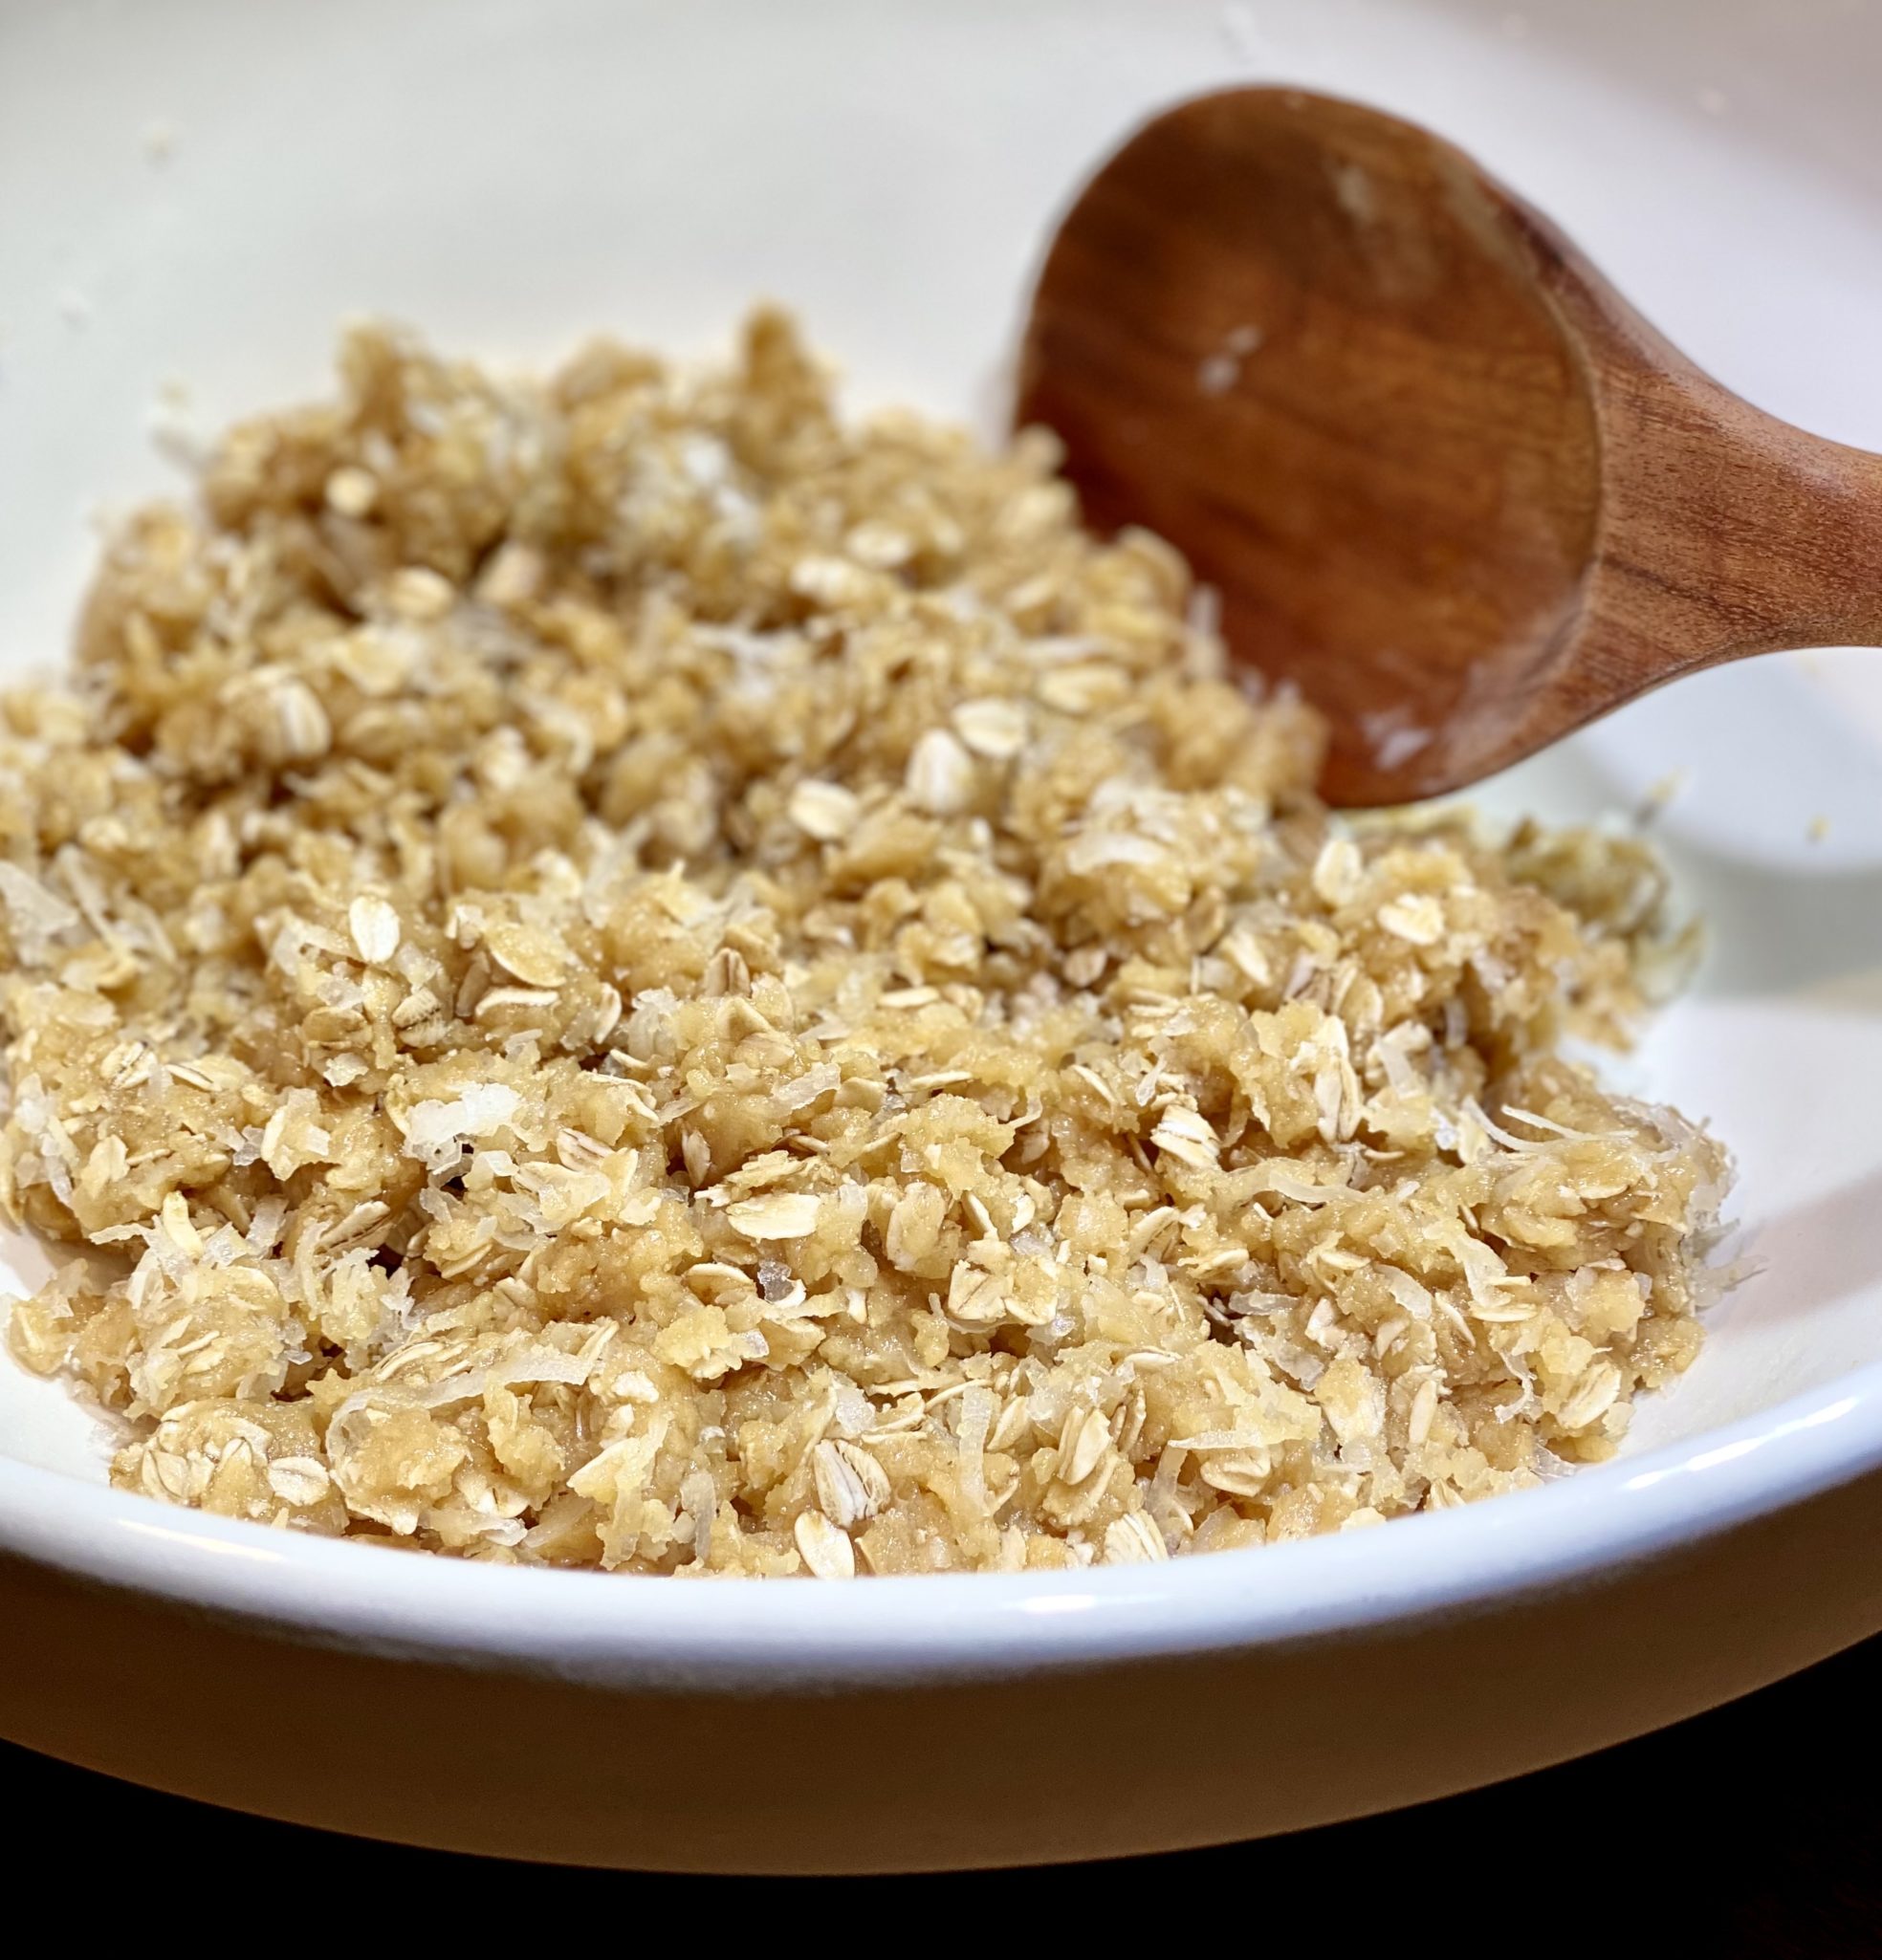
Put this biscuit recipe in your incredibly easy with huge returns file.  Very easy and perfect for little hands helping in the kitchen.  Stir the dry ingredients together in a big bowl (kids love doing this), melt butter with the Golden Syrup on the stove (you do this), add the baking soda mixture to the butter (once again, your job) and add to dry ingredients (kids love to stir and make a mess).  Scoop, bake, and eat!  Easy-peasy.

Tweaks

The recipe is from Dorie Greenspan’s (Goddess of Baking) book, Dorie’s Cookies.

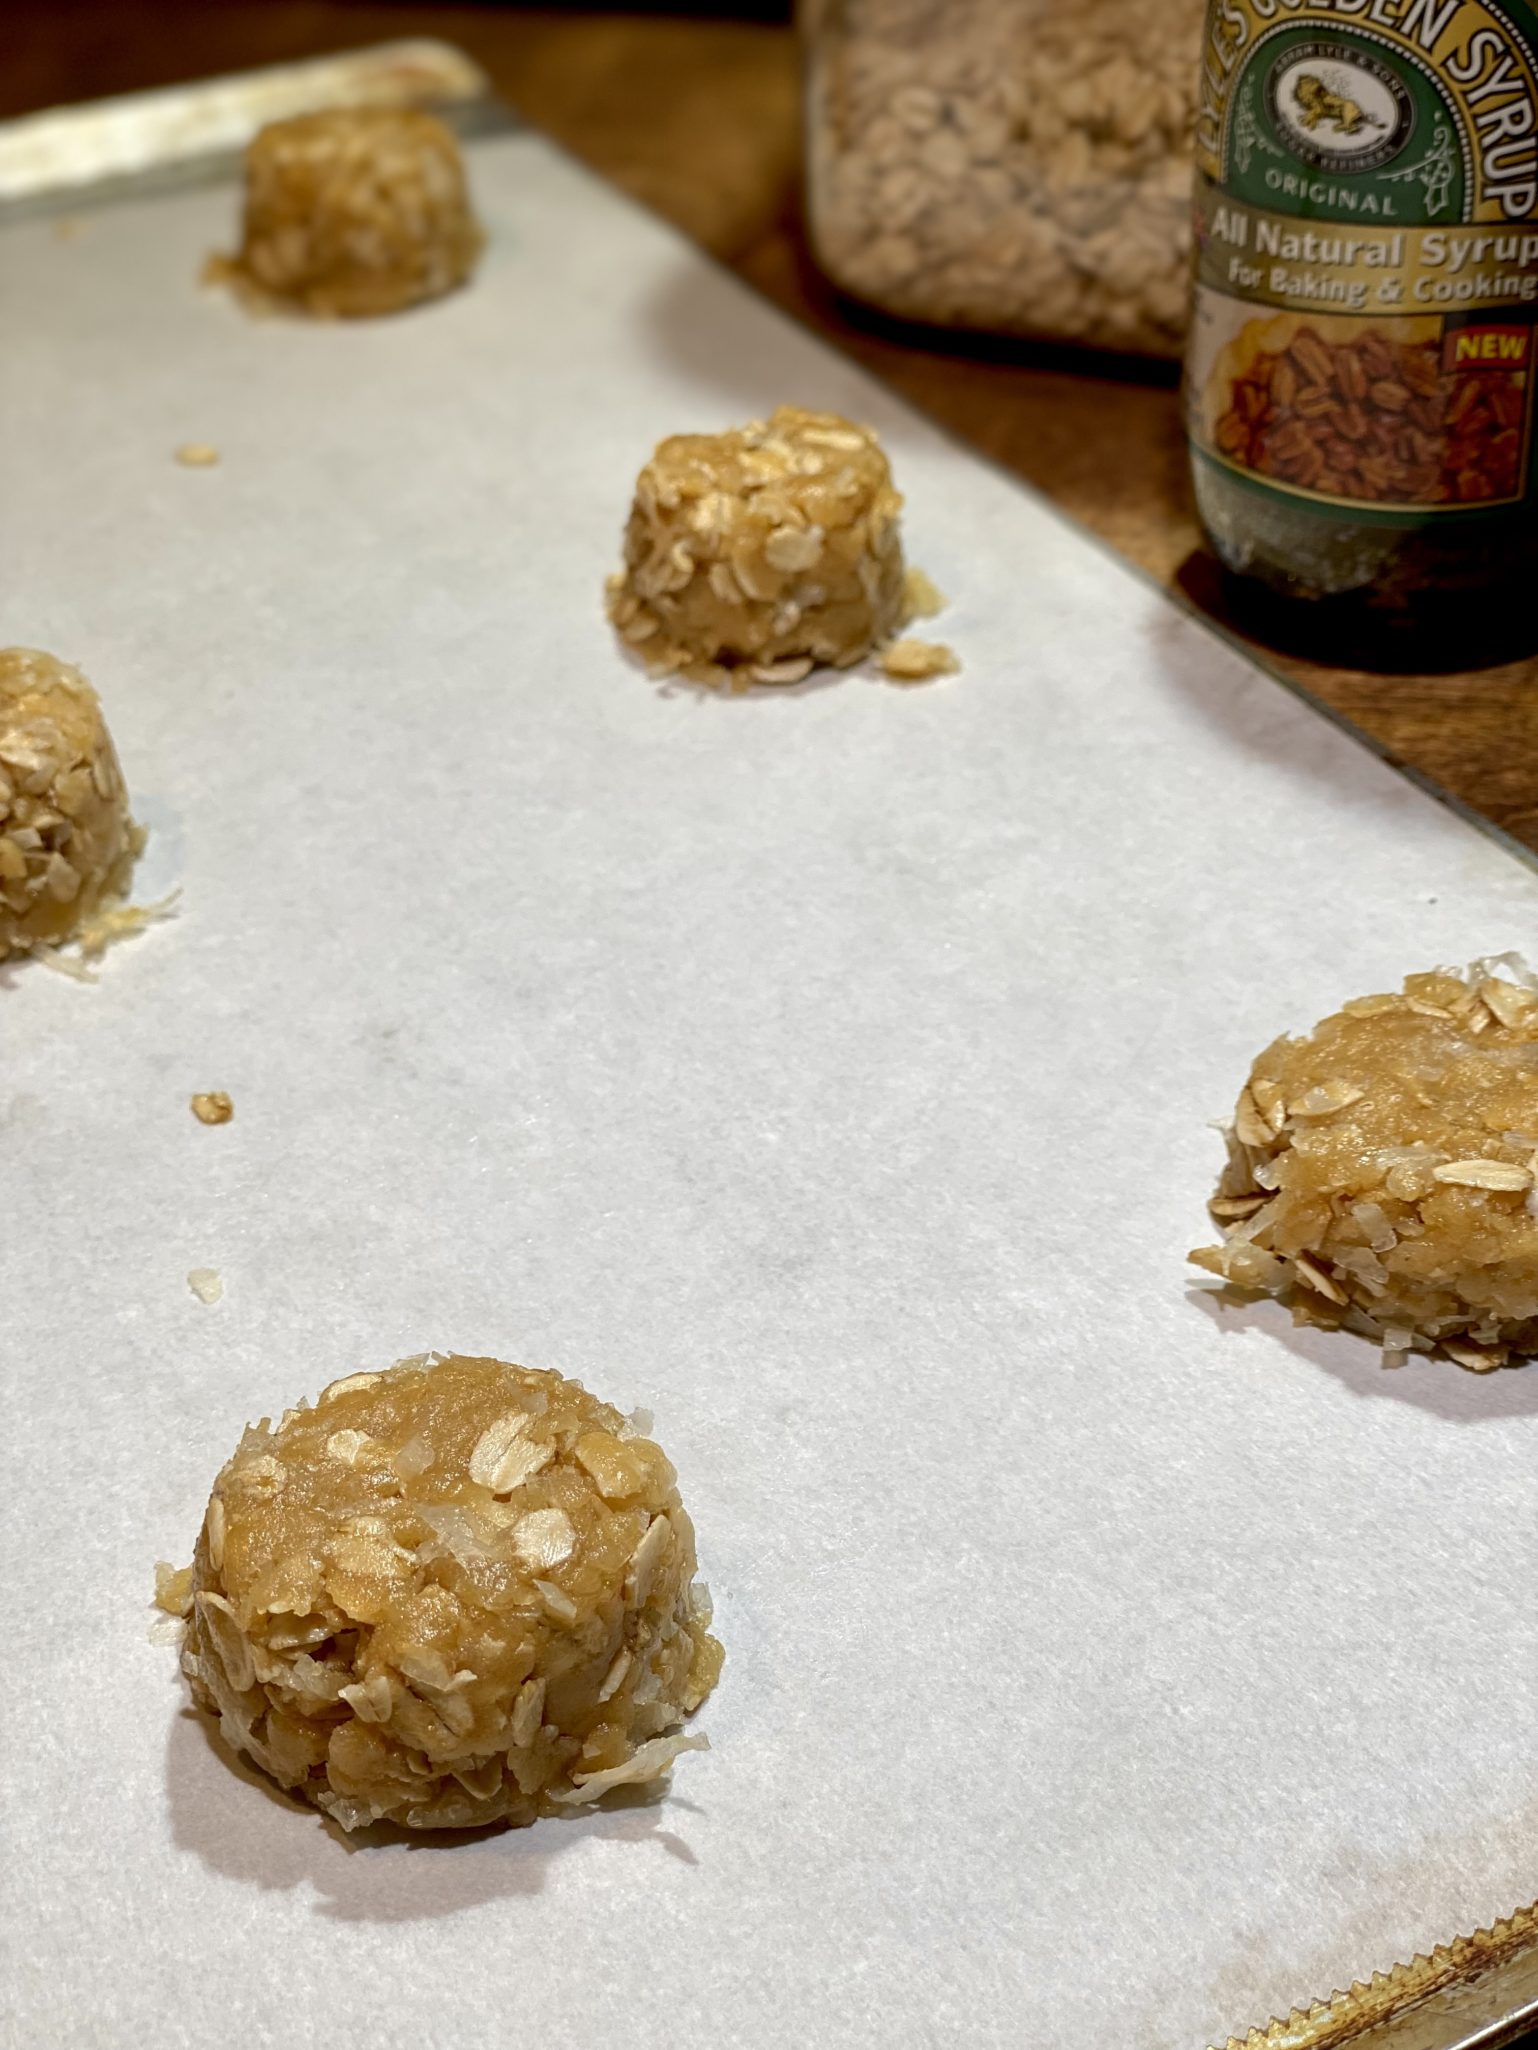
I used a one-eighth cup to portion the dough (could not find my scoop of this size 🤔) which produced cookies a little over 2 inches in diameter.  Use either a #24 or #30 ice cream scoop for bigger biscuits, I would. They’re that good.

Press the dough into a puck-like disc on the baking sheet.  Gives the biscuits a running start to a nice even shape.

If I had baked these cookies for 17-18 minutes, as directed, I’d have lumps of coal for all those naughty kids at Christmas.  The first batch baked for 14 minutes at 325 degrees, which produced deep golden brown cookies with dark edges.  The second batch baked at 320 degrees for 13 minutes.  The biscuits were deep brown, carrot cake color without the dark edges.  If you like a chewier, lighter-colored cookie, reduce the baking time, personally not recommended.  If you make larger cookies, adjust baking times accordingly.

Subbing honey or corn syrup for Lyle’s Golden Syrup can be done in a pinch.  But if you can, please try to use Lyle’s Golden Syrup.  It is made from sugar cane and has a nuanced caramel flavor you won’t get with honey or corn syrup.  Lots of larger grocery stores carry Lyle’s or you can order it on Big Bad Amazon.  Don’t confuse their Dessert Syrup for the Original Cane Syrup, that’s like Log Cabin to real Maple Syrup.

These biscuits are incredibly tasty and easy to make, put them on your “biscuit” bucket list.

P.S.

Not all these biscuits came out perfectly round as pictured, lol.  As soon as they came out of the oven, I placed a glass over the not-so-round ones and swirled it in a circular motion thereby jostling the cookies into perfect rounds.  Tricks of the trade, babee.

Print Pin
5 from 2 votes

ANZAC Biscuits

Iconic Austrailian-New Zealand Biscuit (cookie) created during WW1, recipe adapted from Dorie's Cookies
Course biscuits, cookies
Cuisine Australian
Keyword Anzac Biscuits, Anzacs, Dorie Greenspan, Lyle's Golden Syrup
Prep Time 10 minutes
Cook Time 15 minutes

Ingredients

Dry Ingredients

  • 1 cup AP flour 136 grams
  • 1 cup old-fashioned rolled oats 80 grams
  • 3/4 cup sweetened shredded coconut 90 grams
  • 1/2 cup granulated sugar 100 grams
  • 1/4 cup light brown sugar or additional granulated sugar 50gms * Not in Dorie's recipe! Add if using unsweetened coconut, omit if you like,

Wet Ingredients

  • 1/2 teaspoon kosher salt Use 1/4 teaspoon if using salted butter, Dorie's recipe uses sea salt, I thought it was a touch salty.
  • 1/2 cup unsalted butter 1 stick
  • 2 tablespoons Lyle's Golden Syrup

Leavening Ingredients

  • 1 tablespoon boiling water
  • 1/2 teaspoon baking soda

Instructions

  • In a large bowl, combine flour, oats, coconut, sugars, and salt and set aside.
  • In a small saucepan over low heat melt the butter with the Golden Syrup and remove from heat.
  • Combine the boiling water and baking soda in a small bowl to dissolve the baking soda.
  • Pour the water and baking soda into the butter mixture and stir to combine.
  • Pour the butter mixture into the dry ingredients and stir until thoroughly combined.
  • Use a 1 1/2-inch ice cream scoop to mold each cookie by gently packing dough into ice cream scoop and then turning out onto cookie sheet or form 1 1/2-inch balls of the dough with spoons)
  • Place cookies 1-2 inches apart on baking sheet. Bake for 17-18 minutes* or until deep golden brown (the color of carrot cake). Makes 16-18 cookies.
    *Read my post regarding baking times!

Notes

These cookies should be a nice rich deep brown.  Meant to be a little dense and crispy as they historically needed to travel well.  For a chewier cookie, a little less baking time will do the trick, if that is what you like.  It won't have as much of that nice caramel flavor you get from browning but still tasty!
Old School Almond Cookies

Old School Almond Cookies

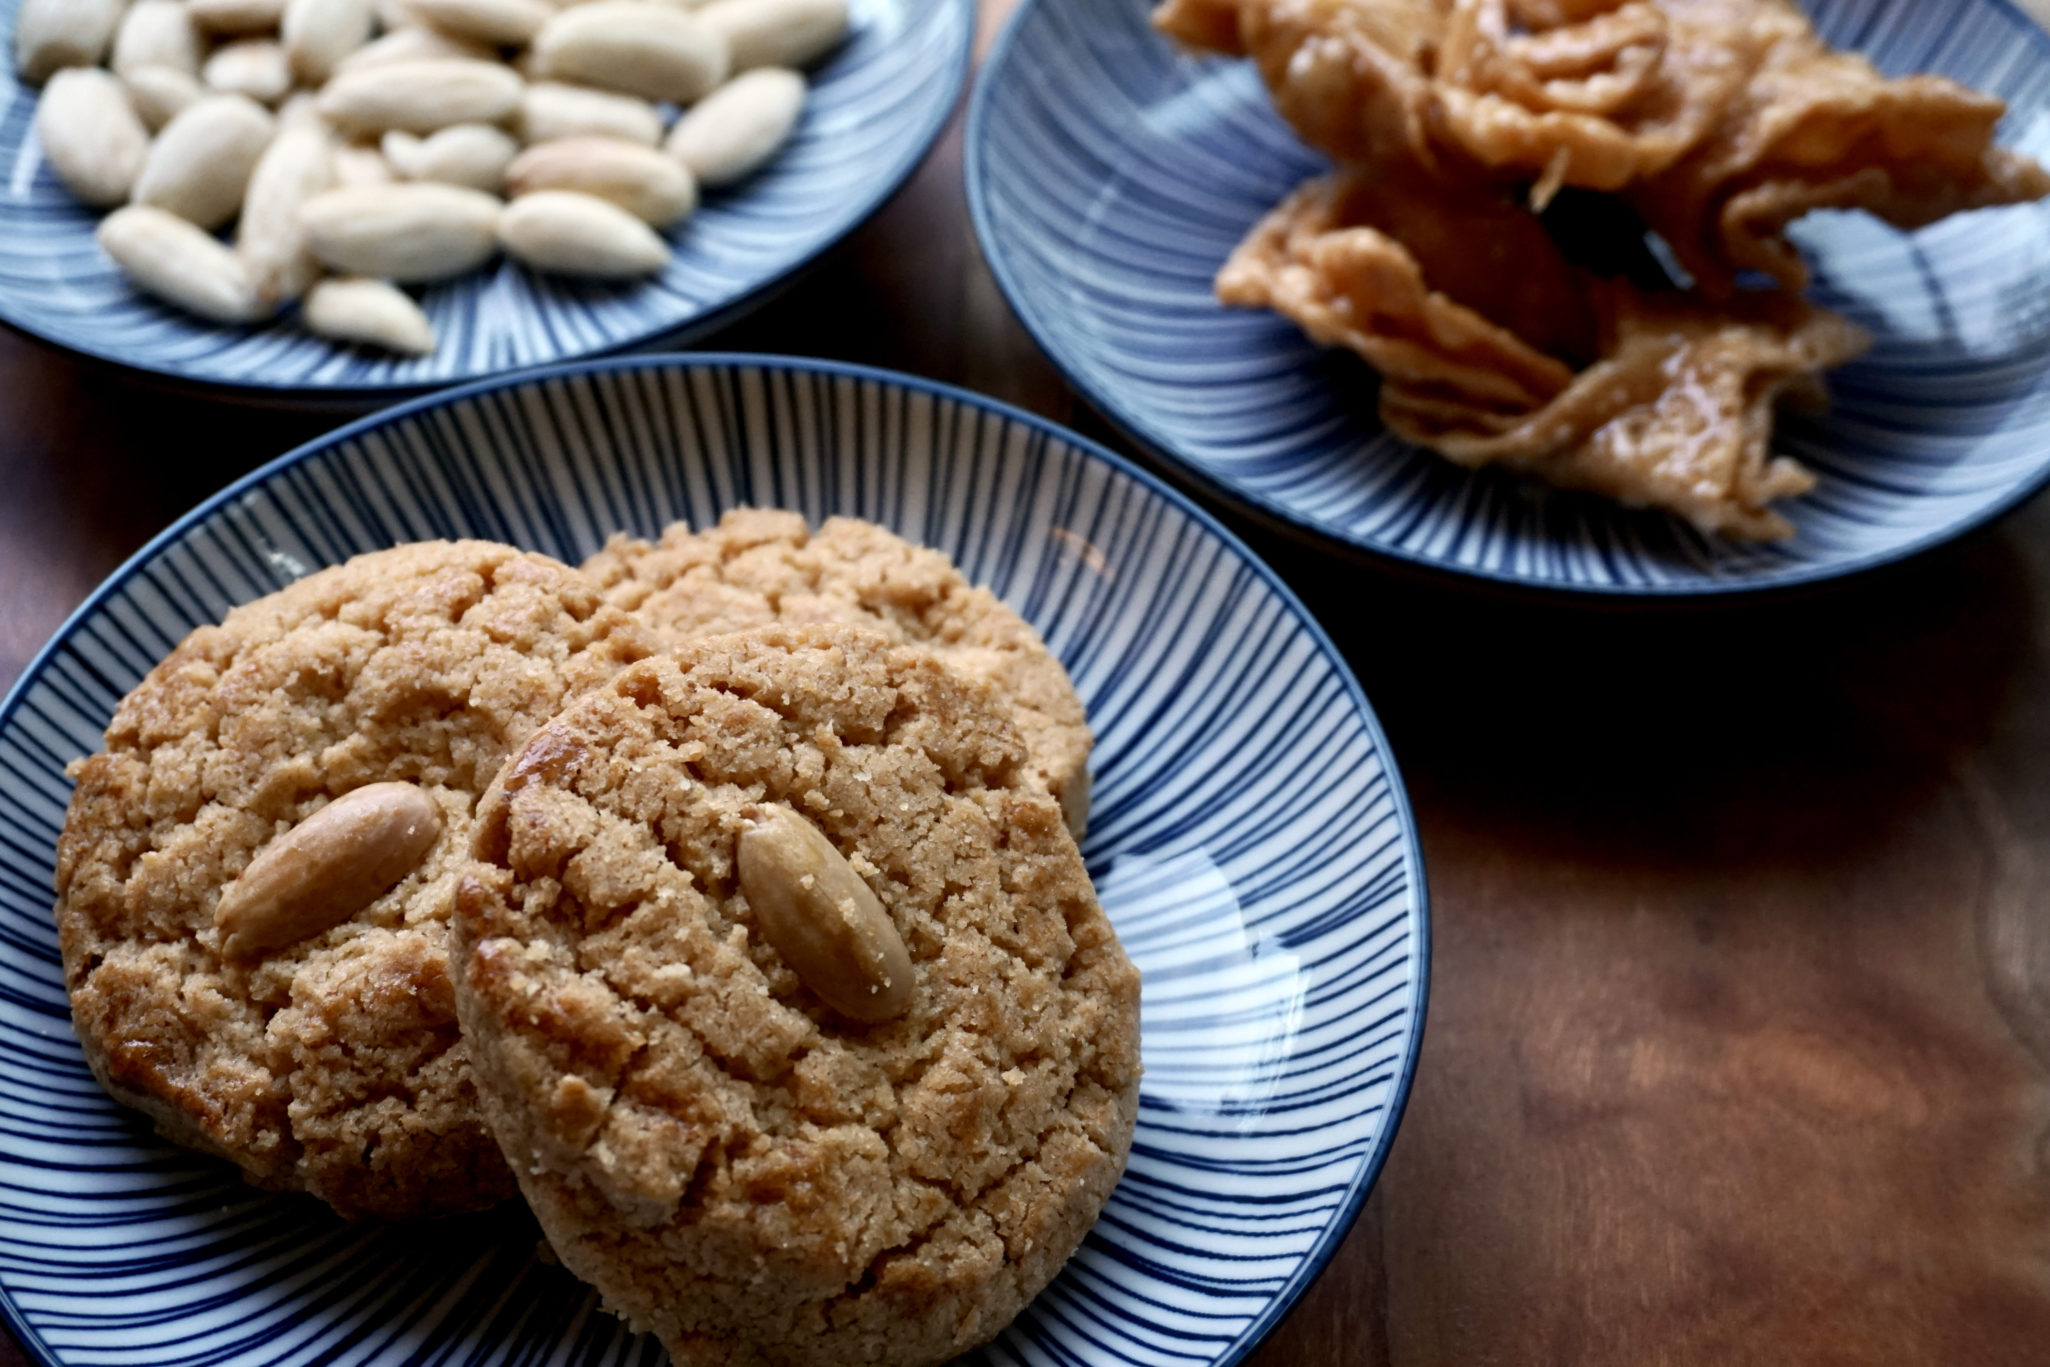
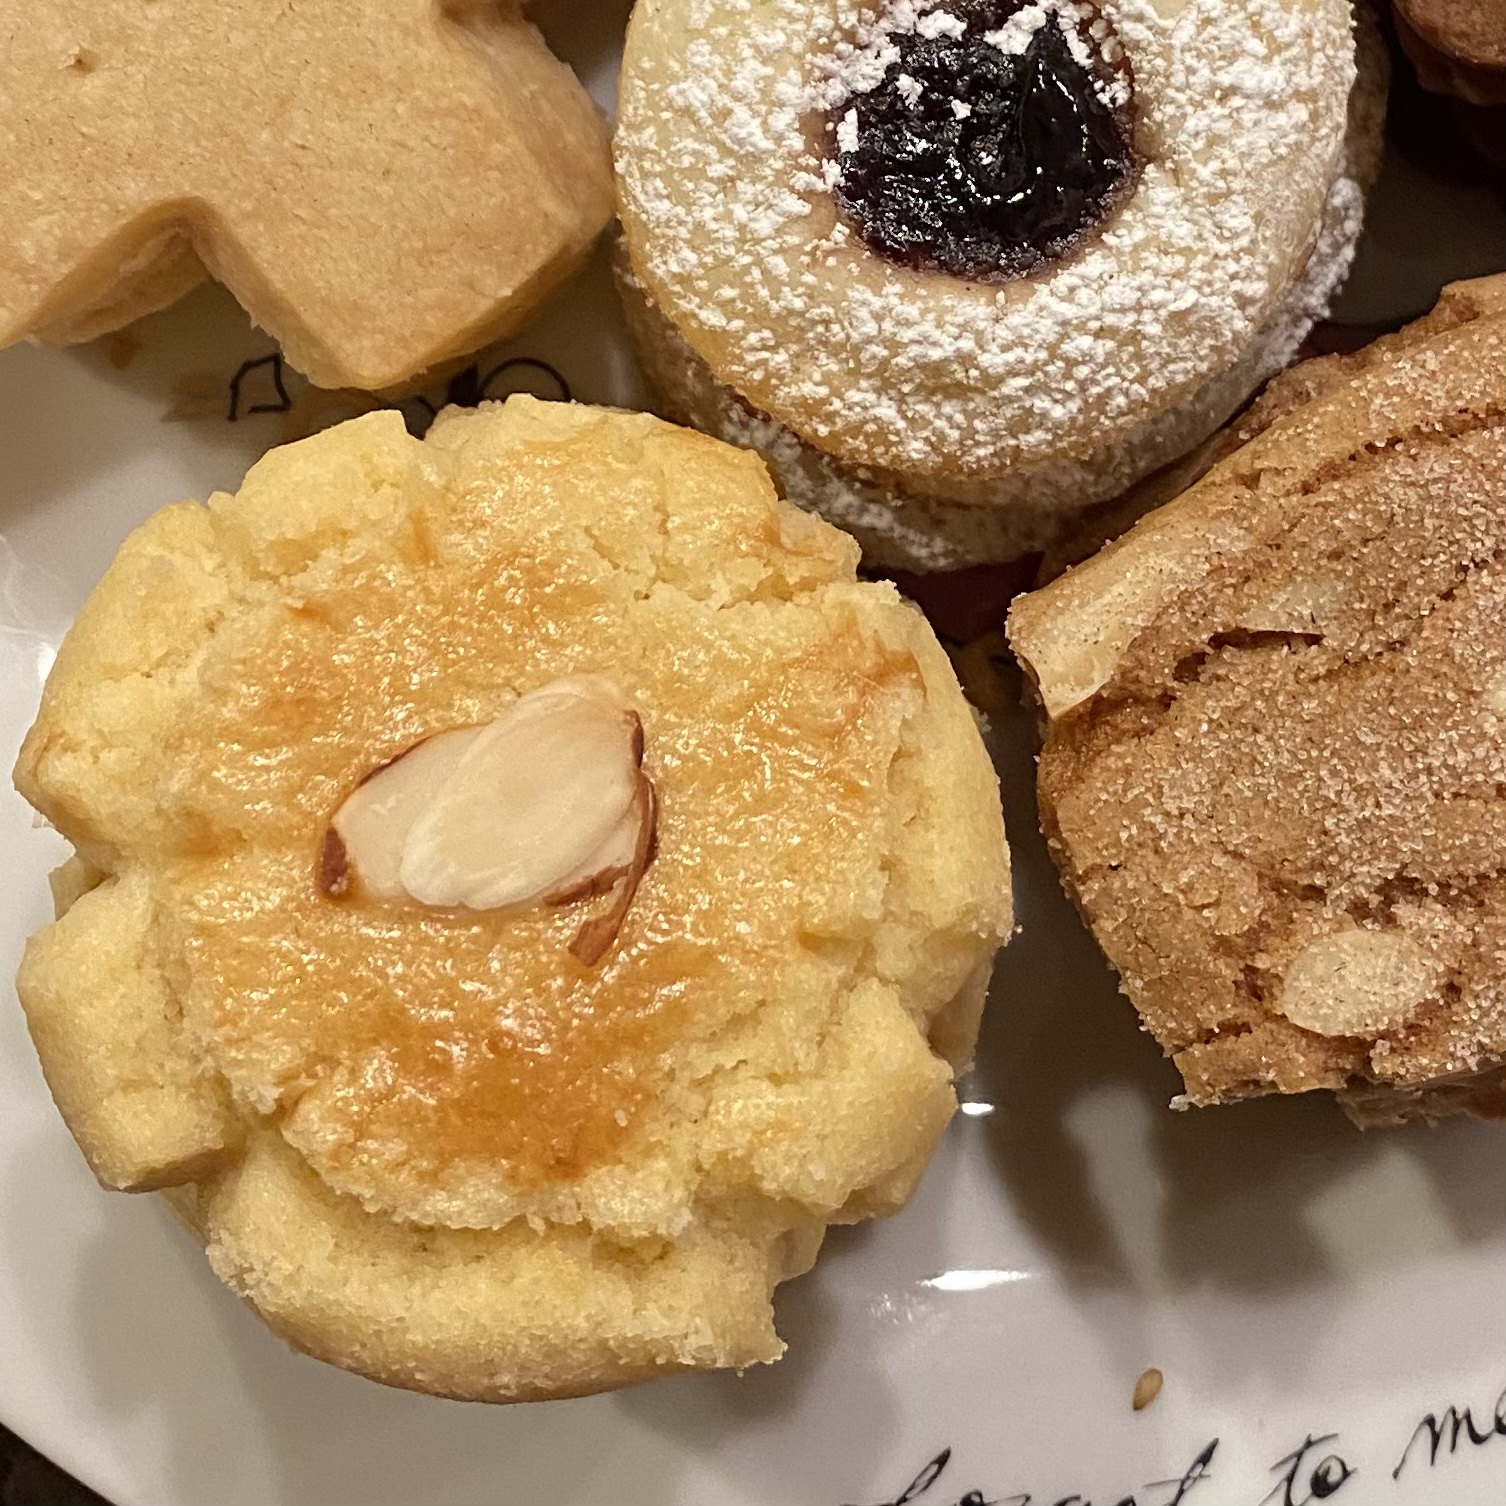
Growing up in Chinatown the standard plate of cookies found on our table was not Chocolate Chip Cookies, but Almond Cookies.  Found in every Chinese Bakery, these were my favorite cookie, well except for the almond in the center, which I ate around, kids, what do you do.

Phoenix Bakery

Last Roadtrip

One of my favorite Almond Cookies comes from Phoenix Bakery in Los Angeles Chinatown.  It’s been there a long time, three generations of the Chan family (hopefully there is a fourth generation) cranking out cookies and cakes.  Theirs is the quintessential Almond Cookie, crumbly not crisp, nutty, dense but not tough, and distinctly almond-flavored. Growing up, every family trip to Los Angeles included the prerequisite stop at Phoenix Bakery for those pink boxes filled with almond cookies and sweet, sticky butterfly cookies. Right before COVID hit, I drove down to LA for my favorite auntie’s birthday and of course, I stopped at Phoenix Bakery.

An Homage

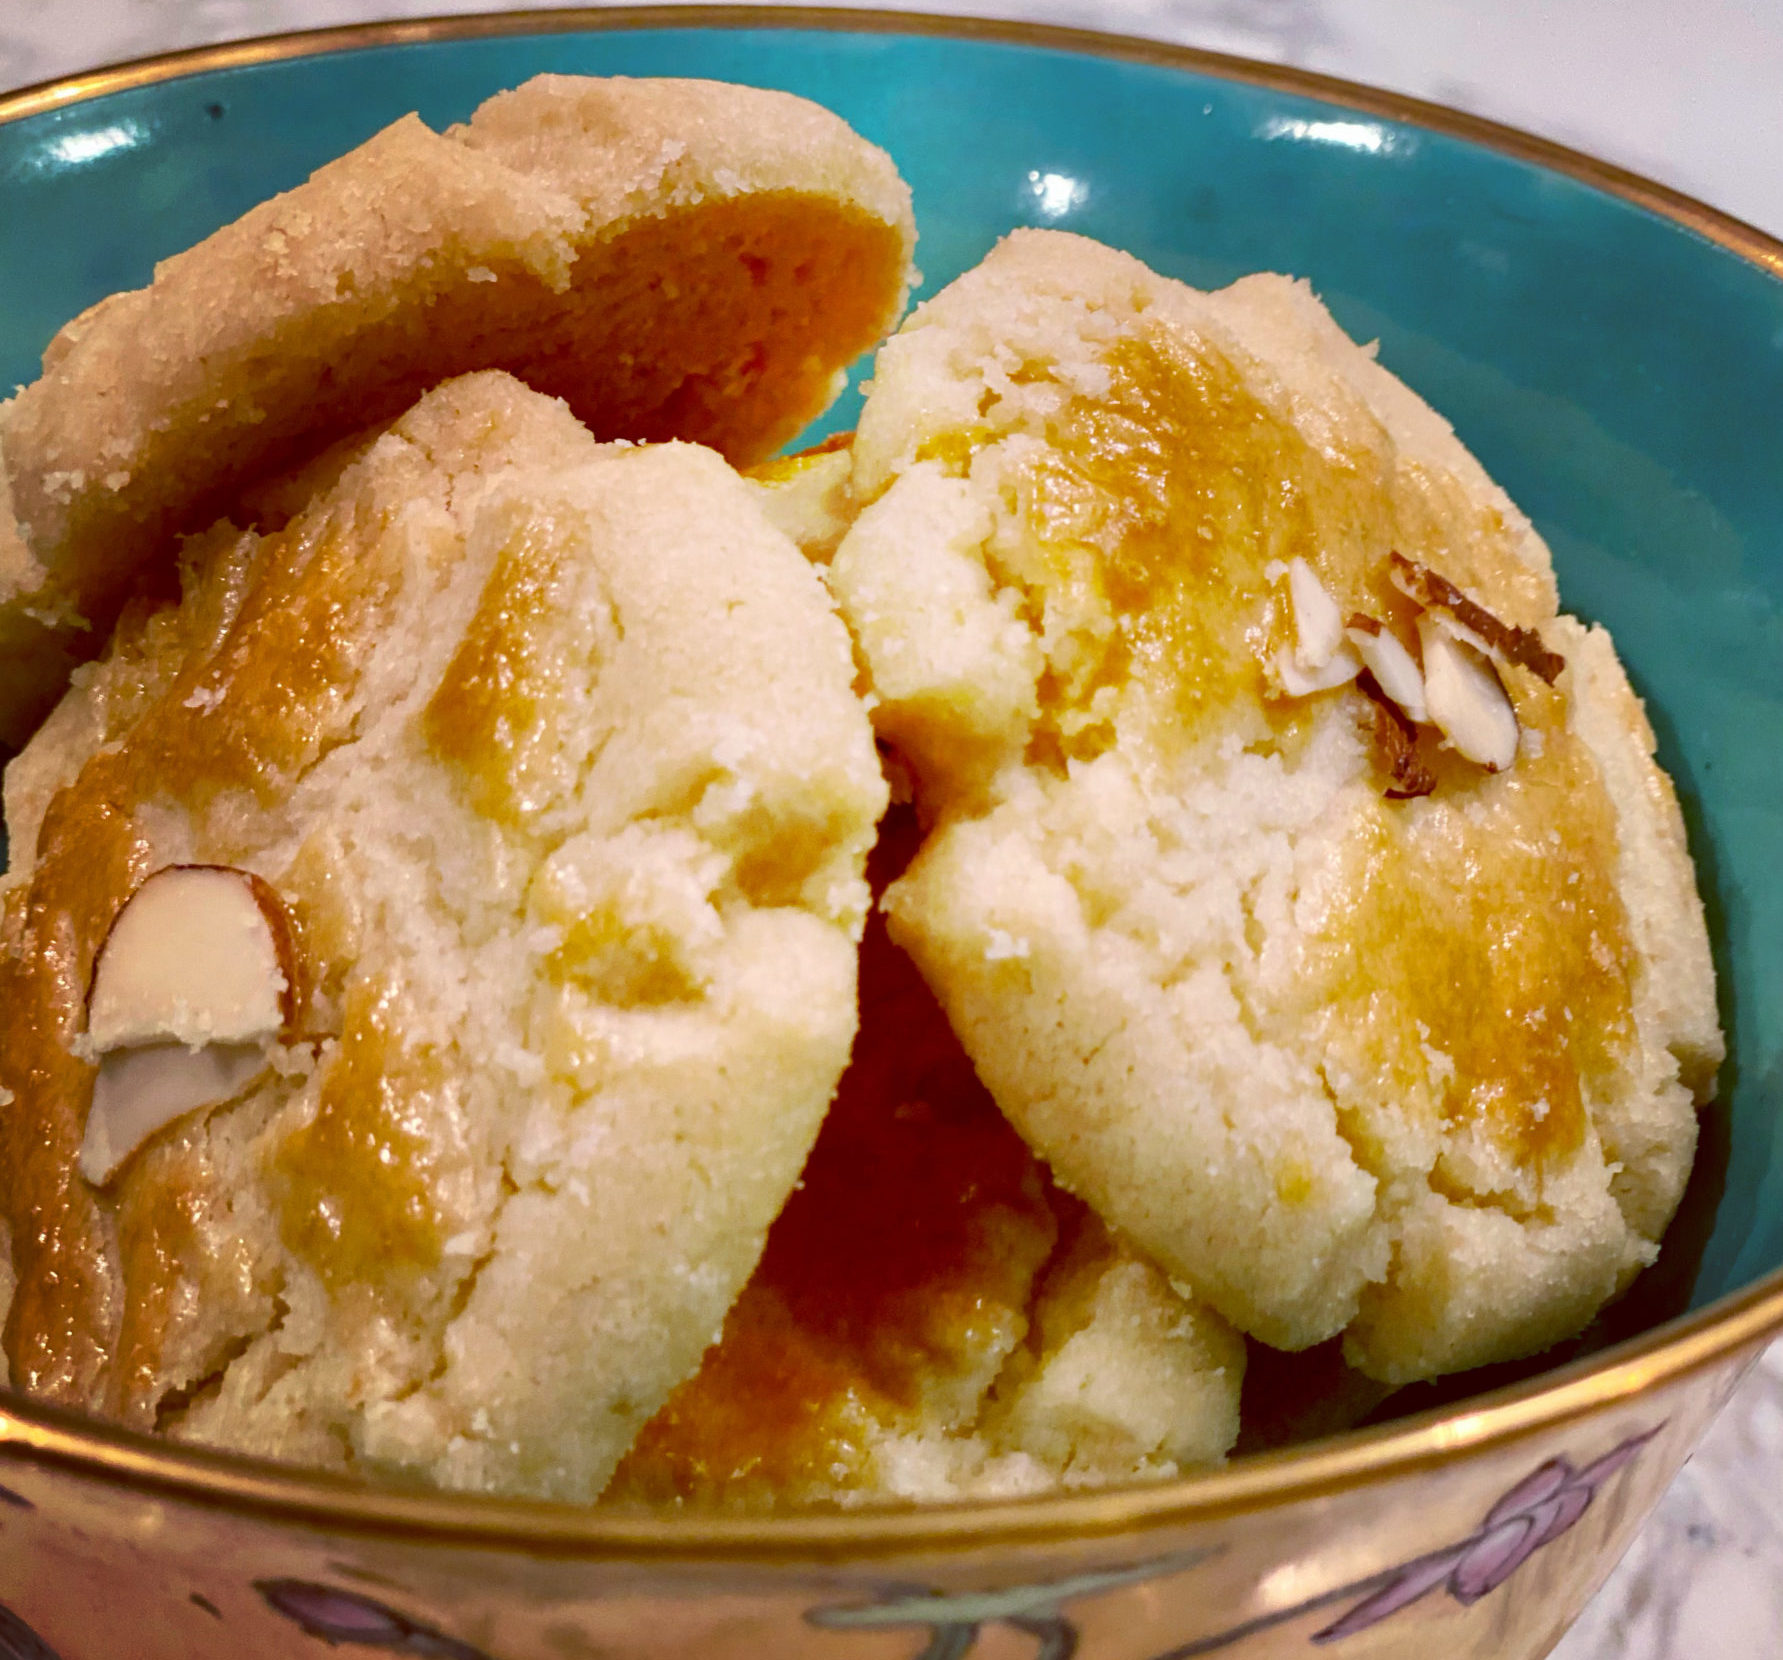
Every Christmas my brother-in-law’s mother baked boxes and boxes (pink cake boxes of course) of cookies.  We were one of the lucky recipients.  My favorite, her almond cookie. With that first bite, I was transported back to the Chinatown of my childhood.

As a testament to how much I like Almond Cookies, I have multiple almond cookies on 3Jamigos.  The first time I wrote about Mrs. F’s Almond Cookies, I actually included the Almond Cookie recipe from B’s Patisserie in San Francisco.  It’s a luscious almond cookie, buttery, crispy, filled with almond flavor, delicious in its own right, but texturally different from the classic Chinatown Almond Cookie.

Finally, Mrs. F’s Almond Cookies

Why didn’t I make Mrs. F’s cookies from the get-go? Embarrassingly, I had misplaced her recipe.  After an all-out hunt, I finally found it (or did I ask my brother-in-law?).  Well, bottom line, I have it now my little duckies.

After the first batch, I tinkered with the recipe just a little.  The cookies texturally were spot on.   Here is the secret, the texture comes from using lard or shortening.  Yep, no butter in these bad boys.  Hmmm…butter-flavored shortening?  Why not.  This was my inaugural use of butter-flavored Crisco in place of regular shortening.  Judging by the response to these cookies, it worked!  If you have an aversion to butter-flavored shortening, use regular shortening.  If and when I try lard I will report back.  I have no problems using lard, it’s more of an access issue.  I prefer leaf lard which is less processed than the stuff in supermarkets.
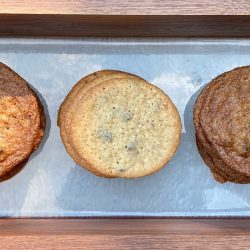
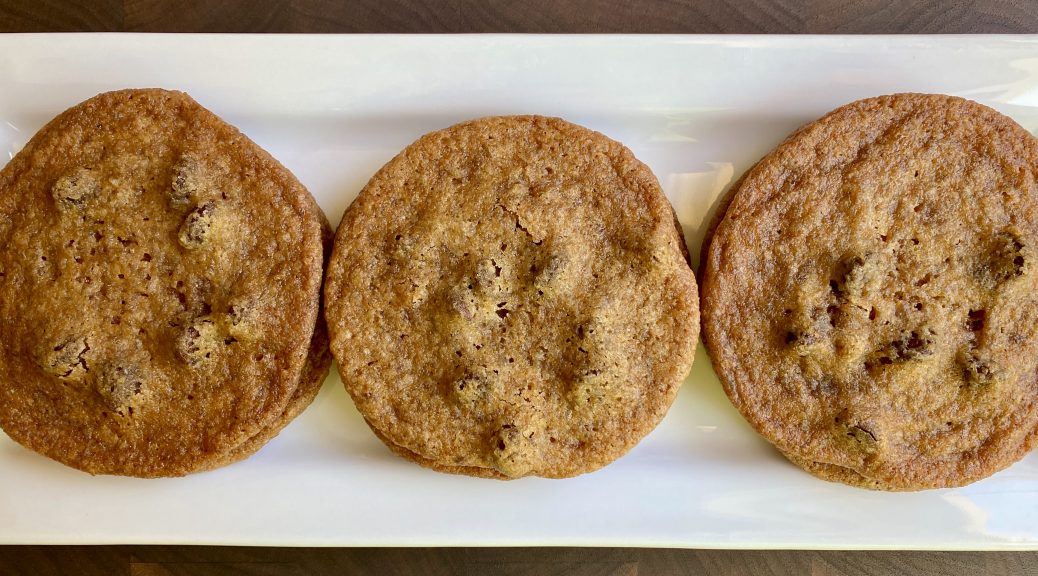

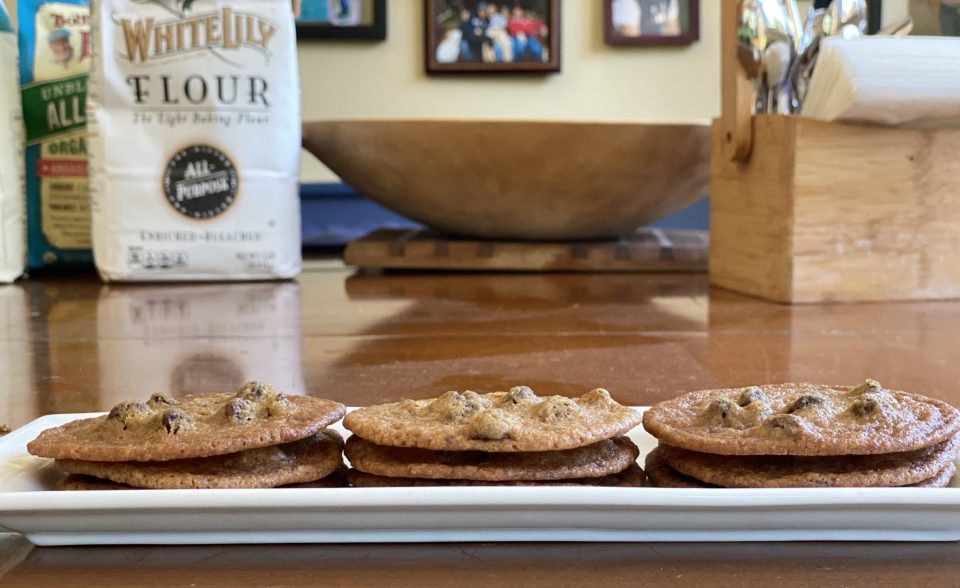
Shortening is easy to work with and inherently a little softer than butter. I keep my shortening in the fridge. Beat the dough until light and fluffy 2-3 minutes before adding dry ingredients.

Let’s Go Nutty

The other tweak MORE almond flavor.  I upped the amount of almond extract cause in my book, you can never have too much almond flavor. JK, but I did think the cookies benefitted from a smidge more.

Year of the Tiger

Don’t think cookie season is over!  Chinese New Year is right around the corner and these would be purr-fect in an assortment of goodies to ring in the Year of the Tiger!

Part of the Holiday Cookie Parade

Almond Cookies -like the ones in Chinatown!

This recipe was generously shared with me by my brother-in-law's family. Made with lard or shortening, these are the quintessential Chinese Almond Cookies found in Chinatown bakeries and restaurants. Crumbly, almond-forward, delicious
Course cookies, Dessert
Cuisine Asian
Keyword Chinatown Almond Cookies
Prep Time 15 minutes
Cook Time 20 minutes

Ingredients

Dry Ingredients

  • 5 cups sifted flour
  • 1 tsp baking soda
  • 1/4 tsp salt

Wet Ingredients

  • 2 1/2 cups Shortening, either reg or butter-flavored 40T (35 T will do)
  • 1 1/2 cups sugar
  • 1 large egg lightly beaten
  • 1.5 tsp almond extract Use up to 2 tsp
  • 1/4 tsp potassium carbonate liquid or 1/4 t baking soda

Finishing Touches

  • 1 egg beaten for egg wash
  • almond halves or sesame seeds garnish

Instructions

  • Combine flour, baking soda and salt, set aside.
  • Cream shortening and sugar till fluffy. Add egg and blend thoroughly. Add almond extract and k+Co3 and blend well.
  • Gradually add flour and stir until well combined. Form round balls (size of small walnut, I use a 1 tablespoon+ ice cream scoop to portion out the dough. At this point, if the dough seems a little soft, chill in fridge for 30-60 minutes.
  • Using a flat bottom glass, dip in a little bit of flour and press dough flat on a cookie sheet to about 1/2 inch thickness. Leave about 1.5 inches between cookies. Brush each cookie with egg wash. Place almond or sesame seeds centered on top.
  • Bake 350 degrees 15 minutes or until slightly golden in color.

Notes

The recipe is easily halved.  A large beaten egg is approximately 3.25 tablespoons, use half for the dough and half for the egg wash.  You have some play with the amount of egg in the dough. I have used a whole large egg in a half recipe and it turns out fine, the cookie is just a bit more fragile. I'd use a small egg in a half recipe.
I like the butter-flavored Crisco in the cookie. Gives a bit more flavor without sacrificing the texture of the cookie.
 
 
M&M Cookies For the Kid In You (Day 2)

M&M Cookies For the Kid In You (Day 2)

Cookie Number Two-Twelve Days of Cookies

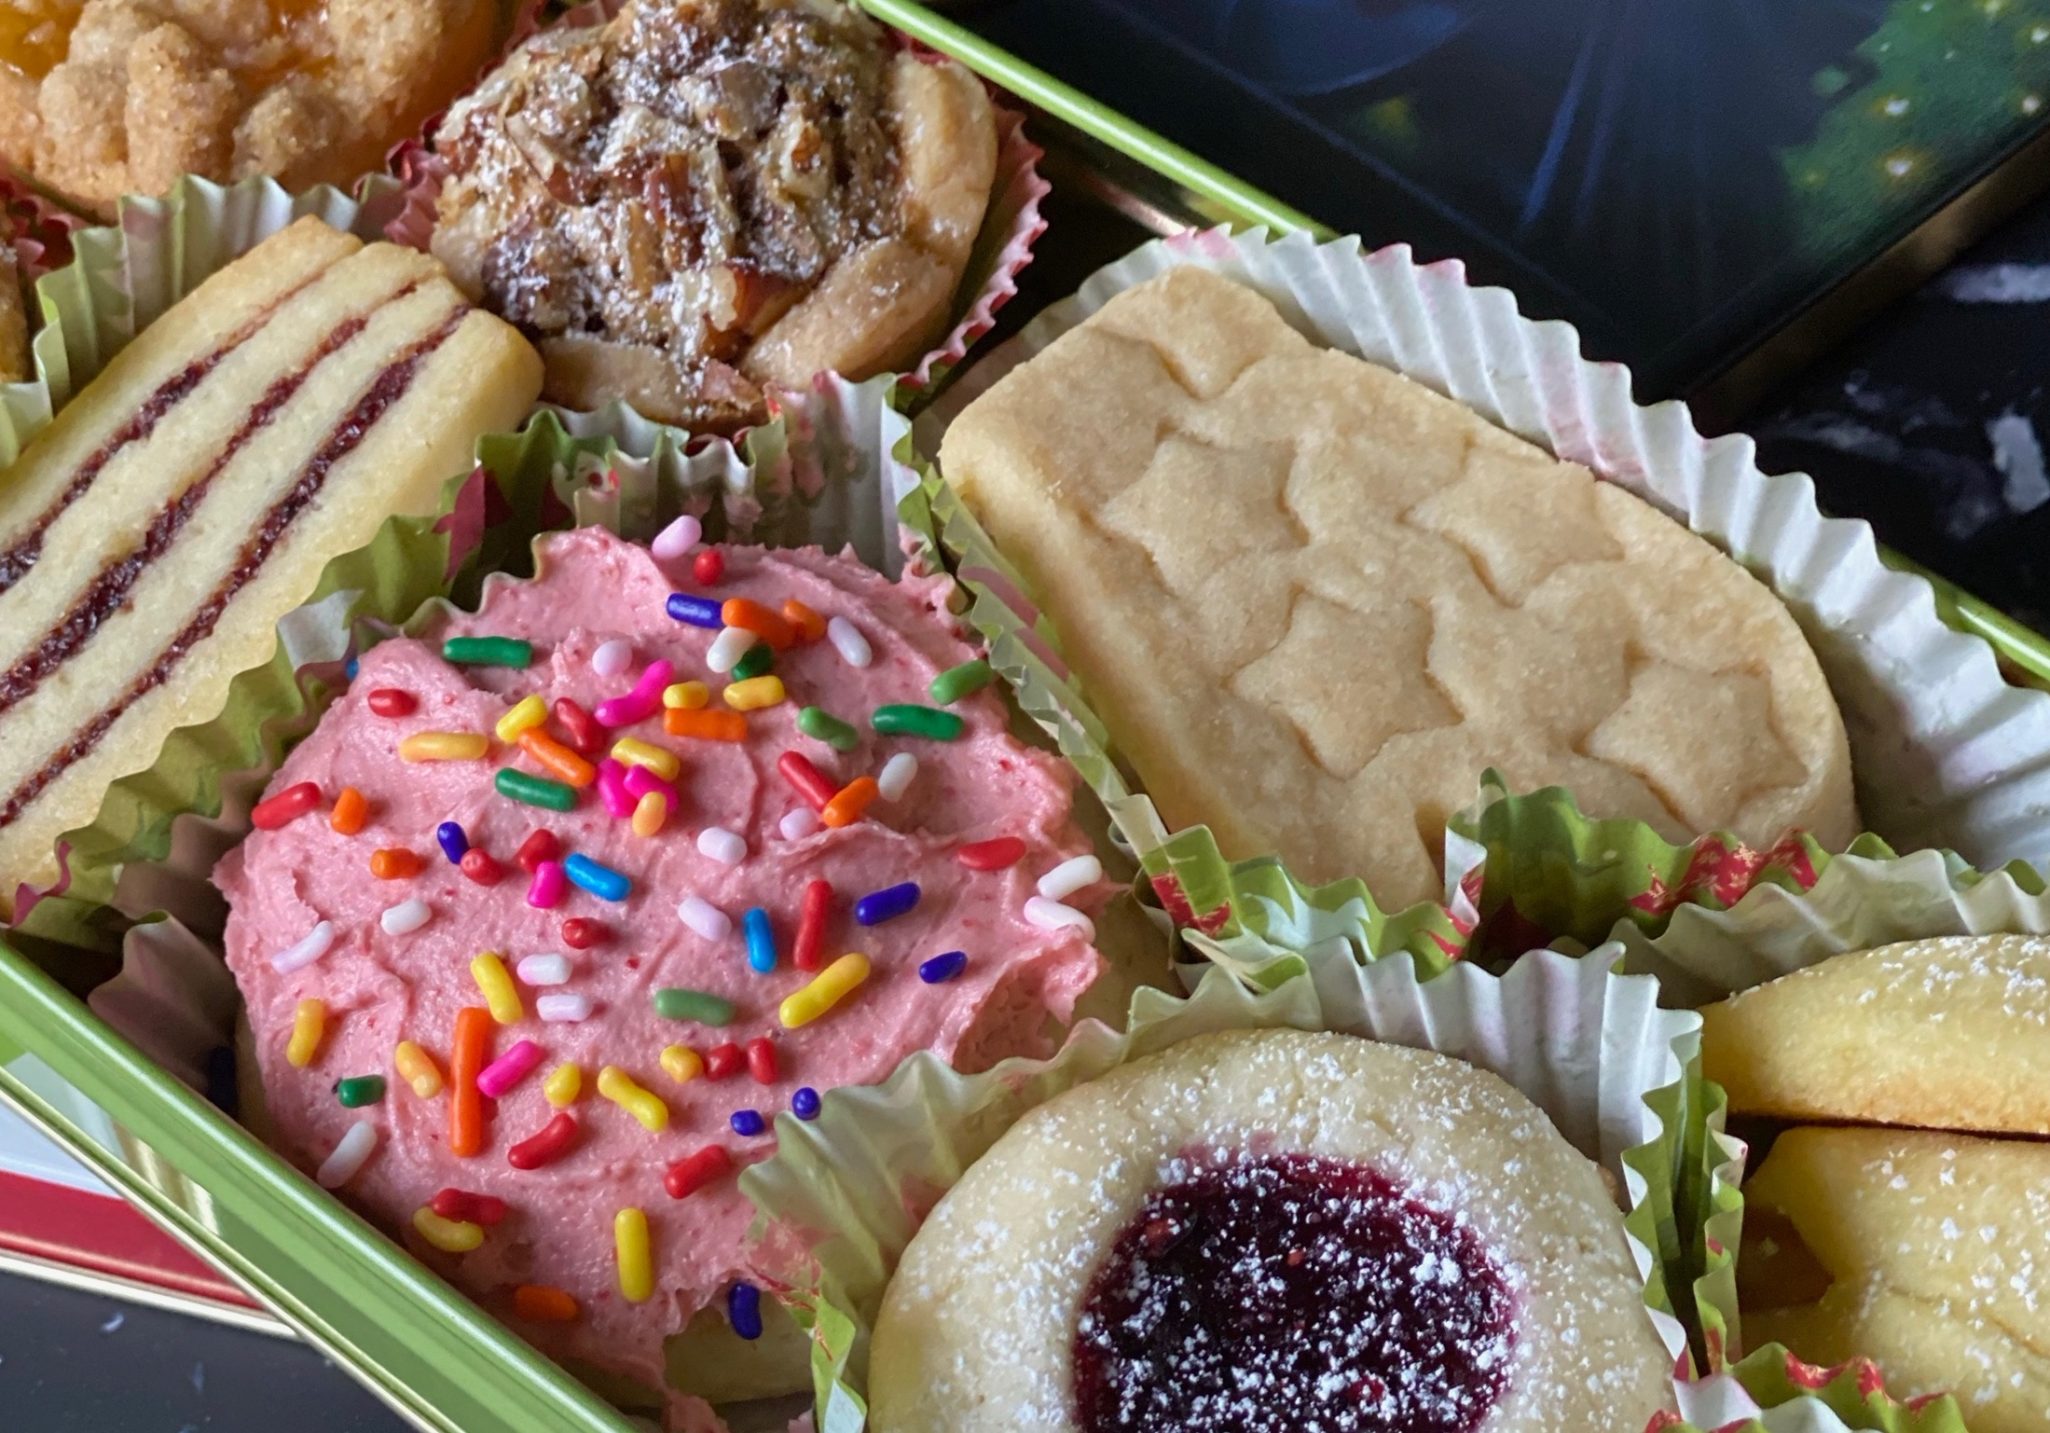
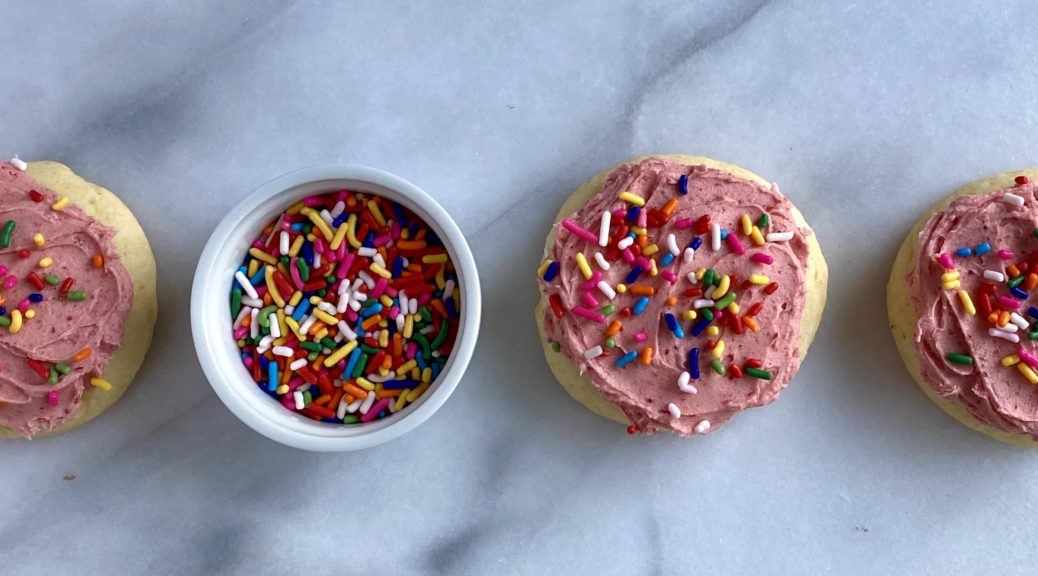
Last year my absolute favorite cookie was Eric Kim’s Grocery Store Cookie.  I called it my Marie Kondo cookie, it brought me JOY.  The original Lofthouse cookies, a cakey blob, packed in plastic trays covered with copious amounts of fake frosting and sprinkles…elevated to a wondrously delicious cakelike, buttery, tender cookie topped with raspberry buttercream frosting.  The only thing the two cookies had in common was the SPRINKLES.

Guess which one is the Grocery Store Cookie?

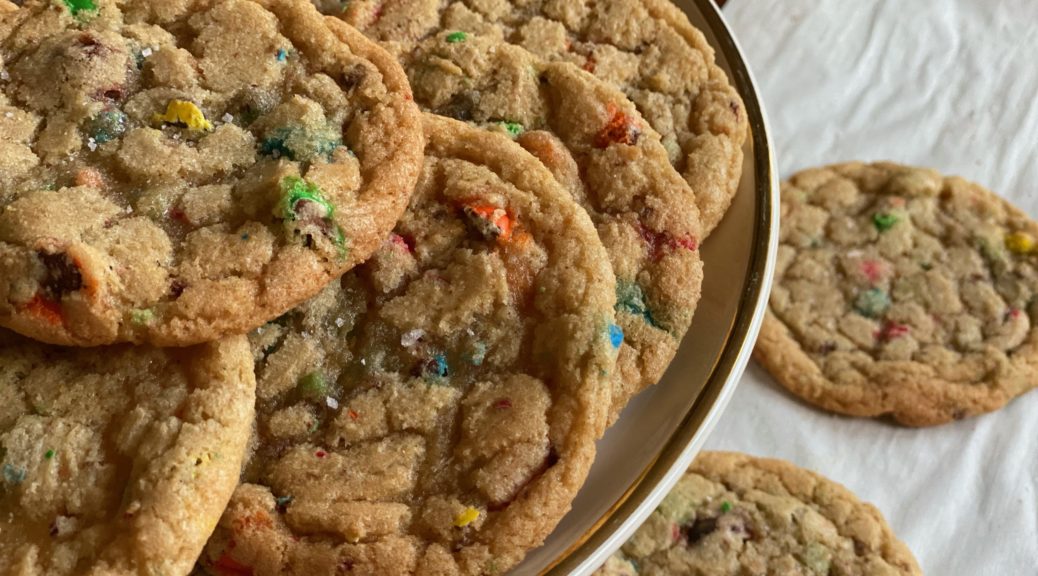
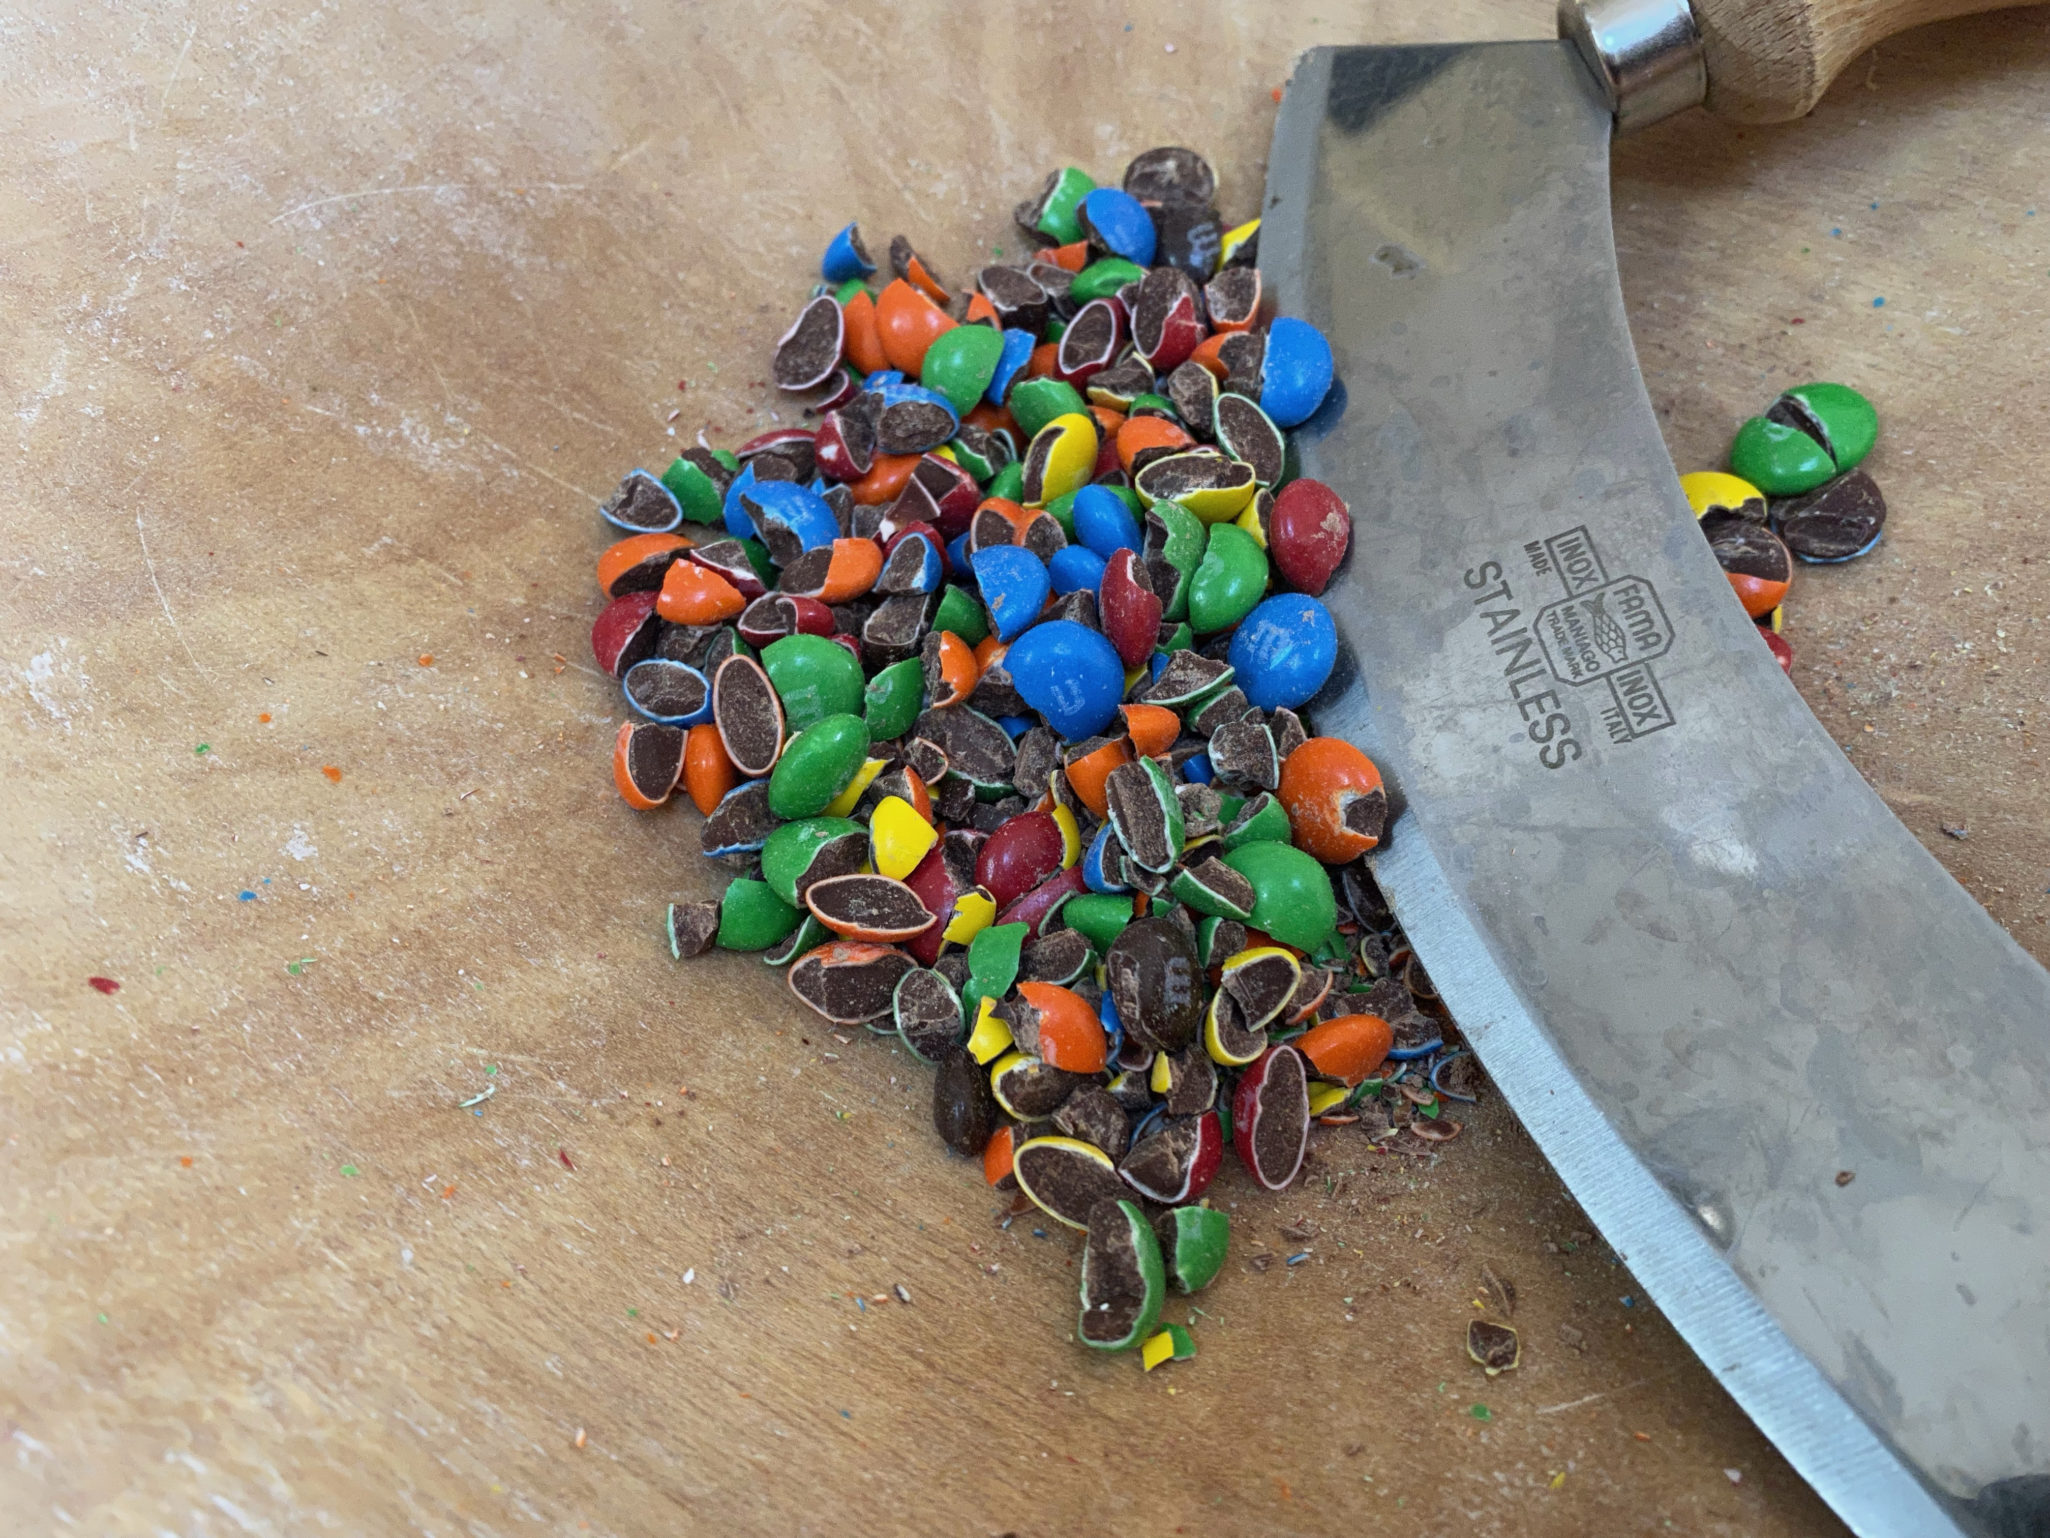
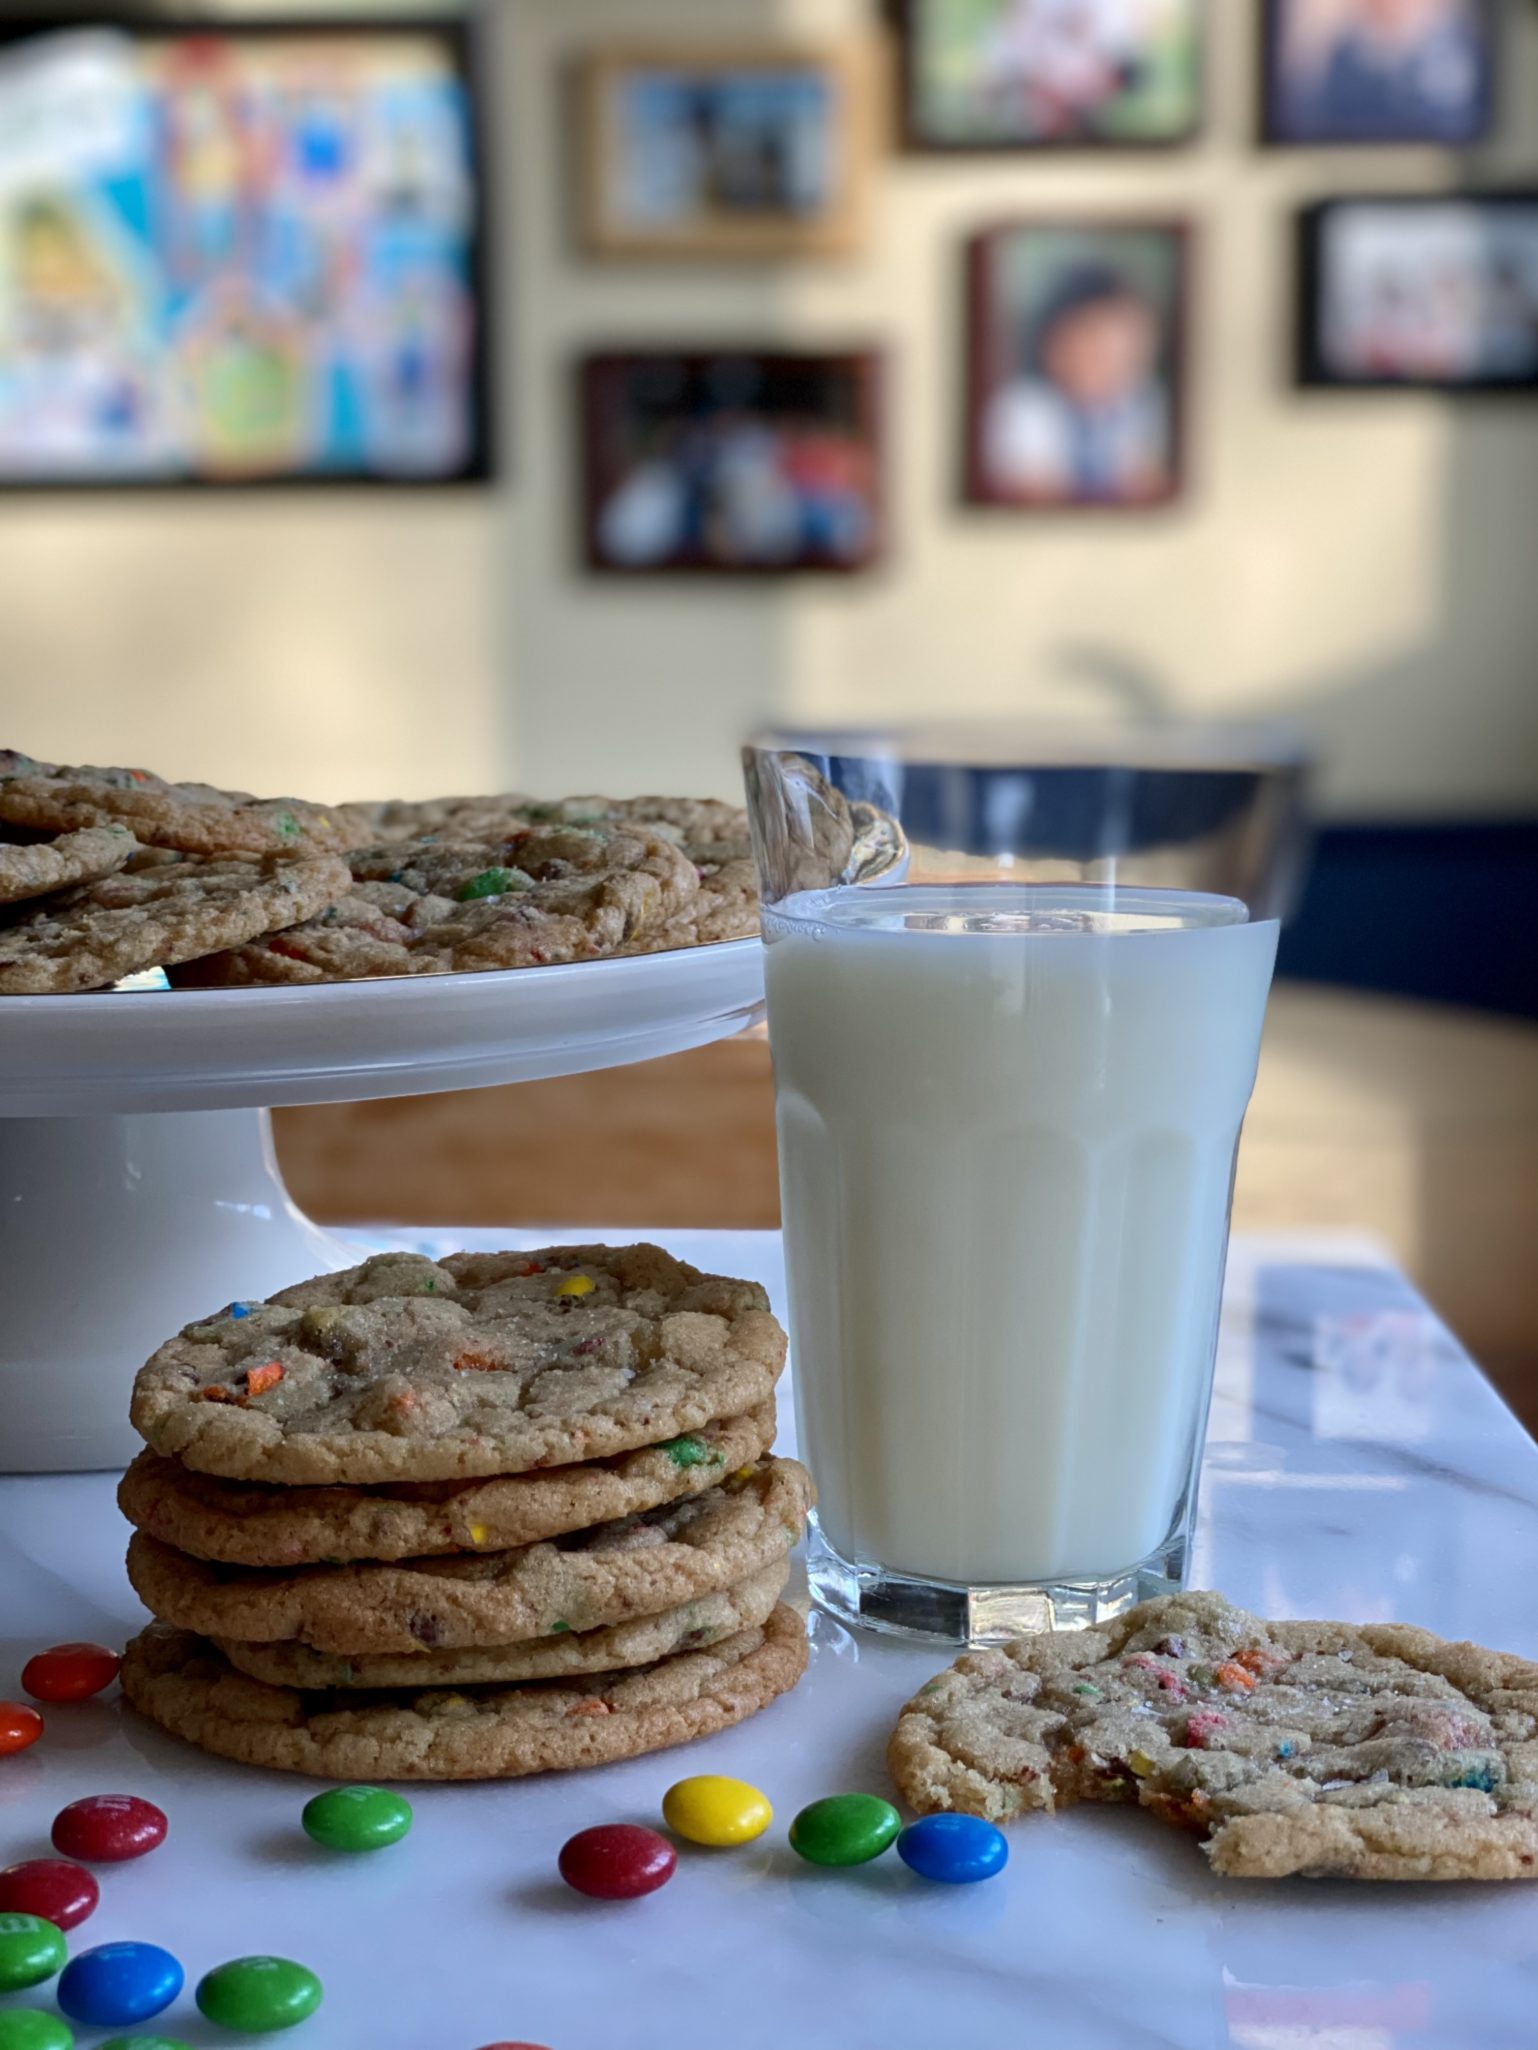
As soon as NYTcooking posted this year’s Holiday Cookies, I looked for Eric’s cookie.  It wasn’t hard to find, his was first on the list.  For the kid in all of us, Eric developed a recipe for festive M&M Cookies. (Bonus: Video of Eric making these!)  Simple, nostalgic and YUMMY.  A hint of crispiness on the edge, surrounding a chewy cookie dotted with M&Ms.  The M&M’s are cut into pieces so you get this really nice distribution of the candy coating and chocolate center.  With the first bite, I was transported back to my 9-year-old self.

M&Ms aren’t easy to cut and not bounce around! My dough bowl and mezzaluna came in handy!

Cookie Workout

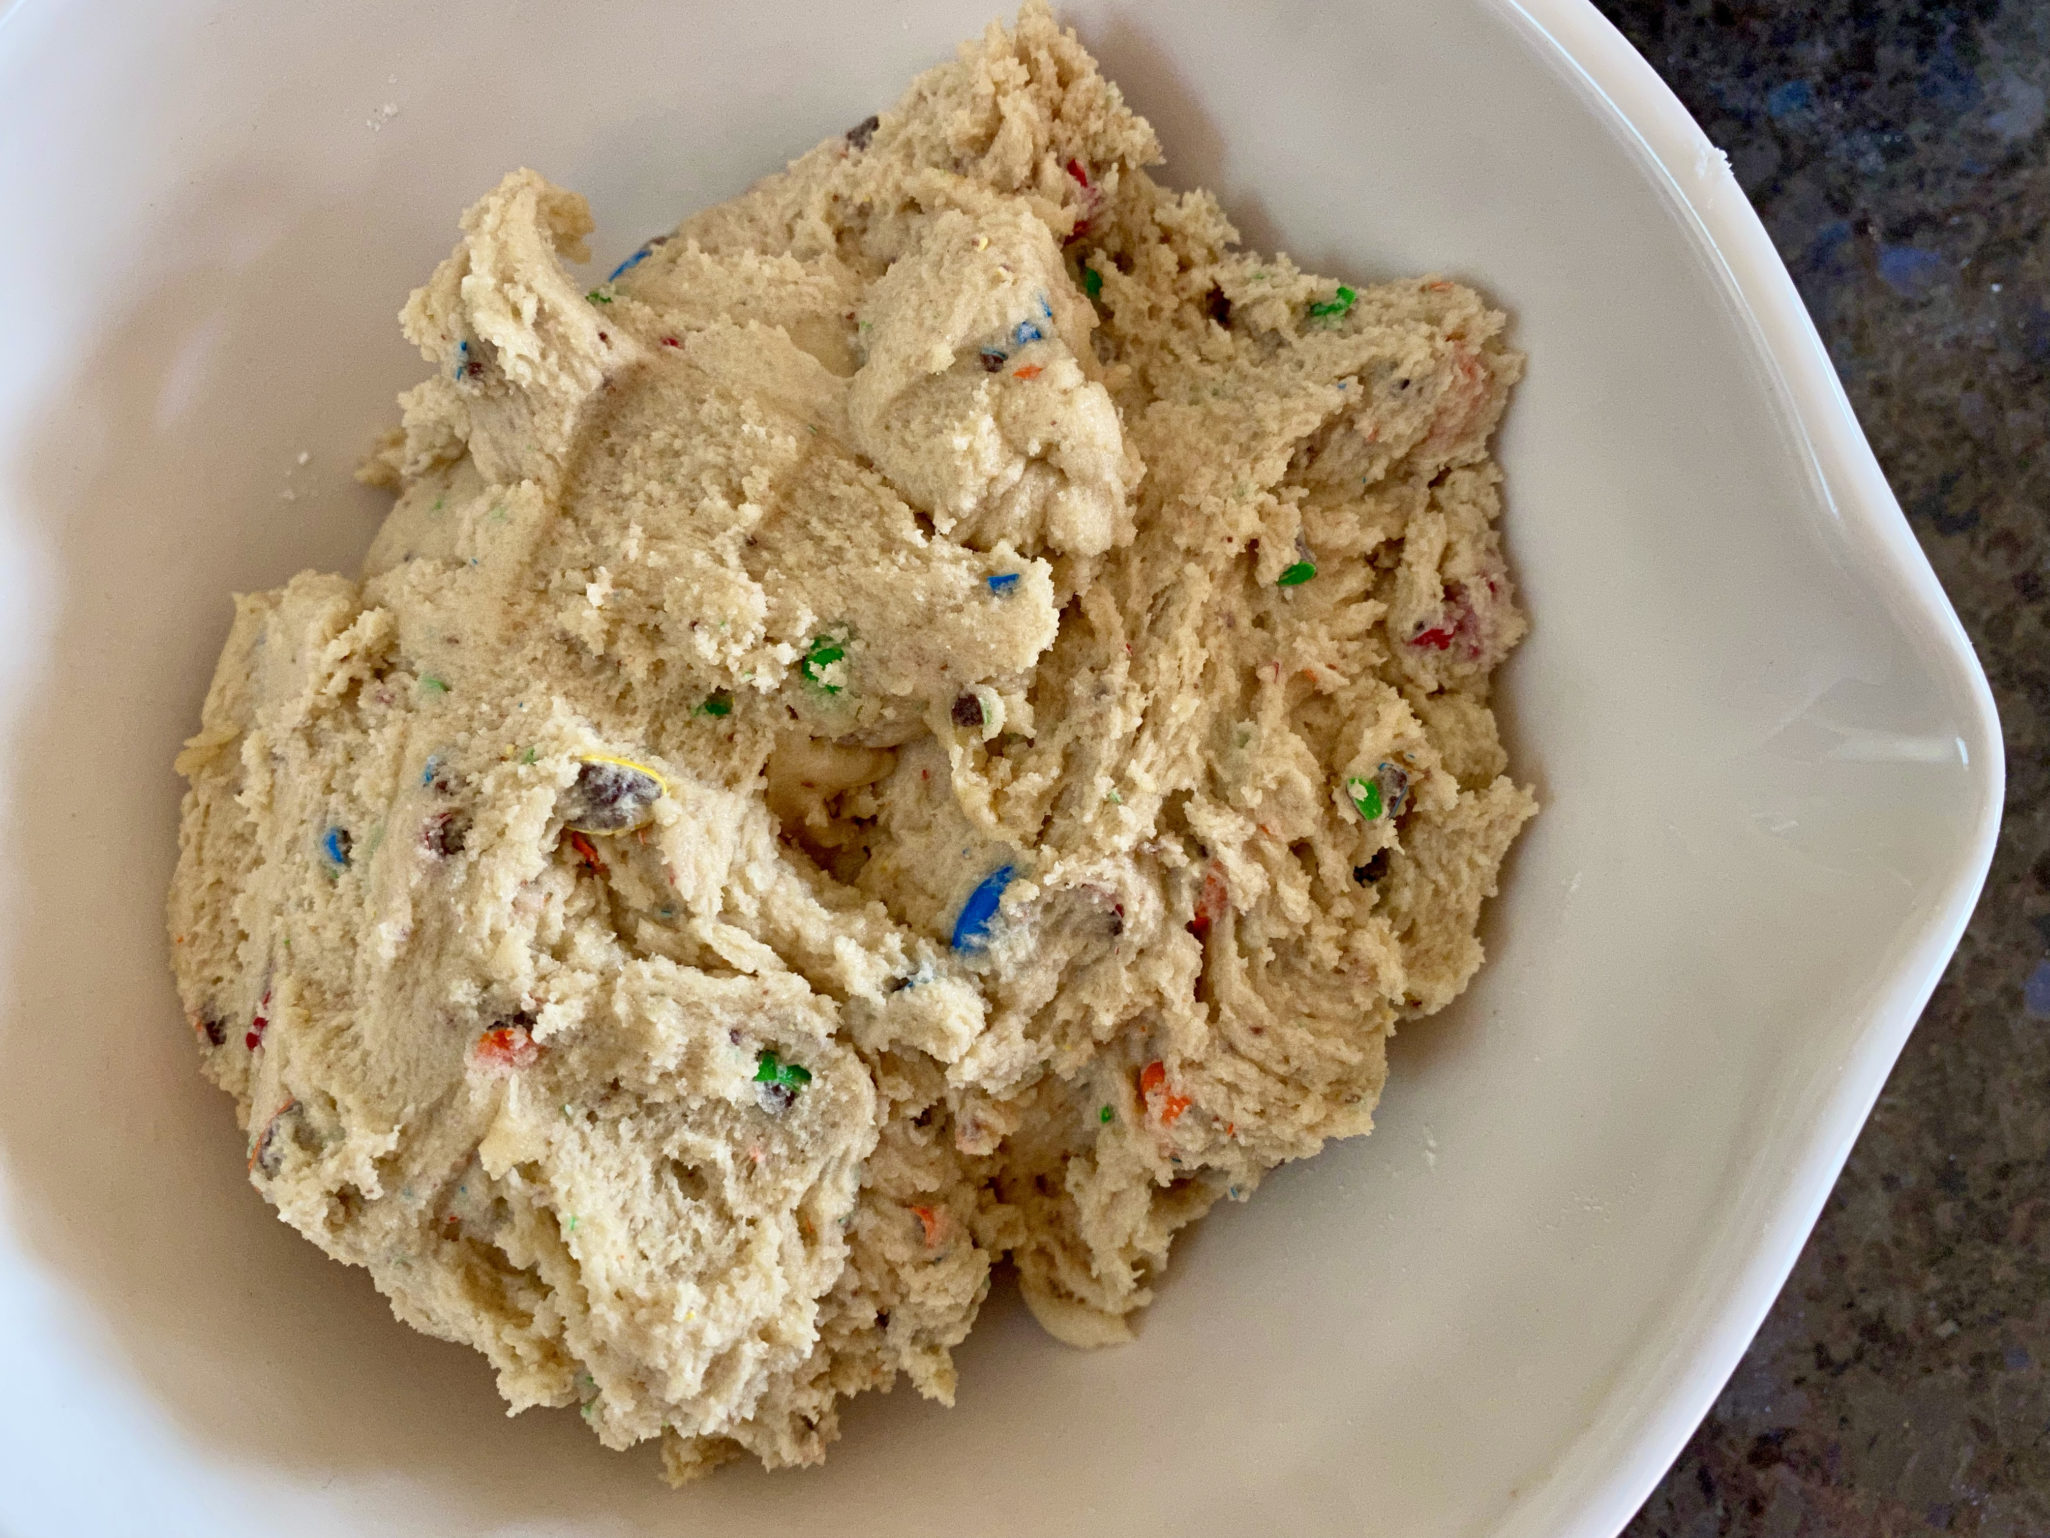
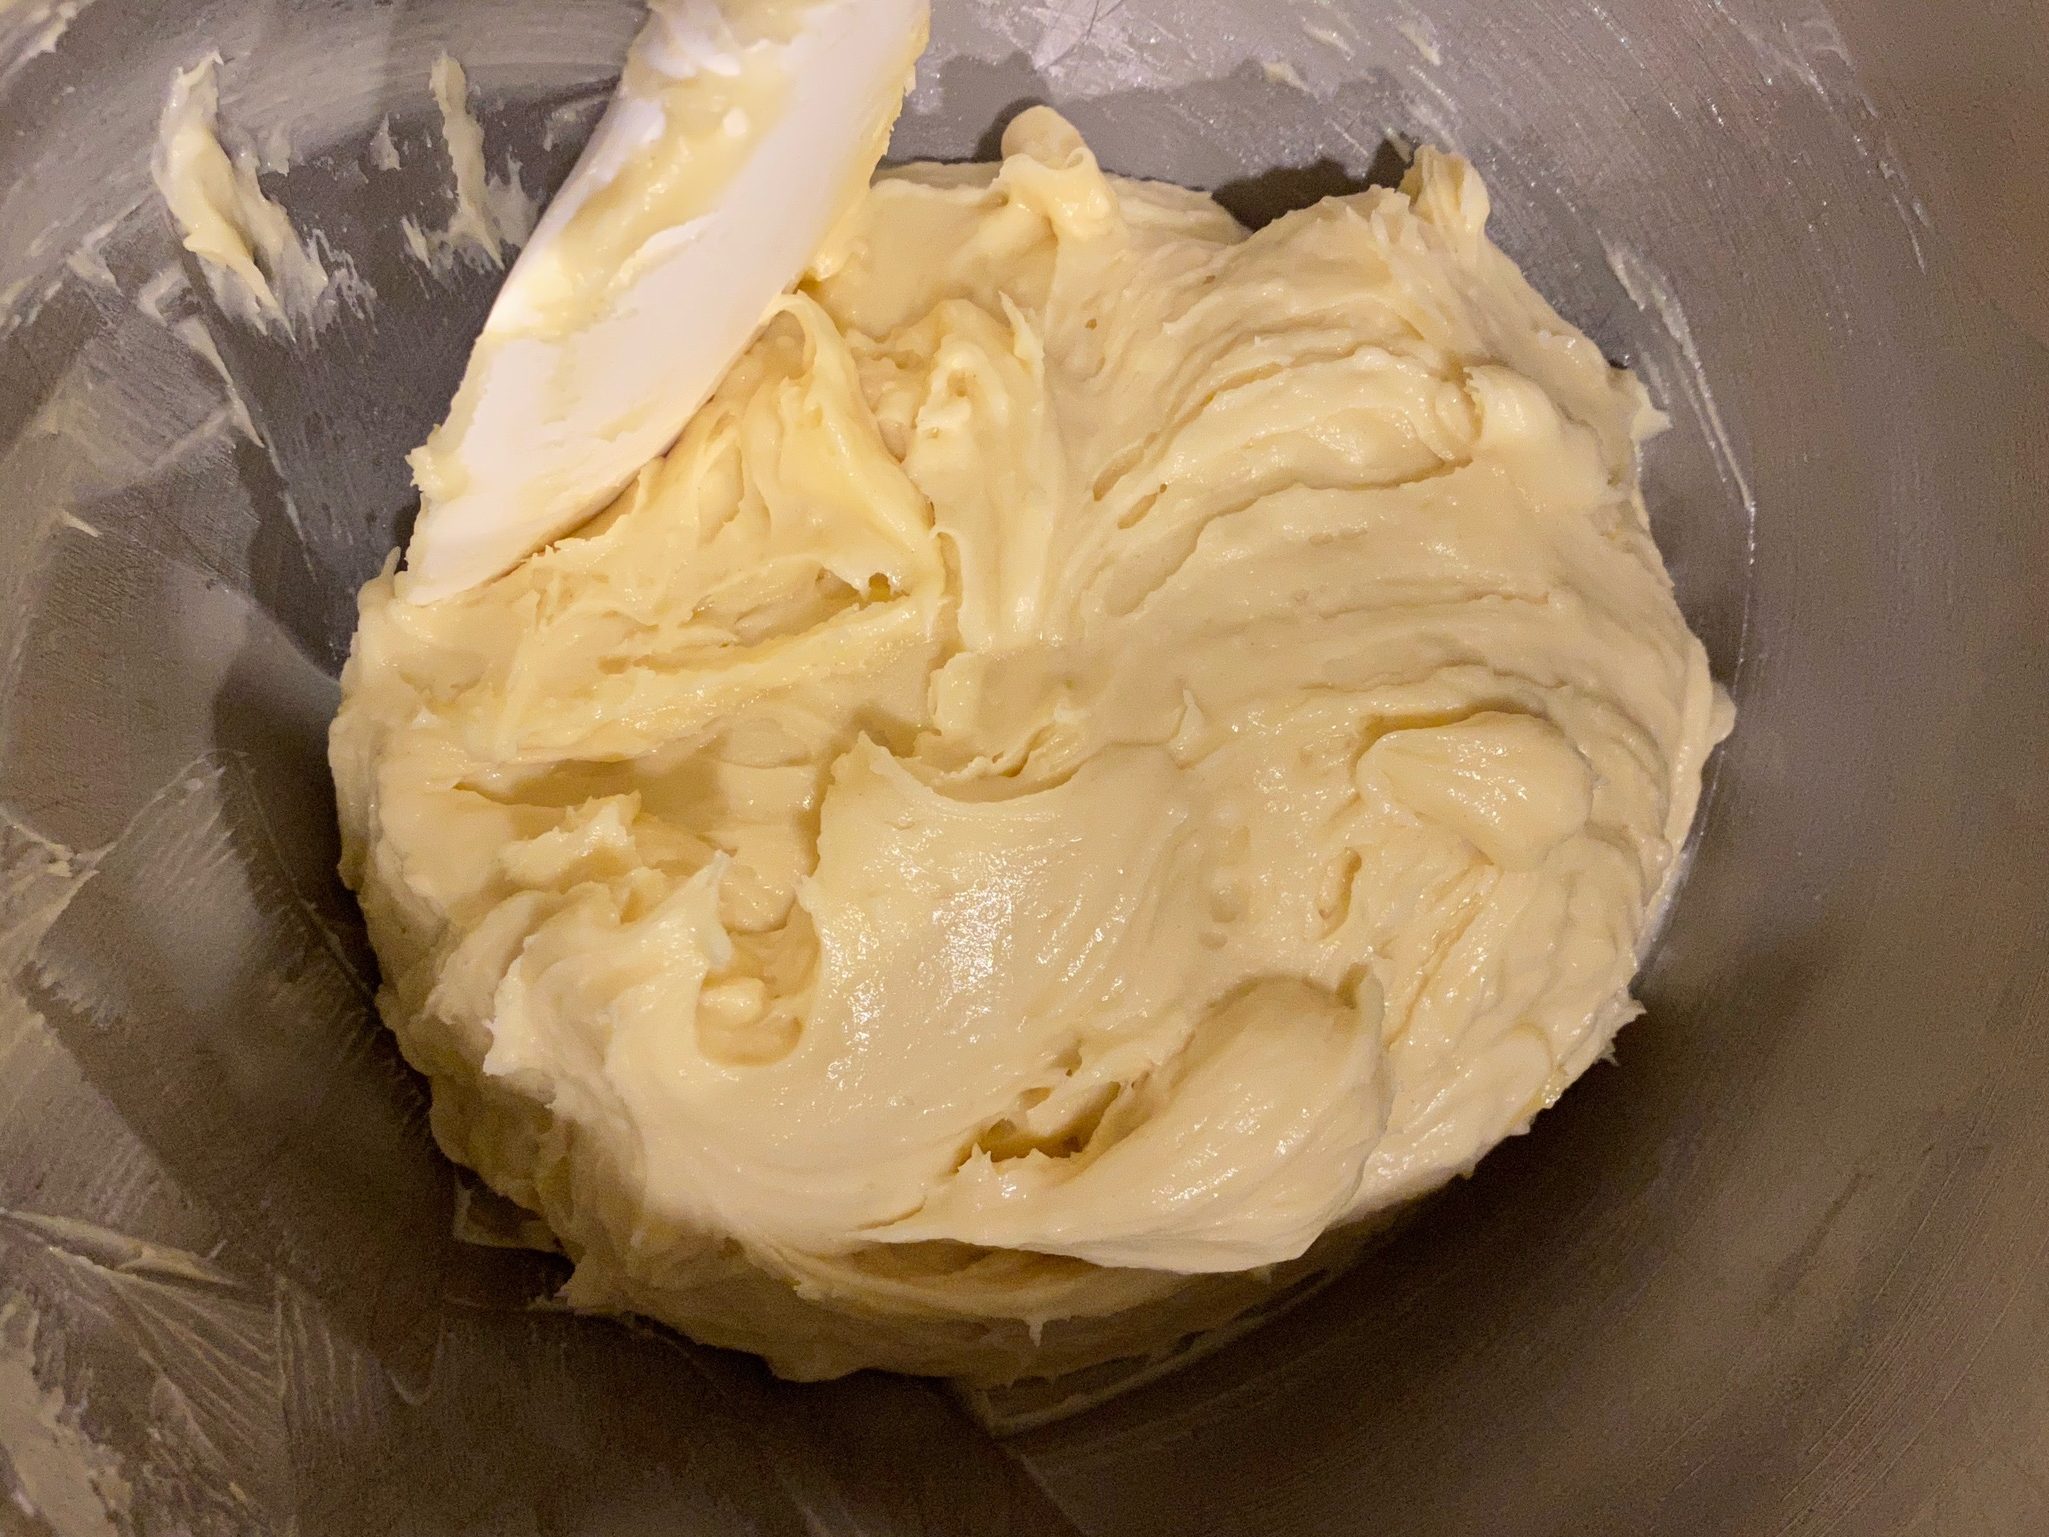
The cookies can be made with one bowl, whisk, and spatula (or wooden spoon) with the caveat that you start with soft butter (not melted) butter.  If you have a thermometer, it’s around 65-68 degrees.  You will also need some arm power as the recipe calls for beating the mixture for one minute to smooth and fluffy.  One minute, whisking a dough by hand is pretty long. Opt for your mixer unless you haven’t done your workout for the day.

Geeking Out

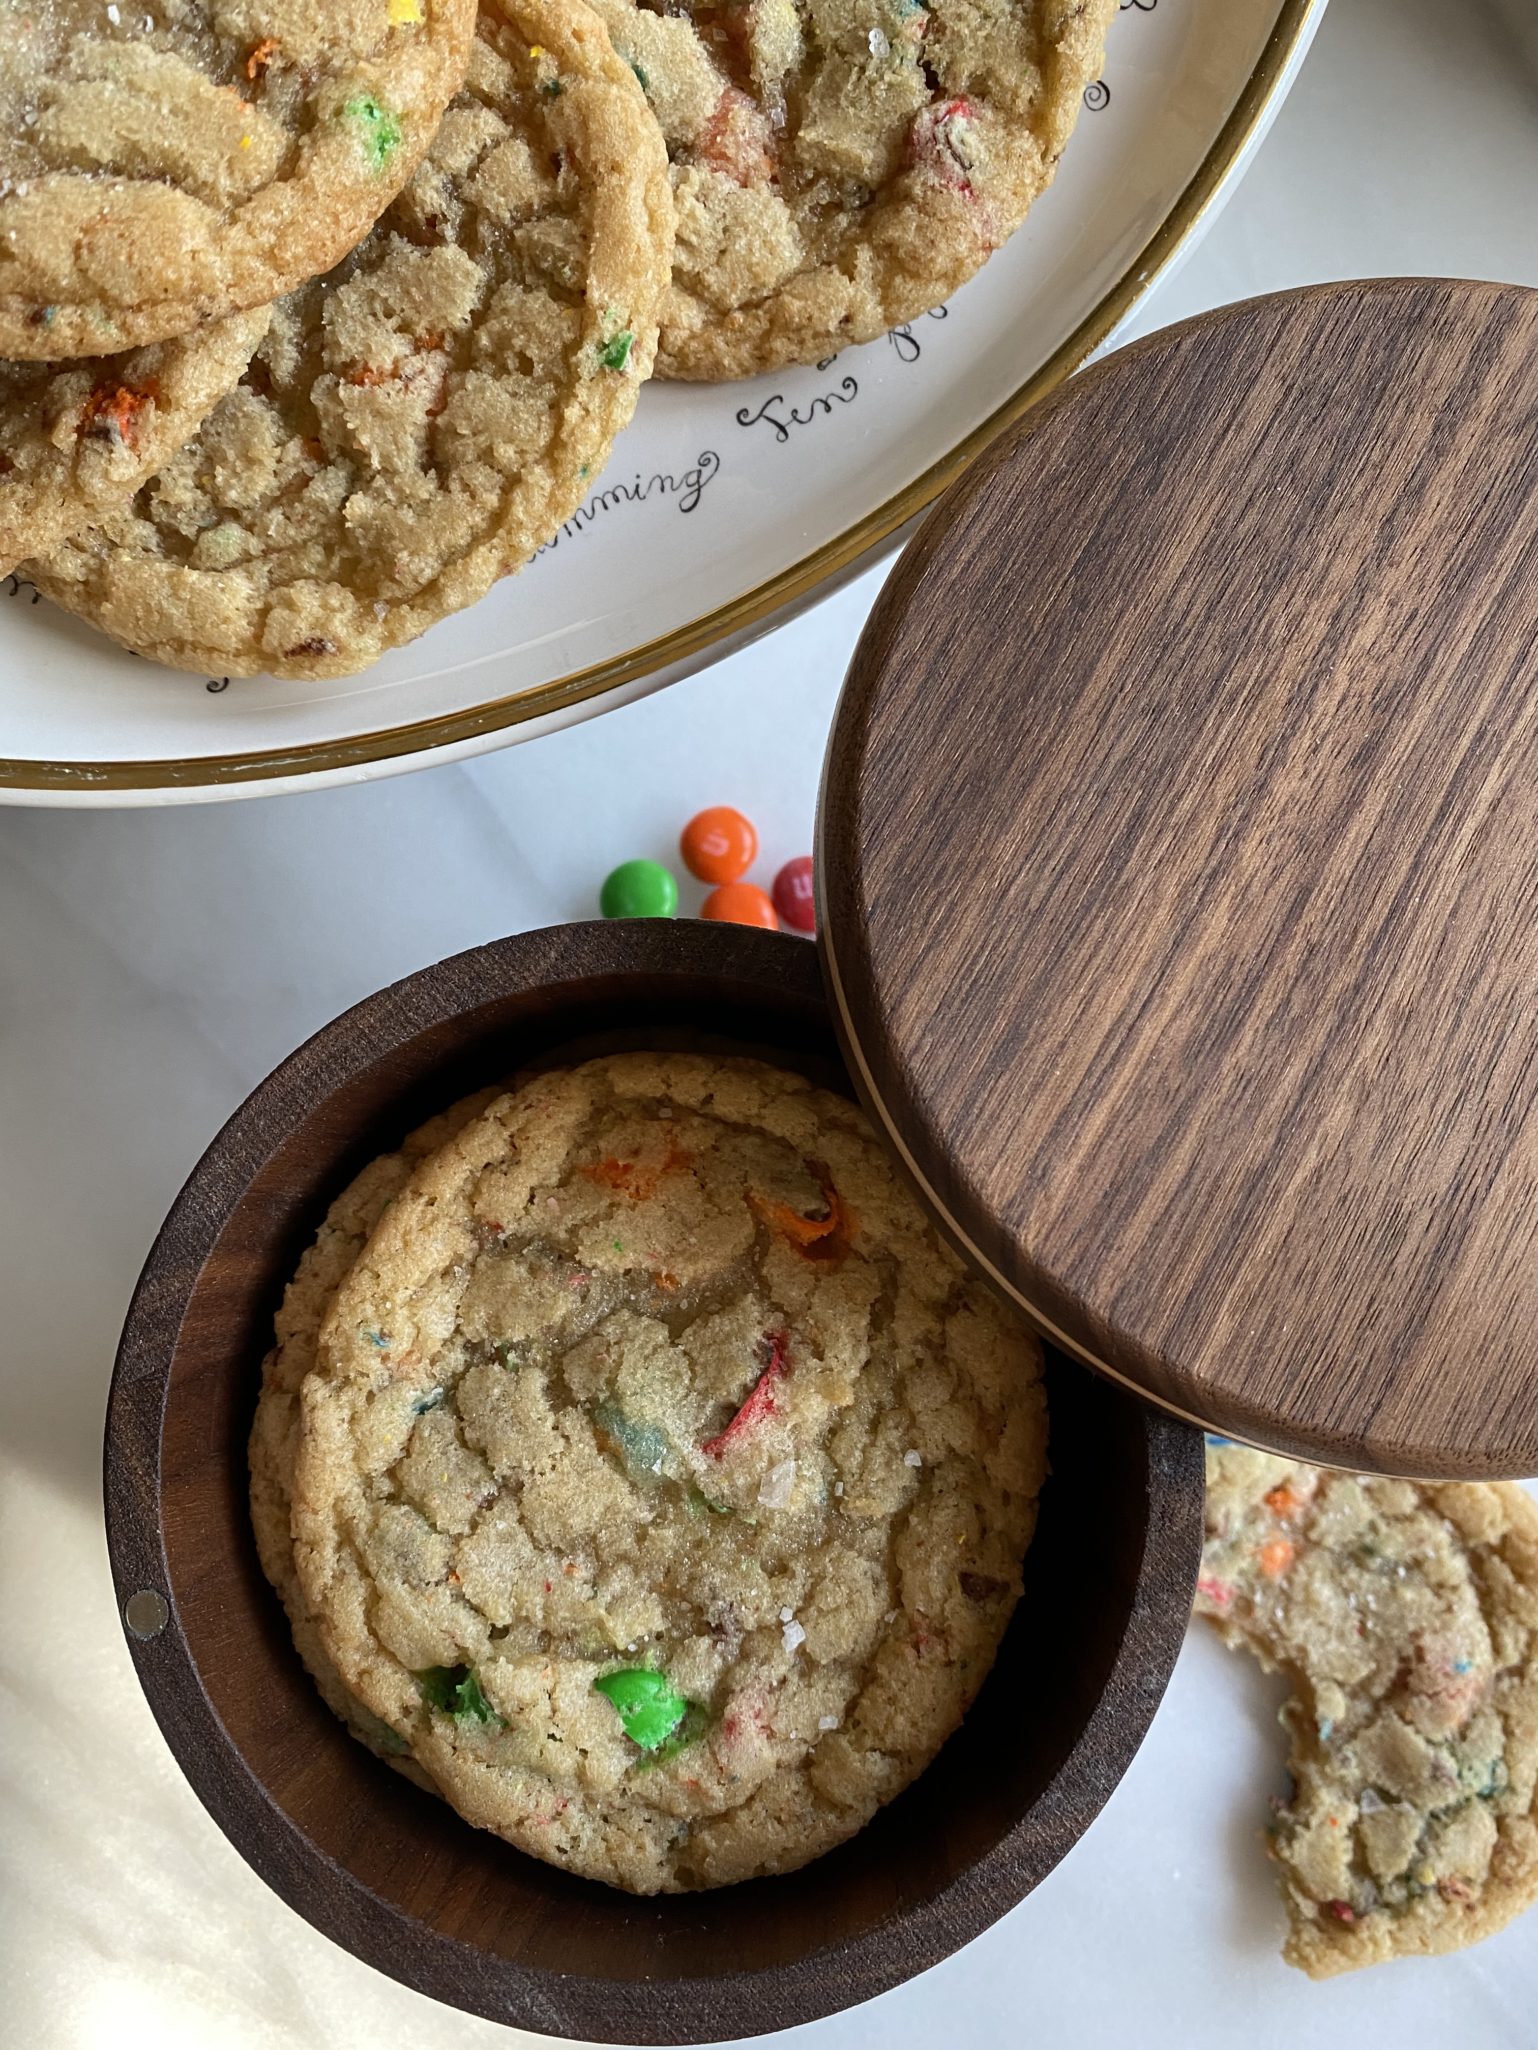
The baked cookies ended up with crevices that weren’t apparent in Eric’s batch.  I have a theory, I chilled my dough overnight which meant the dough was pretty cold, the butter had solidified and the dough had additional time to hydrate.  The chilled dough is a tad more resistant to spreading and collapsing thus creating fissures.  Here’s a great geek article on chilling your dough from Buzz Feed.  Next time I’ll bake them off with just a short chilling time to see if they don’t develop cracks.  I don’t think it impacted the flavor or texture too much.  If you try different M&Ms please leave a comment! I think it would be amazing with peanut M&Ms or almond M&Ms.

I like these, I LOVE the Grocery Store Cookie. I’ll be making both for the holidays.

So, make these cookies, pour yourself an ice-cold glass of milk, grab a cookie and enjoy the holidays.  I’m going to watch BIG, the perfect movie to go with these cookies!

M&M Cookies by Eric Kim

Straight back to childhood, M7M Cookies, are chewy and a delight to eat.
Course cookies
Cuisine American
Keyword Almond Cookies, ERic KIm, M&M Cookies, NYTcooking
Prep Time 20 minutes
Cook Time 15 minutes

Ingredients

  • ½ cup (115 grams) unsalted butter very soft
  • 1 cup (200 grams) granulated sugar
  • ¼ packed cup (57 grams )dark brown sugar
  • 1 large egg at room temperature
  • 1 tablespoon vanilla extract
  • 1 teaspoon kosher salt Diamond Crystal or ¾ teaspoon coarse kosher salt
  • ¼ teaspoon baking soda
  • 1 ½ cups (185 grams) all-purpose flour
  • ½ cup (96 grams) M&M’s

Instructions

  • Heat the oven to 350 degrees and line 2 large sheet pans with parchment.
  • In a large bowl, whisk together the butter, sugars, egg, vanilla and salt by hand until smooth and fluffy, at least 1 minute.
    Whisk in the baking soda, then switch to a rubber spatula or wooden spoon. Add the flour, then carefully and coarsely chop the M&M's, and add them, too. Gently stir to combine. Place the bowl in the refrigerator while you wait for the oven to finish heating.
  • Using two spoons or a cookie scoop, plop out 2-tablespoon/50-gram rounds spaced a couple of inches apart on the sheet pans. (You should get about 8 cookies per pan.) Bake until lightly golden at the edges, 10 to 12 minutes. Let cool completely on the sheet pan; they will continue to cook as they sit.

Notes

If you really want to use your ixer.  The key is not to overmix.  On a Kitchen-aid when making cookies I rarely go above setting 4 (medium) when mixing cookie dough.  YOu don't need turbo which would increase the chance of overbeating.
YOu might want to fold in the flour and M&Ms to avoid overmixing.  If not, set mixer to stir and mix until you don't see any flour and stop.  Finish it off with a spatula.
Grocery Store Cookies! Sprinkle a Little Holiday Cheer

Grocery Store Cookies! Sprinkle a Little Holiday Cheer

My favorite holiday cookie of the season is Eric Kim’s  (check out his site, wonderful essays,  beautiful writing) Lofthouse Style Grocery Store Cookie.  It’s surprising since I am not a fan of those ubiquitous cookies with the toothachingly sweet, artificial tasting frosting and eye-popping sprinkles.  But his homemade rendition looked so appealing, I had to try them.

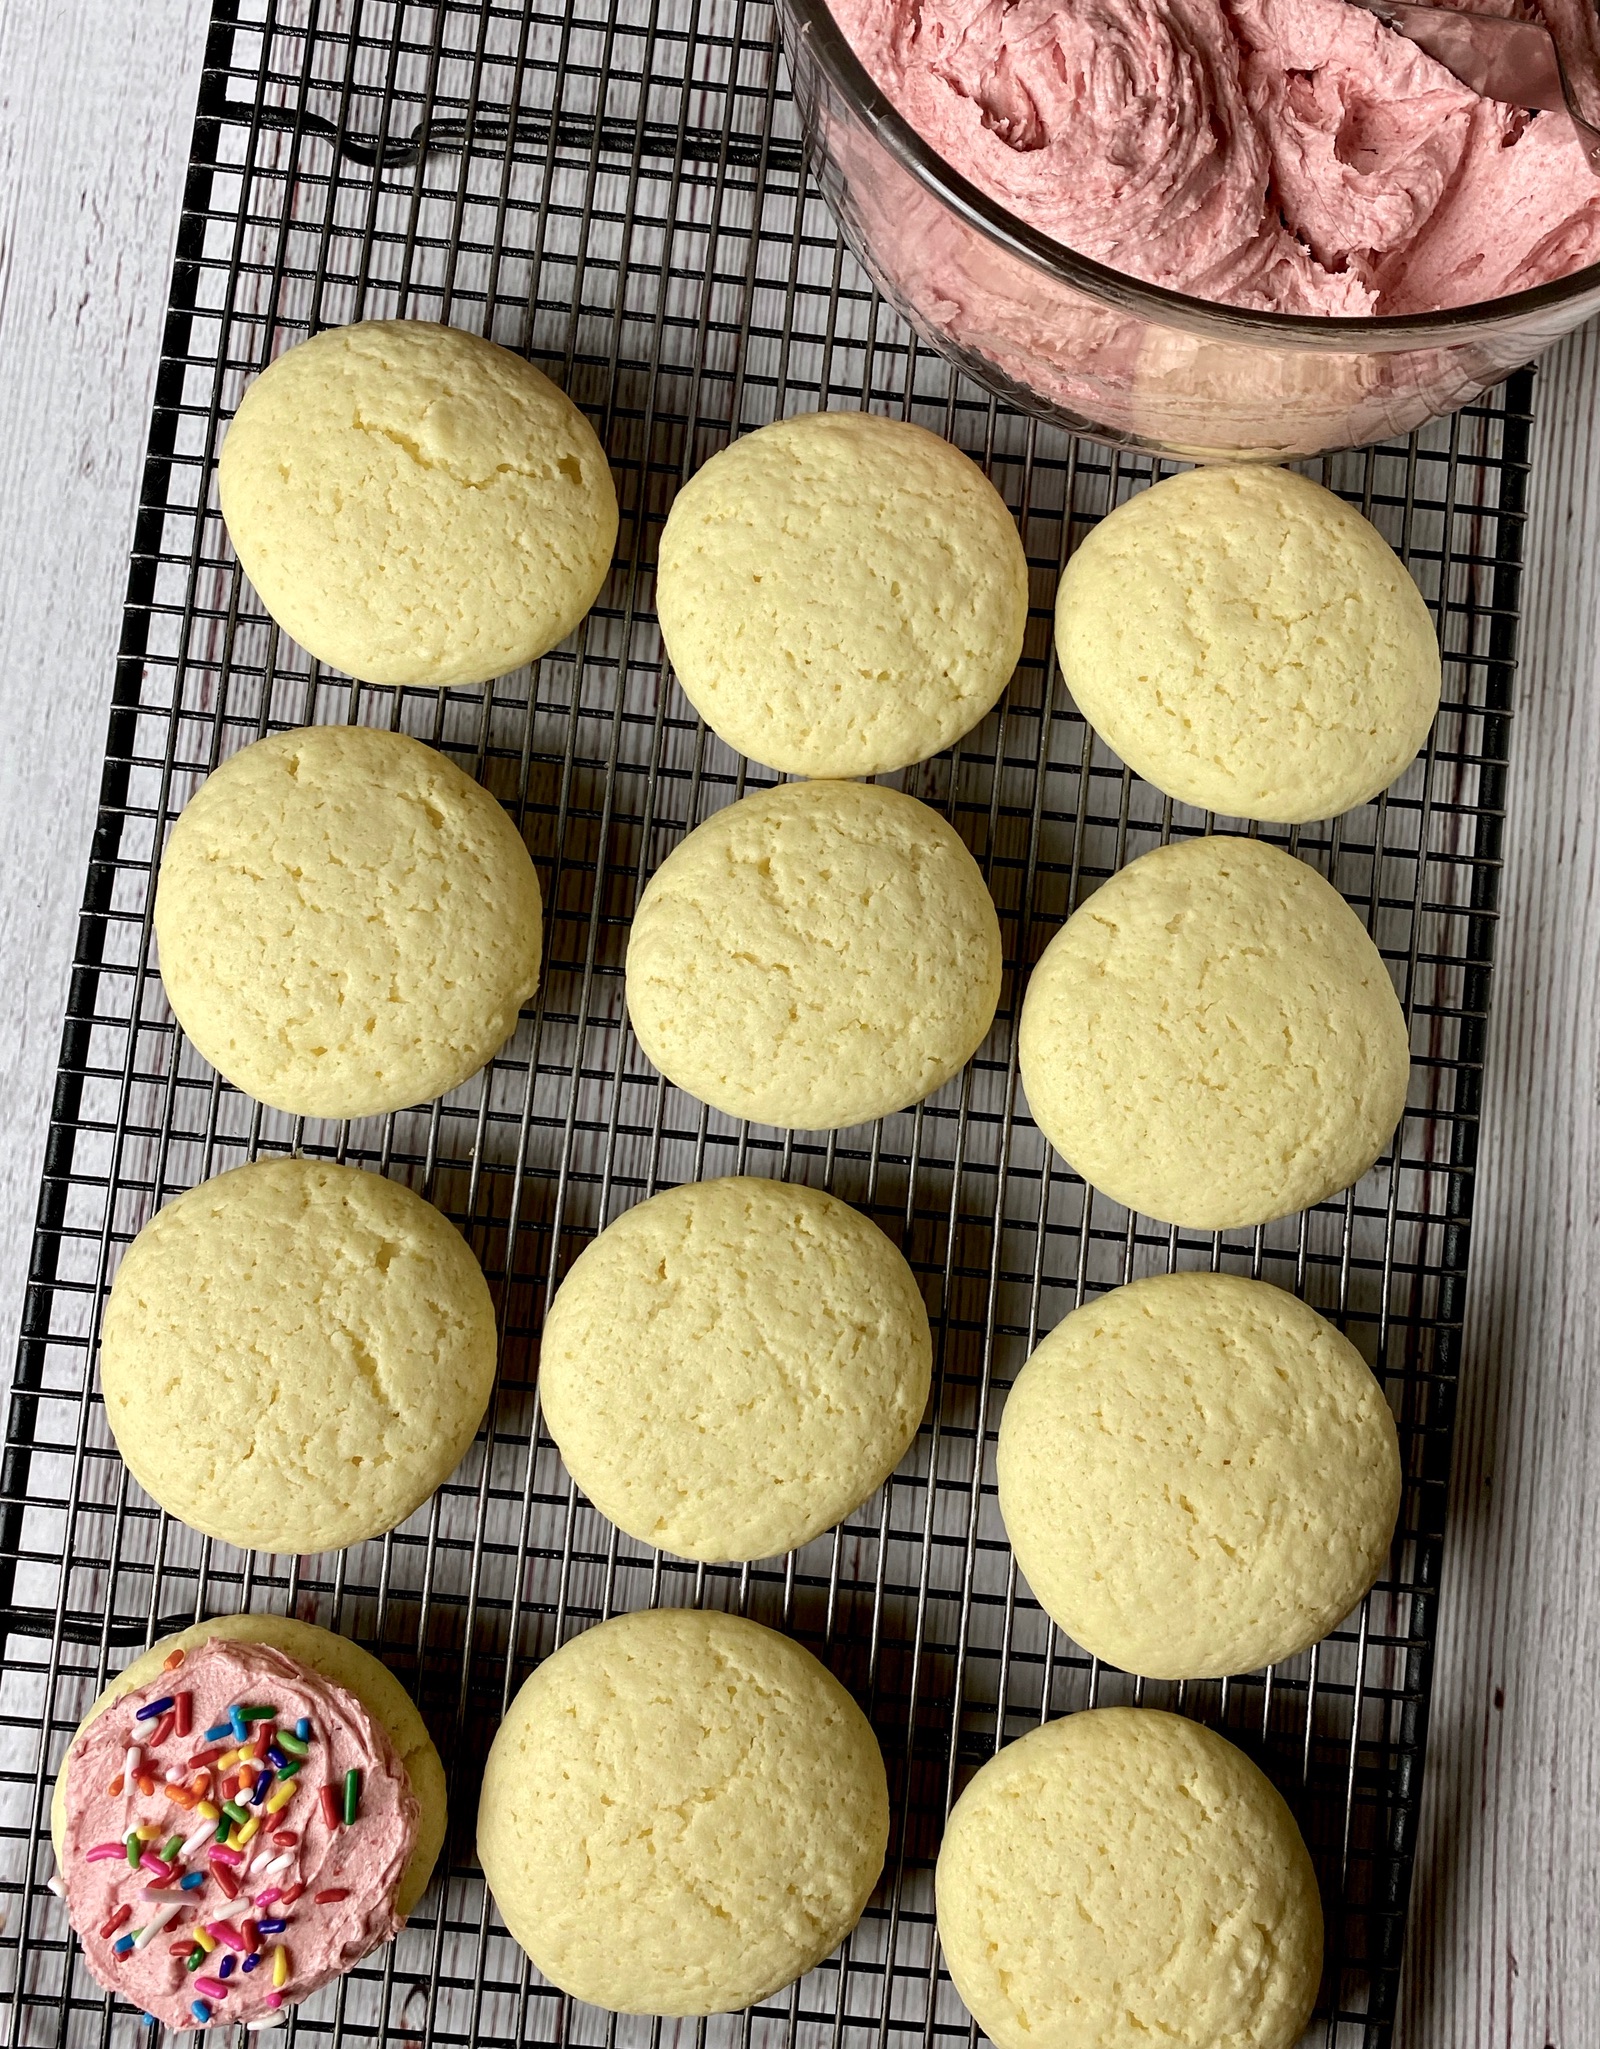
Eric’s homage to the grocery store cookies is part of NYTcooking’s week-long video series on Holiday Cookies.  He takes the concept of the grocery store cookie and creates a small-batch, no preservatives, all-butter, cream cheese, tender cakey-cookie topped with a sweet, slightly tart raspberry buttercream.  The only resemblance to the supermarket cookie is the sprinkles on top!

These cookies are simply DIVINE

The directions are straight forward and if your ingredients are at room temperature, a bowl and a wooden spoon are all you need to make these cookies. How easy is that?  But you can be lazy like me and use your stand mixer, especially for the frosting.

Though hand mixing the dough is very doable, if time is short, go ahead and bust out your Kitchen Aid mixer.  Combine cake flour and baking powder in a small bowl and set aside.  Cream butter, cream cheese, salt, and sugar at medium speed until fluffy.  Add the eggs and vanilla extract (yes, 1 tablespoon) and beat mixture on medium for approximately 1 minute to aerate and incorporate sugar.  Reduce mixer speed to stir or low setting and add flour mixture.  Mix just until flour is incorporated.  The dough will be very very soft. Toss the bowl into the fridge for 15 minutes to chill the dough so it is easier to scoop.

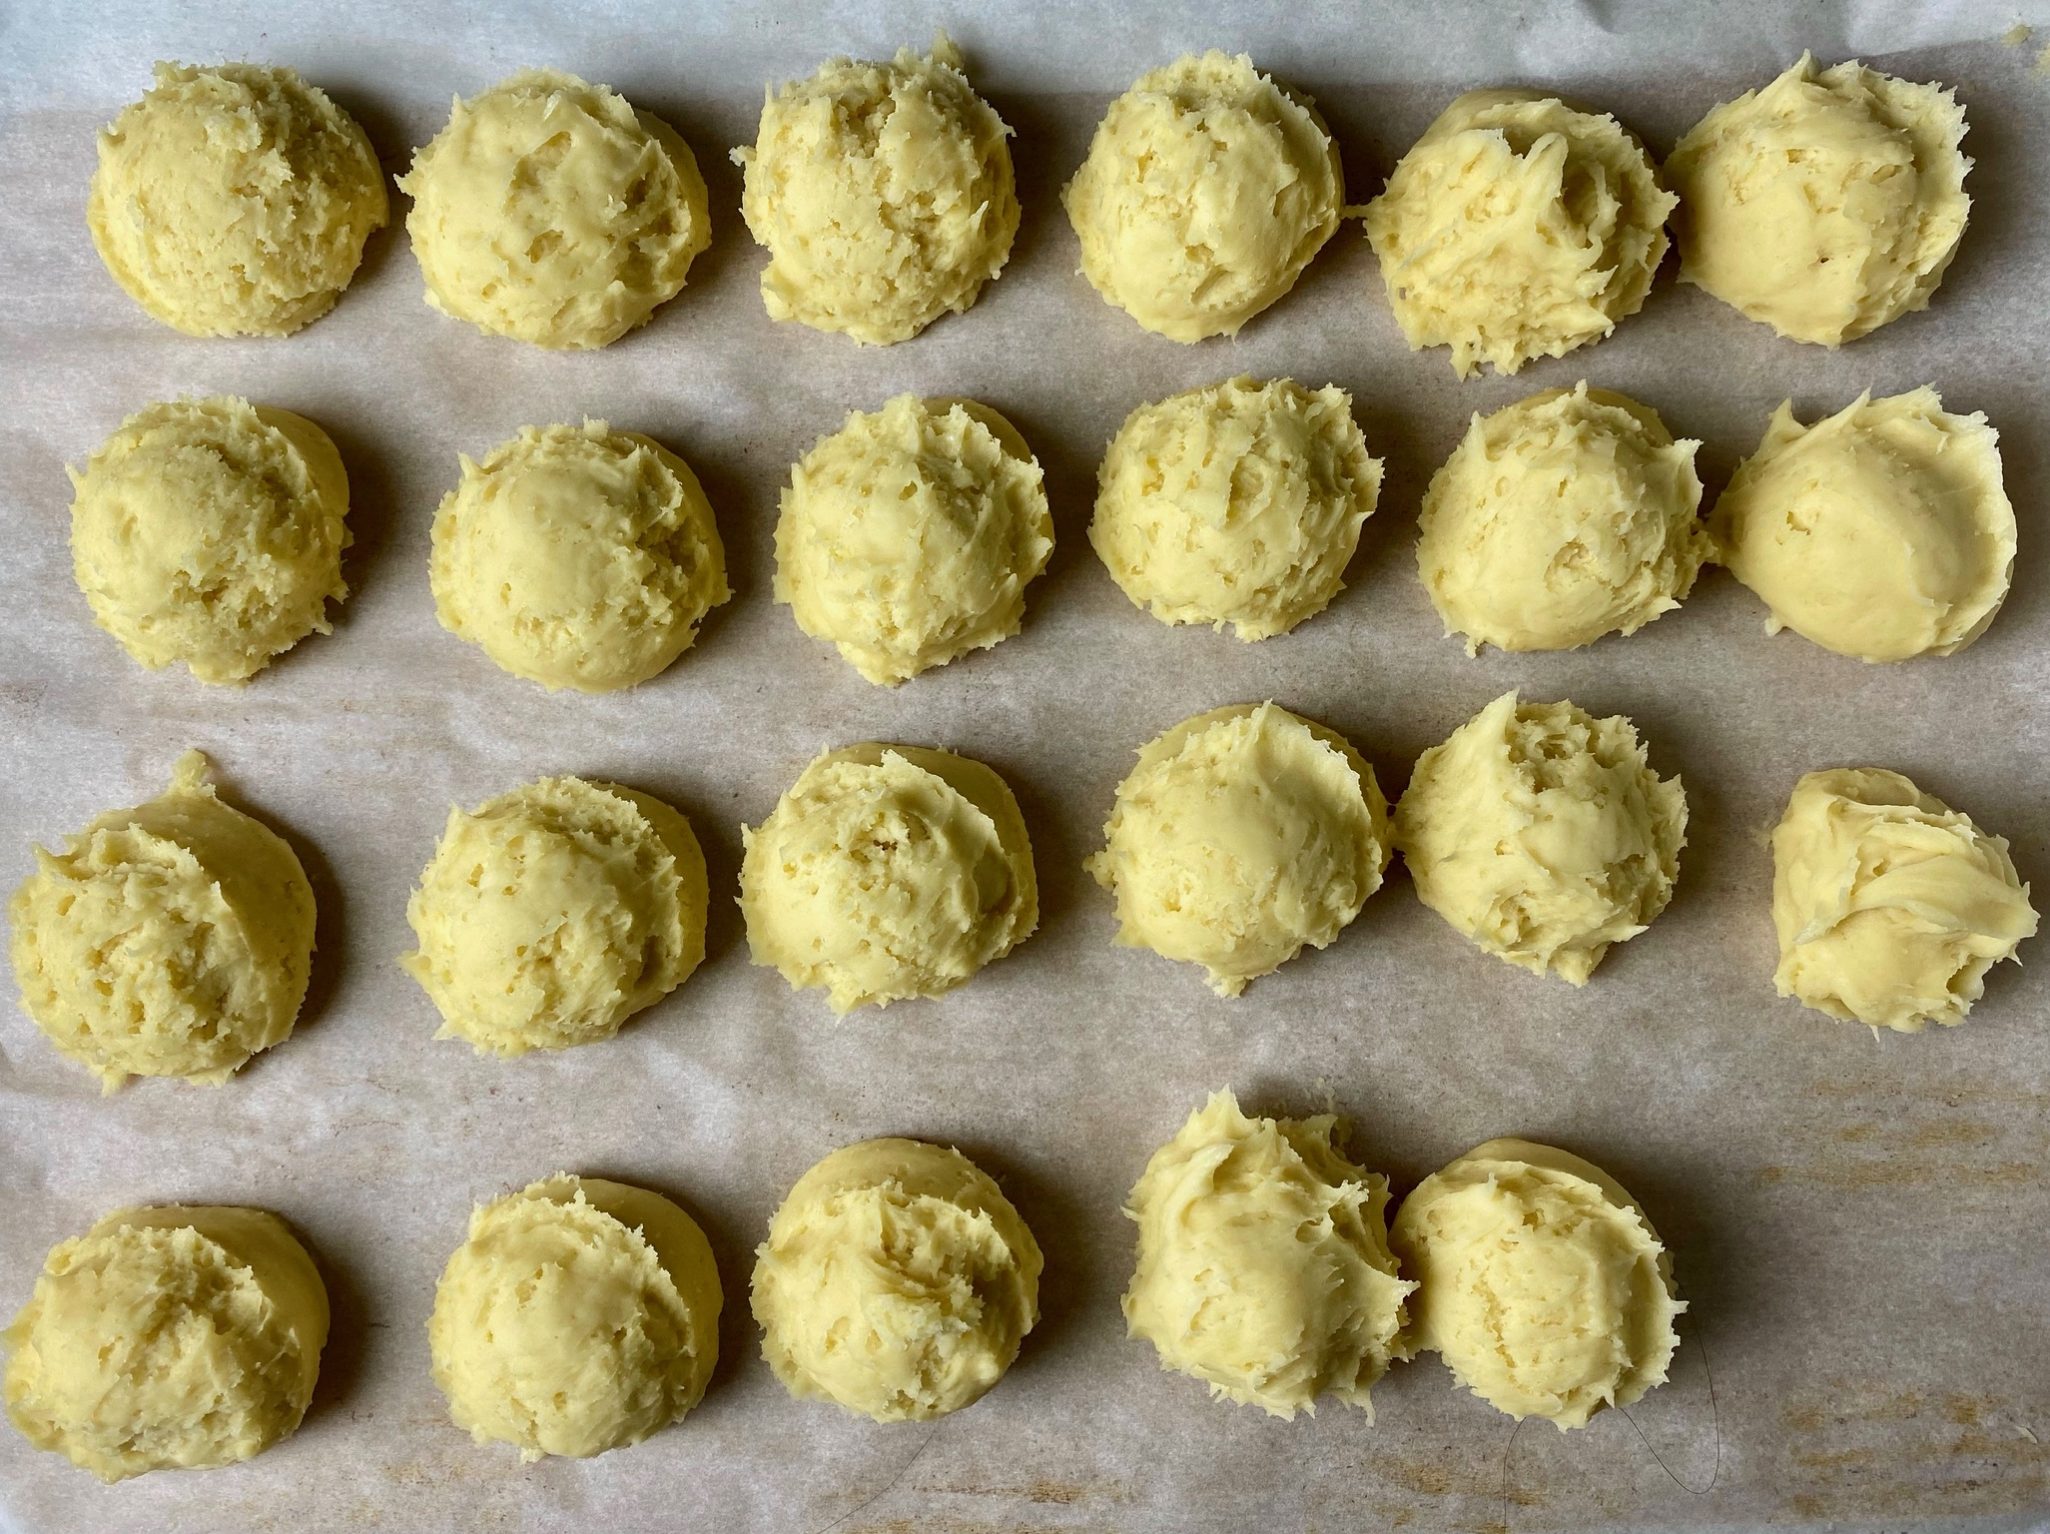
Use a two-tablespoon ice cream scoop to measure out the dough.  Scoop all of the dough and place it on a pan that will fit in your freezer.  Place the pan in the freezer to chill the dough (min 10-15 minutes).  Do not skip this step, makes the dough much easier to work with, keeps it from spreading, and gives the flavors time to meld.

Frosting Goodness

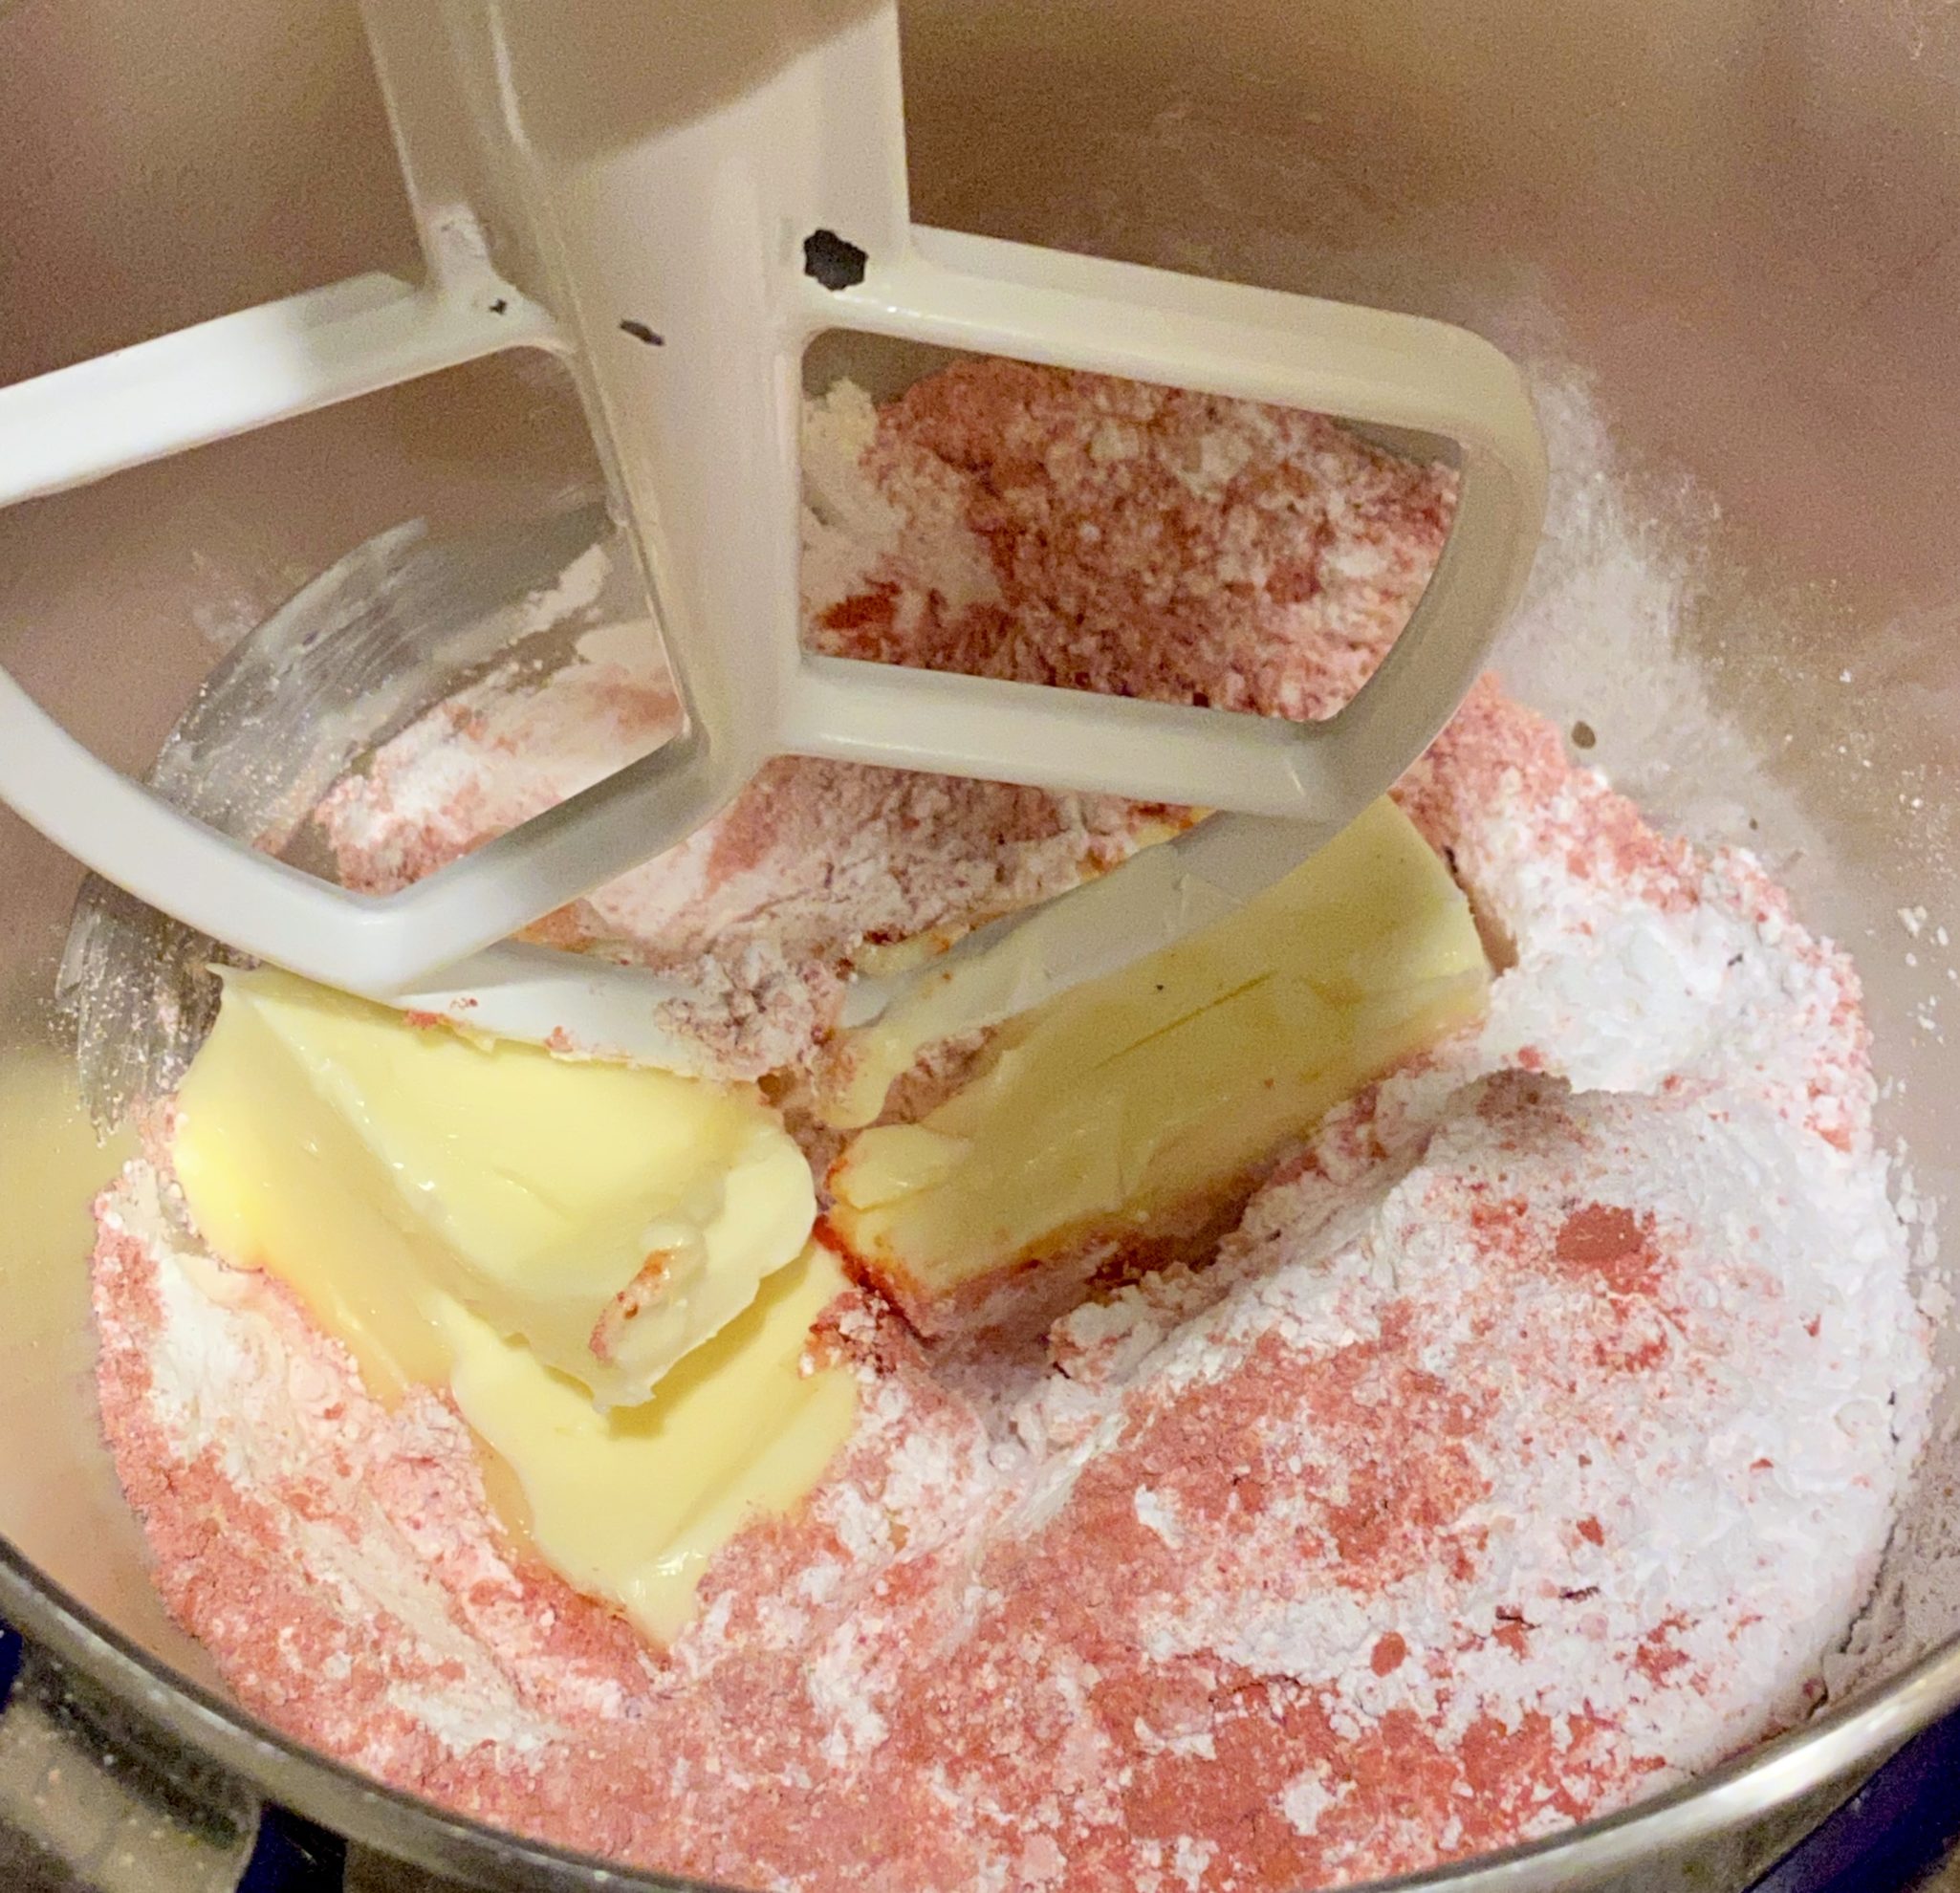
While the dough is in the freezer, make the frosting.  Freeze-dried fruit is the magic that provides both color and flavor to the frosting- it is this tweak that provides the spark in this cookie.  The recipe calls for raspberry but strawberry, blueberry or mango freeze-dried fruit would work. I like raspberry not just for flavor but for color, it gives the frosting a hot pink happy glow.  Freeze-dried fruit can be found at Trader Joe’s, Whole Foods, and Target.  Grind the fruit into a powder in a mini food processor or place in a Ziploc bag and use a rolling pin to pulverize it.  Sift to strain the seeds out of powder.  The frosting is sweet, tart, and fruity, just delightful.

Combine the softened butter, fruit, vanilla, salt, and sugar in a mixing bowl.  Blend on low speed until the ingredients are mixed together then increase the speed to high and beat until light and fluffy, a couple of minutes, and about double in volume.  Set aside.

Take the cookies out of the freezer and roll them into balls (eminently doable thanks to freezing). Place each ball on a parchment-lined cookie sheet 2-3 inches apart.  If the dough gets too soft or sticky to work with,  return it to the freezer.  Flatten each to approximately two inches in diameter and one-inch thickness.  Bake 13 to 15 minutes or just until the edge starts to color, don’t over bake.  You will be rewarded with a tender, buttery, light cakey-cookie with a wonderful vanilla punch.

The Finale:  Cookie + Hot Pink Frosting x Sprinkles = Happy

Swirl a generous amount of the frosting on each cookie and then SPRINKLE-FY each one.  These cookies are so indescribably good, put them on your BAKE THESE COOKIES list now. 

Ladies and Gentlemen, I give you the 2020 Holiday Cookie Box!

Eric Kim's Grocery Store Cookie

Remember Lofthouse Cookies from the Supermarkets? Every little league game, school bake sale featured those sprinkle adorned, frosting laden, cakey cookies in the plastic trays. Imagine a homemade, luscious, delicious, version.
Course cookies
Cuisine American
Keyword Grocery Store Cookie, Lofthouse Cookie, sprinkles, Supermarket
Prep Time 30 minutes
Cook Time 15 minutes

Equipment

  • Small sheet pan that will fit in your freezer I have a side by side so sadly a regular-sized cookie sheet will not fit
  • Cookie sheets
  • 2 Tablespoon Ice cream scoop #40 the size of the scoop will be on it somewhere! Sometimes on the handle or the rim of the scoop, even on the little thing-a-ma-jigger that pushes the dough out of the scoop

Ingredients

Cookie

Da Dry Stuff- Combine in small bowl and set aside

  • 2 ¼ cups cake flour (285 grams)
  • 2 teaspoons baking powder

Da Wet Stuff

  • ½ cup unsalted butter (115 grams) 1 stick, at room temperature
  • 3 ounces cream cheese (85 grams) at room temperature
  • 1 cup granulated sugar (200 grams)
  • ½ teaspoon kosher salt
  • 2 large eggs at room temperature
  • 1 tablespoon vanilla extract

Frosting

  • 1 cup freeze-dried raspberries (30 grams) finely ground in a food processor or spice grinder
  • 1 cup unsalted butter (225 grams) 2 sticks, at room temperature
  • 2 cups confectioners’ sugar (245 grams)
  • 1 teaspoon vanilla extract
  • Pinch of kosher salt

Da Bling

  • Multi-colored Sprinkles Happy dust!

Instructions

  • Make the cookies: In a large bowl, using a spoon, cream the butter, cream cheese, sugar and salt until smooth and fluffy. Add the eggs and vanilla extract, and whisk to incorporate some air and to dissolve the sugar crystals, about 1 minute. Stir in the flour and baking powder until just incorporated.
  • Heat oven to 350 degrees and line two rimmed sheet pans with parchment paper. Using two spoons or a cookie scooper, plop out 2-tablespoon/50-gram rounds spaced a couple of inches apart. (You should get about 7 to 8 cookies per sheet pan.) Place the sheet pans in the freezer for 15 to 20 minutes until the dough is no longer sticky and easier to handle.
  • While the dough chills, make the frosting: In a fine-mesh sieve set over a medium bowl, sift the ground raspberries, using a spoon to help pass them through, until most of the ruby-red powder is in the bowl and most of the seeds are left behind in the sieve. (Discard the seeds.)
  • To the bowl, add the 1 cup butter, confectioners’ sugar, vanilla extract and salt and, with an electric hand mixer, mix on low speed until the butter absorbs the sugar. Then, turn the speed up to high and beat until the frosting doubles in size, about 2 minutes, scraping down the sides of the bowl with a rubber spatula to ensure all the ingredients are incorporated. Transfer the frosting to a small container, cover tightly, and set aside. (You should have about 2 cups of frosting.)
  • Remove the sheet pans from the freezer. Roll the chilled dough into even balls and flatten them slightly with your fingers so they’re about 2 inches wide and 1 inch high. Bake the cookies for 13 to 15 minutes, rotating the pans and switching racks halfway through, or until they no longer look wet on top, are still light in color and spring back to the touch. They will puff up and crack slightly. Let cool completely on the sheet pan. (They will continue to cook as they sit.)
  • Using a butter knife or offset spatula, frost each cooled cookie with the raspberry frosting and adorn with the sprinkles.
Thin, Crispy, Gooey, Chocolate Chip Cookies-Get It On, Bang a Pan

Thin, Crispy, Gooey, Chocolate Chip Cookies-Get It On, Bang a Pan

I have been a slouch when it comes to holiday cookies this year. LUCKY FOR ME, Jamie is home and baking up a storm…I get the difficult task of eating and posting about whatever deliciousness she has baked up.

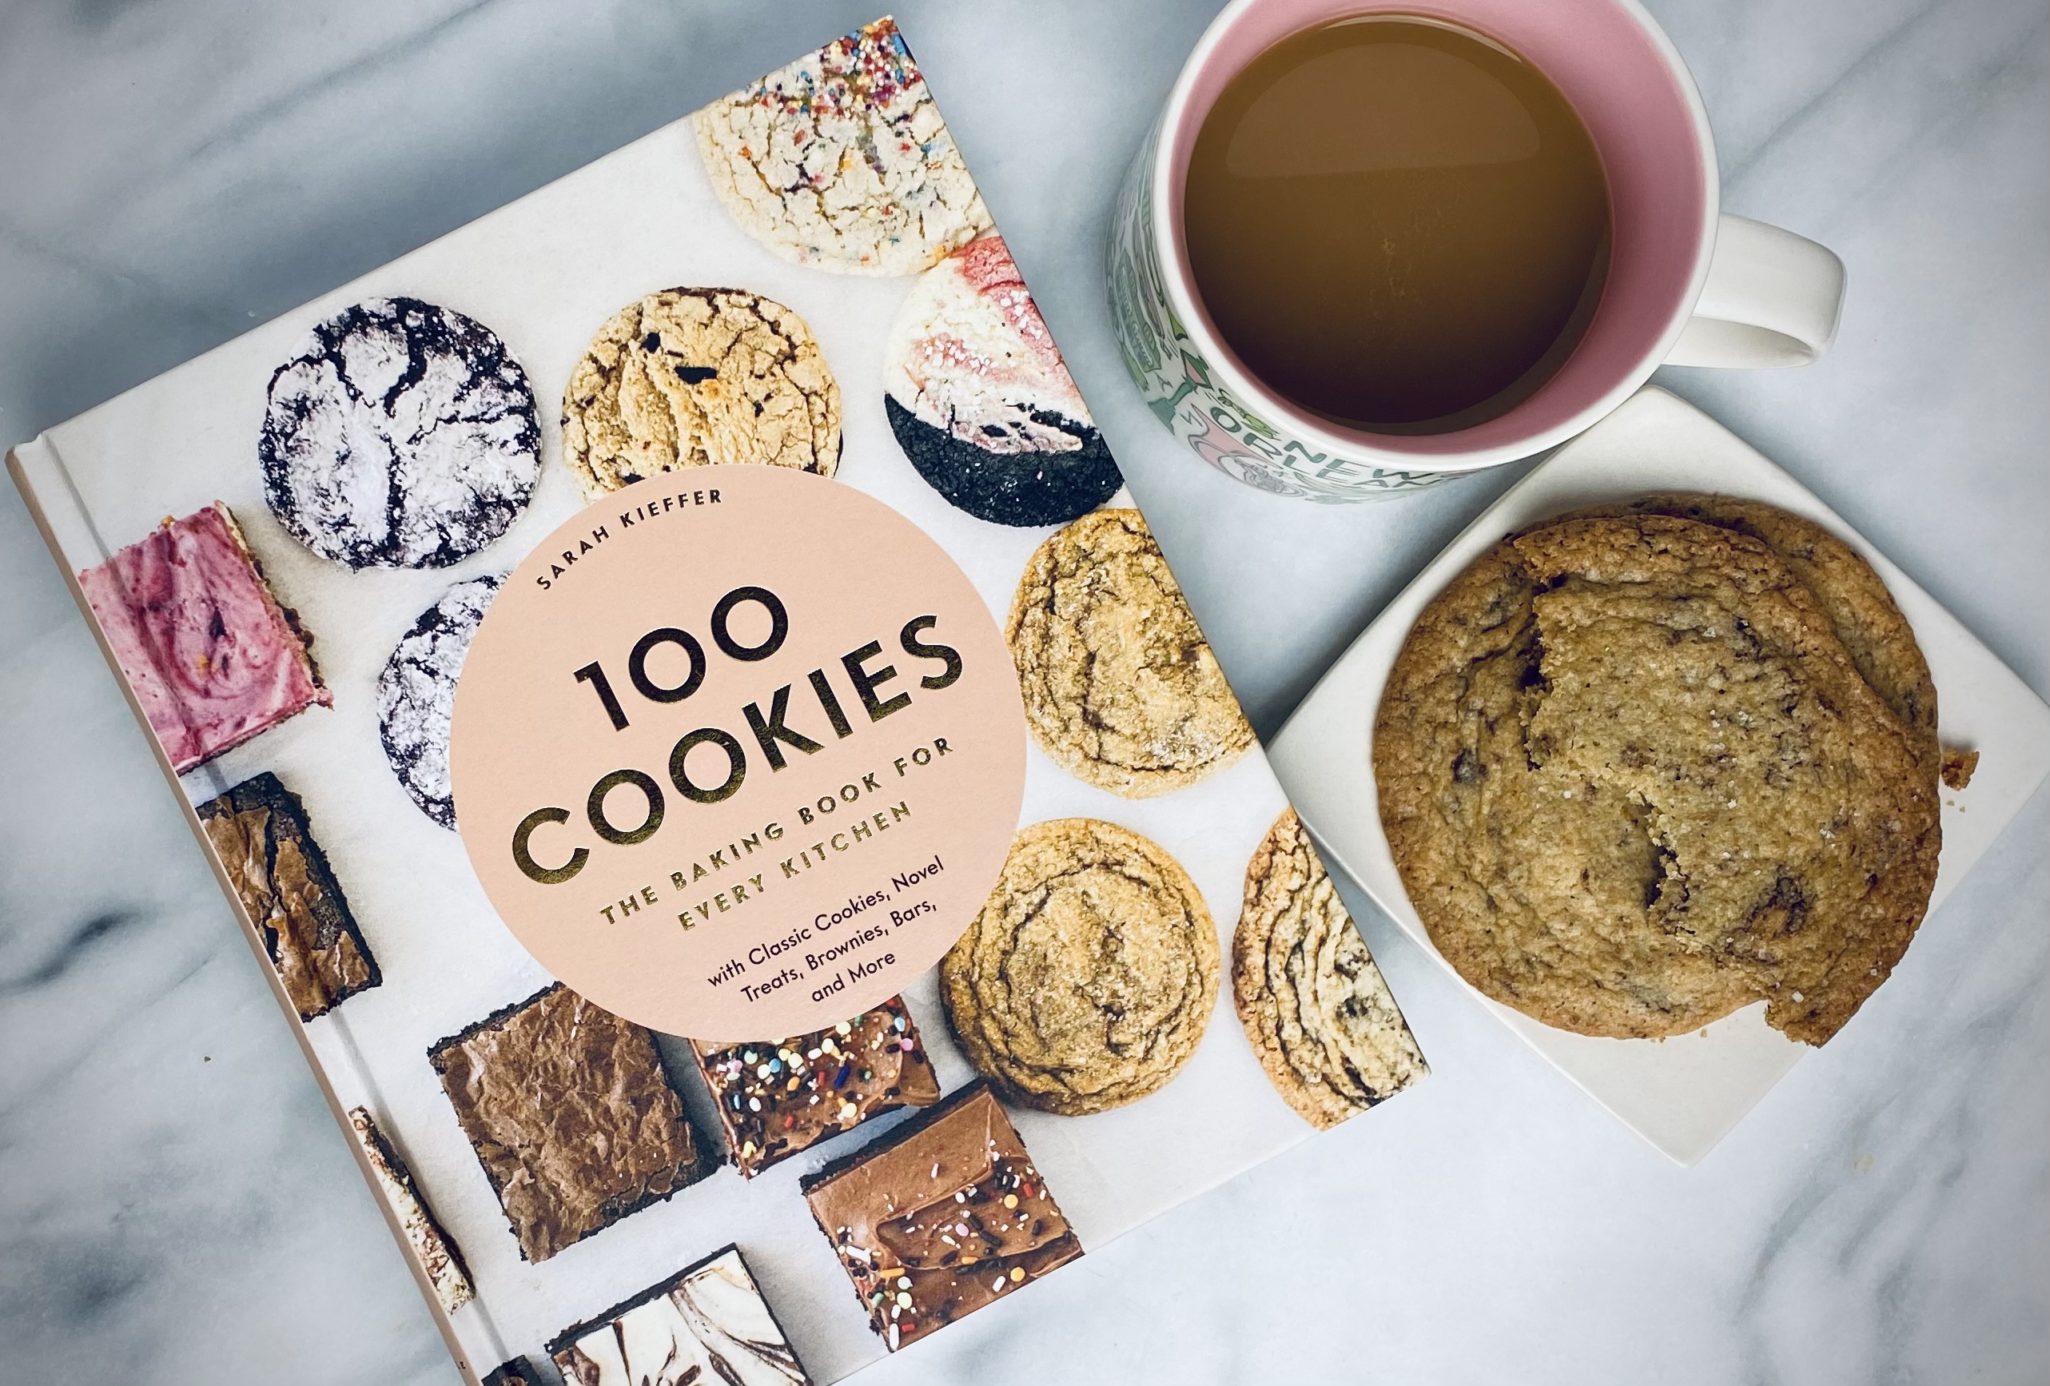
I had all this planned of course.  My copy of Sarah Kiefer’s 100 Cookies finally arrived which I then strategically left on the kitchen island in full view. Heh, heh, heh.  The book is a beauty both in content and style.

She took the bait. Flipping through the book, Jamie landed on the Neopolitan Cookies exclaimed “so making these”.   I kept nodding enthusiastically with every cookie she mentioned.  We loved the Neapolitans, buttery, chewy,  flavored with vanilla, strawberry, and cocoa.  These are definitely going in the rotation.  The Smores Bars were labor-intensive but worth the effort. Imagine a blondie base, coated with chocolate and topped with a layer of toasty homemade marshmallow fluff.

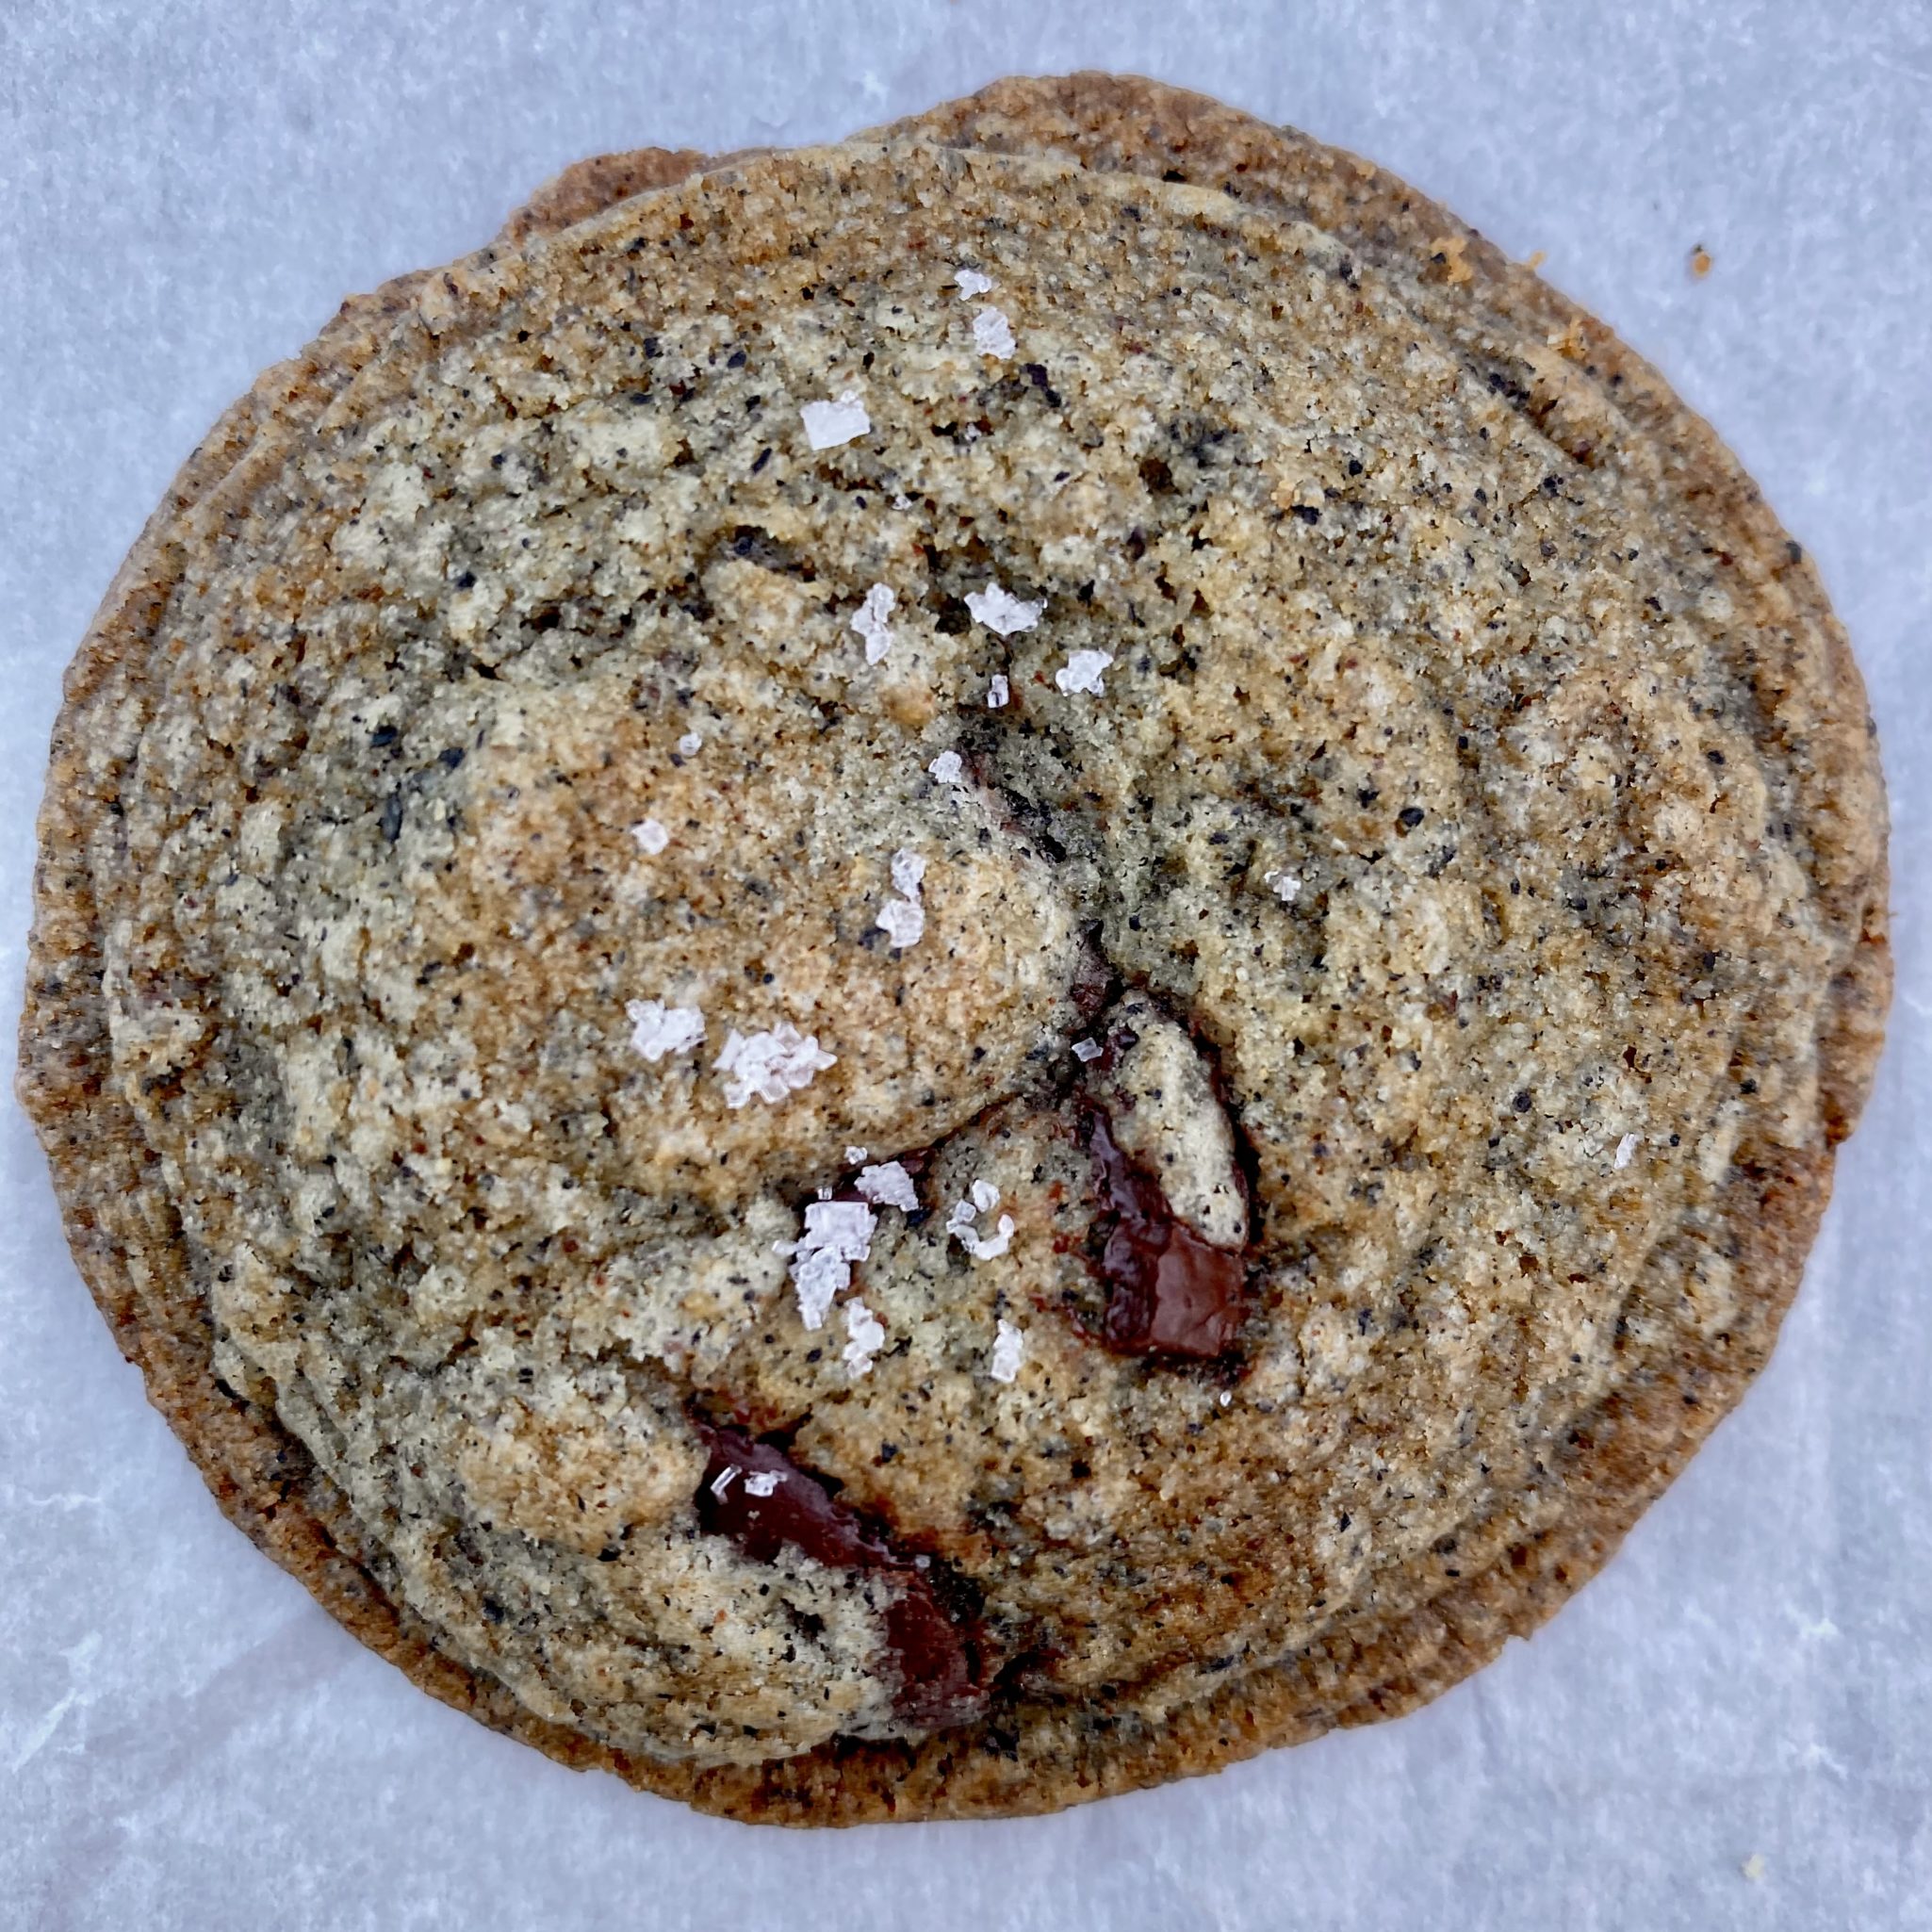
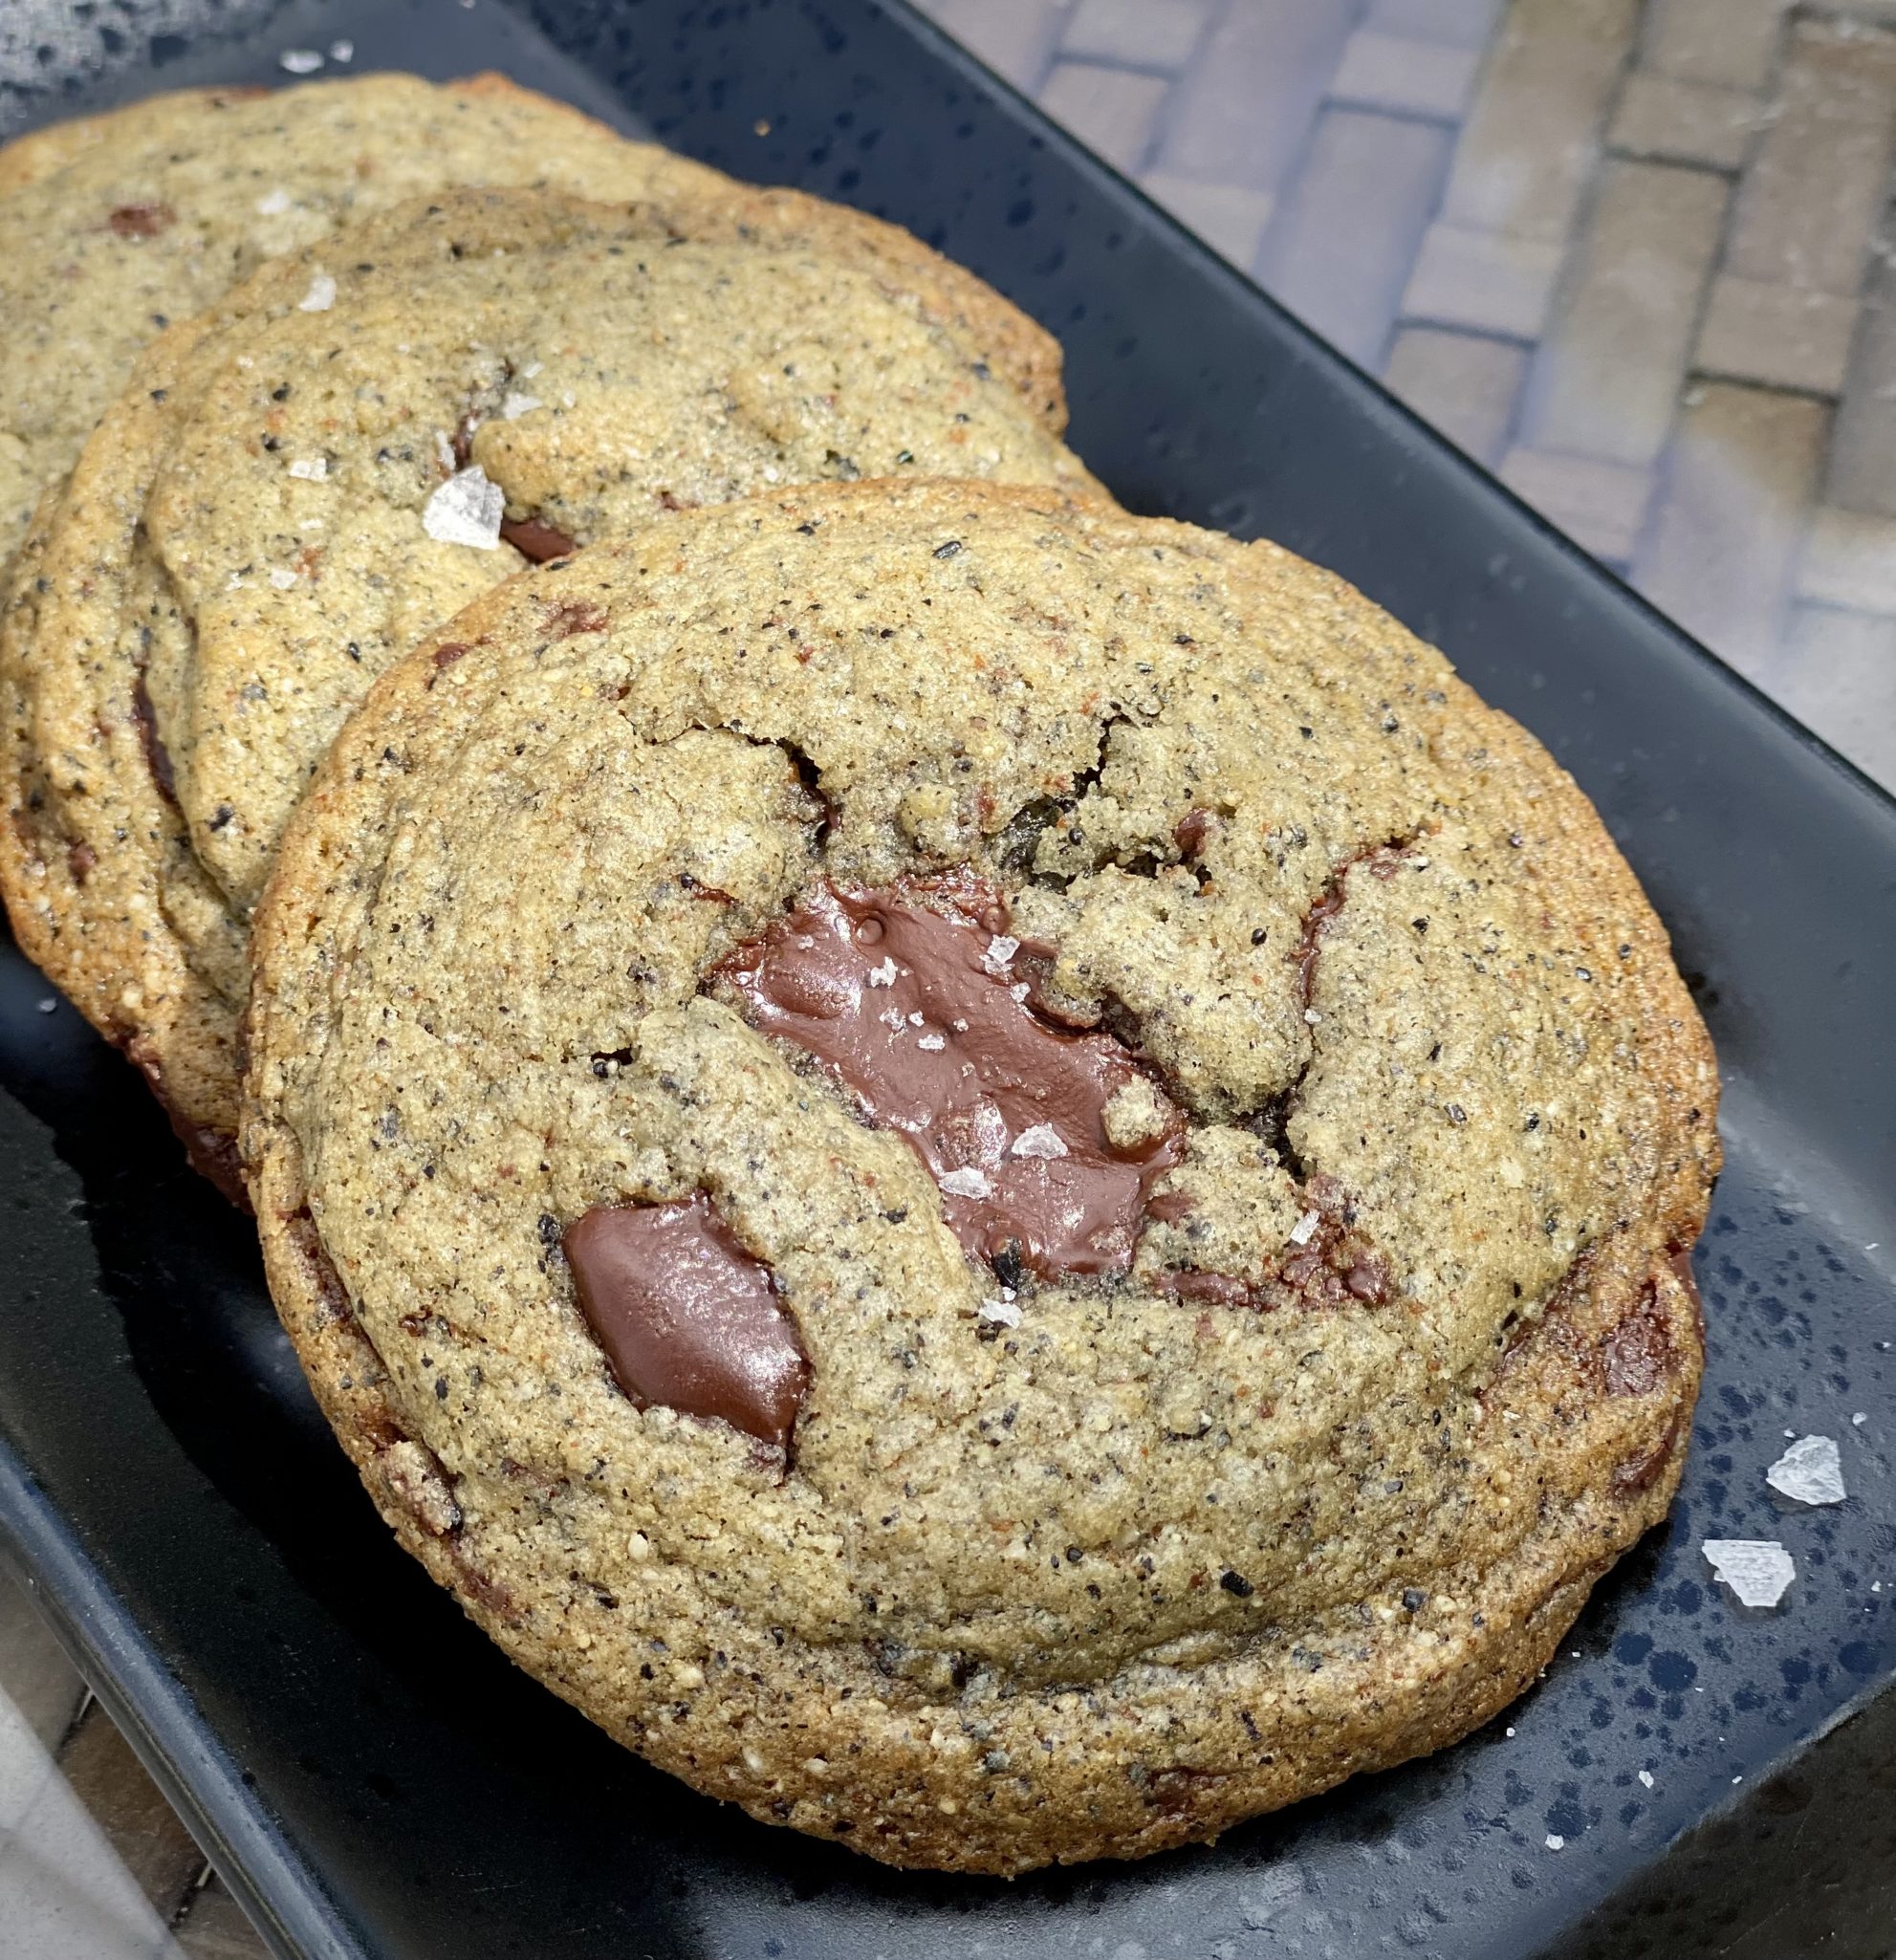
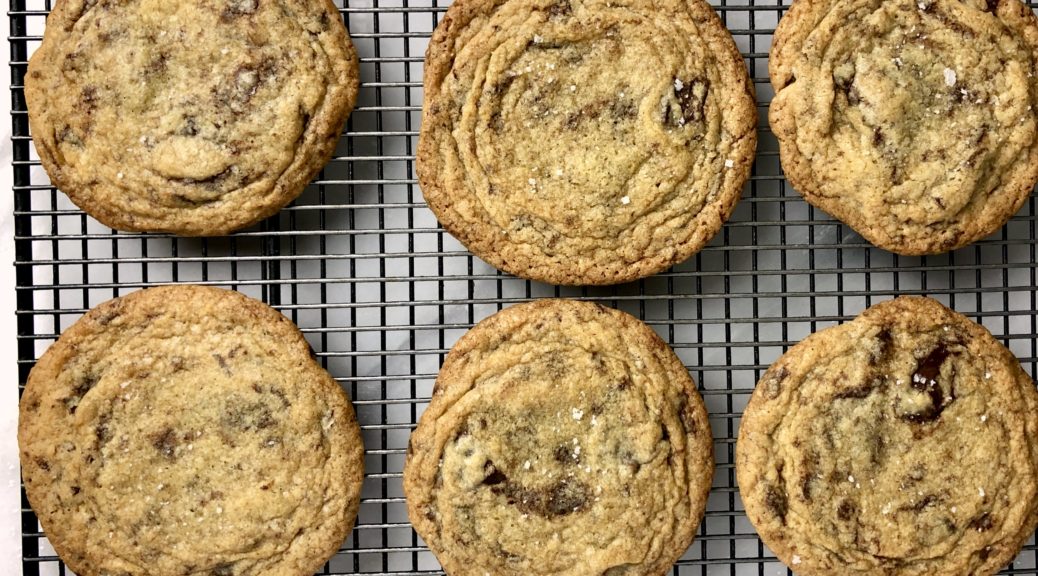
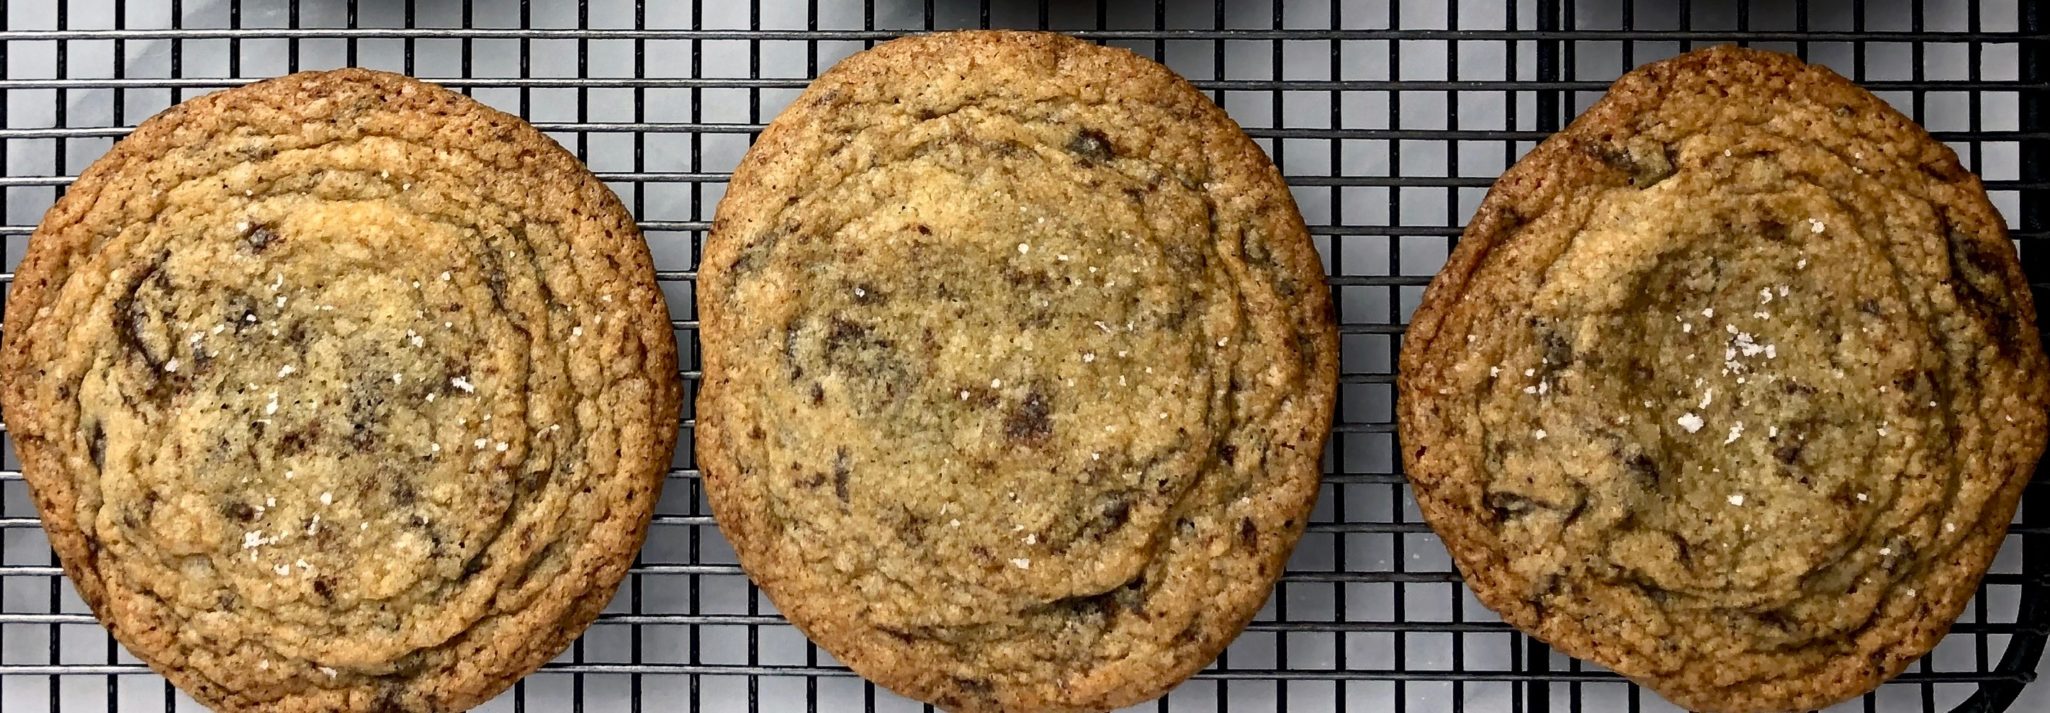
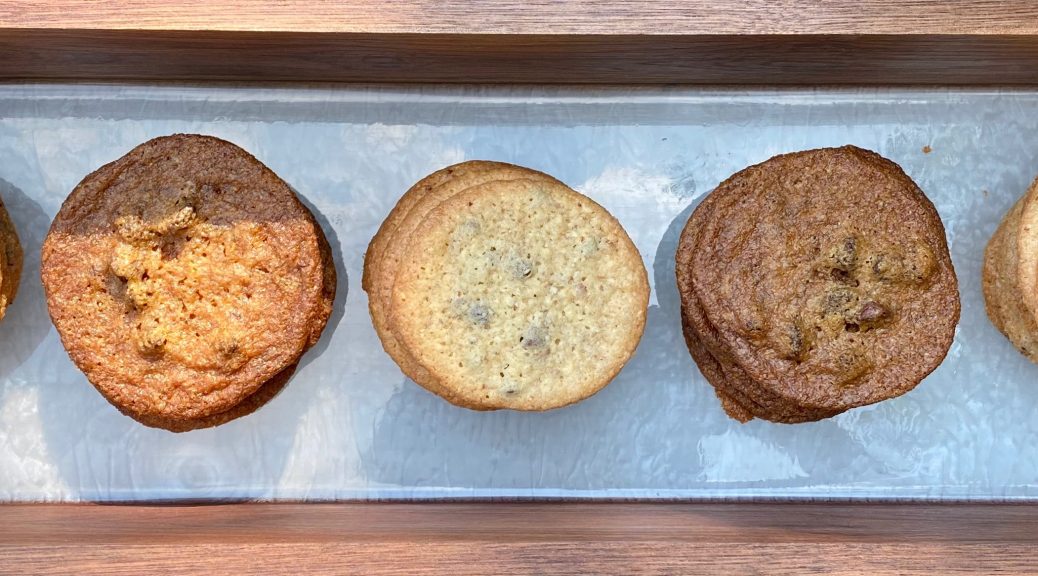
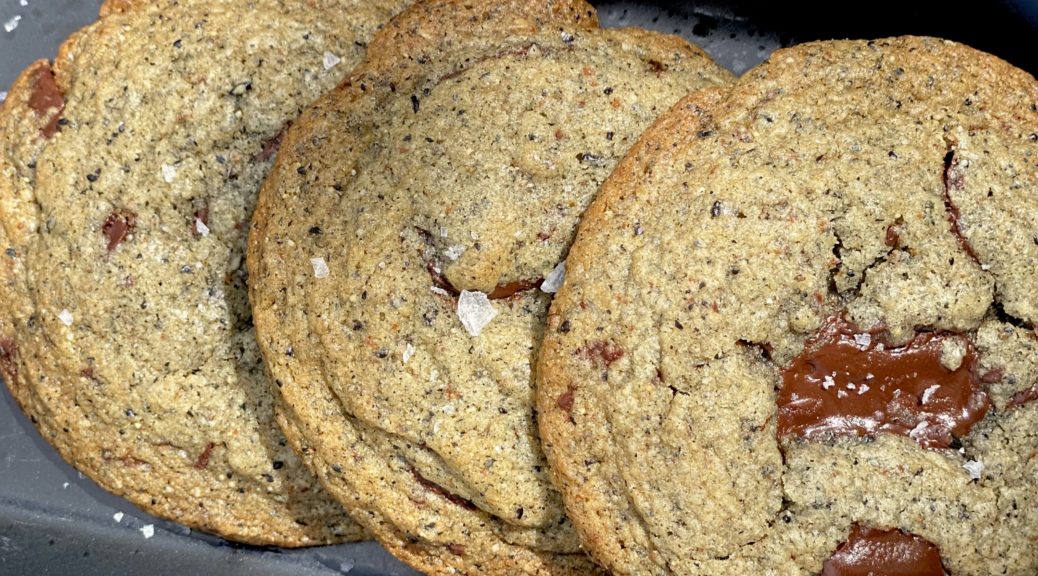
Despite the many CCC recipes we have, her Chocolate Chip Cookies and the pan banging technique proved irresistible.  All we can say is make room for this bad boy in your chocolate chip cookie file, it’s that good.  The cookies are thin, crisp-edged yet soft in the center.  They’re dotted with chopped dark chocolate bits and finished with a sprinkle of Fleur de Sel.  The dough is sweet so don’t skip the Fleur de sel and definitely use dark chocolate for balance.

You should be running to your kitchen now to make these.

Pan-banging

No, not headbanging which is what I have been doing all year, it’s been that kinda year.  I first came across pan-banging in Sarabeth’s Bakery cookbook (a beautiful cookbook)  Sarabeth’s Kitchen is a New York institution known for their breakfasts, jams, and baked goods.  Her version of Chocolate Chip Cookies, Chocolate Clouds, calls for rapping the pan on the oven rack with a couple of minutes left in baking.  This causes the cookies to deflate and develop their signature cracks.  I adopted this rapping the pan for several of my drop cookie recipes including the Oatmeal Apricot Cookies from Dahlia Bakery.  Love the way cracks and crevices look in drop cookies.

Sarah takes it to a whole new level, by repeatedly banging the pan in 2-minute intervals, you get these super cool circular ridges that look like a tree’s age rings.  The cookies bake thin and flat, they spread quite a bit, so plan on about 5 cookies per baking sheet.

So take your 2020 aggressions out by making these pan banging chocolate chip cookies and end up with beastly cookies. Win-win.

Chocolate Chip Cookies (100 Cookies)

From 100 Cookies Thin and Crispy, Ridged Chocolate Chip Cookies
Course cookies
Cuisine American
Keyword chocolate chip cookies
Prep Time 20 minutes
Cook Time 10 hours 14 minutes

Ingredients

  • 2 cups all-purpose flour (284 grams) Gold Medal AP Flour will give you better ridges
  • ½ teaspoon baking soda
  • ¾ teaspoon salt
  • ½ pound unsalted butter (227 grams) 2 sticks, room temperature
  • 1 ½ cups granulated sugar (300 grams)
  • ¼ cup brown sugar (55 grams) dark brown preferred
  • 1 large egg
  • 2 tablespoons water
  • 1 tablespoon vanilla extract
  • 6 ounces bittersweet chocolate (170 grams) about 60 percent cacao solids, chopped into coarse pieces, bits and shards. We used TJ's Pound Plus Dark Chocolate
  • Fleur de sel or Maldon Salt, for sprinkling

Instructions

  • Adjust an oven rack to the middle position. Line 2 baking sheets with parchment paper
  • In a small bowl, whisk the flour, baking soda and salt.
  • In the bowl of a stand mixer fitted with a paddle, beat the butter on medium until creamy about 1 minute. Add the granulated and brown sugars and beat on medium until light and fluffy, 2 to 3 minutes. Add the egg, vanilla and 2 tablespoons water, and mix on low to combine. Add the flour mixture, and mix on low until combined. Add the chocolate and mix on low into the batter. (At this point, the dough can be refrigerated for several hours or overnight.)
  • Heat the oven to 350 degrees. Form the dough into 2.5 ounce (~70 gram) balls (#24 ice cream scoop 1/3 cup each). Place 4-5 balls an equal distance apart on pan.
  • Place the baking sheet in the oven and bake 7 minutes, until the cookies are puffed slightly in the center. Lift the baking sheet and let it drop down against the oven rack, so the edges of the cookies set and the inside falls back down. (This will feel wrong, but trust me.) Bang it down, if necessary, to make the center fall.
  • After the cookies puff up again, 2 minutes later, repeat lifting and dropping the pan. Repeat a few more times, every 2 minutes, to create ridges around the edge of the cookie. Bake 13 to 14 minutes total, until the cookies have spread out, and the edges are golden brown, but the centers are much lighter and not fully cooked.
  • Transfer the baking sheet to a wire rack and sprinkle with Fleur de sel or Maldon salt. Let cool10-15 minutes before removing the cookies from the pan.
  • Repeat with remaining cookies. Store in an airtight container.

Notes

We used a #24 ice cream scoop, ~2.5 ounces and baked for 14 minutes.  The original recipe calls for 3 ounces of dough and bake for 15-16 minutes. 
You can use King Arthur Flour (higher protein) but it may not develop as many ridges. 
I would recommend weighing ingredients, esp flour, for accuracy.
Ah-mazing Toffee Apricot Oatmeal Cookies

Ah-mazing Toffee Apricot Oatmeal Cookies

Posted on one of my favorite blogs, Ipso Fatto, are a couple of sweets she tried from Food & Wine’s article,  The Bake Sale Returns to Its Political Roots. In the current climate, this is right up my alley, political activism through food.  A win-win.  Her photos and reviews of goodies from the article had me running to my kitchen to get busy and bake.

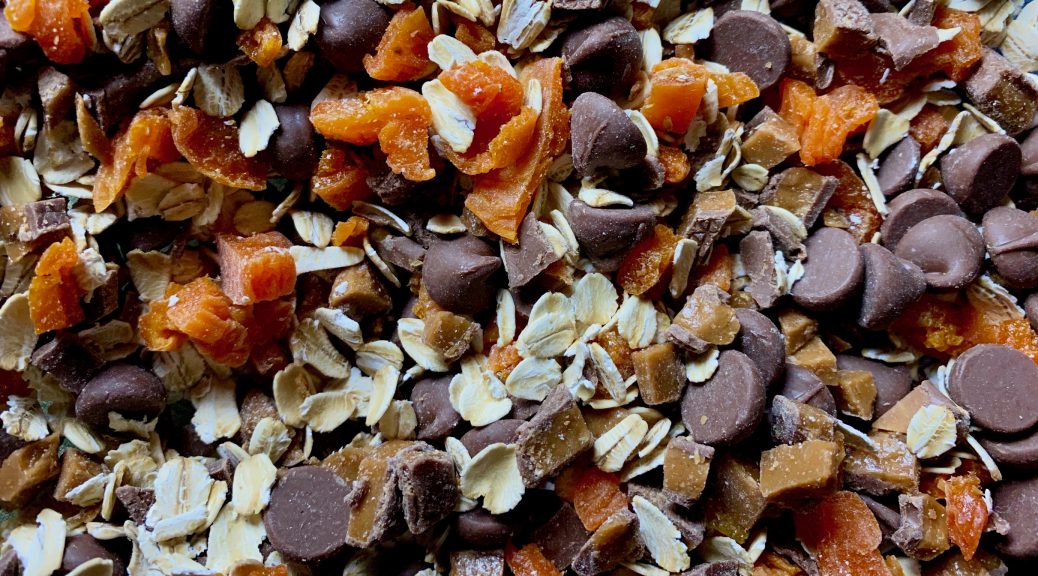
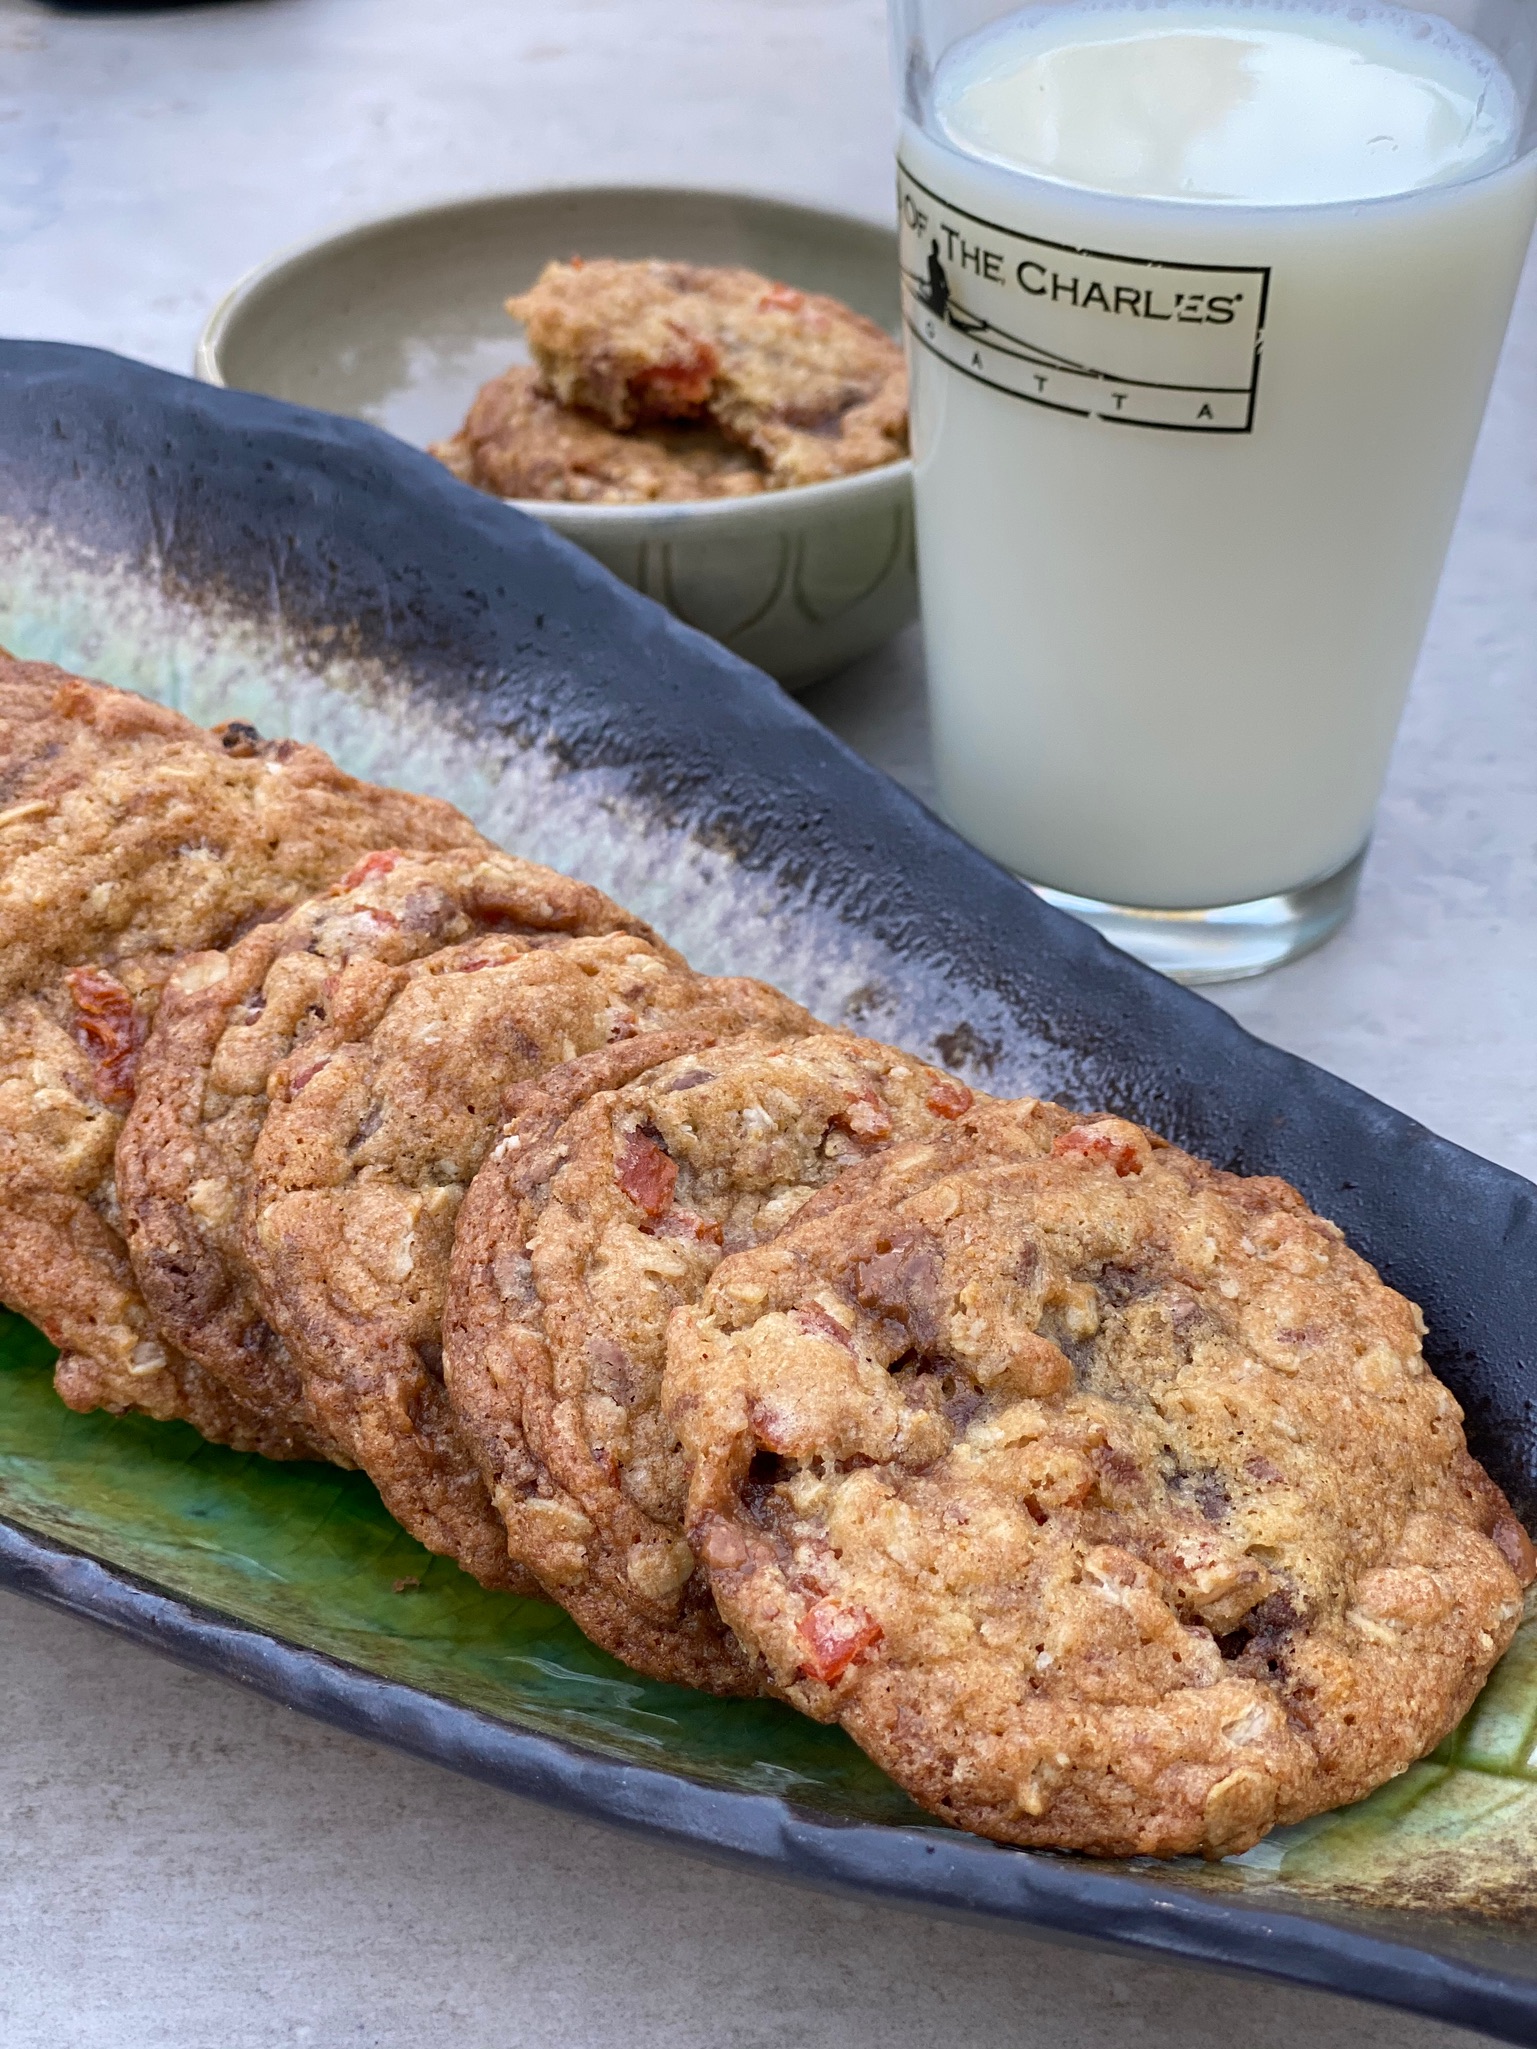
First up were these fabulous cookies from State Bird Provision in San Francisco.  I guarantee they will be a hit at any bake sale or socially distanced gathering. The cookies have a crispy edge, are slightly chewy in the middle, and are a flavor and texture party in your mouth. The apricots provide tartness to balance out the sweetness of the milk chocolate and toffee. The toffee not only adds to the buttery flavor but a wonderful crunch. So good.  It’s been a while since a cookie has really wowed me.  It was worth the wait.

One of my favorite farmers market stops is Sunblest Orchards.  Their beautiful plums and peaches are now distant summer memories, but in their place are jeweled tone dried fruits and a variety of delicious preserves and sauces.  I picked up dried apricots, peaches, and their Apricot Habanero Ketchup, so yummy it has replaced my regular ketchup at home.  This past weekend they also had persimmons, fresh and dried-yum.  Autumn definitely has an upside.  Their apricots were perfect in these cookies.

Initially, I was happy that this recipe only makes half a batch of cookies.  But they disappeared so fast I wished I had doubled it!

A couple of swap-a-roos

I didn’t have toffee bits but I did have SKOR bars so I chopped up the bars and used a smidge less milk chocolate in the cookies, NBD.  A stash of milk chocolate chips was in the pantry so taking the path of least resistance, I subbed them for chopping chocolate.  A good trade-off.  The dough can be baked immediately but I like to chill the dough. The flavors have a chance to develop (especially the butter flavor) if the dough rests awhile and the cookies tend not to spread as much.  Personal preference.  I baked the cookies for about 16 minutes (chilled dough) rotating them in the middle of the baking time.  They will brown pretty quickly so start checking at 13 minutes.

I really enjoyed these cookies and intend to make them again soon.  Hope you’ll try them too.  Next…from the same article, a luscious Almond Plum Cake before plums are done for the season.

Toffee-Apricot Oat Cookies

A delicious buttery, crisp-chewy cookie that has it all, sweet, tart and chocolatey.
Course cookies
Cuisine American
Keyword Toffee Apricot Oat Cookies
Prep Time 15 minutes
Cook Time 16 minutes

Ingredients

  • 1/2 cup unsalted butter 4 ounces, softened
  • 1/3 cup granulated sugar
  • 1/3 cup packed light muscovado sugar or light brown sugar
  • 1 large egg
  • 1 cup all-purpose flour about 4 1/4 ounces
  • 1/2 teaspoon vanilla extract
  • 1/2 teaspoon baking soda
  • 1/4 teaspoon kosher salt
  • 2/3 cup uncooked old-fashioned regular rolled oats about 2 ounces
  • 1/2 cup chopped milk chocolate feelin' lazy ? Use chips
  • 1/3 cup finely chopped toffee can substitute chopped Heath or Skor candy bars
  • 1/3 cup dried apricots about 2 ounces, finely chopped

Instructions

  • Preheat oven to 325°F with oven racks in top third and lower third of oven.
  • Combine butter, granulated sugar, and brown sugar in bowl of a stand mixer fitted with the paddle attachment; beat on medium speed until light and creamy, 3 to 4 minutes. Add egg, salt and vanilla, beat until combined.
  • Combine flour and baking soda in a small bowl. With mixer running on low speed, gradually add flour mixture beating until just combined, about 30 seconds. Stir in oats, chocolate, toffee, and apricots. You can use the dough immediately or cover with plastic wrap and chill for a couple of hours.
  • Line a baking sheet with parchment, using a 1 3/4-inch scoop, arrange balls of dough (about 2 tablespoons each) onto baking sheet, spacing about 1 1/2 inches apart. Bake in preheated oven until cookies are lightly browned, 12 to 16 minutes, rotating pan after 8 minutes. To create cracks in cookies, after rotating pan, rap pan on the oven rack. This causes the cookie to deflate and create ridges on the cookie. Optional.
  • Let cookies cool on baking sheets 5 minutes. Transfer cookies to a wire rack, and let cool completely, about 30 minutes.
  • Cookies can be stored in an airtight container at room temperature up to 3 days.

Notes

These lacy cookies are studded with tart dried apricot, salty-sweet chunks of toffee, and sweet milk chocolate for the perfect combination of flavors and textures. Be sure to rotate the pans during baking to ensure evenly baked, perfectly crisp-chewy cookies.
Grandma’s Chocolate Chip Cookies-Take Two

Grandma’s Chocolate Chip Cookies-Take Two

The search continues for a thin, crispy chocolate chip cookie just like my grandmother use to make.  My first try was a Tate’s Chocolate Chip Cookie facsimile by that guru of American desserts, Stella Parks.  While absolutely scrumptious-buttery, caramelized, slightly chewy in the middle with crispy edges, they just weren’t my grandma’s cookies. So…

I took a different tack

I googled, buttery, crispy, thin cookies, leaving out the chocolate chips.  Surfing the Pinterest pics that popped up, I came across a photo for Crisp Almond Cookies from Chocolate, Chocolate, and More.  It looked promising.  The cookies were thin with golden edges and a light, flat, center.  They looked a whole lot like my Pau Pau’s cookies but without the chocolate.

So I made the recipe for Crisp Almond Cookies and added mini chocolate chips to the dough.  The recipe is straight forward, classic cookie making protocol.  Cream the butter and sugar, add eggs, dry ingredients, nuts and finally fold in chocolate.  Tips for this particular recipe include soft butter (not melting) and room temperature eggs since you want the cookies to spread.  Once again I used a tablespoon ice cream scoop to portion out the dough leaving 2-3 inches between each scoop.

The Grandma Test

These cookies looked a lot more like my grandma’s cookies.  These were crisper than Stella’s and buttery, without the caramelization.  (My test group actually LOVED the caramel flavors of the Stella Park cookies) I think the inclusion of almonds lightened the cookie and make it less chewy and a touch crisper, again more like Grandma’s.  I liked them a lot, definitely getting closer to ground zero for Pau Pau’s cookie.  I will try it with walnuts next time since that is the nut she used in her recipe. I don’t think it will change the texture but may add that characteristic walnut flavor.  The use of baking powder instead of baking soda also reduces browning.  It didn’t make these cookies cakey, which you might expect.

I arbitrarily added 1 cup of mini-chips to the dough.  I didn’t want to overwhelm the cookies with chocolate.  I ended up with more than 3 chips a cookie but I think Grandma would be okay with a bit more chocolate.  I would not put more chocolate.  In fact, I might decrease the amount to 3/4 cup in the spirit of her cookies.  You could substitute a good quality chocolate sprinkle instead, a suggestion from my kid- the Sprinkle Cookie King.  The recipe makes quite a few cookies but luckily you can easily half the recipe.

Crisp Almond Cookies with Chocolate Chips

I took a recipe for Crisp Almond Cookies and added Chocolate Chips! Buttery, crisp with a hit of chocolate, a delicious combination.
Course cookies
Cuisine American
Keyword Crisp Almond Cookies with Chocolate Chips
Prep Time 15 minutes
Cook Time 10 minutes

Ingredients

  • 1 1/2 cups butter softened (337 g) (salted butter)
  • 1 cup light brown sugar 200 g
  • 1 cup granulated sugar 200 g
  • 2 large eggs room temp
  • 2 teaspoons vanilla extract 10 ml
  • 2 1/4 cups all-purpose flour 280 g Use a moderate protein flour like Gold Medal
  • 1 teaspoon baking powder 4 g
  • 1/8 teaspoon salt 0.7 g If using unsalted butter increase salt to 1/2 teaspoon
  • 1 cup finely chopped almonds 112 g
  • 1 cup mini chocolate chips sub good quality chocolate sprinkles

Instructions

  • Cream together butter and sugars, until light and fluffy, about 5 minutes.
  • Add in eggs and vanilla and beat again.
  • Combine flour, baking powder and salt. Add flour mixture to dough, one third at a time until all added. Stir in almonds.
  • Fold in chocolate chips
  • Using a small cookie scoop (1 tablespoon), place dough on a parchment-lined baking sheet three inches apart (these cookies spread.) Bake in a preheated 350-degree oven for 8-9 minutes. Until edges turn golden. Let cool on baking sheet for 5 minutes before removing to racks to cool completely.

Notes

Recipe is easily halved.  If you are looking for a crisp almond cookie, buttery and sweet, just leave out the chips!

The search continues…but we are headed in the right direction.

Thin Crispy Chocolate Chip Cookies, In Search of Grandma’s Cookie

Thin Crispy Chocolate Chip Cookies, In Search of Grandma’s Cookie

My grandmother, who we called Pau Pau, was the classic iron fist in the velvet glove.  She was outspoken and strong-willed, bossy, pragmatic, the protector of her family.  

Not gonna lie. She was kind of scary.  I see where my mom gets her strength, her willfulness, and her disciplinarian streak.  When my brother and I got in trouble, it was mom we answered to, not dad, Mr. Marshmallow.  

This isn’t surprising about my grandmother. After all, you have to pretty tough to be a new bride, leave your family, get on a boat (pregnant), and travel thousands of miles to a place where you don’t speak the language and nobody knows your name.

She Was a Bad Ass

My mom next to Pau Pau and Auntie Jessie on Granpa’s lap, four more kids followed.

It was a tough life, six kids, my grandfather working different jobs-farmer, grocery store clerk, restaurant worker, and moonshine maker.  Ultimately, they settled in Chinatown and Pau Pau ran a sewing factory, all the kids pitched in and worked the factory.  She employed other Chinese women struggling to make ends meet and care for their families.  Her six kids grew up to serve in the military, become business owners, a chemist at Stanford, an elementary school teacher, and the first Chinese woman real estate broker in the City. 

Ours is the story of the immigrant dream of America

Growing up we spent a lot of time at my grandmother’s house in Chinatown. We usually migrated to the dining room while she cooked up a storm in the kitchen.  In one corner of the dining room was a memorial to my grandfather complete with his picture, incense, banners to ward off spirits, and dishes of food. Food is such an integral part of life, like so many Asian parents, feeding us was her way of showing that she cared for and loved us.  She cooked mainly Chinese food.  Two exceptions, both sweets, were fruitcake (amazingly good, no one used her fruitcake for a doorstop) and Chocolate Chip Cookies.

Pau Pau’s Chocolate Chip Cookies were thin, crispy, and buttery.  I could eat a zillion of them, I’m sure I tried.  She always kept a tin of cookies on her dining table to tempt everyone that visited. 

I remember watching her make cookies.  She flattened each ball of dough and carefully placed 3 chocolate chips on each cookie then finished with a sprinkle finely chopped walnuts. When I asked her for the recipe she rummaged through her cabinet, pulled out a package of Nestle’s Semi-Sweet Chocolate Morsels, and tossed it to me.  I was incredulous, no way were her cookies the same as the Nestle’s Toll House Cookies.  Years later I asked my Aunt if she had Pau Pau’s recipe, nope, but she did recall Grandma would melt chicken fat if she didn’t have enough butter.  

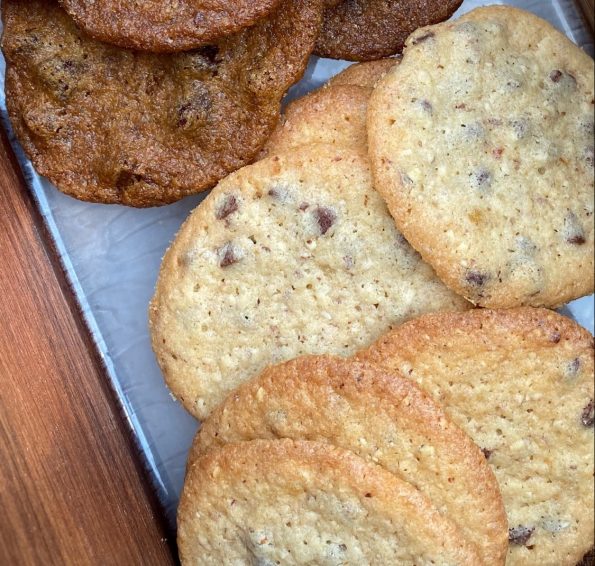
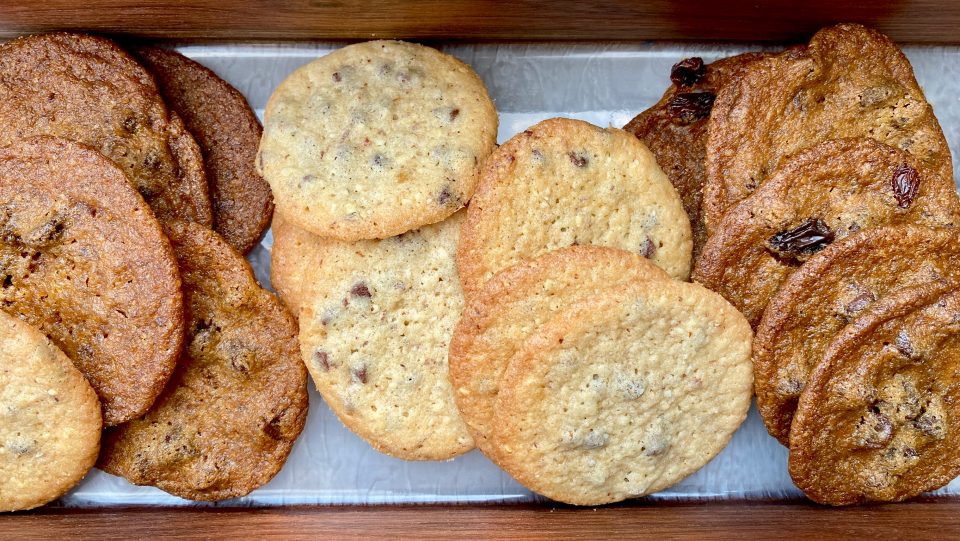
So armed with bits and pieces of info, I set out to replicate those darn cookies.  I found a recipe on Serious Eats by Stella Parks for “Thin, Crispy CCC, just like Tate’s (never had em).  They were buttery, caramelized, sweet, but only the very edges were crispy while the center was a bit chewy.  Not the cookies of my childhood.  Disappointed I threw the cookies in a Tupperware and left them on the table.

My kids inhaled them.  In fact, my nieces, my moms’ coffee group (which met practicing COVID guidelines) loved these cookies.  It’s all about expectations.  I wanted crisp, buttery, light, and just a couple of chips just like Grandma’s.  

But if I didn’t compare these to the cookies of my childhood, they’re really darn good.  The best analogy, thanks to my kid is as follows.  It’s like you’re going crazy looking for your lost keys…and you find your lost wallet.  Yay!  But damn it, you still haven’t found your keys.  

Here are my notes and the recipe for Stella Park’s Thin, Crispy, Chewy Chocolate Chip Cookies.  Make them soon. 

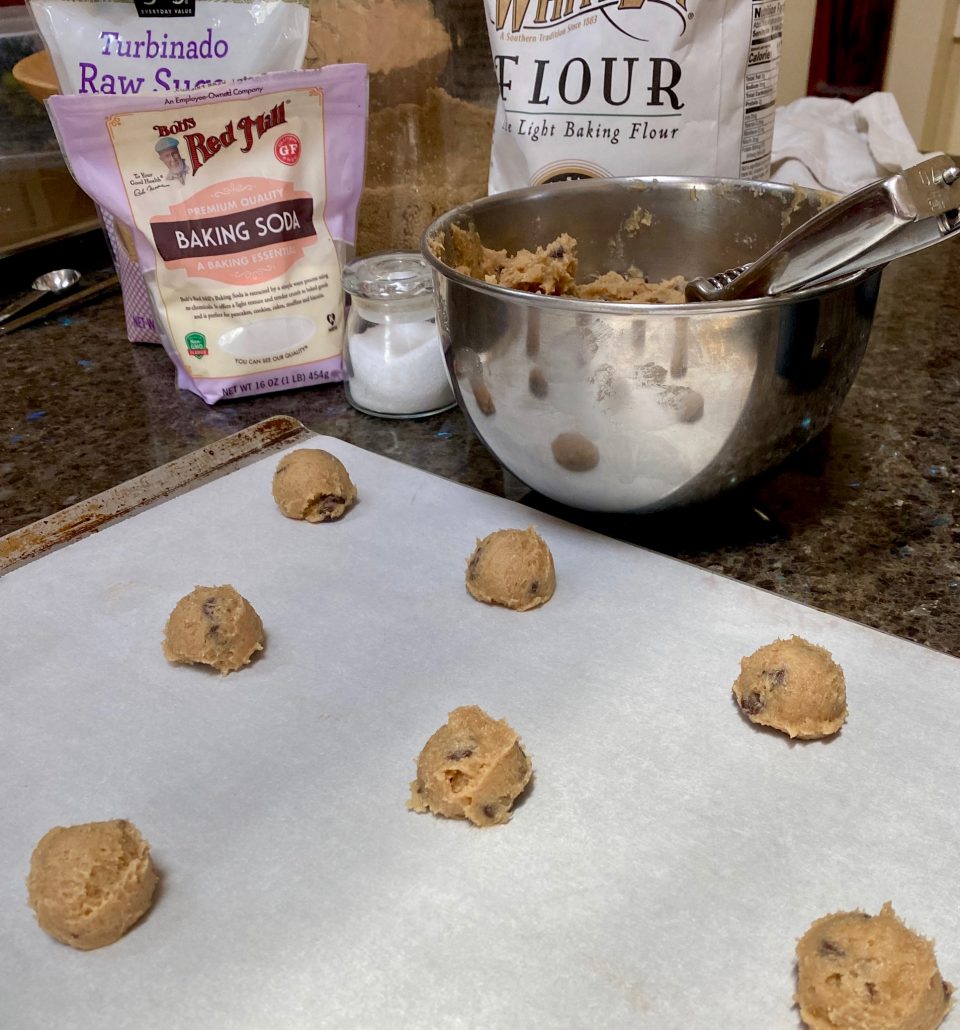
The recipe calls for a moderate protein flour like Gold Medal AP Flour.  Do not use King Arthur or Bob’s Red Mill both of which have a higher protein content.  It will throw off the texture and the spread.  Stella’s recipes are tested with Gold Medal, readily available, and easy to find, that is unless there is a pandemic.  I tried these with White Lily, a low protein Southern flour.  The cookies were soft and barely held their shape.  My kids liked them (lifetime members of the ooey-gooey cookie club), I thought they were too soft.  I used GM for the second batch, the extra protein provided needed structure and crispness, a winner.

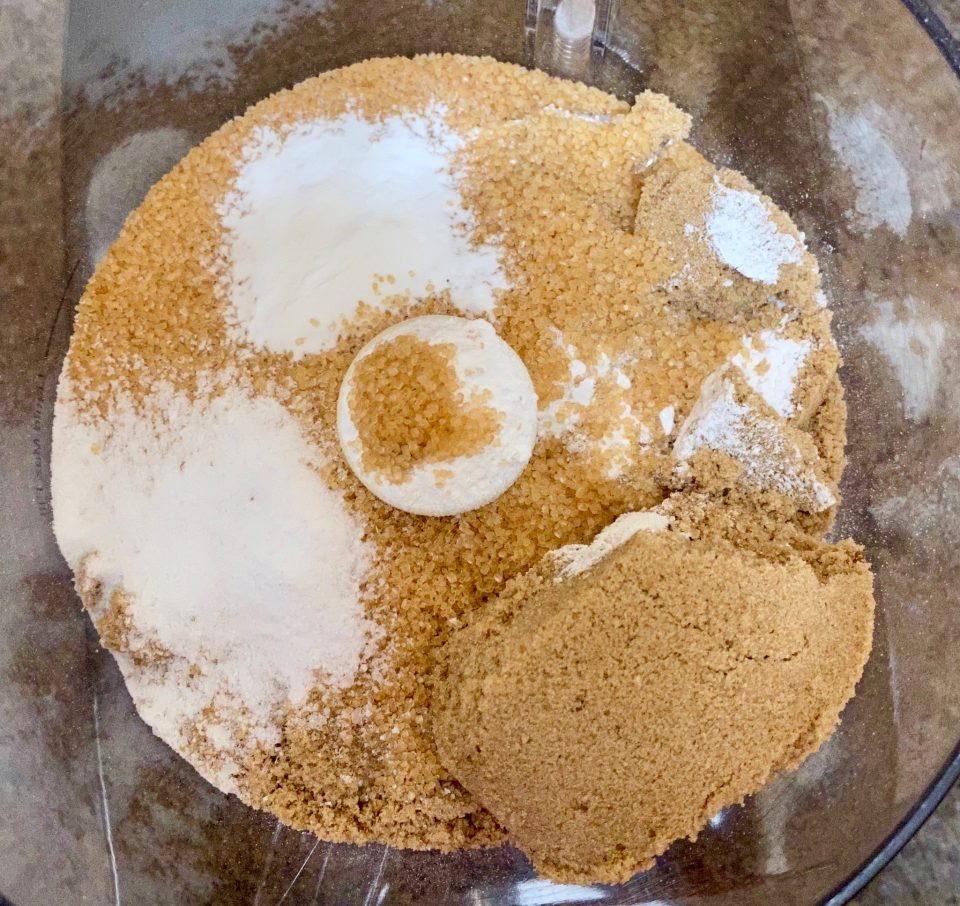
Make the dough in a food processor which Stella says is key. Place dry ingredients into the processor and whirl to combine.

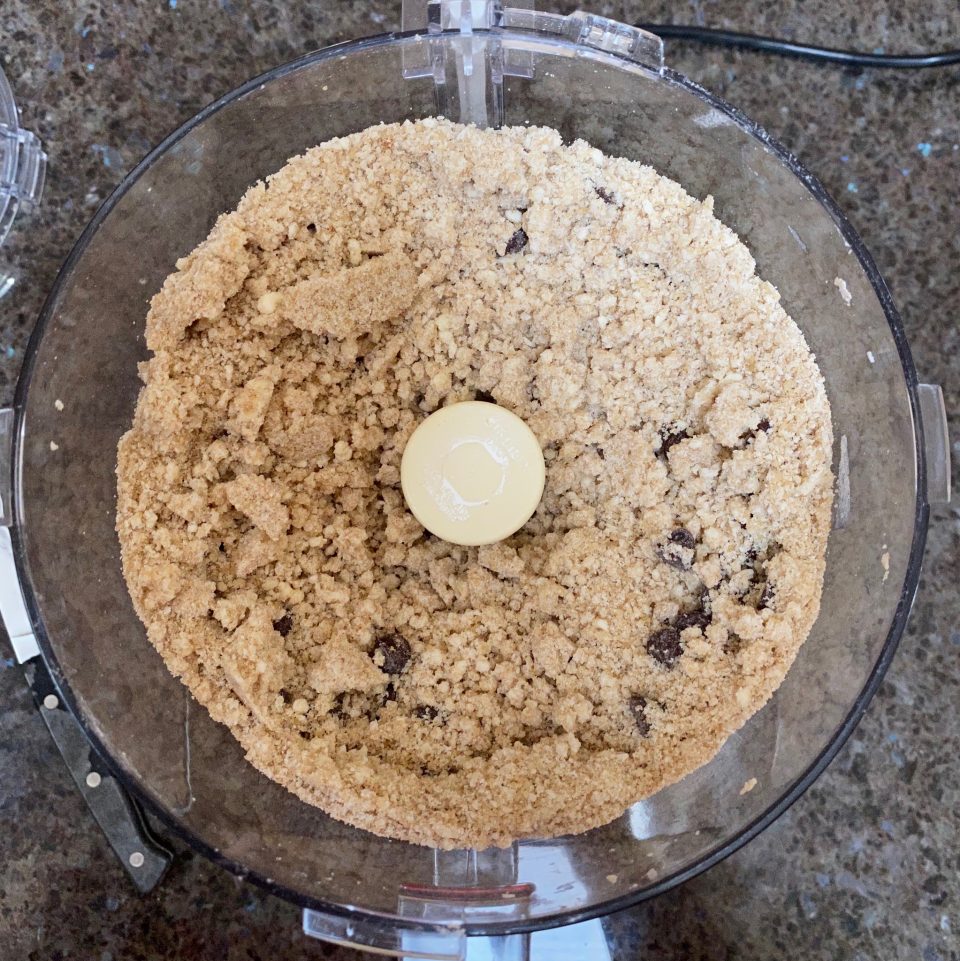
Pulse butter into the dry mix until crumbly, add chips, and process 1-2 short pulses.  Pour the dough into a bowl and add egg and vanilla, knead until it comes together. Put the soft dough in the fridge to firm it up so it is easier to scoop.  With a tablespoon scoop, I measured out over 60 cookies, more than the expected yield.  The cookies took 10-11 minutes to bake to a deep rich caramel brown.

The search continues for Grandma’s cookies but I will gladly make another batch of these.

Thin Crispy Chocolate Chip Cookies

Stella Parks version of Tate's thin Crispy Chocolate Chip Cookies. Crispy, buttery studded with chips, delicious and easy to make!
Course cookies
Cuisine American
Keyword chocolate chip cookies, Crispy, stella parks, tates, thin
Prep Time 15 minutes
Cook Time 12 minutes

Ingredients

  • 8 ounces med protein all-purpose flour such as Gold Medal blue label or Whole Foods 365 blue label (about 1 3/4 cup, spooned; 225g)
  • 8 ounces light brown sugar not dark brown (about 1 cup, firmly packed; 225g)
  • 3 1/2 ounces raw cane sugar not white (about 1/2 cup; 100g)
  • 2 teaspoons Diamond Crystal kosher salt; 8g or table salt, use about half as much by volume or the same weight
  • 1 1/2 teaspoons 8g baking soda 8g
  • 8 ounces cold unsalted butter, cut into 1-inch chunks (about 16 tablespoons; 225g)
  • 8 ounces assorted chocolate chips preferably no darker than 70%, see note (about 1 1/3 cups; 225g)
  • 1 large egg straight from the fridge, well beaten (1 3/4 ounces; 50g)
  • 1/2 ounce vanilla extract about 1 tablespoon; 15g

Instructions

  • Adjust oven rack to middle position and preheat oven to 350°F (180°C). In the bowl of a food processor, combine flour, light brown sugar, raw cane sugar, salt, and baking soda. Process until well-combined; add cold butter and pulse to form a dry and powdery mix; comparable results cannot be produced by hand or with a stand mixer. Add chocolate chips and pulse once or twice to combine.* Chill to make it easier to handle dough.
  • Transfer the cookie "mix" to a large bowl; add egg and vanilla, stir well; the mixture will seem alarmingly crumbly and dry at this stage. Once the wet ingredients have been absorbed, knead mixture by hand until it comes together like classic soft dough.
  • Divide into about 56 portions with a 1-tablespoon scoop. If you like, these can be transferred to a zipper-lock bag and refrigerated for up to 1 week or frozen for up to 3 months; soften to about 68°F (20°C) before baking.
  • Arrange portions on a parchment-lined half-sheet pan (do not use a silicone mat), leaving about 2 or 3 inches between cookies to account for spread. Bake until thin and golden brown, with an even color from edge to center, about 16 minutes (check earlier). I used a tablespoon scoop, yield over 60 cookies that took 10-11 minutes to bake.
  • Cool cookies directly on the baking sheet until room temperature. Transfer to an airtight container and continue cooling an hour more; the cookies will not be fully crisped until then. At cool room temperature, the cookies will keep at least six weeks in an airtight container.

Notes

*The mixture can be refrigerated up to one week in an airtight container or used immediately in the next step.

Very Good, Very Inn, The DoubleTree Cookie

Very Good, Very Inn, The DoubleTree Cookie

I LOVE my Chocolate Chip Cookie recipe.  I have been using it for years, folks who try them have asked for the recipe to which I give the standard “if I give it to you I will have to kill you” line, jk.  Although I did finally give in and post my favorite chocolate chip cookie recipe, which you can find here.  Don’t get me wrong, this doesn’t mean I won’t try other CCC recipes, on the contrary, I can’t resist trying new ones.  In fact, one of my favorites is the Tahini Chocolate Chip Cookies from David Lebovitz, the Tahini paste adds both taste and texture, it’s really yummy.

During the COVID crisis, Hilton Hotels has generously released the recipe for their famous DoubleTree Chocolate Chip Cookies.  Their signature cookies are doled out at check-in.  Everyone clamors over these cookies, who doesn’t like a warm cookie with oozy melted chocolate?  Yeah, I don’t see any hands going up.  They are delicious-warm, gooey, crispy edges, chock full of nuts and chocolate, perfect with an ice-cold glass of milk, a cup of coffee, or by themselves.

Thank you, Hilton and DoubleTree for sharing

So, of course, I baked a batch.  I noticed that the recipe is very similar to my recipe.  Coincidence? I think, heck yeah.  Interestingly, the recipe includes a bit of lemon juice (to help cookies rise?) and a dash of cinnamon.

I followed the recipe EXACTLY, well, except for the chocolate chips, I didn’t have any Nestle’s so I used Guittard Semi-sweet Chocolate wafers, chopped (could explain why hubby thought they were too chocolatey) and also pecans, a trade-off since I was NOT going to go to the market just for walnuts.  Baking in the time of a pandemic.

Light and fluffy (2 minutes)

This is a pretty classic how-to cookie-making directions.  The recipe is explicit regarding the length of time to cream the butter and sugar.  It makes a BIG difference in the final texture of your cookies.  I bake a lot of cookies and I am still nervous about how they will turn out.  So many variables-the temperature of the butter, how to cream the butter and sugar, kind of flour, and how much flour is added…I could go on but just thinking about it is making me anxious!  Serious Eats has a fantastic primer on Cookie Science, WELL WORTH the read.

The smartest thing I can say is to FOLLOW the directions if you want the cookies to turn out like the original.  Cream that butter and sugar for the two minutes the recipe calls for.  Start with butter that is not too hard or soft, the scientist in me says take your butter’s temp, it should be around 60-65 degrees.  Don’t bring your eggs to room temp before adding them to your batter.  Creaming the butter and sugar causes heat and warms the butter.  You don’t want it to melt, you worked too hard creating air pockets in the dough that translates to a “light” tender cookie. Adding the cold egg will help keep the temperature from increasing and melting the butter-it’s a good thing.

After adding the dry ingredients

Once you add the dry ingredients, continue to stir until you don’t see any flour. Make sure to scrape down your bowl.  Another note, if the author of the recipe calls for a specific brand of flour, take that into account.  I use King Arthur Flour, but a lot of recipes are tested using Gold Medal due to its availability (Example-Stella Parks and her Peanut Butter Cookies ). This will affect your cookie due to the protein content of the flour.  I’m guessing I could have taken a smidge of flour out of this recipe for a softer, gooier cookie.   Don’t overbeat as this will develop the gluten leading to a tough cookie.  You wanna be a tough cookie, not make a tough cookie.

Portion out the dough as directed into 3 tablespoons balls.   Use an ice cream scoop for this (#24), you will not only get the right size and thickness cookie but nice “purdy” round cookies.  The volume of dough definitely influences the cookie spread.

Like crevices in your cookies?  About 3-4 minutes before the cookies are finished baking, rap the cookie sheet on the wire oven rack.  This will cause the cookie to deflate and give it that craggy, uneven look.  Yep, known as the pan-banging method.

Stoked, my new cookie box, courtesy of the hubster and his woodworking talents

I marvel at how bakeries can churn out cookies on a daily basis, not by how they are so delicious but how they are so consistently the same.  I’m hoping some of these tips will help.  My favorite bakery in Los Gatos (currently closed due to COVID) is Icing on the Cake they make fabulous cookies.  I will be the first in line when they reopen, their cookies are so good, so consistent.

Now go bake!

DoubleTree Signature Cookie Recipe

Yes, THOSE, Doubletree Chocolate Chip Cookies. Why everyone stays at Doubletrees.
Course cookies, Dessert
Cuisine American
Keyword chocolate chip cookies, chocolate chips, Doubletree Inn
Prep Time 20 minutes
Cook Time 15 minutes
Servings 26 cookies

Ingredients

The Fat & Sugar Mix

  • ½ pound butter, unsalted softened (2 sticks)
  • ¾ cup + 1 tablespoon granulated sugar
  • ¾ cup packed light brown sugar

The Wet Stuff

  • 2 large eggs cold
  • 1 ¼ teaspoons vanilla extract
  • ¼ teaspoon freshly squeezed lemon juice

The Dry Stuff

  • 2 ¼ cups flour
  • 1/2 cup rolled oats old-fashioned or quick, NOT instant
  • 1 teaspoon baking soda
  • 1 teaspoon salt
  • Pinch cinnamon about 1/8 tsp

The Finish, The Bling

  • 2 2/3 cups semi-sweet chocolate chips Nestle Tollhouse
  • 1 3/4 cups chopped walnuts sub pecans or nit of choice

Instructions

  • Preheat oven to 300°F.
  • Cream butter, sugar and brown sugar in the bowl of a stand mixer on medium speed for about 2 minutes. Will be light and fluffy.
  • Add eggs, vanilla and lemon juice, blending with mixer on low speed for 30 seconds, then medium speed for about 2 minutes, or until light and ribbon-like, scraping down bowl.
  • With mixer on low speed, add flour, oats, baking soda, salt and cinnamon, blending for about 45 seconds. Don’t overmix.
  • Remove bowl from mixer and stir in chocolate chips and nuts.
  • Portion dough with a scoop (about 3 tablespoons) onto a baking sheet lined with parchment paper about 2 inches apart. (#24 ice cream scoop)
  • Bake for 20 to 23 minutes, or until edges are golden brown and center is still soft.
  • Remove from oven and cool on baking sheet for about 1 hour.

Notes

Cook’s note: You can freeze the unbaked cookies, and there’s no need to thaw. Preheat oven to 300°F and place frozen cookies on parchment paper-lined baking sheet about 2 inches apart. Bake until edges are golden brown and center is still soft.