
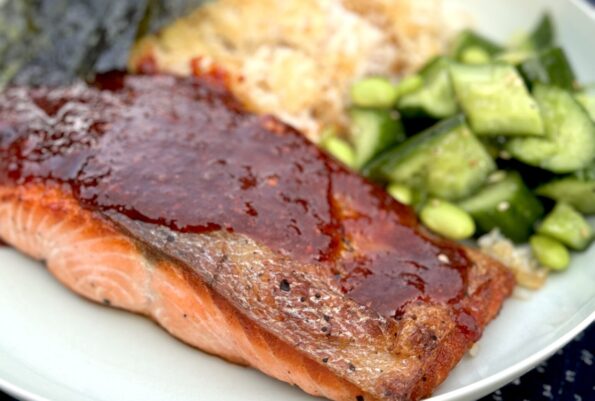
Another winner from Eric Kim, NYTcooking columnist, cookbook author, and writer. Like many of his recipes, this one is very approachable, comes together quickly, and…
Brrrrr… getting chilly out there. While I love summer, I do look forward to winter. As the temperature drops I start dreaming of dishes that…
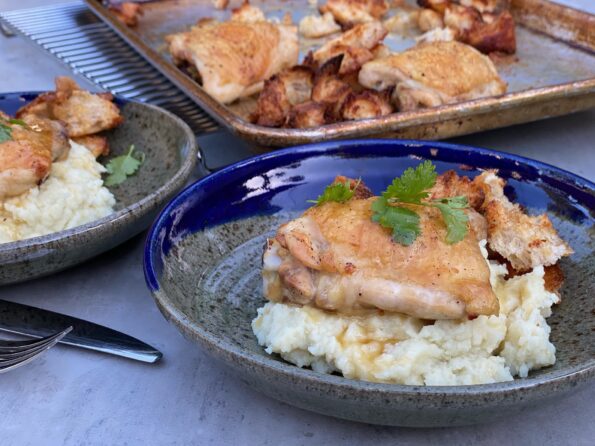
I couldn’t help but tweak Eric Kim’s Roasted Chicken with Fish-Sauce Butter title. I added Croutons to the title because… let’s be real, the croutons…

I first made Eric Kim’s Chewy Black Sesame Mochi Cake after a “Bake-a-long” with him, a perk for purchasing his book, Korean American. I was…

I have taken over tomato duties from the hubby who has given up on becoming an urban farmer. We just haven’t had any luck with…
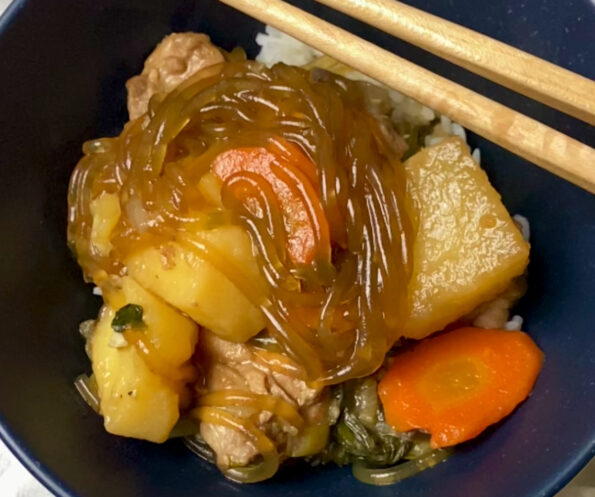
I have a total backlog of recipes I want to share with you and this one is top on the list. I have made this…
From a historical perspective, who was the OG that took a hunka meat and decided to grind it up? It was GENIUS I mean, think…
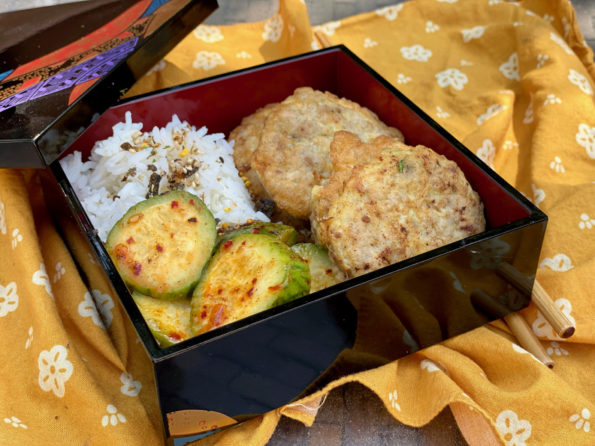
I created 3jamigos to chronicle our family’s food adventures, recipes, and stories, for my kids. In college, I often called home to ask my dad…
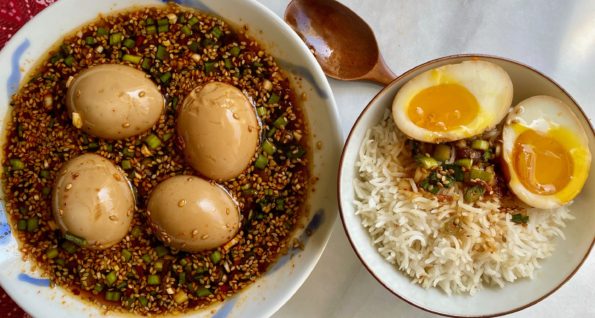
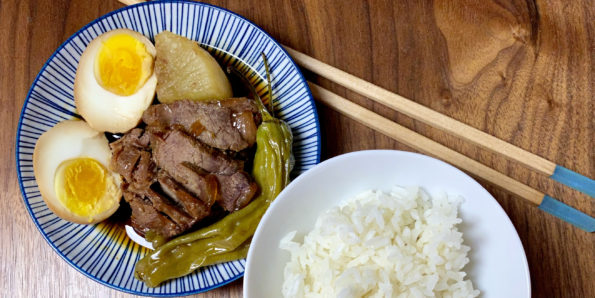
Originally, this post was going to just be about the latest Korean craze, Mayak Eggs (마약계란). TikToks, Reels, IG Stories, folks “egging” everyone on to…