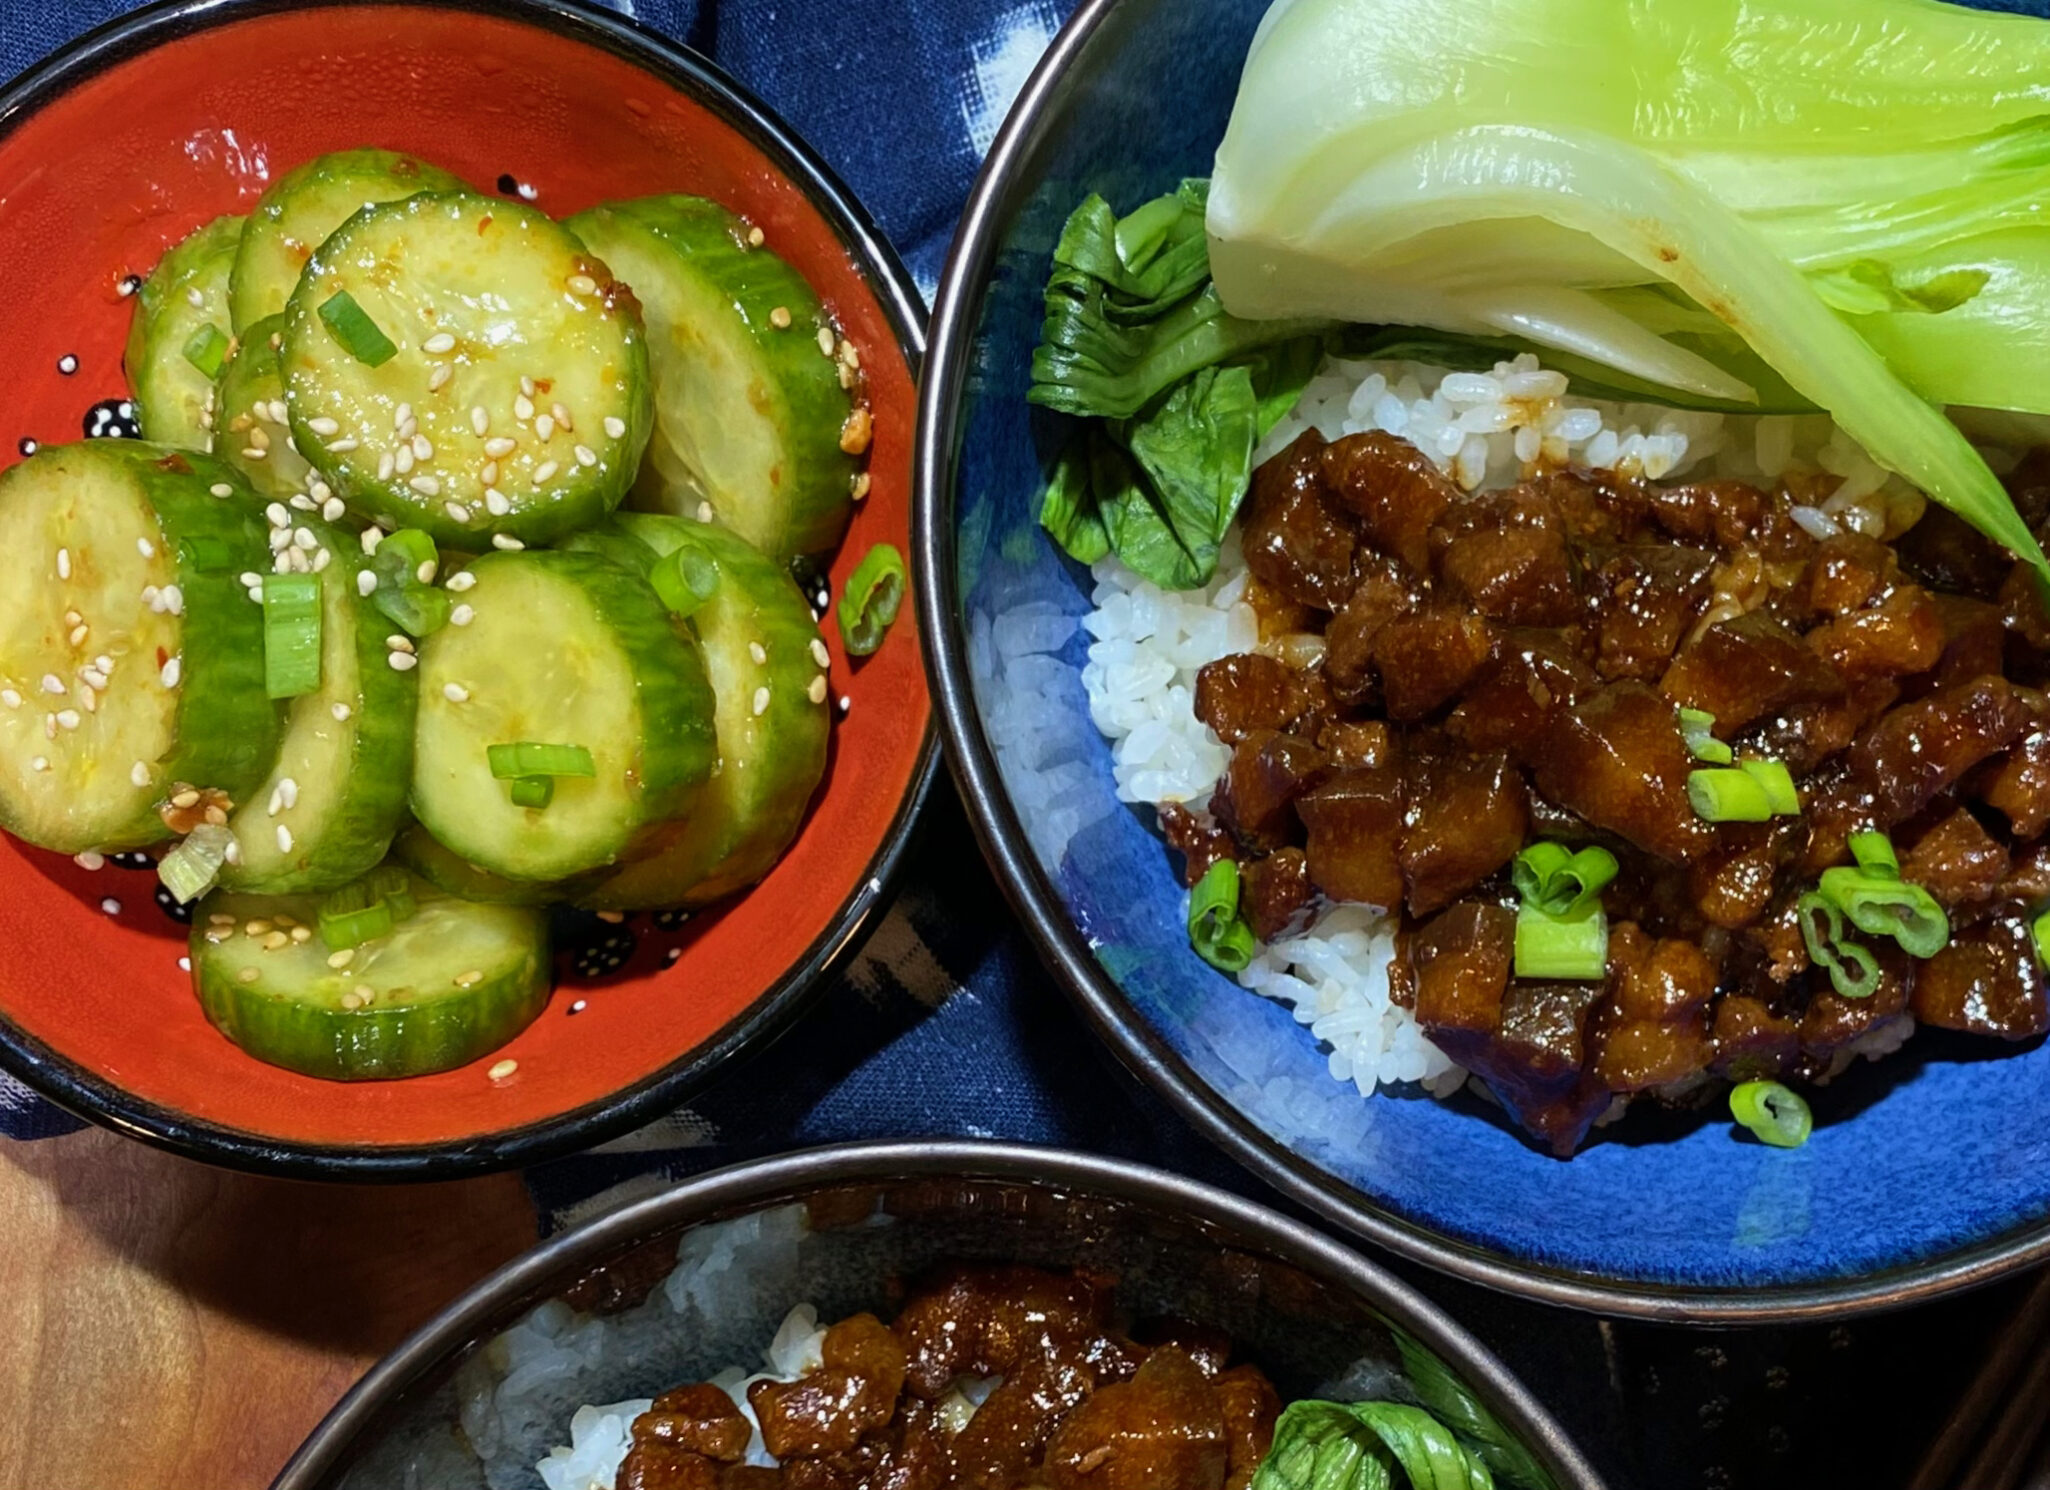
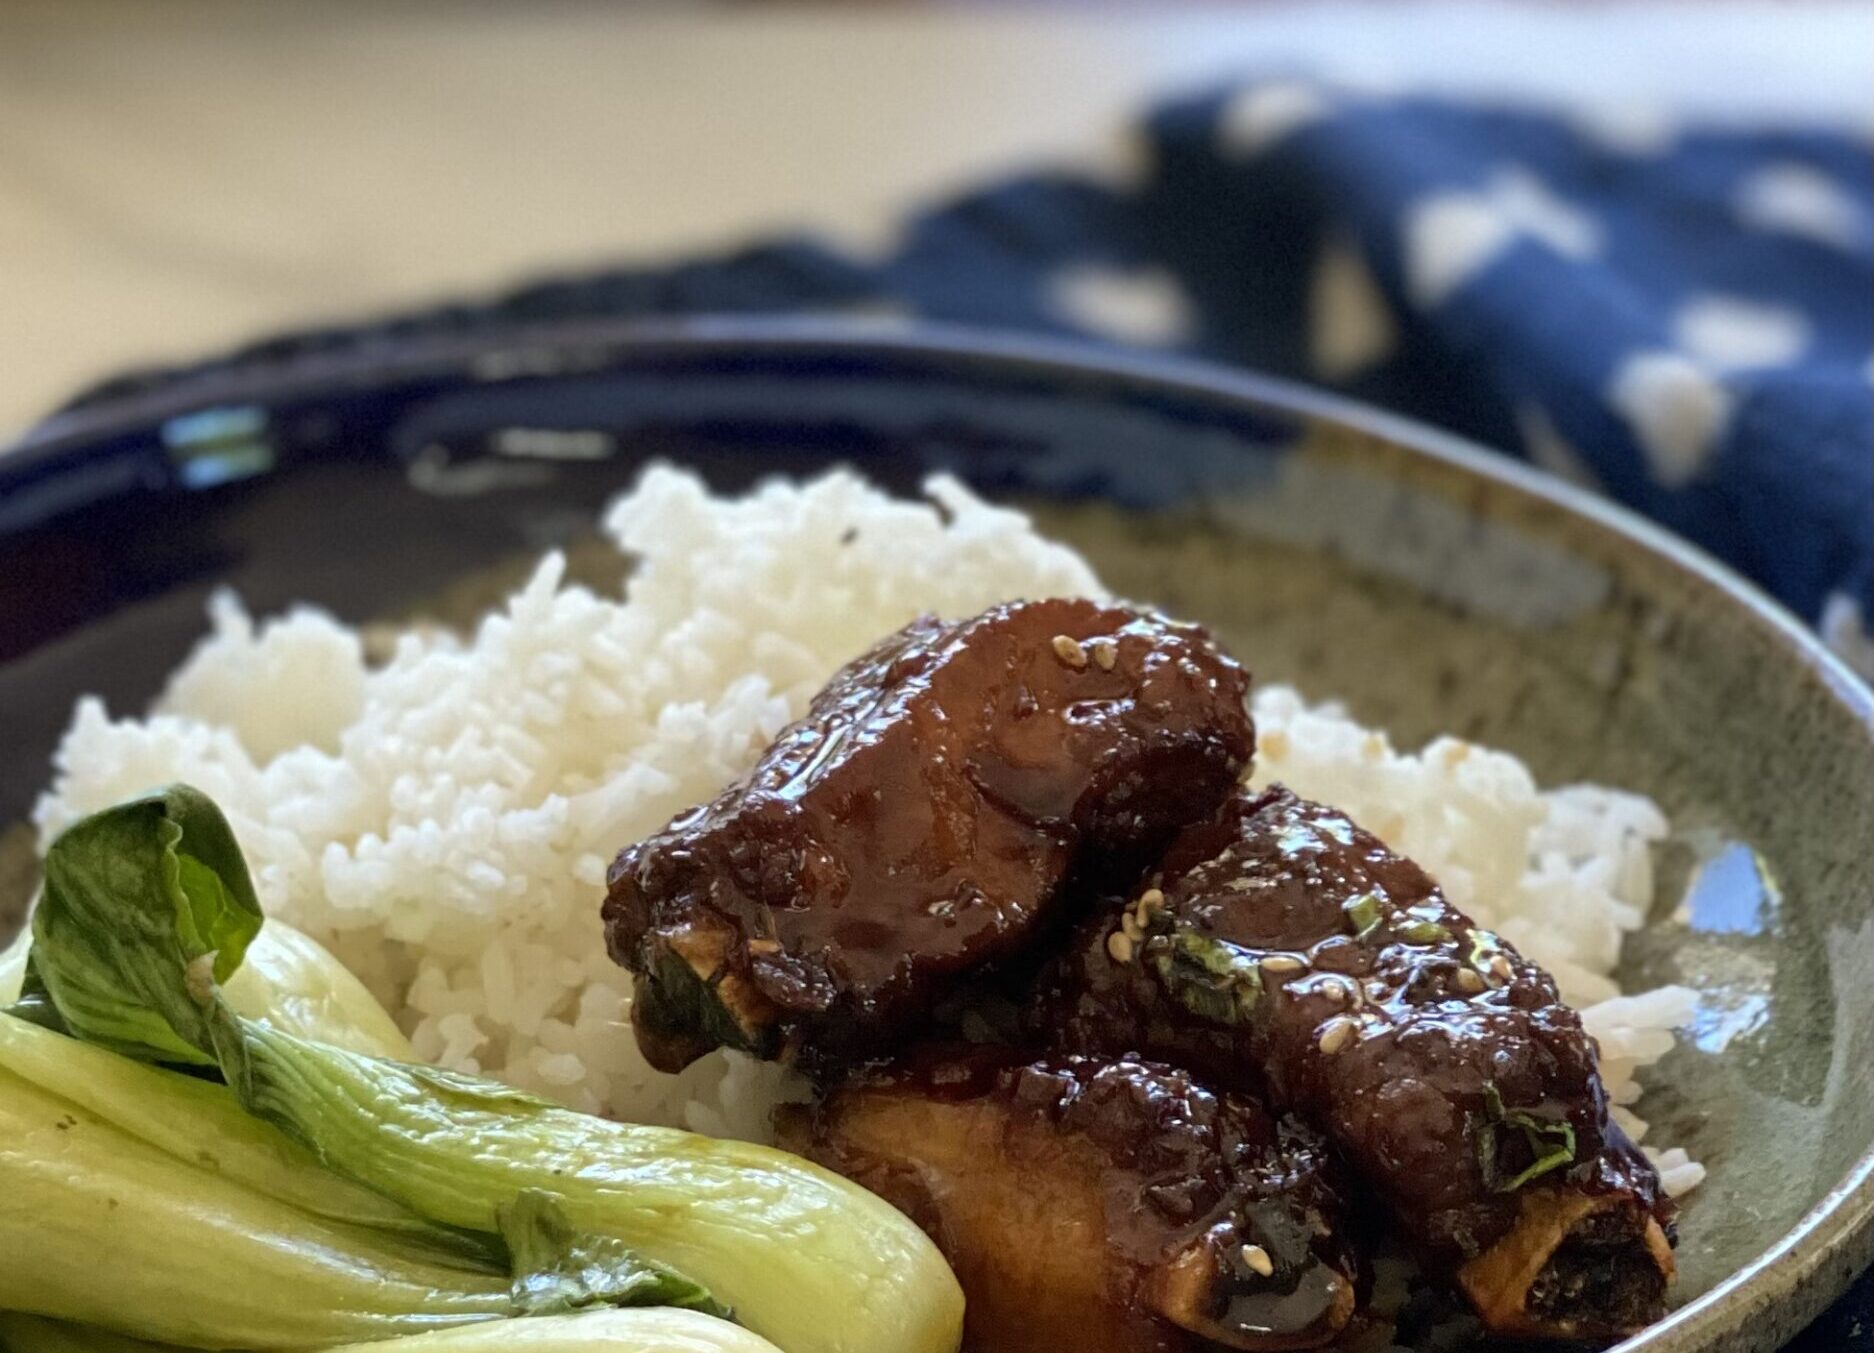
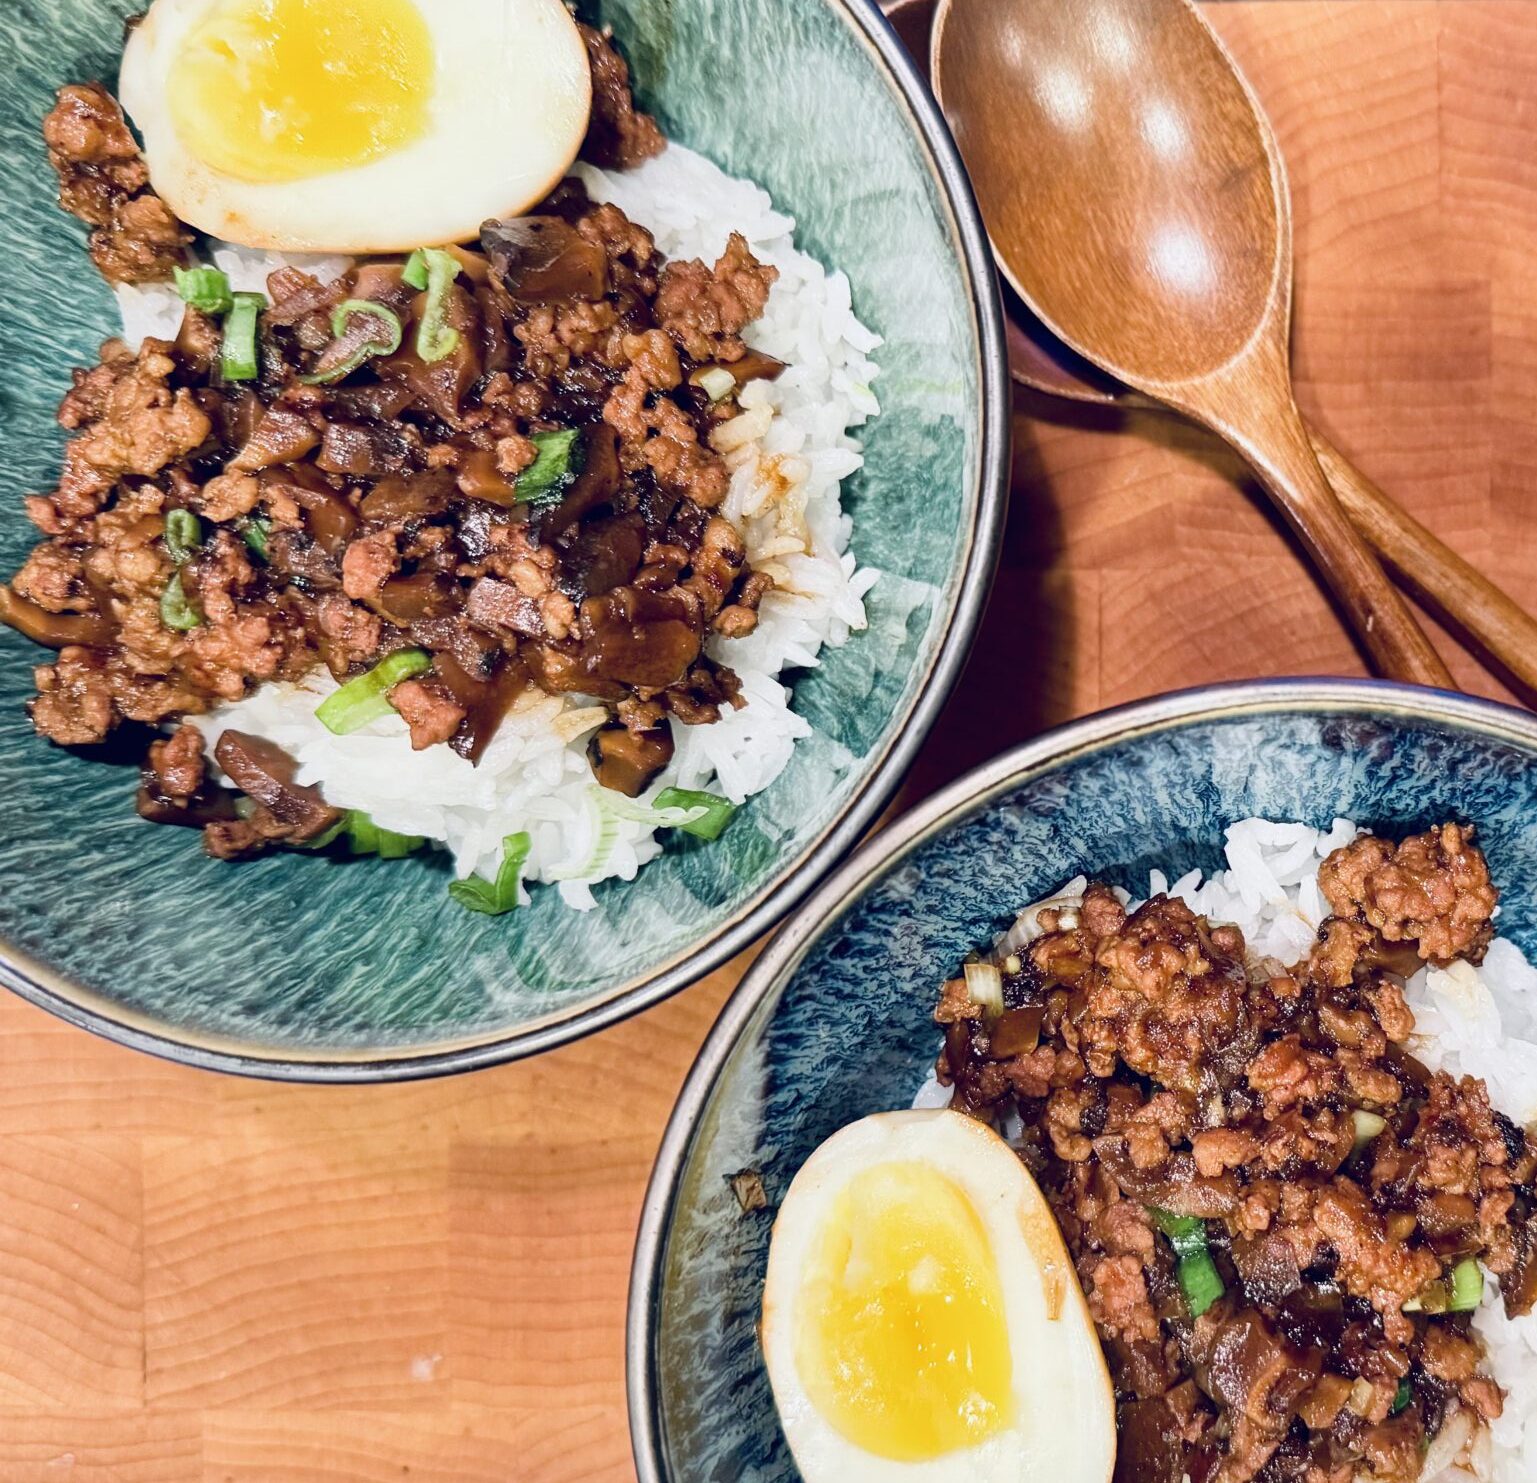
Taiwanese Braised Minced Pork Rice (肉燥饭)
Since returning from New York, we have made a concerted effort to eat at home. Tired of eating out (I’m shocked, I LOVE eating out), and looking at our credit card bill made eating at home more appealing. Comfort food was top on the list, which means down-home Asian classics that can be tough to find in restaurants. It’s soul food your mom or dad made.
It’s Good to Be Home
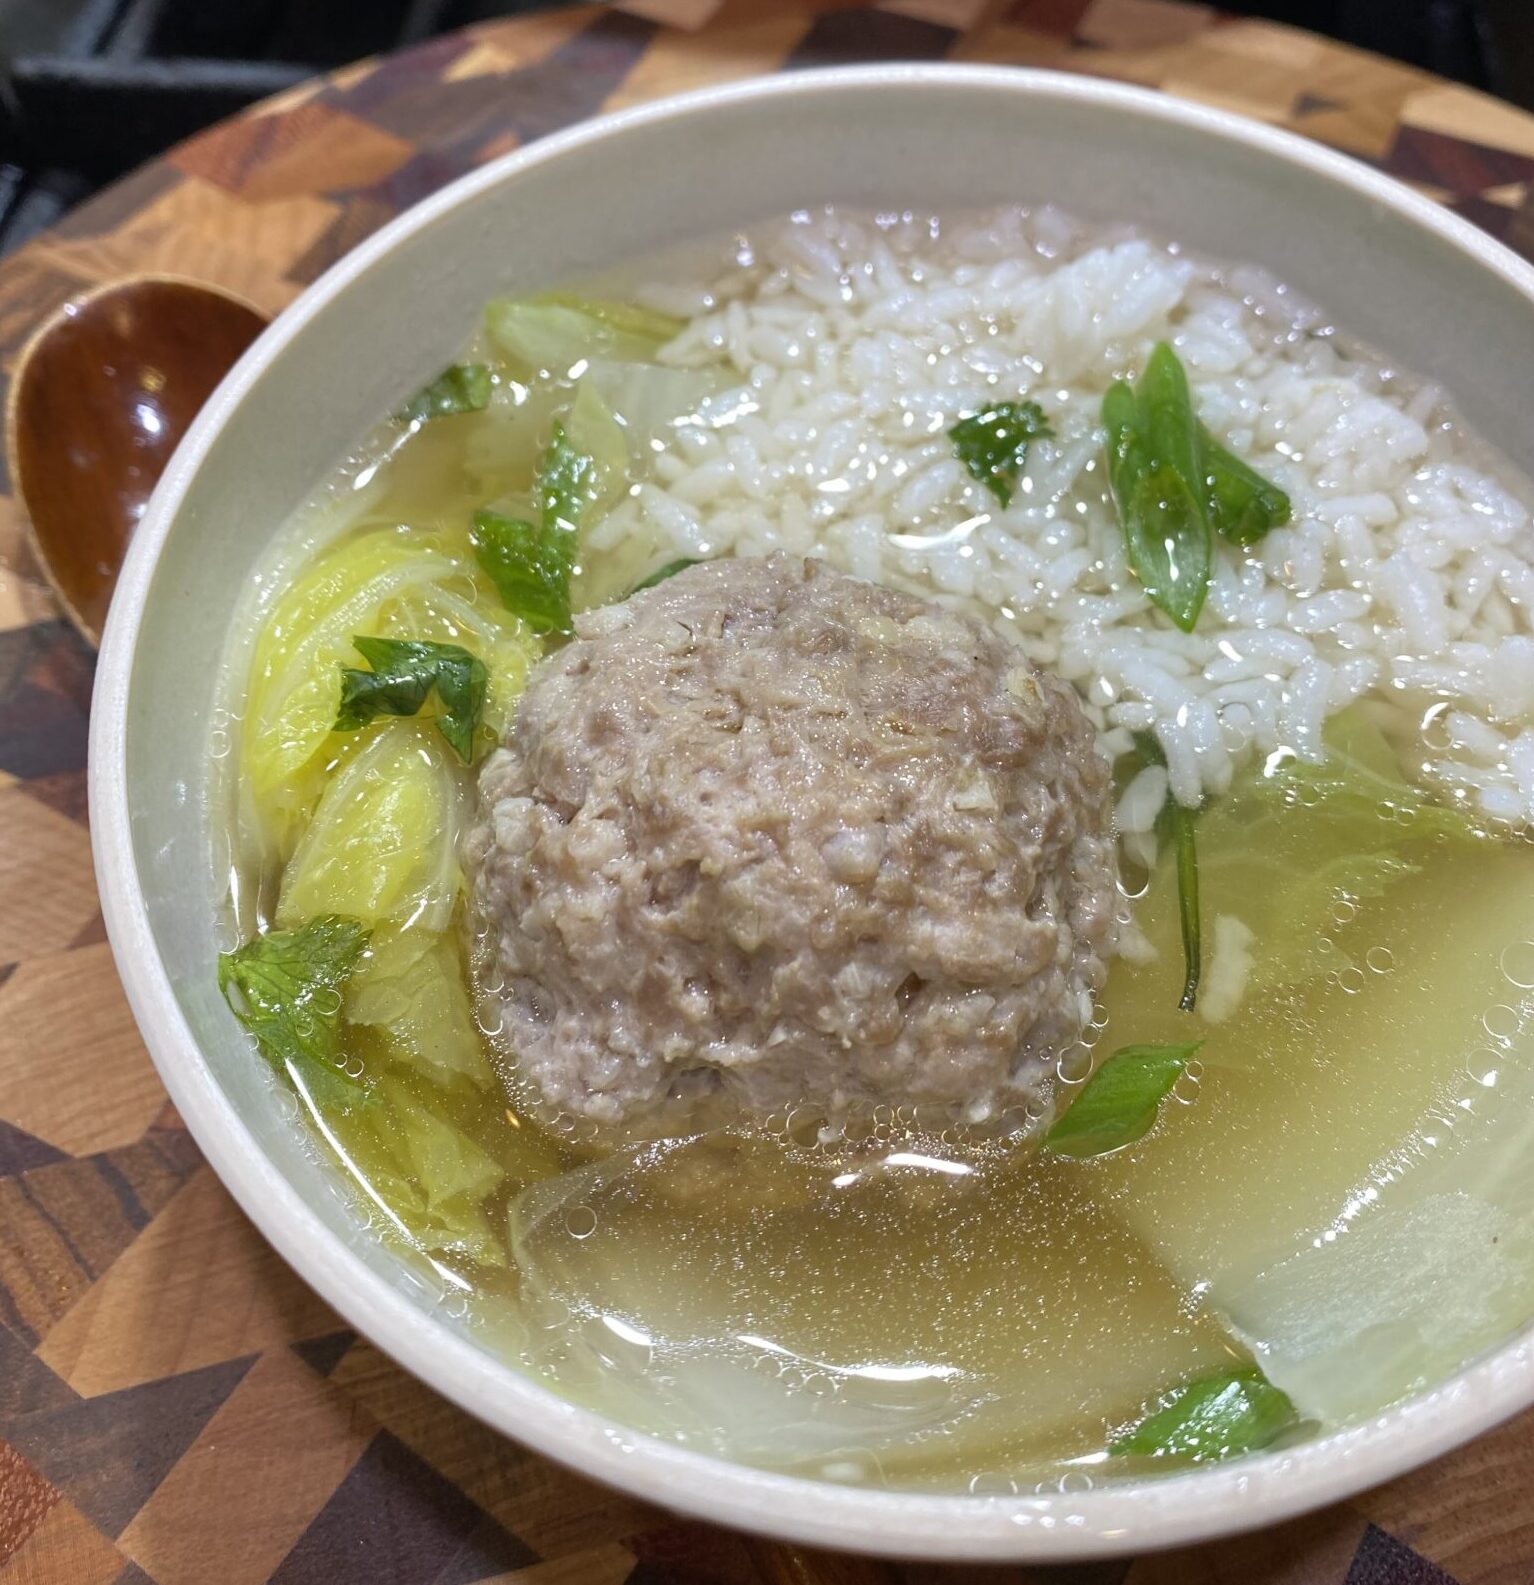
I have the same ritual whenever we return from a trip. I make a BIG-ASS pot of soup, a pork and melon soup like Korean Short Rib Soup, or a vegetable beef like Caldo or Congee (rice porridge). We usually crave something saucy served over hot steaming rice, like Taiwanese Braised Pork (Lu Rou Fan) or Cantonese Creamy Scrambled Eggs and Tomatoes,
This time, I opted for Braised Minced Pork, a riff on Taiwanese Lu Rou Fan. A recipe on Woks of Life that became my inspiration. Minced pork replaces the pork belly, which reduces the cooking time. A glance in the freezer, I found ground pork and pulled it out. The hubs rehydrated a couple of shiitake mushrooms, I found shallots, and we got to work on dinner. Stretched out on my couch, a bowl of minced pork over rice nestled in my hand, and the latest episode of Top Chef on the telly sounded perfect.

The Dish
Not gonna lie, this took longer than I anticipated. Finely dicing mushrooms, then shallots, and mincing ginger took longer than expected. But that first bite was delicious and made it all worth it. Good thing we recorded Top Chef.
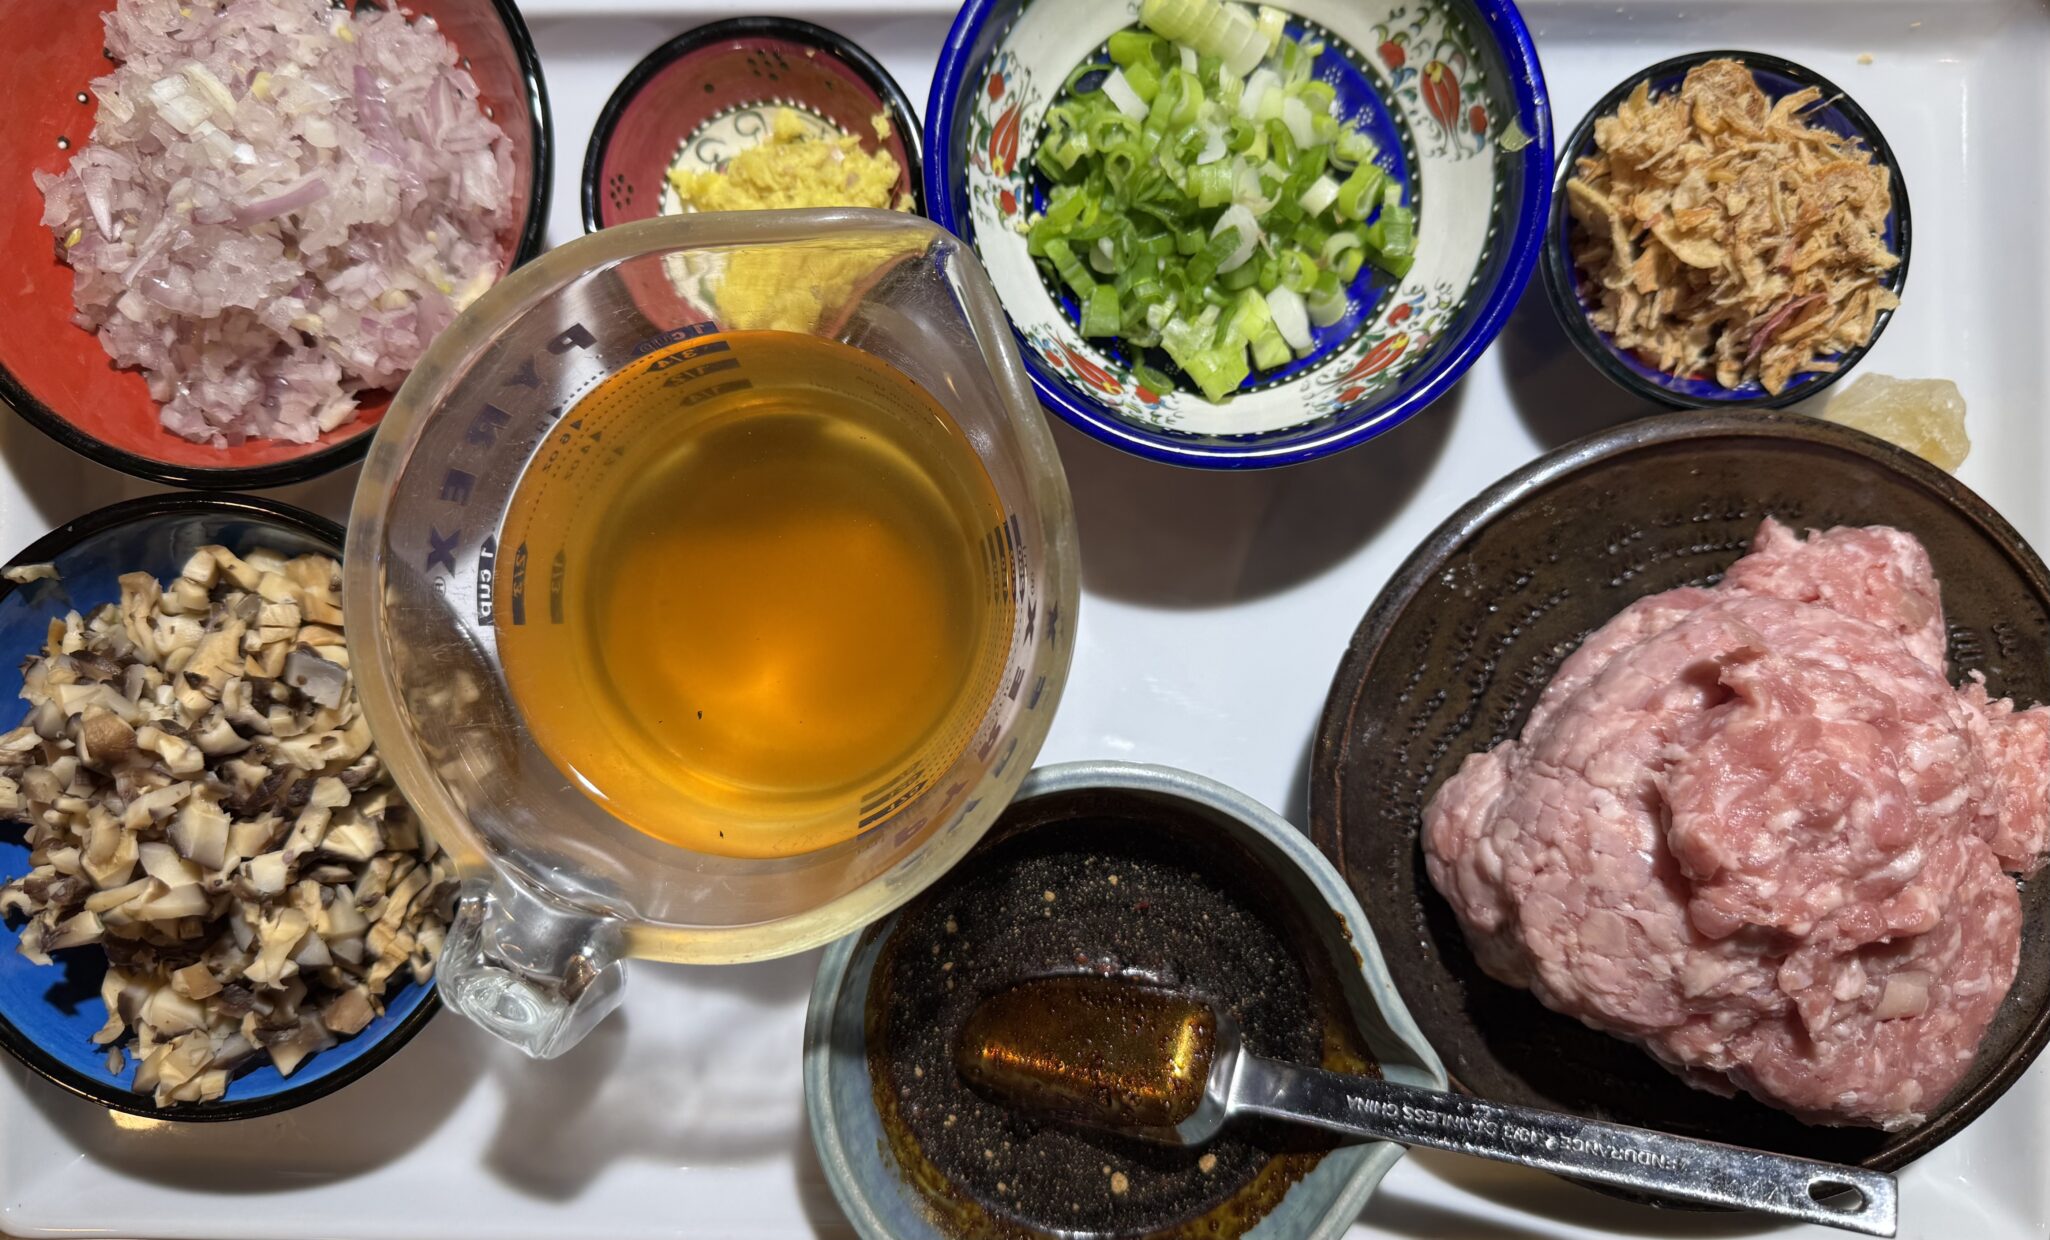
Ground Pork- If possible, hand chop pork at home or buy coarse-ground pork; the texture is better.
Shiitake Mushrooms– Start with dried shiitakes and soak them in warm water until they are soft. Reserve the soaking liquid. Purchase dried Shiitakes at any Asian Market or online.
Shallots– A cross between an onion and garlic in flavor, are used widely in Taiwanese food. Fresh shallots are easy to find. I tweaked the recipe and reduced the fresh (honestly, I got tired of dicing) and added fried shallots. Fried shallots are found in a lot of Taiwanese dishes. You can fry your own, or you can buy fried shallots at most Chinese grocery stores. TJ’s fried onions, which make their appearance right before Thanksgiving, are the perfect substitute for fried shallots.
Star Anise—This fennel—and licorice-flavored spice is prevalent in Chinese food. I tend to reduce or even omit it from dishes, but it’s your choice. The original recipe calls for 2 pieces.
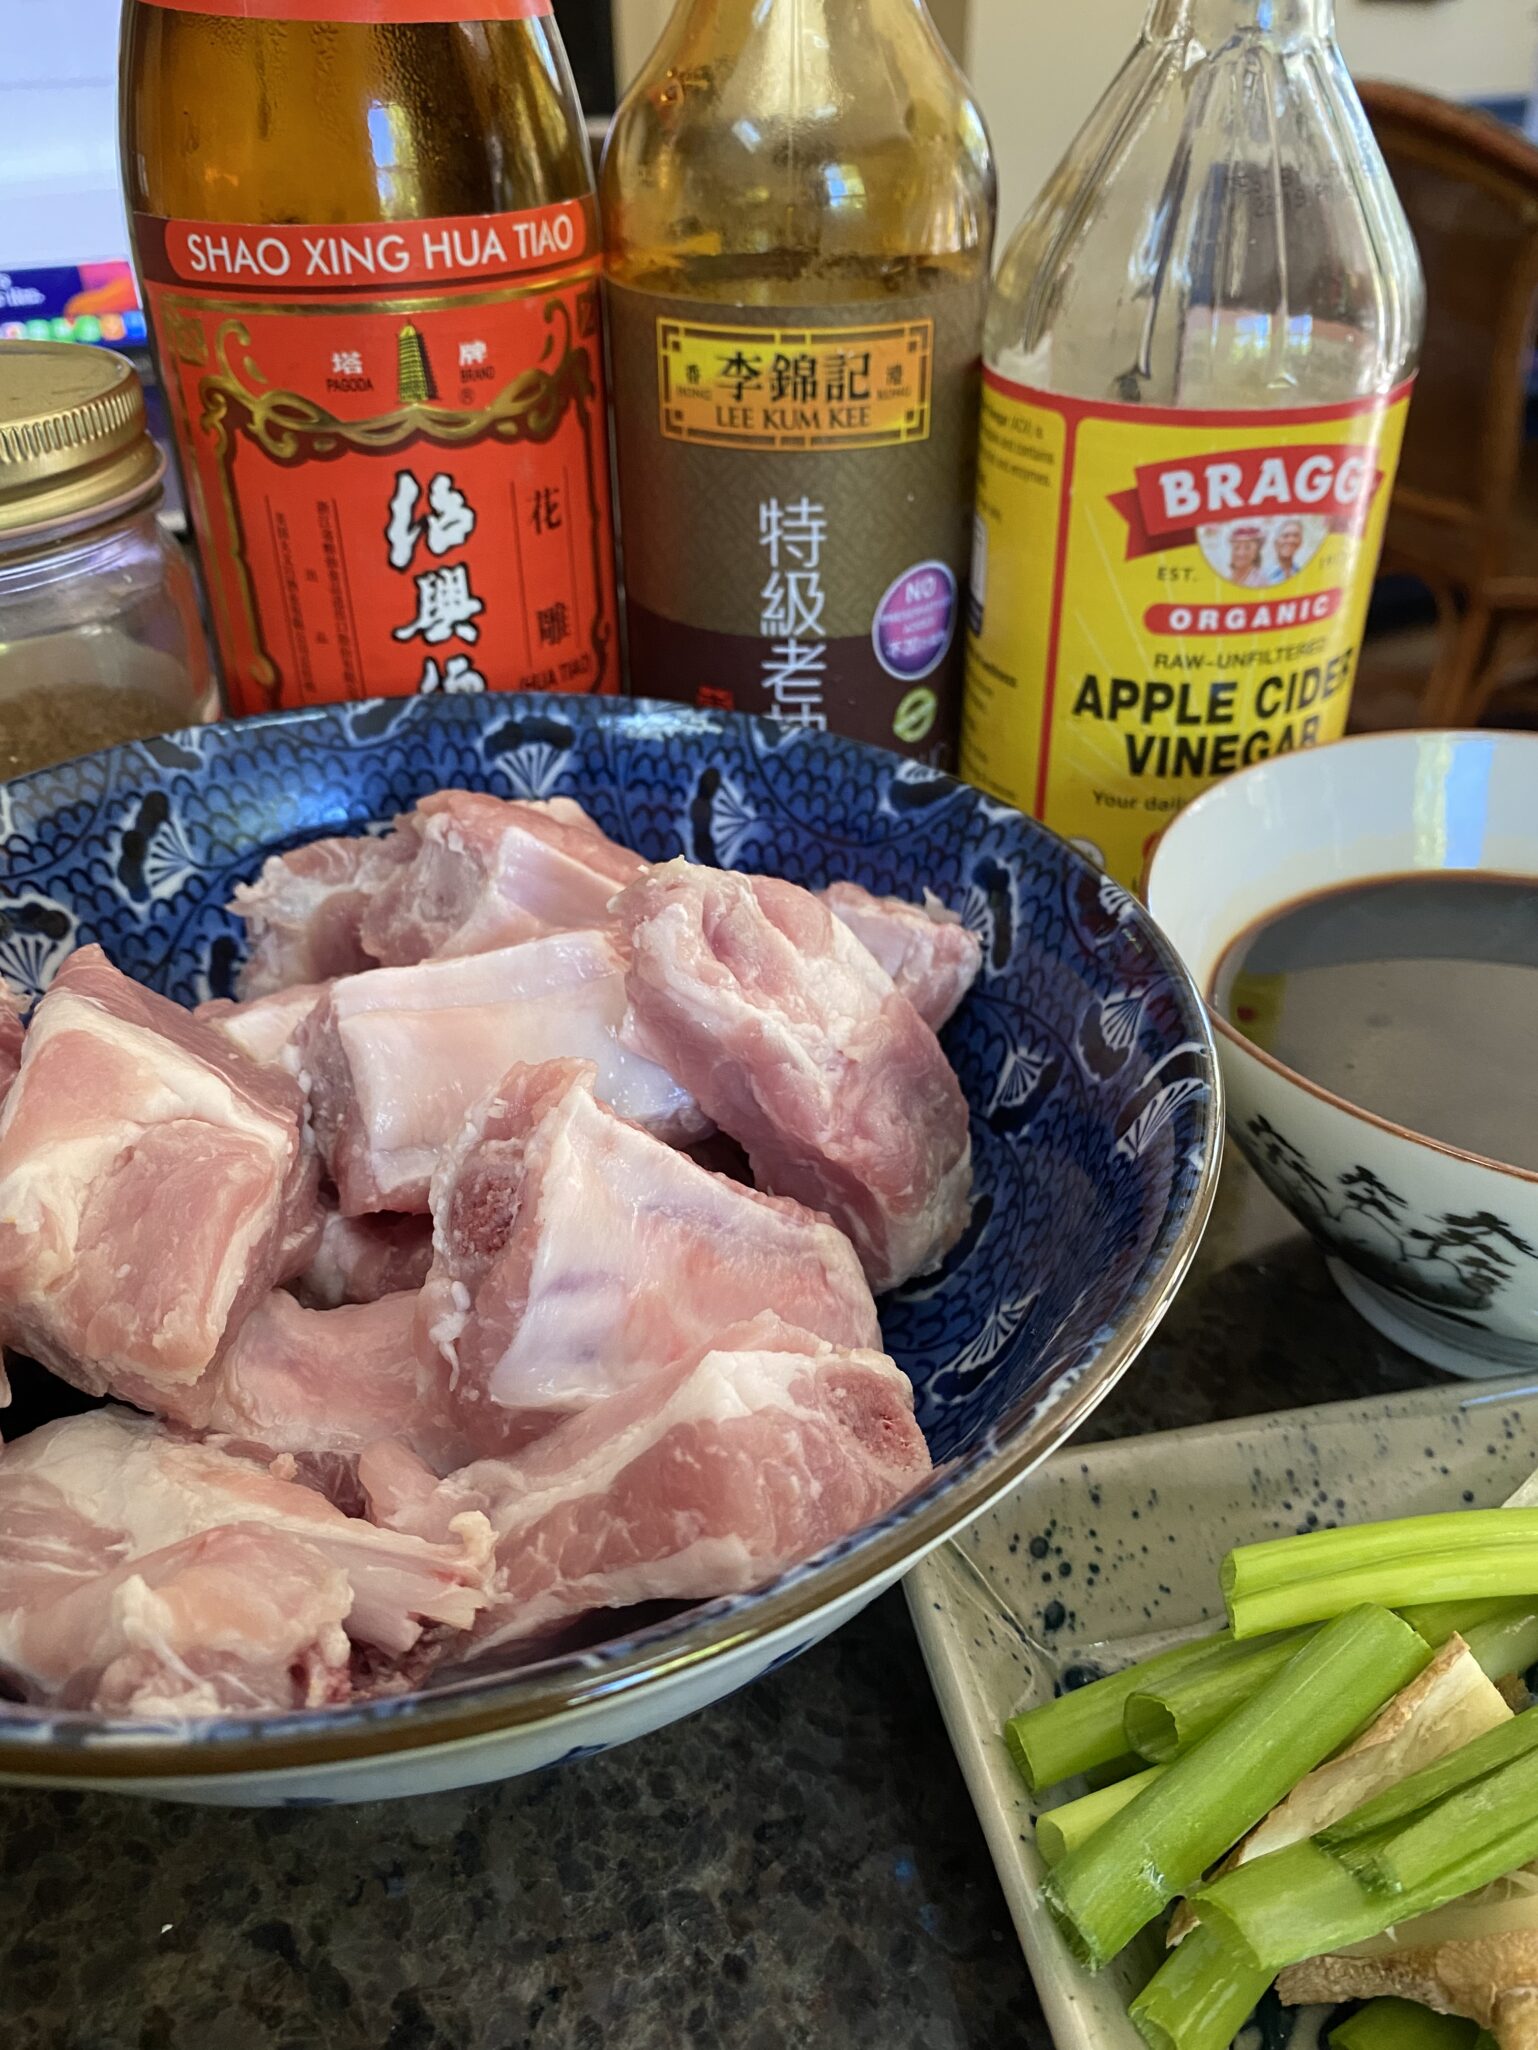
Soy Sauce– Dark soy has molasses, so it is sweeter than light and used for color. Light soy is saltier and used for seasoning. If you cook a lot of Chinese dishes, it is worth getting both.
Once everything is prepped, finishing is a snap. Stir fry the pork and aromatics, add the seasonings and water, and simmer 20-30 minutes.
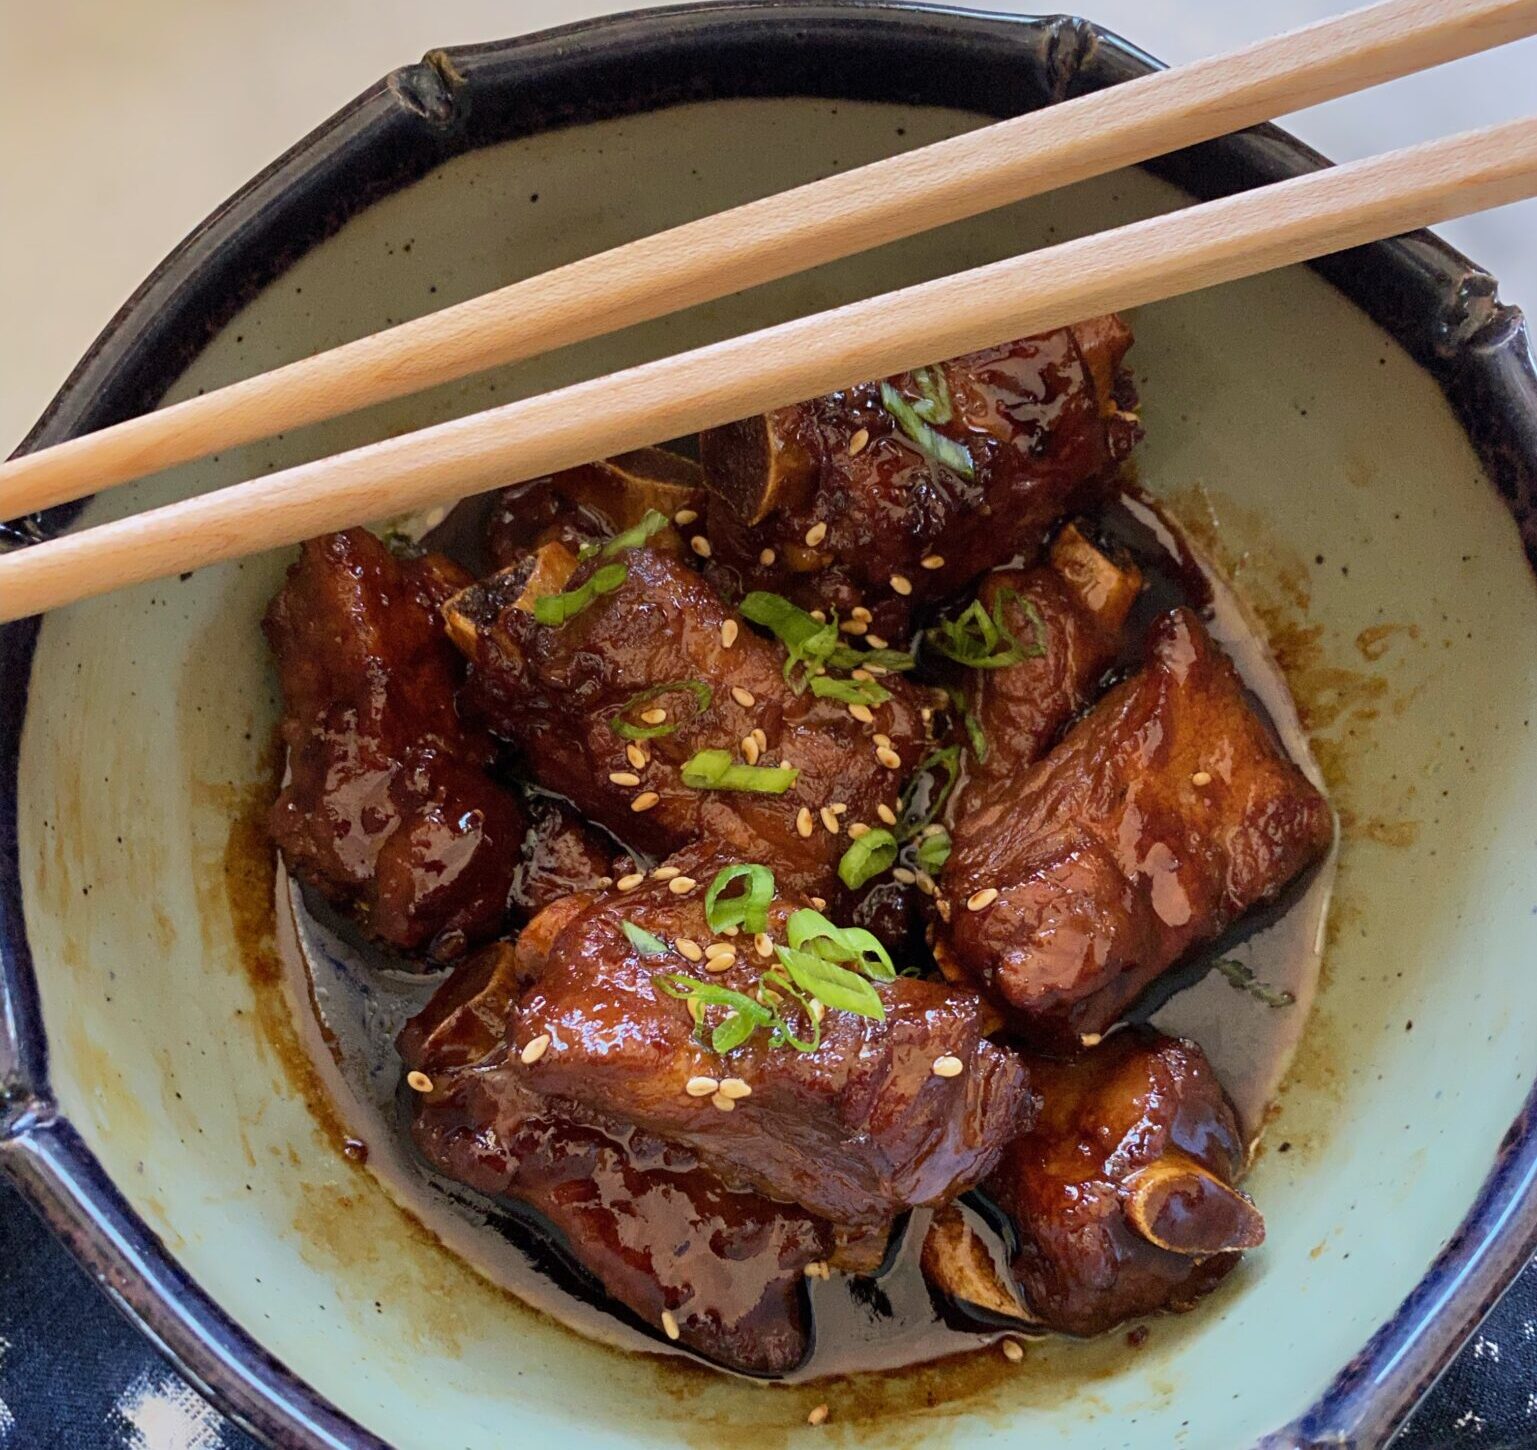
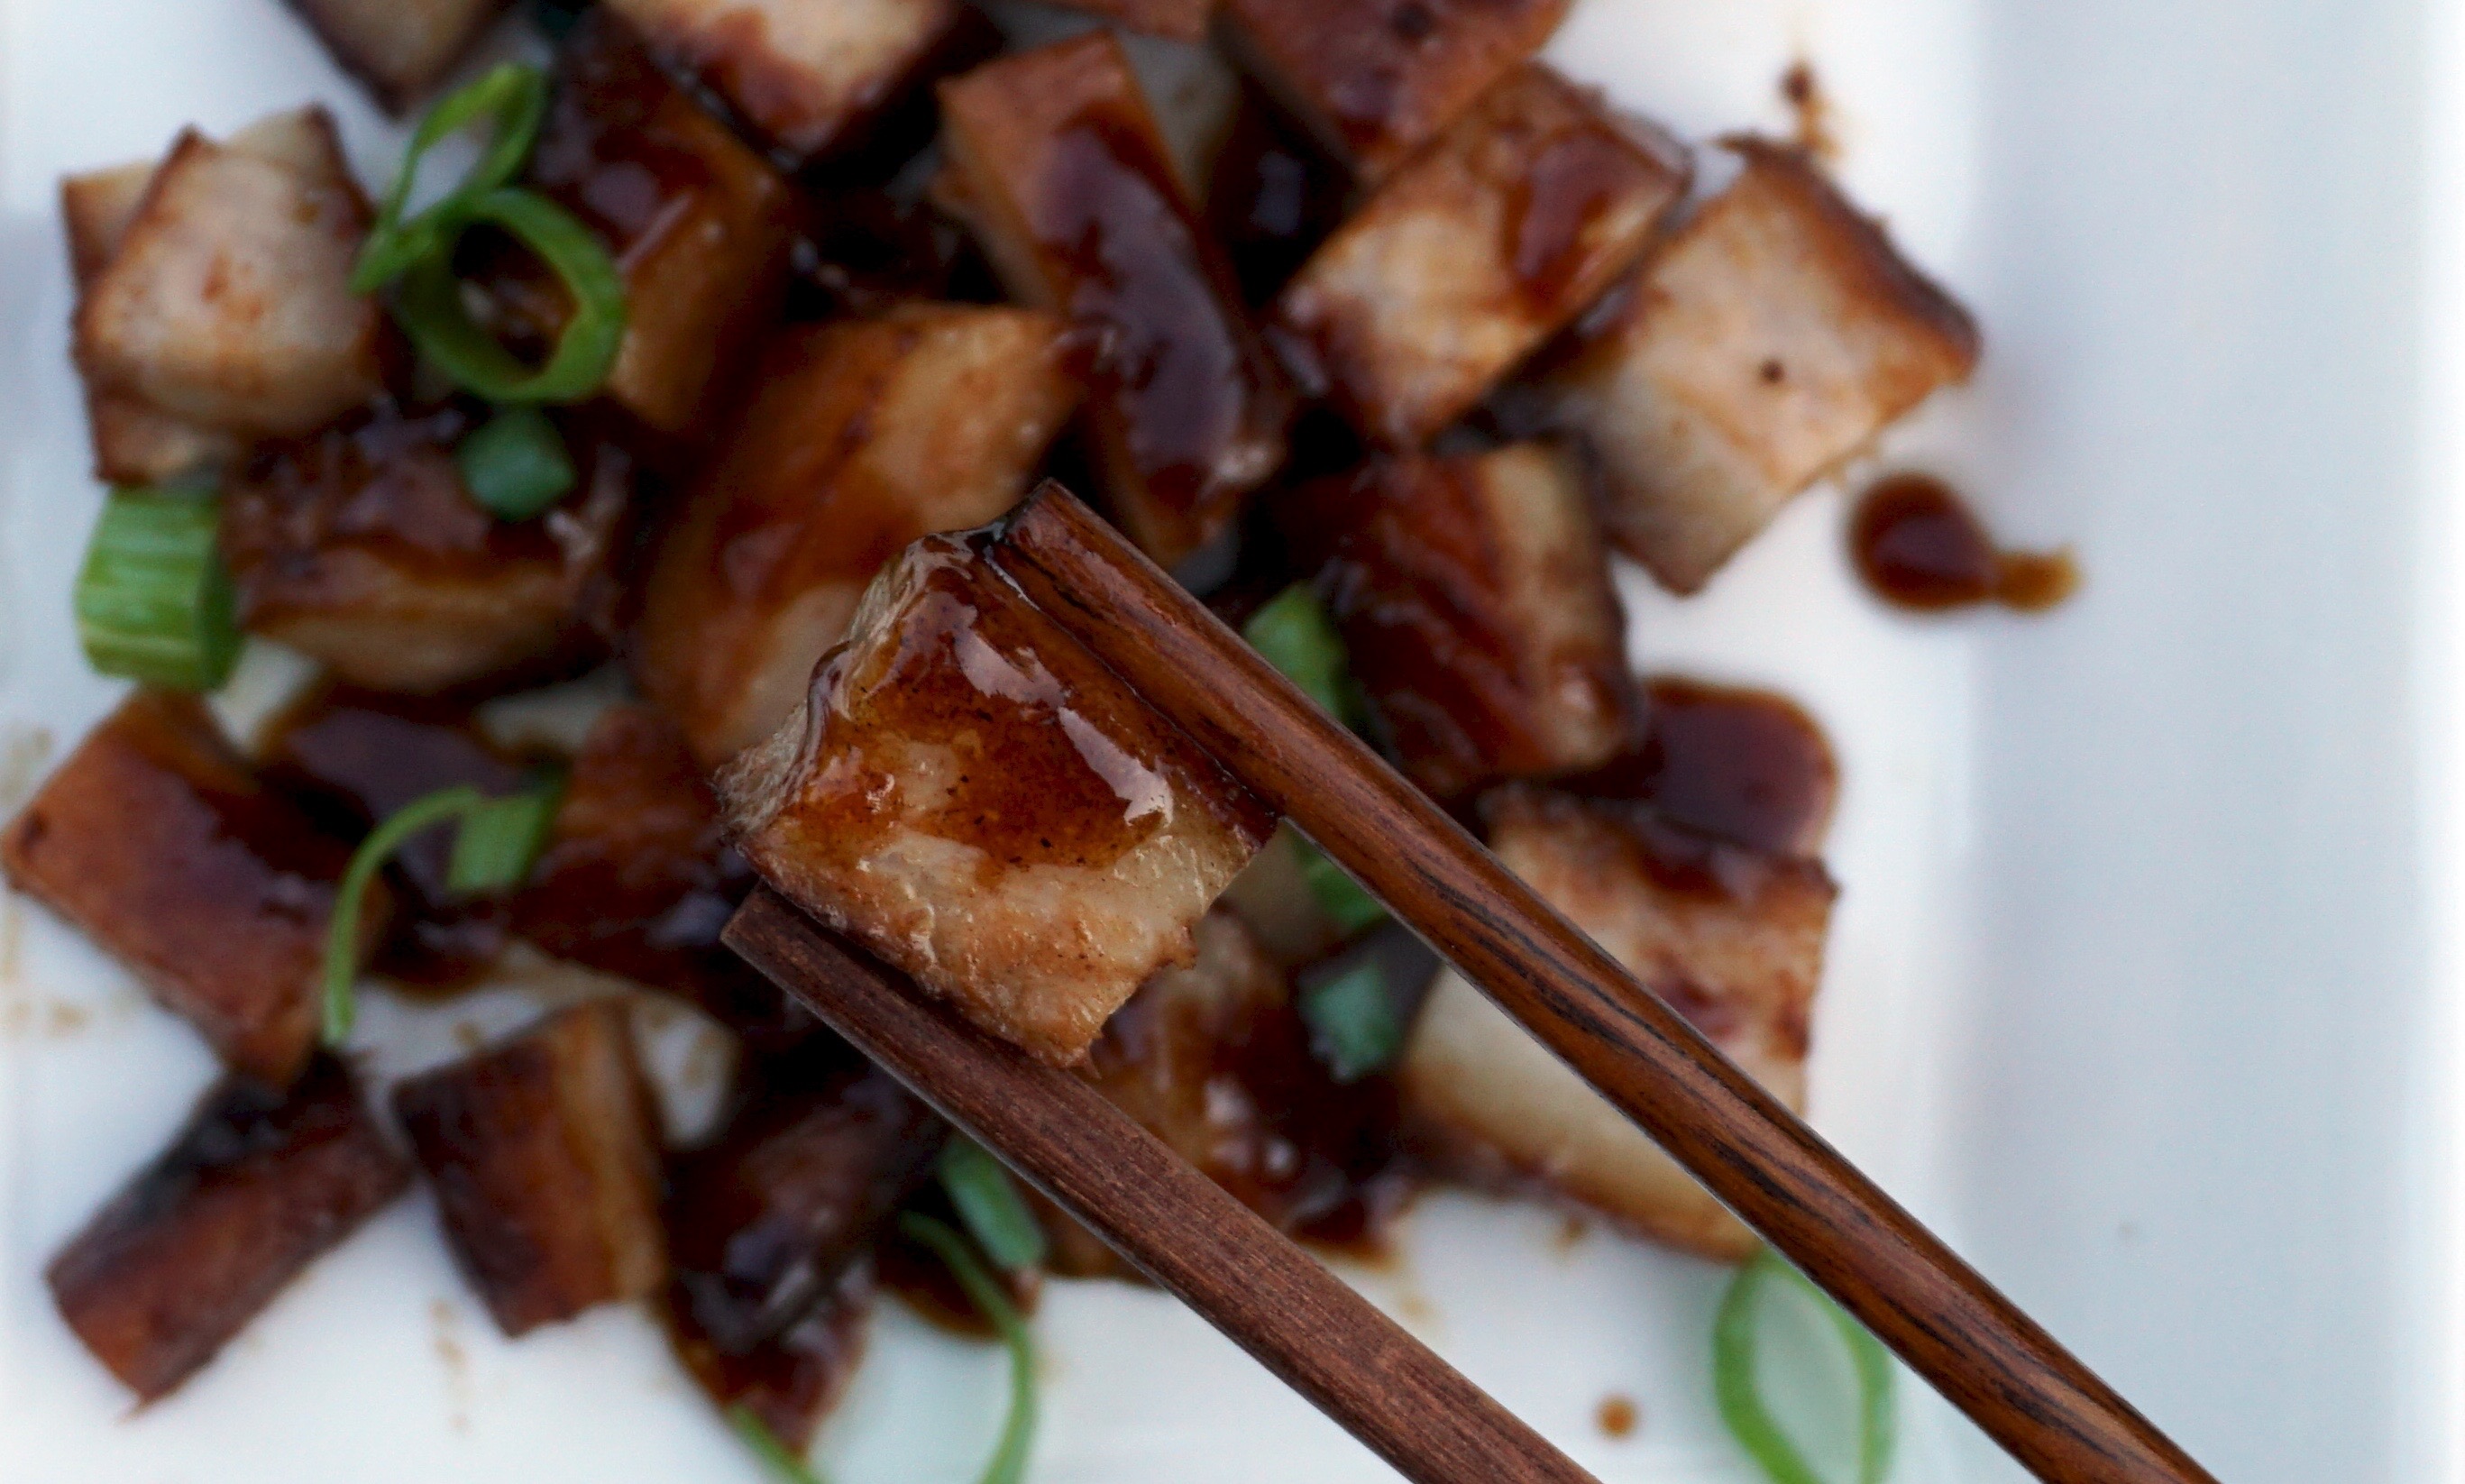
Eggs—In Taiwanese dishes, the eggs are not jammy like ramen eggs. Boil the eggs first and then add them to the dish to absorb the flavor of the braising liquid. I LOVE jammy eggs, so I cook the eggs like ramen eggs and chill them before adding them to the pork to minimize how much more they cook. They’re not jammy but have a softer center than usual.
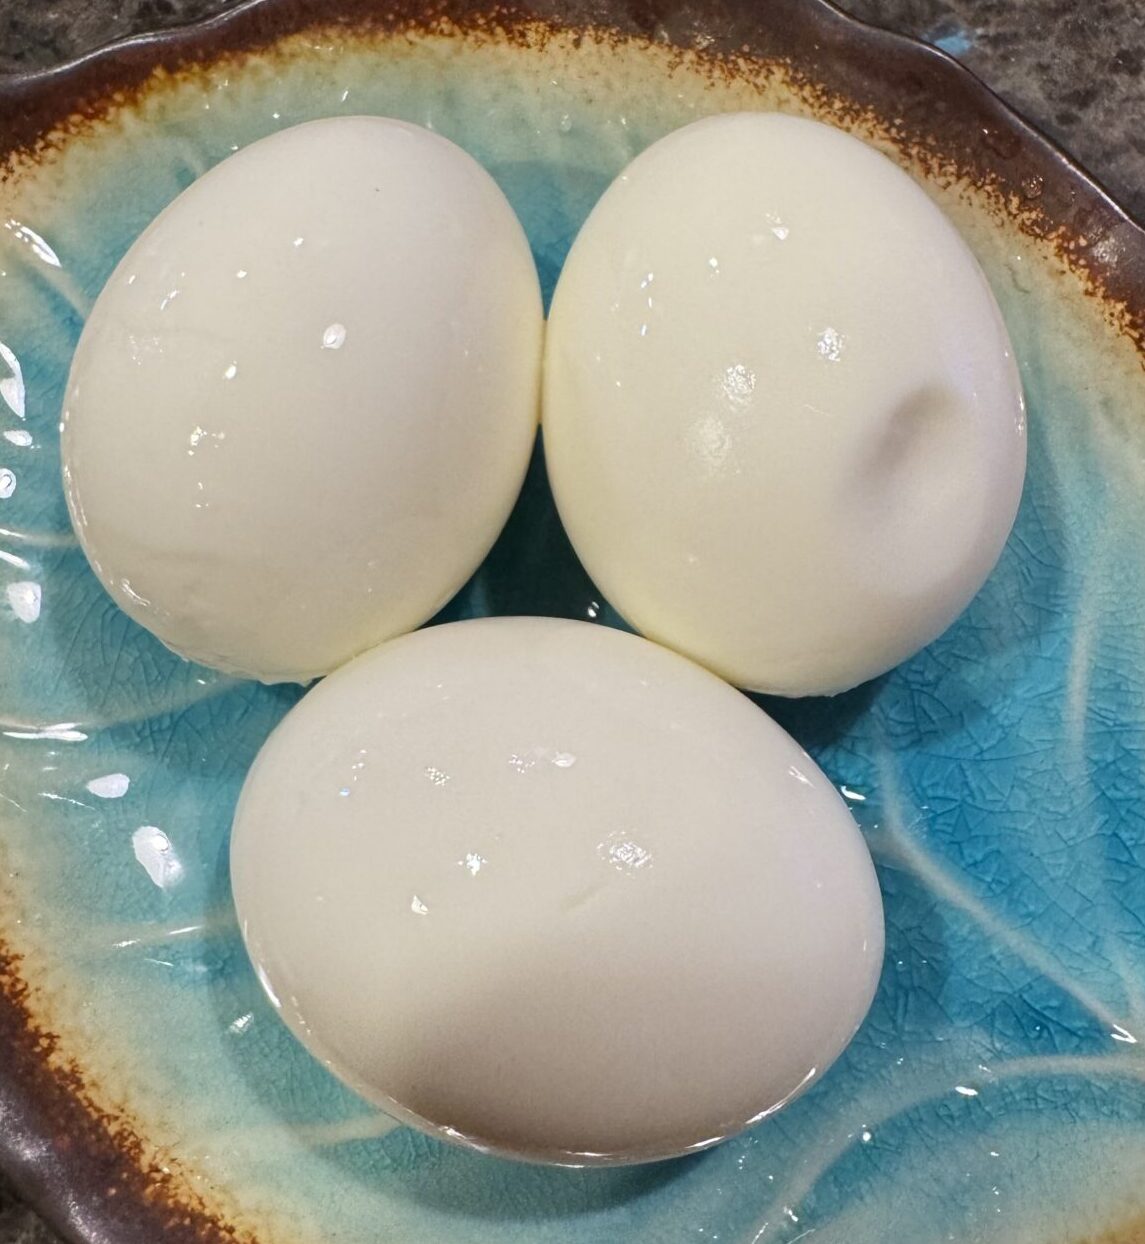
Barely cooked eggs are peeled and chilled before adding to the pork braising liquid.
Check out the reel on Instagram!
Taiwanese Braised Minced Pork Over Rice (肉燥饭)
Ingredients
Aromatics
- 1 cup shallots finely diced
- 1 tablespoon ginger minced
- 1 1/2 ounces dried shiitake mushrooms 5-6 large mushrooms, soaked & finely diced
- 3 tablespoons oil any neutral flavored oil, such as vegetable or canola oil
Meat and Seasonings
- 1 pound ground pork hand-chopped pork shoulder or pork butt is ideal, but pre-ground is acceptable
- 1-2 star anise I omit star anise, not a fan
- 3 tablespoons Shaoxing wine
- 0.5 ounce rock sugar or 1 tablespoon granulated sugar
- 1/4 cup Fried shallots optional, if using, reduce fresh shallots to 3/4 cup
Braising Liquid
- 2 tablespoons light soy sauce
- 1 tablespoon dark soy sauce
- 1 tablespoon oyster sauce Lee Kum Kee
- 1/2 teaspoon ground white pepper
- 1/4 teaspoon five spice powder
- 2-1/2 cups water including shiitake mushroom soaking water
Sides and Garnishes
- 3-5 eggs
- 1/4 cup scallions chopped, white and green parts
- salt to taste optional, likely not needed
Instructions
- Rehydrate the dried shiitake mushrooms, rinse them off and soak in hot water for at least 2 hours or until soft. Squeeze out the liquid, and dice into ¼ inch pieces. Reserve the soaking liquid for later use..
- Heat 2 tablespoons of oil in a wok or large skillet over medium heat. Cook the ginger and shallots for 1-2 minutes, or until the shallots turn translucent. Stir in the mushrooms, and cook for another 2 minutes.
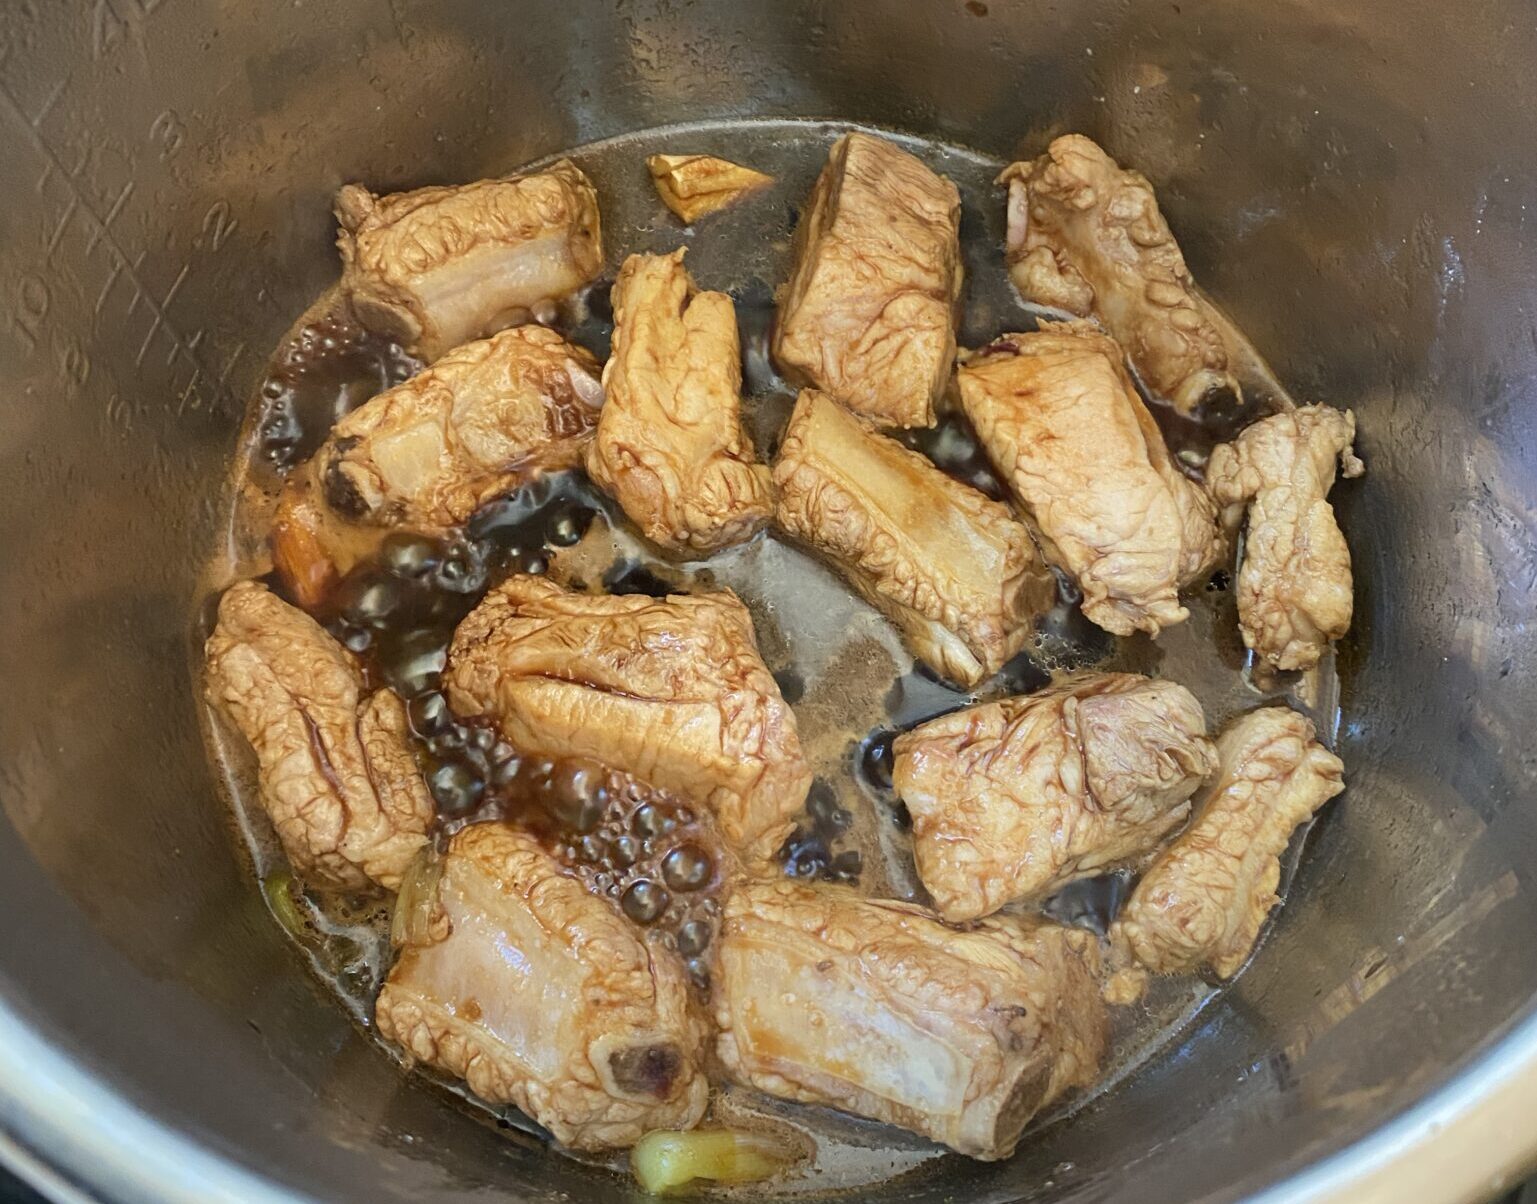
- Increase the heat to high. Add 1 additional tablespoon of oil, along with the ground pork and star anise. Cook until the meat is opaque.
- Stir in the Shaoxing wine to deglaze the wok or pan. Add the rock sugar (or sugar), light soy sauce, dark soy sauce, oyster sauce, white pepper, five spice powder, and 2 cups of water (including the mushroom soaking water. Just be sure to leave behind any sediment from soaking the mushrooms).
- Bring to a boil. Once boiling, cover, reduce the heat to medium/medium-low, and simmer for 20 minutes.
- Meanwhile, hard-boil the eggs. Bring a medium pot of water to a rolling boil. Gently lower the eggs into the water using a large spoon, taking care not to break the shells. Boil rapidly for 30 seconds, and then reduce the heat to low. Cover, and simmer the eggs for 10 minutes. Remove to a bowl of ice water. When the eggs are cool to the touch, peel them and rinse them under running water.
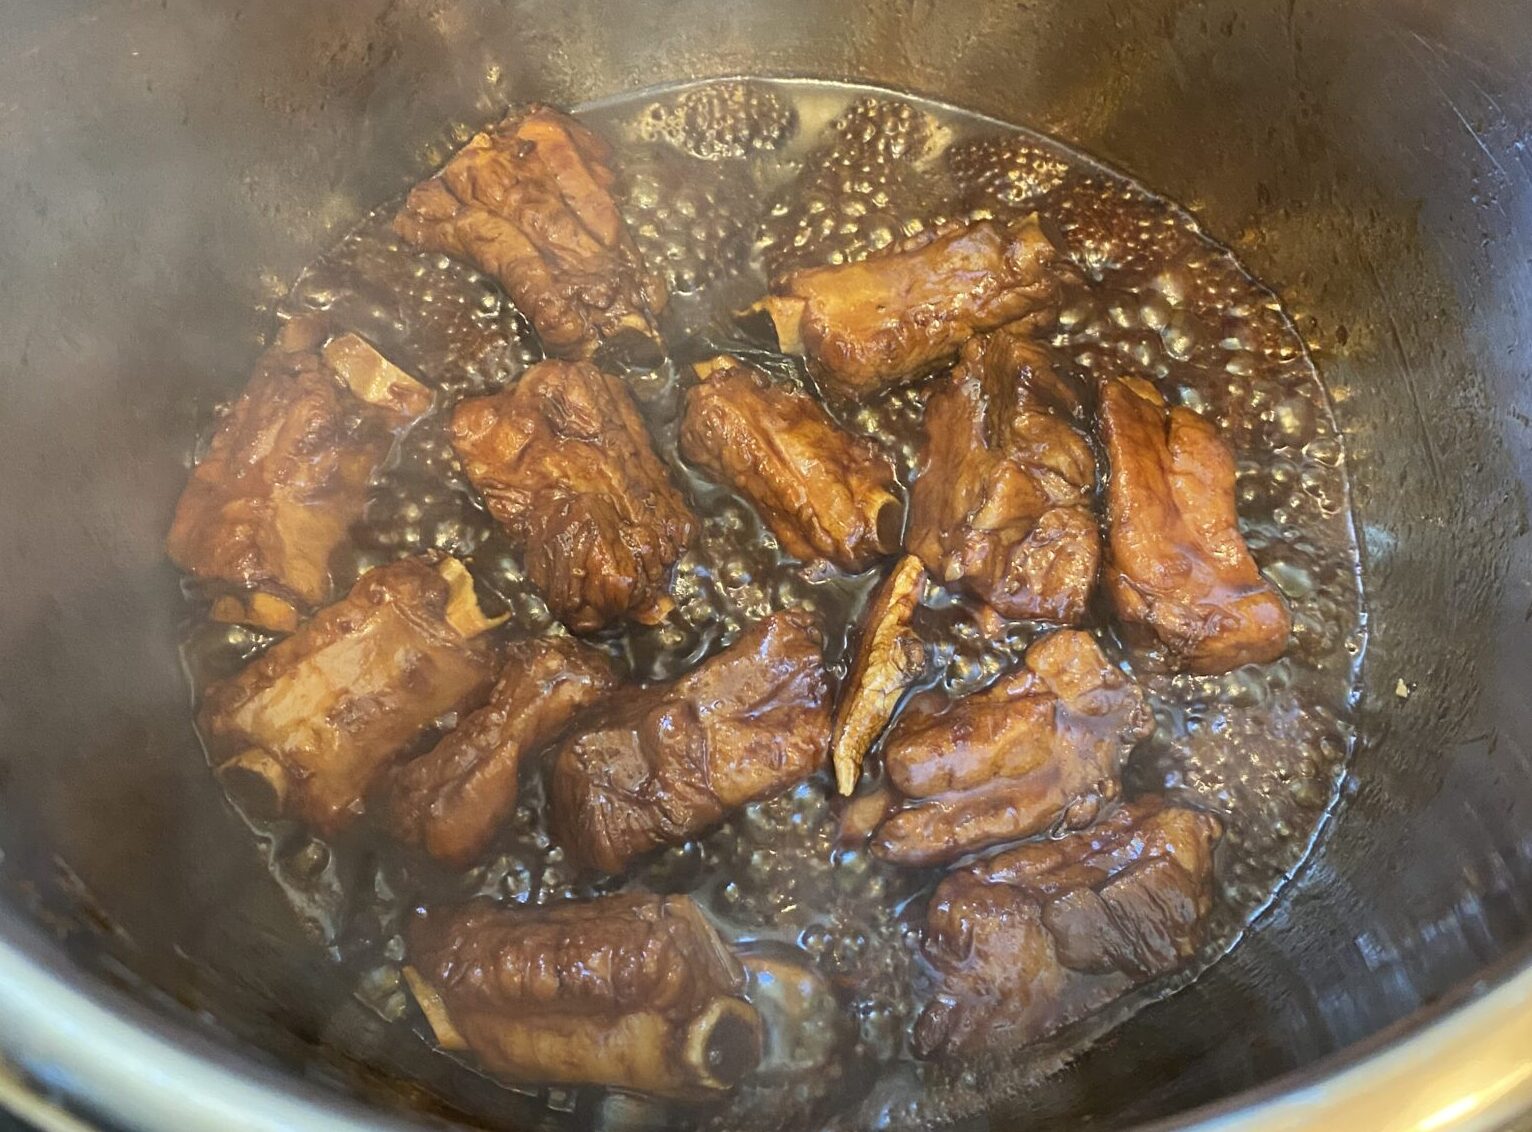
- After the pork has simmered for 20 minutes, add the eggs to the mixture, making sure they’re submerged in the sauce. At this point, you may need to add another ½ cup to 1 cup of water to ensure there’s enough liquid to submerge the eggs. Cover and simmer the mixture for an additional 10 minutes.
- Uncover the wok. If the sauce is too thin, turn up the heat to medium high, and reduce it down, stirring carefully so as not to break the eggs.
- Stir in the scallions and salt to taste. To serve, give each person one egg (cut in half if desired) and ladle the pork over rice.