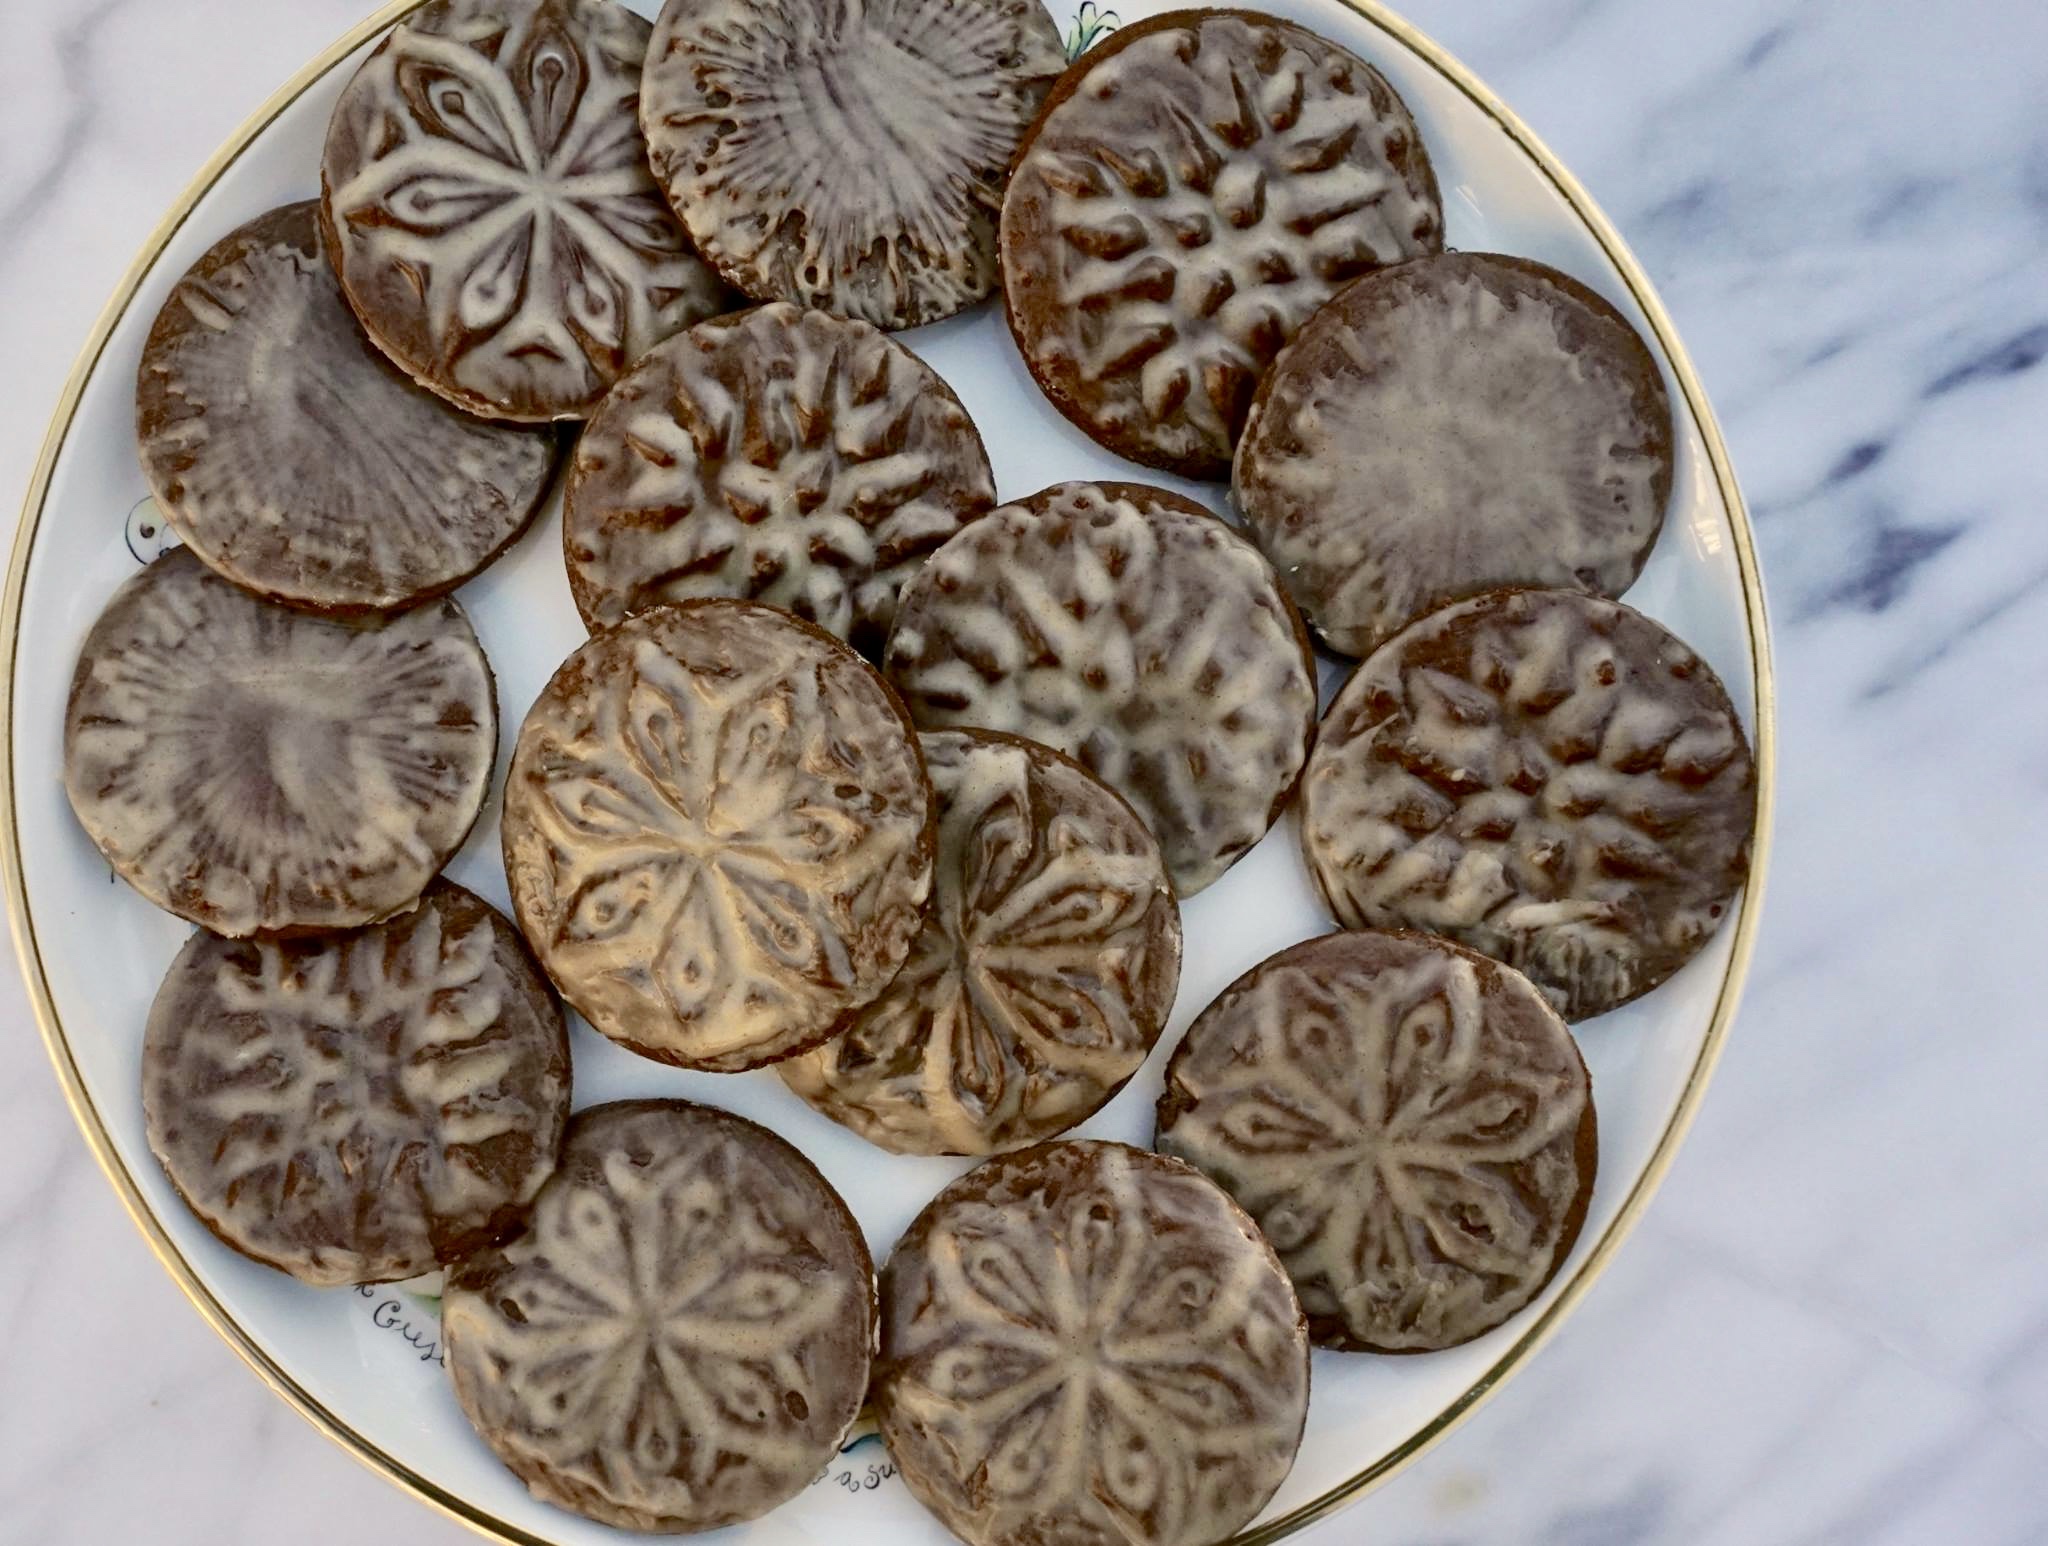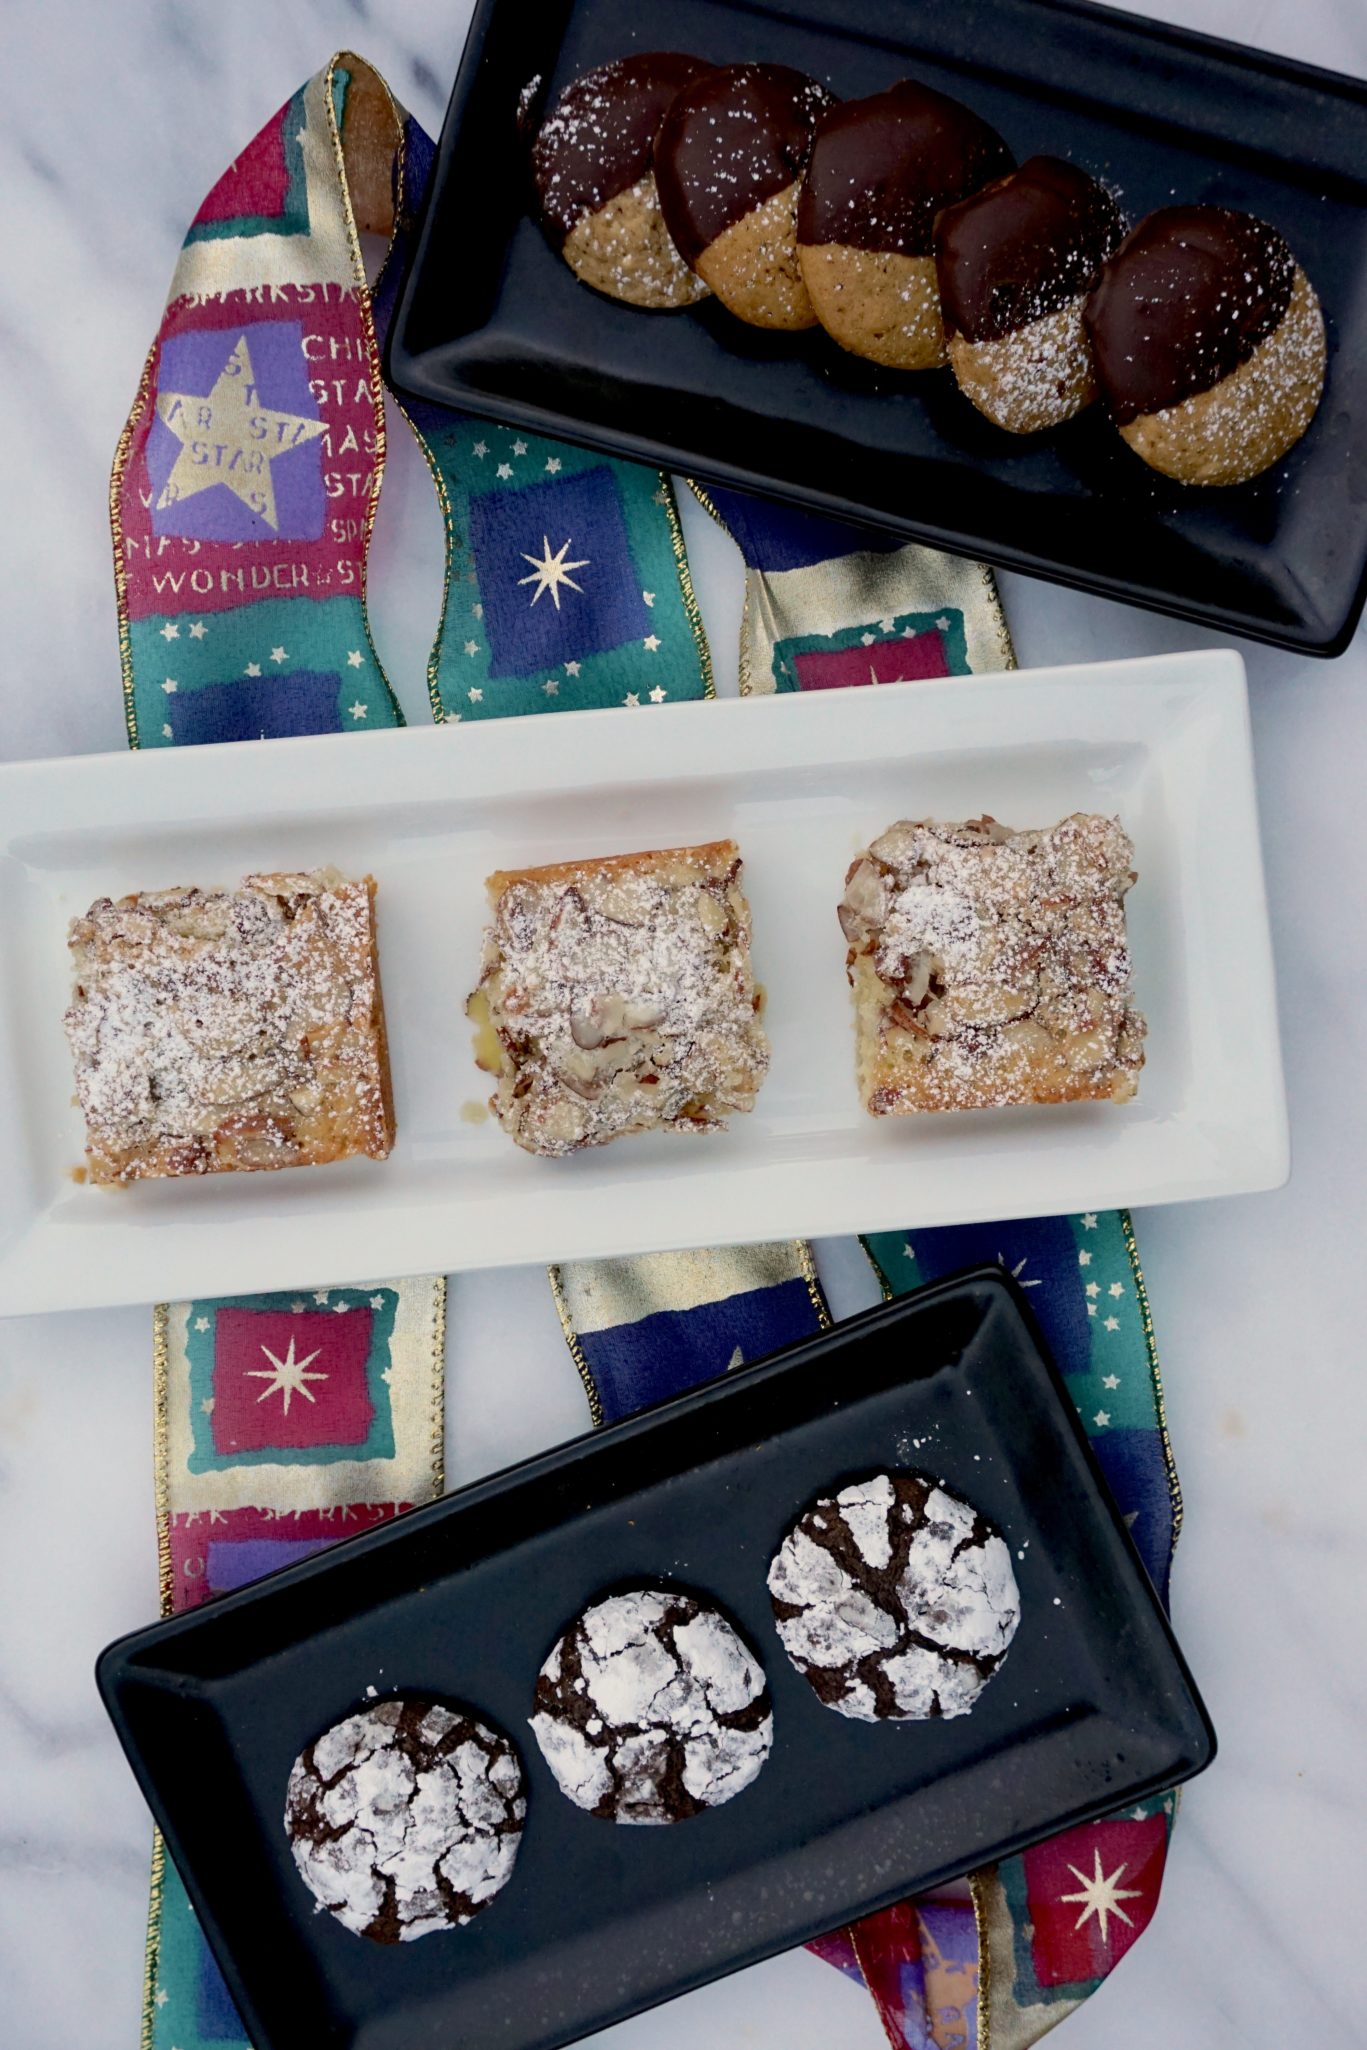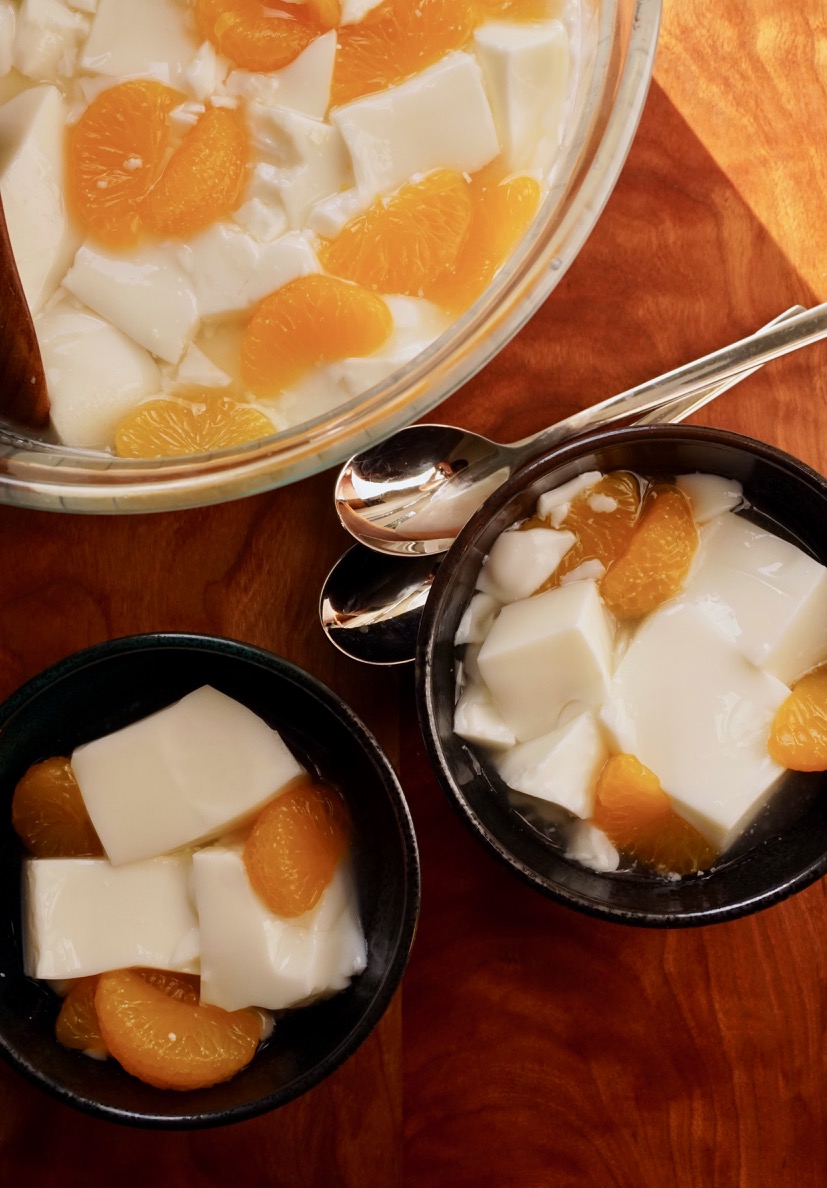
Salted Butter & Chocolate Chunk Shortbread (New Year’s Resolution #2: Finish 12 Days of Cookies)
Let’s get the apology over with first. Yikes, I wasn’t able to complete my 12 days of cookies. I started early, had help from Jamie and still came up short. Shouldn’t make excuses BUT, I am going to. A family trip to Vegas is the clear winner of excuses and reasons why I stumbled. Of course, if I included cookies sampled at Bouchon in Vegas, I would have easily made 12, but not quite within the rules. Second, a faulty oven. When the oven takes over 45 minutes just to reach 325 degrees, Houston, we have a problem. The last time my oven went on the fritz (a few years ago), I was baking Thanksgiving pies. Now that was a disaster.
BUT, I am determined to complete the list, after all, cookies can be made and enjoyed year around. So, without further ado…
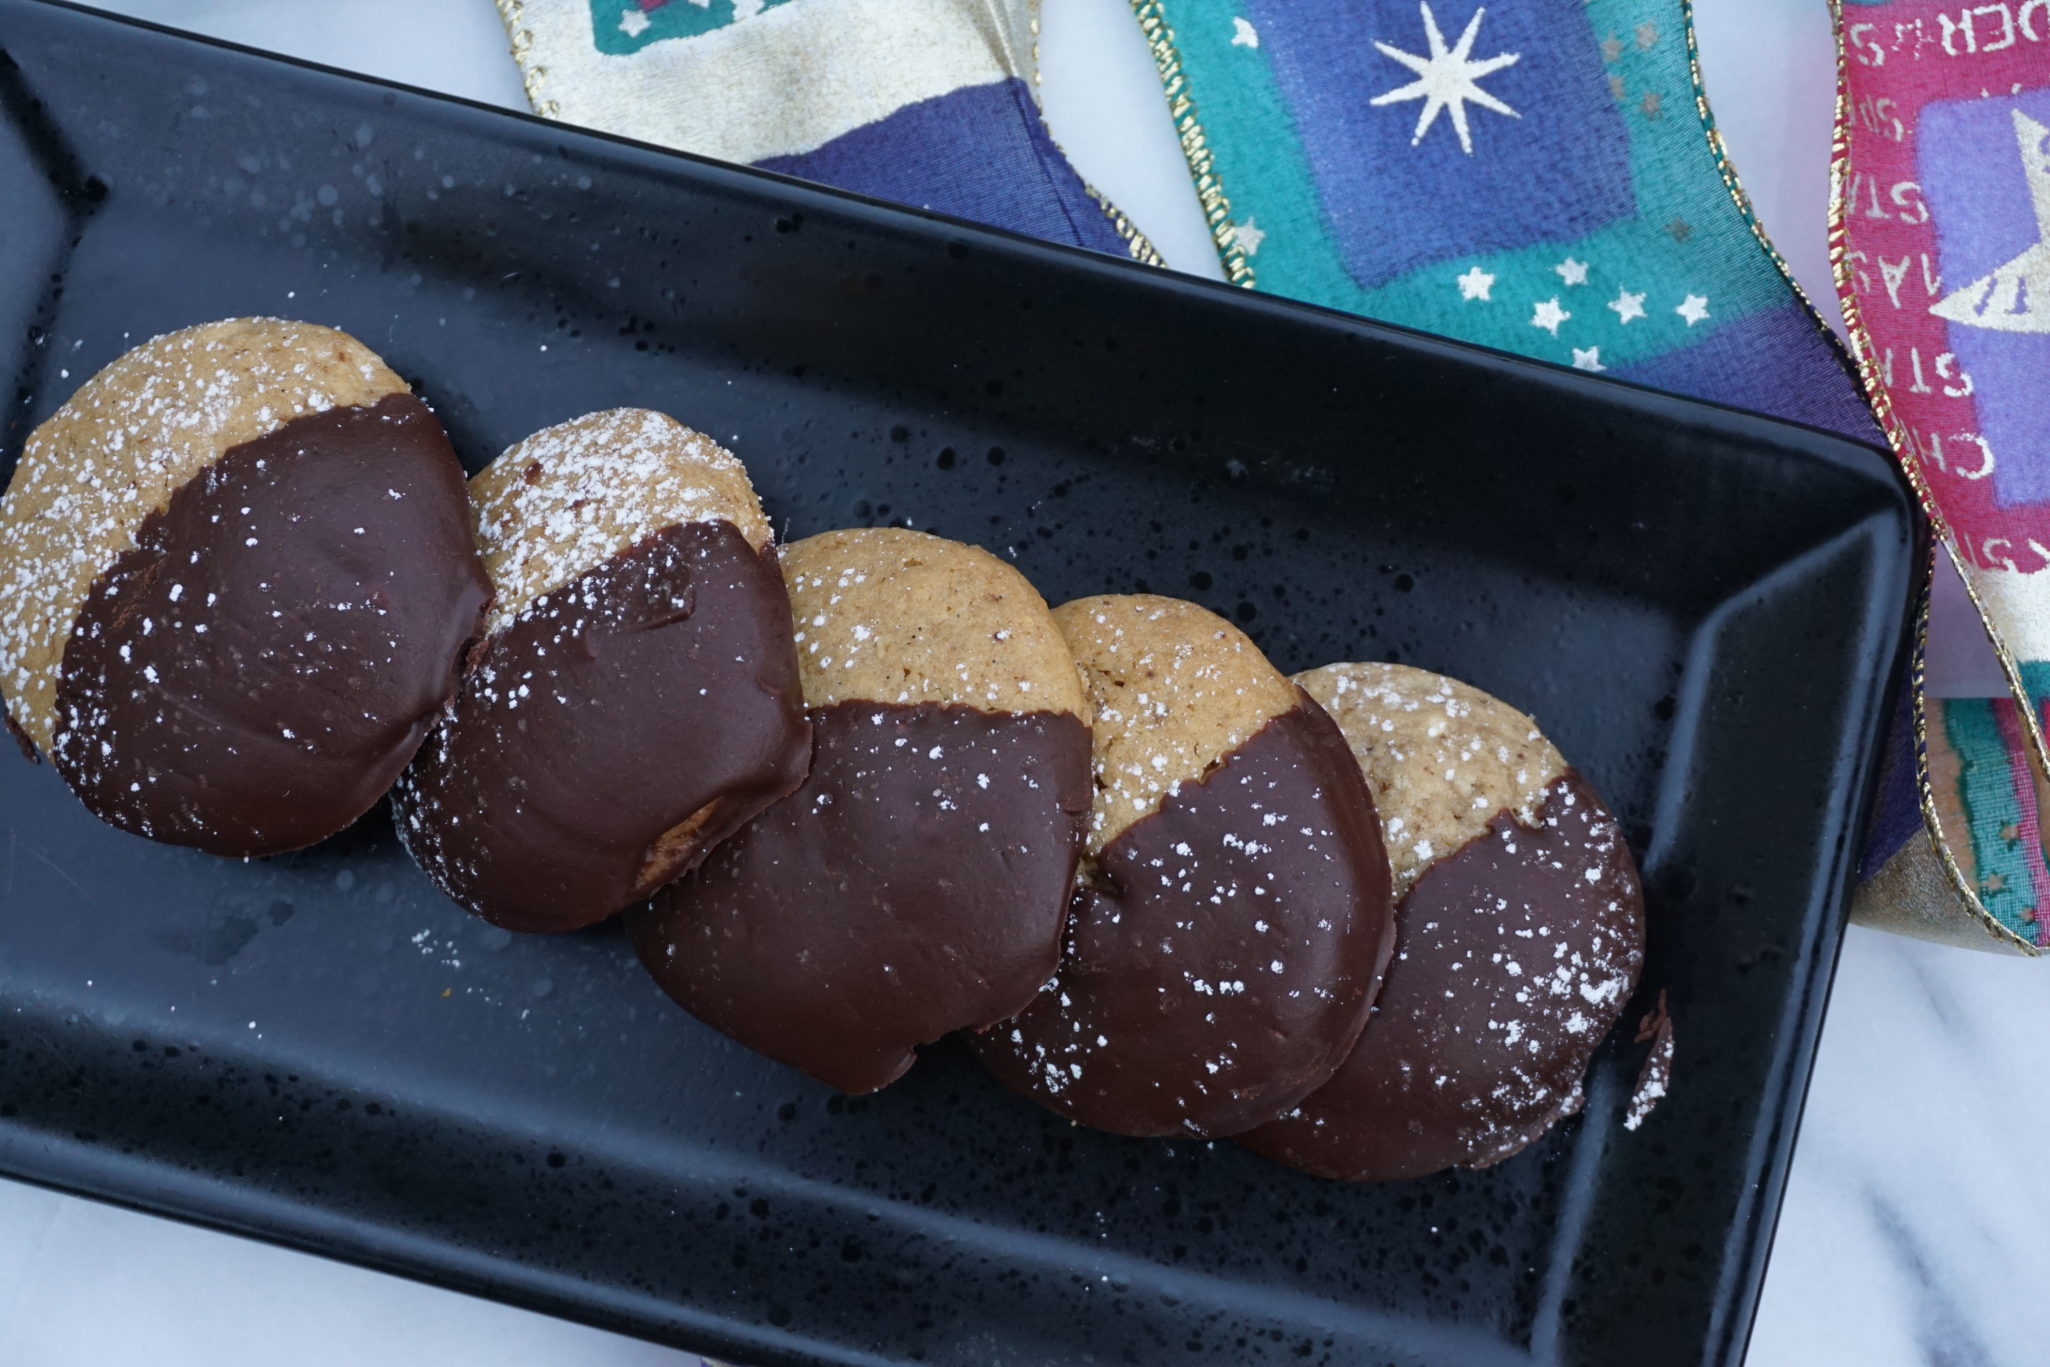
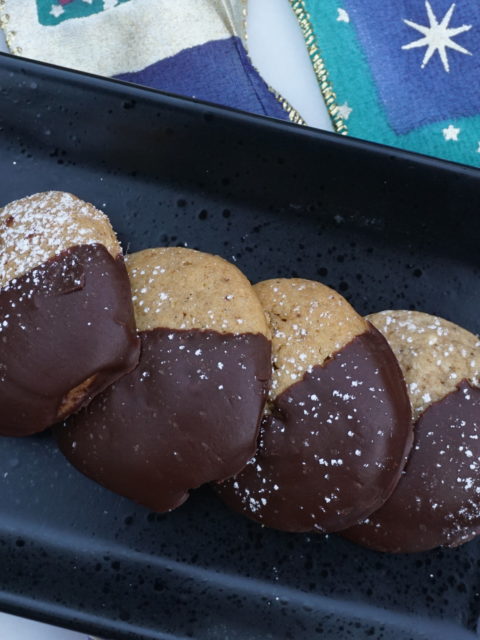
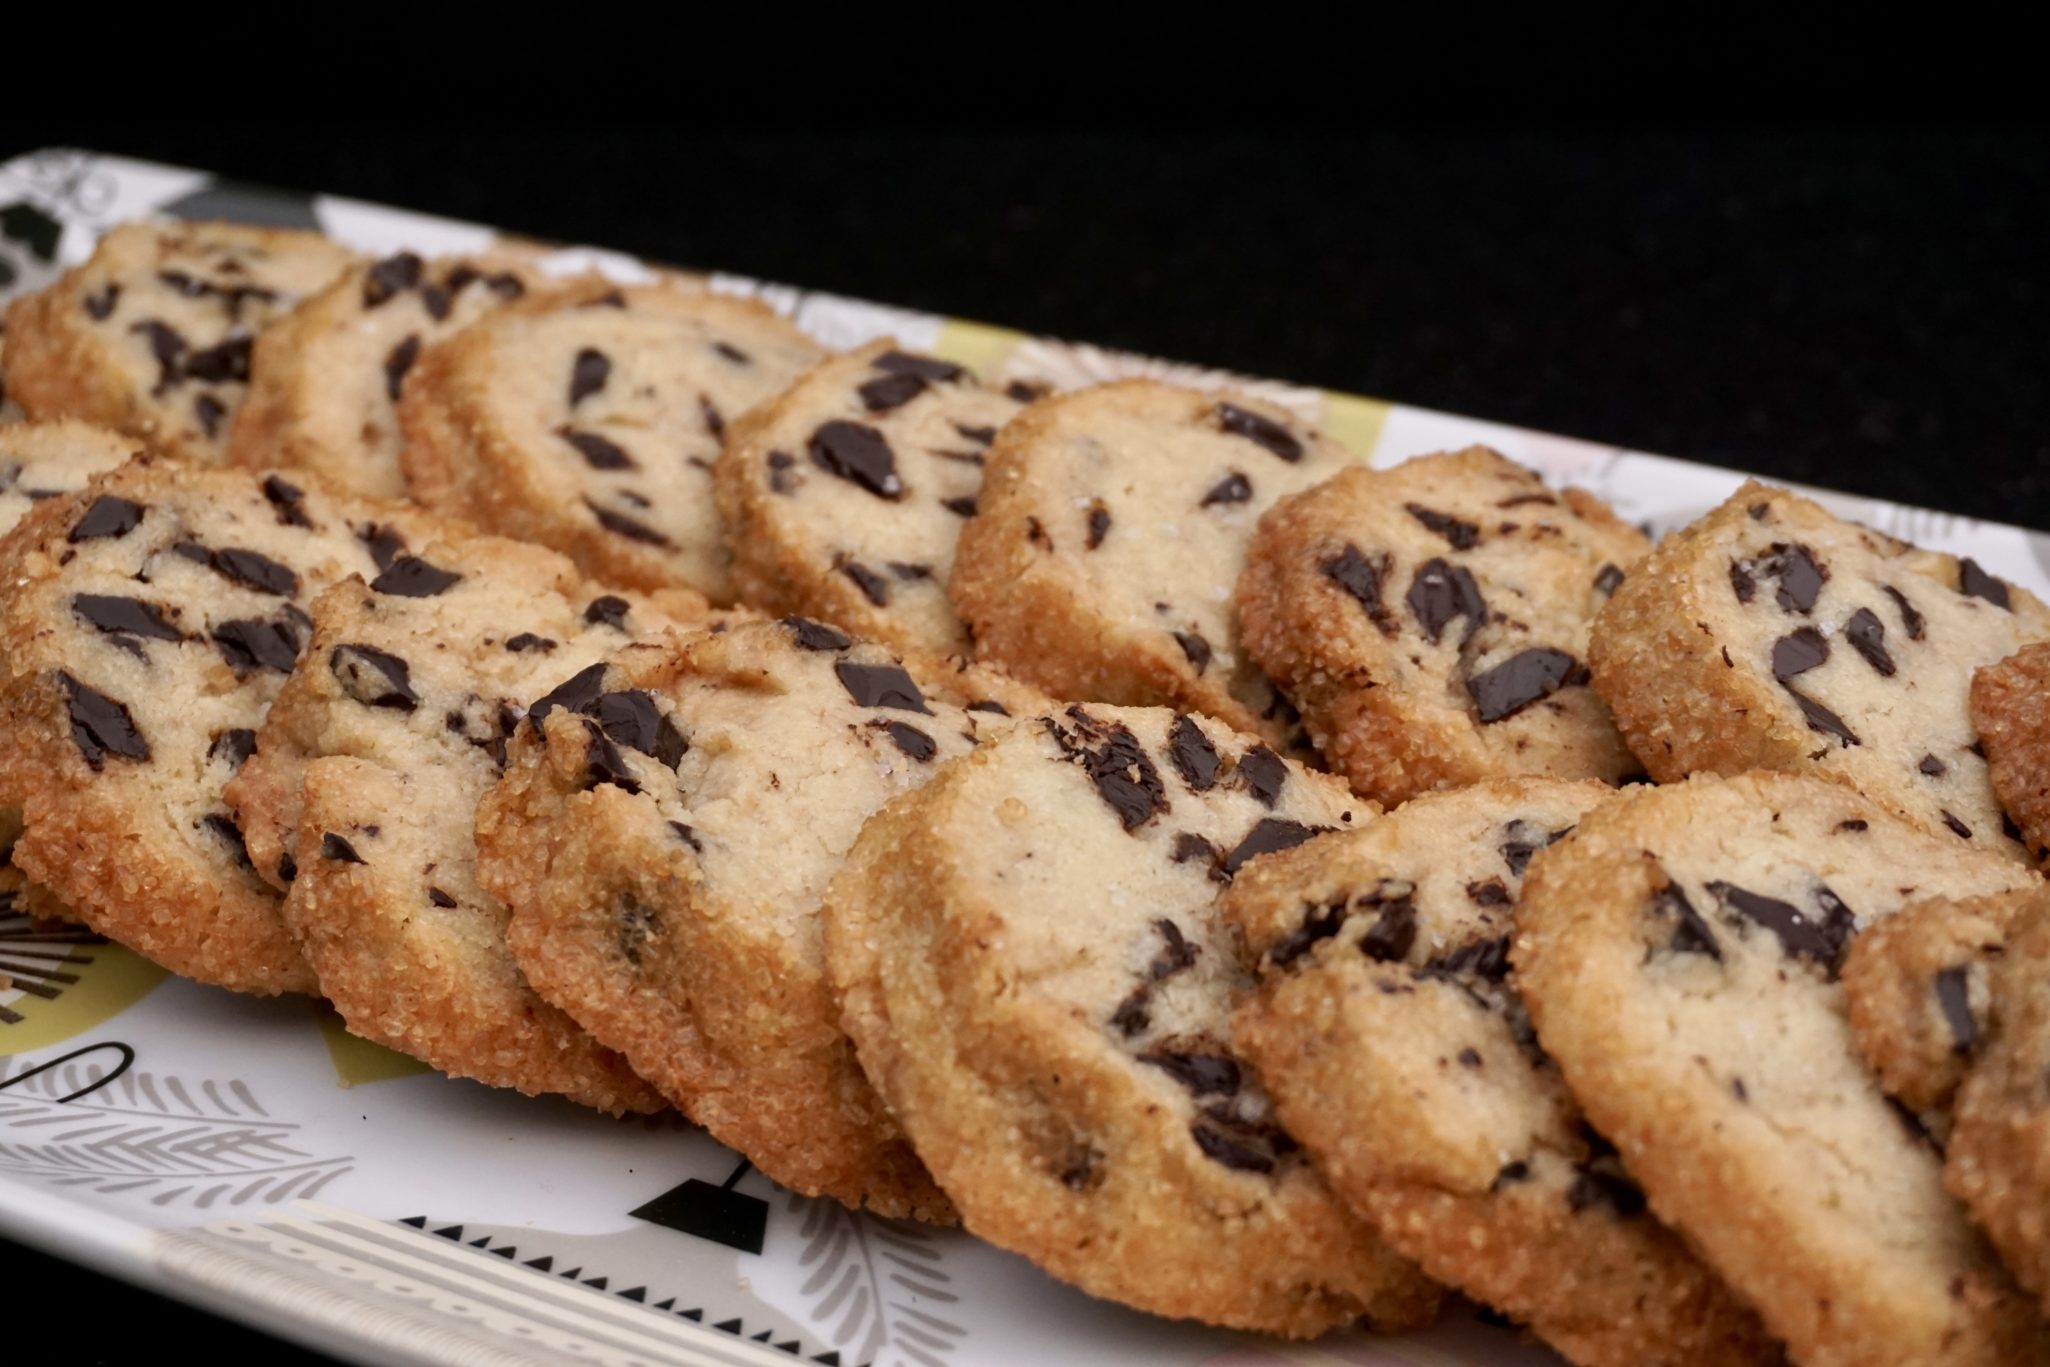
#7 of the 12 Days of Cookies: Salted Butter & Chocolate Chunk Shortbread
After seeing this cookie pop up on various sites and blogs I knew it was destined for the 12 Days of Cookies list. The recipe comes from the book Dining In by Alison Roman (what do you know, I am not buying this book-have I turned a new leaf? Nope, it is currently out of stock). This was a no-brainer. Butter. Chocolate. Shortbread. Like I was going to be able to ignore this recipe.
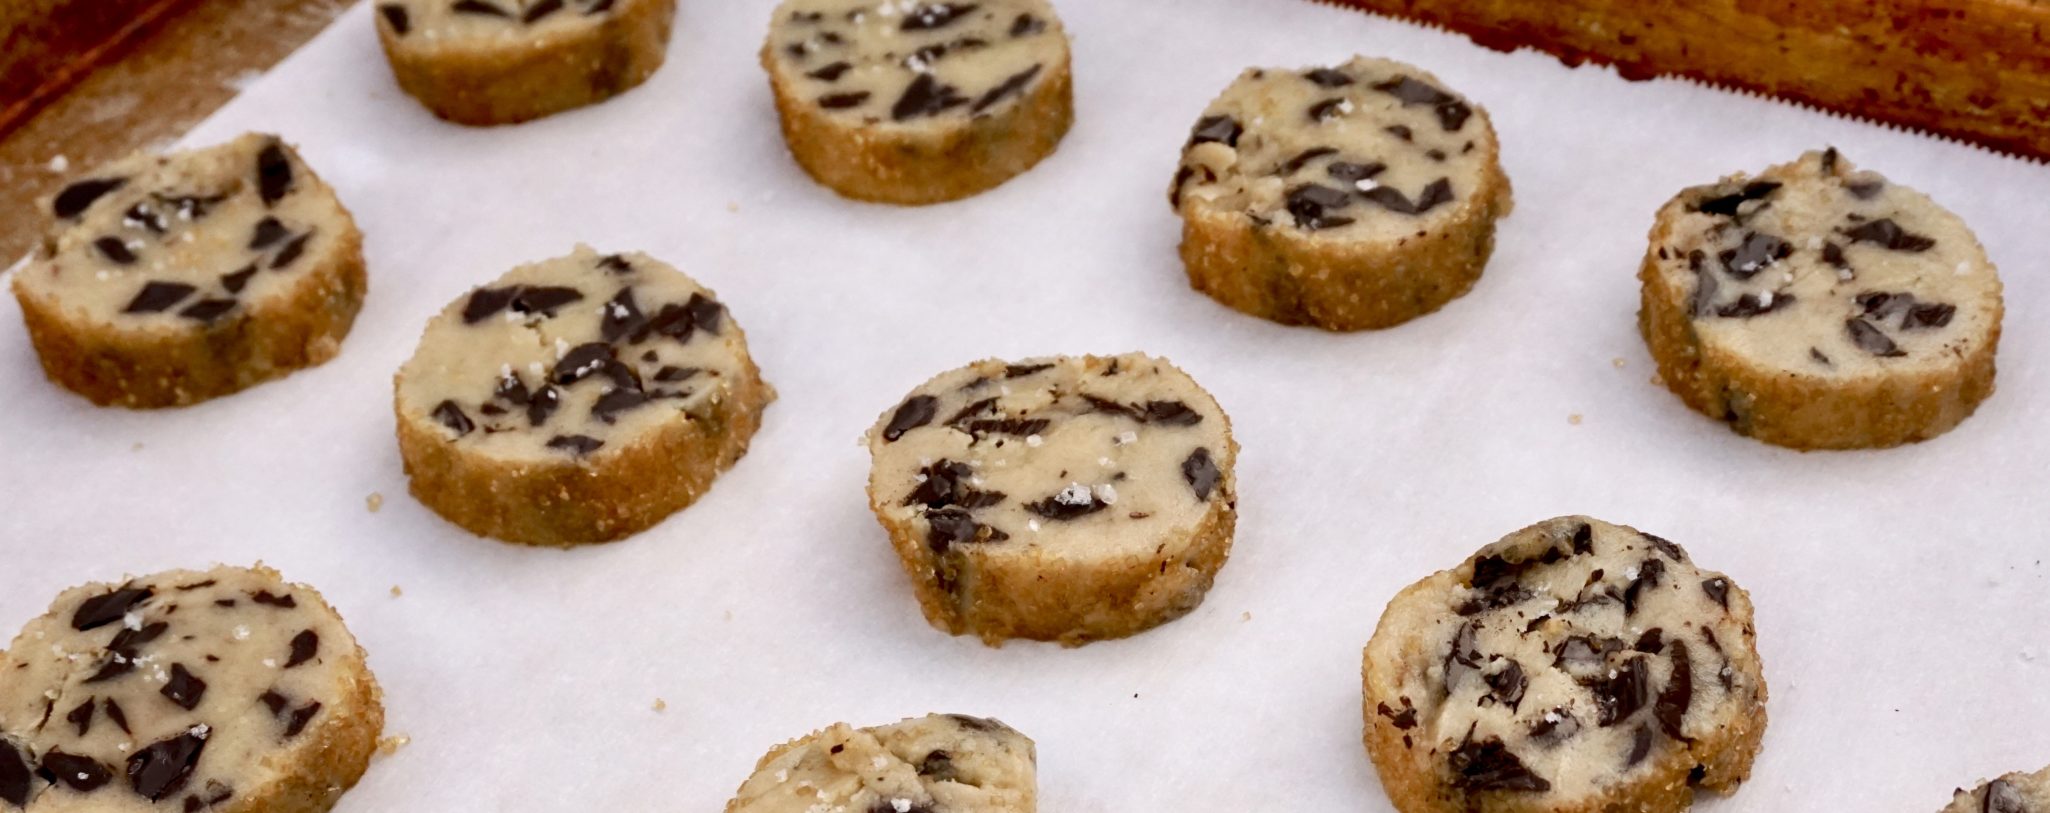
This is a slice and bake cookie, my favorite kind of cookie. You can make the dough in advance and bake off as few or as many cookies as you like. You can freeze some of the dough for a rainy day, which in California, might not happen for awhile.
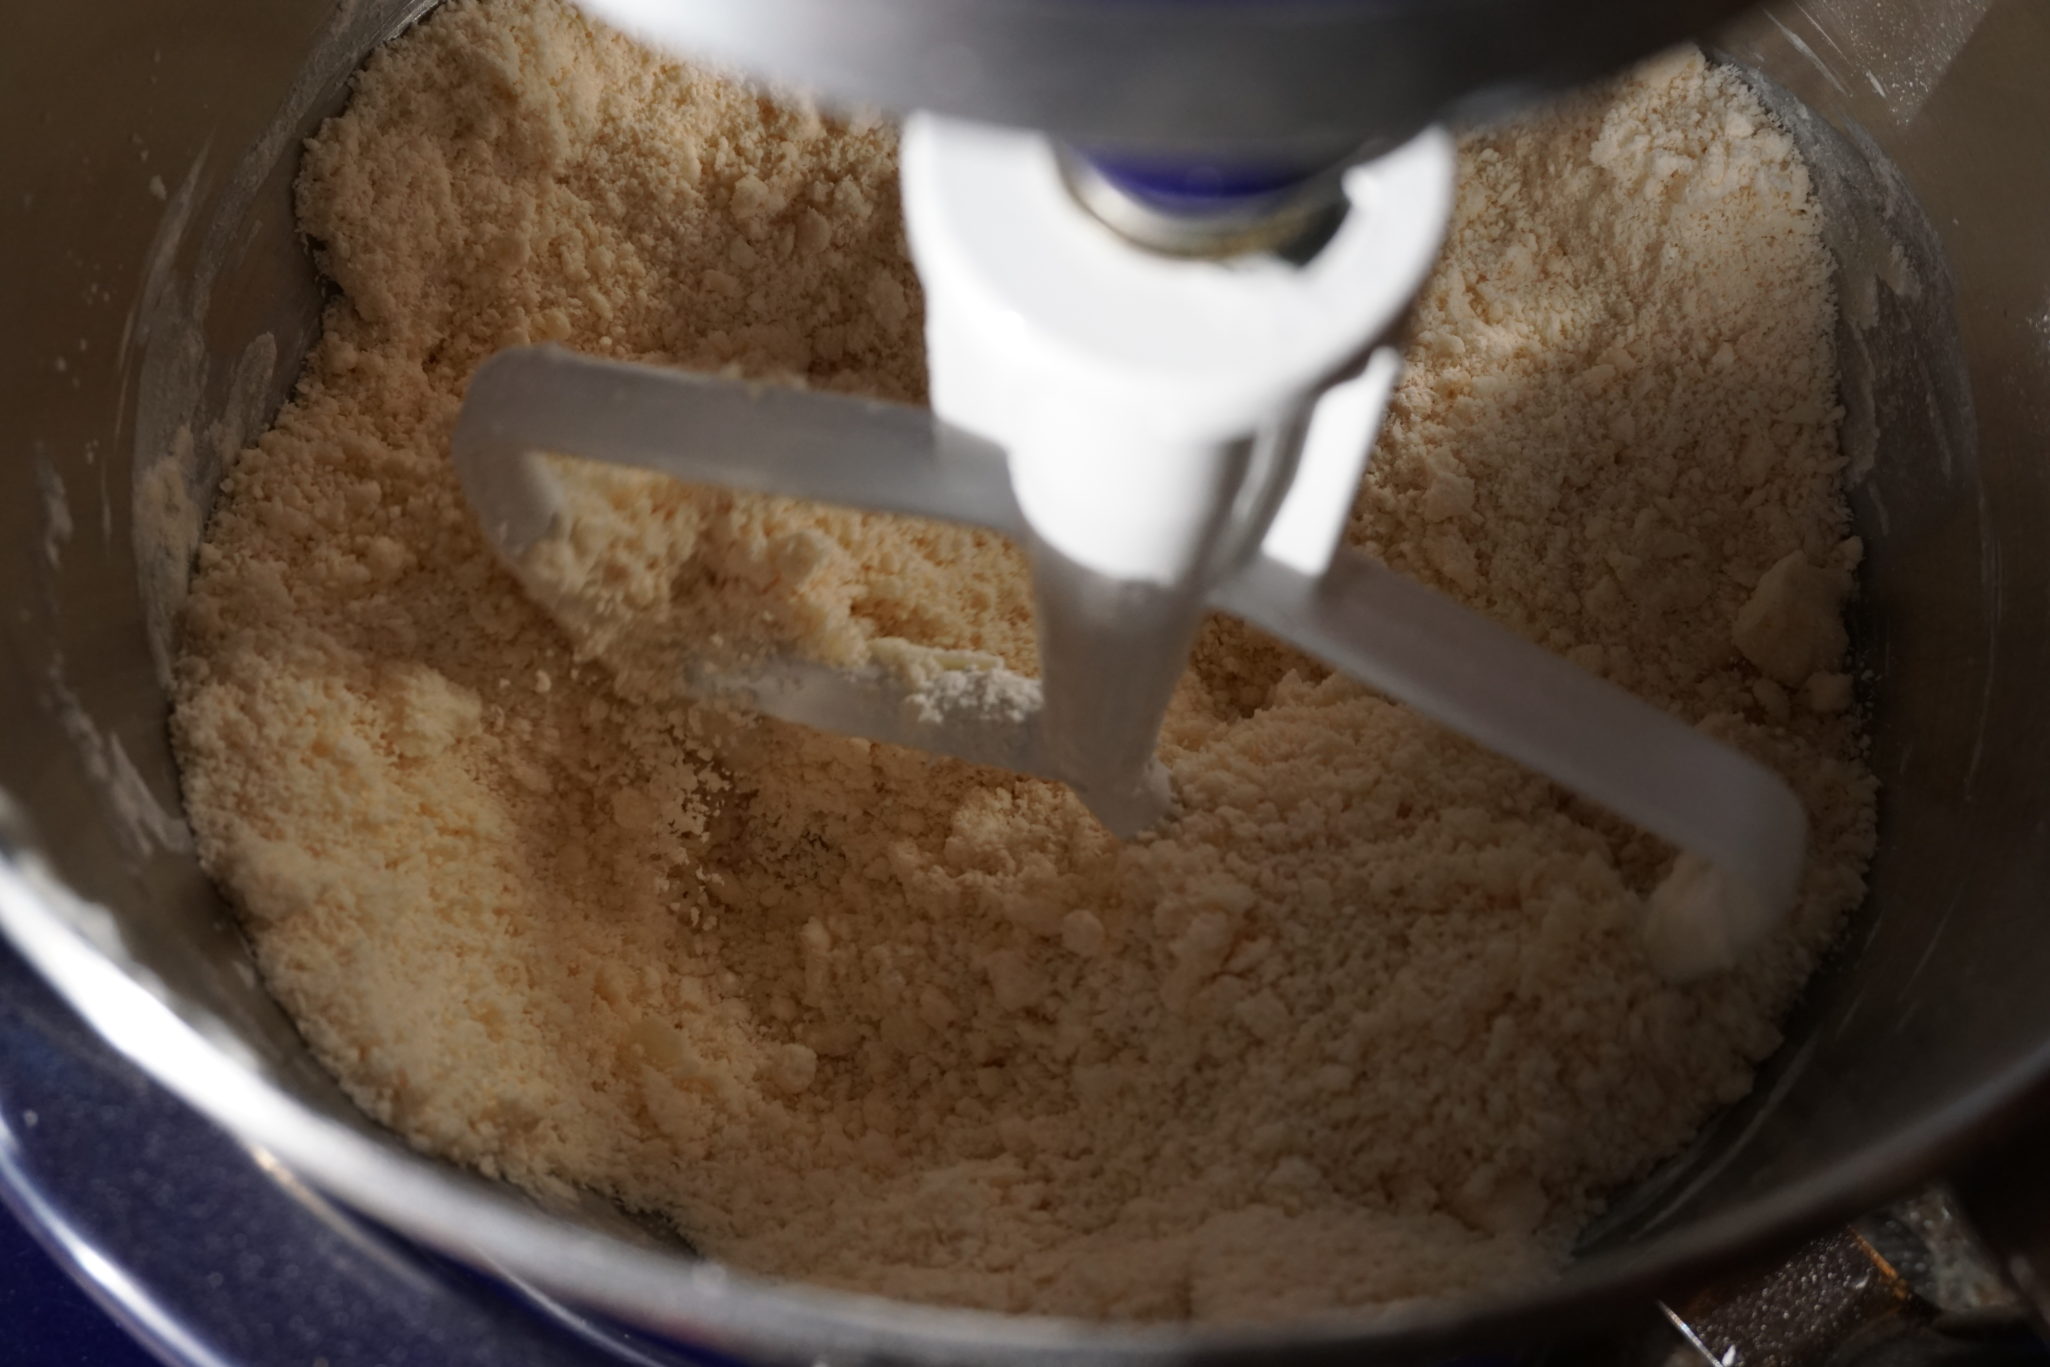
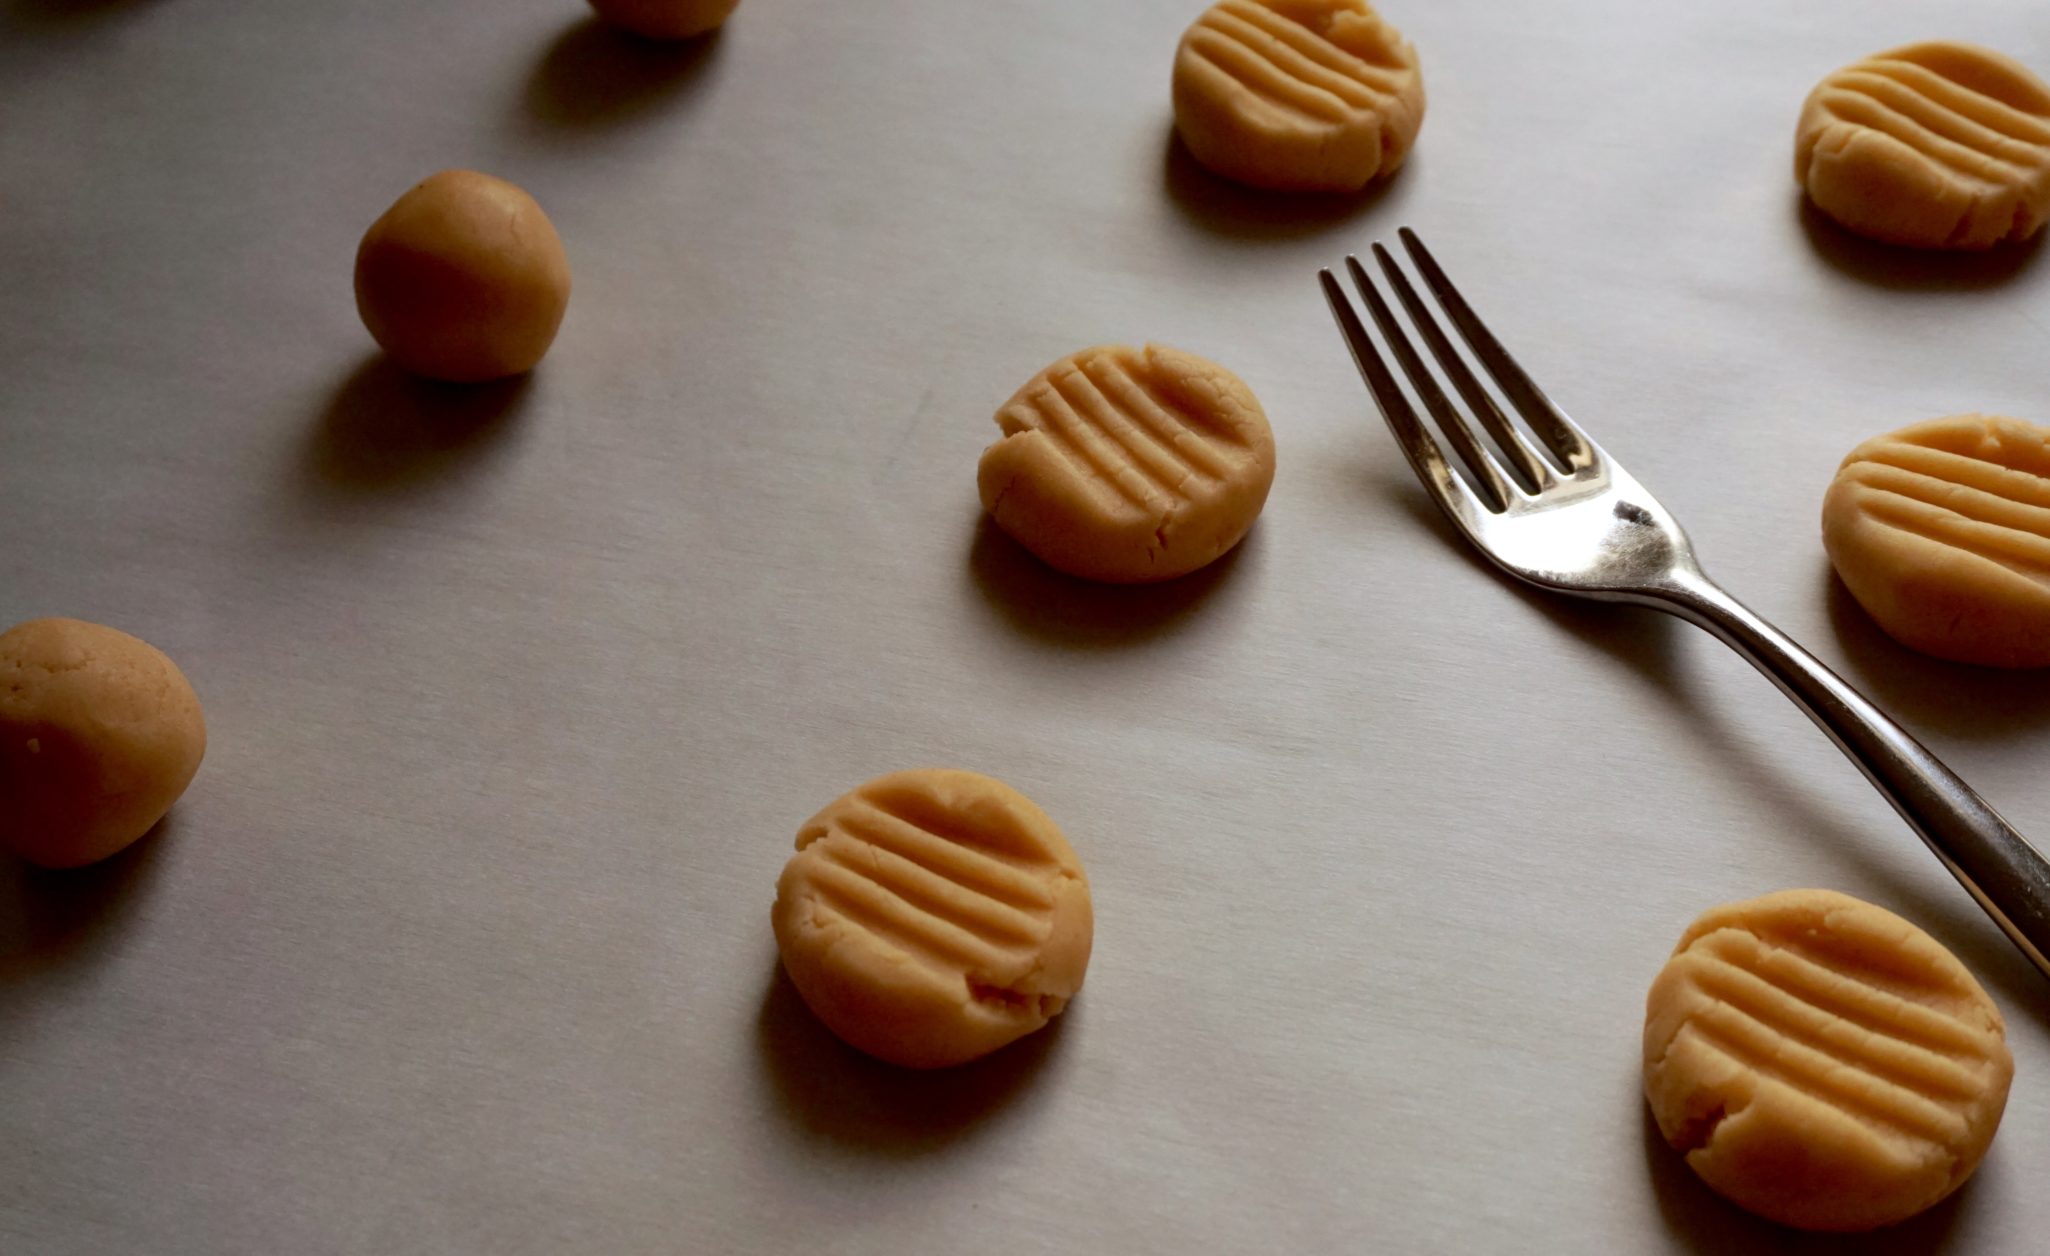
The dough was a bit crumbly straight out of the mixer so I kneaded it a couple of times until it came together. Shape the dough into logs using parchment paper. Form the dough roughly into a log on the parchment, fold parchment over the log, and with a straight edge (ruler) placed up against the log on top of the parchment, gently pull the bottom piece of parchment while pushing the straight edge into the dough. This creates a round log. Wrap each log in the parchment and slide into a round tube (I use 3-inch diameter PVC pipe) and chill in the fridge.
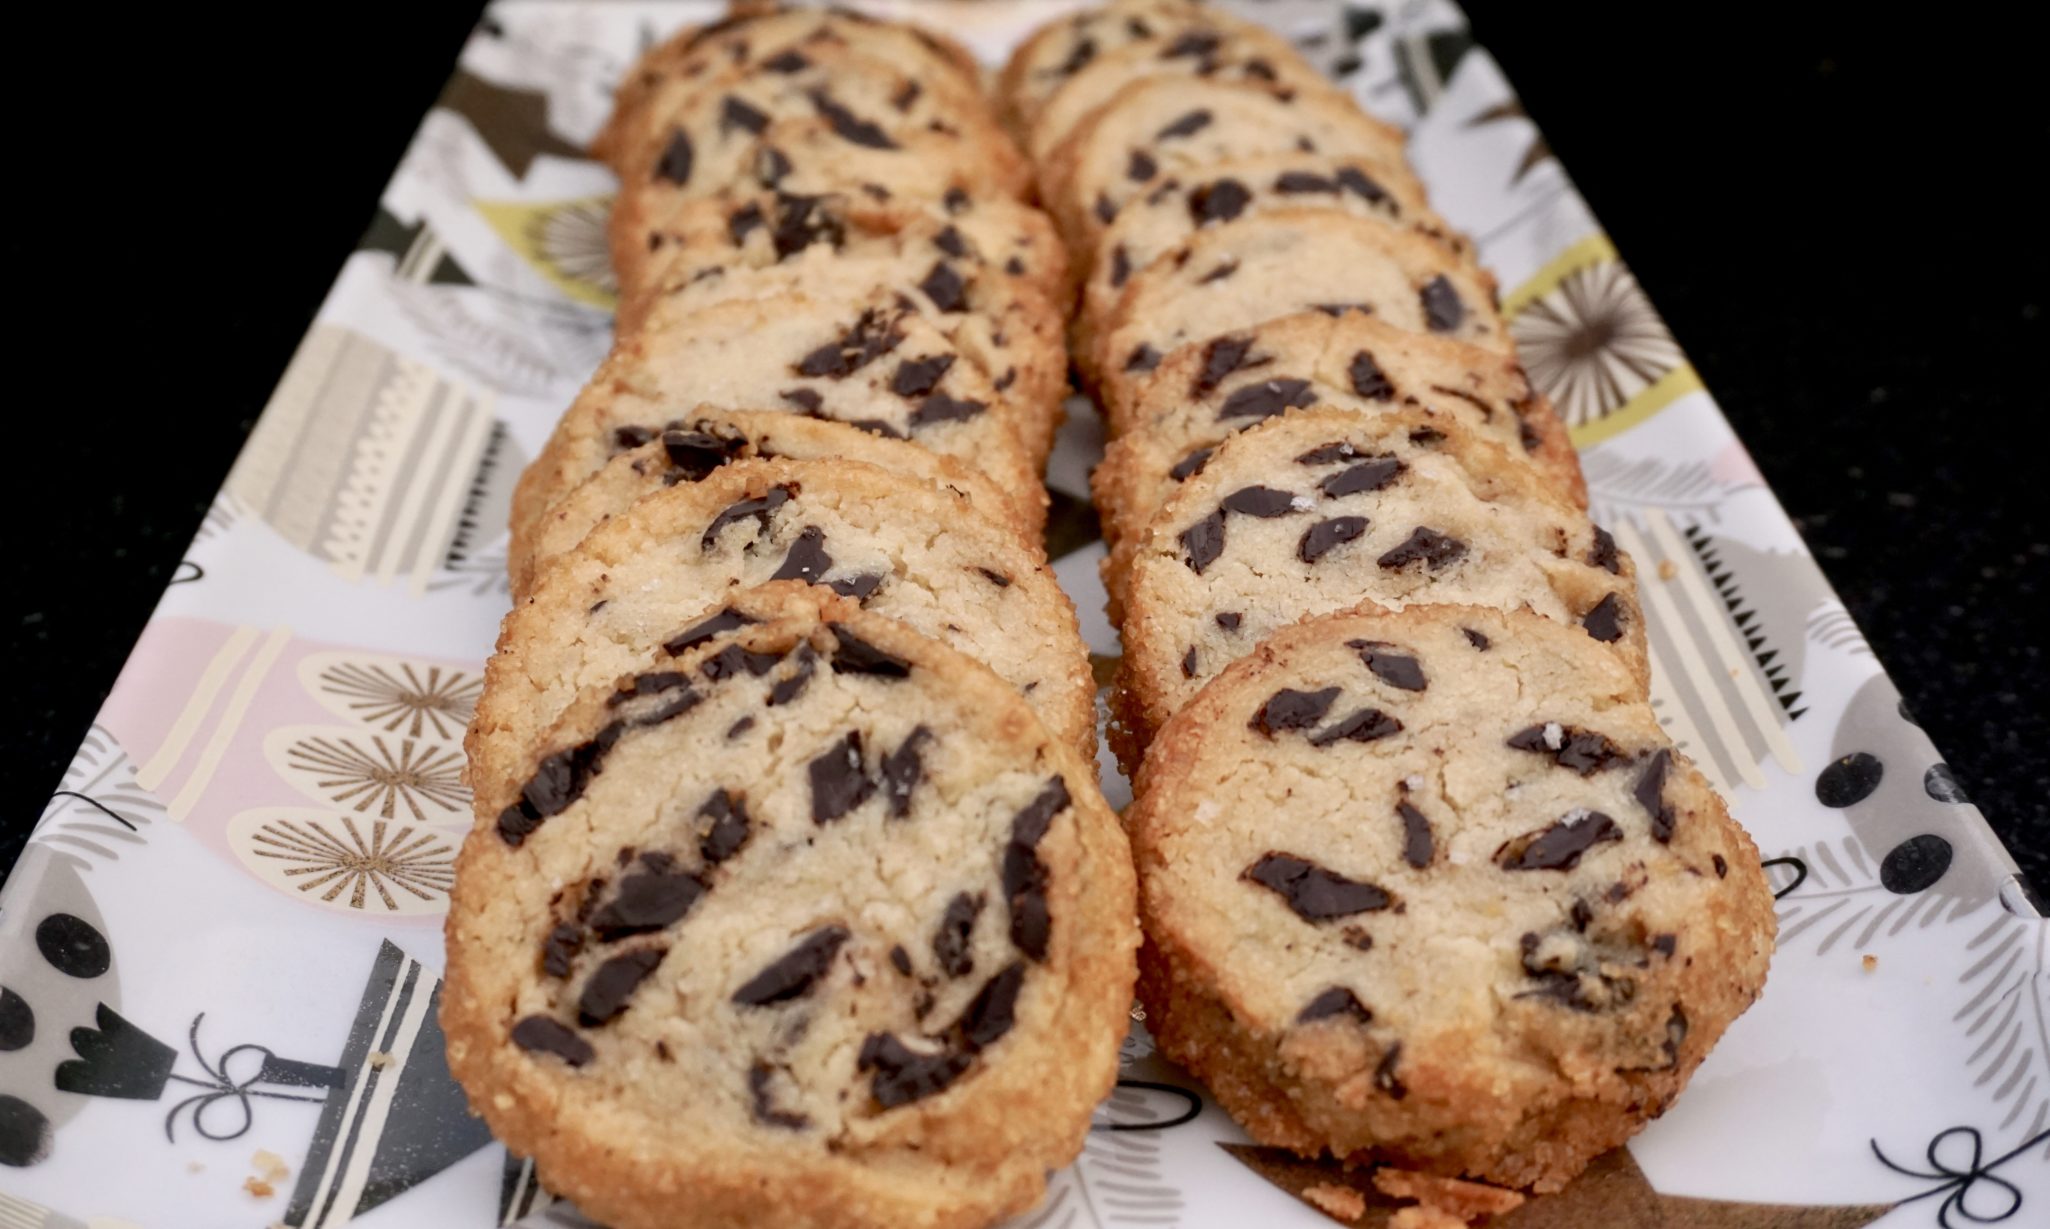
You can use raw turbinado sugar for the Demerara Sugar. Don’t skip this step as it adds a nice crunch to the cookie. I would use semi-sweet chocolate which results in a sweeter cookie. There is quite a bit of chocolate in this cookie which can make slicing the dough a bit tricky. It’s okay if it crumbles when cut, just smoosh the dough back together, it will bake up fine.
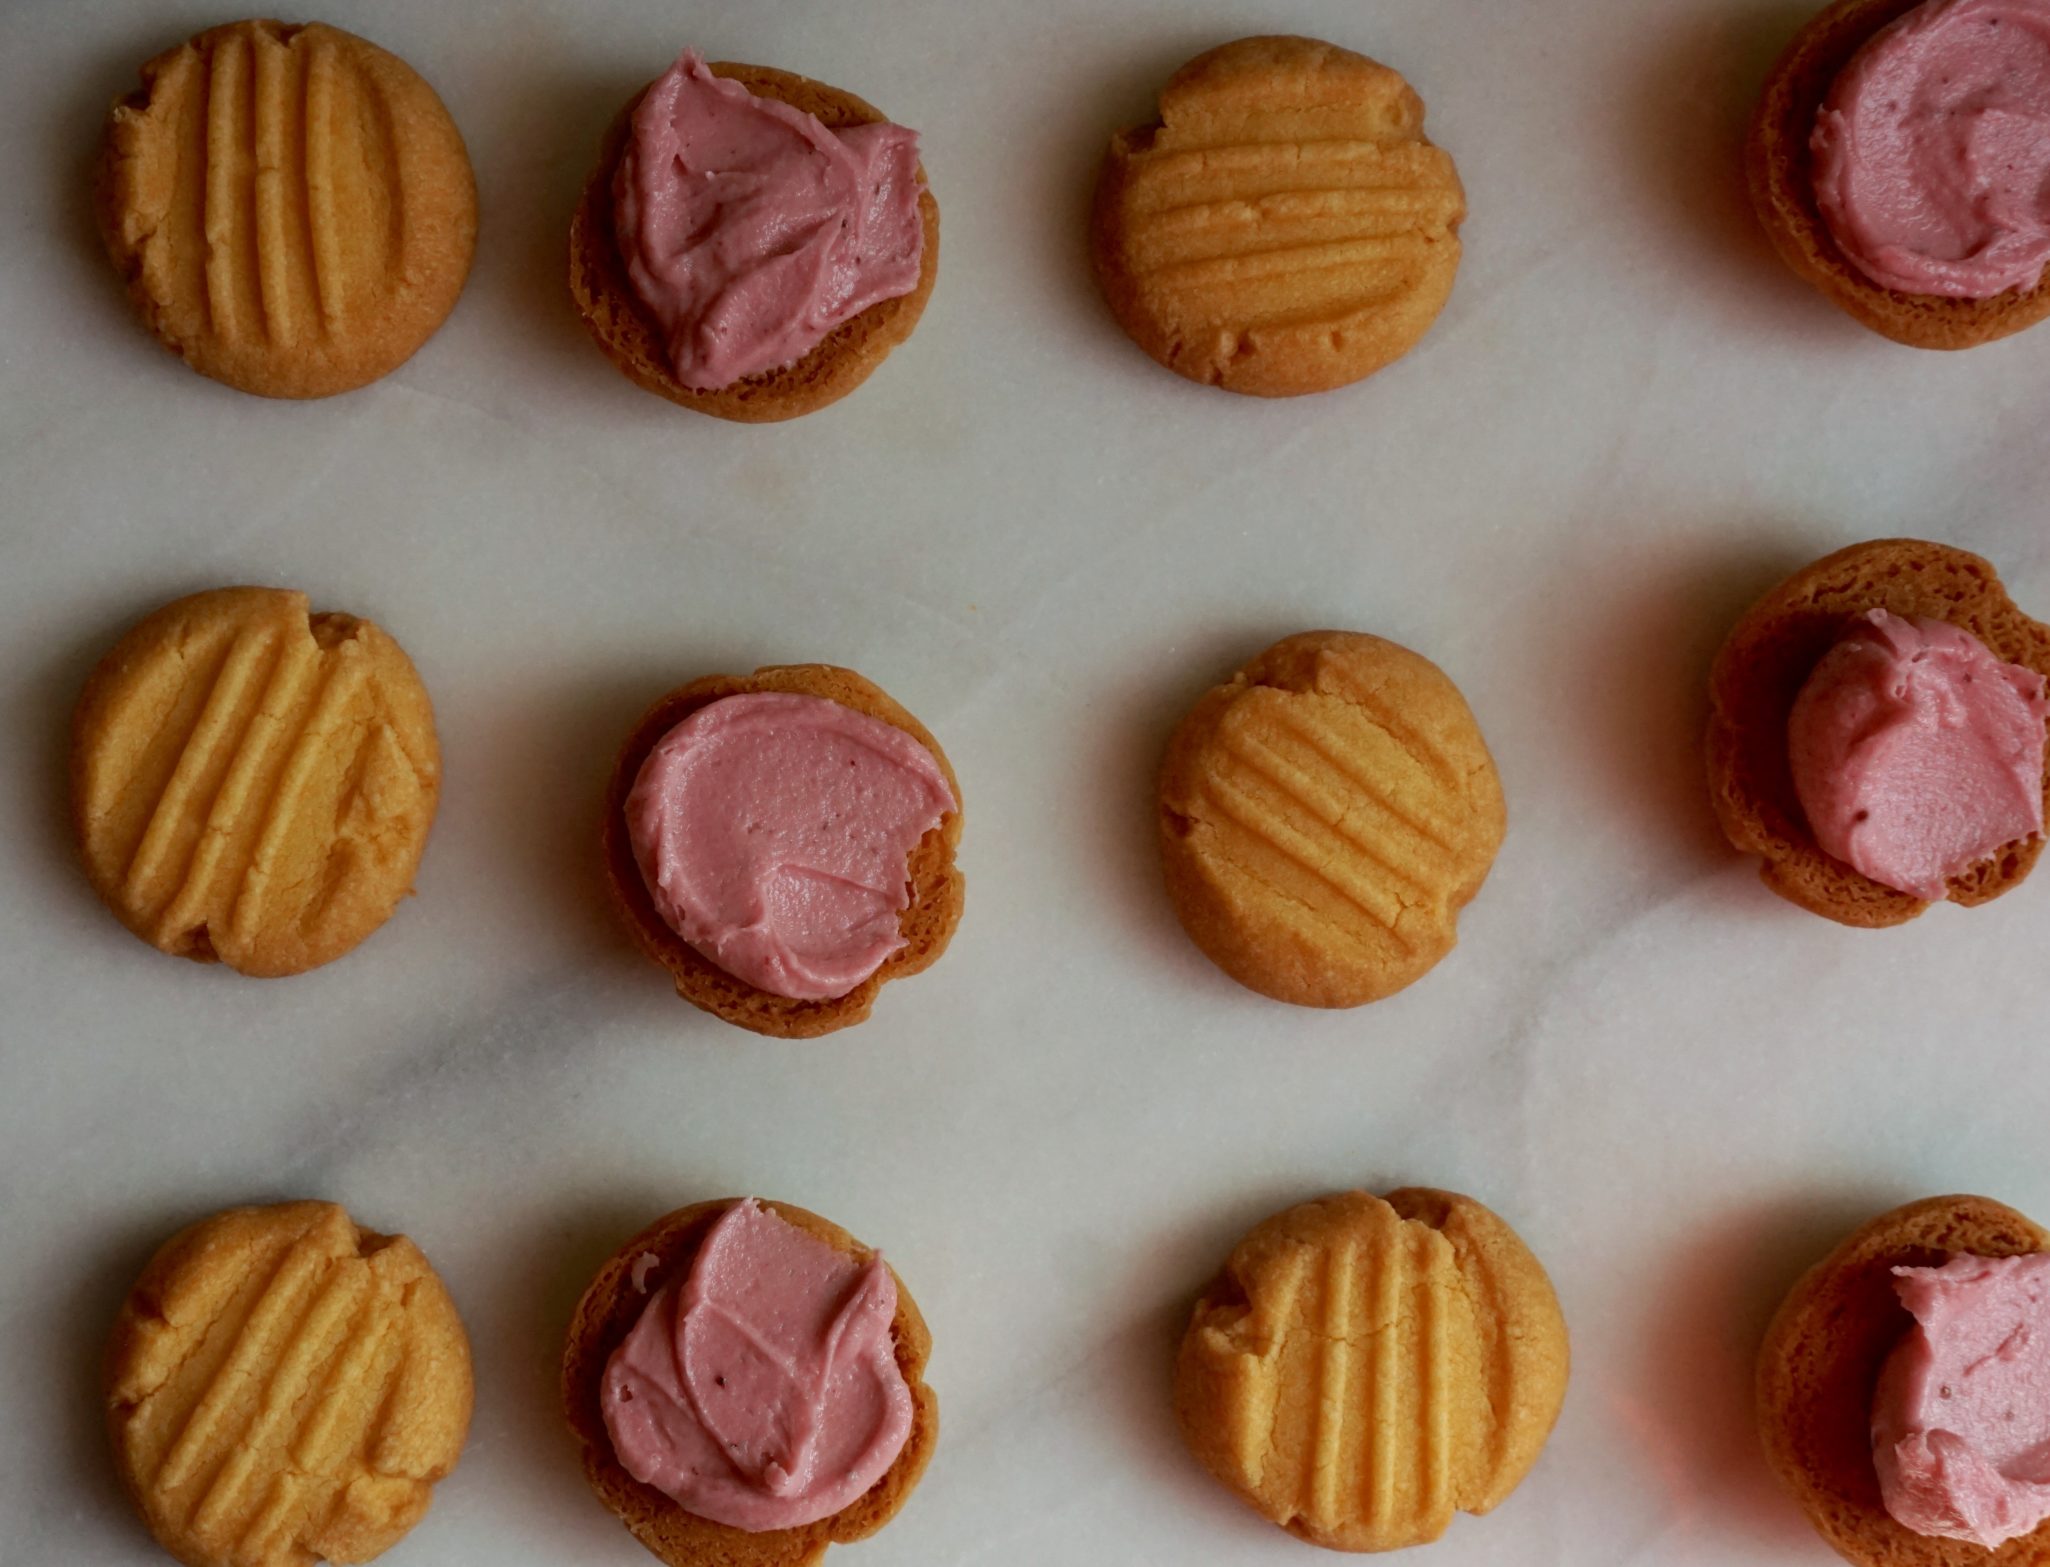
An utterly delicious cookie, buttery, sandy, chocolatety (my new word), and sweet with a surprise pop of salt. It hits every taste sensation, and if that wasn’t enough, a crispy edge from the demerara sugar. Cookie Heaven. The keys to this cookie are salted butter, a sprinkling of Fleur de Sel, an edge of Demerara Sugar and of course CHOCOLATE chunks. Hmmmmmm.
I made a batch for a friend’s New Year’s Eve Party, but unfortunately, I was too tired to attend. I ended up in my jammies, on the couch, ringing in the New Year with a glass of milk in one hand and a cookie in the other and then promptly fell asleep. Oh well, there is always next year.
Happy New Year Everyone!

(Salted Butter & Chocolate Chunk Shortbread) New Year’s Resolution #2 Finish 12 Days of Cookies
Ingredients
- 1 cup plus 2 tablespoons 2 1/4 sticks salted butter, cut into 1/2-inch pieces
- 1/2 cup granulated sugar
- 1/4 cup light brown sugar
- 1 teaspoon vanilla extract
- 2 1/4 cups all-purpose flour
- 6 ounces semi- or bittersweet dark chocolate chopped (but not too fine, you want chunks)
- 1 large egg beaten
- Demerara sugar for rolling
- Flaky sea salt for sprinkling
Instructions
- The cookie dough can be made ahead and stored, tightly wrapped in plastic, up to 1 week in the refrigerator, or 1 month in the freezer. Cookies can be baked and stored in plastic wrap or an airtight container for 5 days.
- 1. Line a rimmed baking sheet with parchment paper.
- 2. Using an electric mixer and a medium bowl or a stand mixer fitted with the paddle attachment, beat the butter, both sugars, and vanilla on medium-high till it’s super light and fluffy, 3 to 5 minutes. Using a spatula, scrape down the sides of the bowl and, with the mixer on low, slowly add the flour, followed by the chocolate chunks, and beat just to blend.
- 3. Divide the dough in half, placing each half on a large piece of plastic wrap. Fold the plastic over so that it covers the dough to protect your hands from getting all sticky. Using your hands (just like you’re playing with clay), form the dough into a log shape; rolling it on the counter will help you smooth it out, but don’t worry about getting it totally perfect. You can also do this using parchment paper, if you prefer, but I find using plastic wrap easier when it comes to shaping the log. Each half should form two logs 2 to 2 1/4 inches in diameter. Chill until totally firm, about 2 hours.
- 4. Preheat the oven to 350°F.
- 5. Brush the outside of the logs with the beaten egg and roll them in the Demerara sugar (this is for those really delicious crispy edges).
- 6. Slice each log into 1/2-inch-thick rounds, place them on the prepared baking sheet(s) about 1 inch apart (they won’t spread much), and sprinkle with flaky salt. Bake until the edges are just beginning to brown, 12 to 15 minutes. Let cool slightly before eating them all.