
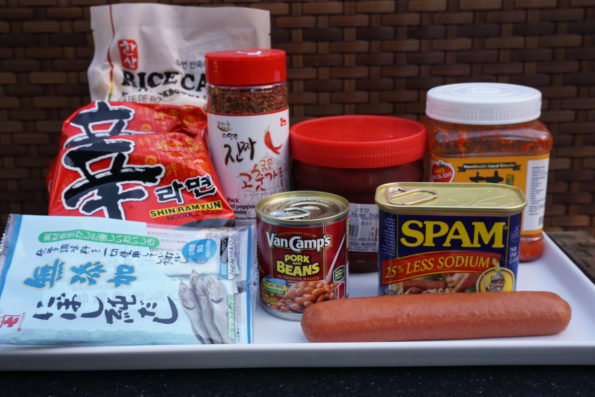
Ok. Are you looking at the pic above and thinking WHAAAT? Hot dogs? Spam? Kimchi? VanCamps BAKED Beans? ARE YOU KIDDING ME? It’s like Mom pulling…
I admit to being a foodie. I love to cook, I love to eat out at restaurants, I love to dissect everything I eat. When…
The kids were all home for a couple of days, which is a miracle in itself, so we threw a party! Really, it was to…

I recently made a quick trip to Los Angeles to celebrate my Aunt’s birthday. I spent ten years in LA, going to school and…
I ventured to Omnivore Cookbooks in San Francisco a while ago to see Stella Parks, author of the fabulous Bravetart, (a fabulous baking book) that…
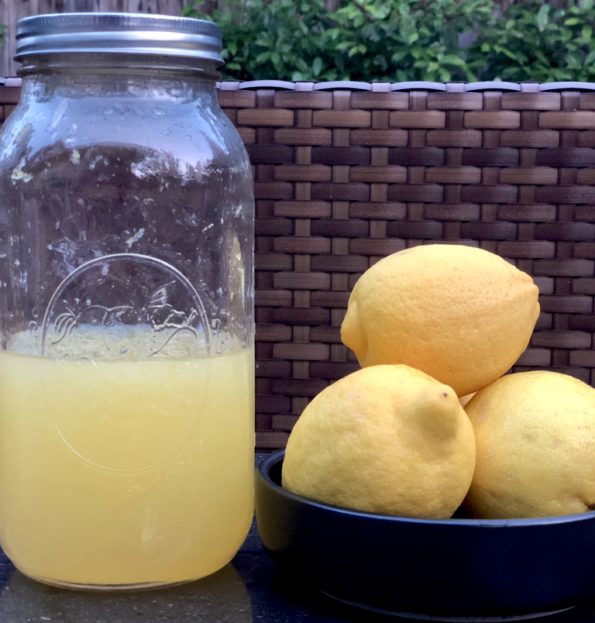
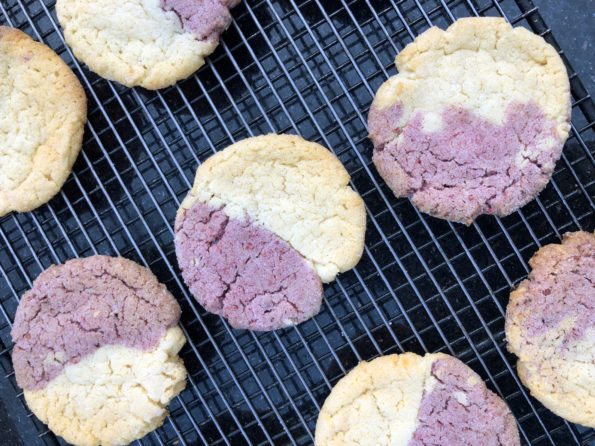
If you have a lemon tree in your backyard you will know what I am going through. Our one lemon tree produces enough lemons for…
If you are like me, an empty nester still transitioning from cooking for a family of 5 to cooking for 2, you probably still have…
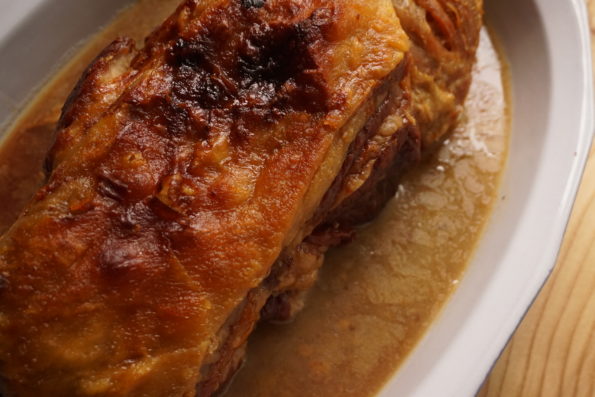
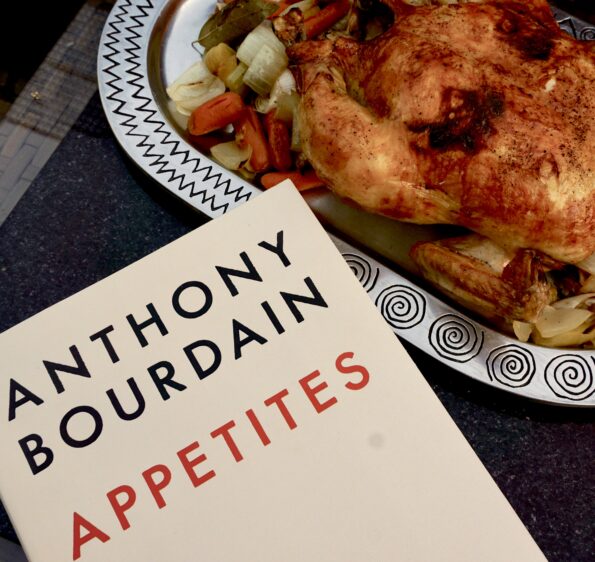
One of my favorite recipes from Sam Kass’s book: Eat A Little Better is his Roasted Pork Shoulder. Don’t let the time commitment scare you. Prep…
I have been working my way through Sam Kass’s Cookbook Eat a Little Better and have to say it is pretty darn good! A family…