

It’s hard to believe it has almost been a year since the twins graduated from college! It feels like it was just a couple of…

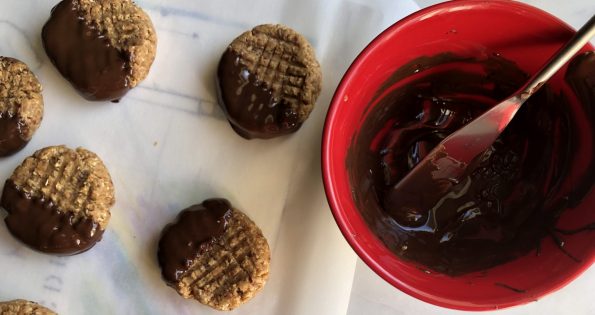
Gluten-free (rice flour) peanut butter mochi from A Common Table Cookbook. Delicious and easy to make!

I headed out to Minneapolis last weekend to see my girl. MISSED her so much I dropped everything I was doing, hopped on a plane…
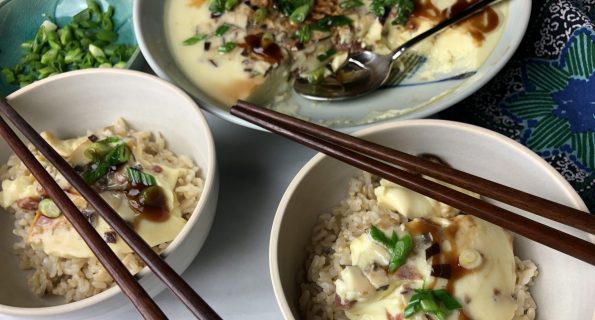
How does that old adage go? Feed a cold, starve a fever? The thought crossed my mind as I was miserably lying in bed, achy,…
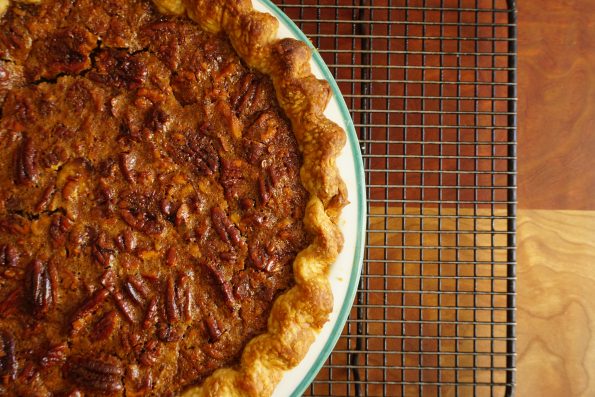
Well, this is embarrassing. I was supposed to post this during the holidays but instead, it has been languishing in my drafts file. What better…

Home Alooooone. The boys headed out to Minneapolis to visit Jamie and take in the Sharks-Wild game so it was me and Sammy hanging out…
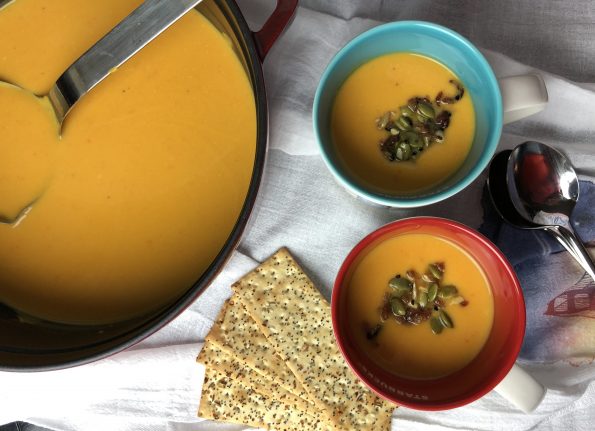
Another cold and rainy day in normally sunny California. To combat the soggy blues I pulled out my favorite therapy tools. A pot, a bowl,…
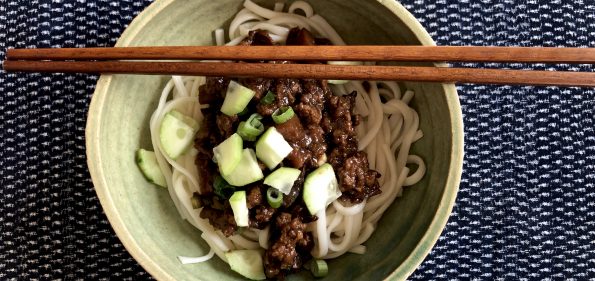
There are dishes that with the first bite I am instantly transported back to the dinner table of my childhood. My dad clanging pots and…
This past weekend we had a retreat for our political action group. I know what you are thinking. This is a fun, food, foto, blog. …