
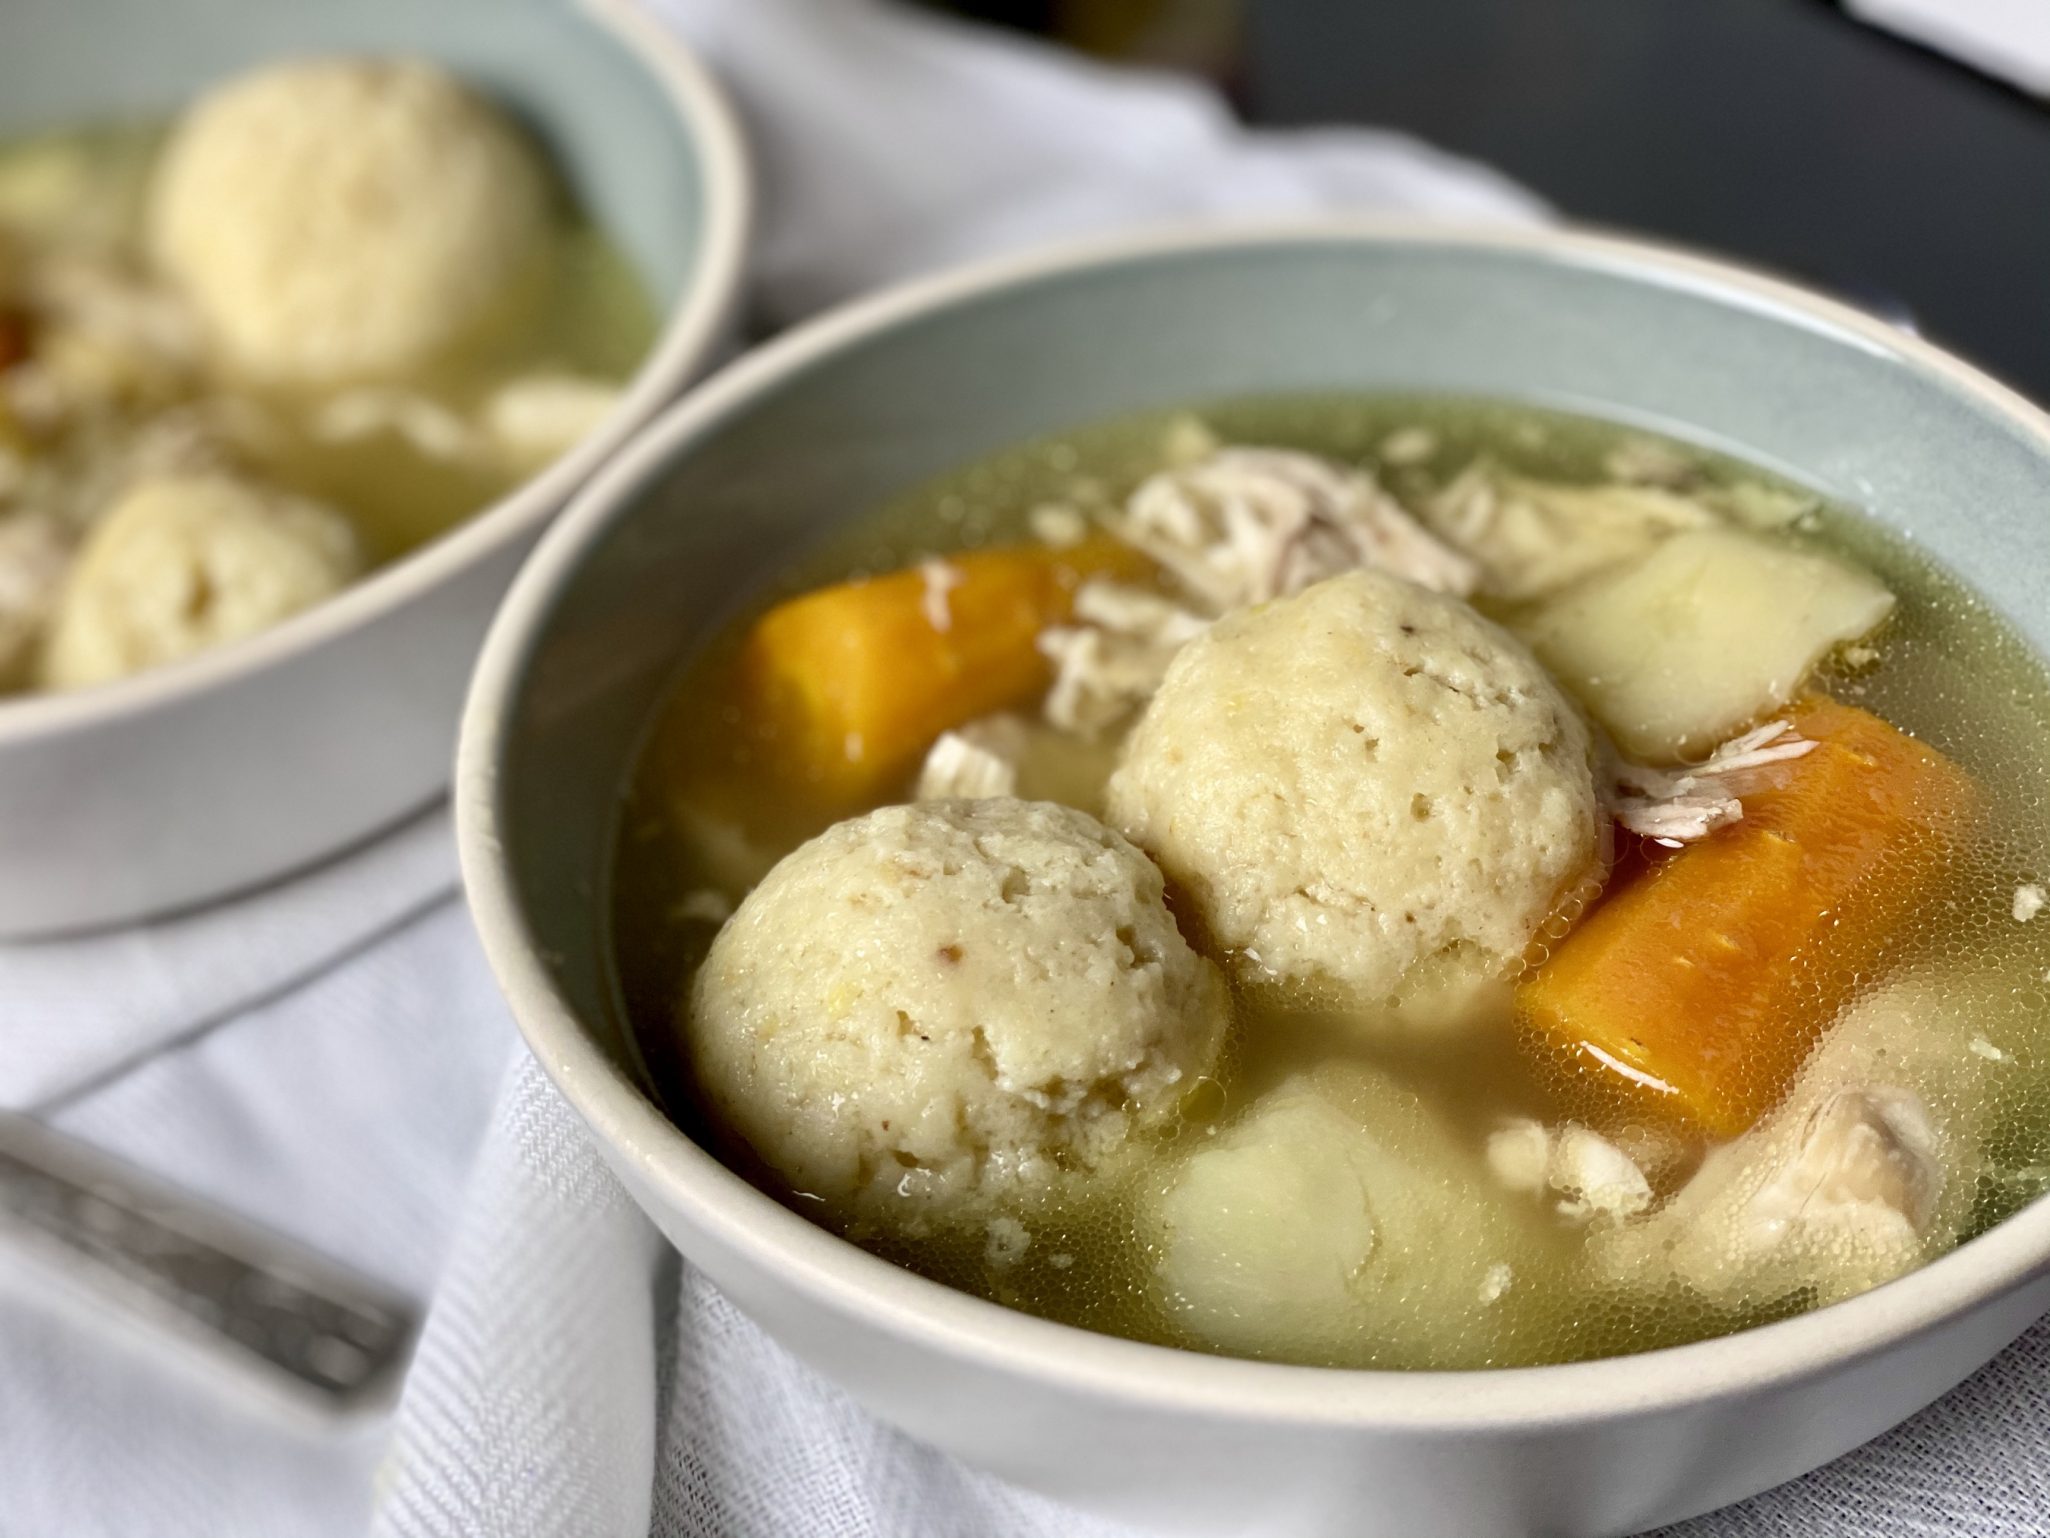
In the time of COVID-19 seems like we are all craving comfort food. I find myself yearning for dishes like soups, stews, foods from my…
I am always looking for gluten free desserts and Vegan treats for my friends. This is a cataclysmic mind-shift for a person who has always…

I bought WAY TOO many bananas on my COVID reconnaissance to the grocery store last week. Luckily, too many bananas is a happy problem. Eat…

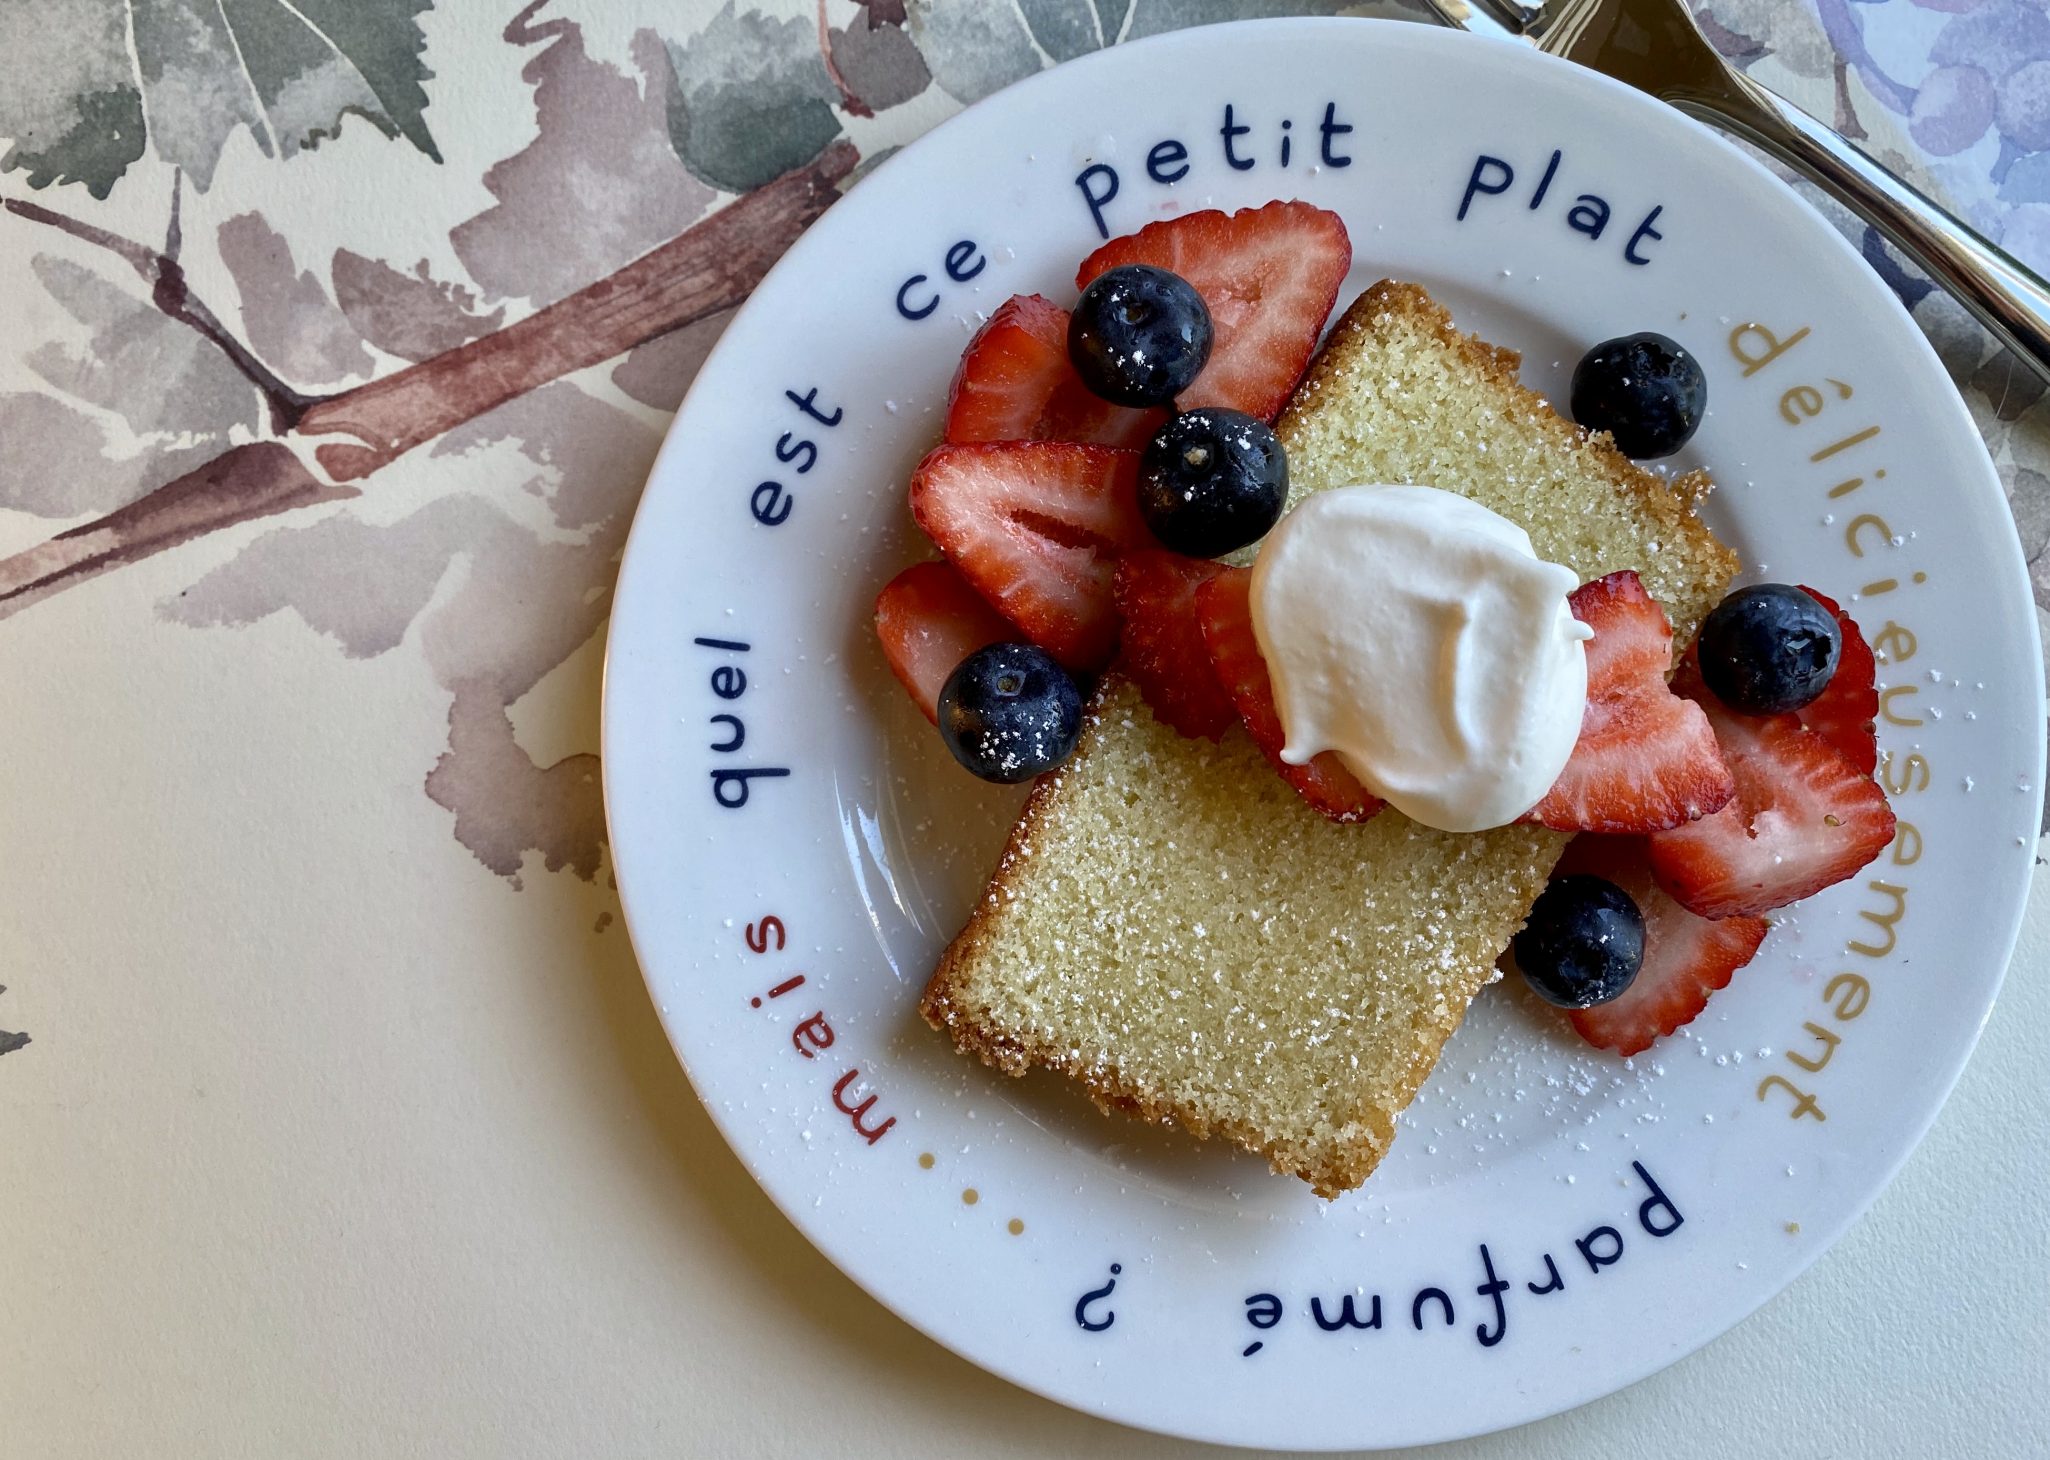
Shhhh…please don’t tell Chef H I messed up his cornbread recipe. I’m not sure what I did wrong but I’m way too embarrassed to ask…
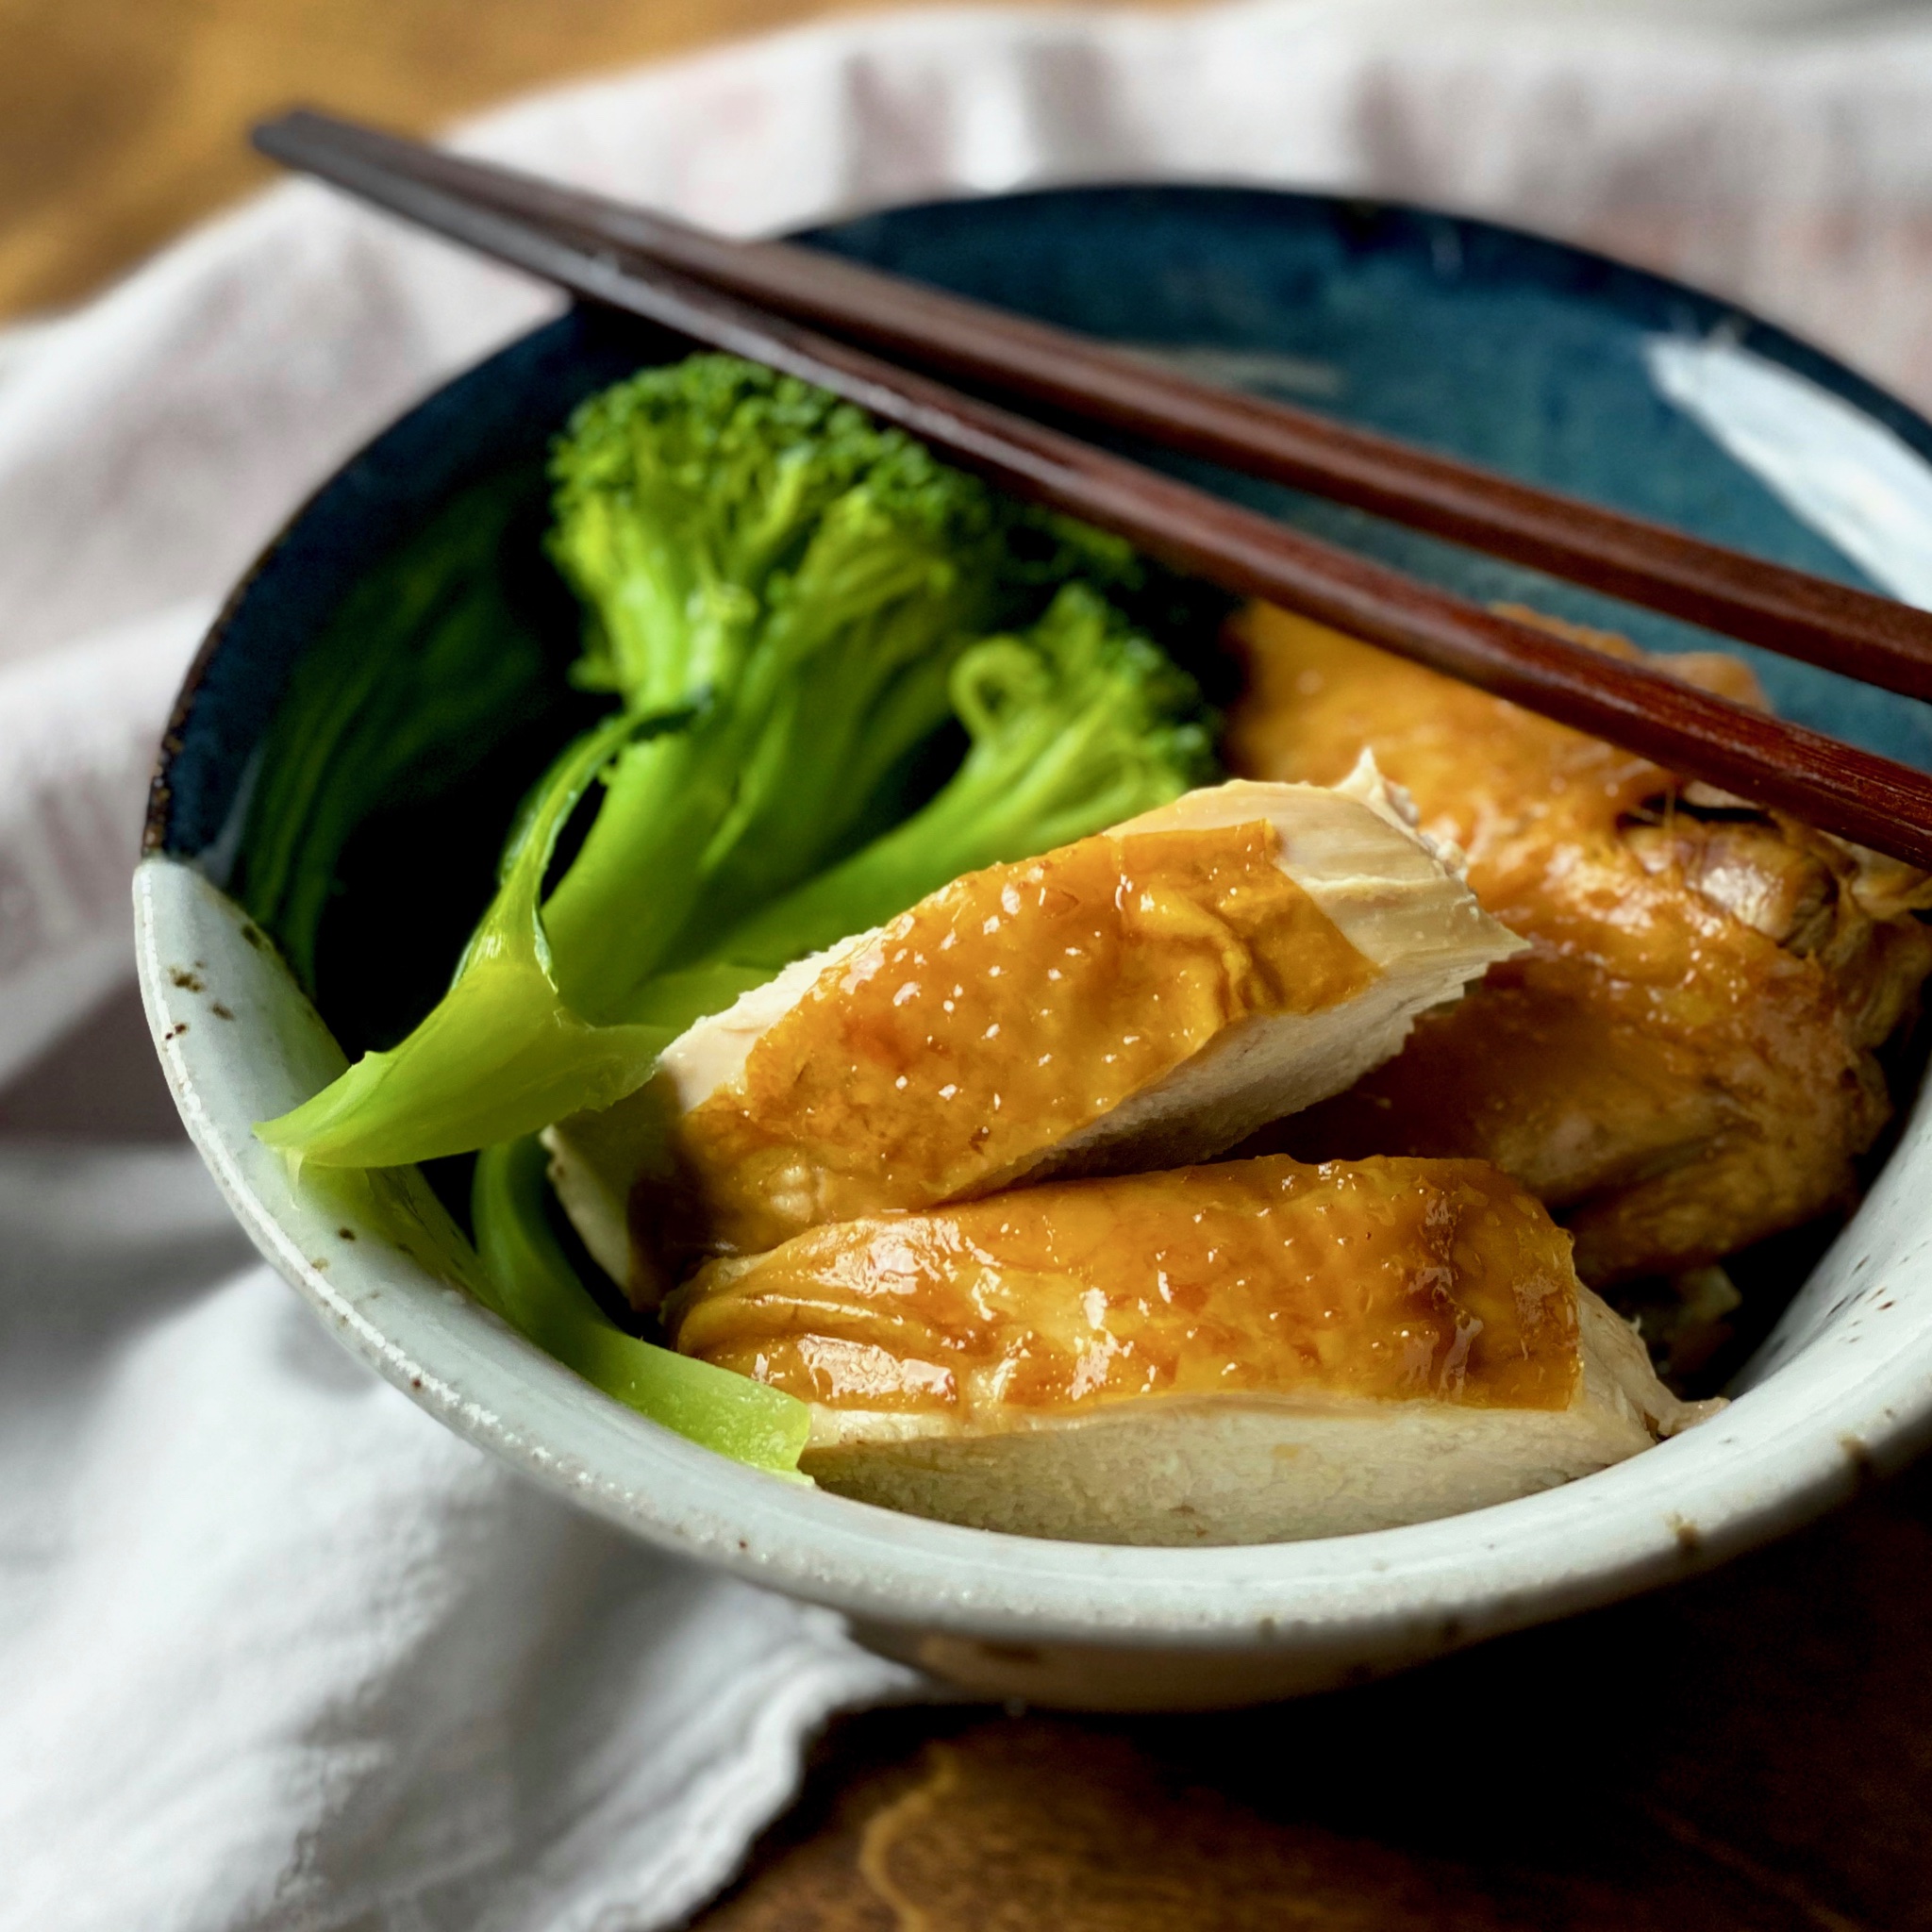
Growing up in Chinatown I took for granted that everyone had access to fresh vegetables, fish, poultry and meat. If only I had an iPhone…
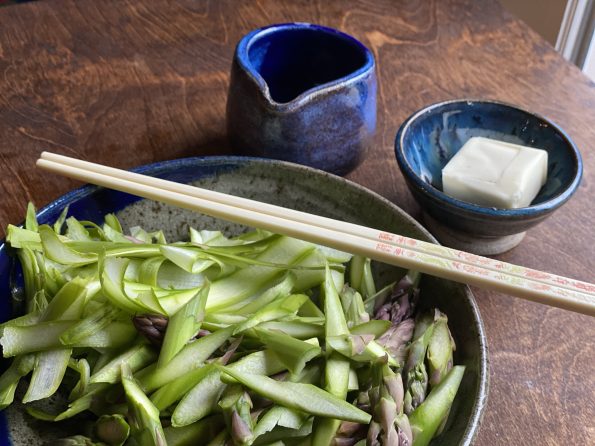
A simple and delicious way to enjoy asparagus. Just a little bit of butter, soy sauce as you saute asparagus and a dash of salt…
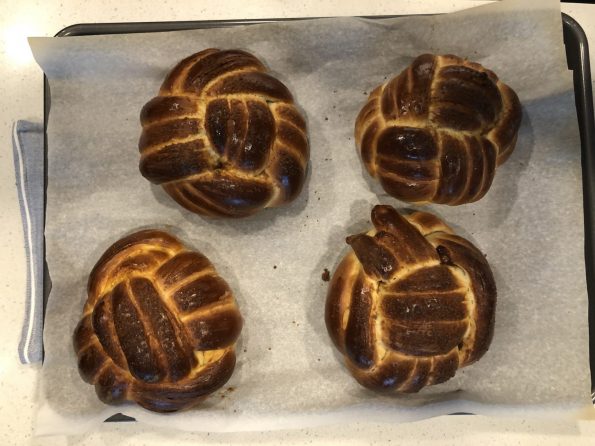
Hello my fellow social distancers It is I again, your resident baking aficionado (J A M I E). I hope you all are staying away…
The Hubs, Jorge, Sammy, and I are home while Jeffrey is in The City, and Mui is in Houston. Like most folks, we are finding…
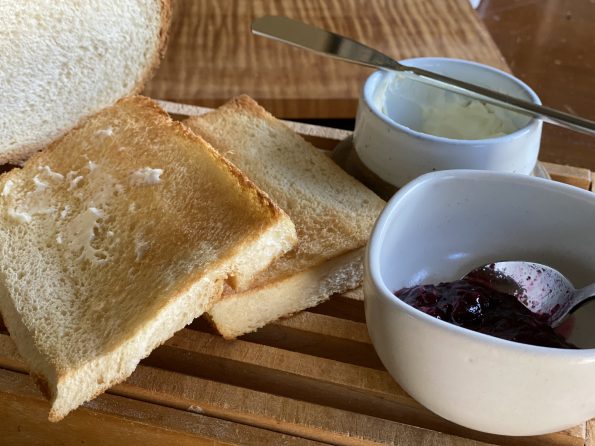
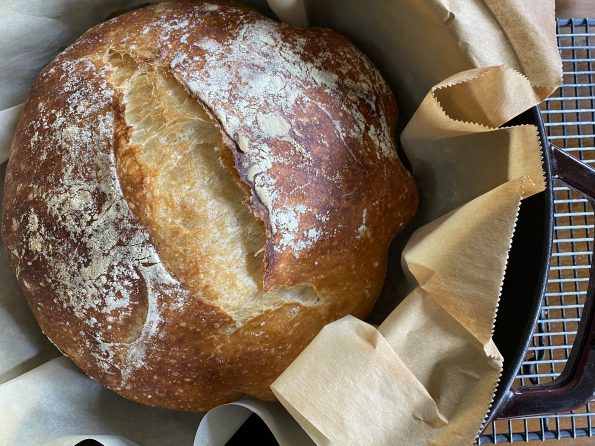
The COVID-19 stay at home policy has me pulling out my mixing bowls, pots, and pans. Cooking and especially baking keeps me busy and helps…