
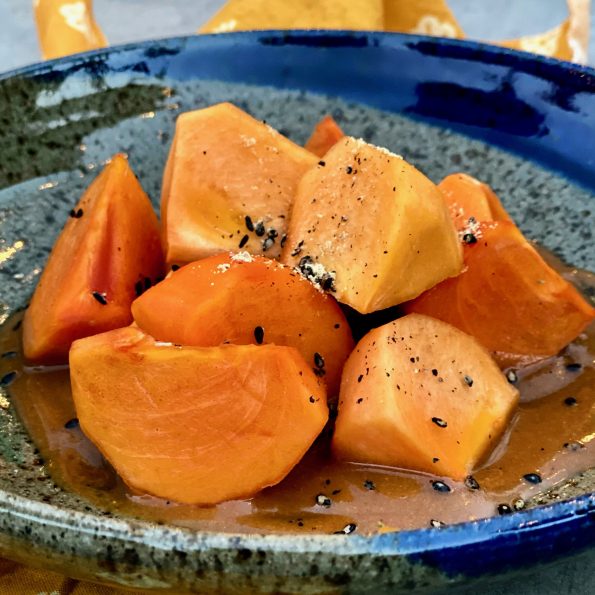
It’s persimmon season! About this time every year, my friend & co-worker, Trang, comes to work with bags of homegrown persimmons. I am not ashamed…
Life is on hold as we await the results of the 2020 presidential election. I swore I wasn’t going to agonize over the process leading…
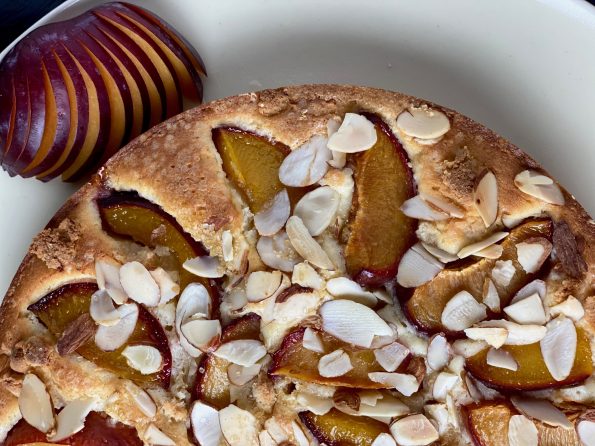
Our weekly foray to the Farmer’s Market had me restocking my week’s worth of fruits and veggies。 I was looking for inspiration for a showstopper…
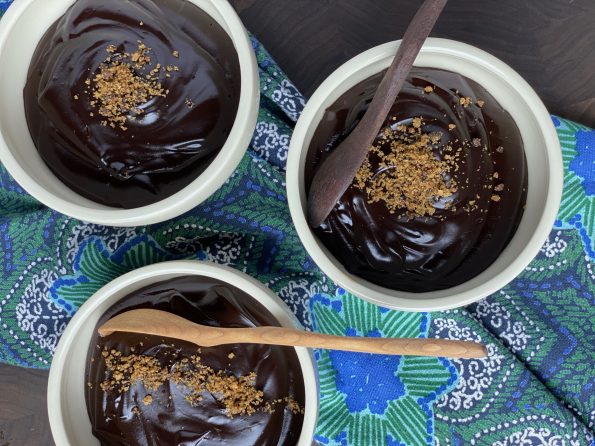
The Bake Sale Returns to Its Political Roots from Food & Wine magazine and a YouTube video of Paul Rudd “Ant Man” handing out cookies…
Posted on one of my favorite blogs, Ipso Fatto, are a couple of sweets she tried from Food & Wine’s article, The Bake Sale Returns…
Jamie is in Minneapolis right now, she sent a quick pic of herself bundled up in her down jacket, gloves, wooly hat with a single…
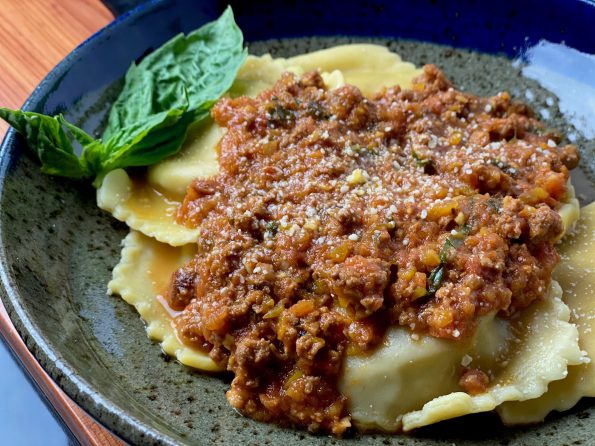
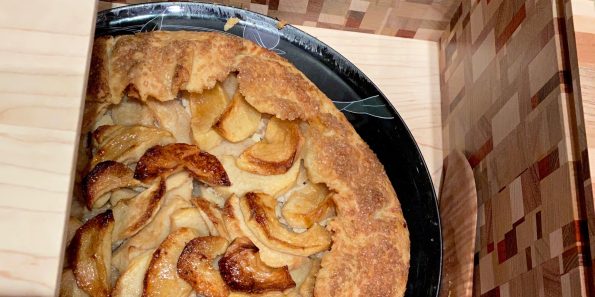
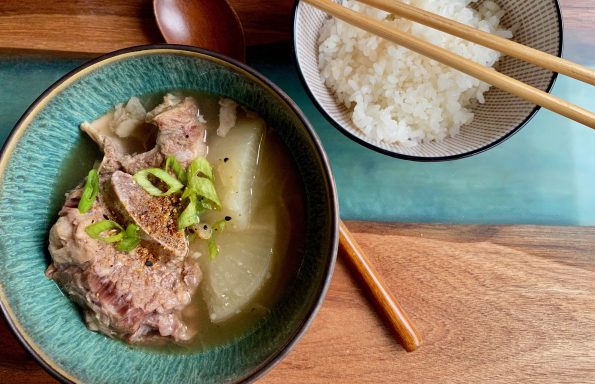
In these tenuous times, I find myself making comfort food-homey dishes that surround your soul like a warm blanket. One of my family’s all-time favorites…
Yes, fall is upon us. Amazing how a year can go so quickly and yet feel interminable. Jamie came home yesterday from work and pronounced…
The fires in California have cast an apocalyptic haze to our skyline. We actually hit the water for an early morning row, but coming off…