
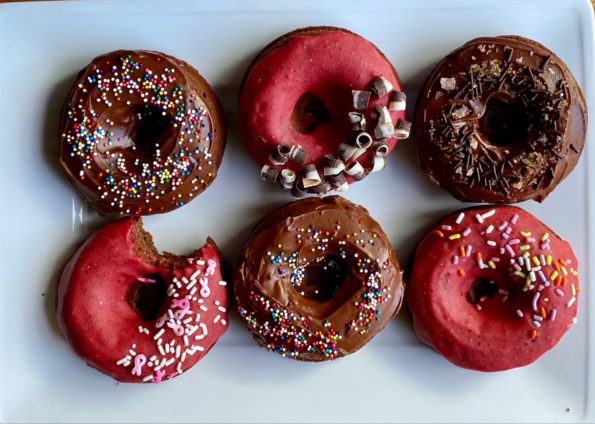
Chocolate mochi donuts, delicious gluten-free treat!
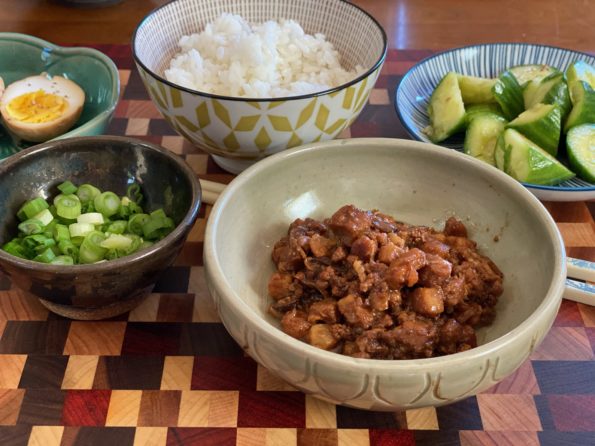
Continuing my virtual traveling by cooking, I’m imagining myself in Taipei right now. I have not been back to Taiwan in ages and yet I…
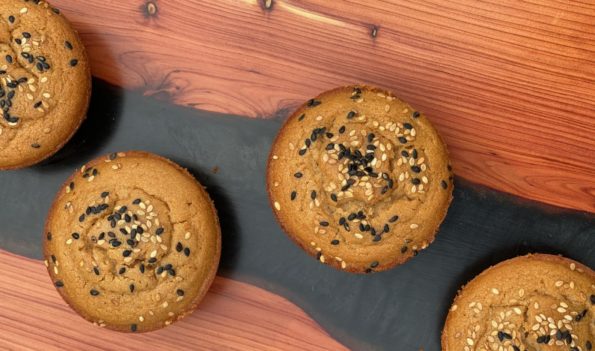
More Mochi Madness One of the most popular posts on 3Jamigos is Muffin been the Mochi that Caught My Eye (Butter Mochi Muffins) I stumbled upon…
The one consolation to the pandemic for us (which goes to show just how fortunate and entitled we are), my kids came home at various…
This post has been sitting on the back burner for a while, the majority of the time because I kept tinkering with the recipe. The…
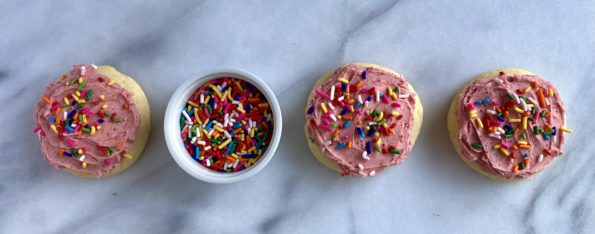
My favorite holiday cookie of the season is Eric Kim’s (check out his site, wonderful essays, beautiful writing) Lofthouse Style Grocery Store Cookie. It’s surprising…
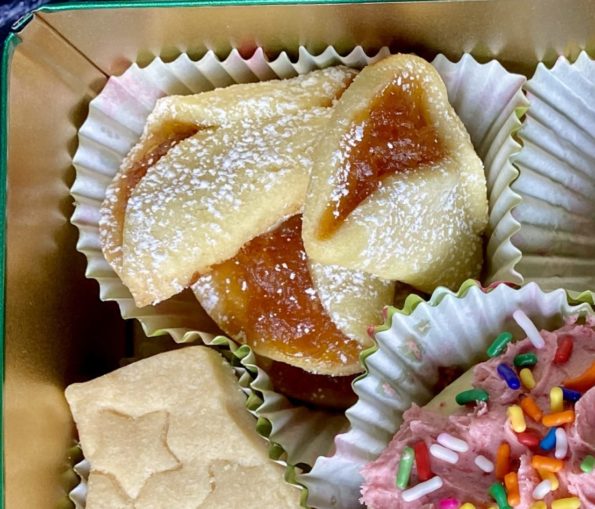
There are a couple of baking books that are my go-tos for cookies, especially during the holidays, like Rose Levy Berenbaum’s Christmas Cookies, Alice Medrich’s…
I remarked to hubby the other day, “I ‘ve been pretty bad about baking holiday treats the last few years, huh”. It was a rhetorical…
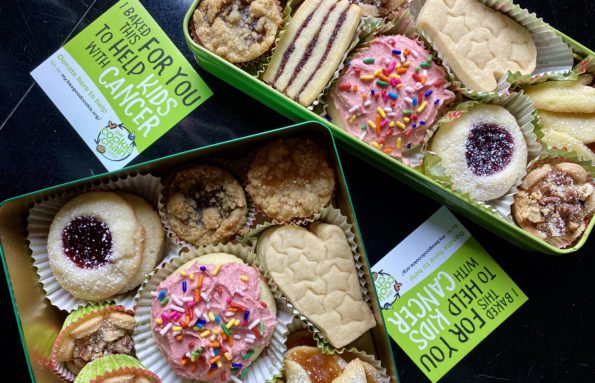
Always on the lookout for cookies with a twist, I came across these cookies in New York Times Cooking. There I was nonchalantly scrolling through…