
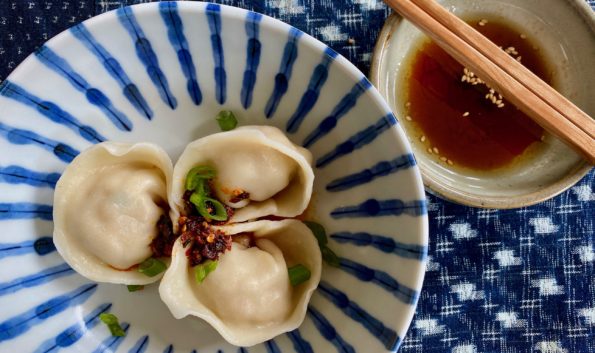
I cannot tell a lie. Most of the time, (we are talking 99.99 percent of the time) we use commercially available wrappers when making dumplings.…
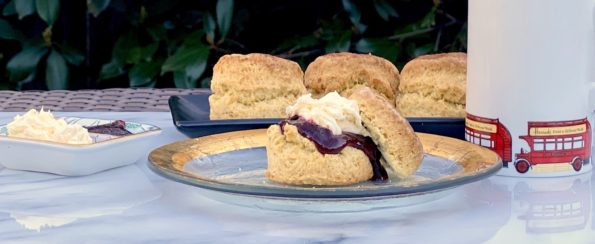
My go-to scone recipe is an adaptation of Dorie Greenspan’s Cream Scone. I love these and have made countless of variations using dried fruit, fresh…

I love dumplings, right up there with bowl food, soul food. In my world, Jeopardy has a couple of categories including “Things You Eat with…
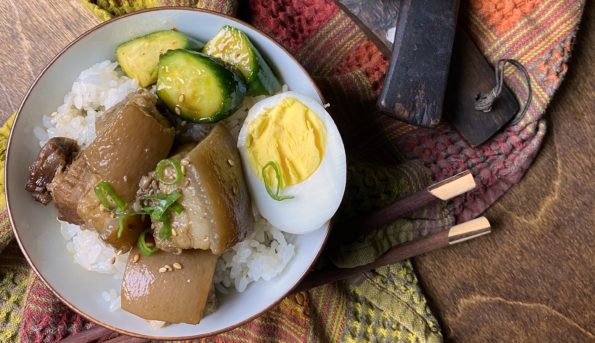
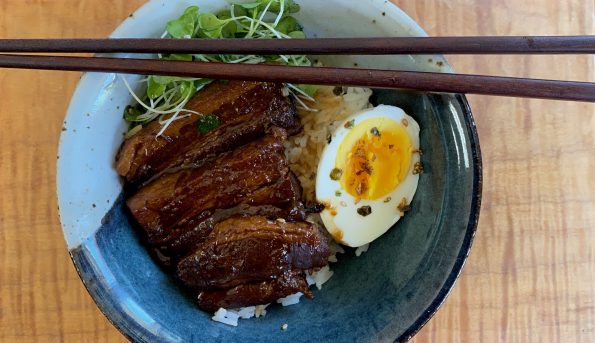
Bowl + Spoon = Soul Food My favorite equation, like Eat = MC(squared), which, in my book, stands for M-meat, C-Cooked & Crazy delish. After…
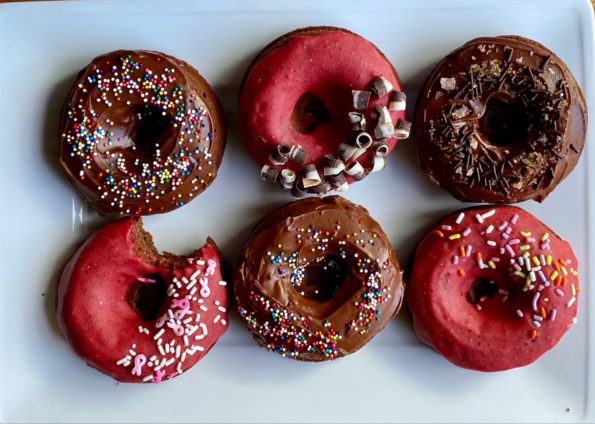
Chocolate mochi donuts, delicious gluten-free treat!
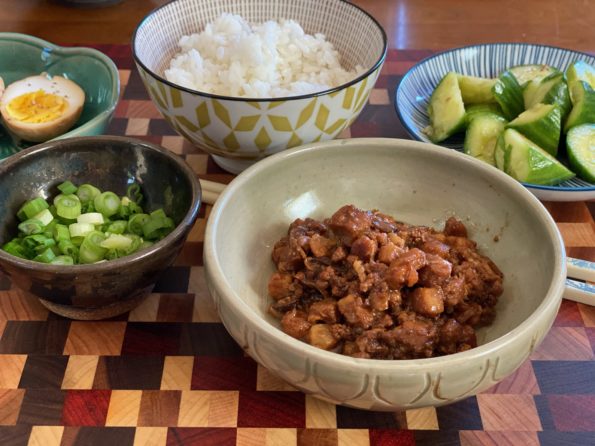
Continuing my virtual traveling by cooking, I’m imagining myself in Taipei right now. I have not been back to Taiwan in ages and yet I…
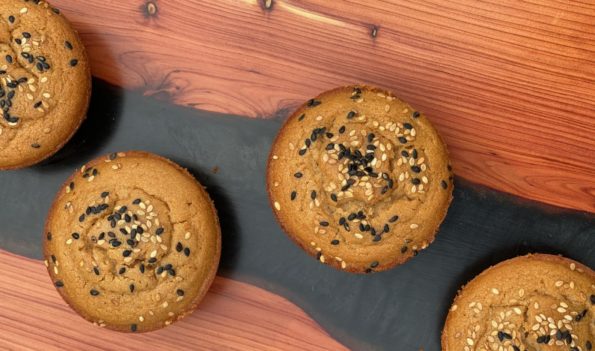
More Mochi Madness One of the most popular posts on 3Jamigos is Muffin been the Mochi that Caught My Eye (Butter Mochi Muffins) I stumbled upon…
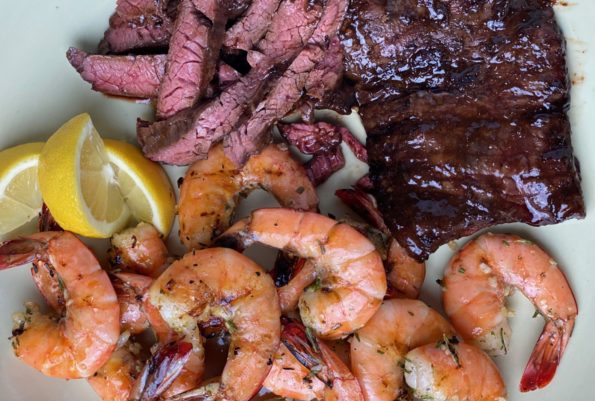
The one consolation to the pandemic for us (which goes to show just how fortunate and entitled we are), my kids came home at various…
This post has been sitting on the back burner for a while, the majority of the time because I kept tinkering with the recipe. The…