
Hetty McKinnon is one of my favorite food writers and recipe developers. I met her at a cookbook signing (of course) in Brooklyn for Kristina…
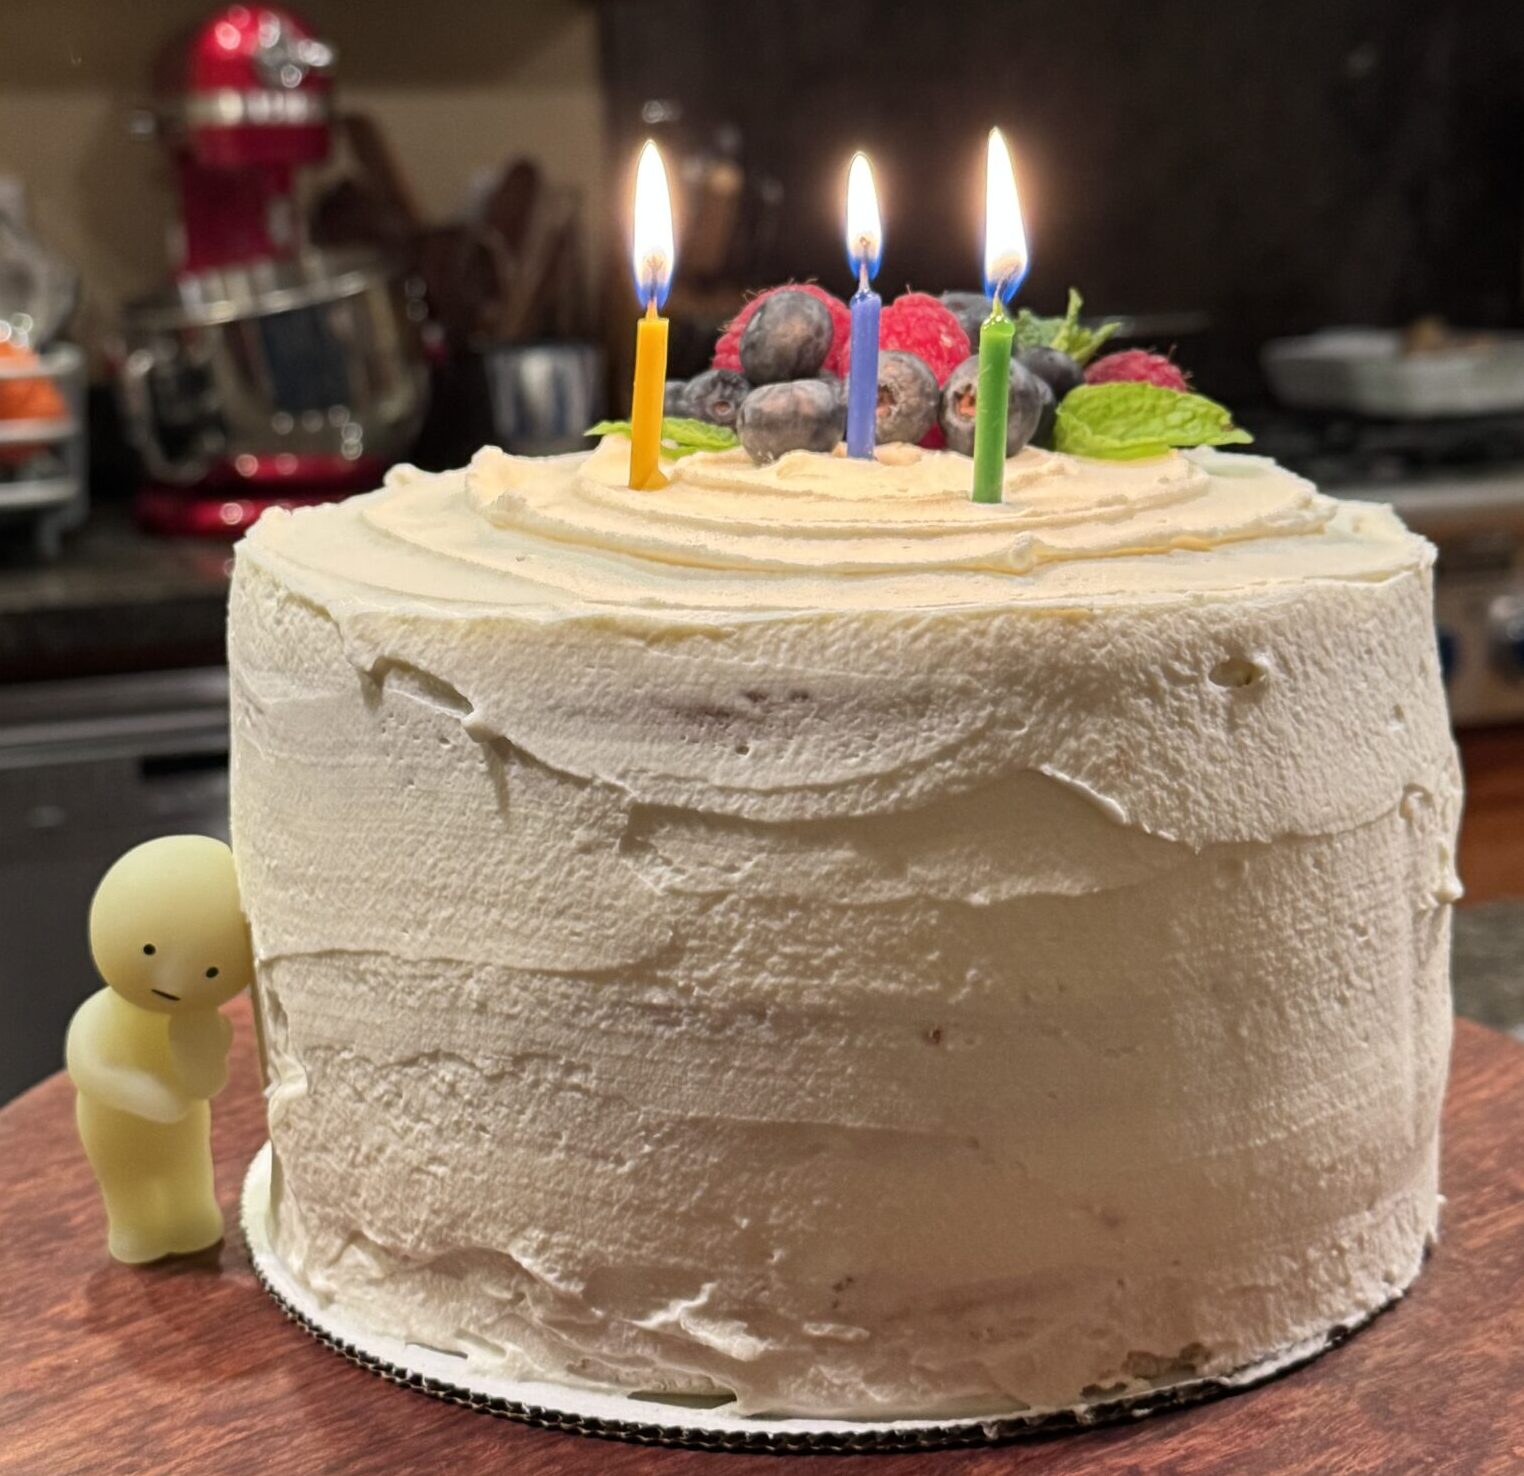
I have a confession: I have never had Whole Foods’ Famous Berry Chantilly Cake. In fact, the first time I heard about this cake was…
I think I broke a record on New Year’s Eve. Well, a record for me. Normally a night owl, I found myself on the couch…

The hubster and I spent the last month or so in New York City. We have spent quite a bit of time there over the…
Happy holidays! Right after Thanksgiving, we hopped on a plane and headed to our 2nd favorite city, NYC. We had never visited before the holidays,…
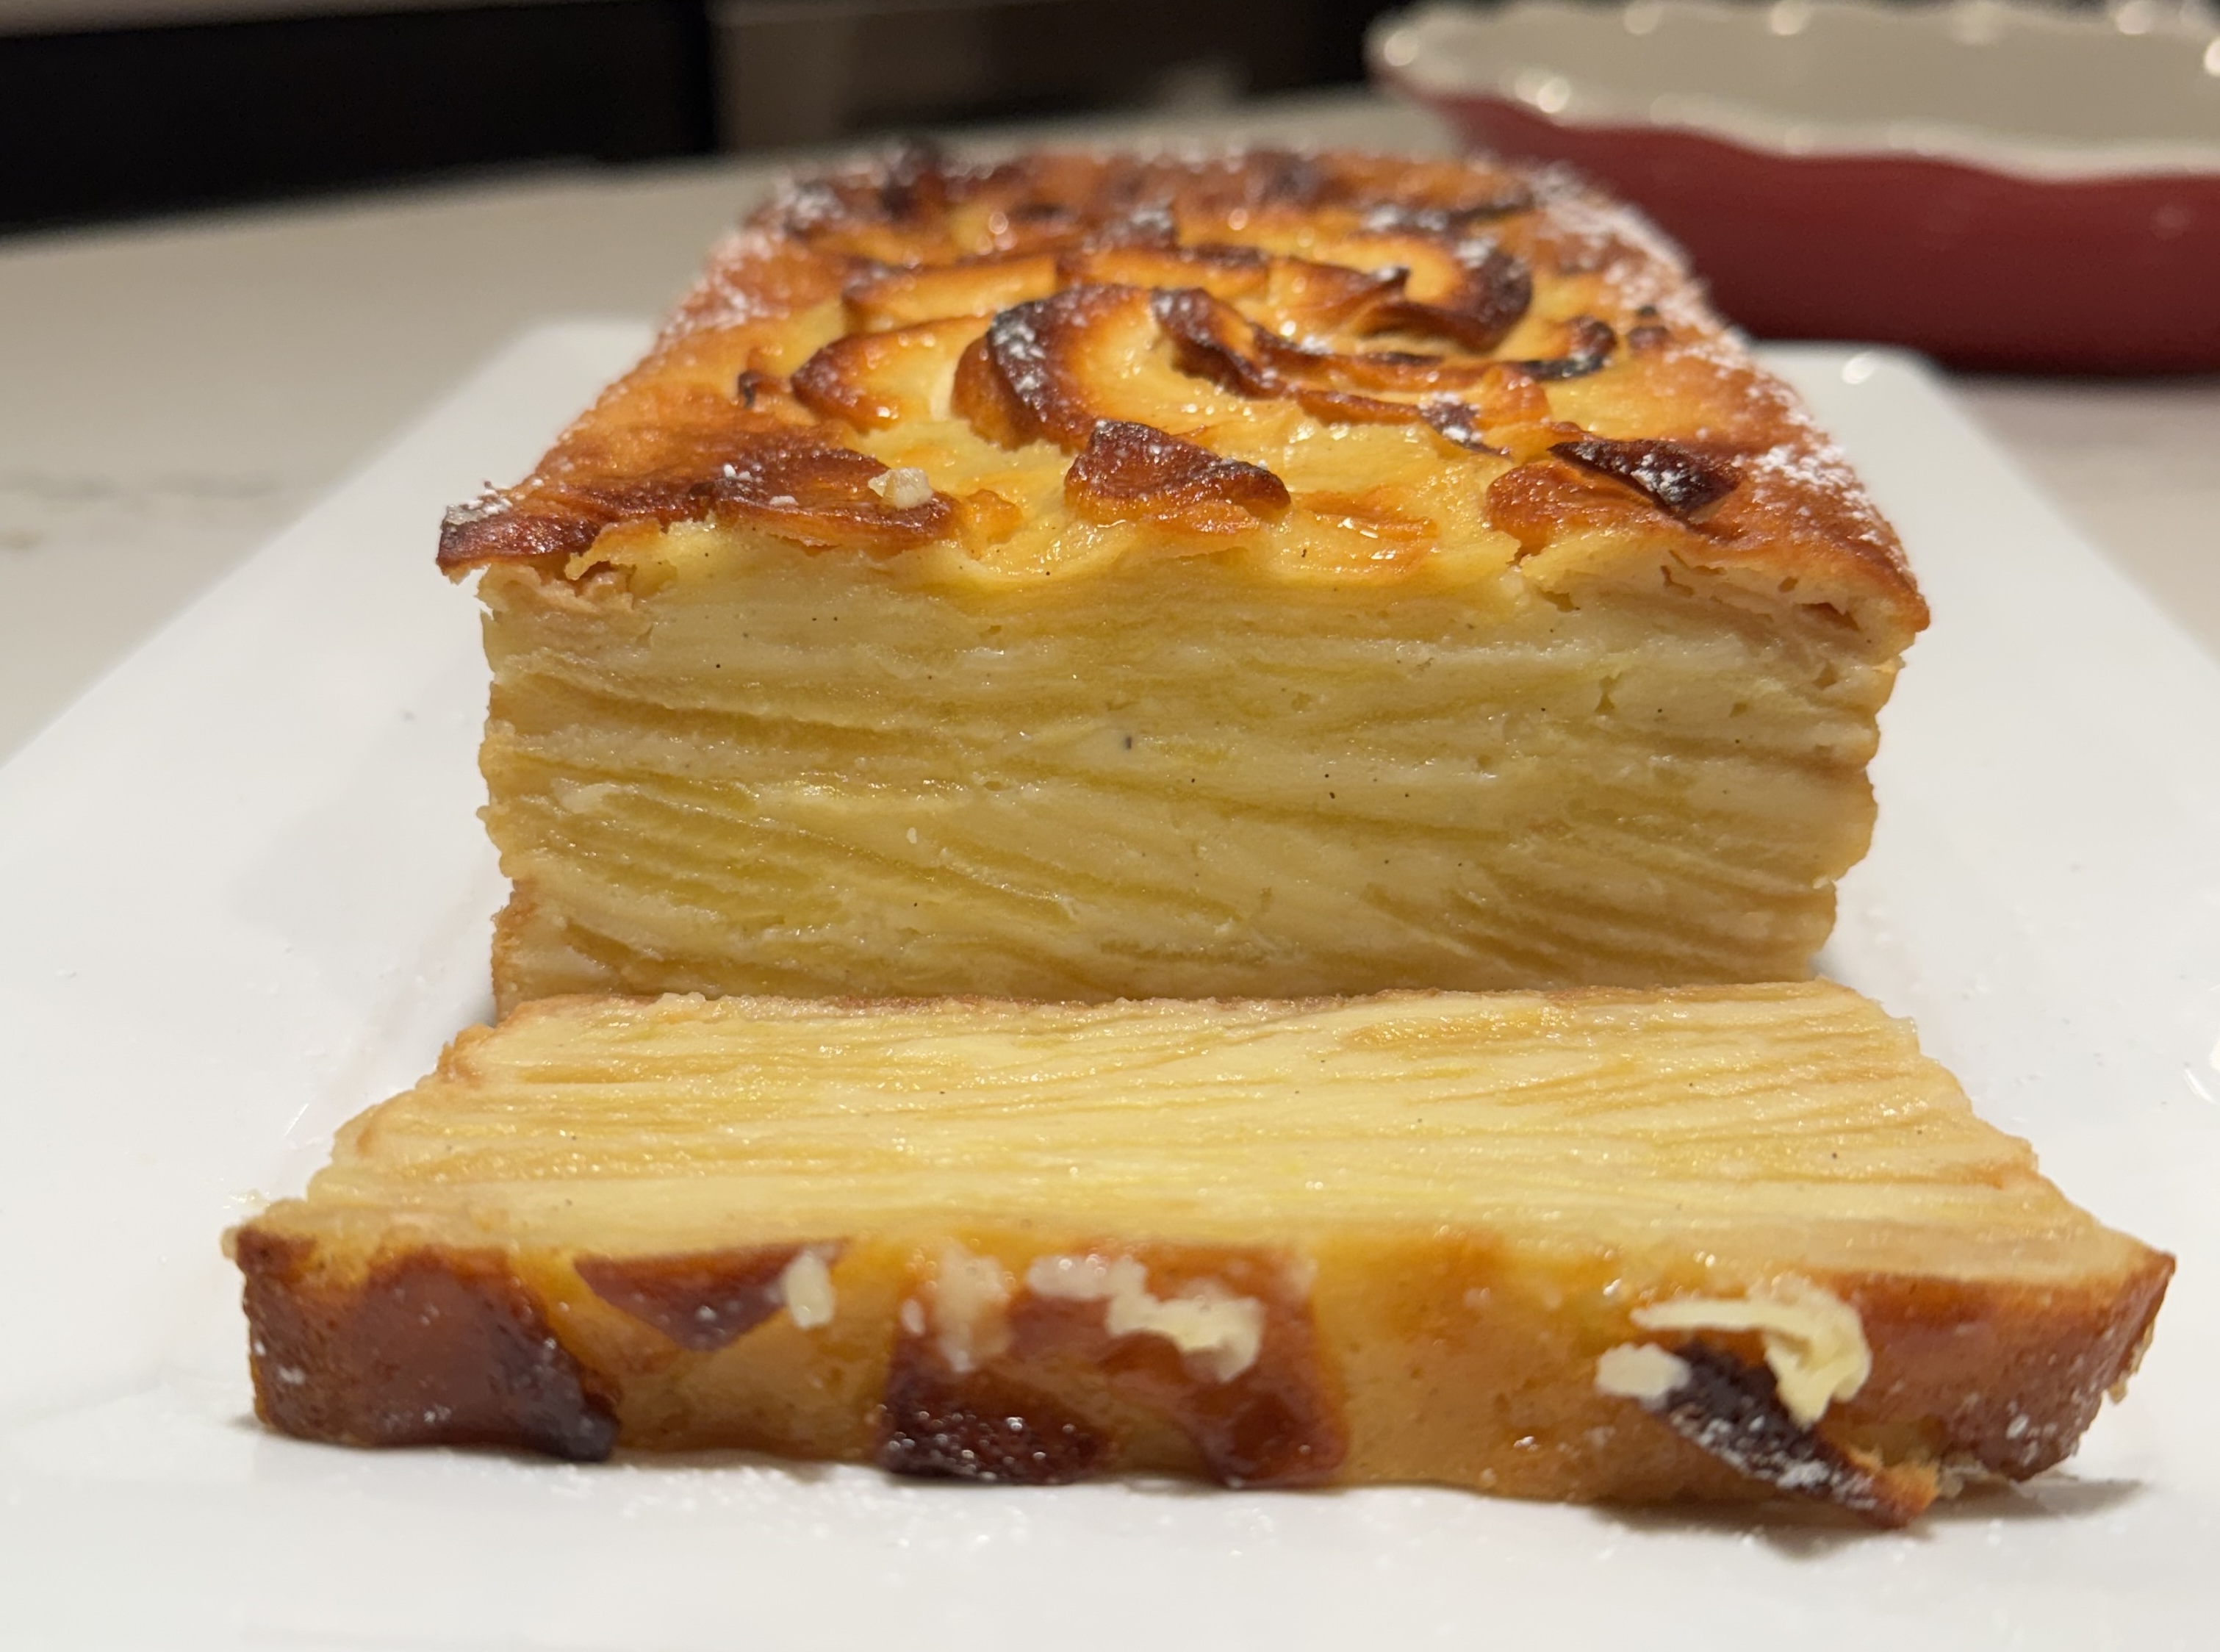
I have been eyeing this cake for a while, the Invisible Apple Cake. No pun intended. It’s layers and layers of thinly sliced apples held…
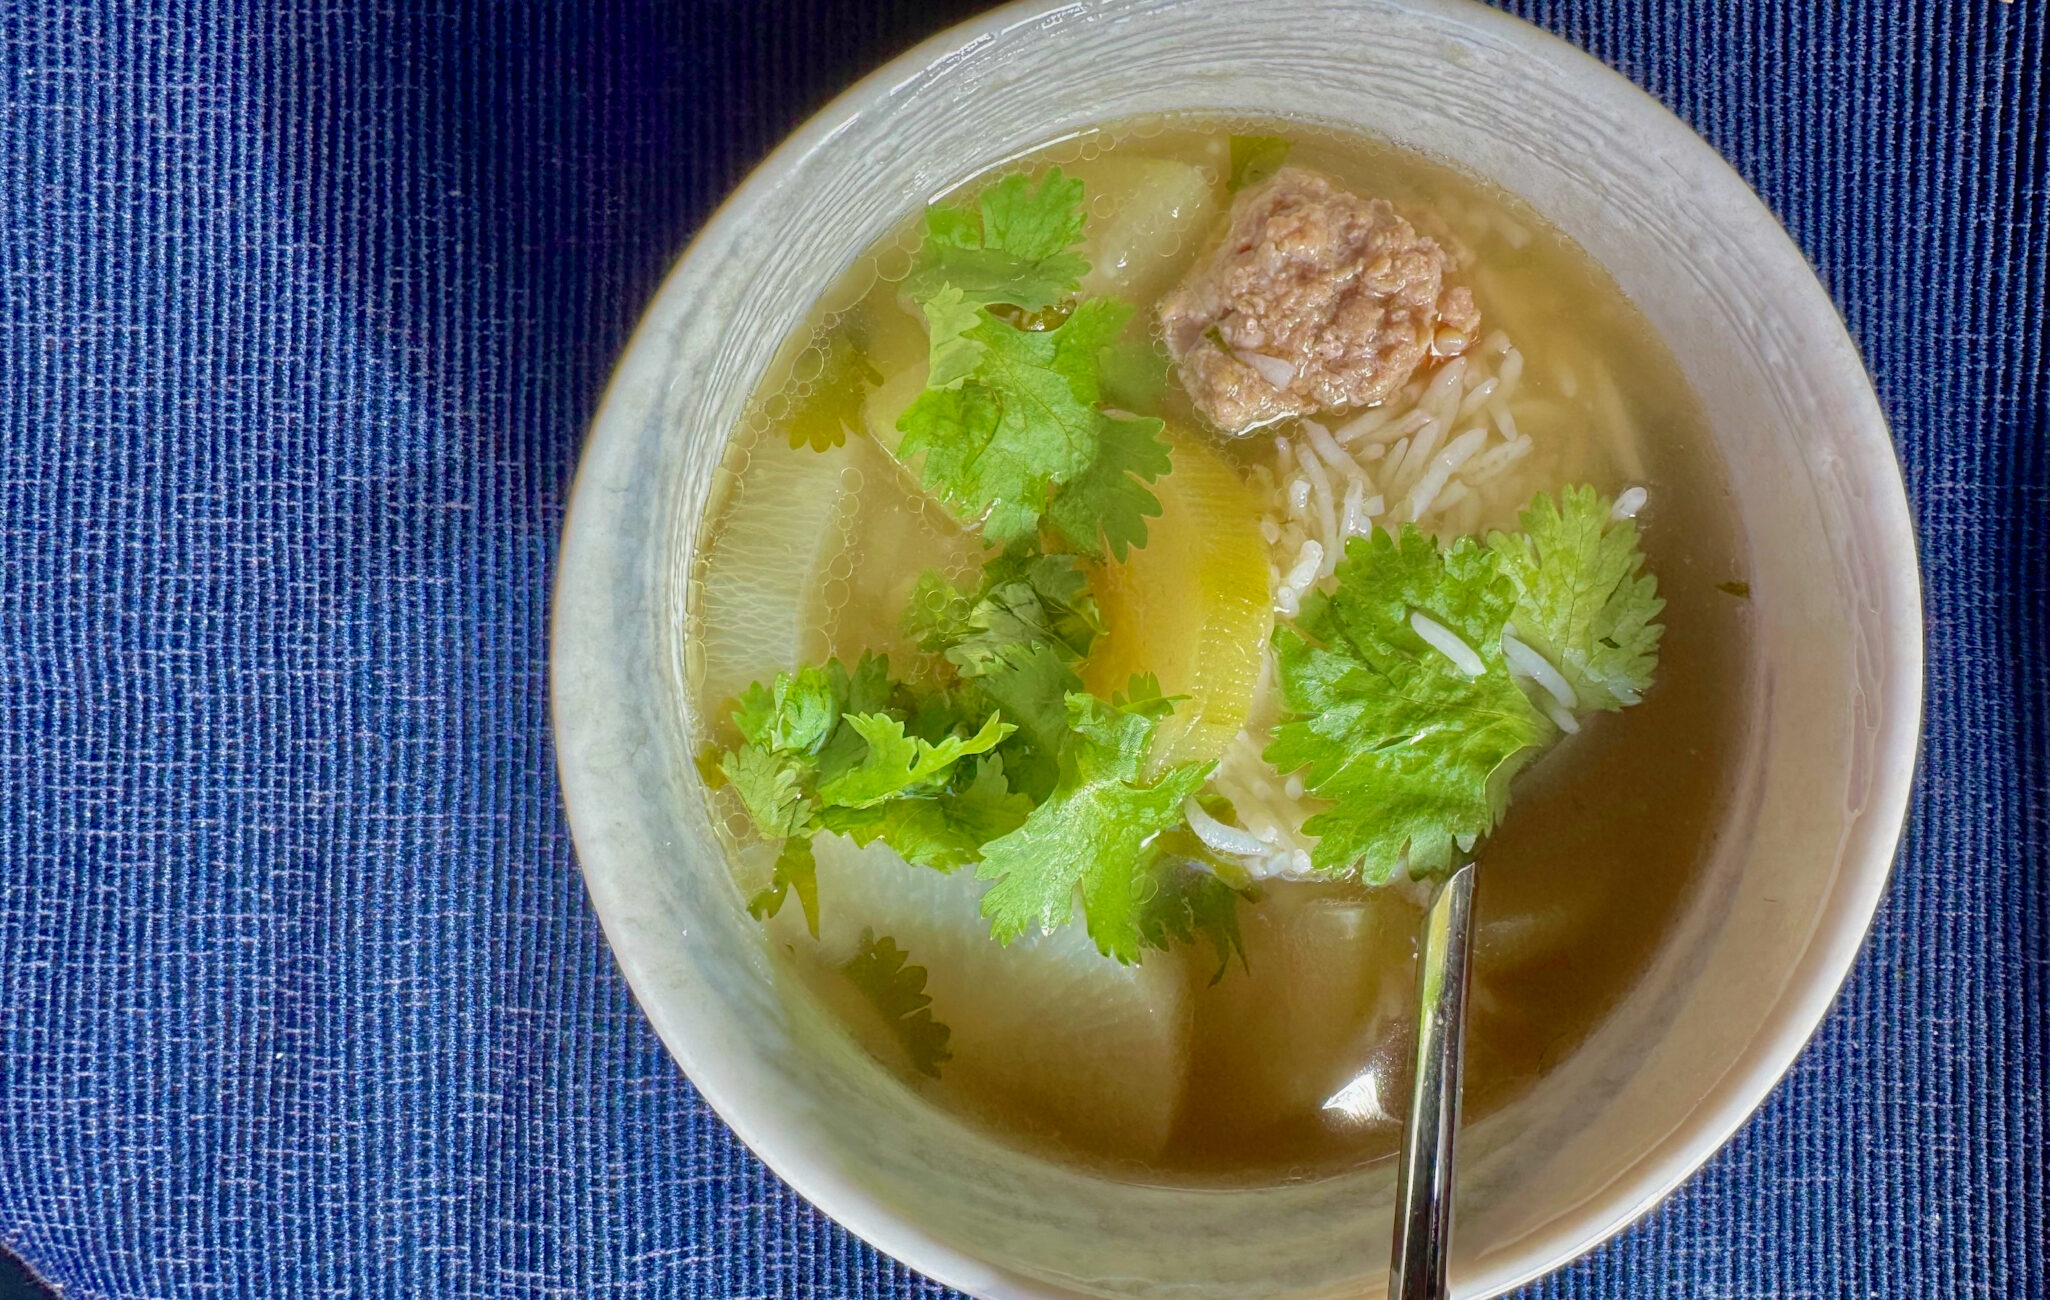
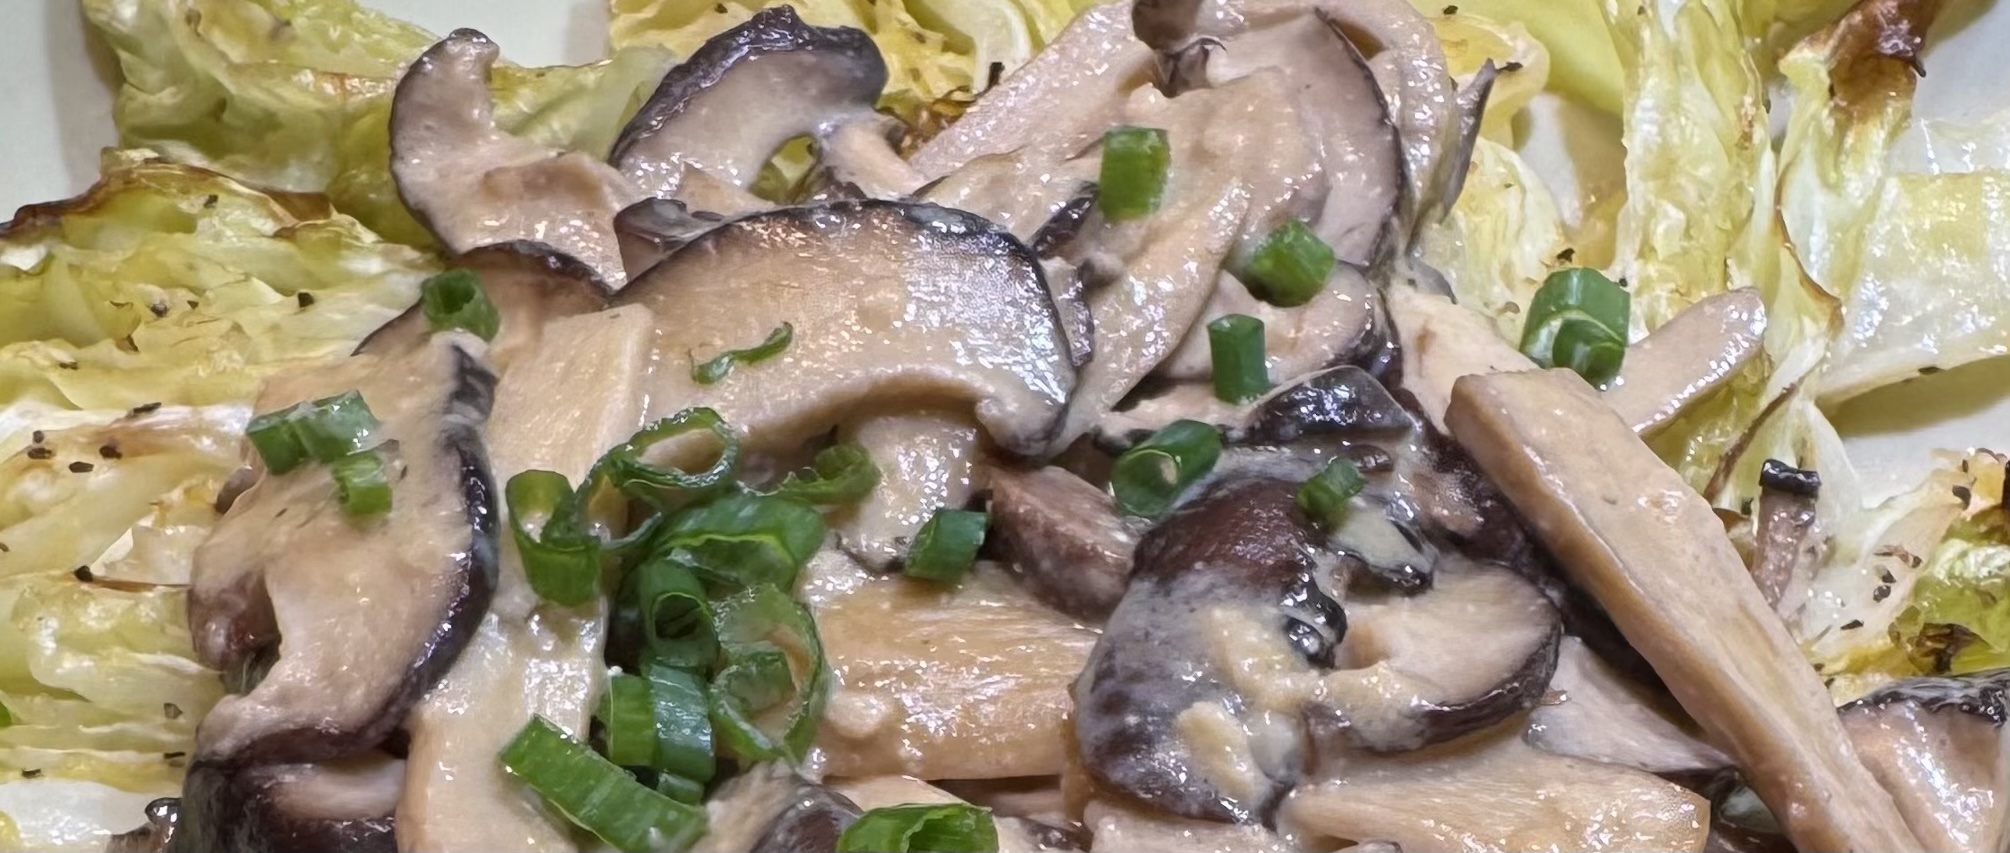
Jamie was home for a week, so I headed to the Asian grocery store to buy Hairy (or Fuzzy, completely interchangeable) Melon to make a…
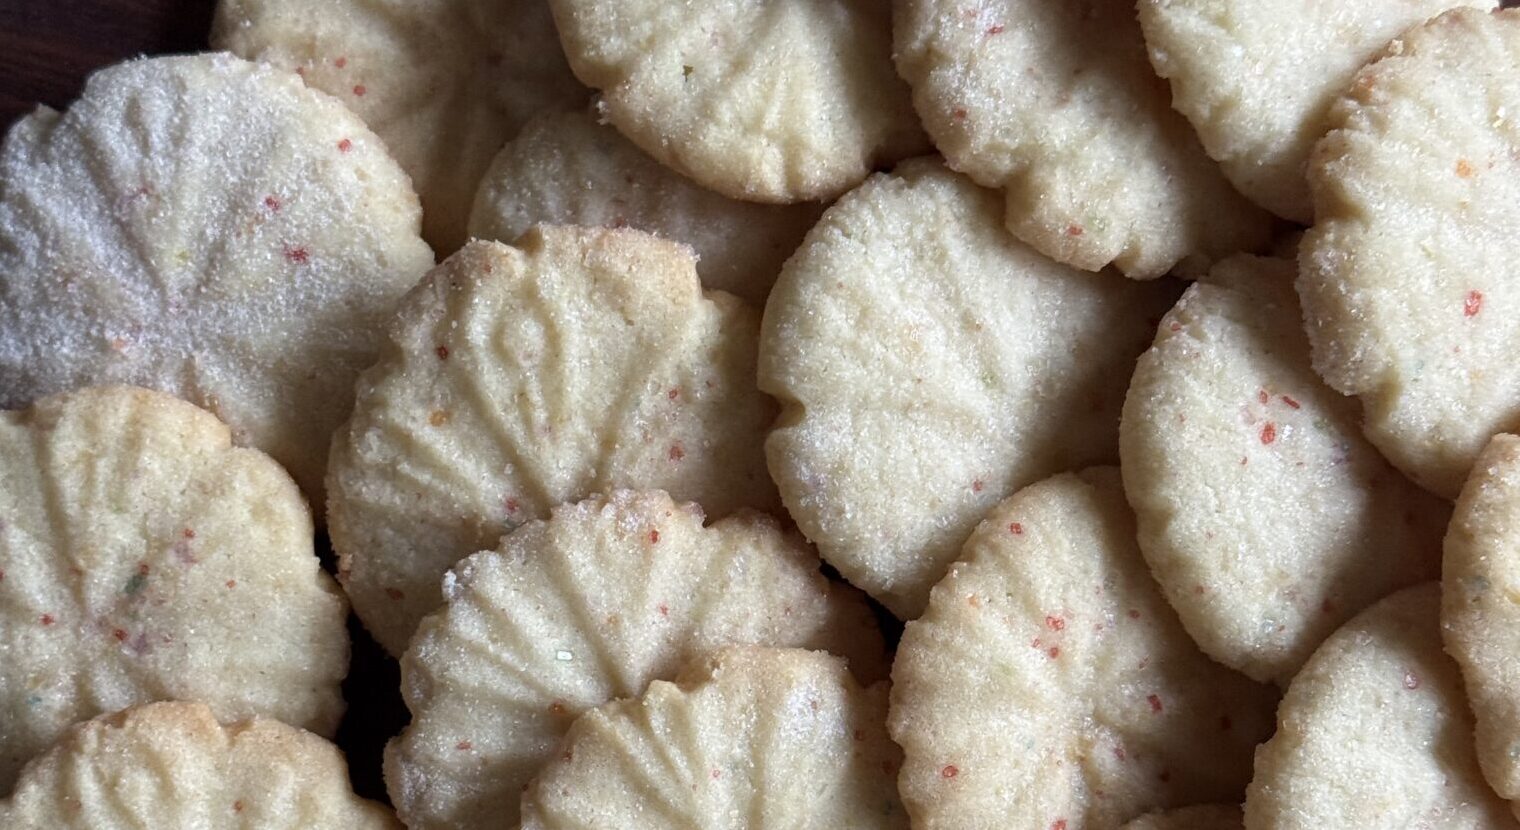
Is it that time already? An Instagram reel popped up for “Sugar Crack Cookies, The most addictive Christmas Cookie you’ll ever make” from @hayherridge, all…
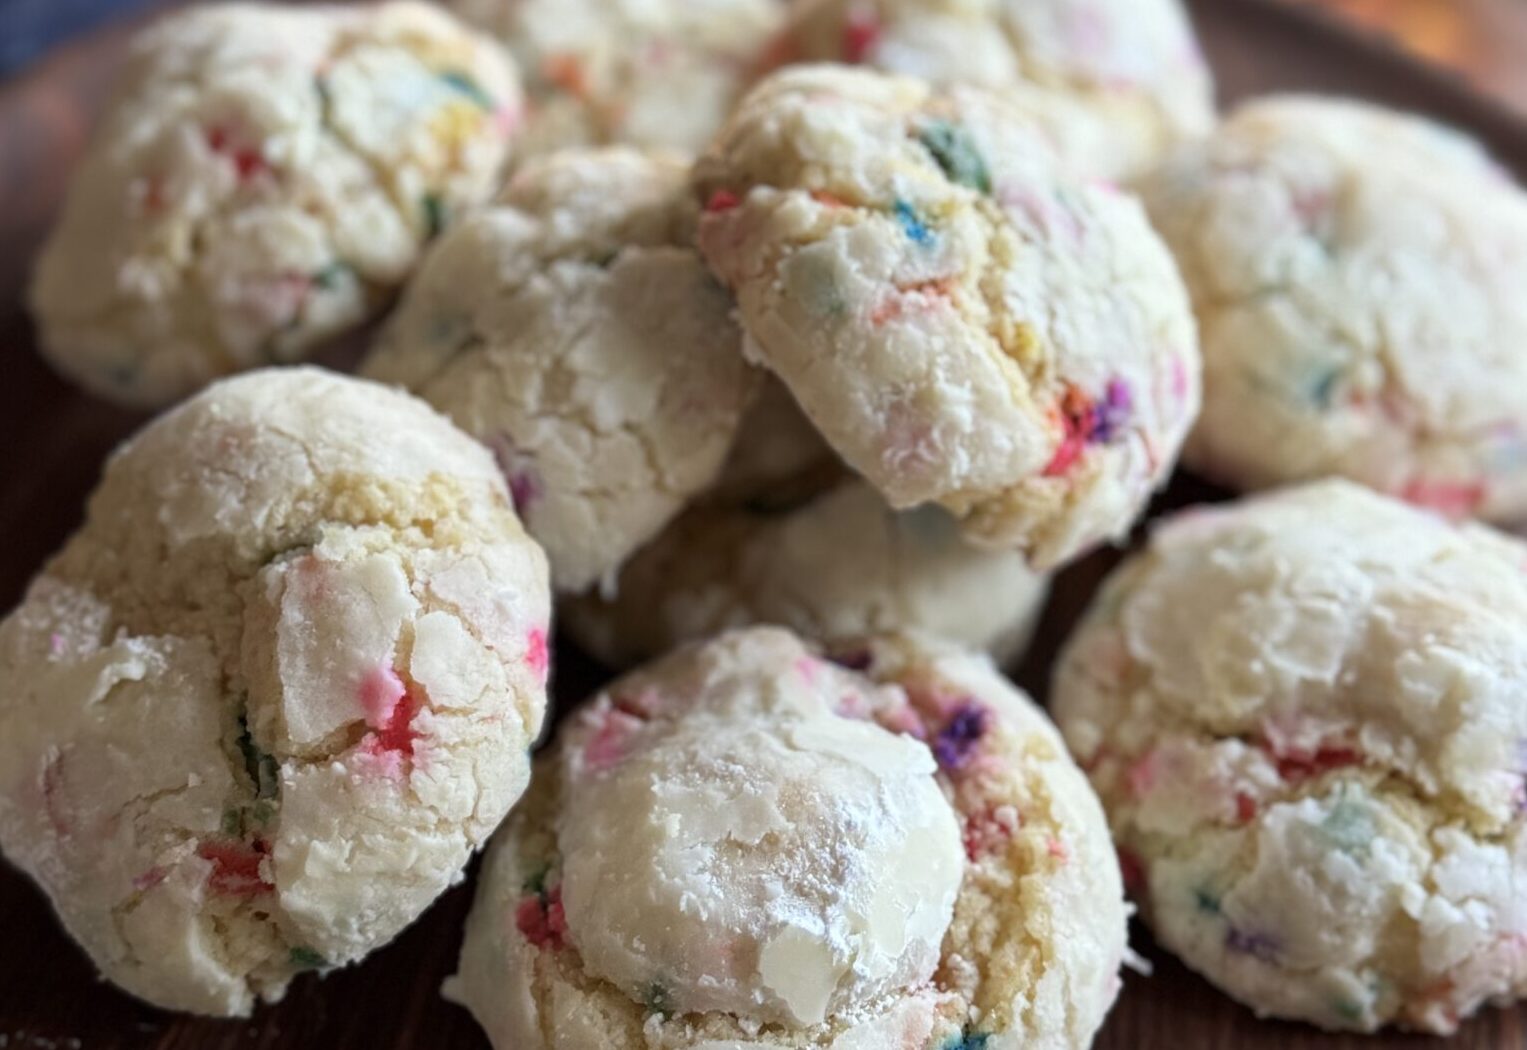
In these troubled times, you need not just comfort food but a sweet treat that makes you smile. I’ve got just the cookie, Nicole Rucker’s…