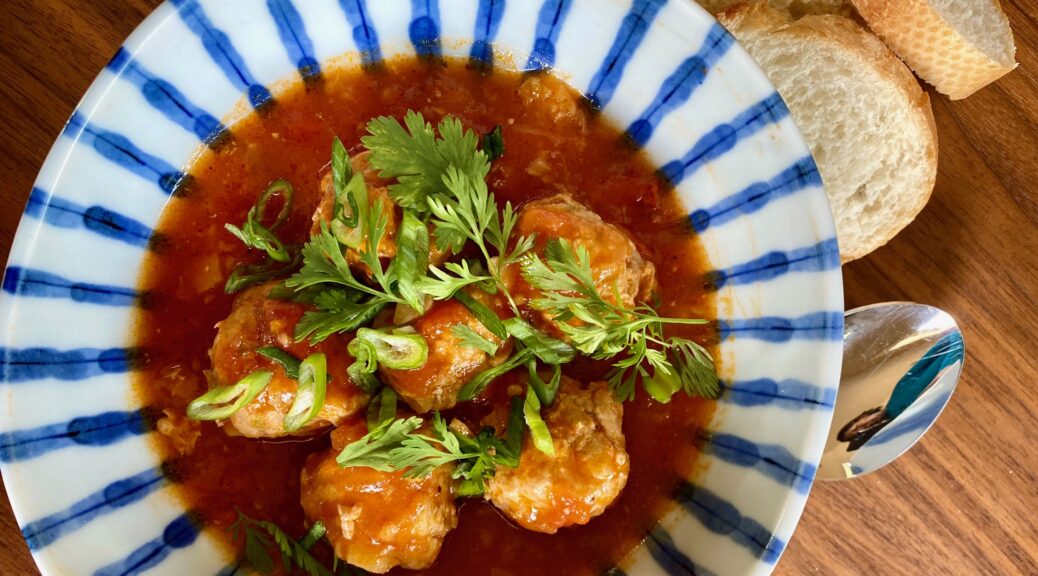
Vietnamese Meatballs In Tomato Sauce (Xiu Mai)
Before tomato season ends give this dish, Vietnamese Meatballs in Tomato Sauce, a try. I came across this dish on IG. It looked scrumptious, and I’m a sucker for meatballs and fresh tomato sauce.
I did a bit of sleuthing and found that this dish is frequently served for breakfast. Delicious, tender, succulent meatballs in a light, flavorful sweet, tomato sauce, a couple of slices of a baguette on the side to dip into the sauce-yum. What a way to start your day.

You’ll also find these meatballs in Banh Mi, the Vietnamese version of a meatball sub-sammie. The bread for a banh mi is a revelation. Incredibly light and fluffy with a thin crisp exterior, a riff by the Vietnamese to suit their taste. The meatballs nestled in the roll are tender and the sauce is briny, sweet, and flavorful. To finish, pile pickled radishes, carrots, and a garnish of cilantro, jalapenos, and cucumbers on top of the meatballs. My kinda sammie!
Meatball Tips
I looked at quite a few recipes and a couple of things stood out. Steaming the meatballs ensures a tender meatball. Baking or frying them would work but the meatball won’t be as tender or moist. The texture is much like Chinese steamed dumplings. Instead of steaming, gently poach the meatballs in the accompanying tomato sauce. This infuses the tomato flavor into the meat, keeps the meatballs tender, and eliminates the steaming step.
I use pork, the traditional protein source, but I think ground chicken or turkey would work quite nicely in place of the pork. Use dark meat though, the higher fat content keeps the meatballs moist and tender.
The recipe calls for fresh jicama. No jicama? I reach into my pantry for canned water chestnuts which work admirably. It provides a delightful bit of crunch. Rinse and drain the water chesnuts and then finely chop.
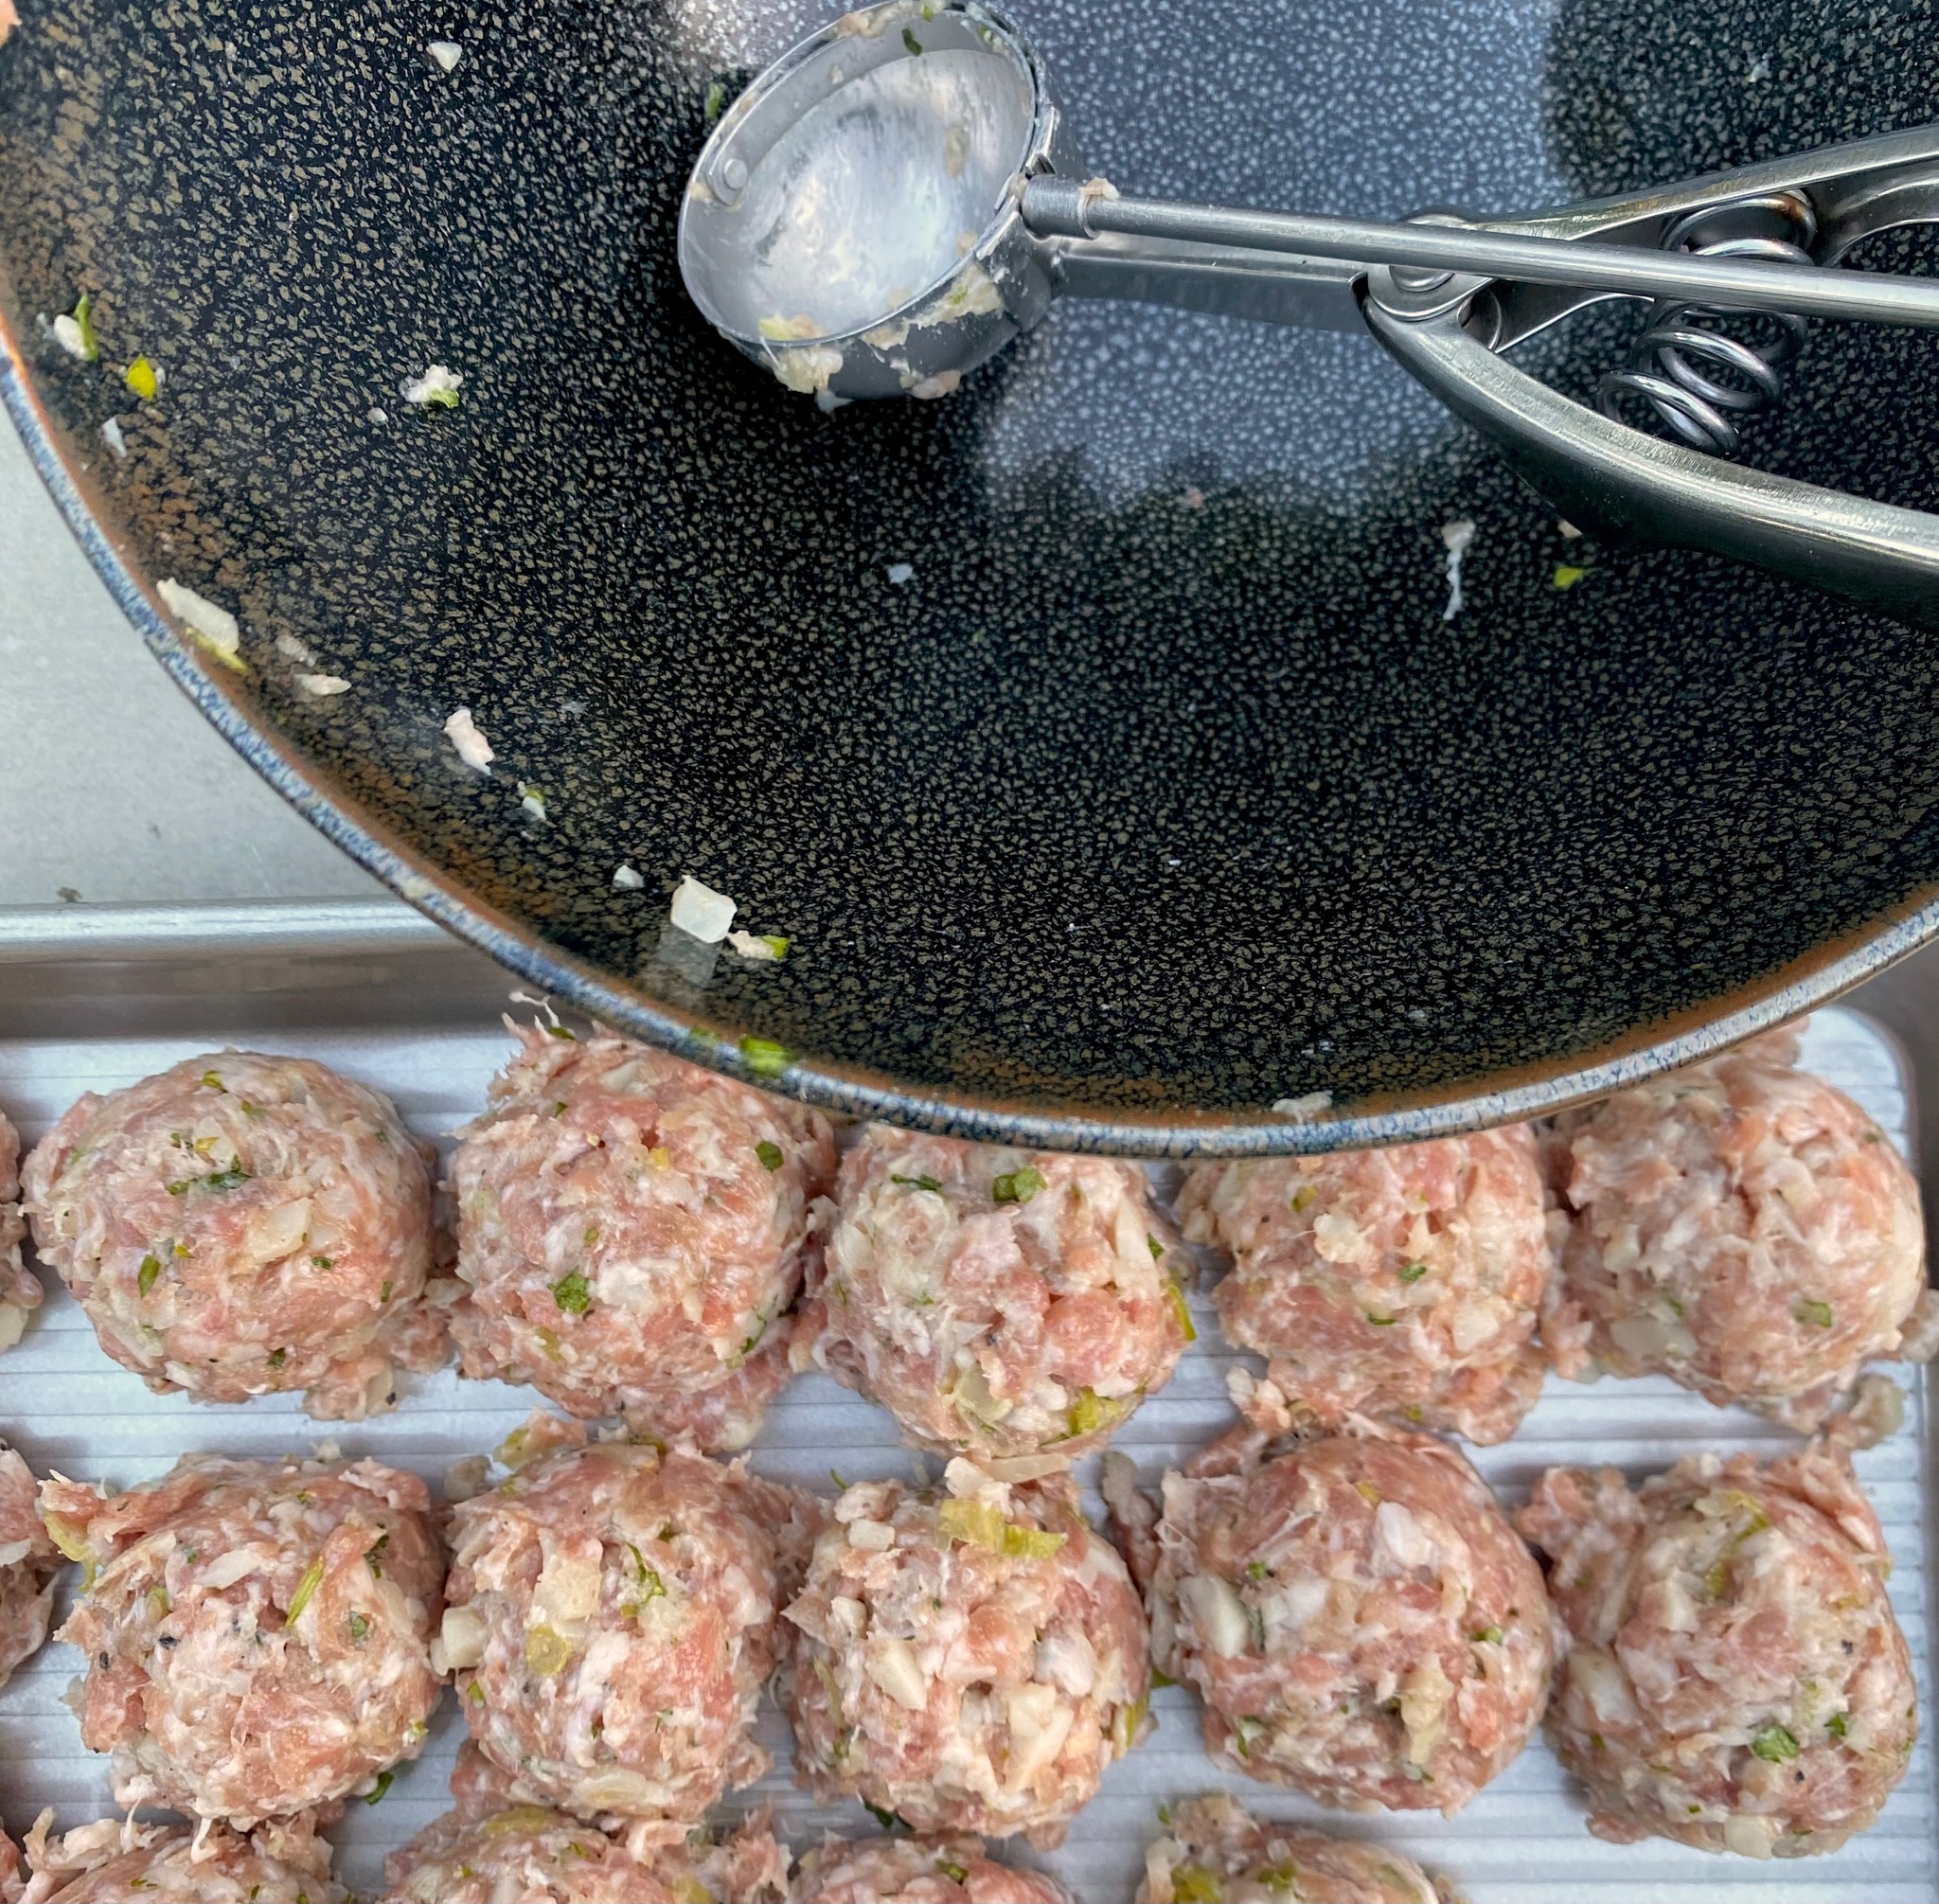
Try not to overmix the meatball mixture. Mixing too much causes the protein in the meat to bind and contract leading to tough meatballs, a no-no. Gently mix just to combine the ingredients evenly and stop. Use your handy dandy ice cream scoop to portion out each meatball. Easy peasy.
Sauce Tips
Make the sauce with fresh tomatoes (now, before tomato season ends). To enjoy this year around, make a big batch of sauce and freeze it for later. A taste of summer in the middle of winter is always a good thing.
This is a very quick tomato sauce, for a chunkier sauce, cook the sauce for less time so the tomatoes don’t break down as much. Use a cornstarch slurry to thicken the sauce. You can also use stock in place of water for more flavor, or add chicken powder (Asian secret weapon in boosting flavor) if using water.
Banh Mi Me
These meatballs and sauce are ah-mazing in Banh Mi, the Vietnamese version of a sub sandwich. A crispy light French roll filled with meatballs topped with not only the sauce but pickled radishes and carrots, cucumber slices, and herbs. This is my dream sammie, directions for the fixings for Banh Mi are here, just sub the meatballs for the chicken. Delish.
Vietnamese Meatballs (Xiu Mai)
Ingredients
Meatballs
- 4 oz jicama (1 cup) finely diced, substitute water chesnuts 1-5 ounce can, drained and finely diced
- 3 green onions, thinly sliced, keep the white and green parts separate. Can substitute finely minced shallots 1 large or two small for the meatballs
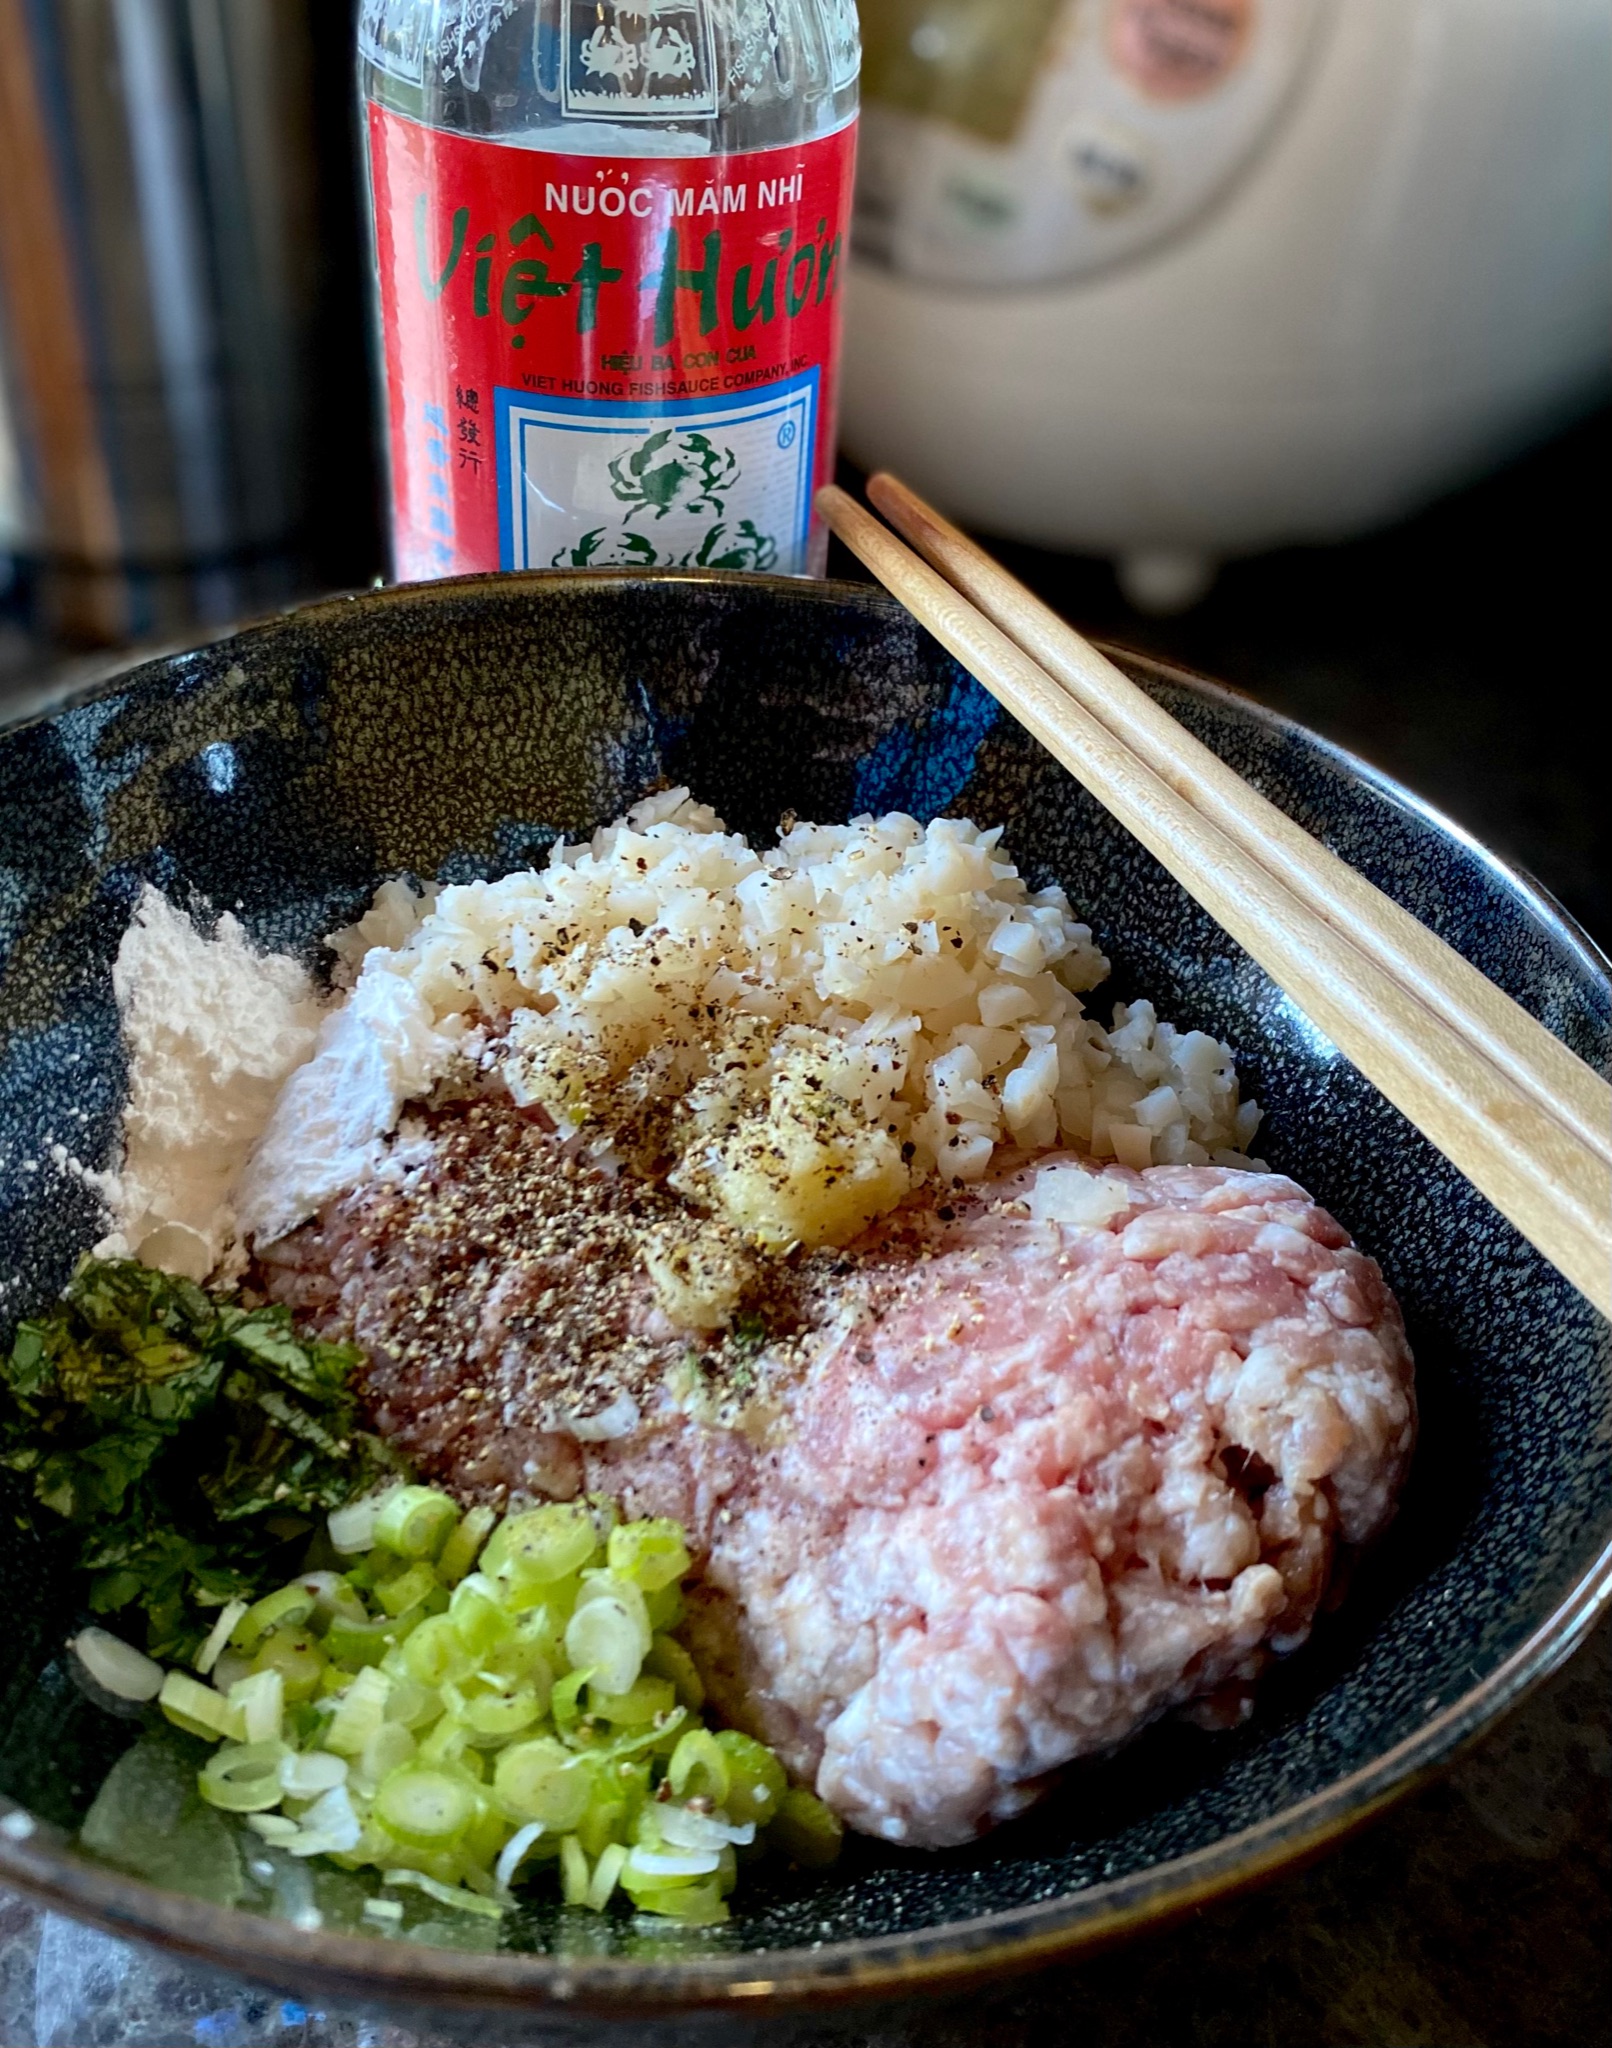
- 1 lb ground pork not too lean 80/20 is perfect
- 1 tsp garlic minced
Seasonings
- 1 Tbsp fish sauce I use 3 Crabs, Red Boat is a bit more concentrated, would also work well
- 1 Tbsp corn starch
- 1/2 Tsp salt
- 1/2 tsp sugar
- 1/2 tsp chicken powder optional
- 1/2 tsp ground black pepper
Sauce
- 2 lbs or 4 medium tomatoes I prefer fresh tomatoes, if tomatoes are particularly juicy, reduce water to 1 cup
- 1/2 Tbsp vegetable oil
- 1/2 Tbsp garlic minced
- 1 1/2 Tbsp tomato paste
- 1 Tbsp sugar
- 1 Tbsp fish sauce
- 1 1/2 cups water can use low-sodium chicken broth in place of water
- 1/4 tsp ground black pepper
Thickener
- 2 tsp corn starch
- 2 tsp water
Garnish
- Green onions, the reserved thinly sliced green parts from the meatballs
- Cilanto, loosely chopped optional
- Fresh red chili peppers, deseeded and thinly sliced optional
Instructions
The Meatballs:
- Remove the jicama skin using a vegetable peeler. Finely dice the jicama.
- Cut off the white (root) portion of the green onions and finely chop. Chop the green onion stems. Transfer the green onion stems into a small bowl and set aside for later.
- In a medium bowl, add the ground pork, jicama, green onion (white) root, garlic, fish sauce, cornstarch, and black pepper. Mix together by hand combining all of the ingredients well. Mix in one direction. Combine just until everything sticks together. Avoid over-working the meat mixture as this will make the meatballs tough.
- Using an ice cream scoop (#40 ~2 T) scoop out some of the meat mixture and transfer to a large plate. Continue making small mounds until all the meat mixture is used. Wet your palms with water to prevent sticking. Gently roll each of the mounds into a ball. ( I use a #40 ice cream scoop to portion out meatballs and then roll each by hand into a ball).
The Sauce:
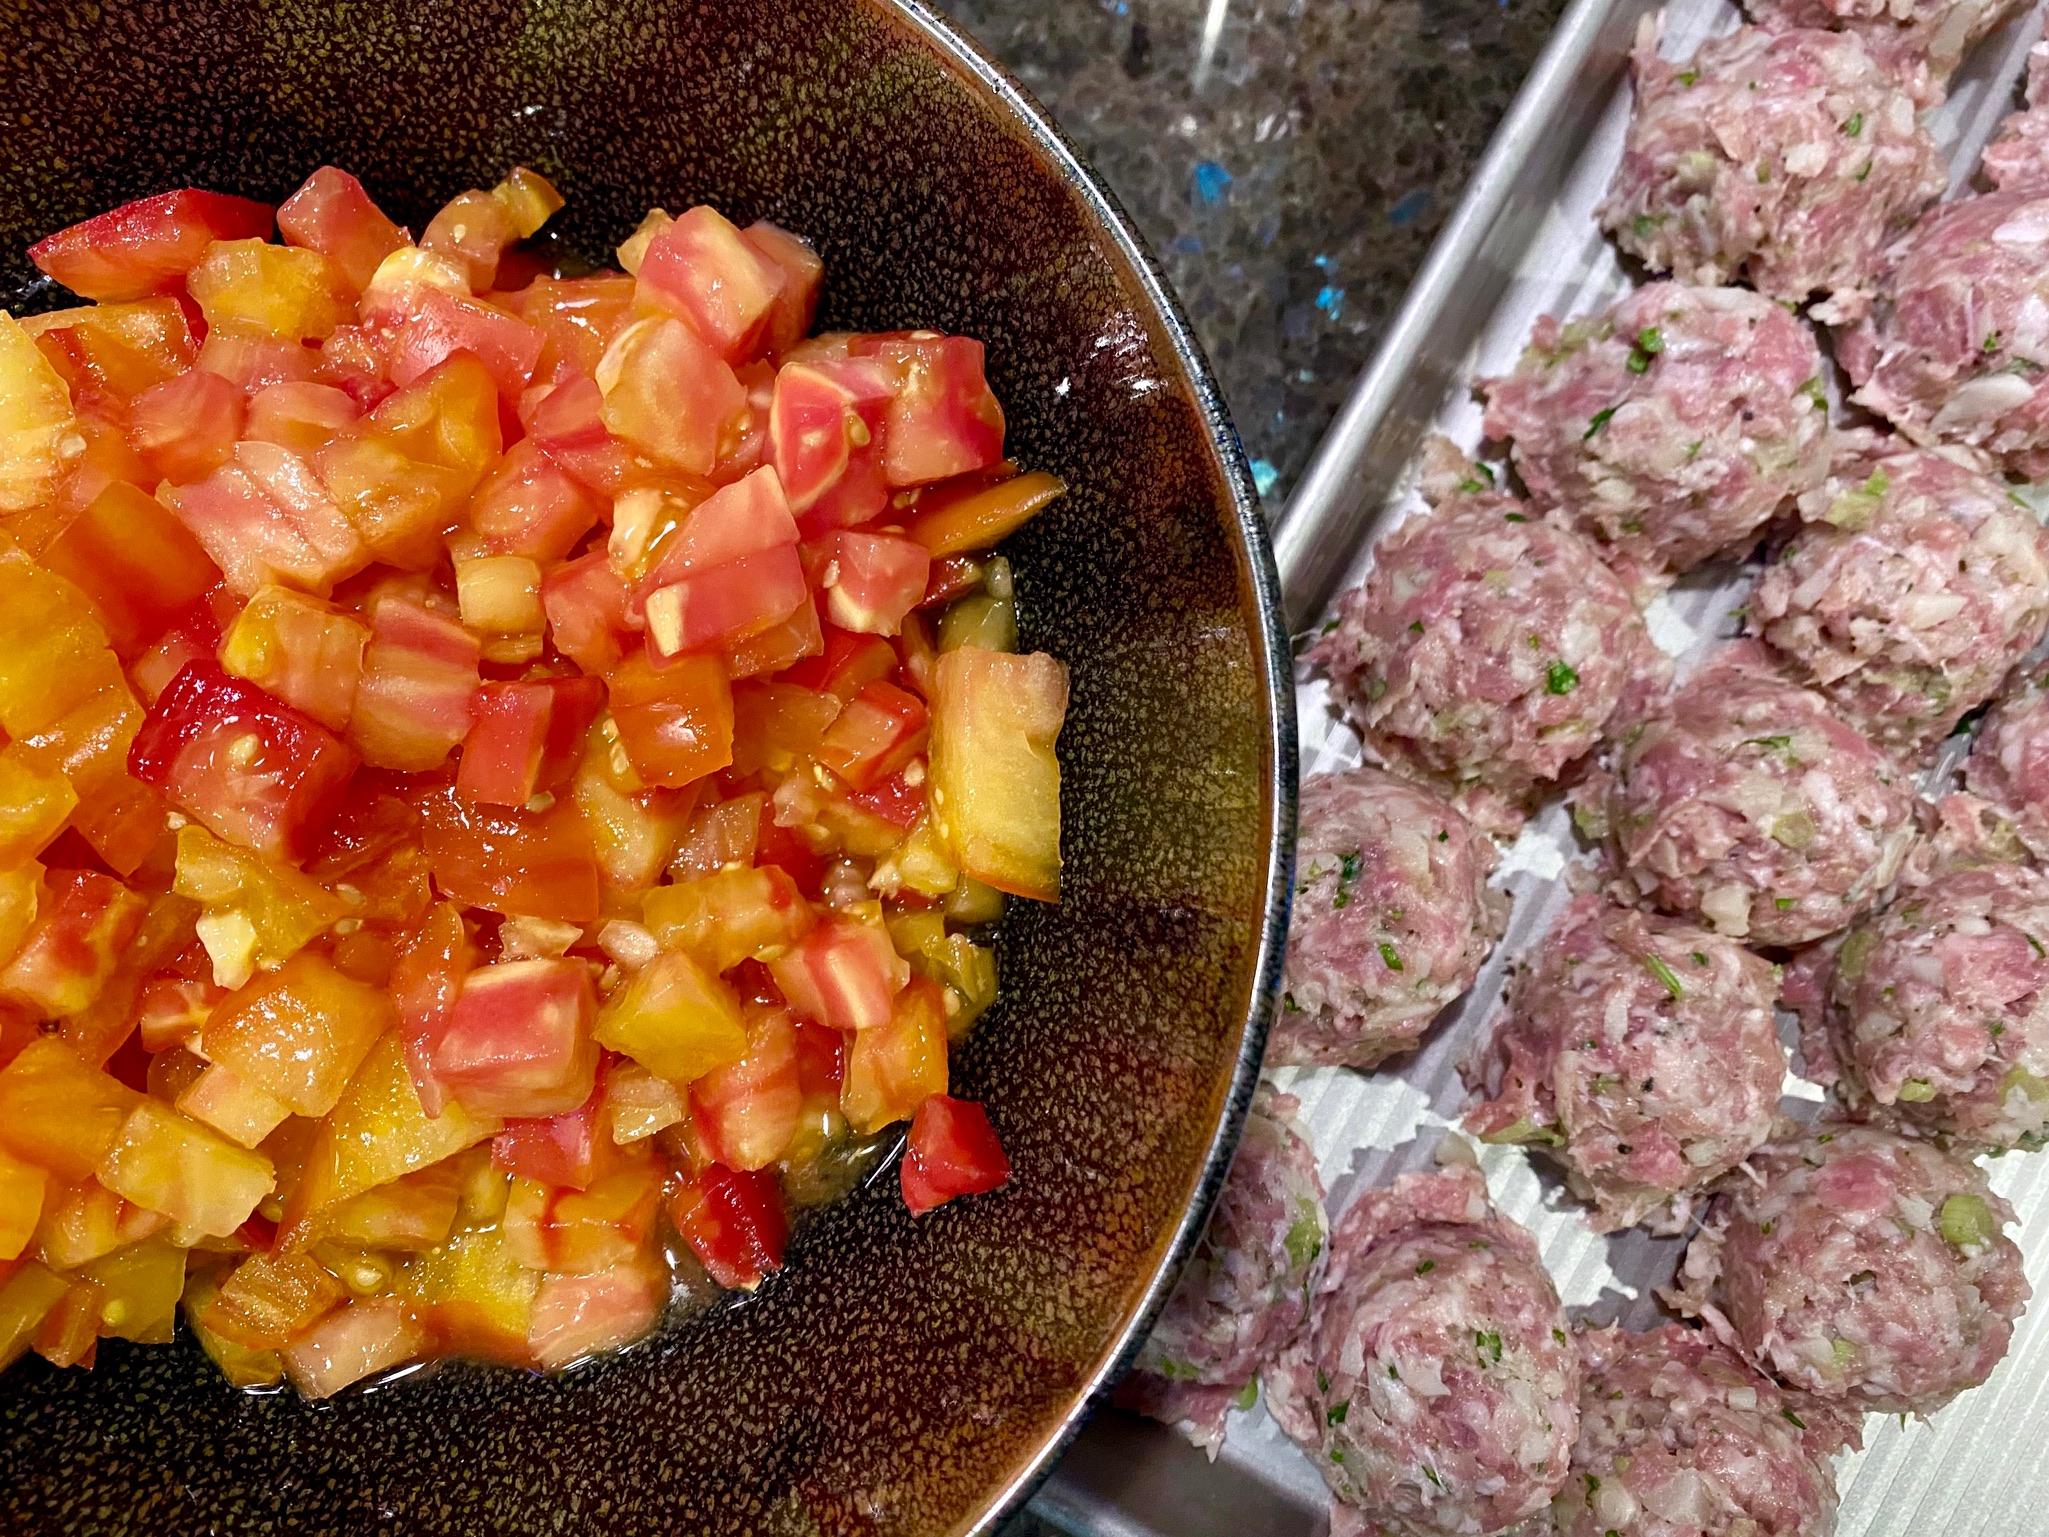
- Chop the tomatoes.
- Heat a large skillet over medium-high heat. When hot add vegetable oil then add the minced garlic and tomato paste. Saute for 15-20 seconds. Add the chopped tomatoes and stir together. Add the sugar, fish sauce, and water. Stir together combining the ingredients. Bring the liquid to a boil. Reduce the heat to medium-low, cover the pan, and cook for 5 minutes.
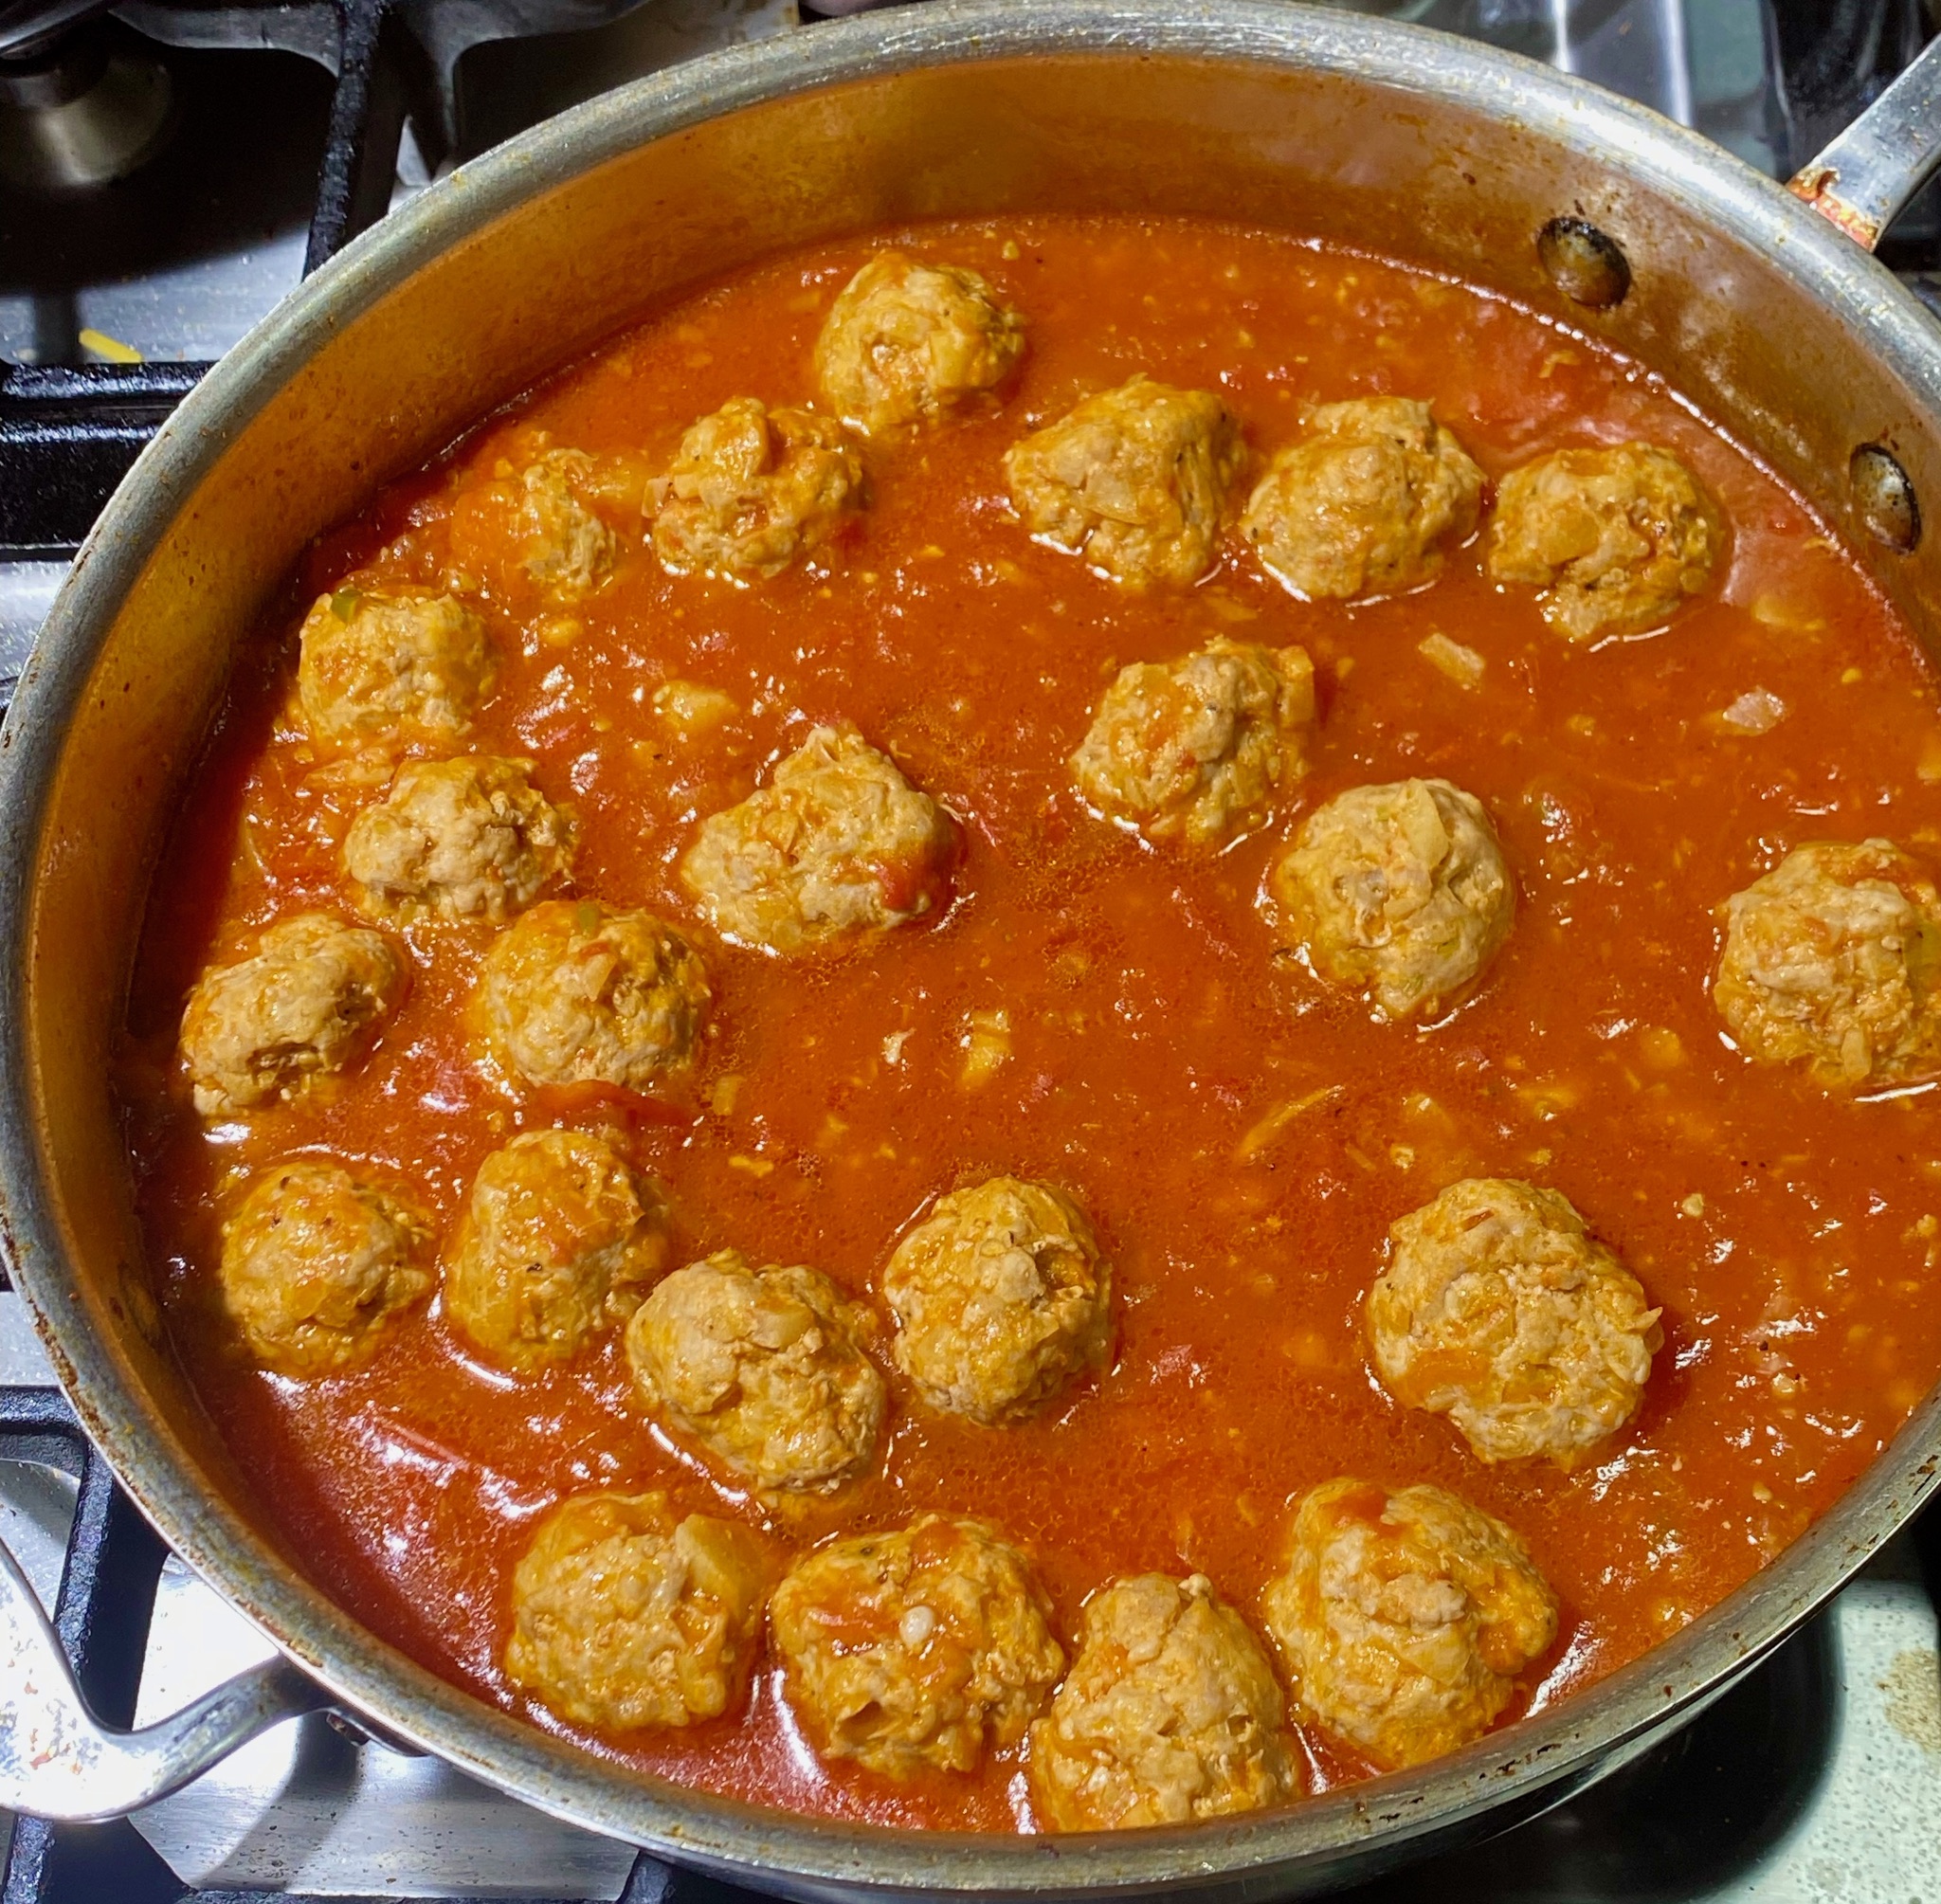
Cook the Meatballs
- Make room in the center of the skillet by pushing the tomatoes to the side. Gently transfer the meatballs into the sauce. Cover and cook on medium-low for 5 minutes. After 5 minutes, rotate the meatballs and cook for another 5 minutes. For a thicker sauce, leave uncovered after adding meatballs.
- Mix the cornstarch and water until smooth and add to the sauce. Stir gently to allow sauce to thicken. Continue cooking for another 2-3 minutes. Grind ground black pepper.
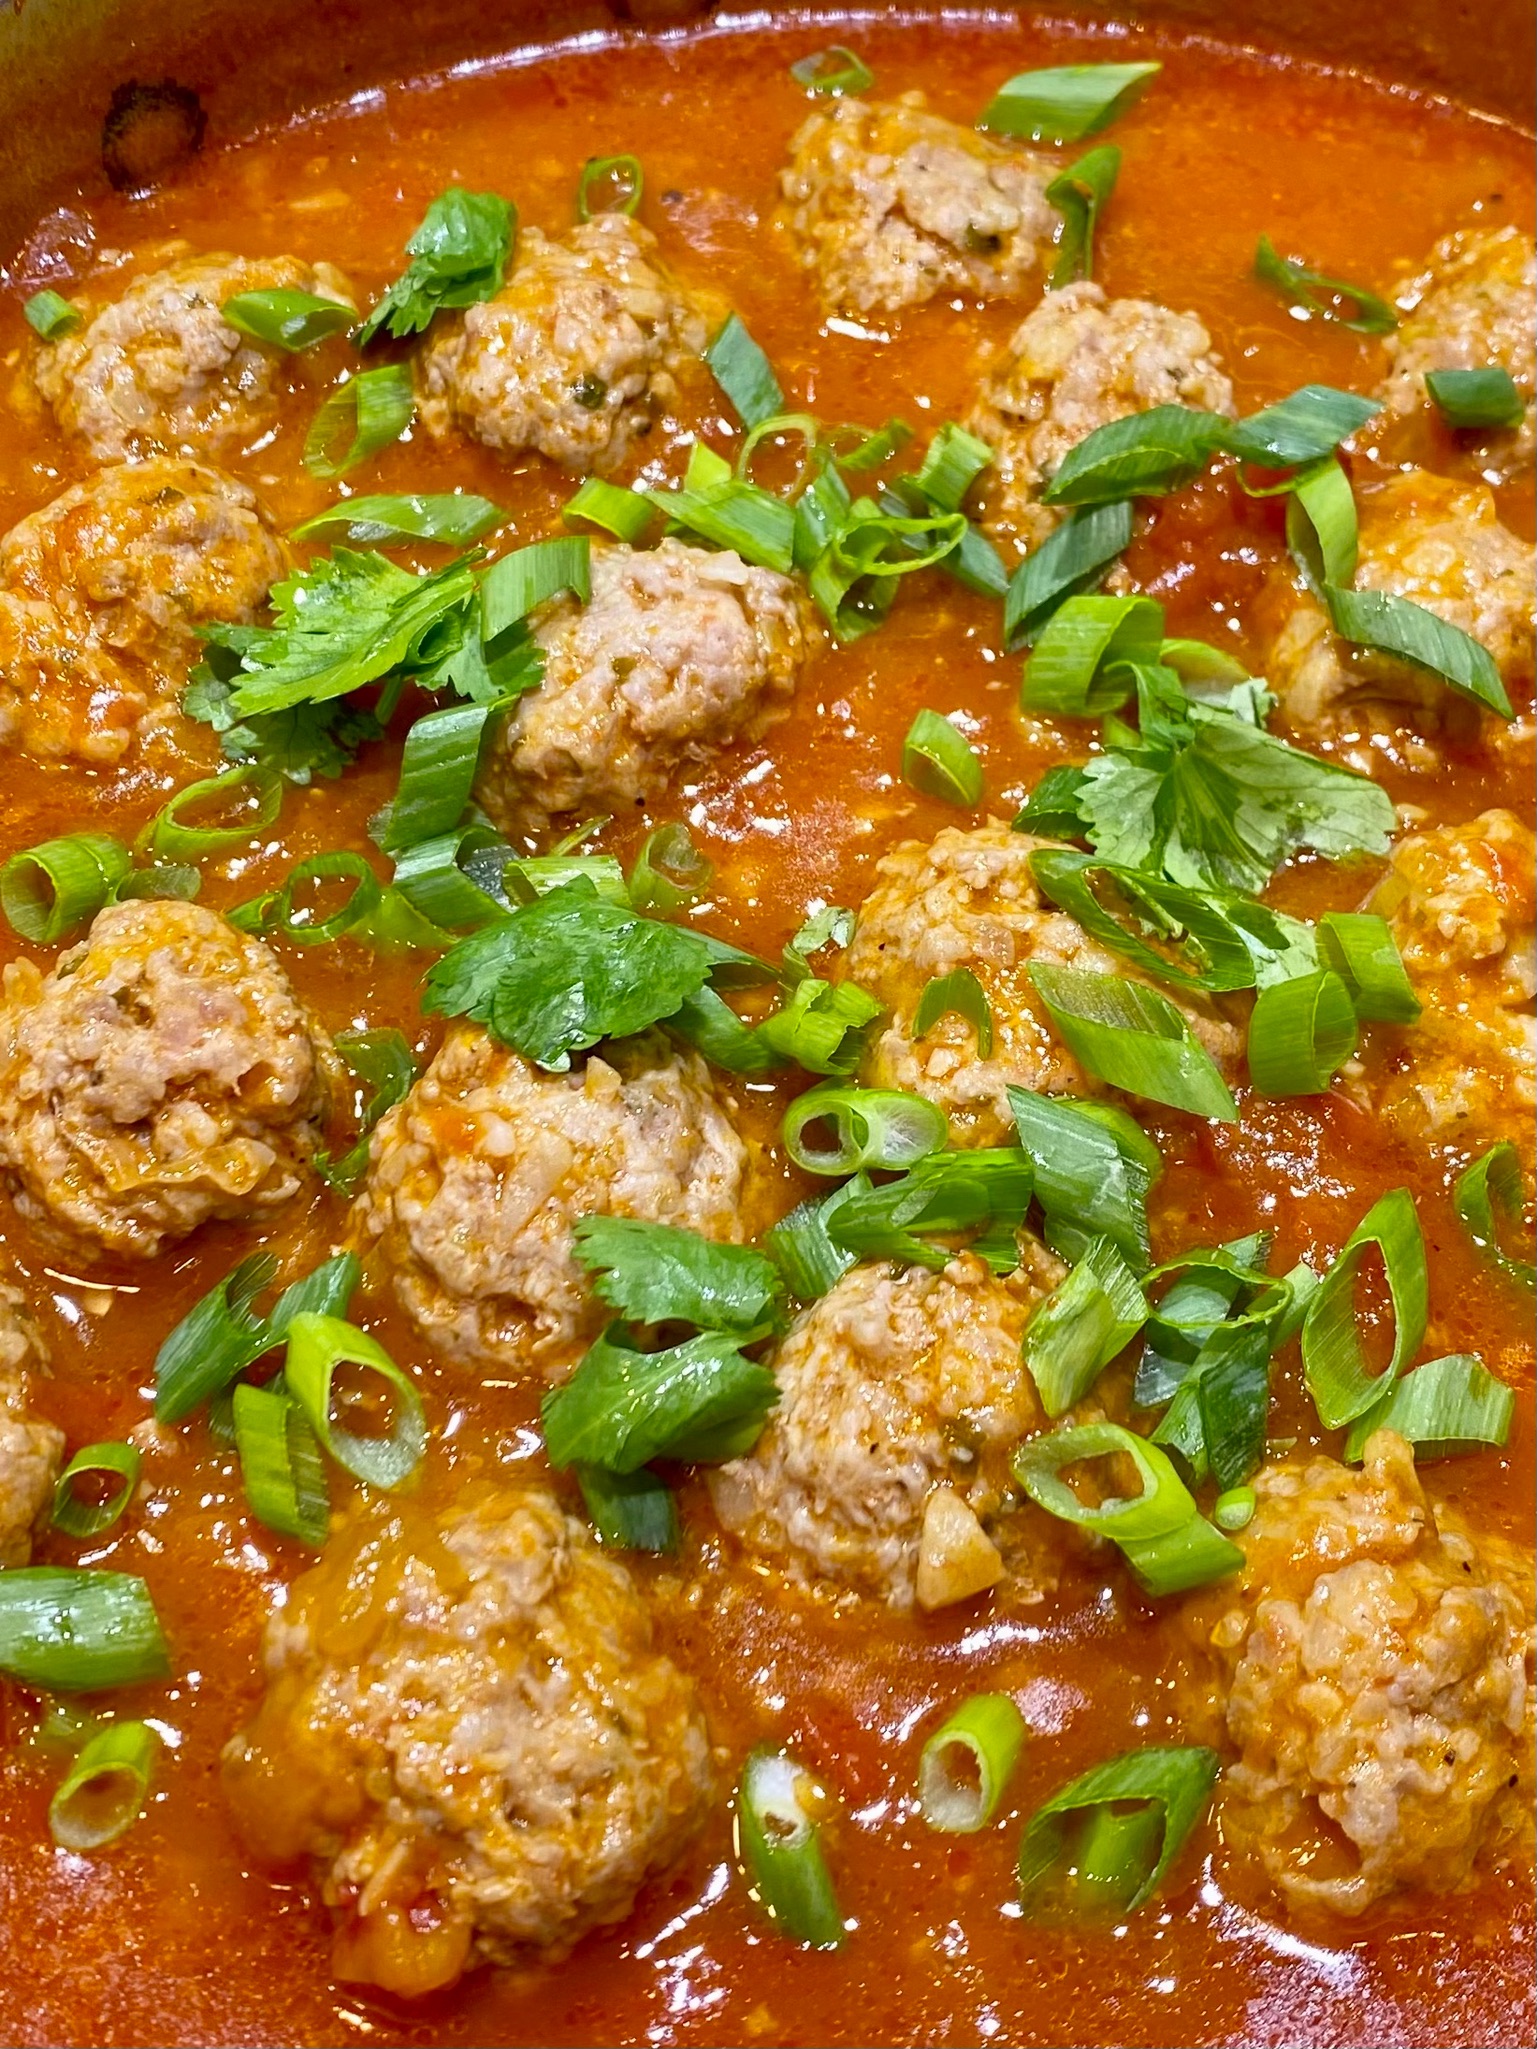
- To serve, transfer a few meatballs into a small bowl along with a generous amount of tomato sauce. Top with the chopped green onions. I like garnishing with chopped cilantro and sliced fresh chili peppers. Enjoy these scrumptious Vietnamese Meatballs with crusty bread.