Tag: recipe

Cincinnati Chili Udon Want to Pass Up

Cincinnati Chili Udon Want to Pass Up

I don’t hide my political views very well…and I don’t try to.  You googled a recipe and my blog popped up (probably Mochi Muffins, lol) and here you are.  My blog is mostly about food, a little about travel, and the occasional musing on sports, my family, and politics.

Try Not to Skip to the Good Part

Well, you can skip to the recipe with the button above, or take a couple of minutes to read the next paragraph to get to know me and what I believe in.  If you supported he who shall not be named, skip to the recipe.  America just elected a narcissistic, unqualified, amoral, grifter as president of our country, for the second time.  An anti-woke platform that, when you think about it, says, if you don’t look like me, live your life like me, you can’t have a seat at the table because it is only for folks like me.  I am incredulous, depressed, and angry.  Enabled by a cast of bad players, sycophants, and opportunists who care only about power and money, he rides into office intent on destroying democracy.  Once again my hopes of an eminently qualified, lifelong public servant, compassionate WOMAN president were crushed.  We had 3 months of joy, sanity, normalcy, million-dollar smiles, and hope with her and Gov Walz’s campaign.  Now we can only dream of what might have been.

What’s Your Self-Care?

I confess, I go to Cookbook signings, like Kristina’s in Brooklyn!

And I go to cookbook author signings, like Kristina's in Brooklyn!

So, as I think about my next steps as part of the resistance, I turn to doing things that make me feel better and relieve stress.  What do you do? Crafts? Ceramics? Sports? Blog? (lol) I row and play tennis, which helps me keep sane.  And of course, I cook and bake.  Times like now I turn to childhood favorites and dishes that are warm and homey, comfort food to get me through.

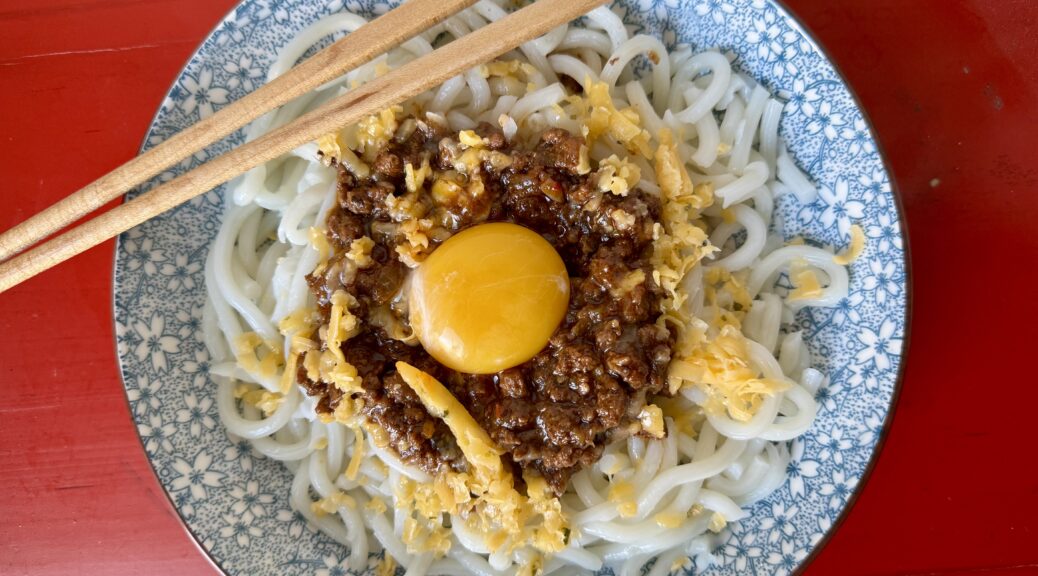
Kristina Cho, author of Mooncakes and Milk Bread, and Chinese Enough (highly recommend both her books), posted a recipe for Cincinnati Chili Udon.  I imagine as a native of Cincinnati, Skyline (Cincinnati) Chili is the very definition of comfort food for her.  Her’s has the warm, tart -sweet flavors of Cincinnati Chili from cinnamon and vinegar but then she adds Harissa for spiciness and finishes with soy sauce for an Asian twist.  She serves the chili over Japanese udon noodles topped with an egg yolk and cheese.   It’s delicious.

Prep Time < Cook Time

The chili takes 90 minutes to cook but most of that time is spent simmering on the stove.  While it simmers, kick your feet up, eat bonbons, anything that makes you feel better.  You deserve it.

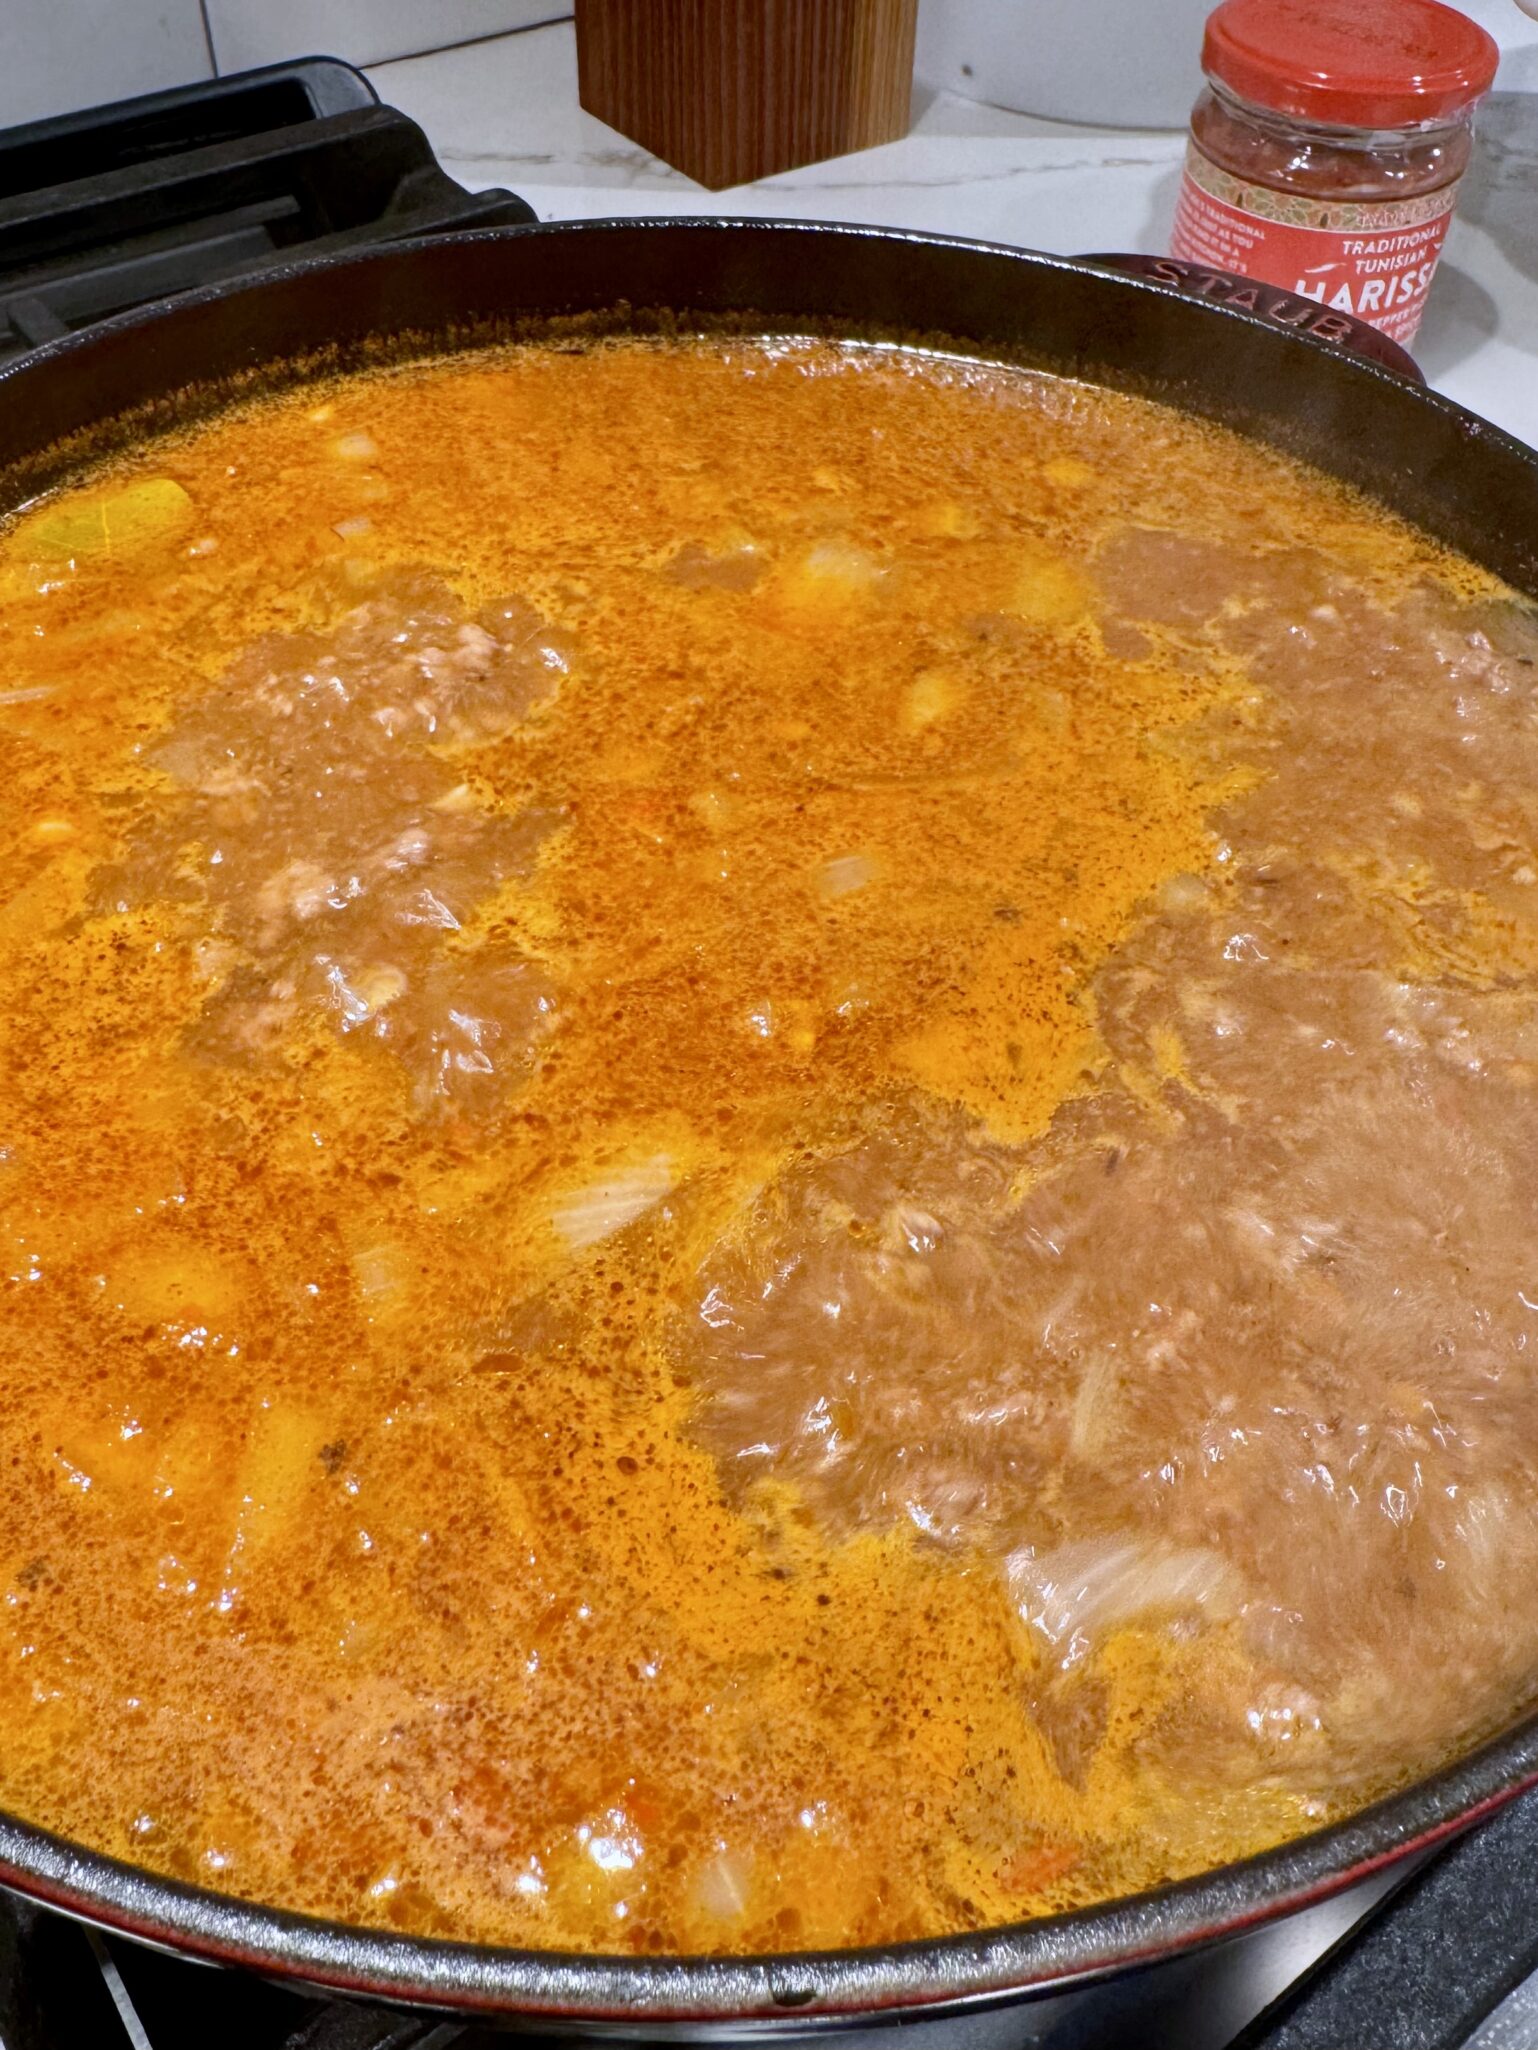
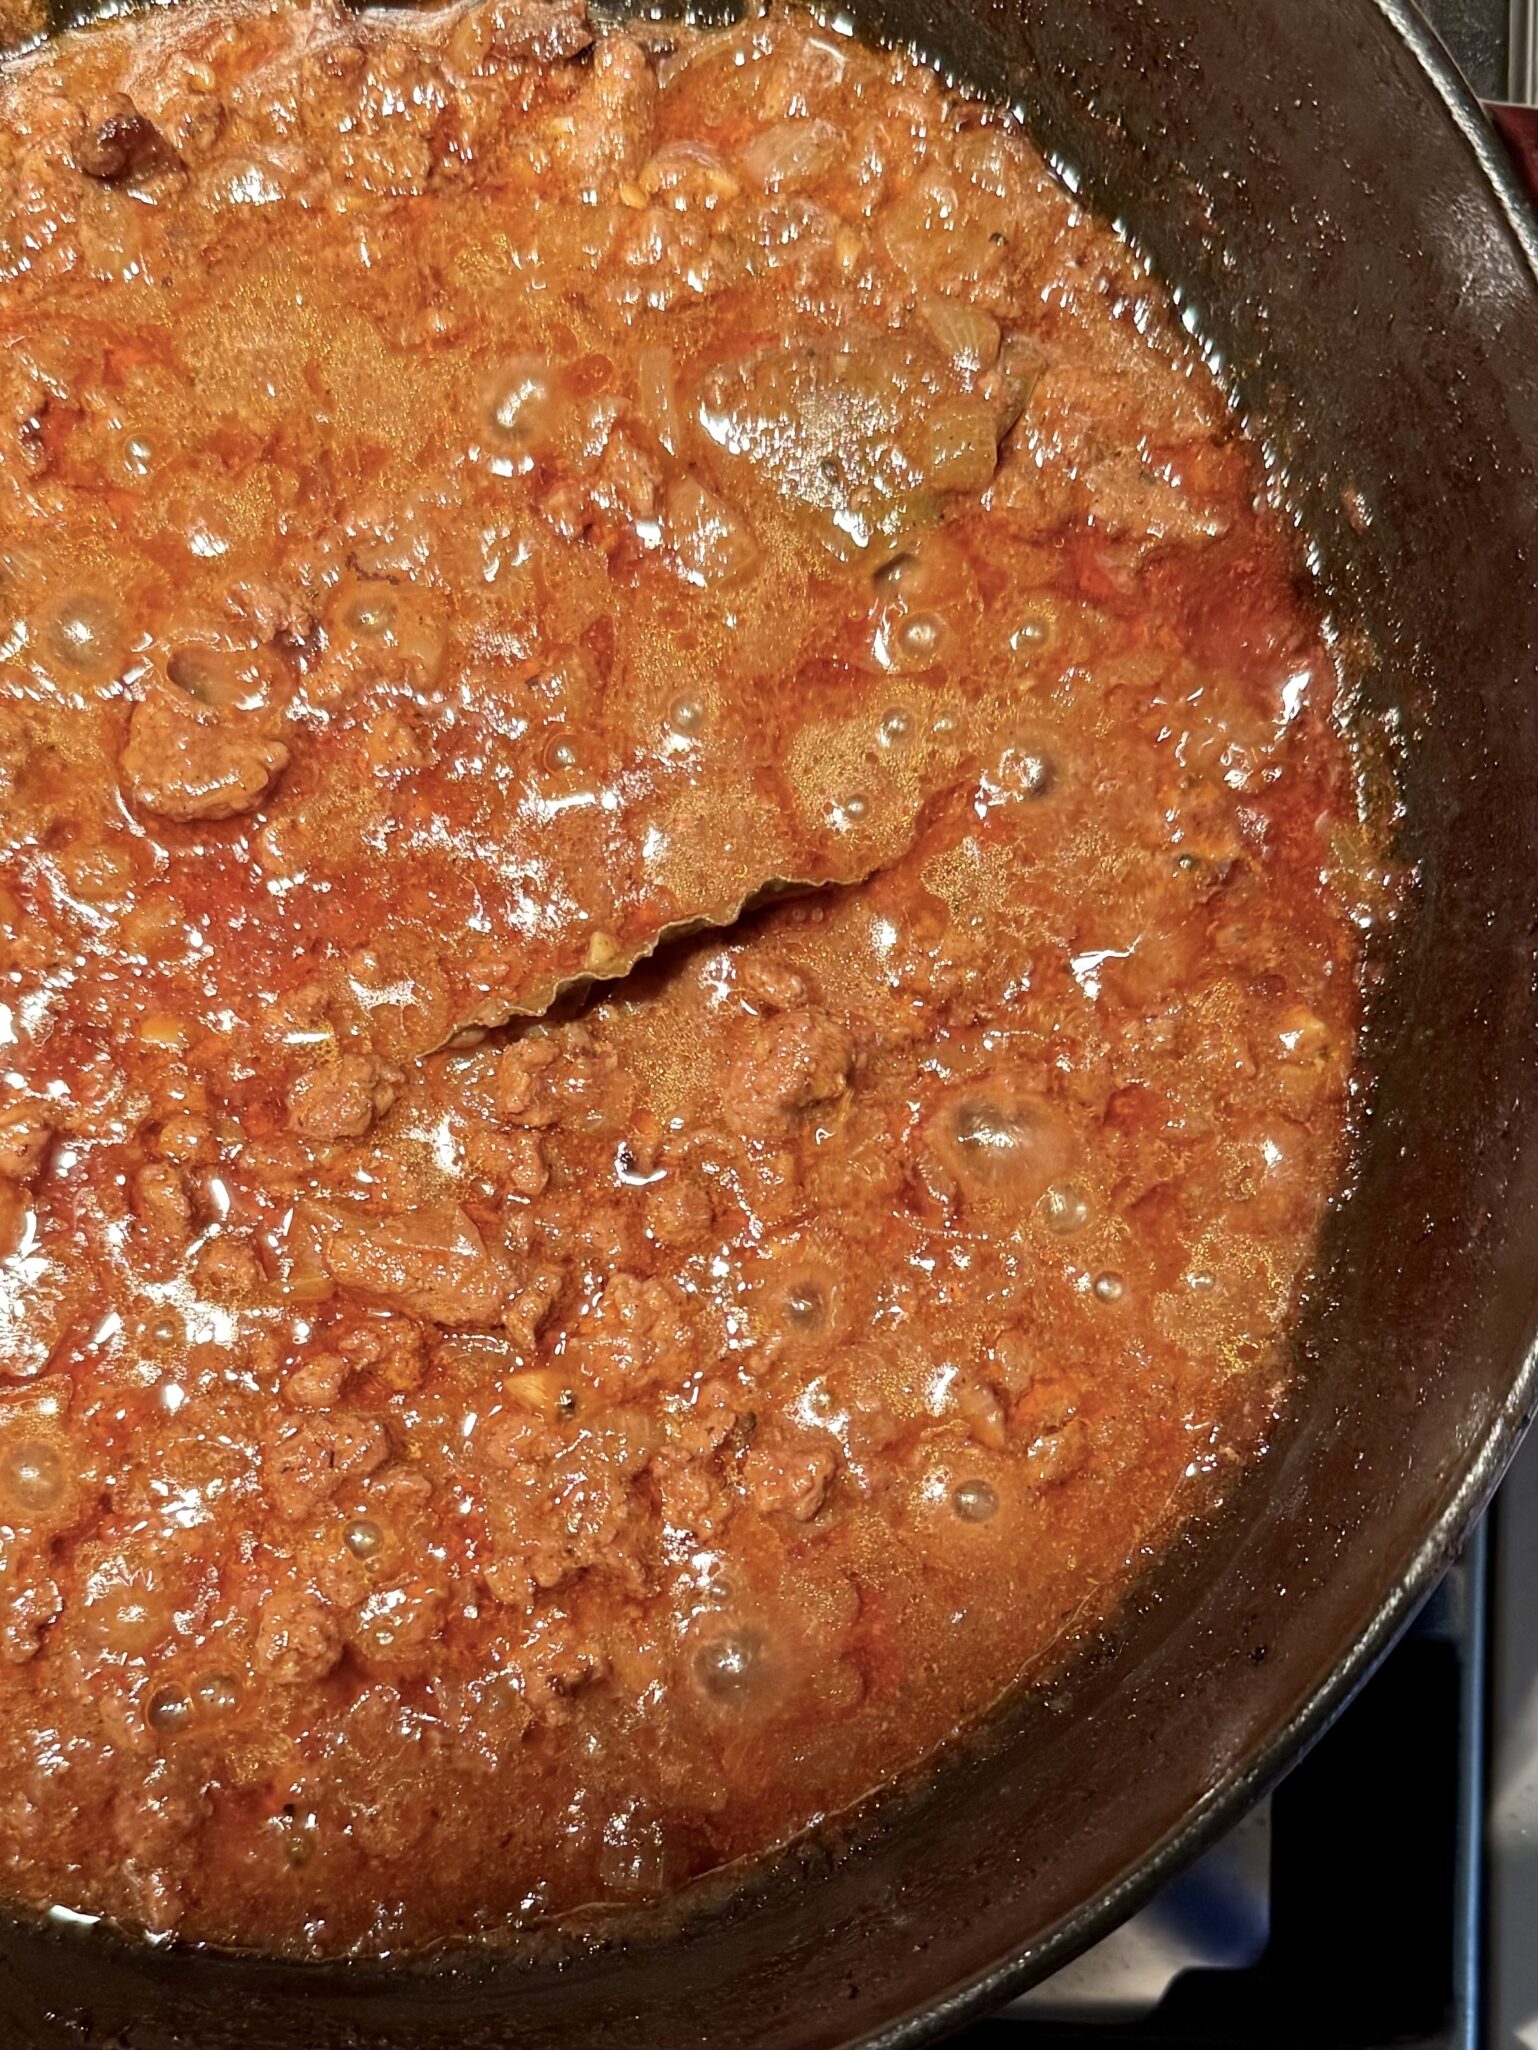
Get your seasonings together.  I used TJ’s Harissa paste instead of powder.  Dice onions and mince garlic and saute until lightly brown. Add ground beef and cook until the meat loses its pink color.  Use ground beef that is 15 -20 percent fat, a happy medium for flavor and moisture.  Add your seasonings and water and simmer.  The sauce is ready when it has reduced by about half.  It will look thick and rich and smell incredible.

Top with cheese and the “takes it to another level” egg yolk.  Garnish with green onions and serve immediately.  Mix the egg yolk into the sauce and noodles to give it a silky creamy finish.

It’s delicious served over udon noodles but I think it would be equally yummy over a bowl of rice or as a topping for roasted sweet potatoes.  The chili reminded me of the Afghani dish, Kadoo, cooked pumpkin topped with a meat sauce and yogurt.  Kristina’s Cincinnati Chili with its warm Mediterranean spices would be a perfect stand-in for the meat sauce as would sweet potato for pumpkin.  I’m currently obsessed with Japanese sweet potatoes-indescribably delicious.

So make this chili, throw it over whatever you like, curl up on your sofa, and watch a classic Rom-Com, or maybe a silly, mushy Hallmark holiday movie.  Rest up, the resistance begins tomorrow.

Cincinnati Chili Udon

A delicious riff on Cincinatti Chili (Skyline Chili) from Kristina Cho
Course dinner, lunch
Cuisine American, Asian-American
Keyword chili, Cincinnati chili
Prep Time 20 minutes
Cook Time 1 hour 30 minutes
Servings 4 servings

Ingredients

Sauce

  • 2 tbsp olive oil
  • 1 medium yellow onion minced
  • 4 cloves garlic minced
  • 1 lb ground beef 80/20 fat
  • 3 tbsp tomato paste
  • 6 cups water
  • 2 tbsp apple cider vinegar

Seasonings

  • 1 tbsp soy sauce
  • 2 tsp coarse salt
  • 1 1/2 tsp cinnamon
  • 1 tsp black pepper
  • 1 tsp harissa powder substitute harissa paste 1:1
  • 3/4 tsp ground cumin
  • 1/2 tsp ground cloves
  • 1/2 tsp sugar
  • 2 bay leaves

Finished Dish

  • 4 bundles of frozen udon
  • 4 egg yolks
  • Cheddar cheese shredded
  • Green onions thinly sliced, for topping

Instructions

  • In a large pot, heat olive oil over medium heat. Add the onion and garlic, cook while stirring occasionally until starting to brown, 4 to 5 minutes.
  • Add the beef and break up the meat into smaller clumps with the edge of a spatula. Continue to cook until the meat is no longer pink, 4 to 6 minutes. Stir in the tomato paste and cook for another 1 to 2 minutes.
  • Add the water, apple cider vinegar, and soy sauce and bring to a simmer. Add salt, cinnamon, black pepper, harissa, cumin, cloves, sugar, and bay leaves. Stir to blend.
  • Reduce the heat to medium low to maintain a gentle simmer. Cover with lid but leave a gap for steam and allow the chili to simmer until thickened and reduced by about half, stirring occasionally, 60 to 90 minutes. Allow the chili to cook for a few minutes before serving.
  • Bring a large pot of water to a boil and add the udon to warm through (frozen udon is already cooked). Strain the water and divide the noodles between bowls.
  • Top the noodles with chili and add an egg yolk to the center. Sprinkle on cheese and green onions. Toss the noodles to mix the cheese and egg yolk with the chili.

Notes

Serves 4
Maple & Olive Oil Granola

Maple & Olive Oil Granola

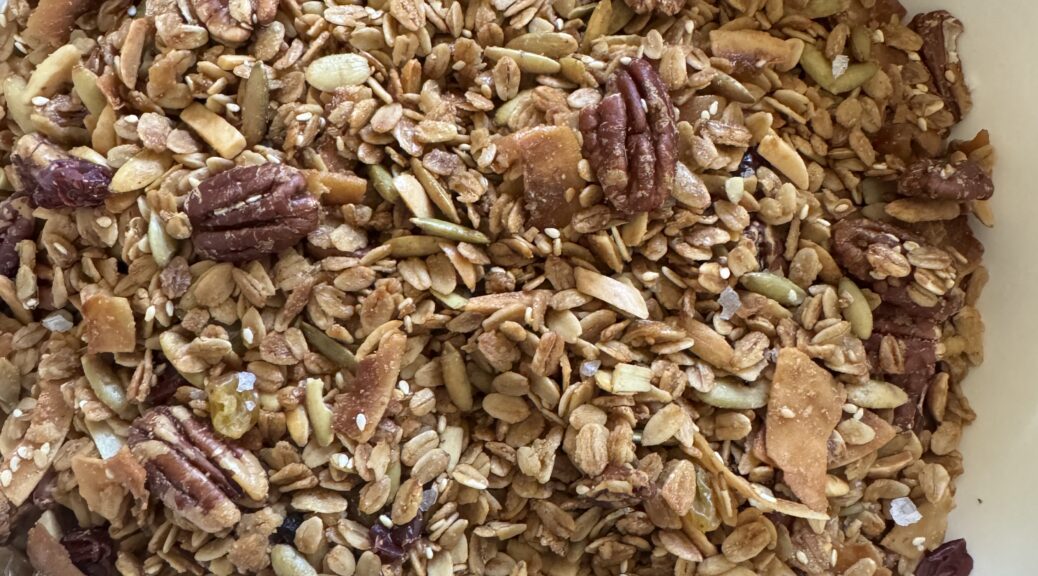
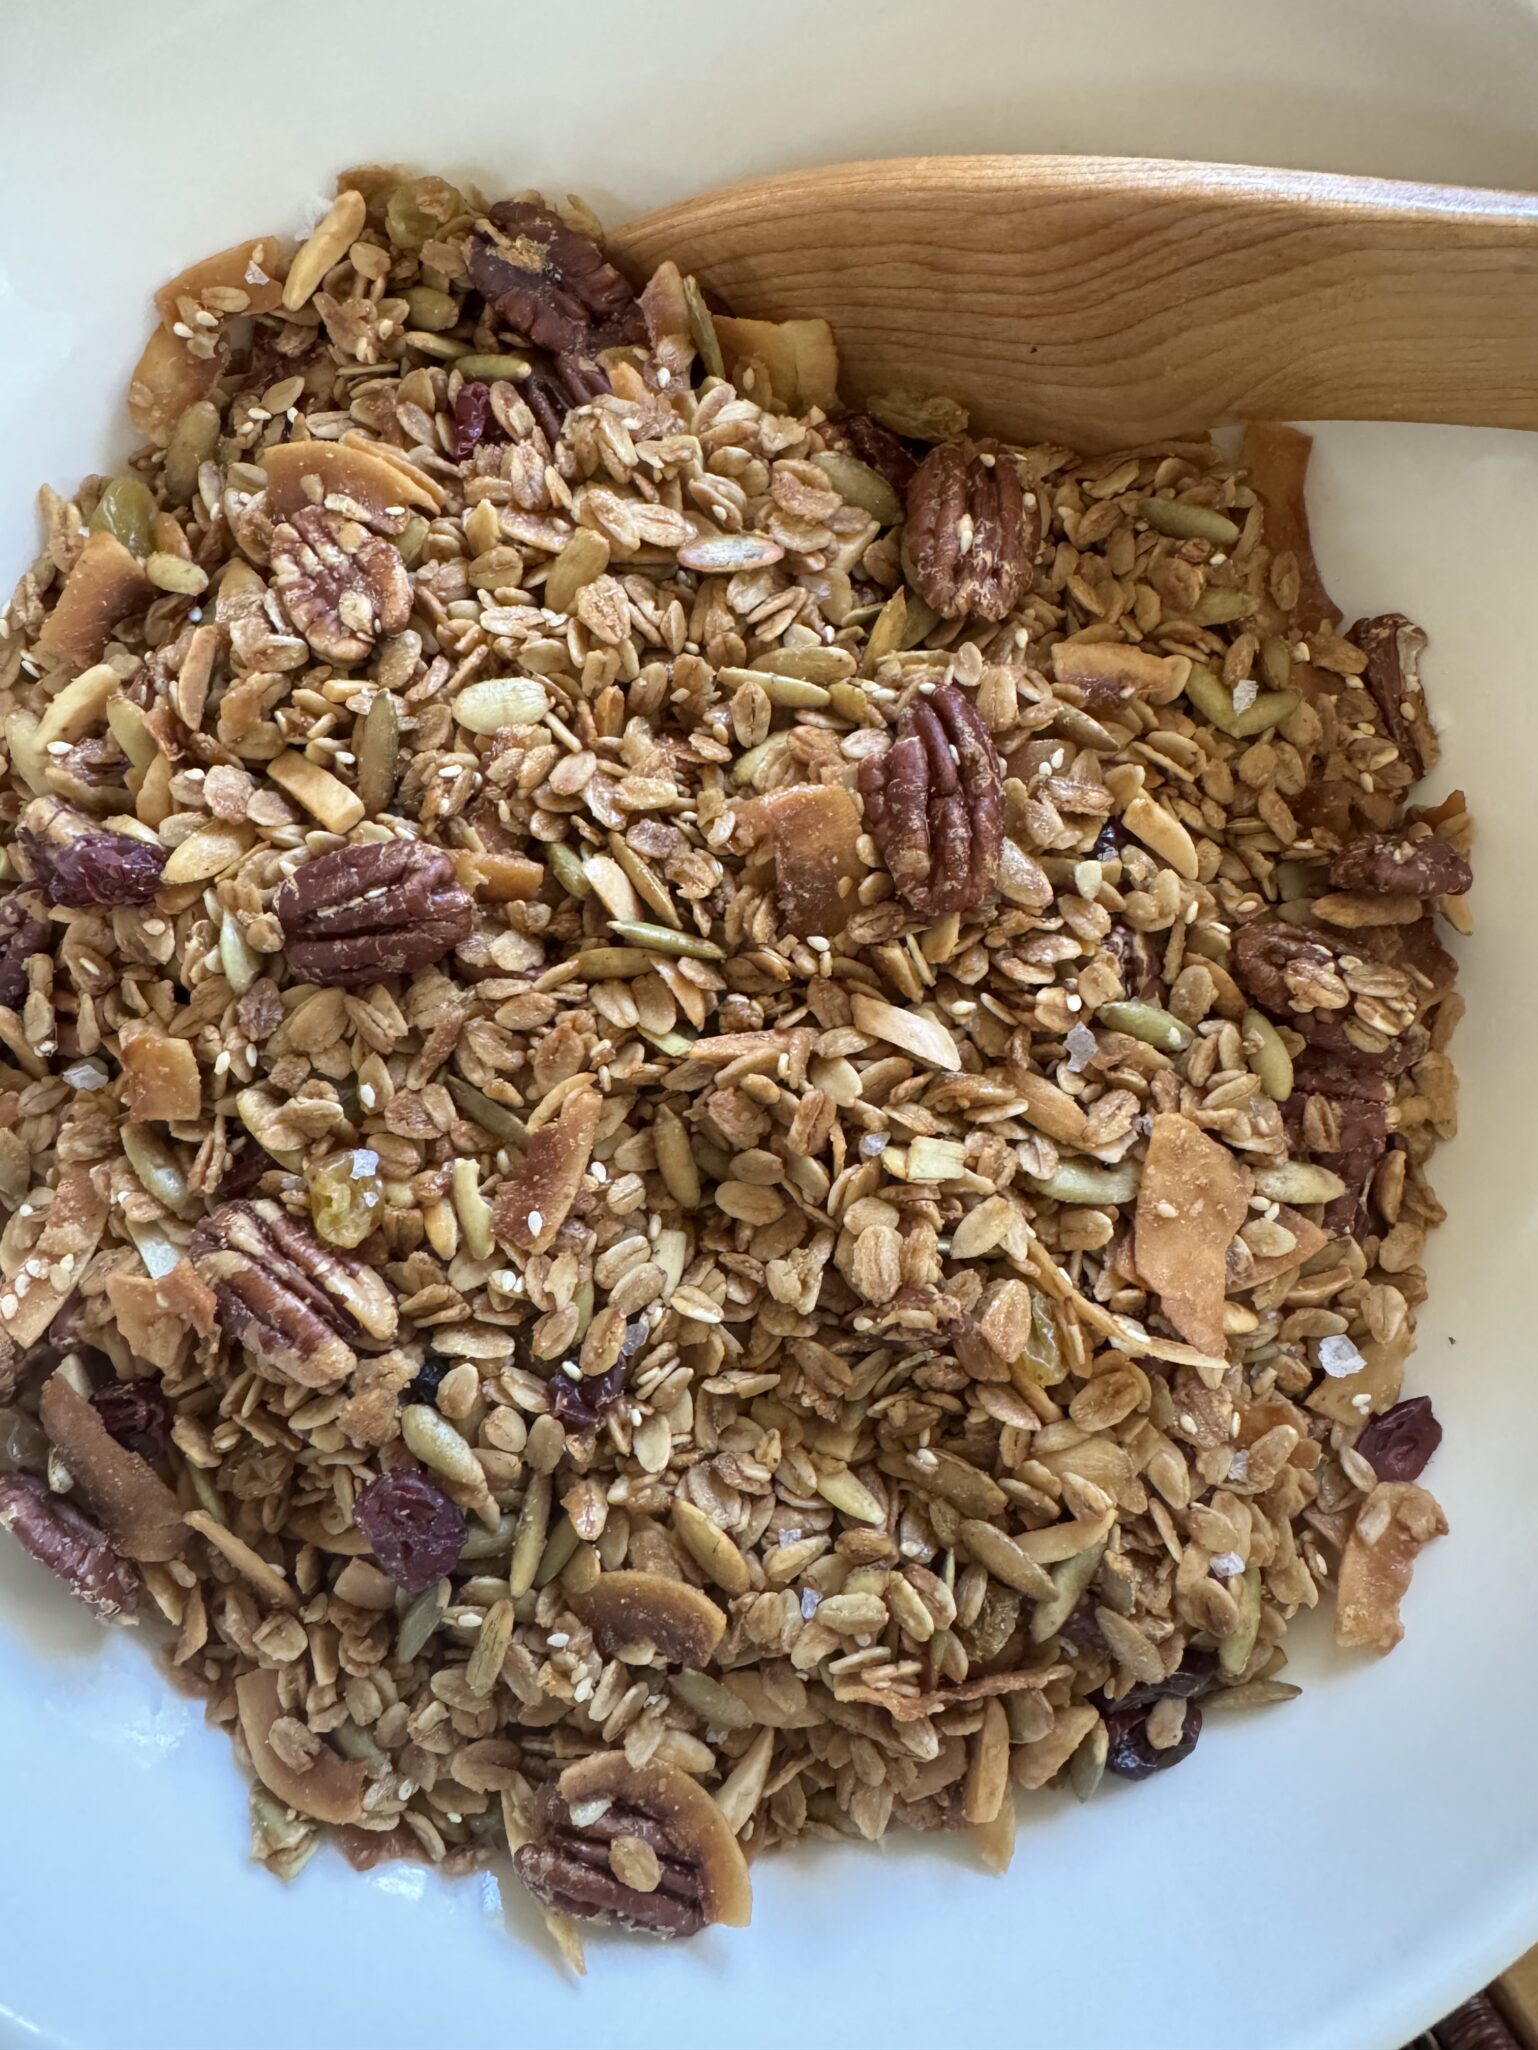
My favorite granola recipe, Jule’s Granola was given to me by a friend also coworker, years ago.  She brought a bag to work one day, and being a granola hater, I passed on trying it. She offered again and added, “This ain’t your Quaker Oats guy in the funny hat-boxed granola”.  To appease her, I grabbed a handful, tossed it in my mouth, and BAM!  So good, crunchy, flavorful, filled with nuts and dried fruit, and sweetened with maple syrup. Nutty, buttery, sweet, chewy, crunchy-in a nutshell, damn delicious.  Instantly, I became a GRANOLA CONVERT.

I just wanted to include this photo of my Granola Queen. It’s a blast from the past: her beautiful wedding in Hawaii.

Go-To Granola

I immediately asked her for the recipe and since then I have cranked out batches of granola for family and friends.  Every Christmas we buy cute canning jars to fill with granola which we then gift.  Each person dutifully returns their jar for more granola next year.

Who Knew?

Very happy with Jule’s Granola recipe I never thought of trying another recipe until now.  The powers of social media strike again.  A notification on my phone titled “Genius Granola has a Cult Following” popped up.  This caught my eye.  I quickly scanned the recipe.  It called for olive oil, various seeds, pecans, coconut chips, maple syrup, and brown sugar.  I compared it to my gold-standard granola.  Hmm,  no dried fruit, definitely more seeds, less oats, more maple syrup and sugar.  The olive oil in place of veggie oil caught my eye.

Recipe Breakdown

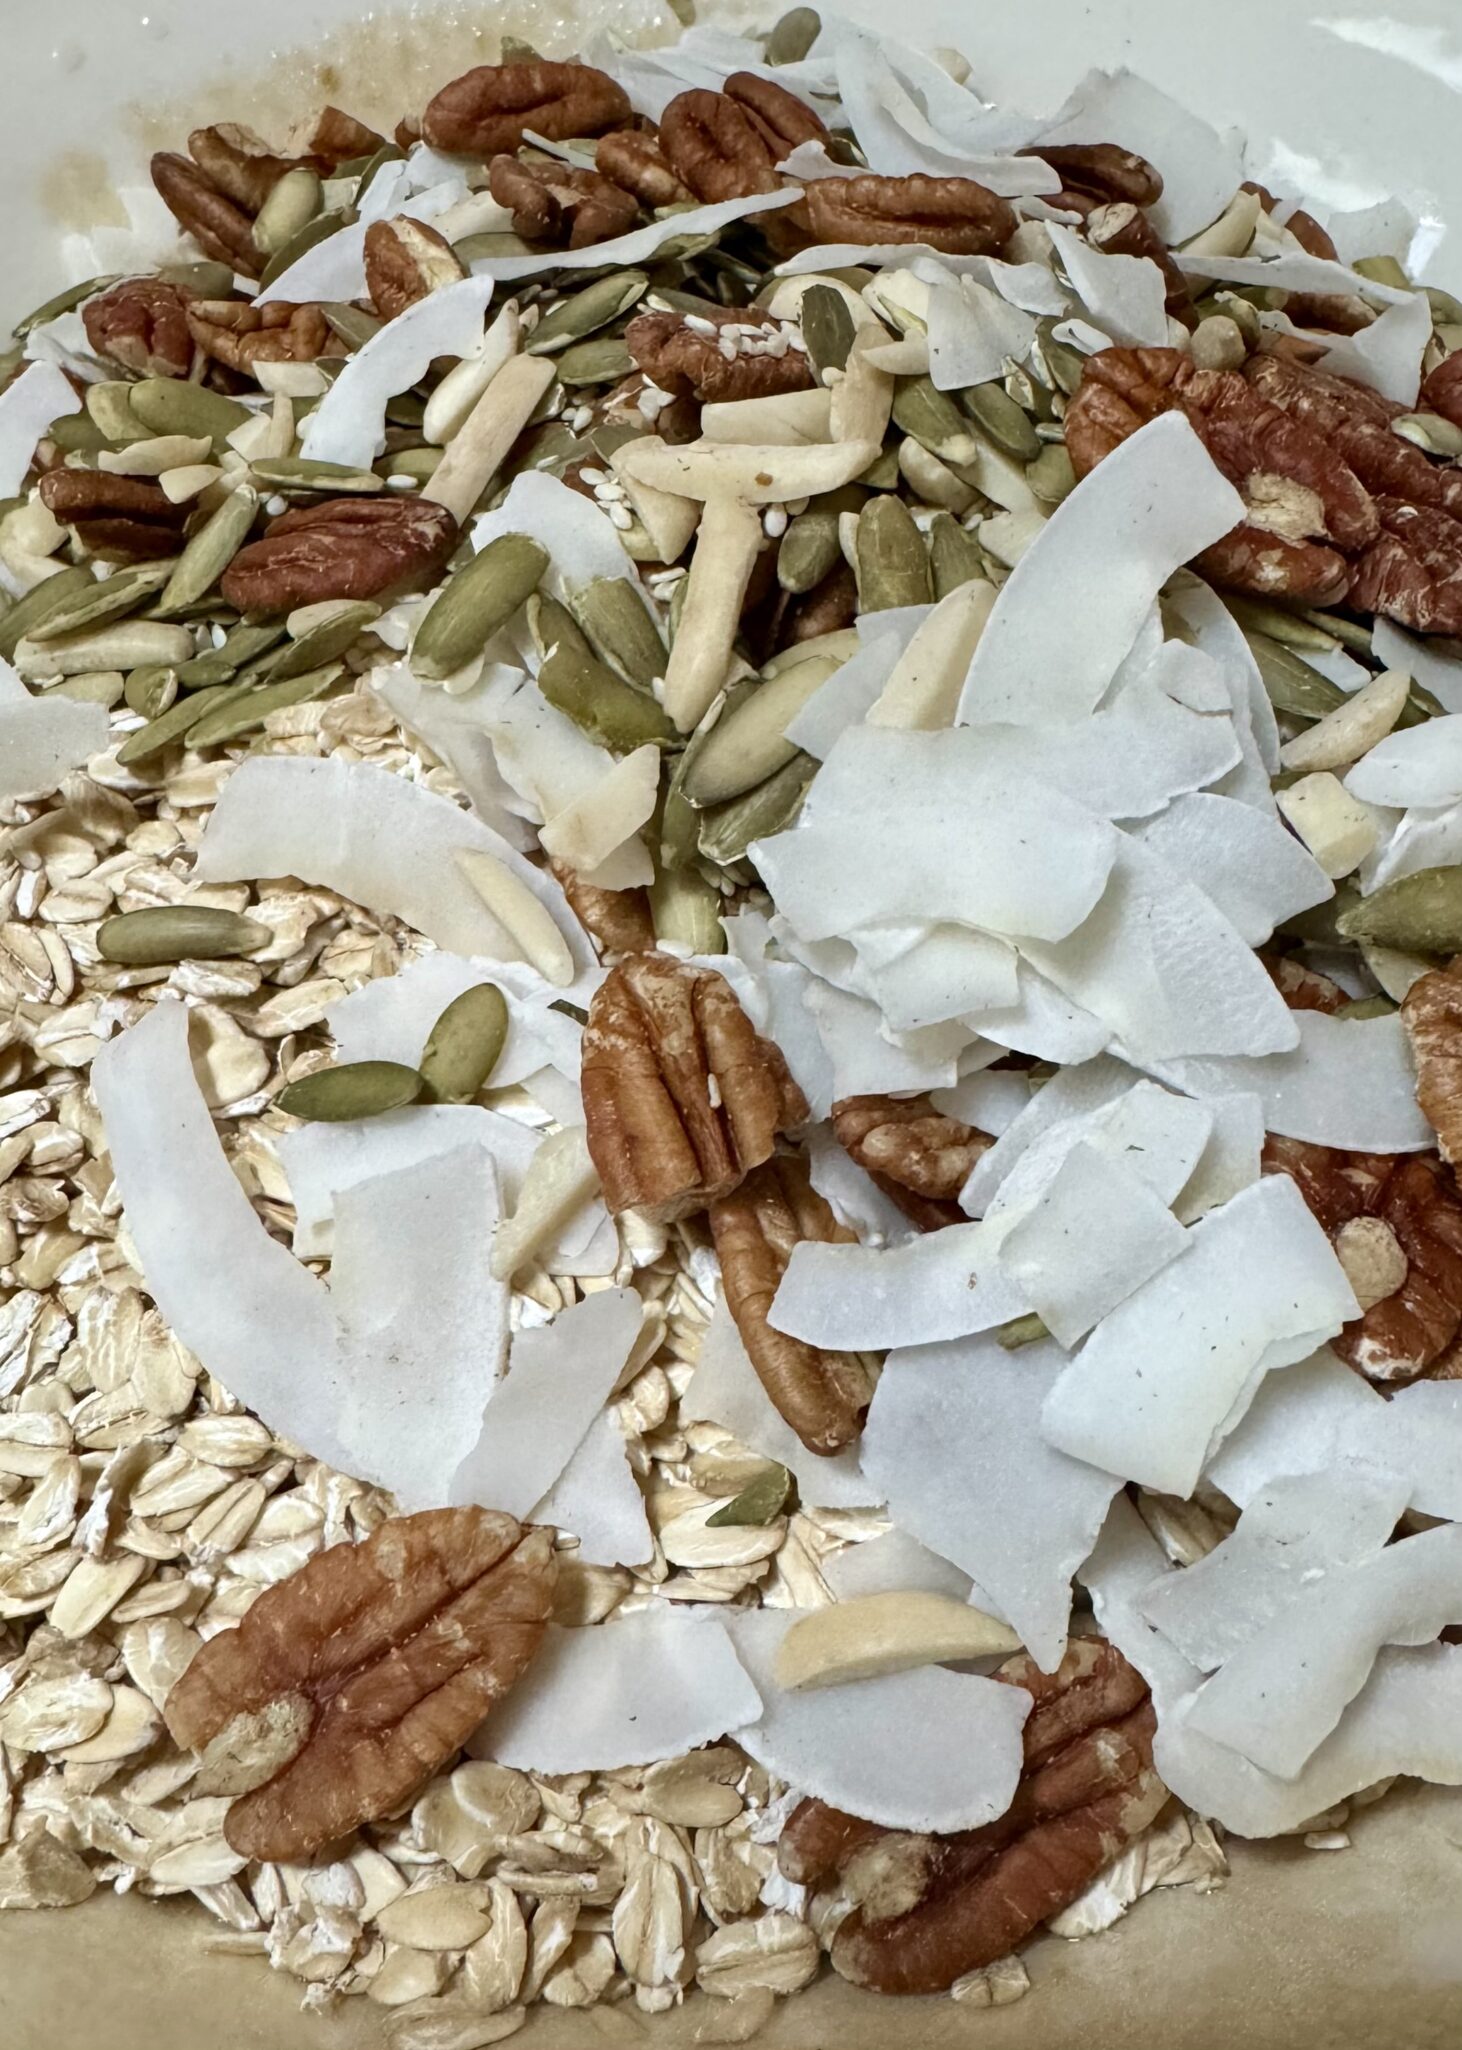
Oatmeal- Use Old Fashioned not quick or instant.   I added an extra cup of oatmeal (comments on the original as being too sweet), plus the amount of sweeteners compared to my fav recipe was significantly more.

Olive Oil– I happened to have a bottle of vanilla olive oil, so I used it. Mild, floral, citrusy olive oils

Adds- Add whatever mix-ins you like.  I didn’t have sunflower seeds so I used almonds and sesame seeds so what the heck that’s what I added.  Coconut chips from TJ are preferred but you could use large coconut flakes.

Dried Fruit- I love sweet & tart dried fruits in my granola.  I added a blend of raisins, cranberries, and blueberries.  Leave it out, add some in…your choice. Pistachios and either apricots or dried cherries would be smashing.

Sweeteners- The recipe calls for a combination of maple syrup and light brown sugar.  There were quite a few comments about the granola being too sweet.  So do I decrease the sweeteners (which many did by omitting the brown sugar) or add more oatmeal?

Spices- Change the flavor profile by adding cinnamon or even cardamon. (start with 1 tsp of cinnamon) or a Chai tea spice.

BakingThe original recipe is on Food52  by Nekisia Davis of Early Bird. Directions say to spread the mixture evenly on a baking sheet. My advice is to divide the mixture in half and use two cookie sheets. The layer of granola in one pan is too thick and will not dry and crisp very well. You should still mix it every 10-15 minutes.

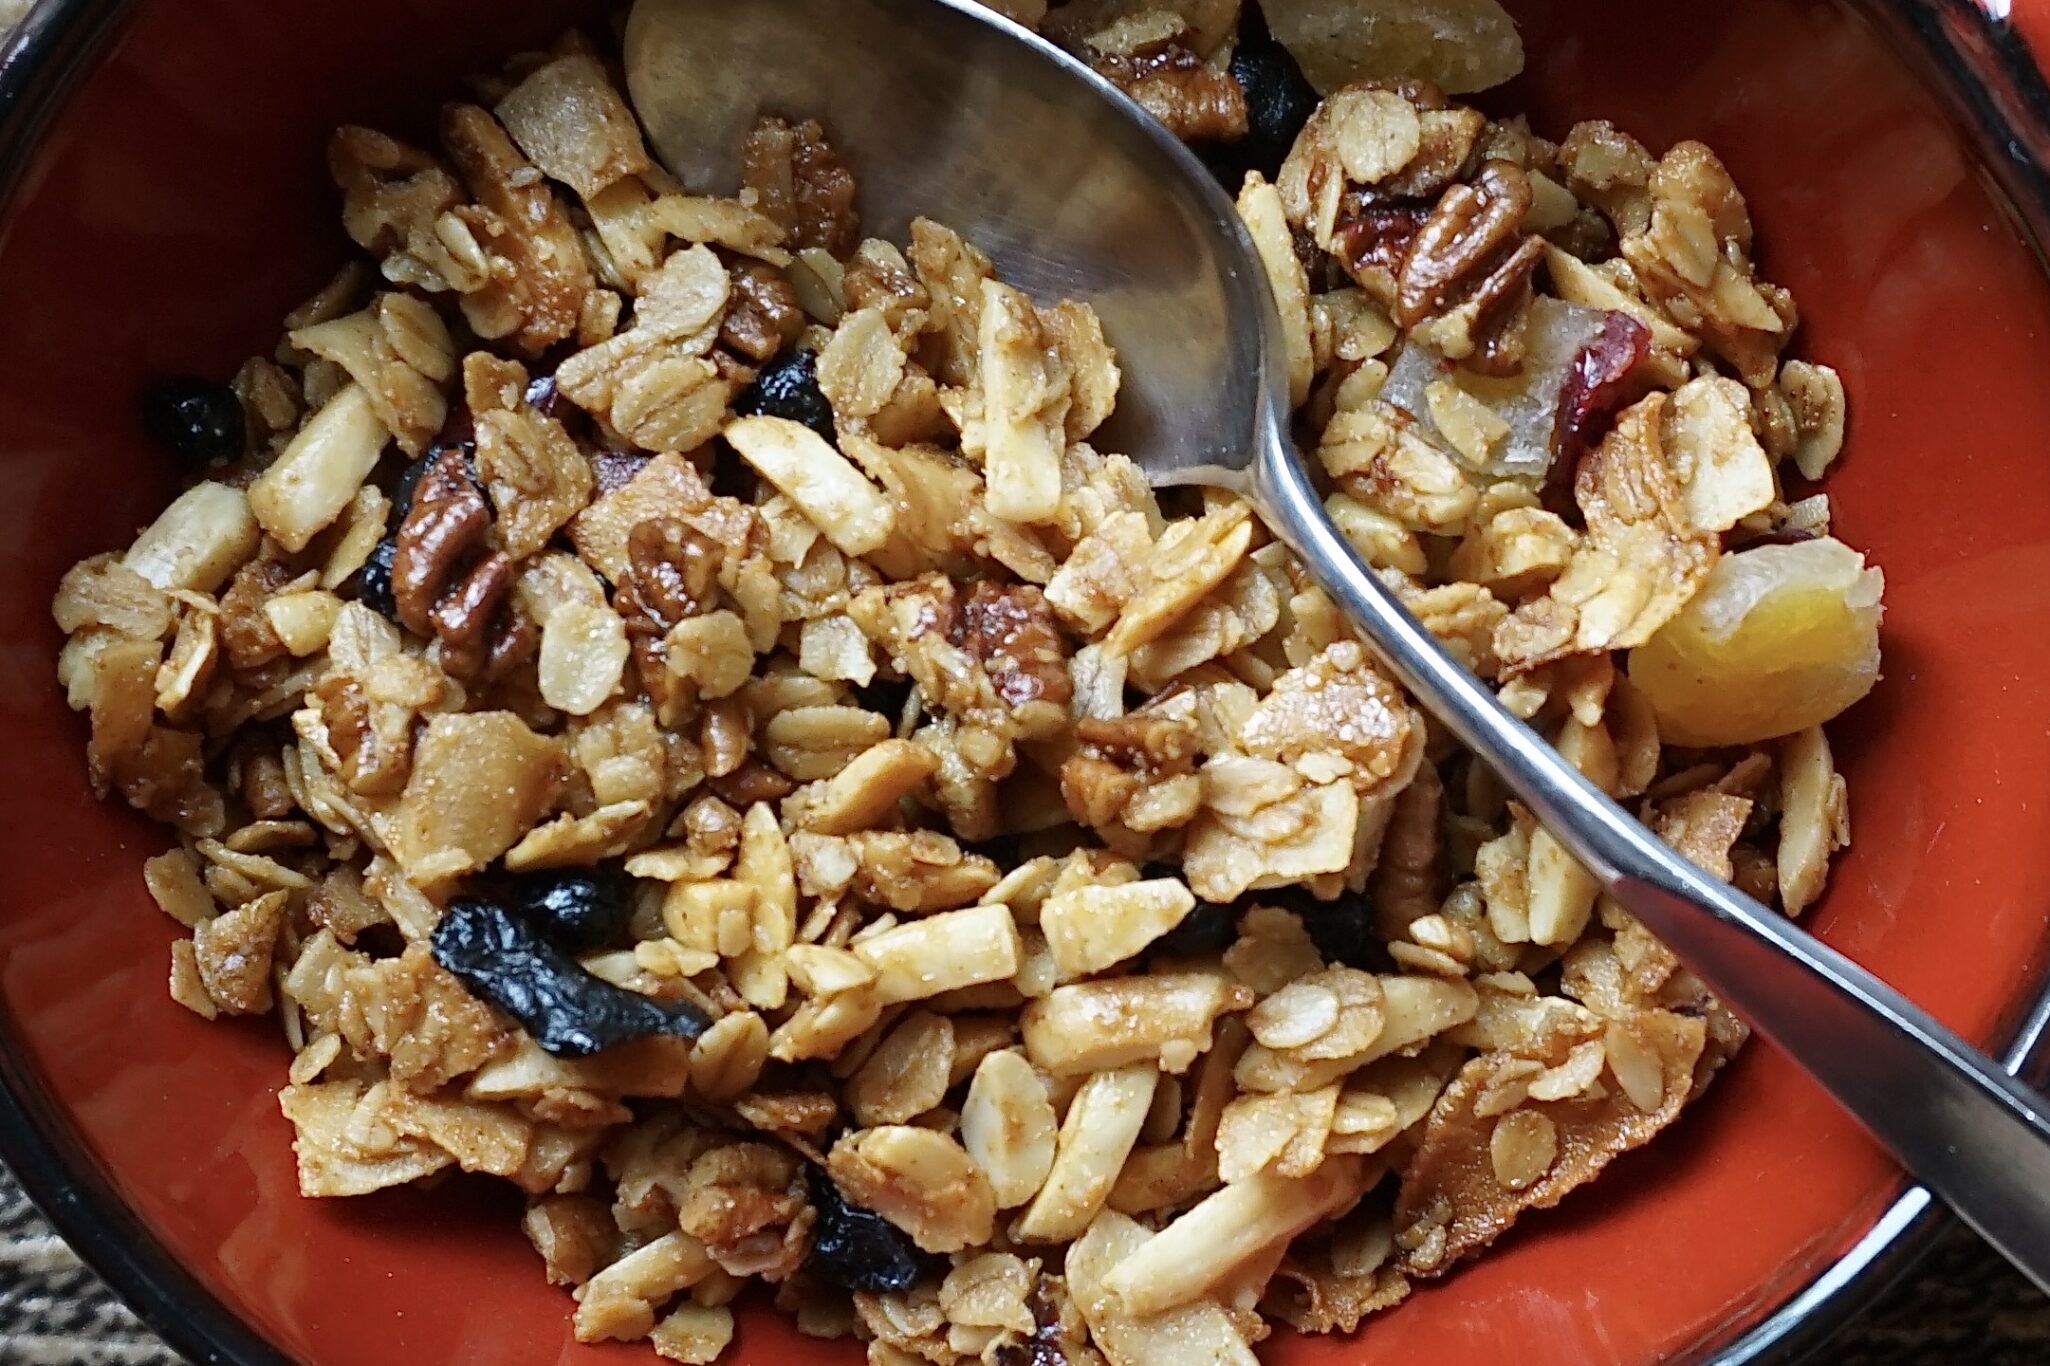
This granola is loose, not clumpy, and is perfect for ice cream or yogurt topping. Use it in Natasha Picowicz’s Nubby Granola ShortbreadIf you like chunks of granola, make Jule’s Granola, which is still our family favorite (yes, we voted). This is a close second, though.

Now go and make a batch of my 2nd  favorite granola,

Print
5 from 2 votes

Olive Oil & Maple Granola

Homemade Granola with maple syrup and olive oil
Course Breakfast, Munchie, Snack
Cuisine American
Keyword granola, maple syrup, oats, olive oil, pecans
Prep Time 10 minutes
Cook Time 45 minutes

Ingredients

  • 4 cups old-fashioned rolled oats Original recipe calls for 3 cups
  • 1 1/4 cups raw pecans coarsely chopped, although I was lazy and left them as halves
  • 1 cup coconut chips or flakes (large)
  • 1/2 cup hulled raw pumpkin seeds
  • 1/2 cup hulled raw sunflower seeds sub slivered almonds

Sweeteners

  • 3/4 cup pure maple syrup
  • 1/2 cup extra-virgin olive oil
  • 1/2 cup packed light brown sugar
  • 1 teaspoon kosher salt plus more to taste

Optional

  • 1-2 cups dried fruit such as raisins, cranberries, diced apricots, or dried cherries

Instructions

  • Heat the oven to 300°F. In a large bowl, mix the oats, pecans, pumpkin seeds, sunflower seeds, coconut, syrup, oil, brown sugar, and 1 teaspoon of salt until well combined. Add optional spices if using.
  • Spread the mixture in an even layer split between 2 rimmed baking sheets. Bake, stirring every 10 to 15 minutes, for about 45 minutes total, until the granola is toasted. Halfway through baking, rotate sheets from top to bottom and turn each back to front.
  • Remove the granola from the oven; season with salt to taste. Let cool completely before serving.
  • Add dried fruit, after granola cools. Store in an airtight container.

Notes

Do Ahead: The granola can be made 1 month ahead. Transfer to an airtight container and store at room temperature.
Red Cooked Pork 红烧猪肉, Sweet Relief

Red Cooked Pork 红烧猪肉, Sweet Relief

This post has been sitting on the back burner for a while, the majority of the time because I kept tinkering with the recipe.  The other reason for its relegation, Jamie and I have been on a tear baking cookies and desserts for the holidays.  It was time to circle back to this post-take a breather from all things sweet.  So here it is, a post on one of my favorite dishes, Red Cooked Pork

I grew up eating Chinese food 5-6 days a week.  Every meal more often than not featured pork.  Ground pork was steamed into a delicious patty with salted egg or simmered in soups.  Slices of pork were stir-fried with greens or with tofu and brown bean sauce for a quick meal.  Every Chinatown deli strategically displays a whole pig, slow-roasted to perfection, it’s amazing-crunchy, crackly skin and succulent, juicy, tender meat enticing shoppers into the store.  It goes toe to toe with any southern barbecued pork.  I make my own Crispy Roasted Pork, it’s not hard and not to worry, you don’t have to roast an entire pig! Yes, pork is king in Chinese cuisine.

Why pork?

The pragmatic, economical choice.  Pigs eat almost anything and don’t require grazing land, important in an agrarian society like China.  Pork can be steamed, boiled, baked, braised, fried, roasted-probably the only thing we don’t do is make it into ice cream-not surprising for lactose intolerant Asians.  Almost every part of the pig is used or consumed.  Ears, feet, snout, are pickled, braised, or fried.  The fat is turned into lard, the blood is congealed and eaten…you get the picture.

And the obvious answer, it’s DELICIOUS.

I am hooked on Chinese Red Cooked Pork which uses pork belly.  Now, don’t go Ewww, what do you think bacon is?  Yep, thin slices of pork belly given a nifty name so jillions of people will eat it.  Asian dishes often use pork belly in uncut slabs, in thick slices, cubed or diced.  Red Cooked Pork is a classic dish, every Sichuan family passes down grandma’s recipe for Red Cooked Pork or 红烧猪肉.  My go-to recipe comes from a favorite cookbook, A Common Table.

The easiest place to find pork belly is at your local Asian markets.  In particular, Chinese markets carry ALL things pork.  The pork belly is butchered into thick slabs-with or without skin, or into thin, medium, thick, or super thick slices.  Korean markets also offer a variety of pork belly cuts to grill, stir-fry, or braise.

I could be wrong but there really isn’t a Cantonese version of Red Cooked Pork.  Versions of red-cooked pork can be found in  Sichuan,  Shanghai, and Hunan where Chairman Mao’s Red Cooked Pork with chili peppers and aromatics is iconic.

The Tinkering Begins

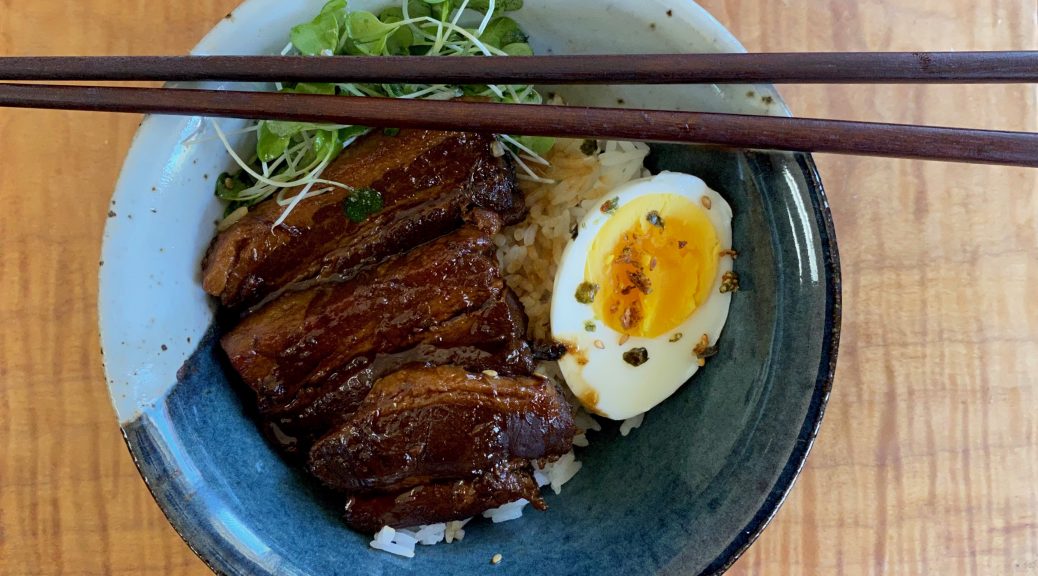
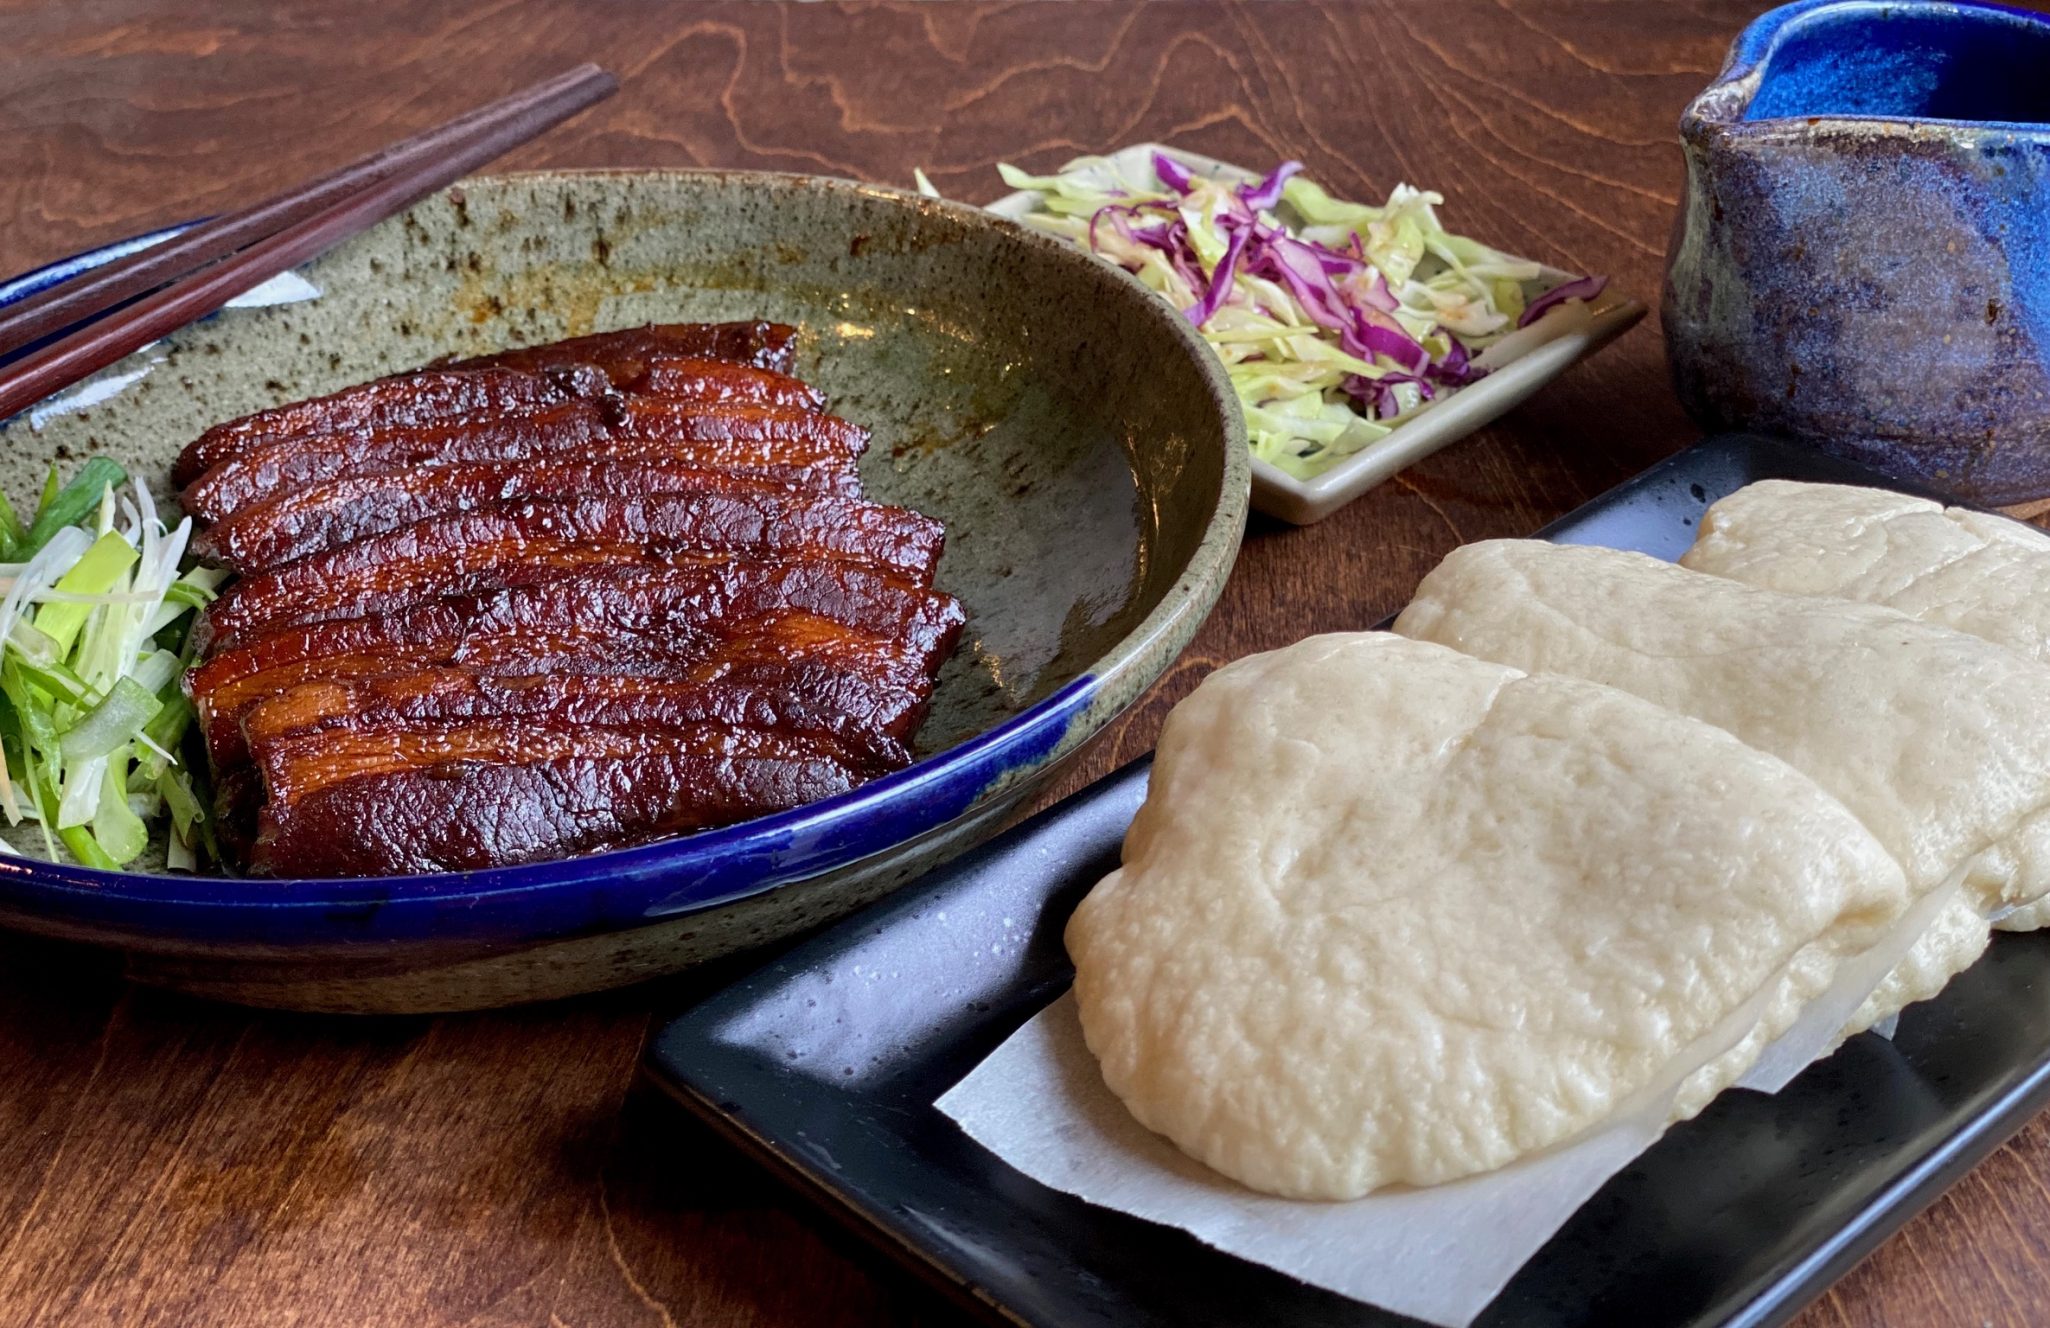
If I am making Red Cooked Pork for buns (bao) to be eaten like a sandwich, I use the wide thick slices.  For rice bowls and noodle bowls, I like cubed or diced pork belly.  Either way, the KEY is long, slow cooking.  You can’t cut corners or the meat will not be meltingly tender.  Keep vigil over the braising liquid, adding water if needed.  There is a point where the meat will seem tender but dry and paradoxically you need to cook it longer to breakdown the fibers so the meat gives up and becomes this oozy delicious bite. That is pork-fection.

I’m not a big star anise fan, so I only use 1-star anise and add a cinnamon stick in place of additional star anise.  Feel free to play with the amounts.  The recipe calls for granulated or raw sugar, I prefer rock sugar.  I searched for an equivalence and all I found is a one-inch piece of rock sugar is approximately 1 tablespoon of sugar.  Crushed into smaller pieces, that 1 inch chunk was about 1.5 tablespoons of rock sugar.

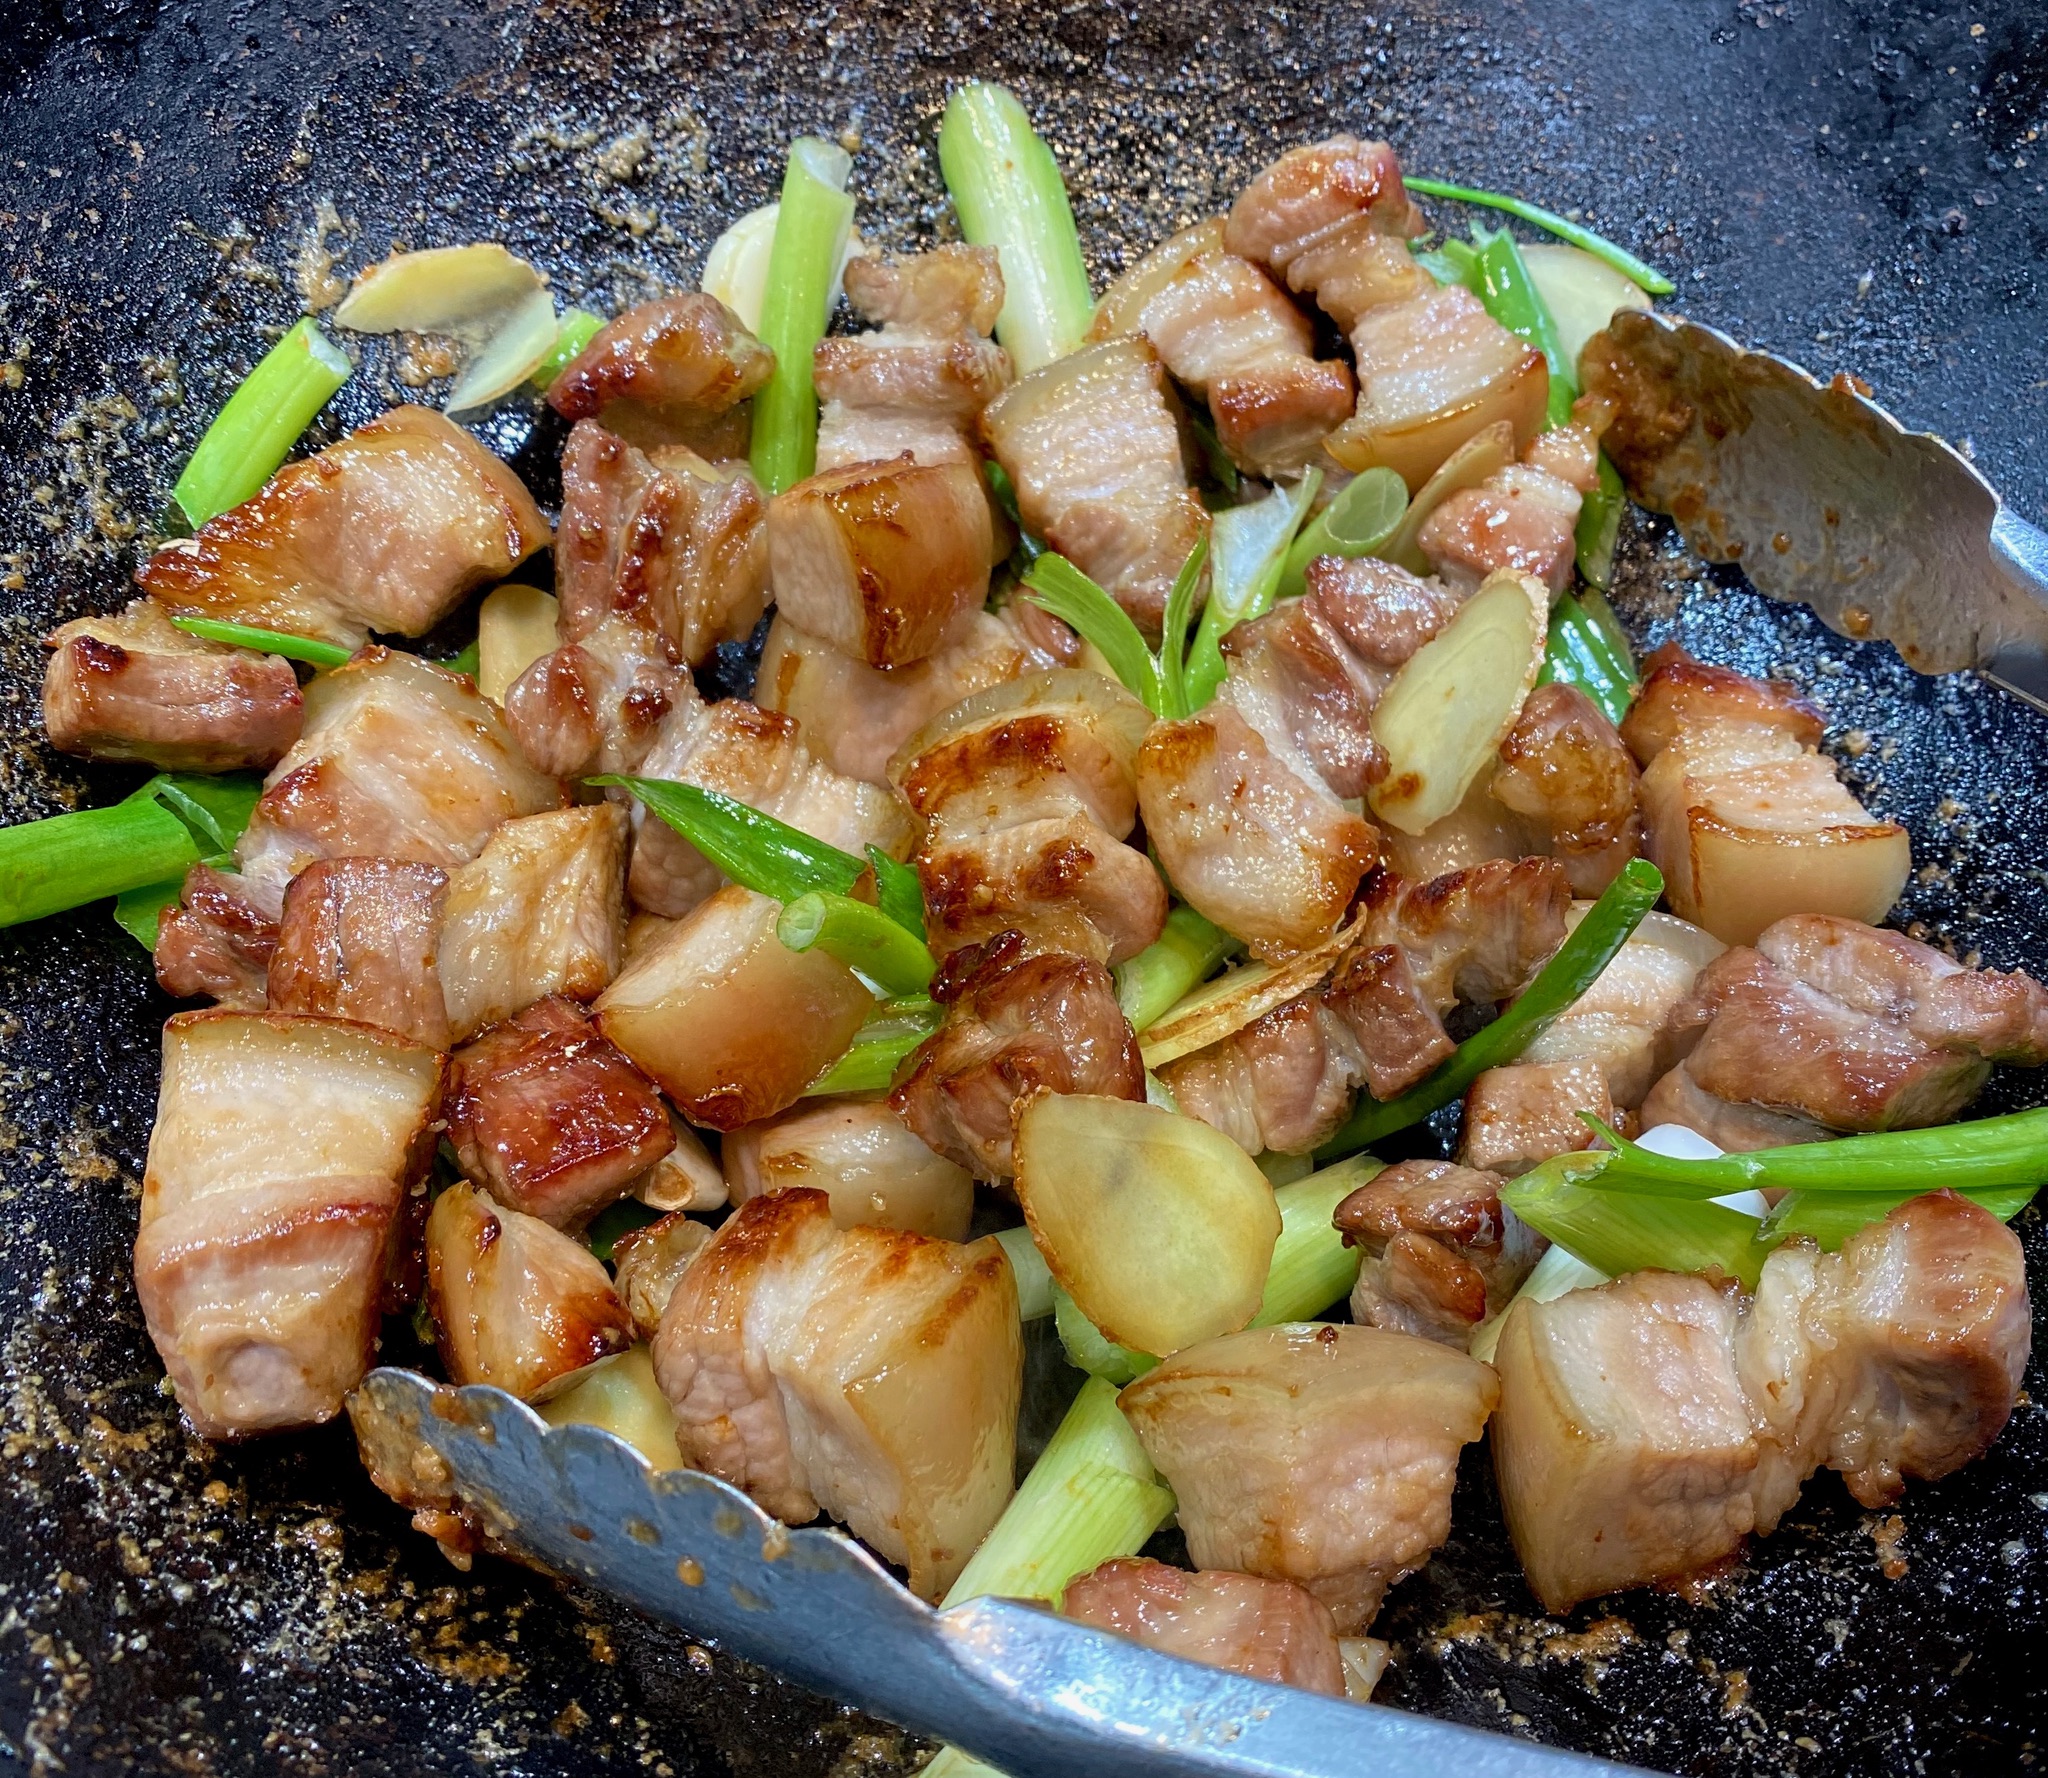
Caramelize the pork in the sugar water mixture.  Add aromatics, soy sauces, water, and braise for 1.5 to 2 hours until pork is tender.

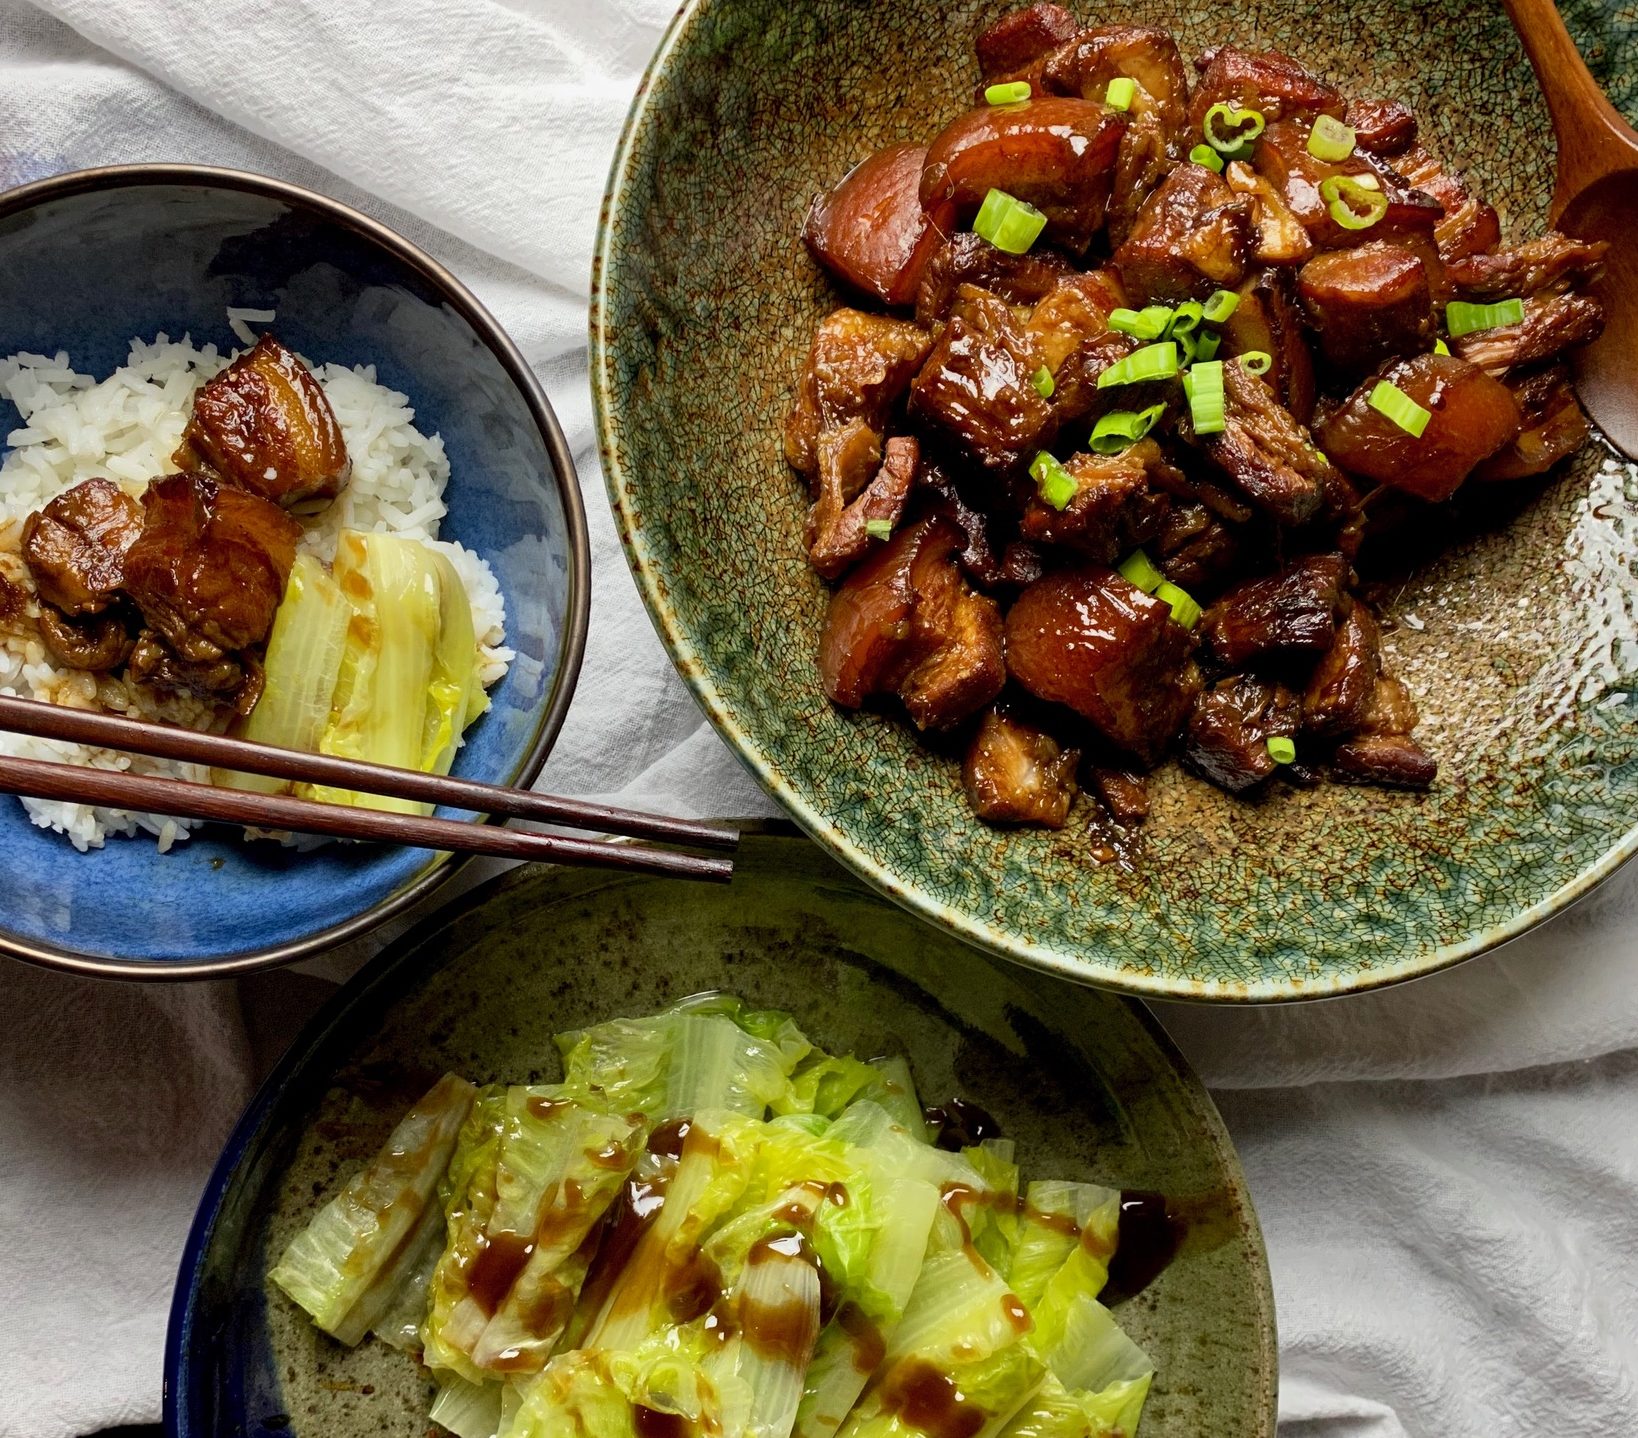
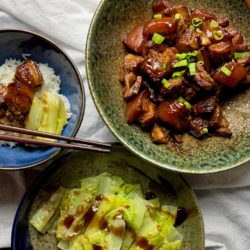
Serve over rice and with greens such as poached lettuce or bok choy.

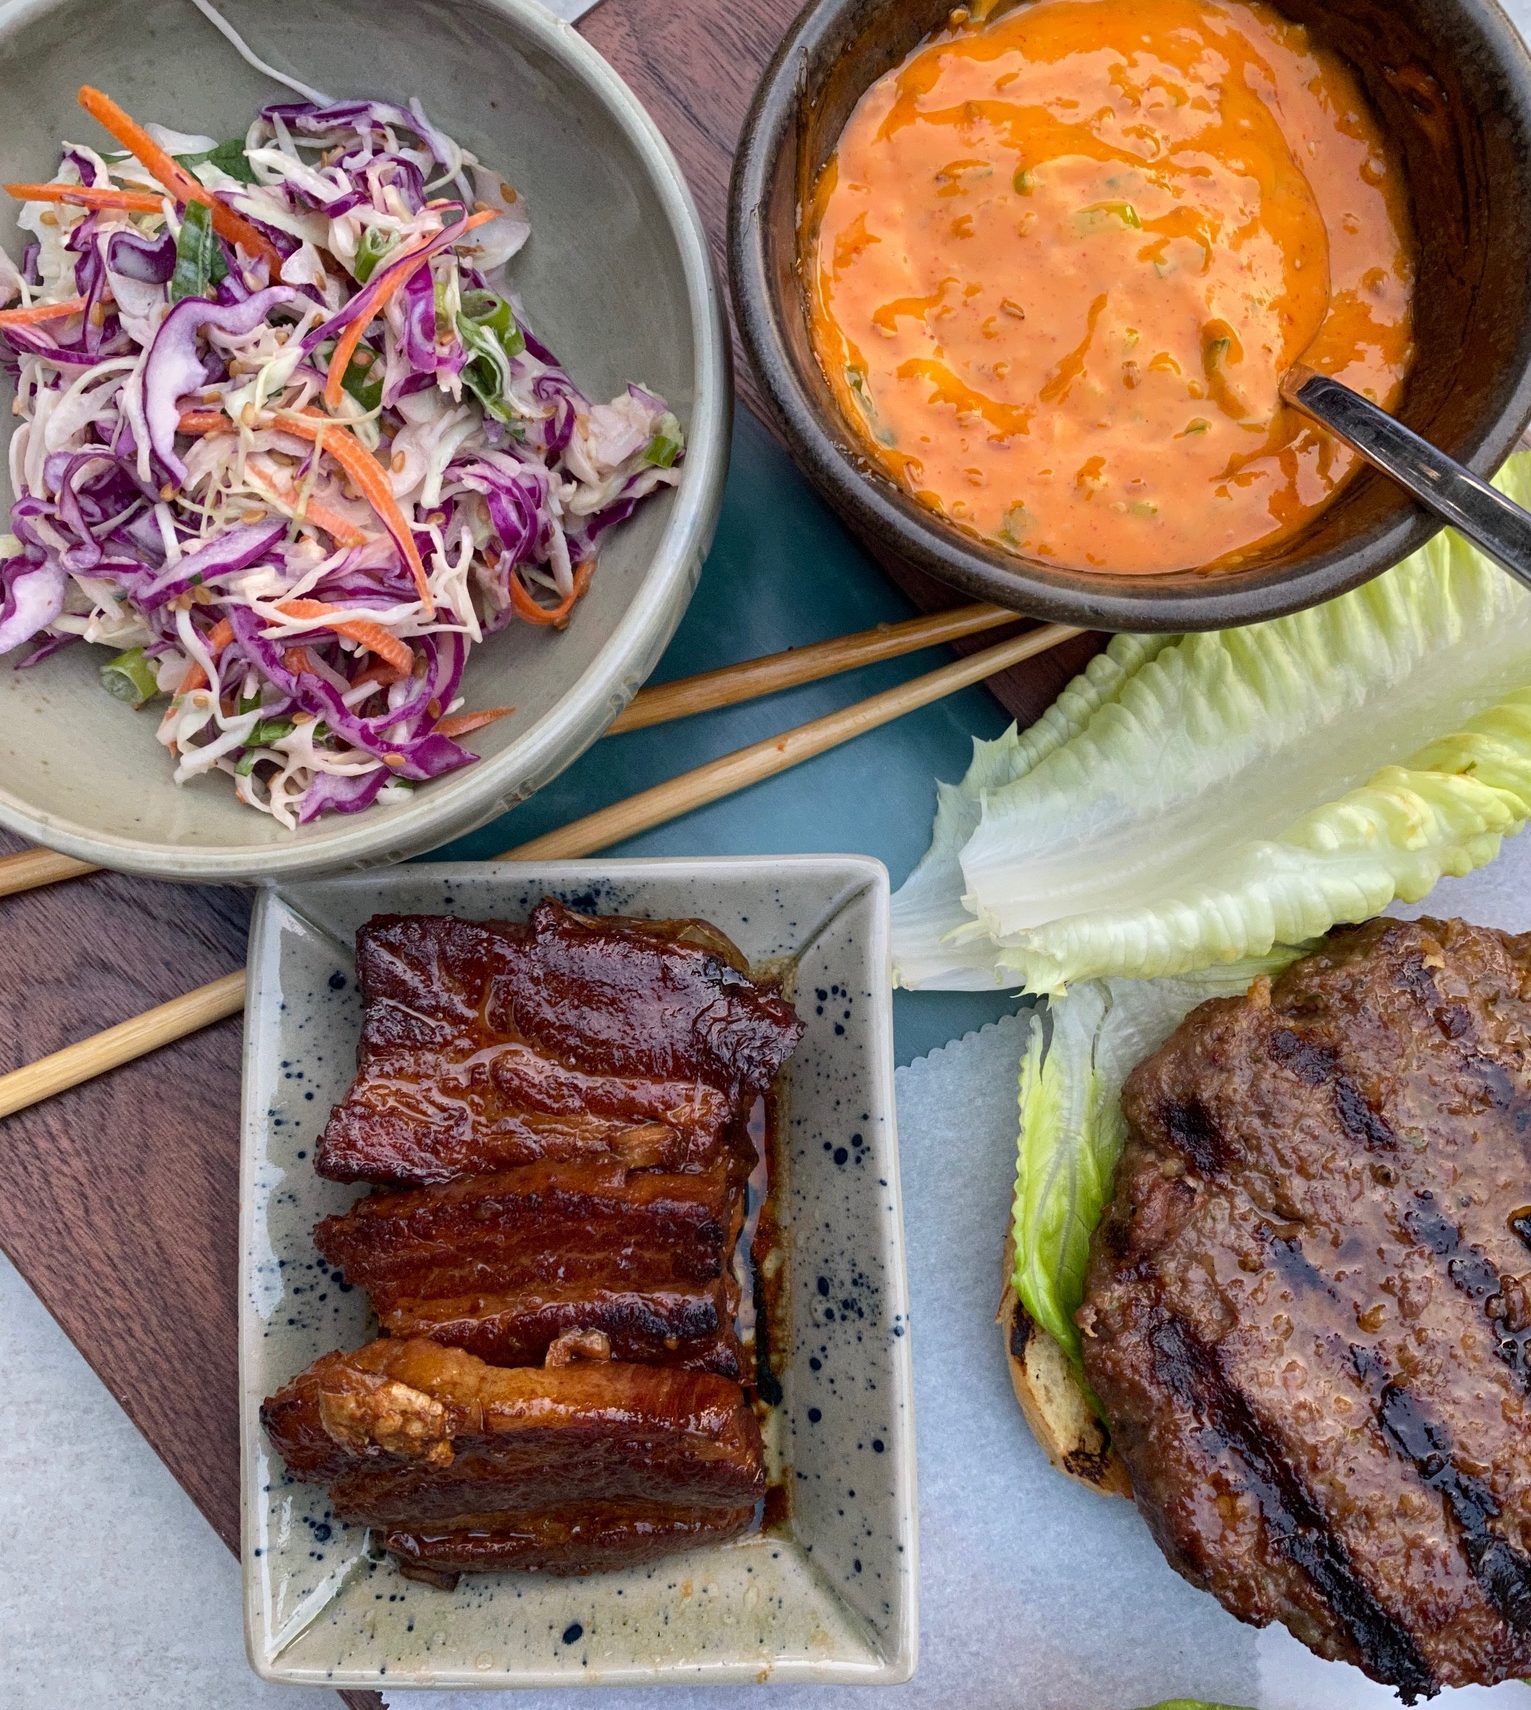
Red Cooked Pork Belly, Sesame Slaw, and Gochujang Mayo for my Asian version of a BLT Burger.  How did I not win our annual burger cook-off?

Print Pin
5 from 1 vote

Red Cooked Pork adapted from A Common Table

Iconic Chinese Dish, Red Cooked Pork is pork belly slowly braised in soy sauce, sugar and aromatics until meltingly tender. Delicious over rice or in bao.
Course Main Course
Cuisine Asian
Keyword braised, Chinese, easy recipe, Pork Belly, red cook pork
Prep Time 20 minutes
Cook Time 3 hours

Ingredients

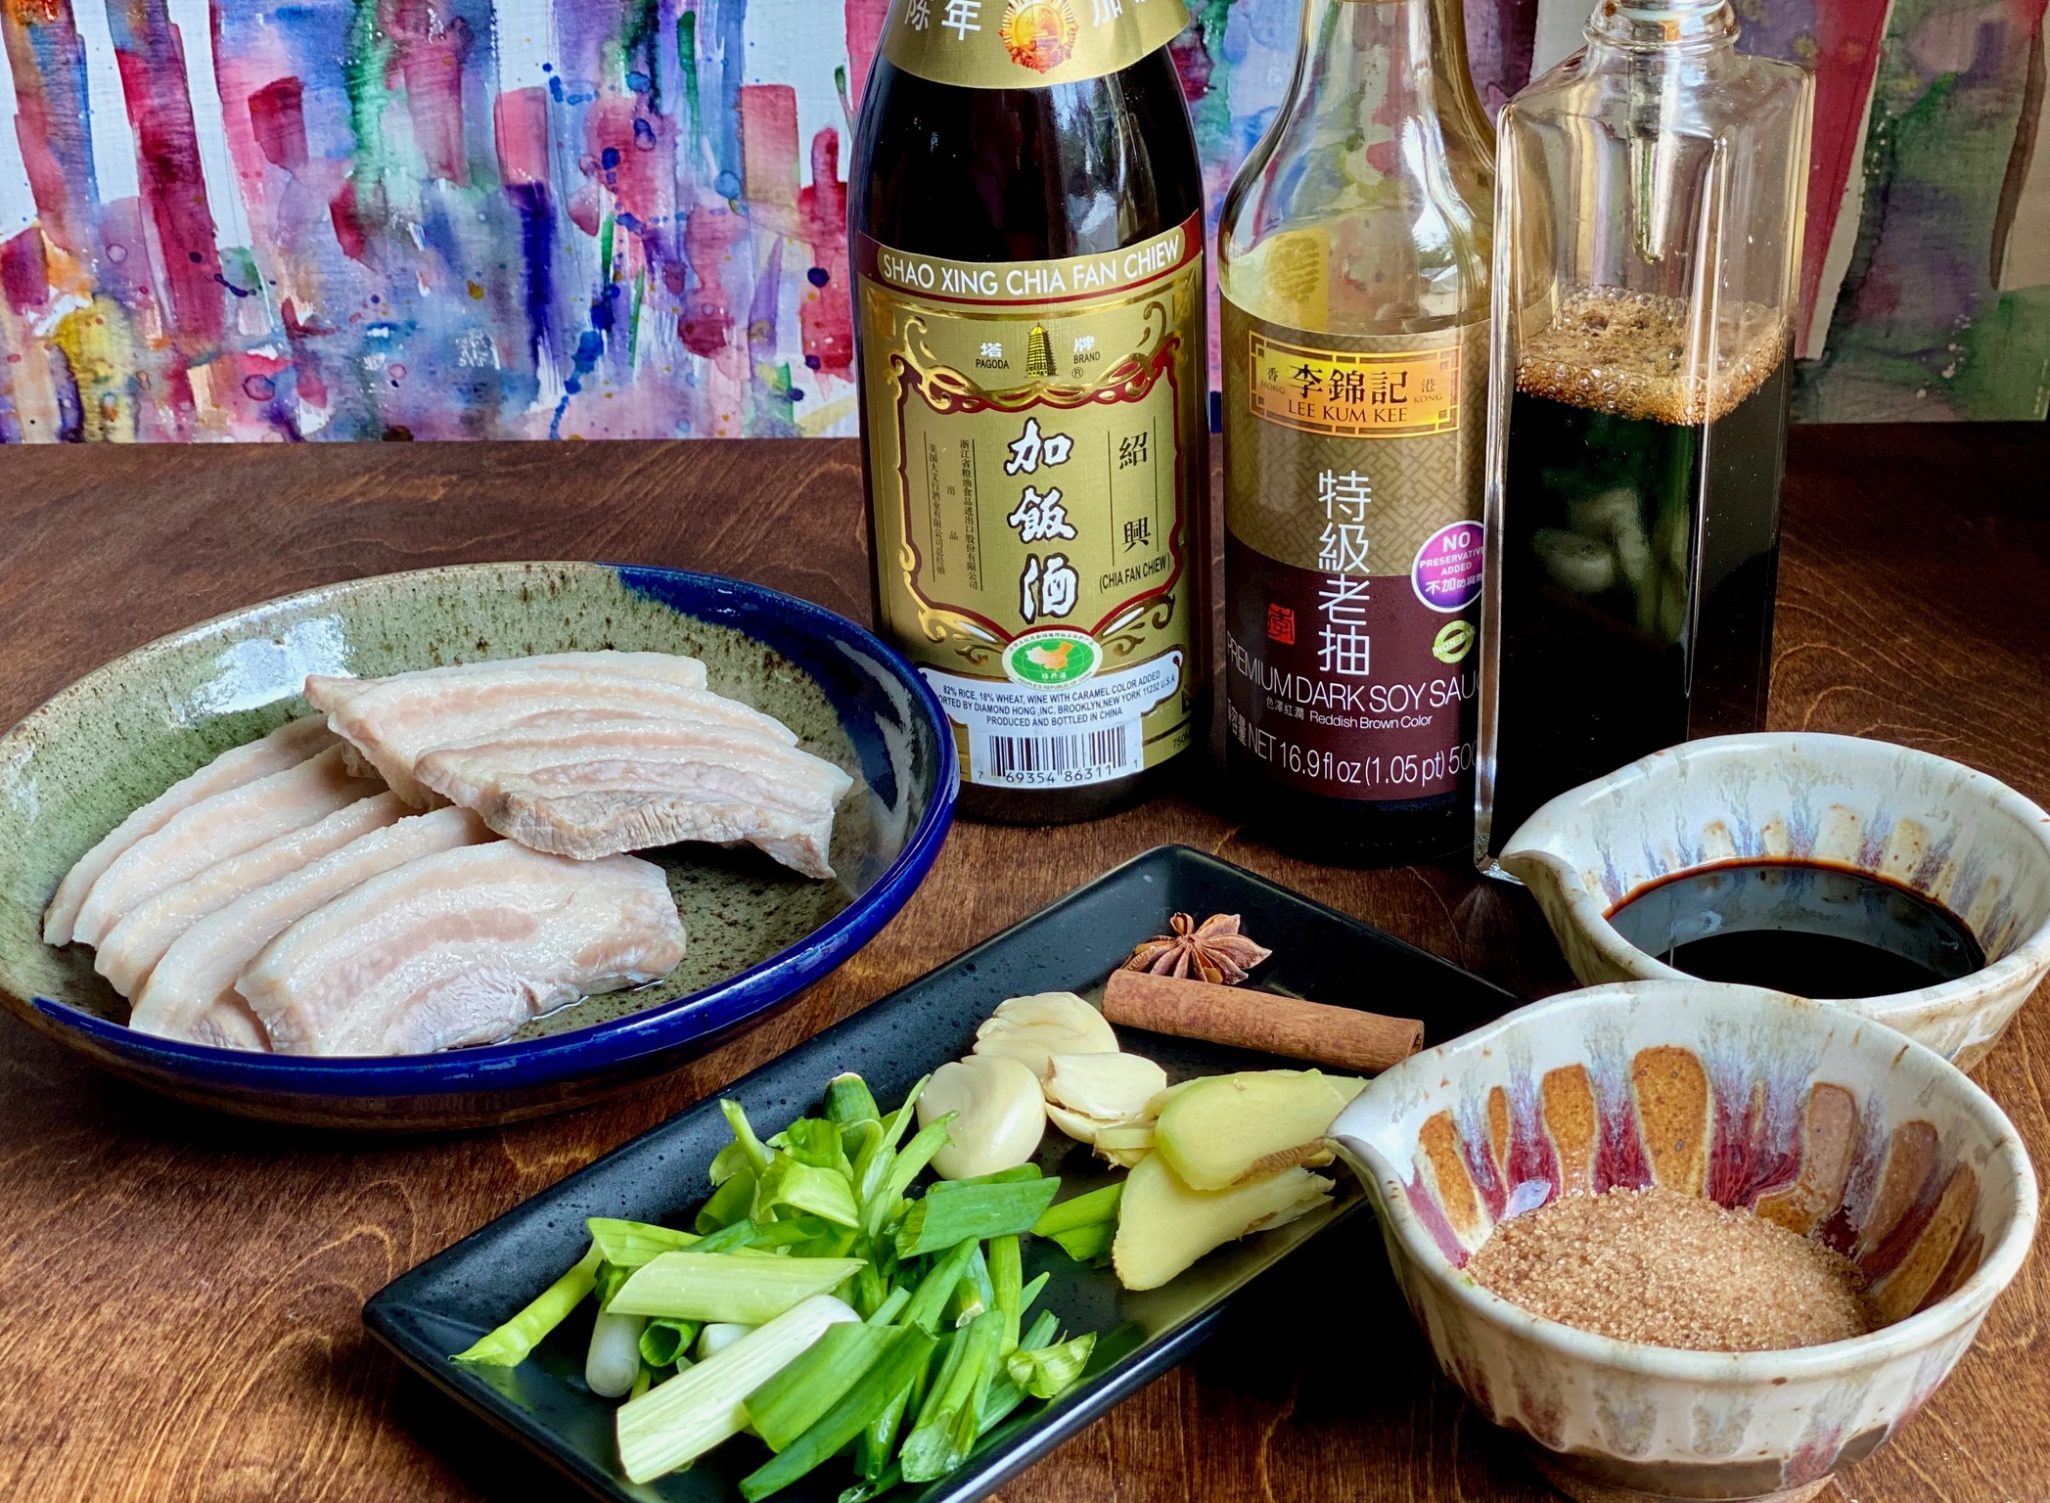
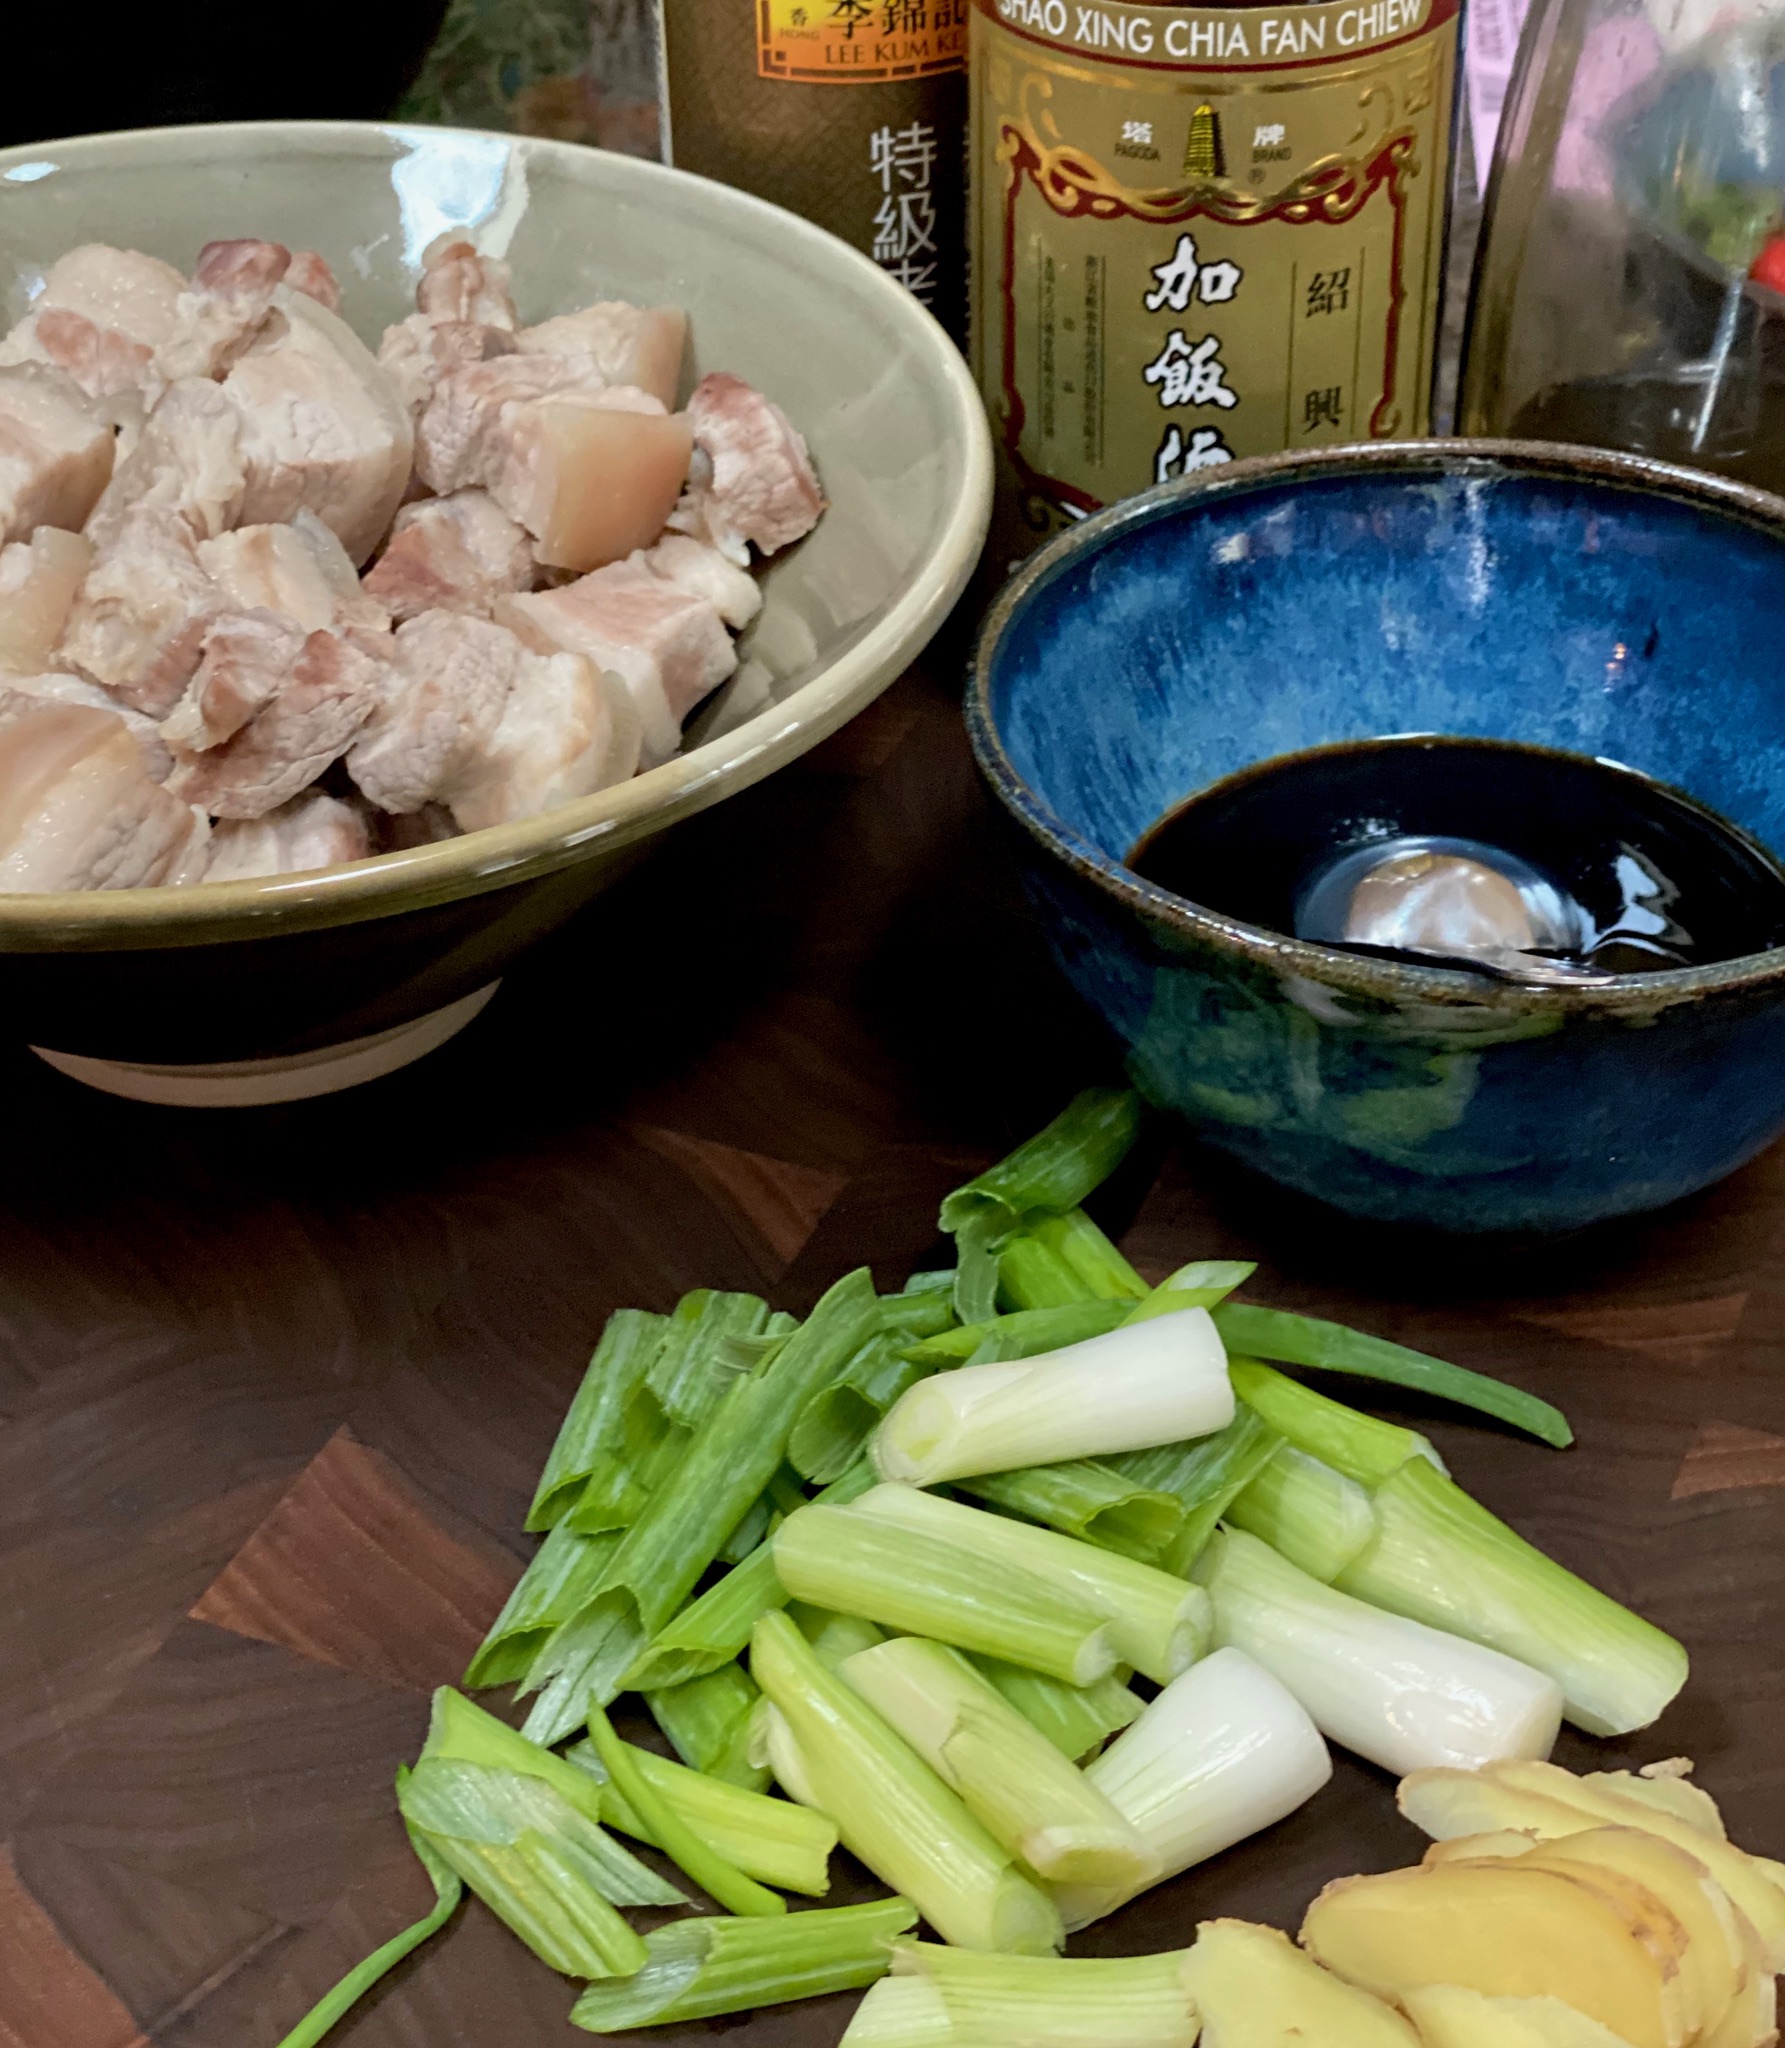
  • 2 pounds pork belly or pork shoulder cut in 3/4- to 1-inch (2- to 2.5-cm) chunks
  • 1/4 cup granulated sugar substitute rock sugar 3 tablespoons (50-75 gms) or to taste
  • 2 tbsp water to caramelize sugar
  • 2-3 cups water for braising liquid
  • 3 to 4 scallions cut on the diagonal into 2-inch (5-cm) lengths (about 1/4 cup sliced)
  • 3 to 4 garlic cloves smashed, or 1 tablespoon minced garlic
  • 1 inch piece ginger root sliced into 6 to 8 circles
  • 1 whole star anise 0-3 pods, your choice
  • 1 stick cinnamon
  • 1/3 cup Shaoxing rice wine dry sherry, or sake
  • 3 tablespoons light or thin regular soy sauce 生抽, NOT low sodium
  • 3 to 4 teaspoons dark soy sauce 老抽

Instructions

  • Bring a large pot of water to a boil over medium-high heat. Add the pork and gently boil for about 10 minutes, skimming off any scum as it forms on top of the water. Drain the pork and rinse to remove any remaining scum.
  • In a large wok or cast-iron skillet over medium-high heat, combine the sugar and 2 tablespoons water and stir until it dissolves. Tilt the wok or skillet to swirl the mixture, without stirring, just until it bubbles and begins to turn slightly darker in certain spots, 4 to 5 minutes. Be sure to watch it carefully so that the sugar doesn’t burn as the sugar can turn from brown to black in seconds.
  • Add the pork and cook it with the caramelized sugar, stirring frequently, until the pork is browned and smells fragrant, about 4 minutes.
  • Add the scallions, garlic, ginger, star anise and cinnamon, toss for 1 to 2 minutes to give the aromatics a quick cook. Add the rice wine, both soy sauces, and enough water to cover the pork, about 2 to 3 cups. Stir to combine and then cover and ever-so-gently simmer the pork over low heat until tender for approximately 2 hours. Stir every 15 to 20 minutes to prevent scorching and to make sure there is still enough liquid. Add water if the level gets too low.
  • Once the pork is tender, take a look at the cooking liquid. If you prefer a thicker sauce, transfer the pork to a plate, return the heat to medium-high, and simmer, uncovered, until the sauce reduces to the desired consistency, 10 to 15 minutes. Be careful not to reduce the sauce too far as you’re going to want enough sauce to go over the pork and rice. Taste the sauce and, if desired, adjust with more soy sauce or sugar. Spoon the pork and sauce over rice.
  • Serve over rice. Place pork on top of rice and drizzle a small bit of sauce over the cubes.
Pork Buns

  • Cut pork belly into 1-4 to 1/2-inch thick slices approximately 2-2.5 inches in width instead of cubes. Proceed with braising instructions.
  • Serve sliced pork with steamed Chinese buns. Garnish with green onions and cilantro.
Strawberry Fields Forever-Strawberry Pie Now

Strawberry Fields Forever-Strawberry Pie Now

Tasked with dessert for Easter dinner at my brother’s this year, I pondered what to bring.  Inspiration hit at my local farmer’s market when I spied the baskets of luscious, red, ripe strawberries at the P&K Stand.

It’s PIE TIME, BABY

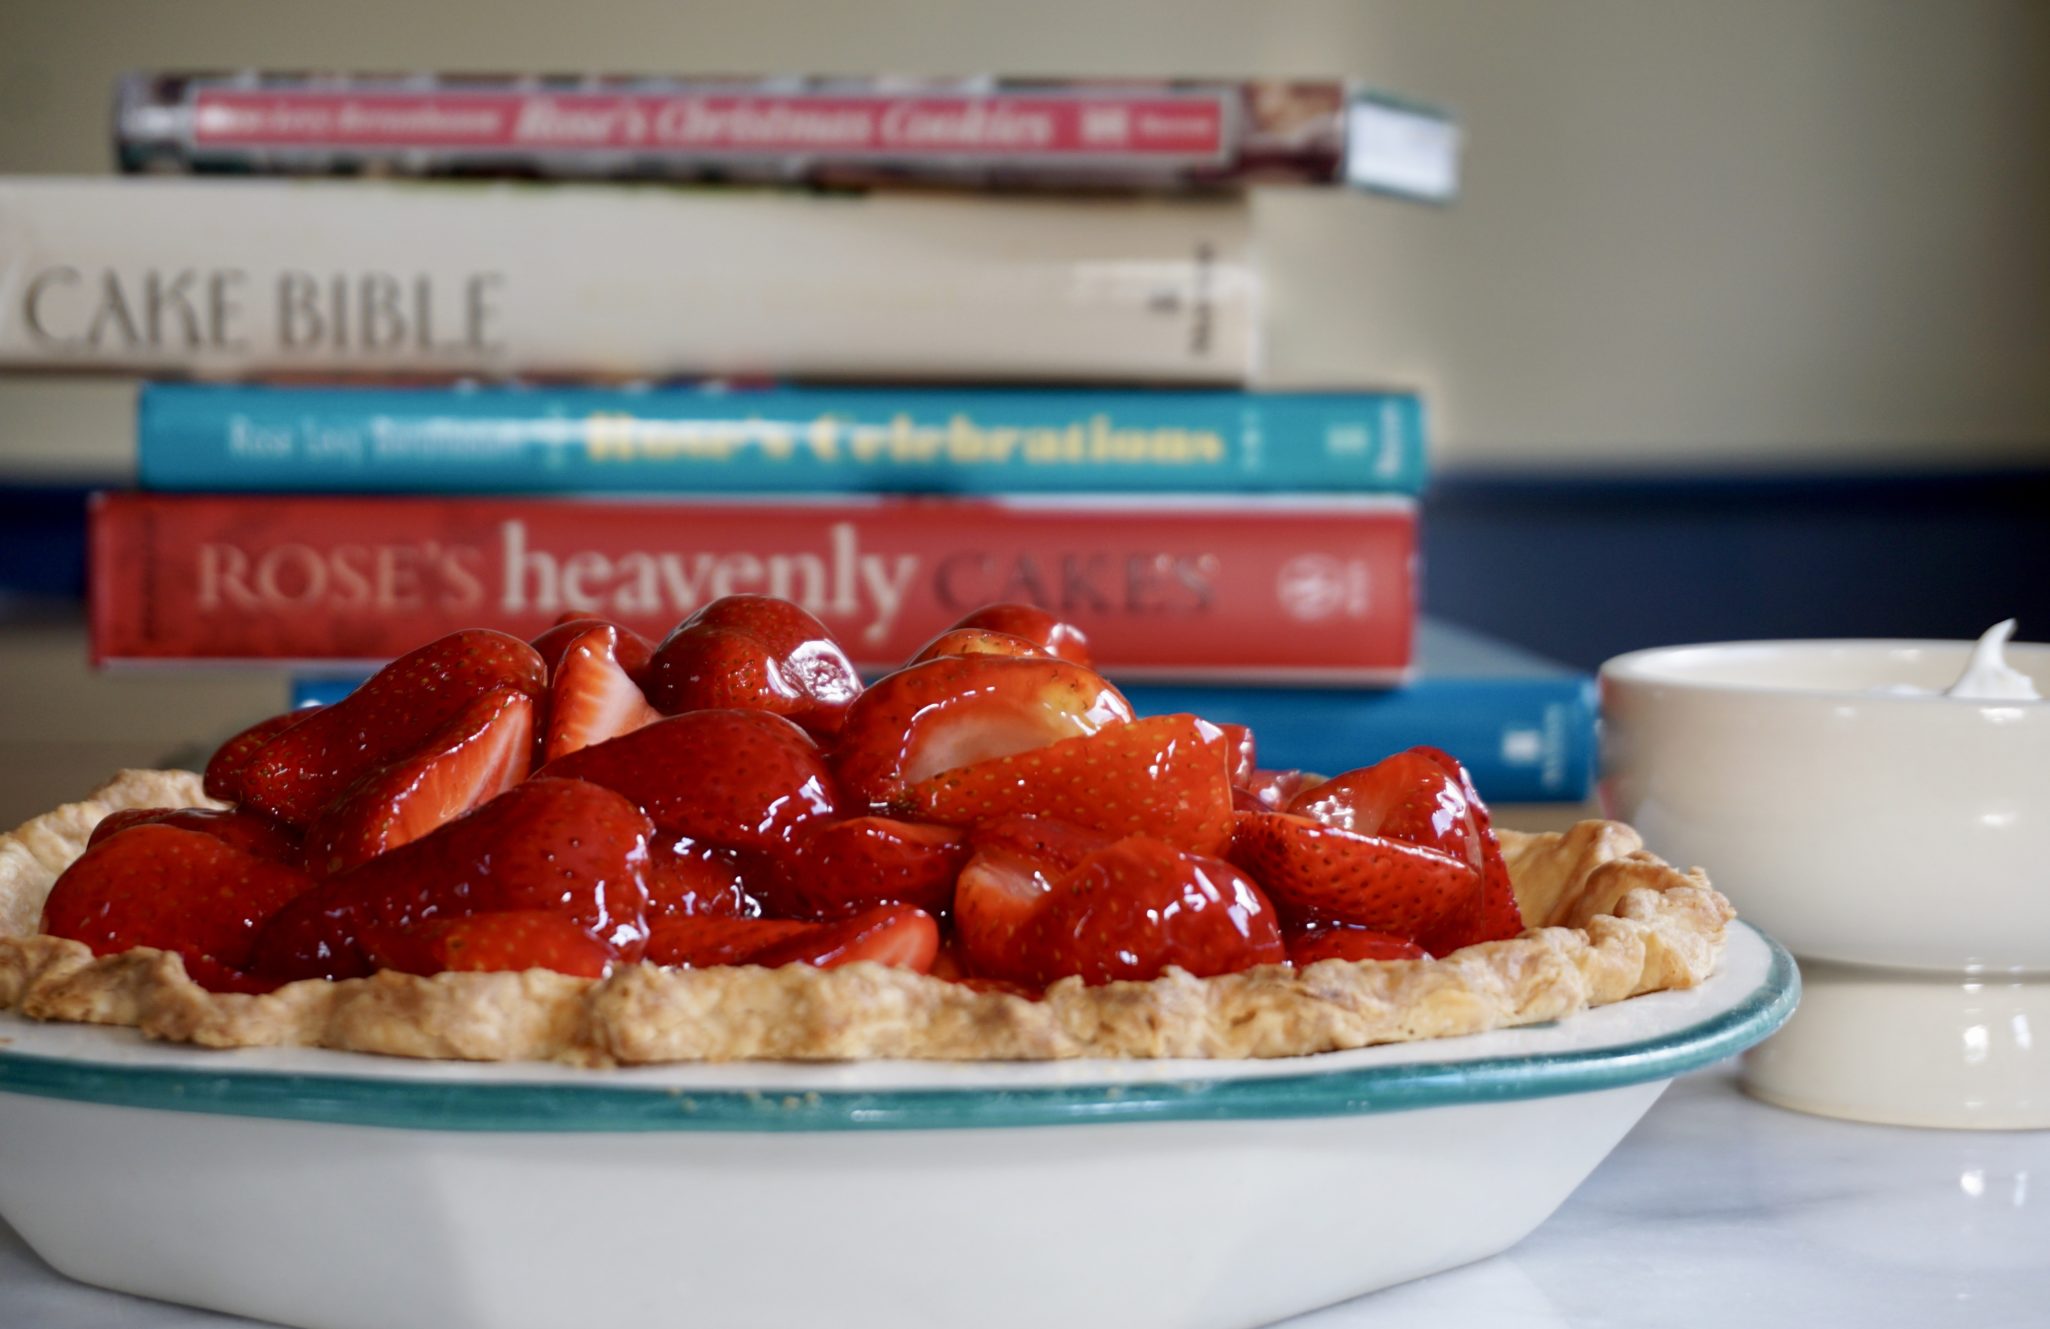
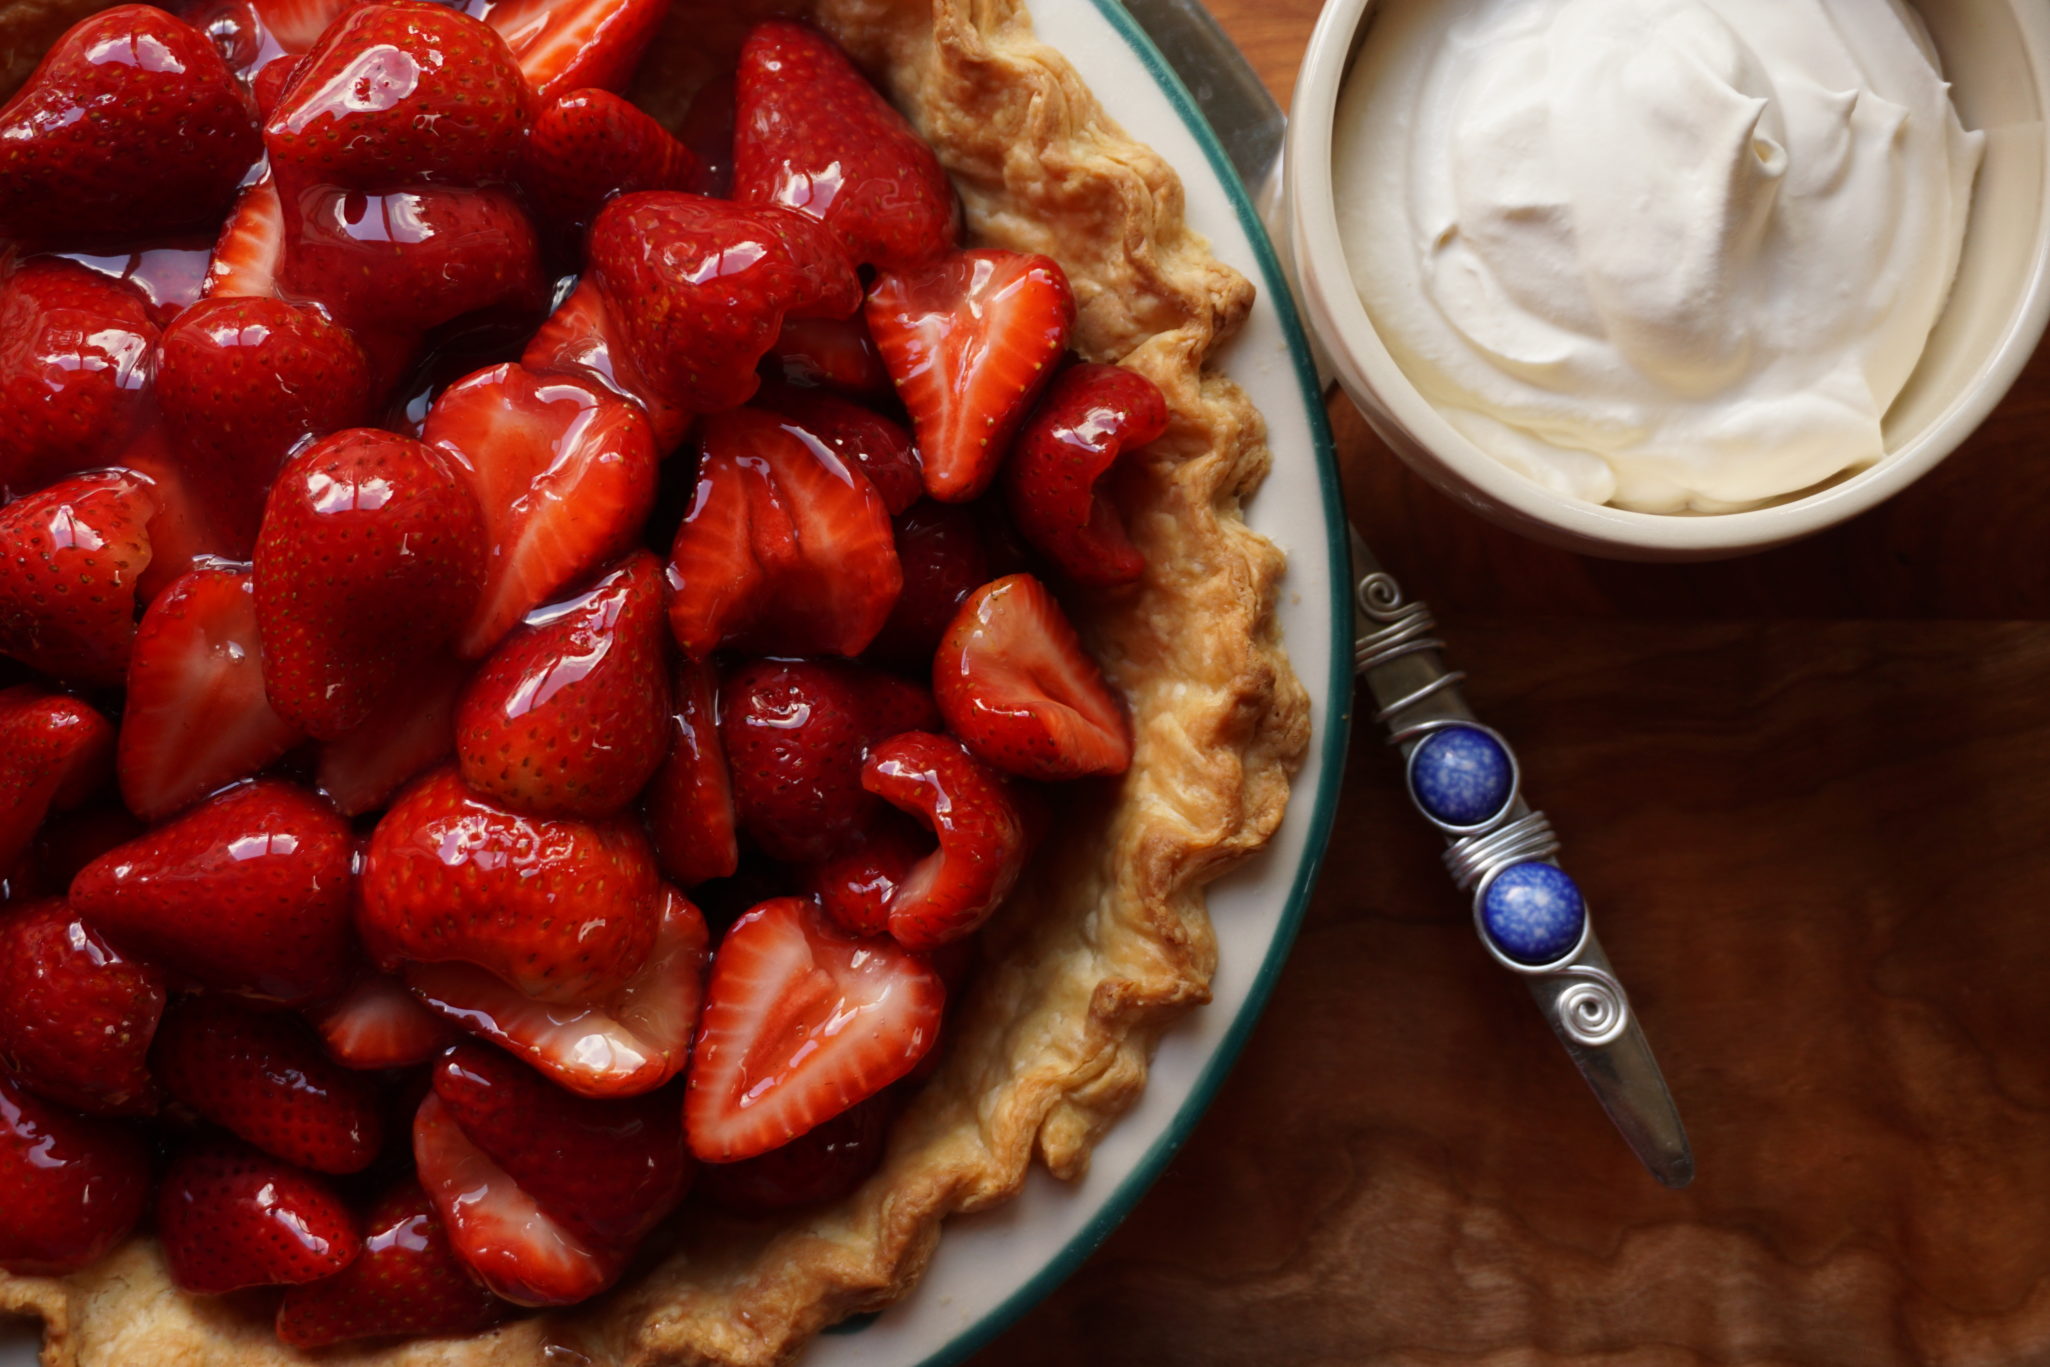
An image popped up in my head, fresh sweet ripe strawberries piled in a crispy buttery crust and topped with a dollop of whipped cream.   This perfectly describes Rose Levy Beranbaum’s Strawberry Pie recipe.  I own as many of her cookbooks as I do Dorie Greenspan’s and that’s saying a lot, both are baking gurus extraordinaire.  Rose’s recipes are organized, reliable, easy to follow, and delicious. First, the ingredients are listed by volume measurements and weights (ounces and grams, how great is that?) in all her books and then formatted in tables.  In addition, each recipe has pointers for success, helpful hints, and a Harold McGee/ Alton Brown-like blurb on understanding the recipe.  My favorites include Rose’s Christmas Cookies, Cake Bible, and her recent book  The Baking Bible.

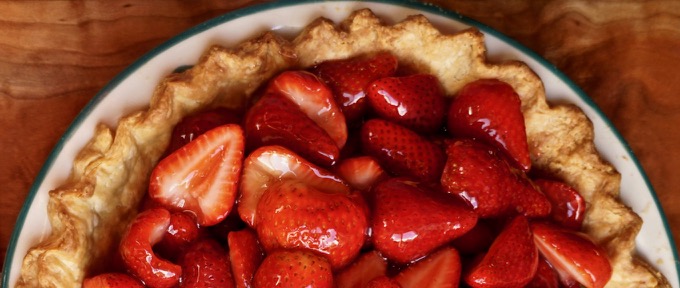
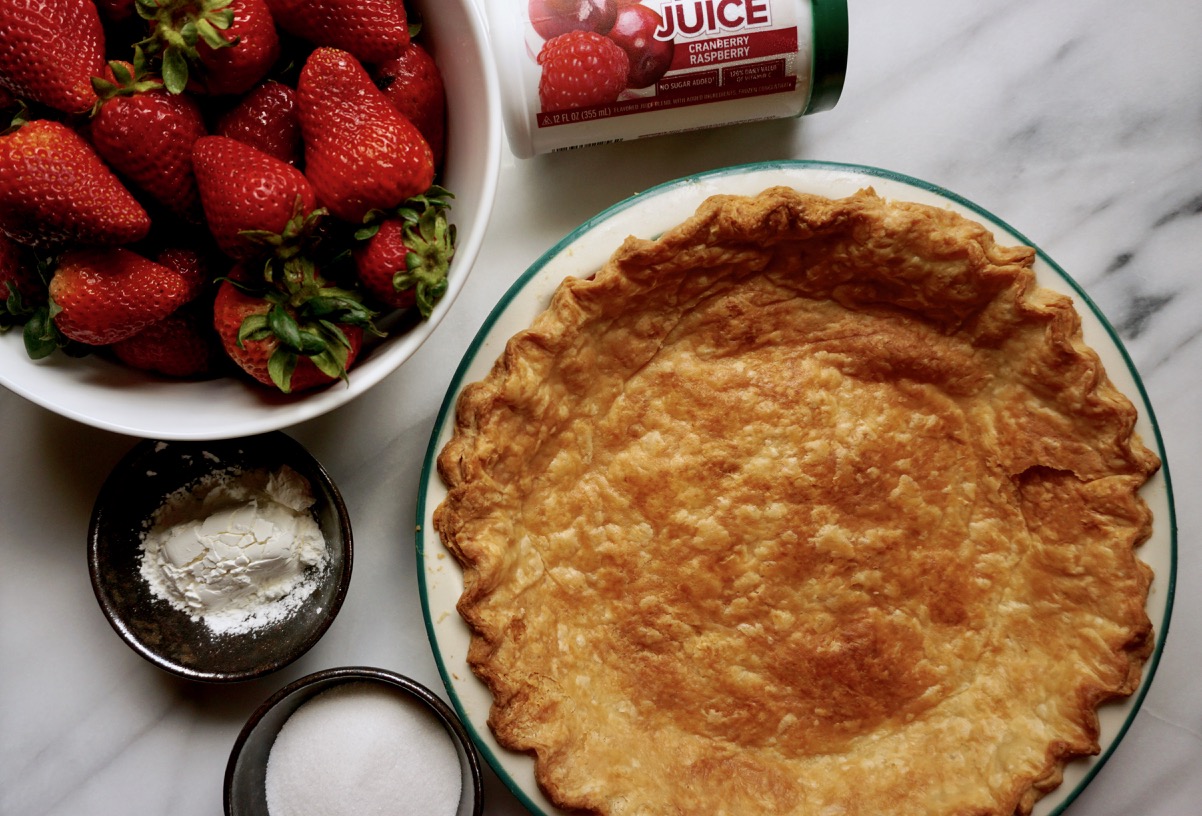
Her Glazed Strawberry Pie recipe is from The Pie and Pastry Bible. In addition to being delish, it is super easy to make. The strawberries are the star of this pie so make sure your berries are ripe and sweet. Start by slicing the strawberries in half and then making the glaze.  The glaze calls for sugar, cornstarch as the thickener, and cranberry-raspberry frozen concentrate.  Yep, frozen fruit juice concentrate.  Finally, fold the strawberries in the glaze and pour them into a pre-baked crust.

It’s all about the crust and filling, uh-huh

Use your favorite pie crust recipe (or mine), fully pre-bake it, and as it cools, make the filling.  Keep in mind the pie will need to chill in the fridge for a good couple of hours before serving.  Serve with whipped cream (totally worth the calorie splurge).

Take advantage of strawberry season and MAKE THIS PIE.  Your family will love you. Your friends will love you.  You could run for office (hint, hint) after making this pie.

Glazed Strawberry Pie from Pie and Pastry Bible

No bake strawberry pie from Rose Levy Beranbaum! It's simple and delicious!
Course Dessert, Pie
Cuisine American
Keyword pie, Pie crust, strawberries, Strawberry Pie
Prep Time 30 minutes
Cook Time 40 minutes

Ingredients

  • 1 Basic Flaky Pie Crust for a 9-inch pie See post for link to pie crust recipe
  • 1 tablespoon egg white lightly beaten
  • 1/4 cup sugar
  • 3 tablespoons cornstarch
  • 1 cup liquid cran/raspberry concentrate thawed, undiluted
  • 3/4 cup water
  • 4-5 cups strawberries rinsed, hulled, dried, and halved

Instructions

For pie dough:

  • Favorite pie crust recipe, need only a single crust.
  • Remove the dough from the refrigerator. If necessary, allow it to sit for about 10 minutes or until it is soft enough to roll.
  • Roll dough 1/8 inch thick or less and about a 13-inch circle.
  • Transfer the dough to the pie pan. Fold under the excess and crimp the border using a fork or your fingers. Cover it loosely and refrigerate for a minimum of 1 hour and a maximum of 24 hours.
  • Preheat the oven to 425°F at least 20 minutes before baking.
  • Line the pastry shell with foil and fill with pie weights, rice or dried beans. Bake for 20 minutes. Carefully lift out the rice or beans with the foil. With a fork prick the bottom and sides and bake 5 to 10 minutes more or until the crust is a golden. Check after 3 minutes and prick any bubbles that may have formed.
  • Cool the crust on a rack for 3 minutes, so it is no longer piping hot, then brush the bottom and sides with the egg white.

Make the filling:

  • In a 2-quart saucepan, mix together the sugar and cornstarch. Gradually stir in the cran/raspberry concentrate and water until smooth. Over medium heat, bring to a boil, stirring constantly. Boil for 1 minute. Remove the pan from the heat and cool completely.
  • Gently fold in the strawberries and spoon the filling into the baked pastry shell. Refrigerate for 4 hours or until set.
  • Serve with freshly whipped cream
  • Store:
  • Refrigerated up to 2 days.
  • The Pie and Pastry Bible

Notes

Press for time? Go ahead, use a commercial pie crust!  
My favorite pie crust is from Dorie Greenspan 
Biscuits! Love, American Style

Biscuits! Love, American Style

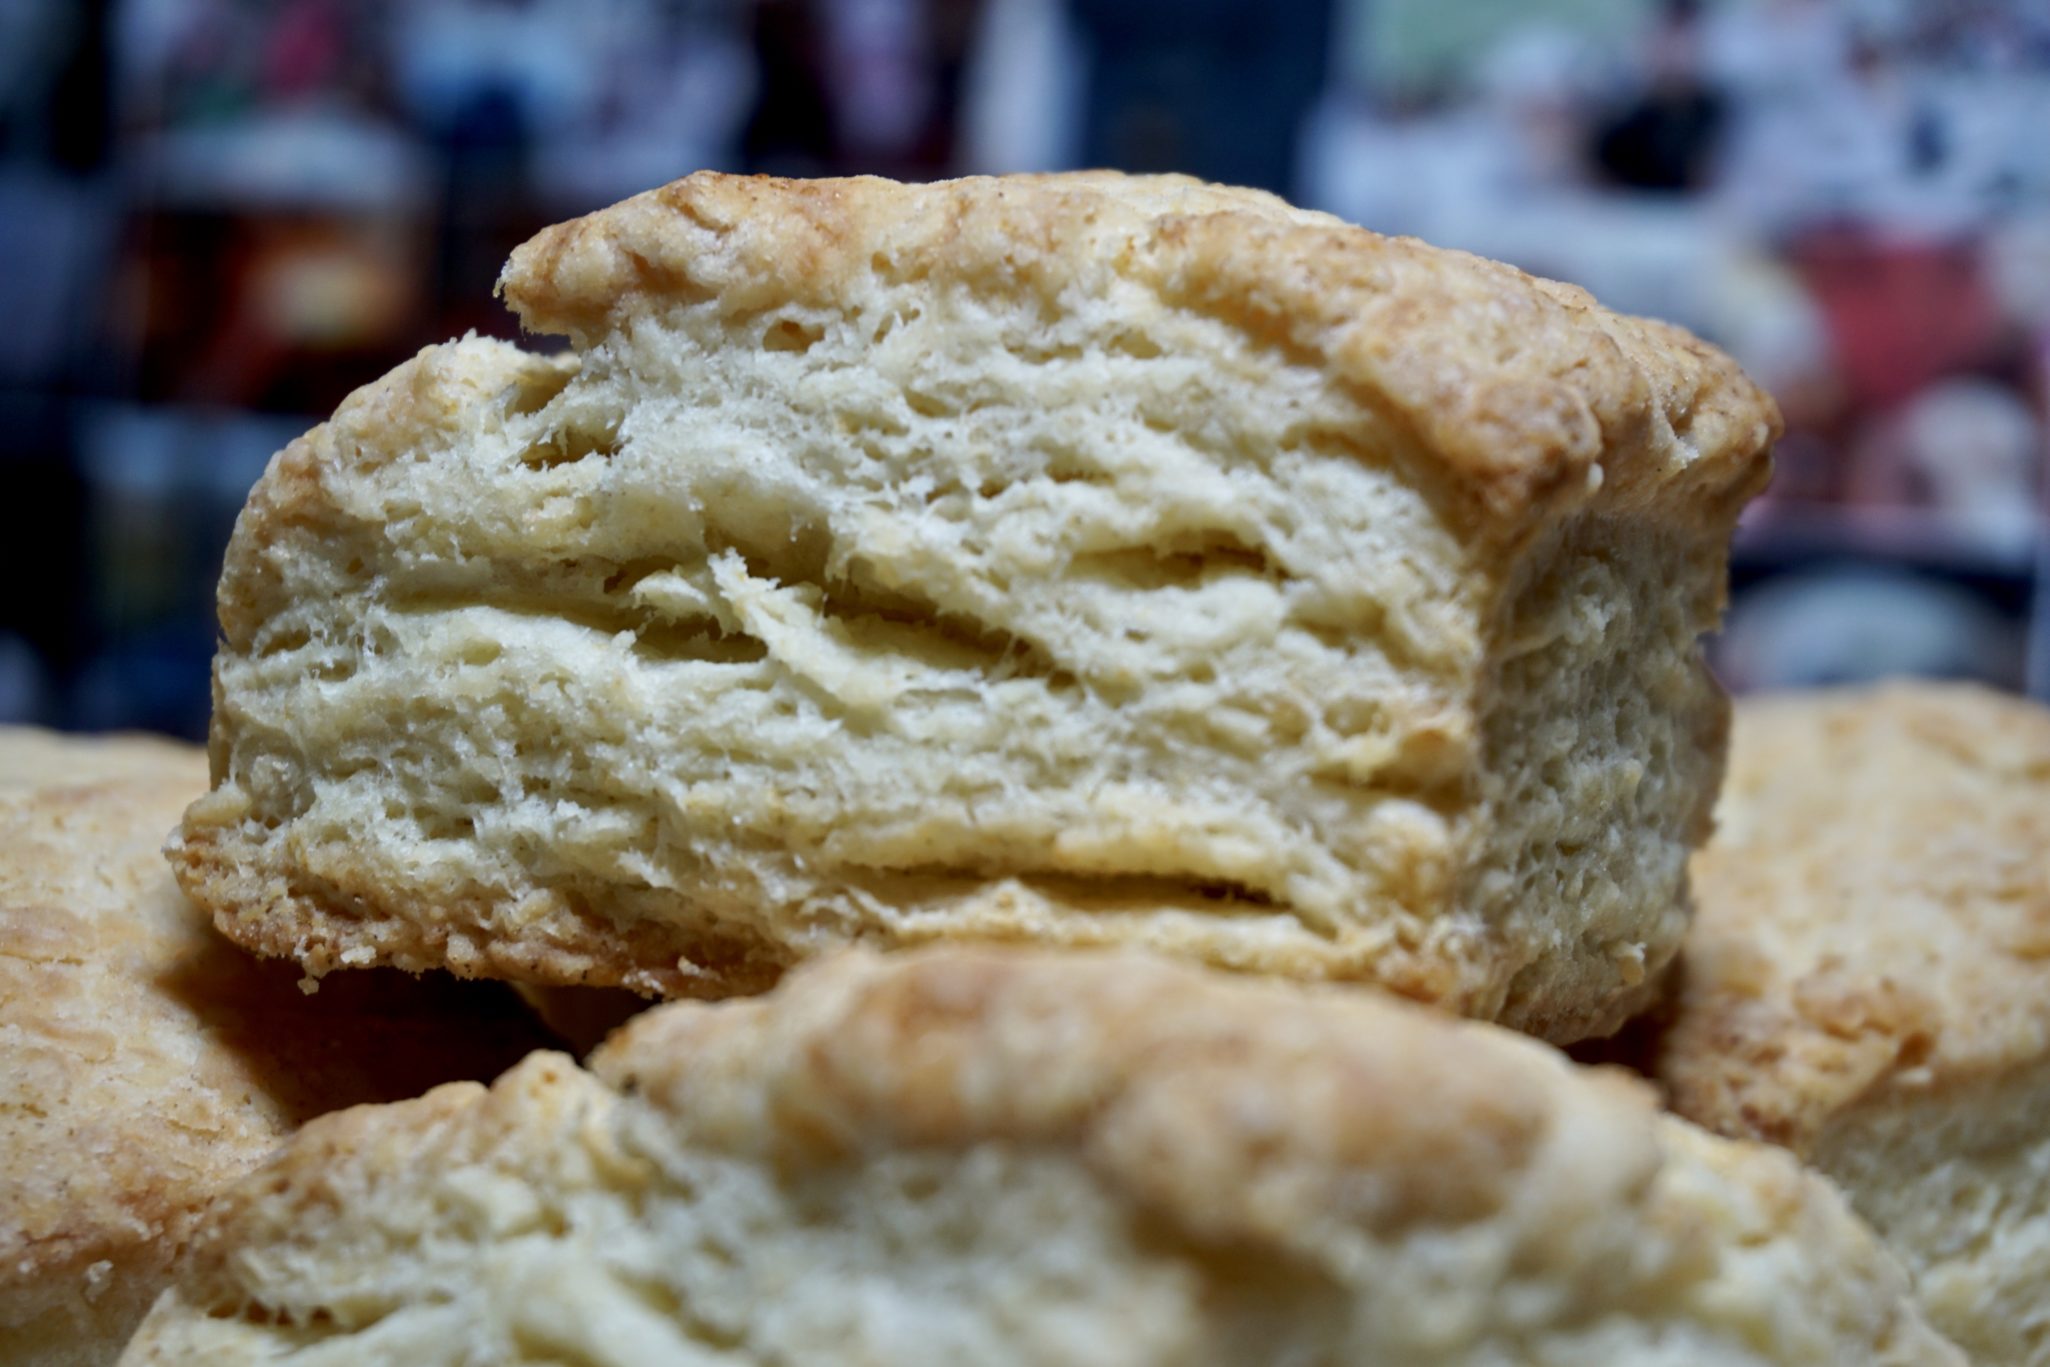
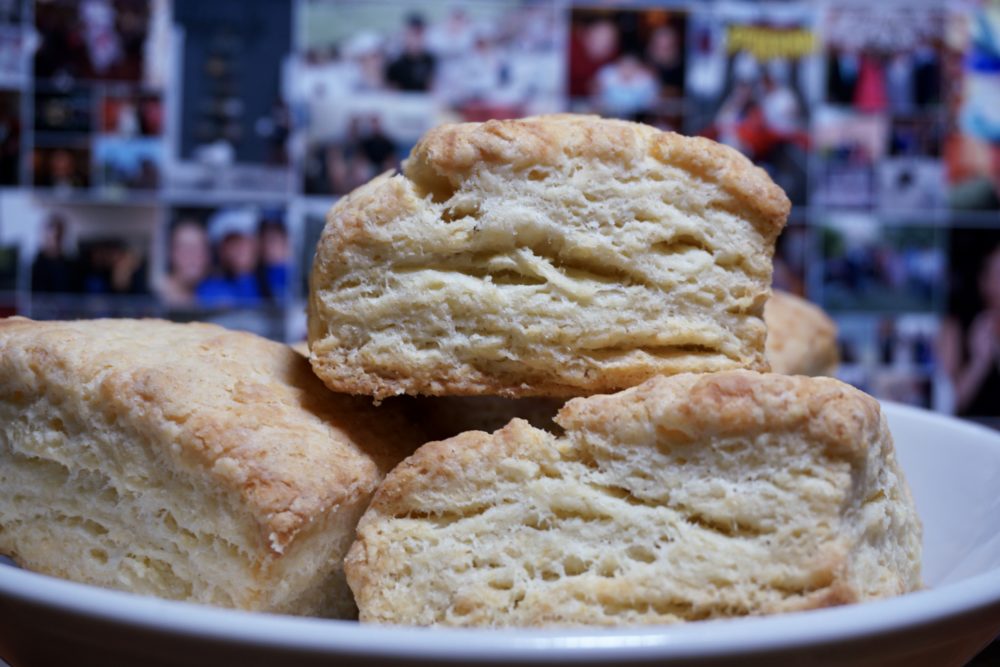
The NYT recipe for spicy pork shoulder made quite a bit so to keep things fresh and interesting (the classic leftover dilemma), we looked for different ways to enjoy our Instant Pot Pulled Pork.  We quickly discovered all that pure porky goodness goes well with just about anything.  Like…BISCUITS.  I pulled out Bon Appetit’s recipe, BA’s BEST Buttermilk Biscuit, which had caught my eye during one of my many biscuit quests.  The leftover pulled pork gave me an excuse to make biscuits (as if I needed an excuse to make biscuits, who am I kidding?) and it proved to be a winning combination.

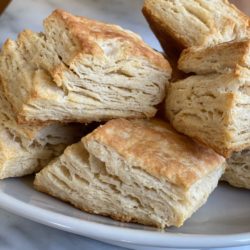
Verdict:  These are pretty damn good biscuits.  Don’t wait until you have pulled pork to make these.  They are fabulous with just butter and honey.  But when you do make that spicy pork shoulder, make a batch of these bad boys to go along!

Variation 1: Good Morning! Biscuits slathered with butter and honey on a plate next to a mound of pulled pork and 2 eggs, scrambled, soft, runny..breakfast plate ecstasy.

Variation 2: Lunch anyone? Biscuit, still warm, split in half and piled with pulled pork and a perfectly cooked sunny side up egg.  The first bite, egg yolk oozes down and all over the pork and biscuit making it even yummier (yep)..ultimate biscuit sandwich.

Variation 3: For the home team!  A yummy slider-biscuit, pork, slaw, Q-sauce, football/basketball on TV..GAME DAY food at its finest.

Bon Appetit's Best Buttermilk Biscuits

Buttery, flaky, just what a biscuit should be...
Course Biscuits and scones, Breakfast
Cuisine American
Keyword biscuits, buttermilk biscuits, homemade
Prep Time 15 minutes
Cook Time 30 minutes

Ingredients

  • teaspoons baking powder
  • 2 teaspoons kosher salt
  • 2 teaspoons sugar
  • ¼ teaspoon baking soda
  • cups all-purpose flour plus more for surface
  • 1 cup 2 sticks chilled unsalted butter, cut into ½-inch pieces, plus more, melted, for brushing
  • 1 cup chilled buttermilk

Instructions

  • Preheat oven to 425°.
  • Place baking powder, salt, sugar, baking soda, and 3½ cups flour in a food processor and pulse to combine. Add chilled butter and pulse until largest pieces of butter are the size of a pea.
  • Transfer to a large bowl and gradually drizzle buttermilk over top, tossing with a fork as you go to incorporate. Knead mixture a few times in bowl until a shaggy dough forms (mixture will look a little dry), then turn out onto a clean surface and pat into a 1"-thick square.
  • Using a knife or bench scraper, cut dough into 4 pieces. Stack pieces on top of one another, sandwiching any loose dry bits of dough between layers, and press down to flatten.
  • Lift up dough with bench scraper and dust surface with flour. Roll dough into a 1"-thick rectangle and trim a thin border around sides of dough to create clean edges.
  • Cut into a 4x3 grid to make 12 biscuits (don’t reroll scraps). Transfer to a parchment-lined baking sheet, spacing 2" apart; freeze 10 minutes.
  • Brush tops of biscuits with melted butter and place in oven. Reduce oven temperature to 400° and bake biscuits until deep golden brown on bottom and golden on top, 20–25 minutes.

Notes

 
BA's best buttermilk biscuits
There is a video on how to make these biscuits at the end of the recipe. If you are a biscuit making newbie, it is well worth watching.
Best Damn Banana Bread

Best Damn Banana Bread

Bananas for Bread

Did I get your attention? Ok, it may not be the best damn banana bread recipe as there are probably millions, but it is really yummy and very easy to make!  How easy? The kids made this bread in pre-school.  They would smoosh the bananas, mash the butter and sugar together and crank the sifter, and with a little (ok, a lot) of help, stir and pour the batter into the muffin tins.  Over the years we have played with the recipe and added different nuts, chocolate chips, blueberries, dried apricots or Nutella to the batter.  It can be baked in a loaf pan or in muffin tins, your choice.  It really is simple & delicious and we have Teacher Heidi to thank for the recipe!

Print Pin
4 from 3 votes

Best Damn Banana Bread

Simple and delicious banana bread from my kids' pre-school days.
Course Breads, quick breads
Cuisine American
Keyword Banana Bread
Prep Time 20 minutes
Cook Time 55 minutes

Ingredients

  • 2 cups sugar
  • 1 cup butter
  • 6 ripe bananas mashed
  • 4 beaten eggs

Dry Ingredients

  • 2 1/2 cups all-purpose flour
  • 1 tsp salt
  • 2 tsp. Baking soda

Instructions

  • Preheat oven to 350 degrees. Stir together flour, salt and baking soda and set aside.
  • Cream butter and sugar until well blended, it does not have to be light and fluffy since you want some density to your bread. Beat in eggs one at a time.
  • Add flour mixture and bananas to butter-egg batter alternating dry ingredients with bananas, begin with third of the flour mixture, then half of the banana, third of flour, the remaining half of bananas and end with remaining dry ingredients. Honestly, in a pinch, just dump it all in at once and stir well to combine completely. Should be fine.
  • For muffins, line 2-12 cup muffin tins with paper liners or butter and flour cups. Fill about 2/3 full. Bake for approximately 20 minutes or until tester comes out clean.
  • For loaf bread, use 2 buttered and floured 9x5 loaf pans and fill equally with batter. Bake 45-55 minutes or until tester comes out clean. The top of bread will be fairly dark when done. Cover top with tin foil if the bread begins to brown too much. Remove from oven and allow to cool.
  • Makes 2 loaves or 2 dozen muffins

Notes

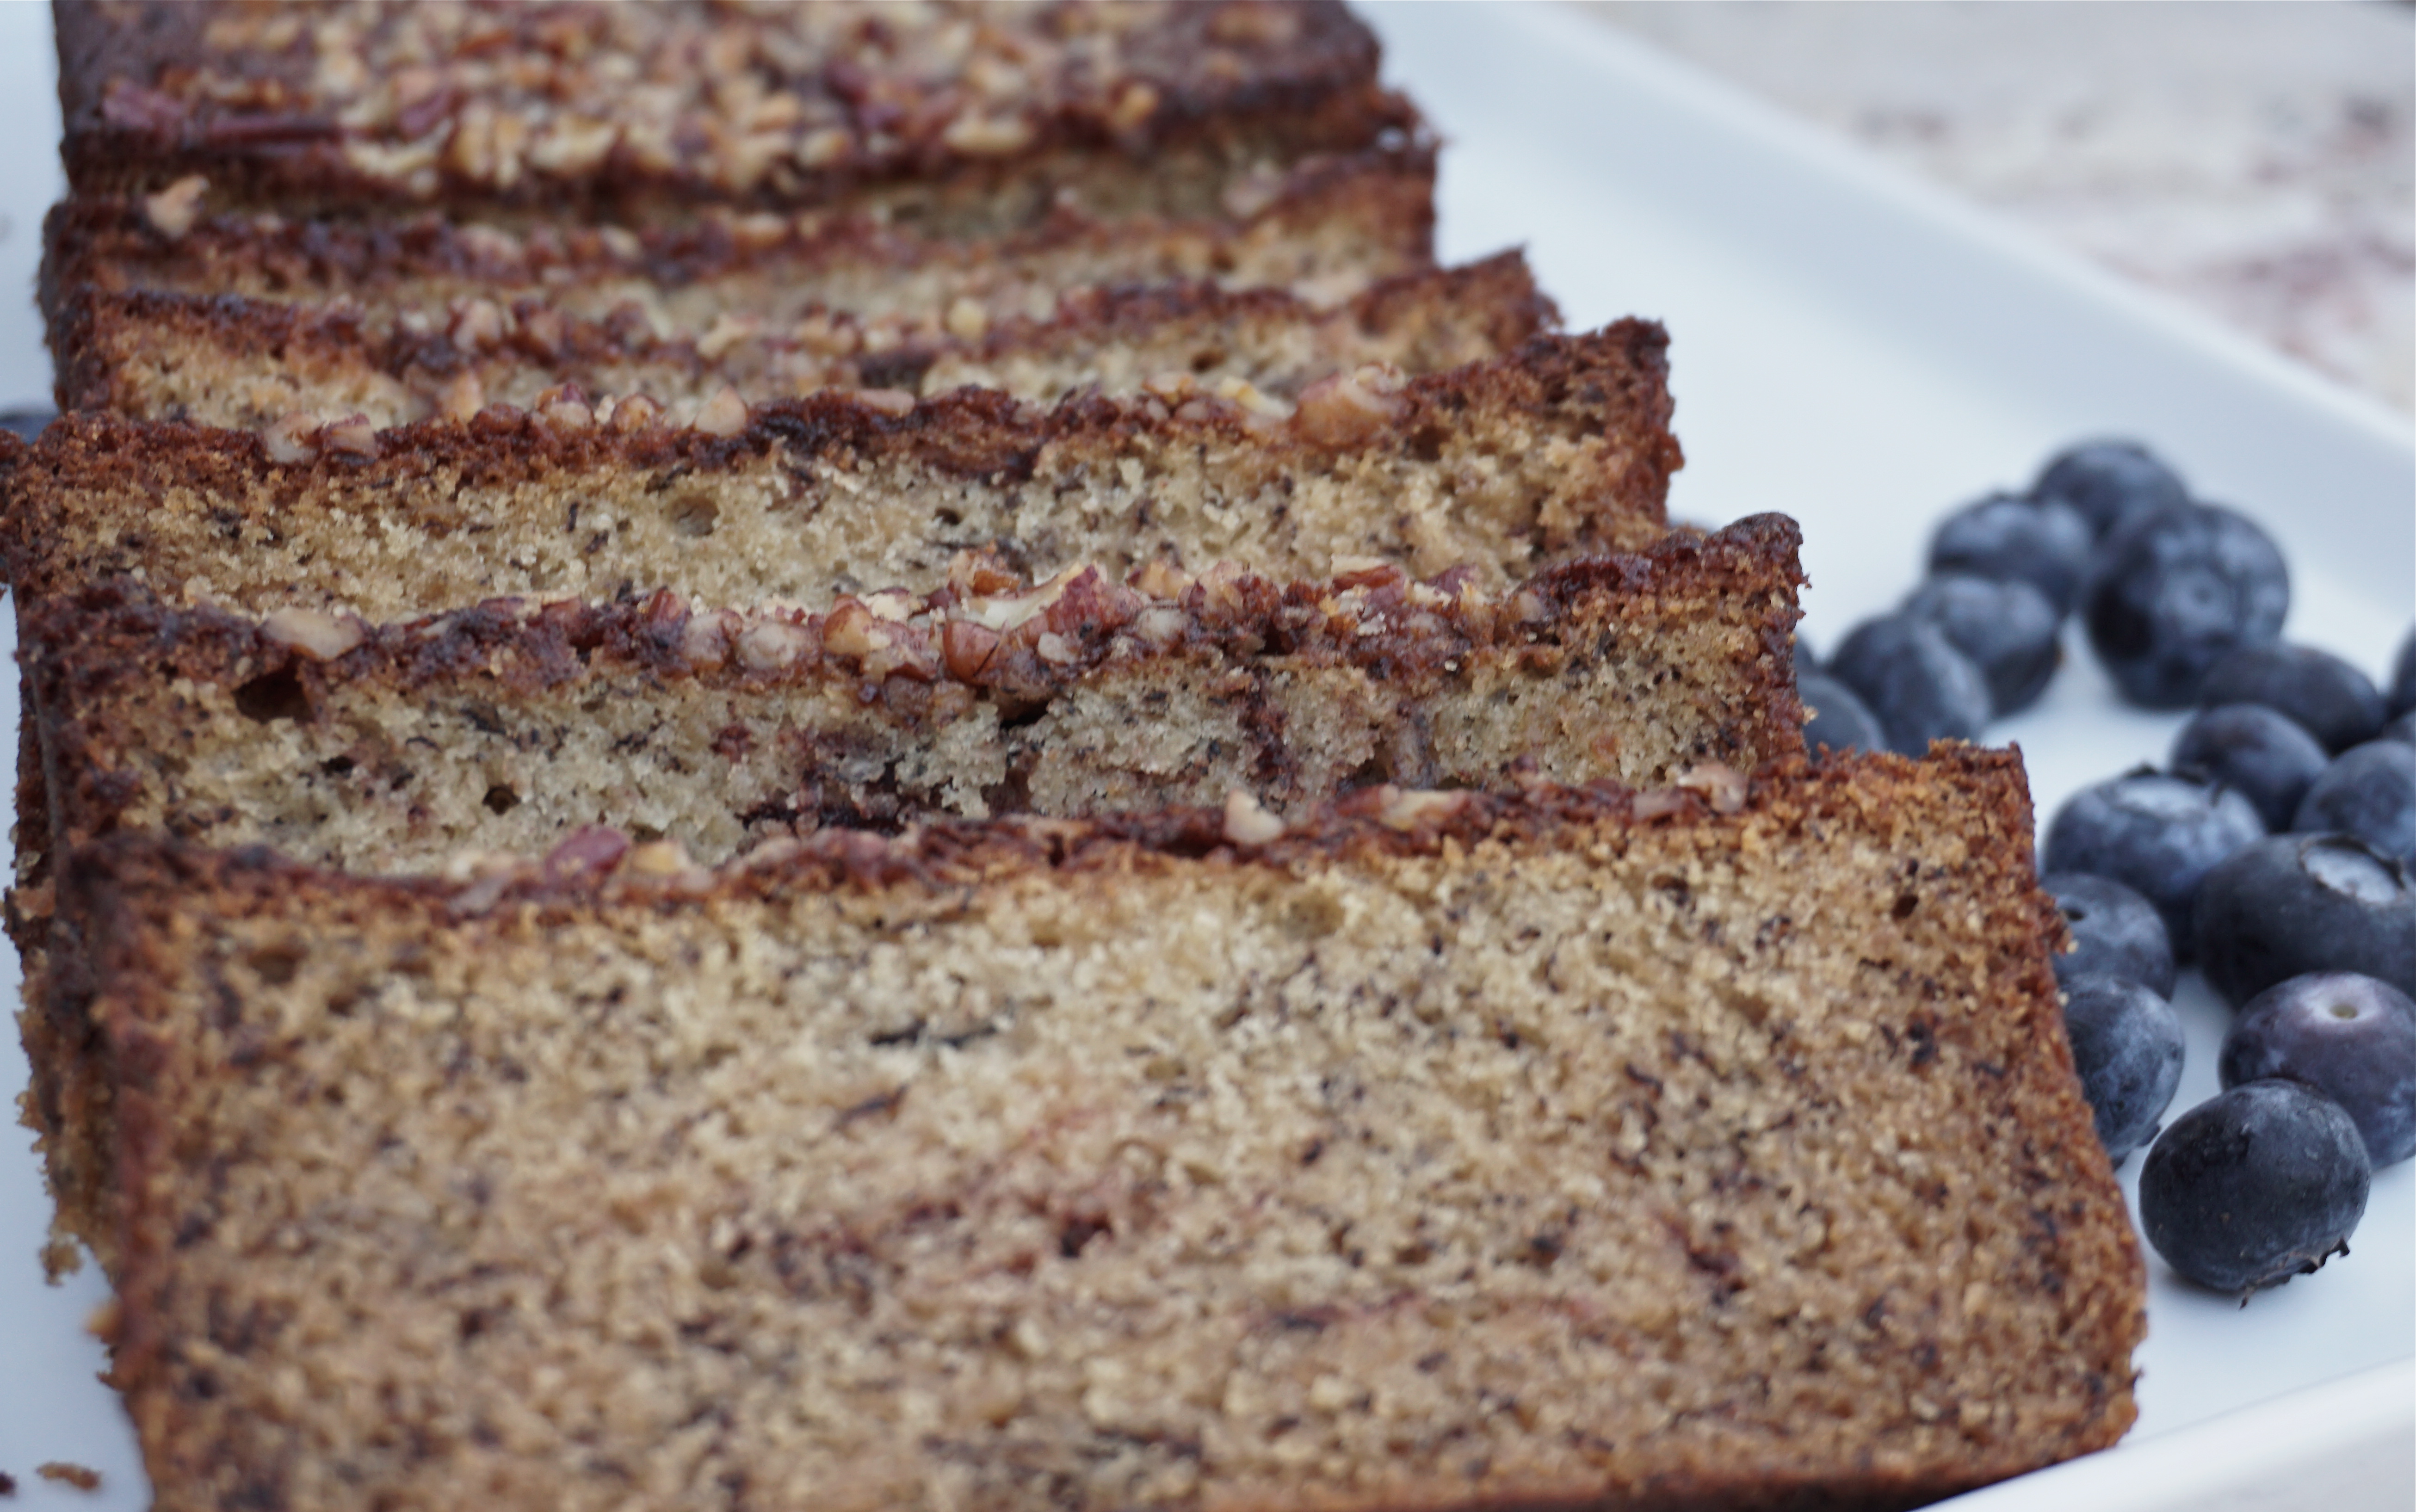
Be creative! Add 1/2 cup chocolate chips to batter and/or chopped toasted pecans or fresh blueberries. For the bread in the photos, 3 heaping teaspoonfuls of Nutella were plopped and swirled into the batter before baking. Recipe can be halved.


Summer: Alfresco Meals & the Bacon Caper

Summer: Alfresco Meals & the Bacon Caper

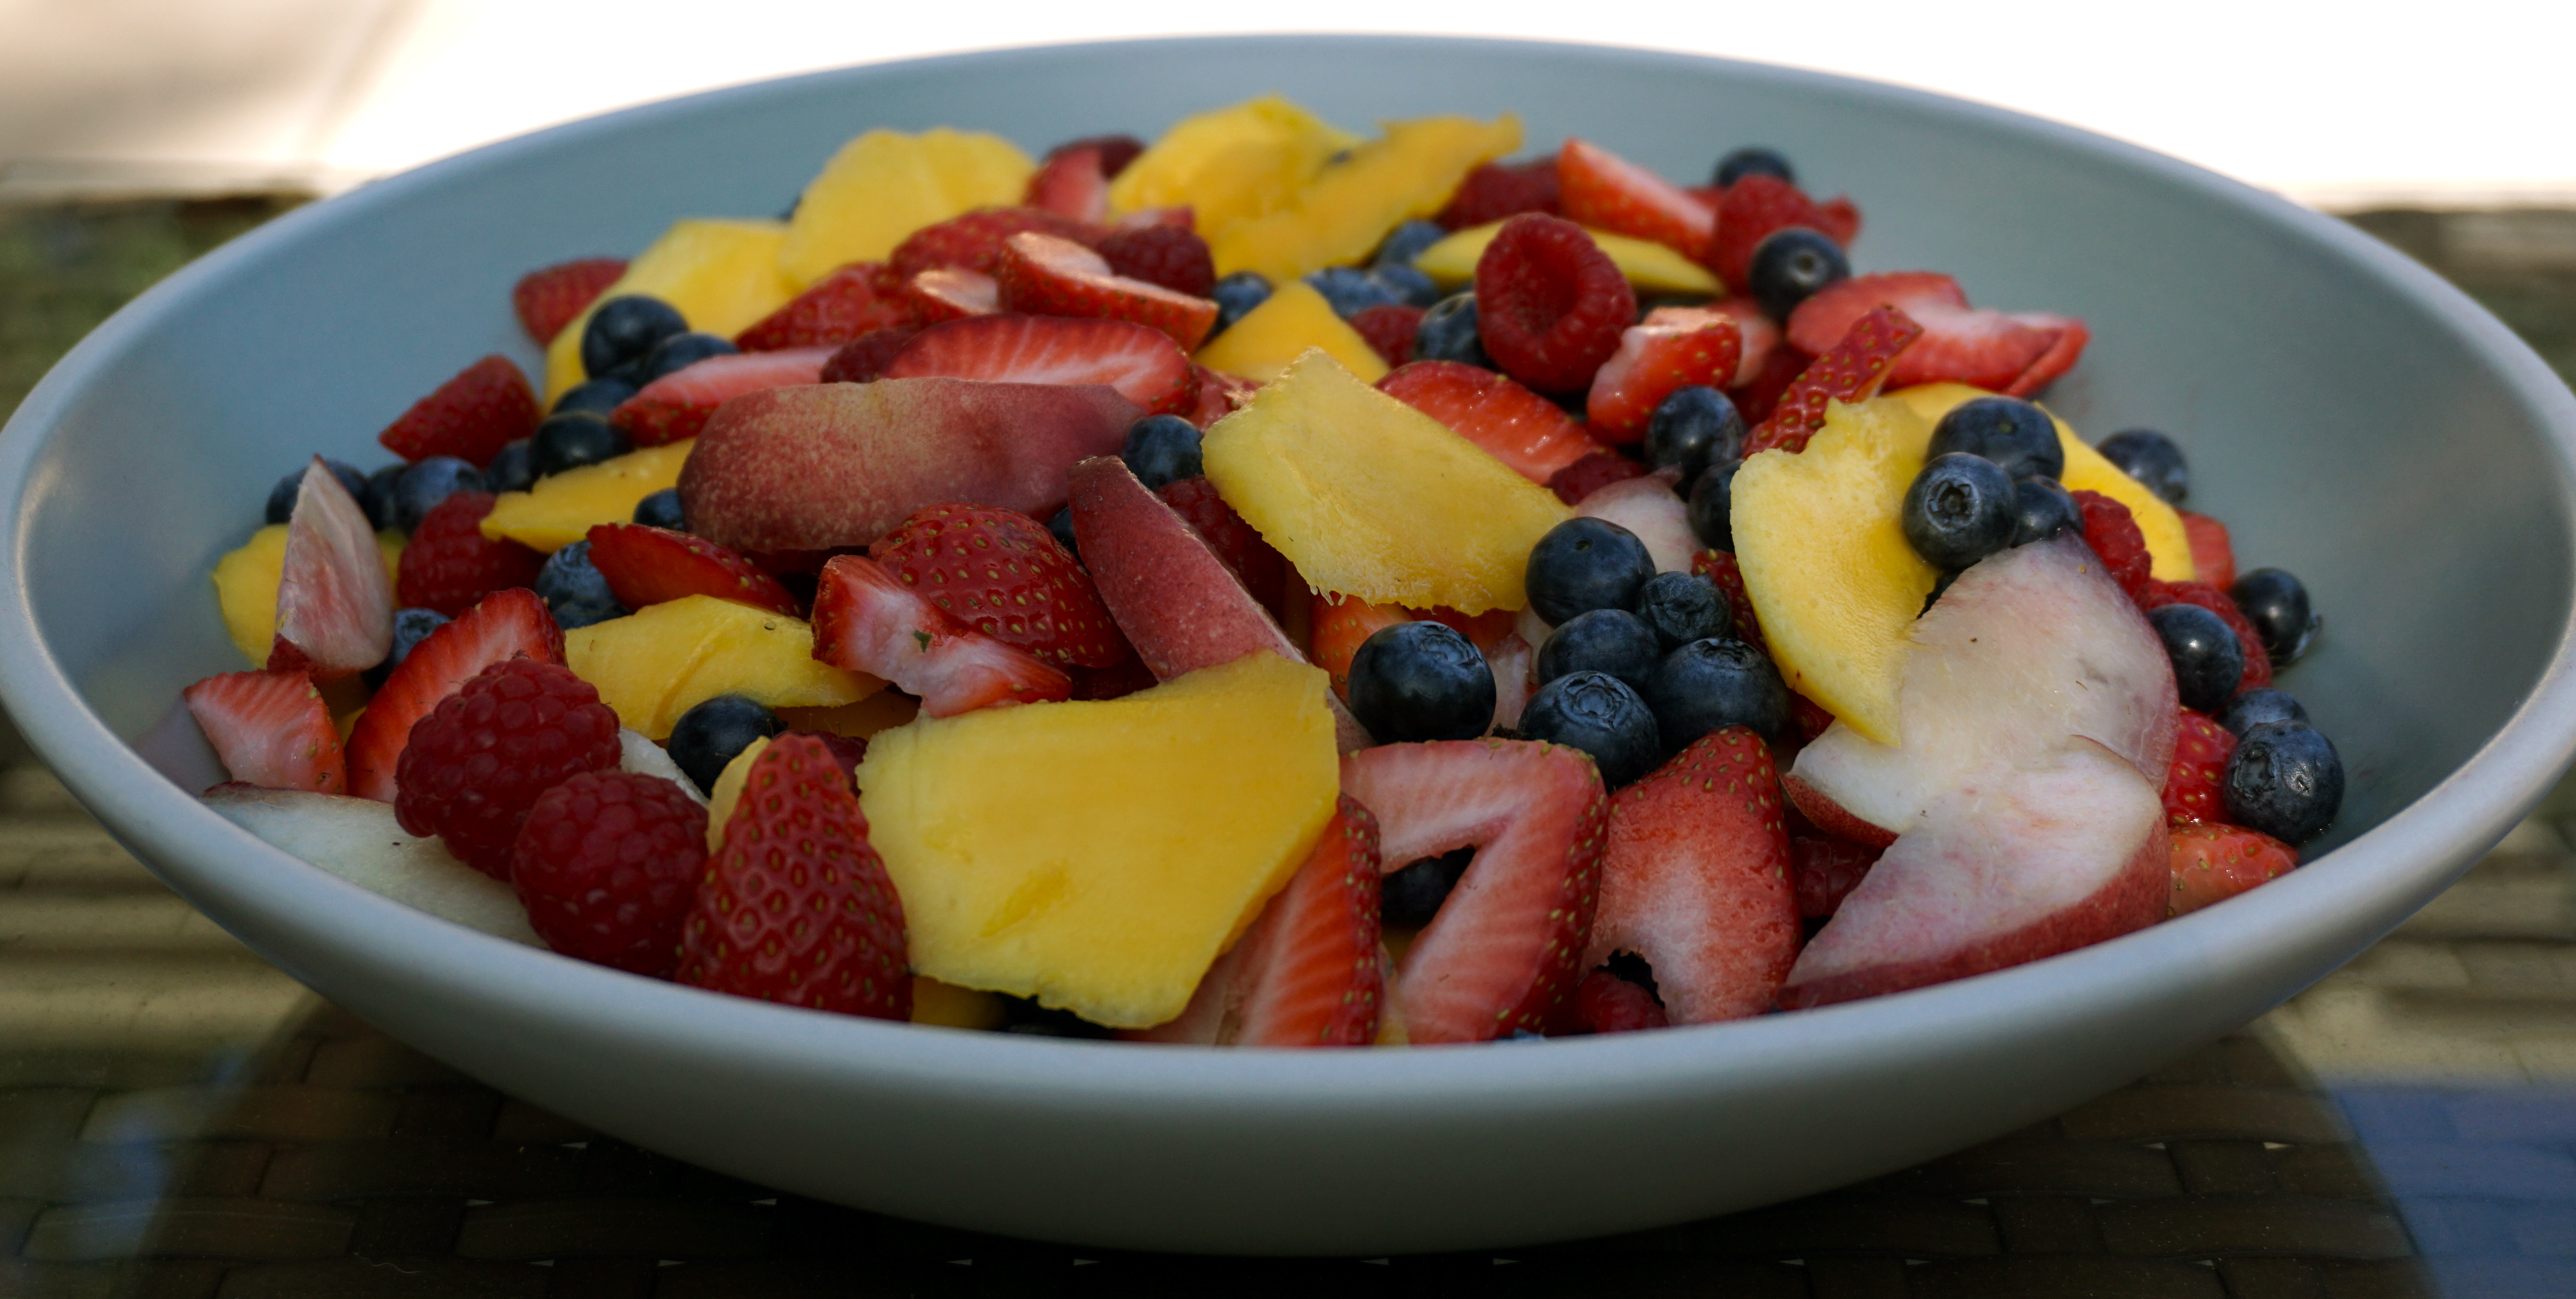
I love alfresco dining and today was the perfect day to enjoy breakfast outside.  Banana blueberry pancakes made by my daughter, crispy bacon, a big bowl of fresh berries and mangoes (another reason to love summer), and yogurt with homemade granola. Perfect!  We set up outside in the garden, wait, forgot the coffee, back inside, grab the pot.  Back outside….WHAT? Sammy our dog, who has never, ever, ever eaten anything off the counter or table (a point of pride for us);  who will sit in a car surrounded by food including banana bread, egg rolls, fried chicken wings AND not touch any of it; HAS EATEN THE ENTIRE PLATE OF BACON, in a matter of seconds gobbled up 10 slices of bacon and licked the plate clean.  I’m still mad at him…..

DSC01523

Well, we still have pancakes.  I will share the easiest way to cook perfect bacon despite not having a photo of said bacon, just the dog who ate the bacon.

Oven Cooked Bacon

Ingredients

  • 1 pound of thick cut bacon
  • Variations:
  • 1/4 to 1/3 cup brown sugar
  • 2-3 T maple syrup
  • 1/4 tsp. cayenne
  • 1.4 tsp. black pepper

Instructions

  • Preheat oven to 400 degrees. Line a rimmed baking sheet with foil and set wire rack on top. Lay bacon slices on rack. Do not overlap slices. Place in oven and bake 15-20 minutes until desired doneness. The bacon cooks perfectly, lays flat and best of all you don't have to stand at the stove watching it fry! Clean up is relatively easy, especially if you line your pan with foil.

Variations:

  • For a sweet bacon, sprinkle bacon with brown sugar and bake as directed, spice it up by adding cayenne to brown sugar and sprinkling on bacon.
  • Brush with maple syrup , bake as directed.