Tag: #ottolenghi

A Zinger of an Appetizer: Charred Tomatoes and Cold Yogurt

A Zinger of an Appetizer: Charred Tomatoes and Cold Yogurt

I have a couple of go-to appetizer dips that I use ALOT (a certain Artichoke Dip comes to mind).  Every time I make one of them there is this nagging little voice in my brain whispering, “pssst…Deb, I know this is good but try something new, this is getting boring”.  Well, I finally listened to that voice.  I pulled out Ottolenghi’s newest book, Simple, and landed on his recipe for Charred Tomates and Cold Yogurt.  It was a no-brainer, the dish is featured on the cover of the book.

I’m so glad I did.
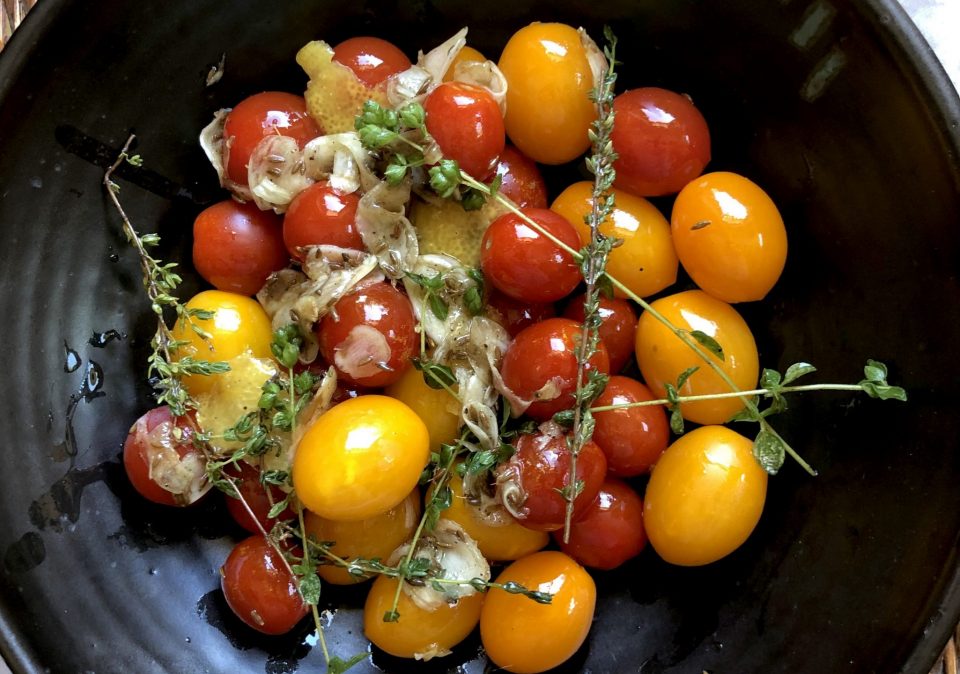
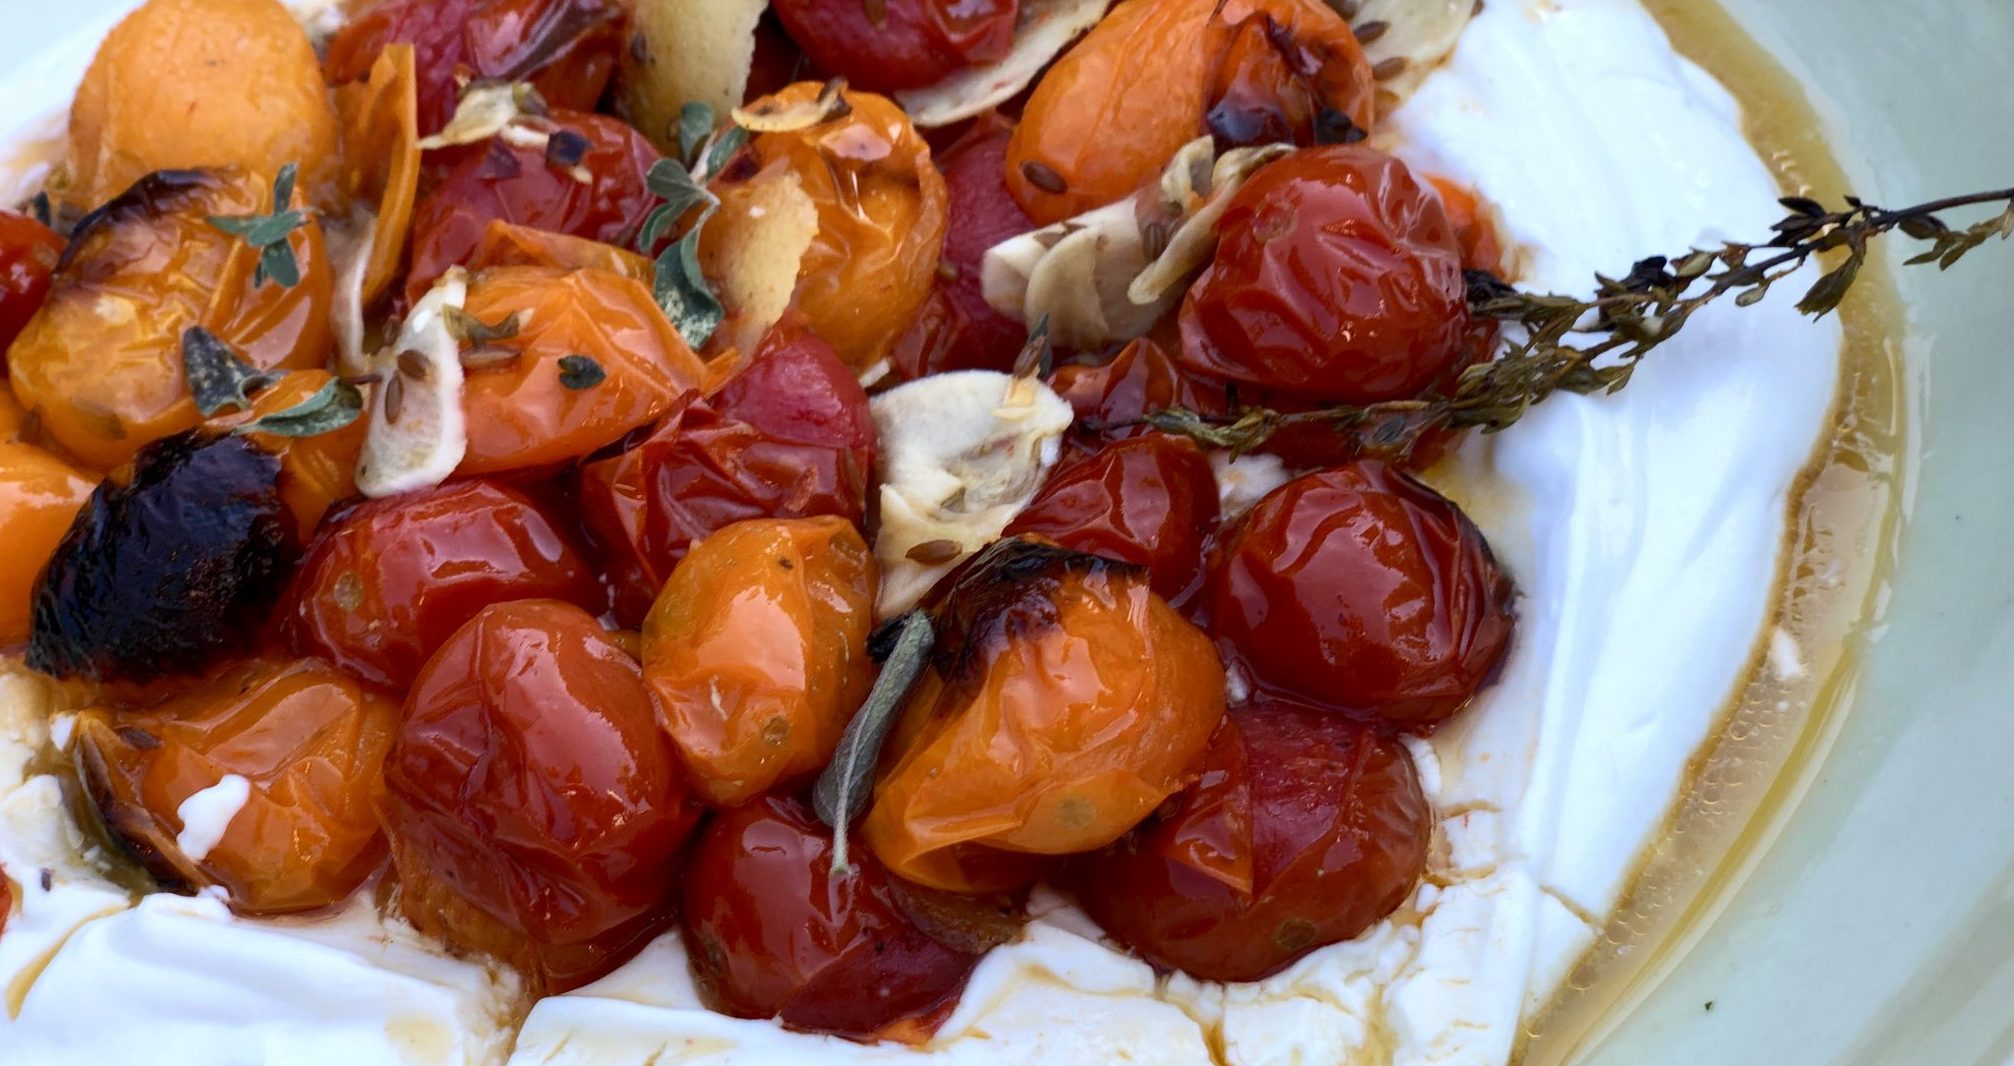
Right up my alley, easy to make and DELICIOUS.  The recipe calls for cherry tomatoes (hello all you tomato growers), Greek yogurt, fresh thyme, oregano, garlic, and lemon.  Oops, and olive oil.  Toss the tomatoes with the spices and oil, roast and then broil to char the tomatoes.  Spoon charred, hot tomatoes on top of the cold yogurt and serve with pita wedges or baguette slices. HOW EASY IS THAT?

Run out to the store and get cherry tomatoes right now.  If you are growing tomatoes, go check for ripe ones and pull them off the vine.  I was blown away by how flavorful and simple this dish is.  The spices enhance the tomatoes and the lemon adds a nice citrusy zing.  The contrast of the hot tomatoes and the cold yogurt adds yet another note.  Serve with toasted baguette slices or pita wedges.
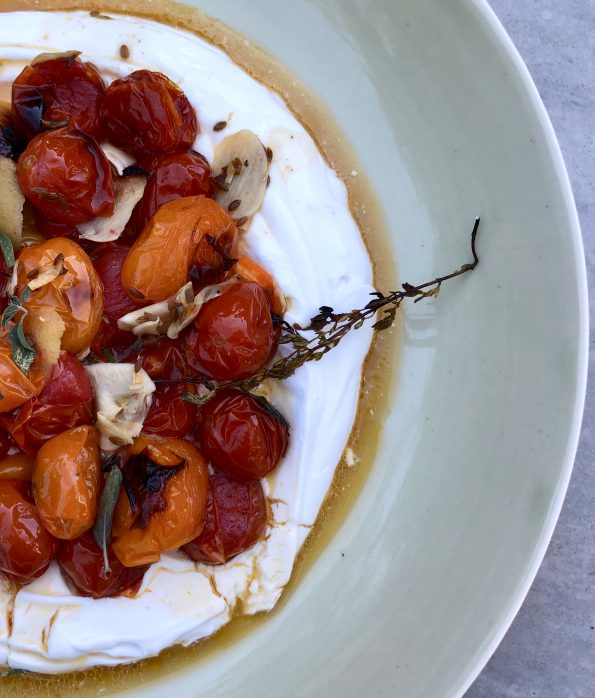
Luckily I have a little herb box right outside my kitchen, I picked a couple of stems of oregano and thyme for the dish, slivered some garlic, zested a lemon (yippee, I have a lemon tree too) and sprinkled on the cumin seeds. While the tomatoes were roasting, I pulled out the carton of Labneh I had picked up at the International Bazaar and seasoned it with salt and lemon peel.  Labneh is the Middle Eastern version of thick yogurt.  You can use this or a Greek full-fat yogurt, both will work.  I plopped it into a good size shallow bowl, swirled a groove in the center to hold the tomatoes and then placed the bowl in the fridge to keep the yogurt cold while the tomatoes were roasting.

Yum, yum, yum.

Charred Tomatoes with Cold Yogurt

A delicious dip from Ottolenghi! Serve with pita wedges or crostini.
Course Appetizer
Cuisine Mediterranean
Keyword appetizer, cherry tomatoes, greek yogurt
Prep Time 15 minutes
Cook Time 30 minutes
Servings 8 servings

Ingredients

  • 12 ¼ oz/350g cherry tomatoes
  • 3 tbsp olive oil
  • ¾ tsp cumin seeds
  • ½ tsp light brown sugar
  • 3 garlic cloves thinly sliced
  • 3 thyme sprigs
  • 6 oregano sprigs: 3 sprigs left whole and the rest stemmed to serve
  • 1 lemon: finely shave the skin of ½ to get 3 strips then finely grate the other ½ to get 1 tsp zest
  • Flaked sea salt and black pepper
  • 1 2 ∕3 cups/350g extra-thick Greek-style yogurt or Labneh fridge-cold
  • ½ tsp other crushed red pepper flakes
  • pita wedges or baguette slices

Instructions

  • Preheat the oven to 425°F.
  • Place the tomatoes in a mixing bowl with the olive oil, cumin, sugar, garlic, thyme, oregano sprigs, lemon strips, ½ teaspoon of flaked salt and a good grind of pepper. Mix to combine, then transfer to a baking sheet just large enough—about 6 x 8 inches/15 x 20 centimeters— to fit all the tomatoes together snugly.
  • Place the sheet about 2 inches/5 centimeters beneath the broiler and roast for 20 minutes, until the tomatoes are beginning to blister and the liquid is bubbling. Turn the oven to the broil setting and broil for 6 to 8 minutes, until the tomatoes start to blacken on top.
  • While the tomatoes are roasting, combine the yogurt with the grated lemon zest and ¼ tsp of flaked salt. Keep in the fridge until ready to serve.
  • Once the tomatoes are ready, spread the chilled yogurt on a platter (or in a wide, shallow bowl, creating a dip in it with the back of a spoon. Spoon the hot tomatoes on top, along with their juices, lemon strips, garlic, and herbs, and finish with the oregano leaves and chile flakes. Serve at once.

Squash-O-Rama (Zucchini Bread)

Squash-O-Rama (Zucchini Bread)

We returned home from our road trip to Minneapolis to the first zucchini of the season. Yay! Of course by the end of the season I’m not sure I will still be cheering but for now, it is a welcome sight. Grilled and roasted tops the list in our house, BUT you can only roast or grill so many zucchinis.  At the height of the season, we need to expand our repertoire on what the heck to do with all that squash.

1001 Ways to Use Your Squash, just kidding but I do have a couple that will keep you from pulling your hair out and screaming “Noooooo!” at the sight of another green courgette.

Zoodles! Replace a portion of noodles in your favorite pasta dishes with julienned zucchini. This cuts down all those dreaded carb calories and adds flavor and texture to summertime pasta dishes, a WIN-WIN if you ask me. Julienned zucchini ribbons don’t require much cooking,  I toss zoodles in with just-drained pasta.  The heat from the noodles is enough to cook the zucchini. Try this Tomato, Bacon and Arugula Pasta/Zoodle dish, quick, easy and delicious.

From Ottolenghi’s Jerusalem cookbook, a recipe for Turkey Zucchini Burgers can put a dent in any bounty of squash.  Make em’ big and use them for burgers, make em’ small for a perfect happy hour appetizer.

simple zucchini bread

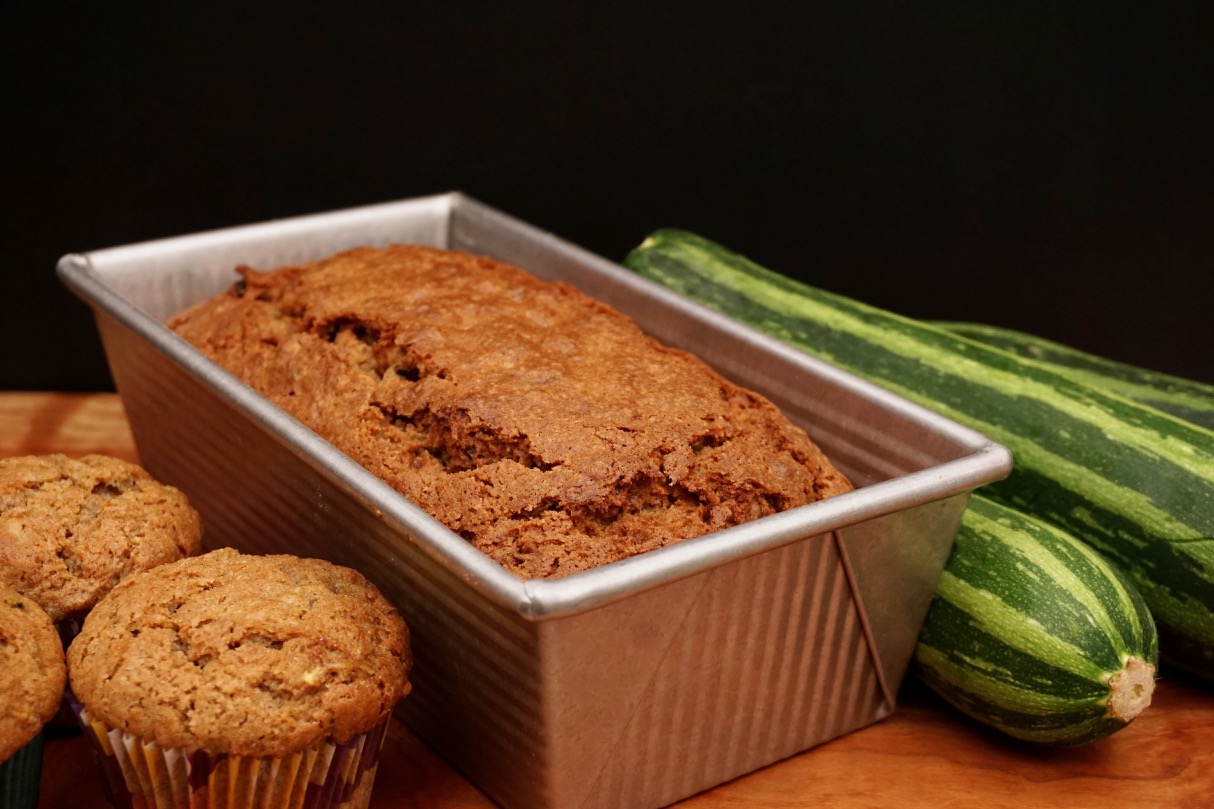
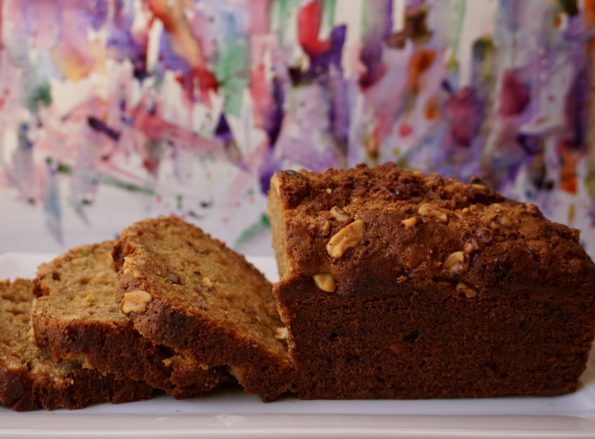
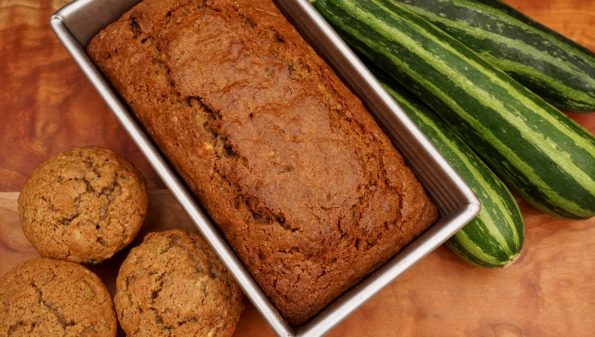
Zucchini bread!!!  When everyone is really tired of eating all that squash, this is the sneaky way to use up your store without your family knowing they are eating MORE zucchini.

There are thousands of zucchini bread recipes out there, not quite rock star banana bread numbers but enough to make your head spin.  I’m going to make it easy for you…King Arthur Flour Zucchini Bread is moist, flavorful and damn delicious.  Lightly spiced with cinnamon, sweetened with brown sugar, and finished with walnuts and golden raisins it’s a winner. Its so easy the title is Simple Zucchini Bread.  You can substitute or add just about anything but the kitchen sink. I didn’t have raisins so I used KA’s Jammy Bits (little fruit flavor bombs), or you could use any dry fruit, like cranberries or apples.  Don’t like walnuts? Use pecans or almonds. Instead of a loaf of bread, make muffins, just remember to decrease the baking time to approximately 20-25 minutes. Whatever you do, keep this recipe in mind the next time you are looking at a bushel of squash and wondering what to do with it.

simple zucchini bread

Simple Zucchini Bread

A delicious, easy quick bread
Course Snack
Cuisine American
Keyword zucchin bread
Prep Time 10 minutes
Cook Time 55 minutes
Total Time 1 hour 5 minutes

Ingredients

  • 3/4 cup brown sugar
  • 2 tablespoons boiled cider apple juice, orange juice, milk, water, or the liquid of your choice
  • 1/2 cup vegetable oil
  • 2 large eggs
  • 1 teaspoon vanilla extract
  • 1/4 teaspoon baking powder
  • 1/2 teaspoon baking soda
  • 1 teaspoon salt
  • 1 1/2 teaspoons ground cinnamon optional
  • 1 3/4 cups King Arthur Unbleached All-Purpose Flour
  • 2 cups grated or shredded zucchini somewhere between firmly and lightly packed
  • 3/4 cup chopped walnuts toasted until golden
  • 3/4 cup raisins or currants golden raisins preferred
  • 2 tablespoons brown sugar for sprinkling on top optional

Instructions

  • Preheat the oven to 350°F. Lightly grease an 8 1/2" x 4 1/2" loaf pan.
  • In a medium-sized bowl, beat together the brown sugar, boiled cider or other liquid, vegetable oil, eggs, and vanilla until smooth.
  • Whisk the baking powder, baking soda, salt, and cinnamon into the flour, then add the dry ingredients to the liquid ingredients in the bowl, stirring or beating gently until smooth.
  • Stir in the zucchini, walnuts, and raisins or currants.
  • Scoop the batter into the prepared pan, smoothing it if necessary. Sprinkle with brown sugar, if desired.
  • Bake the bread for 55 to 65 minutes, until a toothpick inserted into the center comes out clean. The top (just under the crust) may seem a bit sticky; but so long as the toothpick doesn't reveal wet batter, it's done.
  • Remove the bread from the oven, and cool it in the pan for 10 minutes. Turn it out of the pan onto a rack to cool completely. For best results, don't slice until it's cool.
  • Store the bread at cool room temperature, well wrapped, for several days; freeze for longer storage.

Notes

  • Shredded zucchini varies a lot in weight, depending on the season, the freshness of the vegetable, the fineness of the shred, and how firmly you pack it into the cup. Measure your zucchini by volume in this recipe, not weight; don't fret if your weight doesn't match the weight in the recipe.
  • To toast chopped walnuts, spread them in a single layer in a baking pan, and toast in a preheated 350°F oven for about 6 minutes, or until they're golden brown and smell "toasty.


Soft Gingerbread Tiles with Rum Butter Glaze: Day 6, 12 Days of Cookies!

Soft Gingerbread Tiles with Rum Butter Glaze: Day 6, 12 Days of Cookies!

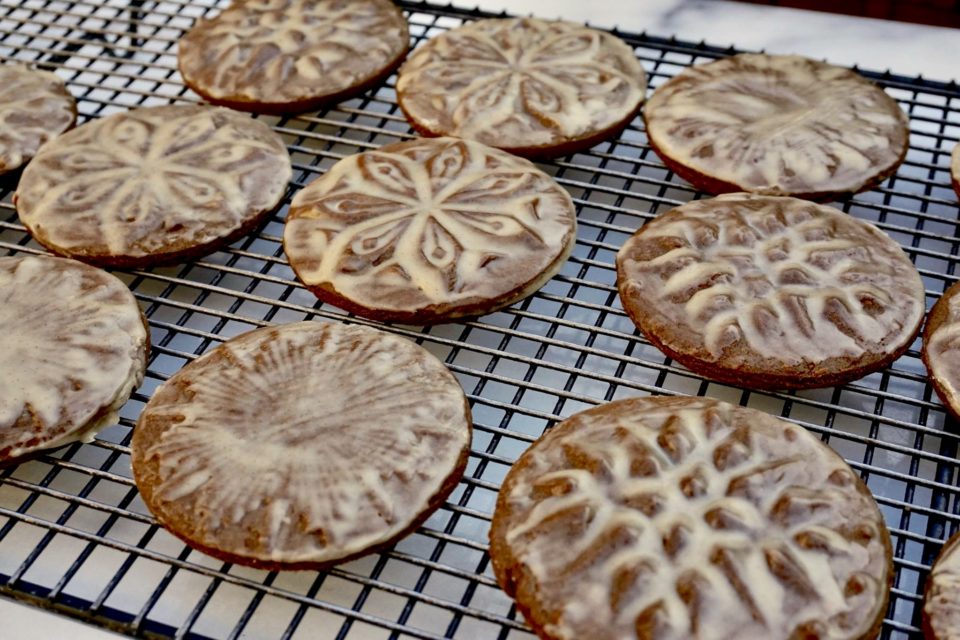
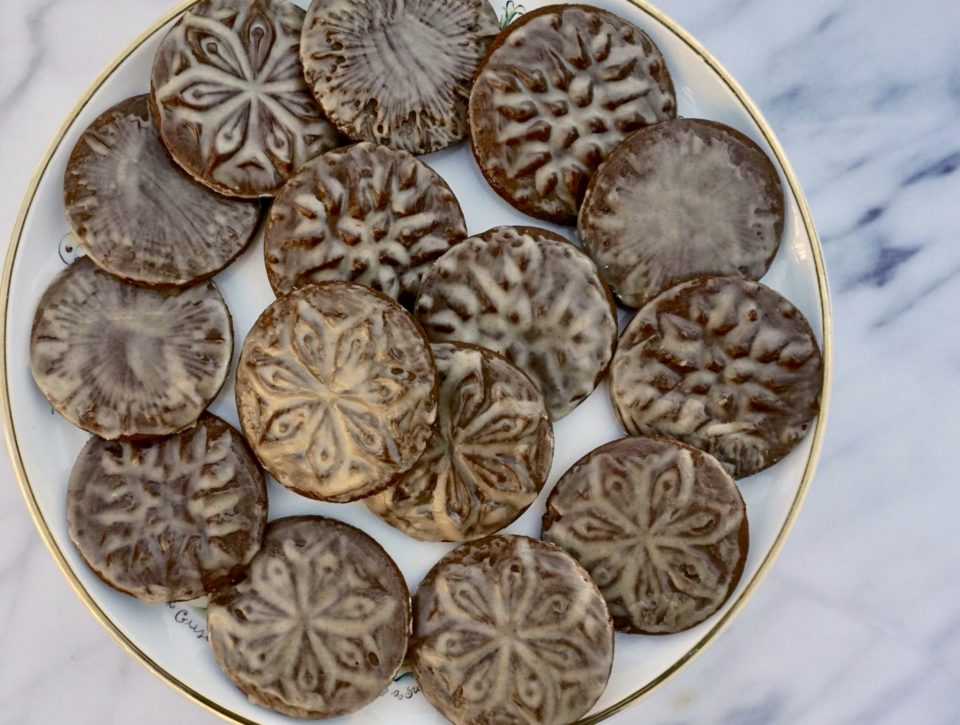
My kitchen gadget addiction got the best of me yet again. The culprit? A beautiful holiday cookie from Ottolenghi’s latest book, Sweet, Soft Gingerbread Tiles with Rum Butter Glaze. The cookies are made with either an embossed rolling pin (which I purchased to make graham crackers not so long ago) or cookie stamps holiday or all season, which I had to have.  After my cookie stamps arrived I immediately set out to make these.

Soft Gingerbread Tiles

The dough is a snap to make. The aroma that filled my kitchen while they baked made me smile. The cookies are soft, cakey and spicy.  Just like a classic gingerbread cookie.

The recipe calls for blackstrap molasses which is the last extraction of sugar from sugarcane.  It’s pretty bitter.  The first extraction produces cane syrup (like Golden Syrup), the next produces molasses and the final extraction, with even less sugar left, produces blackstrap molasses.  I wanted to be faithful to the recipe so I used blackstrap molasses.  The cookies are not very sweet at all. I learned that regular molasses is about 70% sugar whereas blackstrap is about 40%, BIG difference.  I plan on trying this recipe with both cane syrup and regular molasses just for the added sweetness.

The most difficult part of the recipe is stamping the cookies.  During baking, the cookies will rise and the pattern blurs a bit so be sure to press the cookies well so the imprint is really bold and defined in the dough.

I tried two methods for stamping the cookies. For the first method, the dough is rolled into a sheet about 1/4 inch thick, stamped and cut out with a round cookie cutter.  For the second method, the do/ugh is rolled into a ball (about 1.5-2 tablespoons of dough) which is then pressed with the stamp to create a cookie.  Both methods worked well.

I love the rum butter glaze. It was really easy to put together and added a sheen and sweetness/flavor to the cookie.  Though I brushed the glaze on, I think dipping the cookie or spreading the glaze with a spatula would make a nicer finish.  The cookie does need to be warm when glazing.

These cookies are a showstopper.  I can’t wait to bake another batch.

Gingerbread Tiles with Butter Rum Icing: Day 6, 12 Days of Cookies!

A delicious and festive gingerbread with rum glaze from Ottolenghi
Course cookies, sweets
Cuisine American, British
Keyword gingerbread, holidays, ottolenghi, Peanut and Bittersweet Chocolate Cookie
Prep Time 30 minutes
Cook Time 10 minutes

Ingredients

Dough: Da Wet Mix

  • 6 tbsp 85 g unsalted butter, at room temperature
  • 1/3 packed cup plus 2 tbsp 90 g dark brown sugar
  • 1/4 cup 100 g blackstrap molasses (can substitute golden syrup or reg molasses 1:1 for sweeter cookie)
  • 1 large egg yolk*

Da Dry MIx

  • 1 3/4 cups plus 2 tbsp all-purpose flour (235 gms) plus extra for pressing
  • 1 tbsp Dutch-processed cocoa powder
  • 1/2 tsp baking soda
  • 1 tsp ground ginger
  • 1/2 tsp ground cinnamon
  • 1/8 tsp ground cloves
  • 1/4 tsp salt
  • 1/4 tsp freshly ground black pepper

Rum-Butter Glaze:

  • 2/3 cup 80 g confectioners' sugar
  • 1/8 tsp ground cinnamon
  • 1 tbsp 15 g unsalted butter, melted and warm
  • 1 tbsp dark rum or lemon juice
  • 1 tsp warm water

*On Food52 it was suggested to use extra-large egg yolk or add 1 teaspoon-1 tablespoon of water to dough if it doesn't come together. I added about 1 teaspoon water. It won't come together until you knead it). Makes 12–14 depending on the size of stamp and cutter

Instructions

  • Preheat the oven to 375°F/190°C.
  • Place the butter, sugar and molasses in the bowl of an electric mixer with the paddle attachment in place.
  • Beat on medium speed until smooth and incorporated. Add the egg yolk and continue to beat until fully combined.
  • Sift the flour, cocoa powder, baking soda, ginger, cinnamon, cloves, salt and pepper into a bowl. Turn the speed of the mixer to low, and add the dry ingredients to the butter and molasses. Once the mix comes together, tip the dough onto a lightly floured work surface and knead gently.
  • Line two baking sheets with parchment paper and set aside.

Forming Cookies: Rolling dough

  • Roll out the dough so that it is about 1/4 inch/ 0.5 cm thick. If the dough is very soft, you will need to chill it.*
  • Dip cookie stamp in a small bowl of flour, shake off any excess, then press them firmly into the dough, one at a time to create a deep imprint. How far you need to press to get an imprint will depend on your stamp; the patterns on some are more deeply cut than others. Bear in mind that the cookies rise a little when cooked, so any soft imprints will disappear.
  • Using a round cookie cutter that is slightly larger than the pattern, cut out the pieces of imprinted gingerbread. Transfer the cookies to the lined baking sheets, spaced about 3/4 inch/2 cm apart. Reroll the dough and continue to stamp and cut cookies until all the dough is used up.

Stamping Cookies: No Rolling

  • I also tried instructions from the cookie stamps, roll 2 tablespoons of dough into a ball and flatten with cookie stamp. With both methods, make sure you press firmly enough to create a bold definite pattern in dough!
  • Bake for 9–10 minutes, rotating the sheets halfway through, until firm to the touch. They will continue to firm up as they cool, so don’t be tempted to bake them for any longer.

Rum Glaze

  • Make the rum butter glaze while the gingerbreads are in the oven, as the glaze needs to be brushed onto the cookies while they are still warm.
  • Sift the confectioners’ sugar and cinnamon into a small bowl. Add the melted butter, rum (or lemon juice) and water and mix with a spoon until smooth. The glaze will thicken slightly if it sits around, if so stir a little more warm water in if you need—it should be the consistency of runny honey.
  • Remove the cookies from the oven, leave them to cool for 5 minutes, then brush or dab the glaze all over with a pastry brush. Transfer to a wire rack to cool completely.

Notes

If you want to keep the glaze booze-free, the rum in the icing can be replaced with lemon juice.
Make-Ahead: Once the dough is made, it can be covered in plastic wrap and kept in the fridge for up to 2 days before baking.
Storage:  These will keep for up to 5 days in an airtight container. The glaze will discolor and crack a little, but this will not affect how they taste.
Ho Ho Ho! Yo-Yo’s are here! Day 2 Holiday Cookies

Ho Ho Ho! Yo-Yo’s are here! Day 2 Holiday Cookies

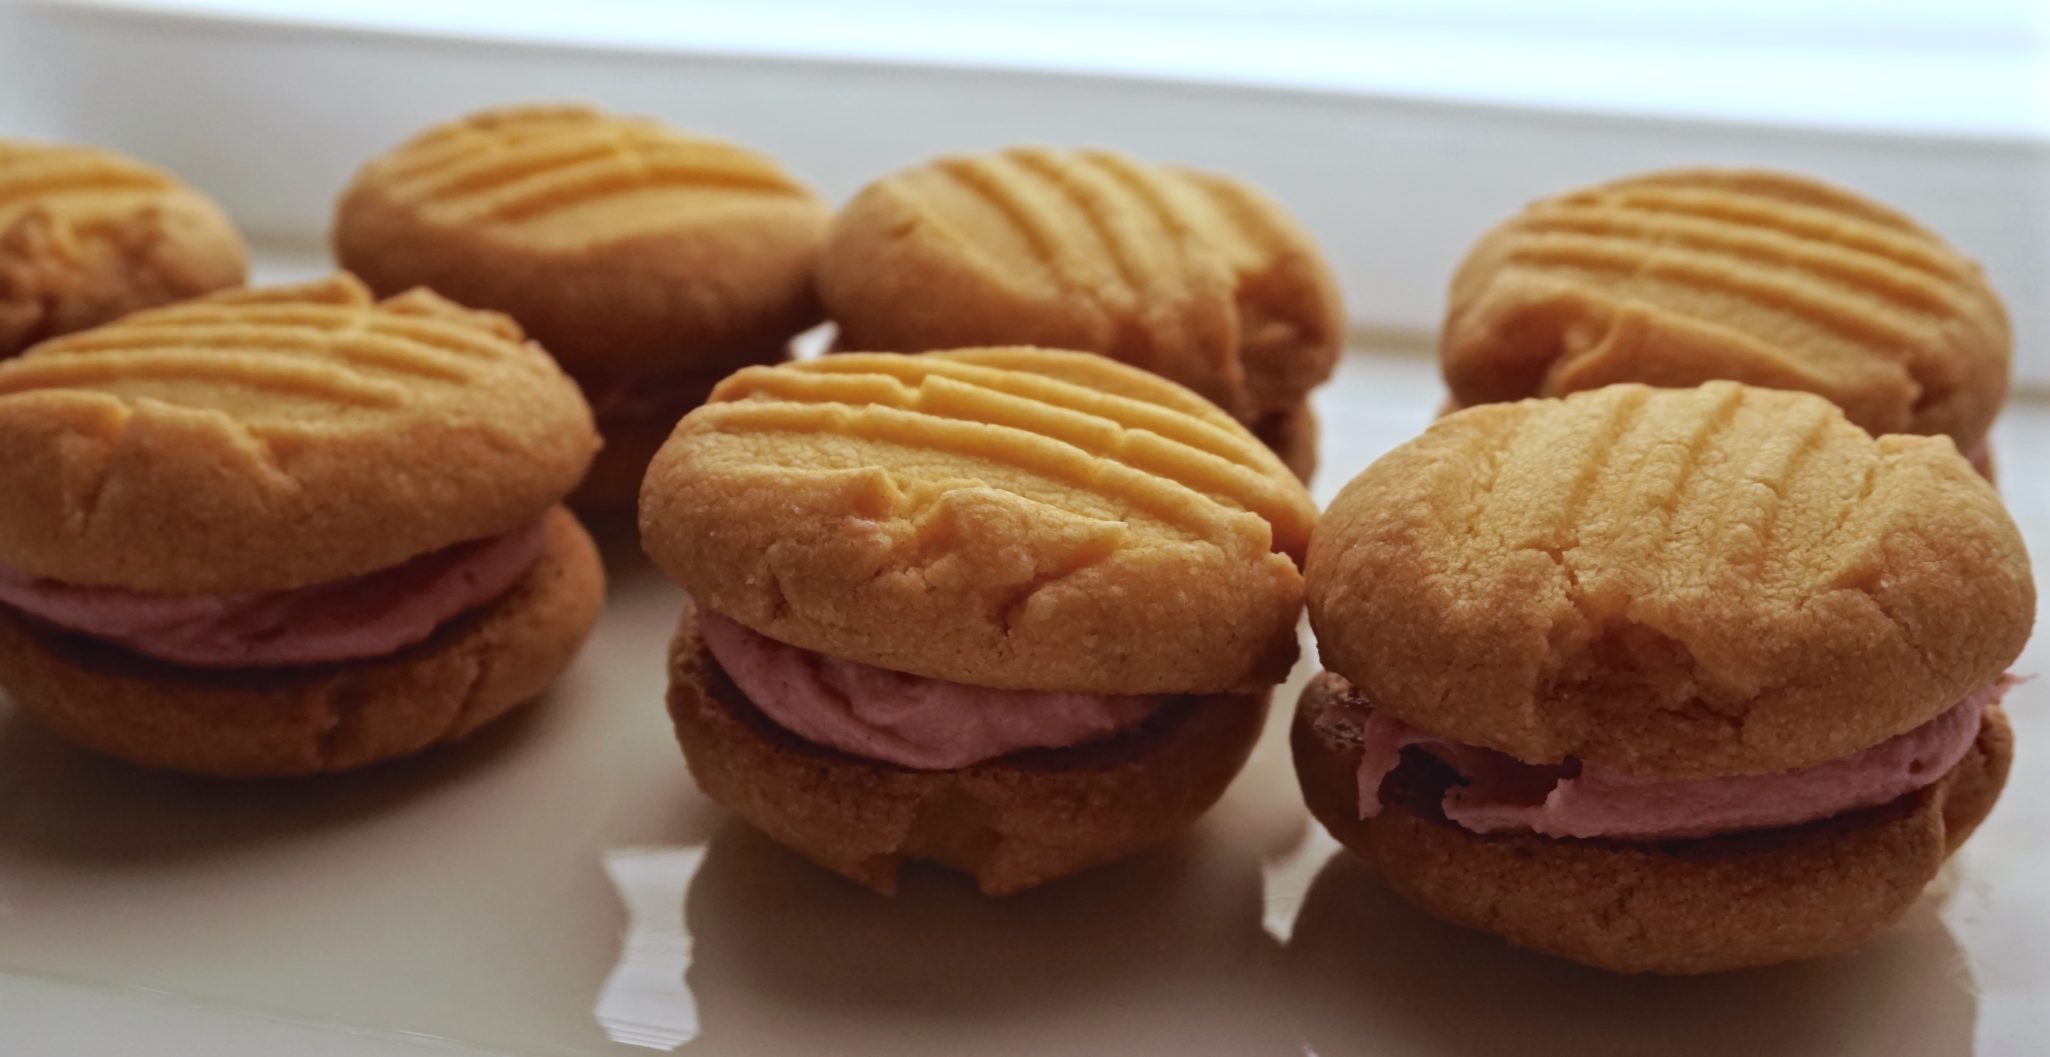
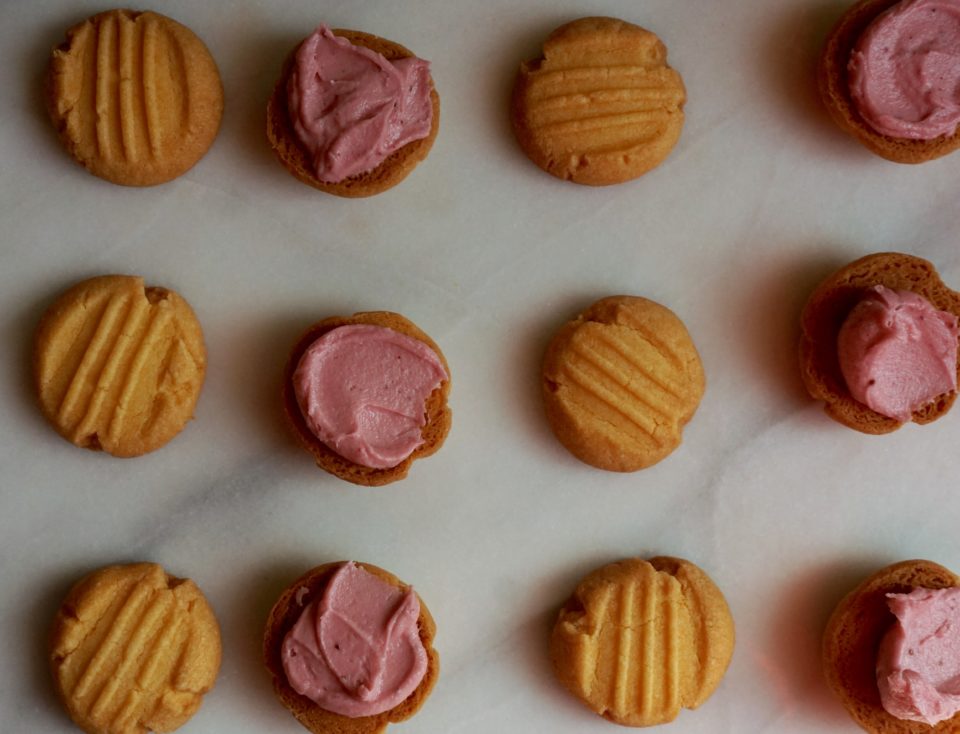
Day 2 of 12 days of Cookies.  I am off to a slow start having posted the first cookie days ago.  But I promise, this cookie will make up for the wait.  Once again I found a delicious treat in Ottolenghi’s dessert book, Sweet. Yep, my new fav. I am a sucker for shortbread and their Yo-Yos are just that, buttery, melt in your mouth shortbread cookies. They didn’t stop there, the cookies are then paired with a luscious buttercream to make an absolutely delicious sandwich cookie. Perfect for a holiday cookie platter.

The cookies are made with custard powder, an English invention.  A thickening agent like cornstarch, the custard powder gives the cookies their sandy texture. The addition of annatto to the powder creates that lovely yellow-orange hue.  I found Bird’s Custard Powder at a local Indian supermarket, cornstarch can be used instead but I love the color from the Bird’s Custard.

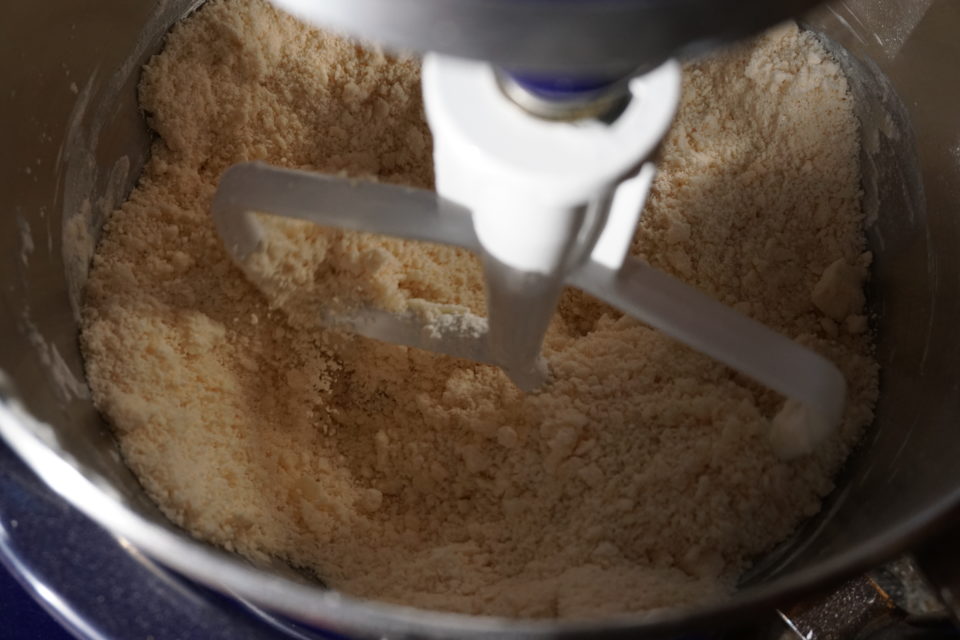
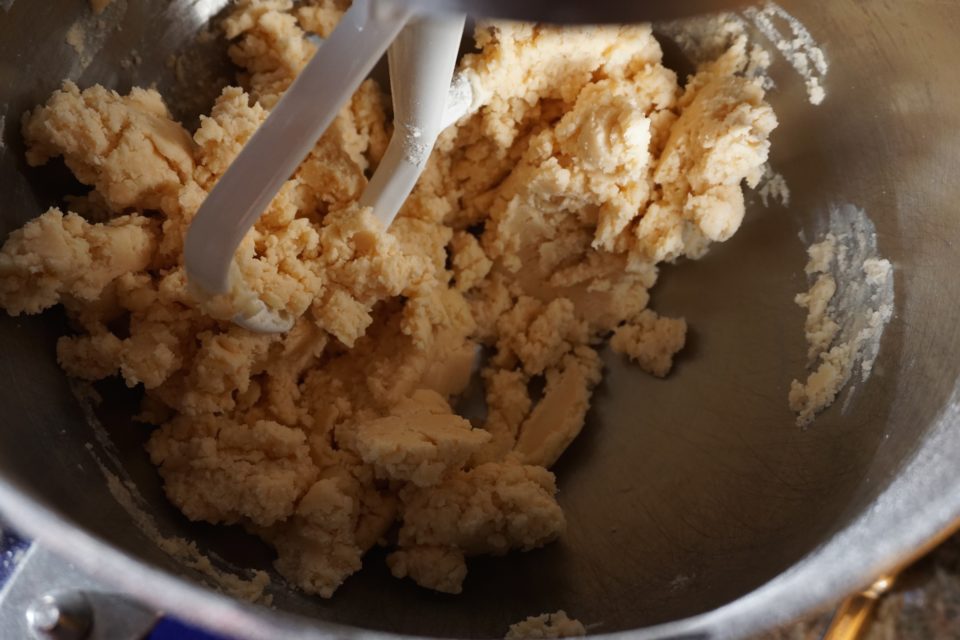
The dough comes together quickly.  Dry ingredients are sifted into a bowl and butter cut into it. The mixture starts out very dry and crumbly but after adding the vanilla and increasing the speed of the mixer the dough comes together nicely.

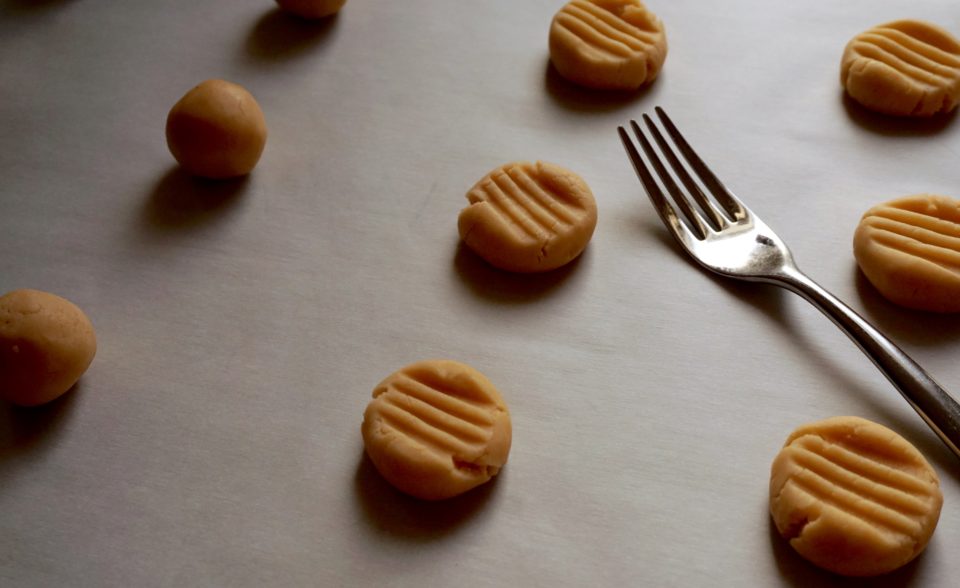
Use a tablespoon ice cream scoop to measure out portions of dough. Roll each scoop into a smooth round ball and then smoosh each with a fork.

I have a confession to make.  I couldn’t find rhubarb so I substituted strawberries instead to make the buttercream.  The berries give the buttercream both flavor and color and make very striking sandwich cookies.  No wonder they call these cookies Yo-Yos.  Can’t wait until rhubarb is in season.

and to get you into the holiday baking mood….Mariah

Ho Ho Ho! Yo-Yo’s are here! Day 2 Holiday Cookies

Ingredients

  • 1 small stalk rhubarb trimmed, washed and cut into 1-inch lengths
  • 4 1/2 tbs unsalted butter room temperature, cubed
  • 1 cup plus 2 tbs confectioner's sugar
  • 1/2 tsp lemon juice

Dough

  • 1 1/3 cups plus 2 tbs all-purpose flour Plus 1 tbs for dusting
  • 1/2 cup custard powder can use cornstarch
  • 1/2 cup plus 1 tbs confectioner's sugar
  • 1/8 tsp salt
  • 3/4 cup unsalted butter room temperature, cubed
  • 1/4 tsp vanilla extract use 1/2 tsp if using cornstarch

Instructions

Twelve Days of Cookies Starts… NOW (Saffron, Orange and Honey Madeleines)

Twelve Days of Cookies Starts… NOW (Saffron, Orange and Honey Madeleines)

This holiday season I am determined to post a Twelve Days of Cookies list and I will only stand a chance if I start now. This month Food 52 Baking Club is featuring Ottolenghi’s book Sweet authored with Helen Goh, his dessert partner in crime. As with all Ottolenghi books, this one is beautiful, worthy of your coffee table, but more importantly, worthy of use in your kitchen.

A long long time ago in a kitchen somewhere far away, I tried to make madeleines.  I flopped, and since then my madeleines pans have been relegated to the back of a kitchen cabinet.  Looking for a recipe to try for National Cookie Day (yesterday, hope you made a batch) I came across Ottolenghi’s Saffron, Orange and Honey Madeleines.  They looked and sounded so delicious I decided to pull out my forgotten pans and give it the old college try.

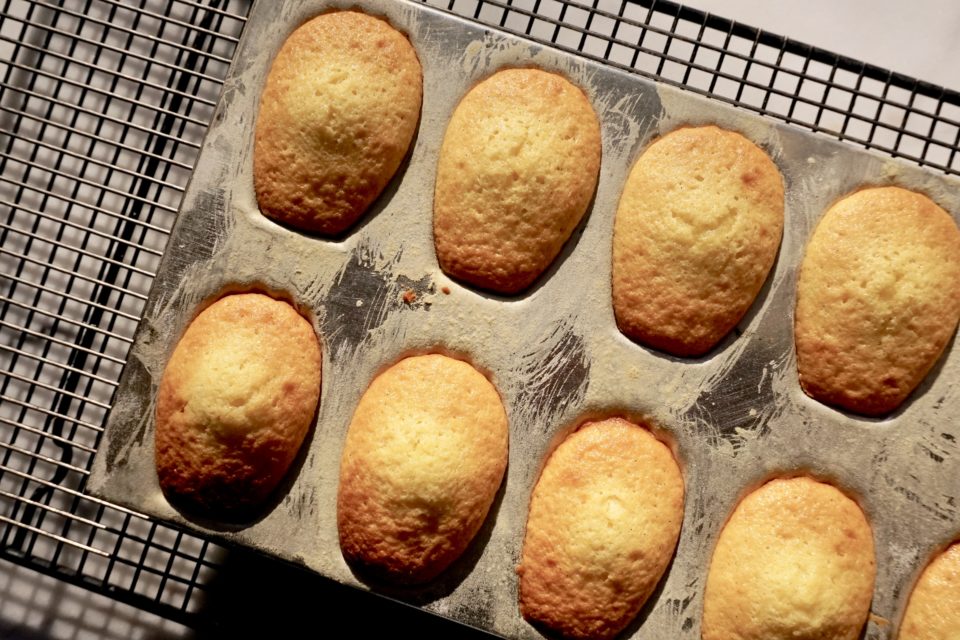
I’m glad I did.  The madeleines are buttery, cakey, tender, everything a madeleine should be and more.

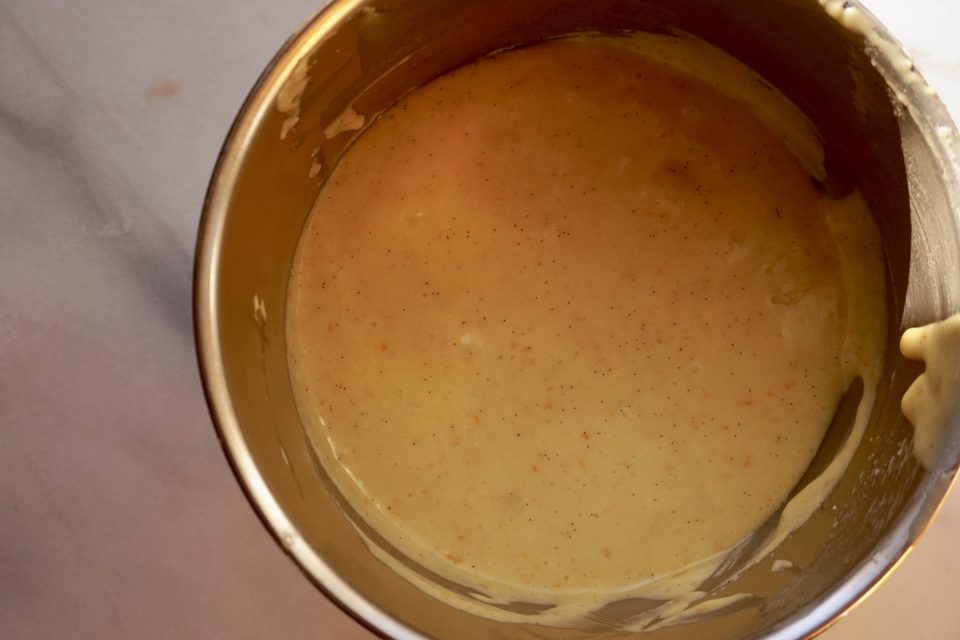
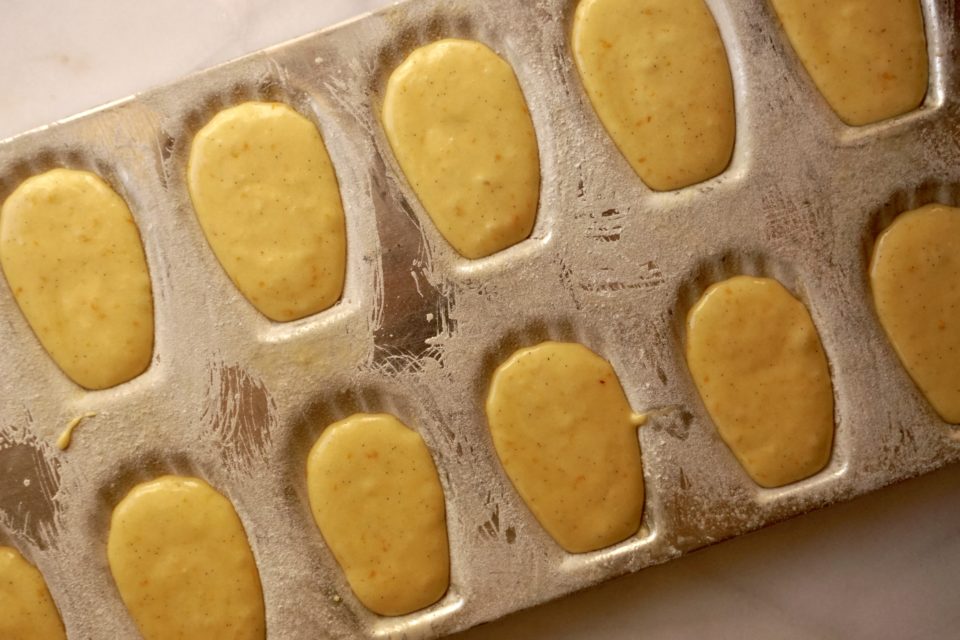
The batter is made in a food processor (oh snap). Eggs and sugar are whirled in the processor, flour and leavening added, pulse a couple more times and then add the saffron infused melted butter. The batter is poured into a WELL BUTTERED AND FLOURED pan (trust me on this) and baked for 7-9 minutes.  In those short minutes, your entire kitchen will be blanketed by the aroma of vanilla, butter, and orange, heavenly.

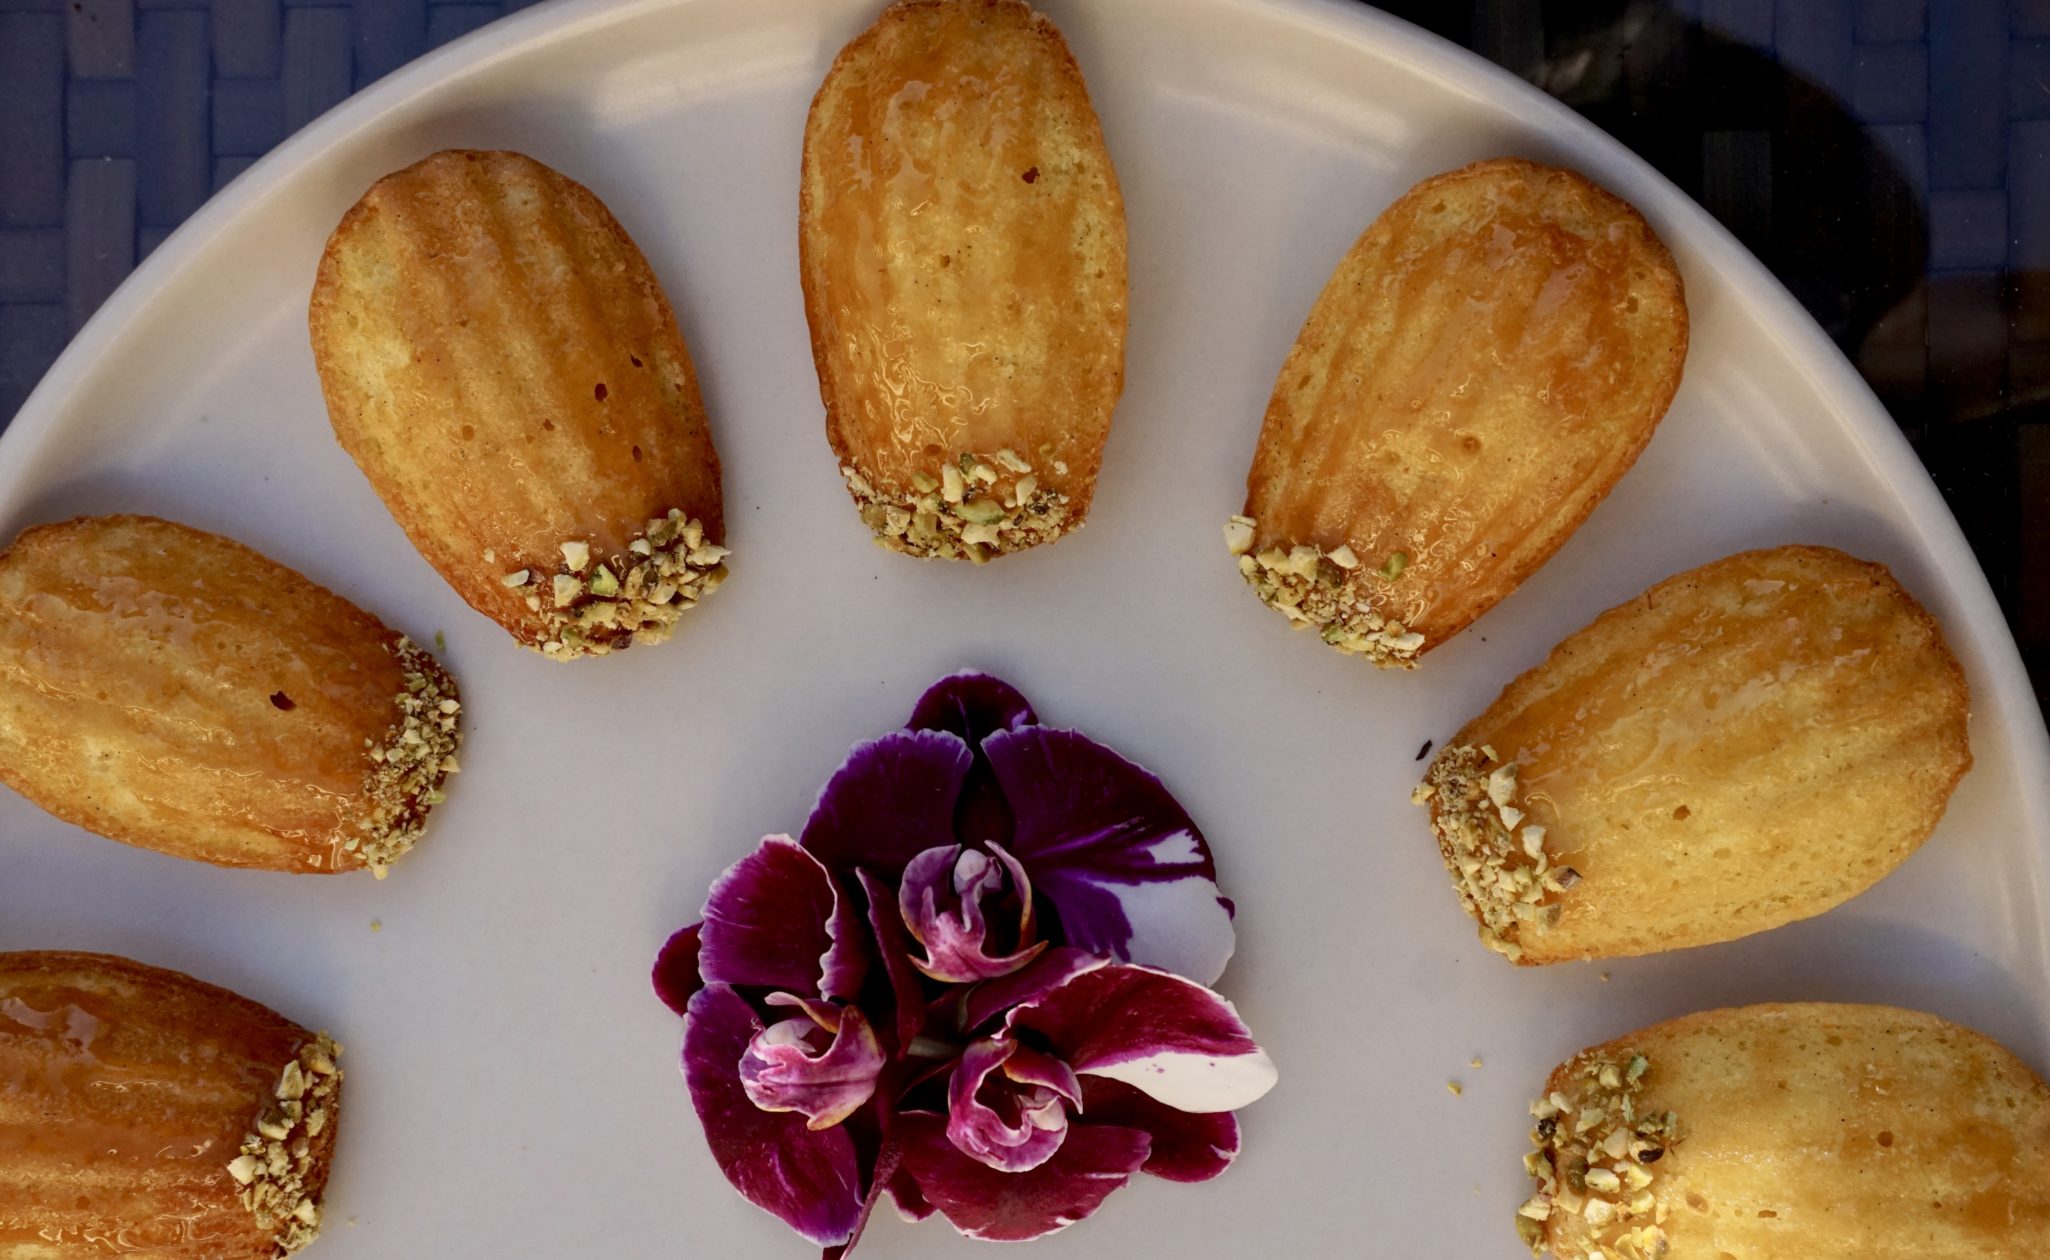
The cooled madeleines are popped out of their shells (haha, get it?) painted with heated honey (watch your fingers, the honey is hot) and one end rolled in ground pistachios.

So good.  If you don’t have a madeleine pan you could probably use a mini-muffin tin…they’ll still be delicious but they just won’t be the same (sigh).

You can find the recipe on Bon Apetit but without weight measurements (boohoo). If I were you I’d splurge and get the book, totally worth it!

[amd-yrecipe-recipe:150]


Soured by Cookies, Saved by Lemon Cake

Soured by Cookies, Saved by Lemon Cake

I tried a couple of new cookie recipes recently and as the saying goes, you win some you lose some.  The first recipe Malted Milk Chocolate Cookies came from a book I received to review, Holiday Cookies.  Decidedly MEH.  The malt flavor was barely discernible and the milk chocolate did not stand out.

Another Cookie Bust

A few days later with the fall season in full swing, a recipe for pumpkin snickerdoodles popped up on my feed. Never get swept up by fall pumpkin fever.  But they looked delicious so I baked a batch.  I waited for the first batch to cool, grabbed one off the rack, and took a bite…MEH.  Noooo, another cookie bust.  Little pumpkin or spice flavor, very nondescript.

It’s Not a Lemon

A new recipe caught my eye, not a cookie but a cake recipe.  Food52 posted a lovely lemon poppy seed cake from Ottolenghi.  I am a sucker for lemon and poppy seeds.  Hoping my luck would change, and having the utmost confidence in Food52 and Ottolenghi, I decided to make the cake.  After all, I can’t have three lemons in a row, even if the last recipe actually calls for lemons.

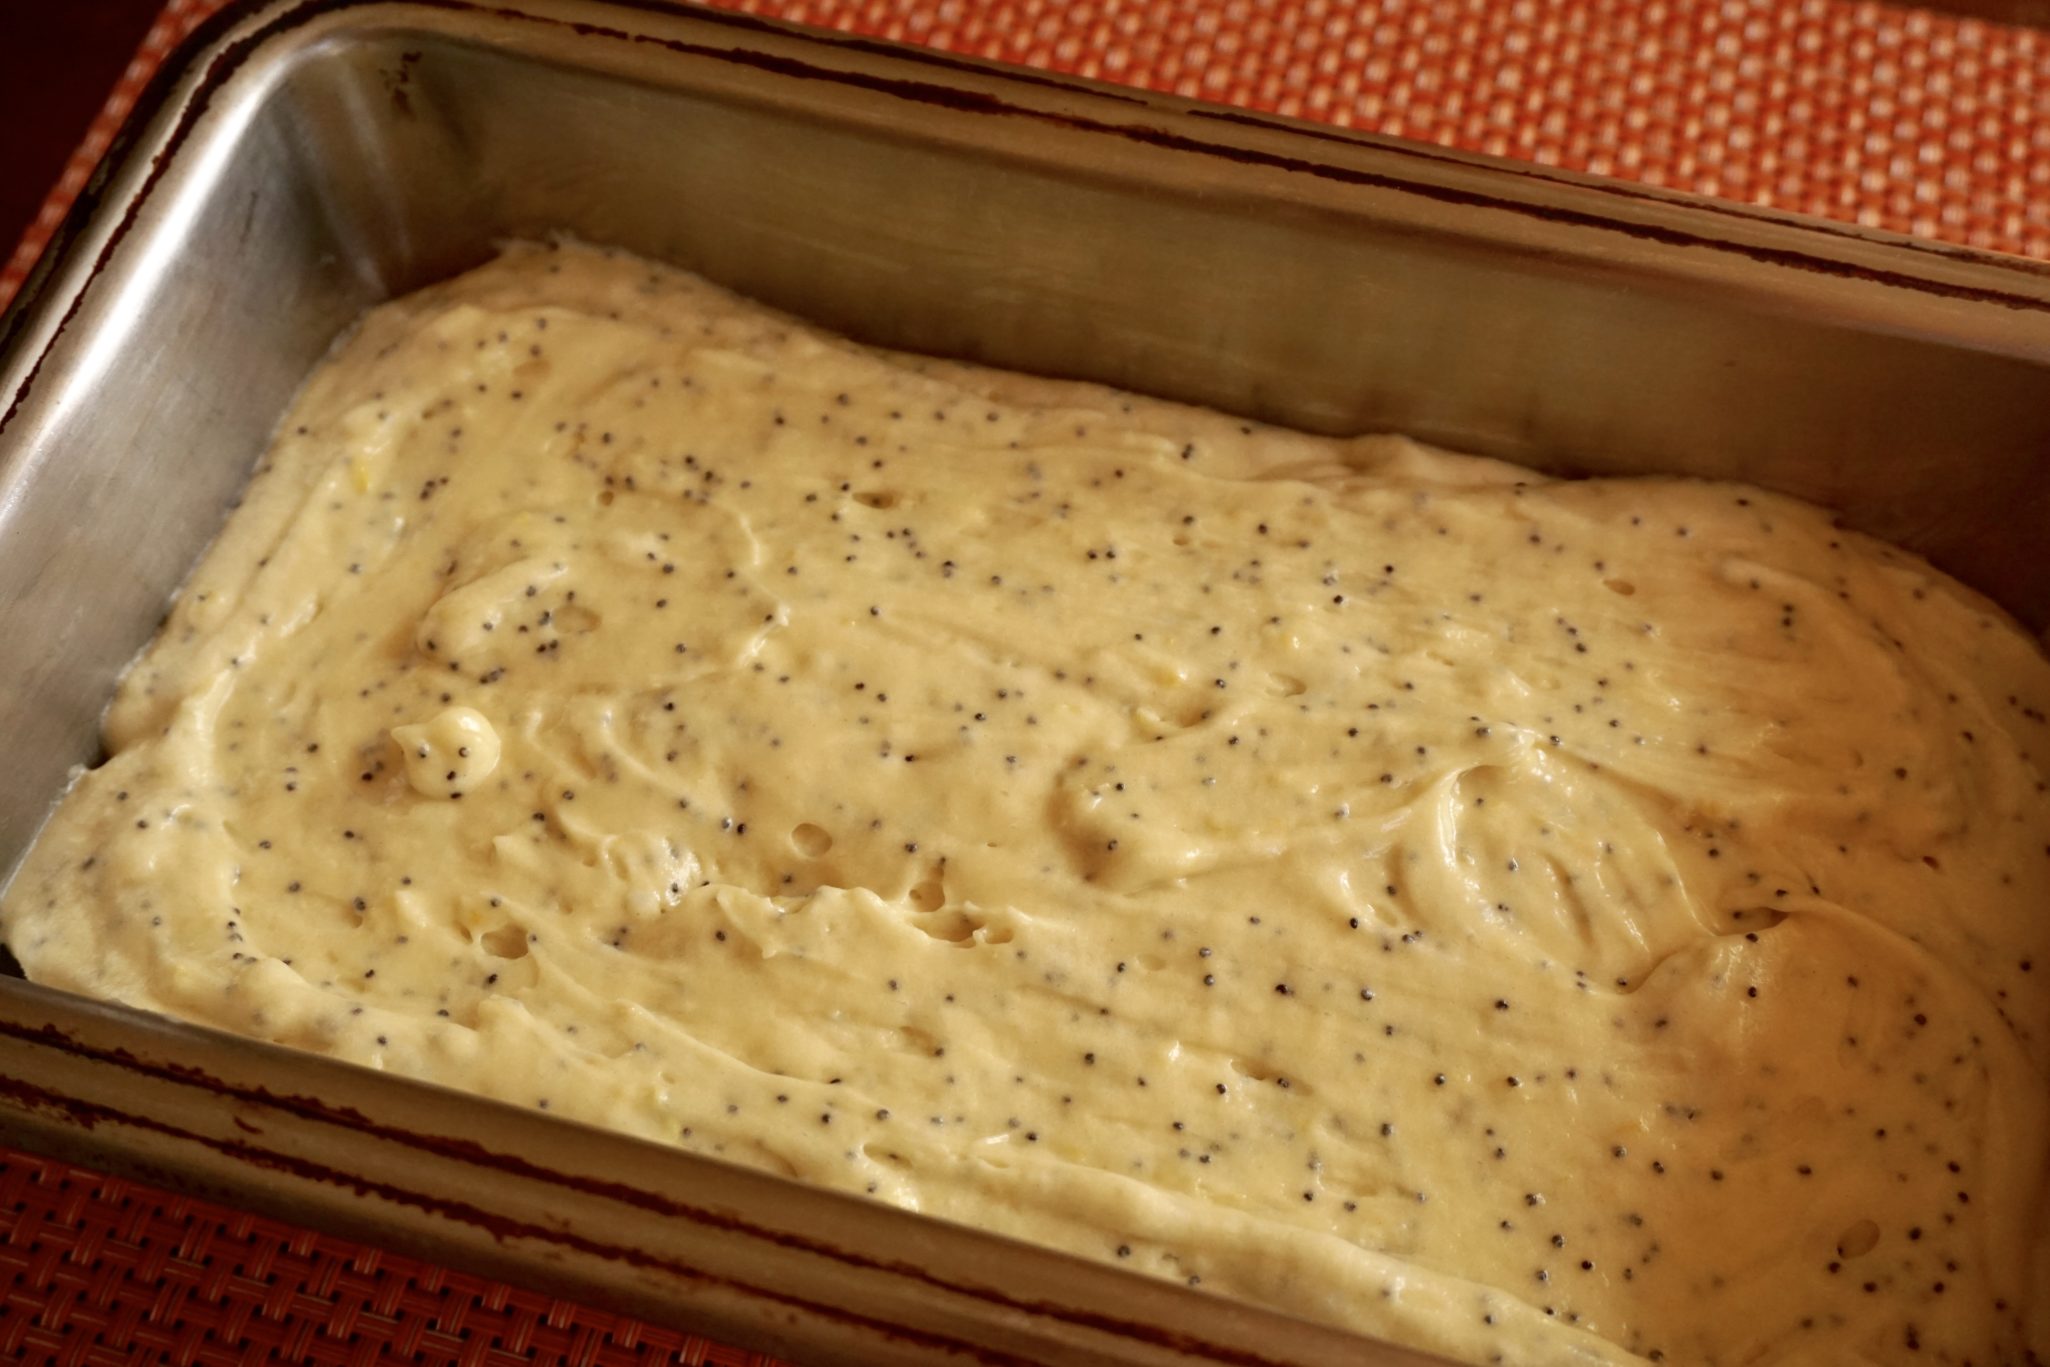
The cake is quick and easy. The recipe starts with beating eggs and sugar together until thick and frothy. Heavy cream is then added to the egg and sugar blend. I took the heavy whipping cream straight out of the fridge and with the mixer running, added it in a steady stream to the egg mixture. Beat until it has the consistency of pancake batter. The flour is then folded in along with the melted butter, lemon zest, and poppy seeds. The recipe calls for 3 lemons to make 1 tablespoon lemon zest but I only needed two good sized lemons and that’s with really packing the measuring spoon (because I LOVE lemon). The lemon was not overpowering. While the cake was baking, I made the lemon icing.  Easy peasy lemon squeezy.

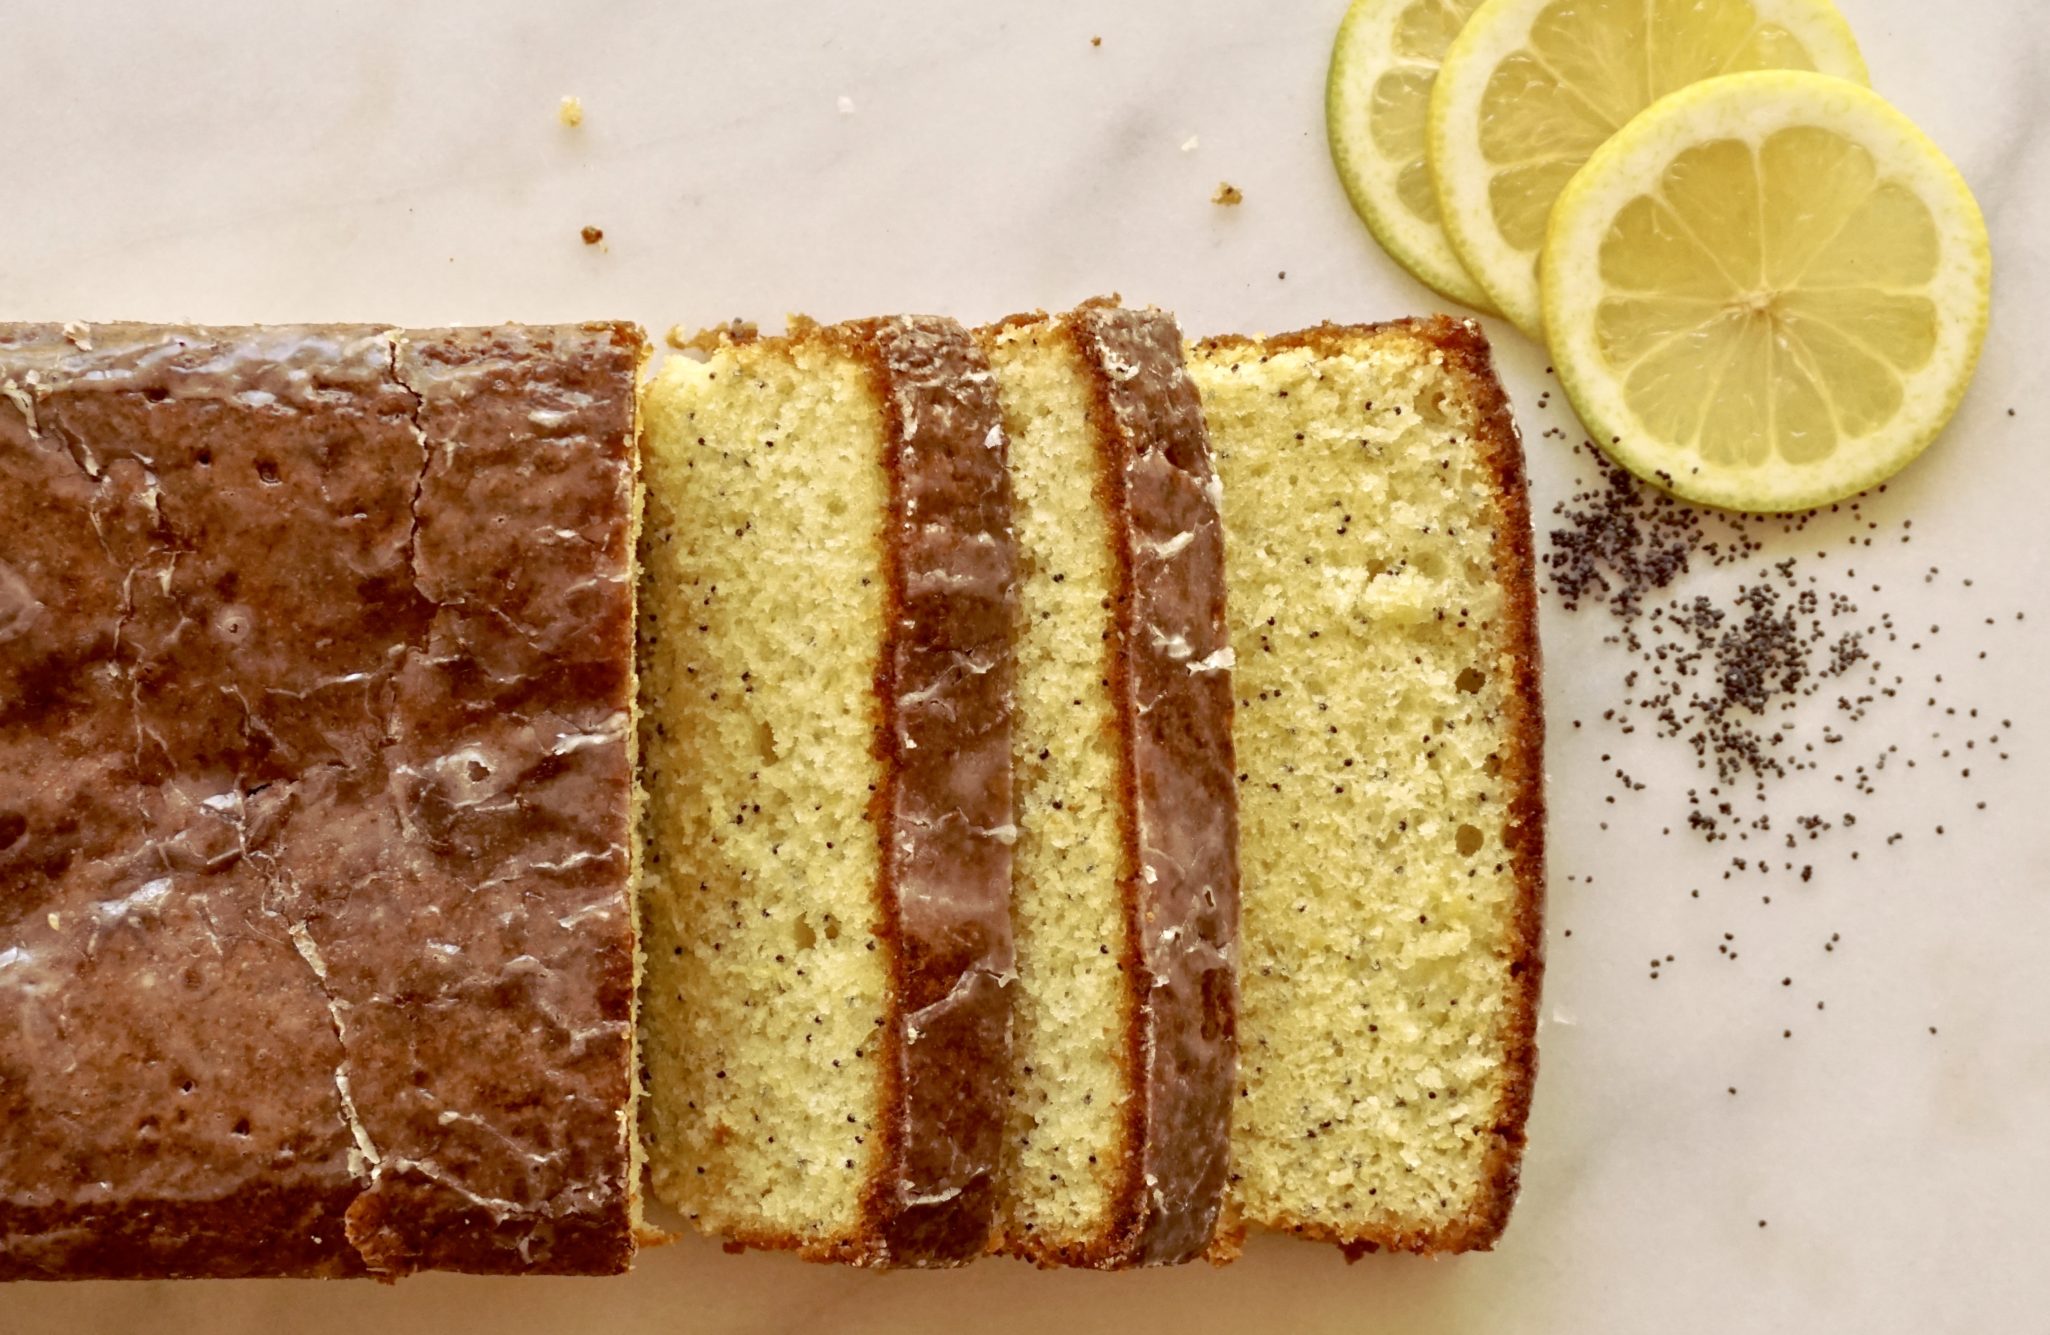
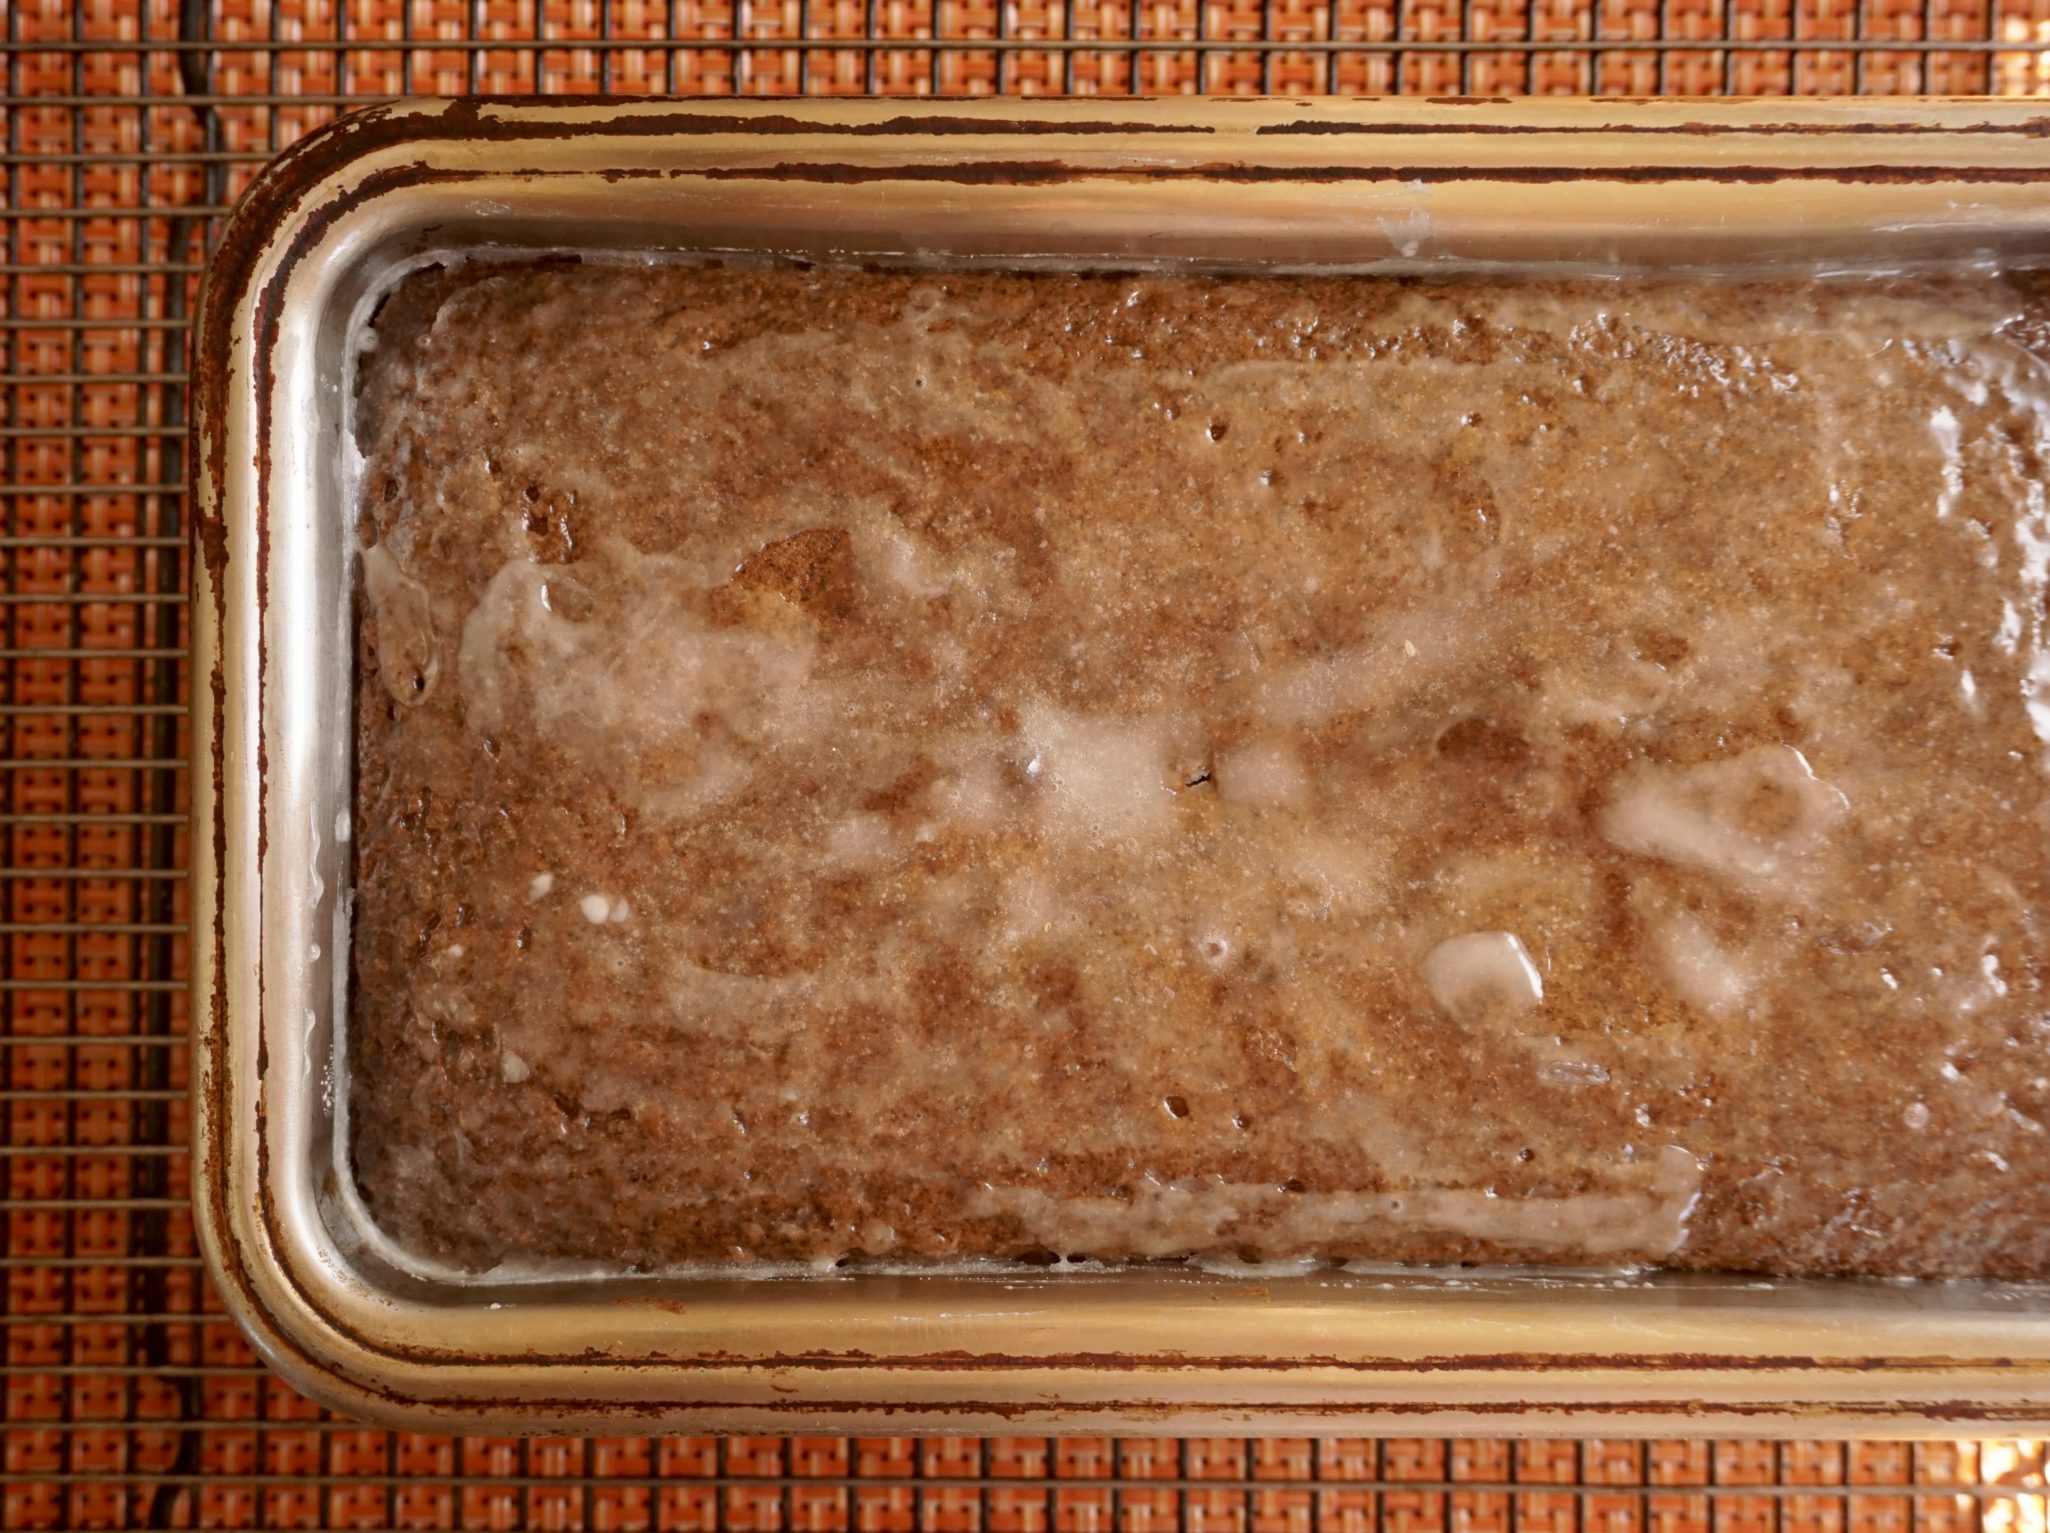
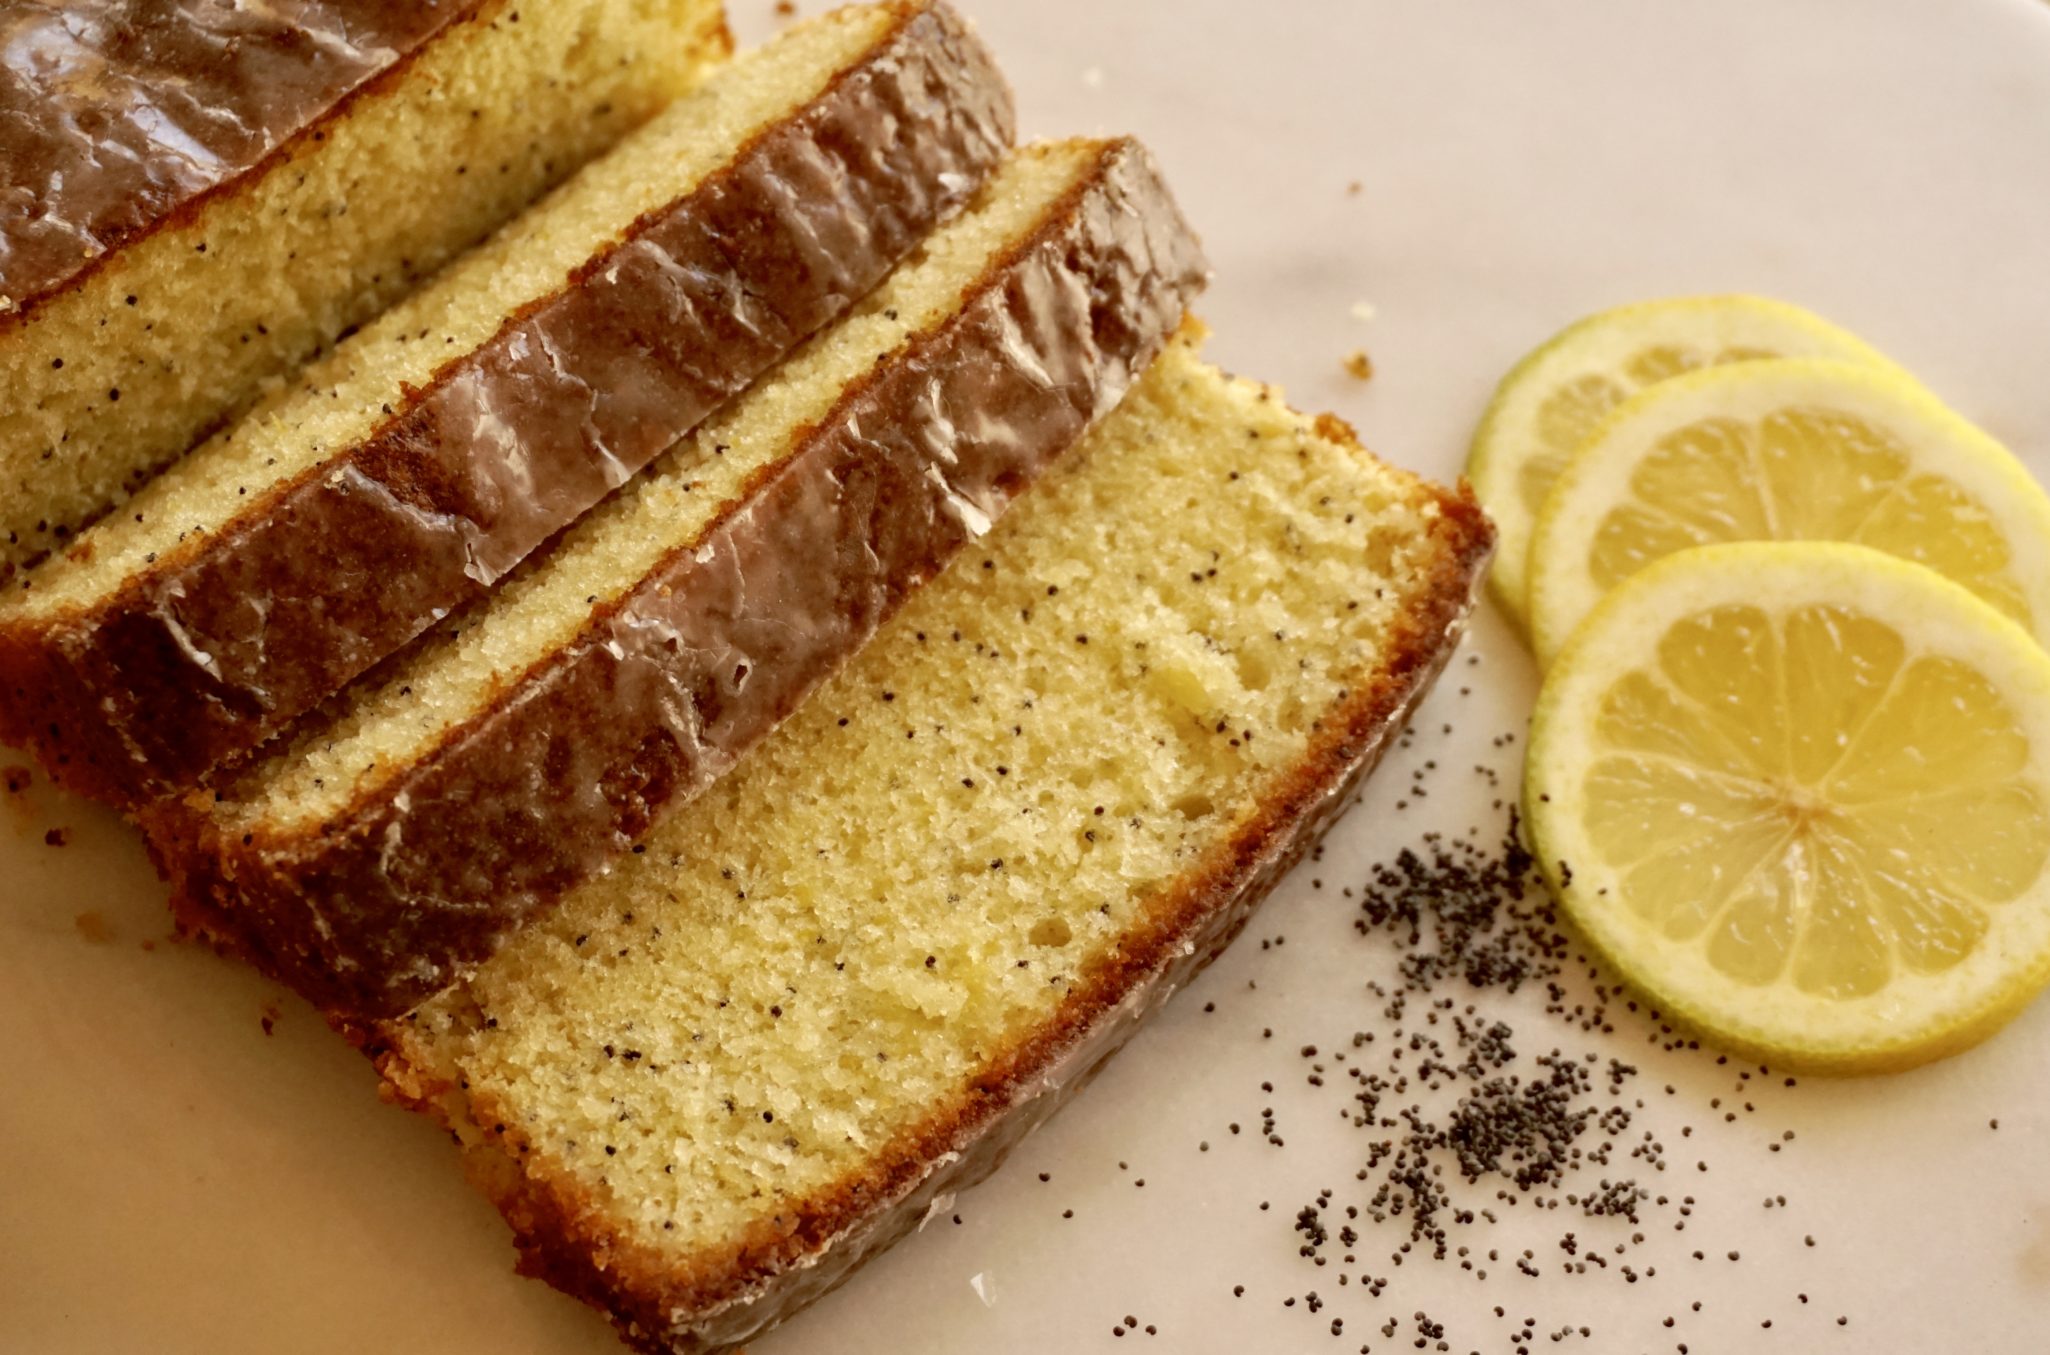
Spread the icing over the top as soon as you remove the cake from the oven.  Do not even think of forgoing the icing.  It adds that sweet-tart lemony oomph and creates a beautiful glossy sheen.  The cake has a nice crumb and is denser than say a sponge cake but lighter than a traditional pound cake. If you are a poppy seed addict you could increase the amount as you like. Thankfully this cake saved my week of baking.  From cookie bust to cake champ. Sweet success.

Bookmark this cake and make it soon, you’ll thank me.

Lemon Poppy Seed Cake (National Trust)

An easy, absolutely delicious lemon poppy seed cake from Ottolenghi
Course Cake, Dessert
Cuisine British
Keyword banana cake, lemon, poppyseed
Prep Time 20 minutes
Cook Time 1 hour
Cooling time 16 minutes

Equipment

  • 1 standard loaf 9x5 loaf pan

Ingredients

The Dry Stuff

  • 1 1/3 cups all-purpose flour 170 grams
  • 1 1/4 teaspoons baking powder
  • 1/4 teaspoon salt

The Wet Stuff

  • 3 large eggs
  • 1 cup plus 2 tablespoons granulated sugar 225 grams
  • 1/2 cup heavy cream, cold 120 milliliters

Butter Mixture

  • 5 tablespoons 70 grams unsalted butter, cubed, plus extra for greasing
  • 1 -1.5 tablespoon poppy seeds
  • 1 tbsp Finely grated zest of 3 lemons I needed only 2 lemons

The Icing

  • 3/4 cup 90 grams confectioners' sugar, sifted
  • 2 tablespoons lemon juice

Instructions

  • Heat the oven to 350° (180° C).
  • Grease the loaf pan(s) and line with parchment paper, then set aside.
  • Sift the flour, baking powder, and salt together into a bowl, then set aside.
  • Melt the butter in a small saucepan over low heat, stir in the poppy seeds and lemon zest, and set aside.
  • Place the eggs and granulated sugar in the bowl of an electric mixer fitted with the paddle attachment and beat on medium-high speed for about 2 minutes, until pale and frothy.
  • Add the cold whipping cream and continue to beat for about 2 minutes, until the mixture has combined, thickened a little, and turned pale.
  • Use a rubber spatula to fold the dry ingredient mix into the egg mixture. Then fold the melted butter, poppy seeds, and zest mixture in.
  • Spoon the mixture into the loaf pan(s) so that it rises three-quarters of the way up the sides.
  • Place on a baking sheet and bake for about 50 minutes, or until a skewer inserted into the center comes out clean.

The Glaze

  • To make the glaze, whisk the confectioners' sugar with the lemon juice in a bowl. Pour the glaze over the top of the cake as soon as it comes out of the oven, spreading it over the top so that it sinks in and creates a nice coating.
  • Set aside to cool for 30 minutes before removing from the pan.
  • Let it come to room temperature before serving.
Ottolenghi-Ototalyummi Blueberry Lemon Almond Cake

Ottolenghi-Ototalyummi Blueberry Lemon Almond Cake

I am a big fan of Ottolenghi’s cookbooks, the photos are mouthwatering and every dish I have tried has been delicious.  My favorite book is Jerusalem and not just for the recipes and photos but it’s premise. Two men who grew up in opposite ends of Jerusalem, one Jewish, one Arab create wonderful food together.

In today’s America we seem so divided…we should just have a ginormous potluck where everyone brings their favorite dish to share. The rule would be bring a dish your grandmother or your grandfather made for you.  Can you imagine that table?  It would be filled with dishes from every corner of the world.  Hard to hate on someone sharing a bowl of their grandmother’s mandu or kreplach. Mean words to a guy who hands you a plate of brisket perfectly smoked the way his dad taught him?  I hope not.  Food soothes the soul, heals the heart and sways the mind.

A girl can dream right?

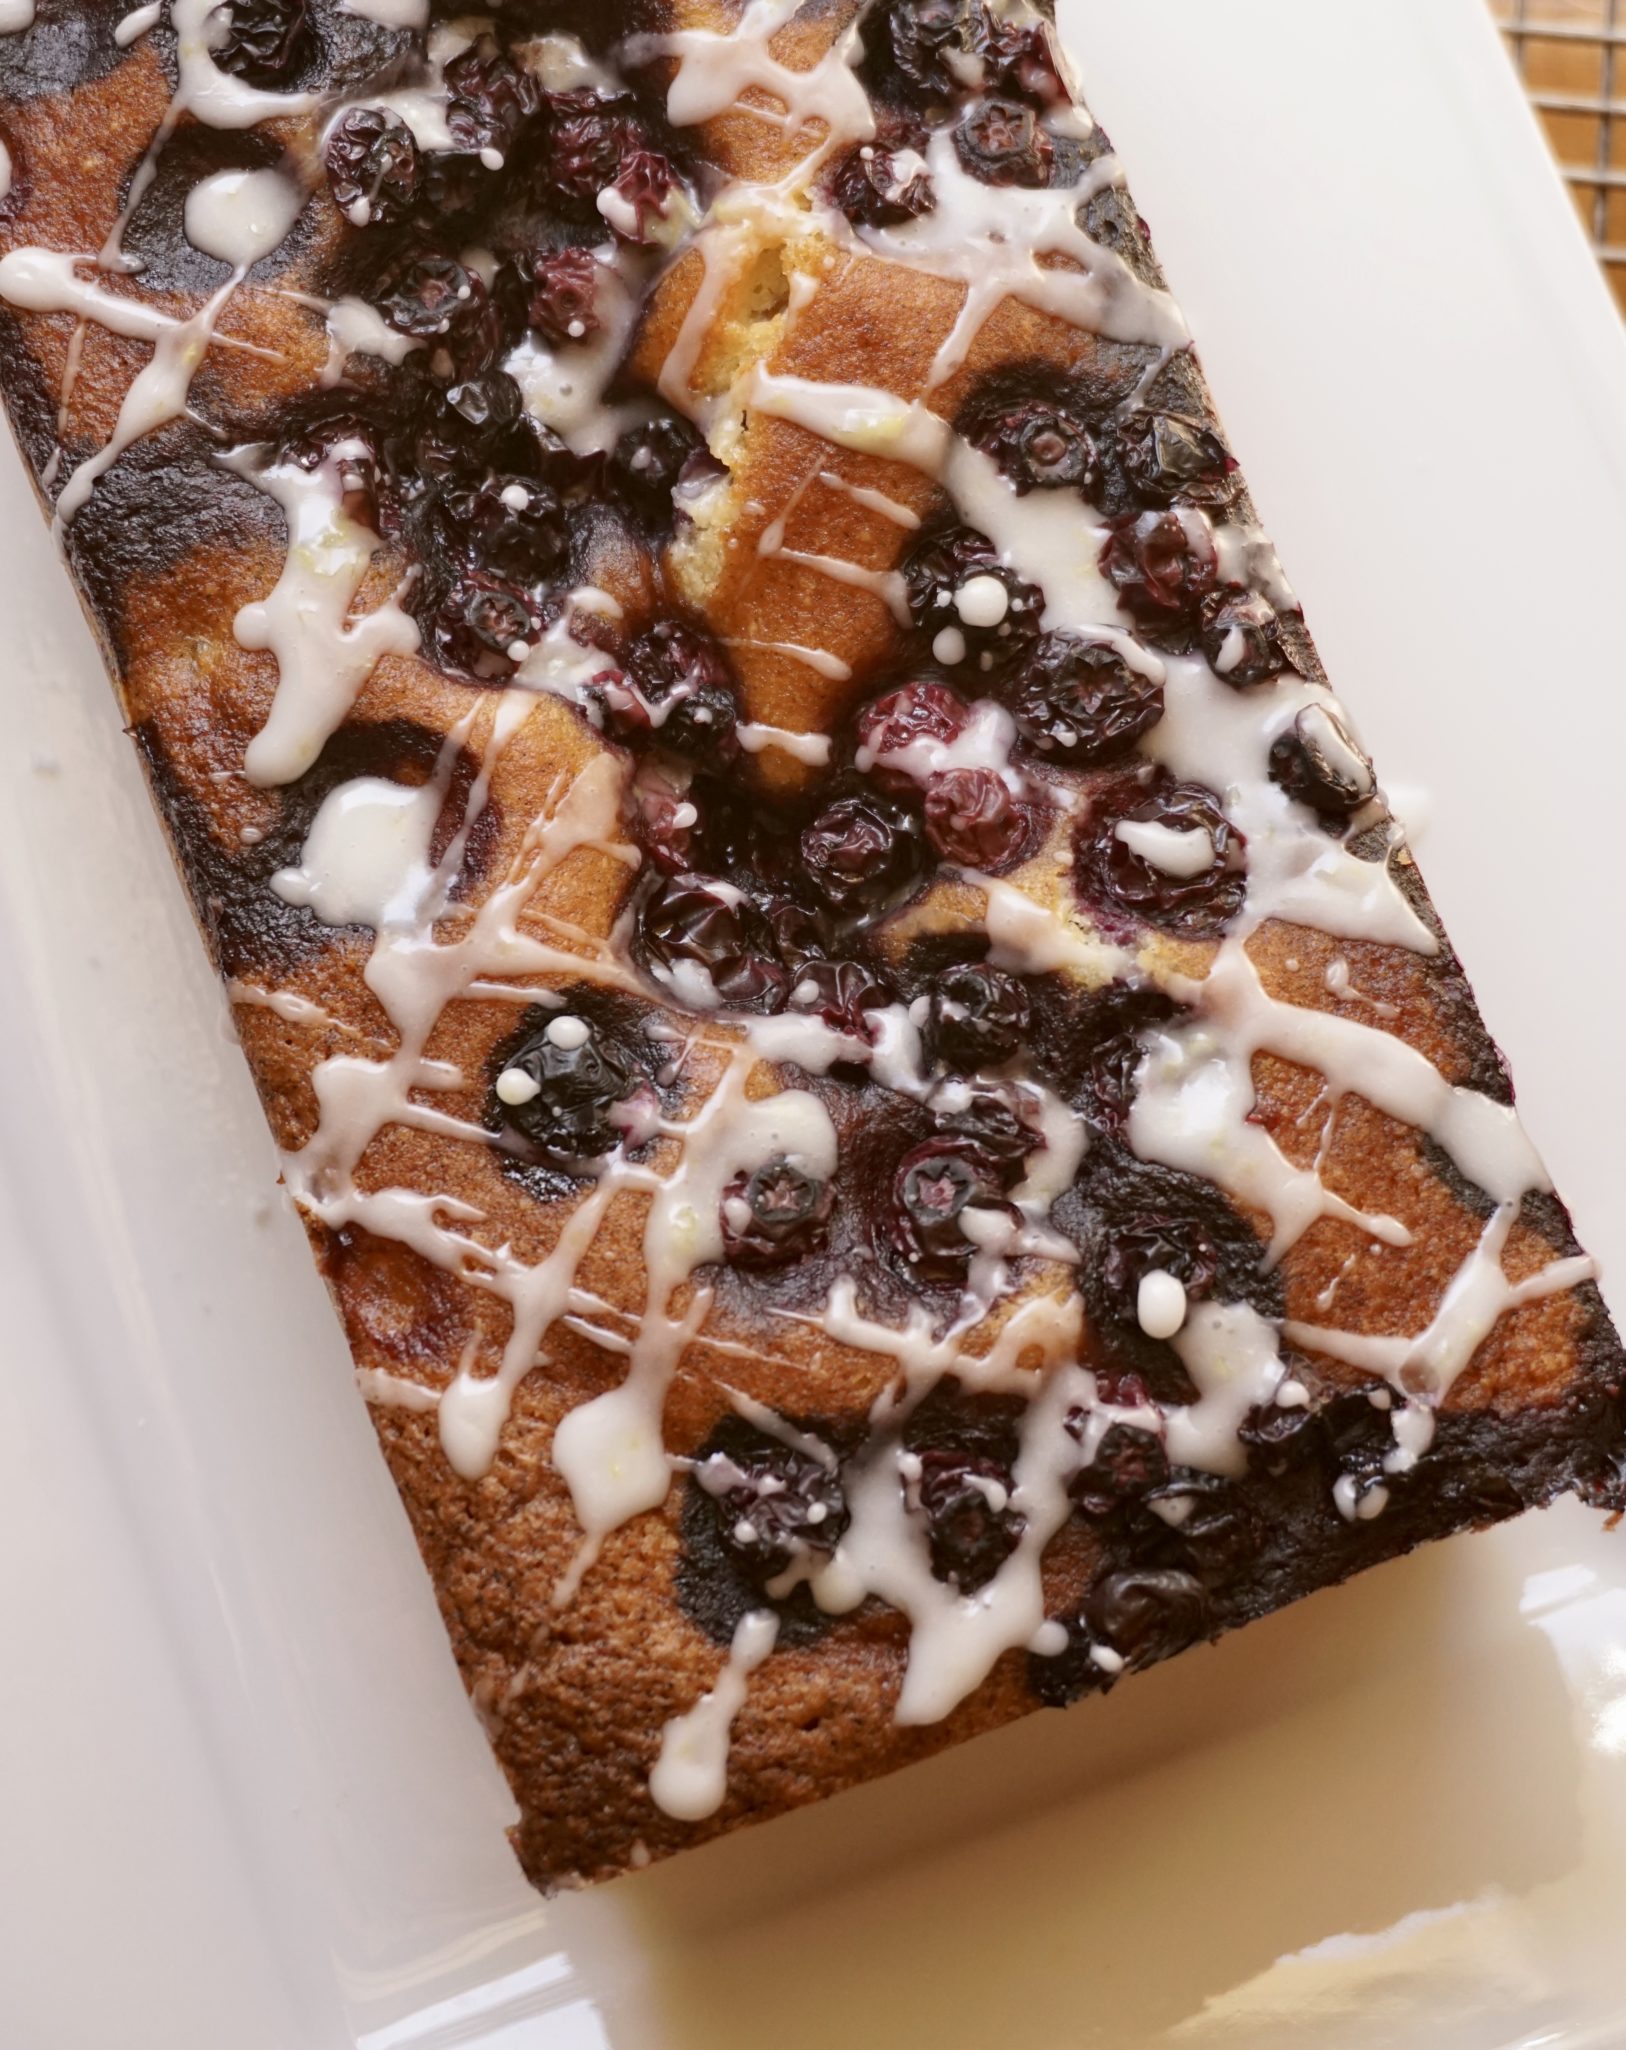
A couple of weeks ago Ottolenghi posted a recipe in his New York Times column that looked absolutely scrumptious.  A Blueberry Lemon Almond Loaf.  Lucky for me I have a lemon tree in my garden (an endless supply of lemons makes me happy) and had ripe, sweet blueberries from my trip to the farmers market over the weekend.

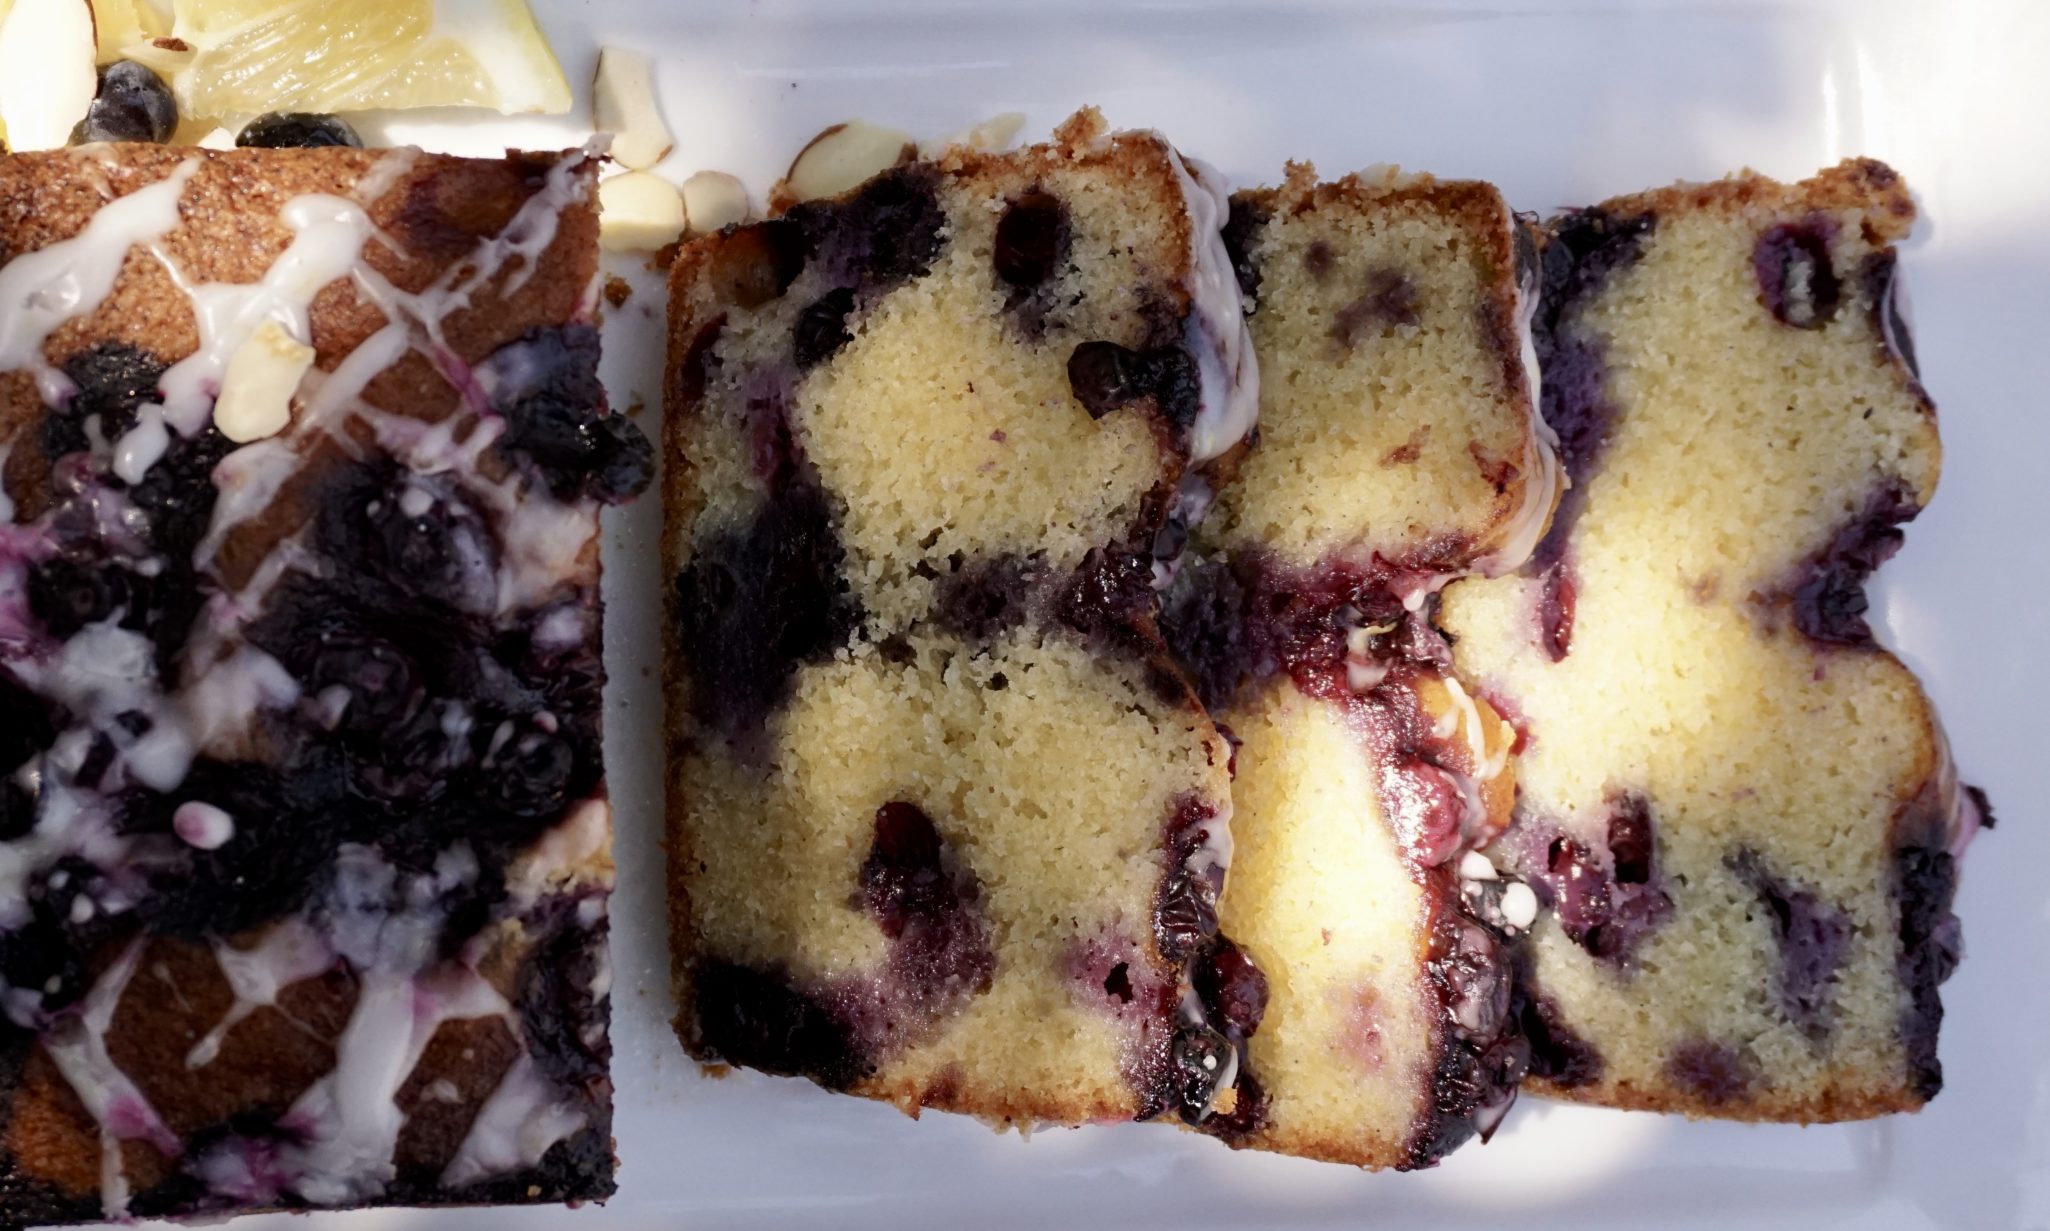
Buttery goodness is brightened by lemon zest, with a generous amount of blueberries, and finished with a zingy lemon icing. Yep, making cake, then eating cake.

The batter comes together quickly. The addition of almond flour produces a tender crumb. The only glitch I encountered was adding a reserved portion of blueberries to the batter after 15 minutes in the oven.  At this point, the top of the loaf was brown and pretty set. I ended up throwing the blueberries on top and pushing them down-with a bit of success. Next time I’d check the loaf earlier and throw the berries on a bit earlier so they sink into the batter a bit. I love lemon so I pumped up the amount of lemon zest in the cake and added some to the icing. Bake this cake it’s lemonlicious and bluerrific.

Ottolenghi-Ototalyummi Blueberry Lemon Almond Cake

Blueberry Lemon Almond Cake from Ottolenghi. Buttery, filled with citrus flavor
Course Cake, Dessert
Cuisine European
Keyword Apple Cake, blueberry, lemon, ottolenghi
Prep Time 20 minutes
Cook Time 43 minutes

Ingredients

Ottolenghi New York Times Cooking

Creamed Mixture

  • 11 tbsp 1 stick plus 3 tablespoons(150 grams) unsalted butter, at room temperature, plus extra for greasing the pan
  • 1 scant cup (190 grams) granulated or superfine sugar caster sugar
  • 1 teaspoon lemon zest
  • 1 teaspoon vanilla extract
  • 3 large eggs beaten

Dry Mixture

  • cup (90 grams) all-purpose flour plain flour, sifted
  • 1 ¼ teaspoons baking powder
  • teaspoon salt
  • 1 cup (110 grams) almond flour finely ground almonds
  • 1 ½ cups (200 grams) fresh blueberries Split into scant 1 cup for the batter and 3/8 cup for top of cake

The Finish

  • cup (70 grams) confectioners’ sugar icing sugar, powdered
  • 1 tbsp lemon juice (or more juice as needed)

Instructions

  • Heat oven to 375 degrees Fahrenheit/200 degrees Celsius. Grease a 9- or 8-inch/21-centimeter loaf pan with butter, line it with a parchment paper sling and butter the paper. Set the pan aside.
  • In a separate bowl, whisk together flour, baking powder, salt and almond flour. Set aside.
  • Place butter, sugar, lemon zest and vanilla extract in the bowl of a stand mixer fitted with the paddle attachment. Beat on high speed for 3 to 4 minutes, until light, then lower speed to medium. Add eggs in three additions, scraping down the sides of the bowl a few times as necessary. The mix may split (look curdled) a little but don’t worry: It’ll come back together once you add the dry ingredients.
  • With the stand mixer on low, add the reserved dry ingredient mixture in three additions, mixing just until no dry specks remain. Fold in about 3/4 of the blueberries by hand, then scoop batter into the prepared loaf pan.
  • Bake for 15 minutes, then sprinkle the remaining blueberries over the top of the cake. Check the cake at the 10 minuteReturn to the oven for another 15 to 20 minutes, until cake is golden brown but still uncooked. Cover loosely with foil and continue to cook for another 25 to 30 minutes (less for a 9-inch pan, more for an 8-inch pan), or until risen and cooked, and a knife inserted into the middle of the cake comes out clean.
  • Remove from oven and set aside in its pan to cool for 10 minutes before removing cake from pan and placing on a wire rack to cool completely.
  • When cake is cool, make the icing: Add lemon juice and icing sugar to a bowl and whisk together until smooth, adding a bit more juice if necessary, just until the icing moves when you tilt the bowl. Pour over the cake and gently spread out. The blueberries on the top of the cake may bleed into the icing a little, but this will add to the look.
  • Let icing set (about 30 minutes), slice and serve.

My Tweaks

  • I added another teaspoon of lemon zest to the batter and 1/2 teaspoon of zest to the icing. I ❤️ lemon
  • I did not use all the icing, I drizzled the icing on instead. Not a big fan of lots of icing.
Food, Food Can Bring Us Together (Turkey & Zucchini Burgers)i

Food, Food Can Bring Us Together (Turkey & Zucchini Burgers)i

Wes planted 2 squash plants this season and I am totally dumbfounded by the number of squash you get from 2 plants…and apparently all at once.  Looking for recipes that will put a dent in the supply of zucchini that is monopolizing my vegetable crisper.

TurkeyZucchiniMeatballs

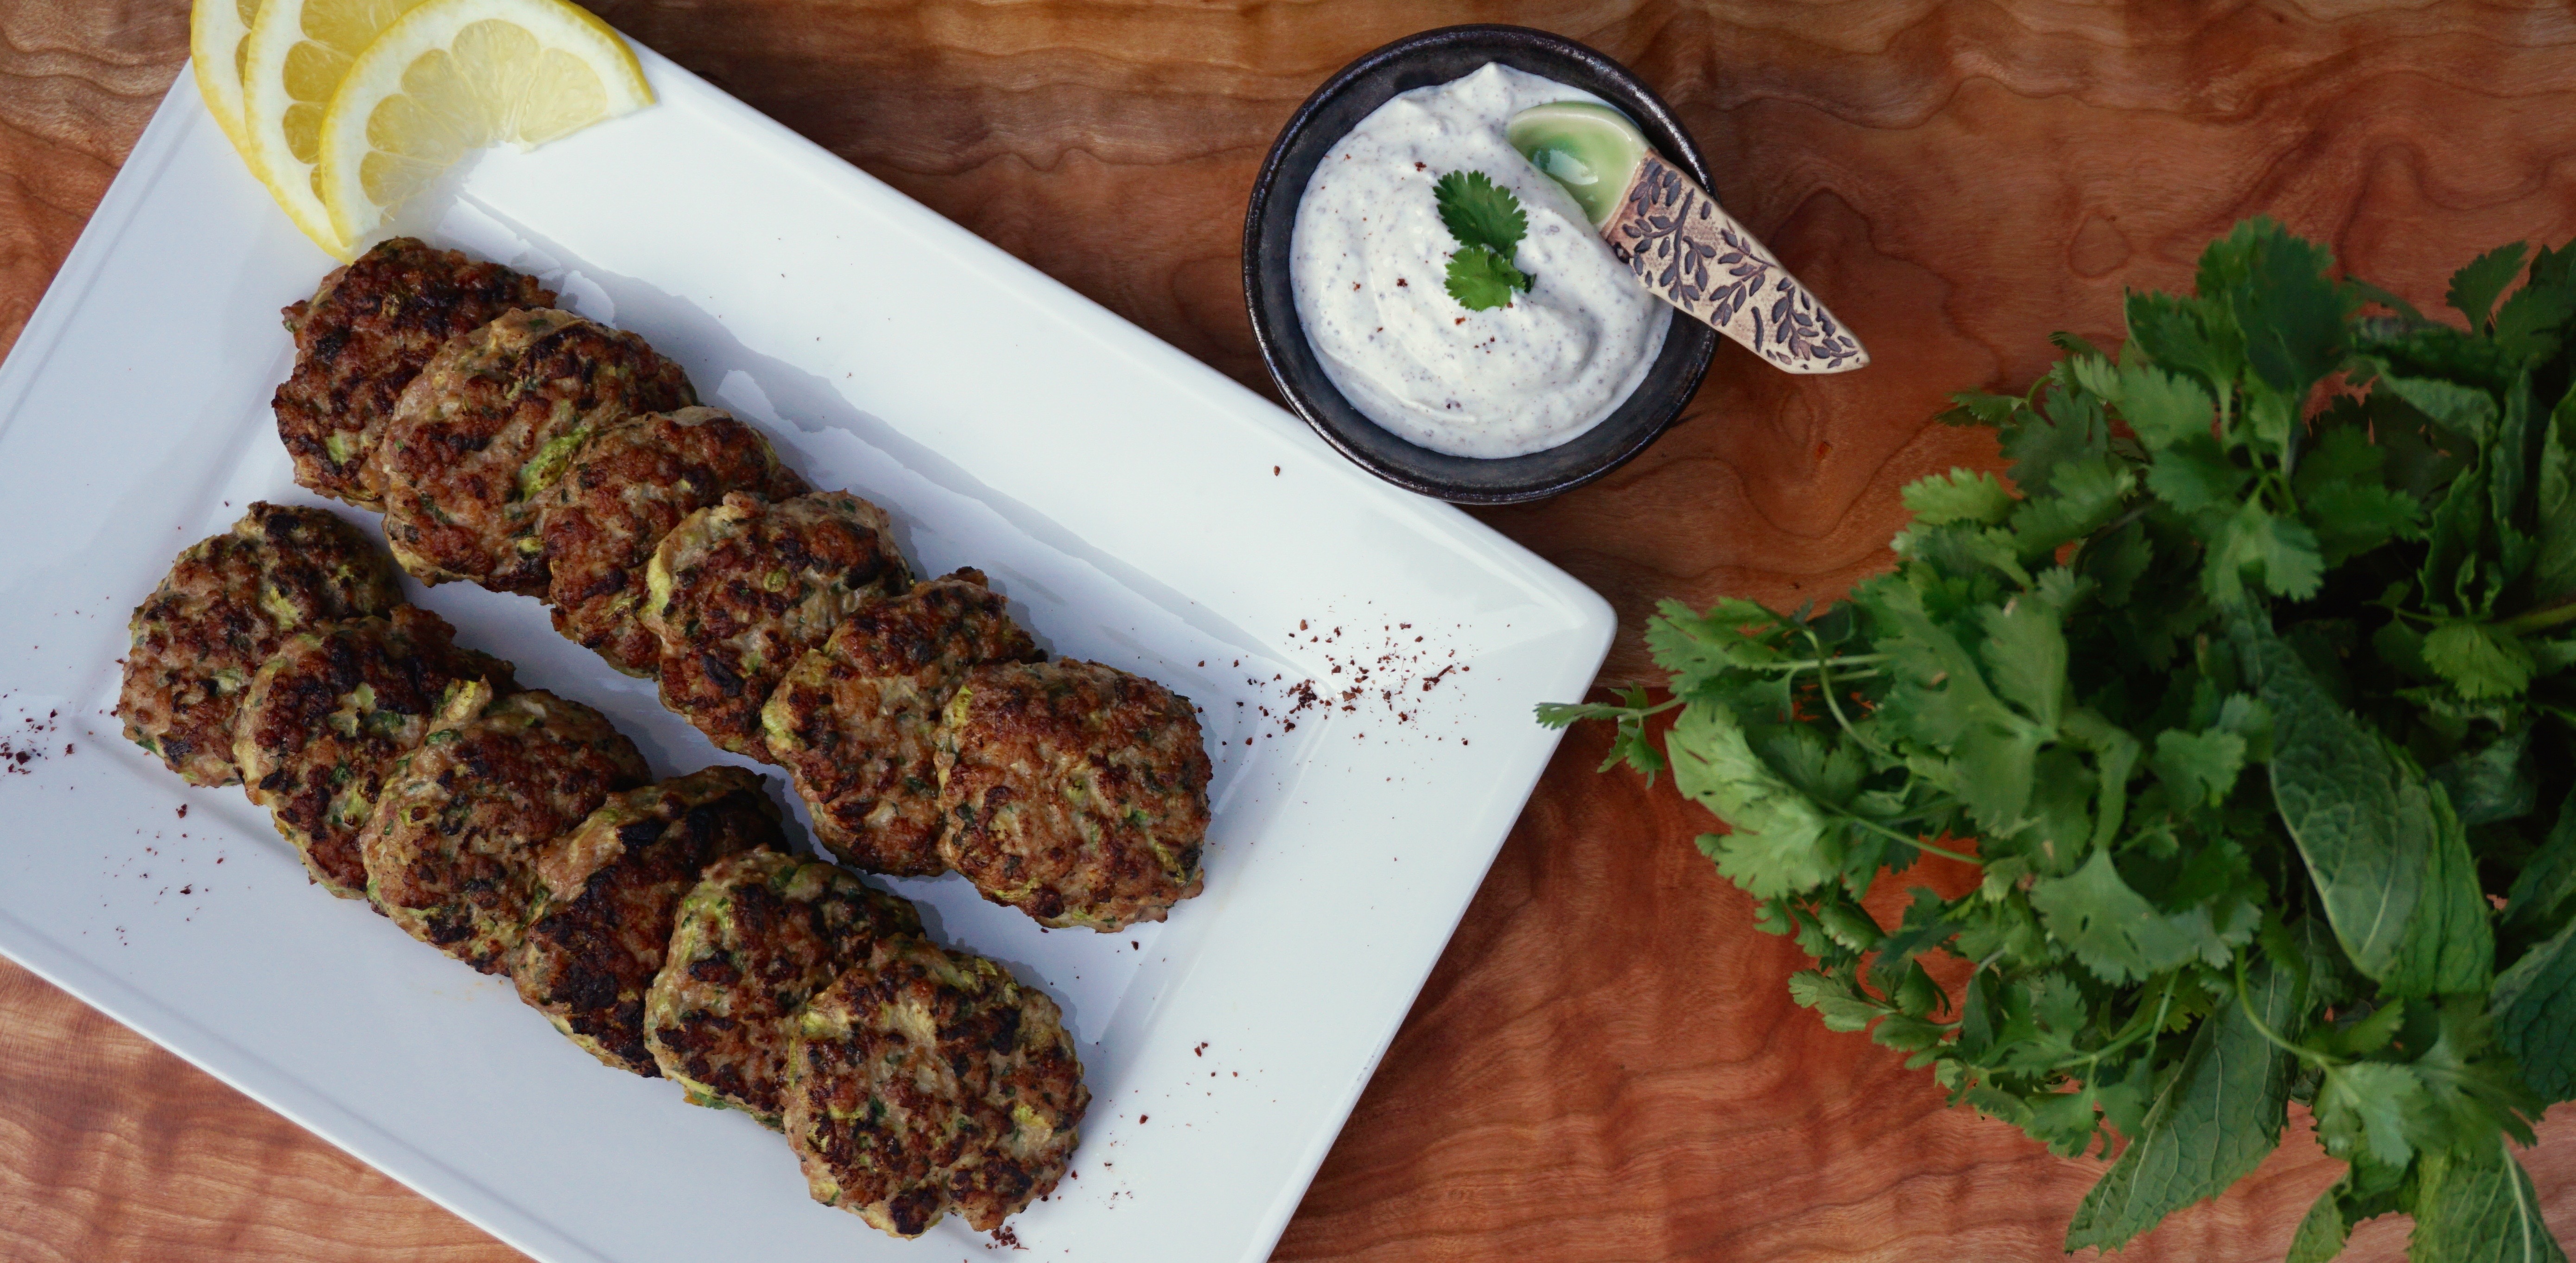
I remembered a recipe I had tried from cookbook author Ottolenghi, turkey and zucchini burgers with a yogurt sumac sauce.  If you have not checked out any of his cookbooks, please do.  This tasty recipe comes from his book Jerusalem.  It is filled with beautiful photos and stories about the food and the city. The recipes are filled with bold, bright flavors of which most were new to me.  The book is a collaboration between Yotam Ottolenghi and Sami Tamimi.  What I love is Yotam is Israeli and Sami is Palestinian. Both spent their childhoods in Jerusalem, growing up on opposite ends of the city.  Their mutual love of food brought them together in London.  Sharing food brings people together and hopefully helps to transcend our differences.

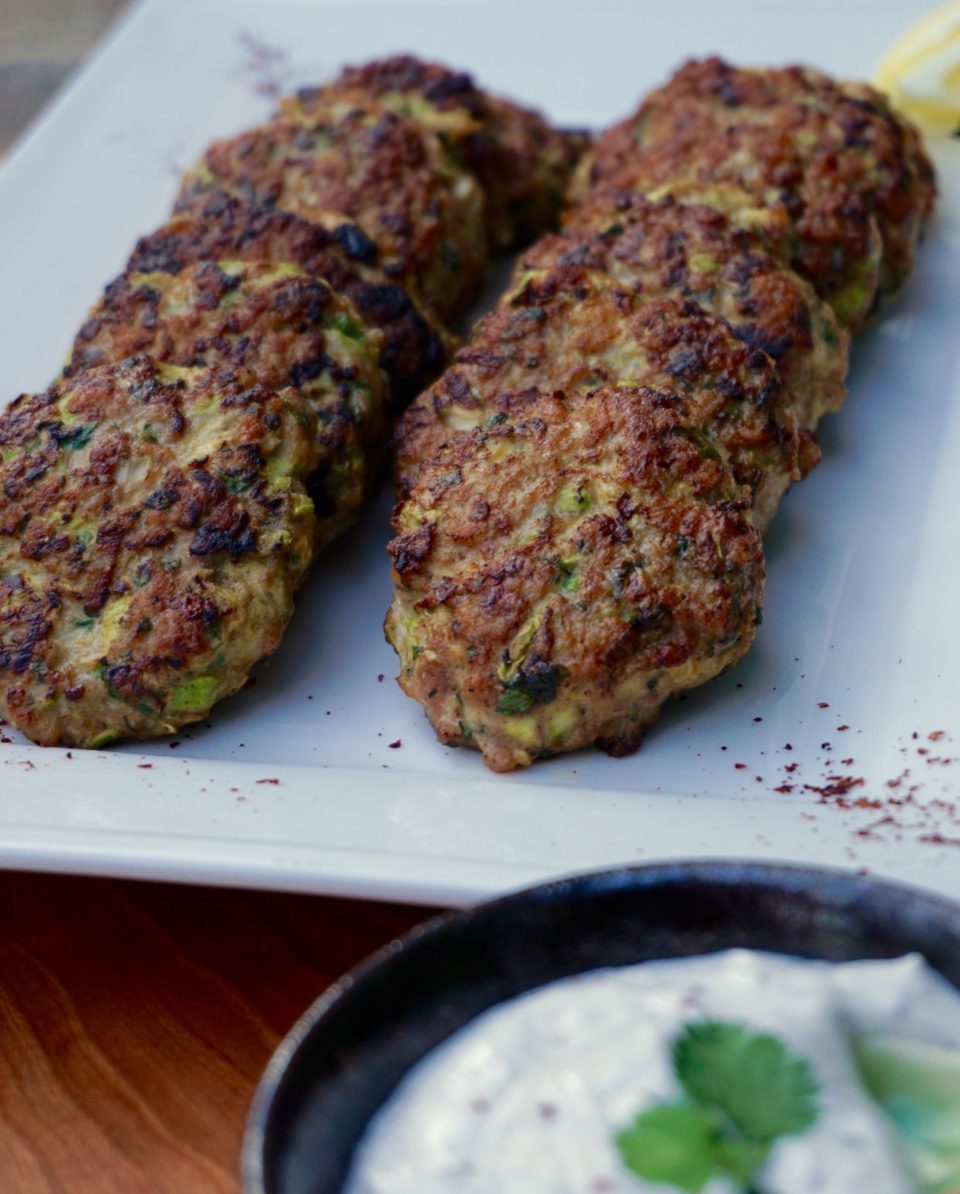
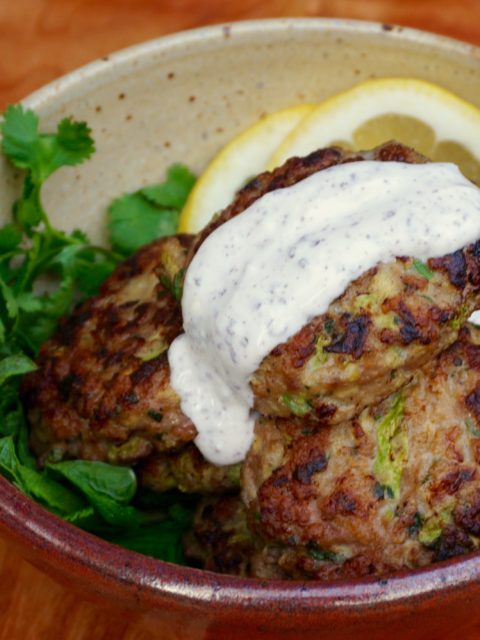
This dish is easy to prepare, healthy and tasty.  The burgers are made with ground turkey and grated zucchini.  The addition of mint, cilantro, scallions, cumin, cayenne and garlic makes it a party in your mouth.
A dipping sauce of yogurt and sour cream sauce is a cool and refreshing counterbalance to the meat patties.

DSC04441 (1)The sumac in the sauce, an herb that is both tart and fragrant further enhances the dish.  It can be found at Whole Foods, any Middle Eastern store or online.  Though you can increase the lemon in place of the sumac, try to find it.  It has a fragrant, fruity dimension that the lemon does not that I think really sets it apart.  We ate them with a bit of rice the first night and then stuffed in pita bread and topped with tomatoes and fresh grilled corn the following day for lunch.  Yums. Really versatile and almost better the next day as the flavors have had a chance to blend.
Try this recipe and check out the Ottolenghi cookbooks, breathtakingly beautiful and a joy to read.  If you are like me it will open doors to new flavors and foods.

Turkey and Zucchini Burgers with Sumac Sauce

Ingredients

Burgers

  • Approximately 1 pound or 500g ground turkey or chicken
  • 1 large zucchini coarsely grated (about 200g in total about 2 cups)
  • 3 green onions thinly sliced
  • 1 large egg
  • 2 tbsp chopped mint
  • 2 tbsp chopped coriander
  • 2 garlic cloves crushed
  • 1 tsp ground cumin
  • 1 tsp salt
  • ½ tsp course ground black pepper
  • ½ tsp cayenne
  • ~ 1/4 cup of vegetable oil for searing

Sour cream & sumac sauce:

  • 1/3 cup sour cream
  • 2/3 cup Greek yoghurt
  • 1 tsp grated lemon zest
  • 1 tbsp lemon juice
  • 1 small garlic clove crushed
  • tbsp olive oil
  • 1 tbsp sumac
  • ½ tsp salt
  • ¼ tsp black pepper

Instructions

Yogurt sauce

  • In a medium sized bowl, combine ingredients for sauce and mix thoroughly. Place in refrigerator to set and chill while making burgers.
  • The sauce will mellow with time, feel free to add a bit more sumac and lemon juice to taste.
  • Preheat oven to 425 degrees.

Burgers

  • Combine ingredients for burgers in bowl, mixing gently. The mixture is pretty wet. You can omit the egg or squeeze some of the liquid out of the zucchini to make forming patties a little easier.
  • Form patties in desired size. I used a 1/4 cup ice cream scoop which made smaller sized patties roughly 1.5 ounces in weight. This made about 15 appetizer sized patties.
  • Sear over medium high heat and place on parchment or silpat lined baking sheet.
  • Bake in oven for 6-8 minutes.
  • Serve with yogurt sauce.