
Bleary-eyed, I arrived home at 6:15 AM after dropping off Jamie at the airport at 5 AM. I actually live only 10 minutes from the…
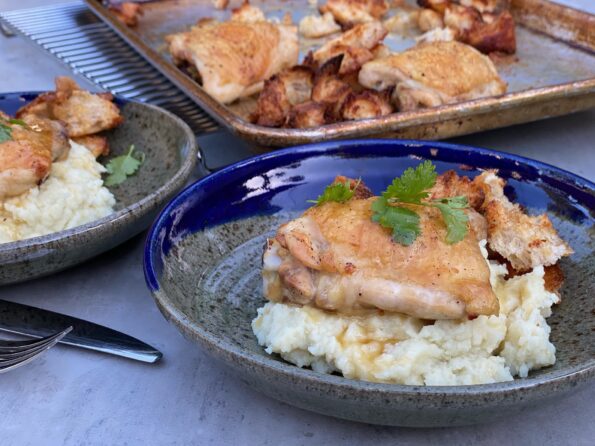
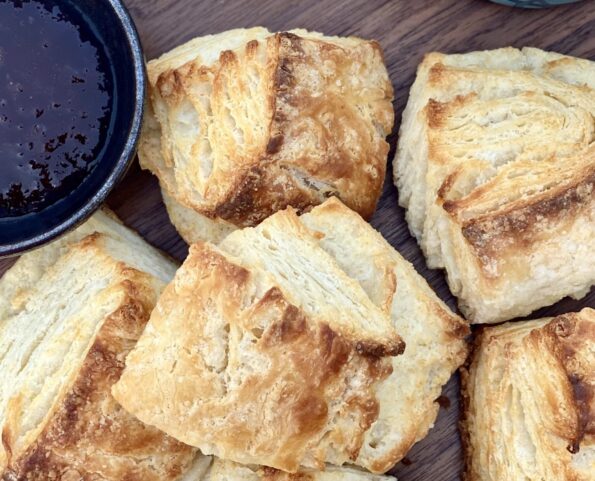
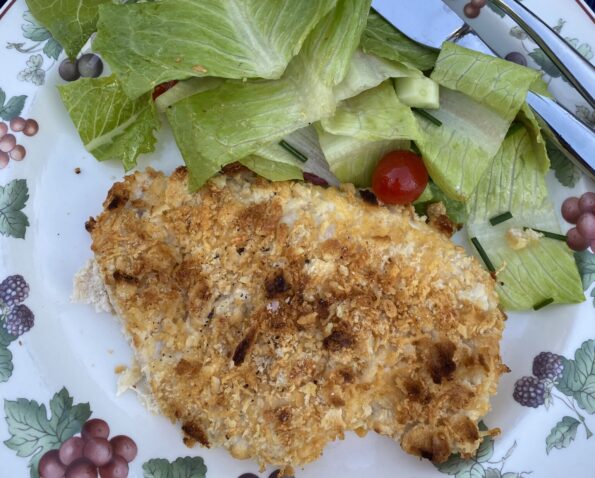
I couldn’t help but tweak Eric Kim’s Roasted Chicken with Fish-Sauce Butter title. I added Croutons to the title because… let’s be real, the croutons…
I am seriously thinking about adding a new category to 3Jamigos. I’m going to call it “Everything Everywhere All at Eric”. Serving a dual purpose,…
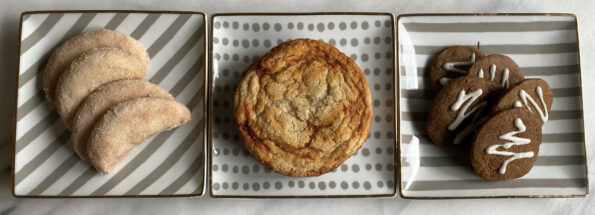
My favorite cookie this past holiday season was Eric Kim’s Gochujang Caramel Cookie. I worked my way to writing about it by posting my two…

Yay, the Twelve Seven Eight Days of Christmas Cookies! The best-laid plans of mice and me…sometimes need a tweak. Actually, not to pat myself on…
This past weekend the hubster went up to Tahoe to do maintenance on our cabin. So I was flying solo at home with Sammy our…
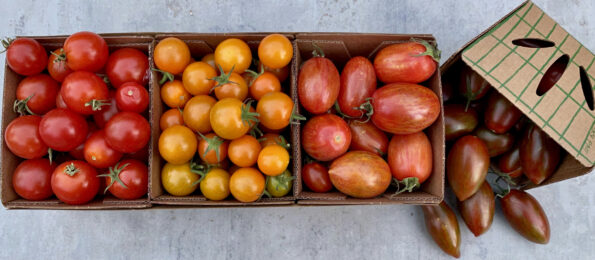
I have taken over tomato duties from the hubby who has given up on becoming an urban farmer. We just haven’t had any luck with…
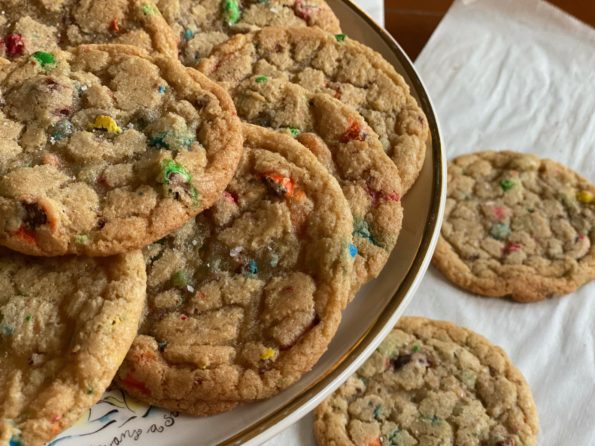
Cookie Number Two-Twelve Days of Cookies Last year my absolute favorite cookie was Eric Kim’s Grocery Store Cookie. I called it my Marie Kondo cookie,…
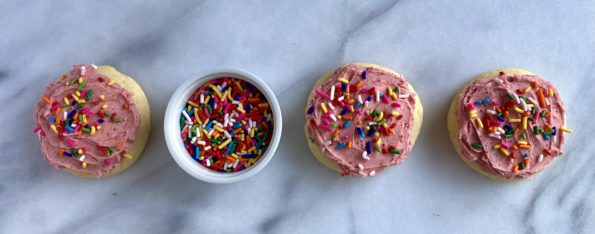
My favorite holiday cookie of the season is Eric Kim’s (check out his site, wonderful essays, beautiful writing) Lofthouse Style Grocery Store Cookie. It’s surprising…