
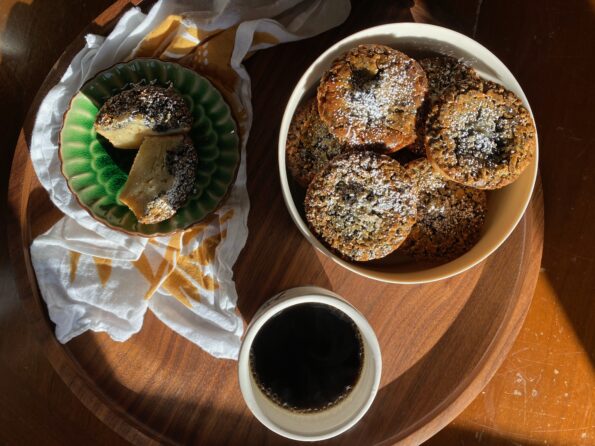
I first made Eric Kim’s Chewy Black Sesame Mochi Cake after a “Bake-a-long” with him, a perk for purchasing his book, Korean American. I was…
Right before the pandemic hit we capped off a year of traveling by going to Maui. A celebration for the hubster’s birthday and his early…
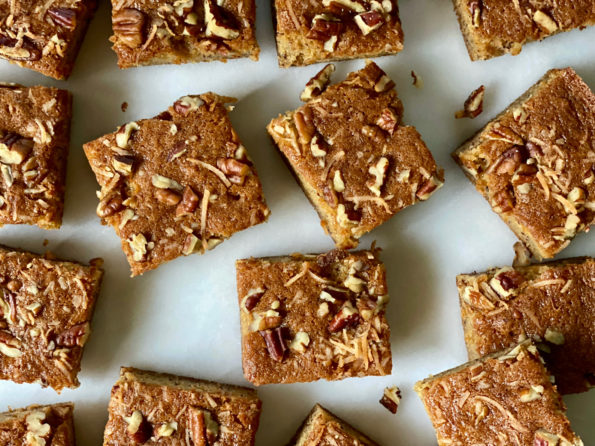
I think of myself as a pie person but lately, I have found myself baking cakes. Not fancy multi-layer show-stopper cakes, simple one layer, easy…
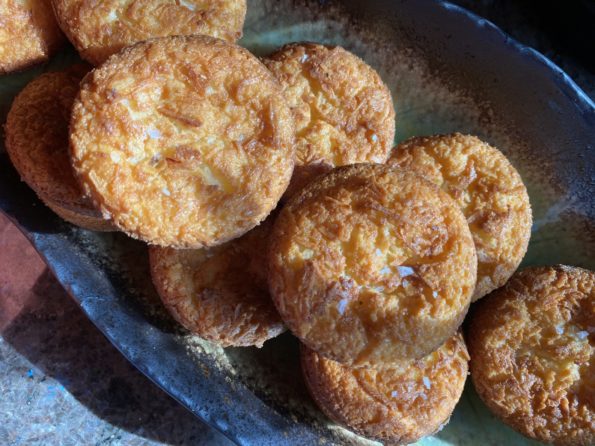
Yes, on the Mochi treat trail once again. Aside from being delicious, Mochi is pretty darn easy to make thanks to Mochiko Sweet Rice Flour. …

Chocolate mochi donuts, delicious gluten-free treat!

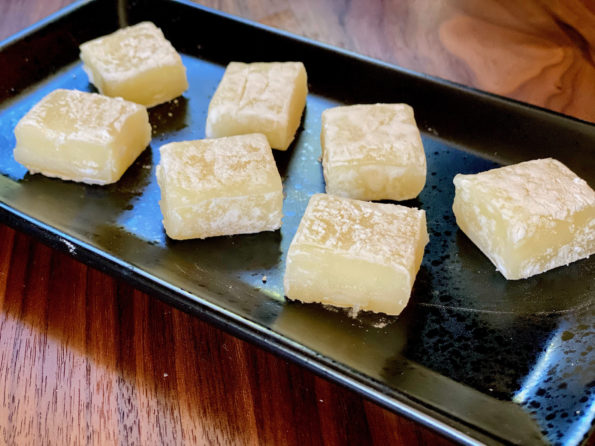
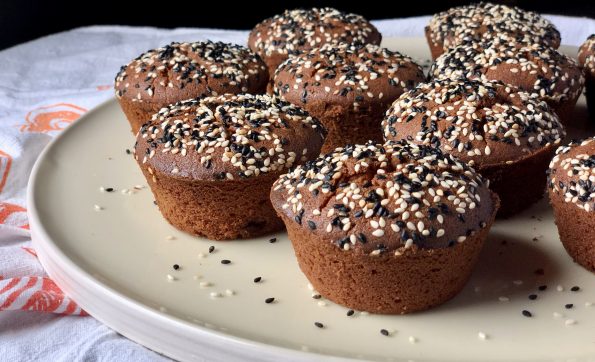
Gluten-free (rice flour) peanut butter mochi from A Common Table Cookbook. Delicious and easy to make!
Always searching for new and different treats, I came across an article that spotlighted Third Culture Bakery in Berkeley. The baker is an alum of…