
I am always looking for gluten free desserts and Vegan treats for my friends. This is a cataclysmic mind-shift for a person who has always…
Day 2 of Shelter in Place. I receive a text from a friend that the supermarkets are a little calmer than yesterday. That’s my cue…

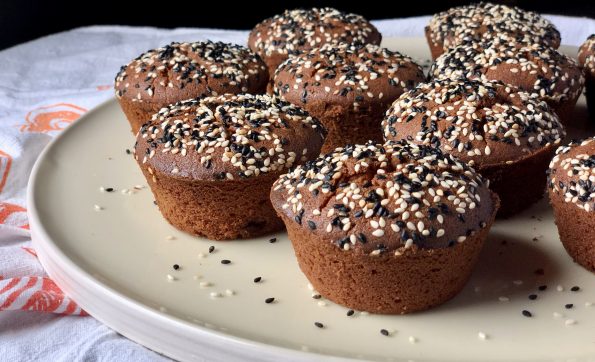
Gluten-free (rice flour) peanut butter mochi from A Common Table Cookbook. Delicious and easy to make!
Always searching for new and different treats, I came across an article that spotlighted Third Culture Bakery in Berkeley. The baker is an alum of…

Hey guys! It’s Jamie, again! I am finally back home for the summer, and I am loving it. Not only did I escape the disgustingly…

Are you ready to start baking for the holidays? I tried two new cookie recipes yesterday to take to our annual holiday cookie swap, and…