Tag: easy recipe

Goblin-g Up Some Delicious Short Ribs

Goblin-g Up Some Delicious Short Ribs

Greetings from rainy Quebec City!  Hubby and I decided to take a quick trip to Montreal and Quebec City.  Our last trip to the eastern side of Canada was for a hockey tournament for Jeffrey quite a few years ago.  We made it as far as Toronto that time.  This time we were off to Montreal.  W (the hubs) has decided that his criteria for traveling is “what sporting event can I go to”.  The Sharks versus the Montreal Canadians met this criteria.  Hmmm, would I go along?  I am a sports junkie too, but maybe not to the same extent.  BUT, (picture me looking very sheepish as I type this), I am a HUGE Korean drama fan.  It’s my escape. Even though their political dramas do hit a little too close to home, I am hooked.  Every politician in the K-Drama World is corrupt, all the way up to the top banana (or should I say orange?). Imagine that.

So, besides going to a hockey game in Montreal, I bartered for a couple of days in Quebec City.  My favorite K-Drama, Goblin-The Great and Lonely God, features this beautiful city.  So, like a drama groupie, I wanted to visit the different sites featured in Goblin. Think I’m crazy?  At least I’m not alone, check this out Asian Tourism to Quebec City.  Curious about the door?  Wait for my Quebec City post!

Just before heading to Canada, I went to my favorite little cookbook store in the City, Omnivore Books for a book signing event.  Ivan Orkin and Chris Ying stopped by to introduce their new book, The Gaijin Cookbook-Japanese Recipes from a Chef, Eater, Father, and Lifelong Outsider.

While his ramen book can be intimidating, this book is very user friendly and kid friendly, win-win.  Food you feed your family everyday, from classic Japanese recipes to off-beat recipes that are definitely mash-ups from his life in New York and Japan.

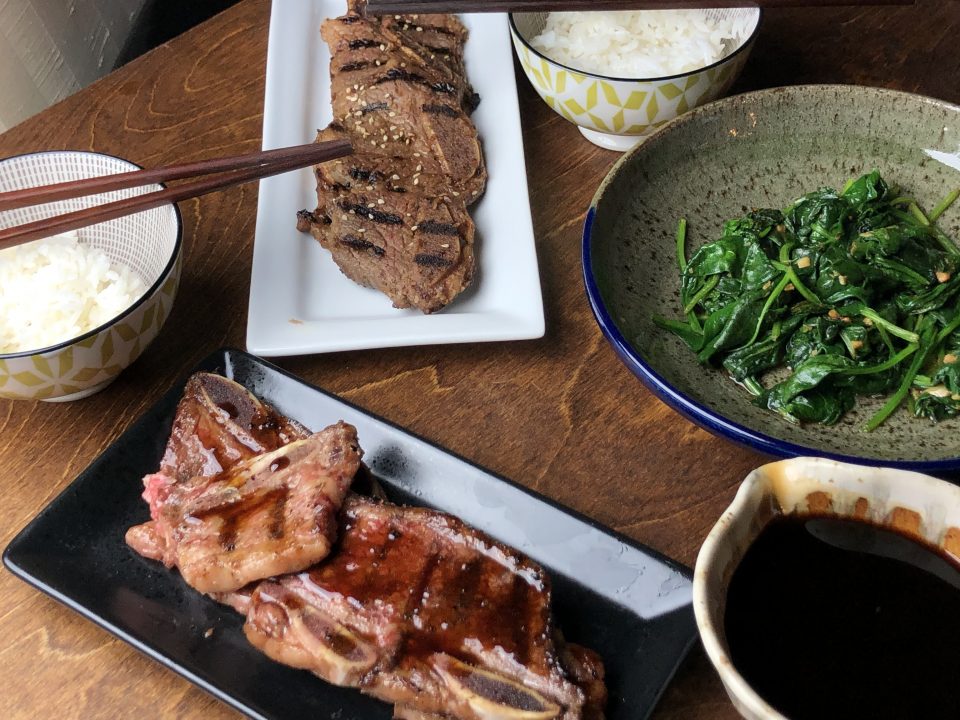
I pulled Korean style short ribs out of the fridge and decided to marinade half in my go-to Kalbi recipe and for the other half, I made the Teriyaki Sauce recipe from Ivan Orkin’s book.  Incredibly easy with just 5 ingredients (so user friendly-amirite?).  His tweak is genius, he adds oyster sauce to his recipe, so good.  Yep, short rib, two ways, perfect for the Goblin who only eats meat, and perfect for the rest of us who love Teriyaki.

The Teriyaki Sauce can be made ahead of time and keeps in the fridge.  It is delicious on not just beef, but chicken, salmon or pork.  I mean, really, what isn’t tasty with Teriyaki sauce on it.

Teriyaki Sauce from Ivan Orkin

A stupid easy, incredibly tasty Teriyaki Sauce that goes well with beef, chicken, fish and pork. From Ivan Orkin‘s new book, The Gaijin Cookbook.
Course Main Course
Cuisine Asian
Keyword beef, ivan orkin, japanese food, teriyaki sauce
Prep Time 10 minutes
Cook Time 4 minutes

Ingredients

  • 1/4 Cup Sake
  • 1/4 Cup Mirin Sweet cooking wine
  • 1/4 Cup Soy sauce Kikkoman is perfect, but any all-purpose soy sauce will work
  • 1/4 Cup Oyster Sauce Repeat after me Lee Kum Kee, woman and little boy in a boat on the label
  • 1 Tbsp sugar Granulated or raw

Instructions

  • Combine all ingredients in a small bowl. Whisk together until sugar dissolves. Store in refrigerator. Keeps for min of a couple of weeks.
  • This sauce is not a marinade. Cook protein by your method of choice. Cook your steak or chicken using your favorite method.
  • Pour teriyaki sauce until a small skillet. Over medium heat cook sauce until it reduces and seems syrupy. Approximately 4-5 minutes.
  • Drizzle sauce over your main and enjoy! Serve sauce on the side for anyone who needs to help.

Thinking about checking out Montreal and Quebec City?  My post on these two fabulous cities is coming soon!

Cheesy Corn, Are You Ready for Some Football Food?

Cheesy Corn, Are You Ready for Some Football Food?

I love the fall season. Aside from all things pumpkin and apples, I start thinking about foods that go hand in hand with watching football.  My dad was a sport’s junkie and he definitely passed the sports-watching gene to my brother and me.  He also liked to cook.  Every Sunday he would have a big pot of Rice Soup or Congee simmering just for the 49er game. I’m not sure what I looked forward to more, the Rice Soup (Instant Pot) filled with bits of chicken, potatoes, tiny pork meatballs, topped with green onions and cilantro, or the football game.  

Football Food

In addition to the soup, football watching requires yummy totally bad for you snack food and I just discovered one that would fit in perfectly with a sport-watching spread.  One of my favorite cookbooks this year, A Common Table, has a popular Korean snack that must have been created to go with beer and fried chicken and therefore football.  Korean Cheesy Corn. Yep, the best thing since sliced bread. Okay, I’m kidding but it is good and stupid easy.

Start with fresh corn from the Farmer’s Market.  It is so good right now.  Frozen corn or canned corn (lots of Korean recipes start with canned corn) would work, but, come on, go fresh and support your local farms.

And now a public service announcement, a video on how to take corn off the cob from Saveur using a bundt pan! It works like a charm!

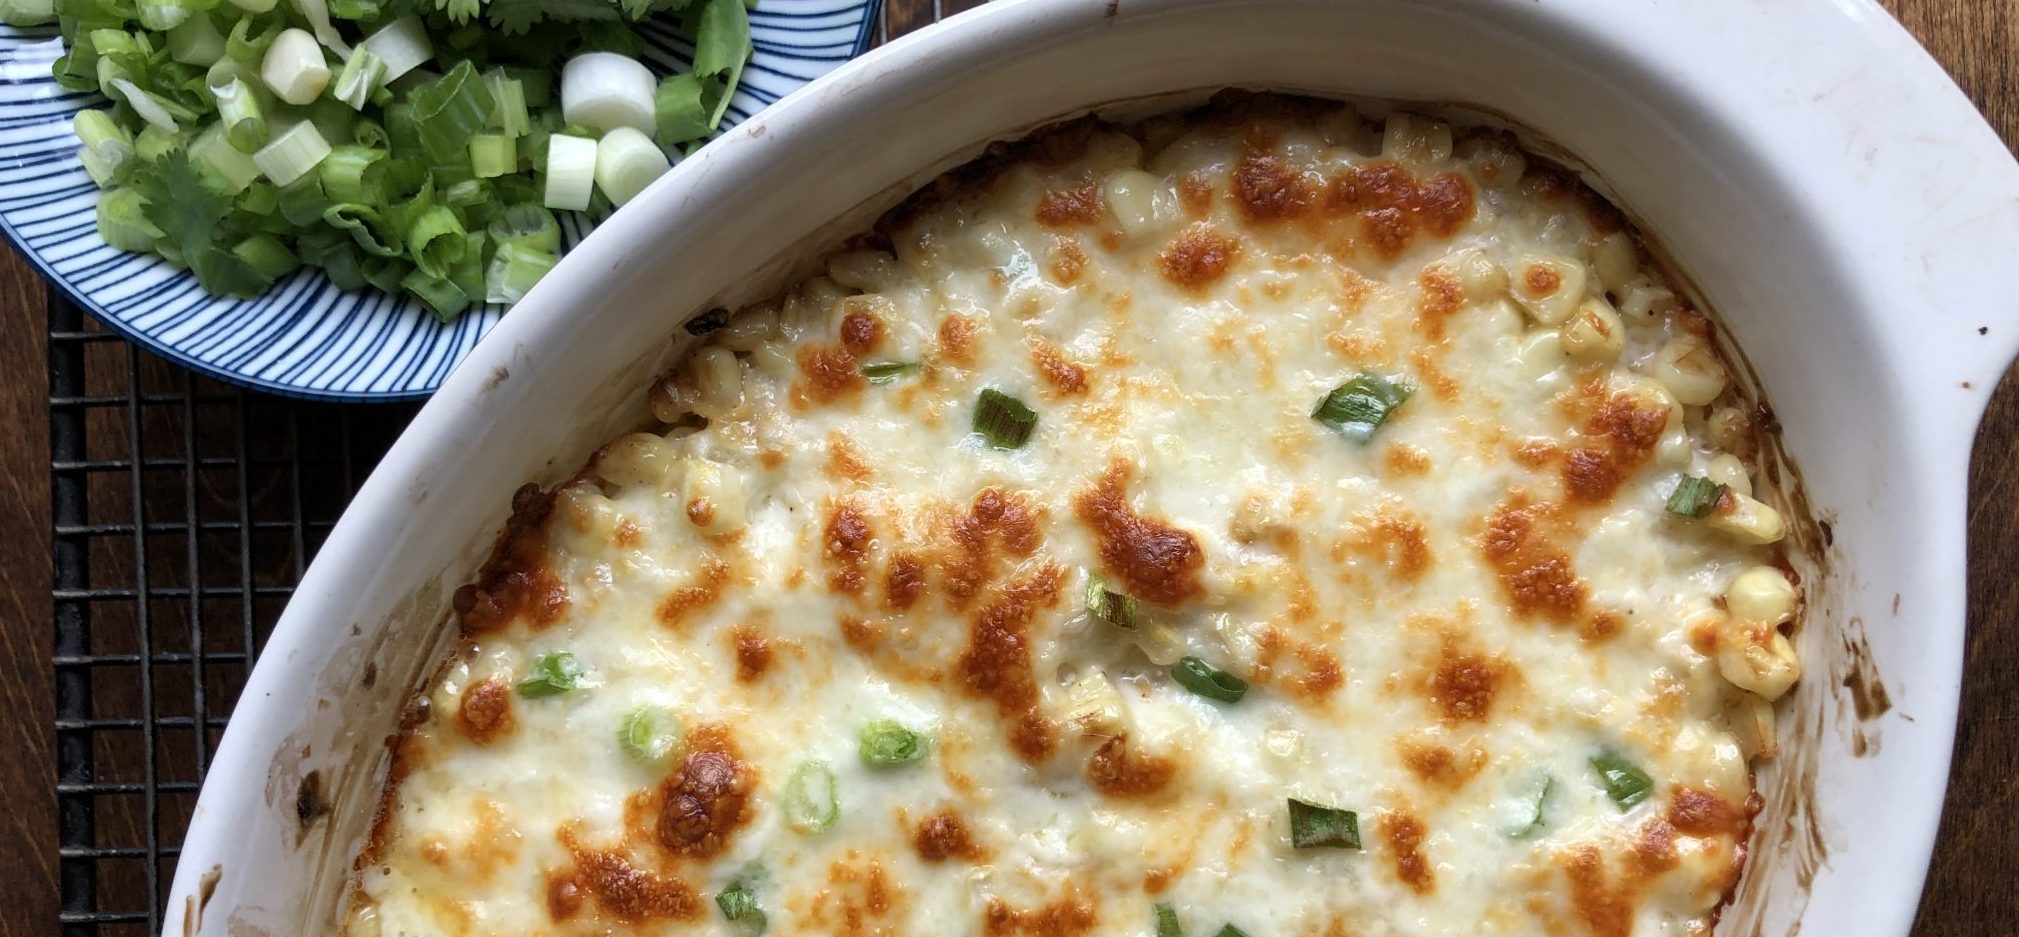
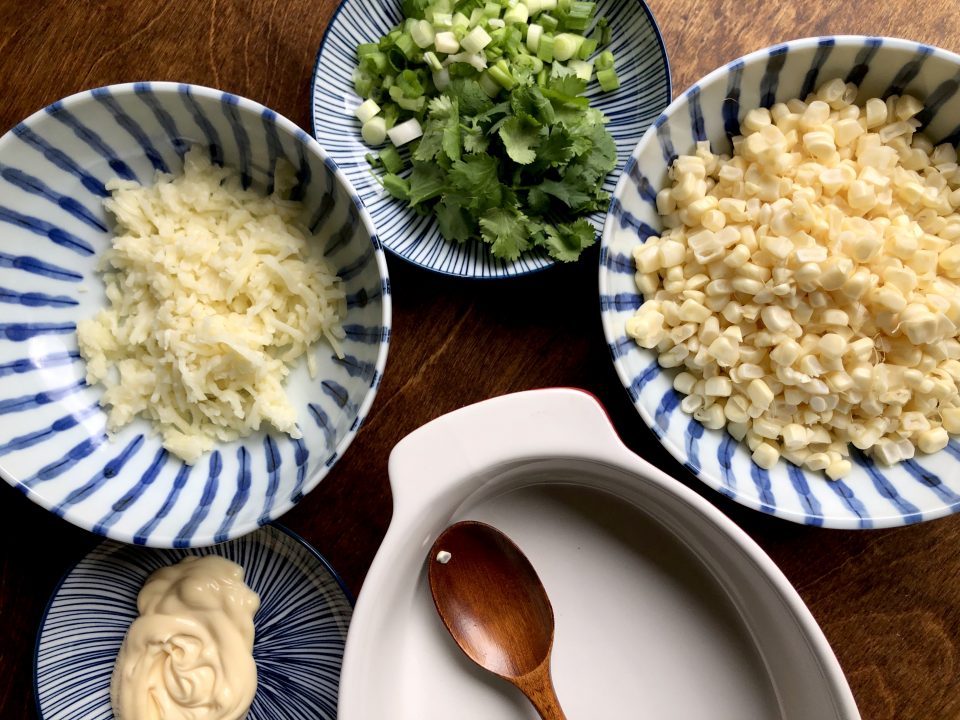
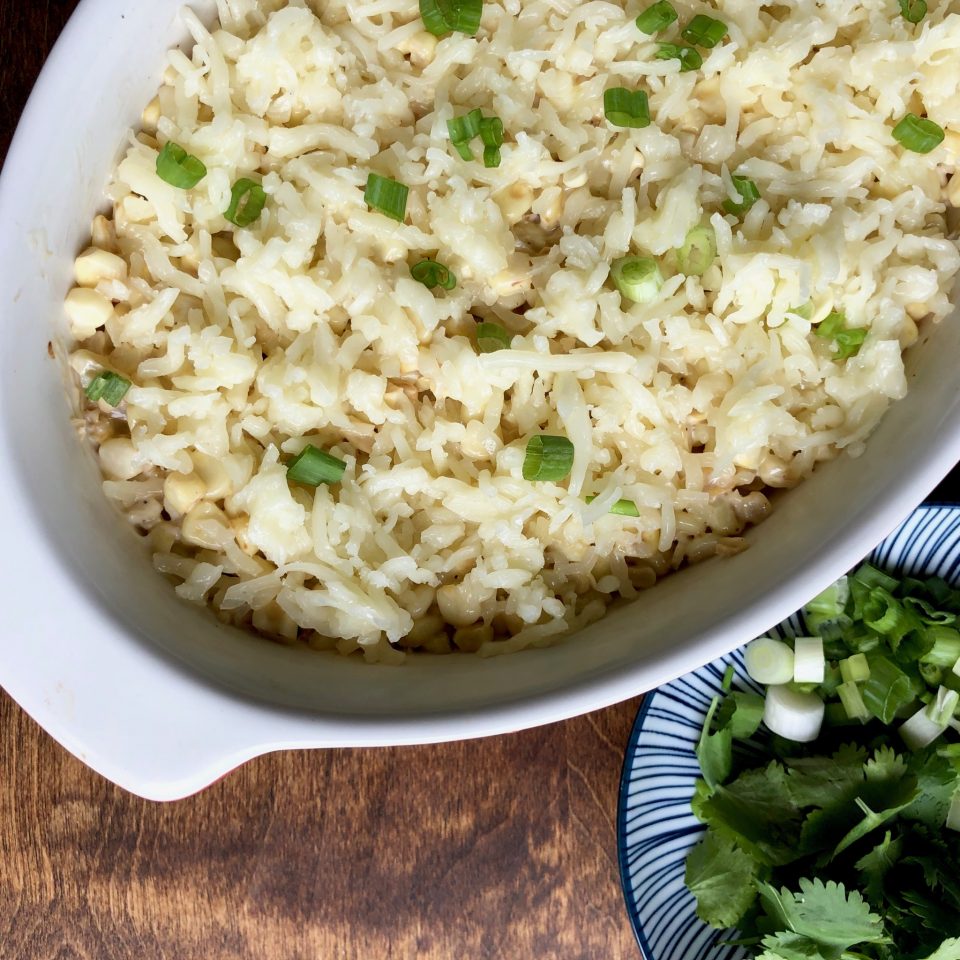
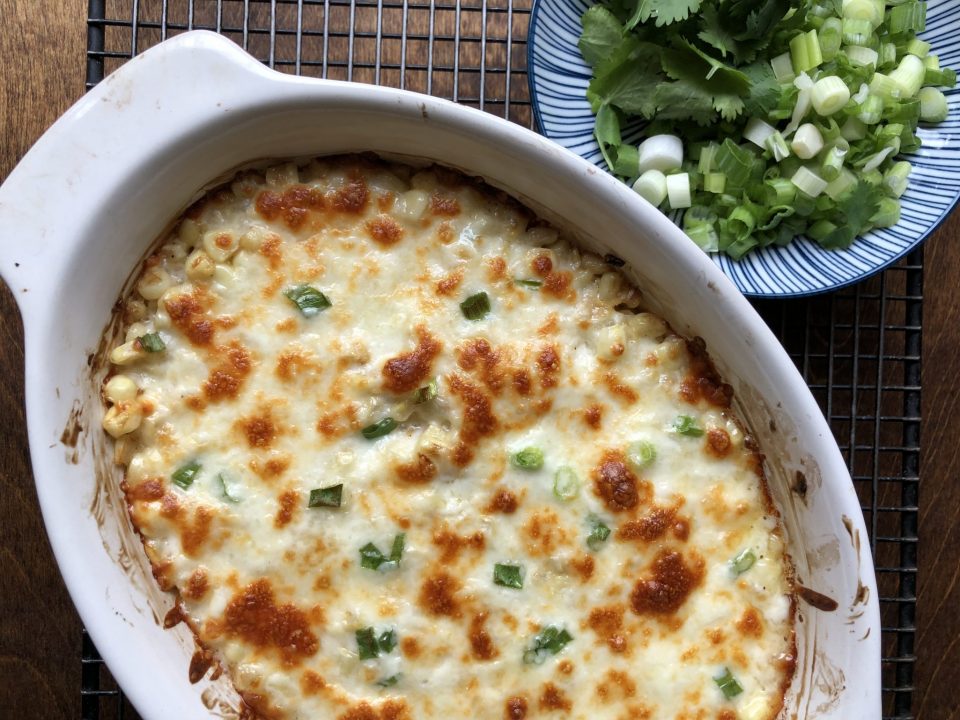
From here on in it’s a downhill slide.  Stir-fry corn in oil or butter until it is soft.  Combine corn with mayonnaise and place in an ovenproof dish. I use Kewpie Mayo which is slightly sweet but use whatever mayo (better be Best Foods) you have in the fridge.  Sprinkle a crap ton of Mozarella cheese on the corn and bake at 500 until the cheese is browned, gooey and melty. So delicious.  Versions of Korean Cheesy Corn add sugar.  If your corn is sweet you won’t need to, but if you like it sweeter add 1-2 teaspoons of sugar.  If you use Best Foods or Hellman’s add 1 tsp of sugar.

The corn, mozzarella, mayo, green onions, and cilantro are the basic ingredients for this yummy super easy dish.  Of course, you can go CRAZY and add extra fixings to bring it to a whole new level.  A bucket list of add-ons includes bell pepper, red onion, jalapeno peppers, or crumble in bacon (cuz everything is better with bacon).   You can also add cut-up rice cakes cause what’s a few more calories in a totally not-on-your diet dish.

Ready set, dig in!

Korean Cheesy Corn

Delicious, decadent and easy. Korean Cheesy Corn a popular Korean dish. Perfect as a side dish or snack.
Course Side Dish
Cuisine Asian
Keyword cheese, Corn, Korean, Korean Cheesy Corn, snack
Prep Time 15 minutes
Cook Time 5 minutes
Servings 4 servings

Ingredients

  • 1-1/2 cups fresh corn about 2 ears, canned or frozen can be used
  • 2 tbsp mayonnaise, preferably Kewpie add 1-2 teaspoons sugar if using regular mayo
  • 1 tbsp unsalted butter or vegetable oil
  • 1/4 tsp salt
  • 1/4 tsp fresh ground pepper
  • 1/2 cup shredded mozzarella or more if you are a cheese freak. Additional 1/4 cup stirred into corn with mayo.
  • 1/4 cup sliced green onions
  • 1/4 cup cilantro coarsely chopped
  • 1/8-1/4 cup additions ie. bell pepper, diced red onions, bacon, optional

Instructions

  • Preheat oven to 500 degrees
  • In a large non-stick skillet, heat butter or oil. Over medium heat, add corn and if using bell peppers, jalapeno or onions. Cook, stirring frequently until soft about 4-5 minutes. Season with the salt and pepper.
  • Transfer corn to an ovenproof dish, stir in mayo and sugar if using.
  • Sprinkle cheese evenly over the surface and bake for 5-7 minutes until cheese is melted, bubbling and starts to brown. Like a pizza!
  • Garnish with green onions and cilantro and serve immediately.
Fall Into the Porkfect Meal

Fall Into the Porkfect Meal

I walked out this morning and for the first time, there was a slight chill in the air. Is Fall finally here? Hmmm. Let me check.  That crisp feeling in the air, apples instead of stone fruit at the farmer’s market (I found both last weekend) and PUMPKIN SPICE LATTES in every Starbucks.

Fall is coming.

With my postcard posse coming over, I didn’t want something light.  I had a hankering for all things homey and satisfying.  A little chill in the air will do that to you.  I dug through my recipes and found the perfect dish, a Roasted Pork Loin with Garlic and Rosemary from Epicurious.  Yum.  Doing the happy dance, making an easy, delicious pork roast for dinner with friends.

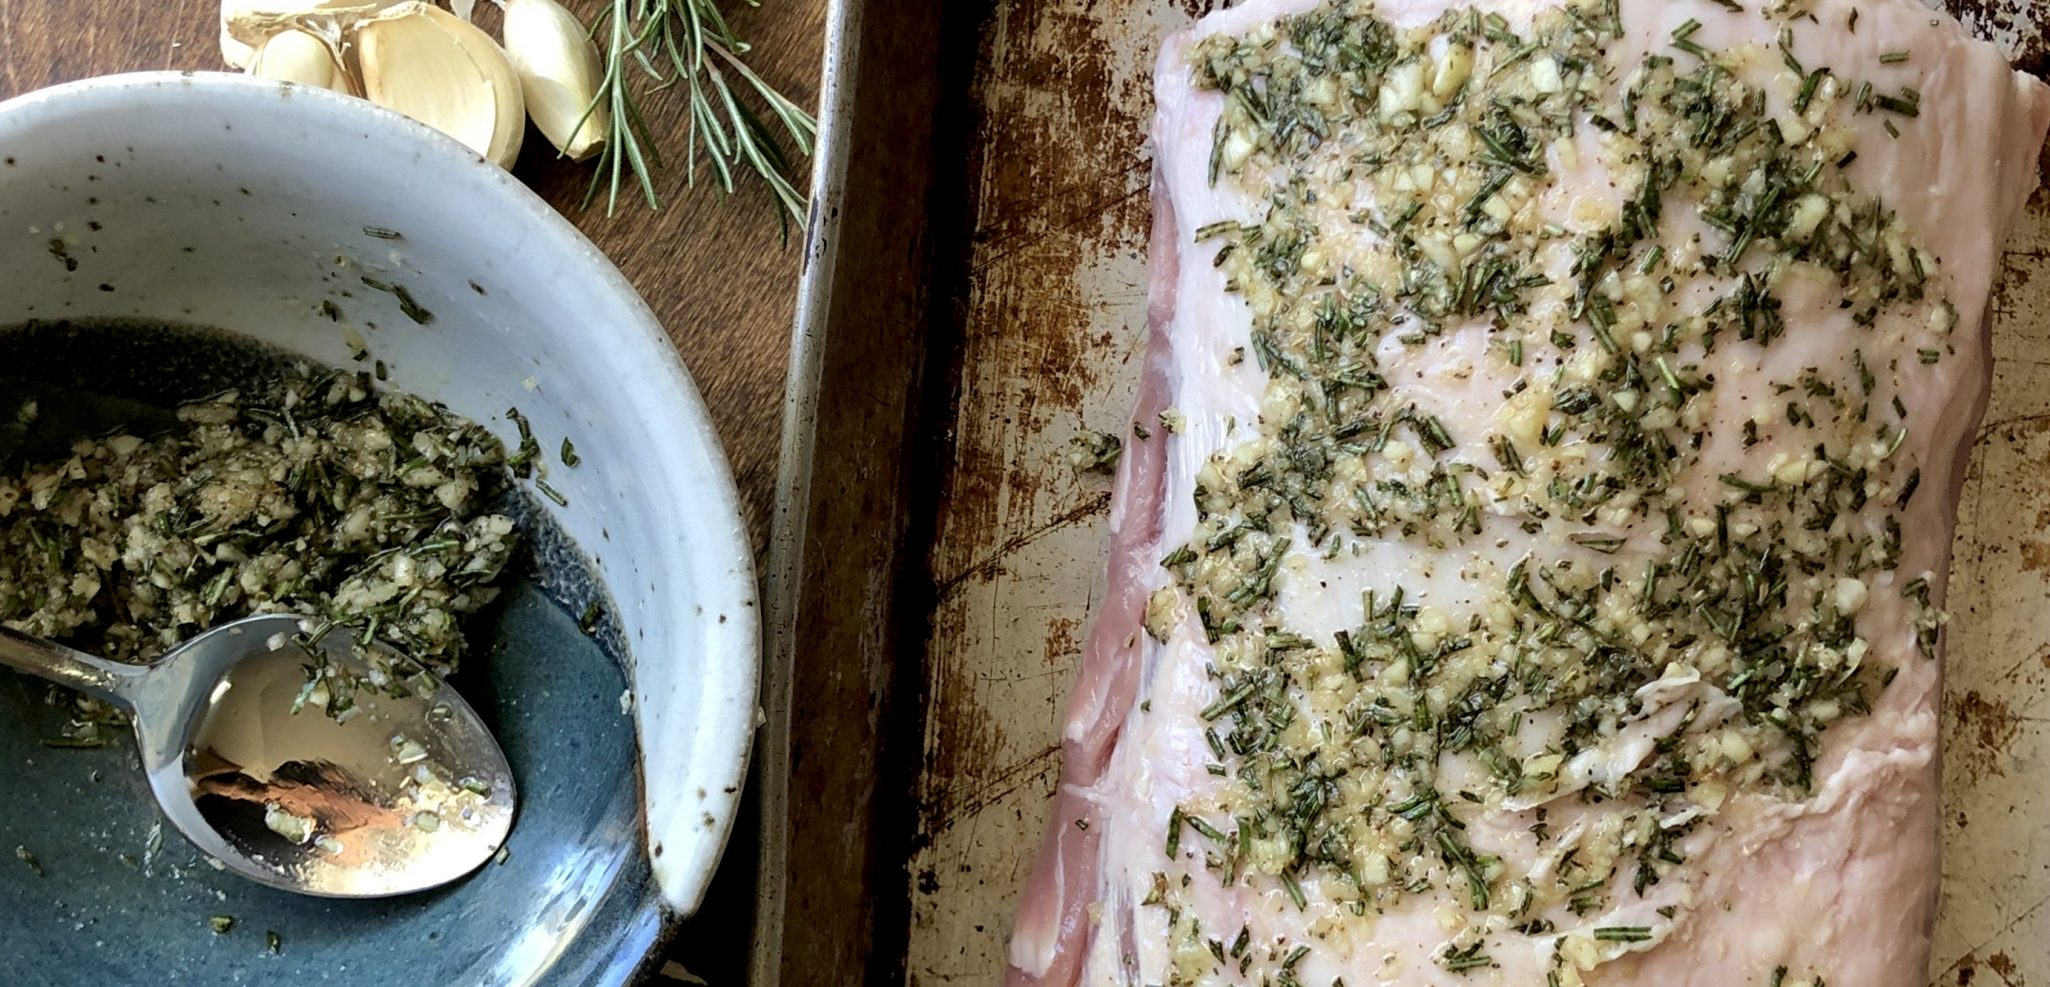
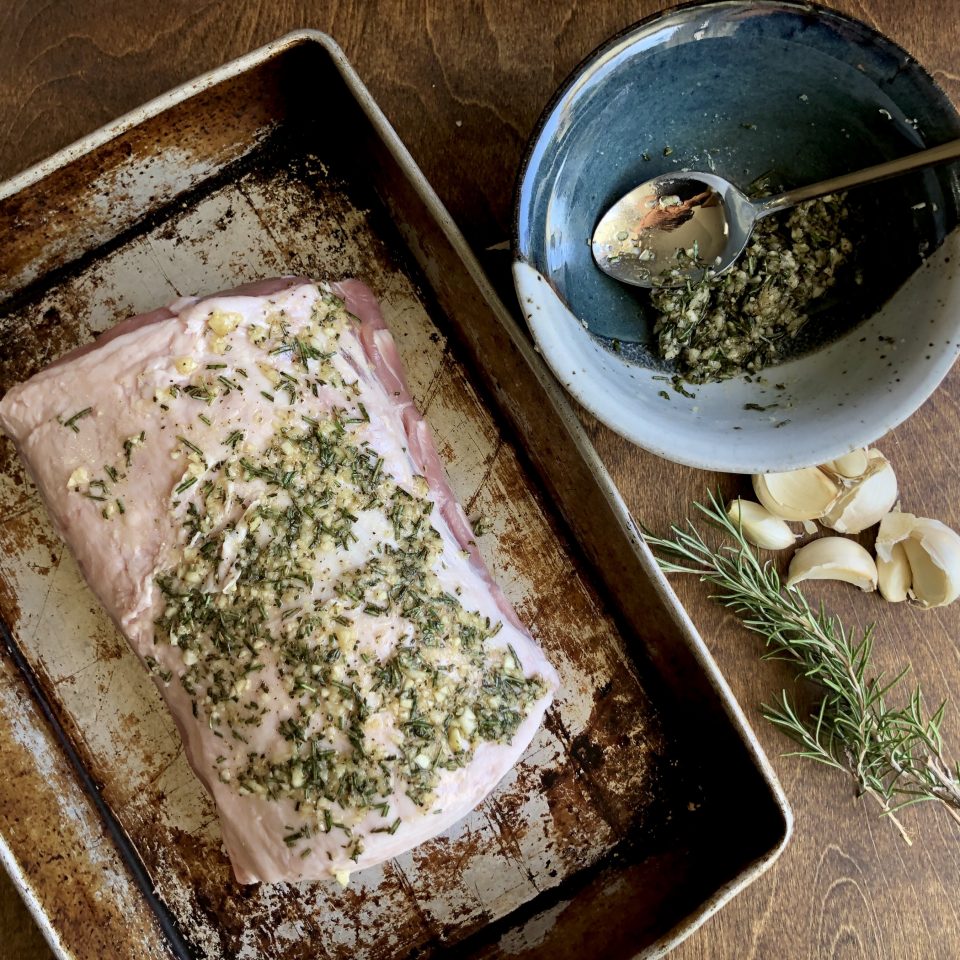
The dish starts with a simple rub of finely chopped fresh rosemary, minced garlic, coarse salt and a couple of grinds of pepper.  I like to smash my garlic and finely chop it but by all means, use a press if you like.  My mom and dad insisted on mincing herbs and meat by hand using their trusty Chinese cleaver.  I have adopted that practice.  Maybe it’s a way to feel connected to them although I do think it improves the texture and flavor of a dish.  Use coarse kosher salt but (I’m gritting my teeth as I write this) in a pinch you could use regular salt.  Make sure to reduce the amount by half if you make the switch.  I add a couple of tablespoons of olive oil to help bind the mixture and adhere to the pork roast.

Time to rub a dub-dub the spice mix onto the pork.

Don’t you love a beat-up looking well-used pan?  This pan is hubby’s and dates back to his single days.  Still going strong after all these years.

Like the Big Fig Newton, here’s the tricky part.  Don’t overcook it!  Pork is pretty lean nowadays so it can end up being dry if it is cooked too long.  The original recipe calls for over an hour of cooking time…which is fine, IF YOU LIKE JERKY.  Back in the day, the final temp for pork was around 160.  The new recommendation is 145 with a 3 minute rest time. A little pink is A-OK.  So, please, invest in an instant thermometer and don’t overcook your pork.  If you come across an older recipe, use the new guidelines or your pork will be like the Sahara Desert.

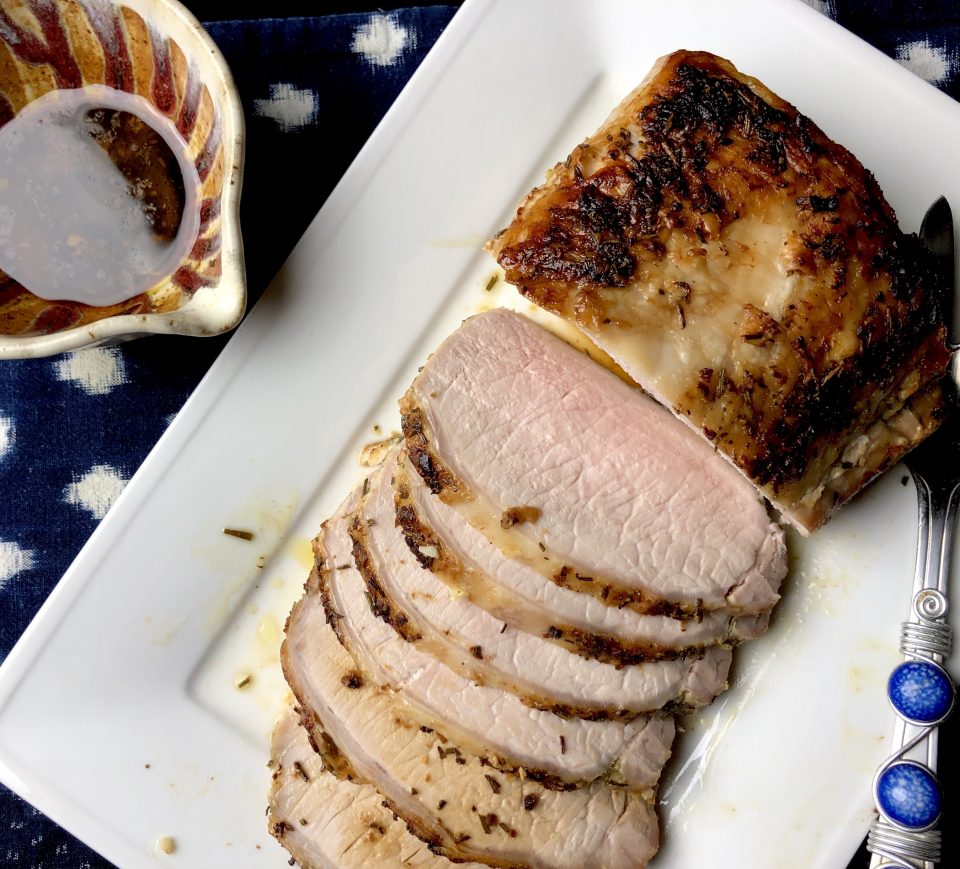
Roast the pork loin, fat side down, for 25 minutes.  Then flip and roast an additional 10-15 minutes.  Start checking the meat temperature at 10 minutes!  The roast will continue to cook as it rests, so if the temp is around 140, take it out and let it rest.

The tasty bits left in the pan make for a nice au jus so don’t toss it!  Just pour them into a bowl and serve alongside the roast.  You could gussy it up by deglazing the pan with some white wine and throwing in a bit of butter.  Hmmm-killer.

Leftovers?  Grab a loaf of ciabatta and make yourself one b*tchin sammie.

To finish off the meal with a Fall theme, I have a bushel of just-picked pears and apples from my friend Shannon.  Her pears and apples worked perfectly in my go-to apple crisp recipe.  Top with vanilla ice cream for a delicious sweet finale.

Roast Pork with Garlic and Rosemary

Course Main Course
Cuisine Italian
Keyword easy recipe, garlic, pork roast, roast pork loin, roast pork with garlic and rosemary, rosemary
Prep Time 15 minutes
Cook Time 50 minutes
Servings 8 servings
Calories 187kcal
Author Adapted from Epicurious

Equipment

  • roasting or baking pan

Ingredients

  • 4 large garlic cloves pressed or chopped finely
  • 4 teaspoons chopped fresh rosemary or 2 teaspoons dried
  • 1 1/2 teaspoons coarse kosher salt
  • 1/2 teaspoon ground black pepper
  • 1-2 tbsp olive oil
  • 1 2 1/2-pound boneless pork loin roast well trimmed
  • Fresh rosemary sprigs optional

Instructions

  • Preheat oven to 400°Line 13 x 9 x 2-inch roasting pan with foil.
  • Mix first 5 ingredients in a bowl. Rub garlic mixture all over pork.
  • Place pork, fat side down, in a roasting pan. Roast pork 25 minutes. Turn roast fat side up. Roast until thermometer inserted into the center of pork registers 140-145°F., about 15 minutes longer. Remove from oven; let stand 5 minutes.
  • Pour any juices from roasting pan into small saucepan; set over low heat to keep warm. Cut pork crosswise into 1/3-inch-thick slices. Arrange pork slices on a platter. Pour pan juices over. Garnish with rosemary sprigs, if desired.


Summer Strawberry Cake, Farmer’s Market: A Midsummer Day’s Dream

Summer Strawberry Cake, Farmer’s Market: A Midsummer Day’s Dream

Get thee to a Farmer’s Market now. It is the perfect time to visit your local market, all things fruit and vegetable are at its peak.  You can hardly walk through the market without becoming intoxicated by the aroma of vine-ripened tomatoes, peaches, and strawberries.

At my local farmer’s market, we are lucky enough to have strawberries from P&K Farms, a family run farm in the Monterey area.  I can remember a couple of years ago when I first noticed their stand at the market.  Actually, it was hard not to notice, a line easily 10 people deep had formed in front of their kiosk.  Being a true skeptic, I thought, come on, are their berries really worth the wait?

Flash forward to this past weekend.  Like an idiot, I stopped for coffee BEFORE heading to the market which then meant waiting in the “way more than 10 people” line for my 3-pack of ruby perfection.  Yes, it is worth the wait.  Their strawberries are sweet, full of flavor, and remarkably hardy.

Let Them Eat Cake!…with Strawberries

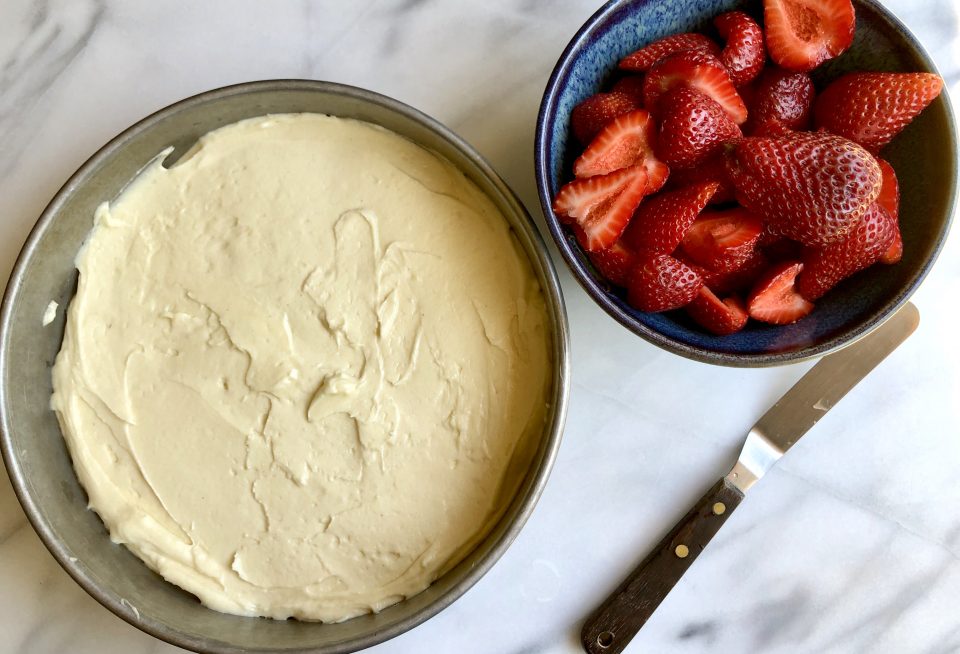
I reserved part of my strawberry treasure trove for a friend’s July 4th BBQ.  I could take the easy way out and just throw them in a bowl, serve them straight up which would be perfectly fine, but what fun would that be?  Time to try that recipe from Smitten Kitchen for a cake that showcases strawberries.  A simple butter cake LOADED with berries.  The 9-inch cake calls for a pound of strawberries which means with every bite, you sink your teeth into sweet, oozy strawberries and really that’s what it is all about.

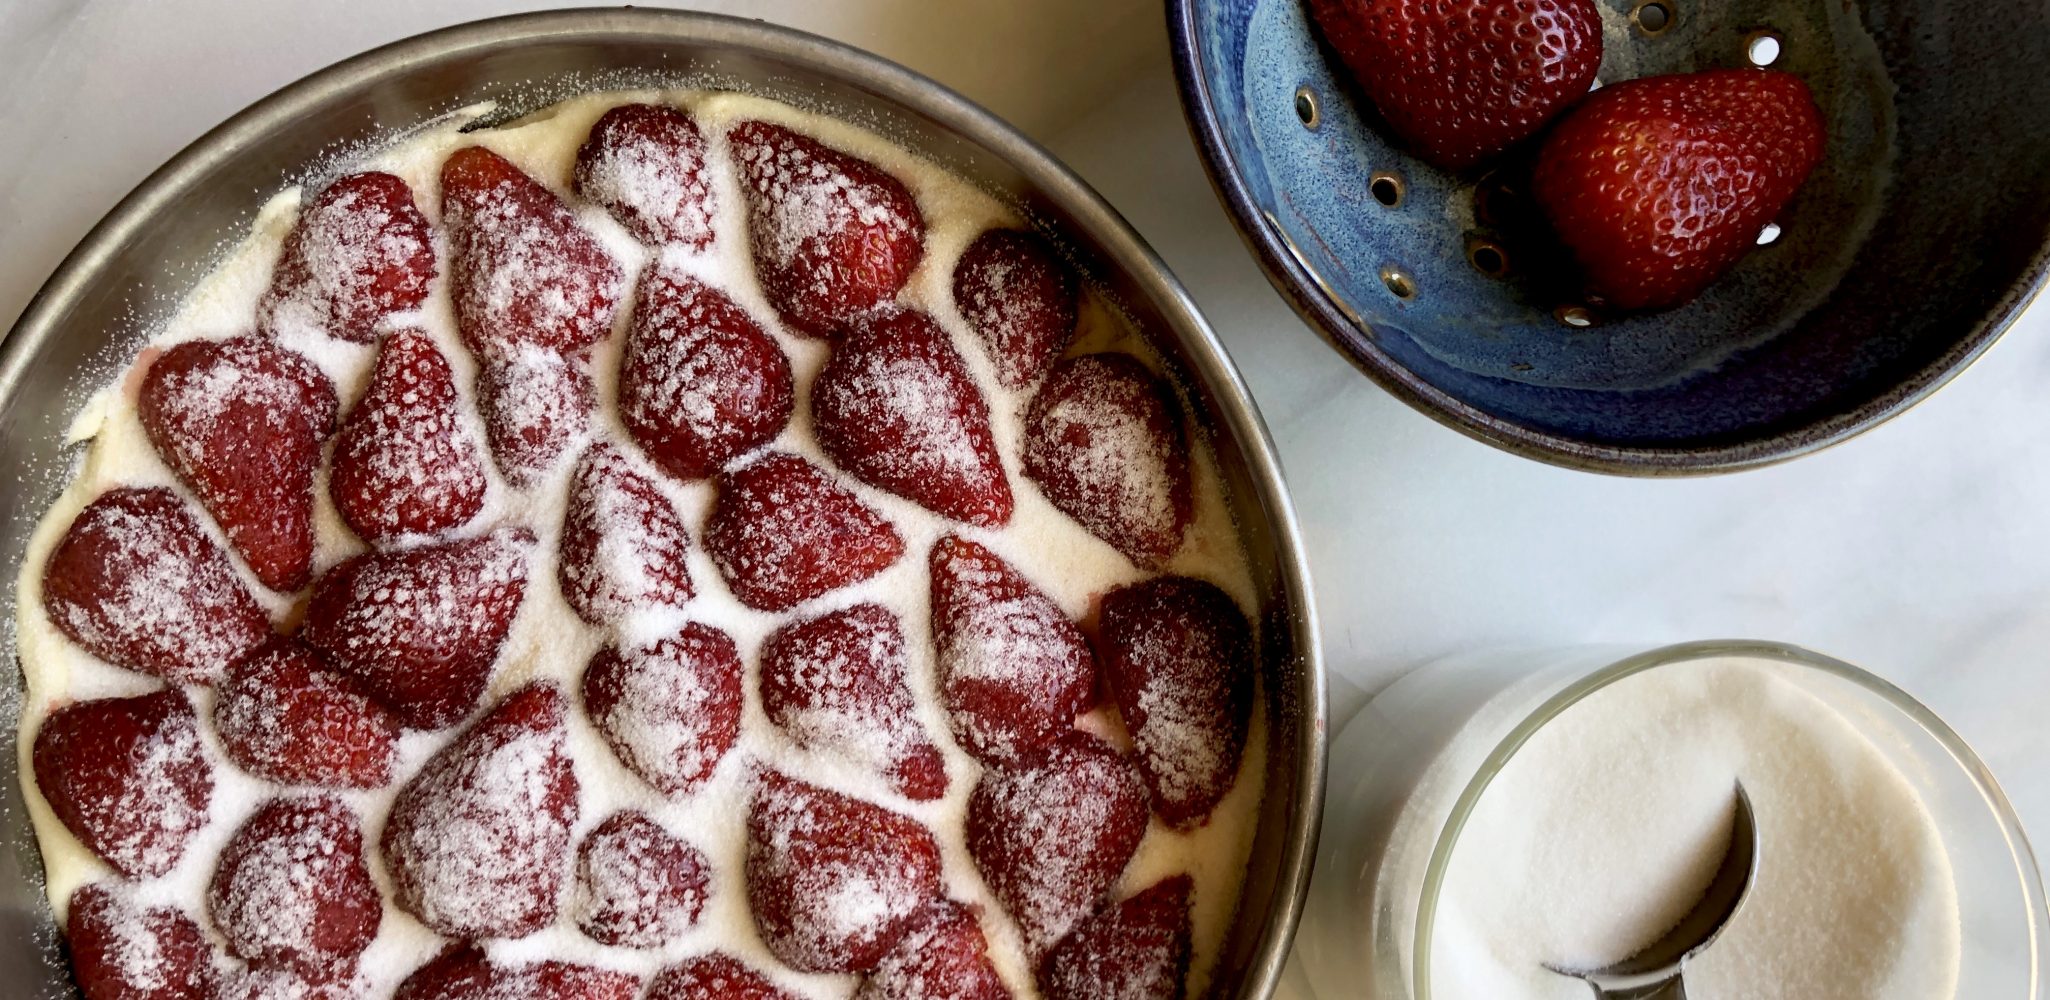
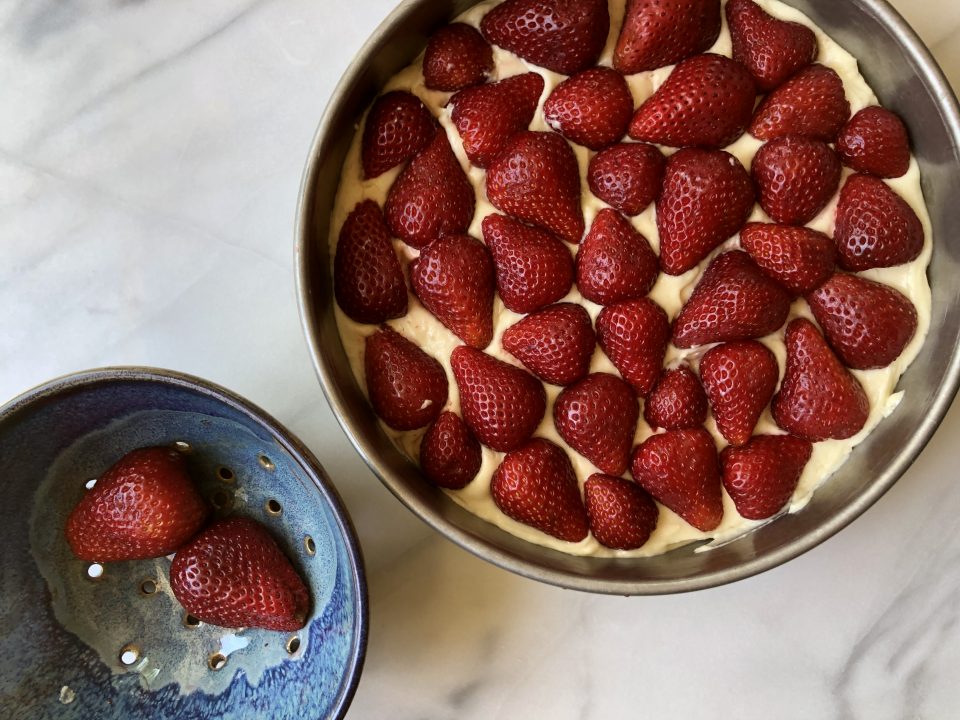
The original recipe is from Martha Stewart and tweaked by Smitten Kitchen.  The recipe calls for combining the egg, milk, and vanilla and then adding it to the creamed mixture.  Adding all the liquid at once made for a very curdled-looking mixture.  I added the dry ingredients and the batter came together.  I found a trick, when the batter looks like it is about to curdle as you are adding the milk, toss 1 tablespoon of the flour mix into the batter.  This small amount of flour prevents the curdling but won’t toughen the cake.  Voila’.  The hulled and halved strawberries are placed cut side down in the batter.

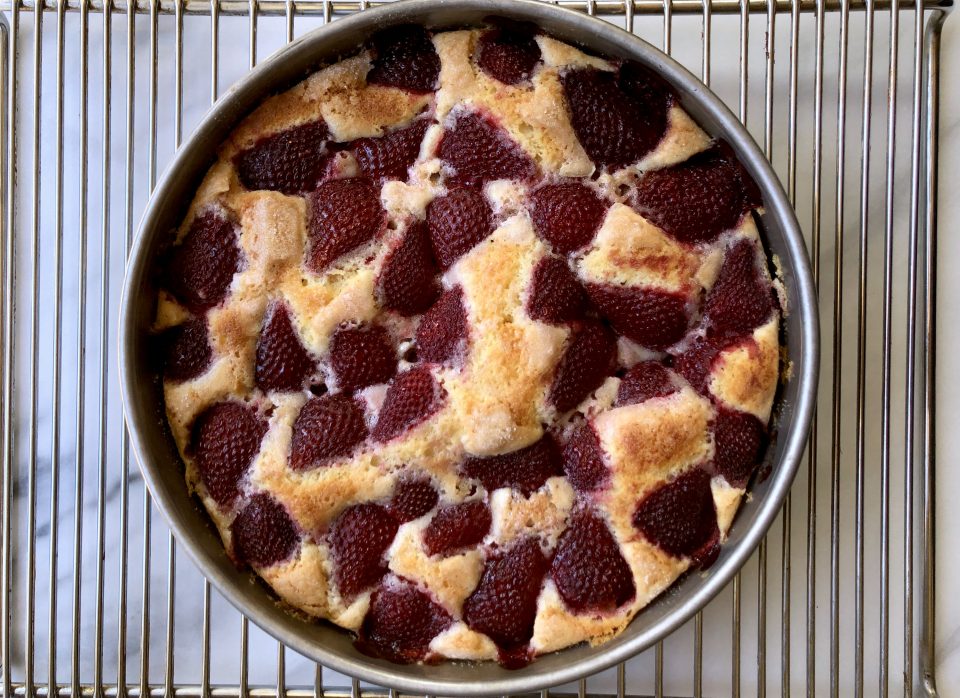
A sprinkling of sugar to finish and into the oven for about an hour.  Bake this cake in a deep dish pie plate or a cake pan lined with parchment.  It will overflow in a traditional 9-inch pyrex pie plate.  Smitten Kitchen recently adjusted the recipe to make a 9×13 cake (two pounds of strawberries!) because let’s face it, everyone is going to want seconds.

Serve this with softly whipped cream or vanilla ice cream.  Make it earlier in the day so the cake can sit. The strawberries will marry with the cake even more.  Sooo luscious.  Sooo good.

So what are you doing this weekend?  Yep, picking up strawberries at the Farmer’s Market, baking this cake, and looking appropriately sheepish as your friends and family shower you with compliments and RAVE about this cake.

Repeat after me, “Aww shucks. It was nothing.”

Strawberry Summer Cake

An easy cake that screams summer is here. Loads of strawberries baked in a buttery sweet tender cake.
Course Cake, Dessert
Cuisine American
Keyword cake, strawberries, strawberry cake, Summer Cooler
Prep Time 20 minutes
Cook Time 1 hour 10 minutes
Servings 8

Equipment

  • 9-inch cake pan or 9-inch deep dish pie plate
  • Mixer

Ingredients

Dry Stuff

  • 1 1/2 cups (188 gram) all-purpose flour
  • 1 1/2 teaspoons baking powder
  • 1/2 teaspoon table salt

Buttah & Sugar

  • 1 cup (200 gram) plus 2 tablespoons (25 gram) granulated sugar
  • 6 tablespoons (85 gram)unsalted butter at room temperature, plus extra for pie plate

The Wet Stuff

  • 1 large egg
  • 1/2 cup 118 ml milk
  • 1 teaspoon vanilla extract

The Top

  • 1 pound 450 grams strawberries, hulled and halved

Instructions

  • Preheat oven to 350°F (180°C). Butter a 9-inch cake pan and line with parchment or 9-inch deep-dish pie pan. Don't use a regular 9-inch pie plate which is too small.
  • Whisk flour, baking powder, and salt together in a small bowl. In a larger bowl, beat butter and 1 cup sugar until pale and fluffy with an electric mixer, about 3 minutes. Add egg and beat to combine. Add milk and vanilla until just combined. The mixture may look a little curdled. It's okay, once you add dry ingredients it will come together* see post for tip. Add dry ingredients gradually, mixing until just smooth but well combined.
  • Pour into prepared cake pan. Arrange strawberries, cut side down, on top of batter, as closely as possible in a single layer, don't be afraid to really squish them together. Sprinkle remaining 2 tablespoons sugar over berries.
  • Bake cake for 10 minutes then reduce oven temperature to 325°F and bake cake until golden brown and a tester comes out free of wet batter, about 50 minutes to 60 minutes. (Gooey strawberries on the tester are a given.)
  • Let cool in pan on a rack.
  • Remove cake from pan by flipping it onto a plate and inverting it onto another. Thank goodness for parchment paper.
  • Serve with lightly whipped cream. Or Lemon Cream from another recipe, see note!

Notes

The cake can be stored at room temperature for up to 2 days, loosely covered. It really won't last that long though.
Lemon Cream
 
Bi Bim Bap It! Homecoming in Seoul

Bi Bim Bap It! Homecoming in Seoul

Off to see Jorge in Korea!

Do you have a bucket list of things to do when traveling, if so, what’s yours? I’d love to know.  Here’s ours when we travel:

FIRST DAY- a tour of the city on bikes.  It’s a great way to get an overview of the city you are visiting and get a bit of exercise (guilt-free eating for the day, yay!)  It does have it’s heartbeat quickening moments when you ride in traffic and every big city in the world has traffic.  But we have biked in Rome, London, Boston, DC, Paris, and Seoul without mishap, just a couple of choice words from drivers.  But hey, I get that here too.

SPORTS:  We have watched rowing on the Thames, soccer in Italy, and now baseball in Korea and Japan.  BOSS, so much fun and gives you a taste of the folks that live there.

EATS:  Street food, hole-in-the-walls, local joints, my kinda food.  Ok, occasionally, a meal that breaks the bank.

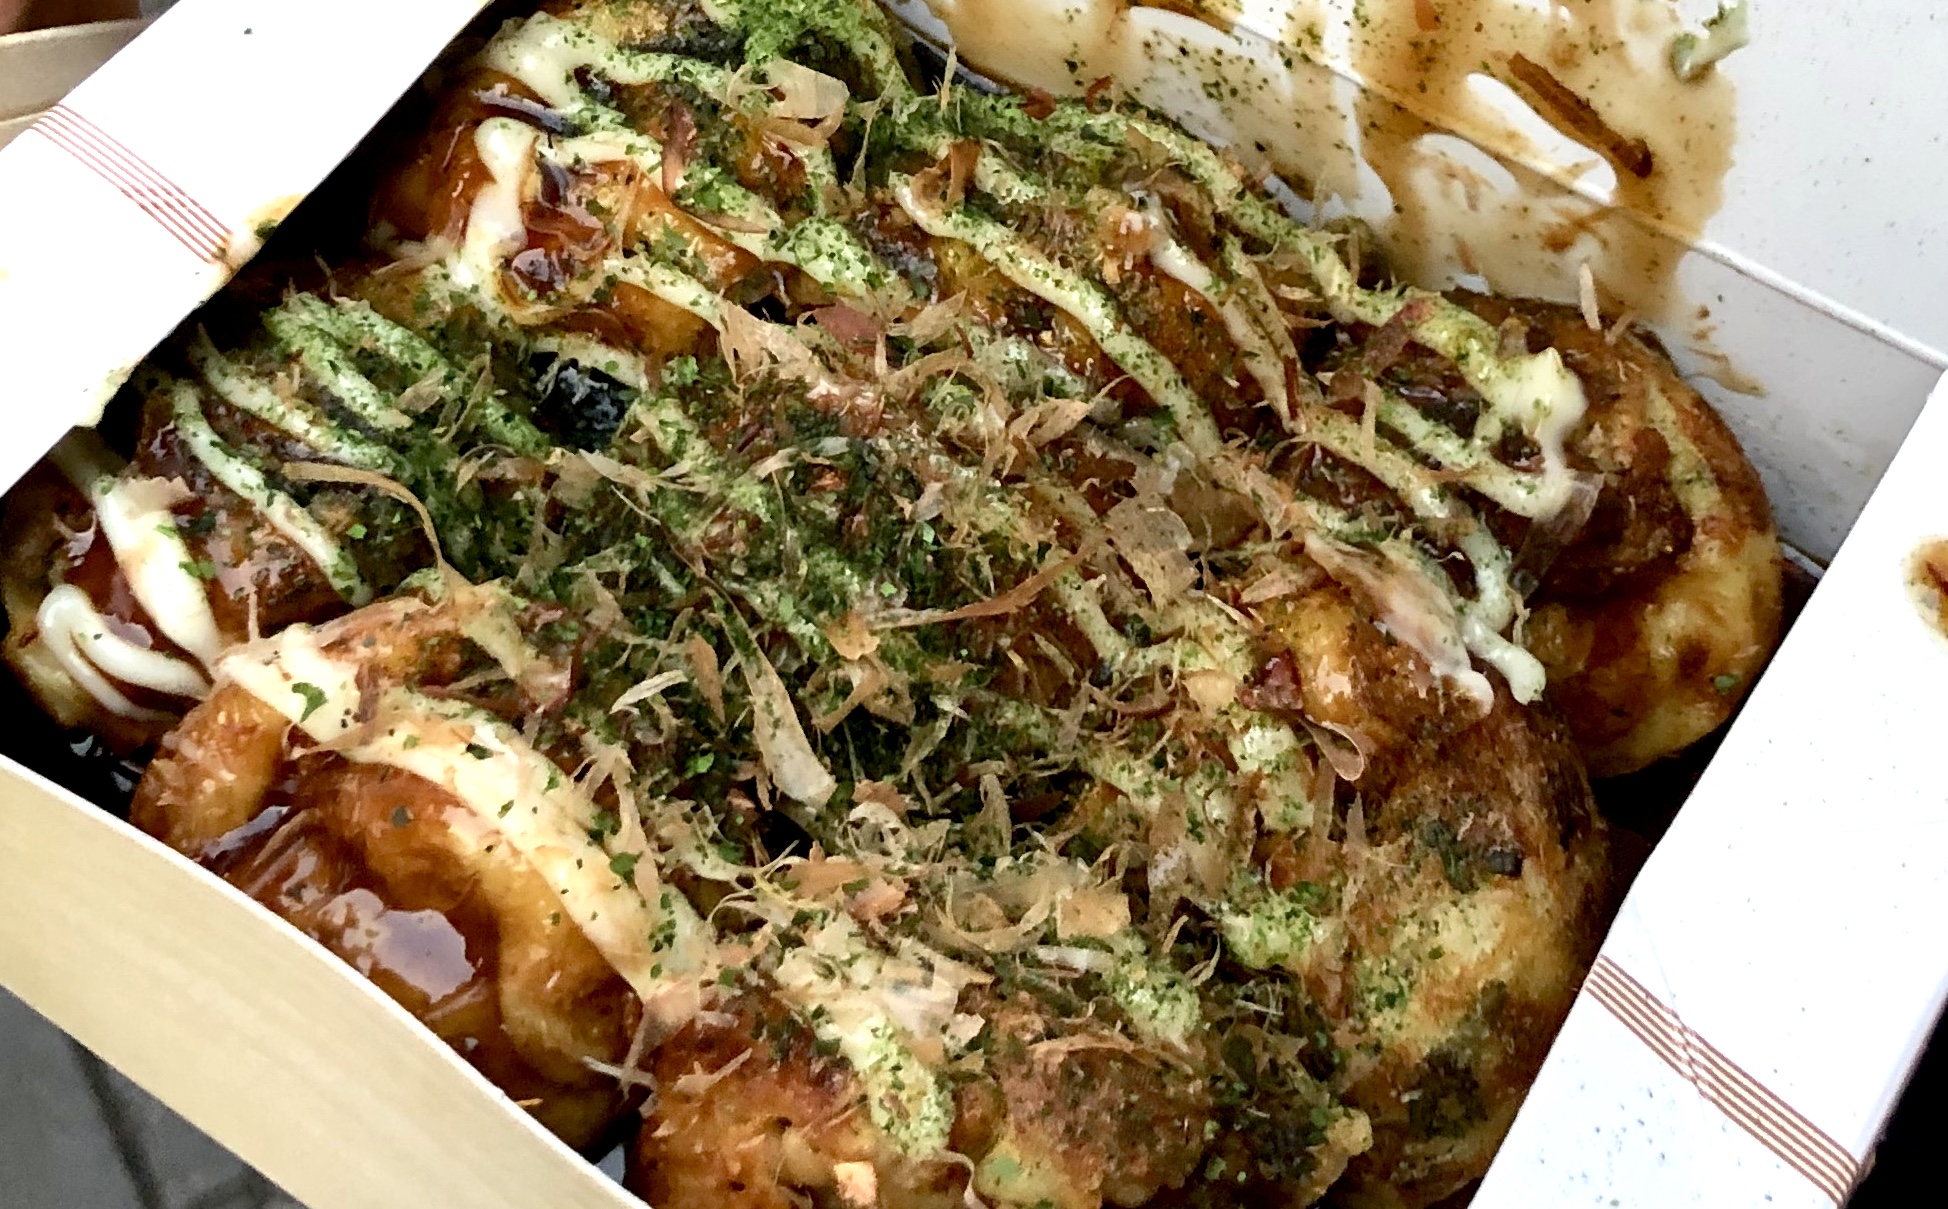
I push the envelope sometimes with my search for local food.  I have waited in line for 90 minutes for Egg Tarts in Macau, meandered down small alleys looking for Won Ton Soup in Hong Kong or Okonomiyaki in Osaka.  Unfortunately, the combination of spotty maps and my non-existent sense of direction means a lot of wandering around and spewing expletives at my phone when looking for those food gems. Good thing my family loves me, or at least I think they do.

HOME COOKING:  Do you get tired of eating in restaurants?  Miss your kitchen? Take a cooking class!  We have made pasta and gelato in Florence and now homemade kimchi, seafood pancake-pajeon and Bi Bim Bap in Seoul.

Early morning at a local street market

Our cooking class with Joungy began with a visit to the market to buy ingredients, a Korean Veggie primer!

I was mesmerized watching this gentleman grind chili peppers into Gochugaro powder.
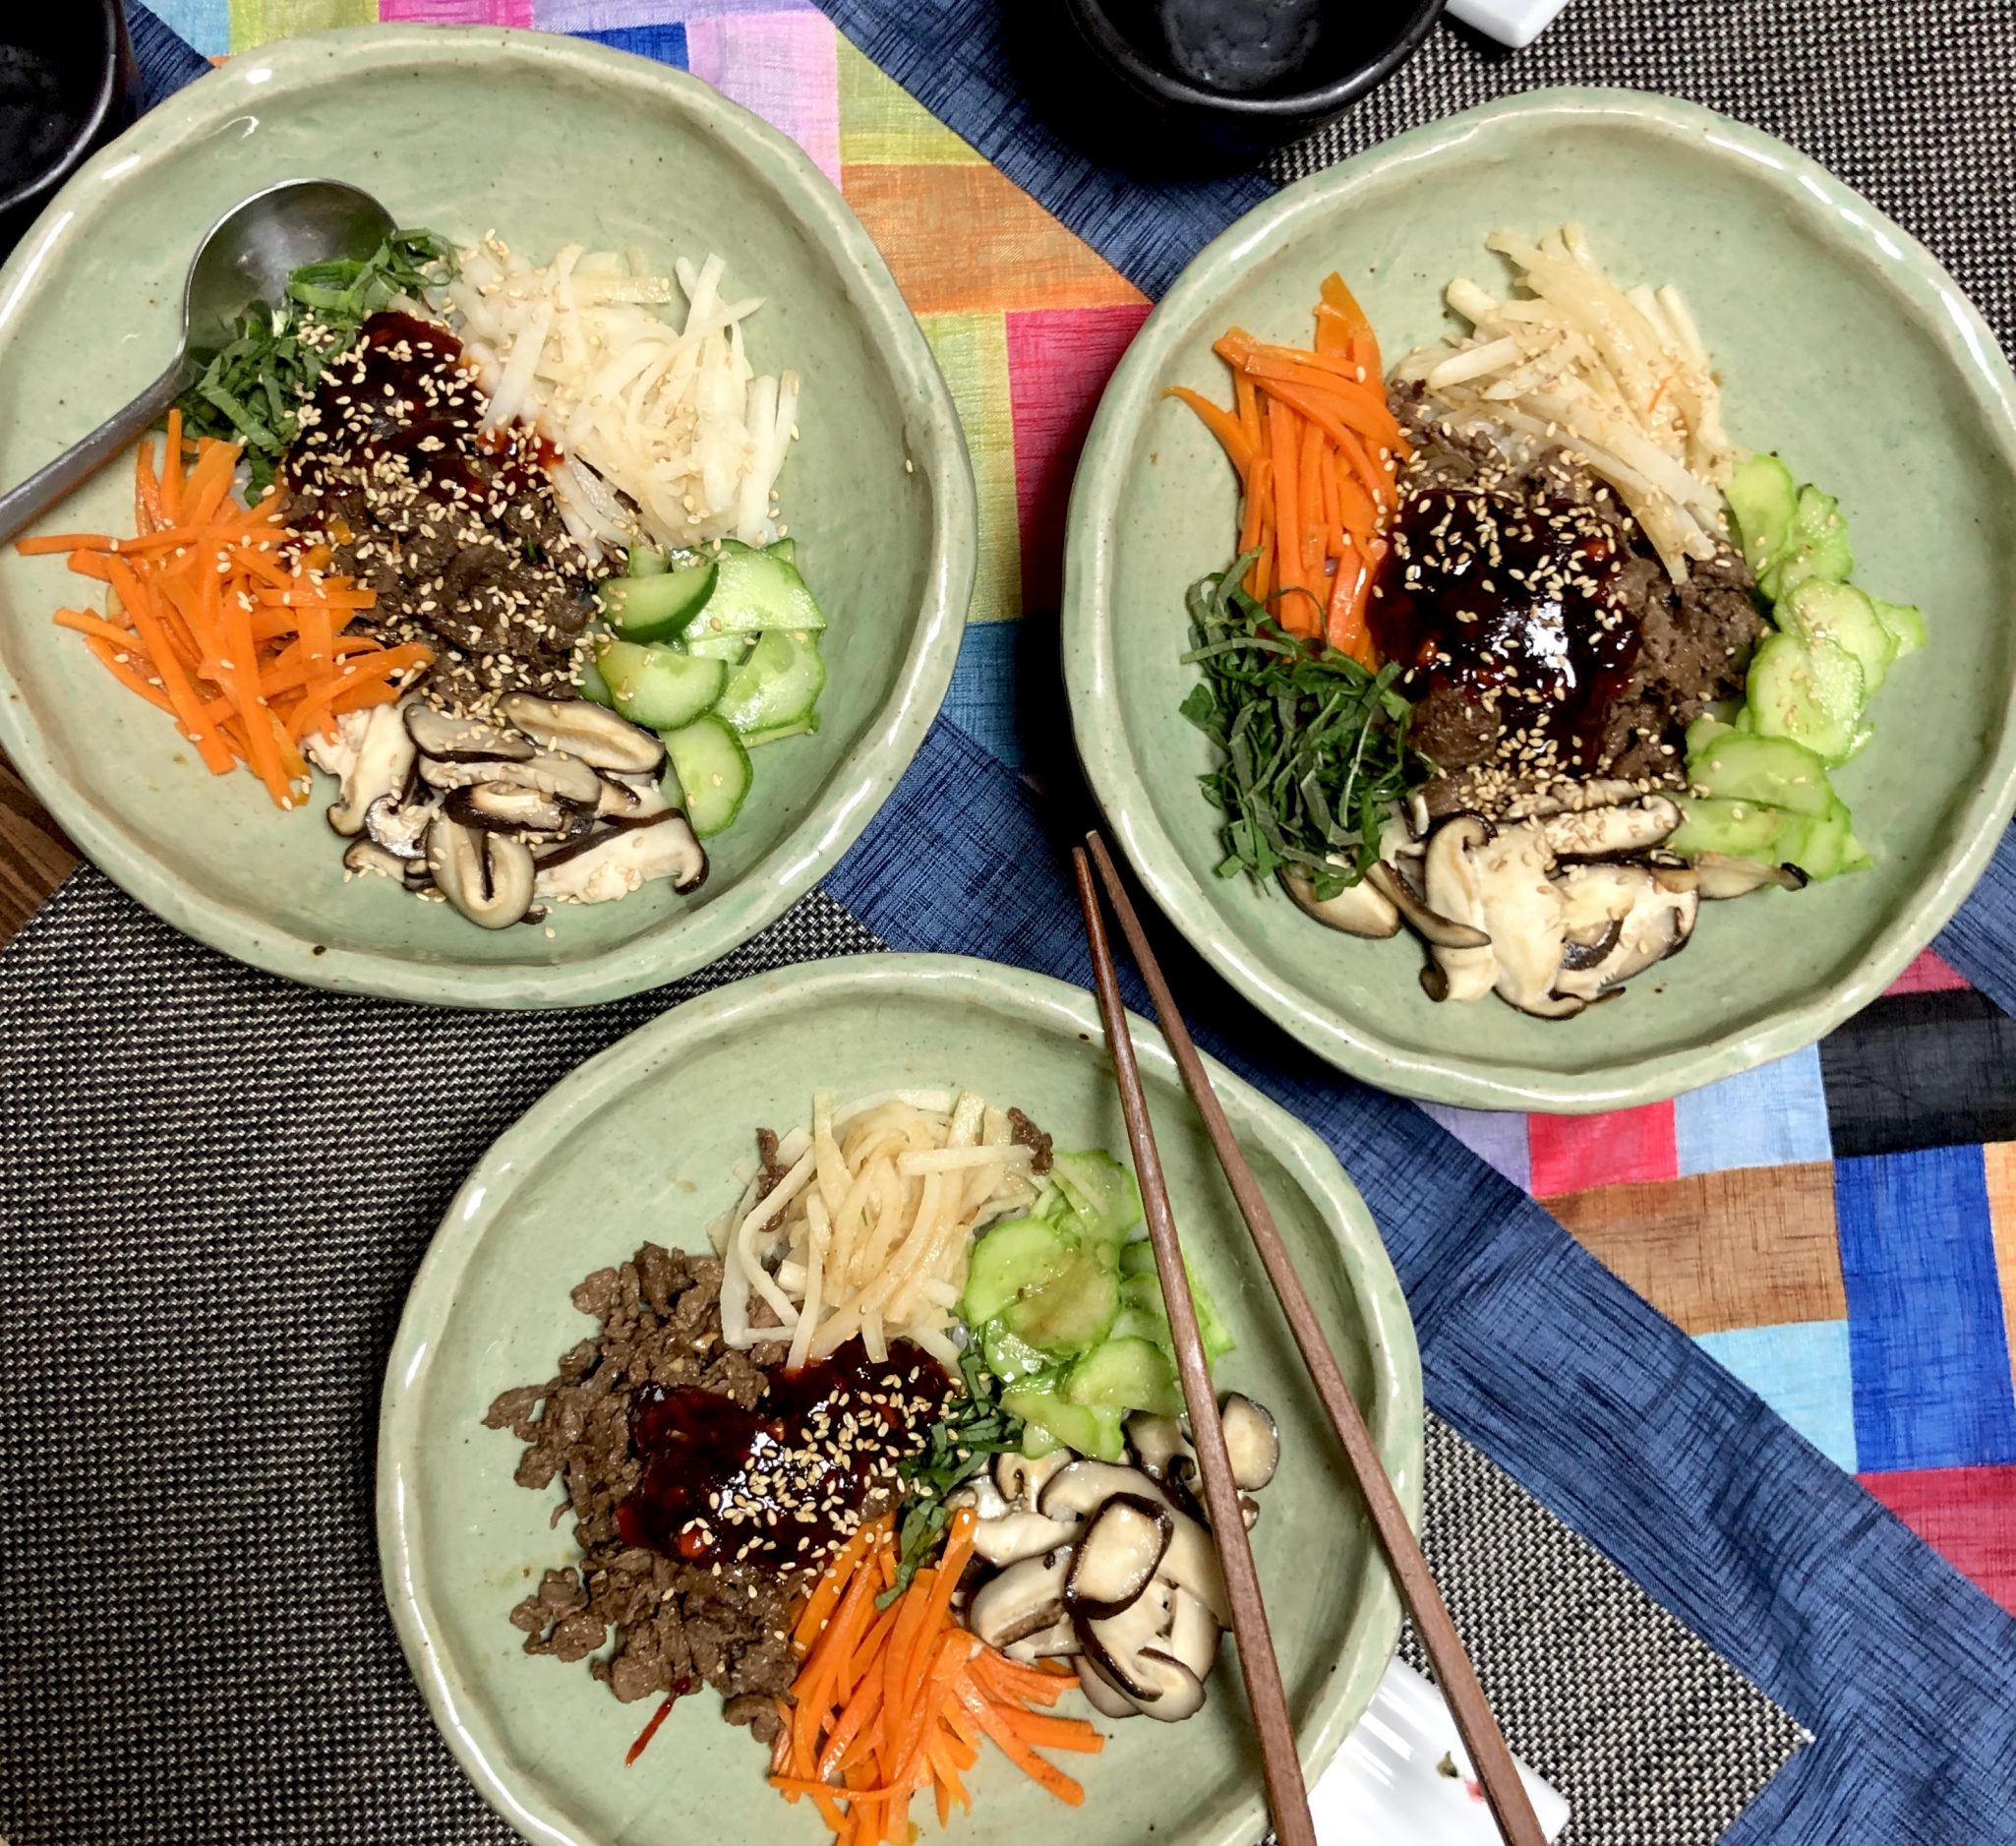
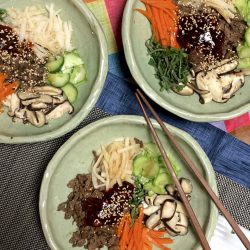
We made Seafood Pancakes or Pajeon, fresh kimchi, and my favorite bowl meal, Bi Bim Bap.  Bi Bim Bap starts with a pile of fluffy, warm rice and topped with julienned carrots, cucumbers, squash, spinach, mushrooms, yesterday’s banchan, seasoned beef or chicken.  You get the picture, you can use anything you desire for toppings.  For Joungy’s class, we had a wonderful array of veggies, carrots, cucumbers, daikon, shiitake mushrooms, shredded beef and a chiffonade of Perilla leaves.  Delicious!

The secret to her Bi Bim Bap is the extra attention given to the sauce.  Her Gochujang paste included corn syrup, a bit of soy sauce, and chopped garlic, stir-fried briefly. This brought the sauce to a new level.

Season each component, stir-fry, and place on top of the rice in neat little separate piles-kid-friendly, lol.  Top your masterpiece with a sprinkling of sesame seeds and a dollop of sauce.  It’s colorful, delicious, easy to prepare, flexible…what more could you ask for?  If you can’t find Perilla leaves, garnish with chopped green onions are good too.

A great primer for Bi Bim Bap can be found at My Korean Kitchen which has instructions to season the blanched bean sprouts and spinach.

Bi Bim Bap (Korean Mixed Rice)

Korean Rice Bowl, Easy to Make and Delicious!
Course Main Course
Cuisine Asian
Keyword Bi Bim Bap, Korean, Rice Bowl
Prep Time 20 days
Cook Time 45 days
Servings 1 serving

Ingredients

Bi Bim Bap Rice (proportions for 1 bowl)

  • 50 gm thinly sliced beef
  • 1 clove garlic finely chopped
  • 1/2 t brown sugar
  • 1 t corn syrup
  • 1/2 t salt
  • 1 T soy sauce
  • 1/2 t sesame oil
  • 2 fresh shiitake mushroomes, thinly sliced
  • 1/2 carrot, julienned
  • 1/4 c daikon, julienned or bean sprouts
  • 1/8 t pepper powder Gochugaru
  • 1 handful spinach leaves or sub 1/4 cup thinly sliced zuchinni or Persian cucumber
  • 5 perilla leaves aka sesame leaves can sub shiso leaves, julienned
  • vegetable oil for frying, 1/2 T for each vegetable
  • 2 cups Cooked white rice I use a rice cooker, its your call how to cook the rice!

Ingredients for Sauce for servings

  • 5 T Gochujang chili paste
  • 2 T Corn syrup light
  • 3 cloves garlic
  • 1 T brown sugar
  • 1/2 T vegetable oil

Instructions

For Sauce

  • In a nonstick skillet, add oil and chopped garlic. Turn heat onto medium high. Saute until garlic is brown color, don't burn!
  • Add remaining ingredients for sauce and stir over medium low heat for approximately 5 minutes. Set aside.

For Vegetables and Rice

  • Cooked medium grain white rice
  • In a small bowl combine soy sauce, brown sugar, corn syrup, pepper powder and chopped garlic. Add beef and stir to combine.
  • Stir fry each vegetable-mushroom, carrot, daikon, separately until tender crisp. Season with salt to taste. Place each vegetable on a platter, keep separate. Stir fry mushrooms in 1/2 T sesame oil, remaining vegetables can be saute in 1/2 T vegetable oil or a blend of sesame oil and vegetable oil
  • If using bean sprouts or spinach, blanch in hot water until tender crisp about 1 minute
  • Stir fry beef until cooked through.

Building Your Bowl

  • Divide hot rice between 3-4 bowls
  • Place vegetables in bundles around the bowl in a radial pattern. Place beef in the center.
  • Garnish with sesame seeds and perilla leaves and approximately 1 T sauce for each bowl. Place extra sauce in a bowl and serve along side bowls.
  • Optional (mandatory for me): Fry an egg for each serving, sunnyside up, and place on top of beef

Notes

Bi Bim Bap and creative expression.  The only absolutes for Bi Bim Bap is the rice and the sauce.  You could sub brown rice in place of white rice, but you need rice. The recipe from Joungy's class goes the extra mile by sautéing the red pepper paste with garlic and seasonings.  You could use Gochujang straight out of the jar, but the cooked sauce is really tasty.
Use whatever vegetables your little heart desires.  Great way to use extra Banchan you boxed from K-bbq the night before.  Why not? 

So good!  Bowled over by Bi Bim Bap!

Crazy Stupid Lemon Love (Atlantic Beach Pie)

Crazy Stupid Lemon Love (Atlantic Beach Pie)

STOP Whatever You Are Doing Right Now

Go to your pantry, take out the box of Ritz Crackers, sugar, and that can of sweetened condensed milk from last year’s holiday dessert extravaganza.  Reach into your fruit bowl, grab a couple of lemons and from the fridge pull out eggs, butter and whipping cream.  That’s it, everything you need to make this absolutely scrumptious pie.  Six items to launch yourself into pie bliss.

NPR-Nice Pie Review

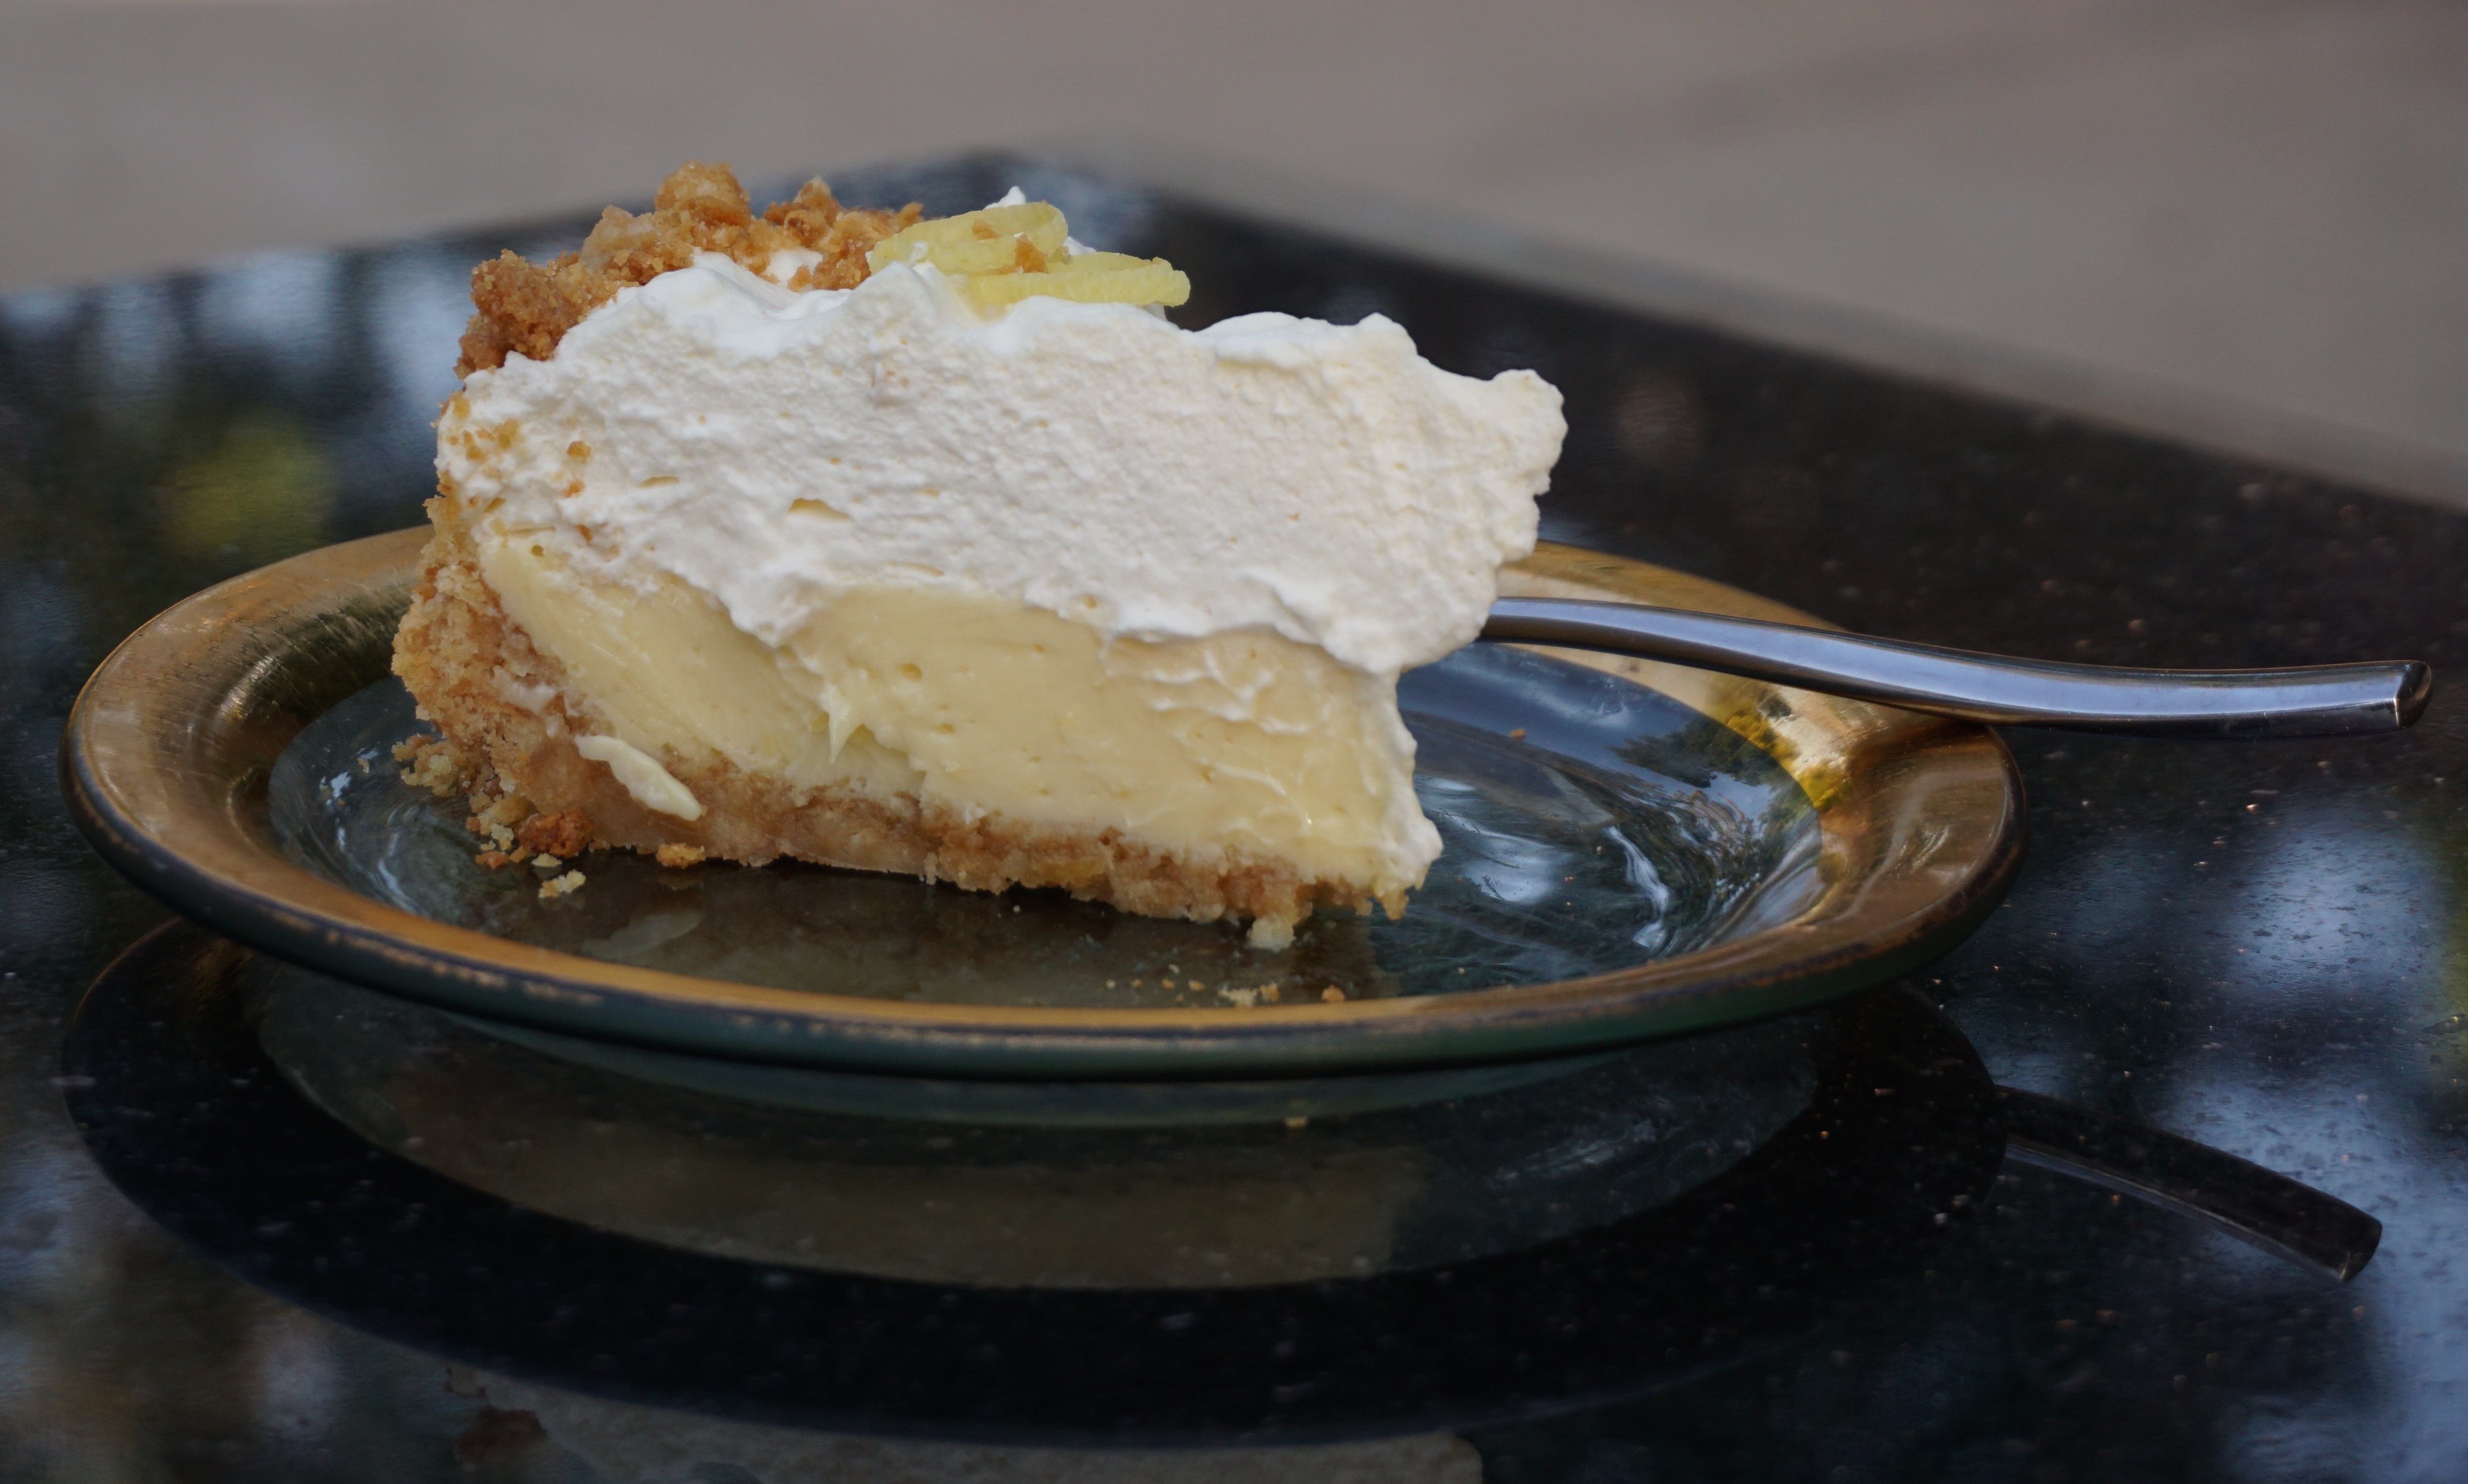
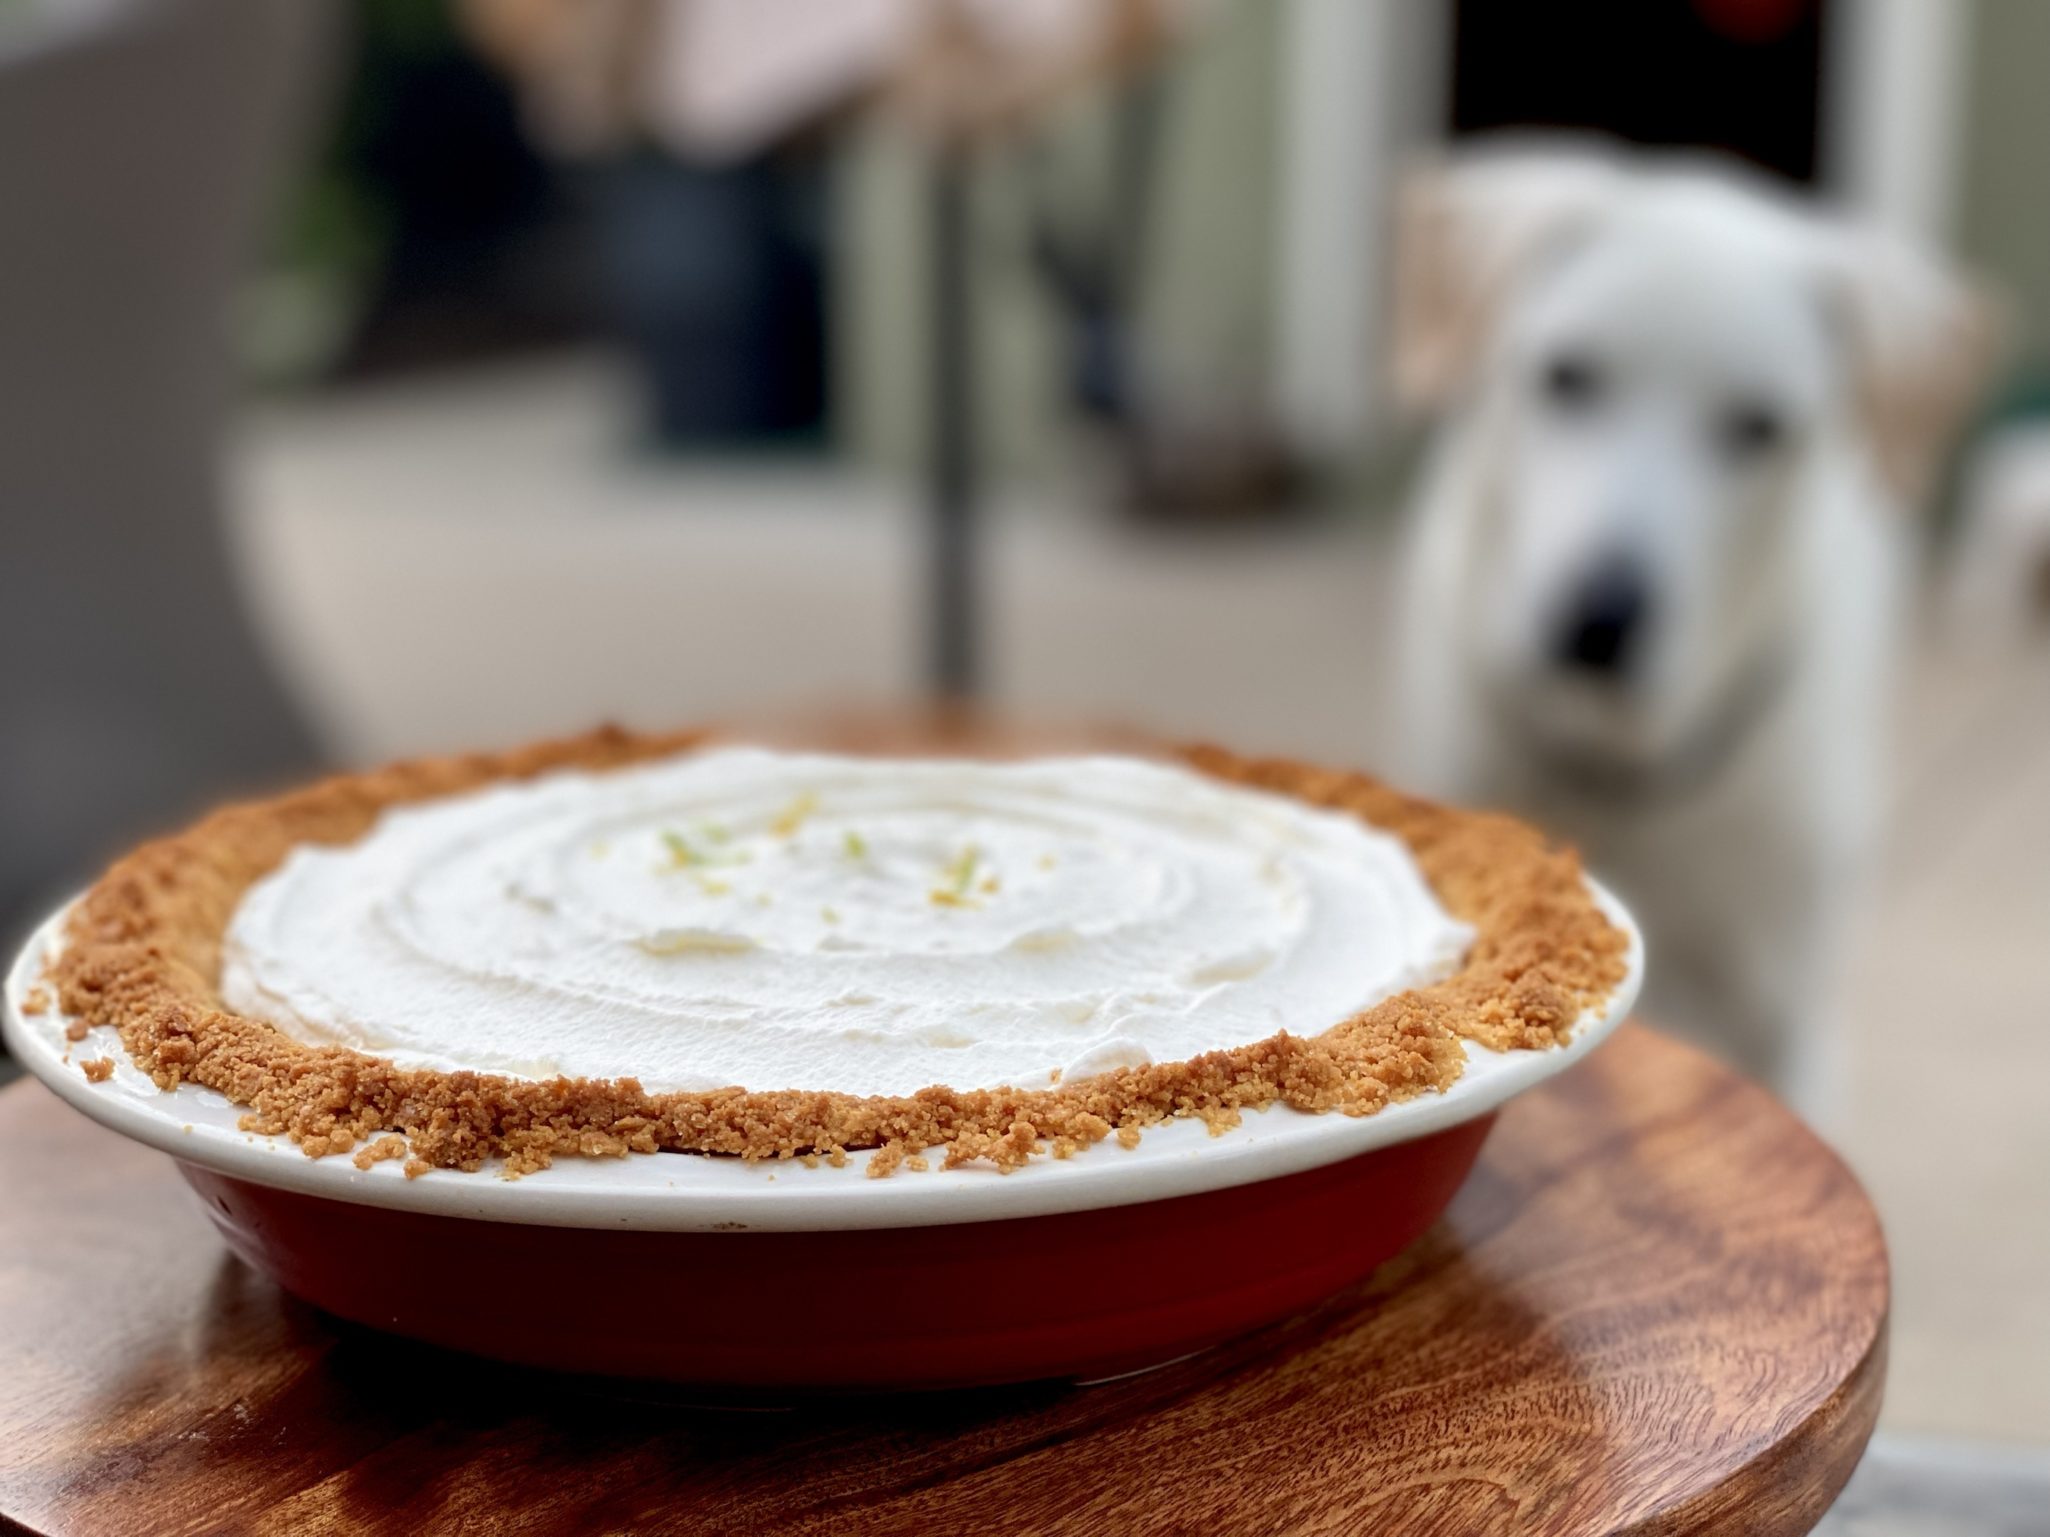
During my drive to work one day, a segment on NPR caught my attention when I heard the word PIE followed by “Oh My God, Oh My God, Oh My God”.  It was cookbook author Katie Workman describing her first bite of Bill Smith’s Atlantic Beach Pie.  I adore pie and here was a story about a lemon pie that originated in North Carolina and is a favorite of the folks in the South.  Is it a lemon meringue pie?  Kind of, except top the citrusy filling with billowy mounds of whipped cream.  No meringue here. The crust is made with saltines instead of graham crackers and is delightfully crispy, sweet and salty .

I couldn’t wait to get home and make this pie.

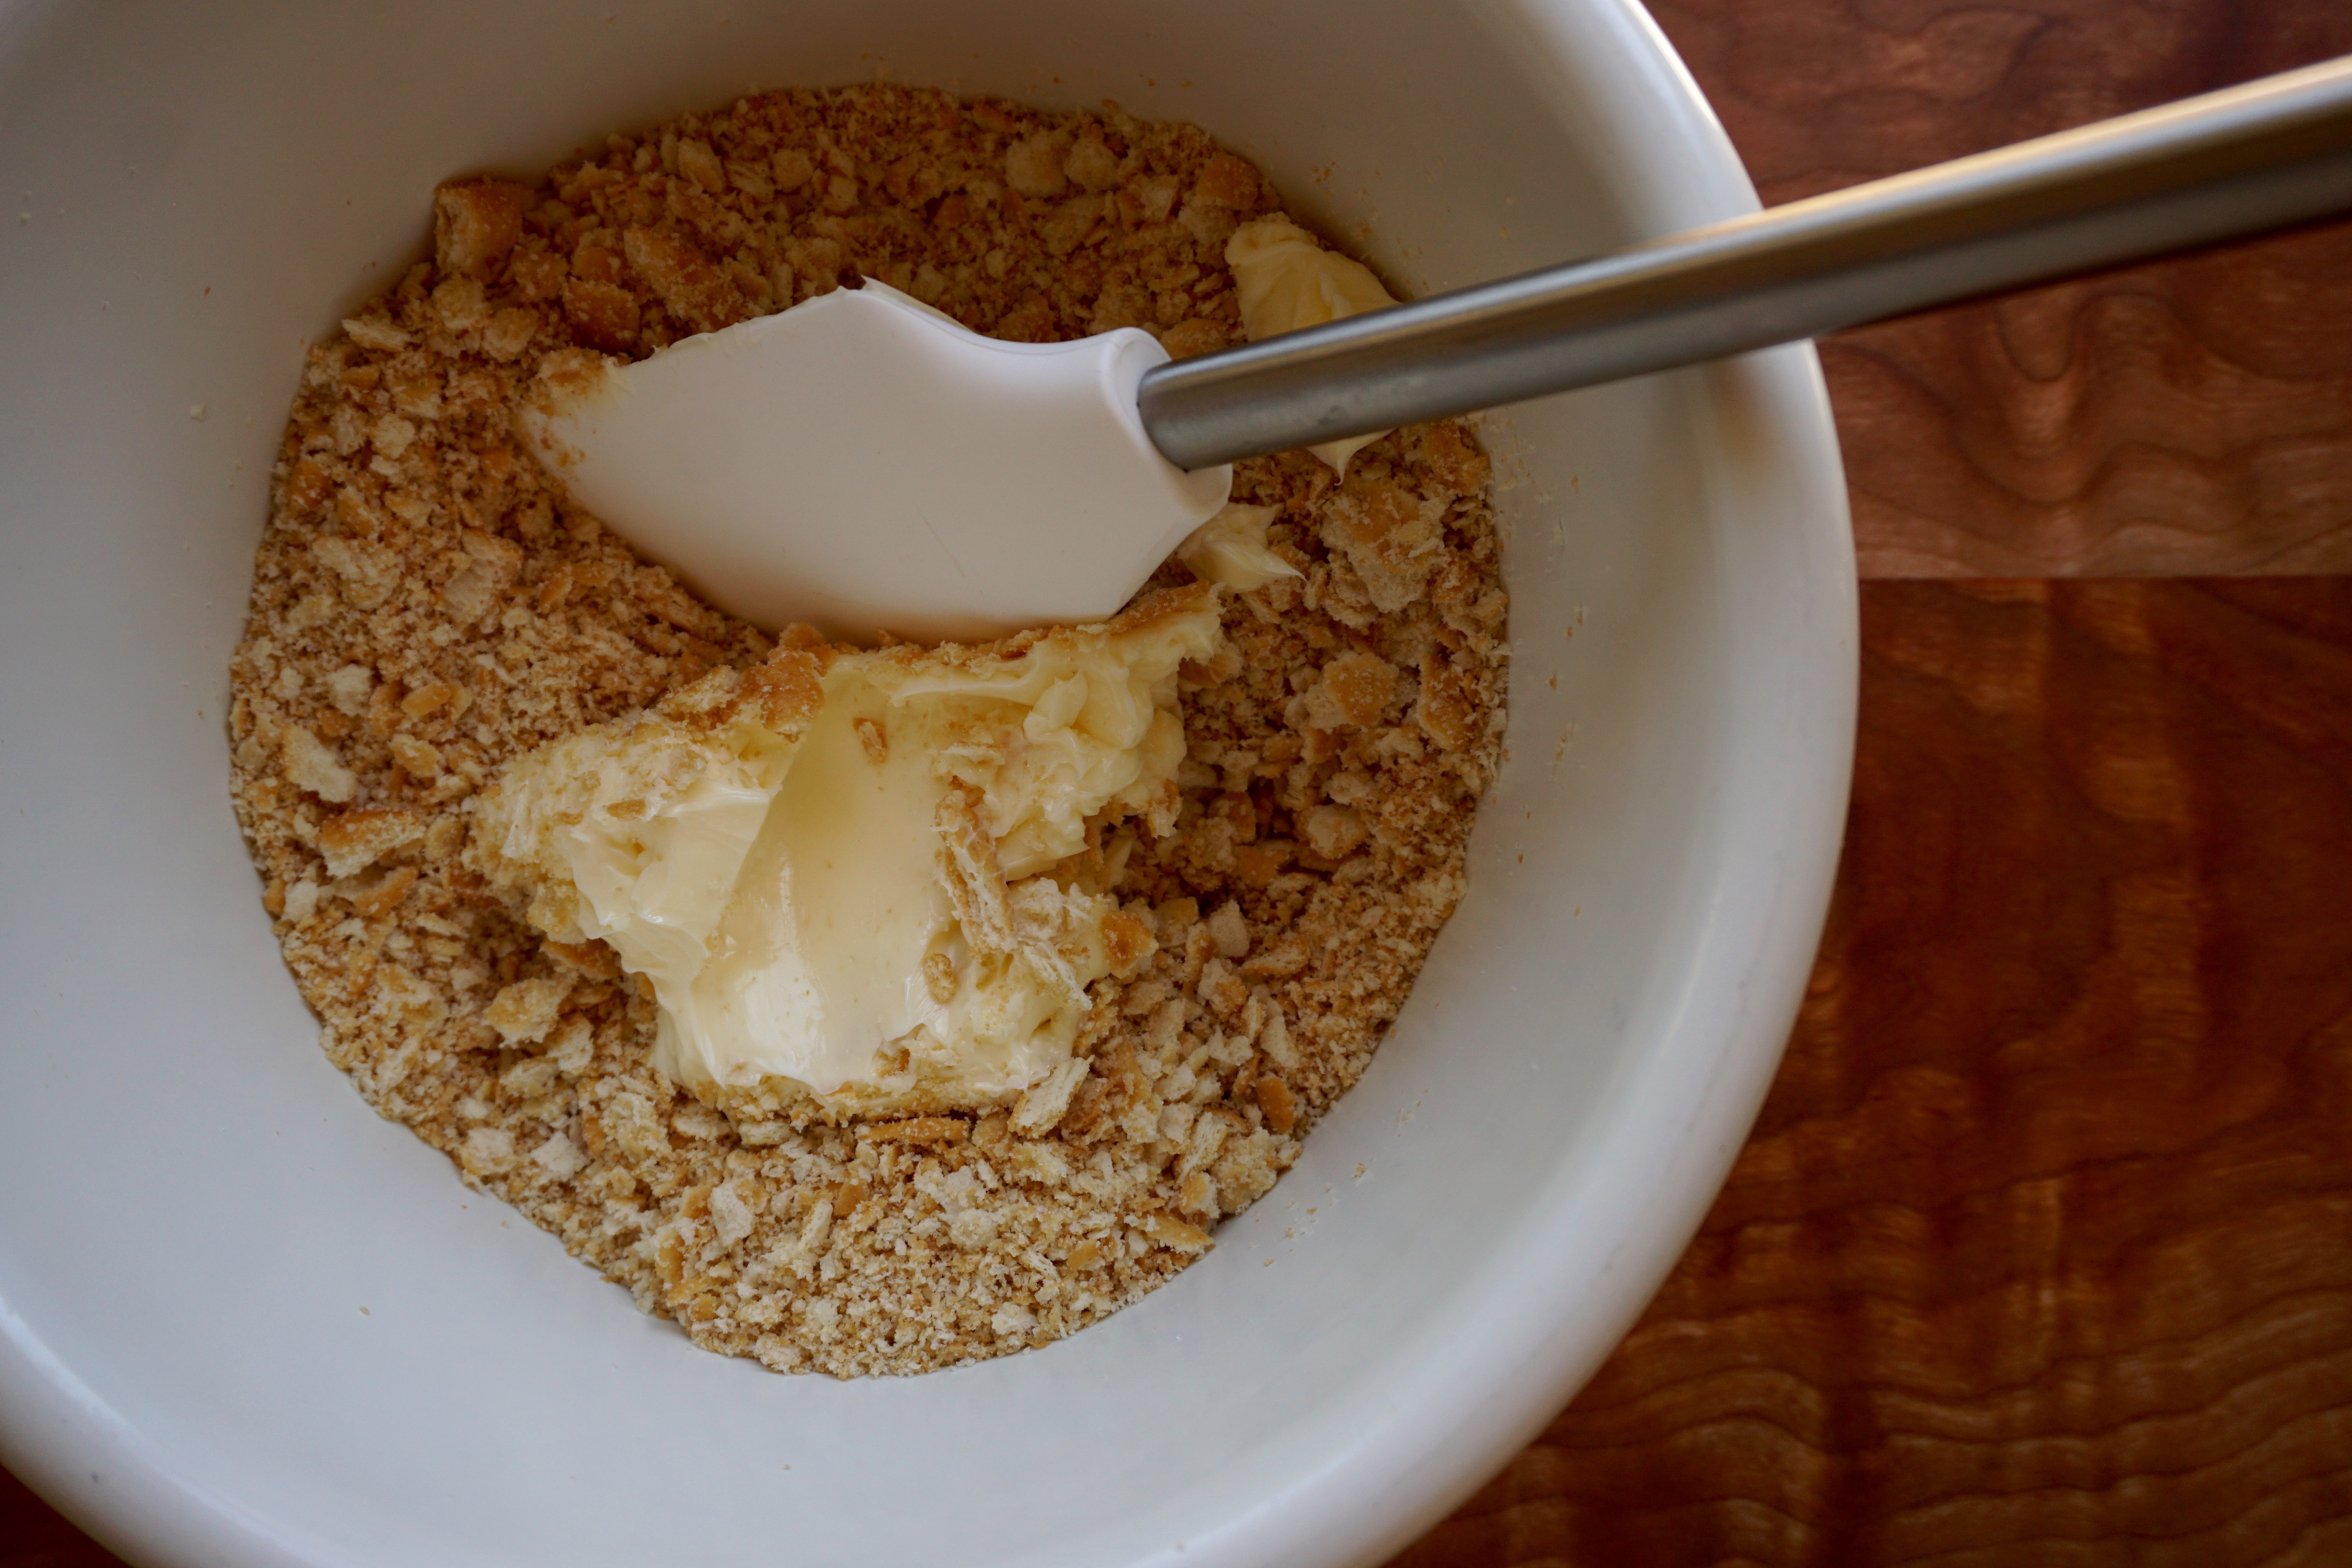
DSC04239Though the original recipe calls for saltines, I used Ritz crackers instead.  I love Ritz crackers and I always have a box around.  The crushed Ritz crackers (do not pulverize your crackers but should be fine crumbs) are mixed with sugar and softened butter.   The key is to mix the crumbs with the butter until they hold together similar to dough.  This is best accomplished by first pulsing your crackers in a food processor or smashing them with a rolling pin in a Ziploc. Then use your hands to combine the crumbs and butter.   Press crumbs into an 8-inch buttered pie plate.  Don’t worry, the mixture will still be loose when you are pressing it in the pie plate, especially on the rim, but it’s ok.  Bake until golden color about 15 minutes.

Easy Peasy Lemon Squeasy Filling

Combine egg yolks, sweetened condensed milk, and lemon or lime juice (or both).  I added two tablespoons heavy cream (not in the original recipe but an optional add). Whisk together, pour the filling into the pre-baked crust and bake for 15 minutes. EASY-PEASY  As the pie cools, whip one cup of heavy cream until soft peaks form and hold their shape.  I did sweeten my whip cream slightly (1-2 teaspoons sugar and 1 teaspoon vanilla).  Chill the pie until set and then pile on the cream.  Garnish with a sprinkling of coarse salt and strands of lemon zest.  DIG IN!  Yum, yum, yum.

Yep, CRAZY good, STUPID easy.

Here is the link to the NPR segment on Atlantic Beach Pie in Found Recipes.

Atlantic Beach Pie, Crazy Stupid Lemon Love

This pie is so good it's iconic now, Atlantic Beach Pie, crumb crust, lemon filling topped with whipped cream, delicious.
Course Dessert, Pie
Cuisine American
Keyword Atlantic Beach PIe, lemon, pie
Prep Time 15 minutes
Cook Time 35 minutes

Ingredients

For crust:

  • 1 1/2 sleeves of saltine crackers or Ritz crackers about 6 ounces
  • 1/3 to 1/2 cup softened unsalted butter
  • 3 tablespoons sugar

For the filling

  • 1 can 14 ounces sweetened condensed milk
  • 4 egg yolks
  • 1/2 cup lemon or lime juice or a mix of the two
  • 2-4 tablespoons of heavy whipping cream
  • 1 teaspoon lemon zest optional I added zest to increase the lemon flavor

Da Finish

  • 1 cup heavy cream
  • 1 tsp vanilla
  • 1-2 tsp granulated sugar
  • Coarse sea salt for garnish
  • lemon or lime zest for garnish

Instructions

  • Preheat oven to 350 degrees.
  • Crush the crackers finely, but not to dust. I use my food processor or dump the crackers into a ziploc and crush with a rolling pin.
  • Add the sugar, then knead in the butter until the crumbs hold together like dough.
  • Press into a buttered 8 inch pie pan.
  • Chill for 15 minutes, then bake for 18 minutes or until the crust colors a little.
  • While the crust is cooling (it doesn't need to be cold), beat the egg yolks into the condensed milk, then stir in the citrus juice. Make sure filling is well combined.
  • Pour into the shell and bake for 14-16 minutes until the filling has set.
  • Chill until set.
  • Pile whipped cream on top of pie. Sprinkle with salt or garnish with zest
Simple Minced Pork,So Easy Your Kids Could Make This. Mine Can!

Simple Minced Pork,So Easy Your Kids Could Make This. Mine Can!

When I went off to college and moved into an apartment, I would call my Dad (he was the chef in our family) for advice on cooking.  “Dad, what kind of meat do I use for stir fries?  I learned the hard way that beef chuck was not the right choice.  How do I make corn soup, steamed pork patty? Invariably, I wanted to learn how to make dishes I had grown up eating, food that reminded me of home and family.

DSC02049

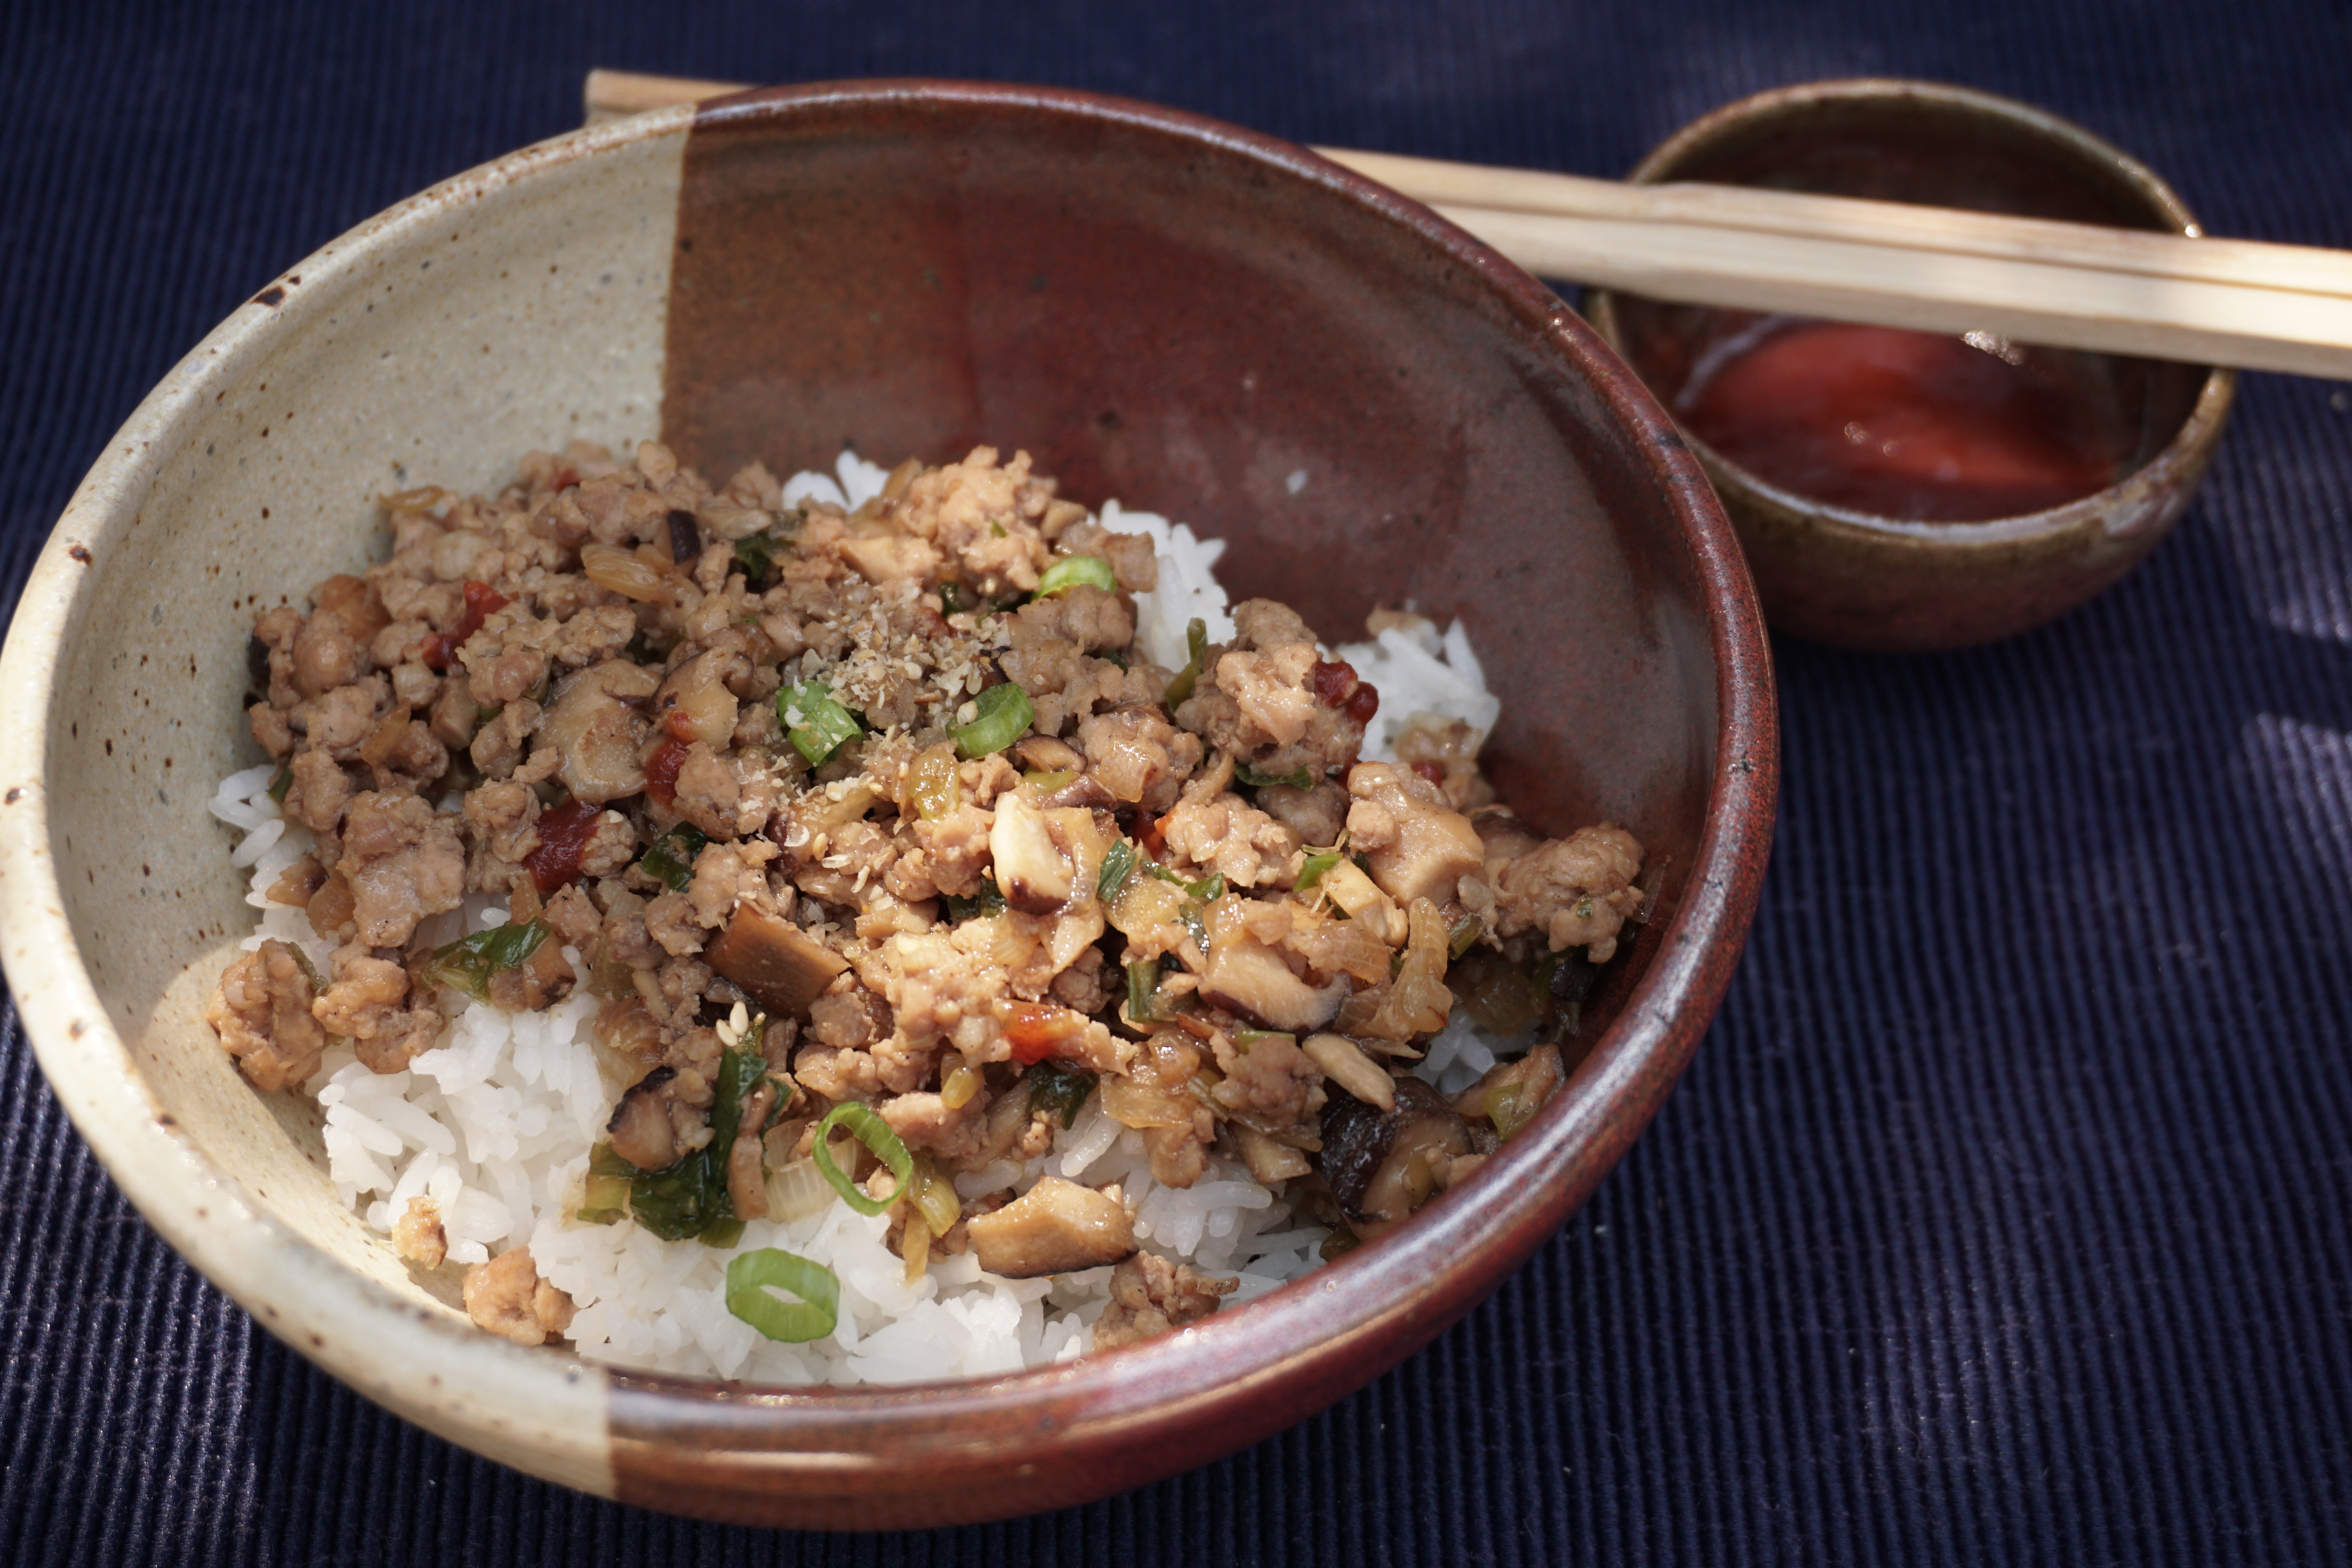
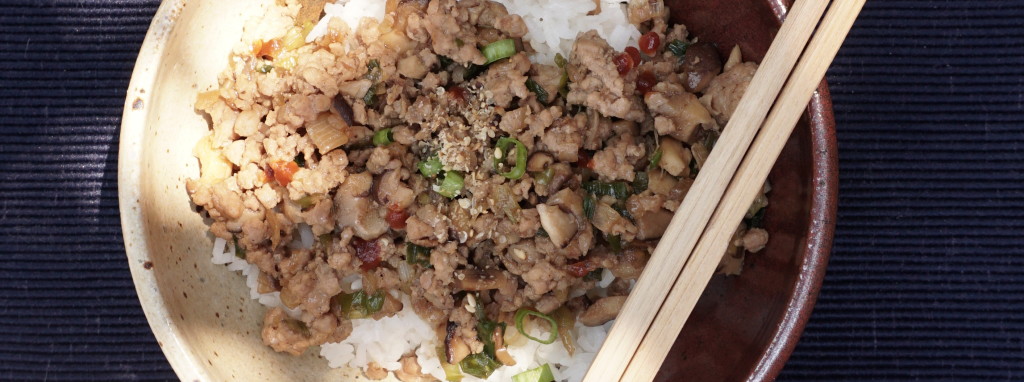
Everything comes full circle, now my kids are calling me for recipes and tips on how to make the dishes they love.  Fortunately, many of the dishes are simple and quick, perfect for a student’s lifestyle not to mention for families always on the go.   This is one such dish, its easy, versatile and inexpensive, ok, cheap.  Adapted from Chubby Hubby, “Simple Minced Pork”  is the Asian version of Sloppy Joes.  You can serve it over rice or noodles, you can make it with ground turkey or chicken instead of pork or use any kind of mushroom, like creminis instead of shiitake…it’s really up to you.  If your going low carb, use it as filling for a wrap made with lettuce or serve it over zucchini noodles (Check out White on Rice blog for noodles) the sky is the limit!

Simple Minced Pork

Prep Time 20 minutes
Cook Time 10 minutes

Ingredients

  • 3 tablespoons vegetable oil
  • 400 g ground pork or chicken or turkey
  • 8 fresh shiitake mushrooms stalks removed, finely chopped or use creminis
  • 4 green onions finely chopped
  • 1/2 of a small yellow onion minced
  • 1 teaspoon minced fresh ginger
  • 2 tablespoons sake
  • 2 tablespoons mirin
  • 4 tablespoons soy sauce
  • 1-2 T chicken stock or broth

Instructions

  • Heat oil in a large frying pan over high heat. Add yellow onion to pan, fry until onion softens and looks translucent. Add mushrooms, ginger and ground pork. Lower heat to medium. Add sake, mirin, soy sauce and chicken broth. As mixture cooks, break up the pork as much as possible. Stir-fry to reduce sauce and brown meat. Add green onions and cook for additional minute. Stir well and serve over rice (brown or white) or noodles.
  • For a more substantial meal, serve with a poached egg or a Japanese style hard boiled egg.
  • Goes well with Asian noodles with similar thickness to linguine or fettucine.