Category: Desserts

Baseball Been Berry Berry Good to Me

Baseball Been Berry Berry Good to Me

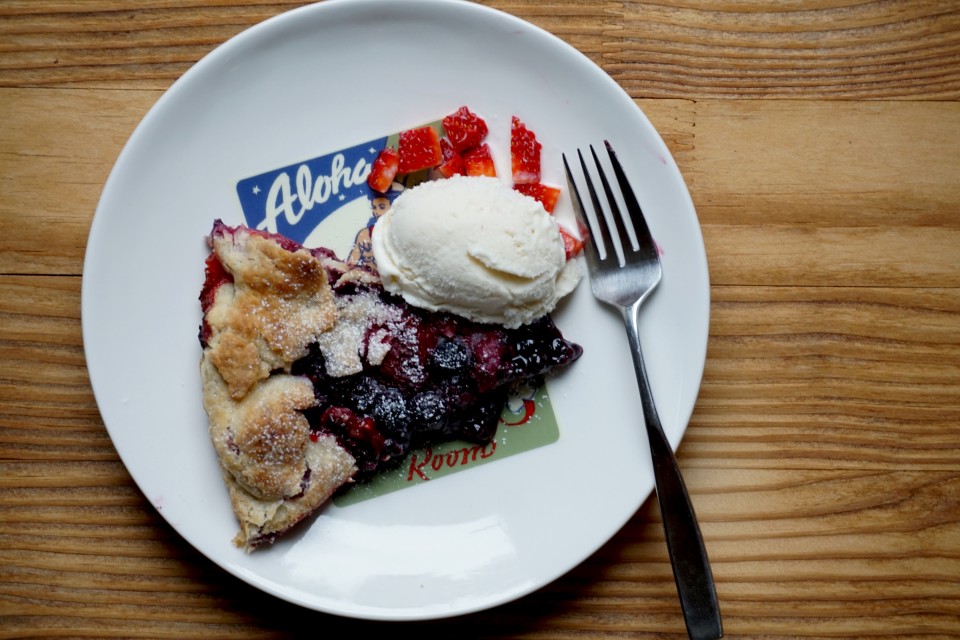
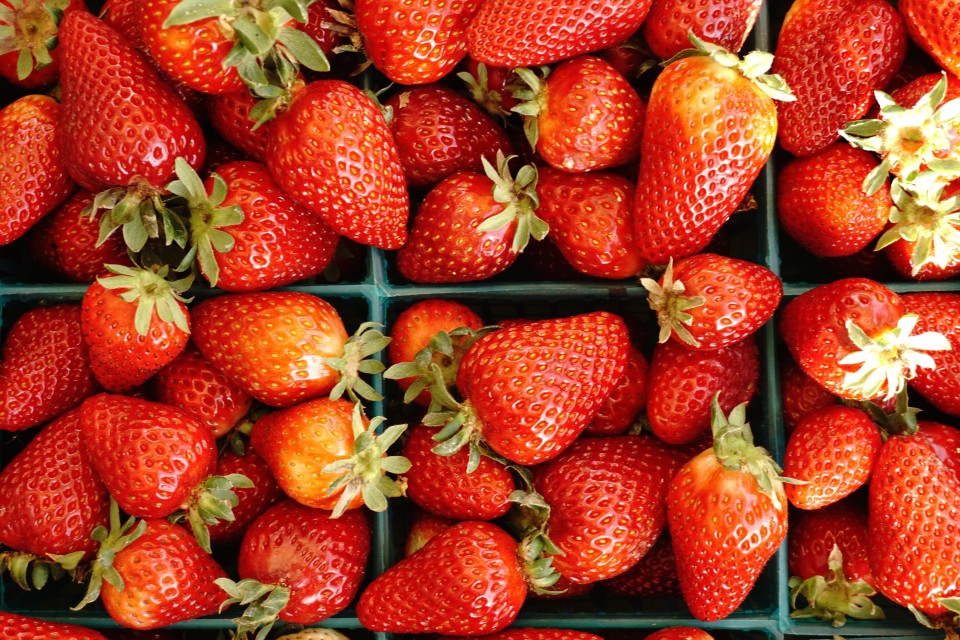
This past weekend I found some time to indulge in two of my favorite pastimes.  Baseball and baking.  The season has finally started and I can’t think of a better way to spend a drizzly gray weekend than watching the Giants play the Dodgers and baking something delicious.  I took the morning before the game to head over to the Farmer’s Market.

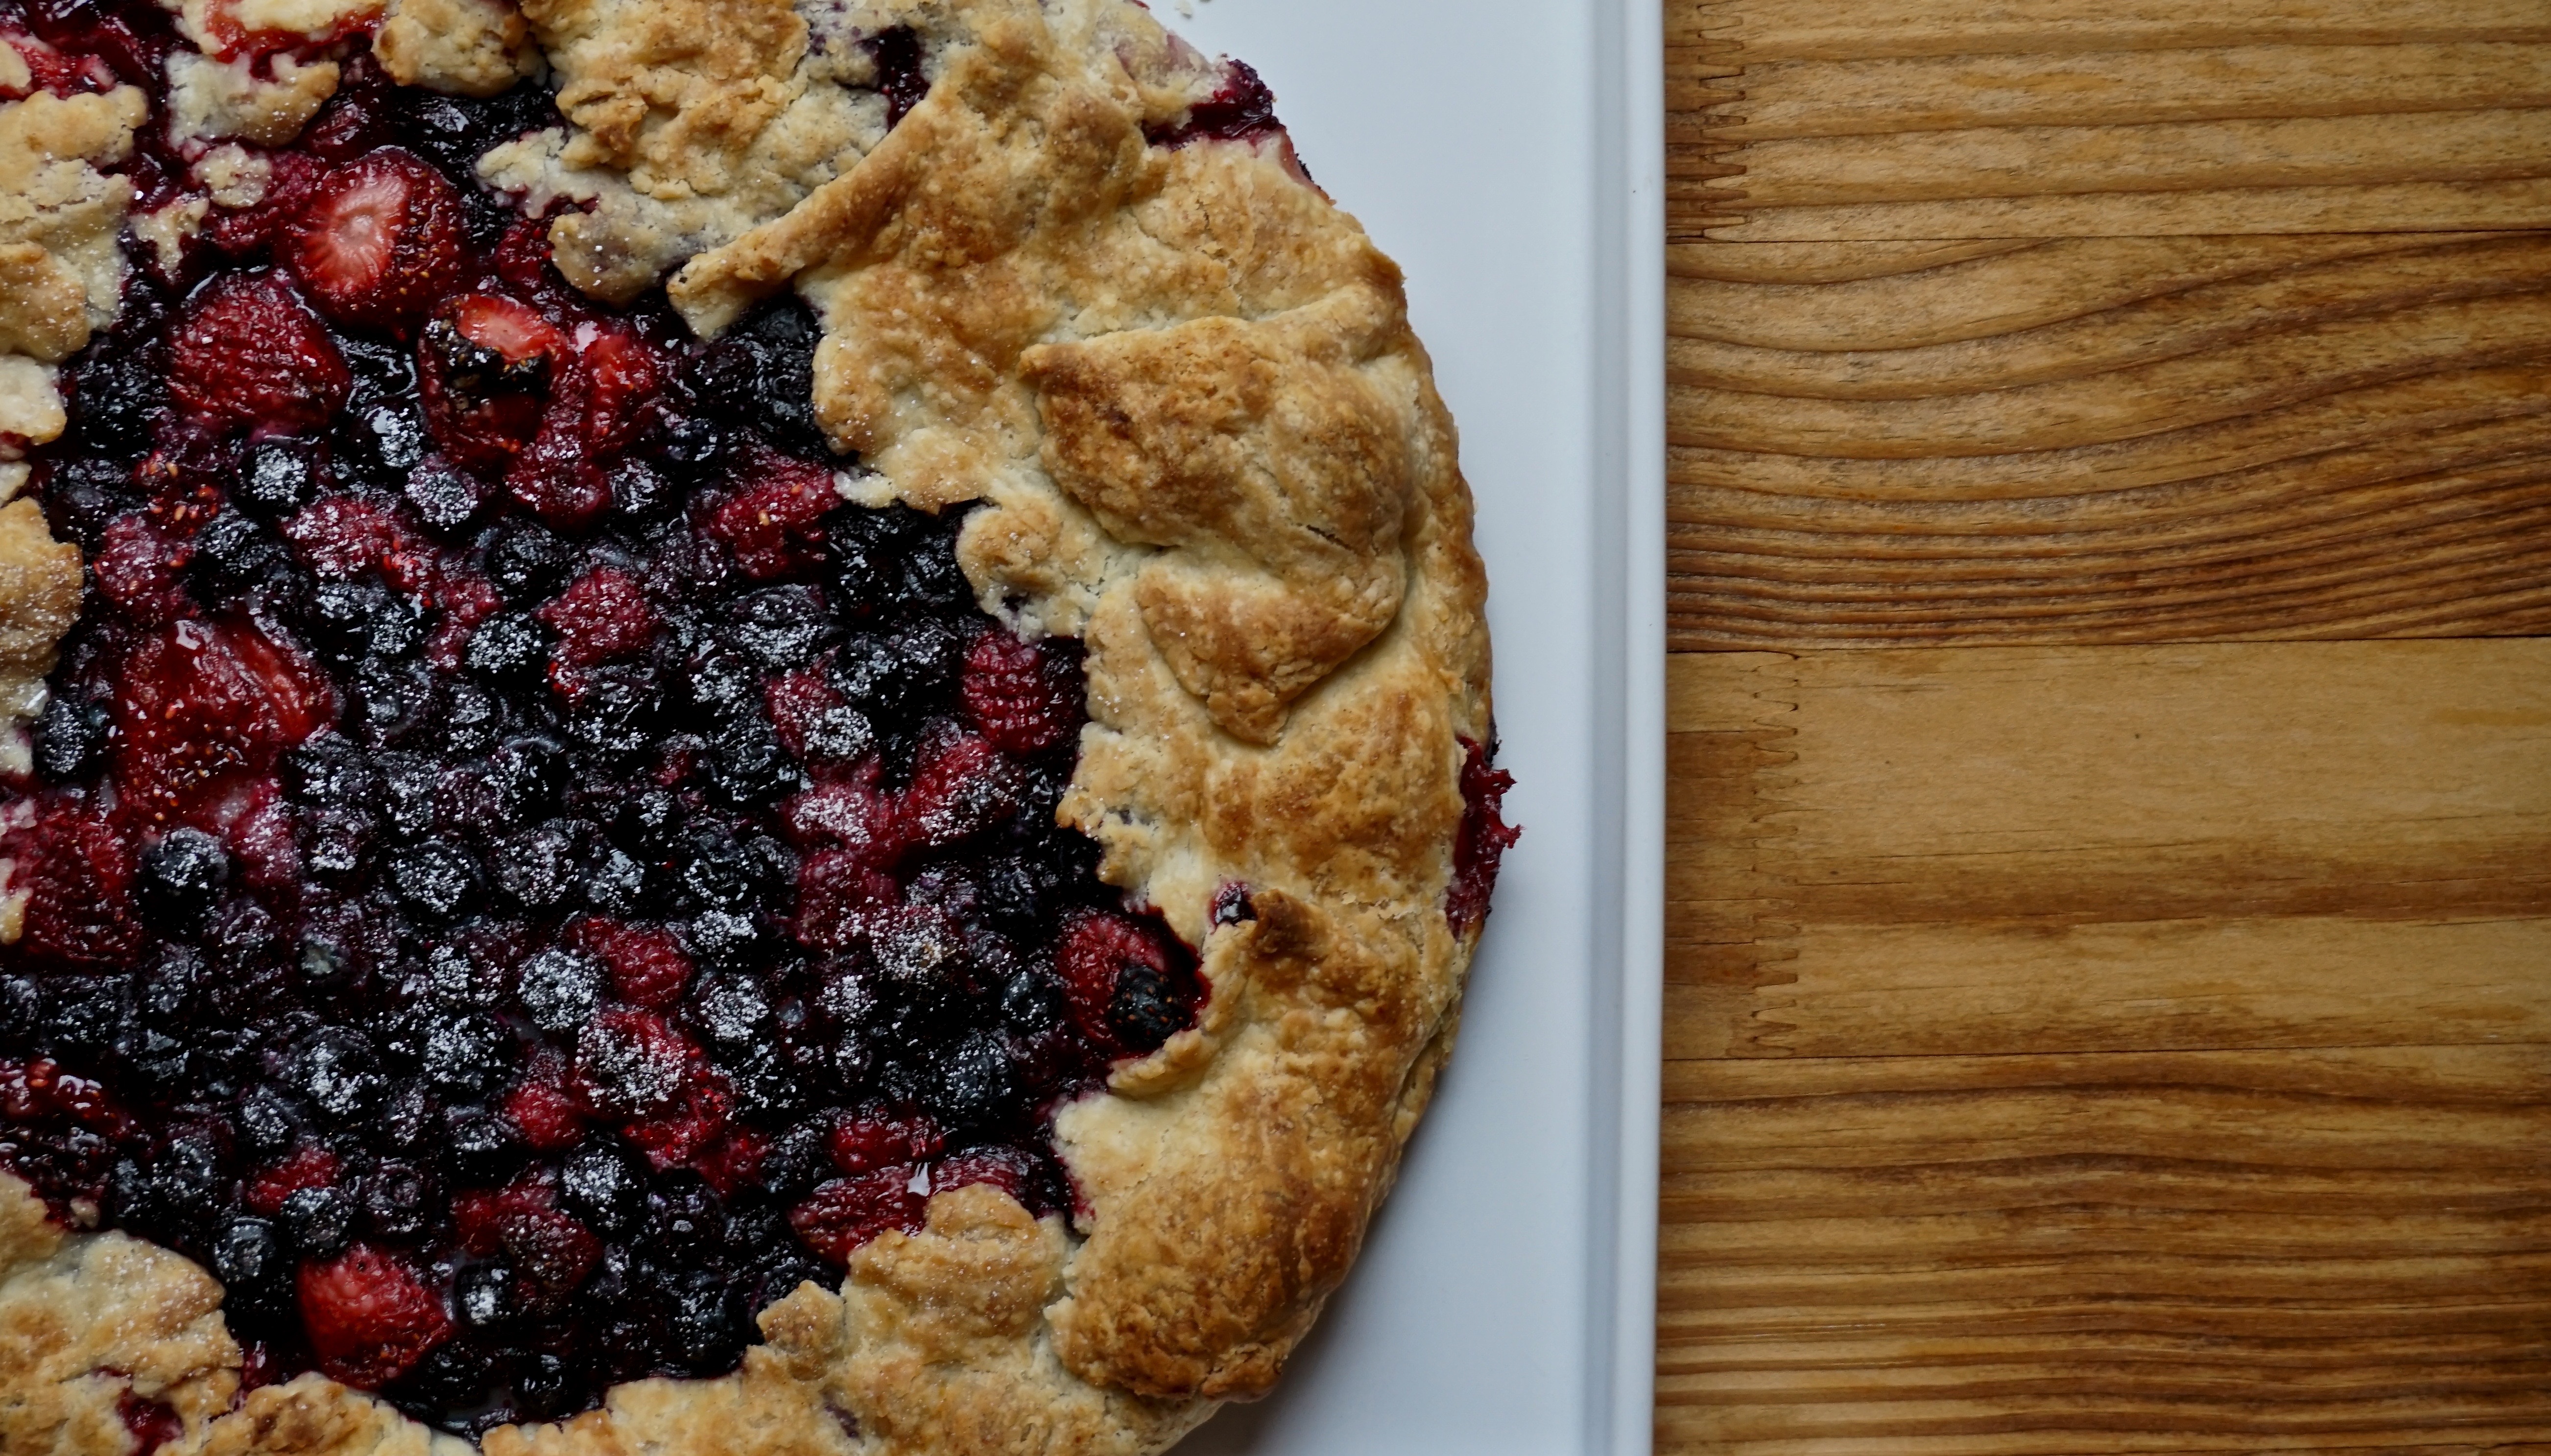
I found beautiful ripe strawberries, plump juicy blueberries and ruby red raspberries.  Time for a berry galette (fancy name for a single crust rustic pie)  yum.  I also found leaf lard …so once again my curiosity got the better of me and I tried a new crust recipe using butter and lard.  I normally use a recipe by Julia Child, which calls for butter and a tiny bit of shortening which makes it tender and flaky. Her secret step is fraisage, smearing the dough to create elongated pieces of butter.  The recipe I used today was almost 50-50 butter and lard, it tasted okay but the crust did not hold up well while baking and actually seemed to melt and collapse. I might just send an email to Kenji Lopez-Alt of the Serious Eats & Food Lab with my pie crust woes.  But for this post I included Julia Child’s tart dough recipe instead, its a keeper.

So while I watched the Giants beat the Dodgers (yes, yes, yes) the galette baked away.  The aroma of butter, sugar and berries filled the house.  I pulled the galette out of the oven, let it cool (I stood over it which was a mistake because everyone knows a watched pie never cools), cut a slice and plopped a generous scoop of vanilla ice cream next to it.  Giants win, Dodgers lose and I’m eating pie…..all is right with the world.  Hum, baby!

DSC03659

Triple Berry Galette

Delicious berry galette that highlights the berries of the season
Course Dessert
Cuisine American
Keyword blueberries, freeze-dried raspberries, galette, strawberries
Prep Time 30 minutes
Cook Time 40 minutes

Ingredients

Tart dough Julia Child Cooking at Home

  • 2 cups ap flour 10 ounces
  • 7 ounces unsalted butter chilled cut into 1/2 inch pieces
  • 1 T vegetable shortening or leaf lard chilled
  • 1/2 t salt
  • 1 tsp sugar
  • 1/3 cup ice-cold water plus a little more

Filling

  • 3-4 cups mixed berries raspberries, blueberries and strawberries
  • 3 tablespoons sugar a little more if the berries are tart or if you like it sweeter
  • 2 tablespoons cornstarch
  • juice from half a lemon about 1 tablespoon
  • pinch of salt
  • 1 egg yolk
  • 1 teaspoon water
  • coarse sugar for sprinkling

Instructions

  • Preheat oven to 425
  • Place flour, salt, sugar in bowl of food processor. Pulse a couple of times to blend. Scatter butter and shortening over flour mixture. Pulse 8-9 times, mixture should be crumbly with visible pieces of butter. Reserving 1 T of water. add ice water to flour-butter mixture through chute. Process until dough begins to come together (5 seconds). If it doesn't add reserved tablespoon of water. Process only until dough begins to clump or barely come together.
  • Remove dough from processor and place on a lightly floured surface or parchment paper. Using the heel of your hand push dough away as if smearing it (fraisage) this spreads the fat particles and incorporates it in the dough.
  • Gather dough into disc and chill for approximately 30 minutes to an hour.
  • Meanwhile prep filling. Pick through berries and remove stems. Slice larger strawberries in half or thirds. Combine berries in a large bowl and add sugar, lemon, cornstarch and pinch of salt. Set aside while you roll the dough out.
  • Roll dough on parchment paper into an 16 inch circle about 1/8" thick, you may have too much dough, trim excess. Doesn't have to be perfect, this is a rustic tart. Place fruit in the center, leaving 2-3 inch margin. Fold dough over fruit. Brush dough with milk or egg wash (1 egg yolk mixed with the teaspoon of water) and sprinkle with sugar.
  • Silde tart and parchment onto a baking sheet. Bake for 30-40 minutes until the edges are golden brown. Allow galette to cool for at lest 15 minutes before serving.
  • Serve with whipped cream or ice cream. EAT.
Just Loafing Around (Everyday Chocolate Cake)

Just Loafing Around (Everyday Chocolate Cake)

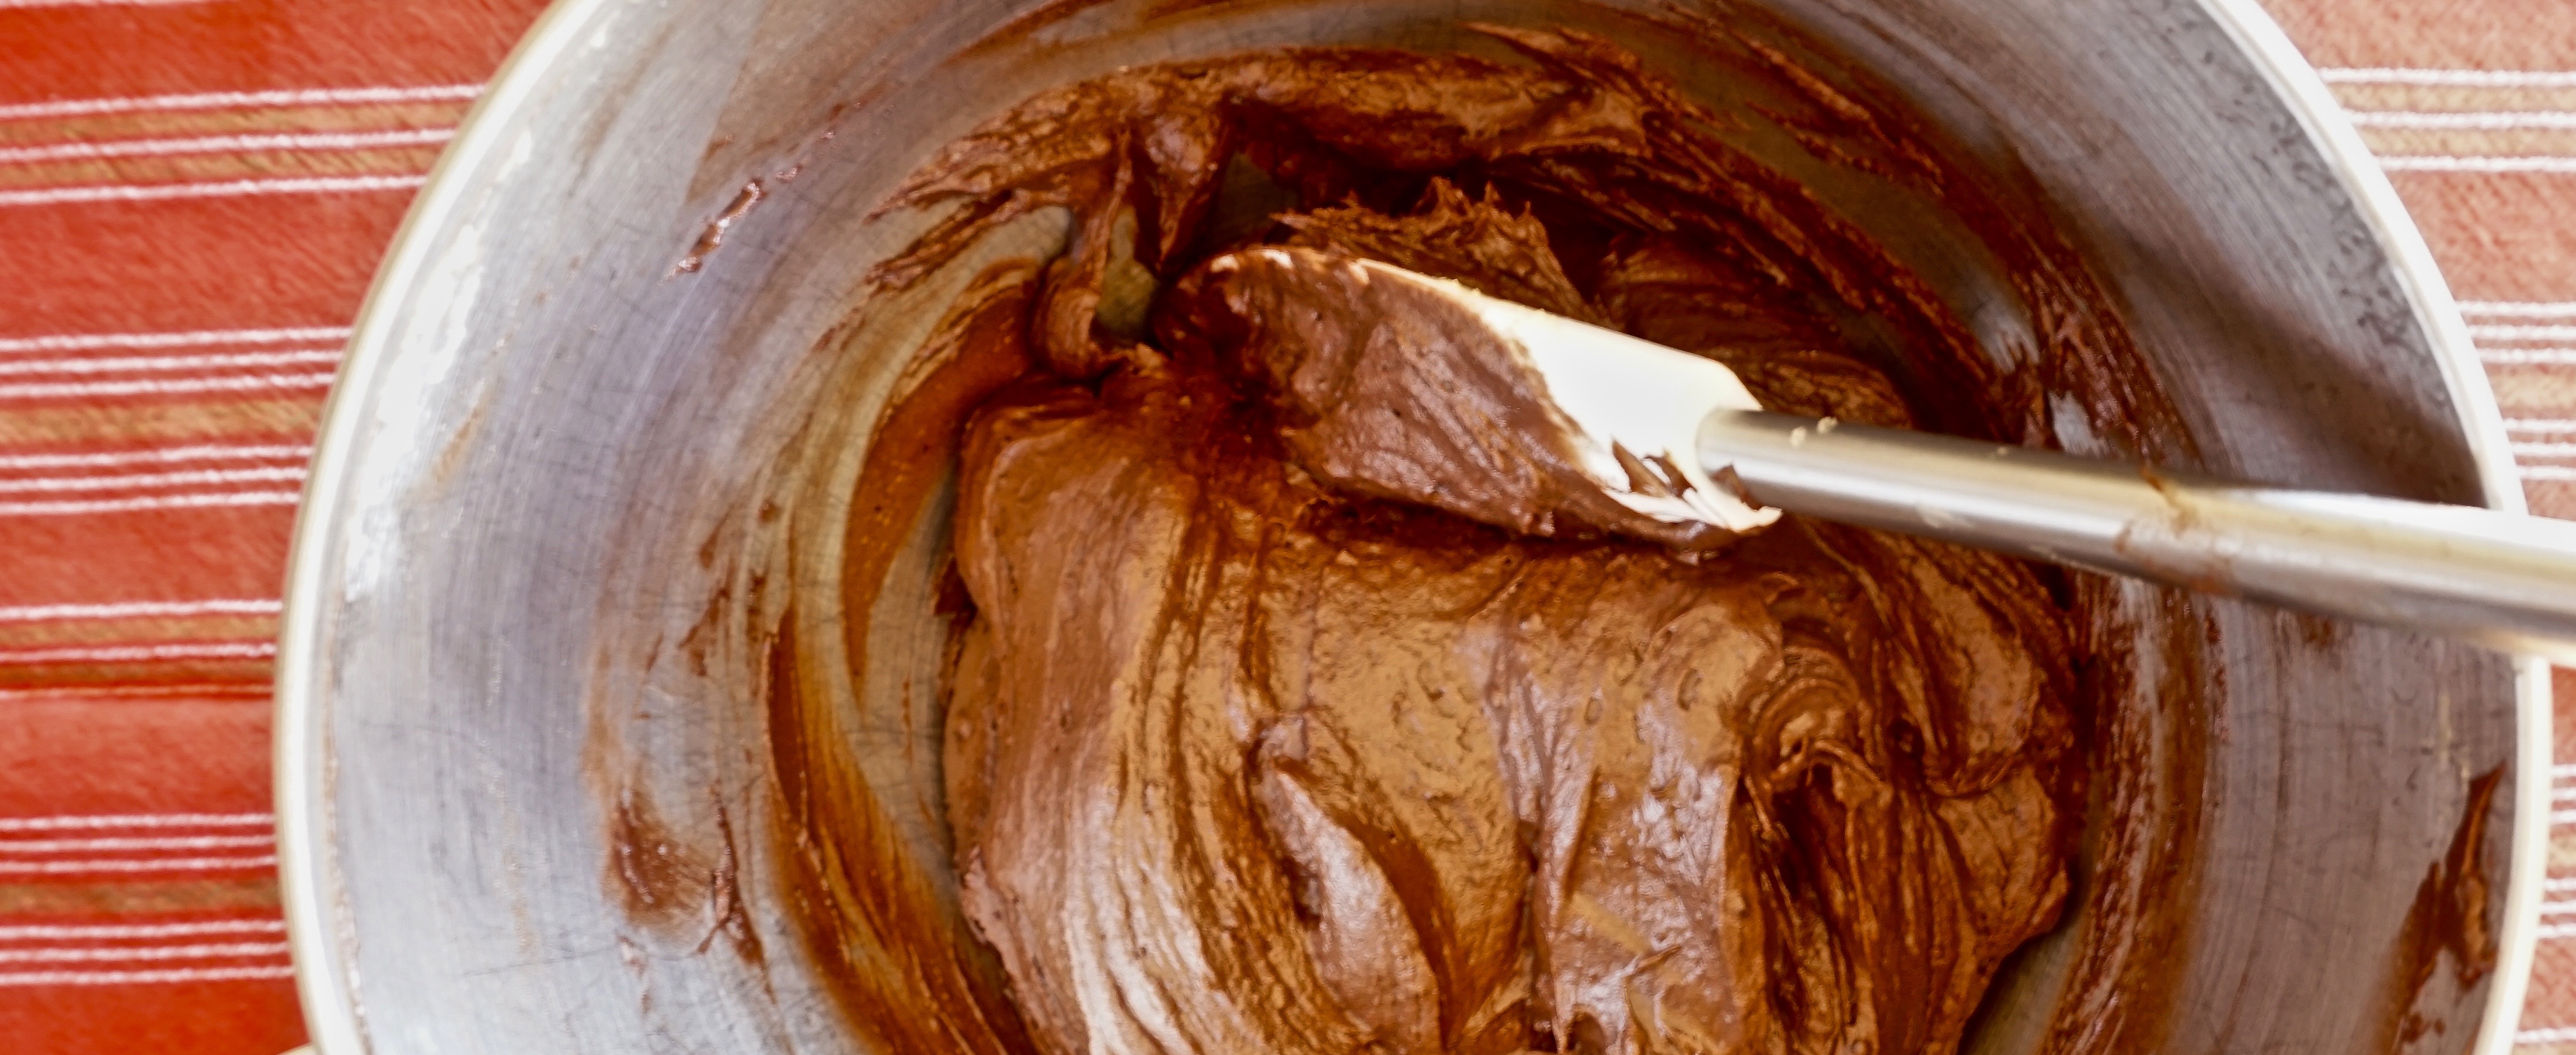
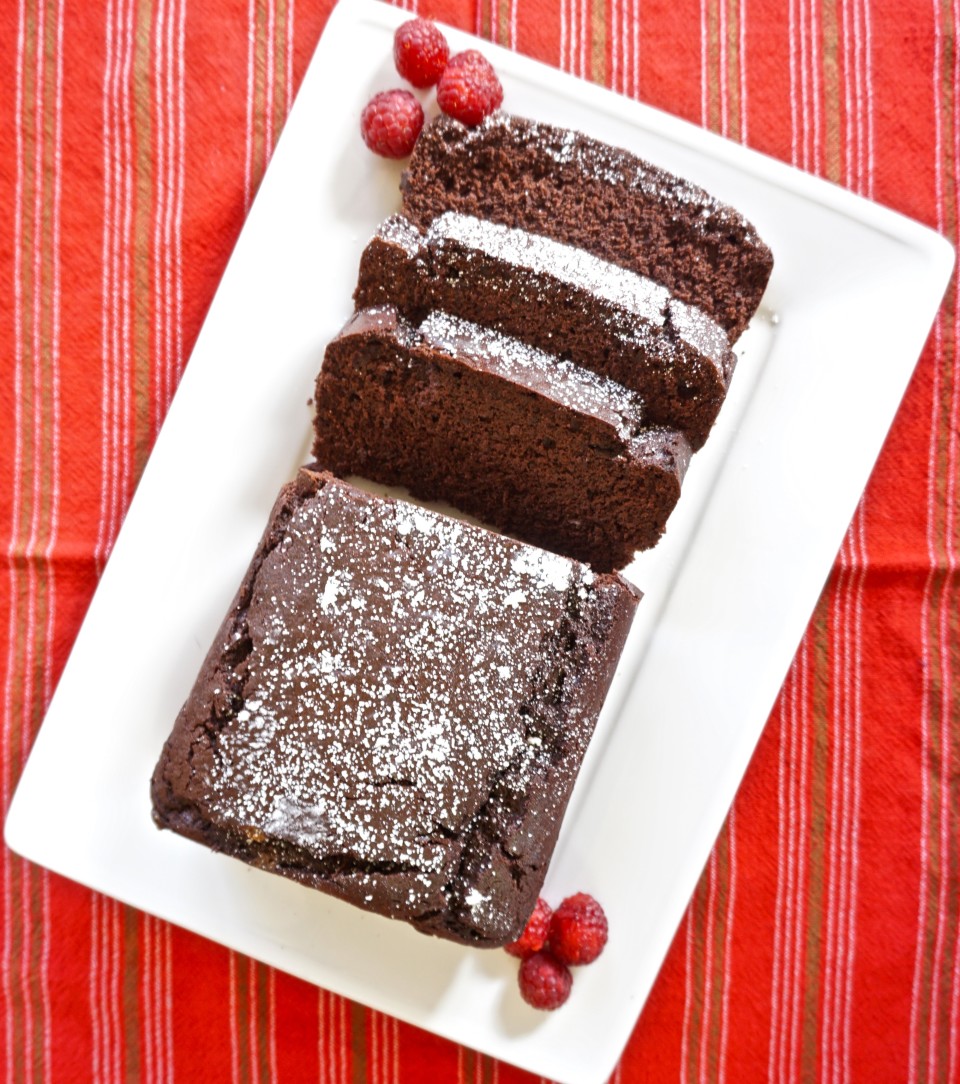
I’m not that crazy about chocolate and yet in the last few weeks I have baked a chocolate birthday cake, brownies for Jeffrey’s hockey team and today I made a quick and easy chocolate loaf cake I found on Smitten Kitchen.  Very disconcerting since I am a vanilla person.  Ninety-nine point ninety-nine percent of the time I pick vanilla.  Vanilla ice cream, vanilla pudding, all things vanilla.  Choice between vanilla wafers or chocolate cookies, not even close, give me the “Nillas”.  But this cake looked so yummy I had to try it.  The cake is a little denser than a traditional chocolate cake with a nice crumb.  It doesn’t need frosting, just a nice dusting of powdered sugar.  It comes together quickly, definitely easy enough for a weekday dessert.
I used a dutch-processed cocoa which gives it a dark, deep color and intense chocolate flavor.    If you like chocolate this is a great little cake. Serve with a dollop of whipped cream and fresh berries.  Or if you’re like me, a big scoop of VANILLA ice cream would be perfect.
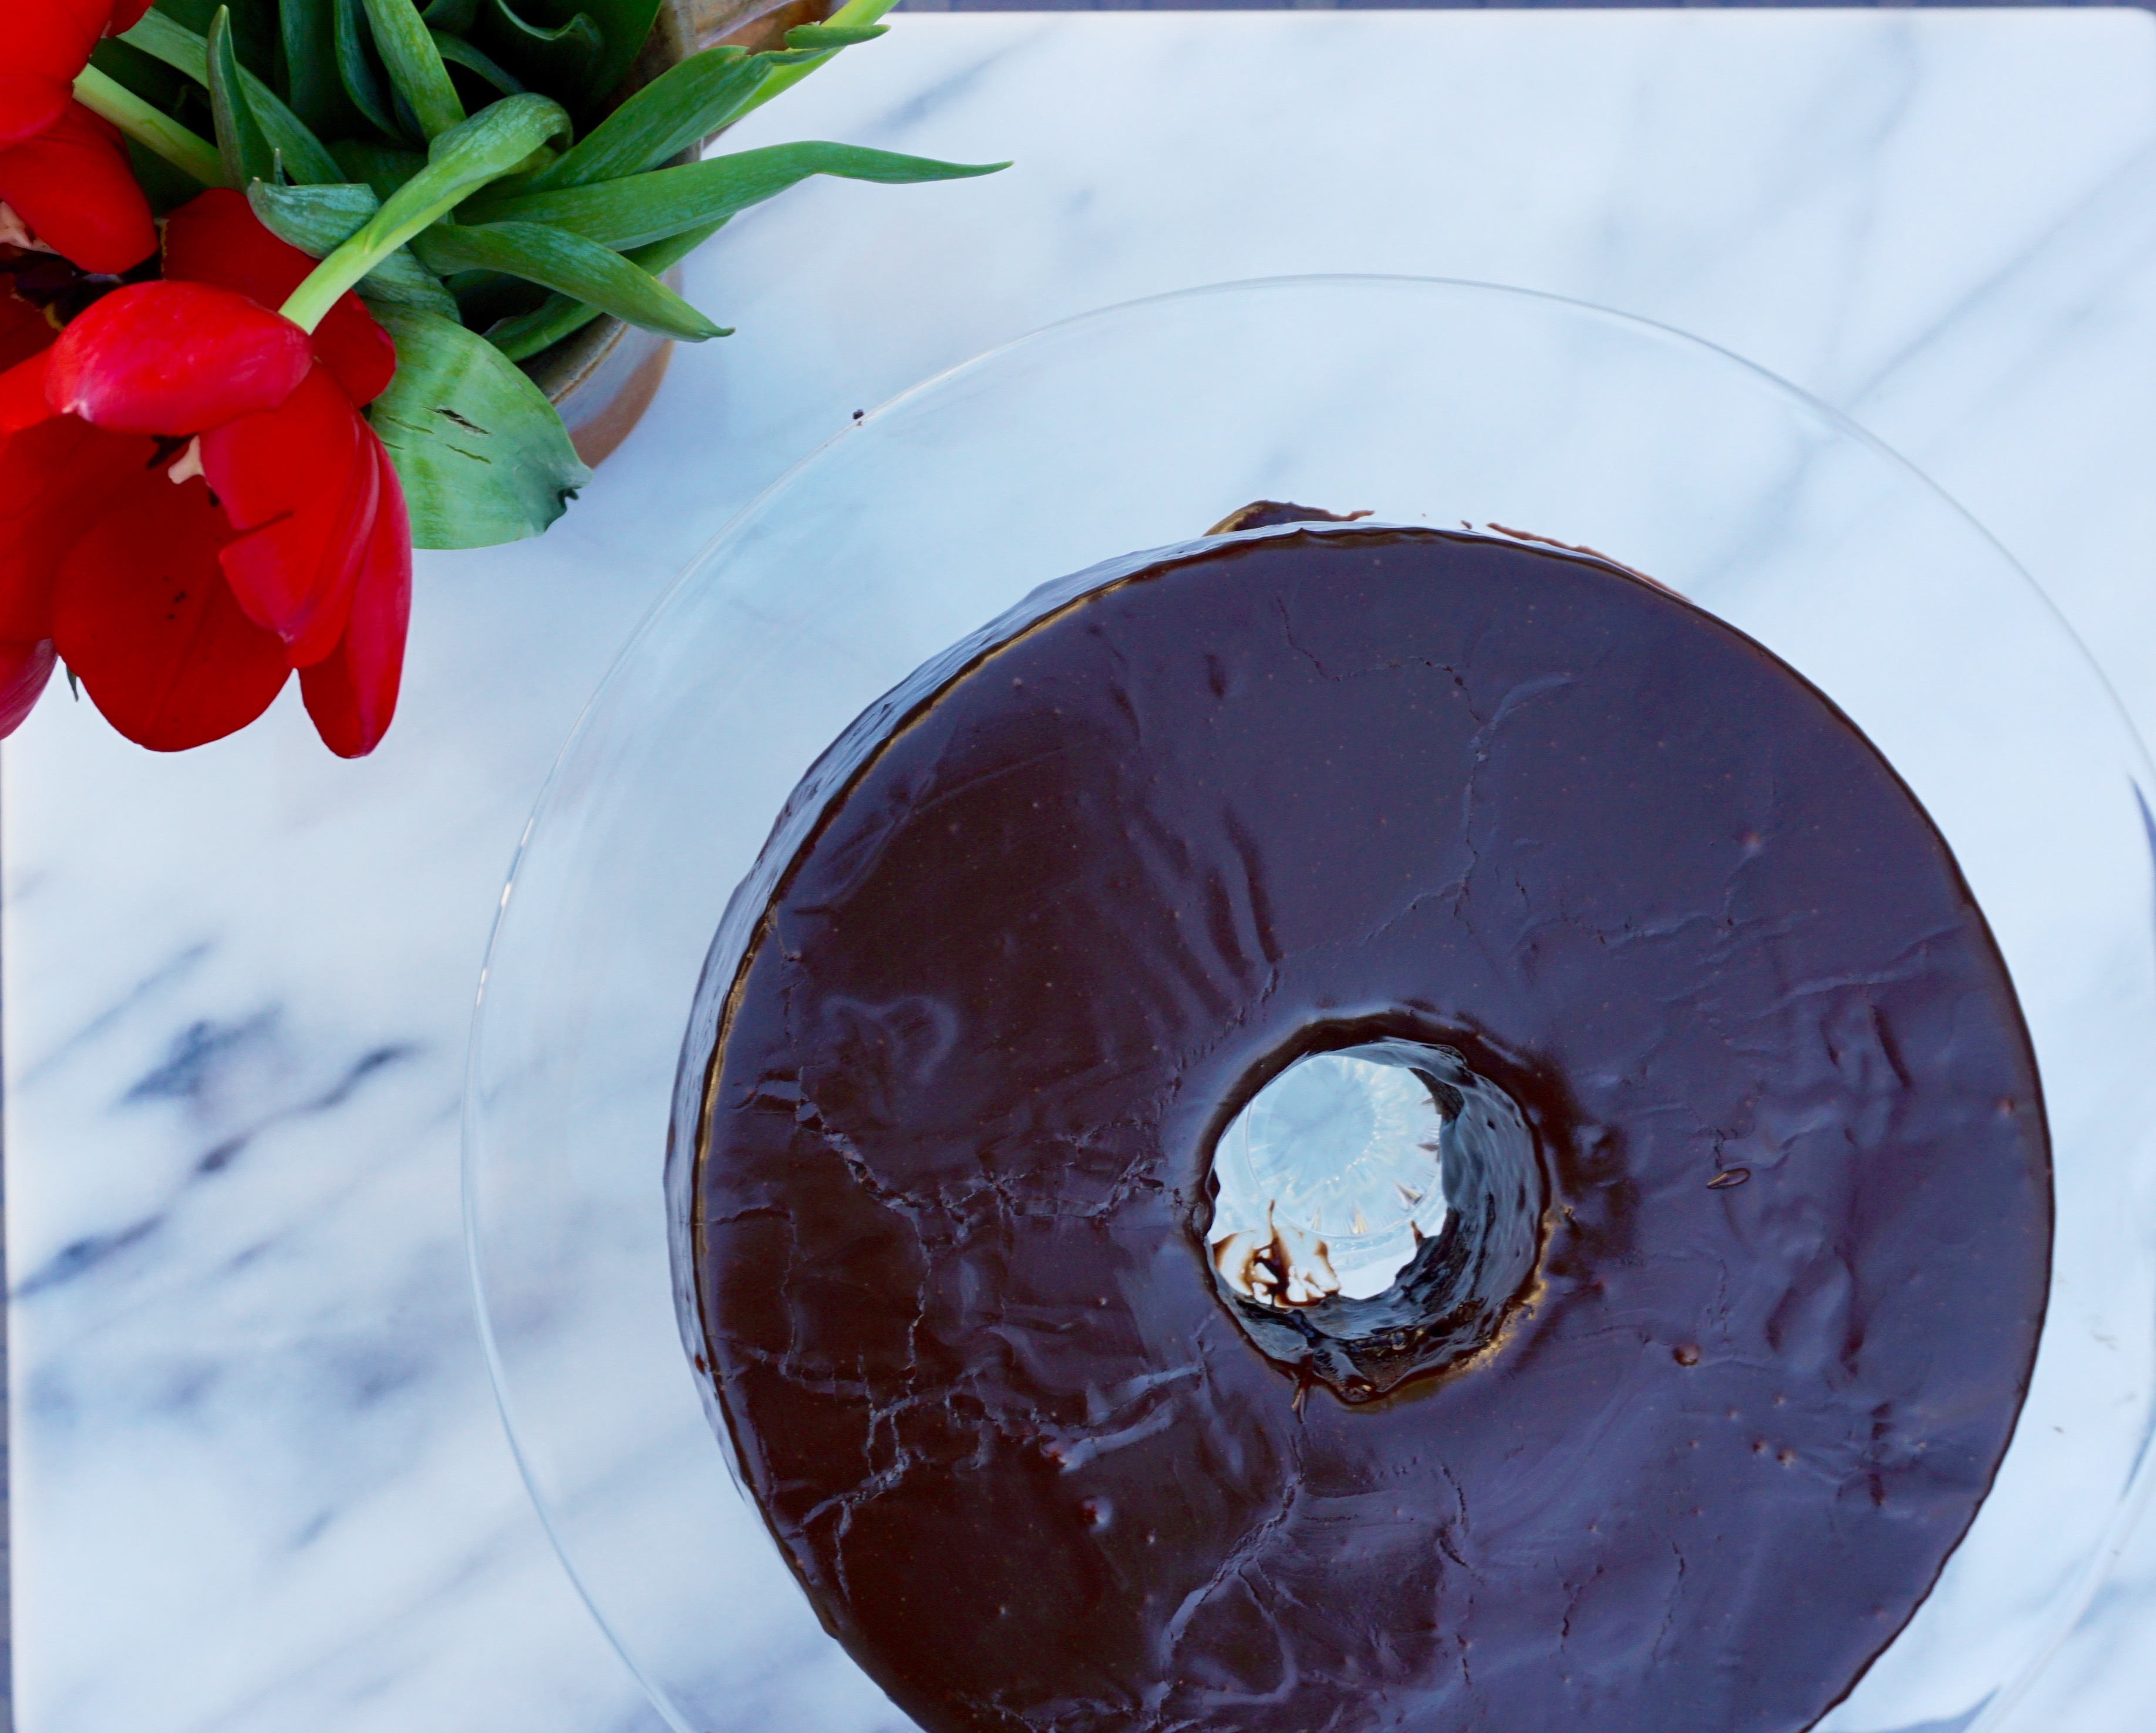
You can find the recipe on Smitten Kitchen, Everyday Chocolate Cake from Magnolia Bakery at Home.  It’s a keeper.


Just Another Day (Decadent Chocolate Cake)

Just Another Day (Decadent Chocolate Cake)

Every year my birthday sneaks up on me…I’m sure it’s because I am in denial until the very day and then it’s unavoidable.  Which just so happens to be today. When did I get this old?  I have kids and they’re how old?  Wow.

But I have lots to celebrate and thank my lucky stars for, great hubby, amazing kids, awesome family, and friends, the important things in life.

What? I have to Bake My Birthday Cake?

In our house, Wes’s carrot cake has become the de facto birthday cake.  I’m all for it as it means Wes is the one baking for everyone’s birthday.  This year I broke with tradition when I found an old friend in the New York Times cooking section.  Decadent Chocolate Cake, which I haven’t made in a long time, from my generation’s Joy of Cooking, The Silver Palate.  I remember buying my copy of the Silver Palate cookbook. I was so excited.  Attracted by the friendly prose, whimsical drawings, and cooking tips, I poured over the recipes and read every side note.  It served as a primer on ingredients, entertaining, and great food.  Chicken Marbella, Pumpkin Pie, Blackberry Mousse, Pasta with Tomatoes, Garlic, Basil and Brie became dishes I impressed my friends with.


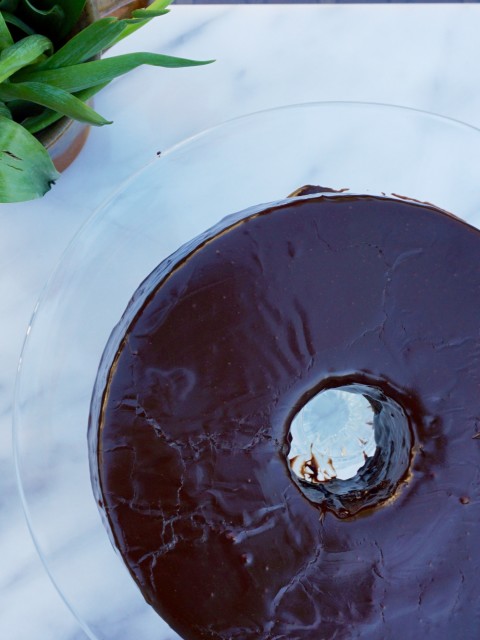
So I made the Decadent Chocolate Cake for my birthday and it was every bit as delicious as I remembered.  It’s moist, sweet, and chocolatey.  And you know what?  The beauty of having a birthday the day before Valentine’s Day is I get to have cake two days in a row, guilt-free.  The recipe can be found in NYT Cooking for those you who do not have a dog-eared, well-used copy of The Silver Palate, like mine.

Over the years I replaced some of the semisweet chocolate chips in the icing with dark chocolate to bump up the chocolate flavor.  The cake itself is sweet and mild (after all the recipe is 30+ years old) so go ahead and add chopped pieces of chocolate or chips to the cake batter before baking to amp up the flavor.  Sift the powdered sugar before adding it to the chocolate, it minimizes lumps.  When making the icing, work quickly as the icing sets almost immediately.  Pour over the cake while it is still warm.

Birthday cake calls for a tall glass of icy cold milk but Valentine’s Day calls for champagne, bubbly and romantic.  Right?

Print Pin
5 from 1 vote

Decadent Chocolate Cake

From the Silver Palate Cookbook
Course Dessert
Cuisine American
Keyword Decadent Chocolate Cake
Prep Time 30 minutes

Ingredients

  • 1 cup boiling water
  • 3 oz unsweetened chocolate
  • 8 T butter 1 stick
  • 1 tsp vanilla extract
  • 2 cups granulated sugar
  • 2 eggs separated
  • 1 tsp baking soda
  • 1/2 cup sour cream
  • 2 cups less 2 T all-purpose flour sied
  • 1 tsp baking powder

CHOCOLATE FROSTING

  • 2 T butter
  • 3/4 cup semisweet chocolate chips
  • 6 T heavy cream
  • 1 1/4 cups confectioners' sugar or as needed
  • 1 tsp vanilla extract

Instructions

  • Preheat oven to 350 degrees. Grease and flour a 10-inch tube pan. Knock out excess flour. In a large bowl, pour the boiling water over the
  • chocolate and butter; let stand until melted. Stir in the vanilla and sugar, then whisk in egg yolks one at a time, blending well aer each addition.
  • Mix baking soda, and sour cream together and add to chocolate mixture. Si together flour and baking powder; add to batter, mixing thoroughly.
  • In a separate bowl, beat egg whites until stiff but not dry. Stir a quarter of the egg whites into the batter. Scoop remaining egg whites on top of
  • batter and gently fold together. Pour the batter into prepared pan. Set in the middle rack of oven and bake 40-50 minutes, or until the edges have
  • pulled away from the sides of the pan and a cake tester inserted into the center comes out clean. Cool cake in pan for 10 minutes; unmold and cool completely before frosting.

Chocolate Frosting

  • Place all ingredients in a heavy saucepan over low heat and whisk until smooth. Cool slightly;
  • add more sugar if necessary to achieve a spreading consistency. Spread on cake while frosting is still warm.
Do-Nut Pass on these Donut Hole Muffins

Do-Nut Pass on these Donut Hole Muffins

My cooking gadget addiction strikes without warning.  Standing in Michaels one day, supposedly JUST browsing with NO intention of buying anything when BAM!  I became the proud & puzzled owner of a donut hole pan.  Yes, a donut hole pan.  I have 4 or 5 mini-muffin tins that would do the trick, but nooo, in a moment of weakness, I bought one.  I already own donut pans, which in my defense, I justify by saying baked donuts are much better for you than fried ones…  Which would be fine except I RARELY eat donuts much less make them from scratch.

Just another excuse to feed my gadget addiction.

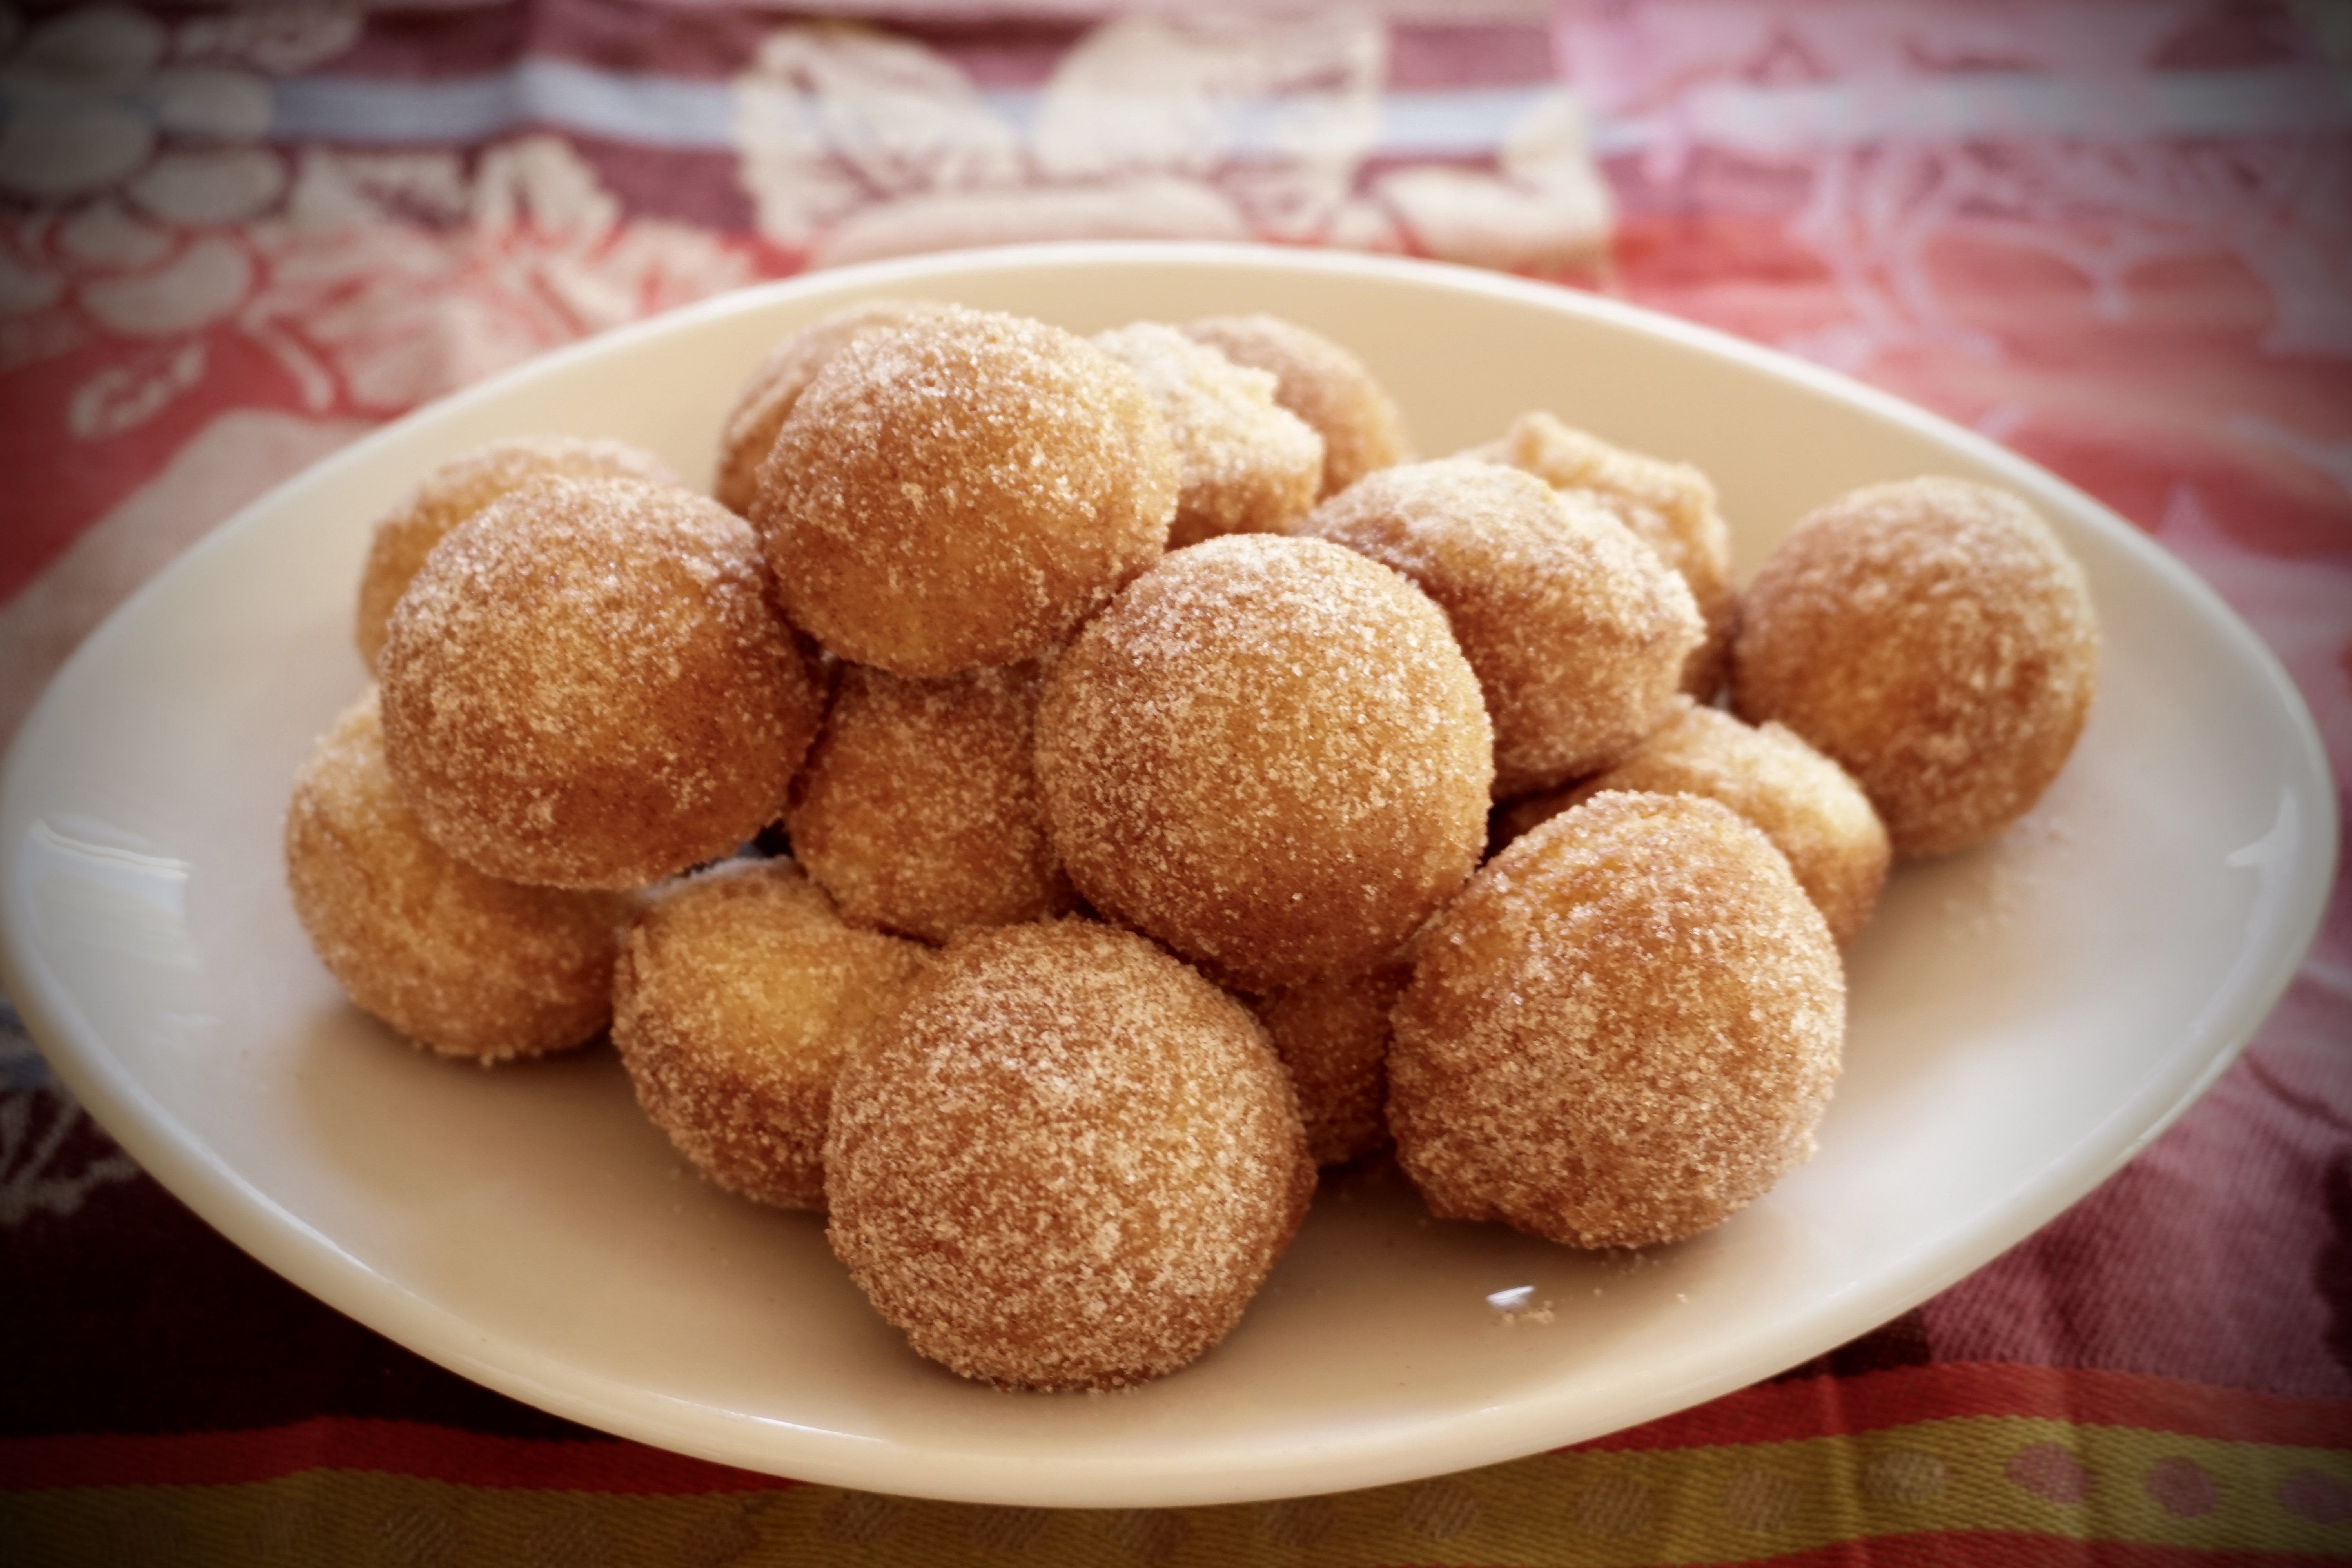
DSC02384

Opportunity Knocks

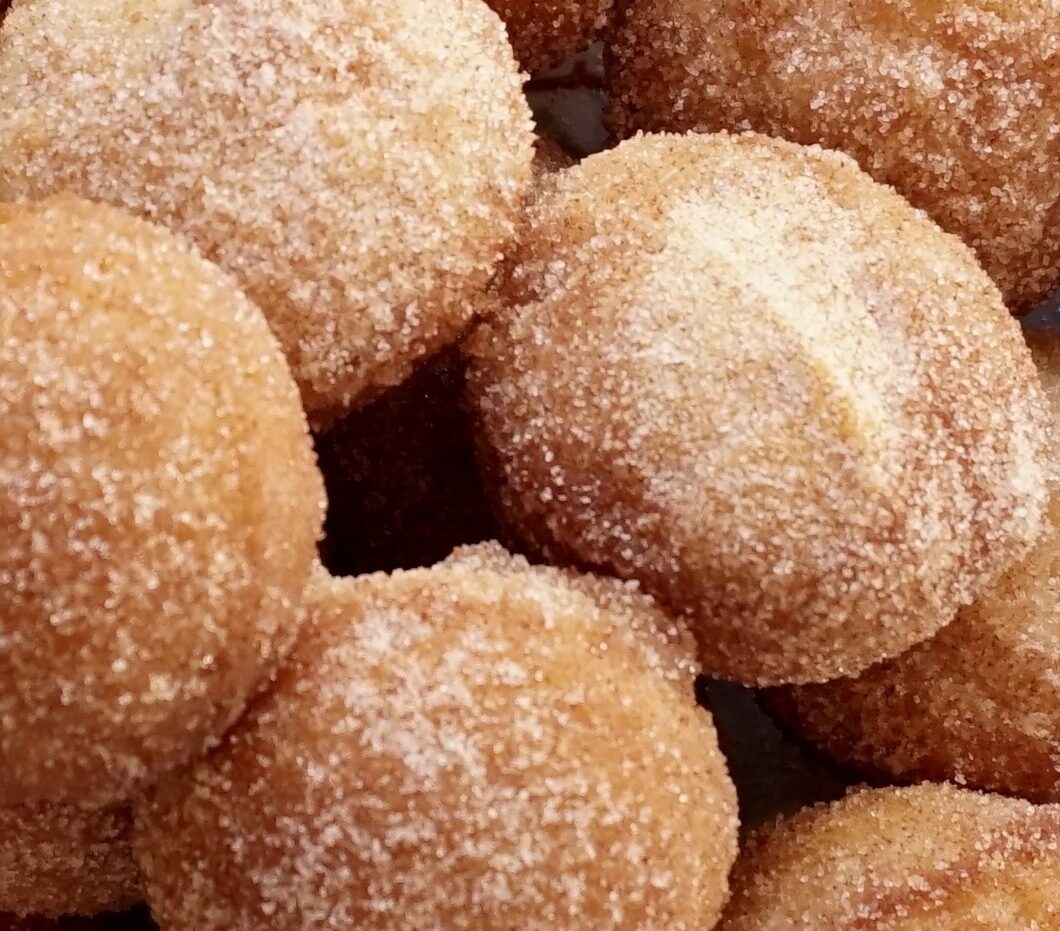
The pan stayed in my cabinet, forgotten, until recently.  After Head of the Charles in Boston, we decided to take a side trip to Vermont to see the Fall colors.   Really, we were actually in search of pie.  We stayed at a cute little B&B, the Trumbull House Bed and Breakfast in Hanover.  Each morning, we were served a delicious basket of baked goods. Their Donut Hole Muffin in the basket was a standout, buttery, tender with a nice crunch from the cinnamon sugar coating that covers the ENTIRE muffin.

See, there was a reason I bought a donut hole pan. LOL.  So without further ado, here is the recipe for Donut Hole Muffins courtesy of the Trumbull House in Hanover Vermont.  These are really easy.  There aren’t any eggs in the recipe if you were wondering.  If you use your donut hole pan (doesn’t everyone have one?) and it has a dark finish, decrease the temperature to 350 degrees.  I baked them for approximately 12-14 minutes.  Test early, 20 minutes might be too long.  You can bake these in mini-muffin tins or in a regular-sized muffin tin.  Increase the baking time for the regular-sized tin to 20-25 minutes.

You’ll love these.

Put them on your muffin or donut bucket list.

Donut Hole Muffins

Delicious BAKED Donut Holes
Course desserts
Cuisine American
Keyword baked donuts, cinnamon sugar, donut holes
Prep Time 10 minutes
Cook Time 20 minutes

Ingredients

Dry Ingredients

  • 1 teaspoon baking powder
  • 1 cup all-purpose flour
  • 3/4 teaspoon ground mace

Wet Ingredients

  • 1/2 cup white sugar
  • 1/4 cup butter melted
  • 1/2 cup milk

Topping

  • 1/4 cup butter melted
  • 1/2 cup white sugar
  • 1 teaspoon ground cinnamon

Instructions

  • Preheat oven to 375 degrees F (190 degrees C). Grease 24 mini-mu!in cups or DONUT HOLE PAN
  • Mix 1/2 cup sugar, 1/4 cup butter, and mace in a large bowl.
  • Stir in the milk. Stir flour and baking powder together and add to milk mixture. Stir until just combined. Fill the prepared mini muffin cups or DONUT HOLE PAN about half full.
  • Bake in the preheated oven until the tops are lightly golden, 15 to 20 minutes.
  • While muffins are baking, place melted butter in a bowl. In a separate bowl, mix together 1/2 cup of sugar with the cinnamon.
  • Remove muffins from pan while warm, dip each mu!in in the butter and roll in the sugar-cinnamon mixture.
  • Let cool and serve.
Stupid Easy: Homemade Vanilla Extract

Stupid Easy: Homemade Vanilla Extract

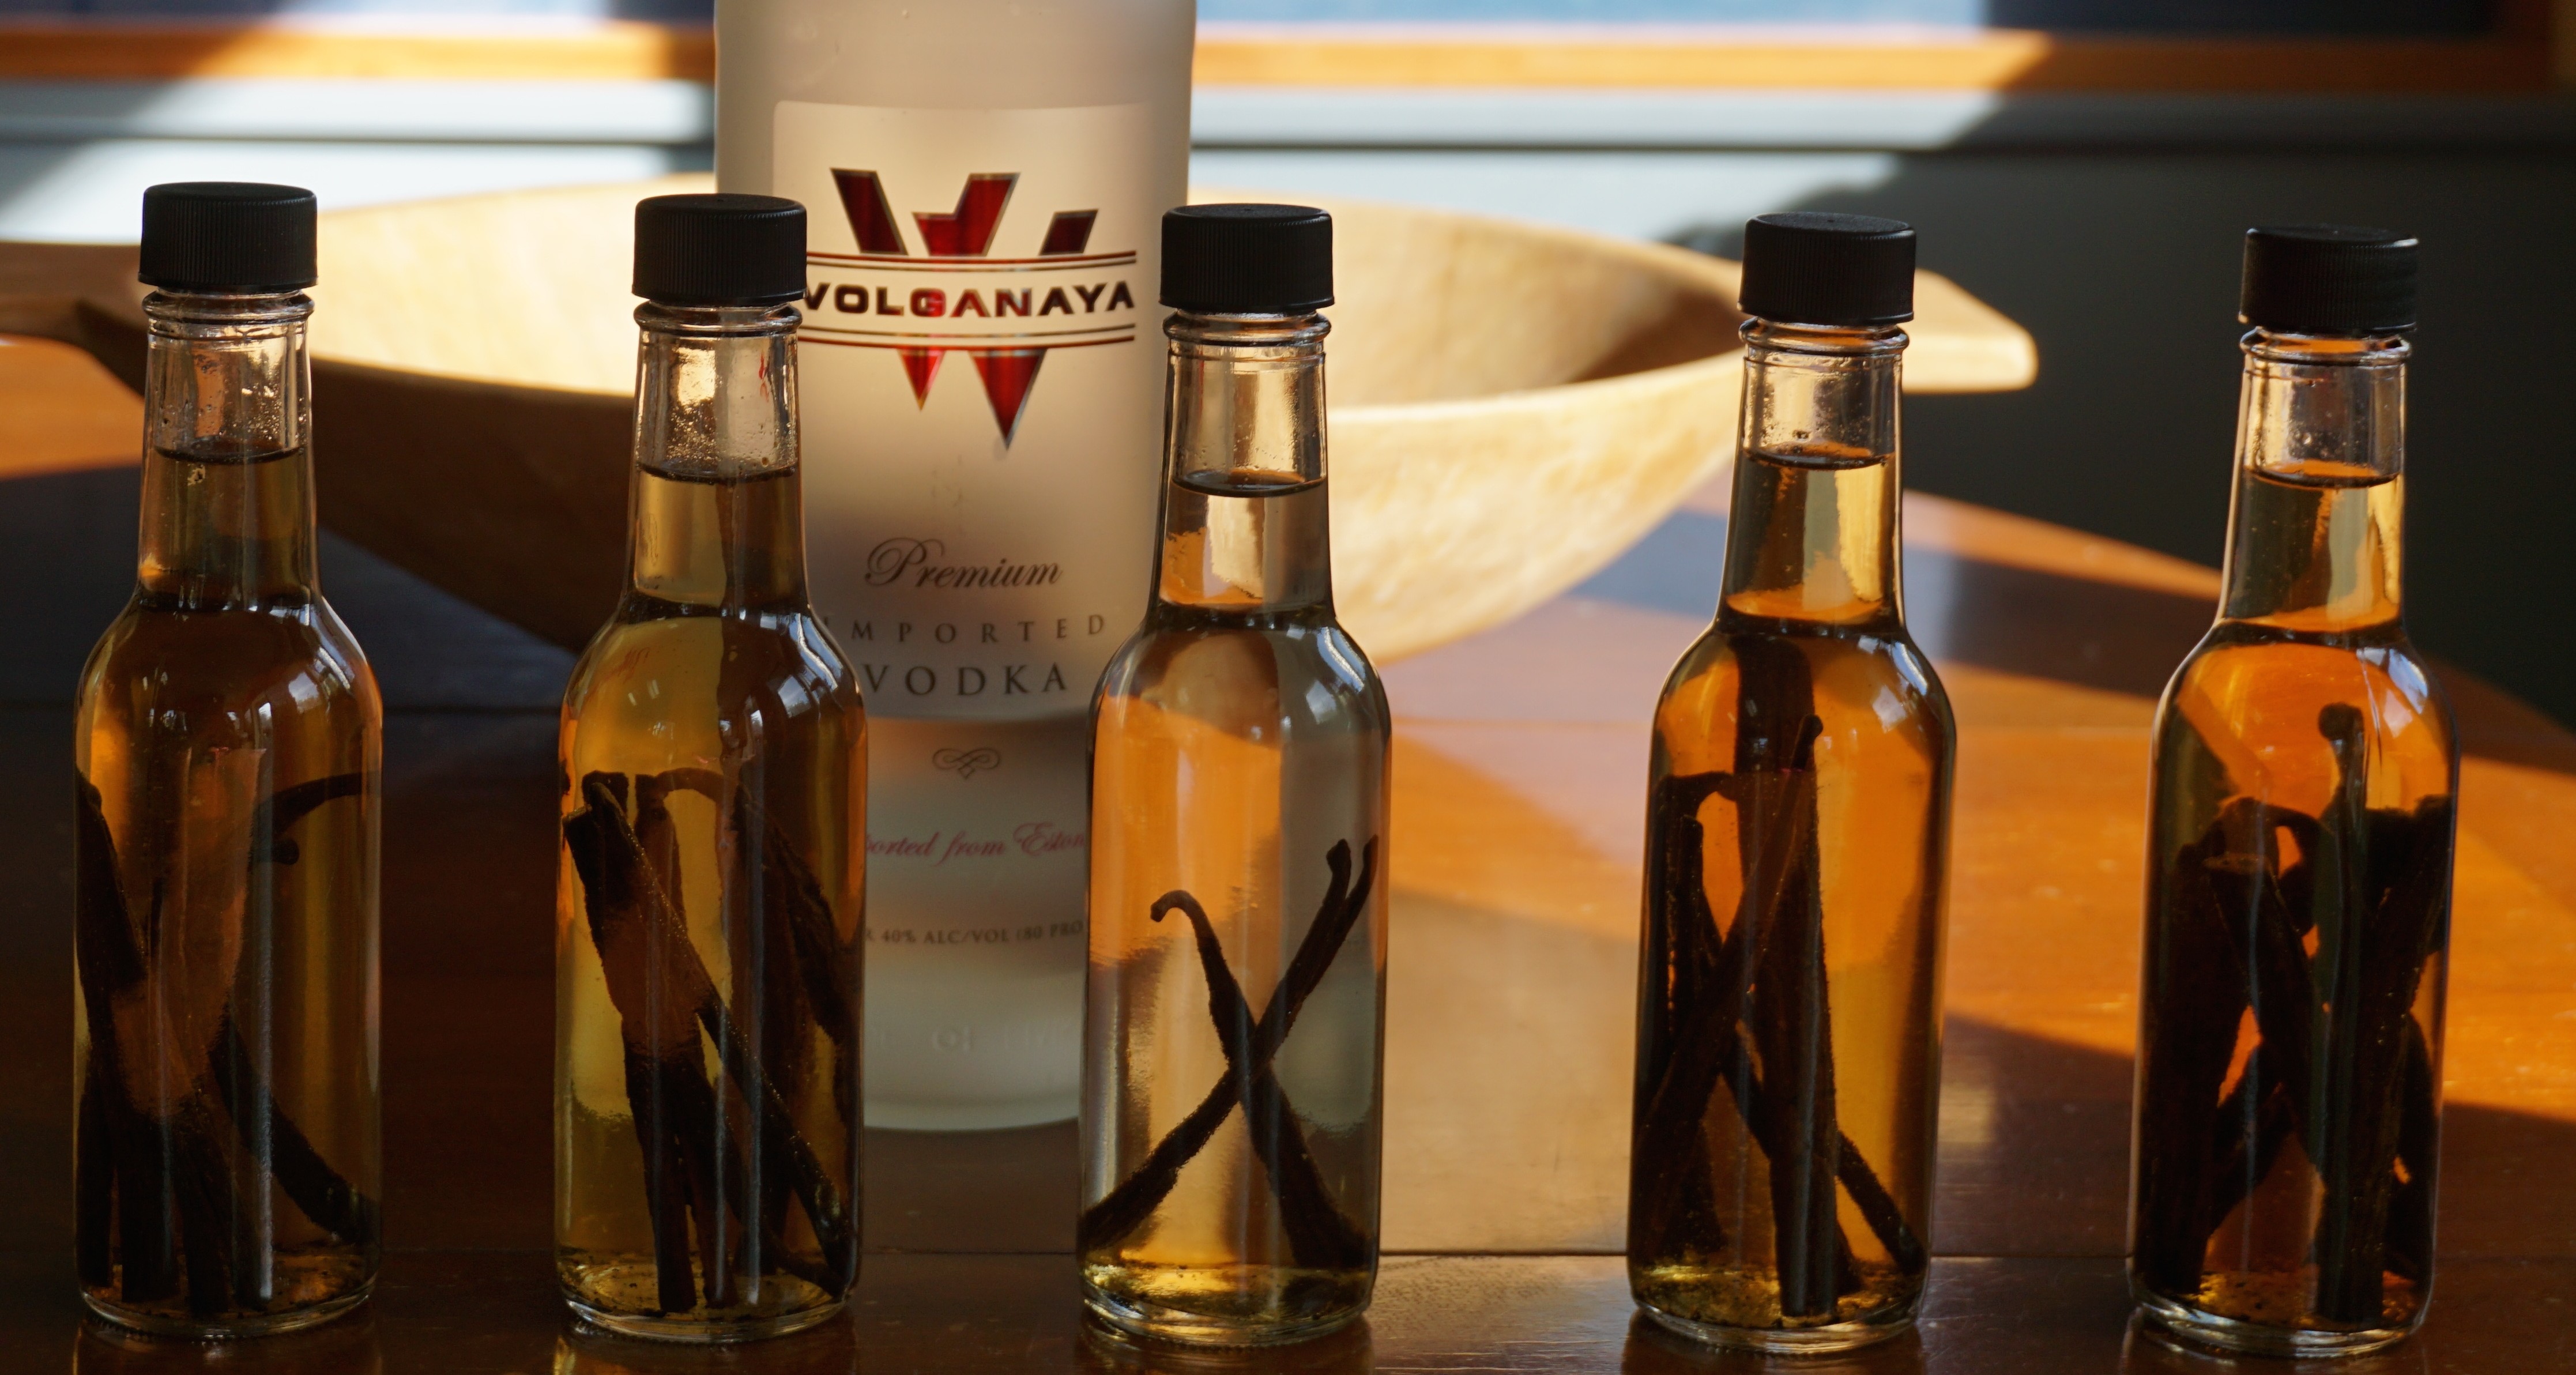
DSC02426Hard to believe the holidays are just around the corner!  Unfortunately, I am not a brick and mortar shopper, thank goodness for online shopping.  I’m the one dragging my feet in the malls and whining “are we done yet?”  To appease me (get rid of me), my family will tell me to go to the nearest bookstore (unfortunately there aren’t as many nowadays) or cookware store and they will retrieve me when they are done.  So as you can imagine gift buying is not high on my bucket list of things to do.  I do like giving gifts from my kitchen.  This year I’ll be adding homemade vanilla extract to my holiday goodies. I am really excited.  It is so simple its ridiculous.  I did find beans at Costco but a good online source is Beanilla.  Use the 2nd grade which is actually better for extract as the beans have less moisture in them.  I used vodka since it does not impart any flavor.  Rum and bourbon have been suggested but they will add their flavor to your vanilla.  I made my first batch a couple of weeks before Halloween and put them in the pantry.  Occasionally I take the bottles out and give them a peek and a shake. The extract will sit for about 8 weeks before I slap a cute label on them and give them to friends and family. My recipe source comes from a favorite blog Smitten Kitchen but I did find another site that described the process incredibly well, Will Cook for Friends.  Worth the time reading through both.  Next year I will start earlier so my tiny bottles of liquid gold can sit for longer.


Stupid Easy: Vanilla Extract

Ingredients

  • Vodka no need to buy expensive vodka, I got mine from TJ's
  • Vanilla beans I used bourbon madagasgar beans
  • Bottles 4 to 8 oz size I put mine in the dishwasher, you can sterilize bottles in boiling water if you want
  • Tincture of time Allow min of 6-8 weeks, it will have a nice brown color and should smell like vanilla not alcohol
  • I ordered glass bottles from Amazon in 5 ounce size.

Instructions

  • THIS IS STUPID EASY.
  • Split vanilla beans lengthwise leaving the top inch unspilt (to keep the bean in one piece)
  • Scrape seeds from inside the bean and reserve for bottle. This is optional. If you do not plan to strain your extract the seeds will stay in clumps so not really pretty.
  • If necessary cut beans in half cross wise to fit in bottles
  • Place beans in bottle or jar. I used 2 whole beans for 4 ounces of vodka
  • Fill with vodka/alcohol so beans are fully submerged. Remember those cute little funnels you bought and never used? Break them out now.
  • Cap and store at room temp away from light. Shake occasionally.
  • It is up to you if you want to strain the extract or leave the beans in the bottle.
  • Depending on when you started you now have weeks, maybe even months to design cool labels for your vanilla.
  • How easy is that?
Apple a Day… (Apple Cake)

Apple a Day… (Apple Cake)

I walked outside the other day, the sunlight was a little different, not so bright, not so in your face. The light had taken on a warm orange hue.  Even if temperatures are high, it just doesn’t seem as hot, the day’s end is a little earlier.  There is a crispness in the air and colors seem more vibrant. That’s when I sense fall has arrived. I love the fall, it means APPLES!  Remember the scene from Forrest Gump with Bubba reciting what you could do with shrimp?  Well, that’s how I am with apples.  You can bake it, cook it, juice it, put it in salads, pancakes, casseroles, eat it out of hand.  There’s apple pie, apple dumpling, apple cake, fried apples, sautéed apples, applesauce, apple crisp, caramel apples….yep, love them apples.

AppleCake1Growing up there was the one apple to rule them all, the Red Delicious (ok, so I grew up in the city).  I didn’t know other varieties existed, when Golden Delicious apples started showing up, that was a major deal.  Now the varieties are endless, Jonagold, Empire, Mutsu, Pink Lady, the list keeps growing. When I make an apple pie I use at least 3 different varieties, I look for a balance of tart and sweet, apples that hold their shape and some that breakdown as the pie bakes.  Apparently, I just don’t micromanage my kids I seem to be an apple pie micromanager as well…sigh.
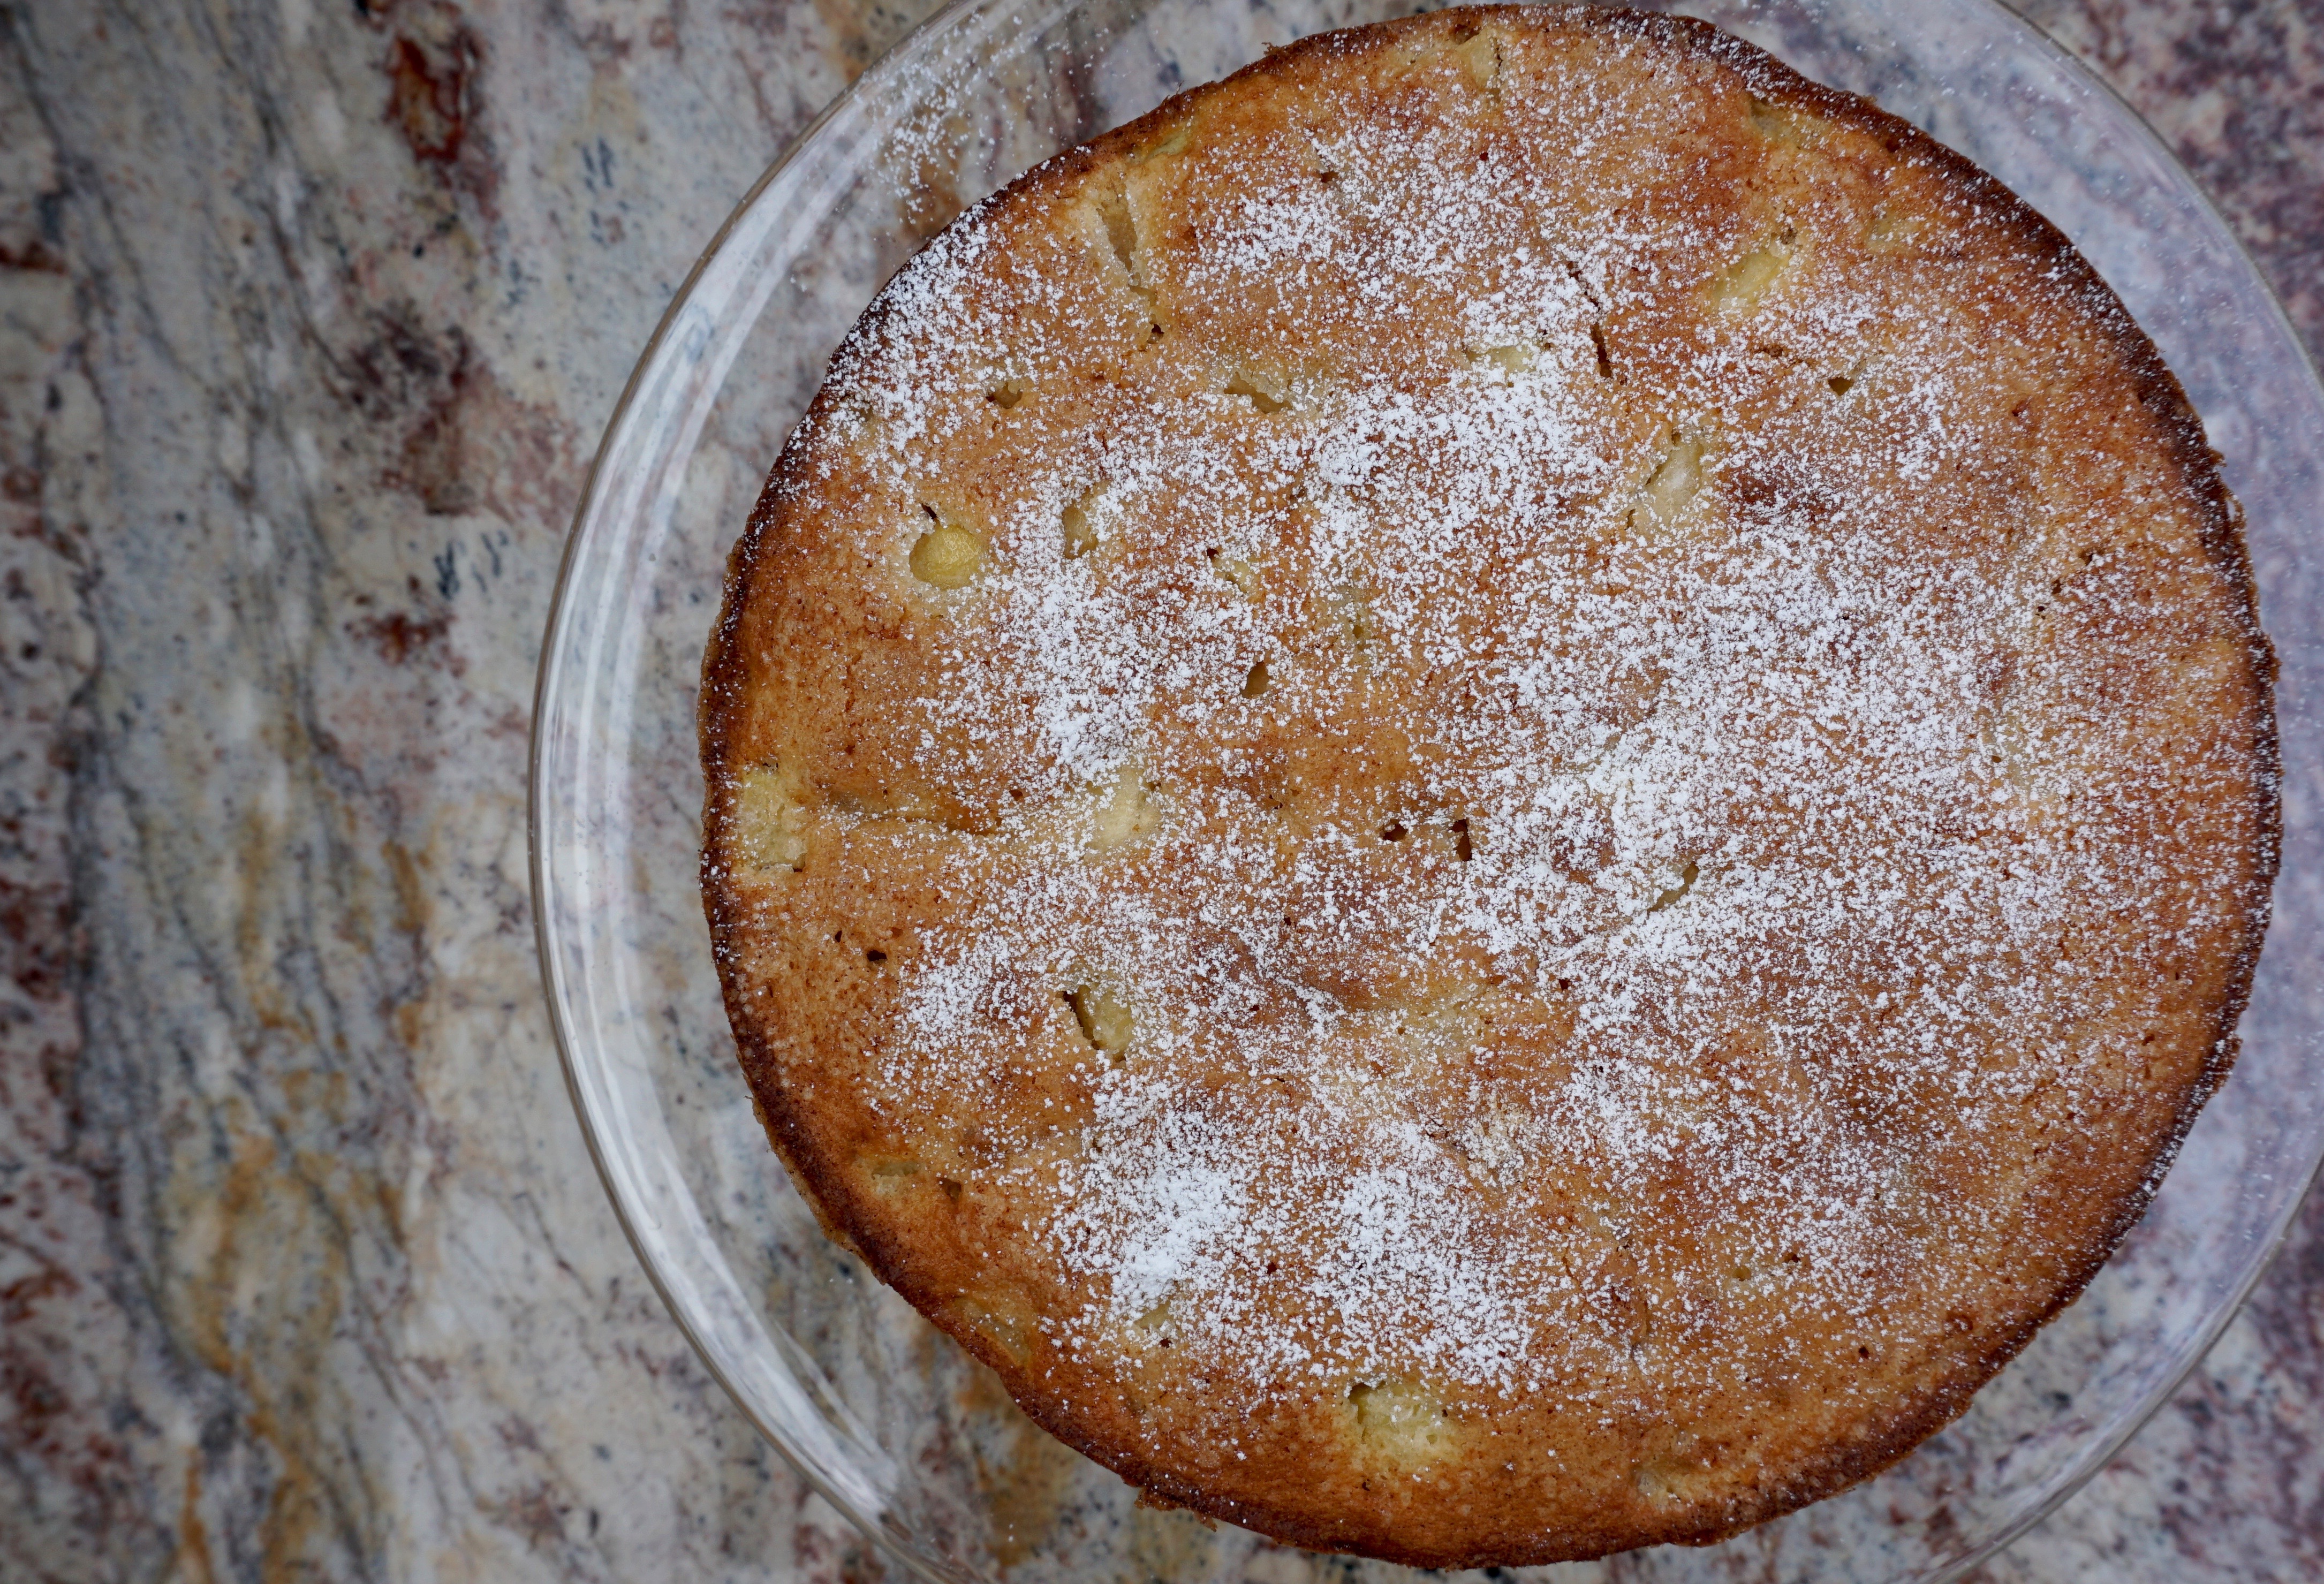
We were invited to  Rosh Hosannah celebration the other evening, I volunteered to make dessert.  Not enough time to make a pie (recipe for apple pie will be in a later post, promise), I decided on a simple French Apple Cake I found on Once Upon a Chef.  A perfect way to bring in the New Year.

French Apple Cake

Ingredients

  • 1 cup all-purpose flour spooned into measuring cup and leveled-off
  • 1 teaspoon baking powder
  • 1/4 teaspoon salt
  • 1 stick 1/2 cup unsalted butter, at room temperature
  • 2/3 cup granulated sugar plus more for sprinkling over cake
  • 2 large eggs
  • 1 teaspoon vanilla extract
  • 3 tablespoons dark rum
  • 2 sweet baking apples peeled, cored and cut into 1/2-inch cubes (Fuji or Golden Delicious work or combination)
  • Confectioners' sugar optional, for decorating cake

Instructions

  • Preheat the oven to 350°F. Spray a 9-inch springform or regular cake pan with nonstick cooking spray.
  • In a small bowl, whisk together the flour, baking powder and salt.
  • In a stand mixer with the paddle attachment, cream the butter and granulated sugar until light and fluffy, about 3 minutes. Add the eggs, one at a time, beating well and scraping down the sides of the bowl after each addition. Beat in the vanilla and rum. Don't worry if the batter looks grainy. Add the flour mixture and mix on low speed until just combined. Using a rubber spatula, fold in the chopped apples.
  • Pour the batter into the prepared pan and sprinkle evenly with 1 tablespoon of granulated sugar. Bake for about 40 minutes, or until the cake is lightly golden and a toothpick inserted into the center comes out clean. Allow the cake to cool until just warm. Run a blunt knife around the edges of the cake and remove the sides of the springform pan if using. Using a fine sieve, dust with Confectioners' sugar (if using).
  • Cake can be served warm or room temperature, with or without lightly sweetened whipped cream or vanilla ice cream.